
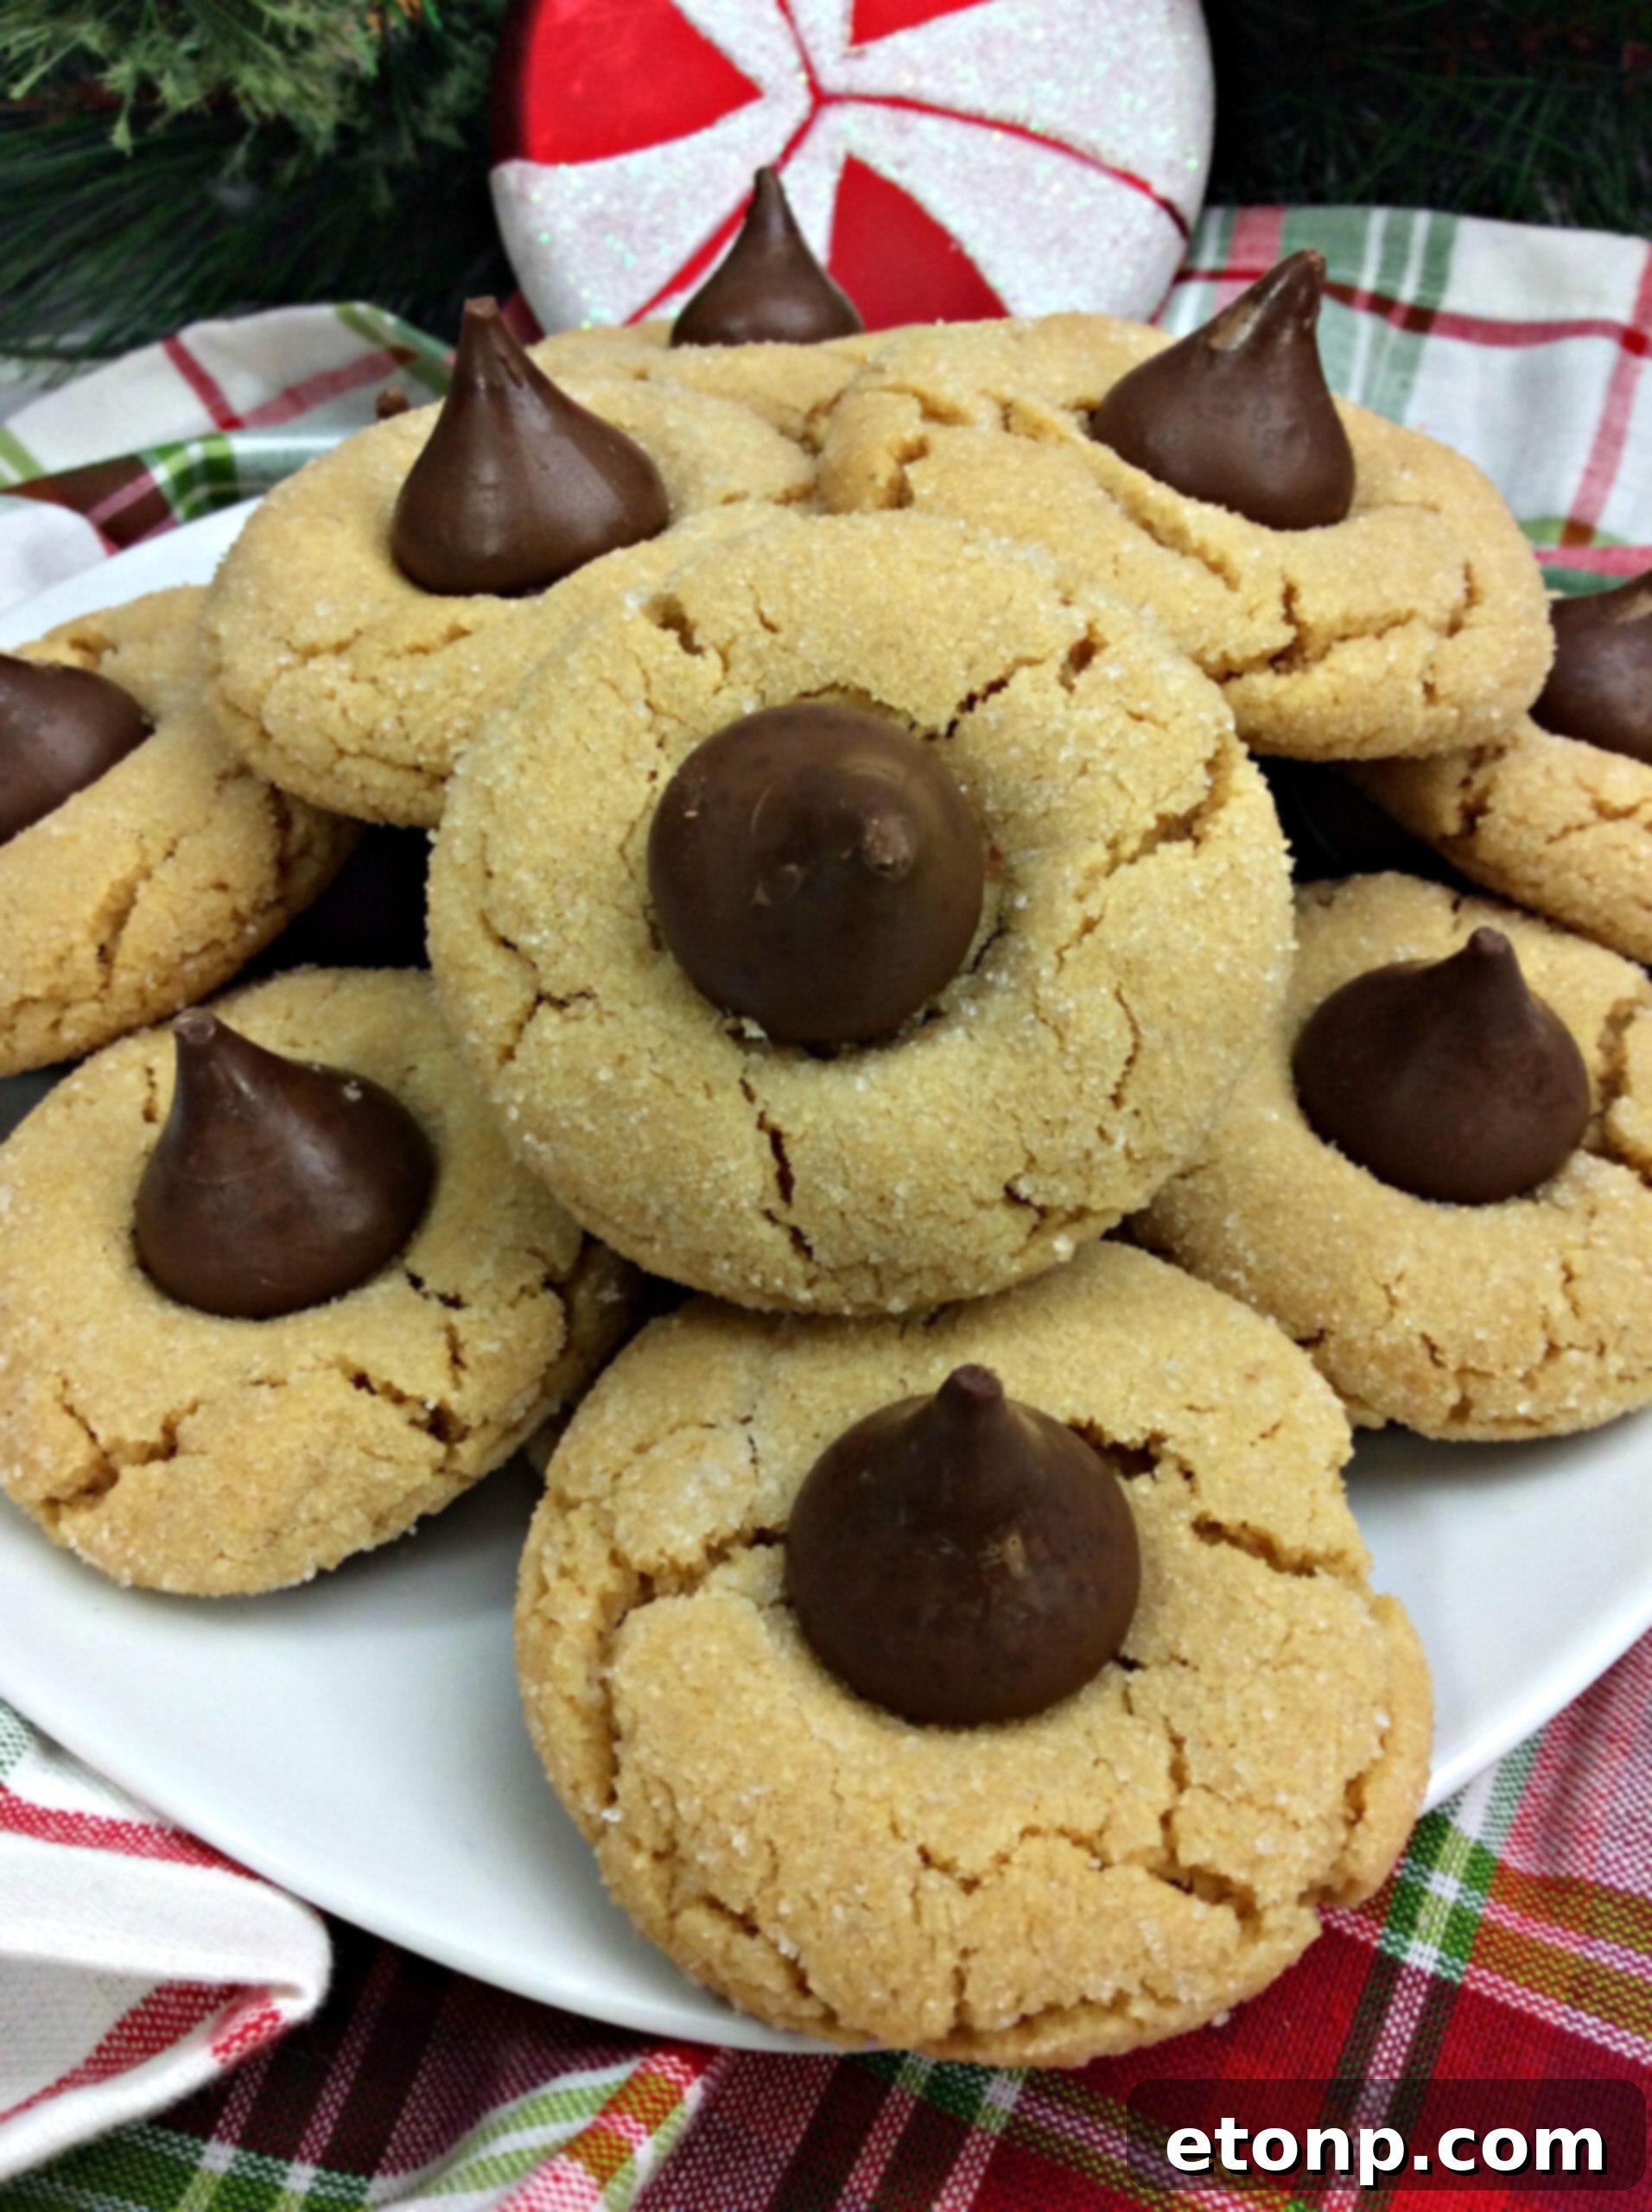
The Ultimate Guide to Classic Peanut Butter Blossom Cookies: A Holiday Favorite
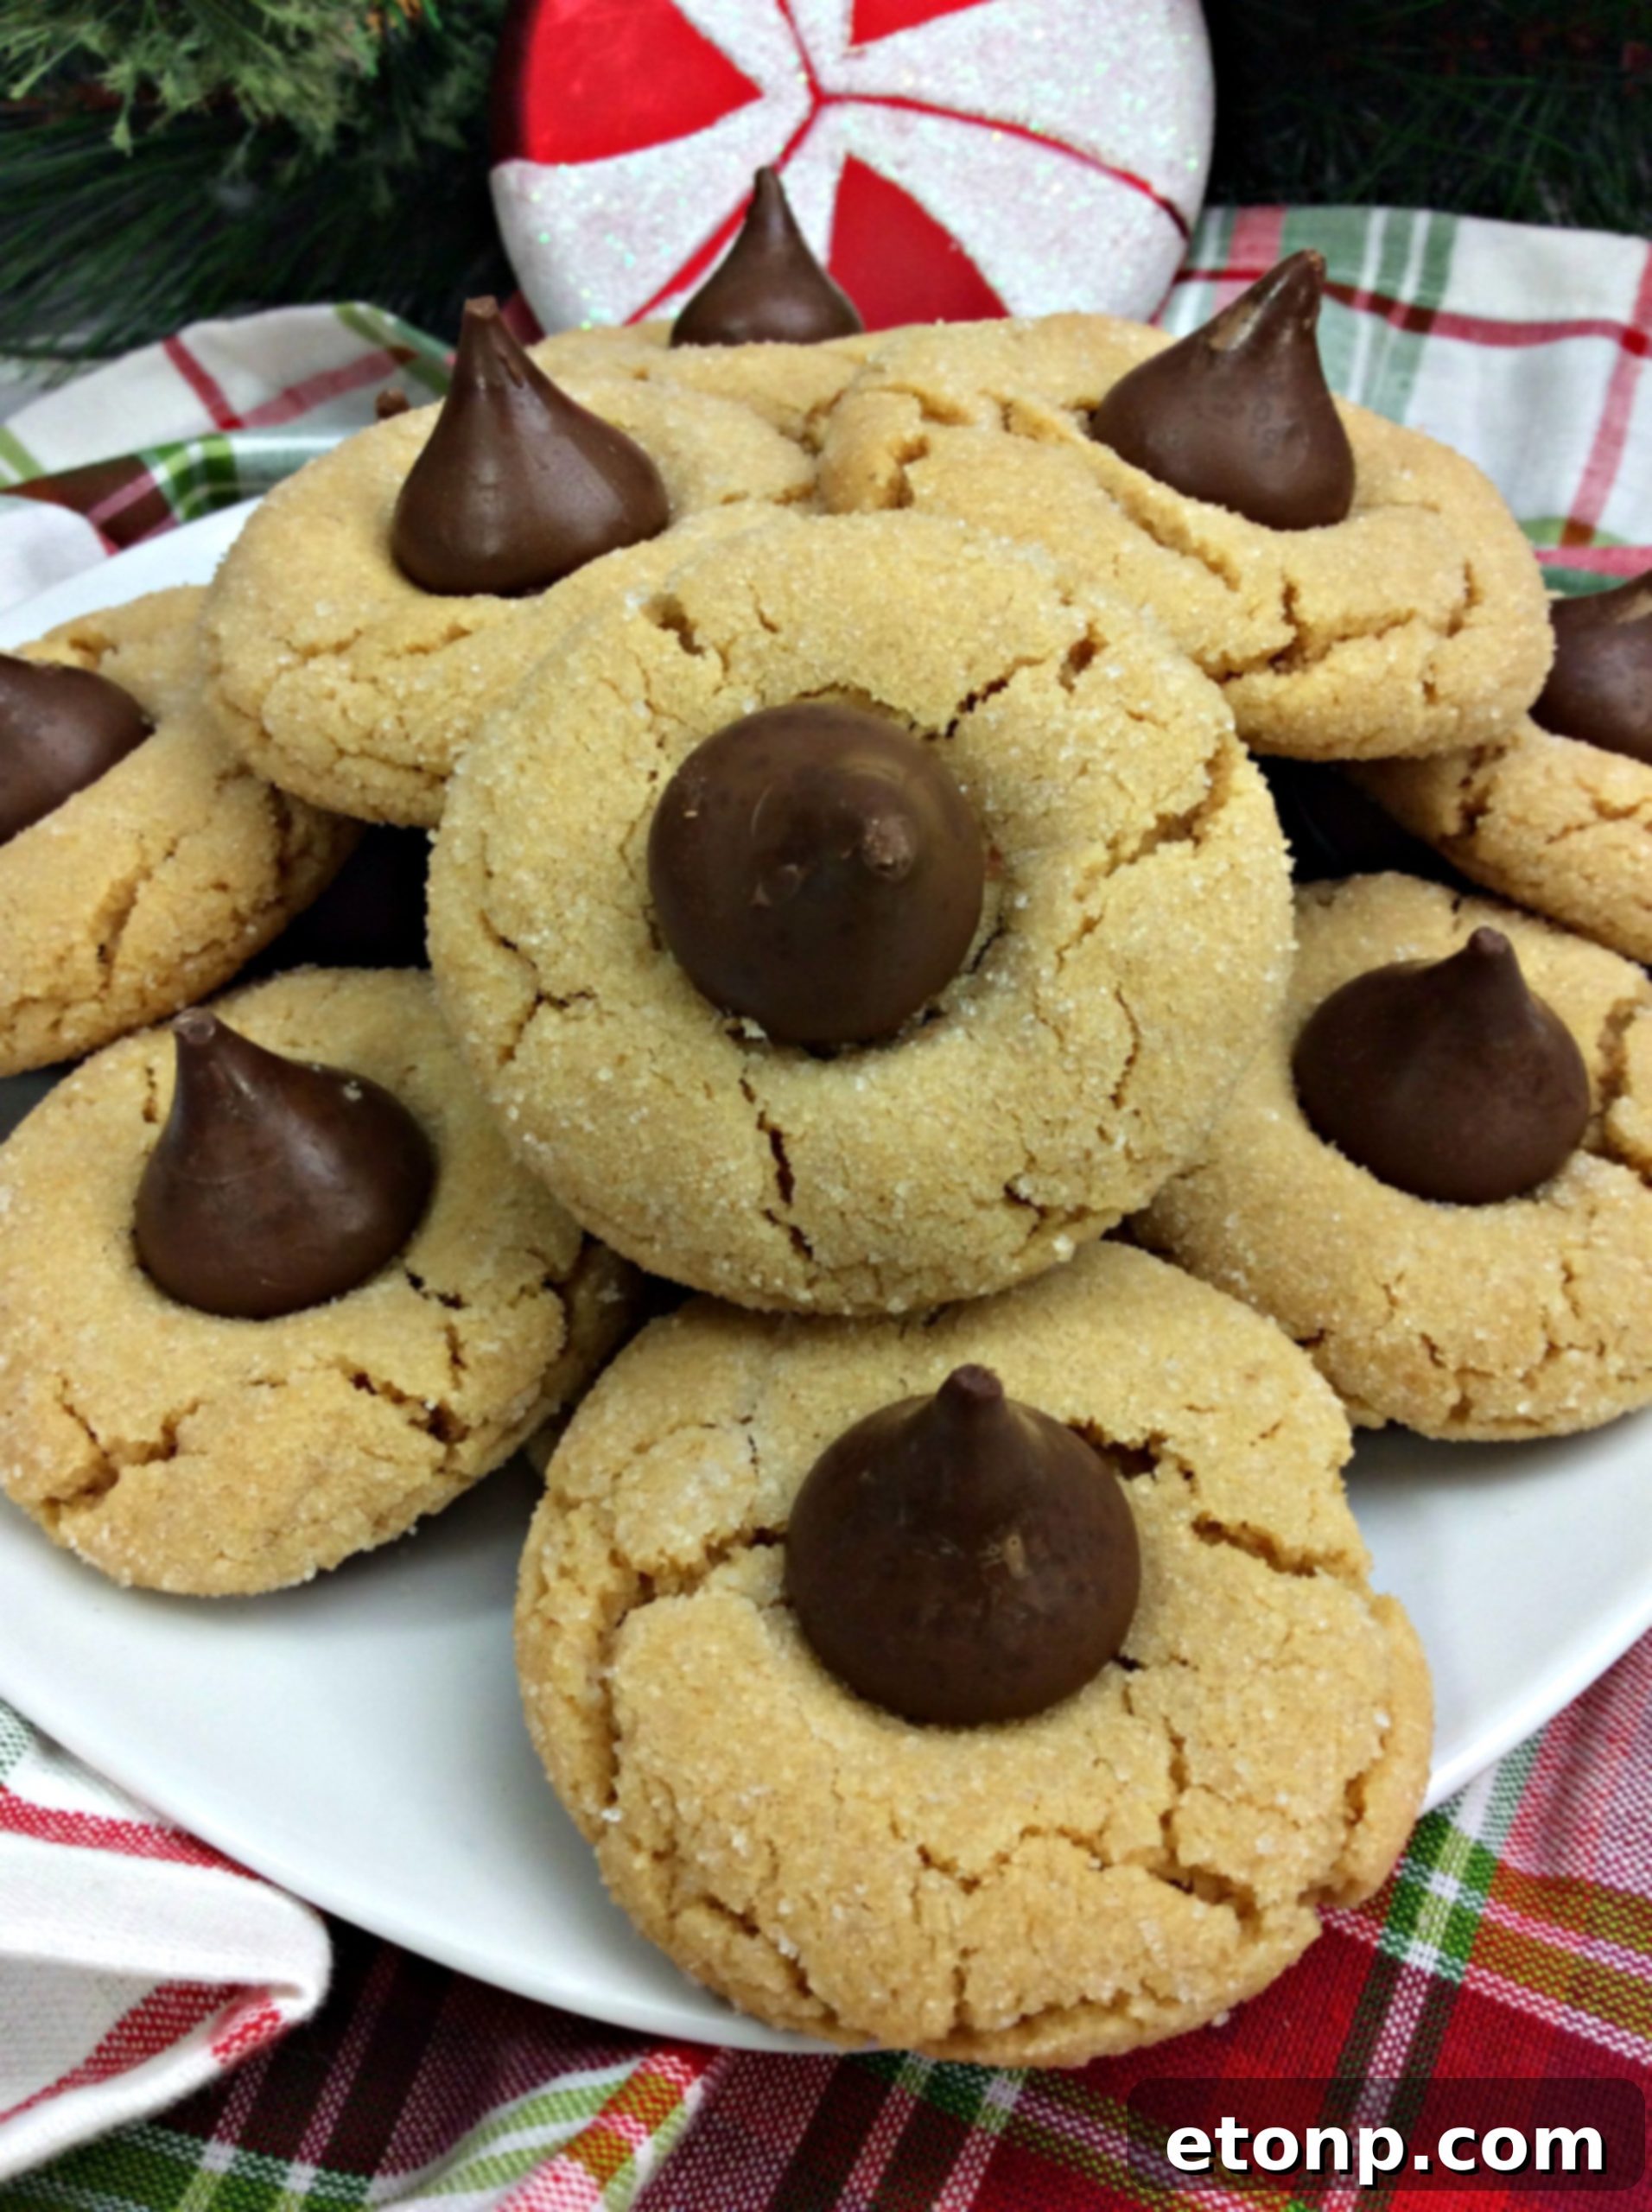
Few treats evoke the warmth and nostalgia of the holiday season quite like a batch of homemade Peanut Butter Blossom Cookies. These iconic delights, instantly recognizable by their soft, chewy peanut butter base crowned with a perfectly melted Hershey’s Kiss, are a staple at holiday gatherings, cookie exchanges, and family celebrations. Their irresistible combination of salty-sweet peanut butter and creamy chocolate makes them a universally loved classic, promising a delightful melt-in-your-mouth experience with every bite.
Whether you’re a seasoned baker or just starting your culinary journey, this foolproof recipe for Peanut Butter Blossom Cookies is designed for success. We’ll guide you through each step to ensure your cookies are soft, perfectly textured, and absolutely delicious. Get ready to fill your home with the comforting aroma of freshly baked cookies and create memories that will last a lifetime.
Why You’ll Adore This Peanut Butter Blossom Cookie Recipe
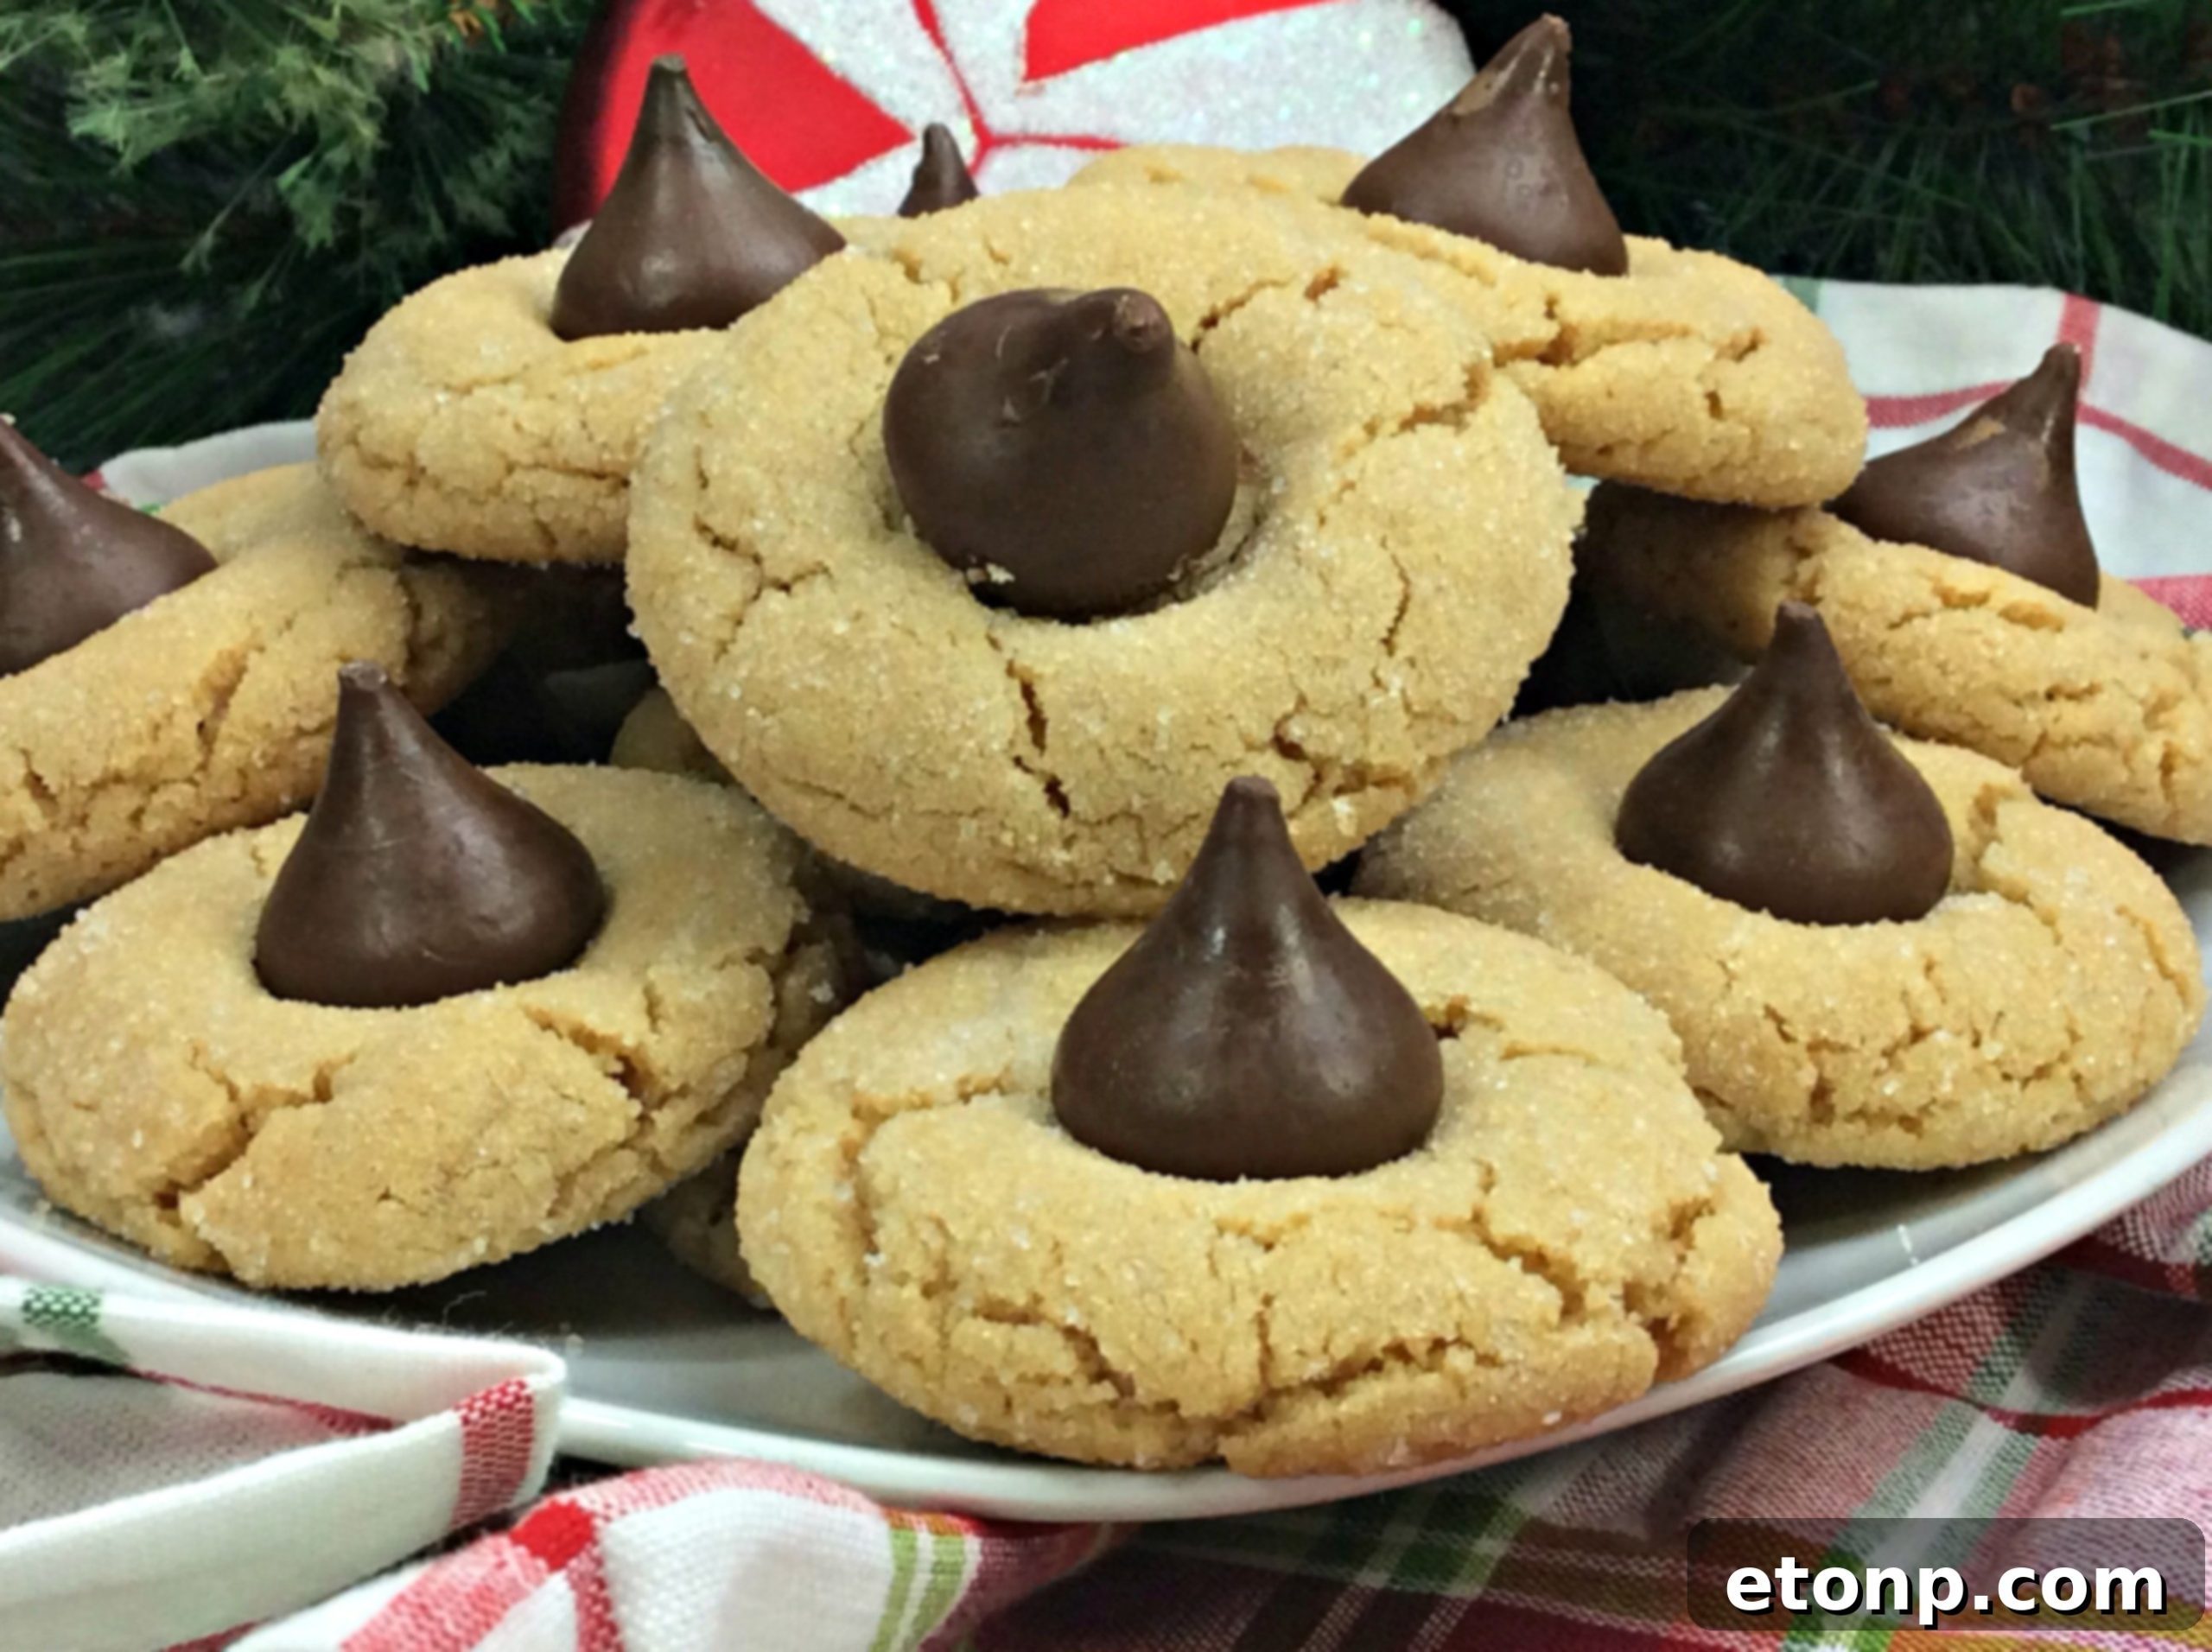
This isn’t just another cookie recipe; it’s a journey back to the comforting flavors of childhood, reimagined for modern bakers. Here’s why these classic Peanut Butter Blossom Cookies will become your new go-to:
- Unforgettable Flavor: The rich, earthy taste of real peanut butter perfectly complements the sweet, milk chocolate of a Hershey’s Kiss, creating a harmonious flavor profile that’s both indulgent and comforting.
- Perfect Texture: Expect a cookie that’s wonderfully soft and chewy in the center, with slightly crisp edges. The signature texture is a hallmark of a well-made Peanut Butter Blossom, ensuring it truly melts in your mouth.
- Simple & Straightforward: Don’t let their impressive appearance fool you; these cookies are incredibly easy to make. With readily available ingredients and clear instructions, even novice bakers can achieve bakery-quality results.
- Holiday Essential: A must-have for any holiday cookie platter or exchange. Their festive look and beloved taste make them a standout addition that everyone will reach for. They also make fantastic edible gifts for friends, family, and neighbors.
- Crowd-Pleaser: From kids to adults, these cookies are a guaranteed hit. The combination of peanut butter and chocolate is a timeless pairing that appeals to almost everyone.
I’m already adding these delightful Peanut Butter Blossom Cookies to my holiday baking list this season. Their soft yet perfectly chewy consistency is pure perfection! Grab a tall, cold glass of milk, because once you taste these, you’ll want to savor every single bite!
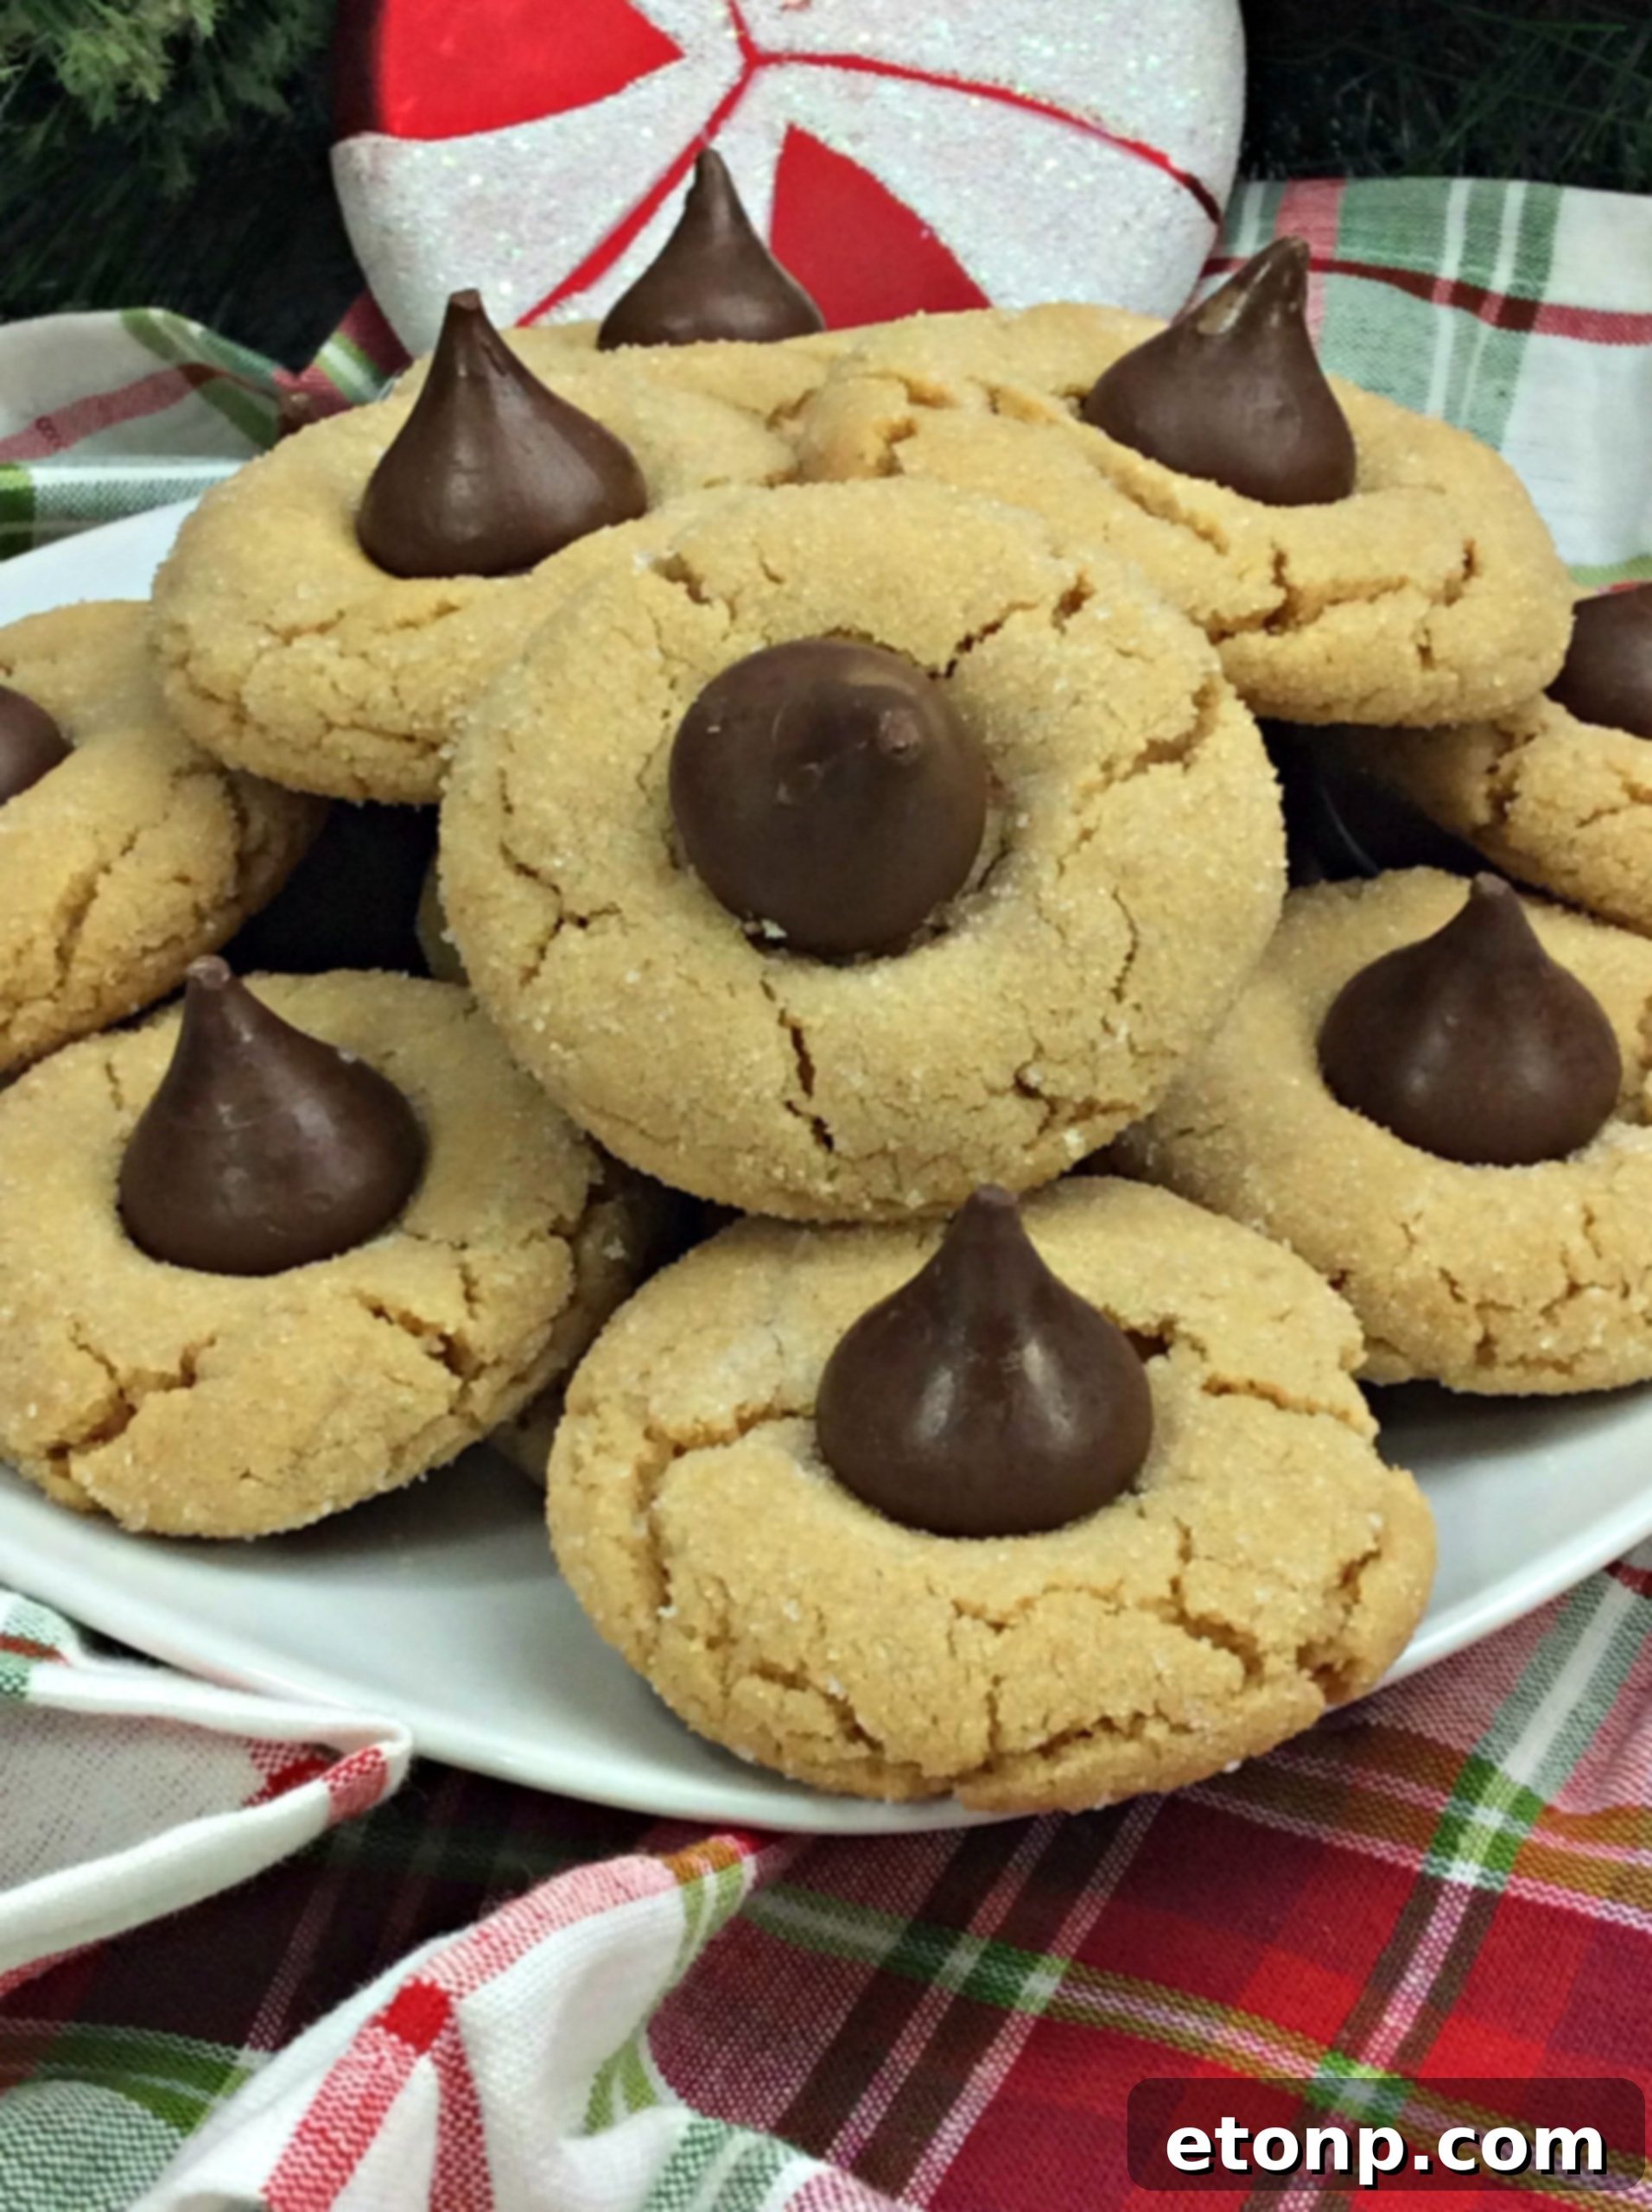
Please remember to SHARE on Facebook and PIN IT on Pinterest!
FOLLOW ME ONPINTERESTBY CLICKING HERE <——
Peanut Butter Blossom Cookies Recipe
Get ready to bake a batch of these classic holiday cookies! This recipe yields approximately 2 dozen delicious Peanut Butter Blossom Cookies, perfect for sharing or enjoying all by yourself.
Ingredients
MAKES 2 DOZEN COOKIES
- 1/4 C unsalted sweet cream butter, softened
- 1/2 C granulated sugar
- 1/2 C packed brown sugar
- 1 C creamy peanut butter
- 1/4 C shortening
- 1 large egg
- 1 1/4 C all-purpose flour
- 3/4 tsp baking soda
- 1/2 tsp baking powder
- 1/4 tsp salt
- 24 unwrapped Hershey’s Kisses
- 1 C granulated sugar for rolling cookies
Instructions
- Preheat your oven to 350 degrees F (175 degrees C).
- Line a baking sheet with parchment paper and set it aside. This prevents sticking and makes cleanup a breeze.
- In the bowl of a stand mixer fitted with the paddle attachment (or using a hand mixer), cream together the softened butter, creamy peanut butter, granulated sugar, packed brown sugar, and shortening. Beat on medium speed until the mixture is light, fluffy, and well combined, scraping down the sides of the bowl as needed. This step is crucial for achieving a tender cookie texture.
- Add the large egg to the creamed mixture and mix until fully incorporated. Ensure no streaks of egg yolk remain.
- In a separate large bowl, whisk together the dry ingredients: all-purpose flour, baking soda, baking powder, and salt. Whisking them ensures they are evenly distributed throughout the dough.
- Gradually add the dry flour mixture to the wet peanut butter mixture, mixing on low speed until just combined. Be careful not to overmix, as this can lead to tough cookies. Stop mixing as soon as no dry streaks of flour are visible.
- Pour the additional 1 cup of granulated sugar into a shallow bowl, which you will use for rolling the cookie dough.
- Using a small ice cream scoop (about 1.5 tablespoons), scoop out portions of cookie dough. Roll each portion into a smooth ball between your palms.
- Roll each cookie dough ball thoroughly in the granulated sugar, ensuring it’s completely coated. This sugar coating gives the cookies a beautiful sparkle and a delightful crispy exterior.
- Place the sugar-coated cookie dough balls onto the prepared baking sheet, leaving about 2 inches between each cookie to allow for spreading.
- Bake in the preheated oven for 8-10 minutes. The cookies should be lightly golden brown around the edges but still appear soft in the center. They will firm up as they cool.
- Immediately upon removing the cookies from the oven, gently press one unwrapped Hershey’s Kiss into the center of each warm cookie. The residual heat from the cookie will slightly melt the chocolate, creating that iconic blossom effect.
- Allow the cookies to cool on the baking sheet for a few minutes before carefully transferring them to a wire rack to cool completely. This helps them retain their shape and prevents the chocolate from fully melting and spreading too much.
- Repeat the steps with the remaining cookie dough until all cookies are baked.
- Let the cookies cool completely on the wire rack for at least 30 minutes before enjoying. This allows the chocolate to set and the cookies to fully firm up, ensuring the best texture.
- Enjoy your perfectly baked Peanut Butter Blossom Cookies!
Tips for Perfect Peanut Butter Blossom Cookies
- Soften Butter and Shortening: Ensure your butter and shortening are at room temperature. This allows them to cream smoothly with the sugars, creating an airy base for your cookies.
- Use Creamy Peanut Butter: For the best texture, opt for creamy, shelf-stable peanut butter (like Jif or Skippy) rather than natural, oil-separated varieties. The latter can alter the cookie’s consistency.
- Don’t Overmix: Once you add the dry ingredients, mix just until combined. Overmixing develops gluten, leading to tougher cookies.
- Chill the Dough (Optional but Recommended): If your dough feels too soft or sticky, chill it for 15-30 minutes. This makes it easier to roll and can help prevent excessive spreading during baking.
- Roll in Sugar Generously: Don’t skimp on rolling the dough balls in granulated sugar. This creates a beautiful crust and a lovely texture contrast.
- Timely Kiss Placement: Press the Hershey’s Kisses into the cookies immediately after they come out of the oven. If you wait too long, the cookies will cool and crack when the chocolate is added.
- Parchment Paper is Your Friend: Always use parchment paper for easy removal and consistent baking.
Variations to Try
- Different Chocolates: Instead of Hershey’s Kisses, try mini Reese’s Peanut Butter Cups, chocolate stars, or other small chocolate candies.
- Nut Butter Alternatives: Experiment with almond butter or cashew butter for a unique twist, though the classic peanut butter flavor is truly special.
- Add-ins: Fold in mini chocolate chips or chopped peanuts into the dough for extra texture and flavor.
- Spice It Up: A pinch of cinnamon or nutmeg in the dough can add a subtle warmth, especially for holiday baking.
Storage and Freezing
- Storing Baked Cookies: Store Peanut Butter Blossom Cookies in an airtight container at room temperature for up to 5-7 days. Place parchment paper between layers to prevent the Kisses from sticking together.
- Freezing Baked Cookies: Once completely cooled and the Kisses are set, you can freeze baked cookies in an airtight container or freezer bag for up to 3 months. Thaw at room temperature before serving.
- Freezing Cookie Dough: Roll the dough into balls, coat in sugar, and freeze them on a baking sheet until solid. Transfer the frozen dough balls to a freezer-safe bag and store for up to 3 months. When ready to bake, place frozen dough balls on a baking sheet and bake for an extra 2-4 minutes, or until golden. Add Kisses as usual.
Frequently Asked Questions (FAQ)
Q: Why did my Hershey’s Kisses melt completely and lose their shape?
A: This usually happens if the cookies are too hot or if the Kisses are pressed in too late. Ensure you place the Kisses as soon as the cookies are out of the oven, but don’t let the cookies sit on the hot sheet for too long. Also, make sure your oven temperature is accurate to prevent overbaking.
Q: Can I use natural peanut butter for this recipe?
A: While you can, it’s generally not recommended for Peanut Butter Blossom Cookies. Natural peanut butter tends to be drier and can make the dough crumbly, affecting the final texture of the cookies. Creamy, shelf-stable peanut butter works best for consistency.
Q: My cookies spread too much. What went wrong?
A: Several factors can cause cookies to spread: using too much butter/shortening, your butter being too soft (almost melted), not enough flour, or your oven being too cool. Make sure to measure ingredients accurately, use room-temperature (but not melted) fats, and ensure your oven thermometer is calibrated.
Q: How do I prevent the cookies from drying out?
A: The key is not to overbake them. Peanut Butter Blossom Cookies should be soft in the middle when you take them out of the oven. They will continue to cook slightly on the hot baking sheet and firm up as they cool. Storing them in an airtight container also helps maintain moisture.
Q: Can I prepare the dough ahead of time?
A: Absolutely! You can prepare the dough, roll it into balls, and even coat them in sugar. Store the dough balls in an airtight container in the refrigerator for up to 2-3 days before baking. You might need to let them warm up slightly at room temperature before baking, or add a minute or two to the bake time if baking from cold.
Did you make this recipe?
We’d love to see your creations! Make sure to follow us on Pinterest for more incredible recipes and tag us in your photos!