
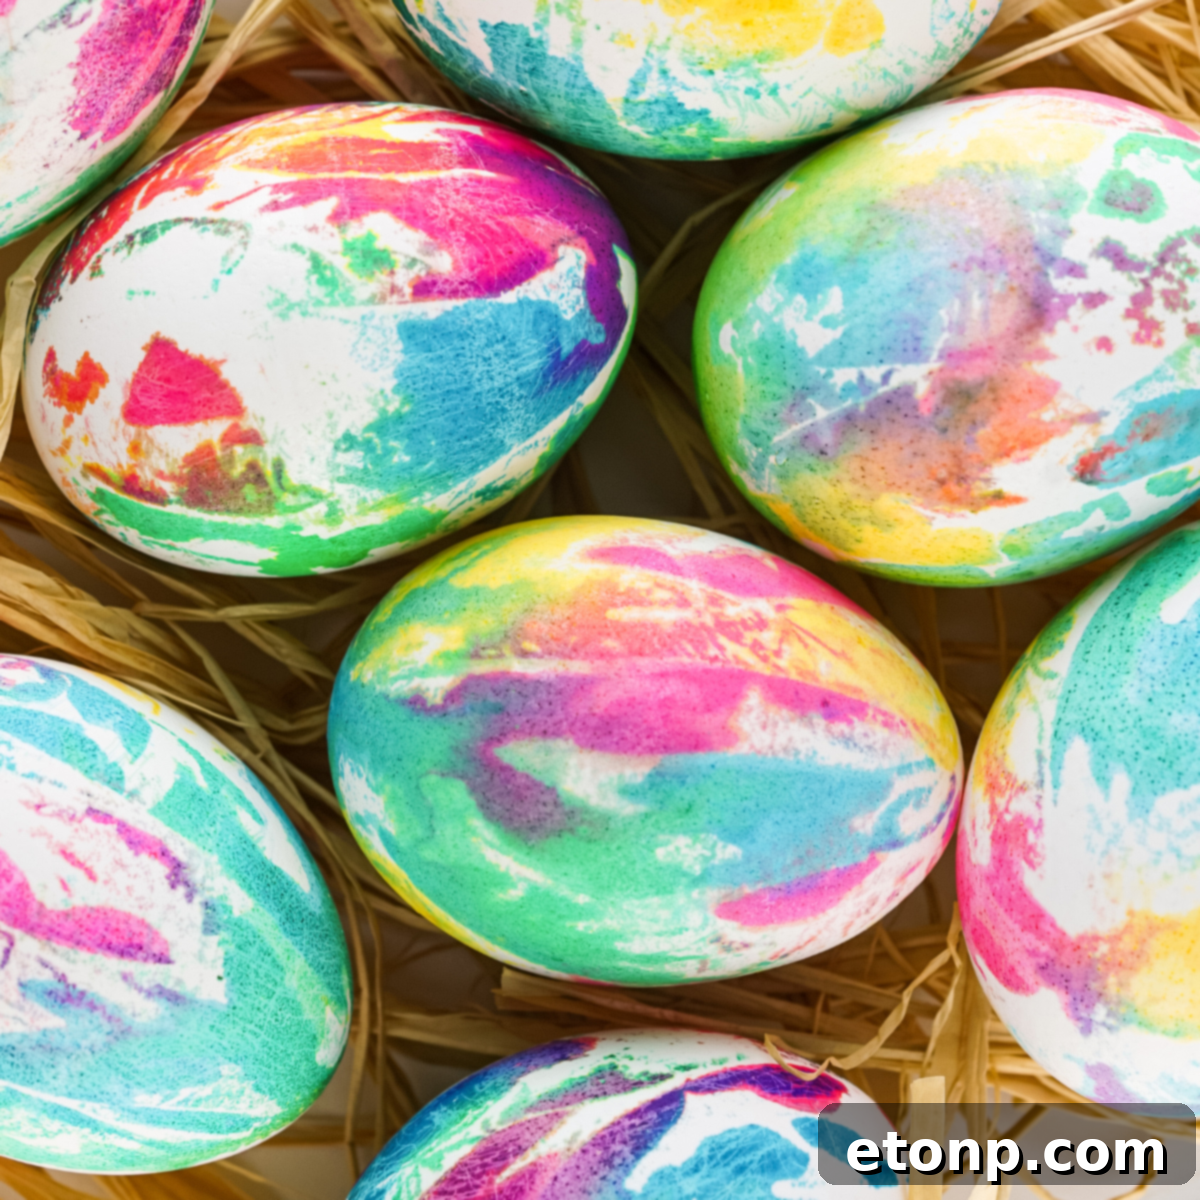
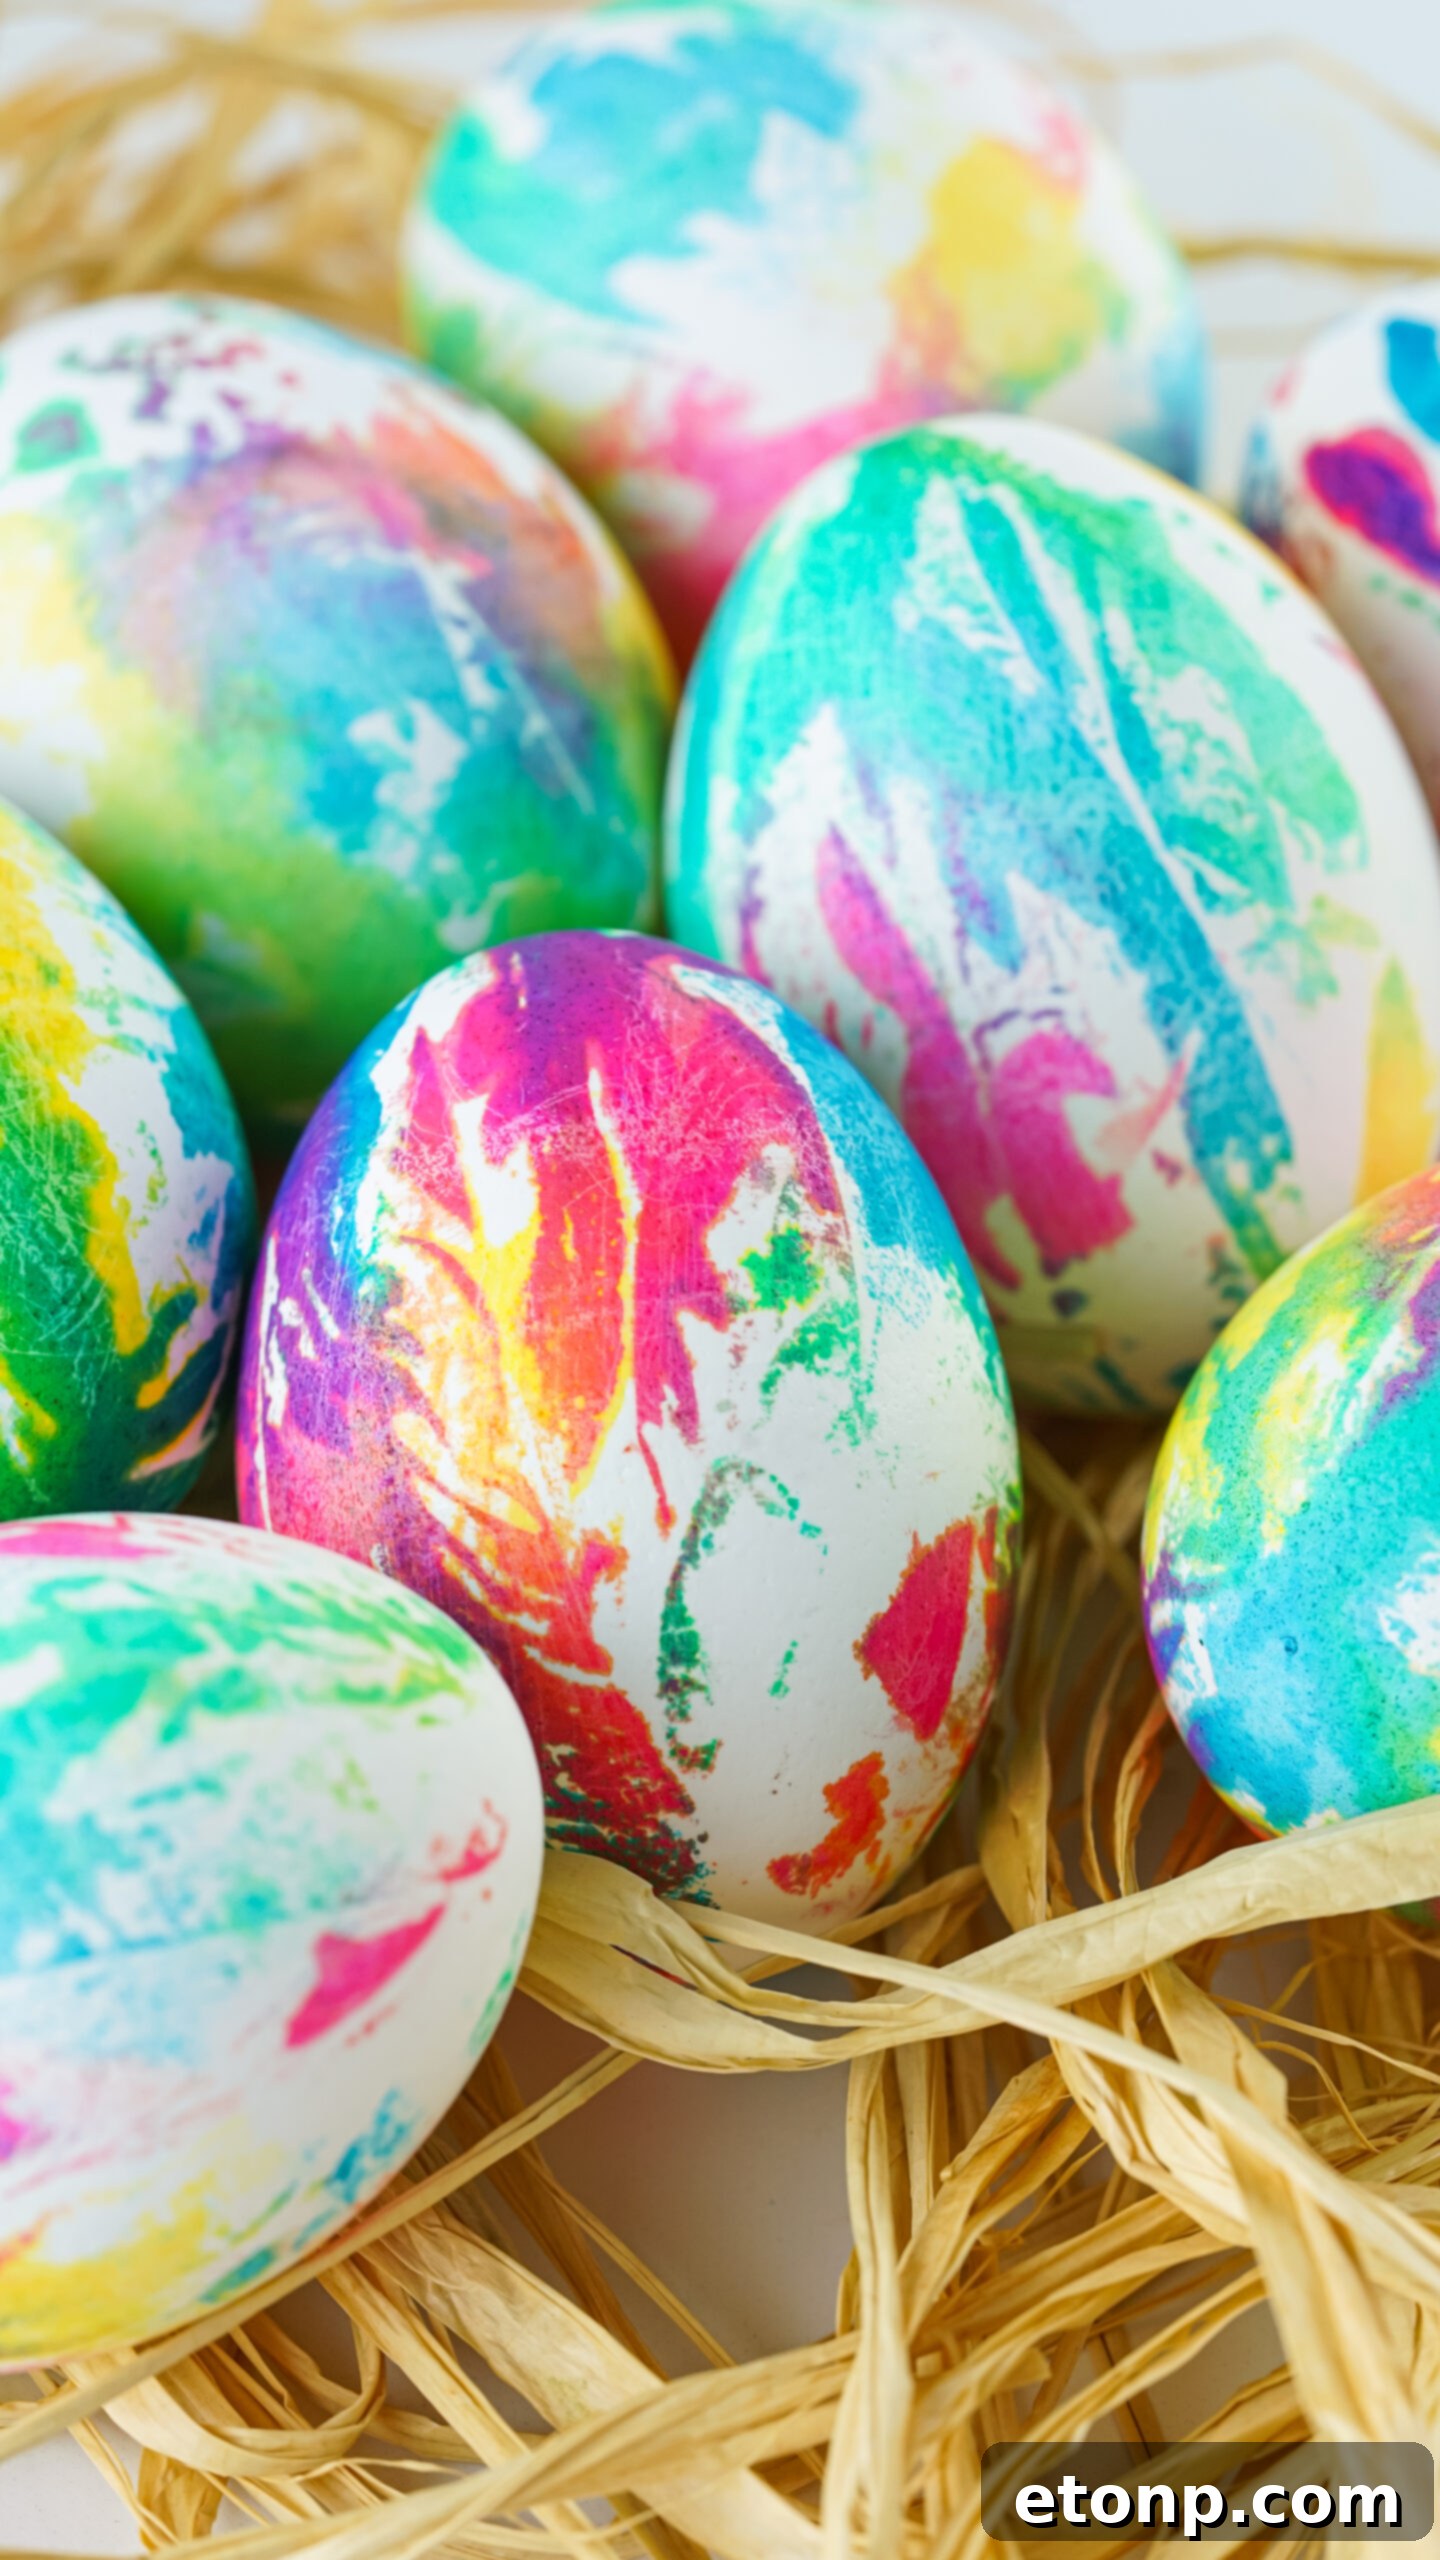
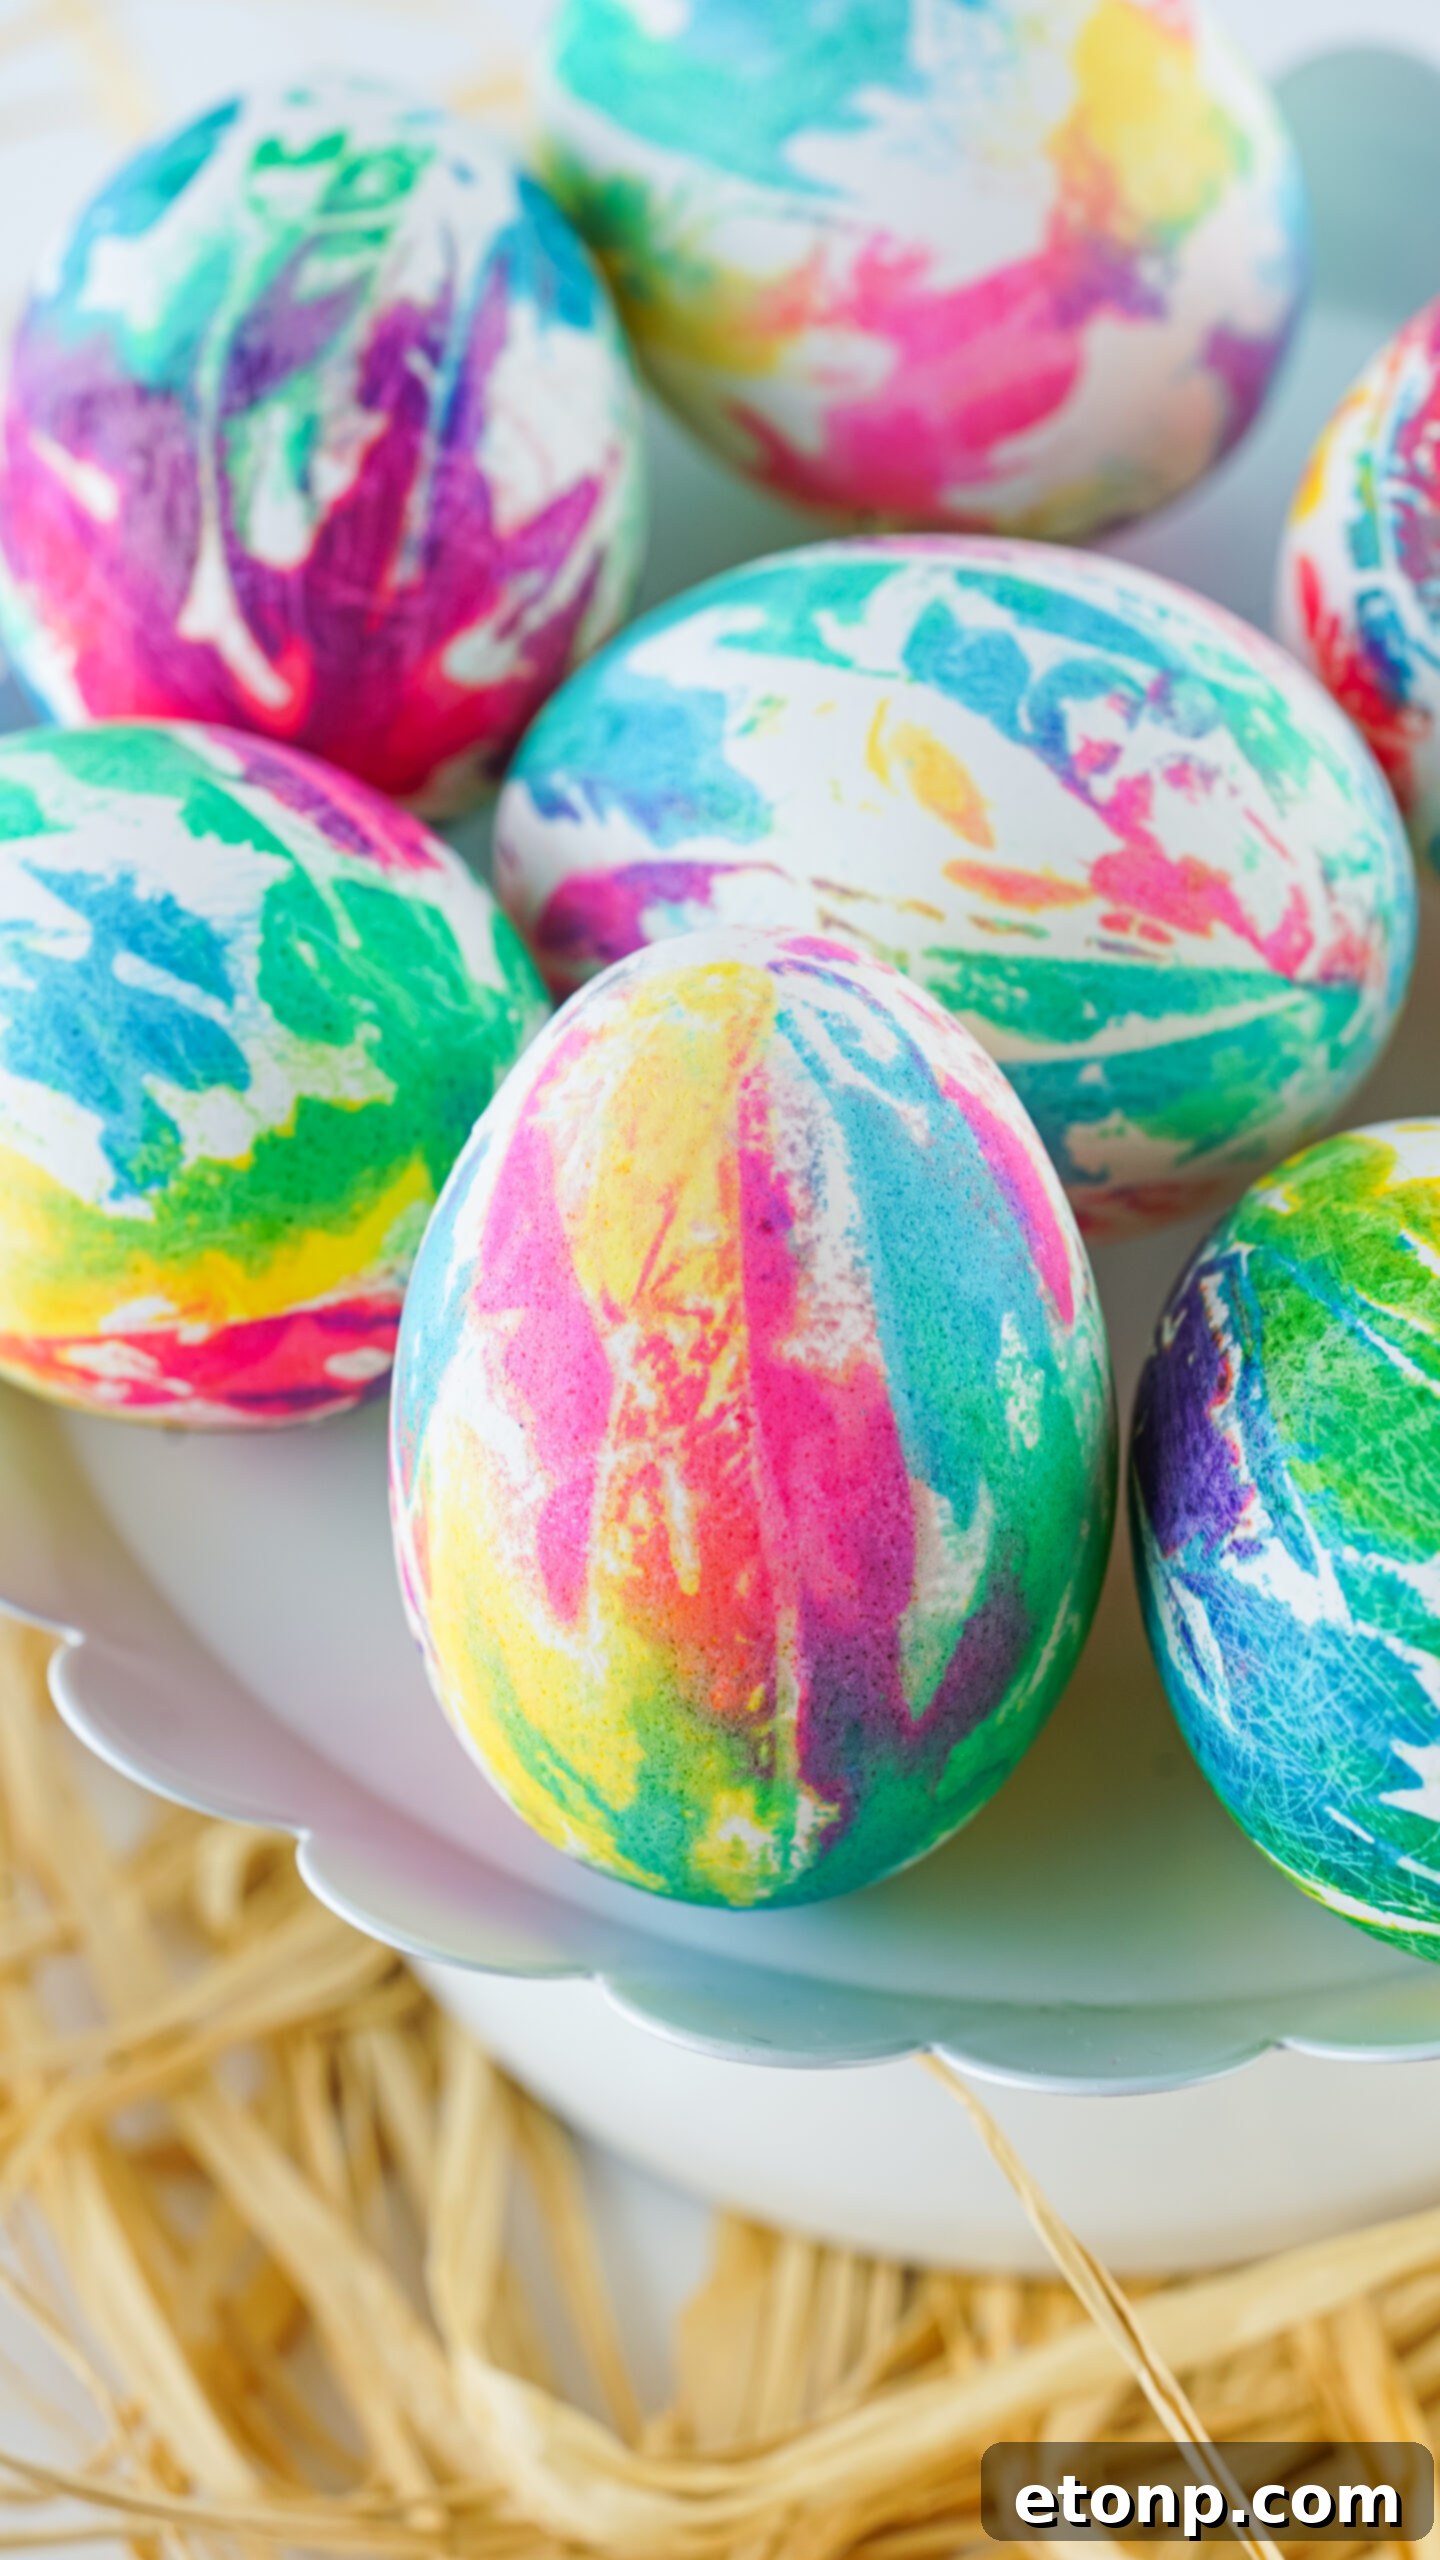
Get ready to unleash your creativity this Easter with a vibrant twist on a classic tradition! This year, move beyond single-color dyes and discover the magic of **Tie Dye Easter Eggs**. This incredibly simple yet captivating craft promises to bring a burst of color and a whole lot of fun to your family’s celebration. Imagine transforming ordinary hard-boiled eggs into stunning, swirling masterpieces that resemble tiny pieces of wearable art. With just a few household items and a dash of imagination, you can create a collection of unique Easter eggs that will truly stand out.
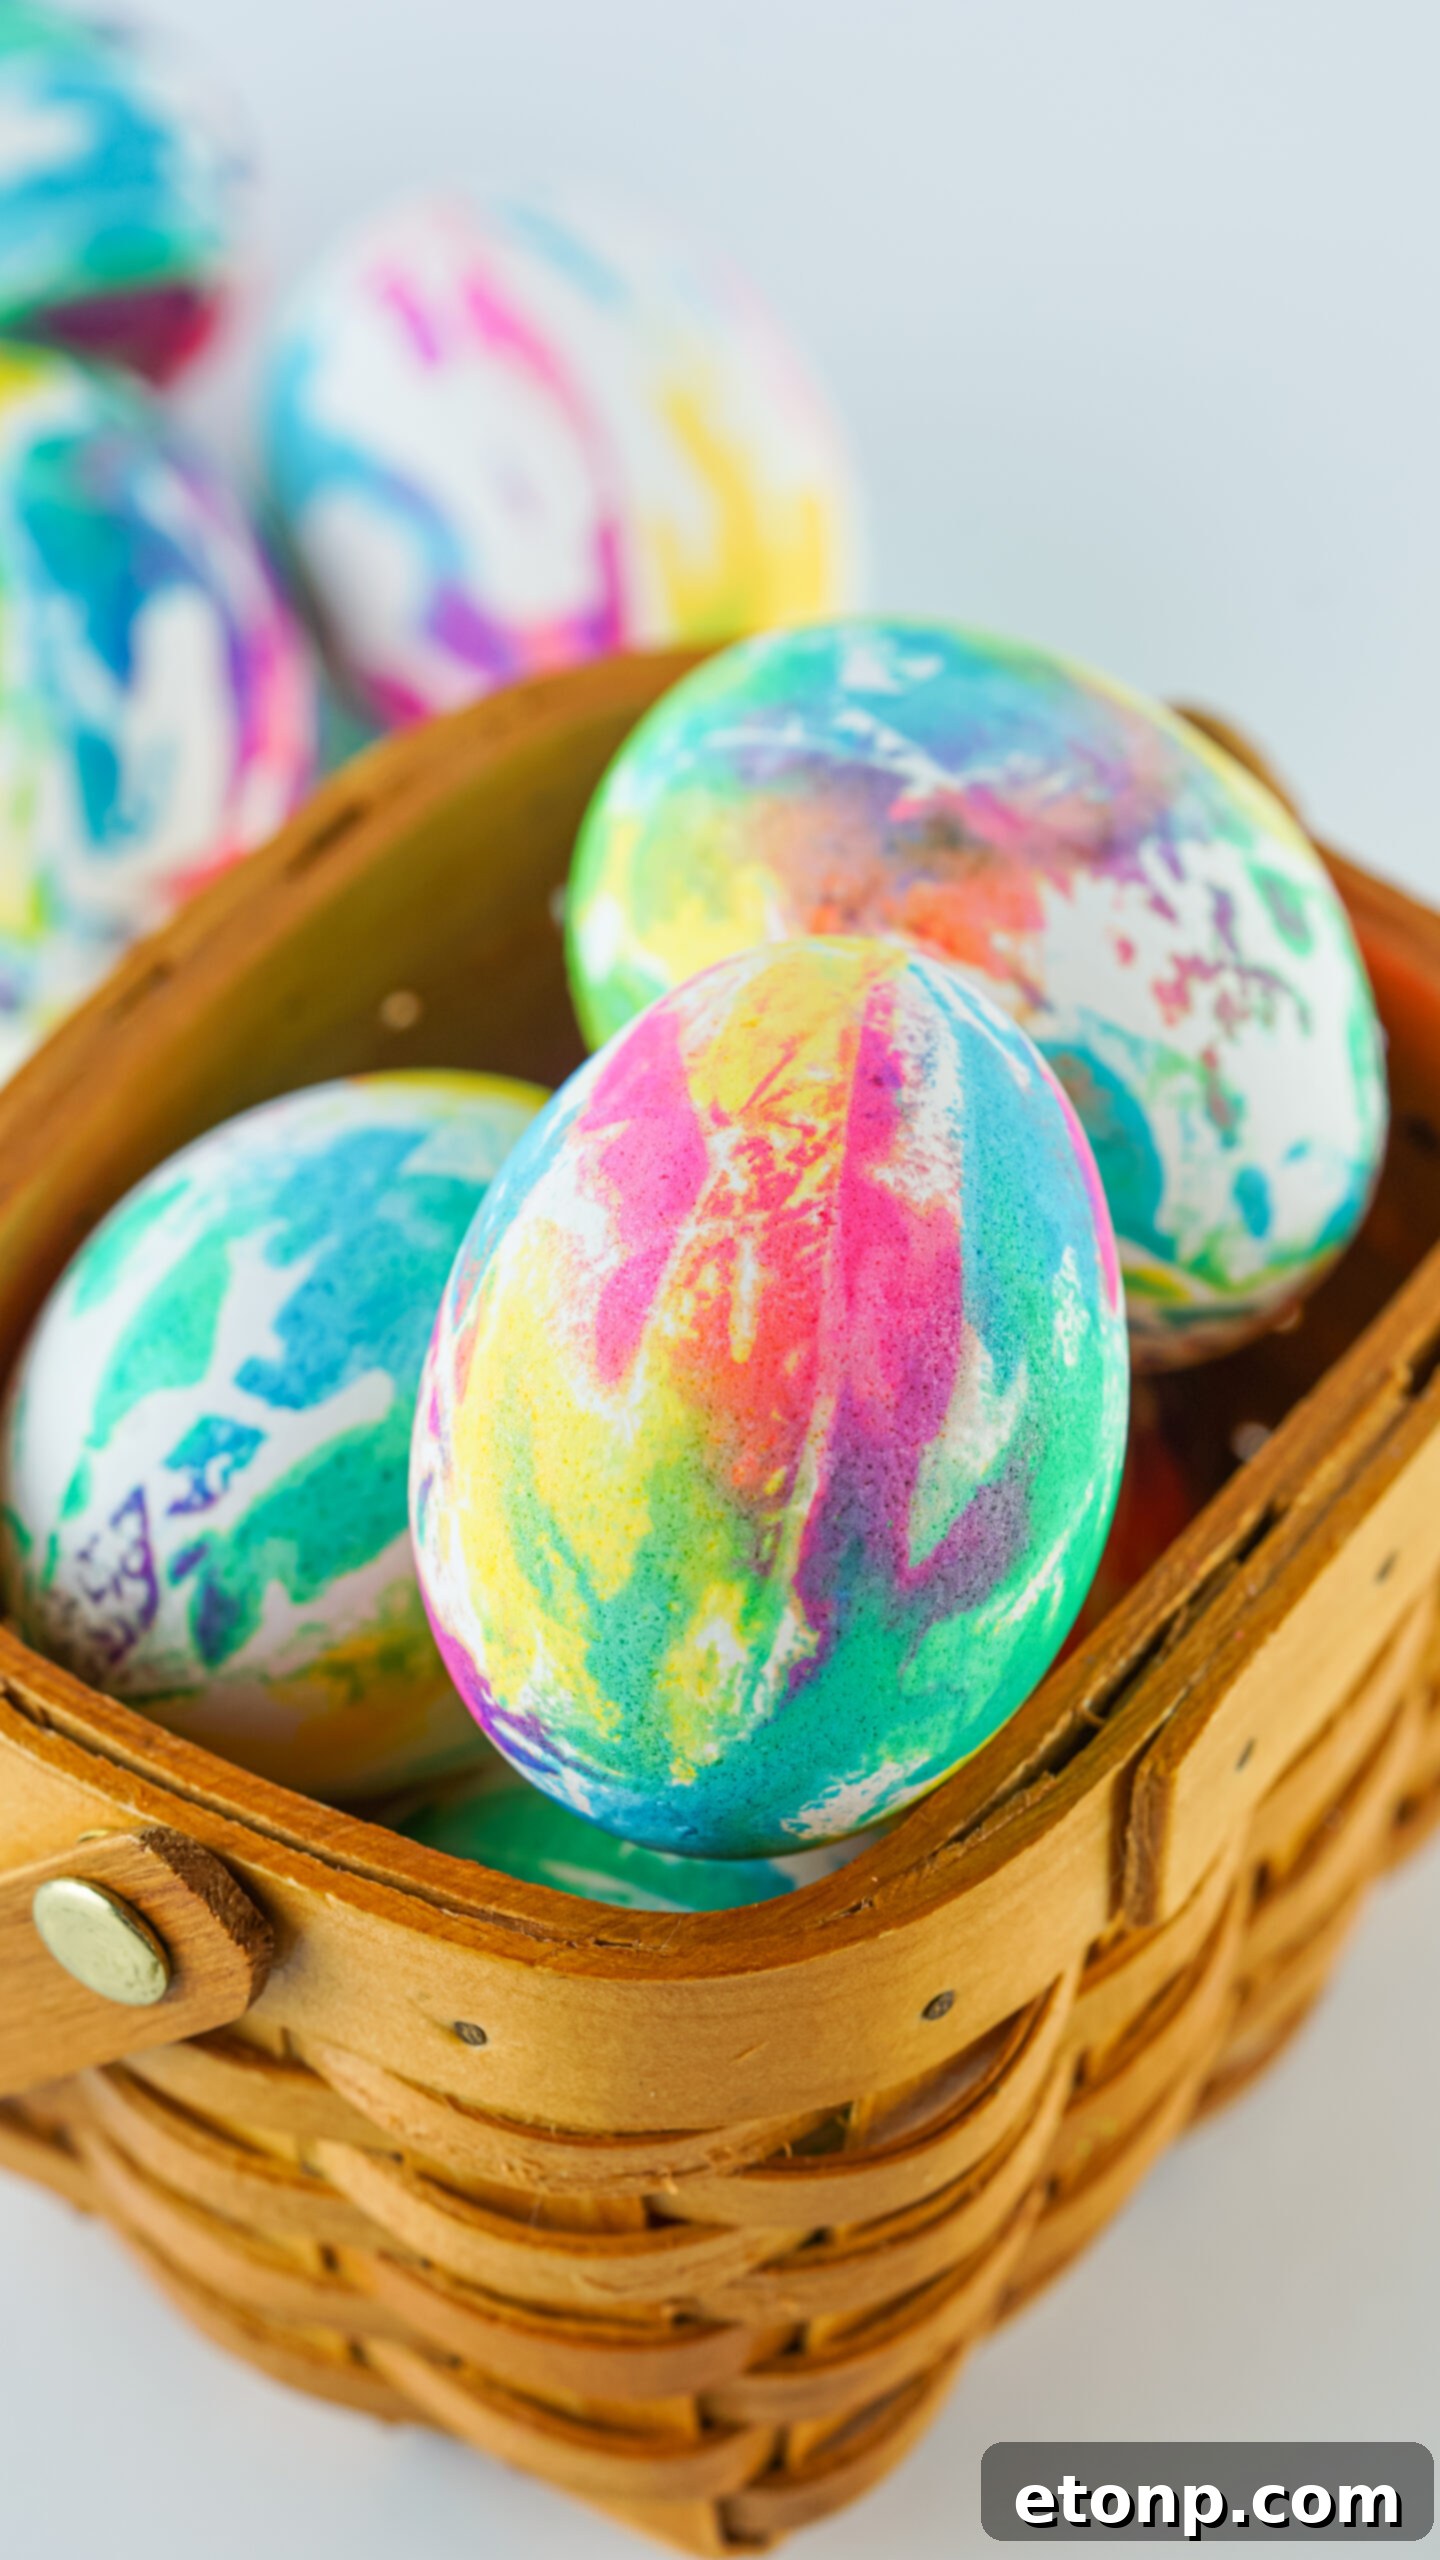
Tie-dye isn’t just for clothes anymore! This popular decorating technique, known for its bold and kaleidoscopic patterns, translates beautifully to the smooth canvas of an eggshell. It’s a fantastic way to refresh your annual Easter egg decorating routine and introduce a playful, artistic element that appeals to all ages. From toddlers who love splashing colors to teens looking for a cool DIY project, everyone can participate in crafting these eye-catching eggs. Follow our straightforward steps, and soon you’ll have a basket brimming with beautifully tie-dyed eggs, ready to be the centerpiece of your holiday table or the star of your Easter egg hunt.
Why You’ll Adore Crafting Tie Dye Easter Eggs
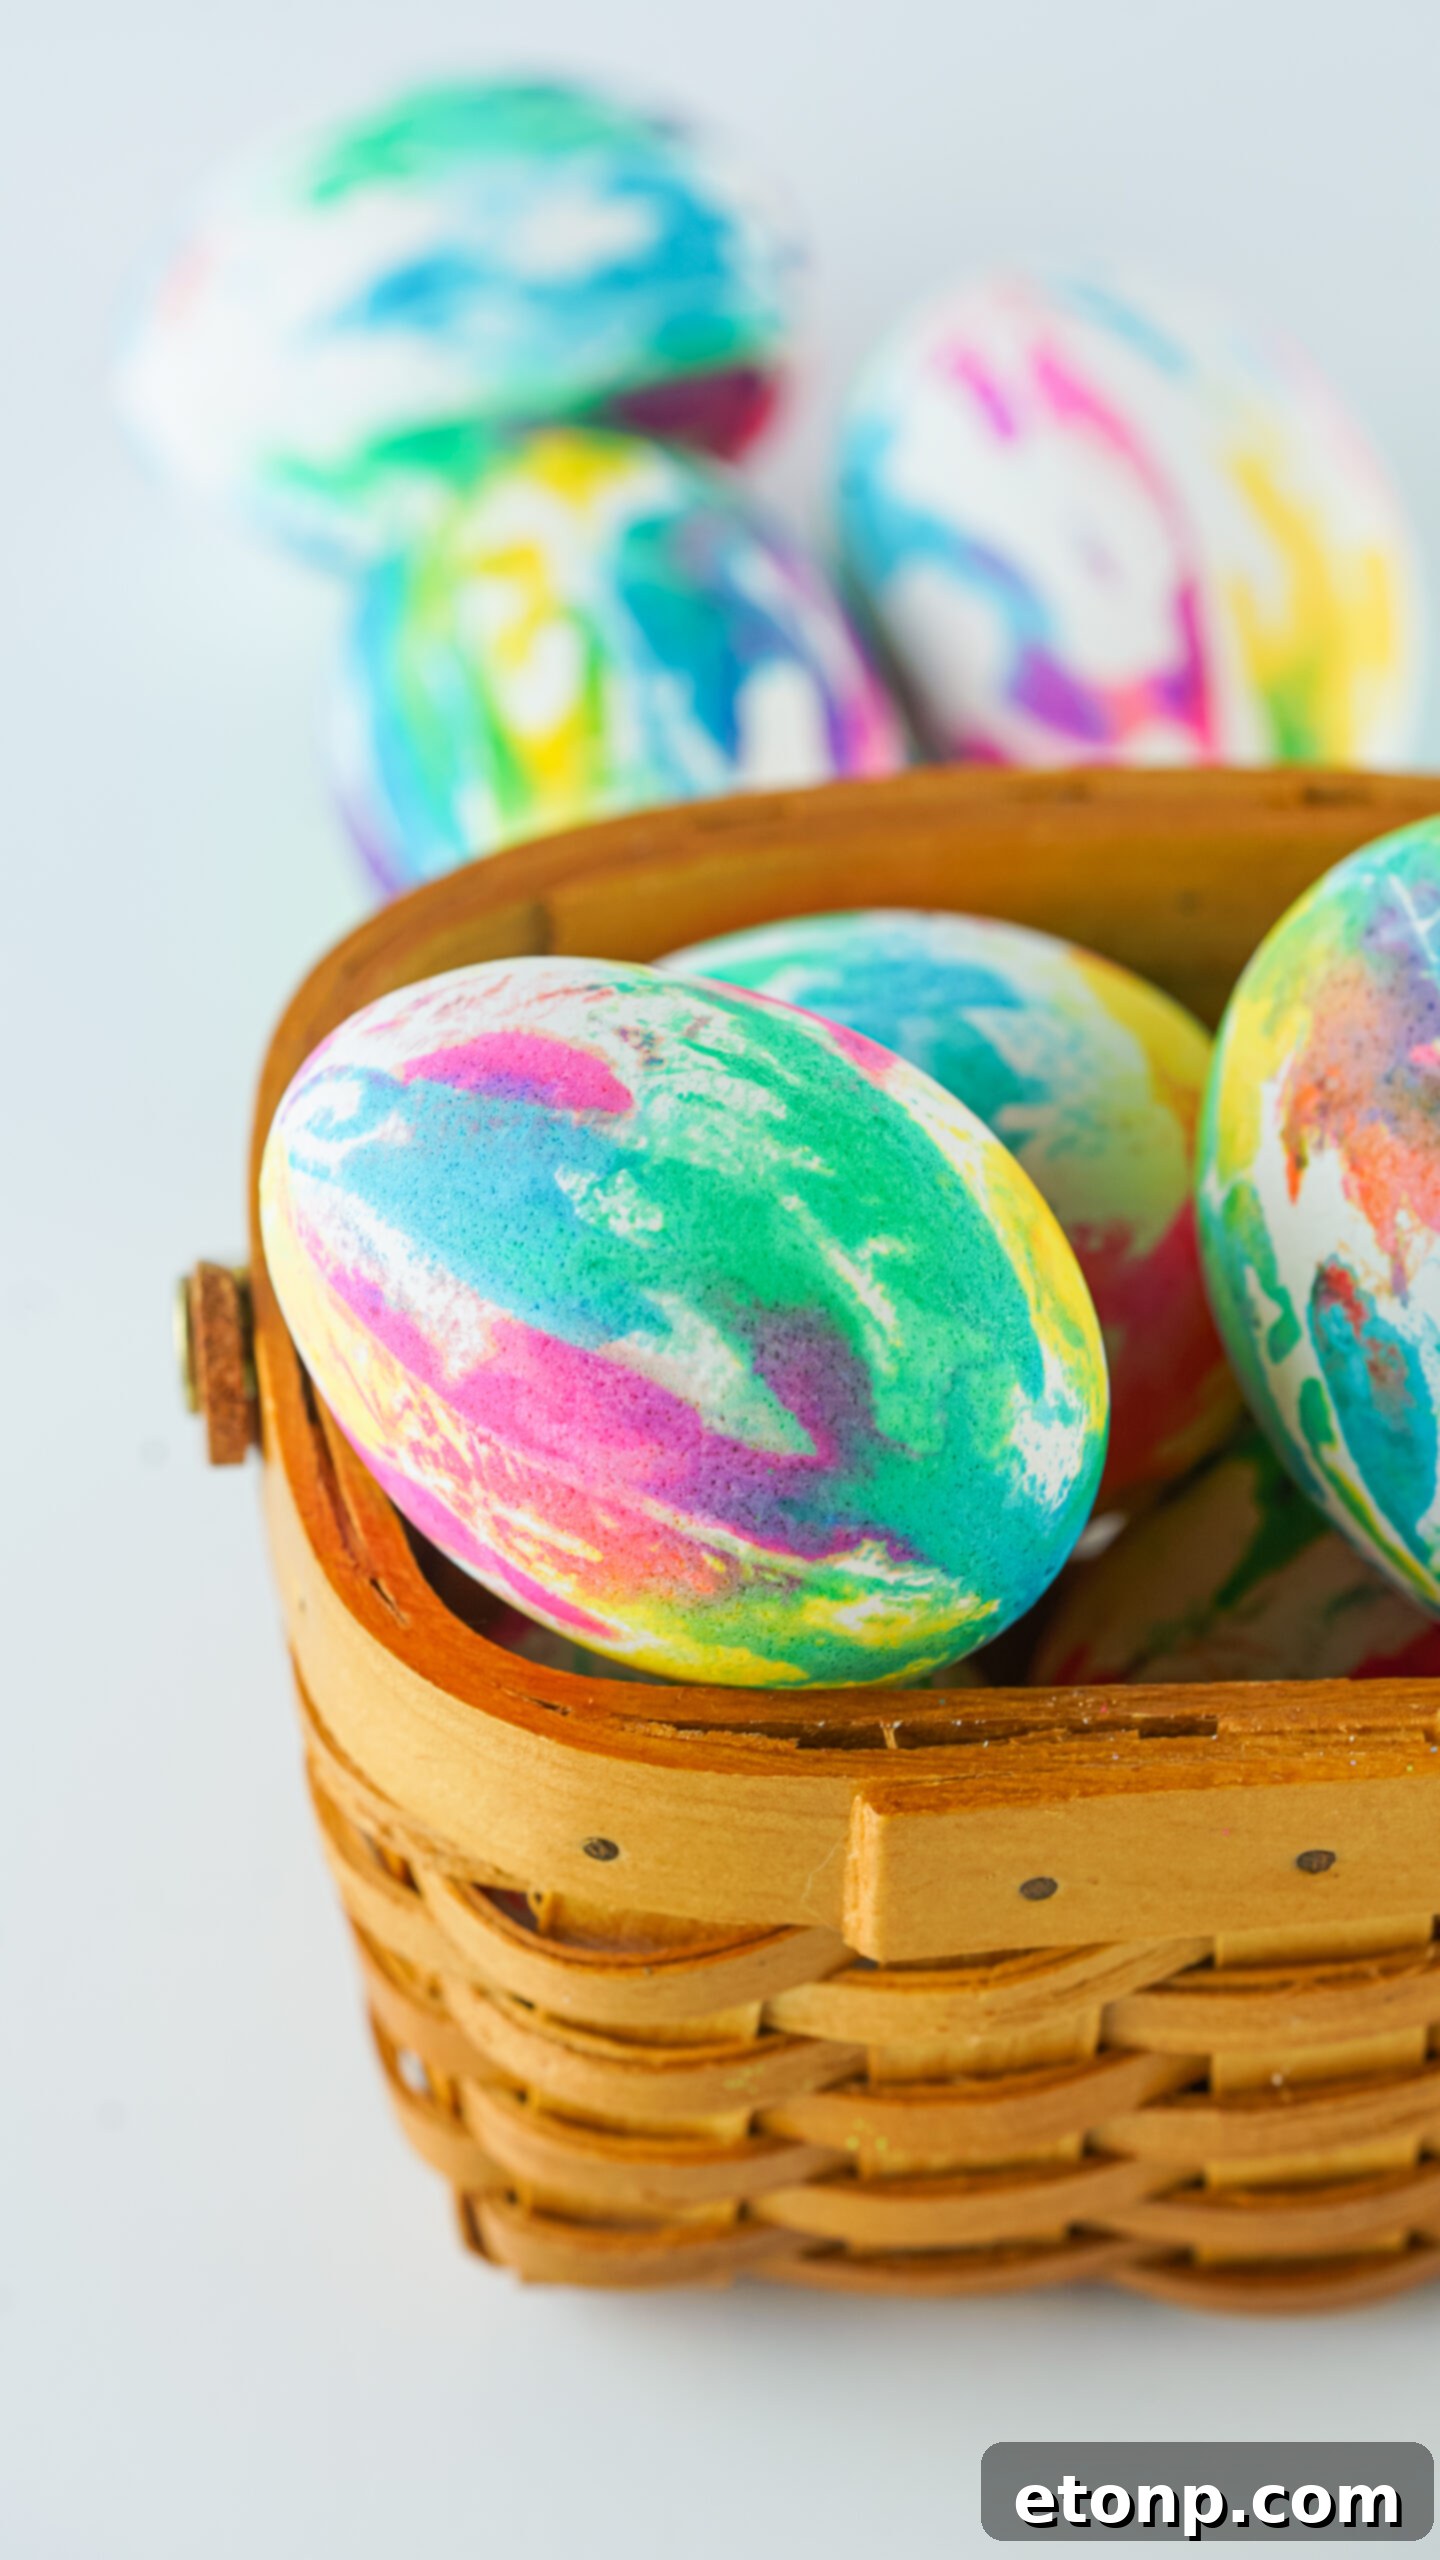
Tie Dye Easter Eggs are Remarkably Fun and Effortlessly Easy to Make!
Who knew such stunning results could come from such simple steps? This tie-dye method is genuinely beginner-friendly, requiring minimal artistic skill but offering maximum visual impact. With just a handful of affordable supplies, you can transform plain hard-cooked eggs into vibrant works of art. The process of dropping colors onto the coffee filters and watching them bleed and swirl is incredibly satisfying, making it a truly enjoyable activity. Experiment with different color combinations – bright neons, pastel blends, or even monochromatic schemes for a sophisticated look. The creative possibilities are truly boundless, allowing each egg to become a unique expression of imagination.
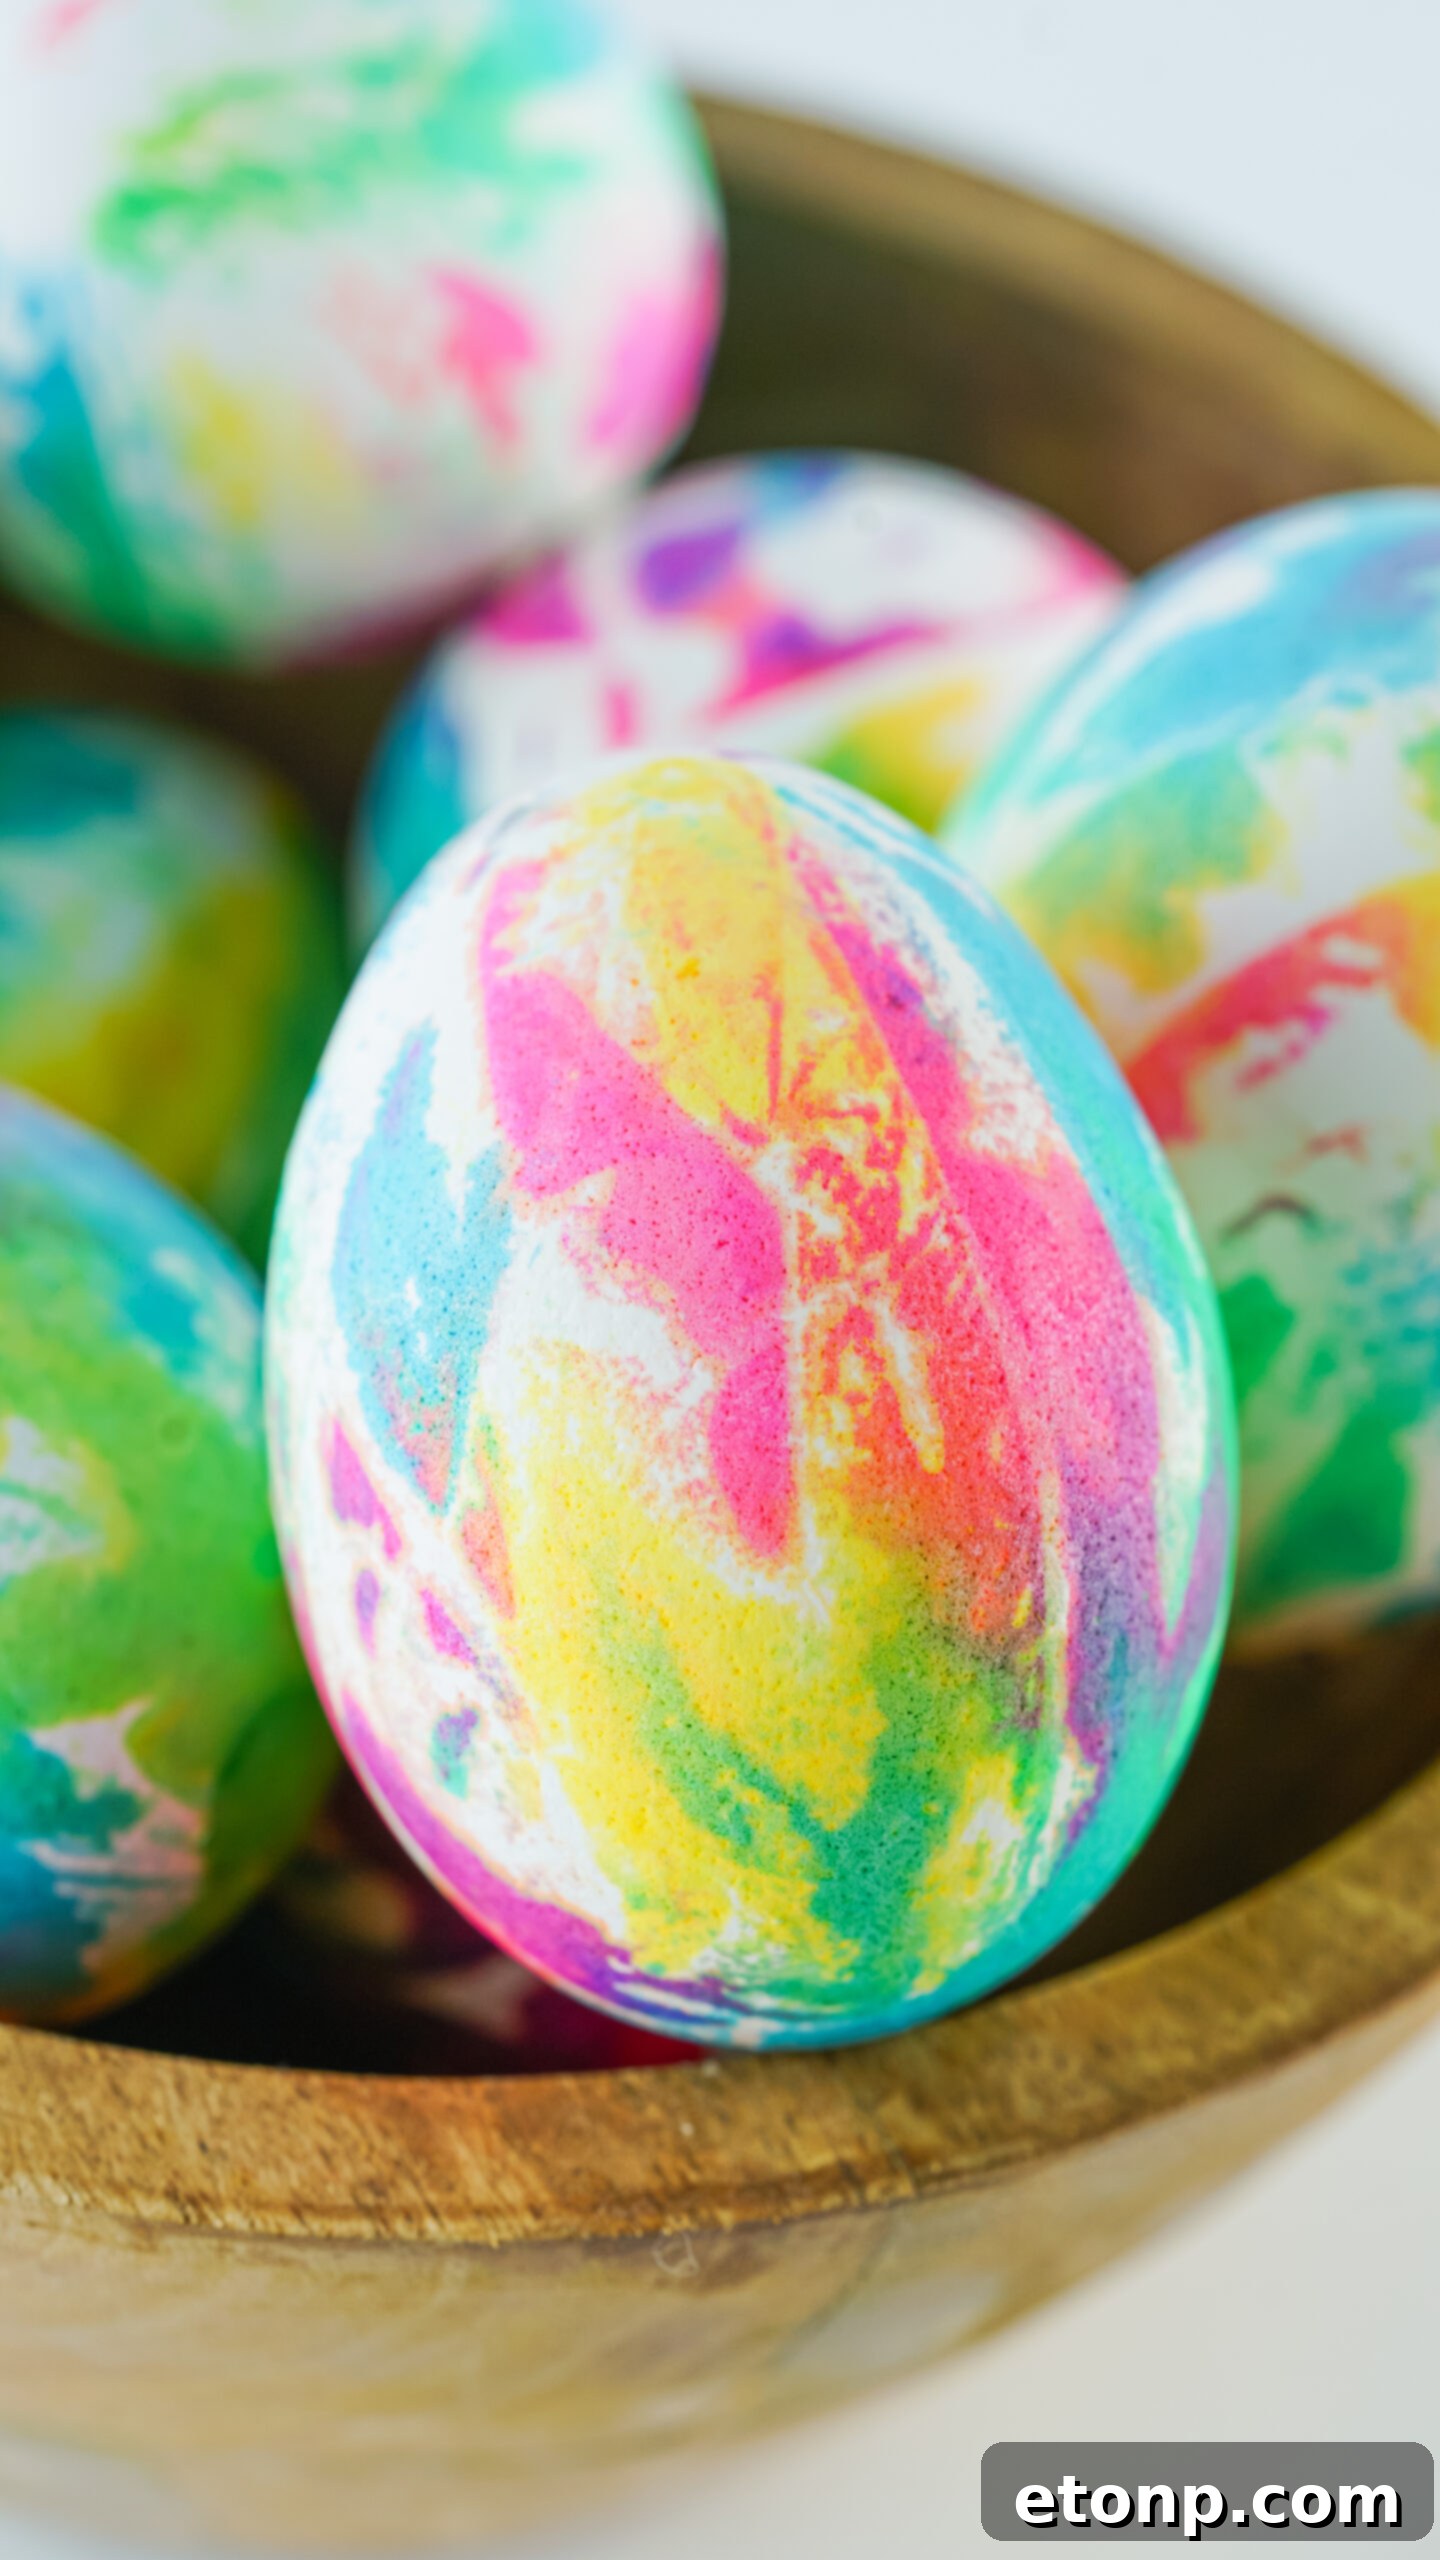
It’s a Wonderful Activity for Kids and Families of All Ages
Looking for a memorable Easter tradition that engages everyone? Tie-dye Easter eggs are the perfect solution. This craft is inclusive and adaptable, making it an entertaining activity for every member of the family, regardless of age. Toddlers can delight in selecting colors and watching them spread, while older children and teens can experiment with more intricate designs and color layering. It’s a fantastic opportunity to foster creativity, develop fine motor skills, and teach color theory in a fun, hands-on way. More importantly, it’s a wonderful excuse to gather around the kitchen table, share laughs, and create lasting memories together, strengthening family bonds during the holiday season.
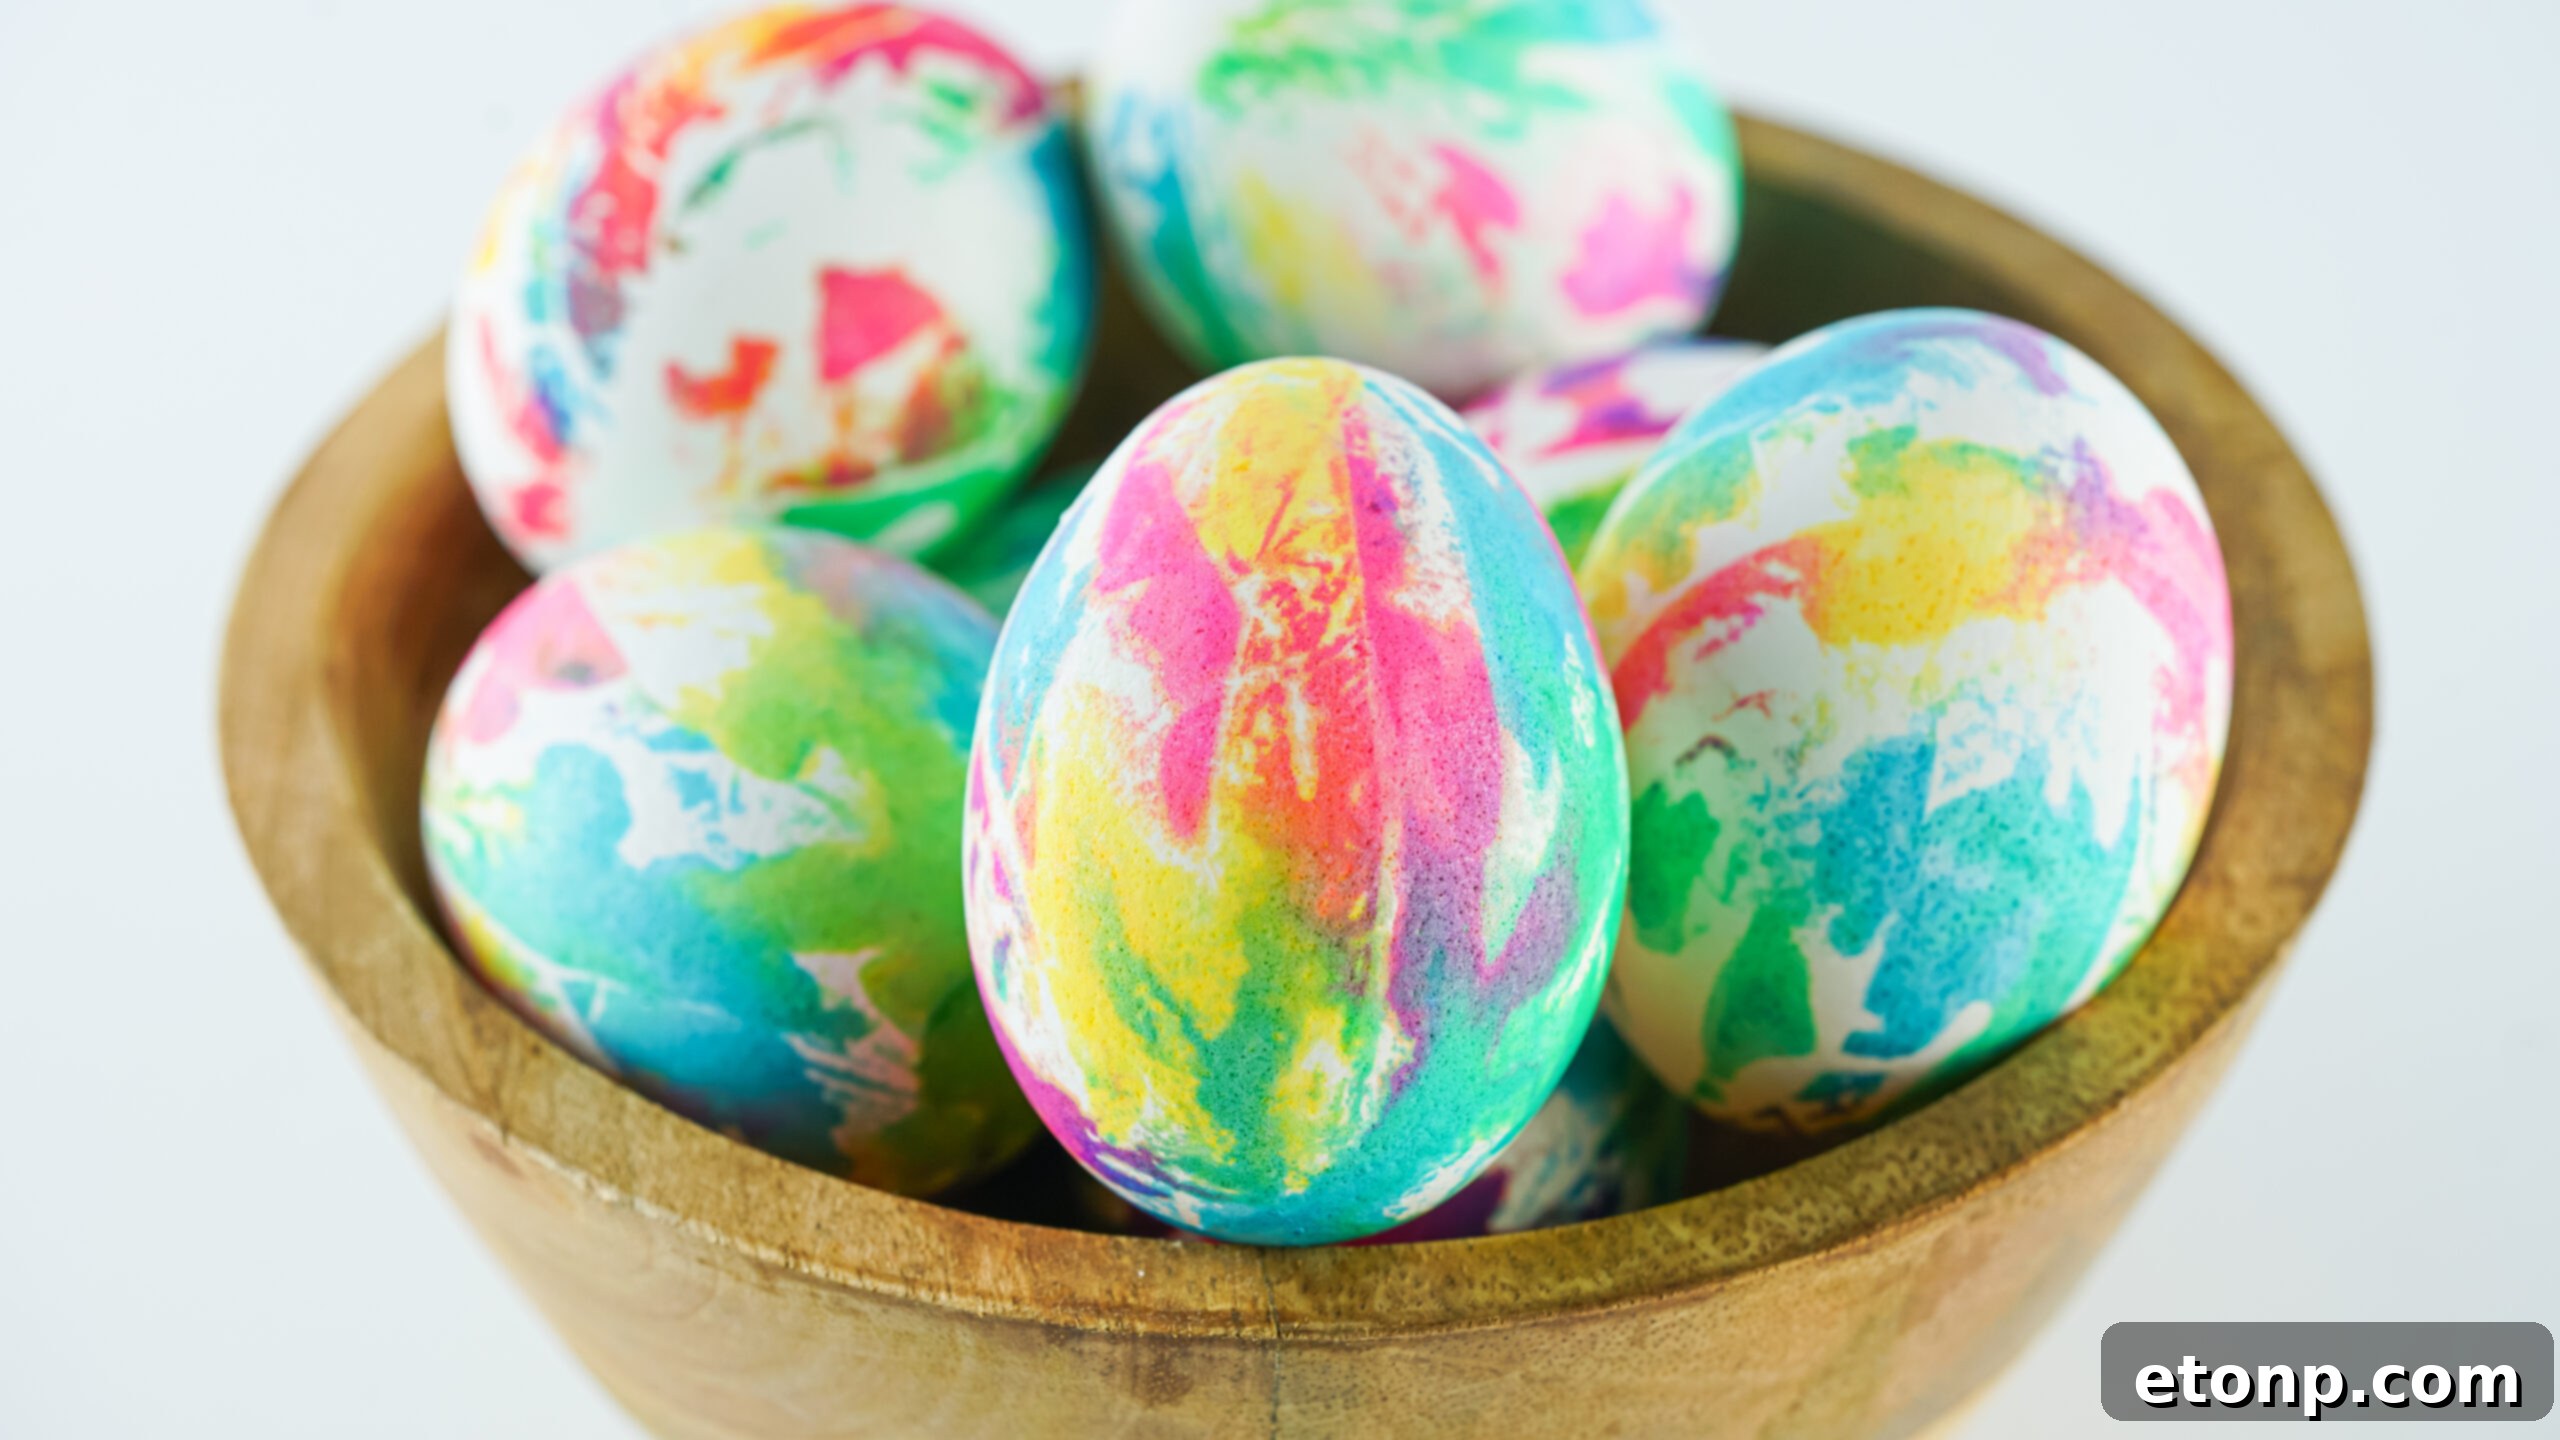
Tie Dye Easter Eggs are Also a Delicious Treat!
Unlike purely decorative eggs, our tie-dye method uses food-safe coloring, meaning your beautiful creations aren’t just for show – they’re also a delightful addition to your Easter brunch or dinner. Hard-cooked eggs are a springtime staple, and decorating your own ensures they’re fresh, perfectly cooked, and ready to be enjoyed. There’s a certain satisfaction in peeling back a colorful shell to reveal a delicious egg underneath. They taste so much better than any store-bought dyed eggs and add an extra touch of homemade charm to your festive meal. Just remember to use edible, water-based food coloring and store them properly if you plan to eat them.
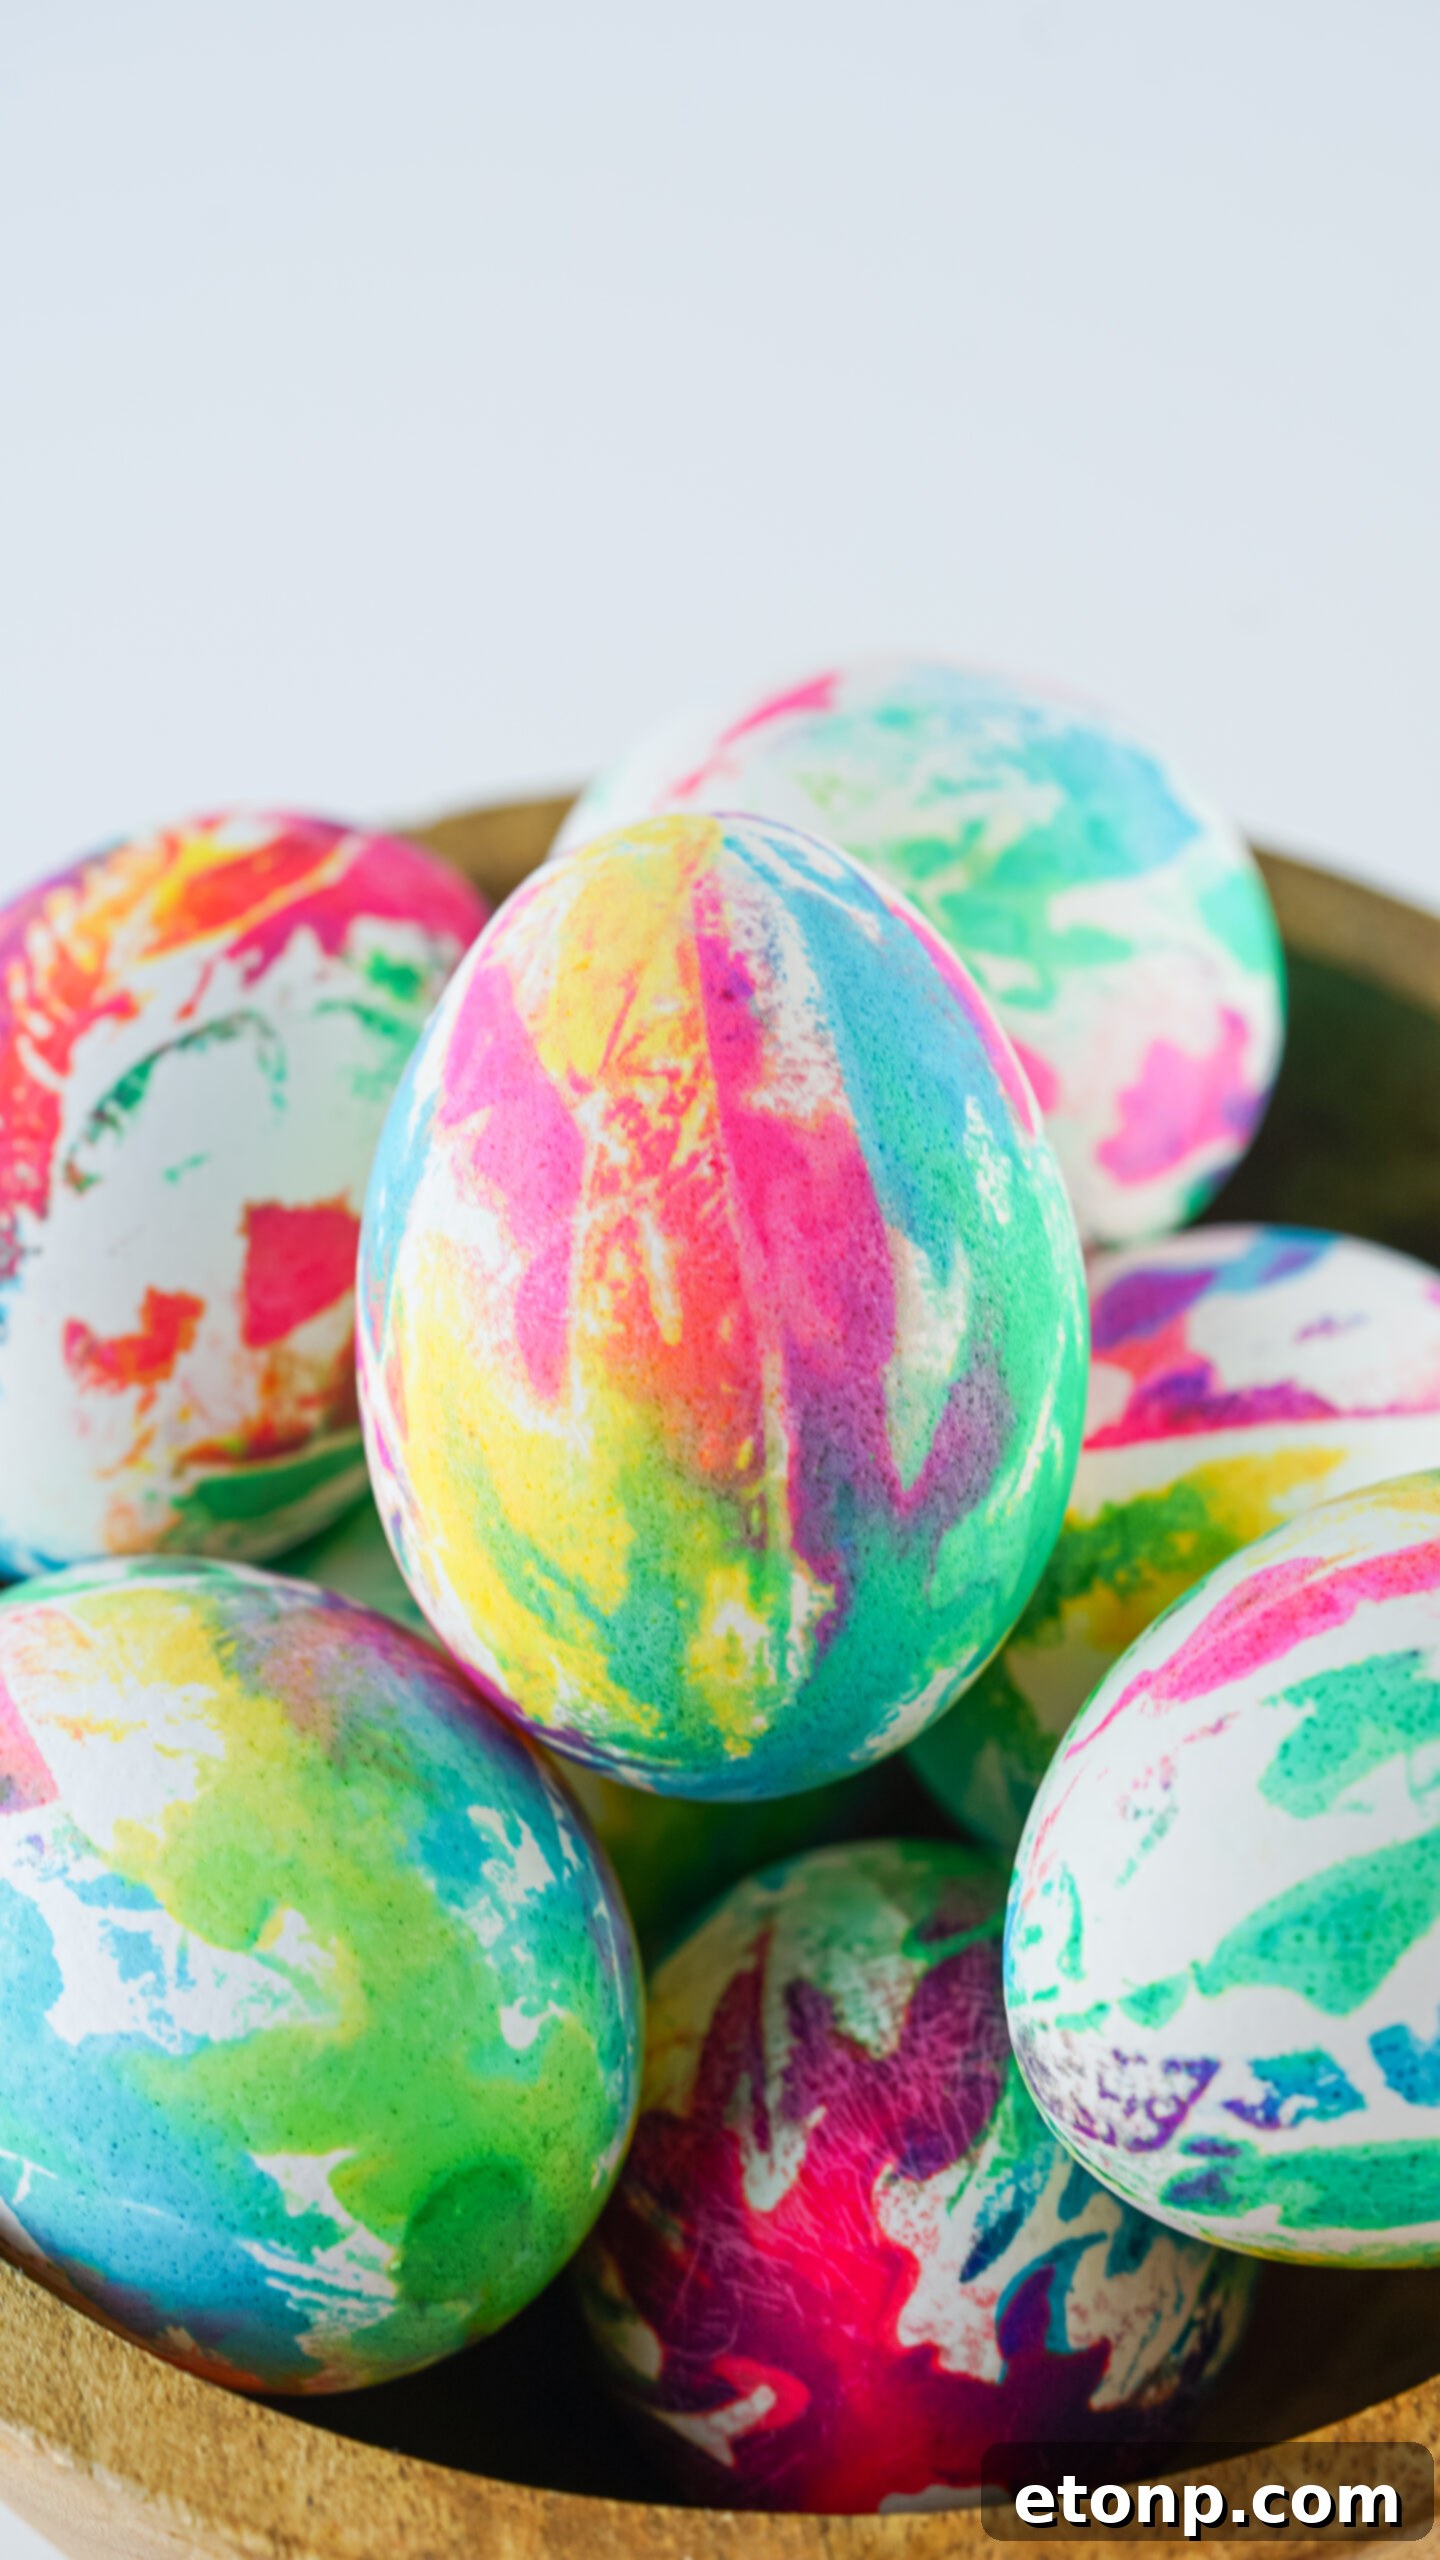
Essential Ingredients for the Best Tie Dye Easter Eggs
Gathering your supplies is the first exciting step in bringing your tie-dye vision to life. This method relies on common household items, making it an accessible and budget-friendly craft. Here’s what you’ll need to create your magnificent Easter masterpieces:
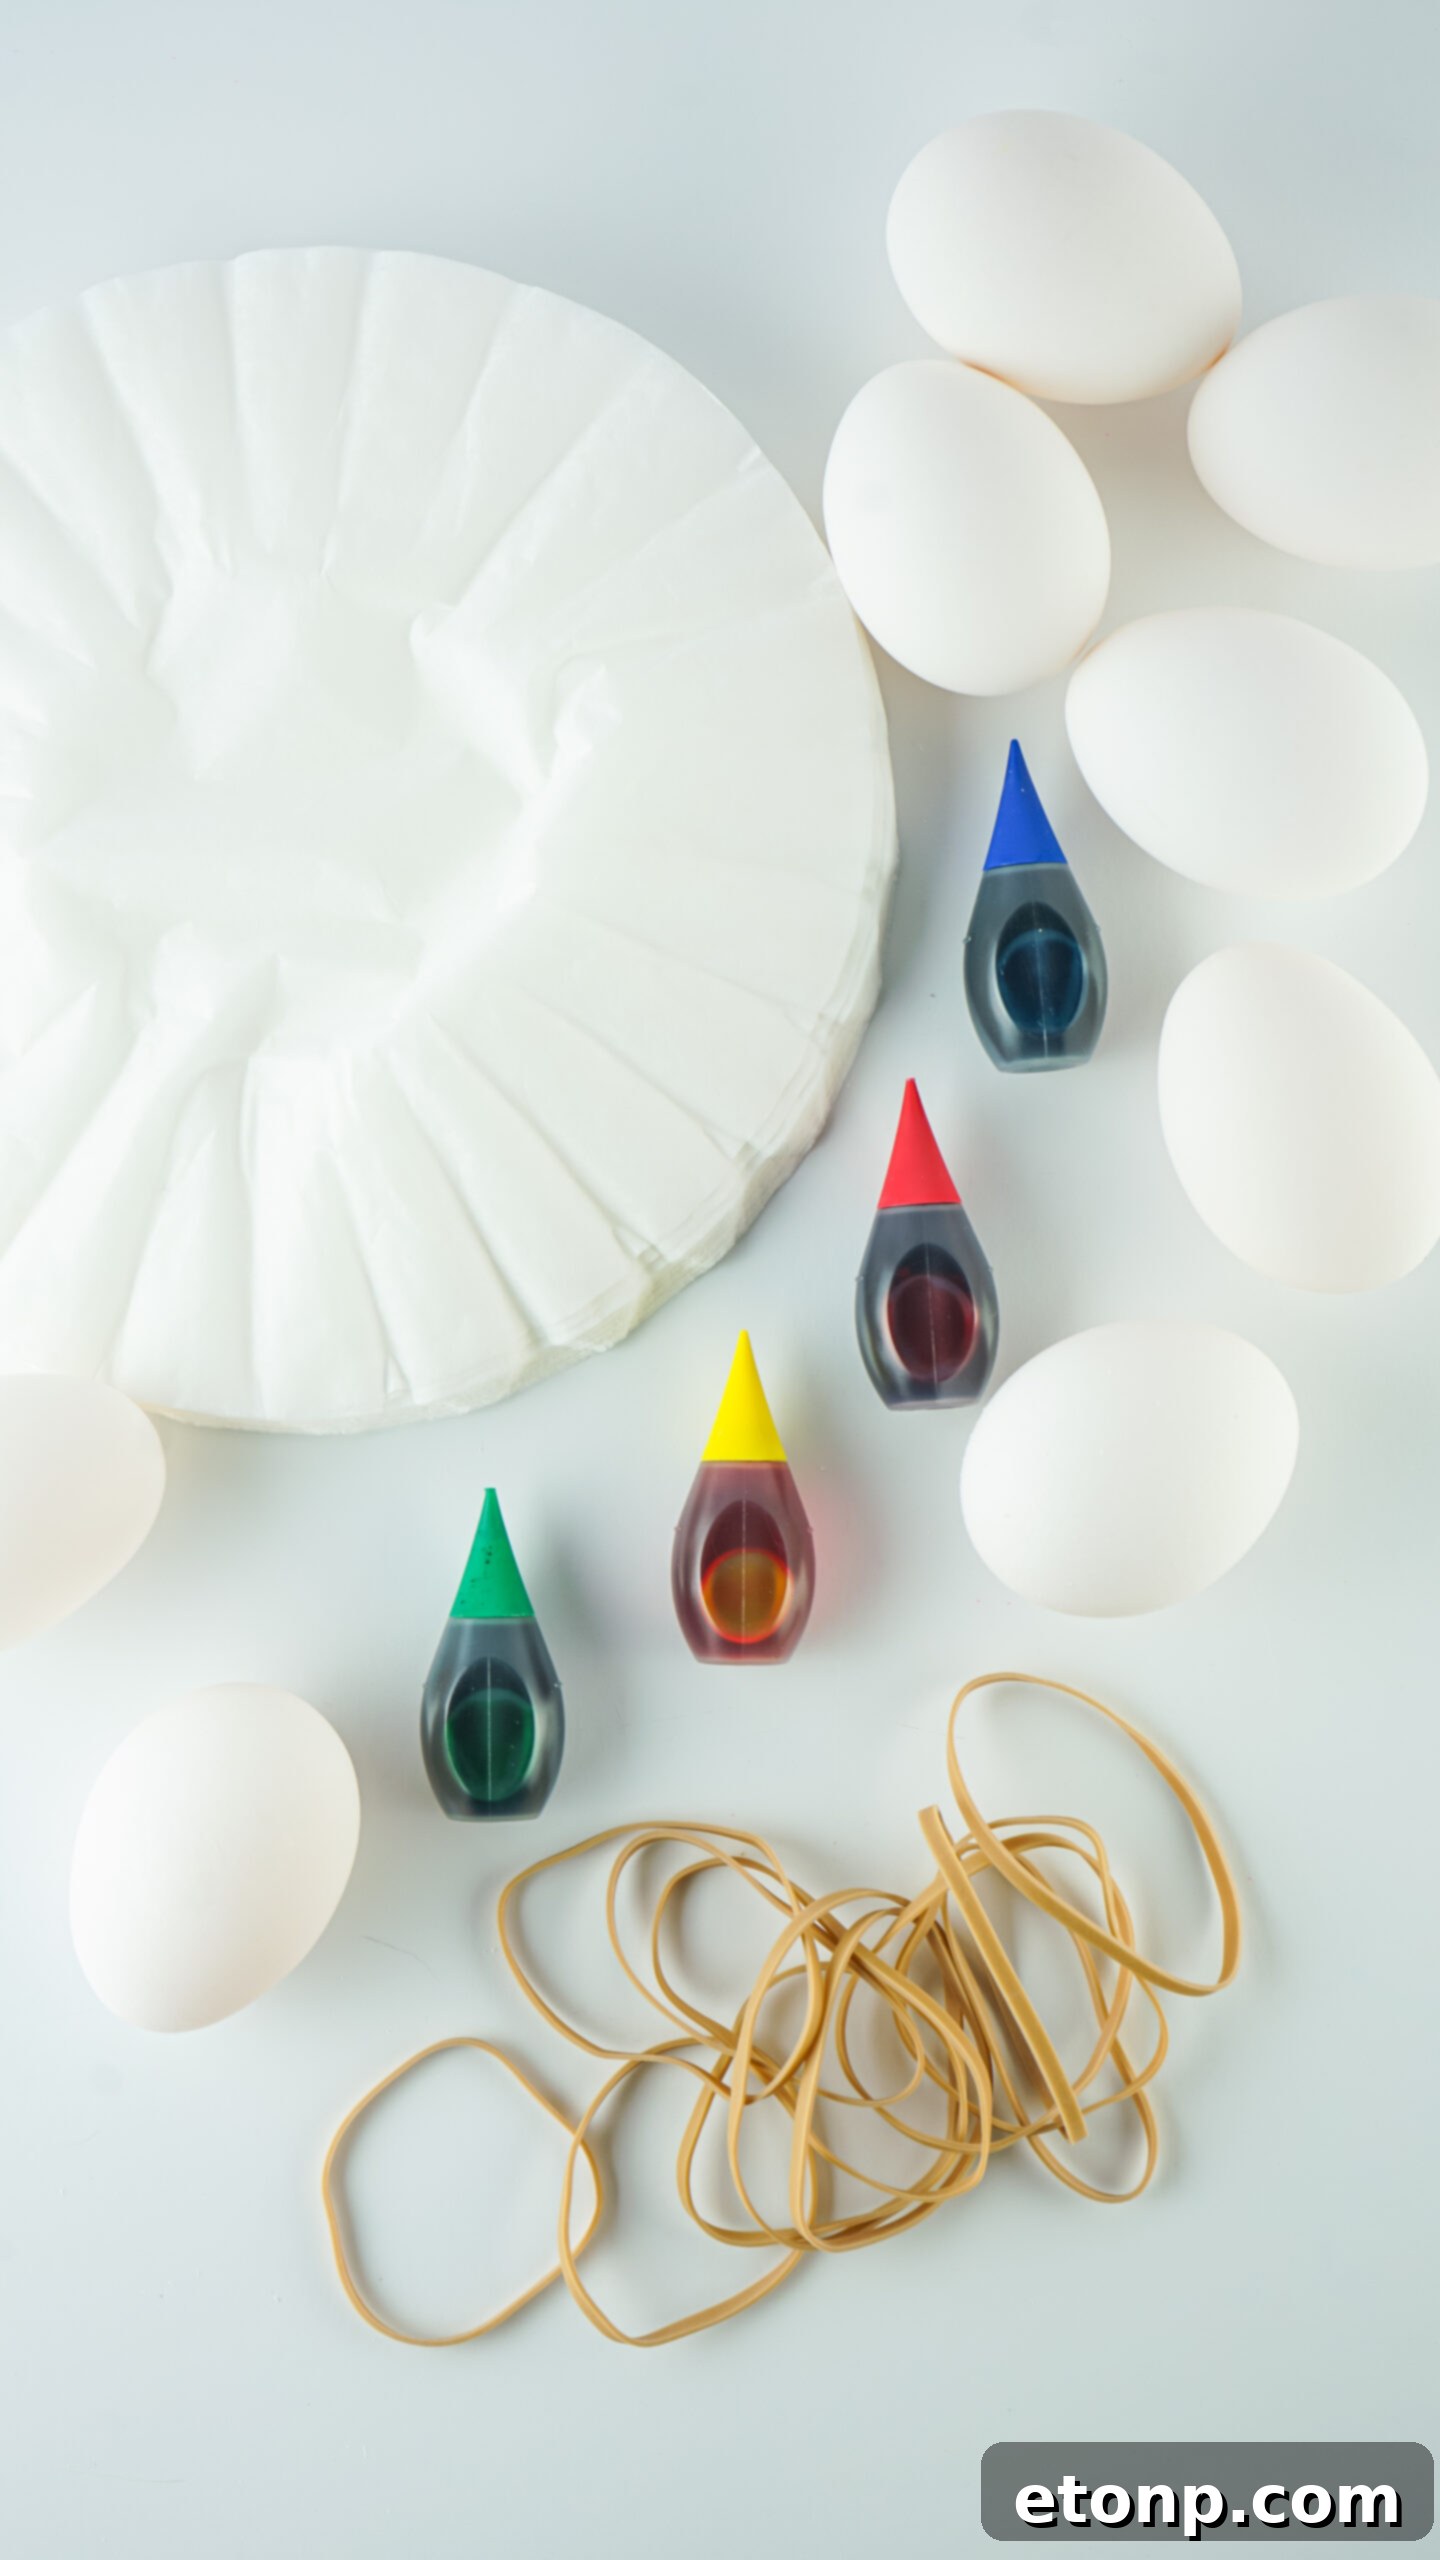
- Boiled Eggs: Hard-cooked eggs are the foundation of this project. Ensure they are completely cooled and dry before you begin decorating. A smooth, clean surface allows the colors to adhere and spread beautifully. These eggs provide a sturdy, edible canvas for your tie-dye art.
- Coffee Filters: These inexpensive kitchen staples are the secret to achieving the gorgeous tie-dye effect. They act as a permeable canvas, absorbing the food coloring and then transferring it onto the egg in unique, swirled patterns. Standard basket-style coffee filters work best.
- Water-Based Food Coloring: For vibrant, eye-catching designs, choose a variety of water-based liquid food colorings. These dyes are safe for consumption (if you plan to eat your eggs) and spread effectively on the damp coffee filters. Gel food colorings can also work but may require a bit more water to help them spread.
- Rubber Bands: Small, thin rubber bands are essential for securing the coffee filters tightly around your eggs. This snug fit ensures that the dye makes good contact with the eggshell and helps create distinct tie-dye patterns. Experiment with placing multiple rubber bands to create different resist patterns.
- Paper Towels: Keep a generous roll of paper towels nearby! They are indispensable for wiping up spills, blotting excess dye from your hands, and gently patting your finished eggs dry without smudging the delicate patterns.
- Rubber Gloves (optional but recommended): While food coloring is generally safe, it can temporarily stain your hands. Wearing rubber gloves offers excellent protection, keeping your hands clean and stain-free throughout the dyeing process.
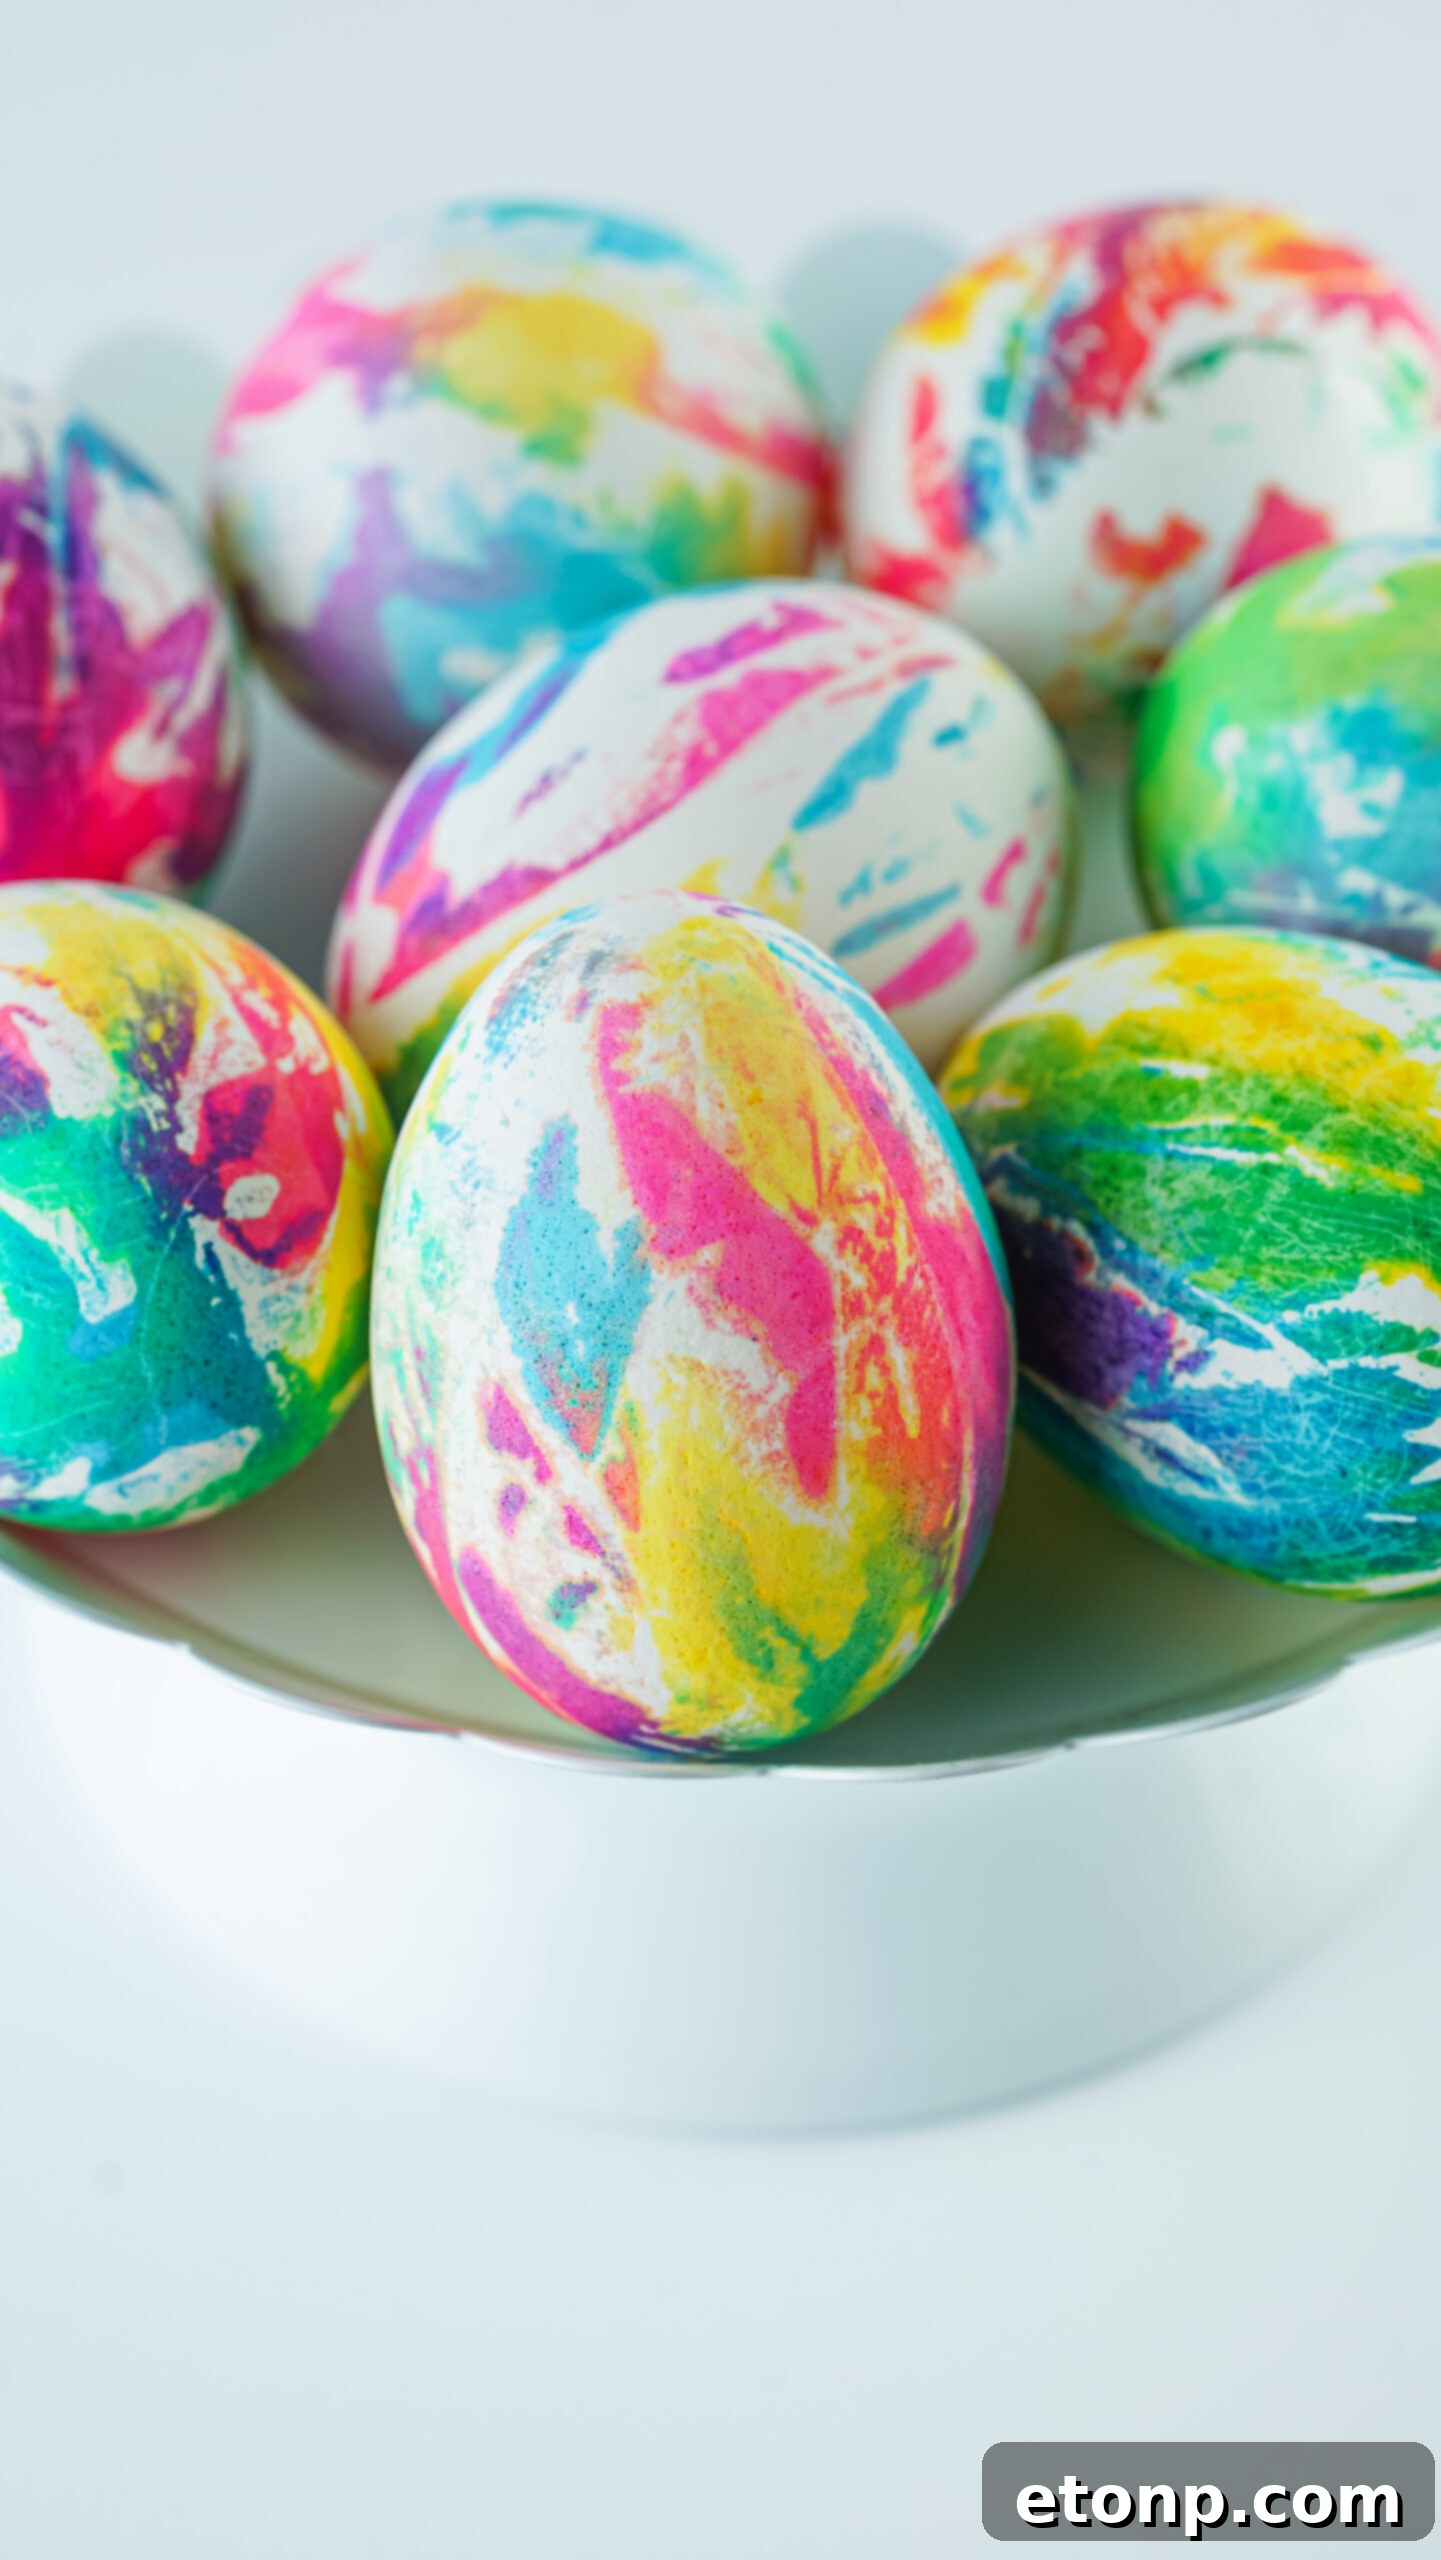
Step-by-Step Guide: How to Tie Dye Easter Eggs
Creating these beautiful tie-dye Easter eggs is a remarkably simple and enjoyable process. Follow these easy steps to achieve stunning results:
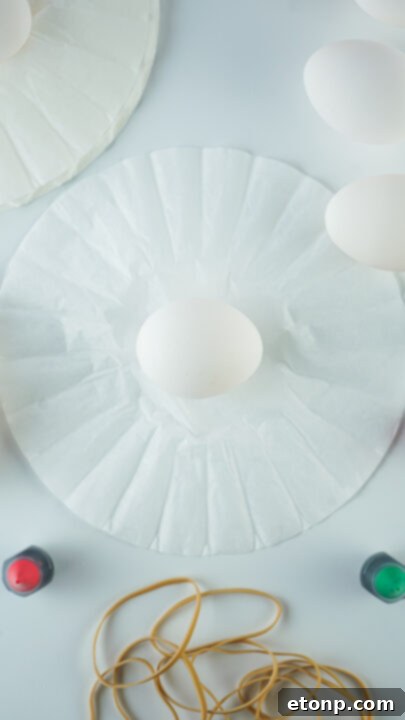
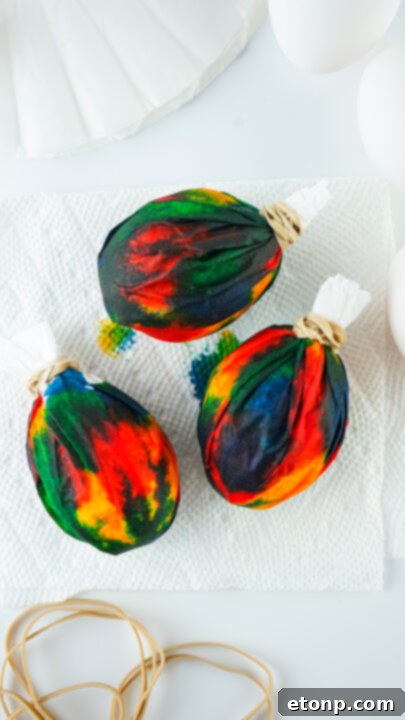
- Prepare Your Eggs: Start by placing one hard-cooked egg directly in the center of a single coffee filter. Gently gather the edges of the coffee filter upwards, wrapping it tightly around the egg so that it forms a snug pouch. Bring the excess filter material together at the tip or top of the egg, creating a small bundle.
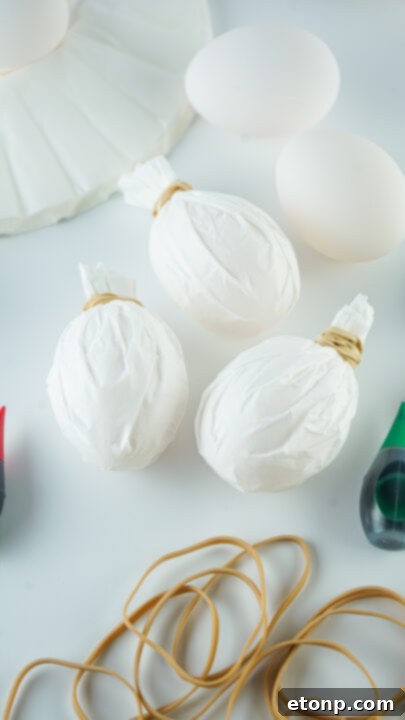
- Secure the Filter: Once the coffee filter is snugly wrapped, secure it firmly in place with a rubber band. Wrap the rubber band around the gathered tip of the filter multiple times to ensure it holds the filter tightly against the egg. The tighter the wrap, the better the dye will transfer and create clear patterns.
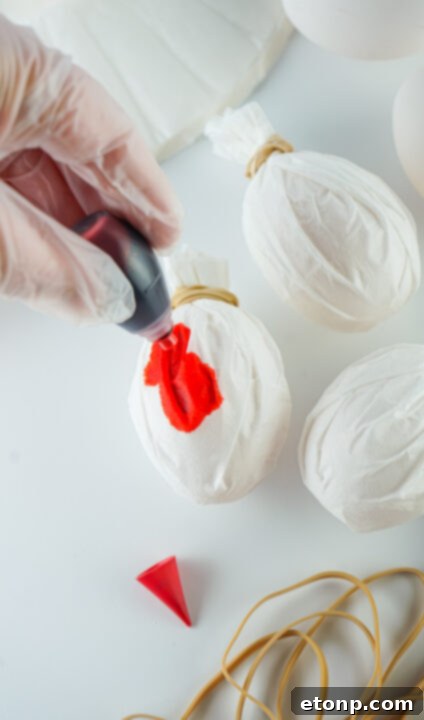
- Apply Food Coloring: Now comes the fun part! Take your water-based food coloring bottles. Starting with one color, apply a single drop onto random spots around the coffee filter-wrapped egg. Don’t use too much; a little goes a long way as the colors will spread. Continue adding drops with as many colors as you desire. For a classic vibrant look, using 3-4 primary colors like red, green, blue, and yellow works wonderfully. Keep adding drops until the coffee filter is mostly covered with color, allowing the drops to merge and create new hues.
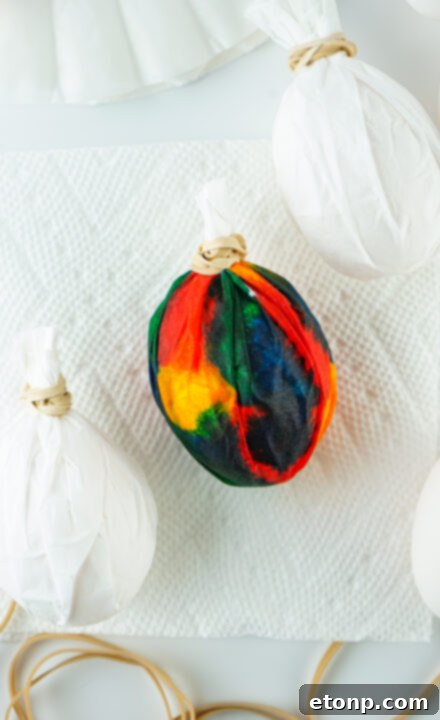
- Let the Colors Set: Once you’re satisfied with your color application, place the eggs aside and allow them to sit undisturbed for a minimum of 5 minutes. During this crucial waiting period, the water-based food coloring will slowly bleed through the coffee filter and into the porous eggshell, creating the mesmerizing tie-dye patterns. For more intense and deeper colors, you can extend this waiting time up to 15-20 minutes.
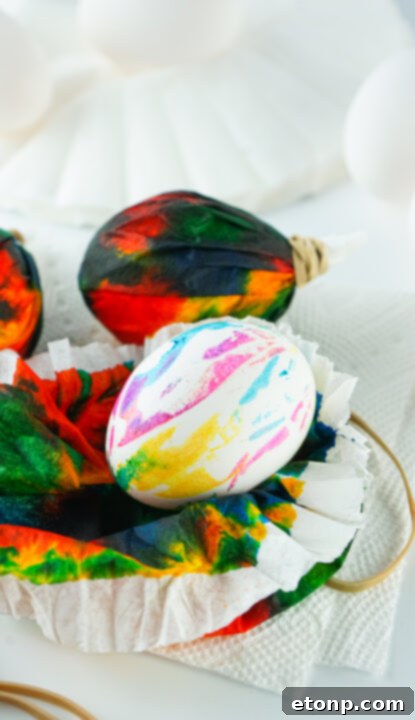
- Unwrap and Dry: After the colors have had ample time to set, it’s time for the reveal! Wearing rubber gloves (highly recommended to avoid stained fingers), gently unwrap each egg, carefully removing the rubber band and the coffee filter. You’ll instantly see your unique tie-dye design. Lightly pat the eggs dry with a clean paper towel to remove any excess moisture or dye.
- Final Drying and Enjoyment: Place your beautifully tie-dyed eggs back into an empty egg carton or on a drying rack for about another 5-10 minutes to ensure they are completely dry to the touch. Once dry, they are ready to be displayed, used in an Easter egg hunt, or enjoyed as a delicious snack. Enjoy your personalized, artistic Easter eggs!
Expert Tips for Crafting Stunning Tie Dye Easter Eggs with Coffee Filters
Achieving those perfectly swirled, vibrant tie-dye patterns is easy with a few key tips and tricks. Elevate your Easter egg decorating game with these helpful pointers:
1. Assemble All Your Supplies Before Starting: To ensure a smooth and enjoyable crafting session, lay out all your necessary materials – boiled eggs, coffee filters, various water-based food colorings, rubber bands, and plenty of paper towels – in a designated workspace. Having everything within reach will prevent interruptions and messy frantic searches, especially when working with children.
2. Master the Art of Wrapping Eggs in Coffee Filters: The tightness and technique of wrapping are crucial for optimal dye absorption. Before applying any color, ensure each egg is wrapped as snugly as possible in a coffee filter, creating a second skin. Secure it with a rubber band, pulling it taut at the gathered end. This firm contact allows the dye to transfer effectively and form defined patterns, rather than simply pooling.
3. Be Strategic with Color Application: When adding liquid food coloring, less is often more. Use droppers, small paintbrushes, or even the tip of the food coloring bottle to apply small, distinct drops directly onto the coffee filter. For a true tie-dye effect, avoid saturating one area too much. For bolder results, layer complementary colors or let them spread naturally. Don’t be afraid to mix and match; the magic happens as the colors blend on the filter and seep into the egg.
4. Allow Ample Time for Colors to Set: Patience is key to vibrant tie-dye eggs. While 5 minutes will give you a soft pastel effect, allowing your wrapped eggs to sit undisturbed for at least 15-20 minutes will yield much more saturated and striking colors. The longer the wait, the deeper the dye penetrates the shell, creating richer and more defined patterns. Consider placing them on a wire rack or in an empty egg carton during this setting period.
5. Gentle Rinse and Thorough Drying are Essential: Once the colors have set, carefully remove the coffee filters. Some excess dye might still be on the surface; gently rinse your eggs under cool, running water to wash away any loose coloring. This step helps define the patterns and removes any sticky residue. Afterwards, pat them completely dry with paper towels. Ensure they are fully dry before handling extensively or storing to prevent smudging or transferring color.
6. Experiment with Different Techniques: Don’t limit yourself to random drops. Try twisting the coffee filter before securing it with a rubber band for spiral patterns. You can also use multiple rubber bands wrapped around the egg *before* wrapping the filter to create “resist” patterns, where parts of the egg remain undyed. Get creative and see what unique designs you can invent!
7. Prepare Your Workspace for Easy Cleanup: Food coloring can stain! Cover your work surface with old newspapers, a plastic tablecloth, or parchment paper to protect it. Have paper towels and a damp cloth ready for quick cleanups. This makes the entire process more enjoyable and less stressful.
8. Consider Safety with Young Children: While this activity is generally safe, supervise young children closely, especially when handling food coloring. Encourage them to wear aprons or old clothes to protect against stains. Always ensure they understand not to ingest the dyes directly.
Coloring Easter Egg Ideas: Frequently Asked Questions
What are some creative ideas for coloring Easter eggs beyond tie-dye?
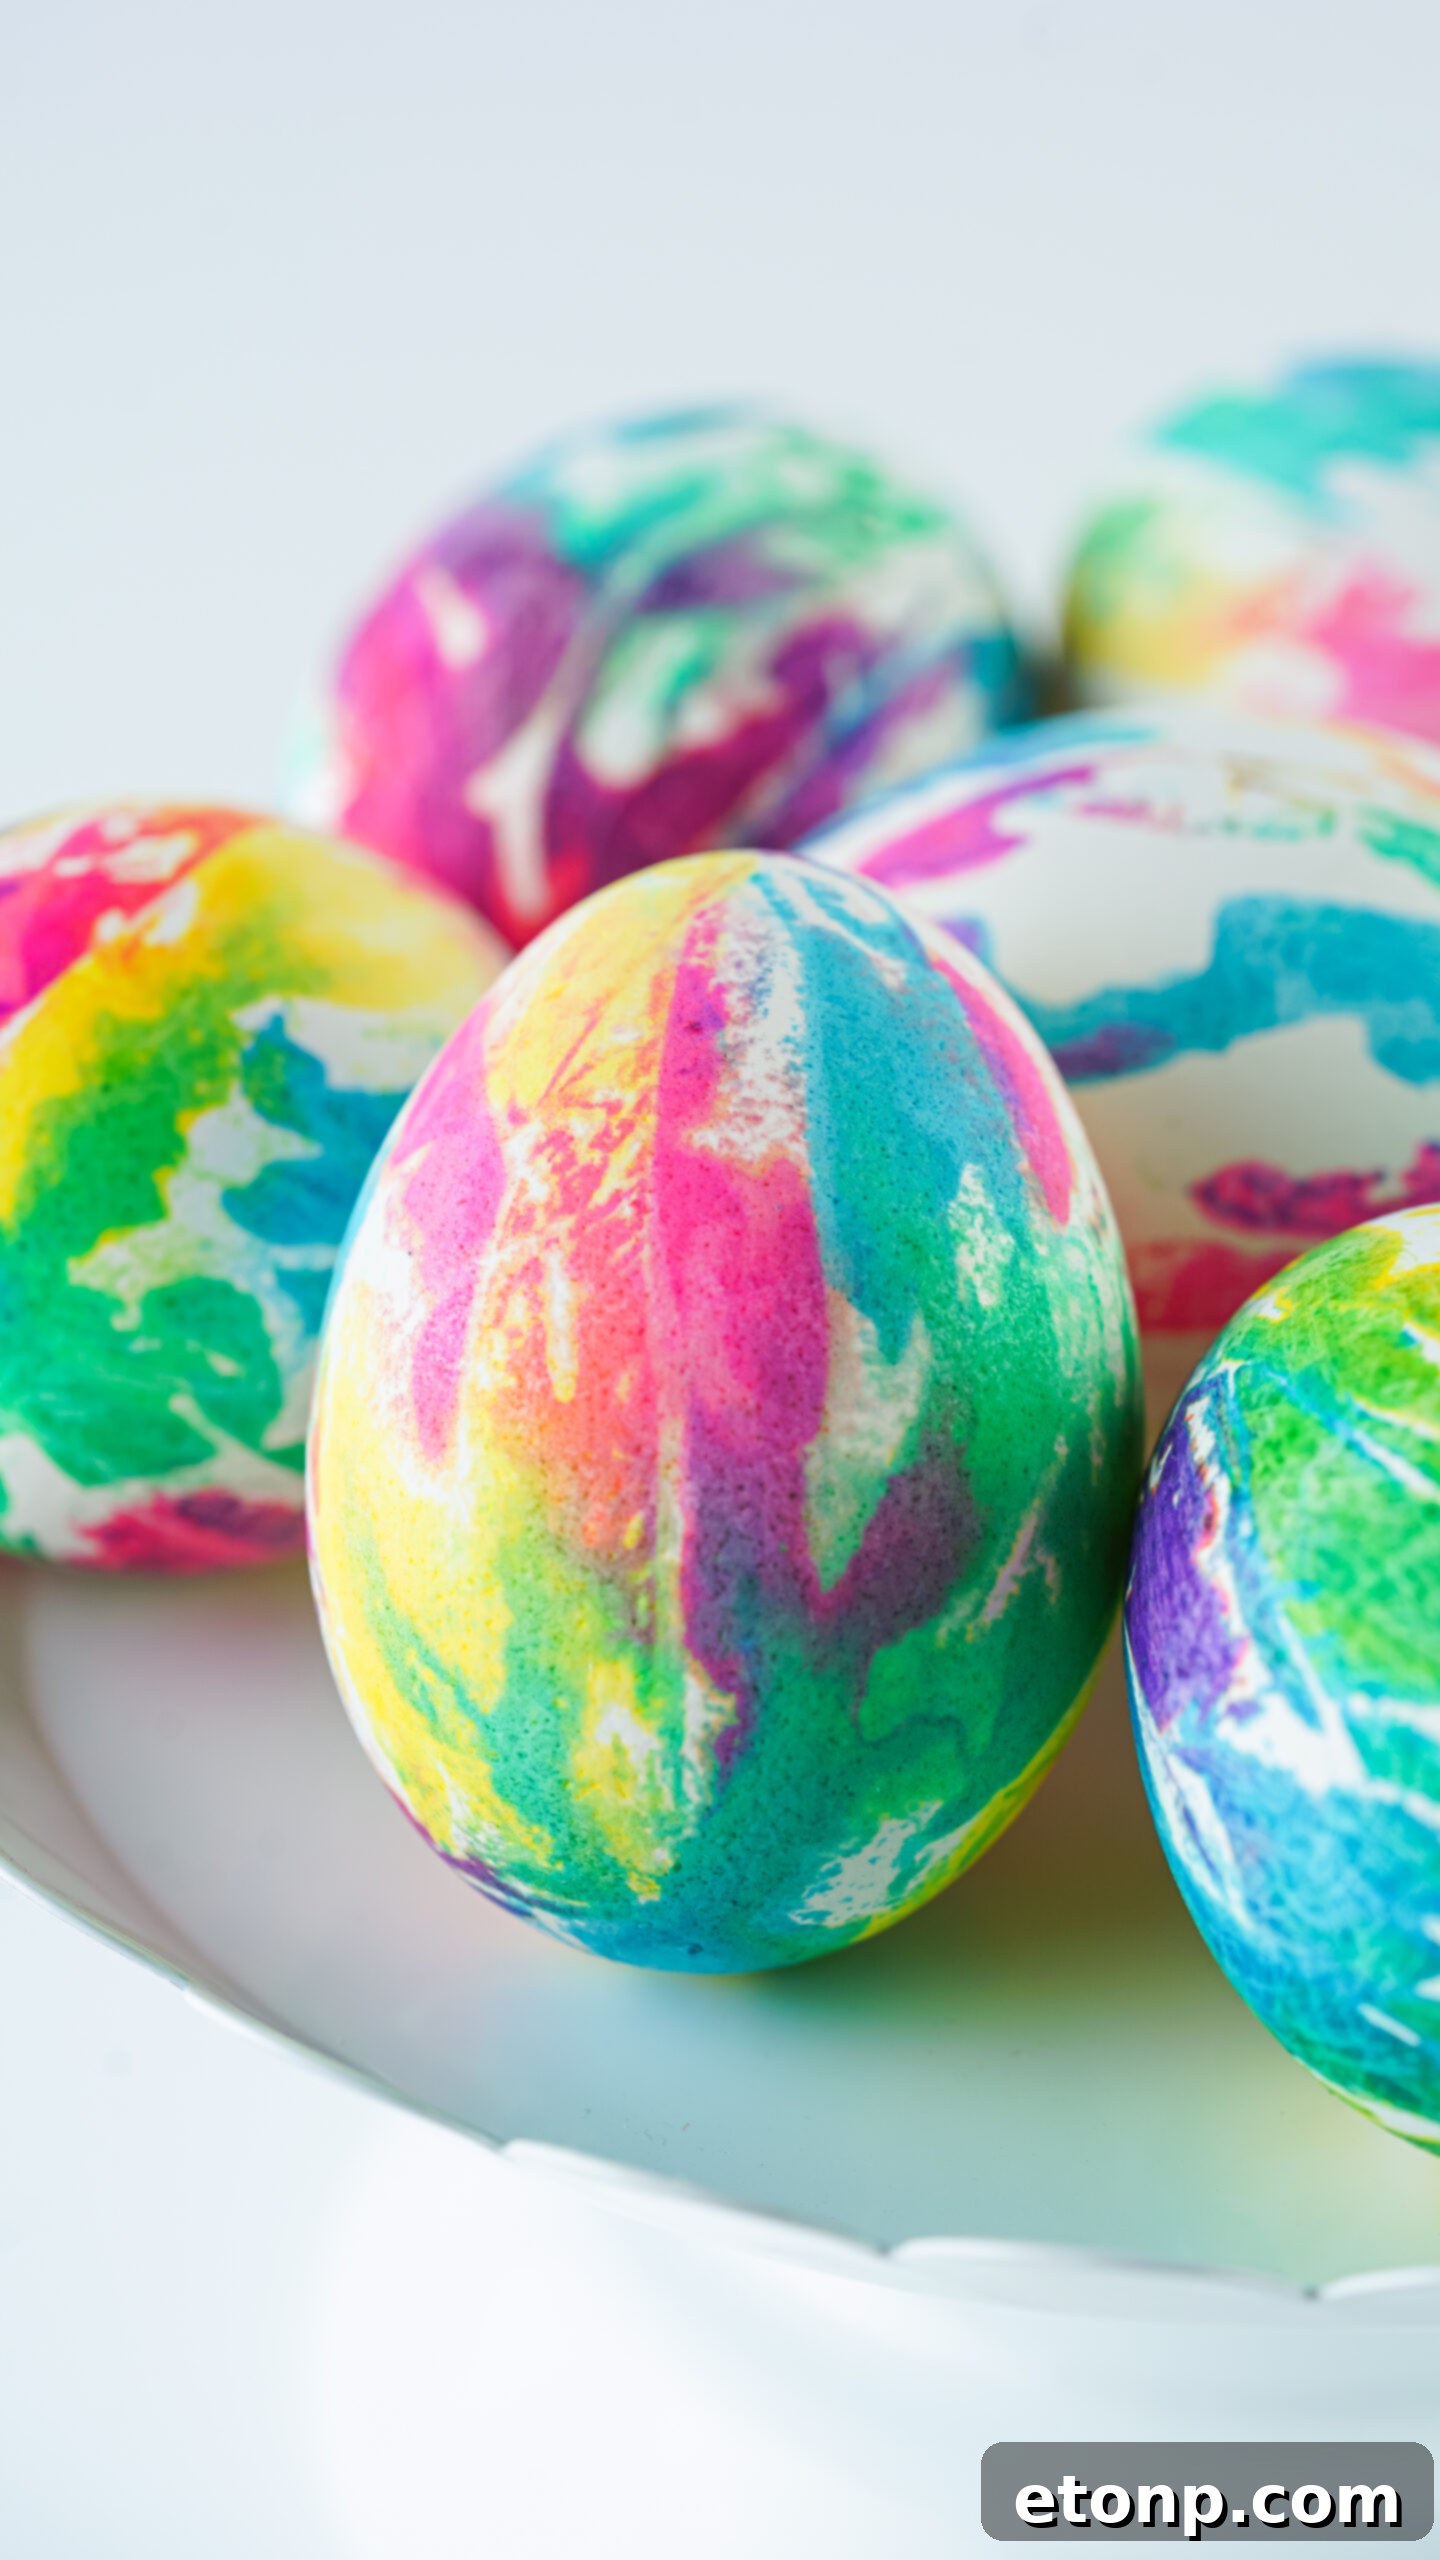
Beyond the fantastic tie-dye method, there are countless ways to get creative with your Easter eggs! Consider using bright and bold colors such as red, orange, yellow, green, blue, and purple as your base. You can then enhance them with glitter for a sparkling effect, apply fun stickers like bunnies or chicks, or use special non-toxic paints to draw intricate designs, stripes, or polka dots. Natural dyes made from ingredients like onion skins, beet juice, or turmeric can create earthy, beautiful tones. For a more textured look, try wrapping eggs with lace or leaves before dyeing to create interesting patterns, or use crayons to draw designs before dipping for a resist effect.
Are there any important safety concerns when it comes to coloring Easter eggs?
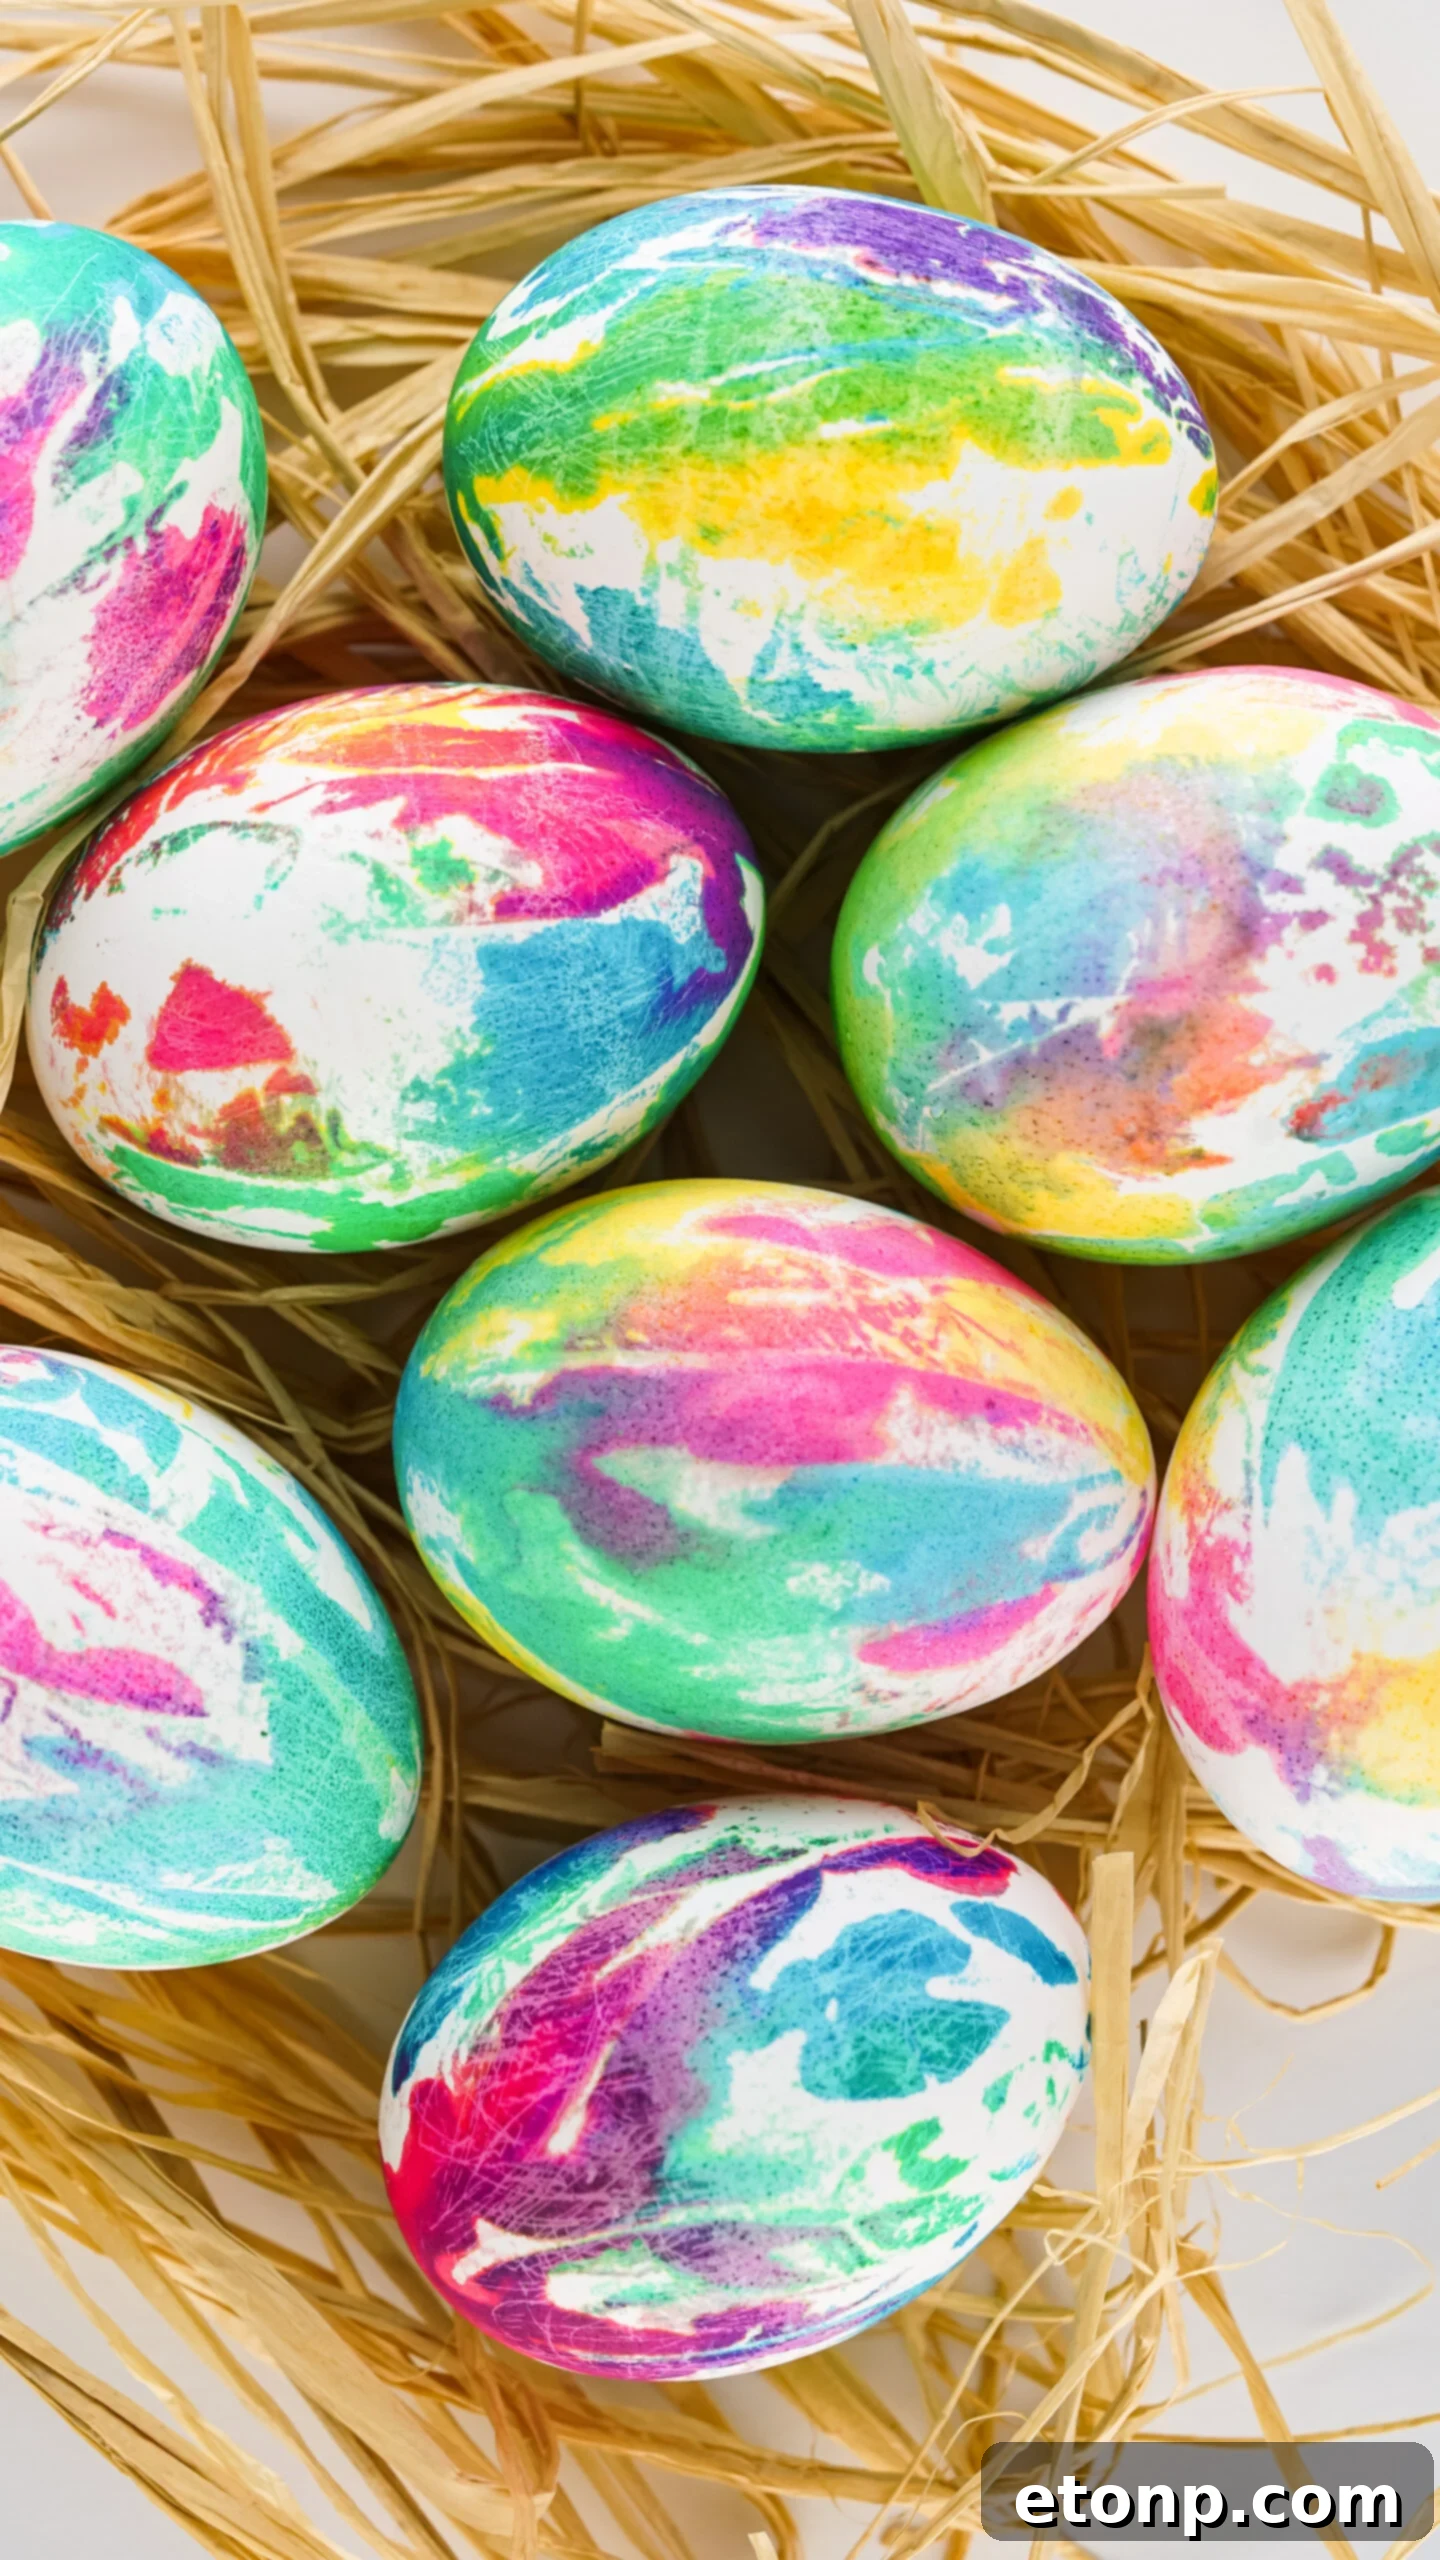
Yes, safety is paramount, especially if you plan to eat your dyed eggs. It is crucial to take precautions when coloring Easter eggs to ensure they remain safe for consumption. Always use food-grade, water-based food coloring for any eggs intended for eating. Avoid craft dyes or paints that may contain toxic chemicals. When handling eggs, wash your hands thoroughly before and after decorating. If eggs crack during the boiling or decorating process, it’s best to discard them if they are for eating, as bacteria could enter. Follow all instructions on dye labels carefully, and always supervise children during the activity to prevent accidental ingestion of dyes or paints.
How long do dyed Easter egg decorations last, and how should I store edible ones?
The longevity of dyed Easter egg decorations depends on whether they are hard-boiled (edible) or blown-out (decorative only), the type of dye used, and the environment they are kept in. Hard-boiled eggs that have been dyed with food-safe colors should be treated like any other cooked egg. They can be safely stored in the refrigerator for up to one week after dyeing. If they have been left out at room temperature for more than two hours, they should be discarded for food safety reasons. For decorative, blown-out eggs (where the yolk and white have been removed), they can last indefinitely if stored in a cool, dry place away from direct sunlight, which can fade the colors. With proper care, these decorative eggs can become cherished keepsakes for years.
More Delightful Easter Recipes You Will Adore!
Easter isn’t just about beautifully decorated eggs; it’s also a time for delicious treats and family feasts! After you’ve mastered the art of tie-dyeing, why not explore some other fantastic recipes that will make your holiday celebration even sweeter and more memorable? From delectable desserts to playful snacks, these recipes are sure to be a hit with everyone. Click the links below to discover more incredible ways to infuse your Easter with flavor and fun!
Easter Marshmallow Bark
Bunny Bait Easter Munch
Bunny Bum & Easter Egg Cupcakes
Tie Dye Easter Eggs
Ingredients
- Boiled Eggs
- Coffee Filters
- Water Based Food Coloring
- Rubber Bands
- Paper Towels
- Rubber Gloves optional
Instructions
-
Place one egg in the middle of one coffee filter and wrap it tightly, bringing the excess coffee filter to the tip of the egg and securing it with a rubber band.
-
Get your food coloring and start with one color, putting one drop in random spots around the egg. Do this with as many colors as you like, however, I tend to use 4 different colors, the basic red, green, blue, and yellow is what I used for this recipe. Do this until the coffee filter around the egg is mostly filled with food coloring. It spreads, so a little goes a long way.
-
Leave the eggs to sit for 5 minutes.
-
Using rubber gloves if desired, gently unwrap the eggs and pat them dry with a paper towel.
-
Set them back in the egg carton to dry for about 5 minutes. Enjoy!
Did you make this recipe?
Make sure to follow on Pinterest for more recipes!
📍Pin Recipe
👍Share on Facebook