
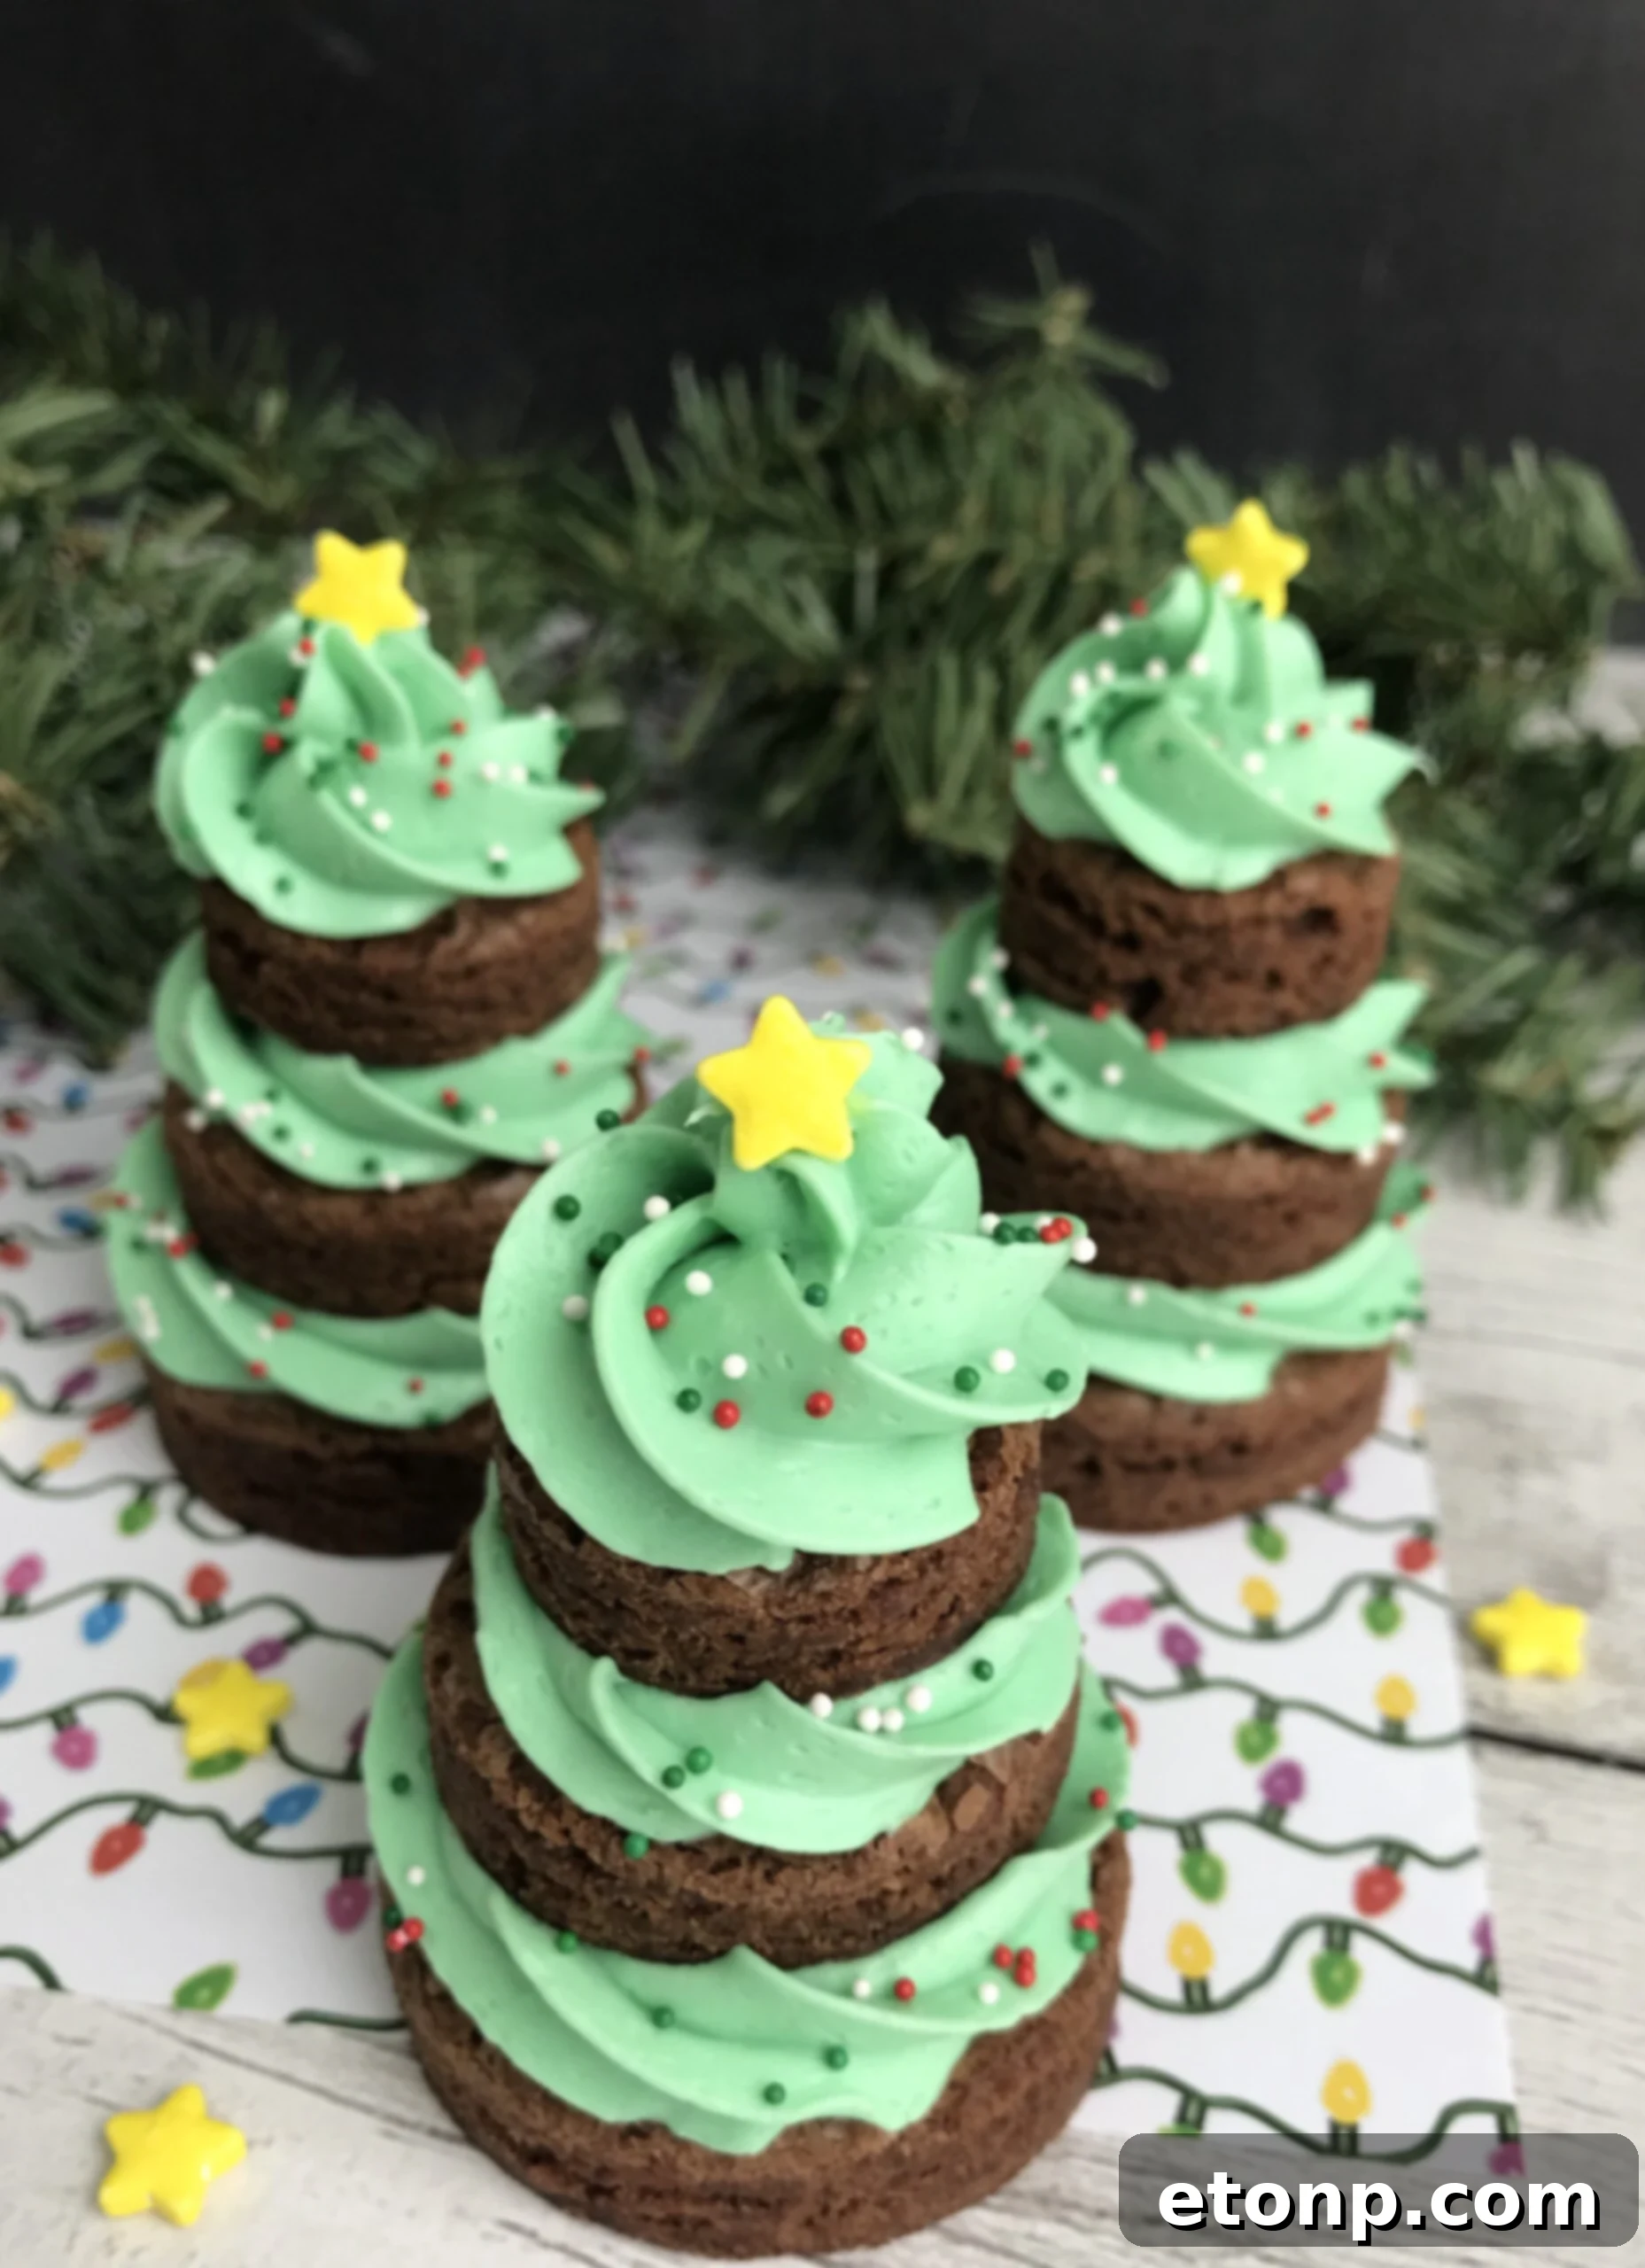
Transform Your Holiday Baking: Easy & Adorable Brownie Christmas Trees!
The holiday season is synonymous with joy, warmth, and, of course, delicious treats. If you’re looking for a dessert that’s not only incredibly tasty but also brings a festive sparkle to any table, look no further than these charming Brownie Christmas Trees. They are super cute, remarkably easy to make, and undeniably delightful – perfect for home bakers of all skill levels, ensuring a fun and delicious activity for everyone.
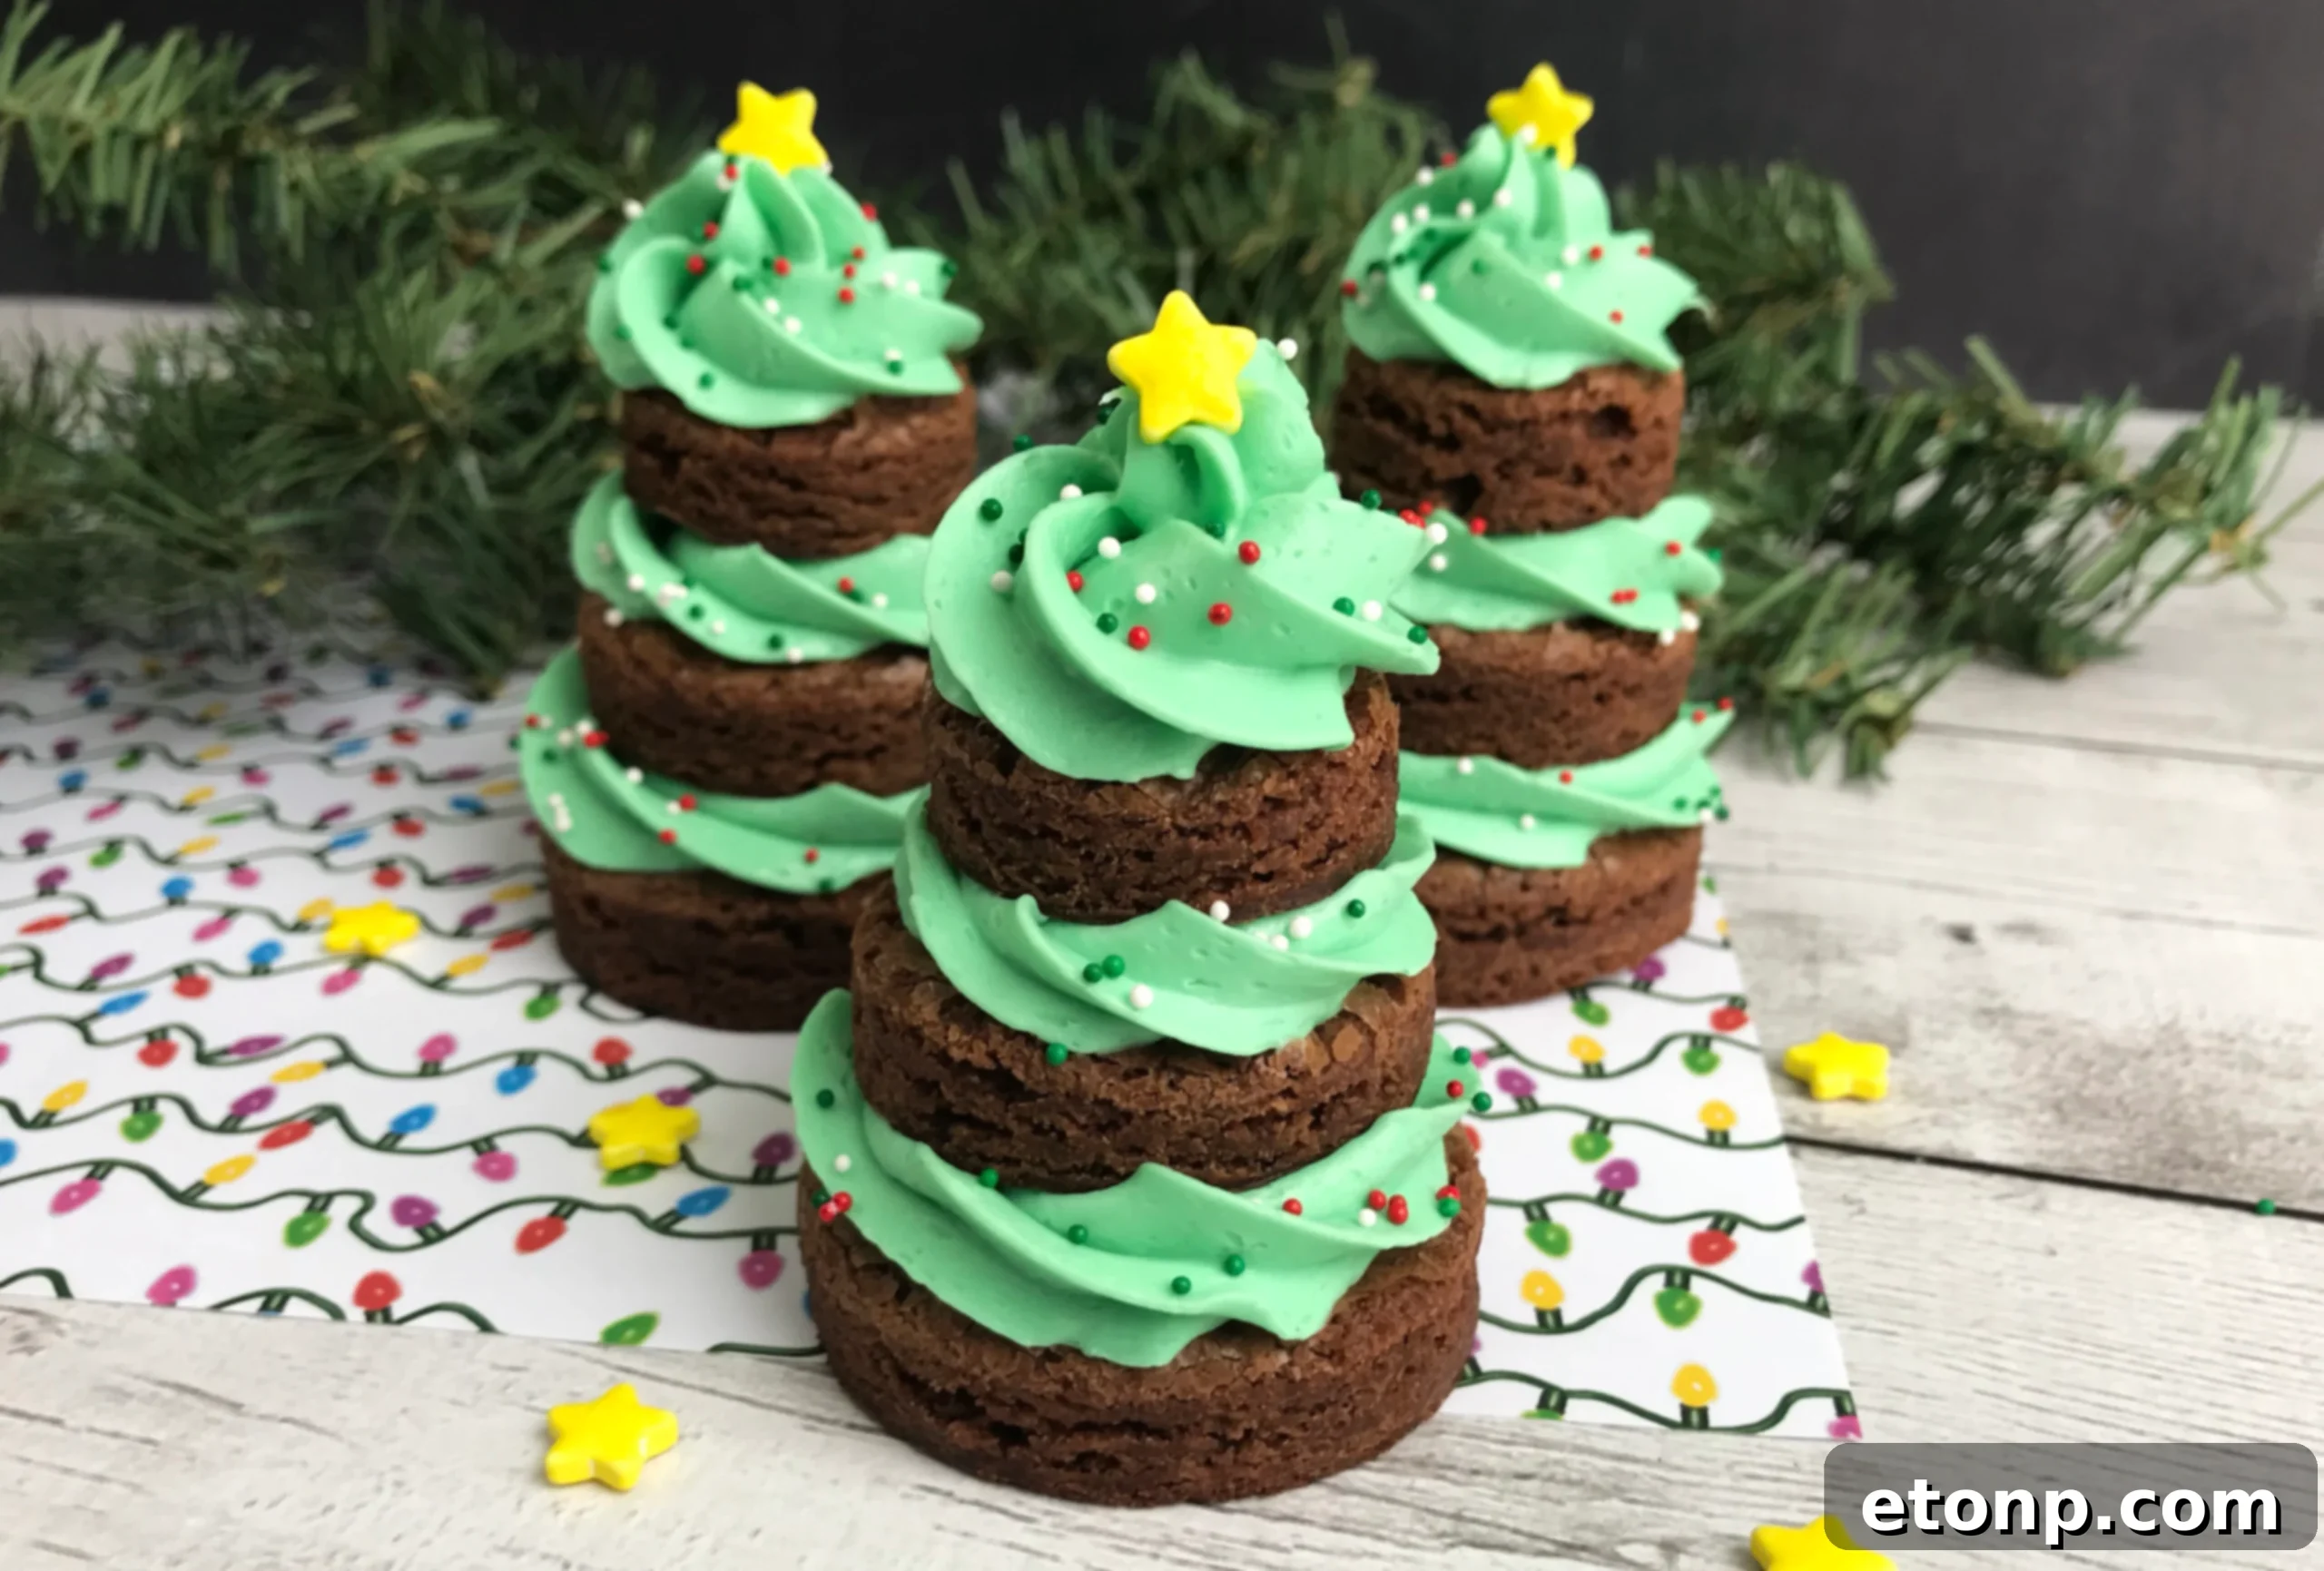
Why These Festive Brownie Treats Will Be Your New Holiday Favorite
Imagine a rich, fudgy brownie base, topped with whimsical swirls of vibrant green frosting and adorned with cheerful holiday sprinkles and a shining star. These aren’t just brownies; they’re miniature edible Christmas masterpieces that capture the essence of holiday cheer in every bite! What makes them truly special is their effortless preparation. You don’t need to be a seasoned pastry chef to create these showstoppers. Whether you prefer the convenience of a high-quality brownie box mix or have a cherished personal homemade recipe, the foundation for these festive treats is incredibly versatile and accommodating. They are guaranteed to elicit “awwws” and smiles from everyone who sees and tastes them, making them an ideal addition to your holiday party dessert table, a thoughtful homemade gift for friends and family, or a delightful baking project with the kids.
Choosing Your Brownie Base: Box Mix Convenience or Homemade Goodness
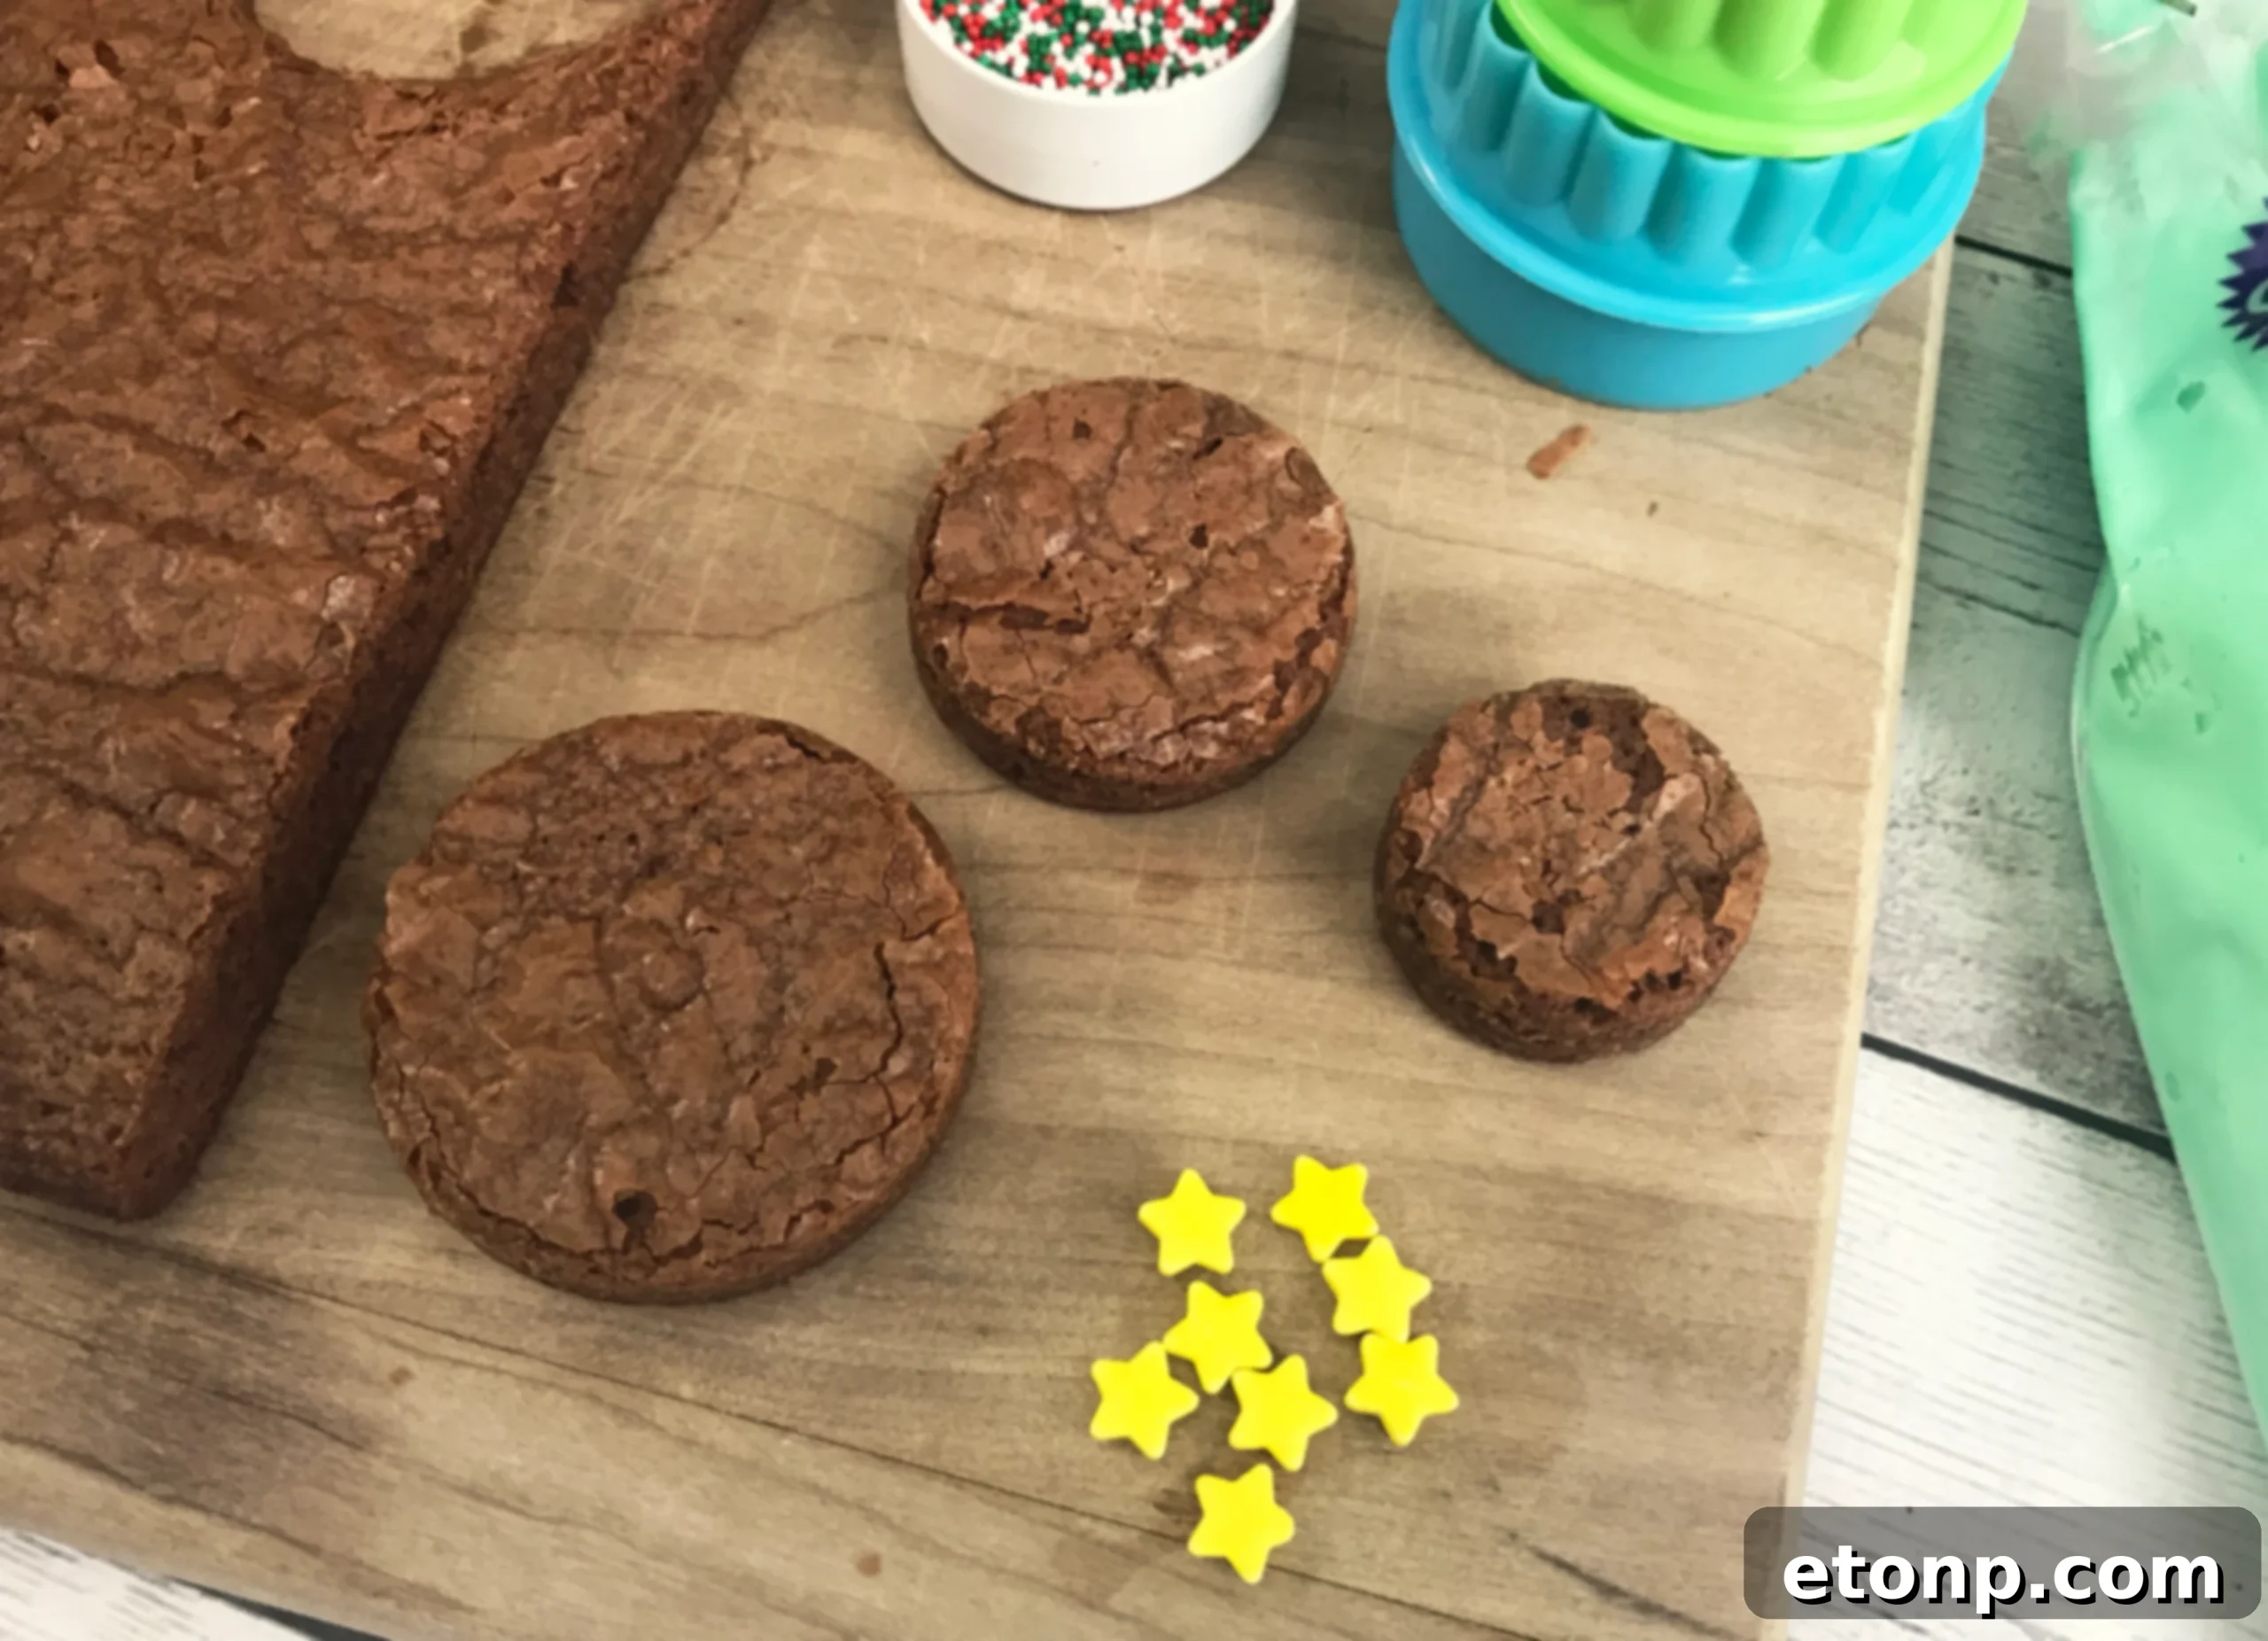
The beauty of this Brownie Christmas Tree recipe lies in its remarkable adaptability. For those busy holiday schedules, a high-quality brownie box mix is your ultimate best friend. When selecting a mix, opt for a trusted brand known for its rich, fudgy texture, as this will provide a sturdy and delicious base that holds up well for cutting and decorating. Simply follow the package instructions to bake a perfectly delicious sheet of brownies. However, if you have more time and a beloved scratch-made brownie recipe that you adore, feel free to use it! A dense, rich brownie, whether fudgy or slightly cakey, works best for achieving clean cuts. Whichever route you choose – convenience or homemade – the most crucial preparatory step is to ensure your baked brownies are completely cooled before you begin the assembly process. Ideally, let them cool for several hours or even chill them briefly in the refrigerator. This crucial step prevents crumbling and ensures clean, crisp cuts, leading to perfectly shaped “tree” layers that are a joy to decorate.
Crafting the Perfect Green Frosting: The “Pine Needles” of Your Trees
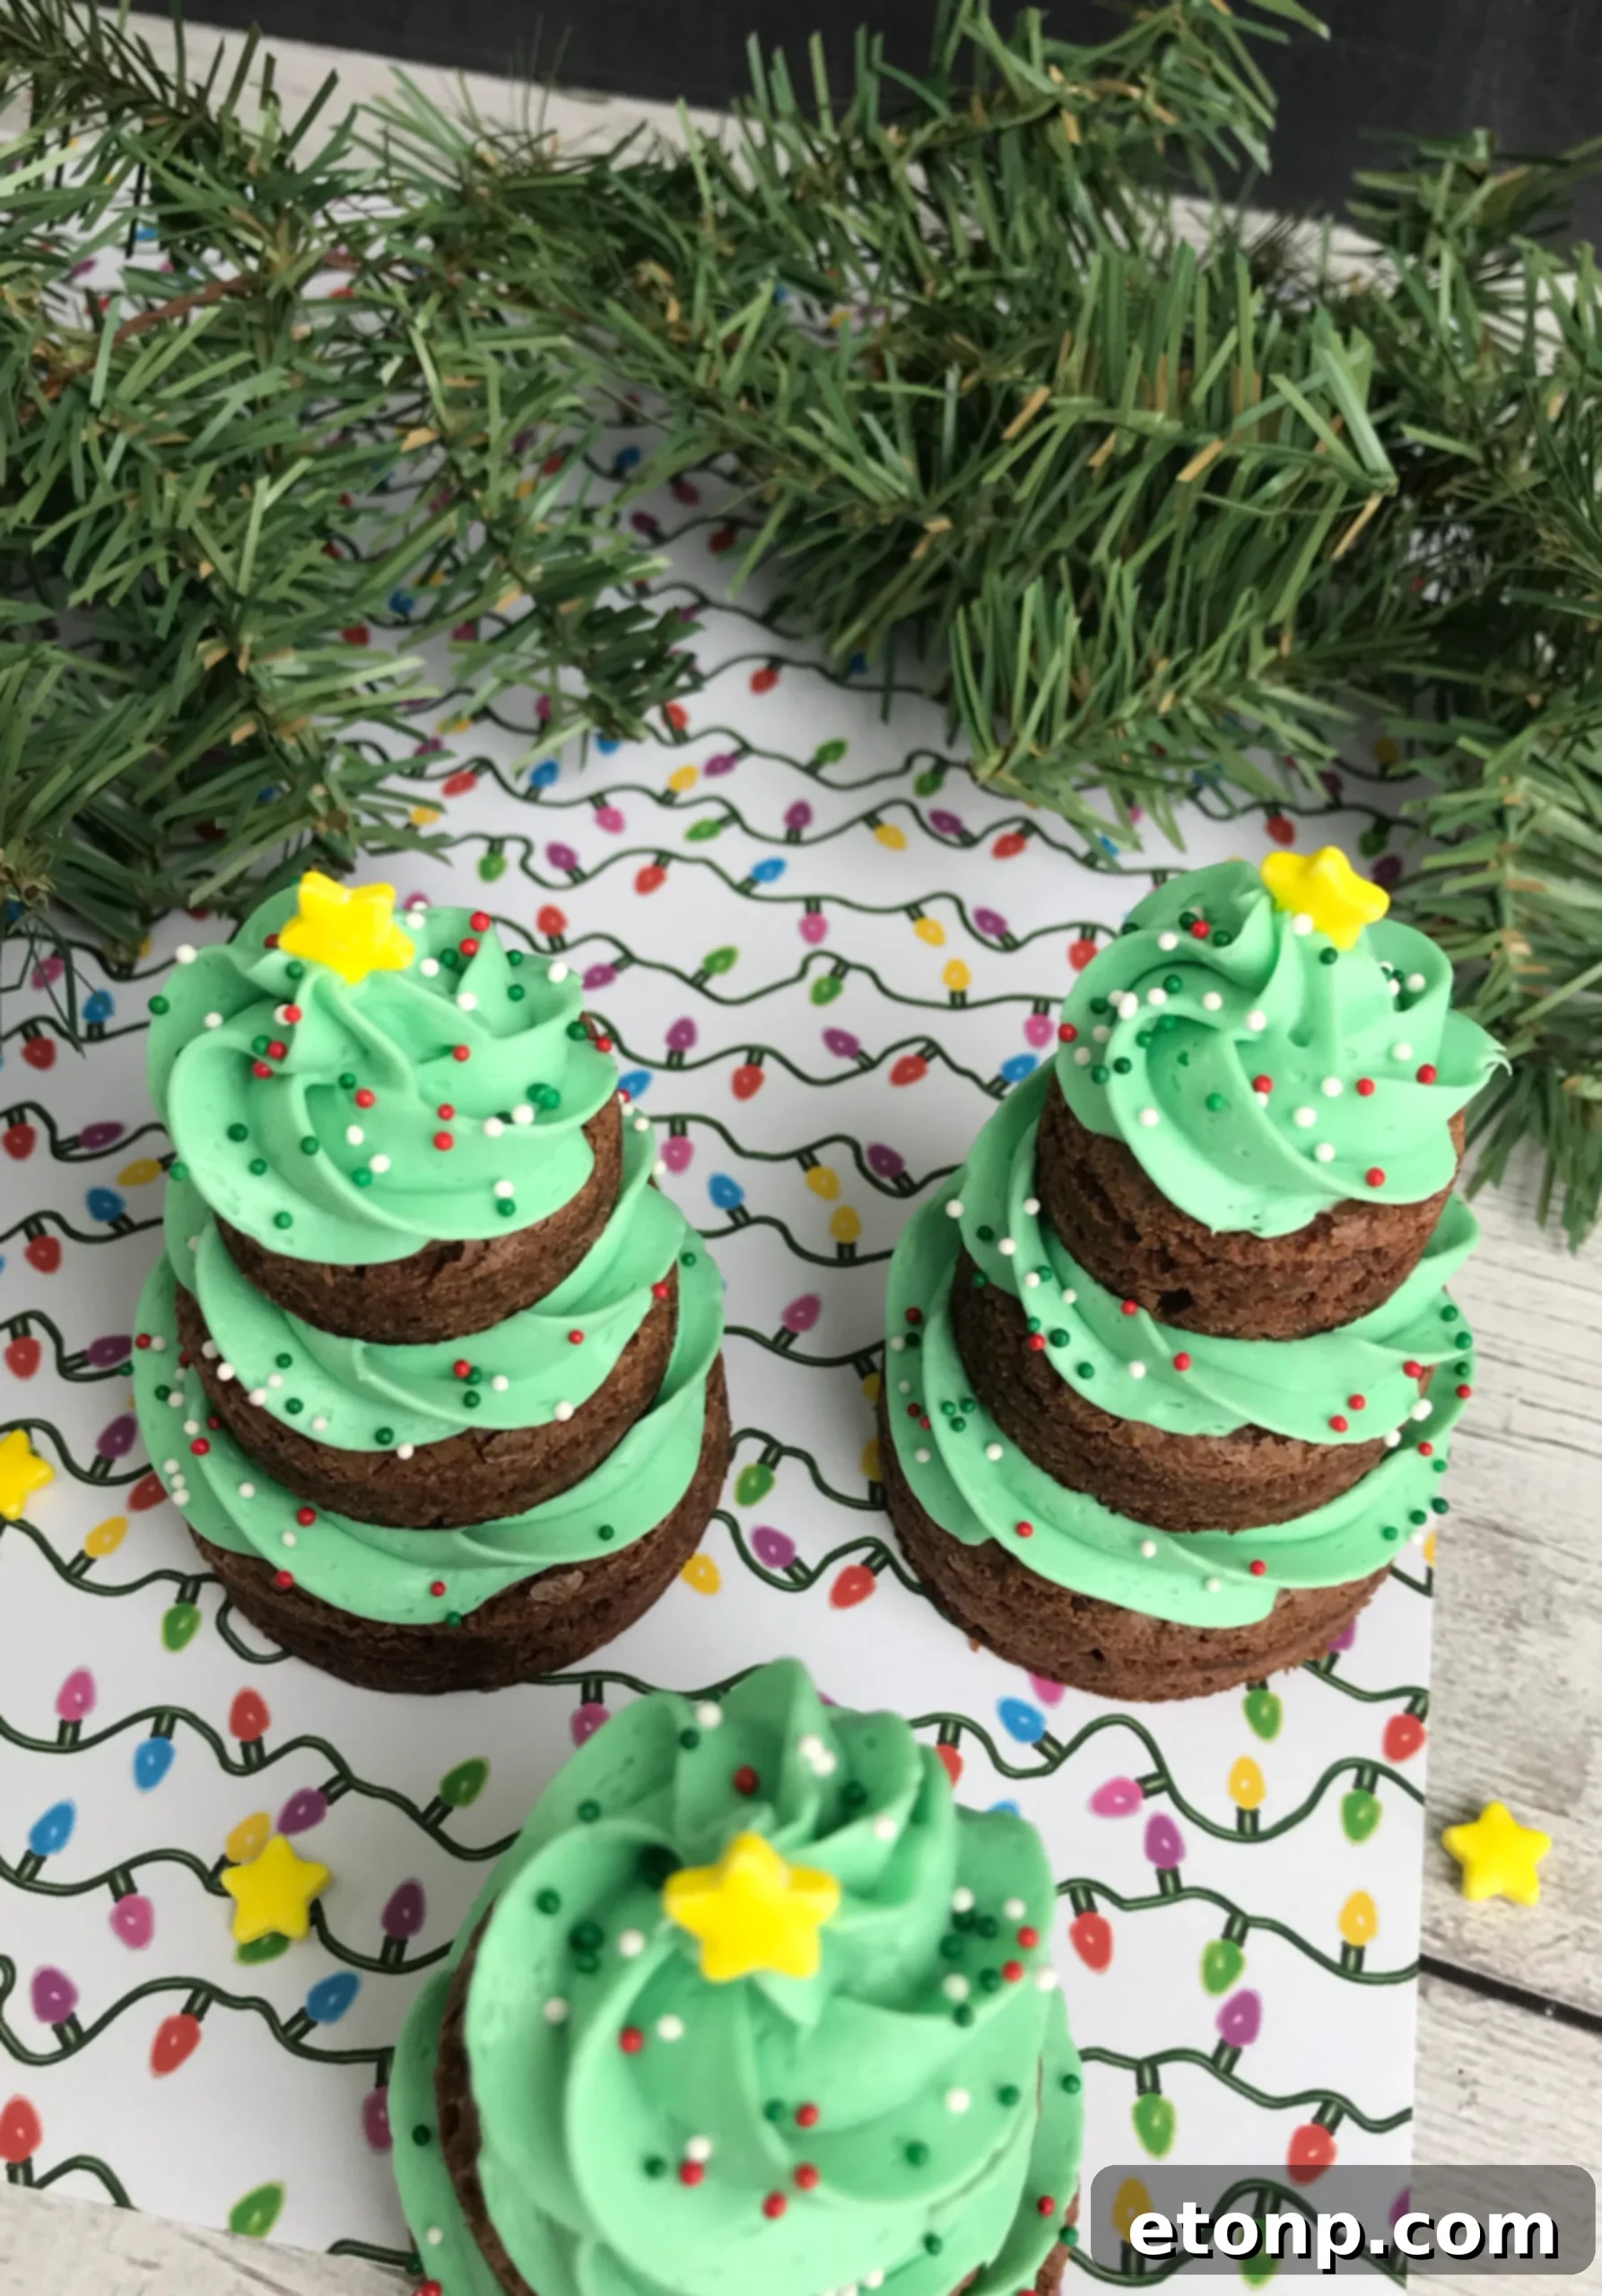
Our homemade green frosting recipe is specifically designed to be both utterly delicious and easy to pipe, giving you that lovely, textured Christmas tree appearance. Made with just a few simple ingredients like sifted powdered sugar, softened butter, a touch of vanilla extract, and a splash of milk, it comes together quickly to form a smooth and creamy buttercream. The secret to achieving the perfect piping consistency is adding the milk gradually, one tablespoon at a time, until the frosting is smooth, spreadable, yet firm enough to hold its intricate piped shape without melting or spreading too thin. For that vibrant, unmistakable festive green hue, we highly recommend using gel food coloring. Gel colors provide a richer, more concentrated shade without significantly altering the frosting’s consistency, unlike liquid food colorings which can thin it out. This delightful buttercream will form the soft, sweet “pine needles” of your adorable trees, providing a wonderful contrast to the dense, rich brownie beneath.
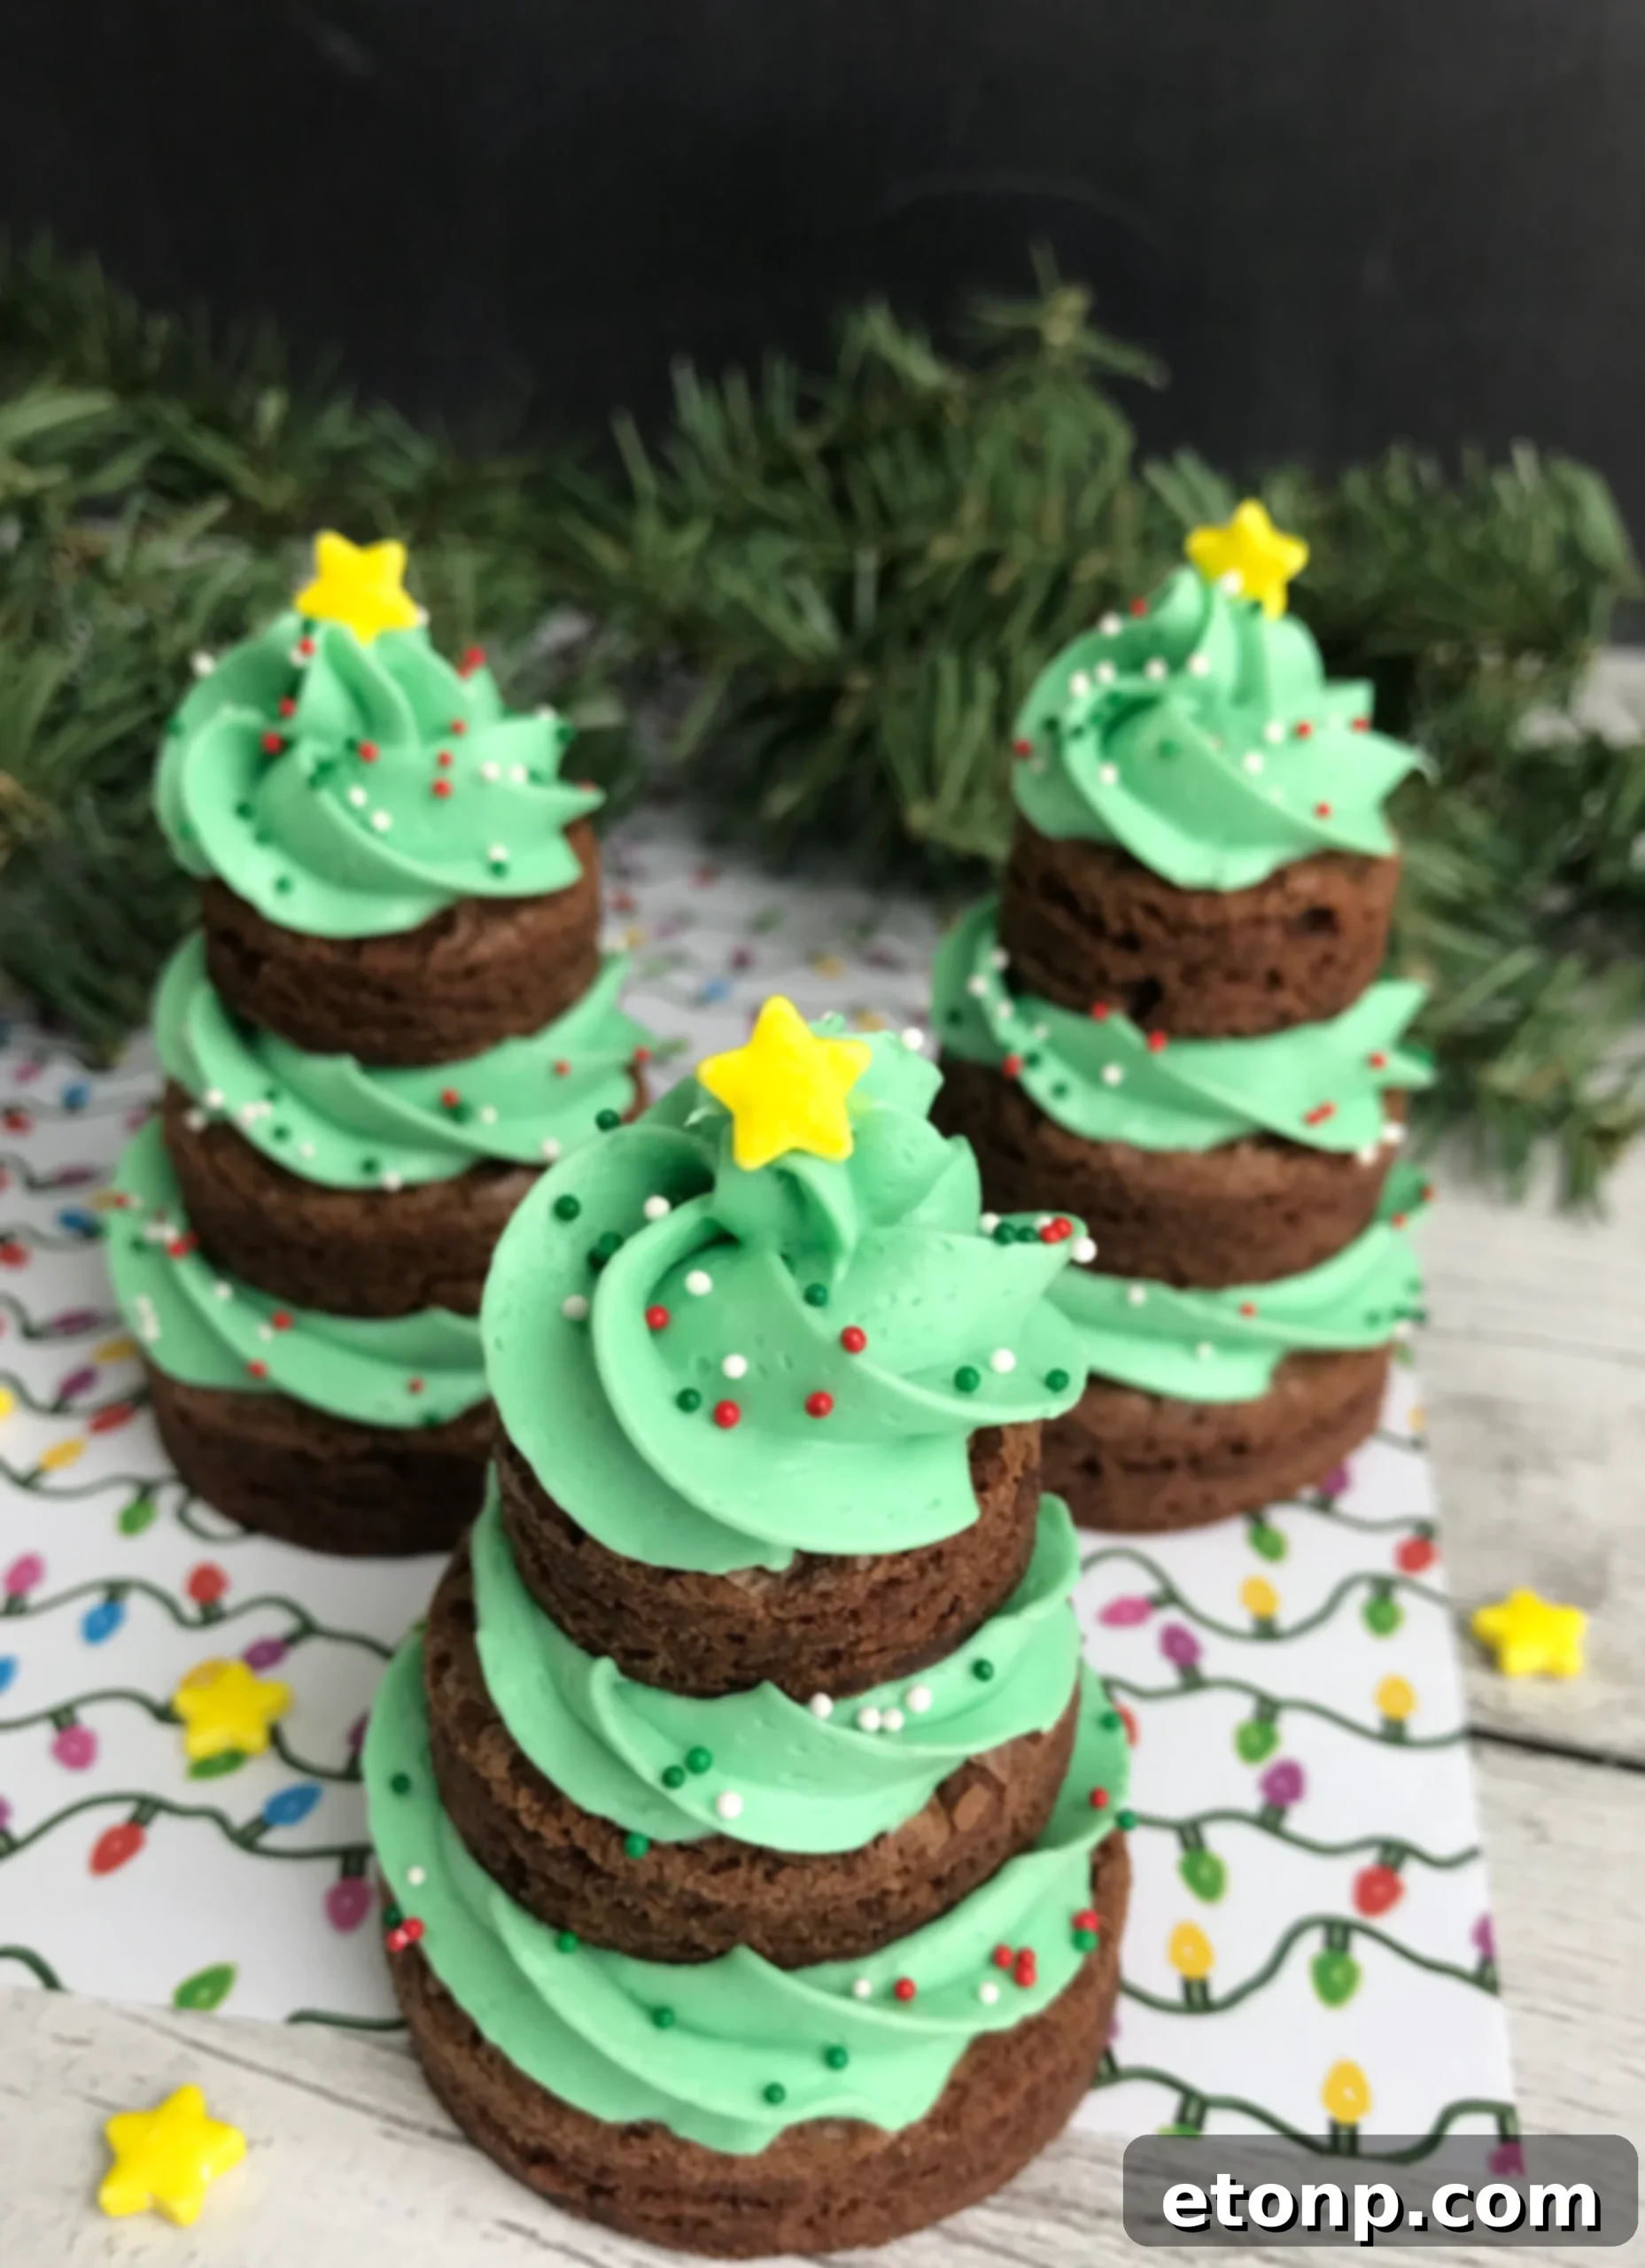
Get Ready to Decorate! Essential Tools and Creative Touches for Your Holiday Treats
Transforming ordinary brownies into extraordinary Christmas trees is not only simple but also an incredibly fun and engaging activity. Here’s a quick overview of the essential tools you’ll need to bring your festive vision to life, along with some inspiring ideas for adding your personal touch:
- **Cookie Cutters:** Three round cookie or biscuit cutters in varying, graduated sizes are absolutely key to creating the iconic tiered tree effect. You’ll use the largest for the base, a medium one for the middle layer, and finally, a small one for the very top tier.
- **Piping Bag & Star Tip:** A disposable piping bag fitted with a Wilton Star tip 1M (or any similar open star tip) will be instrumental in helping you achieve that classic, textured festive tree appearance. The star tip creates beautiful, defined ridges that truly mimic pine needles. If you don’t have a star tip, a round tip can work for a smoother, more minimalist look, or you can even simply spread the frosting with a small offset spatula or knife for a charmingly rustic feel.
- **Festive Toppings:** Holiday sprinkles are an absolute must for that joyful sparkle and pop of color, making your trees truly look like they’re adorned with ornaments. Gold or yellow star candies are perfect for the tree topper, adding that iconic finishing touch. Don’t hesitate to get creative with other edible decorations like edible glitter, tiny silver dragées for an elegant touch, mini M&M’s, or even small edible pearls.
Remember, this is your chance to let your creativity shine! Each brownie tree can be a unique expression of your holiday cheer, allowing you to experiment with different sprinkle combinations, star designs, or even a touch of edible shimmer for extra magic.
Expert Tips for Perfect Brownie Christmas Trees
Achieving picture-perfect Brownie Christmas Trees is simple with a few insider tips that will elevate your baking experience and results:
- Cooling is Crucial: Ensure your brownies are completely cold, preferably chilled for at least an hour or two in the refrigerator, before attempting to cut them. Warm brownies will crumble and stick to your cutters, making neat circles challenging and messy.
- Clean Cuts Every Time: For the cleanest, most precise edges, press your cookie cutters firmly and twist them slightly as you cut through the brownie. If the brownie starts to stick to the cutter, lightly flour the edges of your cutters between each use to ensure smooth release.
- Optimal Frosting Consistency: The perfect piping frosting should be firm enough to hold its intricate shape when piped but soft enough to flow smoothly and easily from the bag. If your frosting is too stiff, add a tiny bit more milk (half a teaspoon at a time); if it’s too thin, a tablespoon of extra sifted powdered sugar will help thicken it.
- Mastering the Piping Technique: Hold the piping bag perpendicular to the brownie surface, about a quarter of an inch above it. Start piping from the outer edge of each brownie circle and work your way in, creating a slightly mounded, spiral layer of frosting. This technique gives the tree a beautiful, full, and realistic appearance.
- Decorate Immediately: Once the frosting is piped onto each layer, add your sprinkles and star toppers quickly. This ensures they adhere well and “set” into the frosting before it begins to firm up.
- Proper Storage: Store your finished Brownie Christmas Trees in an airtight container at room temperature for up to 2-3 days to maintain freshness. If your kitchen is particularly warm, or if you prefer a firmer texture, they can be stored in the refrigerator.
These simple yet effective tips will help you create a batch of delightful Brownie Christmas Trees that are not only delicious but also visually stunning, making your holiday baking truly memorable.
Please remember to SHARE this wonderful recipe on Facebook and PIN IT to save it for your holiday baking plans!
FOLLOW ME ON PINTEREST BY CLICKING HERE
Brownie Christmas Trees!
Ingredients
- 1 box of brownie mix any brand, prepared and fully cooled (or use your favorite homemade brownie recipe)
- 2 large eggs (as required by box mix instructions)
- 1/2 cup vegetable oil (as required by box mix instructions)
- 3 tbsp. water (as required by box mix instructions)
- green frosting homemade recipe below or your favorite store-bought green frosting
- holiday sprinkles
- yellow star candies (edible stars)
- disposable piping bag
- Wilton Star tip 1M or similar open star tip
- 3 round cookie/biscuit cutters in varying sizes (e.g., 2-inch, 1.5-inch, 1-inch)
Homemade Green Frosting Ingredients:
- 2 cups powdered sugar (confectioners’ sugar), sifted for best results
- 1/2 cup unsalted butter softened to room temperature
- 1 tsp. vanilla extract or peppermint extract for a festive flavor twist
- 2-3 tbsp. milk (whole milk recommended for creaminess)
- green food coloring (gel food coloring for vibrant color)
Instructions
-
Prepare the Brownies: Begin by baking your preferred brownie mix or homemade recipe according to the specific package or recipe instructions. It is absolutely essential that the brownies are fully cooled before you proceed with cutting and decorating. For best results, allow them to cool completely for several hours at room temperature, or even overnight. Chilling them in the refrigerator for an hour or two can also make them easier to cut cleanly.
-
Make the Green Frosting: In a medium mixing bowl, combine the sifted powdered sugar, softened butter, and vanilla extract. Using an electric mixer, start beating on low speed until all ingredients are just combined, then gradually increase to medium-high speed and beat until the frosting is light, fluffy, and smooth. Now, add the green food coloring a few drops at a time, mixing well after each addition until you achieve your desired vibrant green hue. Slowly add 1 tablespoon of milk at a time, mixing thoroughly, until the frosting reaches a smooth, pipeable consistency – it should be thick enough to hold its shape when piped but soft enough to flow easily from the piping bag.
-
Prepare for Piping: Fit a disposable piping bag with the Wilton Star tip 1M (or your chosen open star tip). Carefully, using a spatula, fill the piping bag with your prepared green frosting. Twist the top of the bag securely to seal the frosting and prevent it from spilling out during piping.
-
Cut the Brownie Circles: Using your three varying sizes of round cookie or biscuit cutters, gently but firmly cut out brownie circles. For each Christmas tree, you will need one circle of each size: one large, one medium, and one small. Carefully arrange these cut brownie circles in descending order of size on your chosen serving plate or platter, preparing them for the assembly process.
-
Assemble Your Brownie Christmas Trees:
- Take the largest brownie circle and pipe a generous layer of green frosting onto its top surface. Aim for a slightly mounded layer, creating a spiral or concentric circles from the edge to the center.
- Carefully place the medium-sized brownie circle directly on top of the piped frosting layer.
- Repeat the piping process: add another delightful layer of green frosting onto the medium brownie circle.
- Place the smallest brownie circle on top of this second frosting layer, gently pressing to secure.
- Finally, pipe a decorative swirl, peak, or star of frosting onto the very top of the smallest brownie to mimic the pointed tip of a classic Christmas tree.
-
Decorate Your Trees: Immediately after piping the top layer of frosting, gently place a yellow star candy on the very peak of the frosting. Then, generously sprinkle your chosen holiday sprinkles all over the green frosting. The sprinkles will resemble colorful ornaments and glistening snow, adding that perfect festive touch.
-
Repeat and Serve: Continue this delightful assembly and decoration process with the remaining brownie circles and frosting until all your delightful Brownie Christmas Trees are complete. Arrange them beautifully on a platter or individual serving plates, and get ready for the compliments! These festive treats are best enjoyed within 2-3 days and should be stored in an airtight container at room temperature to maintain their freshness and charm.
Did you make this recipe? Share your festive creations with us!
We absolutely love seeing your culinary masterpieces and how you bring our recipes to life! If you whipped up these adorable Brownie Christmas Trees, don’t forget to snap a beautiful picture and share it with us online. Follow us on Pinterest for more incredible recipes, easy dessert ideas, and abundant holiday inspiration to keep your kitchen bustling!
Share on Facebook