
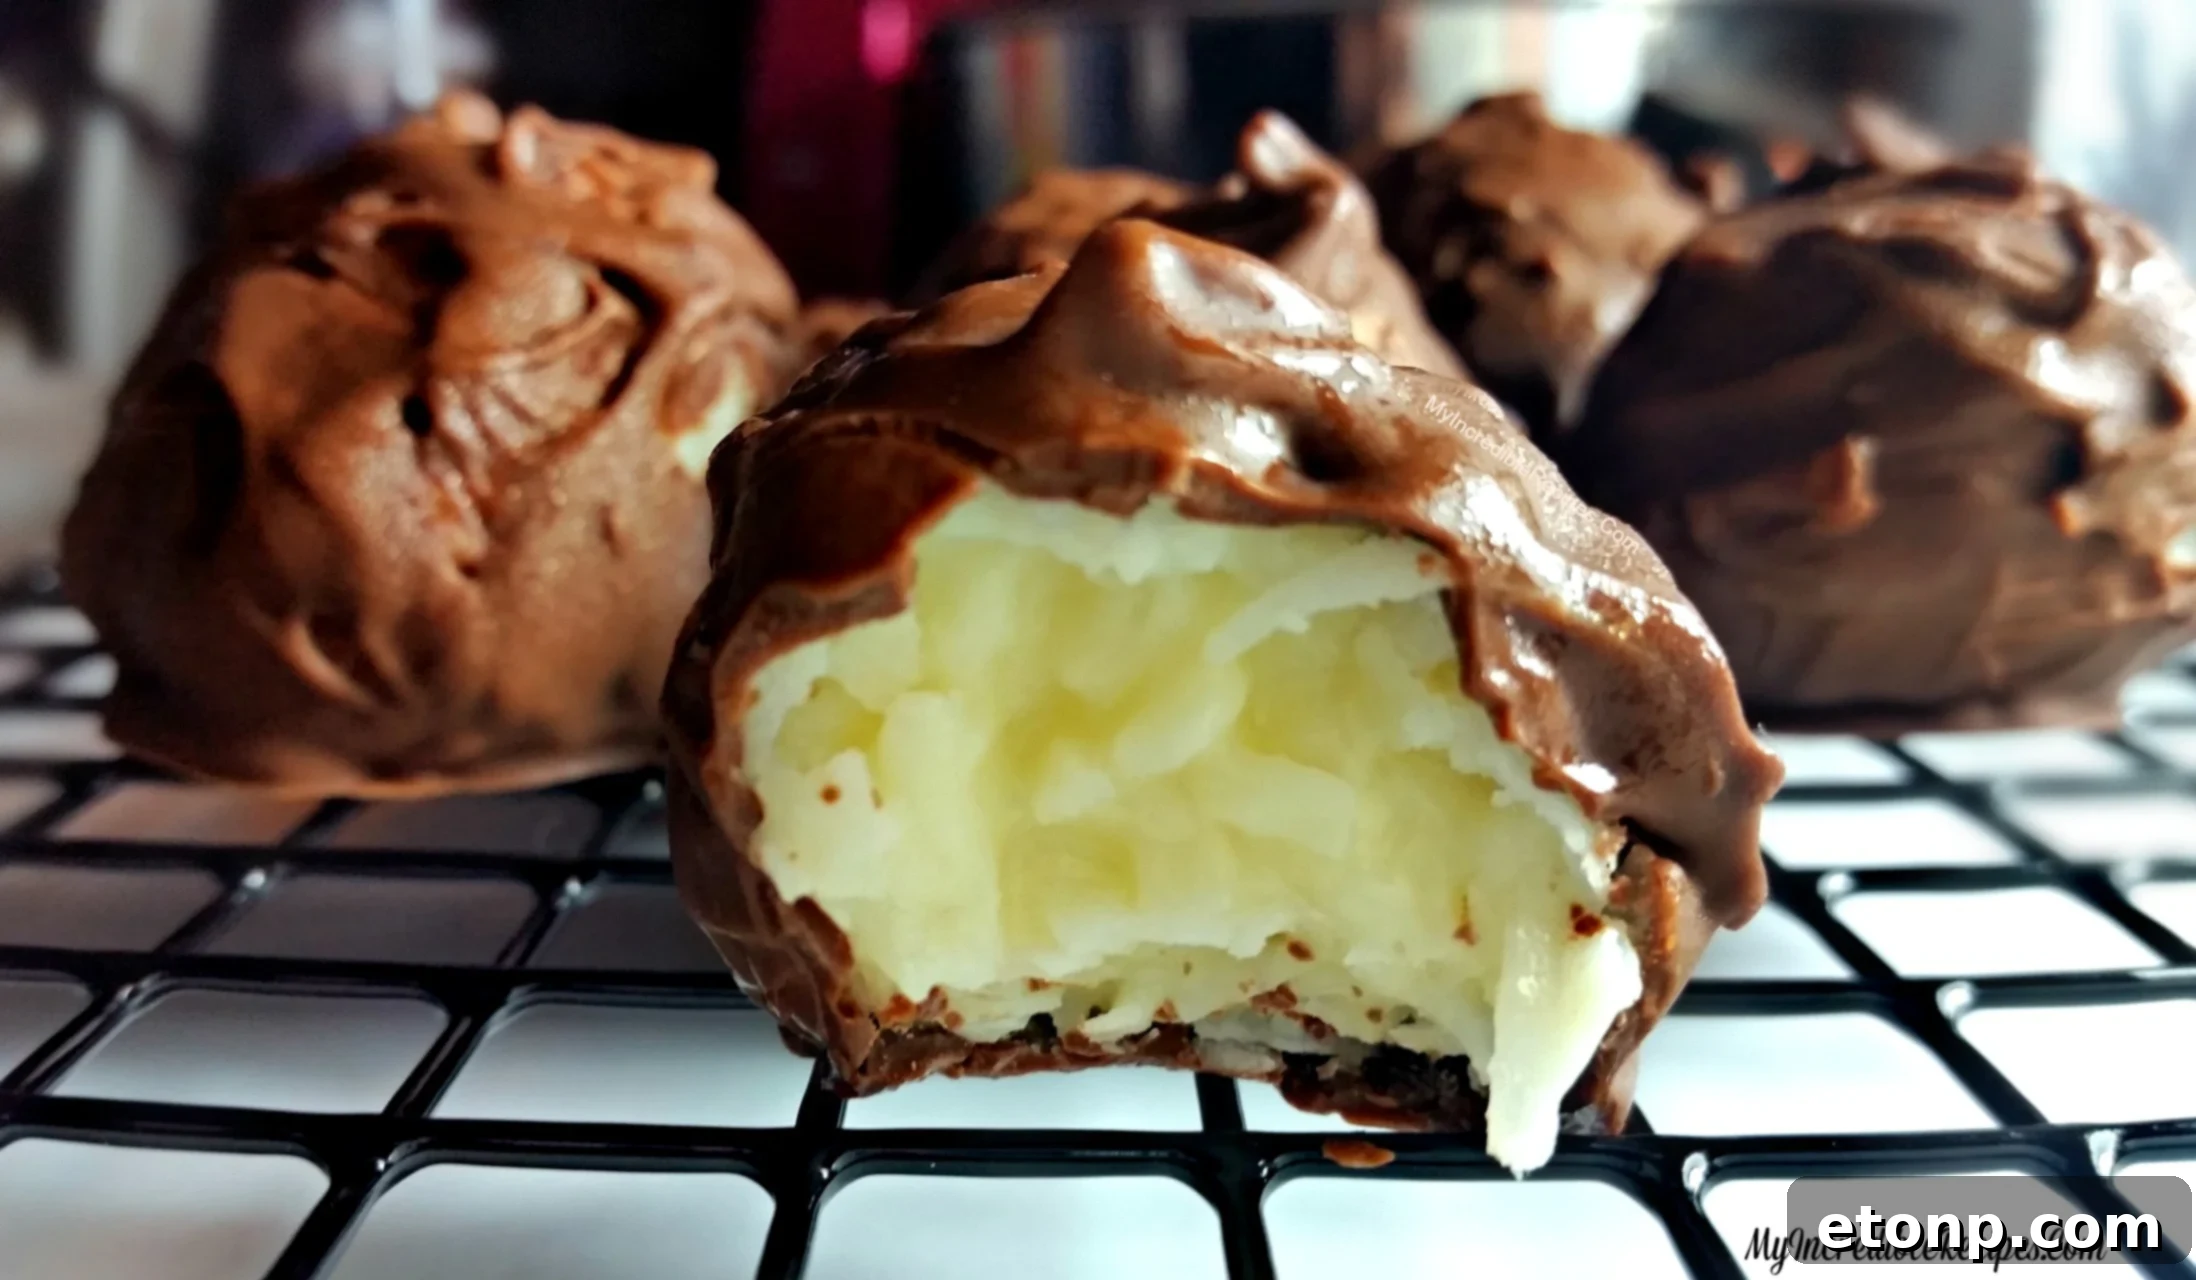
Dangerously Delicious Homemade Mounds Coconut Balls: Your New Favorite Copycat Candy Recipe!
Prepare to embark on a culinary adventure that will redefine your perception of candy bars. These homemade Mounds Coconut Balls are not just a treat; they are a revelation. Forget the store-bought versions – this recipe delivers an unparalleled freshness, a rich, intense coconut flavor, and a decadent chocolate coating that will utterly captivate your senses. They are, quite simply, dangerously delicious!
Beyond their irresistible taste, these delightful confections are incredibly versatile. They make fantastic, thoughtful gifts for friends and family, perfect for any occasion. Imagine presenting a beautifully packaged box of these handcrafted delights – they’re guaranteed to impress. Furthermore, these coconut balls are an ideal addition to any get-together, party, or holiday celebration. Their bite-sized perfection and impressive flavor profile make them a standout dessert that guests will rave about.
Effortless Indulgence: Just a Handful of Ingredients!
One of the most appealing aspects of this recipe is its surprising simplicity. With fewer than five core ingredients, you can whip up a batch of these exquisite treats with minimal fuss. This isn’t just a recipe; it’s an invitation to create gourmet-level candy right in your own kitchen, even if you consider yourself a novice baker (or rather, no-baker!). The ease of preparation, combined with the spectacular results, makes this a go-to recipe for any dessert craving.
A Taste Sensation You Won’t Forget
Trust me when I say, if you have never tried making something this heavenly before, you will be utterly hooked after the very first bite. The moment the rich chocolate coating melts, revealing the tender, sweet, and perfectly chewy coconut interior, you’ll understand. This isn’t just a snack; it’s an experience. The combination of textures and flavors creates an addictive quality that will have you reaching for just one more, and then one more after that. The joy of creating something so profoundly satisfying with your own hands is truly immense.
The Irresistible Allure of Freshly Mixed Coconut
There’s a magical moment during the preparation process when the simple ingredients transform into a cohesive, fragrant, and utterly tempting mixture. I confess, I had to seriously contain myself at this stage because I wanted to eat the coconut filling just like this! The aroma of the sweetened coconut combined with the condensed milk is heavenly, a true testament to the power of fresh ingredients. It’s at this point you truly appreciate the homemade difference – a freshness that store-bought versions simply cannot replicate.
Pure Deliciousness in Every Bite!
The transformation from humble ingredients to these glorious chocolate-covered treats is a joy to behold. Each ball, perfectly shaped and coated, promises a burst of tropical flavor balanced by the richness of chocolate. This recipe isn’t just about recreating a classic; it’s about elevating it to new heights of deliciousness. The satisfaction of biting into one of these homemade Mounds is unparalleled – a moment of pure, unadulterated bliss.
Customizable Sizes for Every Preference
One of the beauties of making these Mounds Coconut Balls yourself is the freedom to customize. You can easily roll them into bigger sizes if you wish, creating substantial treats for a more indulgent experience. For this recipe, I typically aim for about an inch to an inch and a half each – a perfect bite-sized portion that’s not too overwhelming but still satisfying. Don’t be fooled by the close-up photos; they are designed to highlight the texture and coating, so rest assured, the balls are not *that* huge in reality!
This flexibility allows you to cater to different preferences, whether you prefer dainty morsels or more generous servings. Experiment with various sizes and find what works best for your occasion or personal craving. Each size variation still delivers the same incredible flavor, making every bite a delightful surprise.
Copycat Mounds Coconut Balls!
Ingredients
- 1 can of Eagle Brand Sweetened Condensed Milk no substitutes, as its unique consistency is key
- 1 1/2 cups of finely chopped/crushed pecans or almonds optional, but adds a lovely texture and flavor; any crushed nut would work well
- 1 Pound sweetened Coconut
- 1/2 cup of powdered sugar
- 12 Oz of Ghirardelli melting Chocolate I used half white and half milk chocolate for a delicious contrast
Instructions
-
Prepare the Coconut Mixture: In a large mixing bowl, combine the entire can of Eagle Brand Sweetened Condensed Milk, the sweetened coconut, the finely chopped pecans or almonds (if using), and the powdered sugar. Mix all ingredients thoroughly until they are well incorporated and form a cohesive, slightly sticky dough. This ensures an even distribution of sweetness and flavor throughout the coconut balls. Once mixed, place the bowl in the freezer for about 10-15 minutes. This chilling step is crucial, as it firms up the mixture, making it much easier to handle and roll into balls without excessive stickiness.
-
Shape the Balls: After the mixture has chilled and is firm enough to handle, begin rolling it into uniform 1 to 1.5-inch balls. Place each rolled ball onto a baking sheet that has been lined with wax paper or parchment paper. The paper prevents sticking and makes transfer easier later.
Expert Tips for Rolling and Dipping:
-
Manage Stickiness: If at any point the coconut mixture becomes too warm and sticky while you are rolling the balls, lightly coat your hands or the balls themselves in a little extra shredded coconut or powdered sugar. Don’t hesitate to put the baking sheet with the rolled balls back into the freezer for 5-10 minutes. I often alternate between rolling and chilling several times to ensure the balls maintain their shape and are easy to work with.
-
Alternate Shapes: For a delightful variation, consider shaping some of the mixture into small logs, resembling mini candy bars. This offers a different presentation and eating experience while retaining all the delicious flavors.
-
Melt the Chocolate: I highly recommend using a double boiler for melting your chocolate. This method is superior because it provides gentle, indirect heat, which keeps the chocolate hot and fluid for longer and significantly reduces the risk of burning or seizing. If you don’t have a double boiler, a heatproof bowl set over a saucepan of simmering water works perfectly. Stir the chocolate frequently as it melts. The exact temperature isn’t critical, but a good medium-low heat is ideal. The key is to melt it slowly and gently.
-
Avoid Seizing: You can tell if chocolate is beginning to burn or seize if it starts to clump together and lose its smooth, glossy texture. If this happens, unfortunately, you’ll need to discard that batch and start over with fresh melting chocolate. For the best results, I strongly advise using high-quality melting chocolate, such as the Ghirardelli brand mentioned in the ingredients. From extensive experience, it melts more quickly, smoothly, and performs much better than standard chocolate chips.
-
Begin Dipping: Once your chocolate is completely melted and beautifully smooth, you can begin the dipping process. I initially used a toothpick to dip the balls, but I found that a fork (specifically, one with thin tines) provided more control for most of them. Feel free to try both methods to determine which works best for your personal preference and comfort. The double boiler will keep your chocolate warm and smooth, so you can turn off the heat once it’s fully melted and work at your own pace.
-
Dip One at a Time – Crucial Step! I cannot stress this enough: only dip ONE coconut ball at a time. If you attempt to dip more than one simultaneously, the heat from the melted chocolate can cause the delicate coconut balls to soften and potentially melt, creating a sticky, unmanageable mess that you absolutely want to avoid. Patience here will save you a lot of frustration!
-
Place on Wax Paper: Carefully dip each ball, ensuring it’s fully coated, then gently tap off any excess chocolate. Place each dipped ball onto a fresh sheet of wax paper, ensuring they don’t touch each other. This allows the chocolate to set without sticking.
-
Practice Makes Perfect: Don’t be discouraged if your first few dipped balls aren’t perfectly pristine. Dipping takes a little practice. The more you do, the better you’ll get at achieving that smooth, even chocolate coating. The taste will be amazing regardless!
-
Final Chill: After all your coconut balls are dipped, I recommend placing them in the freezer for at least an hour. This rapid chilling helps the chocolate set beautifully and gives the balls a wonderfully firm texture. I may or may not have eaten a “few” right out of the freezer – there’s something incredibly satisfying about cold candy! Yum!
-
Storage: To maintain their freshness and delightful texture, store your homemade Mounds Coconut Balls in an airtight container in the refrigerator. They can last for up to two weeks, though they rarely survive that long!
-
ENJOY! Share them with loved ones, gift them, or simply savor them yourself. These dangerously delicious treats are sure to bring joy with every bite!
Did you make this recipe?
We’d love to see your creations! Make sure to follow us on Pinterest for more incredible recipes and inspiration. Don’t forget to share your photos and tag us!
Share on Facebook