
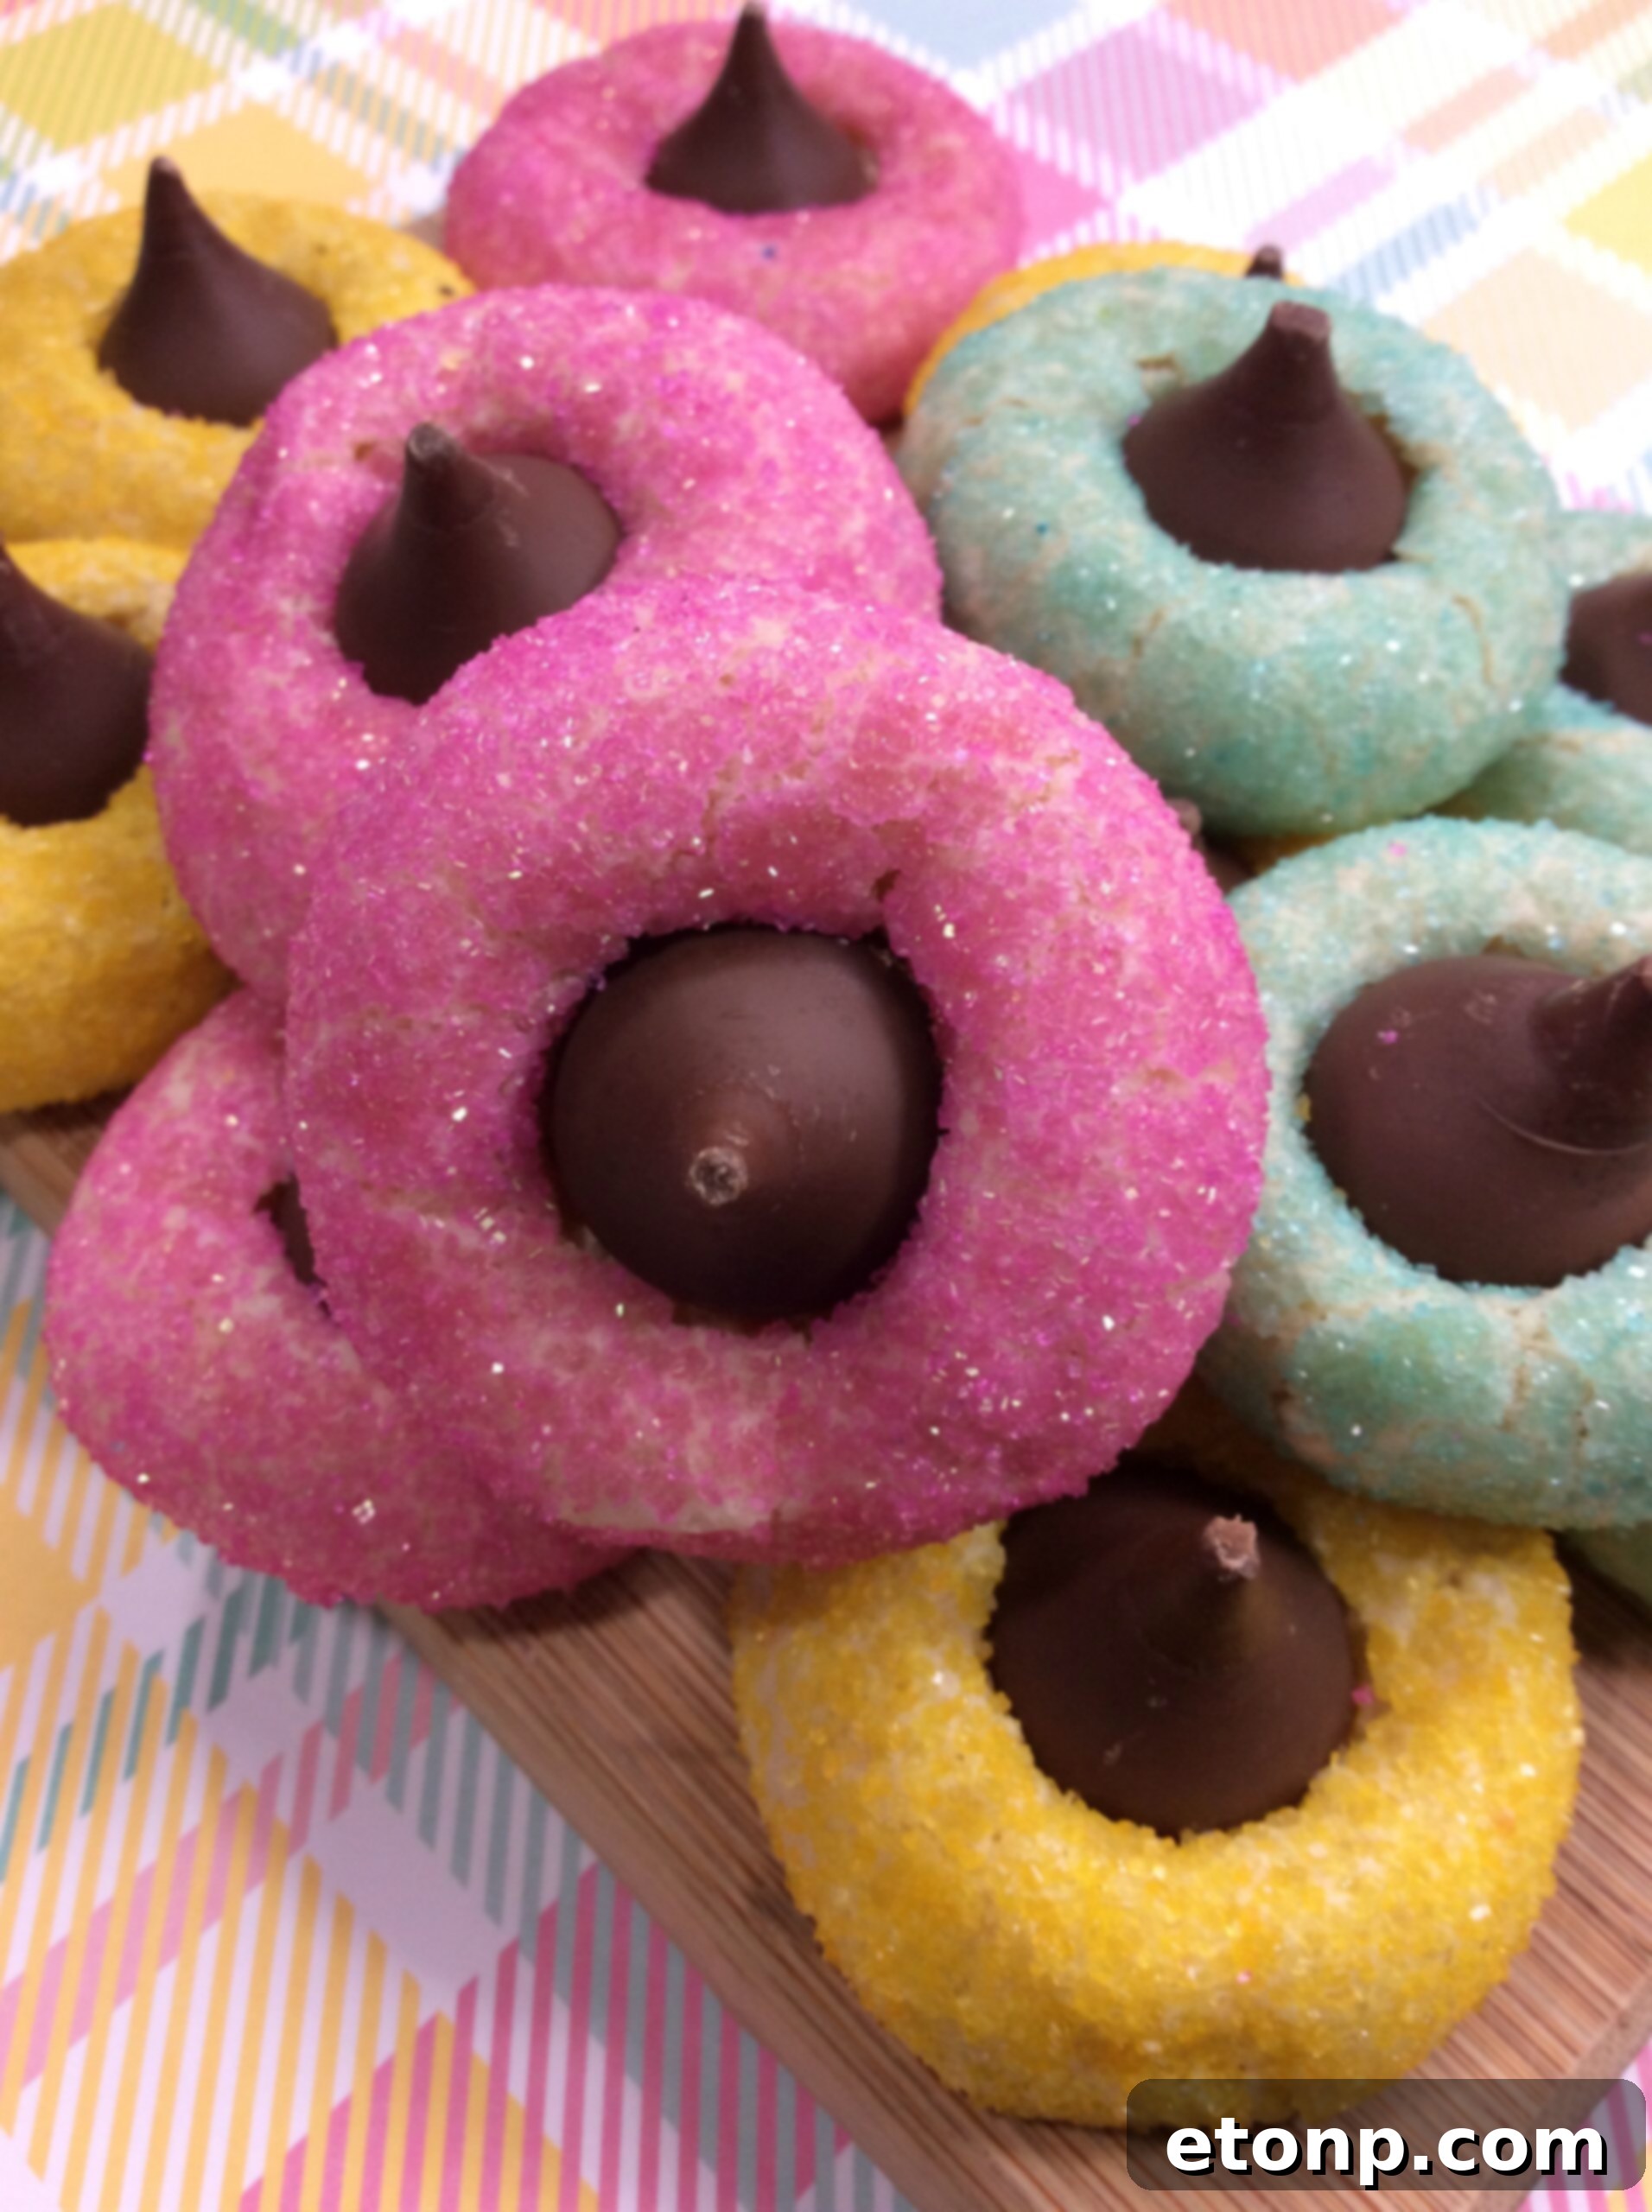
Delightful Springtime Thumbprint Cookies: Your New Favorite Recipe!
As the days grow longer and the first signs of green emerge, who else is eagerly anticipating the vibrant joy of spring? I certainly am! And what better way to welcome this season of renewal than with a batch of beautifully colored, utterly delicious cookies?
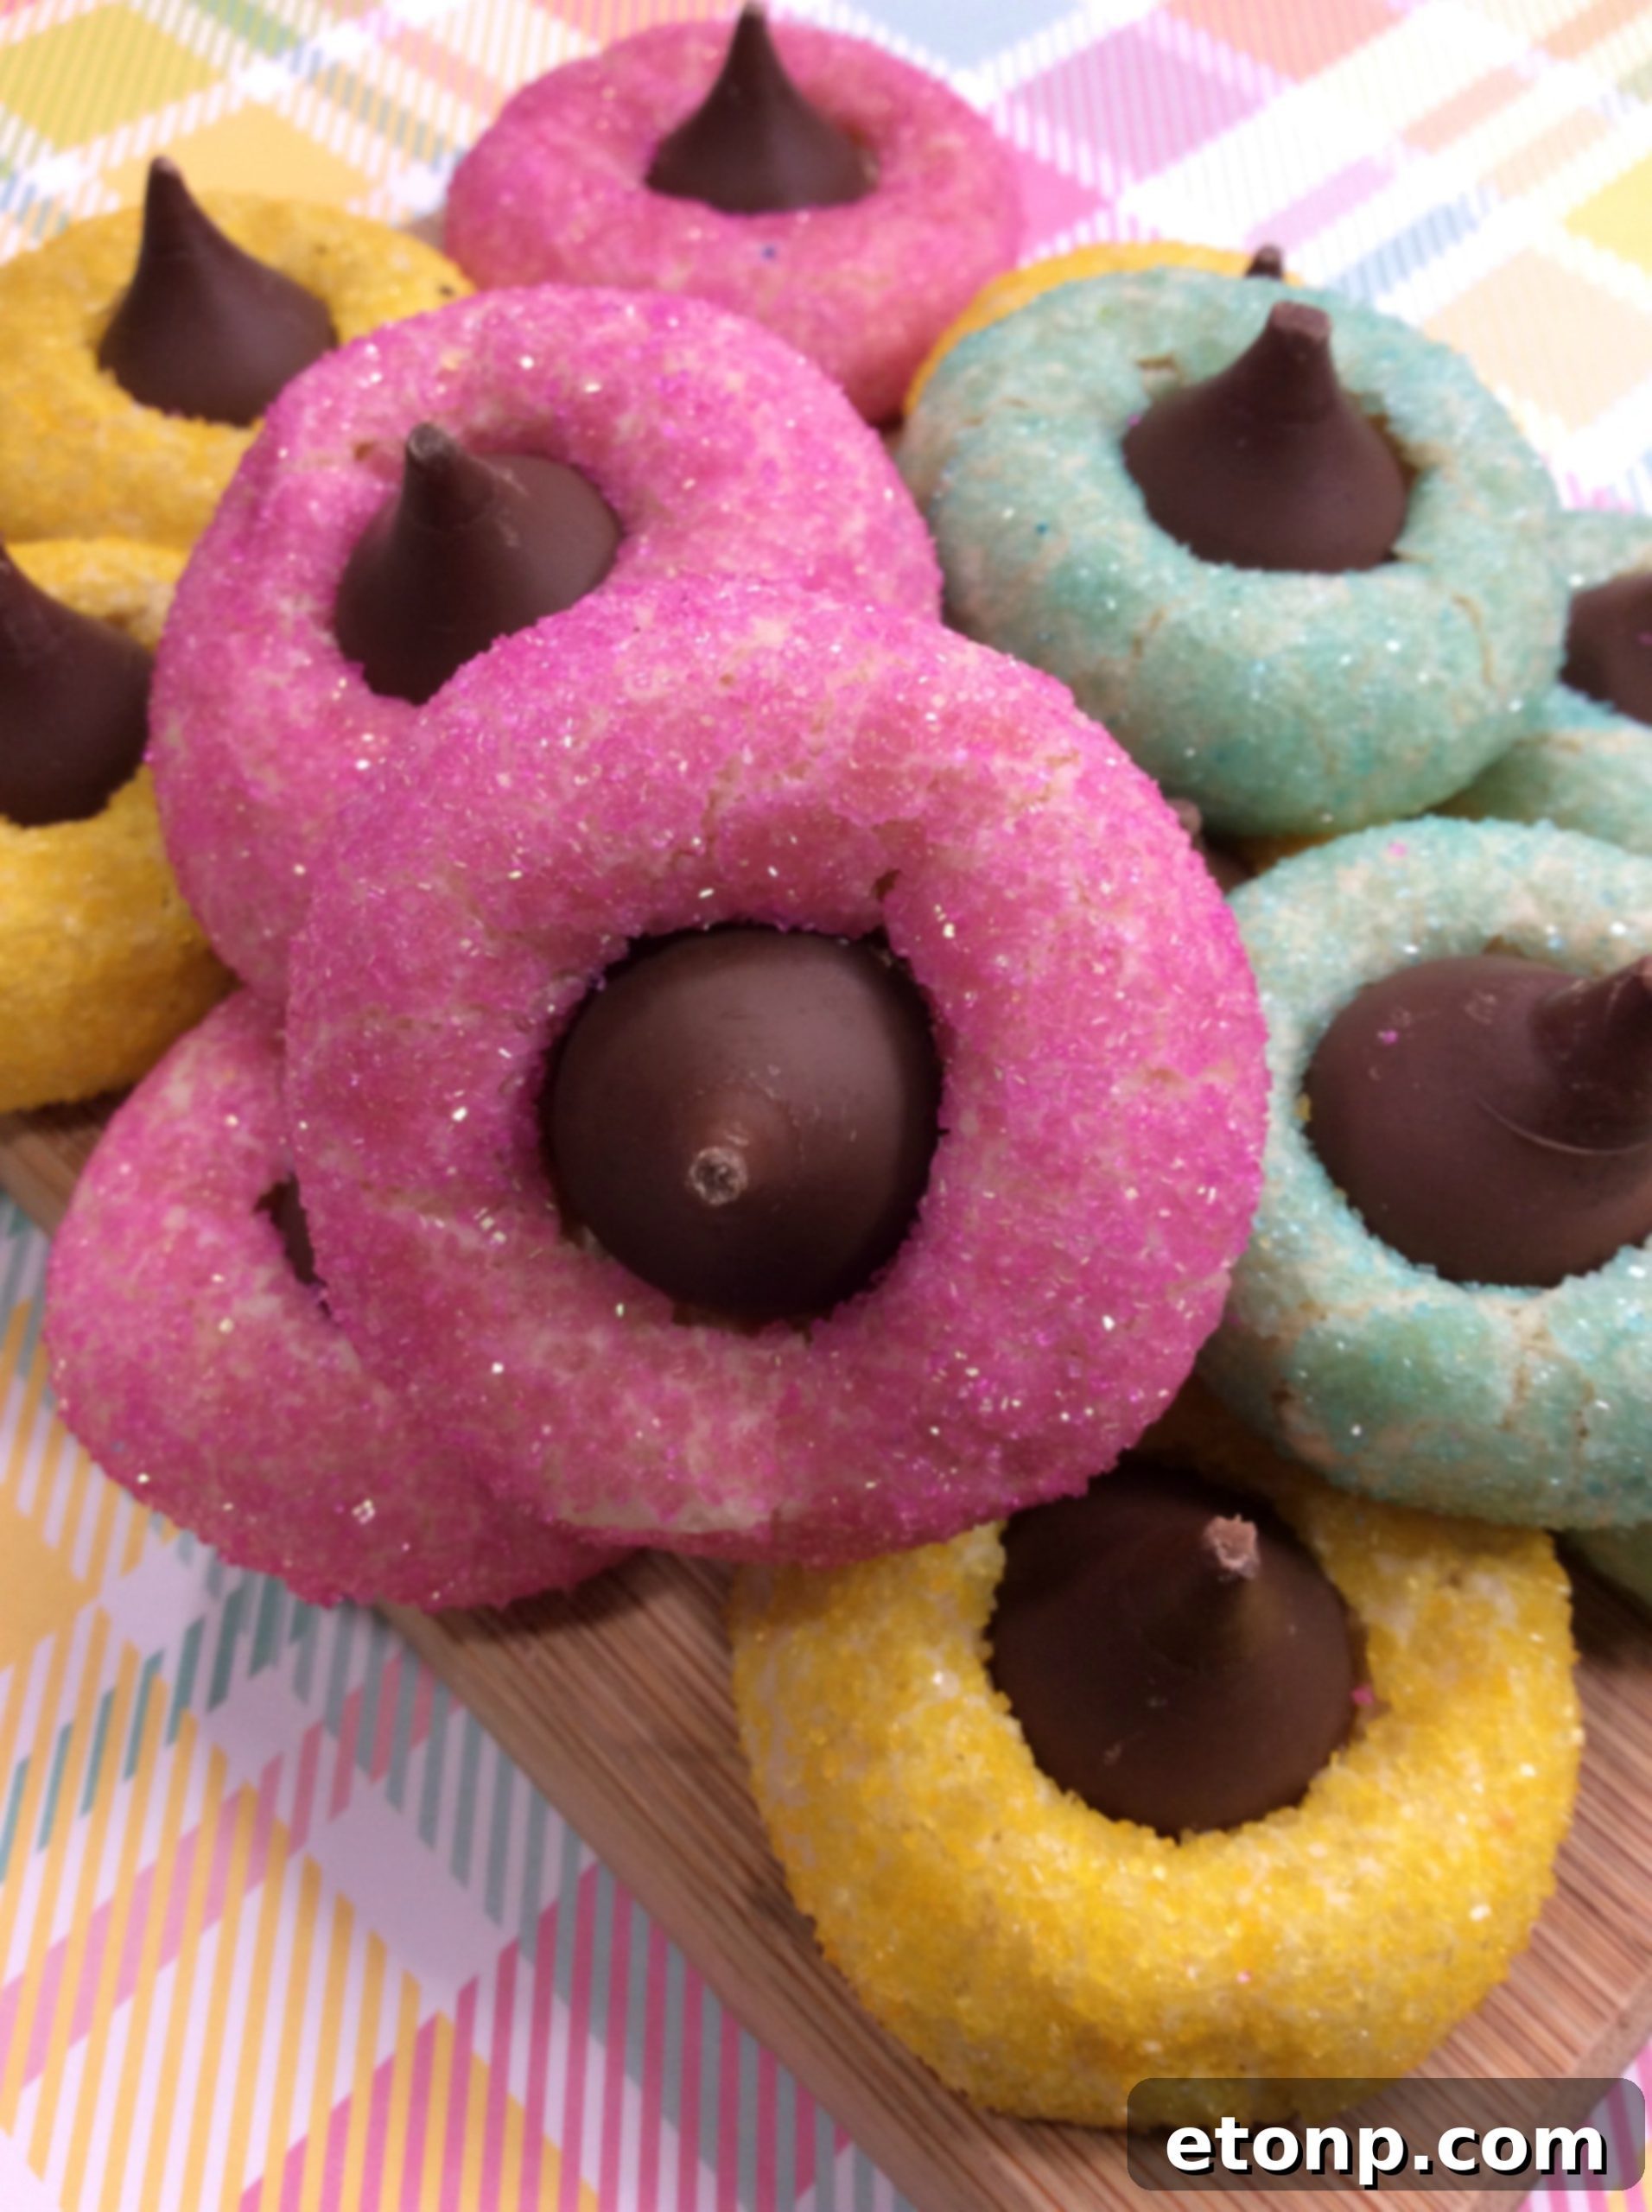
Embrace the Season with Sweetness and Color
These delightful little colorful cookies are guaranteed to infuse your home with the spirit of nicer weather. Their bright hues and irresistible taste are a perfect pick-me-up, sure to banish any lingering winter blues.
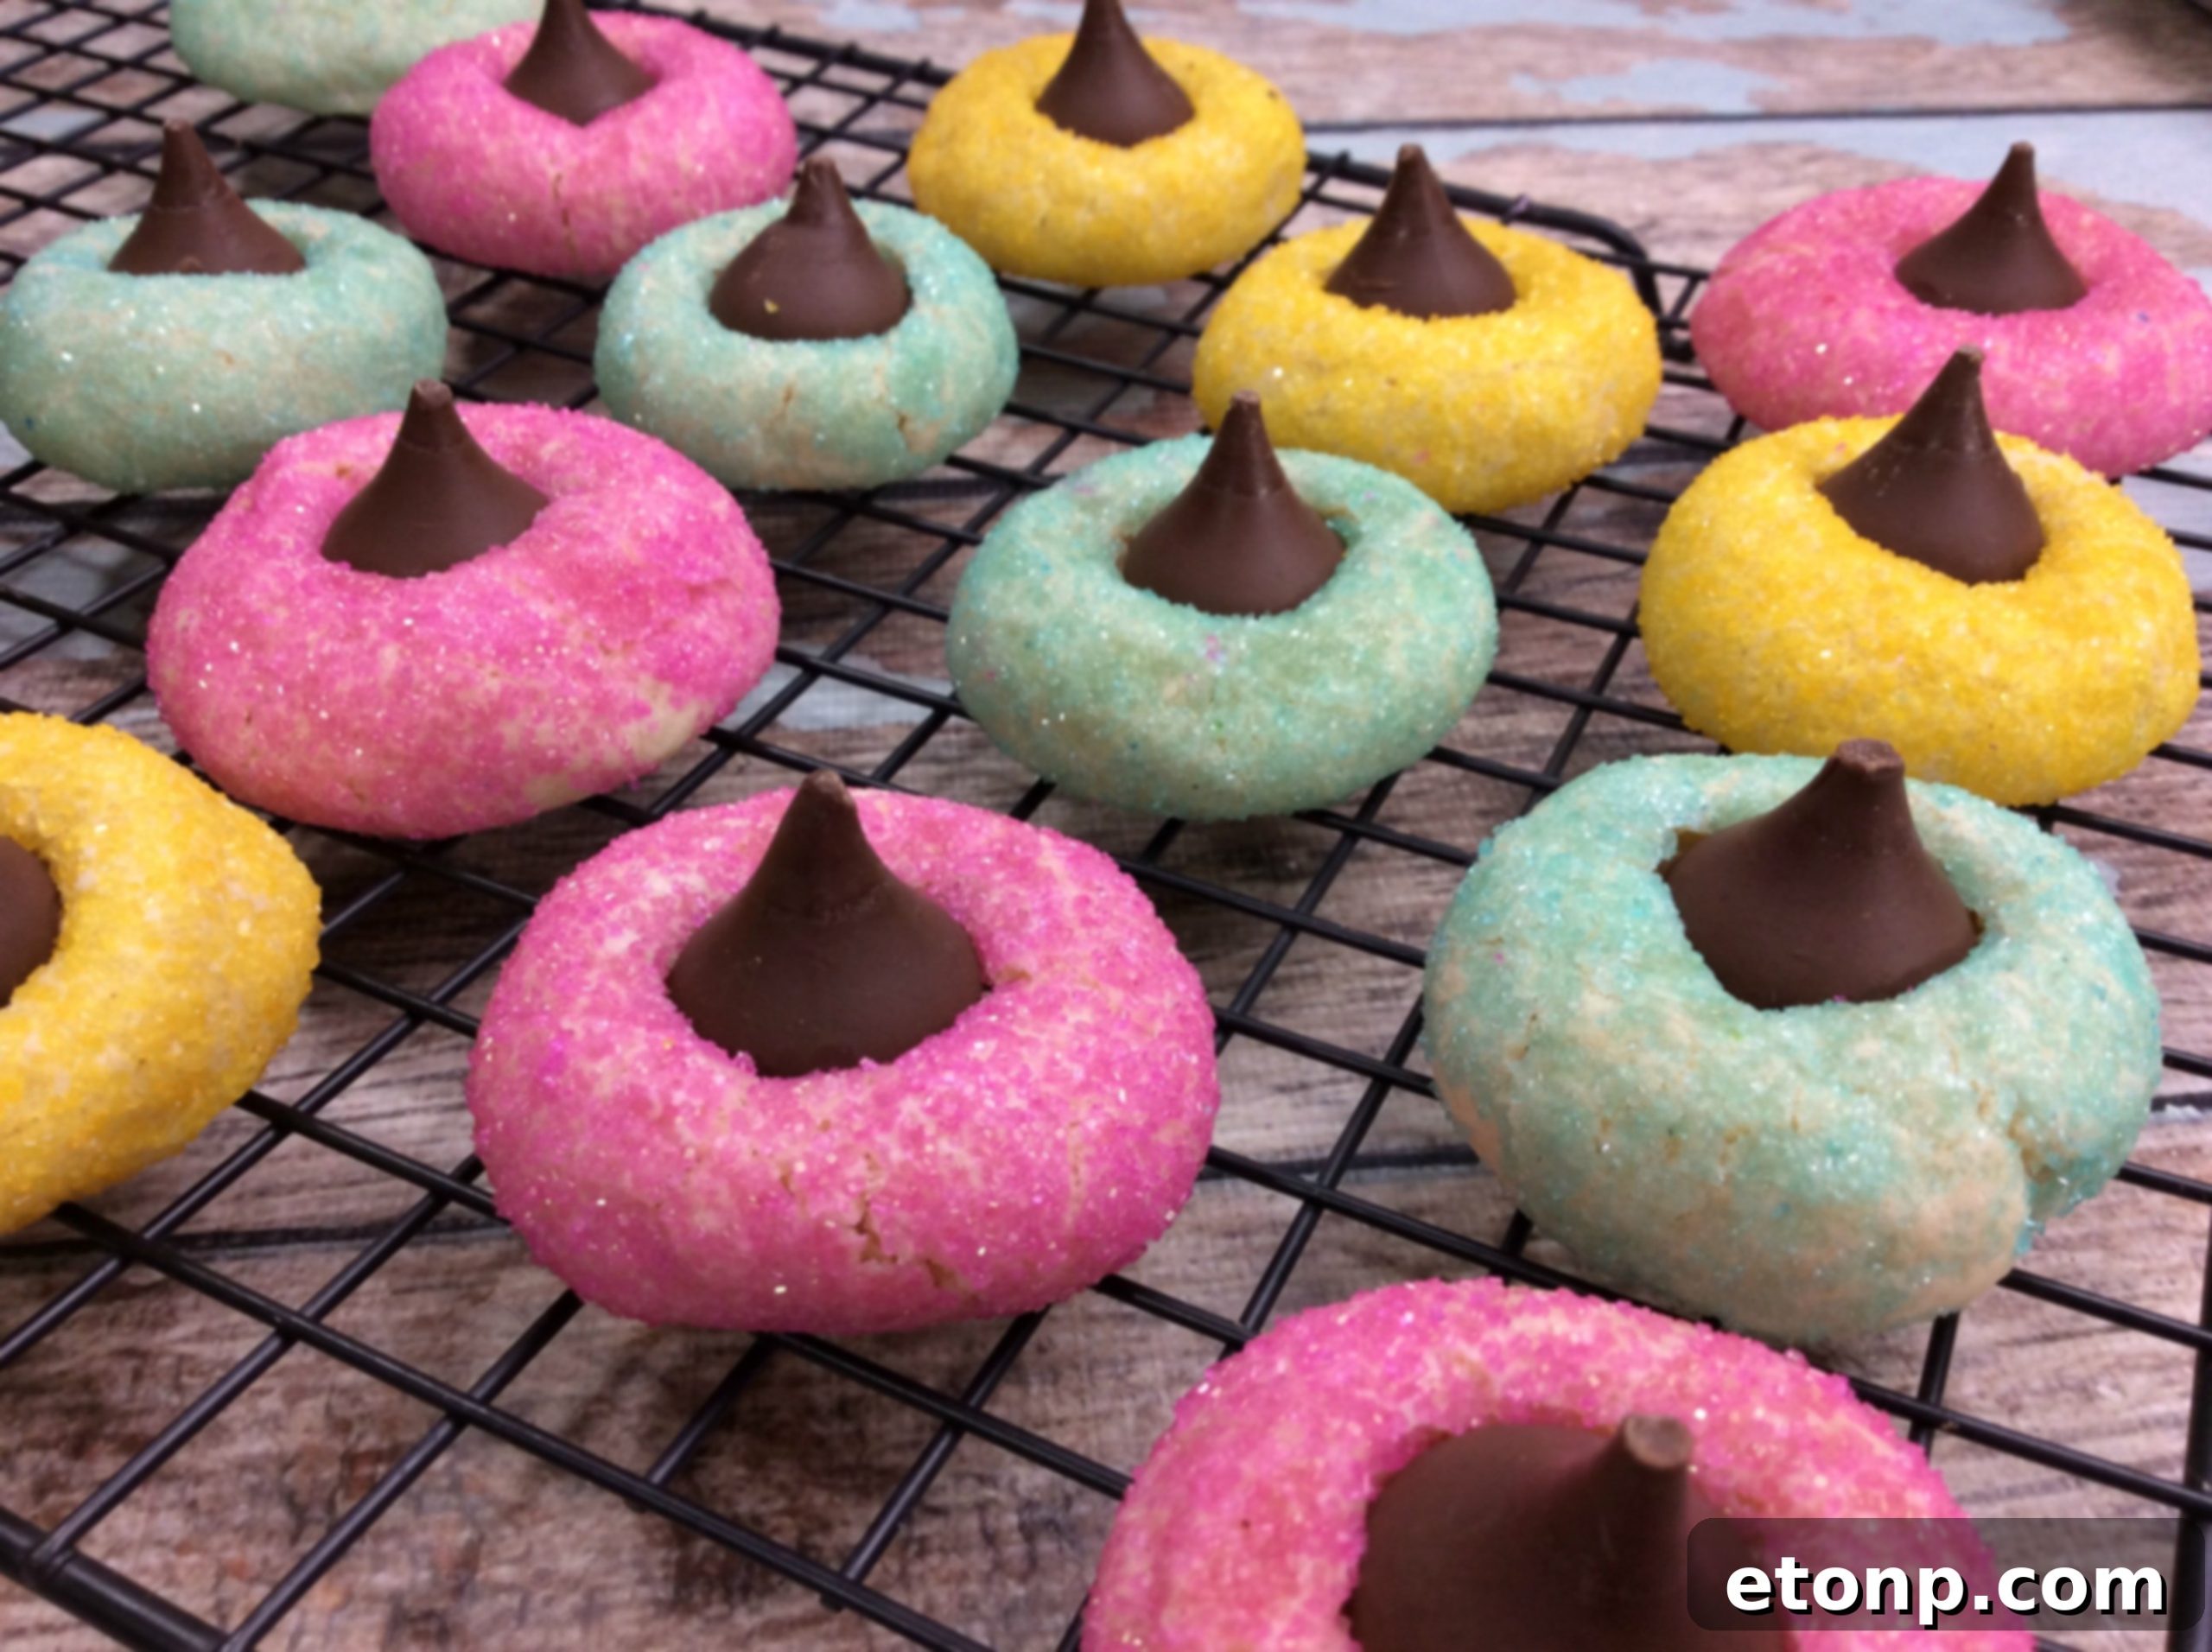
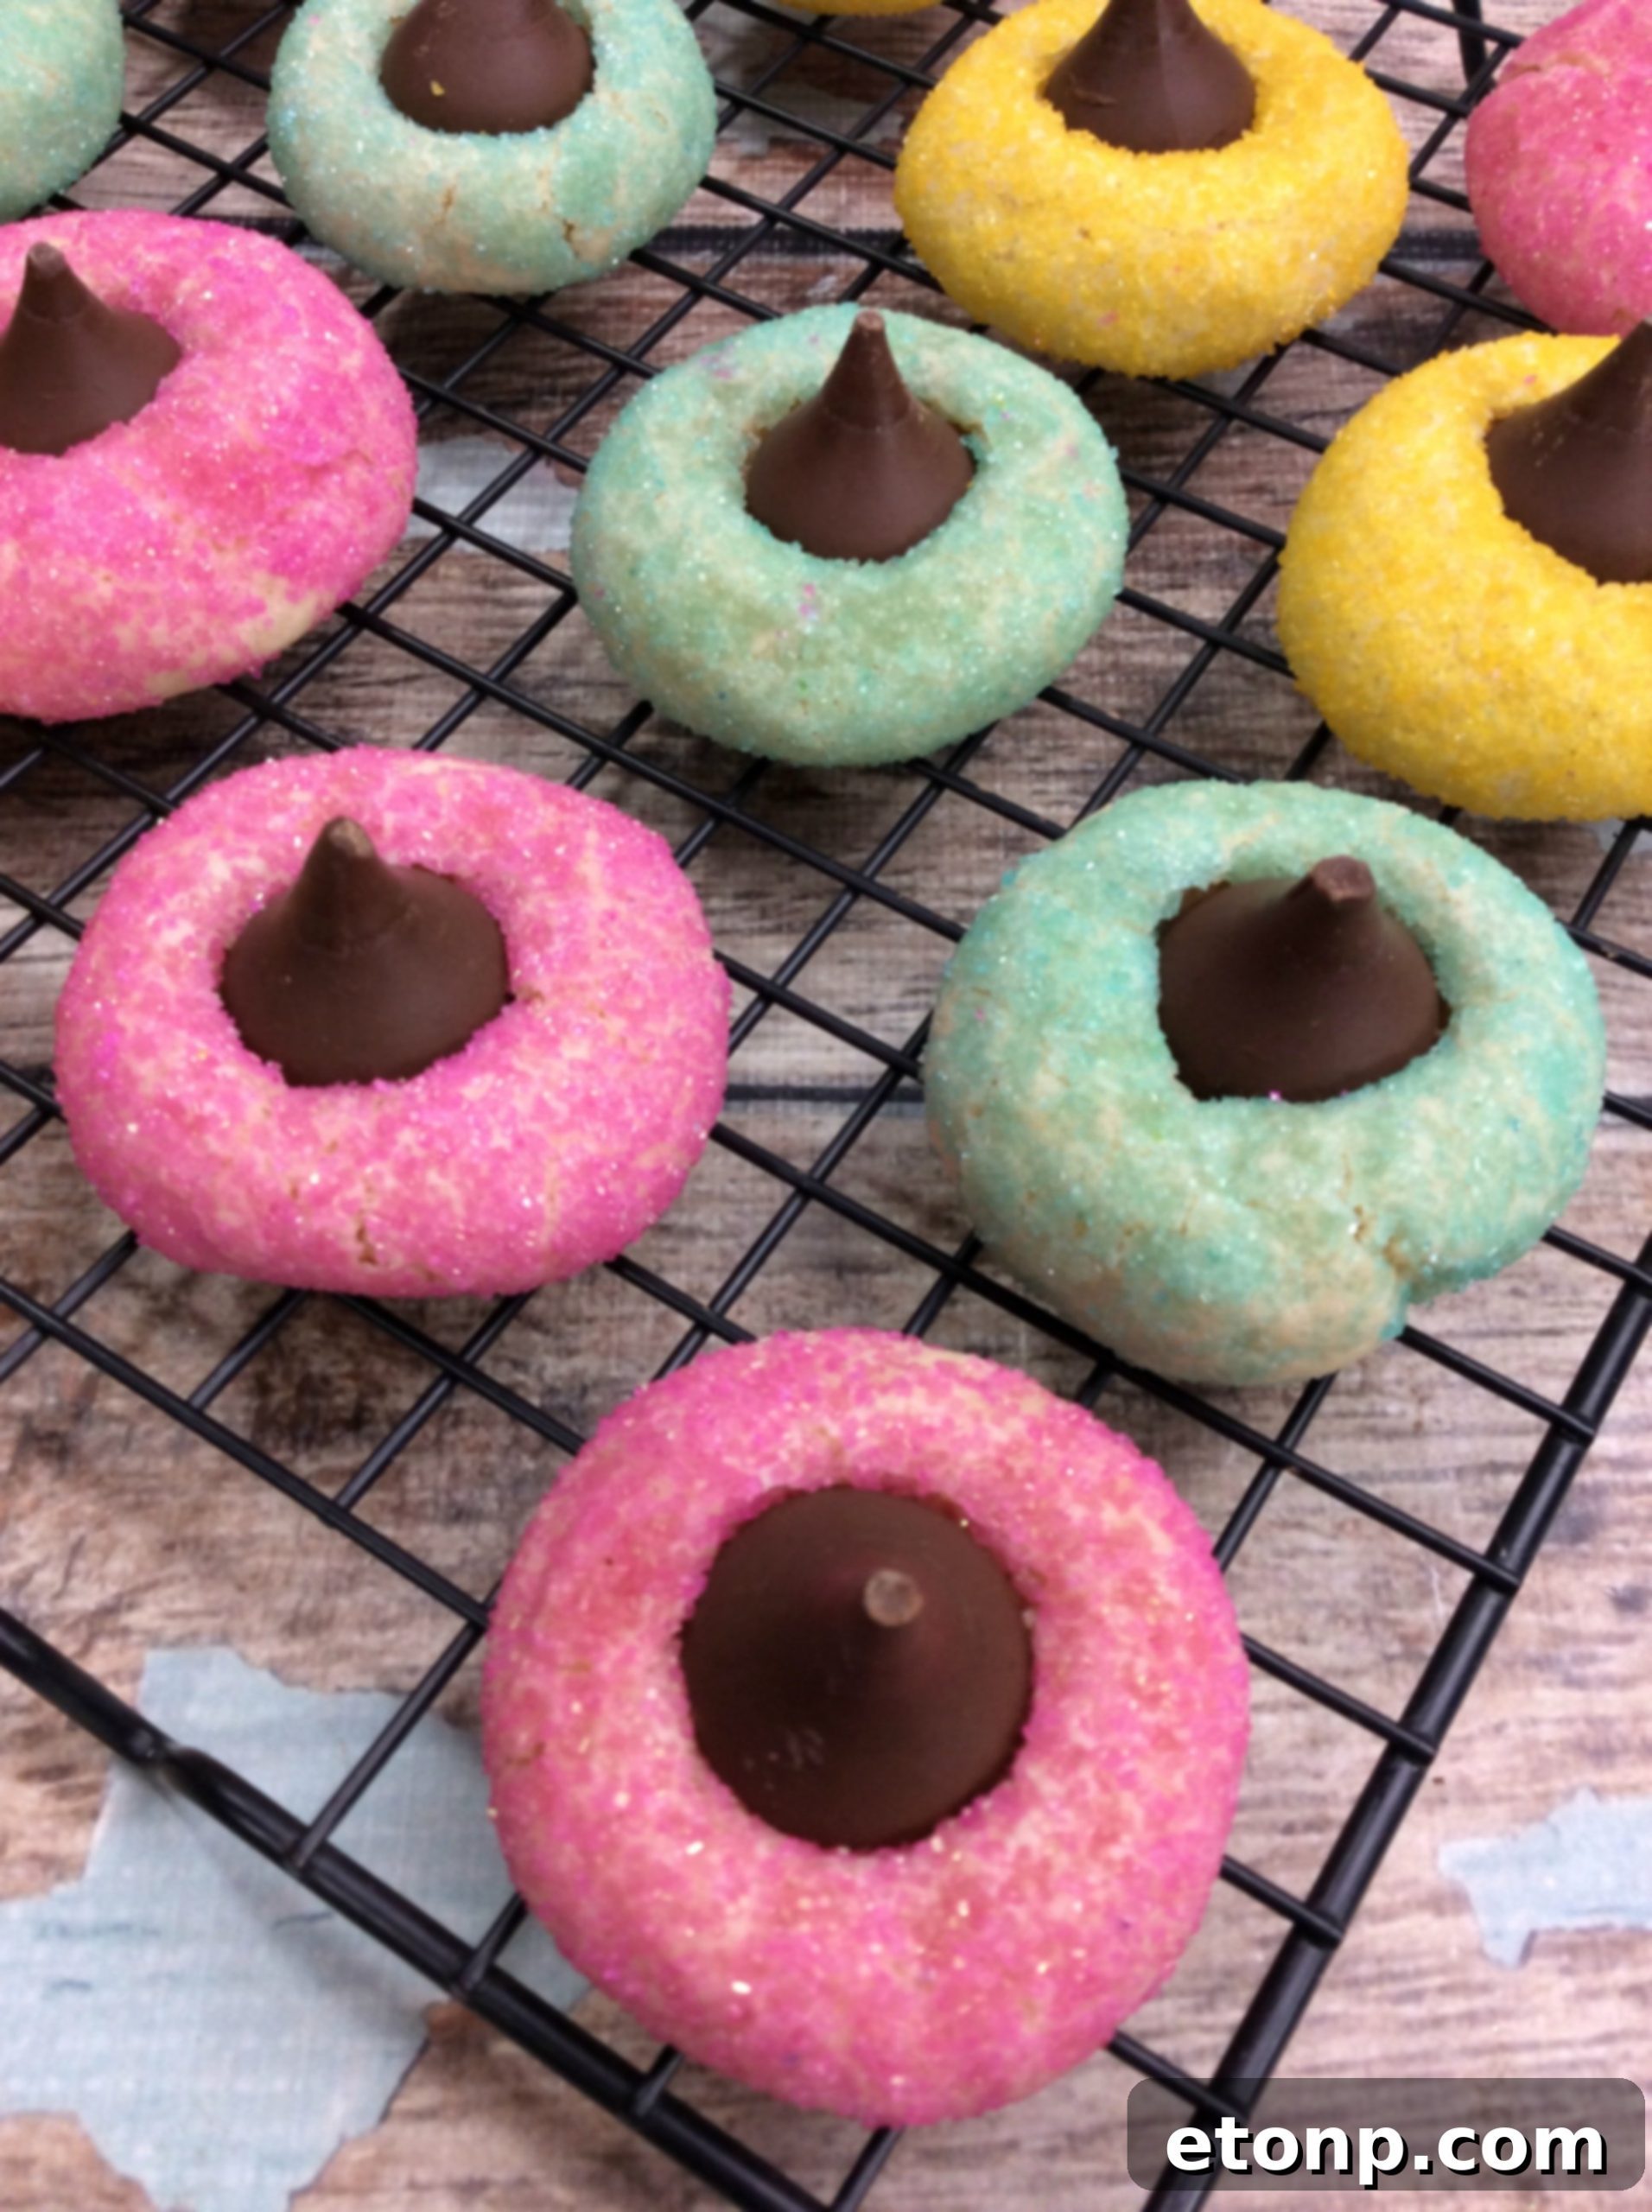
Not only are these cookies incredibly easy to make, but their visual appeal is simply stunning! Imagine soft, buttery cookies rolled in cheerful sprinkles, each crowned with a luscious Hershey’s Kiss. They are a feast for both the eyes and the palate.
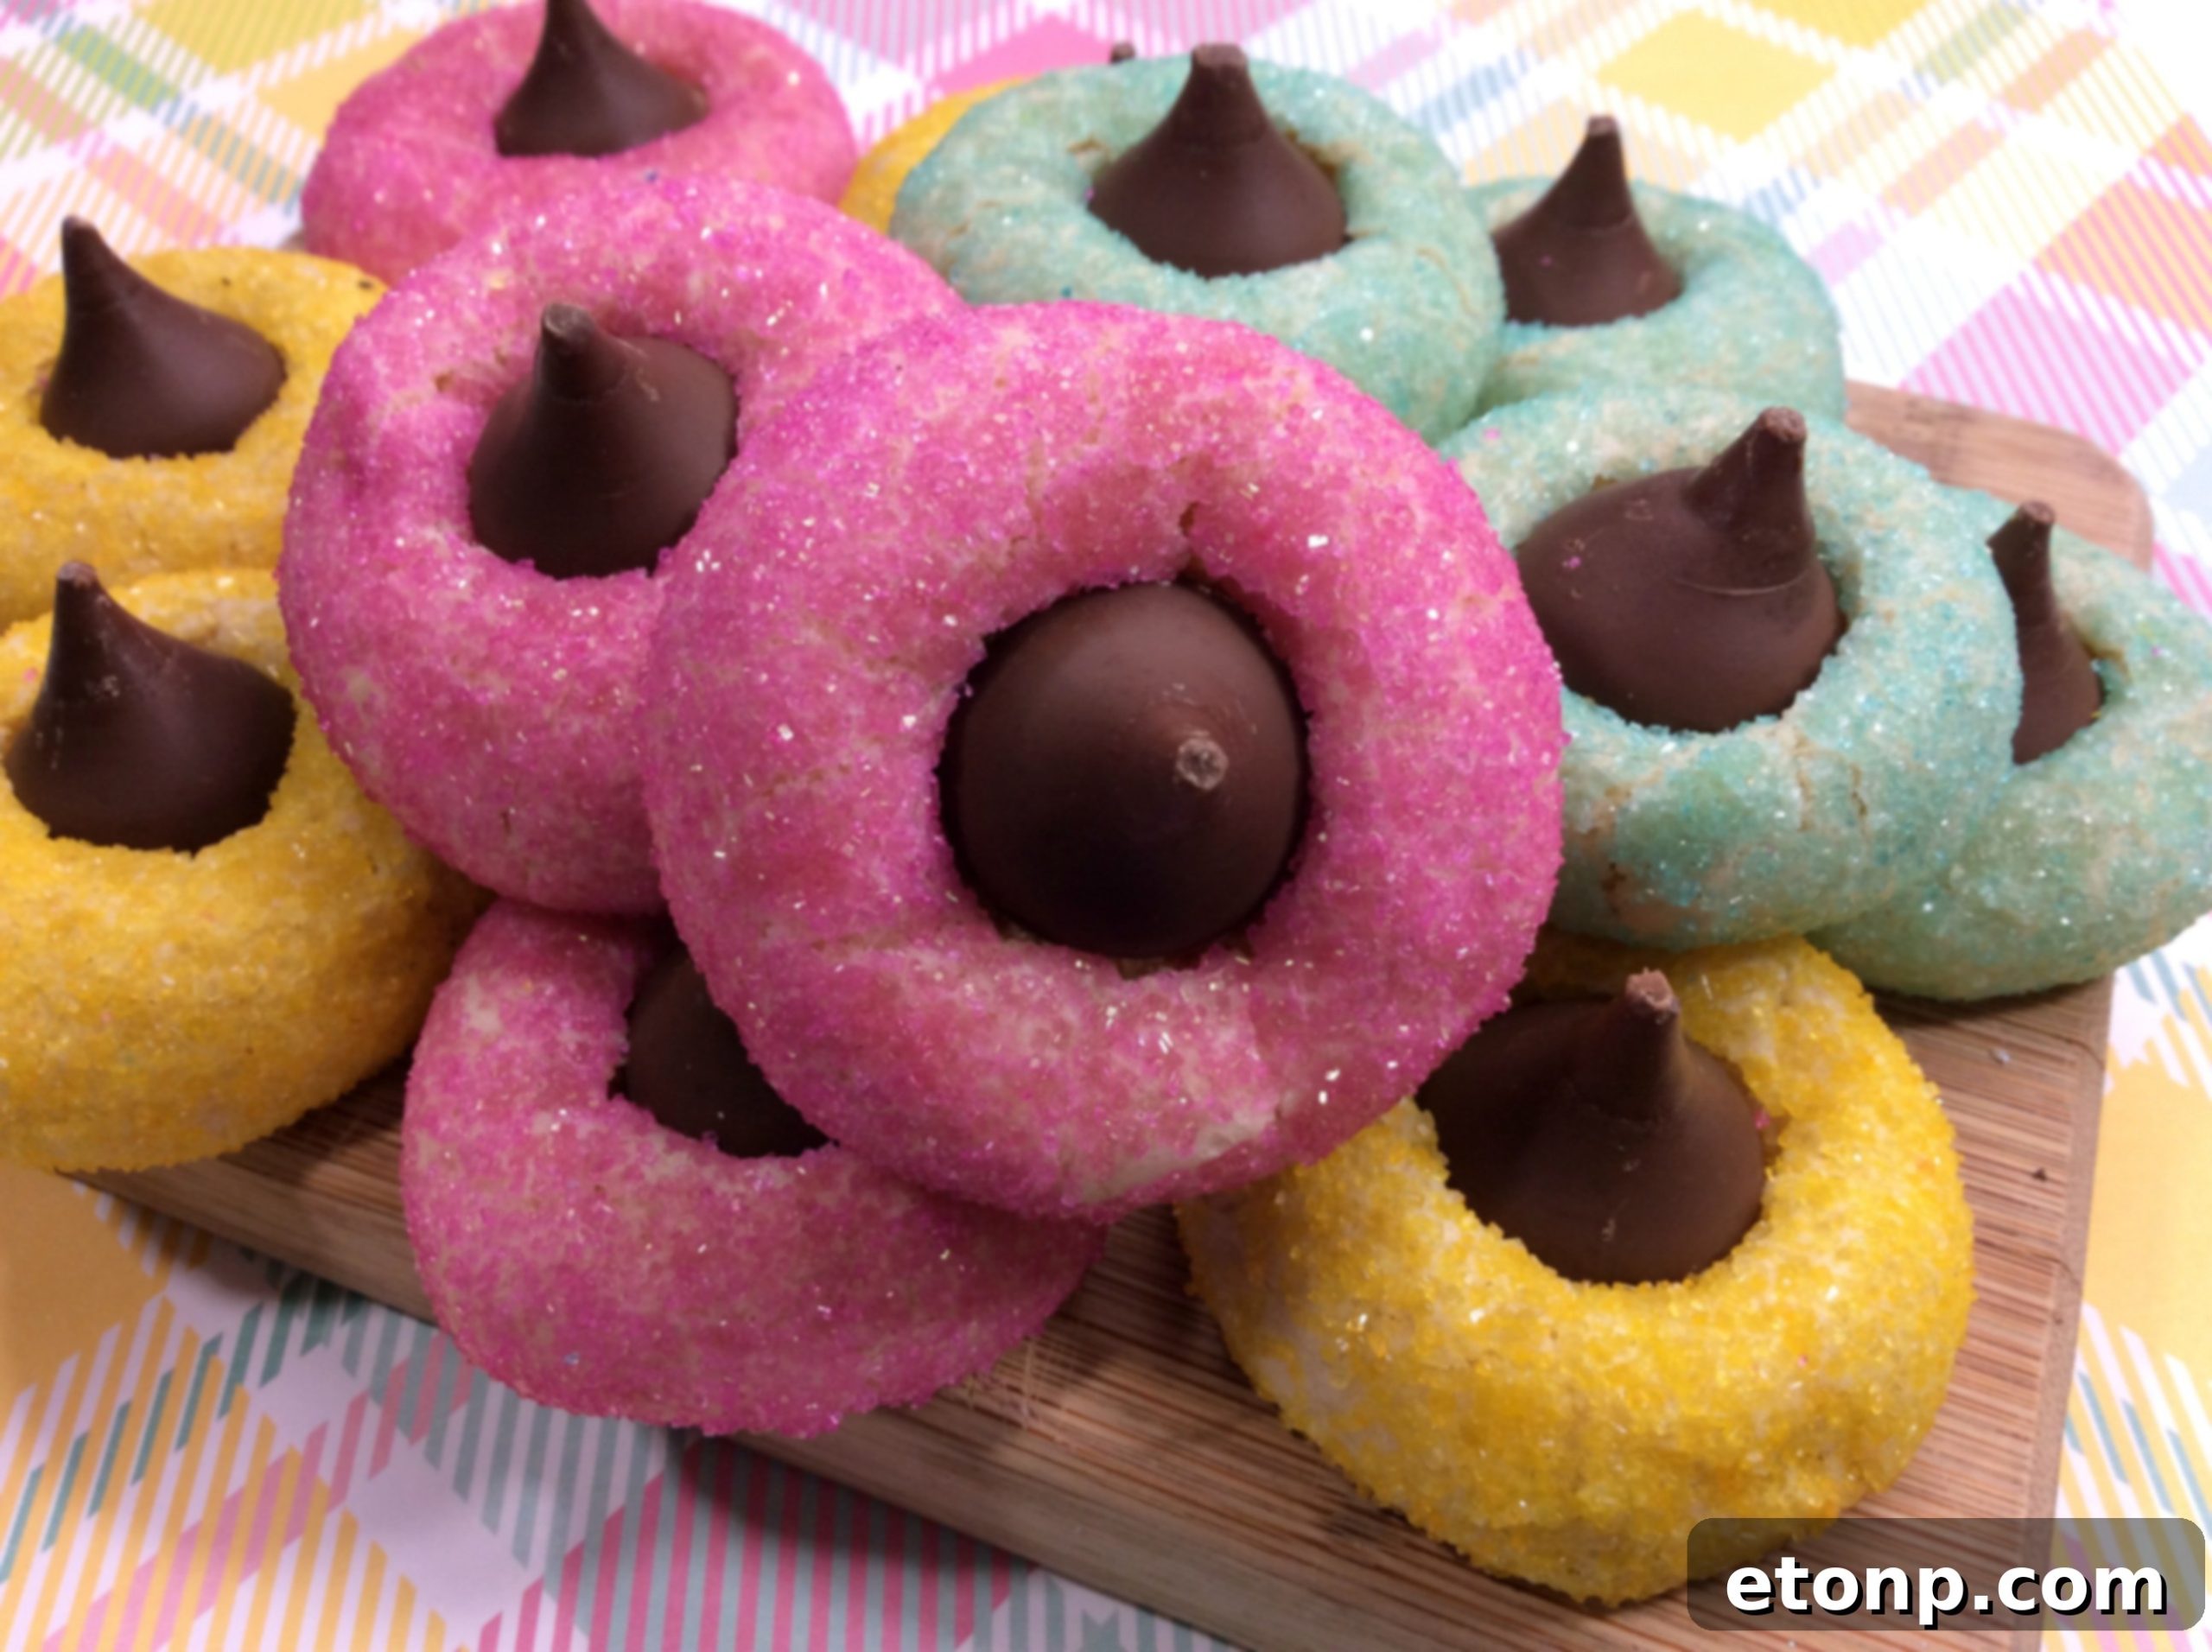
The Perfect Treat for Sharing Joy
One of my favorite spring traditions is baking these cookies and sharing them with friends and family. The smiles they bring are truly priceless. Trust me, everyone absolutely adores them!
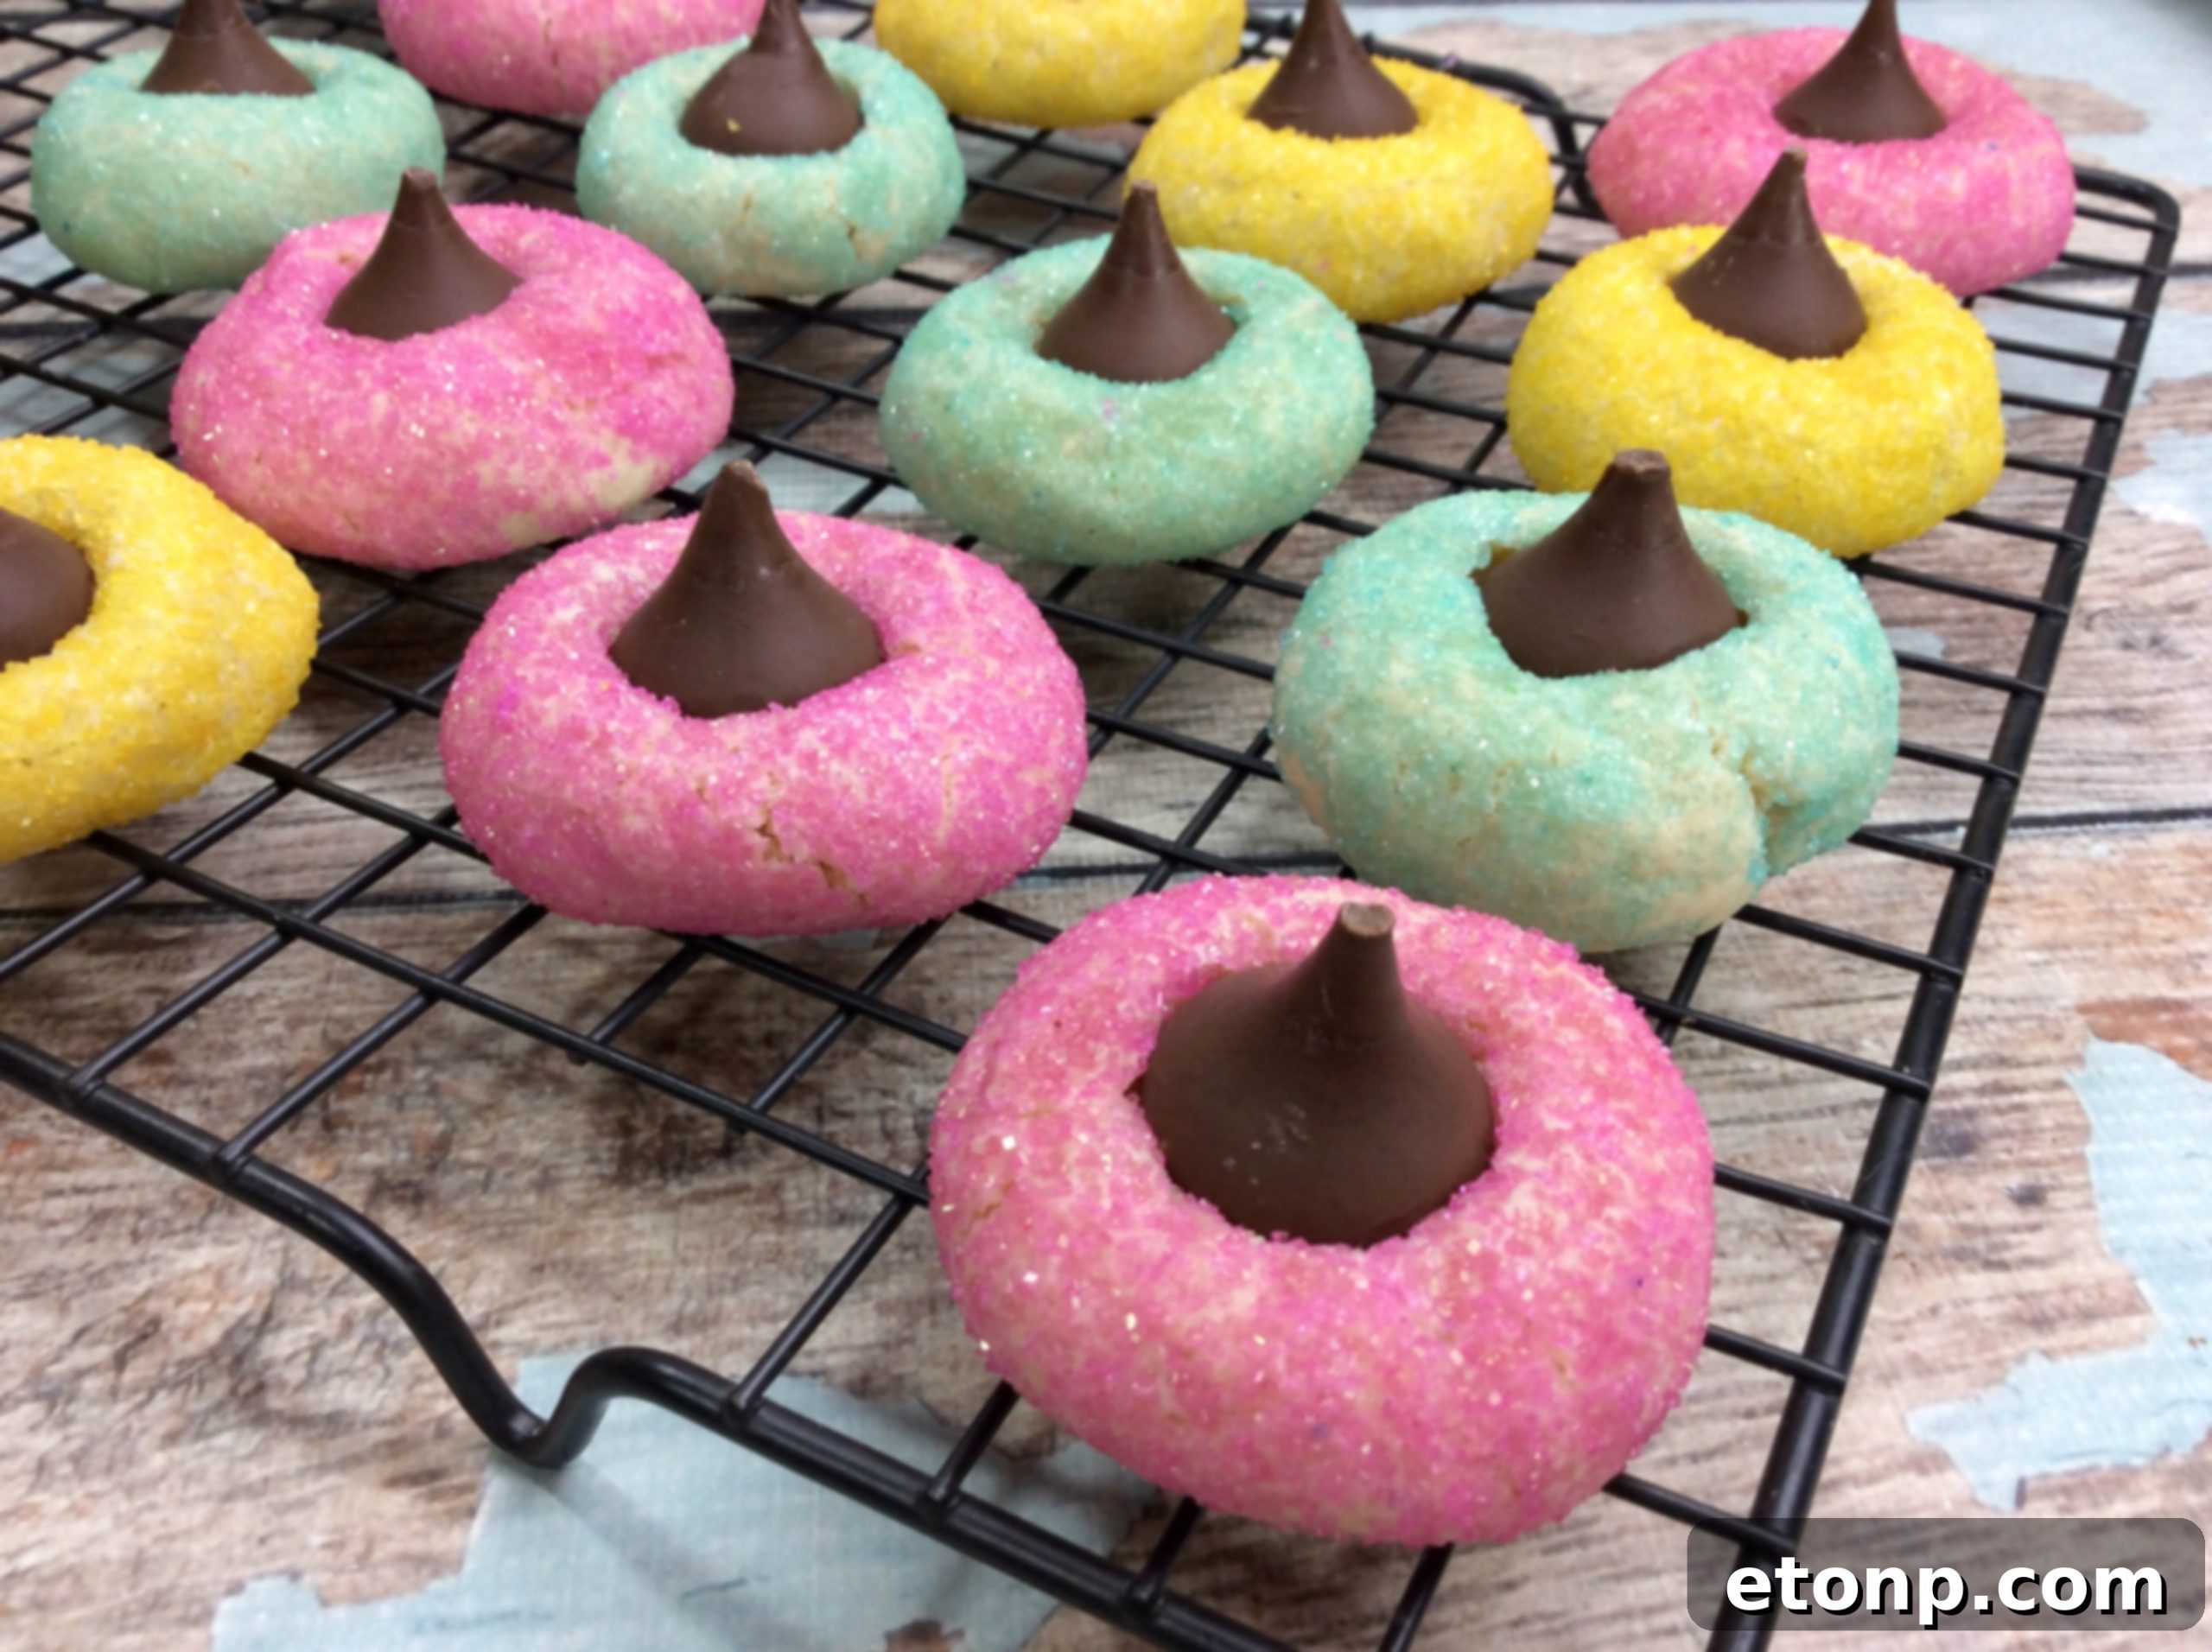
I promise you, once you try this recipe, you’ll fall in love with these Springtime Thumbprint Cookies too. They’re more than just a dessert; they’re a symbol of warmth, happiness, and the simple pleasures of the season.
Why These Cookies Are a Must-Bake This Spring
Spring is a time of renewal, vibrant colors, and fresh starts. These Springtime Thumbprint Cookies perfectly embody that spirit. Their cheerful appearance, coated in bright yellow, pink, and green sprinkles, makes them ideal for Easter celebrations, spring potlucks, garden parties, or simply as a delightful treat to enjoy with your afternoon tea. The classic combination of a tender, buttery cookie base with the sweet surprise of a melted Hershey’s Kiss is universally loved, making them a guaranteed crowd-pleaser.
Beyond their aesthetic appeal, these cookies offer a wonderfully comforting flavor profile. The addition of marshmallow extract is a game-changer, lending a subtle, sweet depth that complements the chocolate perfectly. This isn’t just a cookie; it’s a small bite of pure happiness, evoking feelings of childhood joy and carefree days. They’re simple enough for beginner bakers yet impressive enough for seasoned hosts.
Essential Ingredients for Perfect Springtime Thumbprint Cookies
Creating these magical cookies starts with a few basic, high-quality ingredients. Let’s explore what makes each component crucial to their deliciousness:
- **Butter:** The foundation of any great cookie, butter provides richness and contributes to that desirable melt-in-your-mouth texture. Always use unsalted butter at room temperature for best results in creaming.
- **Powdered Sugar:** Unlike granulated sugar, powdered sugar (confectioners’ sugar) gives these cookies a delicate, tender crumb and prevents them from spreading too much, ensuring they hold their thumbprint shape beautifully.
- **Marshmallow Extract:** This is the secret ingredient that elevates these thumbprint cookies from good to extraordinary. It adds a unique, subtle sweetness and a hint of a chewy, soft quality reminiscent of marshmallows without the stickiness.
- **Egg:** A single egg acts as a binder, holding all the ingredients together and contributing to the cookie’s structure and moisture.
- **All-Purpose Flour:** The primary dry ingredient, providing the necessary bulk and structure.
- **Baking Soda & Cream of Tartar:** This classic leavening duo works together to give the cookies a slight lift and a wonderfully soft, almost cake-like texture, without making them too airy. Cream of tartar also helps to keep the cookies tender and prevents excessive browning.
- **Yellow, Pink, and Green Sugar Sprinkles:** These are essential for the “springtime” aesthetic. The vibrant colors transform simple cookie dough into a festive treat, making them irresistible to both children and adults.
- **Hershey’s Kisses:** The iconic chocolate kiss is the perfect centerpiece for these thumbprint cookies. Its creamy milk chocolate melts slightly into the warm cookie, creating a delightful gooey center that contrasts beautifully with the cookie’s texture. Remember to unwrap them all before you start baking!
Having these ingredients prepped and ready will make your baking process smooth and enjoyable.
Springtime Thumbprint Cookies Recipe
Prepare to bake a batch of joy with this simple yet stunning recipe for Springtime Thumbprint Cookies. Perfect for any spring occasion!
Ingredients
Yields: 24 cookies
- 1 C (2 sticks) unsalted butter, softened
- 1 1/2 C Powdered sugar
- 2 tsp marshmallow extract
- 1 large egg
- 3 C all-purpose flour
- 1 tsp baking soda
- 1 tsp cream of tartar
- 1 container each of yellow, pink, and green sugar sprinkles (or your favorite spring colors)
- 3 small bowls (for sprinkles)
- 1 bag of Hershey’s Kisses (approximately 24 unwrapped pieces)
Instructions
-
Preheat your oven to 350 degrees Fahrenheit (175 degrees Celsius).
-
Line a baking sheet with parchment paper and set aside. This prevents sticking and makes cleanup easy.
-
In the bowl of a stand mixer fitted with the paddle attachment, cream together the softened butter, powdered sugar, marshmallow extract, and egg. Mix on medium speed until the mixture is light, fluffy, and well combined (about 2-3 minutes). Scrape down the sides of the bowl as needed.
-
In a separate large bowl, whisk together the flour, baking soda, and cream of tartar. Ensure these dry ingredients are thoroughly combined.
-
Gradually add the dry ingredients to the wet ingredients in the stand mixer, mixing on low speed until just combined. Be careful not to overmix, as this can lead to tough cookies.
-
If the dough is still a bit crumbly, use your hands to gently knead it until it comes together into a cohesive ball.
-
Pour each color of sprinkles into its own small, separate bowl. This makes coating the cookies much easier and prevents colors from mixing prematurely.
-
Using a small ice cream scoop (about 1.5 tablespoons) or your hands, scoop up a small amount of dough.
-
Roll the dough into a smooth, uniform ball. This ensures even baking.
-
Repeat this process for 23 more cookie dough balls, ensuring you have 24 in total.
-
Pick up one dough ball and gently roll it in the yellow sprinkles, ensuring it’s fully coated. Place it back onto the prepared baking sheet, leaving about 2 inches between each cookie.
-
Repeat with the remaining dough balls, alternating between the three sprinkle colors (yellow, pink, and green) to create a beautiful, varied assortment.
-
Bake in the preheated oven for 8-12 minutes, or until the edges are lightly golden and the centers are set. Cookies should still be soft when removed from the oven.
-
Once baked, remove the cookies from the oven and let them sit on the baking sheet for 1 minute to cool slightly and firm up.
-
While the cookies are still warm, quickly place an unwrapped Hershey’s Kiss firmly into the center of each cookie, creating a “thumbprint” indentation. The warmth of the cookie will slightly melt the chocolate, allowing it to adhere perfectly.
-
Let the cookies sit on the tray for another 10-20 minutes, or until the chocolate is completely cooled and set. You can also transfer them to a wire rack to finish cooling if desired.
-
Enjoy these beautiful and delicious Springtime Thumbprint Cookies!
Tips for Baking Success and Creative Variations
To ensure your Springtime Thumbprint Cookies turn out perfectly every time, here are a few expert tips:
- **Room Temperature Ingredients:** Softened butter and a room-temperature egg emulsify better, leading to a smoother dough and a better cookie texture.
- **Don’t Overmix:** Overmixing the dough, especially after adding flour, can develop too much gluten, resulting in tough cookies. Mix just until combined.
- **Uniform Cookie Balls:** Using a cookie scoop helps create evenly sized cookies, which means they will bake consistently.
- **Prep the Kisses:** Unwrap all Hershey’s Kisses before you start baking. This saves valuable time when the cookies come out of the oven and need the chocolate added quickly.
- **Cooling is Key:** Allow the chocolate to fully set before storing or stacking the cookies. This prevents the Kisses from smushing or sticking together.
Feel free to get creative with your thumbprint cookies! Here are some variations:
- **Different Extracts:** Swap marshmallow extract for vanilla, almond, or even lemon extract for a different flavor profile.
- **Sprinkle Fun:** Experiment with different types and colors of sprinkles to match other holidays or themes. Rainbow sprinkles, nonpareils, or even edible glitter could be fun.
- **Chocolate Alternatives:** Instead of Hershey’s Kisses, you could use mini chocolate cups, small squares of chocolate, or even a dollop of jam for a fruitier thumbprint.
- **Citrus Zest:** Add the zest of one lemon or orange to the dough for a bright, fresh flavor that perfectly complements spring.
Storing Your Delicious Cookies
These Springtime Thumbprint Cookies stay fresh and delicious for several days. Store them in an airtight container at room temperature for up to 5-7 days. If you need to stack them, place a piece of parchment paper between layers to protect the chocolate kisses. You can also freeze the baked cookies for up to 3 months. Simply thaw them at room temperature before serving.
If you’re making the dough ahead of time, you can form the cookie balls, roll them in sprinkles, and then freeze them on a baking sheet until solid. Transfer the frozen balls to a freezer-safe bag and bake from frozen, adding a couple of extra minutes to the baking time.
Did you make this recipe?
I would love to see your beautiful creations! Tag me on social media or share your photos. Make sure to follow on Pinterest for more incredible recipes and baking inspiration!
Share on Facebook
Please remember to SHARE on Facebook and PIN IT!
FOLLOW ME ON PINTEREST BY CLICKING HERE