
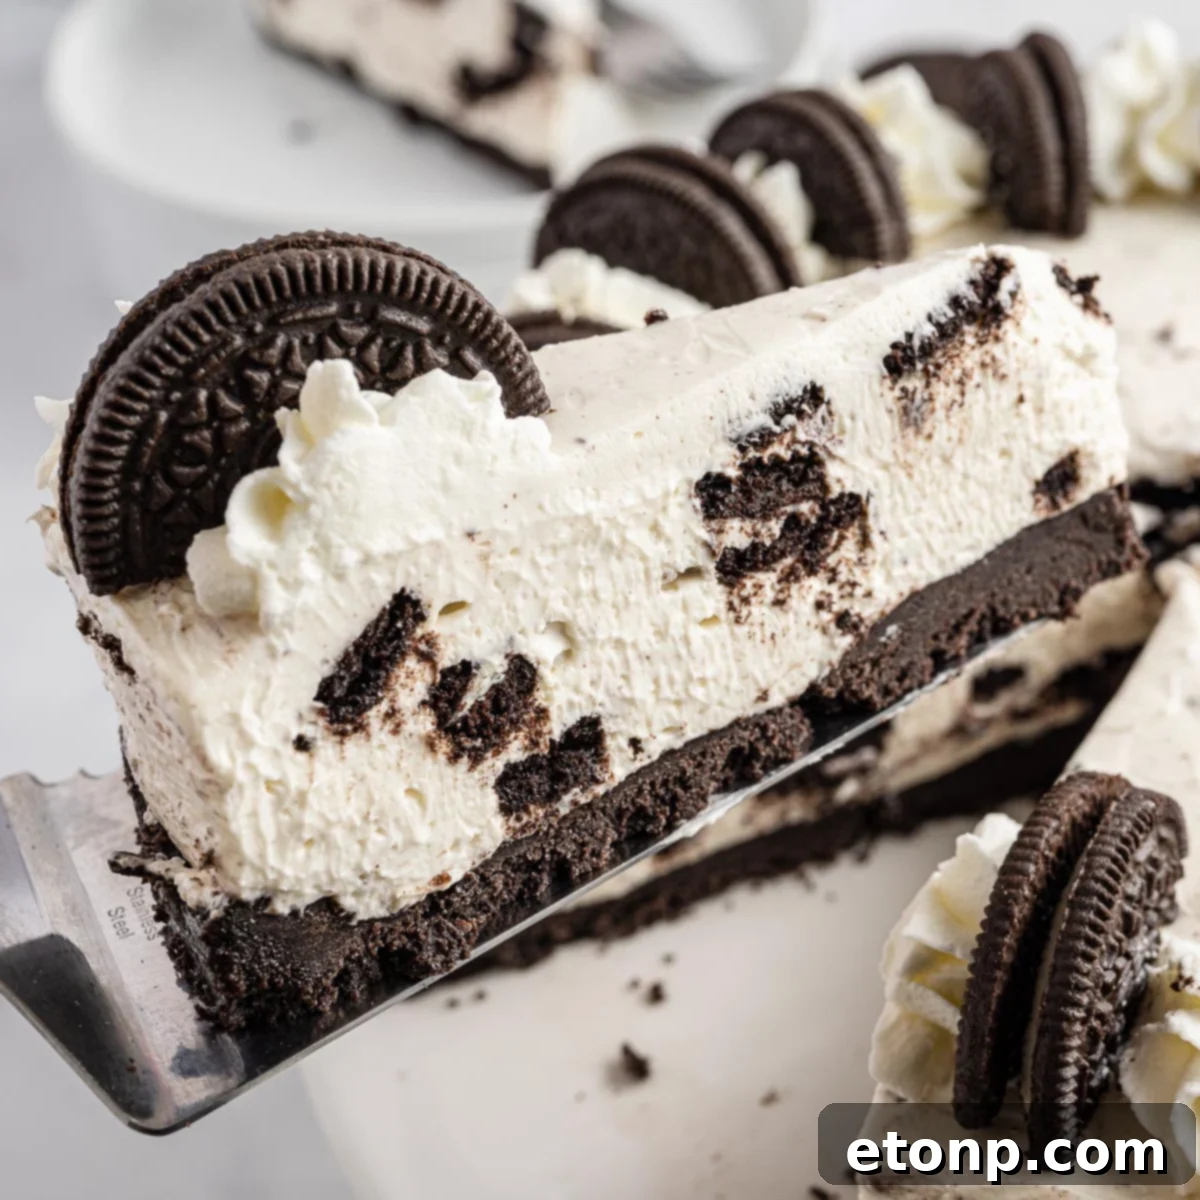
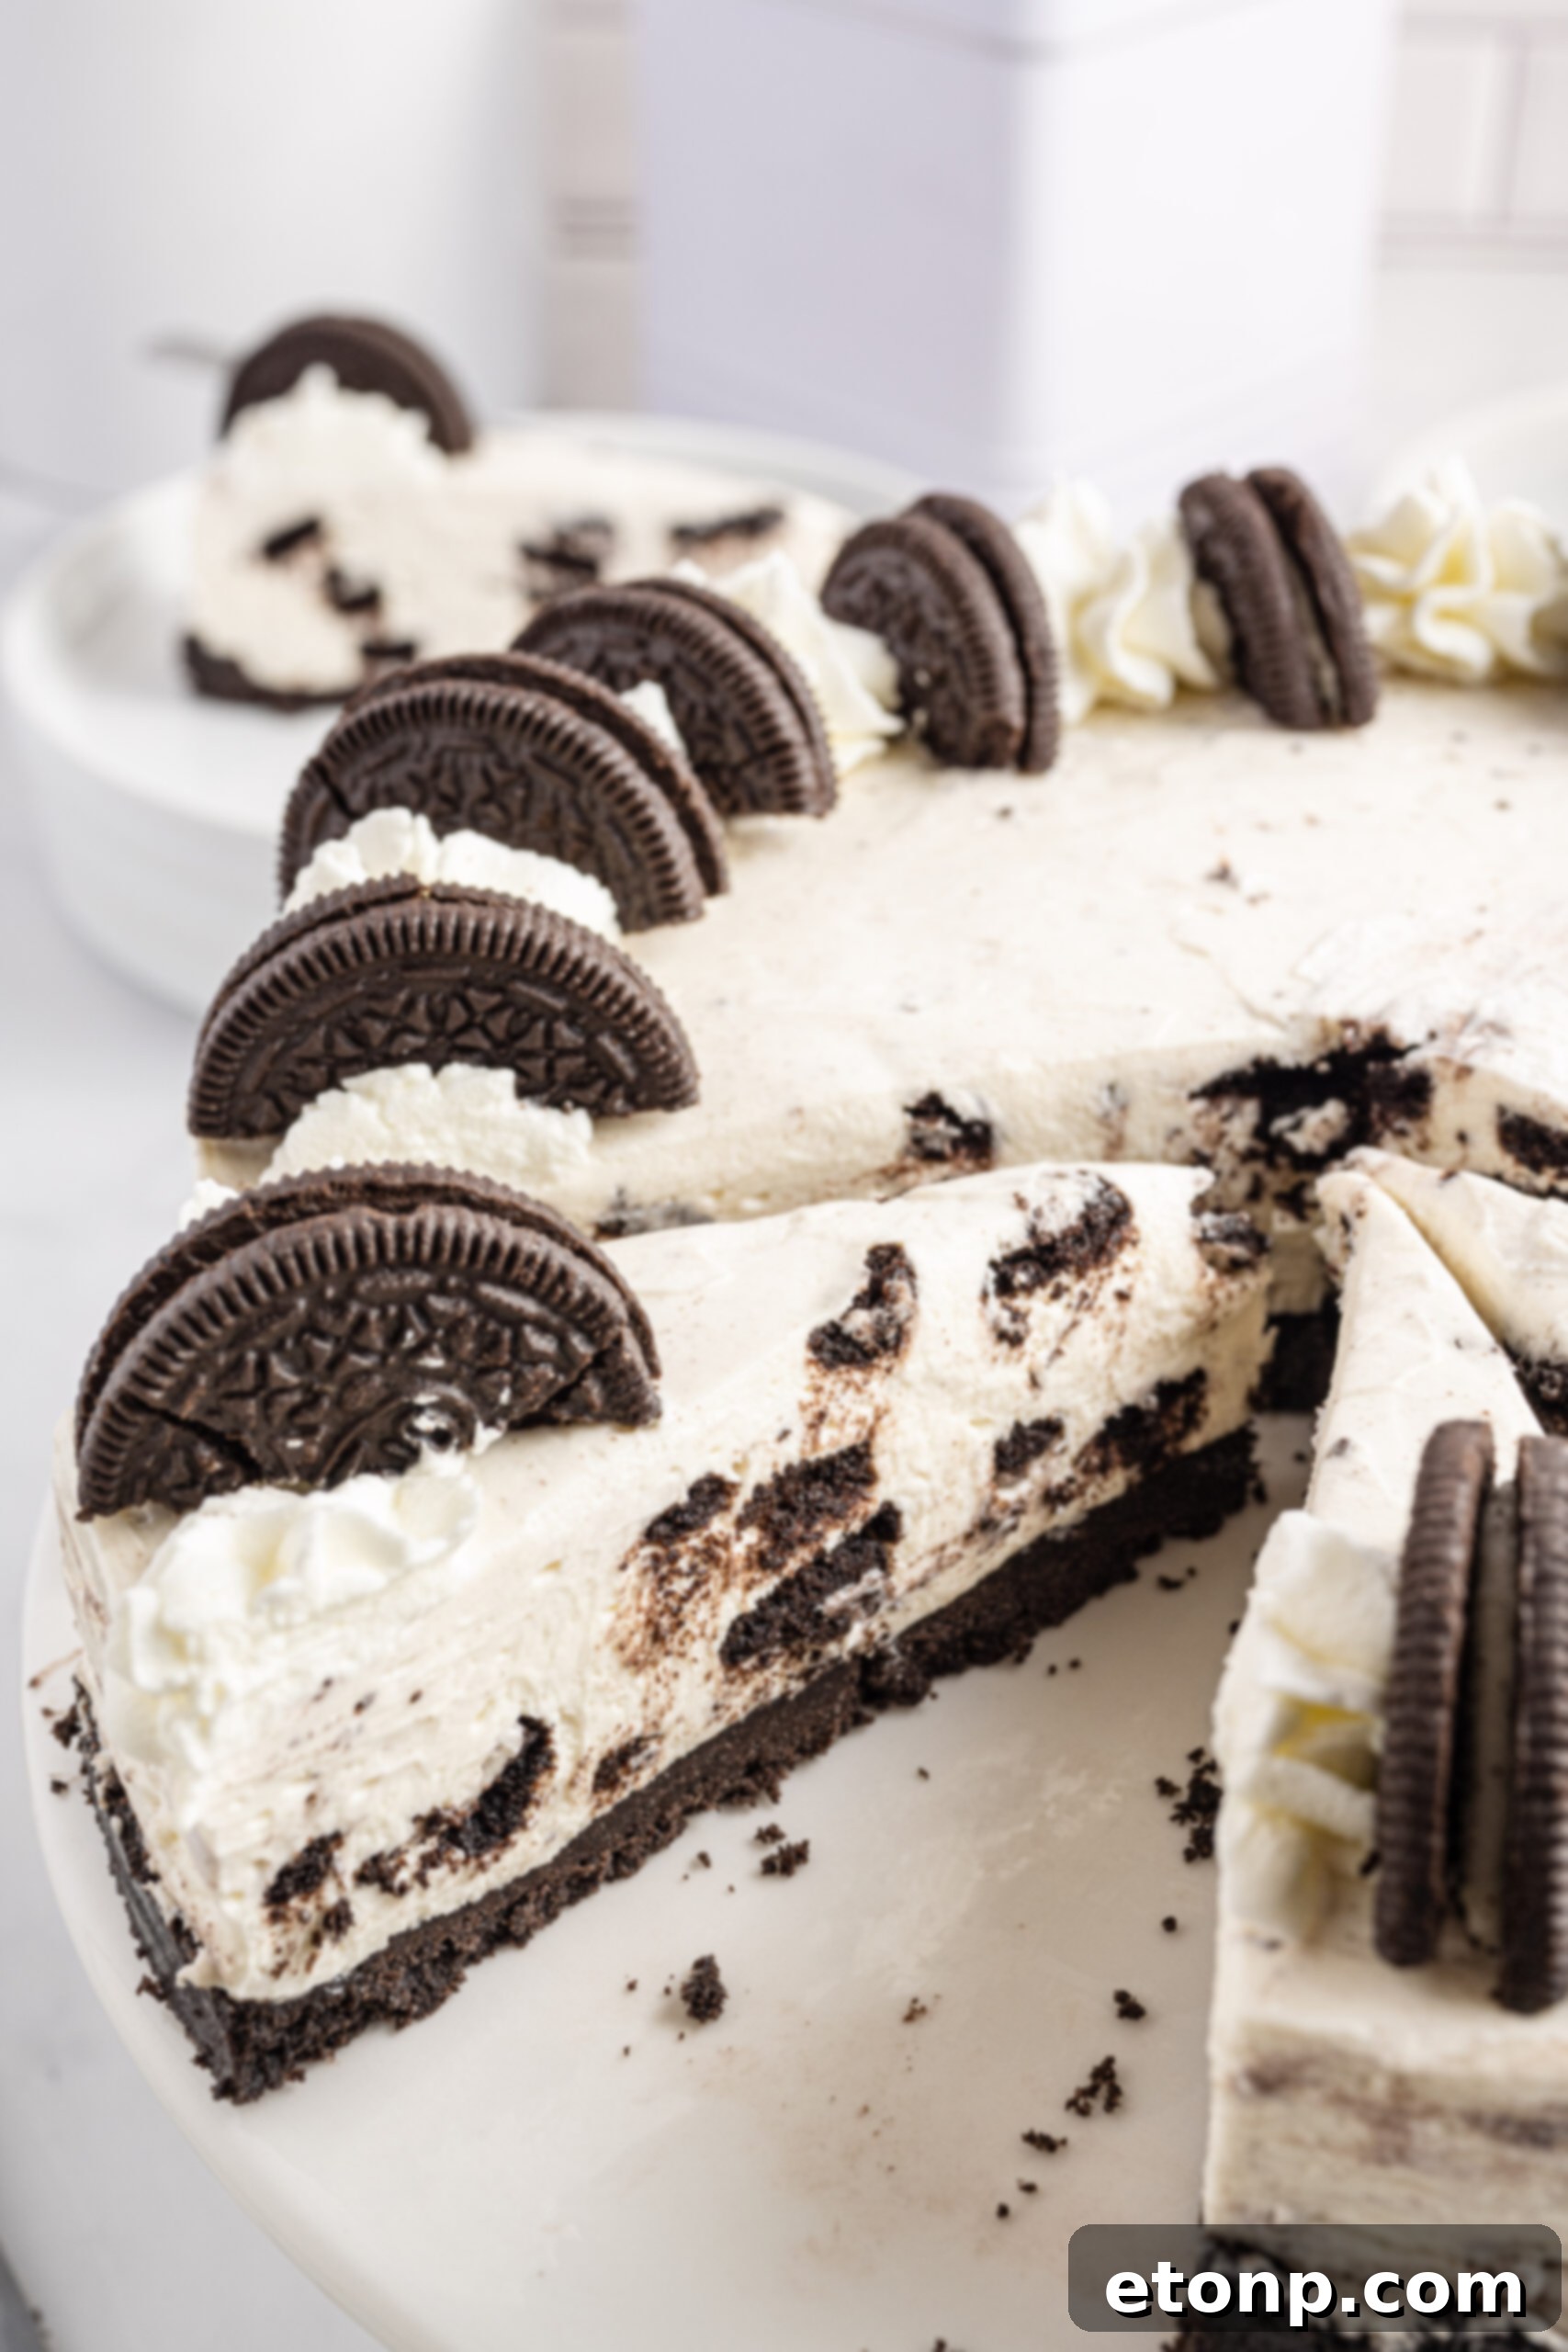
Prepare to delight your taste buds with the ultimate easy dessert: this **Irresistible No-Bake Oreo Cheesecake!** Imagine a rich, creamy cheesecake infused with chunks of America’s favorite cookie, all nestled on a crunchy Oreo crust, and requiring no oven time whatsoever. This isn’t just a recipe; it’s an invitation to culinary joy that promises maximum flavor with minimum effort. Whether you’re a seasoned baker or a complete novice, this simple, stress-free treat will become your go-to for satisfying sweet cravings and impressing guests. Get ready to create a dessert that’s not only incredibly delicious but also surprisingly quick to assemble. Let’s dive into the delightful world of homemade no-bake cheesecake!
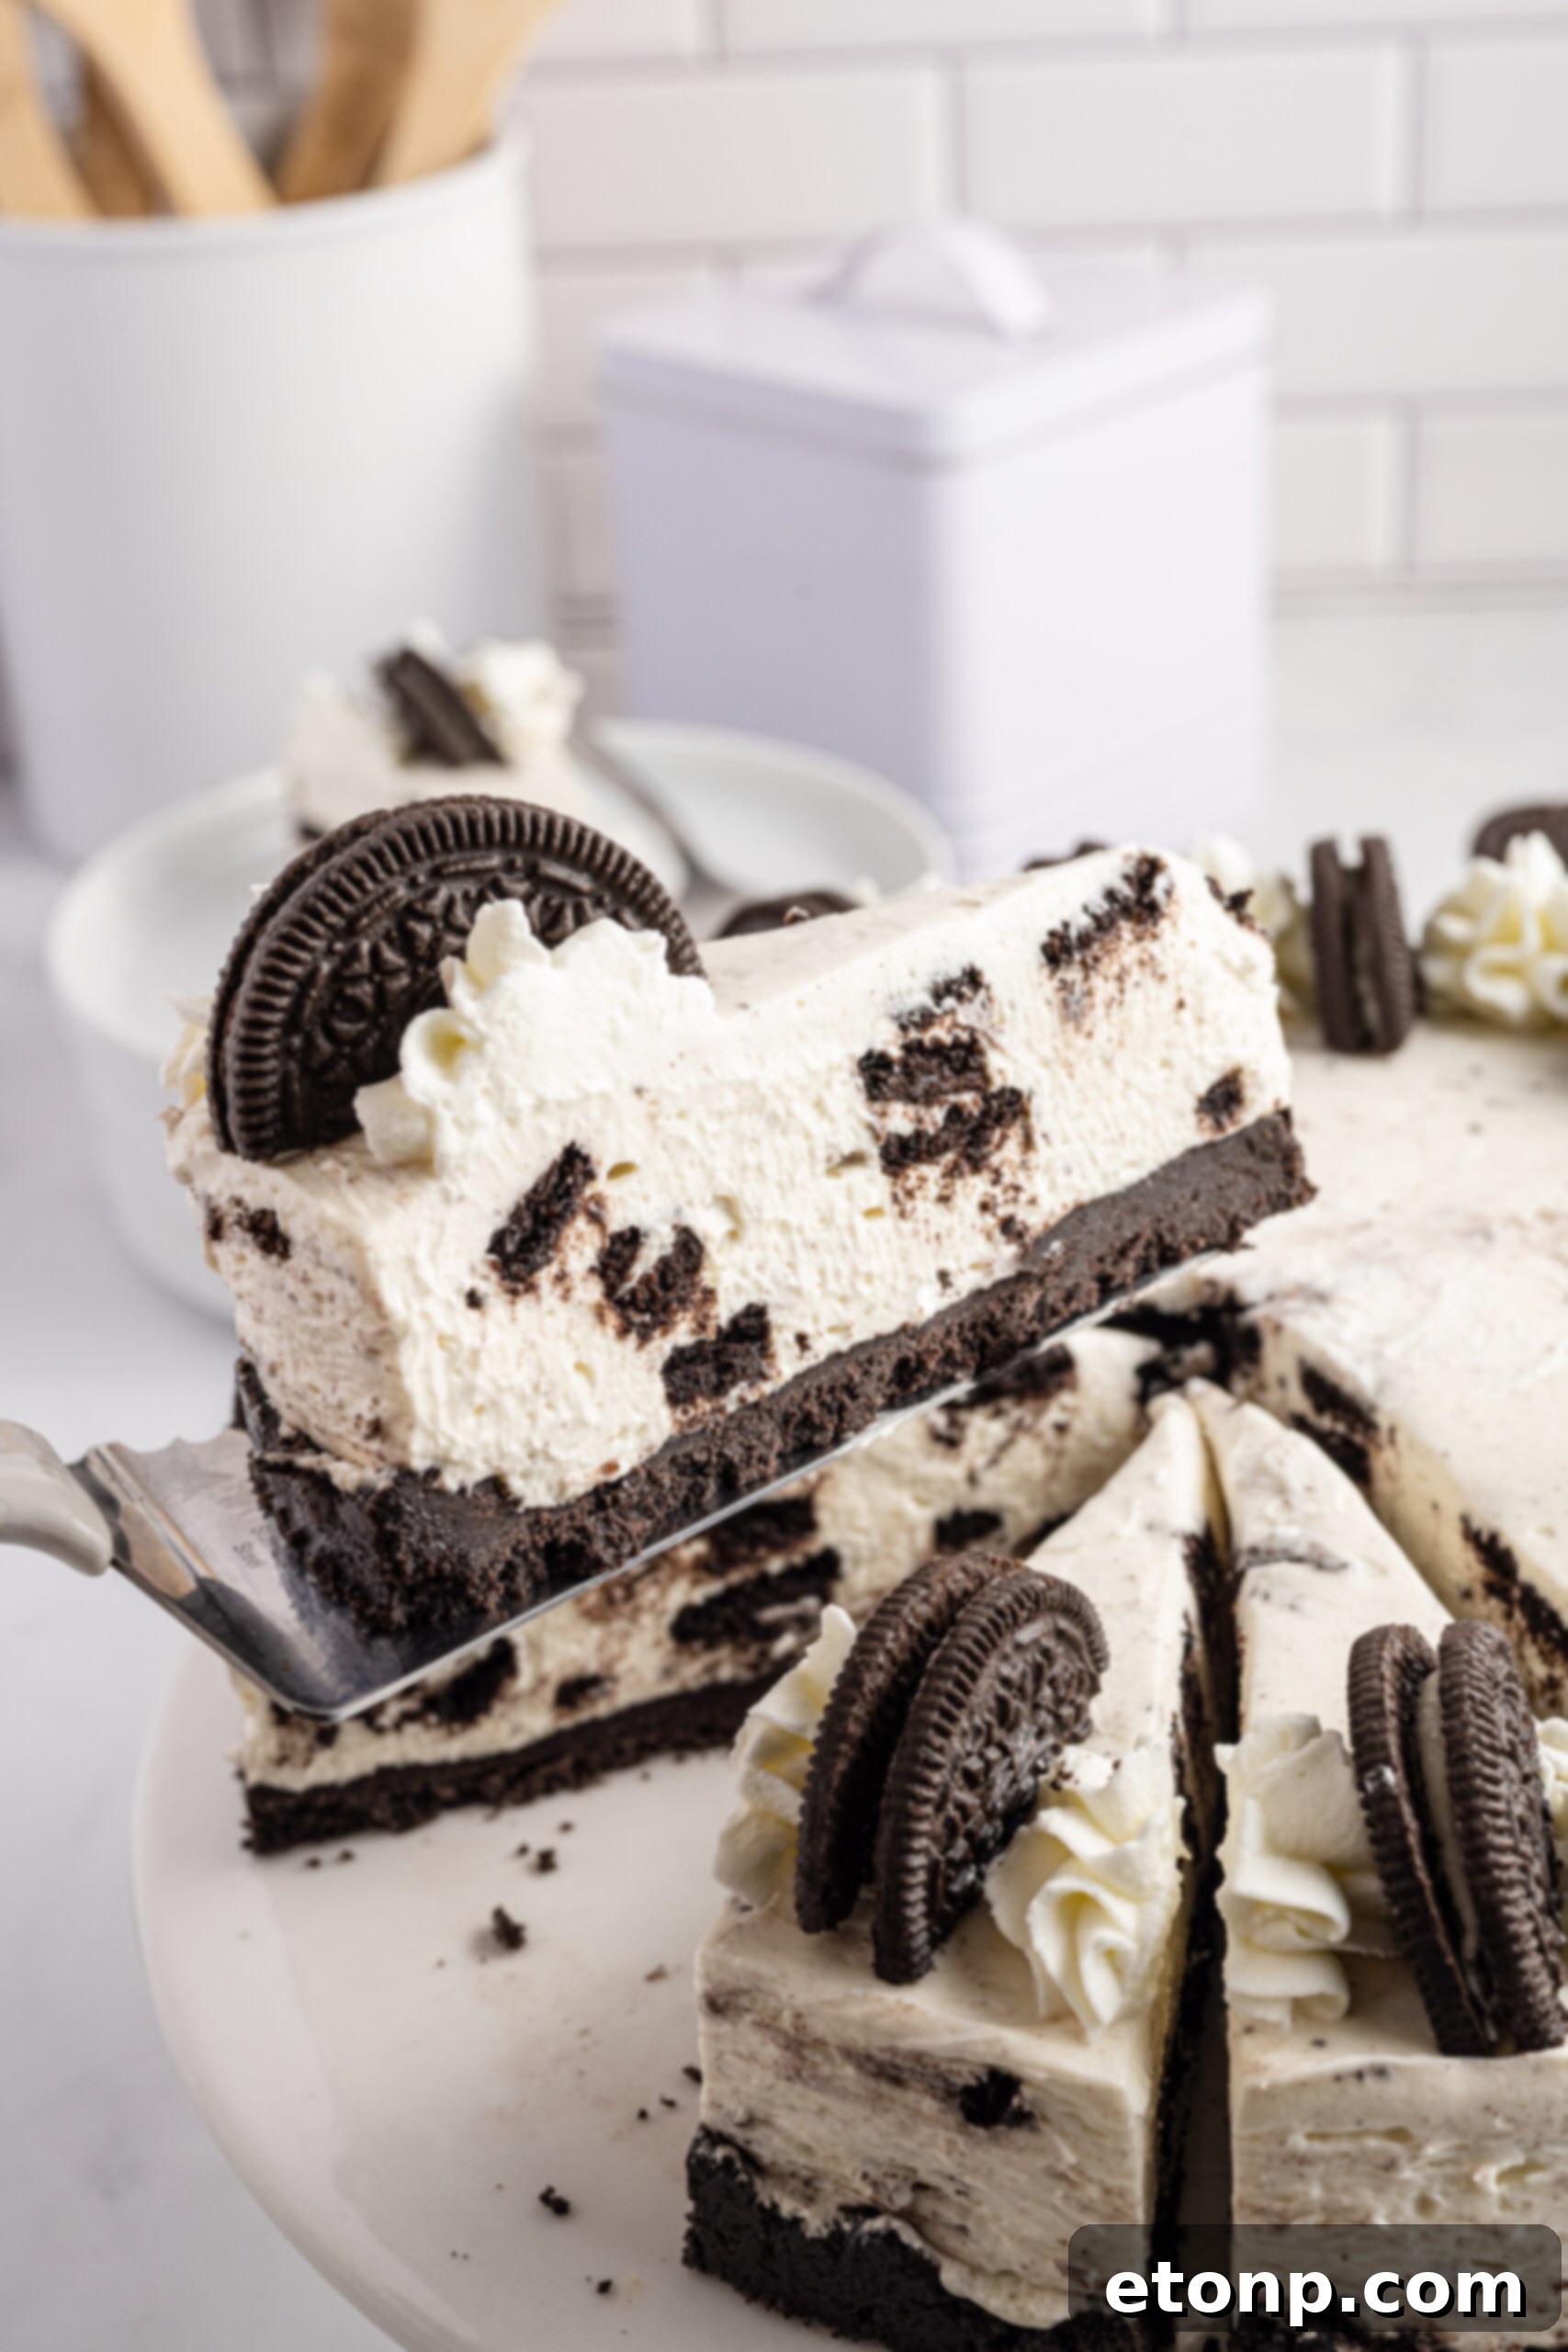
Are you searching for a show-stopping dessert that doesn’t demand a multitude of obscure ingredients or the daunting task of preheating your oven? Look no further! This **No-Bake Oreo Cheesecake** is designed for speed, simplicity, and an unforgettable taste experience. Crafted with just a handful of everyday ingredients like velvety cream cheese, fine powdered sugar, and aromatic vanilla extract, you’ll whip up the most magnificent cheesecake in record time. It’s the perfect solution for busy schedules, warm weather, or simply when you crave an extraordinary sweet treat without the fuss of traditional baking.
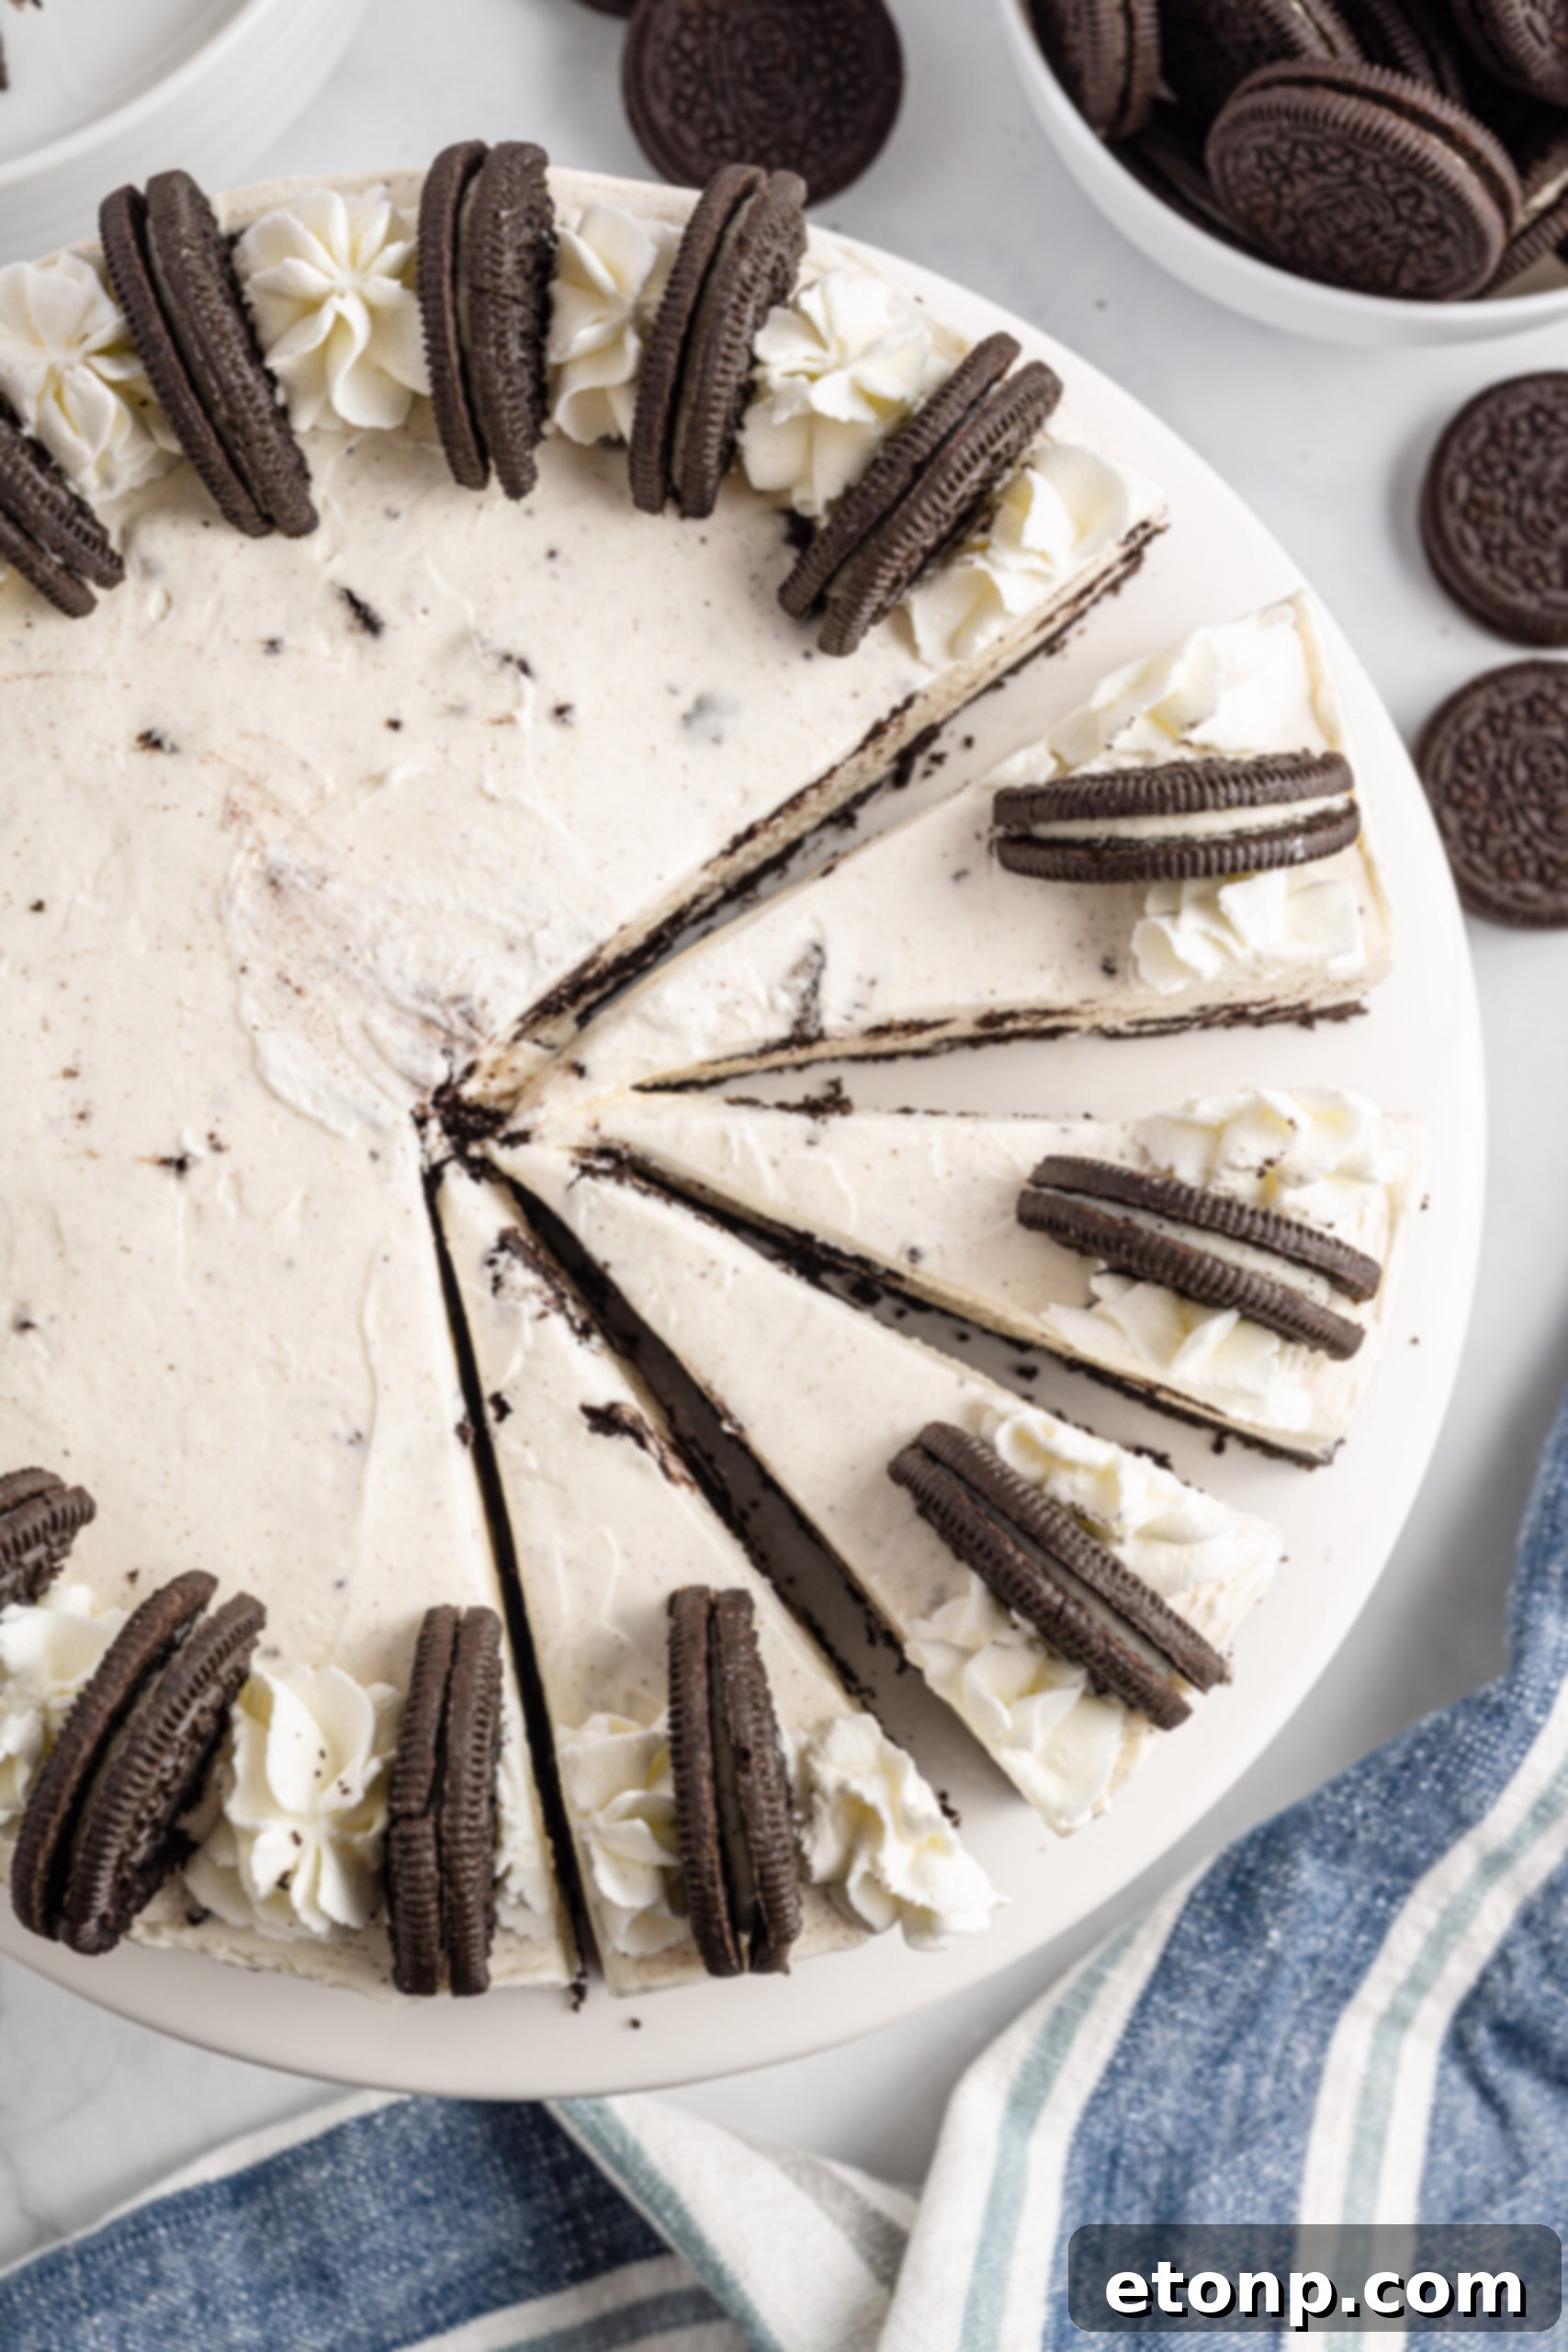
Crafting the Perfect Homemade No-Bake Oreo Cheesecake
Have you ever dreamed of making a decadent cheesecake without the intimidation of water baths, cracking tops, or lengthy baking times? This recipe is your dream come true! Our guide to **homemade No-Bake Oreo Cheesecake** brings together two universally loved treats – classic cheesecake and iconic Oreo cookies – into a harmonious dessert that is truly out of this world. If you, like me, adore the rich, tangy creaminess of cheesecake and the distinct chocolatey crunch of Oreos, you’re about to discover your new favorite dessert. This recipe isn’t just about deliciousness; it’s about making dessert creation accessible and enjoyable, saving you precious time while delivering an impressive treat for family, friends, or simply yourself.
Making cheesecake from scratch might sound complex, but with this no-bake method, it’s surprisingly straightforward. You get all the luscious flavor and luxurious texture of a classic cheesecake, paired with the irresistible charm of Oreo cookies, all without ever turning on your oven. This means fewer dishes, less heat in your kitchen, and more time to enjoy your masterpiece. Plus, creating it at home allows for complete customization, from the type of Oreos you use to the toppings you choose, ensuring every slice is exactly to your liking.
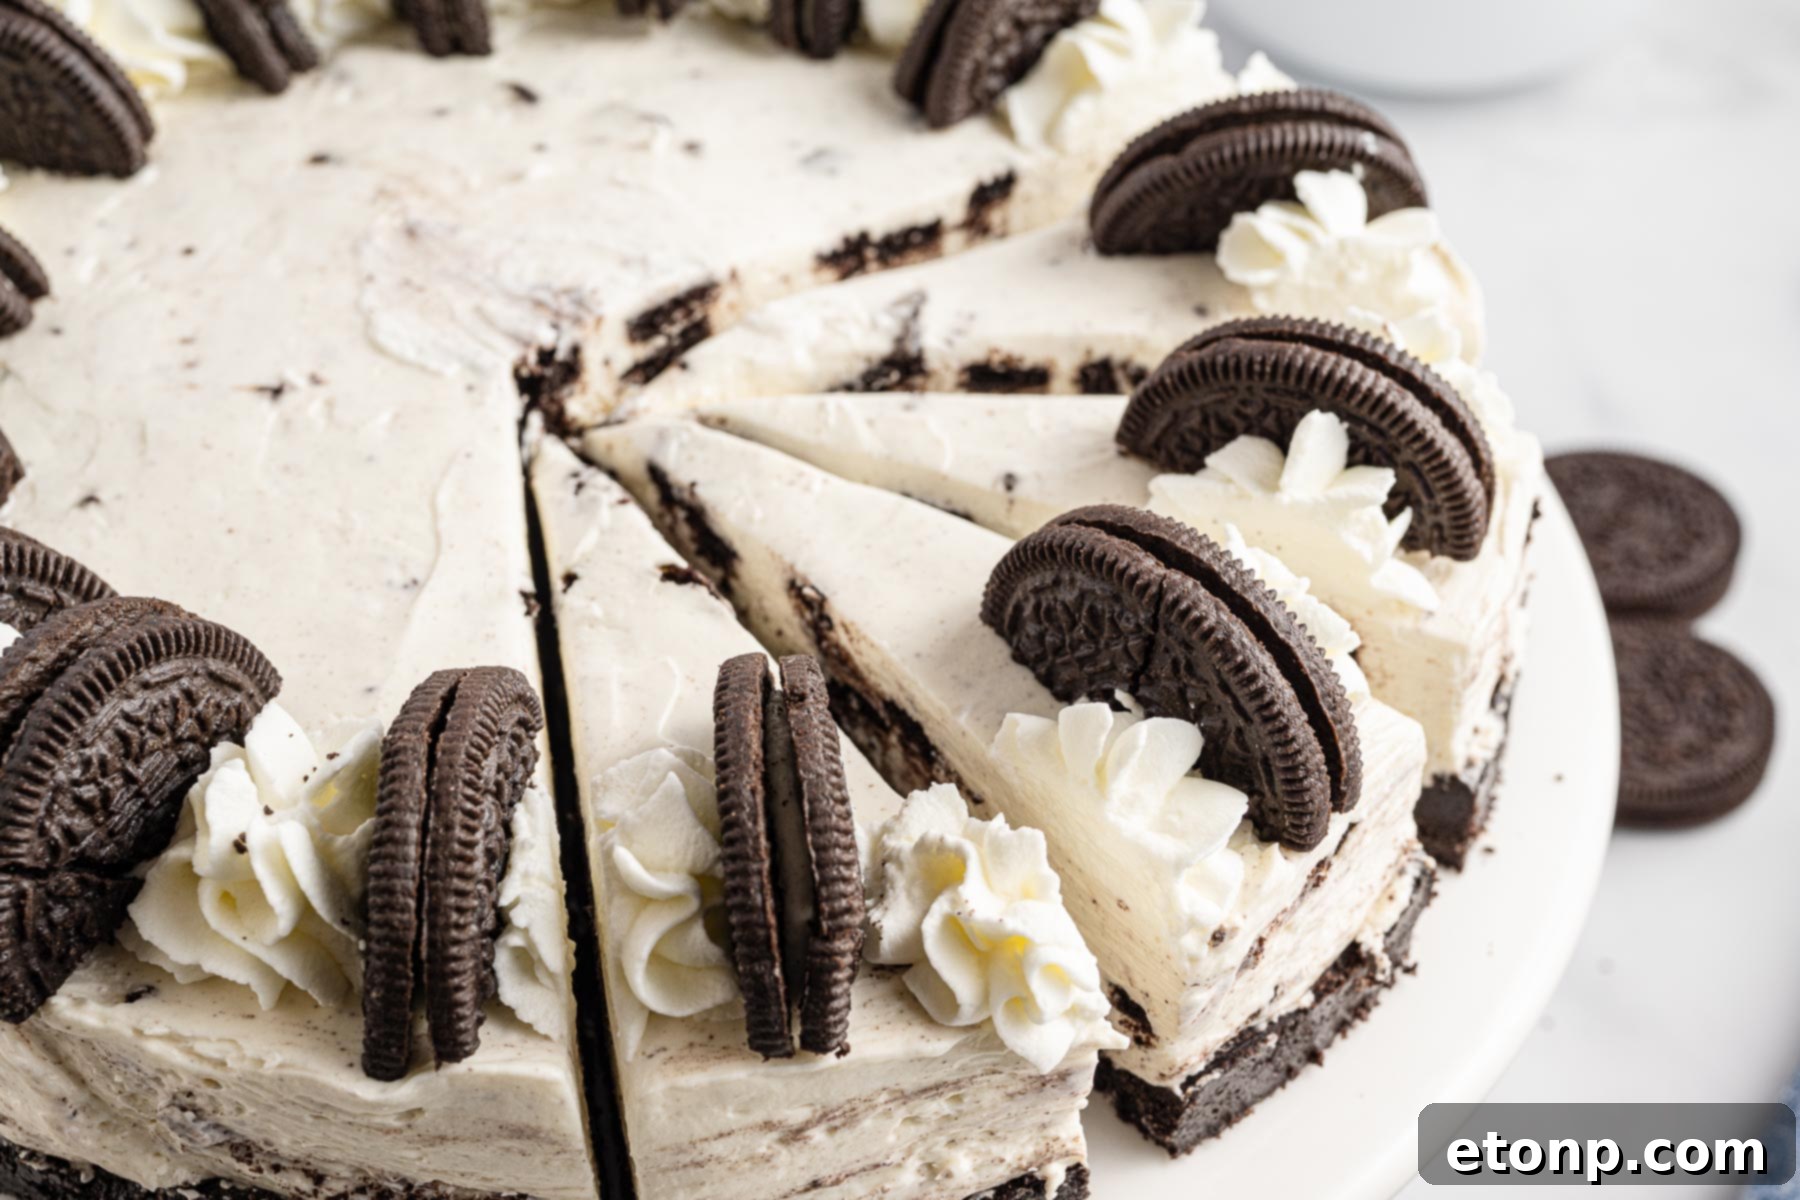
Why You’ll Adore This No-Bake Cheesecake with Oreos
Discover the myriad reasons why this **No-Bake Oreo Cheesecake** is destined to become a beloved staple in your dessert repertoire:
- Effortlessly Scrumptious – Prepare to be amazed. With its harmonious blend of creamy, tangy, and crunchy textures, this cheesecake is so utterly delicious that one bite is rarely enough. The luscious cream cheese filling, speckled with crushed Oreos, perfectly complements the rich chocolate cookie crust, creating a flavor profile that’s simply irresistible. It’s a guaranteed crowd-pleaser that tastes like it took hours, but only took minutes to assemble.
- Remarkably Easy – Unlike traditional baked cheesecakes, which can often be intimidating with their precise baking times, water baths, and potential for cracking, this recipe is designed for maximum ease. There’s no oven involved, eliminating common baking pitfalls and making it a fantastic option for beginner cooks or anyone seeking a quick yet elegant dessert. It delivers the same fantastic taste and luxurious texture of a baked cheesecake, but with a fraction of the effort, making it a must-try for simplified dessert creation.
- Delightfully Fun – Making this **No-Bake Oreo Cheesecake** is an enjoyable experience from start to finish. The hands-on process of crushing Oreos, mixing the creamy filling, and decorating the finished product can be a wonderfully relaxing activity. It’s also a fantastic opportunity to involve the entire family, especially children, in the kitchen. Let them help customize the toppings or crush the cookies, turning dessert preparation into a fun, collaborative project that ends with a delicious reward.
- Perfect for Any Occasion – From casual weeknight cravings to elegant dinner parties, this versatile dessert fits every scenario. Its no-bake nature makes it ideal for summer gatherings when you want to keep the kitchen cool, or for holiday entertaining when oven space is precious. It can be made ahead of time, freeing you up to enjoy your guests and the celebration without last-minute stress.
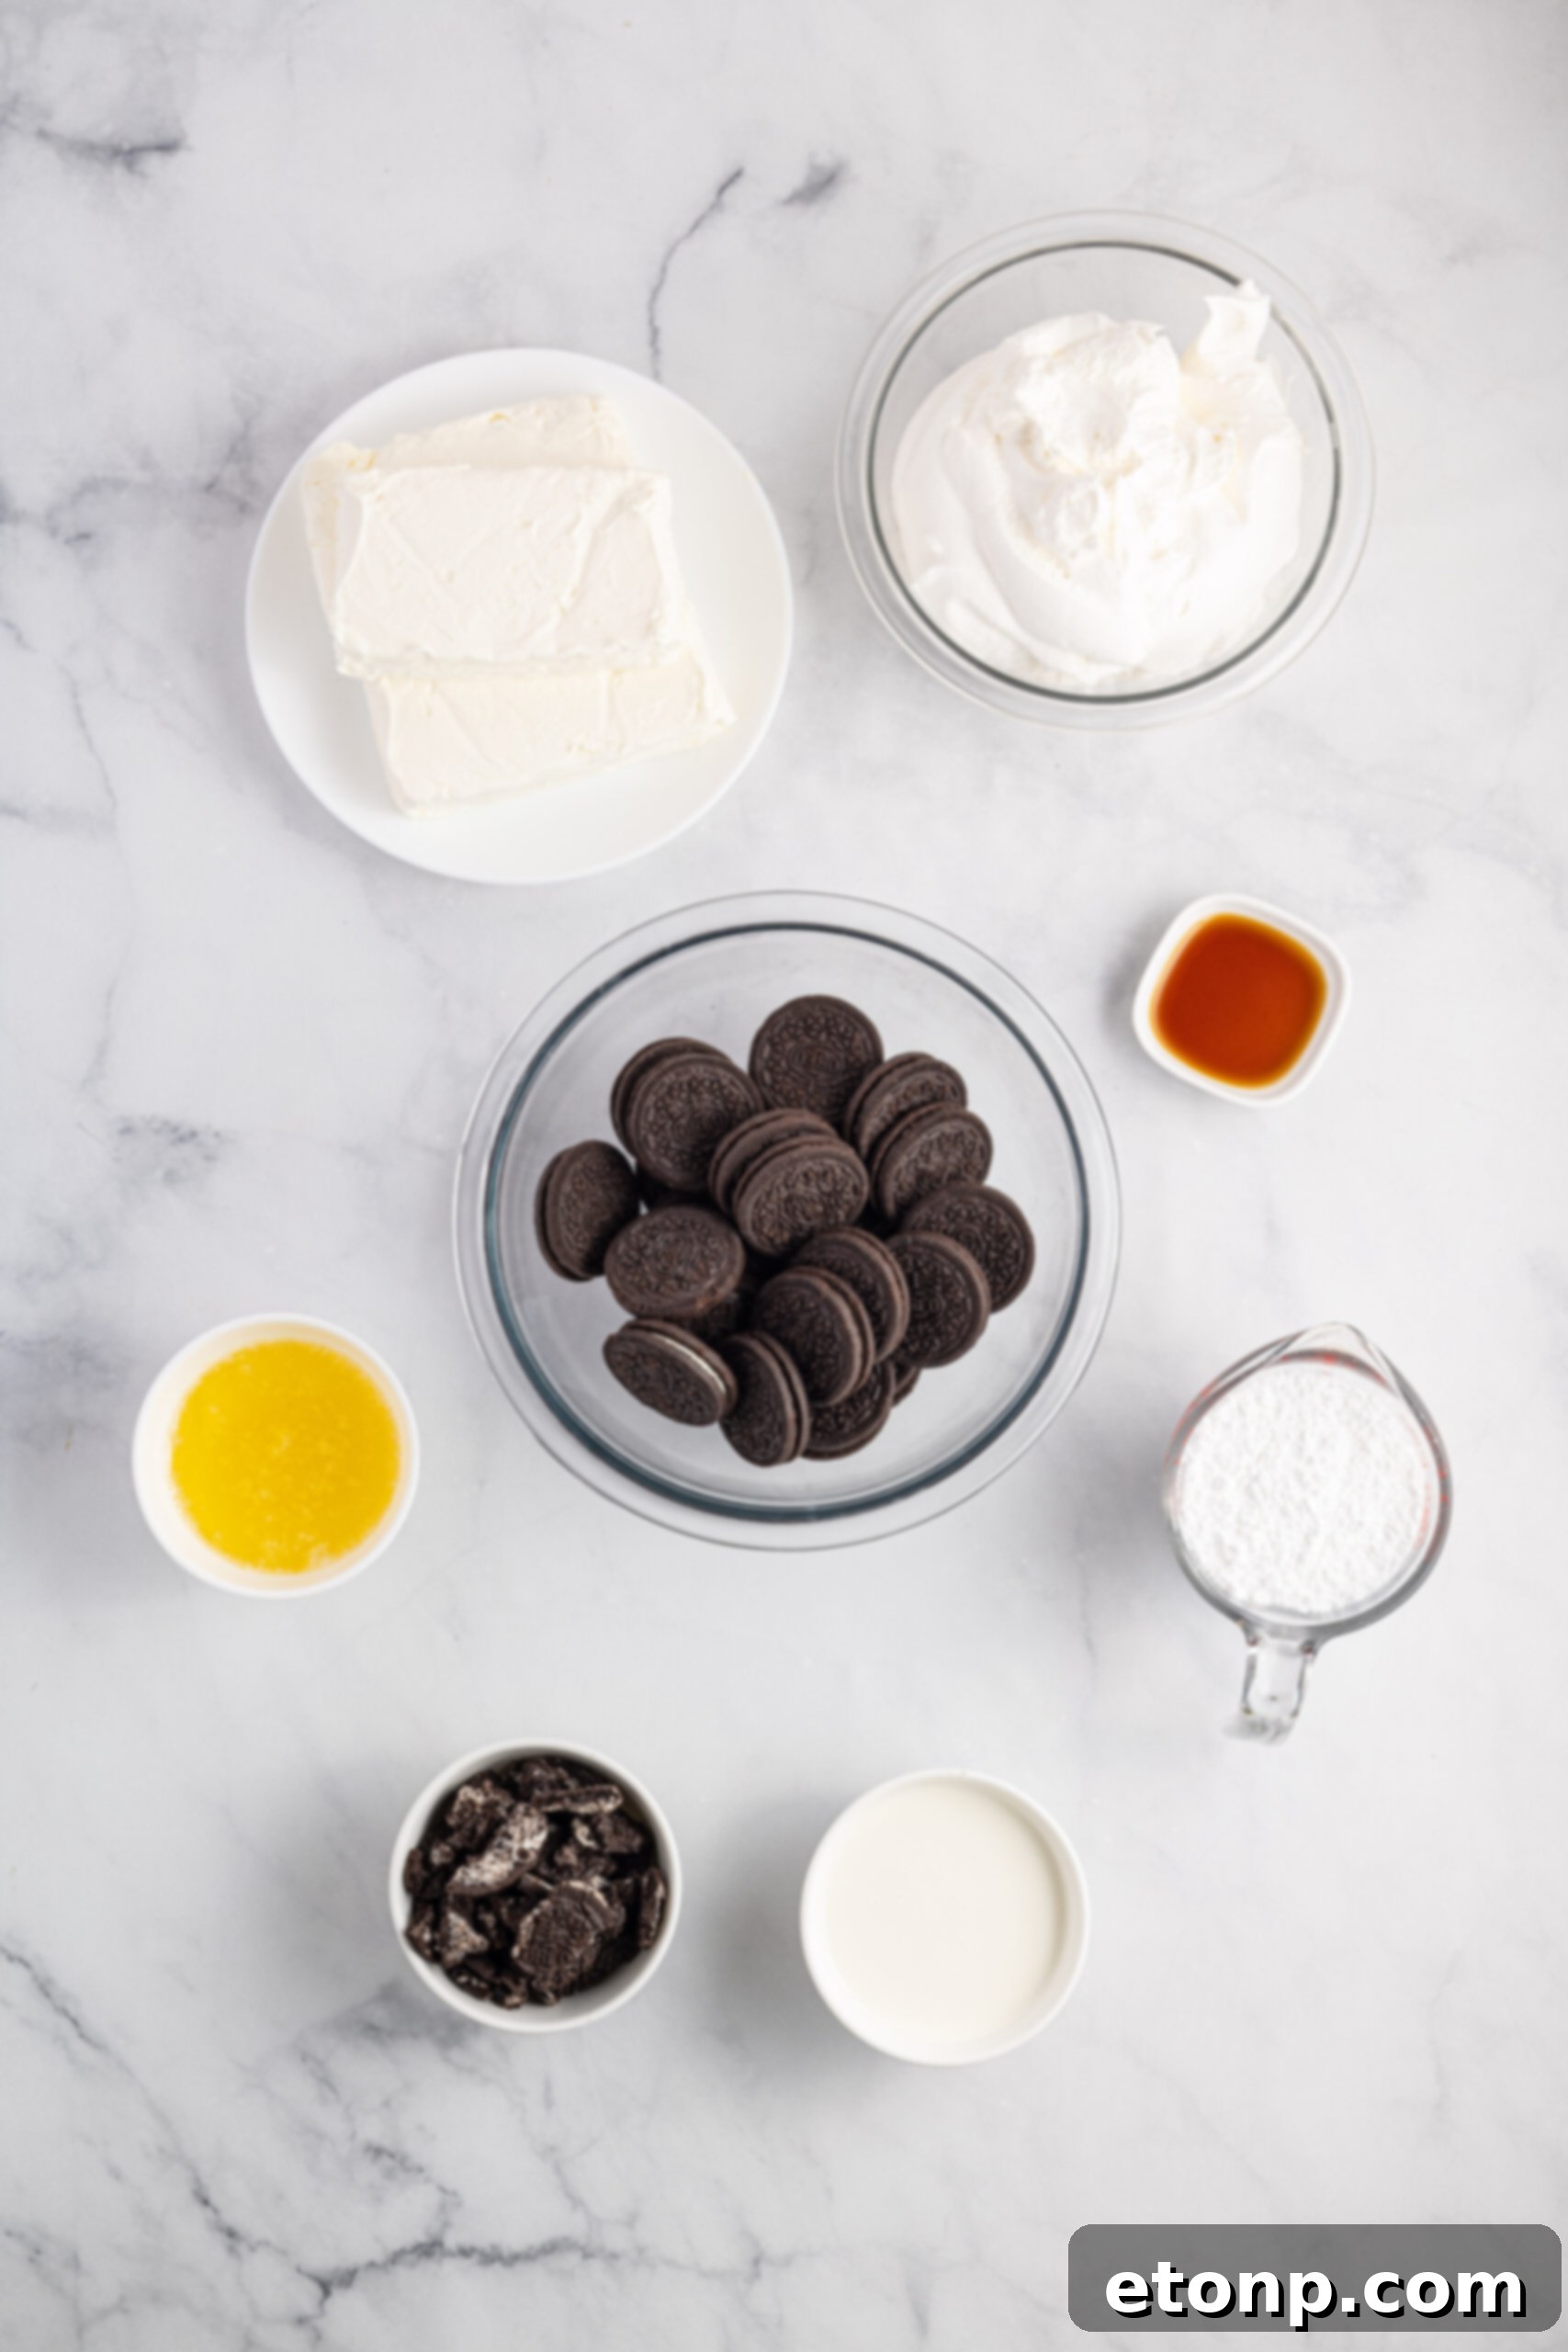
Essential No-Bake Oreo Cheesecake Ingredients
Gathering your ingredients is the first step to creating this heavenly dessert. Here’s a detailed look at what you’ll need to make your **No-Bake Oreo Cheesecake** truly spectacular:
- Oreo Cookies – The star of the show! You’ll need one full package of classic Oreo cookies. These versatile cookies form both the crunchy base of your cheesecake and add delightful textural contrast when mixed into the creamy filling. Don’t forget to set aside some for a beautiful garnish!
- Unsalted Butter – Essential for binding the crushed Oreo crumbs into a firm, delicious crust. It’s crucial to melt your butter completely before combining it with the cookies, ensuring an even distribution and a perfectly set foundation for your cheesecake.
- Cream Cheese – The heart of any great cheesecake. Opt for full-fat cream cheese to achieve the richest flavor and creamiest texture. Remember to let your cream cheese sit out at room temperature until it’s perfectly softened. This prevents lumps and ensures a silky-smooth filling.
- Powdered Sugar – Also known as confectioners’ sugar, this fine-grained sweetener is key for a smooth, melt-in-your-mouth cheesecake filling. Unlike granulated sugar, powdered sugar dissolves instantly, guaranteeing a lump-free and evenly sweet consistency. Sifting it before use can further enhance smoothness.
- Heavy Whipping Cream – This ingredient is a secret weapon for achieving a light, airy, yet stable cheesecake filling. When whipped, it adds volume and richness, preventing the cheesecake from being too dense and giving it that signature luxurious mouthfeel.
Beyond these core ingredients, you’ll also need pure vanilla extract to enhance the overall flavor profile and a generous amount of prepared whipped cream for the ultimate creamy finish. Don’t forget to reserve some of your precious Oreo cookies for both mixing into the filling and decorating the top, adding that final visual and textural flourish!
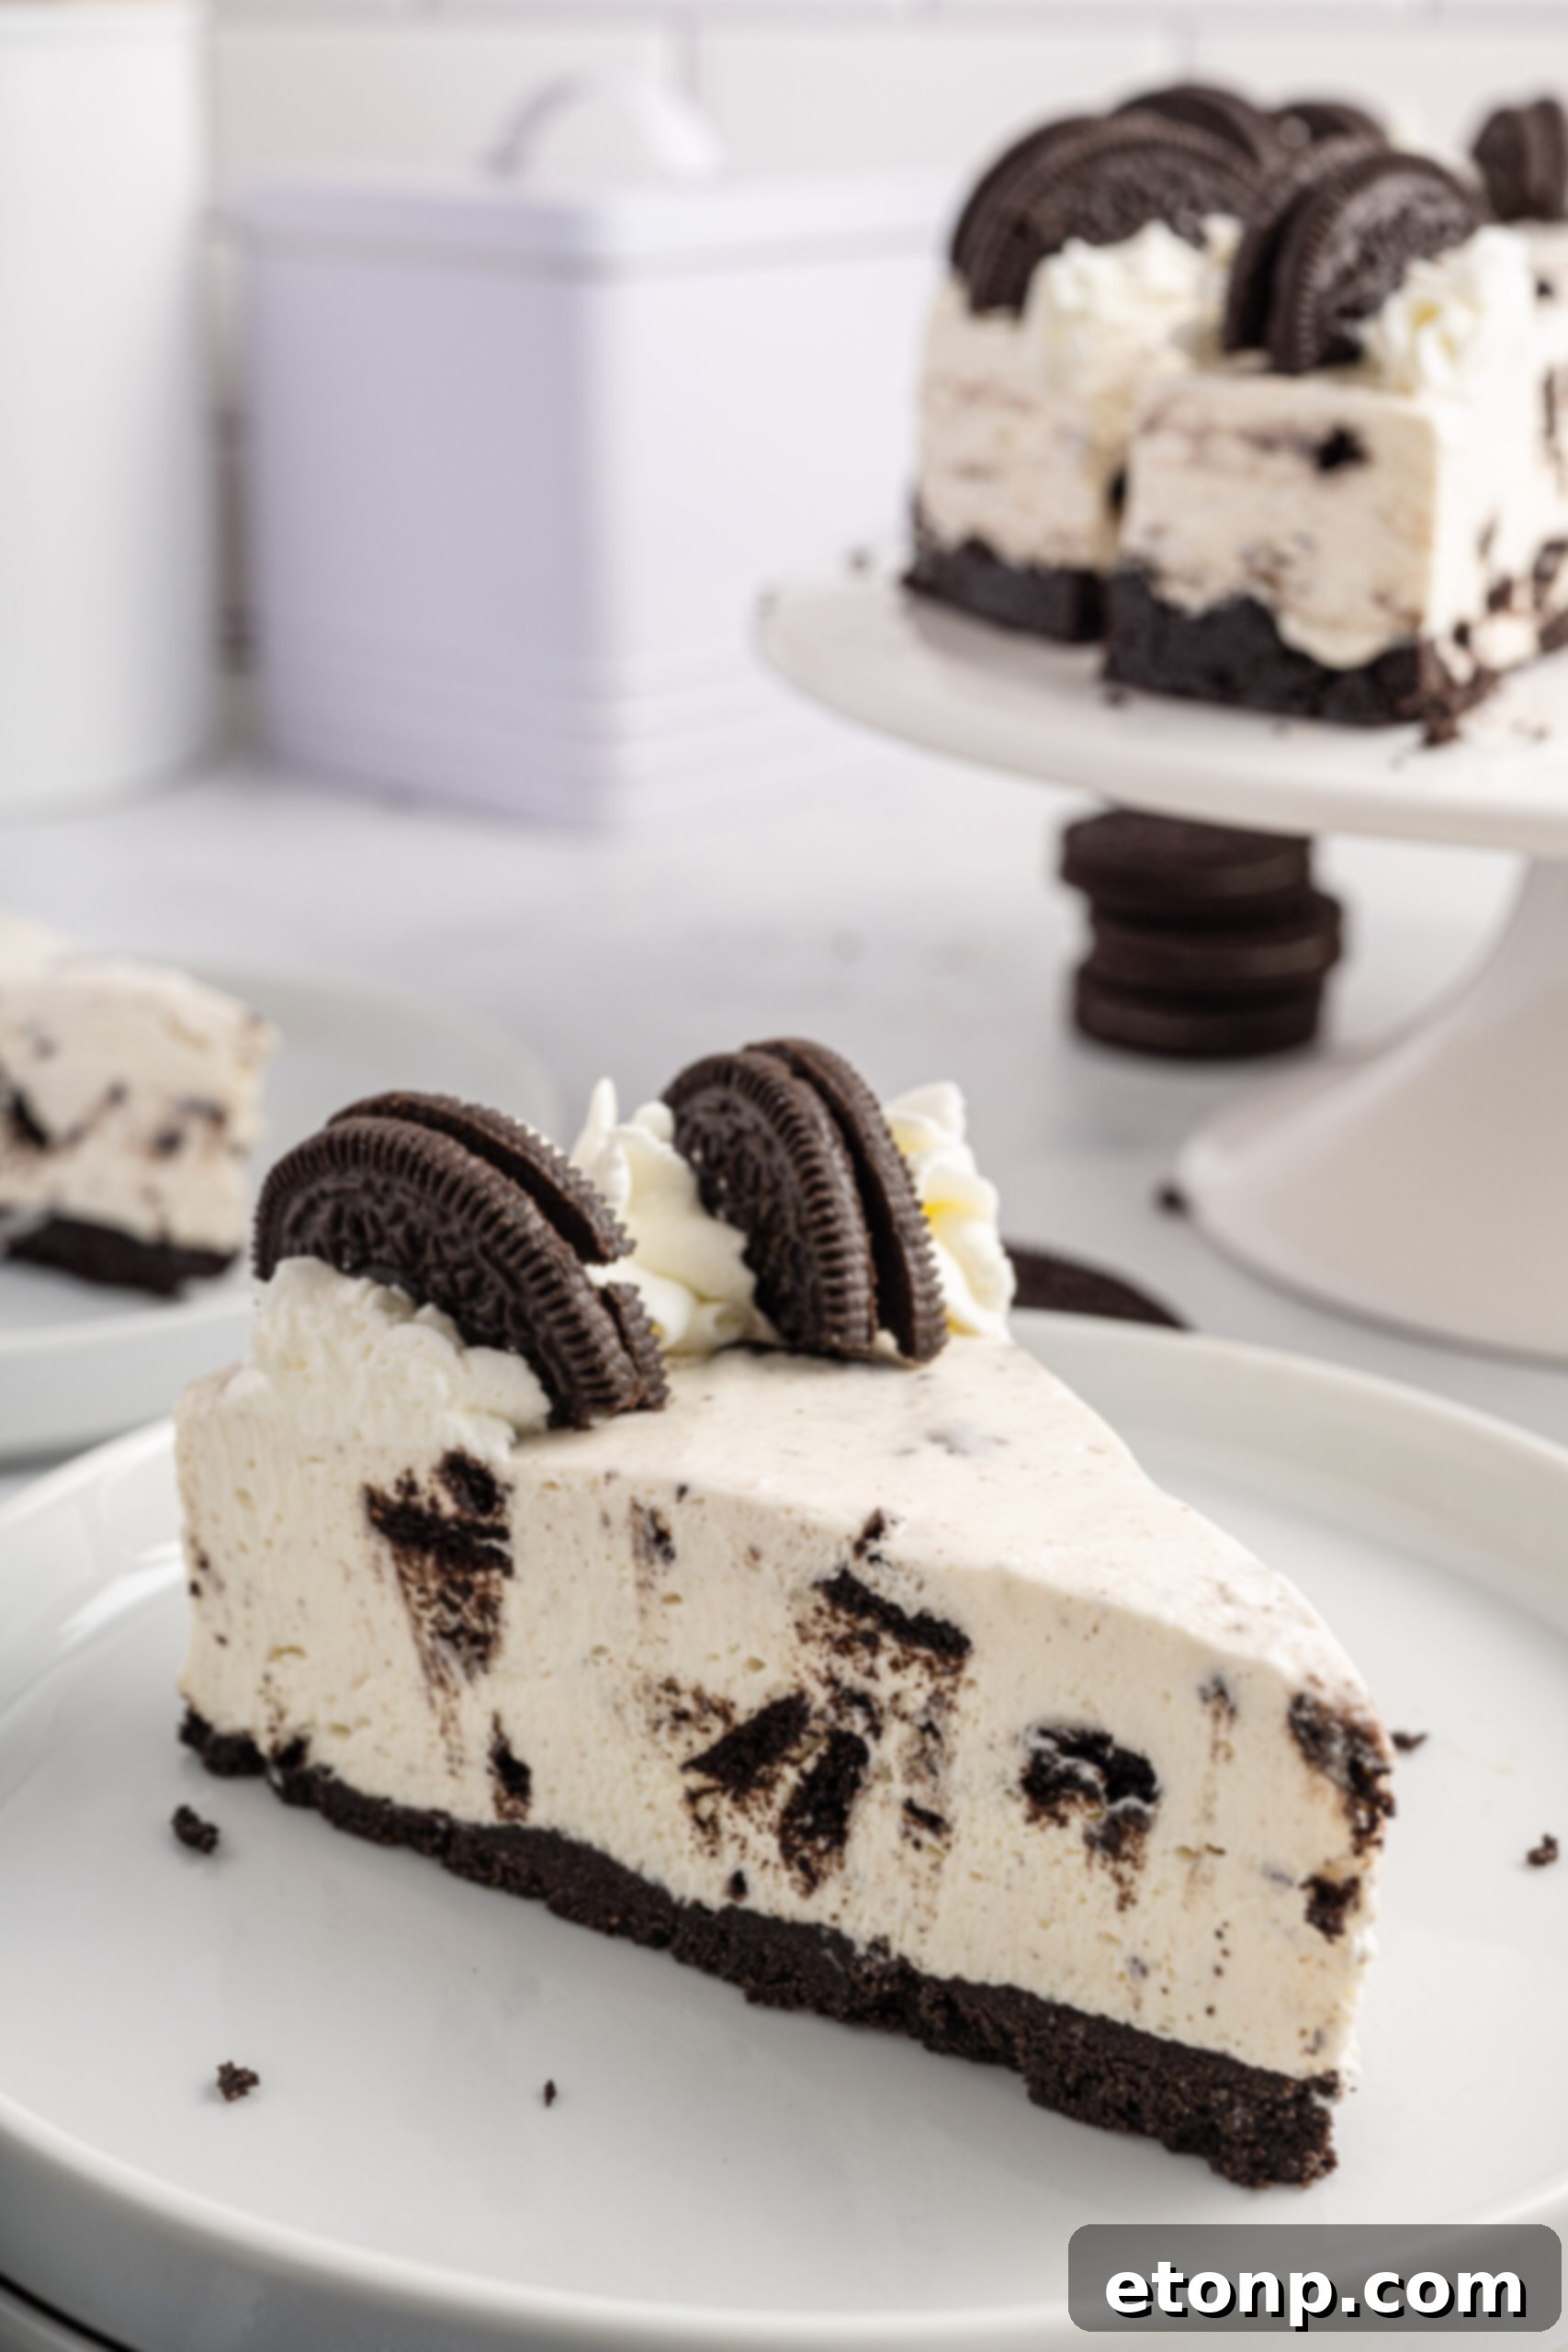
Exciting No-Bake Cheesecake Variations
One of the best aspects of this **No-Bake Oreo Cheesecake** recipe is its adaptability. Feel free to get creative and customize it to your unique preferences!
- Experiment with Oreo Flavors – The world of Oreos is vast and delicious! Transform your cheesecake every time by using different Oreo cookie flavors. Imagine a zesty Carrot Cake Oreo cheesecake, a rich Brownie Batter Oreo cheesecake, a refreshing Mint Chocolate Oreo cheesecake, or a golden delight with Golden Oreos. Each variation offers a distinct twist, allowing for endless flavor combinations.
- Add a Minty Freshness – For those who adore the classic combination of chocolate and mint, a few drops of peppermint extract can elevate your cheesecake. Simply add one or two drops of high-quality peppermint extract to the cream cheese filling mixture for a cool, invigorating flavor that pairs perfectly with the chocolatey Oreos.
- Drizzle and Decorate – Elevate the visual appeal and add an extra layer of flavor by drizzling your finished cheesecake with various sauces. A classic chocolate syrup will intensify the cocoa notes, while a vibrant strawberry syrup introduces a fruity tang. For a sophisticated touch, a swirl of rich caramel sauce creates a delightful salty-sweet contrast. Consider adding extra crushed Oreos, chocolate shavings, or even fresh berries for a truly stunning presentation.
- Chocolate Lover’s Dream – Incorporate chocolate chips or chunks into the filling alongside the crushed Oreos for an even more intense chocolate experience. White chocolate chips can also add a delightful sweetness and color contrast.
- Nutty Crunch – For an added layer of texture and flavor, finely chopped toasted nuts like pecans or walnuts can be mixed into the Oreo crust or sprinkled on top.
Expert Tips for Your Easy No-Bake Cheesecake
Achieving a perfectly set and incredibly delicious **No-Bake Oreo Cheesecake** is simple with these helpful tips:
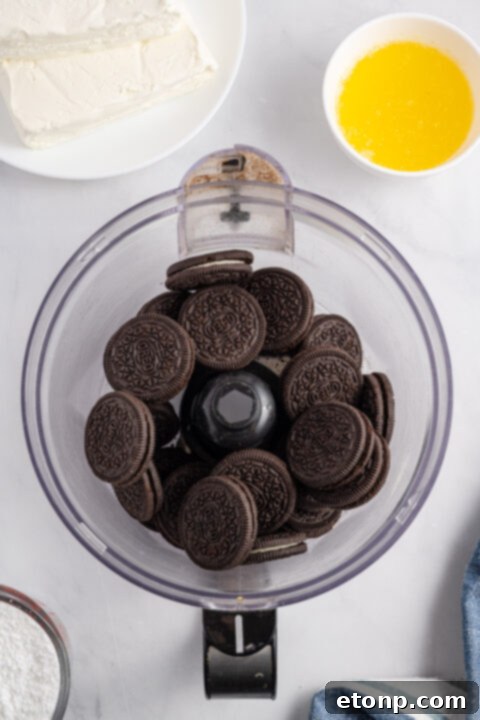
- Crust Preparation Efficiency – While you can crush Oreos by hand in a bag, a food processor is your best friend for creating the perfect crust. It quickly transforms whole Oreos into fine, uniform crumbs, saving you significant time and effort. This consistency is vital for a crust that holds together beautifully.
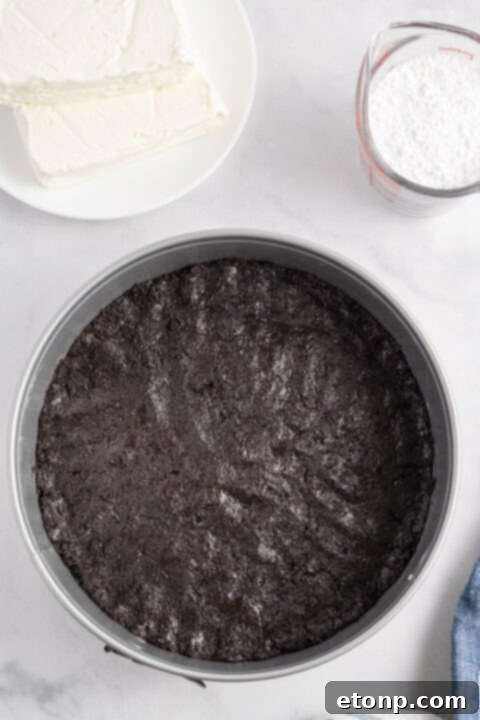
- The Importance of Chilling the Crust – Don’t rush this step! Giving your homemade Oreo crust ample time to chill in the freezer, a minimum of 20 minutes, is crucial. This cooling period allows the butter to solidify and bind the crumbs together, ensuring your crust is firm and won’t crumble when you add the filling or slice the cheesecake. For an even sturdier crust, an extra 10-15 minutes can make a big difference.
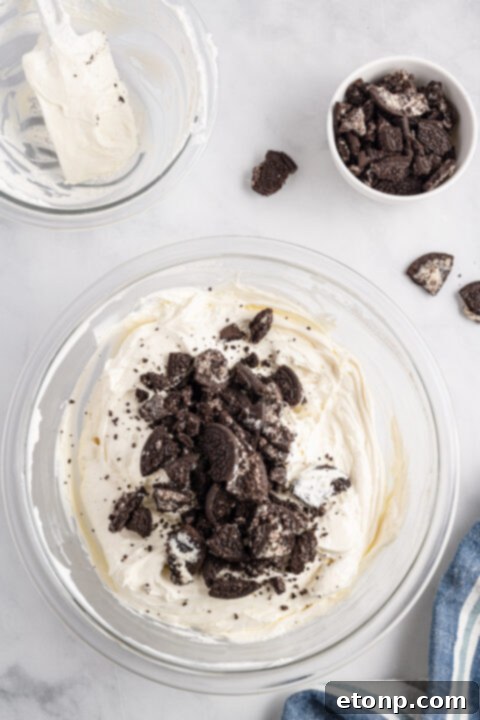
- Master the Folding Technique – When incorporating the whipped cream and crushed Oreos into your cheesecake mixture, remember to *fold* them gently, rather than mixing vigorously. Folding helps to maintain the airy lightness introduced by the whipped cream, resulting in a perfectly creamy and fluffy cheesecake filling. Over-mixing can deflate the whipped cream, leading to a denser texture. Use a wide rubber spatula for the best results.
- Softened Cream Cheese is Key – Ensure your cream cheese is at true room temperature. Cold cream cheese will result in a lumpy filling that’s difficult to smooth. Take it out of the fridge at least 30-60 minutes before you plan to start mixing.
- Patience for Setting – The chilling time for the entire cheesecake is perhaps the most critical step. A minimum of 4 hours in the refrigerator allows the filling to fully set and firm up, ensuring clean slices and a stable dessert. For the absolute best results and an easier slicing experience, chilling overnight is highly recommended.
Common Questions About Your No-Bake Oreo Cheesecake
Here are answers to some frequently asked questions to ensure your **No-Bake Oreo Cheesecake** turns out perfectly every time:
Which type of cream cheese should I use for this recipe?
For the best results, always opt for **full-fat block cream cheese**. Any reputable brand will work well. Avoid low-fat or fat-free cream cheese as they contain more water and less fat, which can significantly alter the consistency and richness of your cheesecake. Full-fat cream cheese provides the essential structure and velvety texture that defines a perfect cheesecake.
Can I use a pre-made cheesecake filling to save time?
Absolutely! If you’re looking to shave even more time off your preparation, purchasing a high-quality pre-made cheesecake filling, such as Kraft’s Philadelphia Cream Cheese Filling, is a great option. These fillings are often formulated to be stable and flavorful, and they will work wonderfully with this **No-Bake Oreo Cheesecake** recipe, delivering a delicious result with minimal fuss.
Do I have to use Oreo cookies, or can I substitute them?
While classic Oreo cookies are fantastic in this recipe and provide its signature flavor, feel free to get creative with your cookie choice! If you have a different preference or want to experiment, you can easily substitute them with other chocolate sandwich cookies, digestive biscuits, graham crackers, or even shortbread cookies. Just be sure to adjust the butter quantity slightly if your chosen cookie produces a drier or oilier crumb. The key is to have a flavorful and sturdy crust.
How long does No-Bake Oreo Cheesecake last, and can I freeze it?
Your **No-Bake Oreo Cheesecake** will stay fresh in the refrigerator, covered, for up to 3-5 days. For longer storage, yes, you can absolutely freeze it! Once fully set, wrap the cheesecake (or individual slices) tightly in plastic wrap, then in aluminum foil, and store in an airtight container for up to 1-2 months. Thaw in the refrigerator overnight before serving for the best texture.
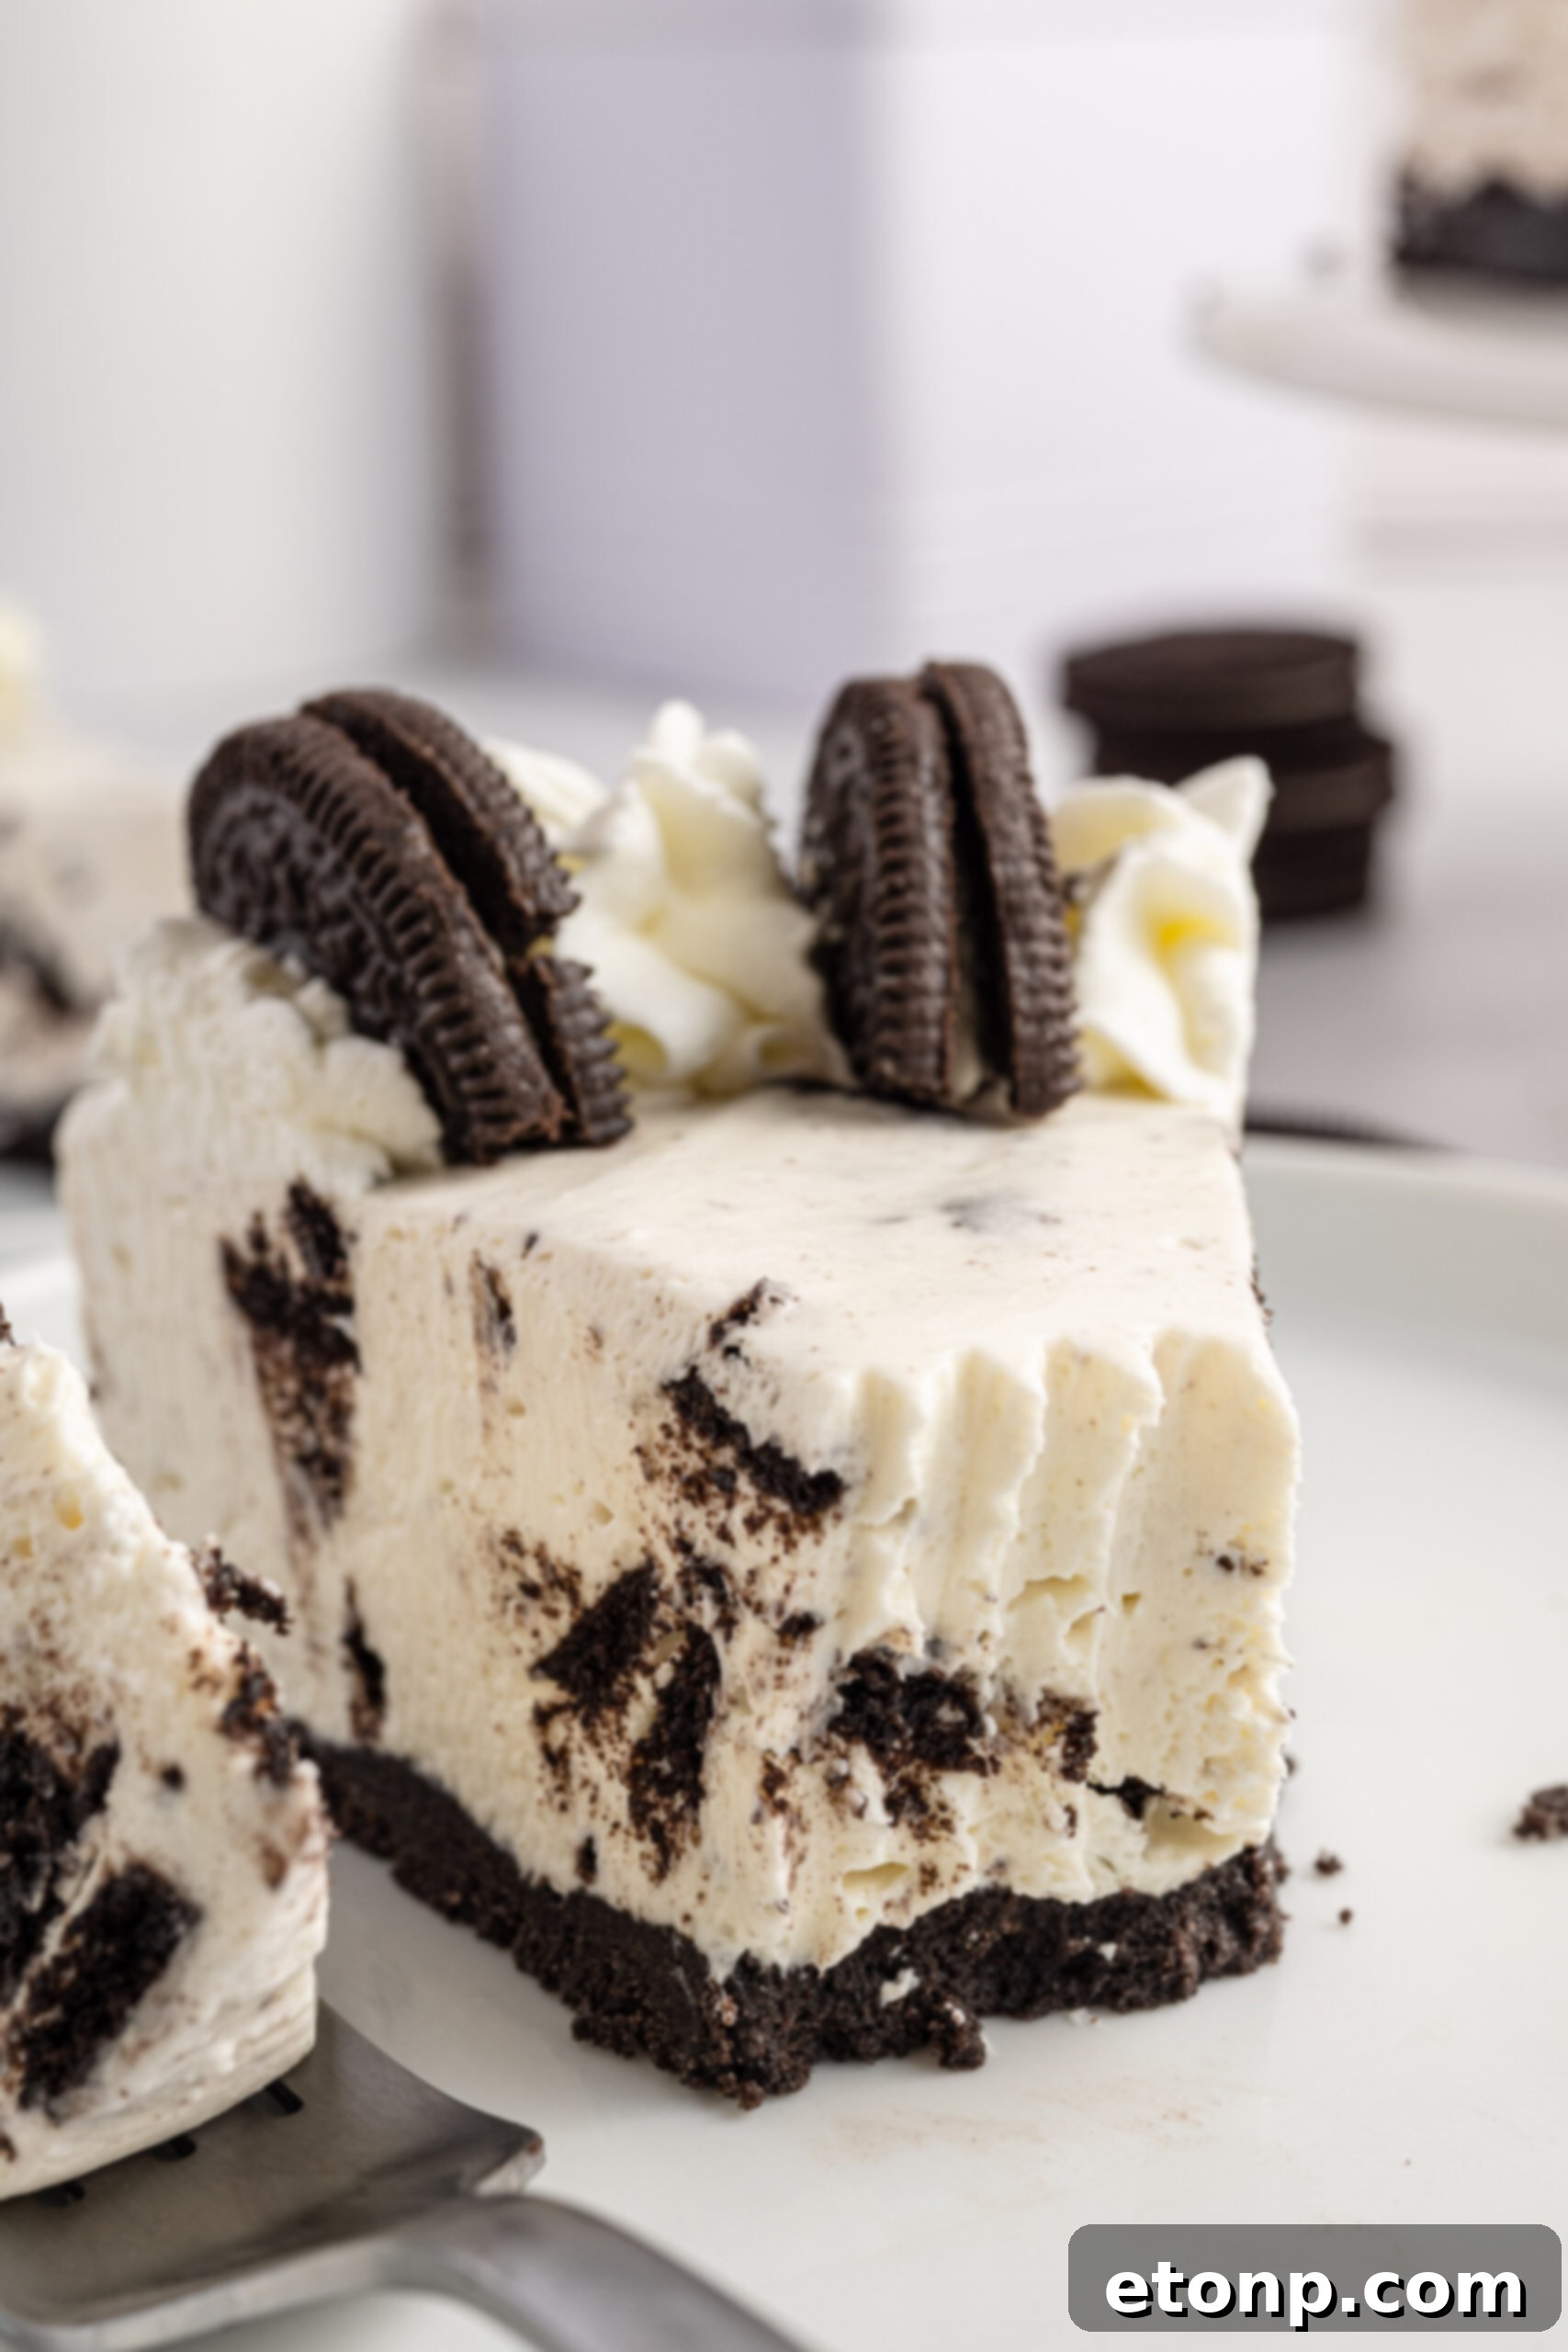
Indulging in a creamy, luscious dessert has truly never been easier or more rewarding than with this **No-Bake Oreo Cheesecake recipe**. Whether you’re in need of a quick, satisfying treat to conquer an unexpected craving, or aiming to impress your most discerning guests with minimal effort and maximum impact, this recipe stands as the ultimate game-changer in your kitchen repertoire. It’s a testament to the fact that exceptional desserts don’t always require hours of labor or complex techniques.
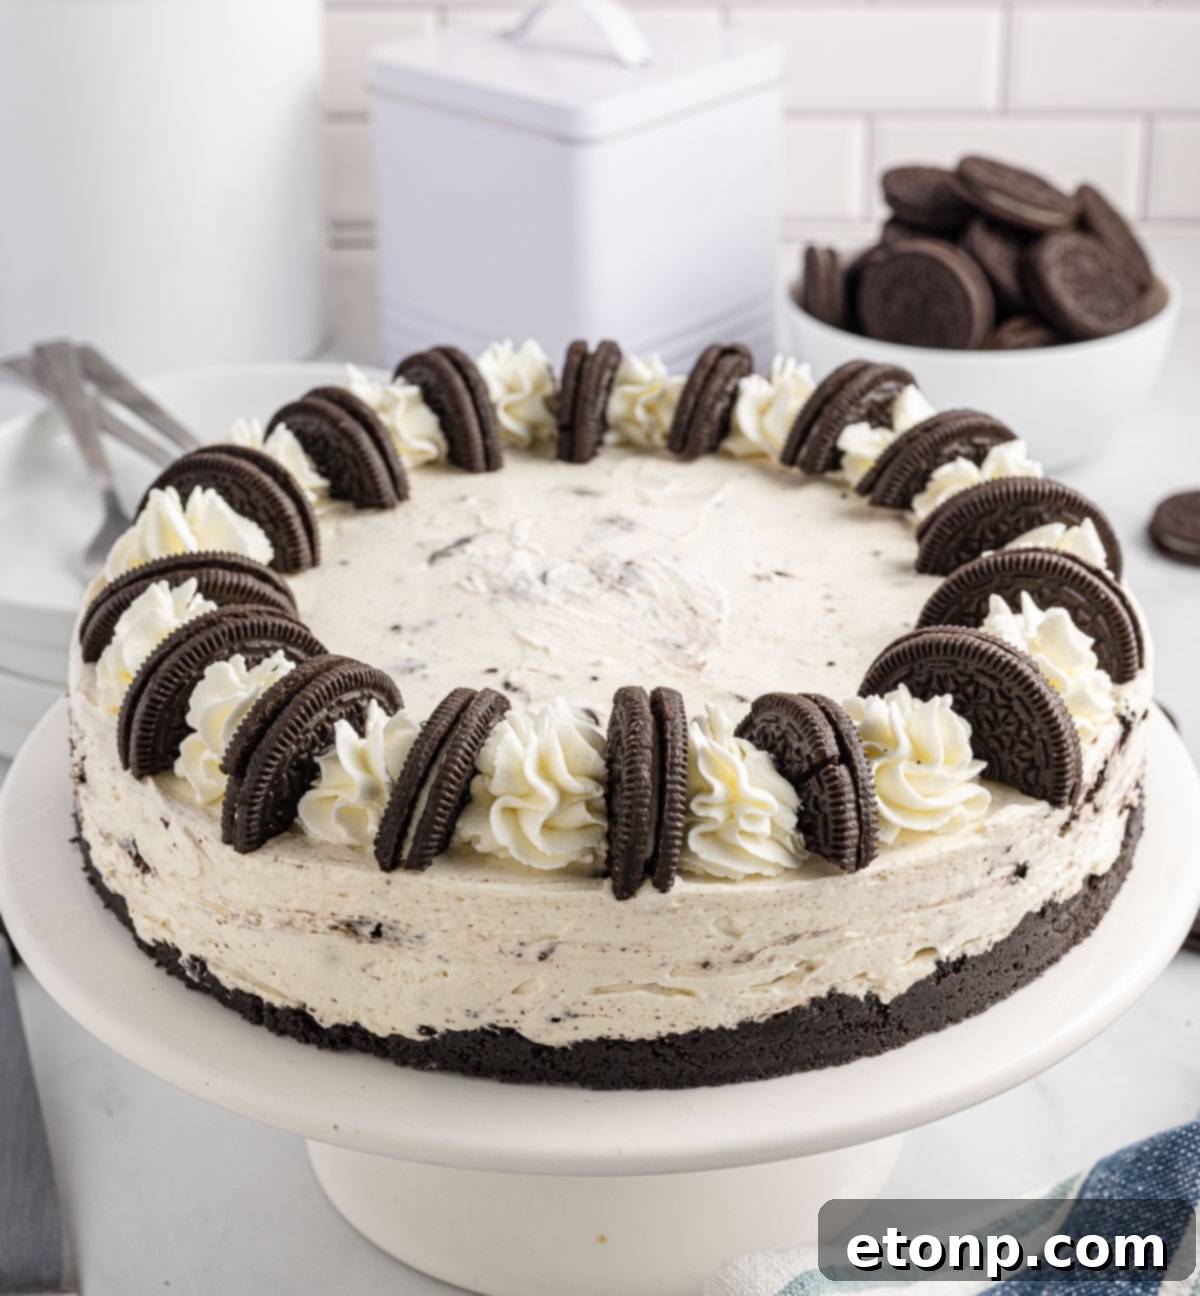
So, why delay the inevitable joy? Gather your ingredients, grab your apron, and give this extraordinary recipe a try today. Let the harmonious richness of the velvety cream cheese, the delightful crunch of the classic Oreo crust, and the sweet, airy embrace of the whipped cream transport your taste buds to a truly divine **No-Bake Dessert Heaven!** This simple yet spectacular treat is poised to become a cherished favorite, making every occasion a little sweeter and a lot more memorable.
More Irresistible Recipes You Will Love!
If you enjoyed this easy and delicious cheesecake, be sure to explore more incredible dessert ideas:
Chocolate-Mint Oreo Cheesecake
No Bake Cookies & Cream Fudge
Chocolate Chip Cheesecake
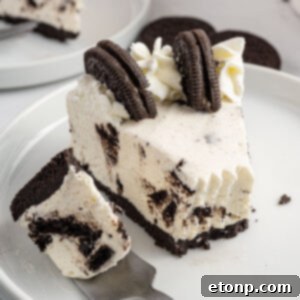
No Bake Oreo Cheesecake
Ingredients
For the Crunchy Oreo Crust
- 24 regular Oreos finely crushed (about 2 cups of crumbs)
- 6 tablespoons unsalted butter melted
For the Creamy Oreo Cheesecake Filling
- 3 8-ounce bricks of full-fat cream cheese, softened to room temperature
- 1 cup powdered sugar, sifted
- 1/2 cup heavy whipping cream, cold
- 2 teaspoons pure vanilla extract
- 8 ounces whipped topping (like Cool Whip), thawed
- 12 regular Oreos crushed (for mixing into the filling)
Optional Toppings for Garnish
- Additional whipped cream or fresh whipped cream
- 8 regular Oreos halved or coarsely crushed
Instructions
-
Lightly grease a 9-inch springform pan with shortening or butter to prevent sticking. Set aside.
-
For the Crust: Place the 24 Oreo cookies into a food processor. Pulse at high speed until the Oreos are transformed into fine, uniform crumbs.
-
With the food processor running at low speed, gradually pour in the melted butter. Continue processing until the butter and Oreo crumbs are thoroughly combined and resemble wet sand. You may need to stop and stir with a spoon or spatula to ensure everything is mixed evenly.
-
Transfer the prepared Oreo crumbs into the greased springform pan. Using the bottom of a glass or your fingers, press the crumbs firmly and evenly into the base of the pan. Place the pan in the freezer to chill for a minimum of 20 minutes; this helps the crust set firmly.
-
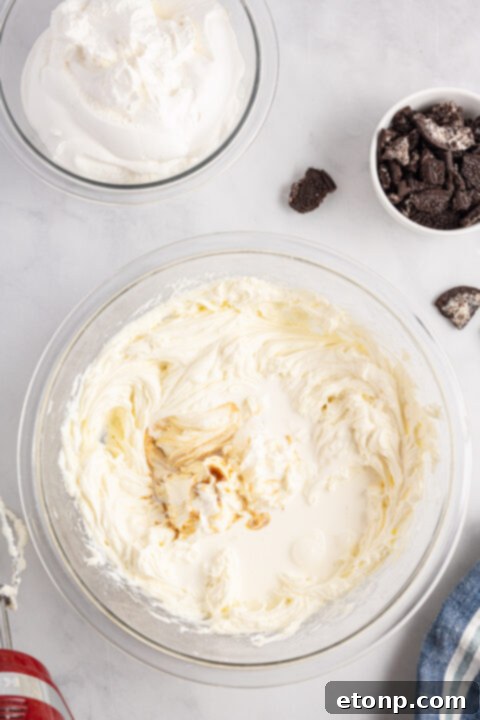
For the Oreo Cheesecake Filling: In a large mixing bowl, combine the softened cream cheese and sifted powdered sugar. Use an electric hand mixer to beat the mixture until it’s completely smooth and free of any lumps.
-
Add the cold heavy whipping cream and vanilla extract to the cream cheese mixture. Continue mixing with the electric mixer on medium-high speed until the mixture becomes smooth, light, and fluffy, developing a nice body.
-
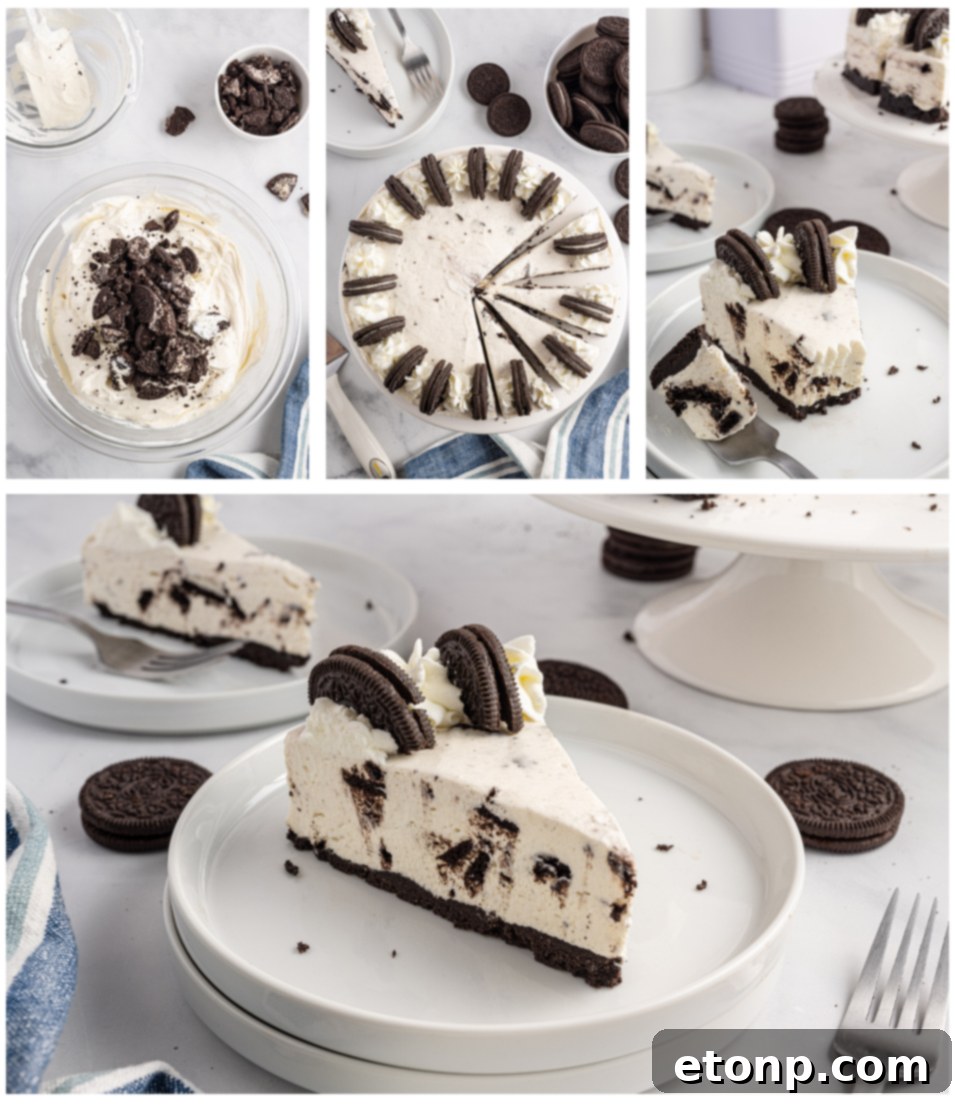
Gently fold in the thawed whipped topping using a wooden spoon or a rubber spatula until just combined. Then, add the 12 crushed Oreos and fold them into the cheesecake mixture until they are well distributed. Be careful not to overmix, as this can deflate the filling.
-
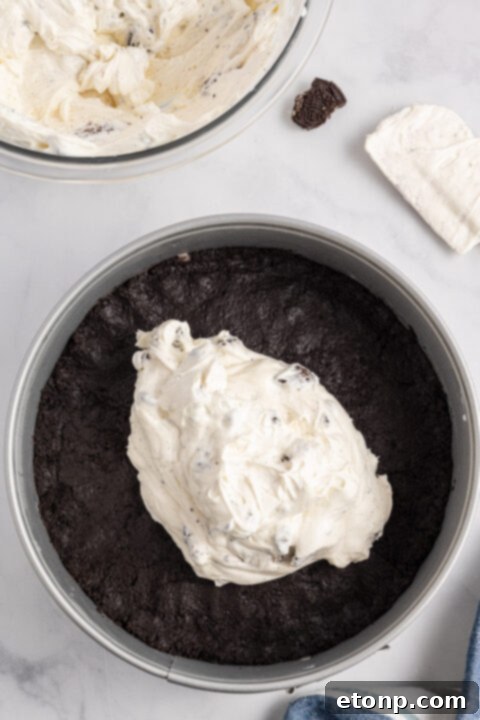
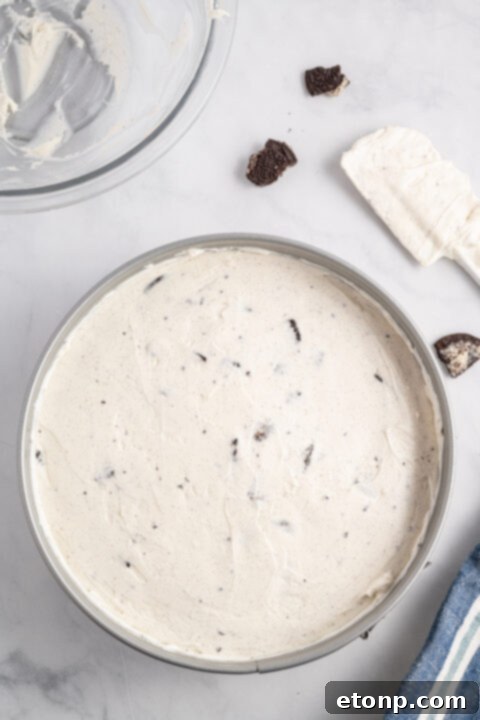
Pour the creamy cheesecake filling over the chilled Oreo crust in the springform pan. Use a spatula to smooth the top out evenly.
-
Place the cheesecake in the refrigerator to chill for at least 4 hours, or preferably overnight, to allow it to set completely. This crucial step ensures a firm, sliceable cheesecake.
-
Once thoroughly chilled and set, remove the cheesecake from the springform pan. Top with additional whipped cream and the reserved halved or coarsely crushed Oreos, if desired, then serve chilled and enjoy!
Did you make this recipe?
Make sure to follow on Pinterest for more recipes!
Pin Recipe
Share on Facebook