
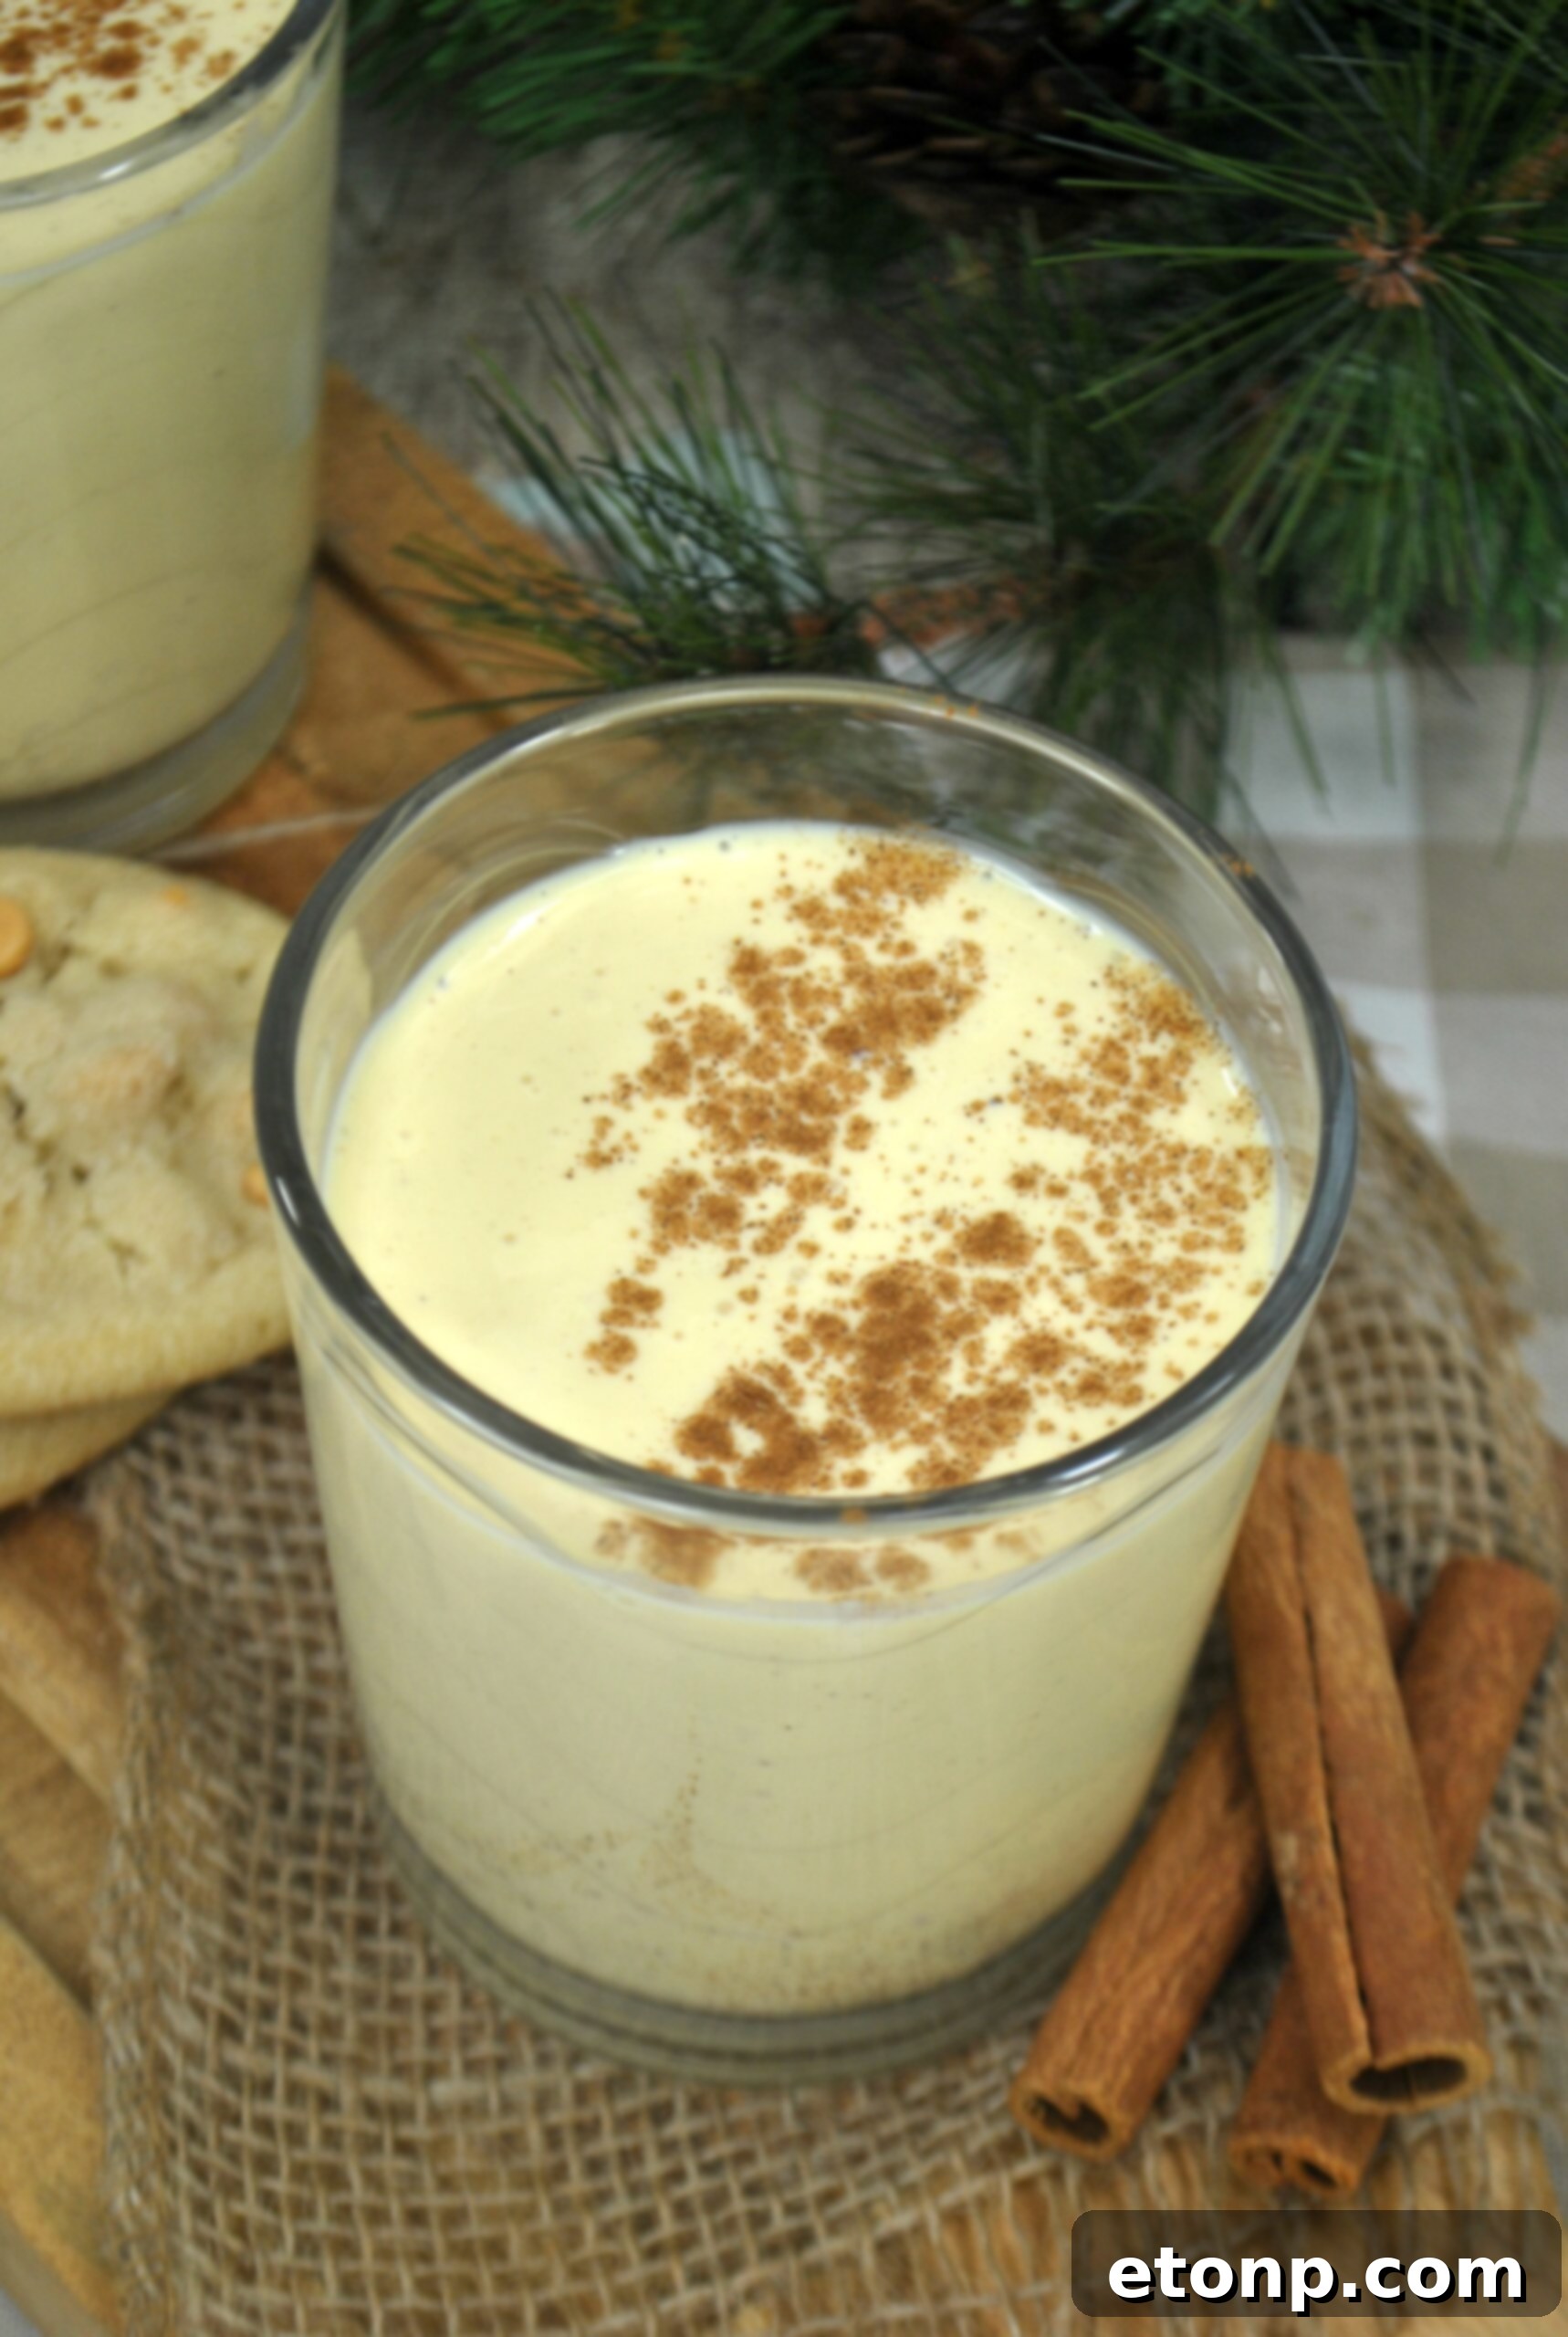
The Ultimate Homemade Eggnog Recipe: A Timeless Family Tradition for the Holidays
There’s something truly magical about the holiday season, and for me, it’s inextricably linked to the rich, creamy, and wonderfully spiced taste of homemade eggnog. This isn’t just any recipe; it’s a cherished family tradition passed down from my beloved mother, a culinary secret that transforms ordinary gatherings into extraordinary celebrations. The very first time I took a sip of her homemade eggnog, I was instantly captivated. That initial taste was an “oh my goodness” moment – so incredibly good, so profoundly satisfying, that I knew I could never go back to the bland, mass-produced versions found in grocery store cartons.
The difference between store-bought and homemade eggnog is not merely noticeable; it’s a chasm of flavor and texture. Where commercial eggnog often tastes artificial and overly sweet, a homemade batch offers a velvety smoothness, a perfect balance of spices, and a depth that speaks of fresh, quality ingredients. You might assume that making eggnog from scratch is a complicated, time-consuming endeavor, reserved only for seasoned chefs or those with endless free time during the festive rush. But trust me, it’s insanely easy – much simpler and quicker than you would ever think!
Why Homemade Eggnog is a Holiday Game Changer
For many, eggnog is synonymous with the festive cartons that appear on supermarket shelves each December. While these offer convenience, they often lack the authentic taste and luxurious texture that define true eggnog. Homemade eggnog, on the other hand, provides an unparalleled culinary experience. You control every ingredient, ensuring freshness, quality, and the ability to customize to your exact preference. From the richness of the eggs and cream to the warmth of freshly grated nutmeg and vanilla, every component shines, creating a beverage that is both a comfort and a celebration. This year, I urge you to embrace the good old-fashioned homemade goodness and replace those cartons with a batch of blissfully creamy eggnog. It’s a small effort for an immense reward, guaranteed to impress your family and friends, and elevate your holiday spirits.
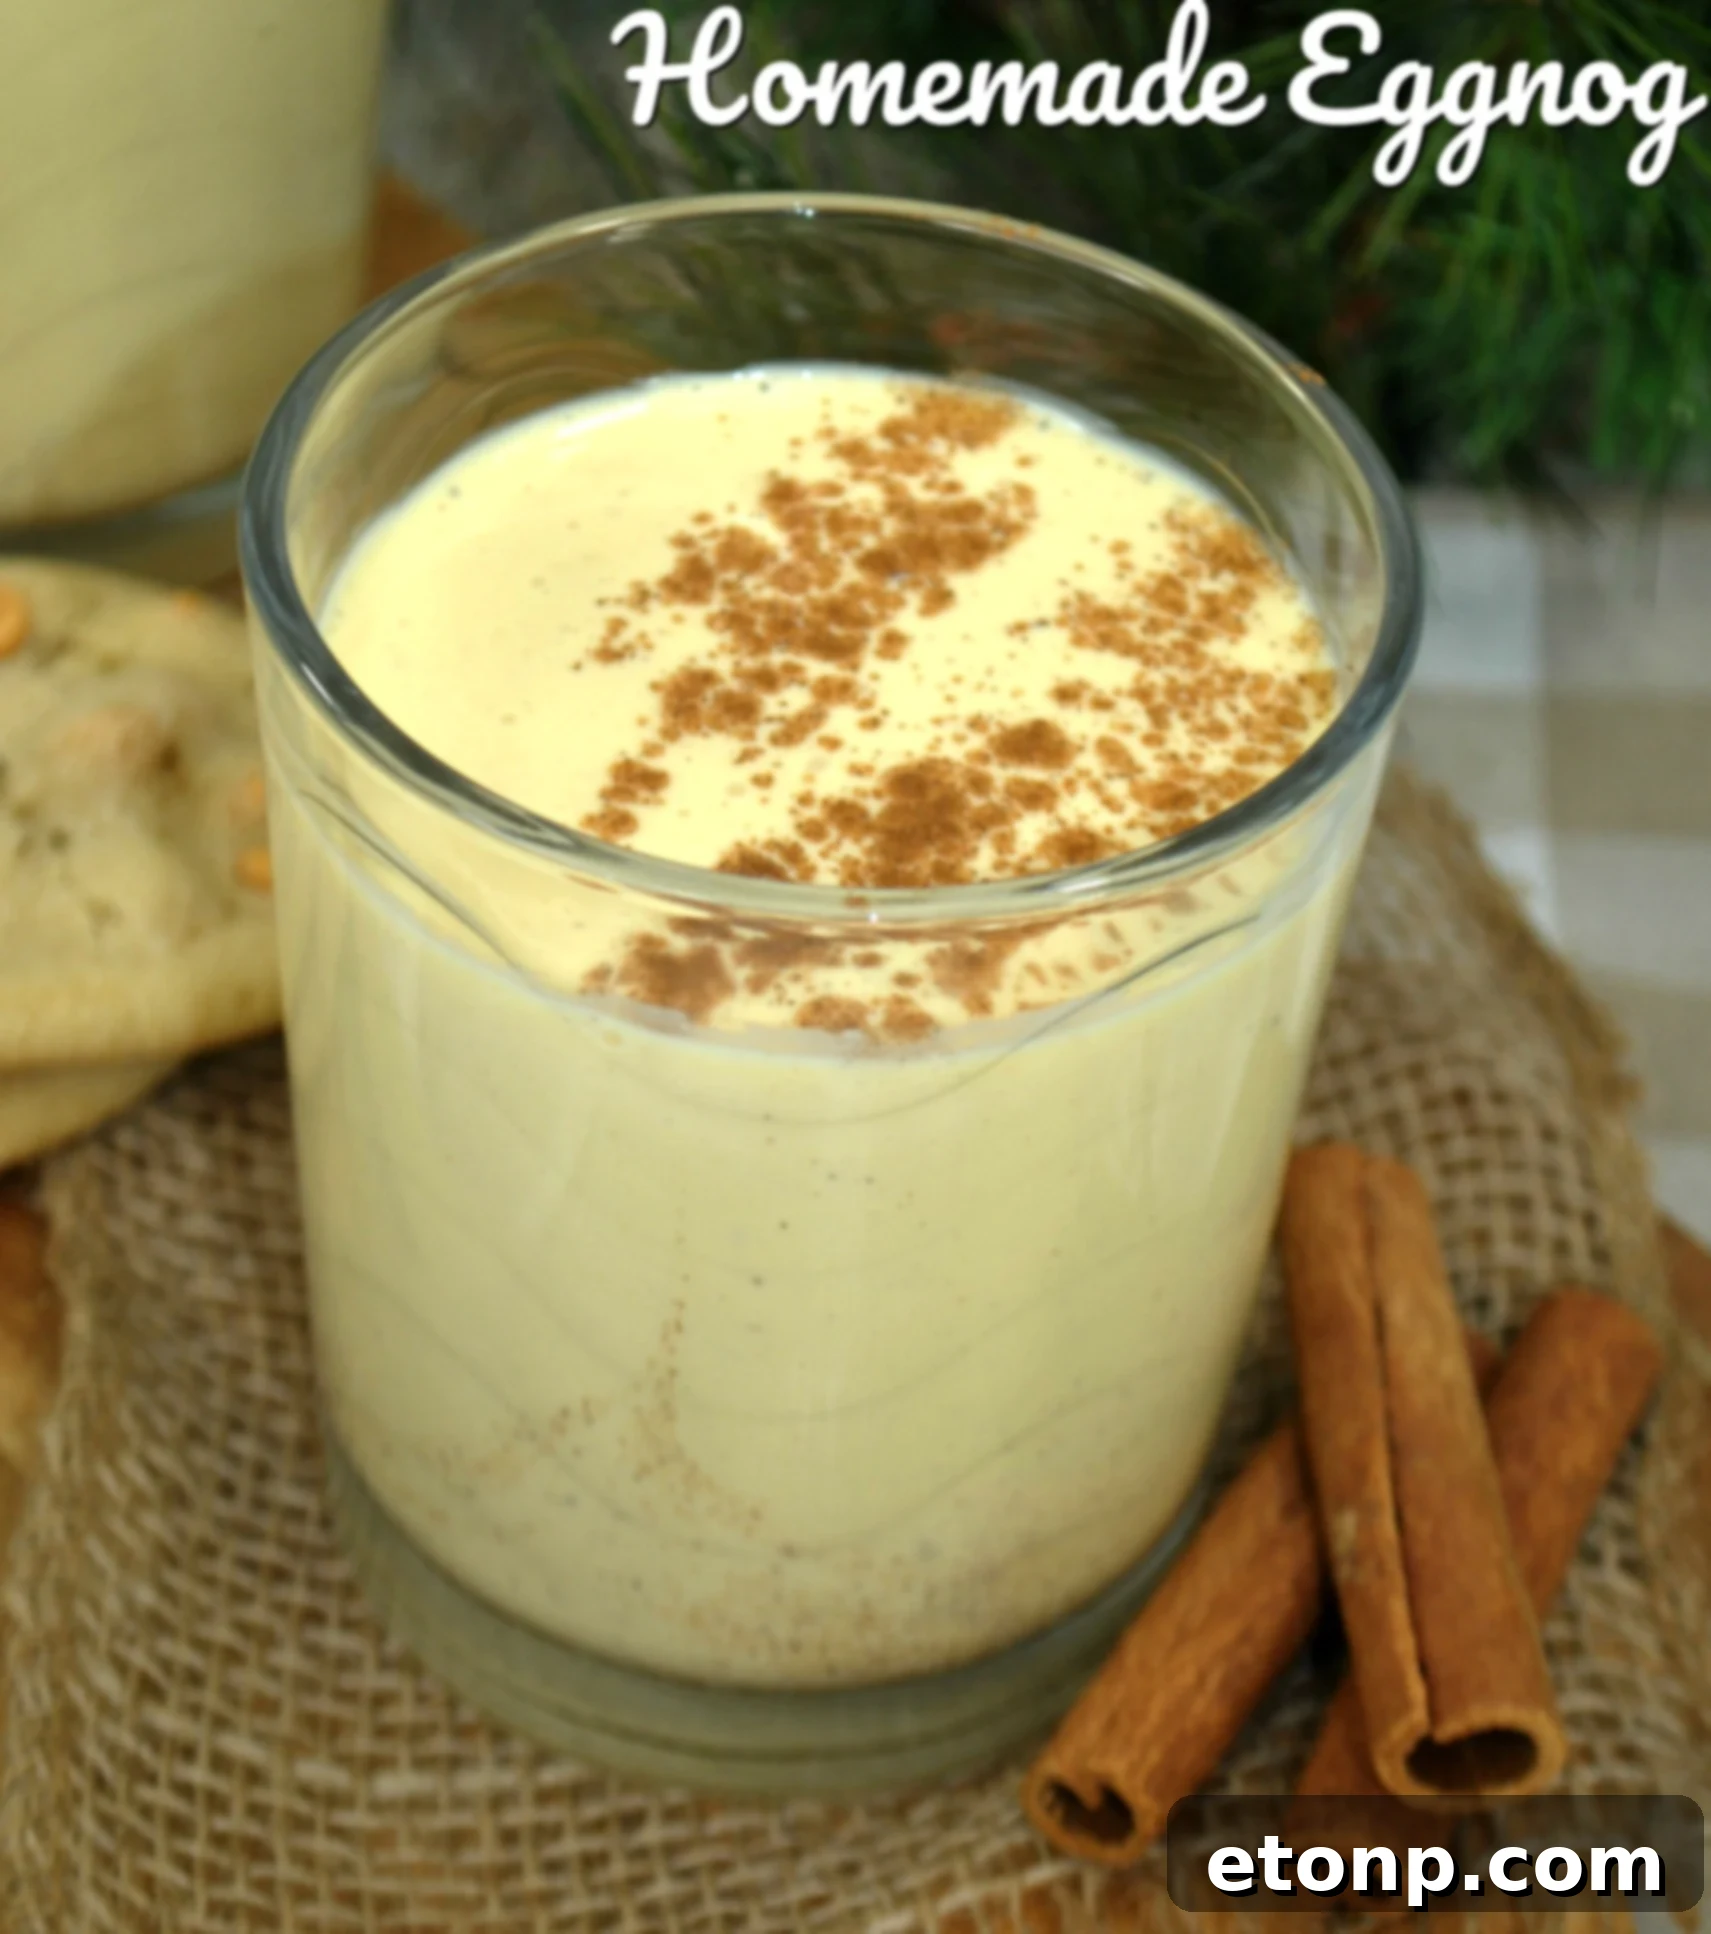
Simple Steps to Achieving Eggnog Perfection
The process of making this delightful homemade eggnog is far from complicated. The key lies in gentle heat and patient whisking to create a smooth, rich custard base. We’ll be carefully cooking the egg mixture to a safe temperature, a crucial step that ensures both deliciousness and peace of mind, especially when serving to a crowd. Once cooked, a swift cooling process helps to achieve that perfectly thick and luxurious consistency. The final touch of whipped cream folds in a cloud-like lightness, making each sip an indulgent dream. Don’t be afraid to dive in; the steps are clearly outlined, and the result is truly worth every moment.
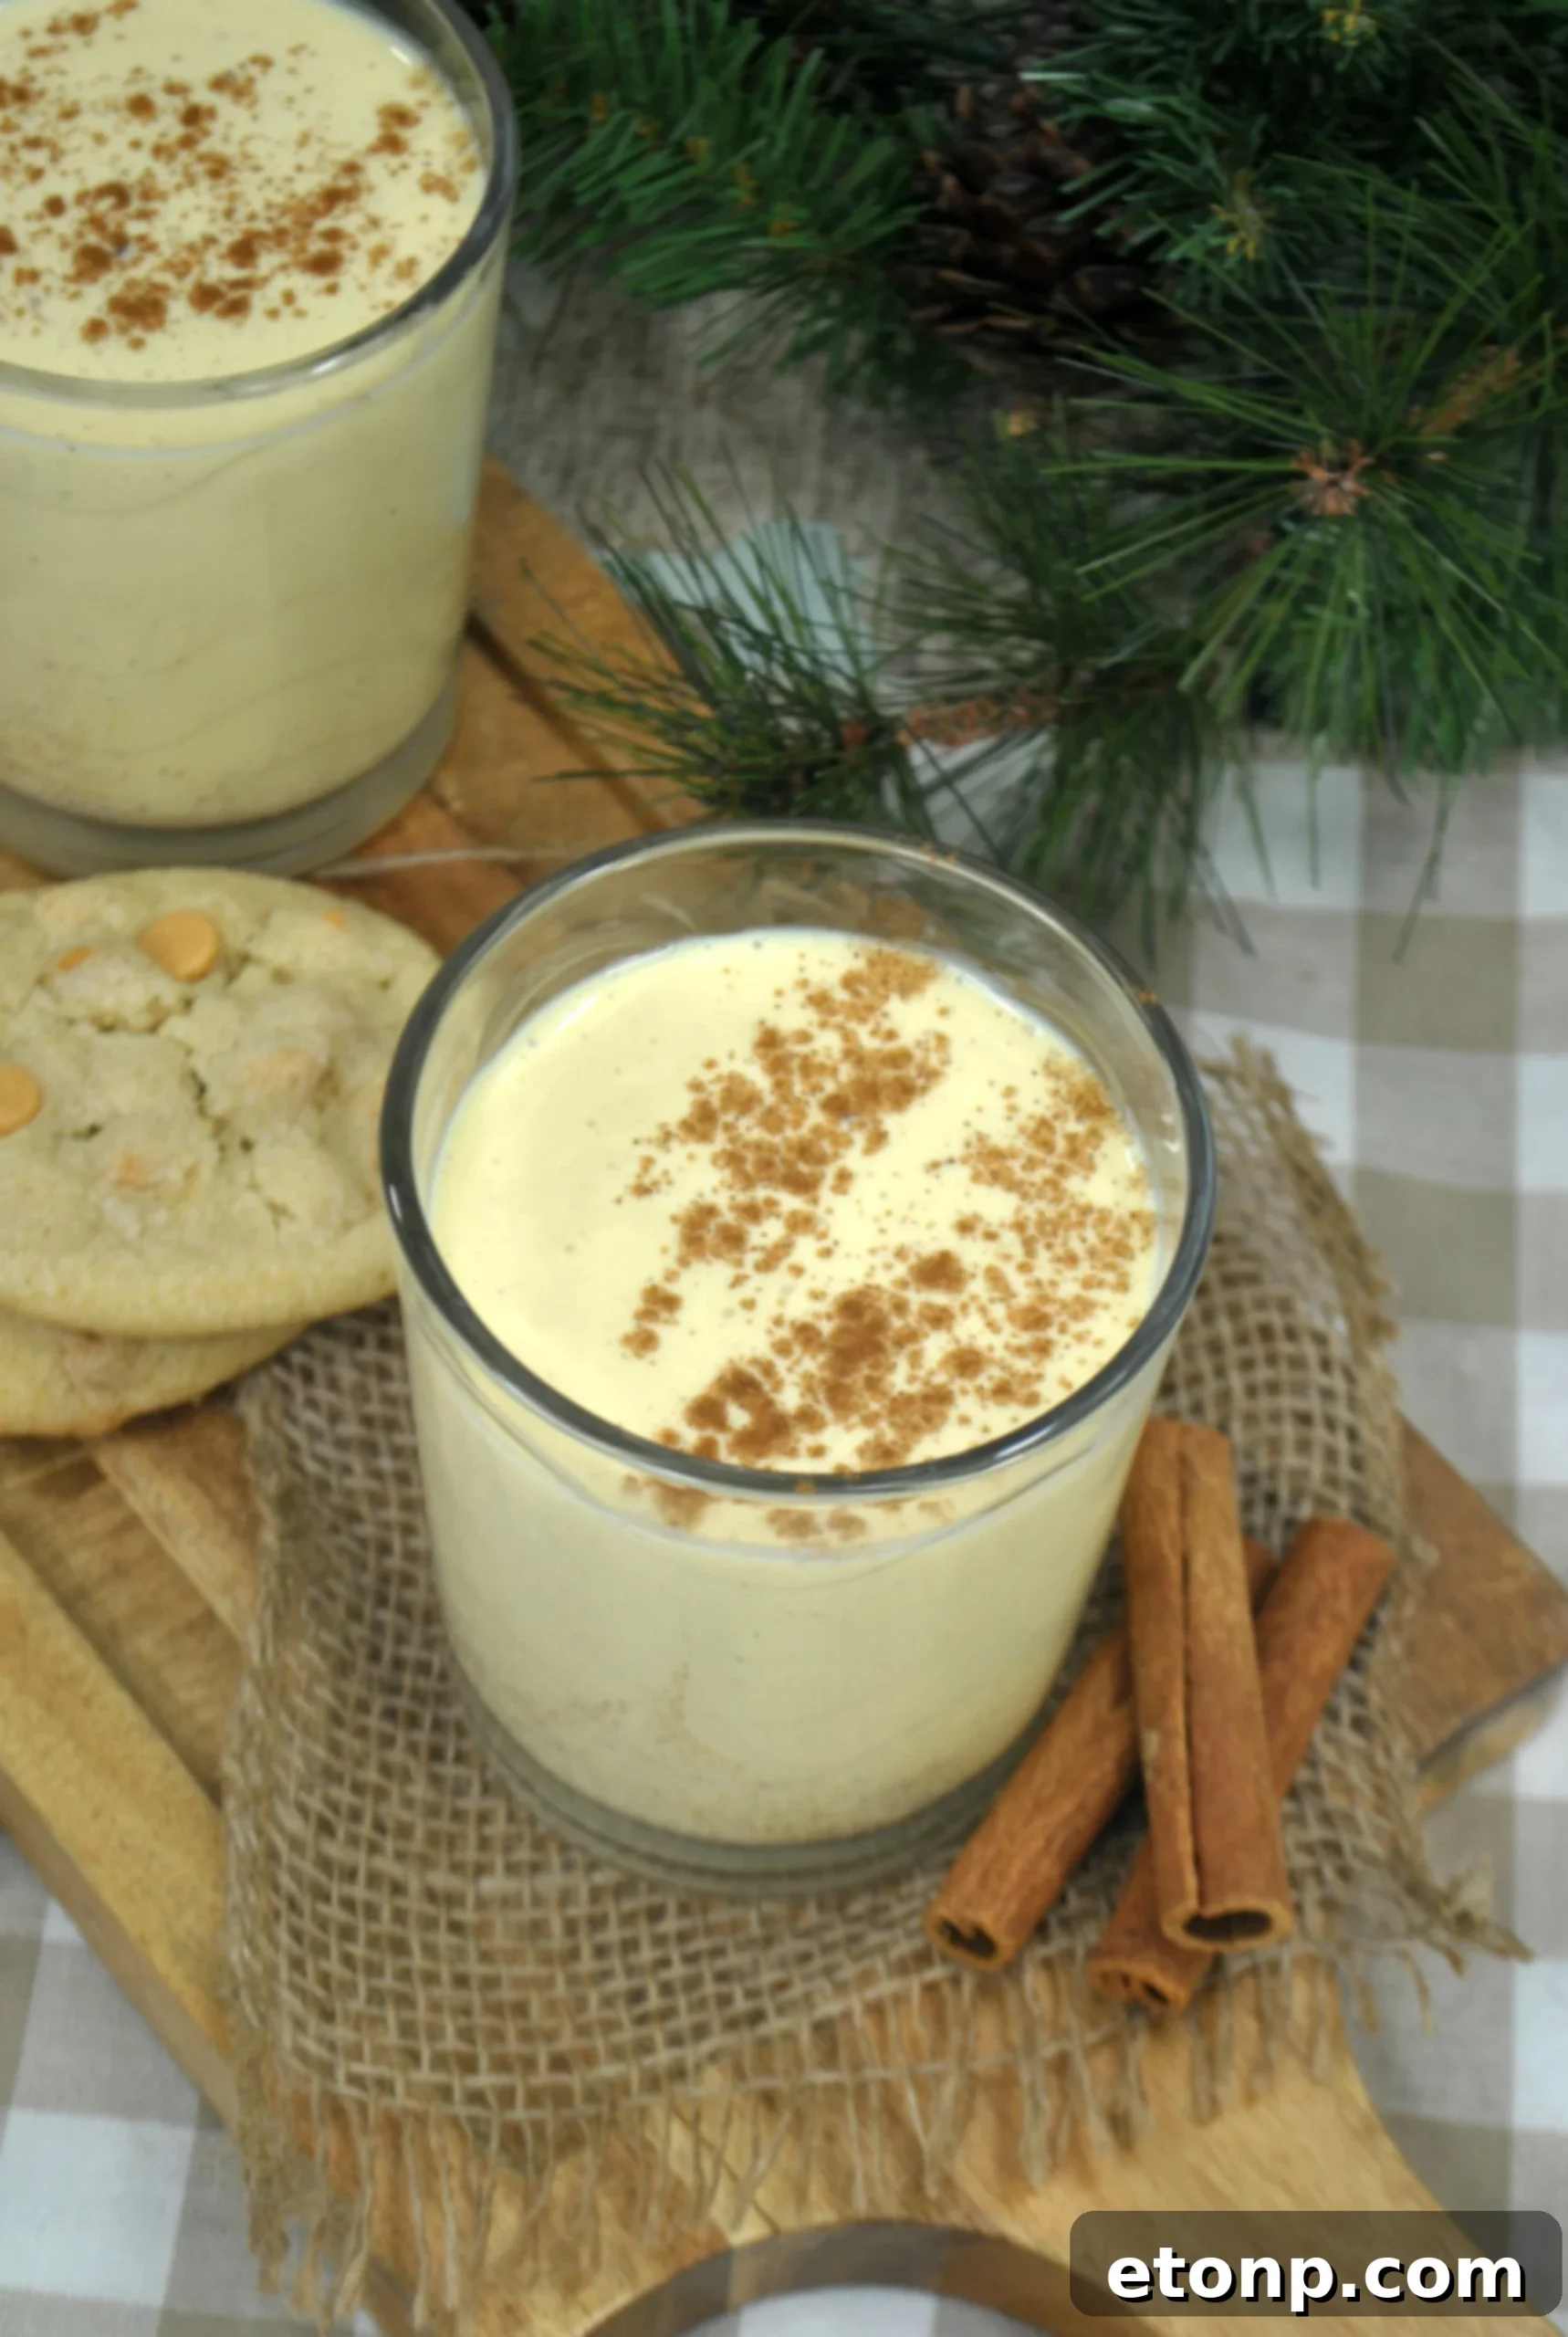
Storing Your Homemade Eggnog: A Week of Delight
One of the many benefits of crafting your own eggnog is the confidence that comes from knowing exactly what ingredients are used, and how long you can safely enjoy your creation. Once prepared and properly chilled, this delightful homemade eggnog will keep beautifully in the refrigerator for approximately one week. Always ensure it’s stored in an airtight container to maintain its freshness and prevent it from absorbing other fridge odors. While in my family, a batch of this delicious eggnog rarely lasts more than a couple of days (it’s just too good to resist!), it’s reassuring to know you have that extended shelf life. This makes it a perfect make-ahead option for busy holiday hosts or for those who simply want to savor the flavors of the season a little longer. Plan ahead for your next holiday party or simply enjoy it throughout the week!
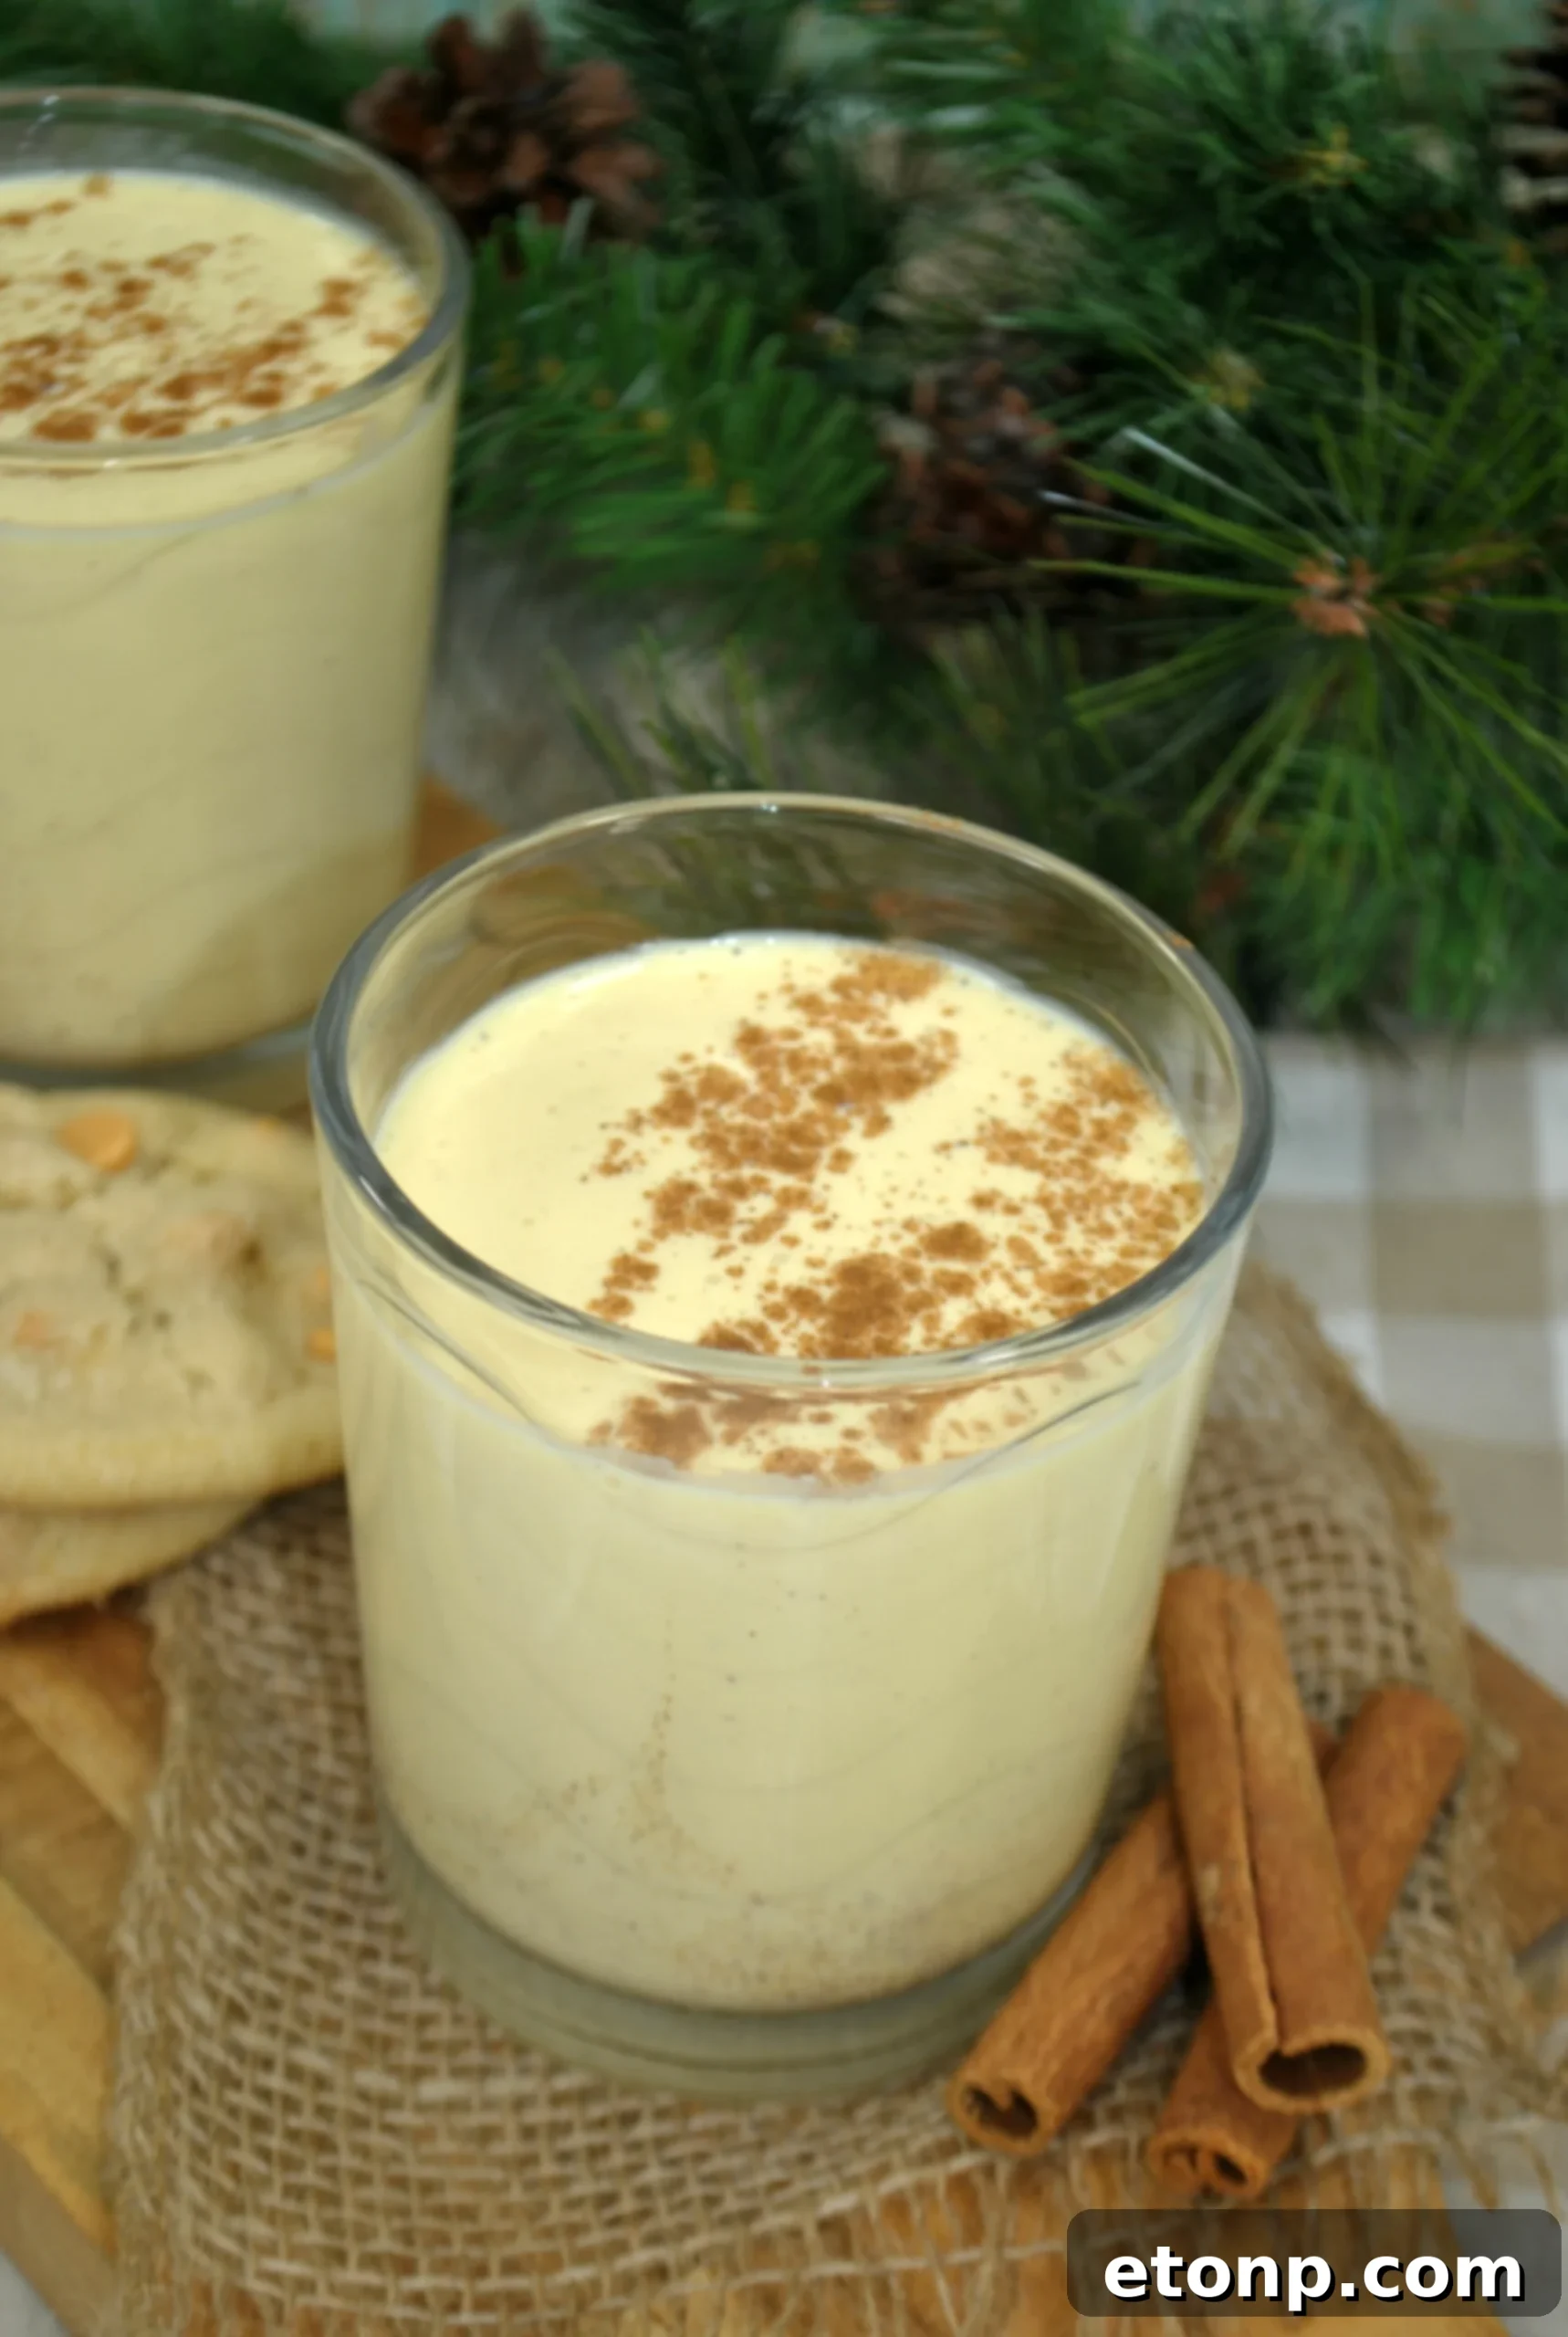
To Spike or Not to Spike? Alcohol is Always Optional!
The age-old holiday question: to add alcohol or not to add alcohol? When it comes to this homemade eggnog, the answer is delightfully simple – it’s entirely up to you! For those who enjoy a festive kick, a splash of premium rum, smooth bourbon, or elegant brandy can truly elevate the flavors, adding warmth and sophistication to this beloved holiday beverage. It transforms the eggnog into a perfect adult cocktail, ideal for grown-up gatherings and cheerful toasts. However, for those preferring a non-alcoholic option, or when serving younger guests, this delicious treat is equally wonderful without any spirits. Its inherent richness and spice blend beautifully on their own, making it a delightful drink for all ages. My personal tradition is to prepare two separate batches: one container of the beautifully spiked version for the adults, and another of the wonderfully rich, non-alcoholic eggnog for everyone to enjoy. This way, everyone can partake in the joy and festive spirit of homemade eggnog bliss!
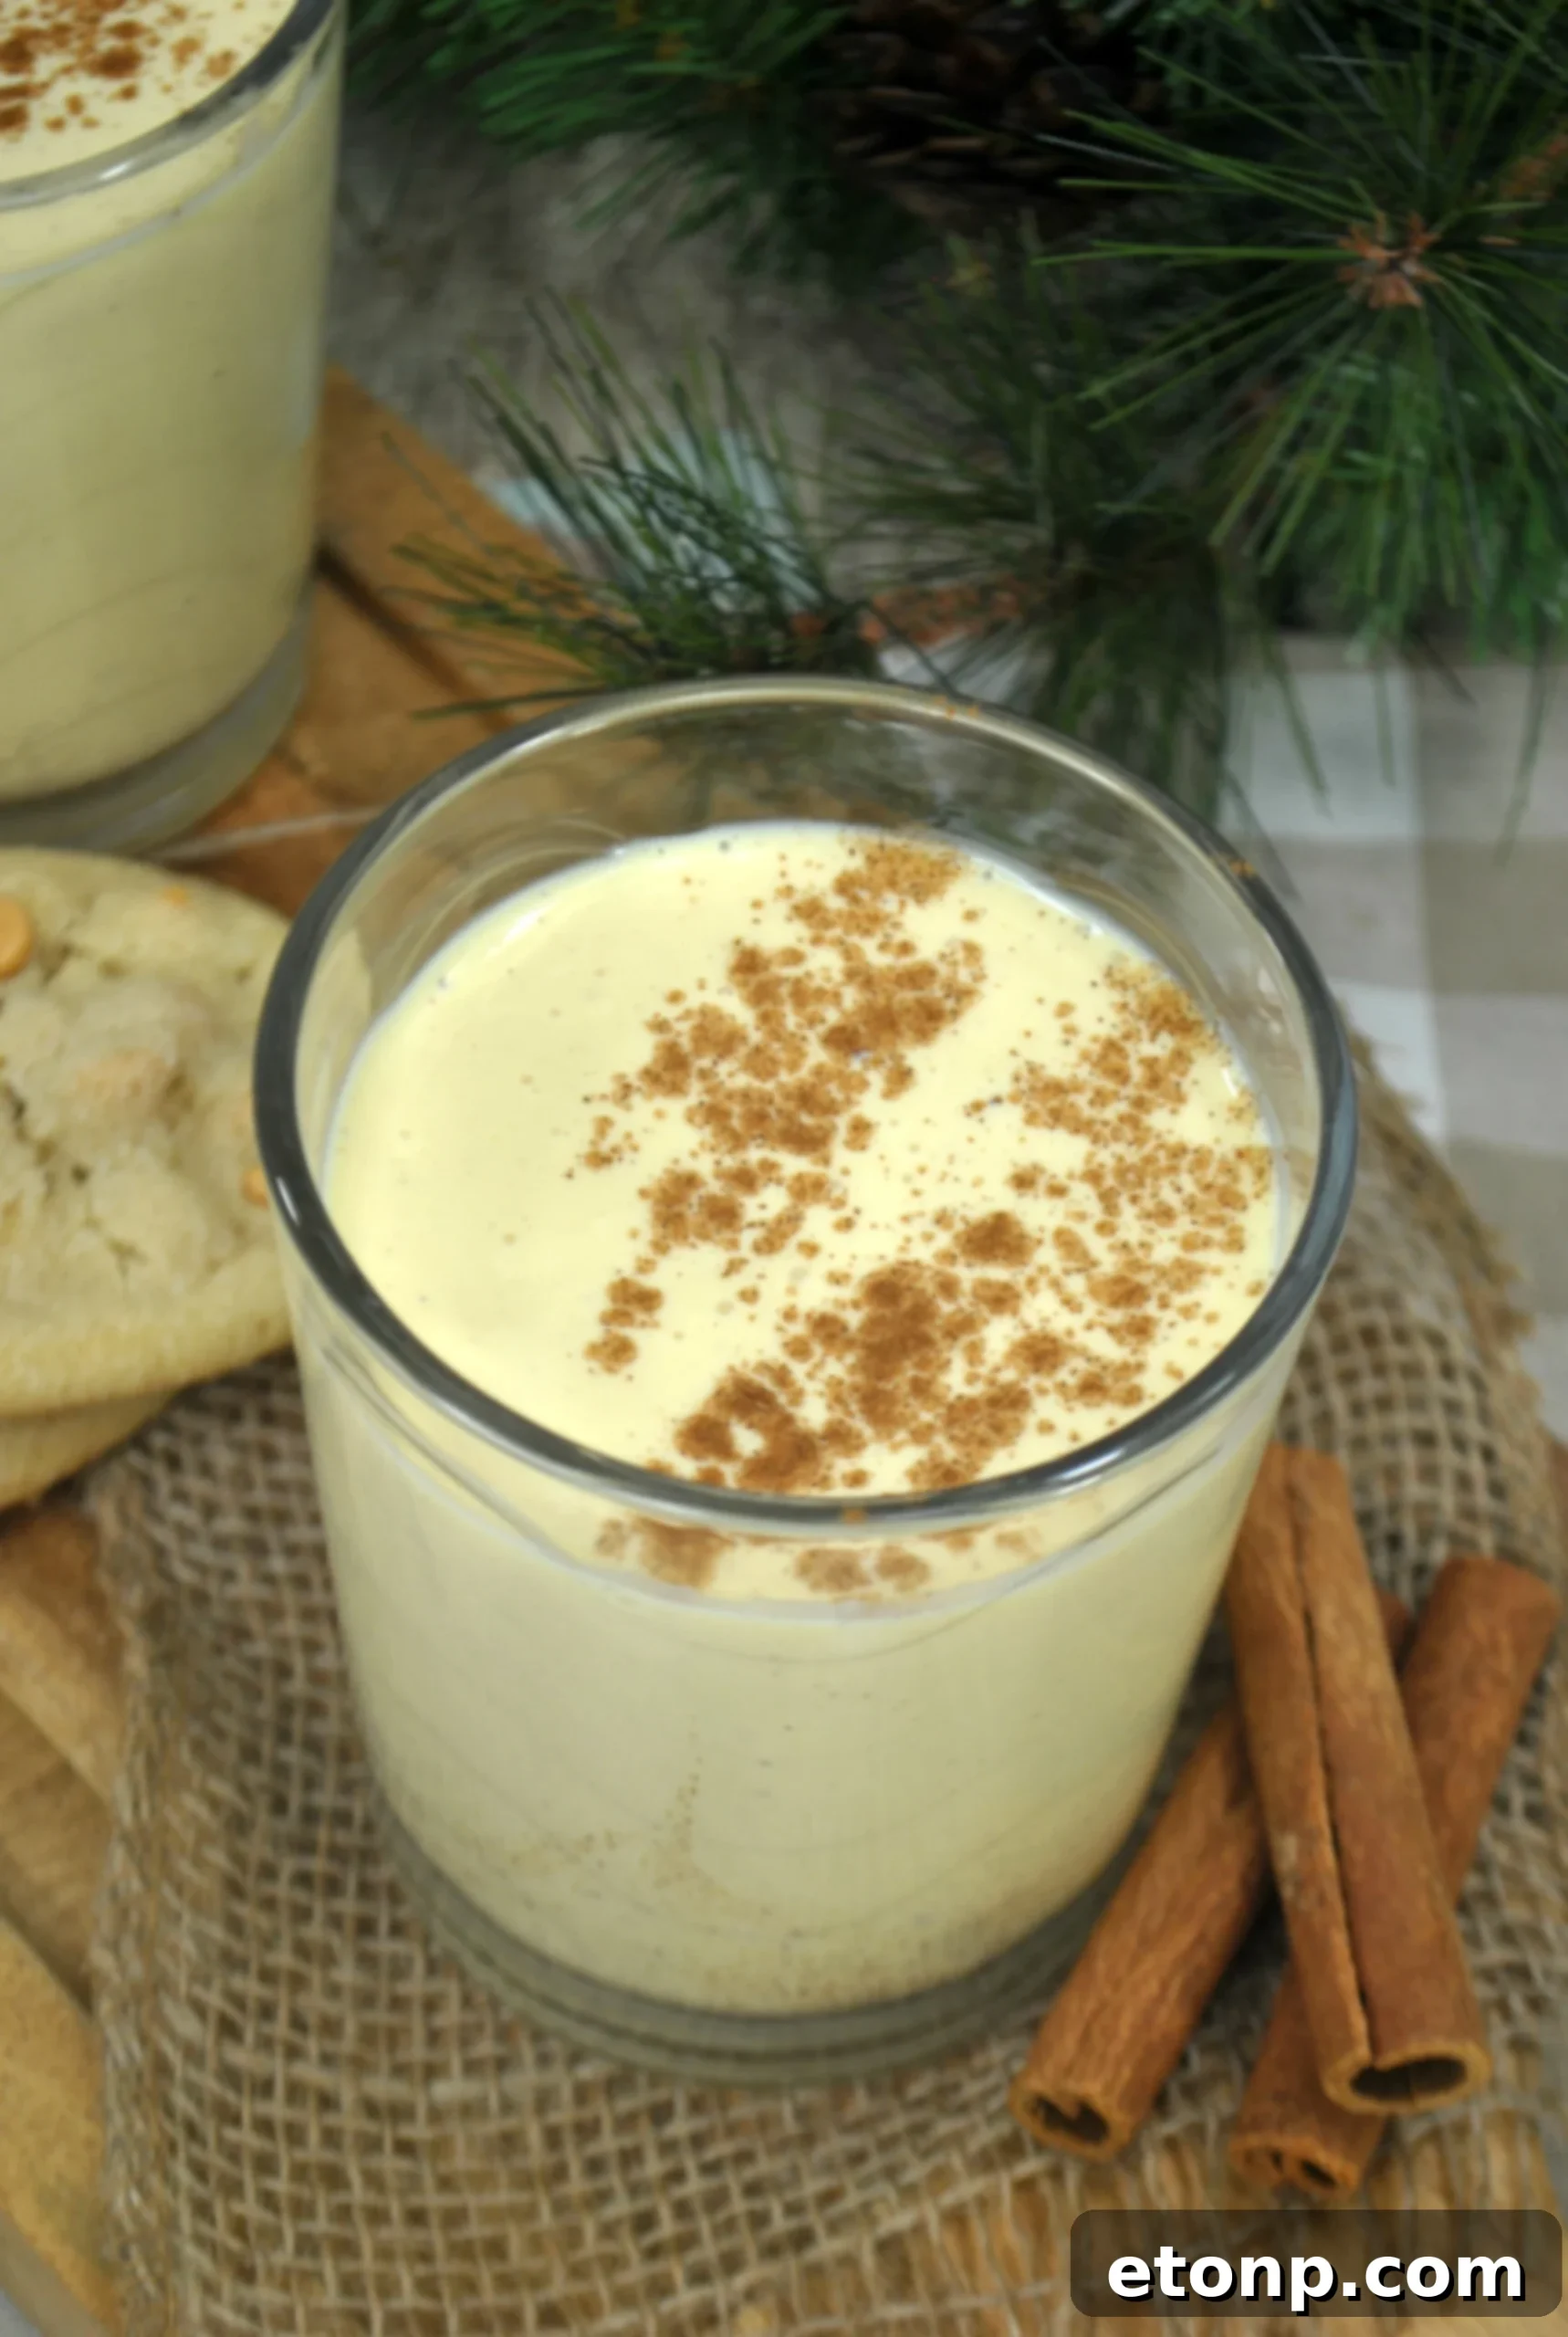
This recipe is more than just a guide to making a drink; it’s an invitation to create cherished memories and share genuine joy with those you love. So, gather your ingredients, follow these straightforward steps, and prepare to be utterly amazed by the incredible flavor and satisfying richness of true homemade eggnog. It’s an experience that will undoubtedly transform your holiday season, making it a little sweeter, a little creamier, and a lot more memorable.
Remember to spread the holiday cheer! Please SHARE this incredible recipe on Facebook and PIN IT to your favorite holiday boards!
FOLLOW ME ON PINTEREST BY CLICKING HERE <——
Homemade Eggnog!
Yields: Approximately 10-12 servings | Prep time: 20 minutes | Chill time: 2.5 hours (or overnight for best flavor)
Share Recipe
Ingredients
- 12 large eggs, fresh and preferably pasteurized for safety and best flavor.
- 2 C granulated sugar, for the perfect balance of sweetness.
- 2 C heavy cream, well-chilled, for a rich and airy finish.
- 1/2 tsp fine sea salt, to enhance all the flavors.
- 2 tablespoons pure vanilla extract, for classic warmth.
- 6 C whole milk, divided (4 cups for heating, 2 cups for cooling and thinning).
- 1 tsp freshly grated nutmeg, plus extra for garnish (freshly grated makes a huge difference!).
- 1 cup rum, bourbon, or brandy (OPTIONAL, for adult versions), chosen to your taste.
Instructions
- In a large, deep saucepan or pot, begin by whisking together the eggs, granulated sugar, and salt until the mixture is light in color, well combined, and slightly frothy. Gradually incorporate 4 cups of whole milk into this mixture, continuing to whisk thoroughly until all ingredients are smoothly integrated. This slow addition helps to prevent the eggs from curdling later on.
- Place the saucepan over low heat. It’s crucial to stir the mixture continuously with a wooden spoon or whisk. The goal here is to gently cook the eggs and sugar, creating a thickened base without scrambling the eggs. Use a reliable instant-read thermometer to monitor the temperature. Continue stirring until the mixture reaches 160°F (71°C). This temperature ensures food safety by pasteurizing the eggs. It is absolutely essential NOT to allow the mixture to boil, as this will curdle the eggs and spoil the smooth texture of your eggnog. If you notice it starting to steam heavily or bubble, immediately remove it from the heat while continuing to stir vigorously.
- Once the eggnog mixture reaches precisely 160°F, remove it from the heat without delay. Carefully transfer the hot mixture into a large, clean heatproof bowl. This action immediately stops the cooking process and prevents the eggs from overcooking, which could lead to a grainy texture.
- Now, stir in the pure vanilla extract, the generous portion of freshly grated nutmeg (its aroma is intoxicating!), and the remaining 2 cups of cold whole milk. The addition of cold milk at this stage helps to bring down the overall temperature of the mixture and contributes to a smoother finish.
- To rapidly chill the eggnog and achieve optimal consistency, prepare an ice water bath. Place the large bowl containing your eggnog mixture into an even larger bowl that is filled with ice cubes and a small amount of water. Gently stir the eggnog periodically until it has completely cooled down to room temperature or cooler. This chilling process is vital for both food safety and allowing the flavors to fully meld. Once cooled, cover the bowl tightly with plastic wrap and refrigerate for a minimum of 2 1/2 hours. For the absolute best flavor and a wonderfully thick texture, chilling the eggnog overnight is highly recommended.
- When you are ready to serve this delightful beverage, retrieve the heavy cream from the refrigerator. Pour it into a separate, very cold mixing bowl. Using an electric mixer (or a whisk for a good arm workout!), beat the heavy cream until soft, ethereal peaks begin to form. Be vigilant not to overbeat, as it can quickly turn into butter.
- Carefully and gently fold the freshly whipped heavy cream into the thoroughly chilled eggnog mixture. This step adds an incredible lightness and an extra layer of velvety creaminess, making your eggnog truly luxurious. If you are preparing an alcoholic version, this is the perfect moment to stir in your chosen rum, bourbon, or brandy.
- Pour the homemade eggnog into festive glasses or mugs. For an exquisite finish and an added burst of aroma, sprinkle a little additional freshly grated nutmeg on top of each serving. You can also add a cinnamon stick for stirring or a small dollop of extra whipped cream.
- ENJOY this truly delightful, rich, and creamy homemade eggnog with your cherished family and friends. Cheers to a wonderful holiday season!
Essential Tips for Making the Perfect Homemade Eggnog
- Quality Ingredients Matter: The foundation of exceptional eggnog lies in high-quality ingredients. Use the freshest large eggs you can find (pasteurized eggs are recommended for safety, especially if you’re concerned about raw egg consumption, although heating to 160°F addresses this). Opt for full-fat whole milk and rich heavy cream for the best texture and flavor.
- Temperature Control is Key: The 160°F target temperature is critical for cooking the eggs safely without scrambling them. Always use a reliable thermometer and stir constantly over low heat. Patience is a virtue in this step!
- Chill Thoroughly: Do not rush the chilling process. A well-chilled eggnog is not only safer but also has a superior, thicker consistency and allows all the wonderful flavors to fully meld and deepen. Chilling overnight is ideal.
- Freshly Grated Nutmeg: This is a non-negotiable for a truly authentic and aromatic eggnog. Pre-ground nutmeg loses much of its potency. A microplane grater makes this an easy task.
- Sweetness Customization: While 2 cups of sugar provide a classic sweetness, feel free to adjust to your personal preference. You can always add a little more once the eggnog is chilled, if needed.
- Choosing Your Spirits (If Spiking): Dark rum (such as spiced rum), bourbon, or even brandy are classic choices. Each imparts a unique character. Some enjoy a blend of two. The alcohol can also act as a natural preservative, potentially extending the shelf life of the spiked version by a few days. Always add alcohol after the mixture has cooled.
- Air-Tight Storage: Store your homemade eggnog in well-sealed containers to prevent it from absorbing other flavors from the fridge and to maintain its freshness. Glass bottles or jars work wonderfully.
Serving Suggestions & Creative Variations for Your Eggnog
- The Classic Garnish: Nothing beats a final dusting of freshly grated nutmeg for both aroma and visual appeal.
- Cinnamon Stick Stirrers: Offer a cinnamon stick in each glass for a subtle added spice and elegant presentation.
- Chocolate Shavings: A sprinkle of dark chocolate shavings can add a sophisticated touch and a delightful flavor contrast.
- Eggnog Latte: For a delightful morning or afternoon pick-me-up, warm up some non-alcoholic eggnog and combine it with a shot of espresso or strong brewed coffee. Top with whipped cream and nutmeg.
- Gingerbread Eggnog: Add a pinch of ground ginger or a hint of molasses to the eggnog mixture for a gingerbread-inspired twist.
- Ice Cream Float: For a fun dessert, pour chilled eggnog over a scoop of vanilla bean ice cream.
- Spiced Rim: Rim your serving glasses with a mixture of sugar and ground cinnamon or gingerbread spice for an extra festive touch.
Did you make this delicious homemade eggnog?
We’d absolutely love to hear about your experience! Share your photos and stories with us. And don’t forget to follow us on Pinterest for more incredible recipes, festive inspiration, and culinary delights throughout the year!
Share on Facebook