
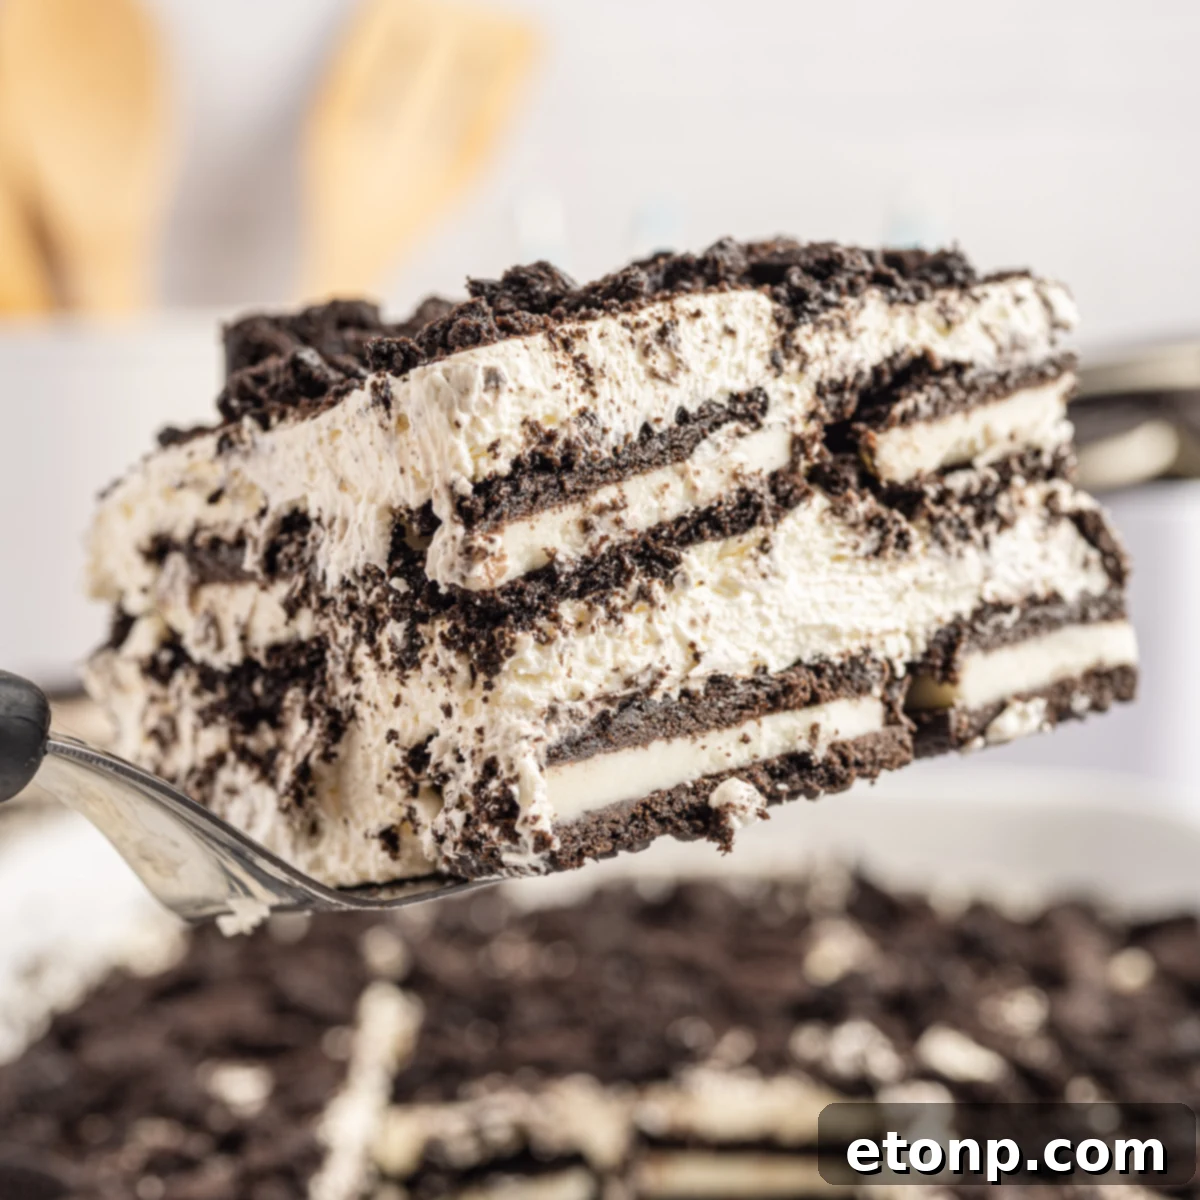
Discover the Ultimate No-Bake Oreo Icebox Cake: Your New Favorite Effortless Dessert! If there’s one dessert that consistently wows crowds with minimal effort, it’s the iconic Oreo Icebox Cake. This sweet treat feels like a secret weapon in the kitchen – incredibly easy to prepare, yet so satisfyingly decadent that everyone, from kids to adults, will clamor for “just one more bite.” Get ready to experience a truly delicious no-bake sensation, crafted with just a handful of primary ingredients, promising a delightful finish to any meal or a perfect indulgence for any time.
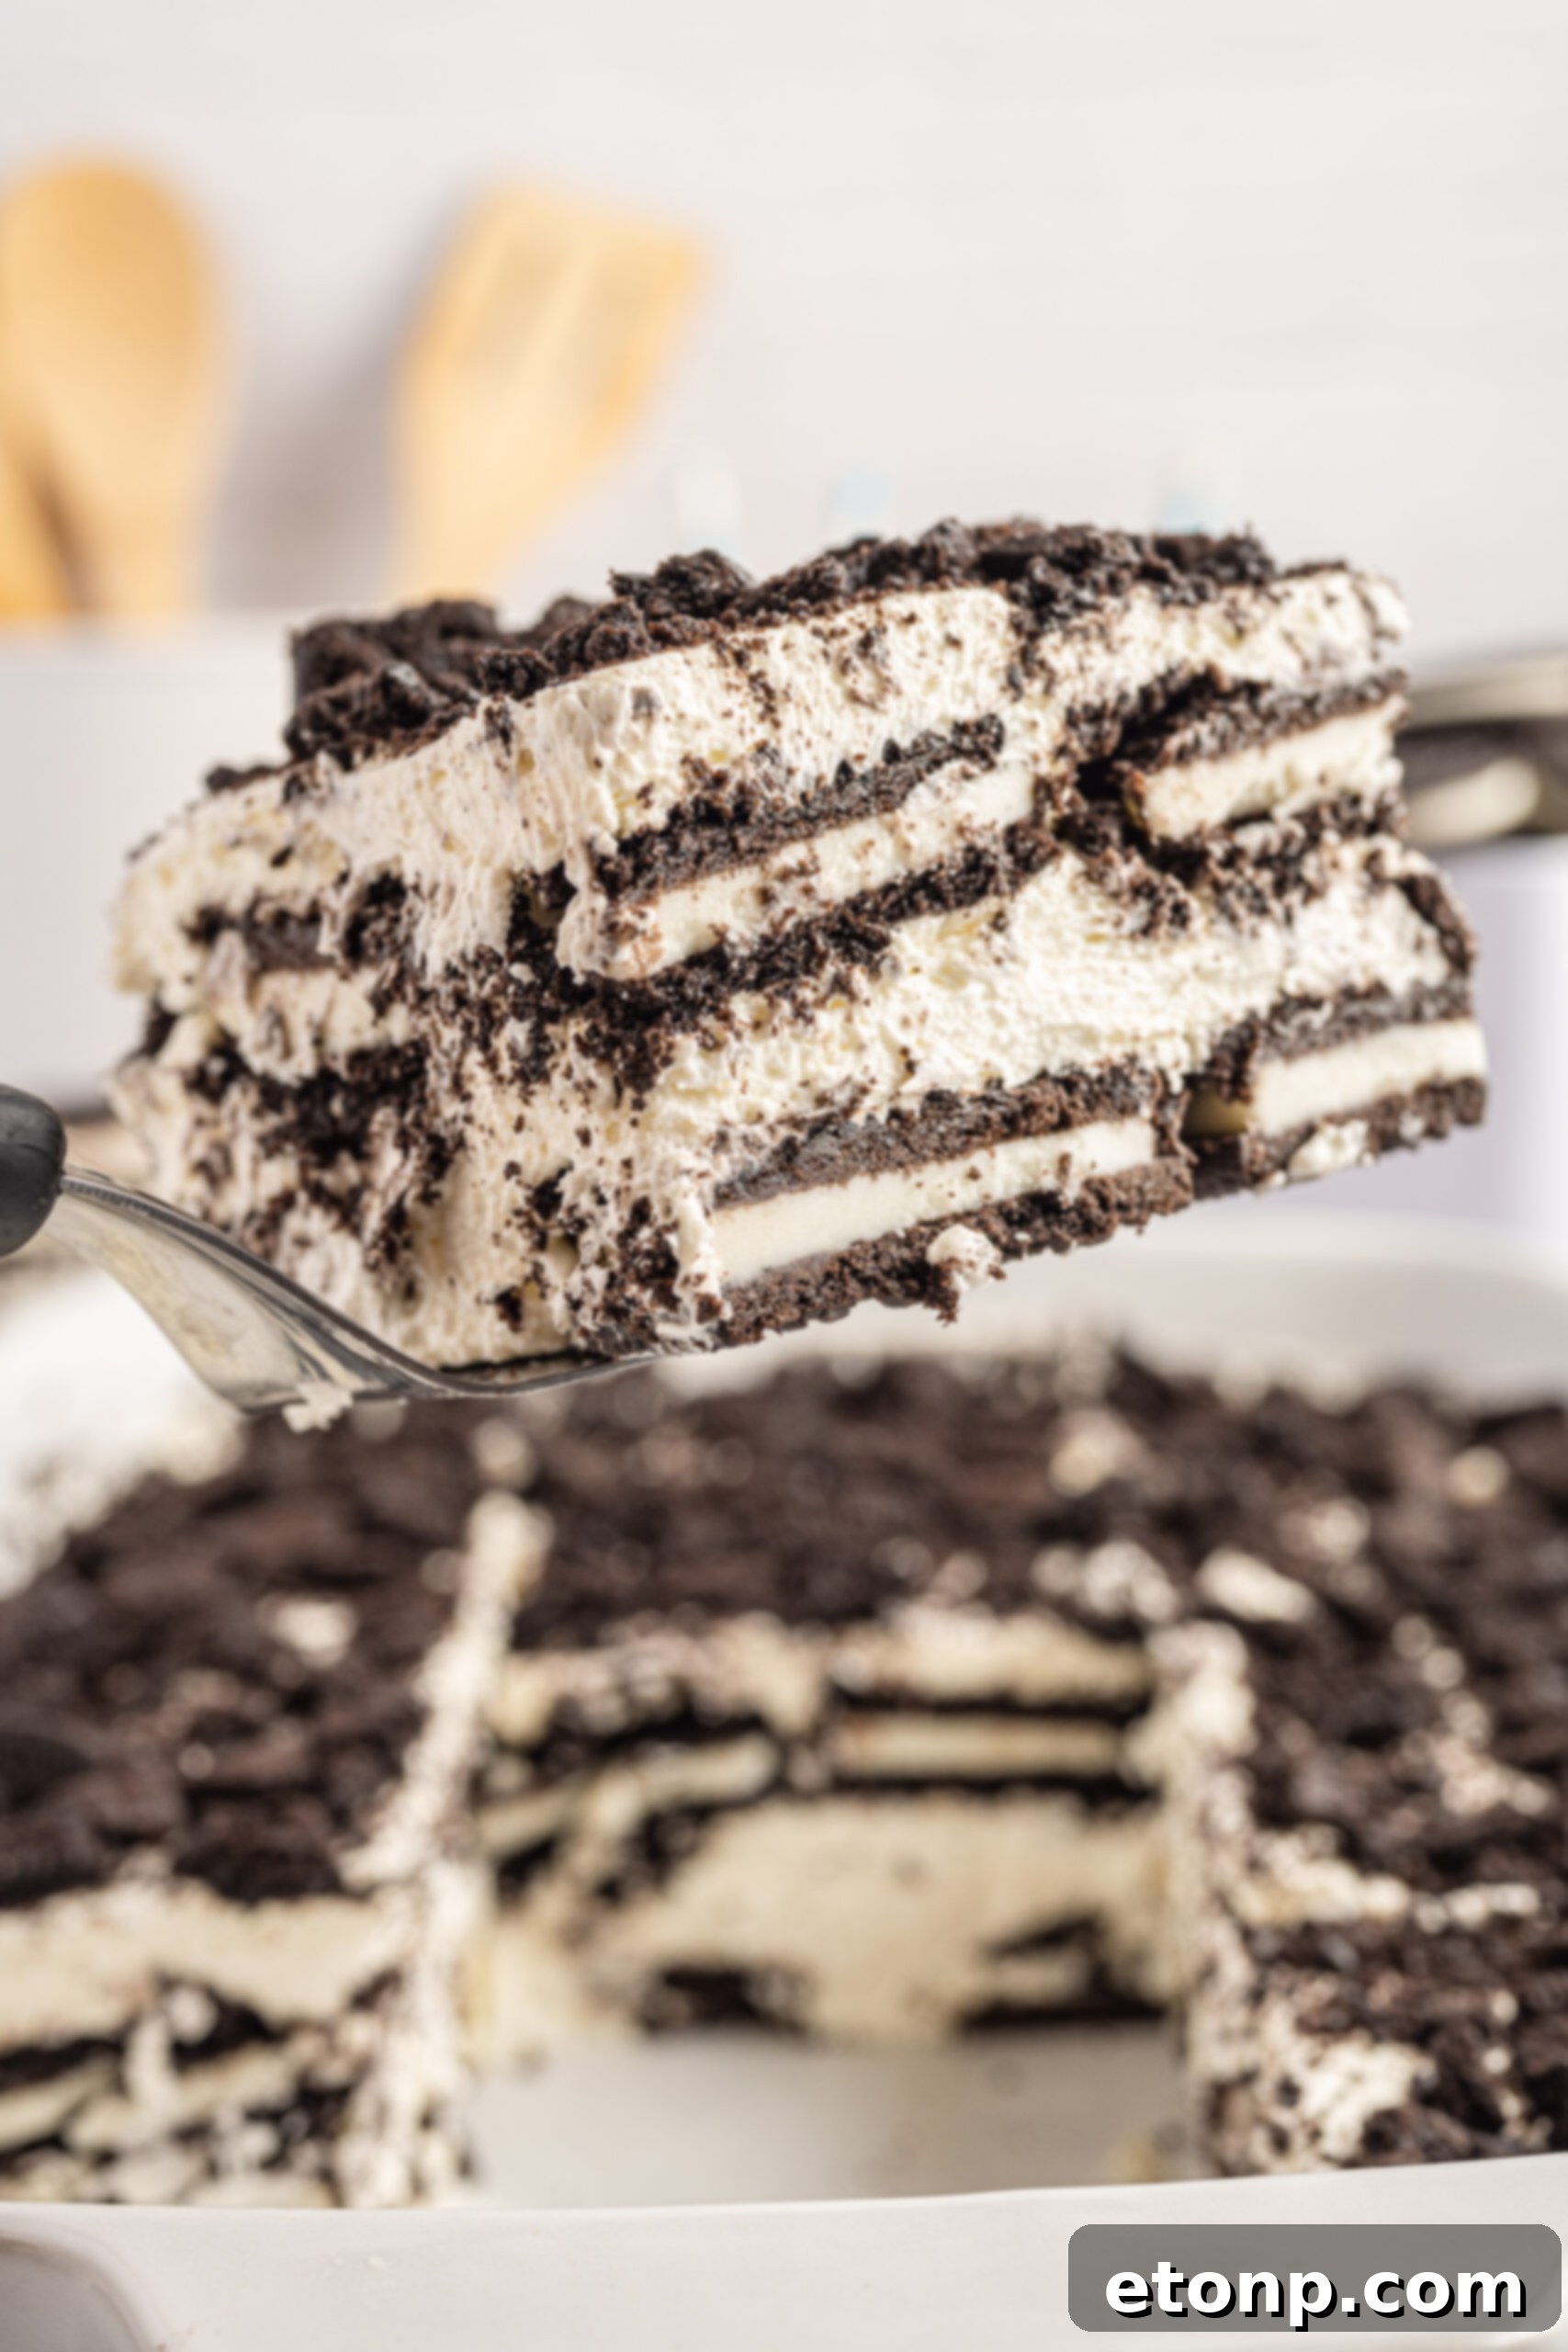
There are countless occasions when the allure of baking calls to us – the warmth of the oven, the comforting aroma filling the home. But then, there are those other days. Days when turning on the oven feels like an insurmountable task, especially when the weather outside is already warm, or when time is simply not on your side. That’s precisely when this incredible No-Bake Oreo Icebox Cake steps into the spotlight. It delivers all the show-stopping appeal of a meticulously prepared dessert without demanding any baking, sweating over a hot stove, or even dirtying more than a single bowl and a spatula if you’re efficient. It’s the epitome of a lazy genius dessert, offering maximum enjoyment for minimum effort.
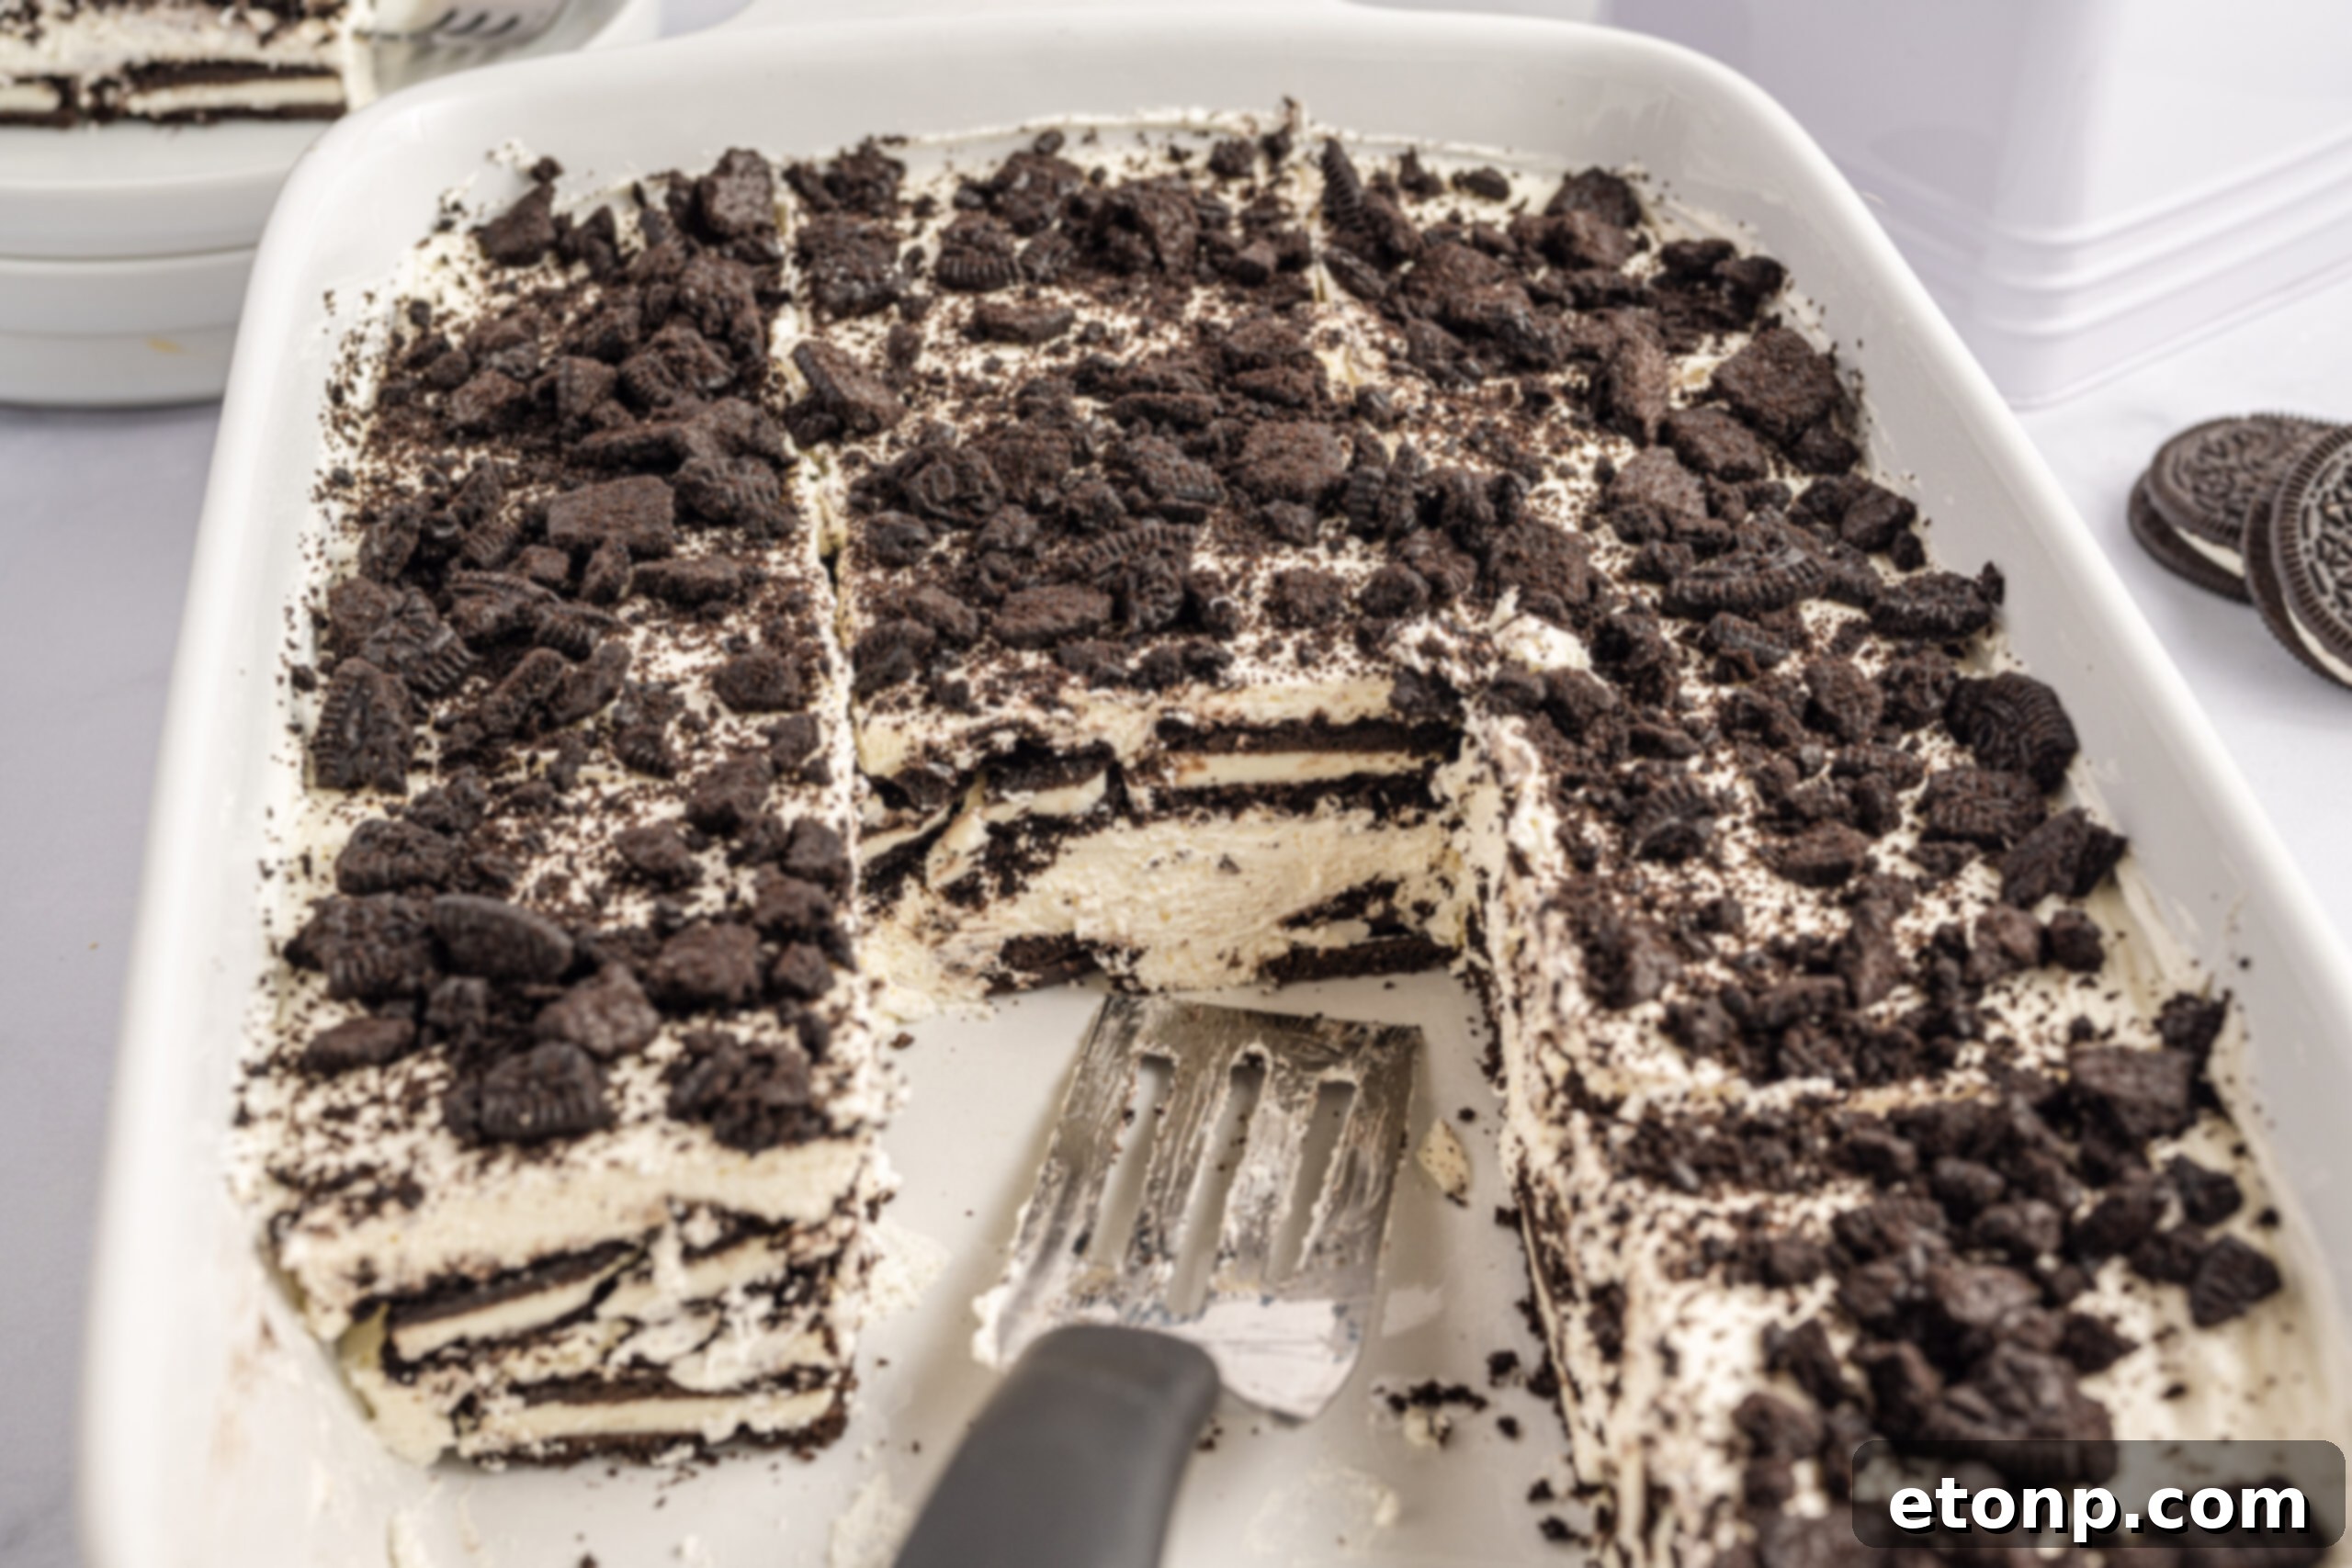
What Exactly Makes This No-Bake Dessert So Special?
At its heart, the Oreo Icebox Cake is a no-bake, chilled, creamy cookies-and-cream dream. It effortlessly comes together with surprisingly few ingredients: luscious cream cheese, a touch of granulated sugar, a splash of heavy cream, a generous amount of whipped topping, and, of course, a mountain of Oreo cookies. We highly recommend using Double Stuf Oreos – because when it comes to comfort food, why hold back? This isn’t the time for culinary restraint; it’s a moment to embrace pure, unadulterated indulgence.
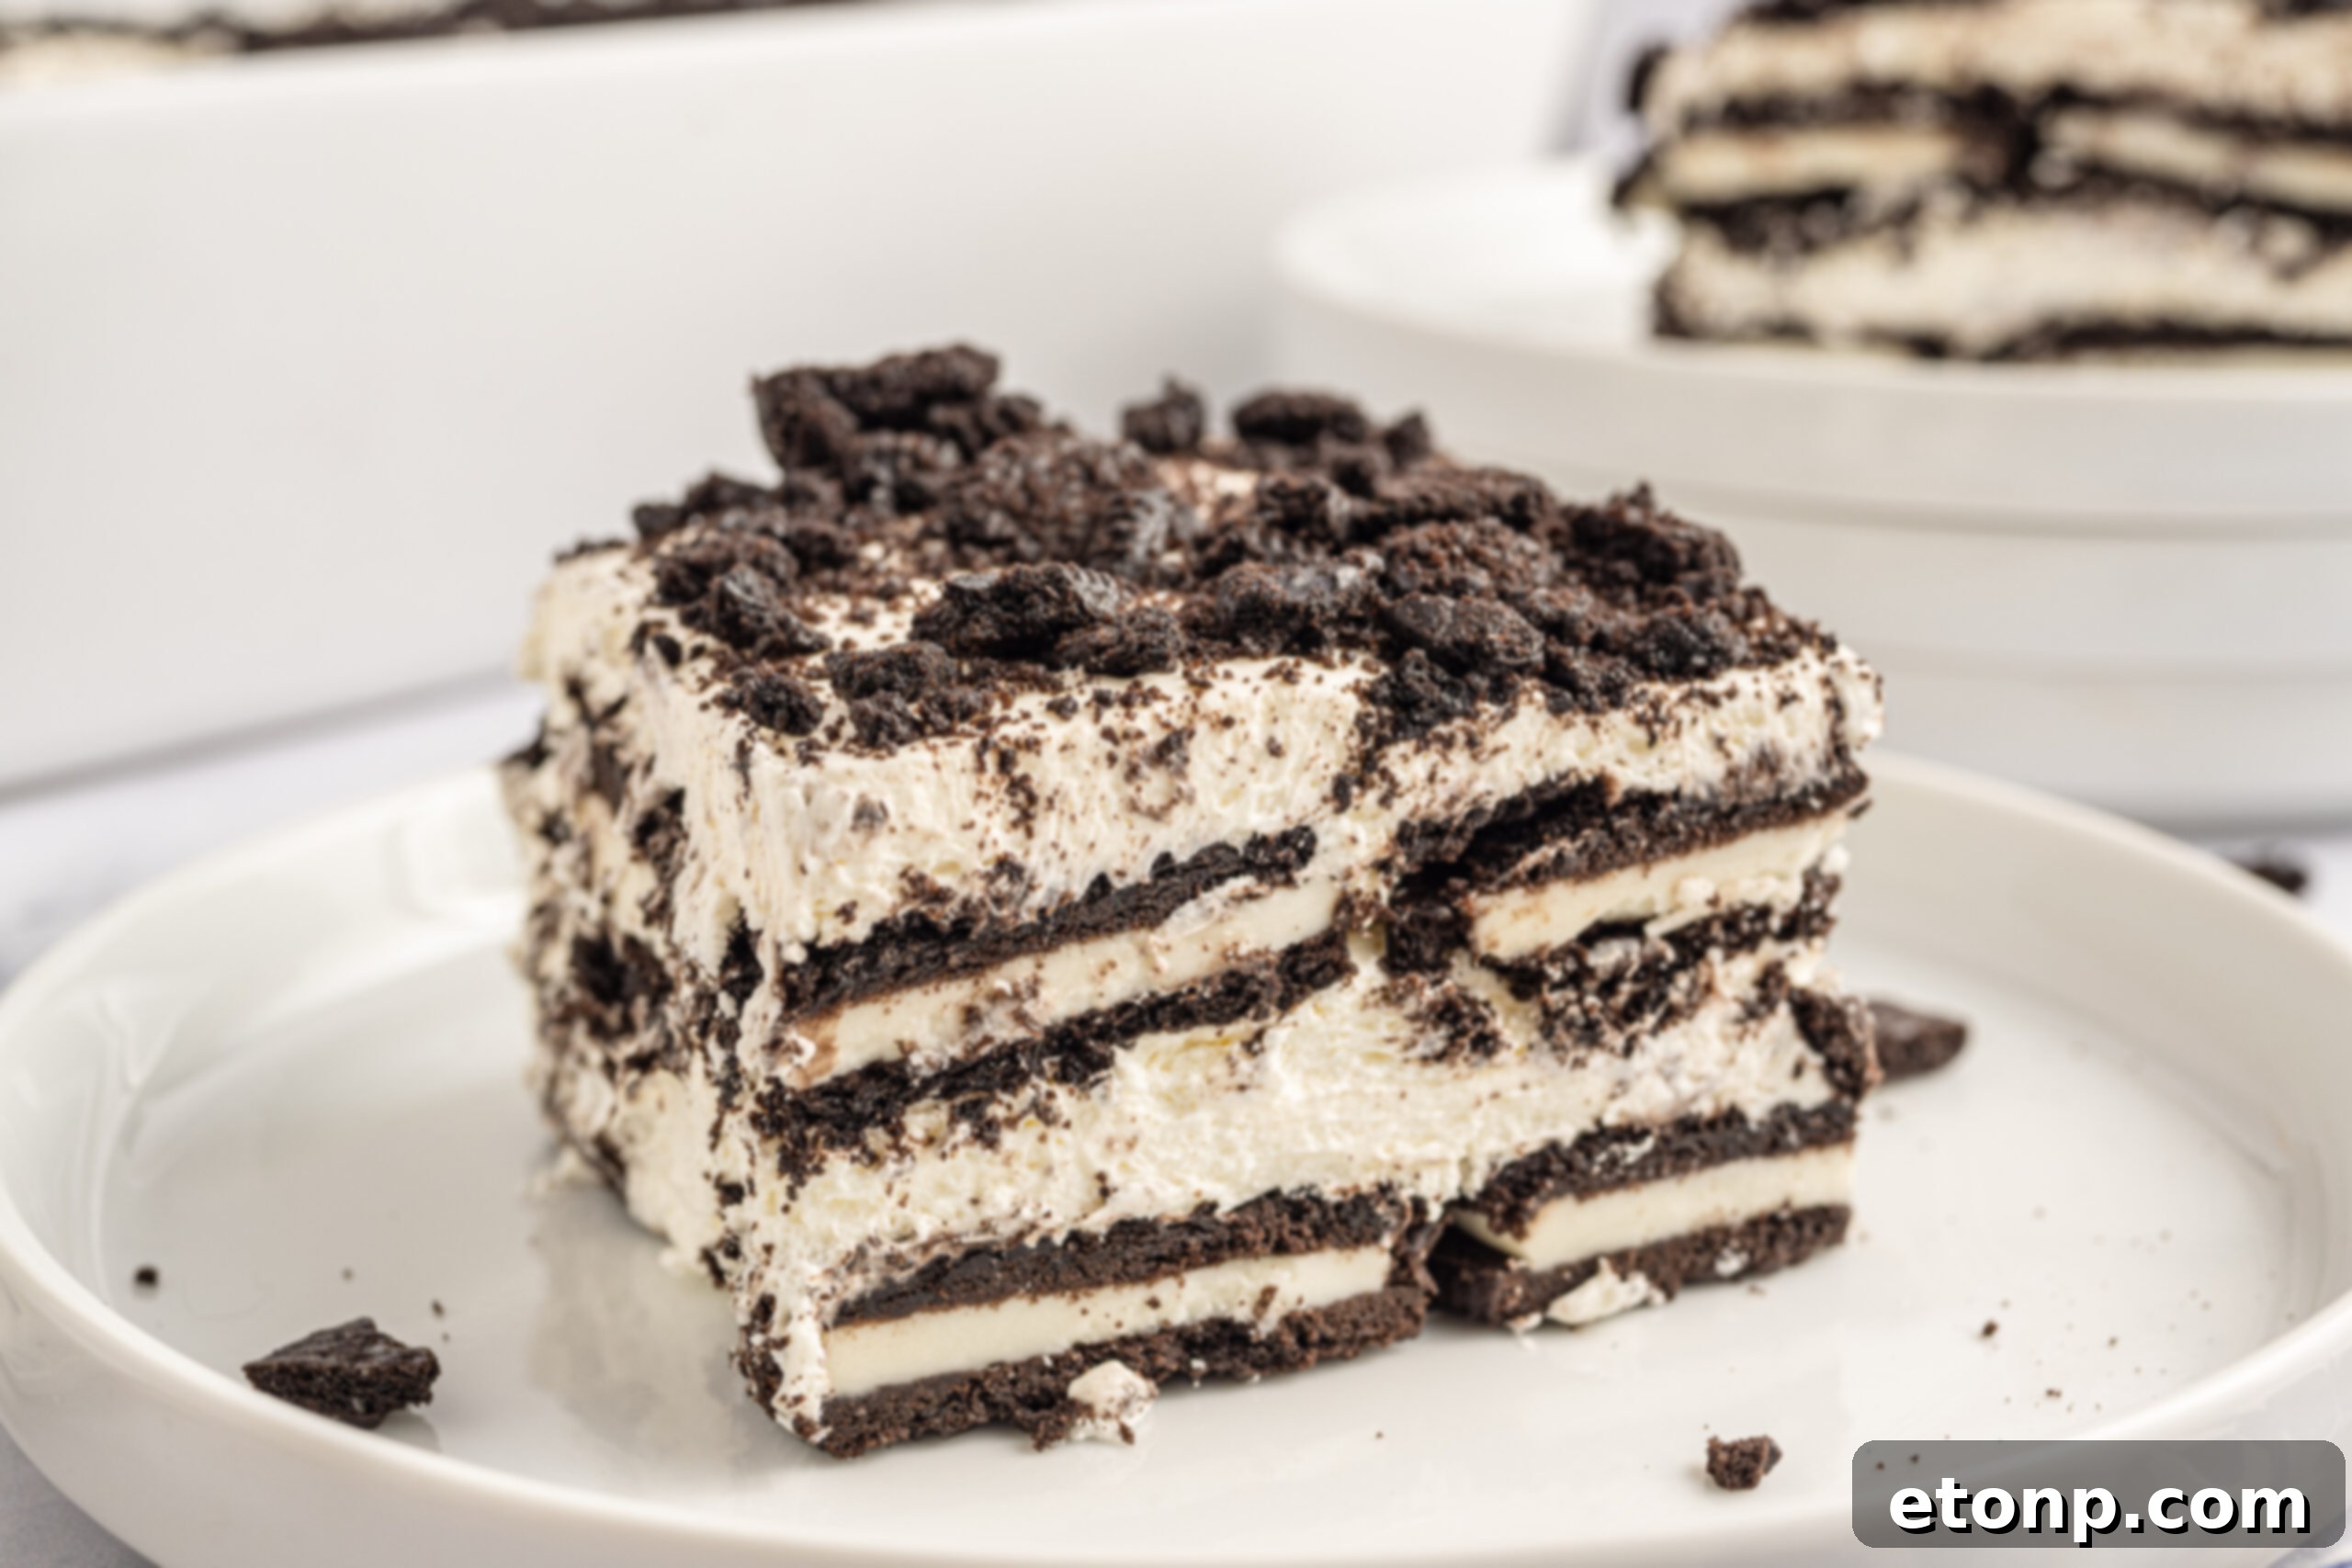
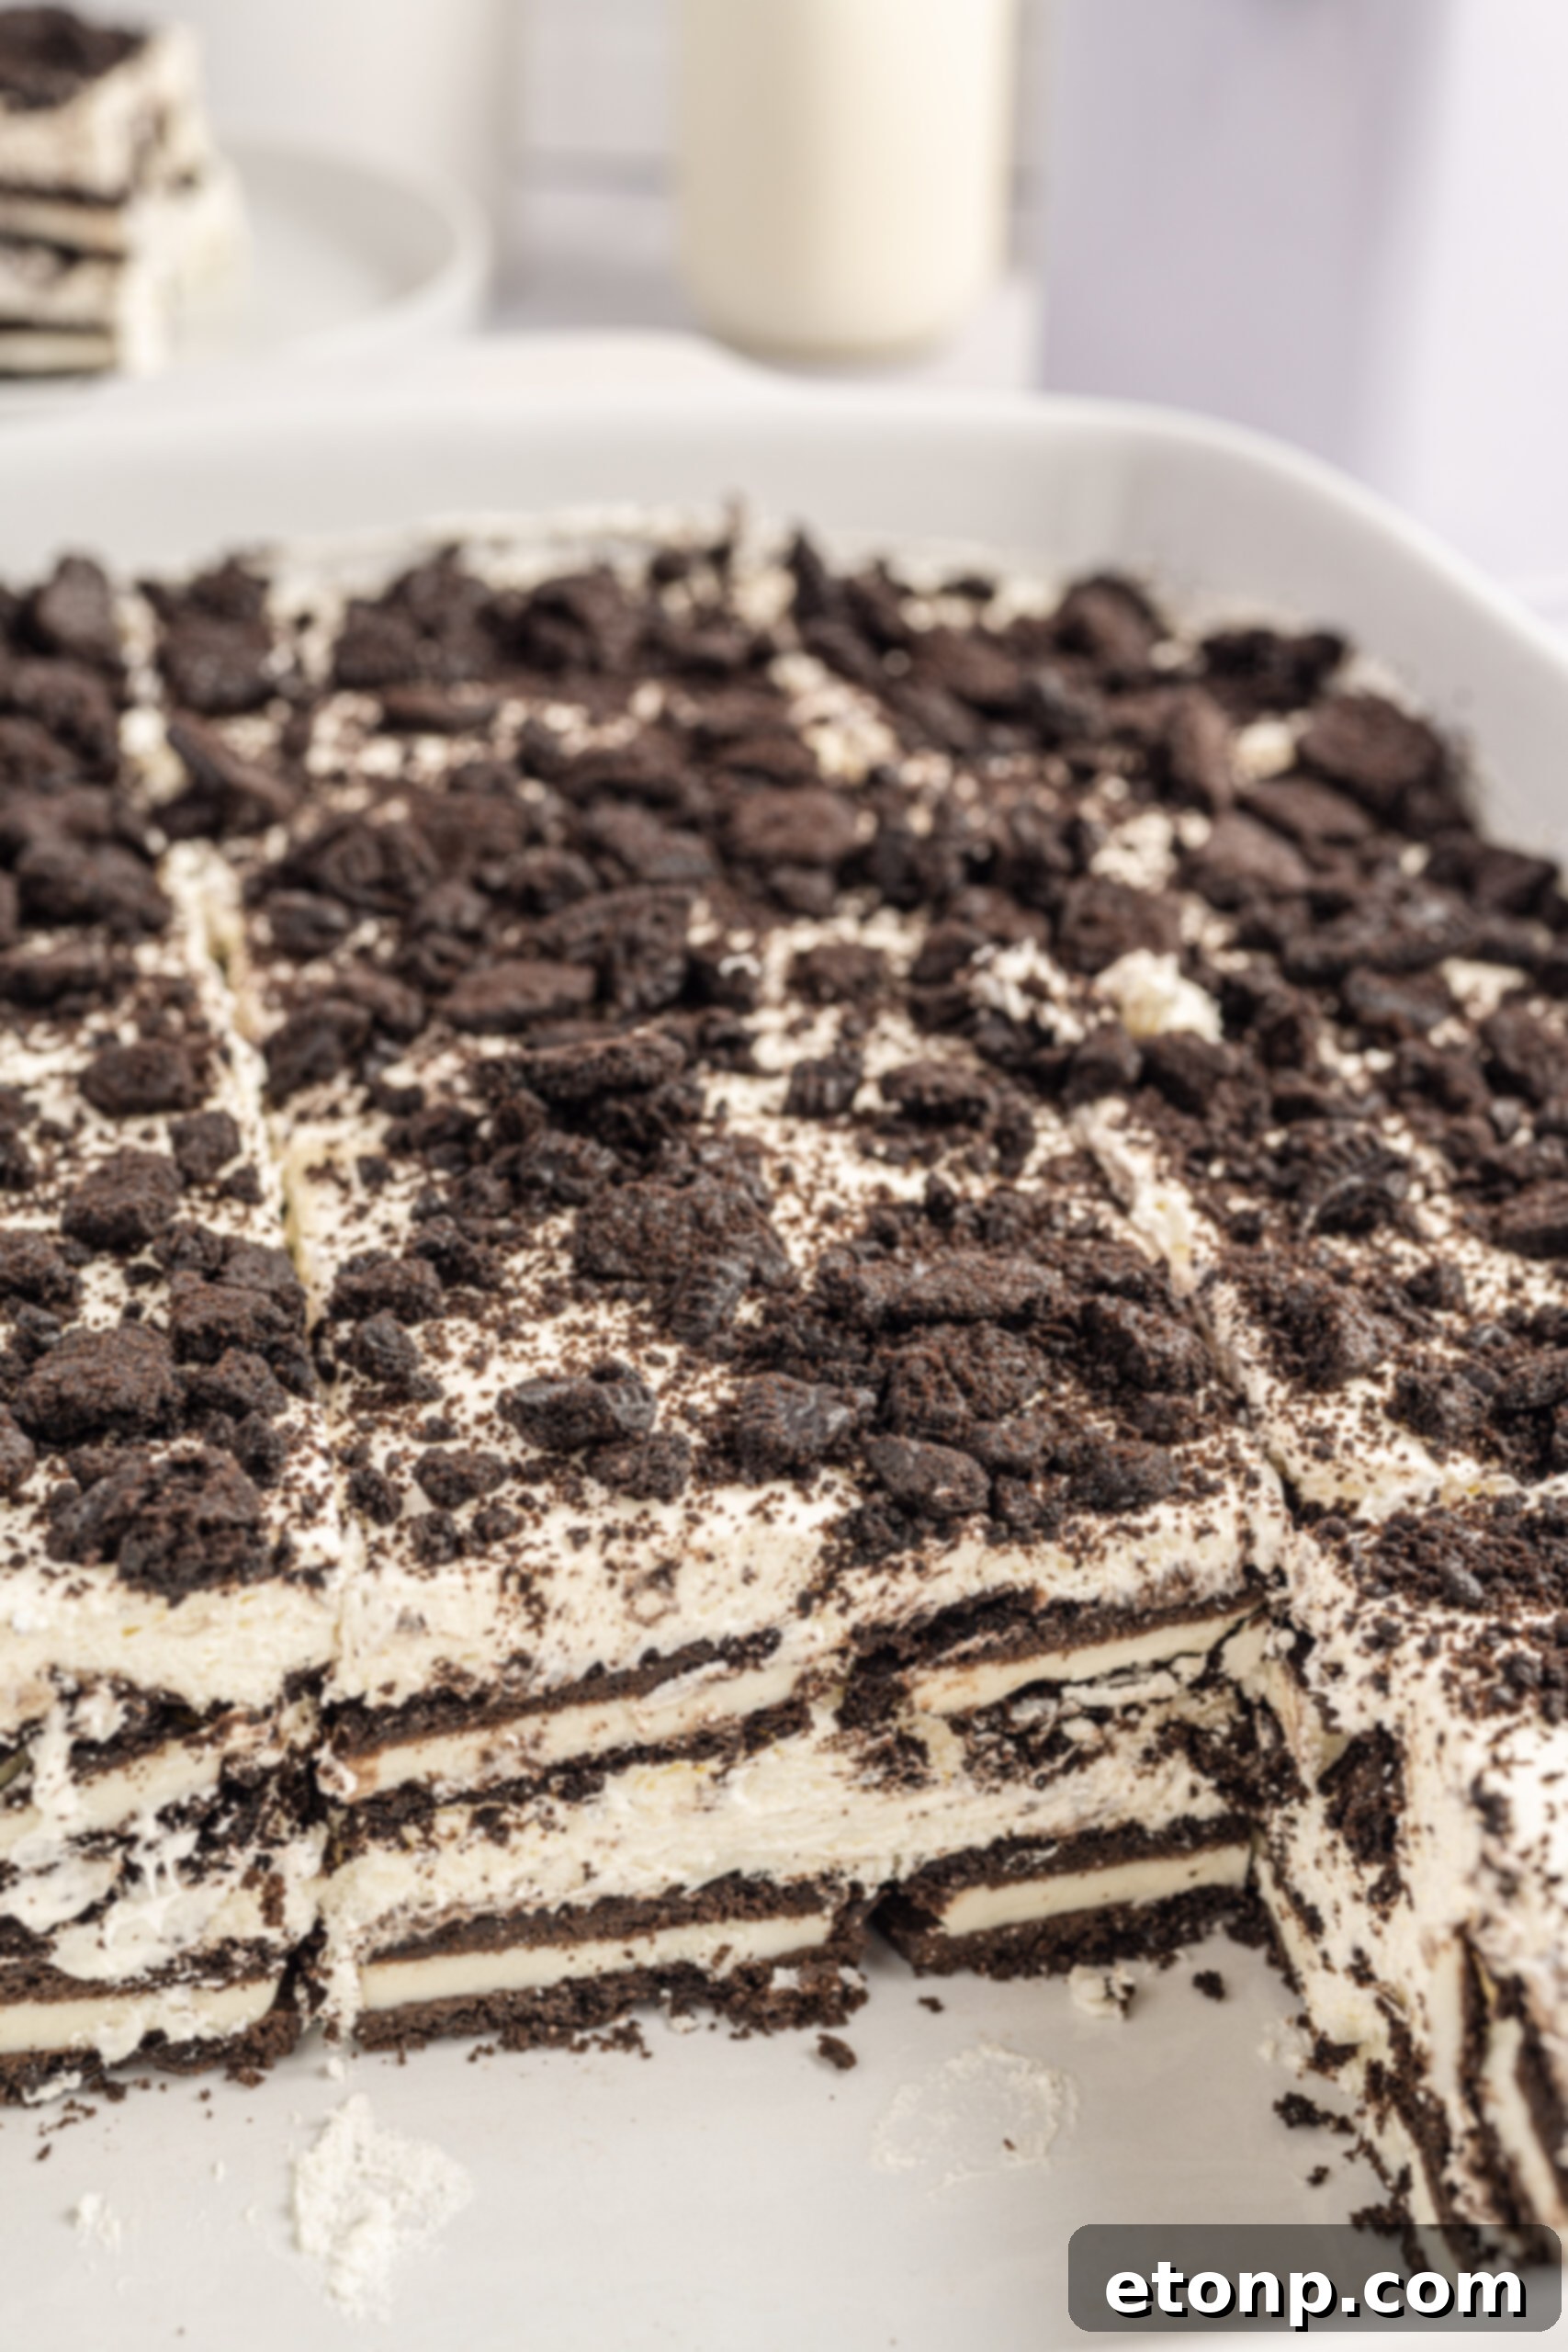
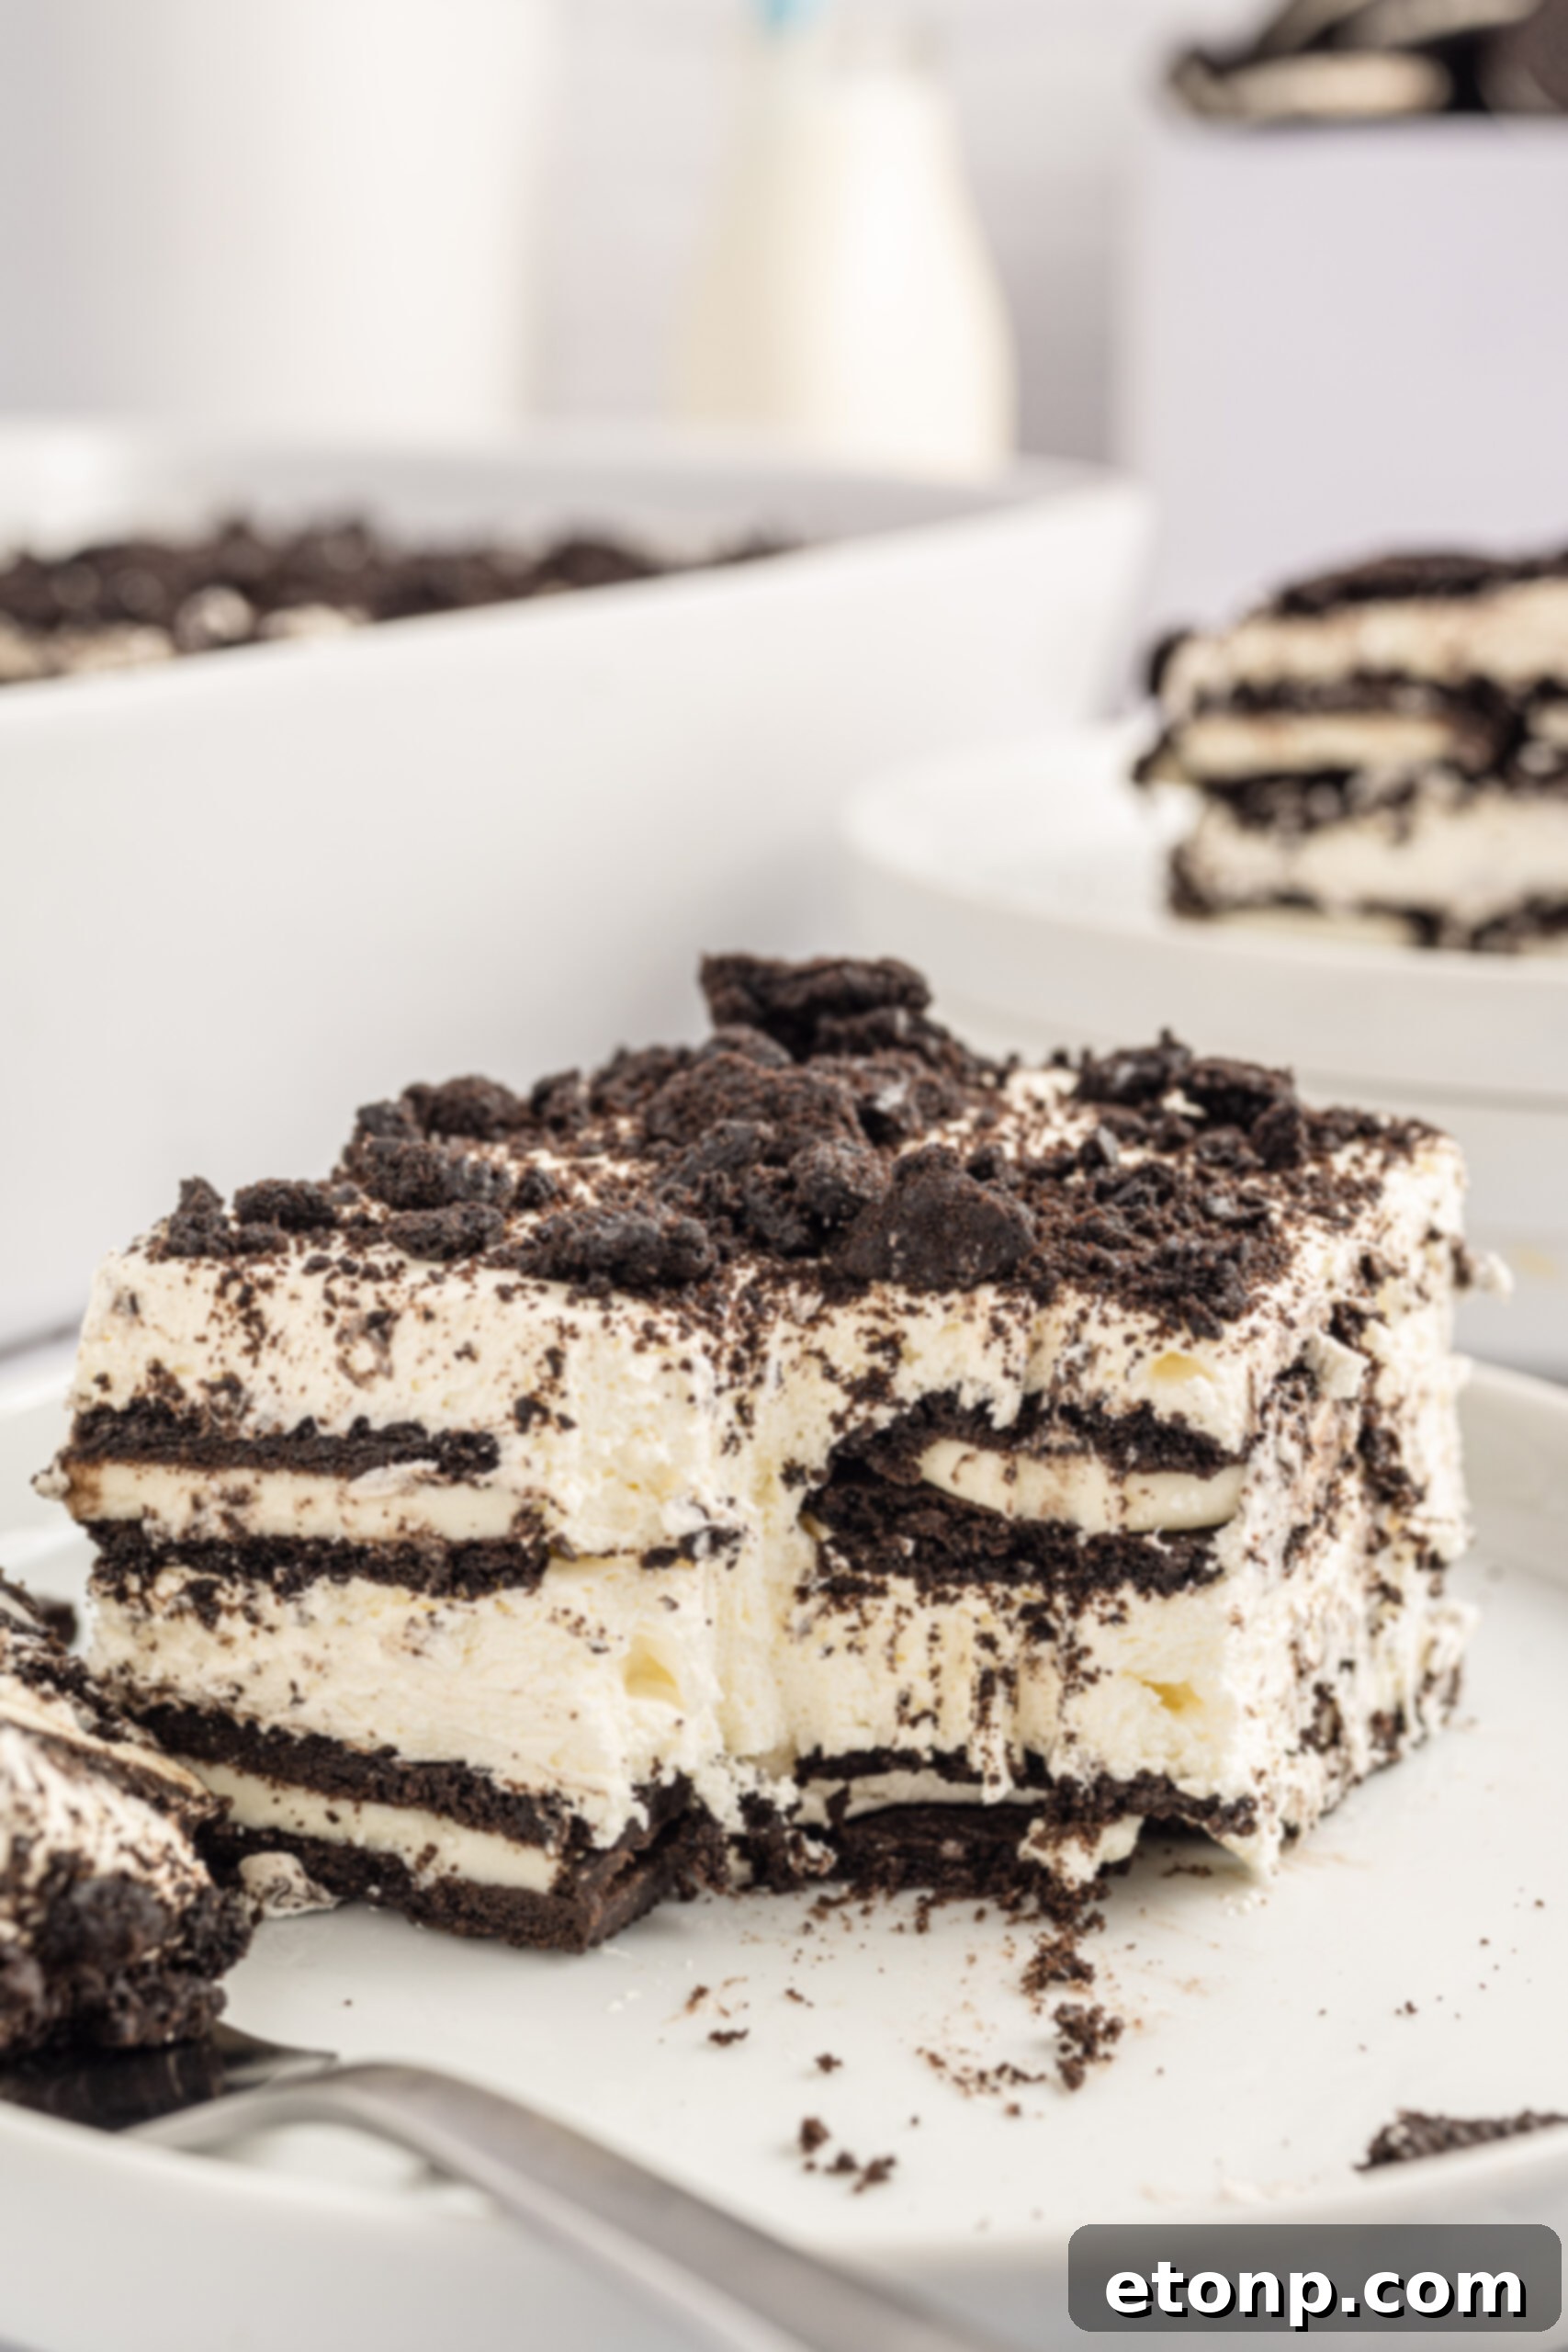
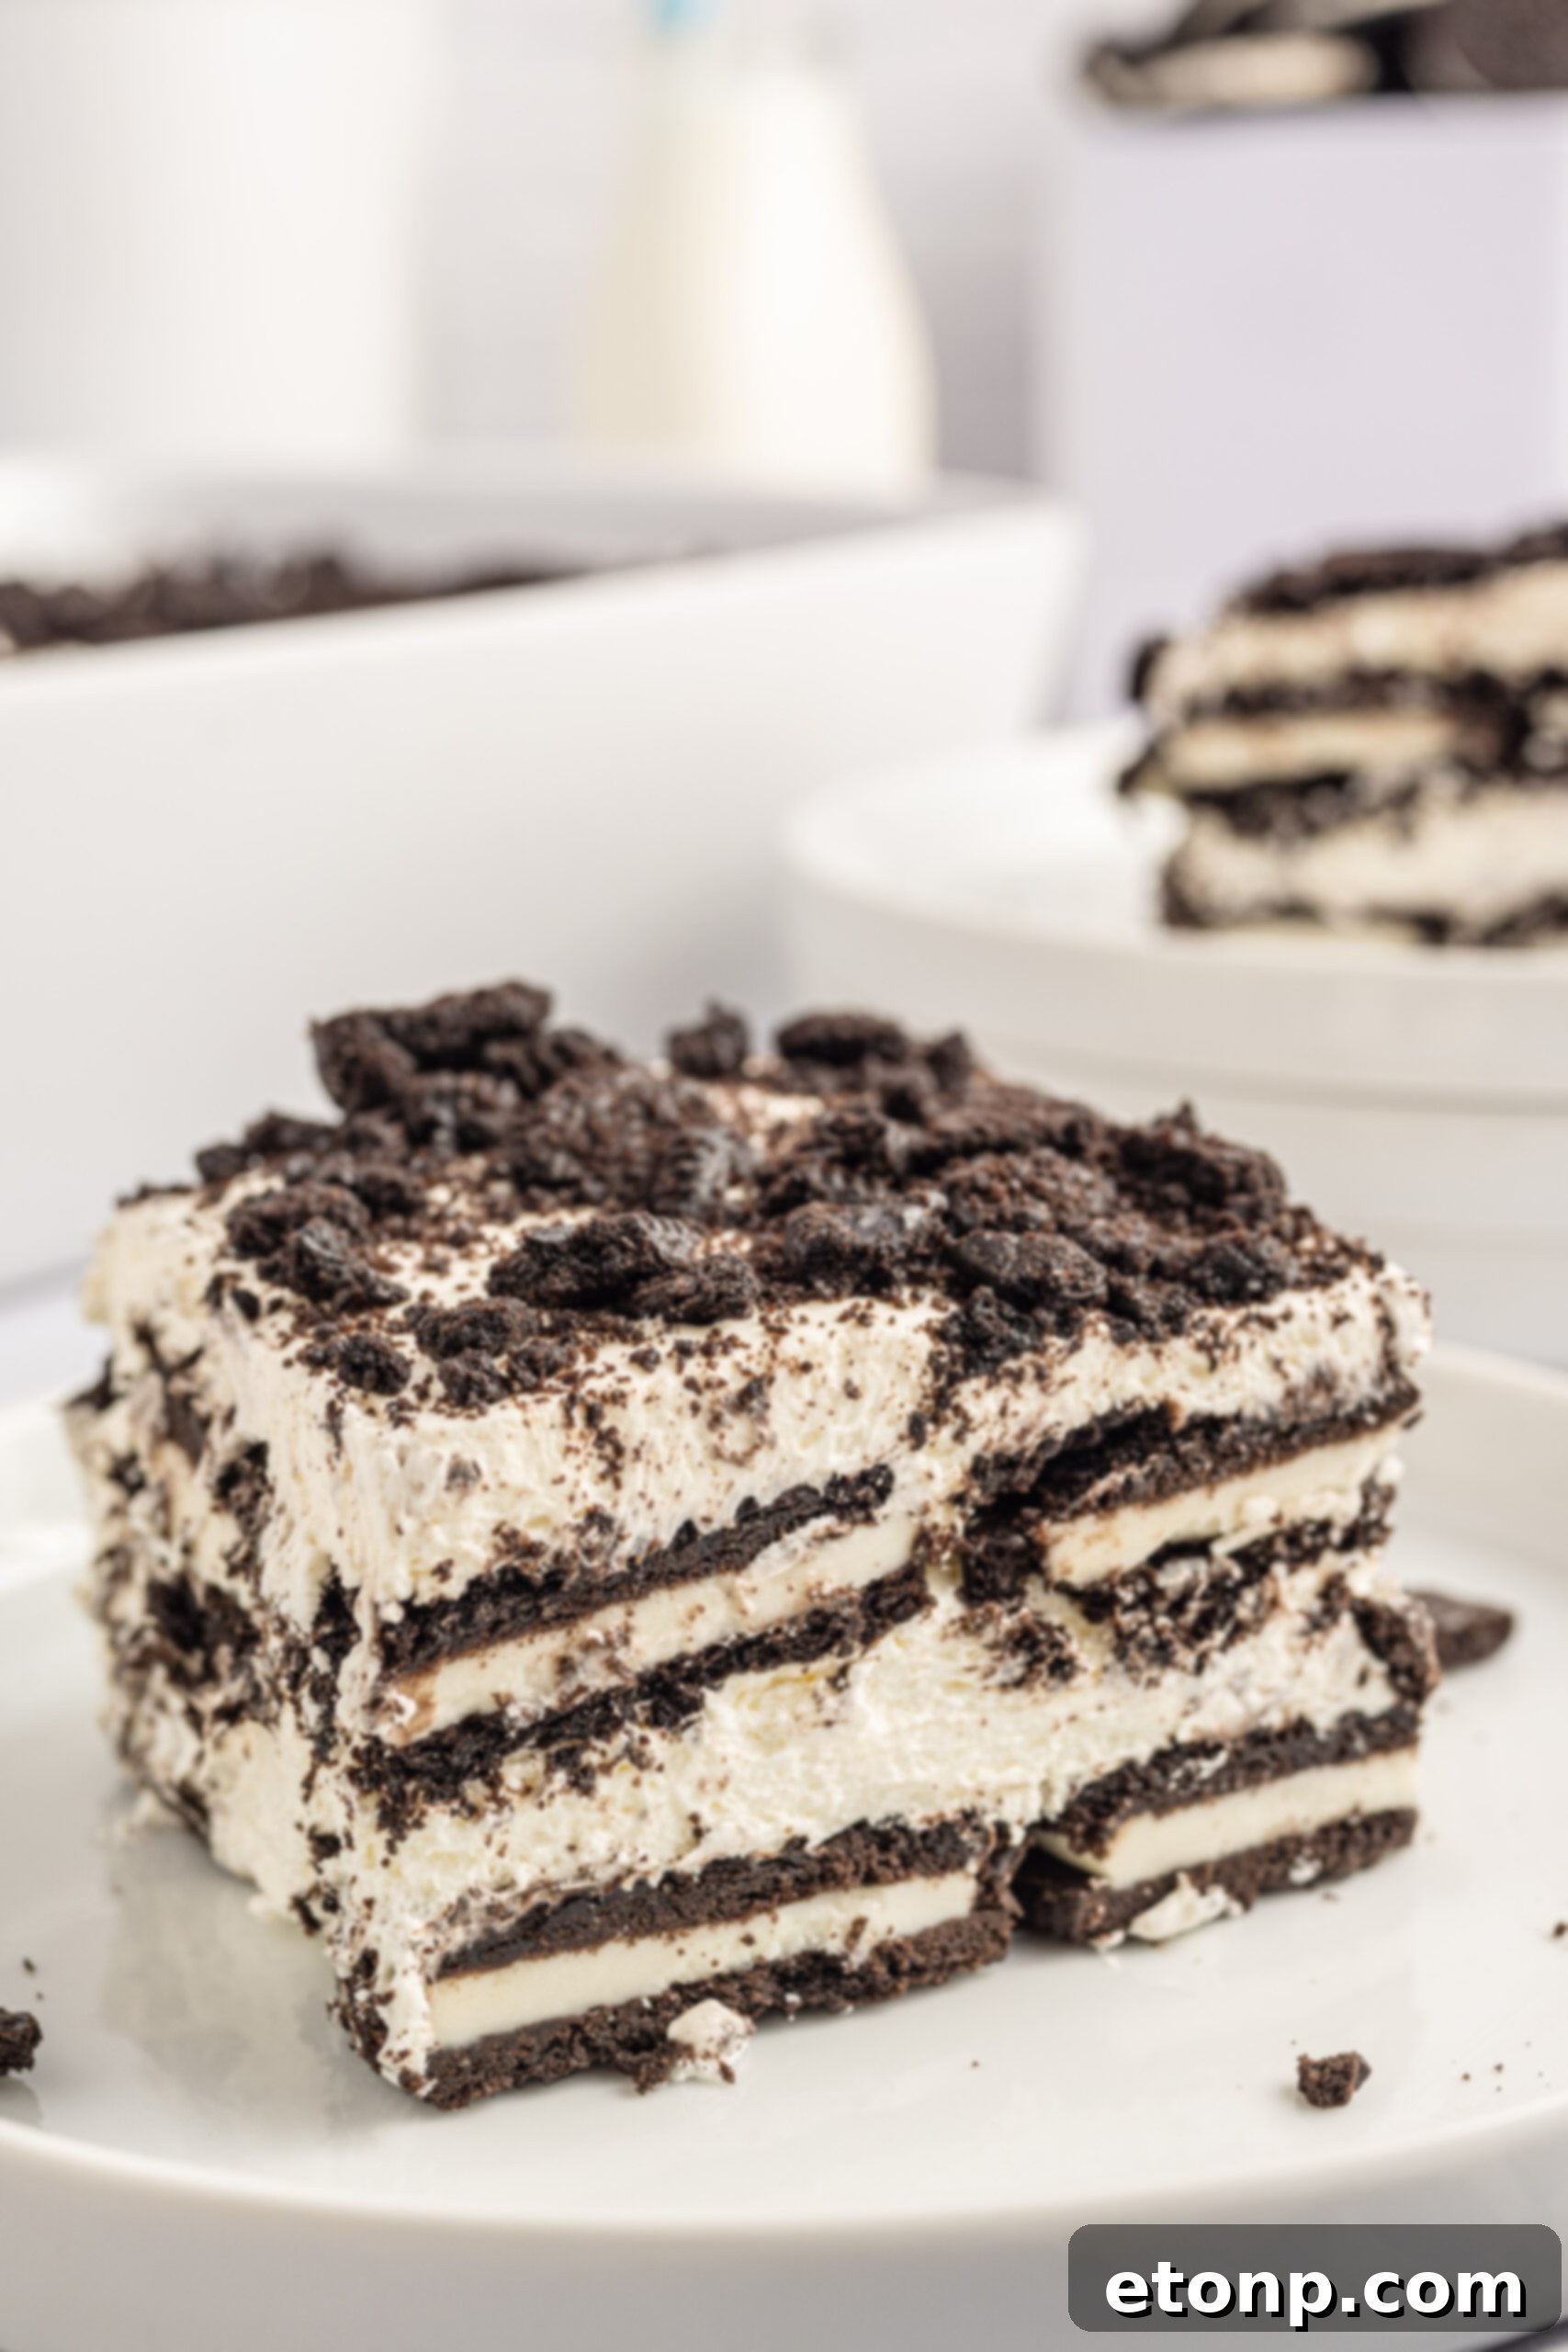
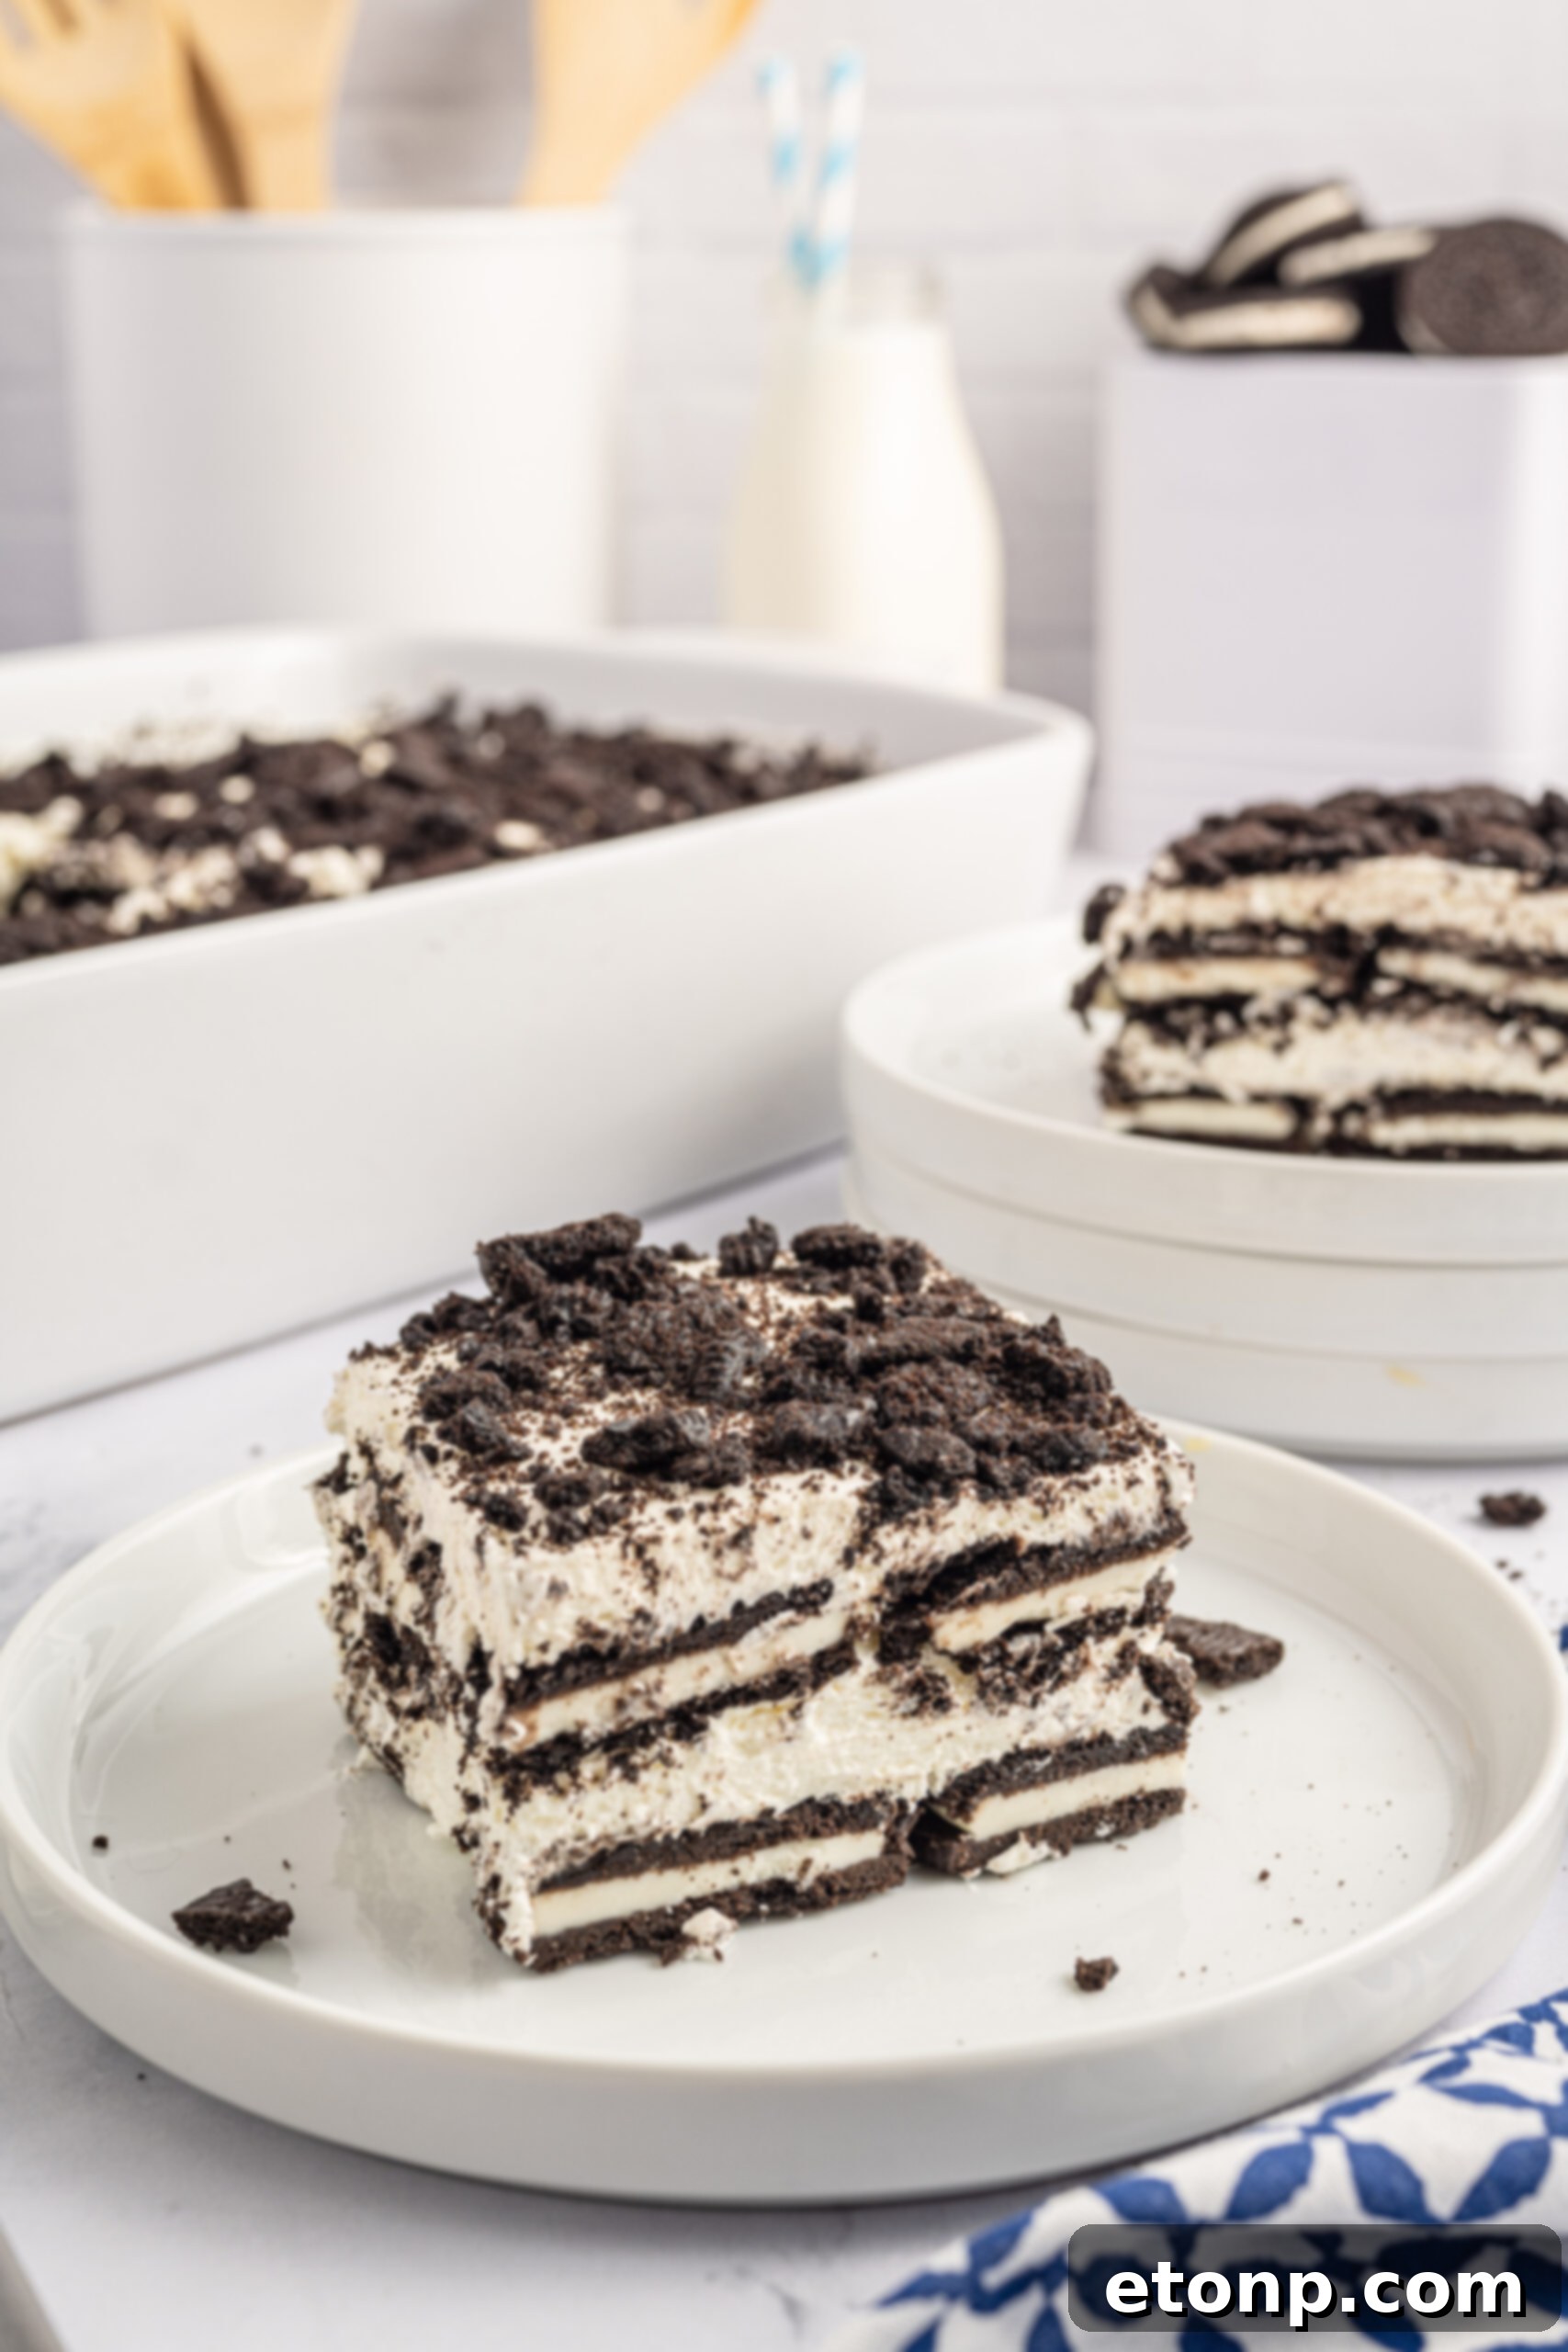
If you’re new to the wonderful world of icebox cakes, envision a beautifully layered dessert that relies entirely on the refrigerator, rather than the oven, to work its delightful magic. The concept is simple yet brilliant: crisp Oreo cookies are layered with a rich, fluffy, and tangy cream cheese filling. As the cake chills, typically overnight, the Oreos gradually soften, transforming from crunchy biscuits into tender, cake-like layers that seamlessly meld with the creamy mixture. The result is a unique texture – not quite a cheesecake, nor entirely a trifle – but rather a delightful confection that stands in a delicious category all its own. And trust us, that category is “absolutely sensational.”
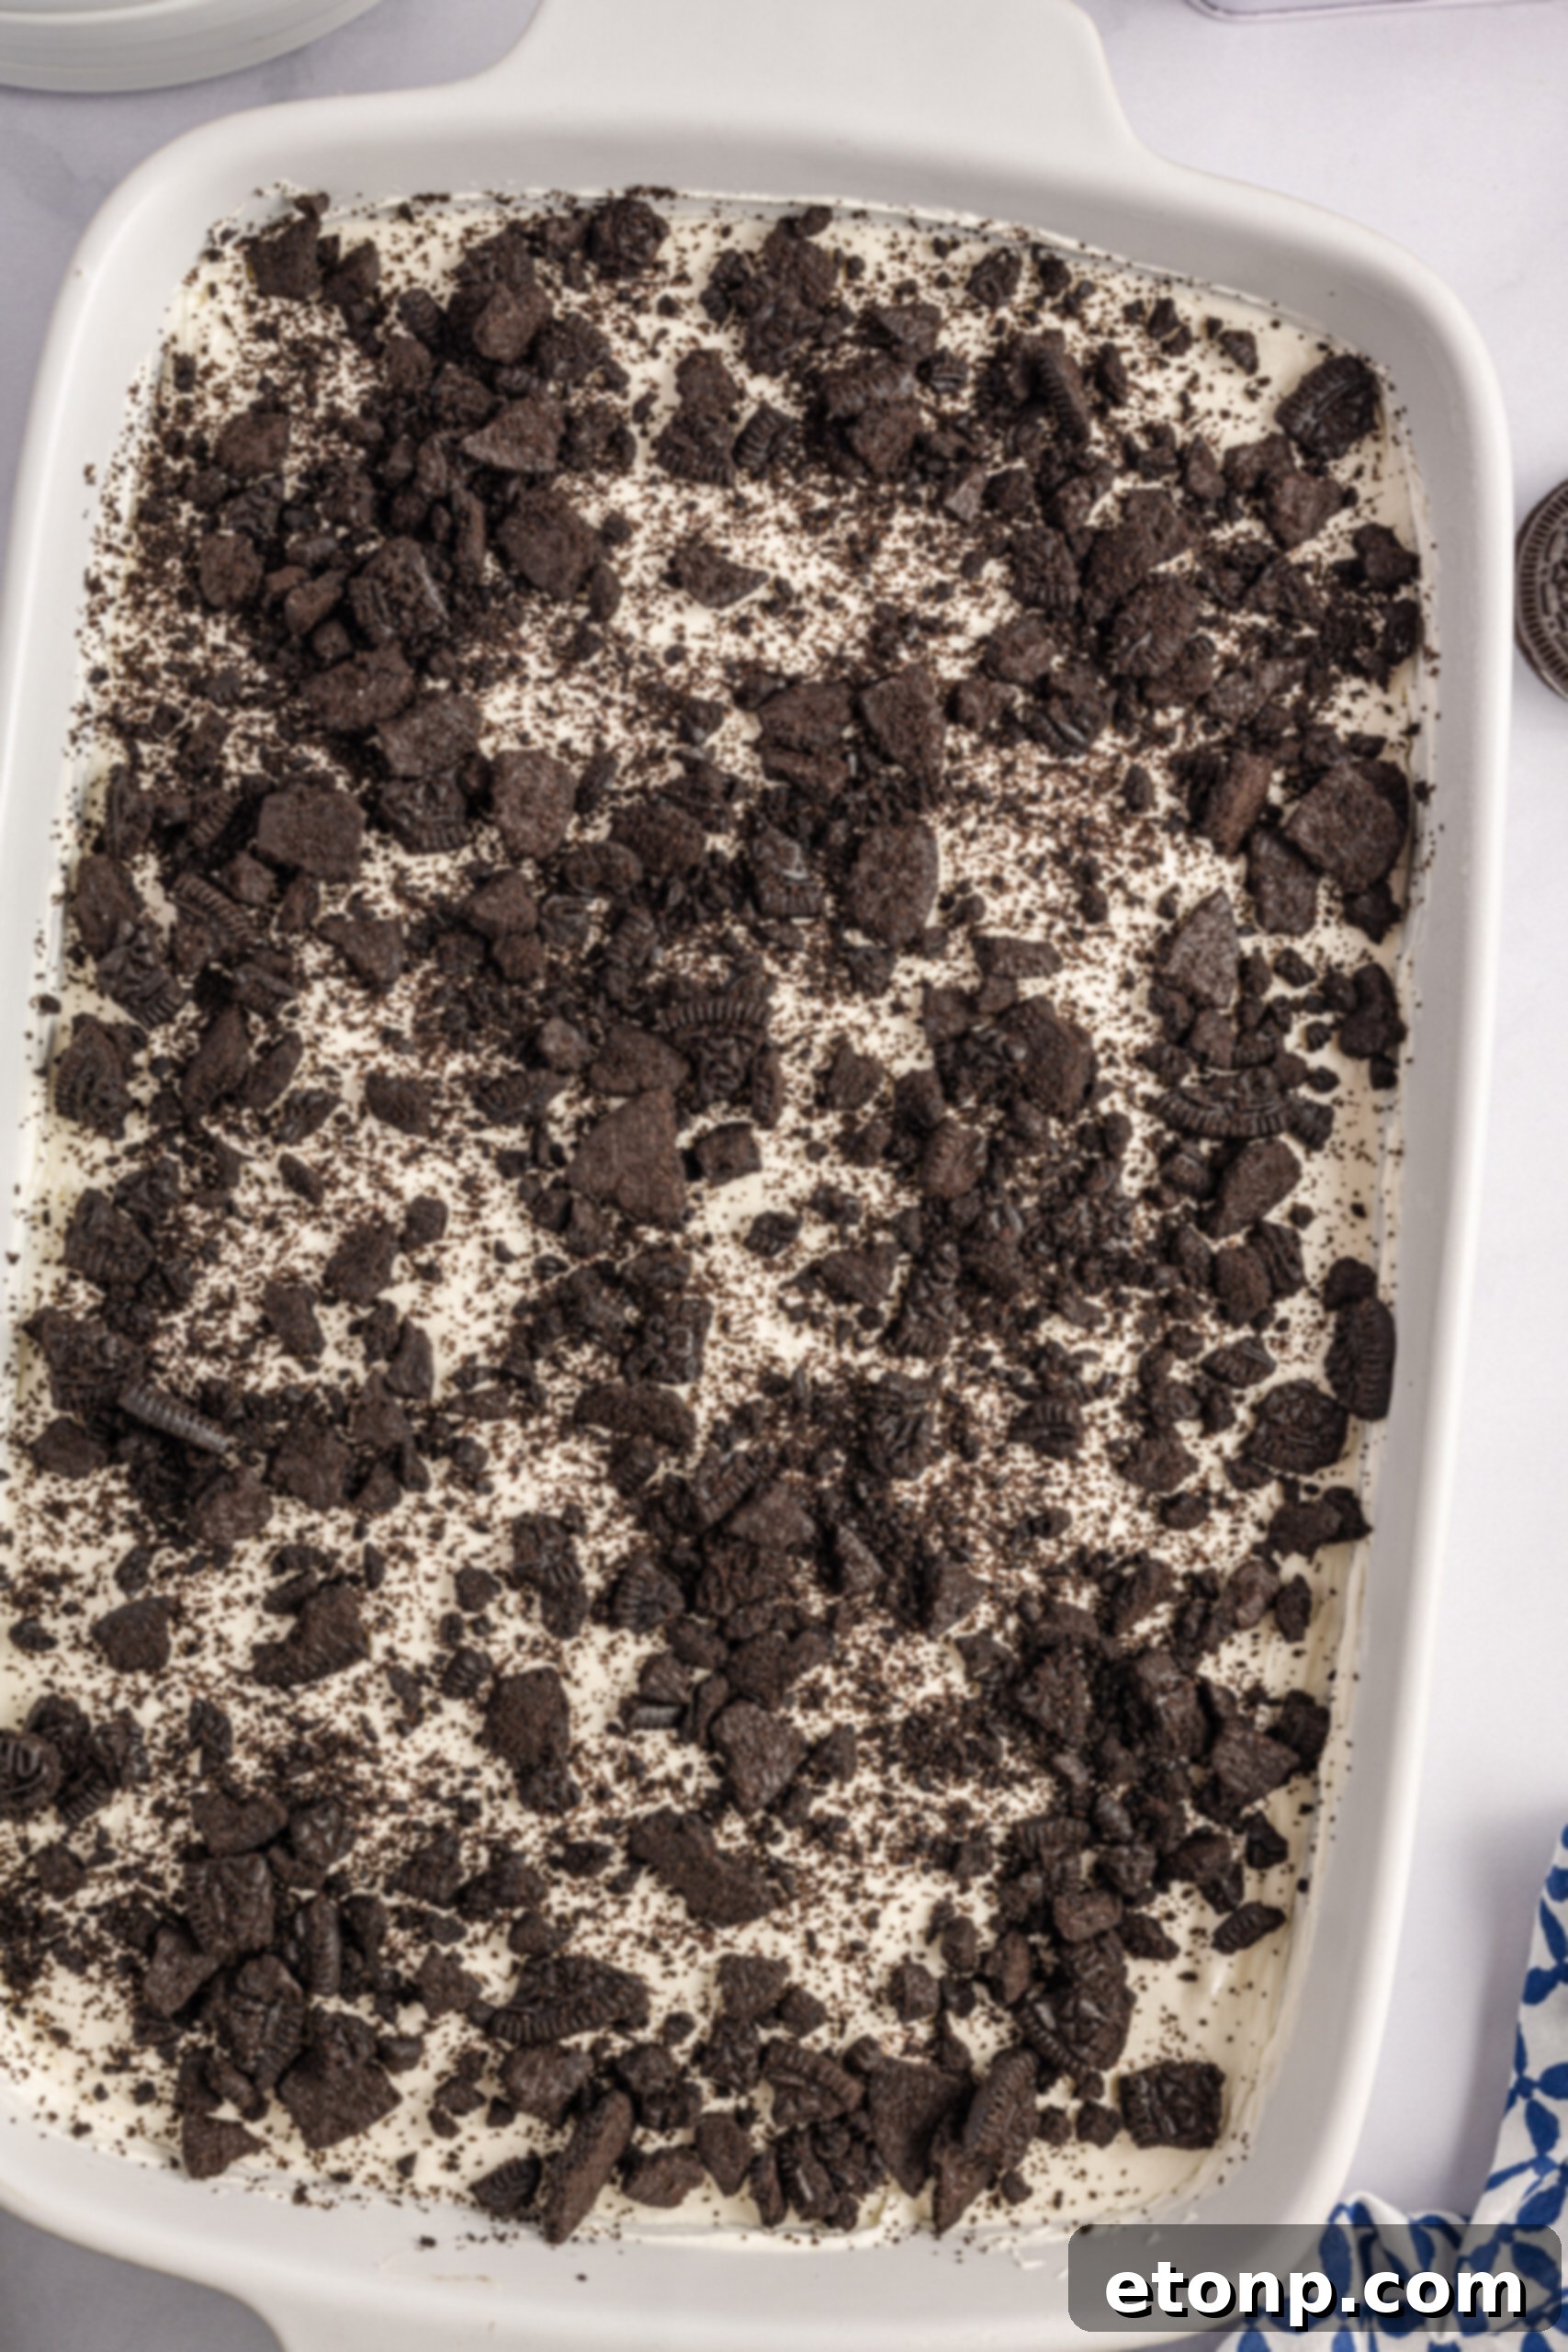
Not all desserts demand a lengthy baking process or an extended wait before you can savor them. For those moments when you crave something sweet and satisfying without the fuss, especially on warm days when you want to keep your kitchen cool, this No-Bake Oreo Icebox Cake is the perfect solution. It’s a wonderfully simple, yet profoundly sweet dessert that ingeniously combines the beloved flavors of cookies and cream with the velvety richness of cream cheese and light whipped topping, culminating in an extraordinary taste experience.
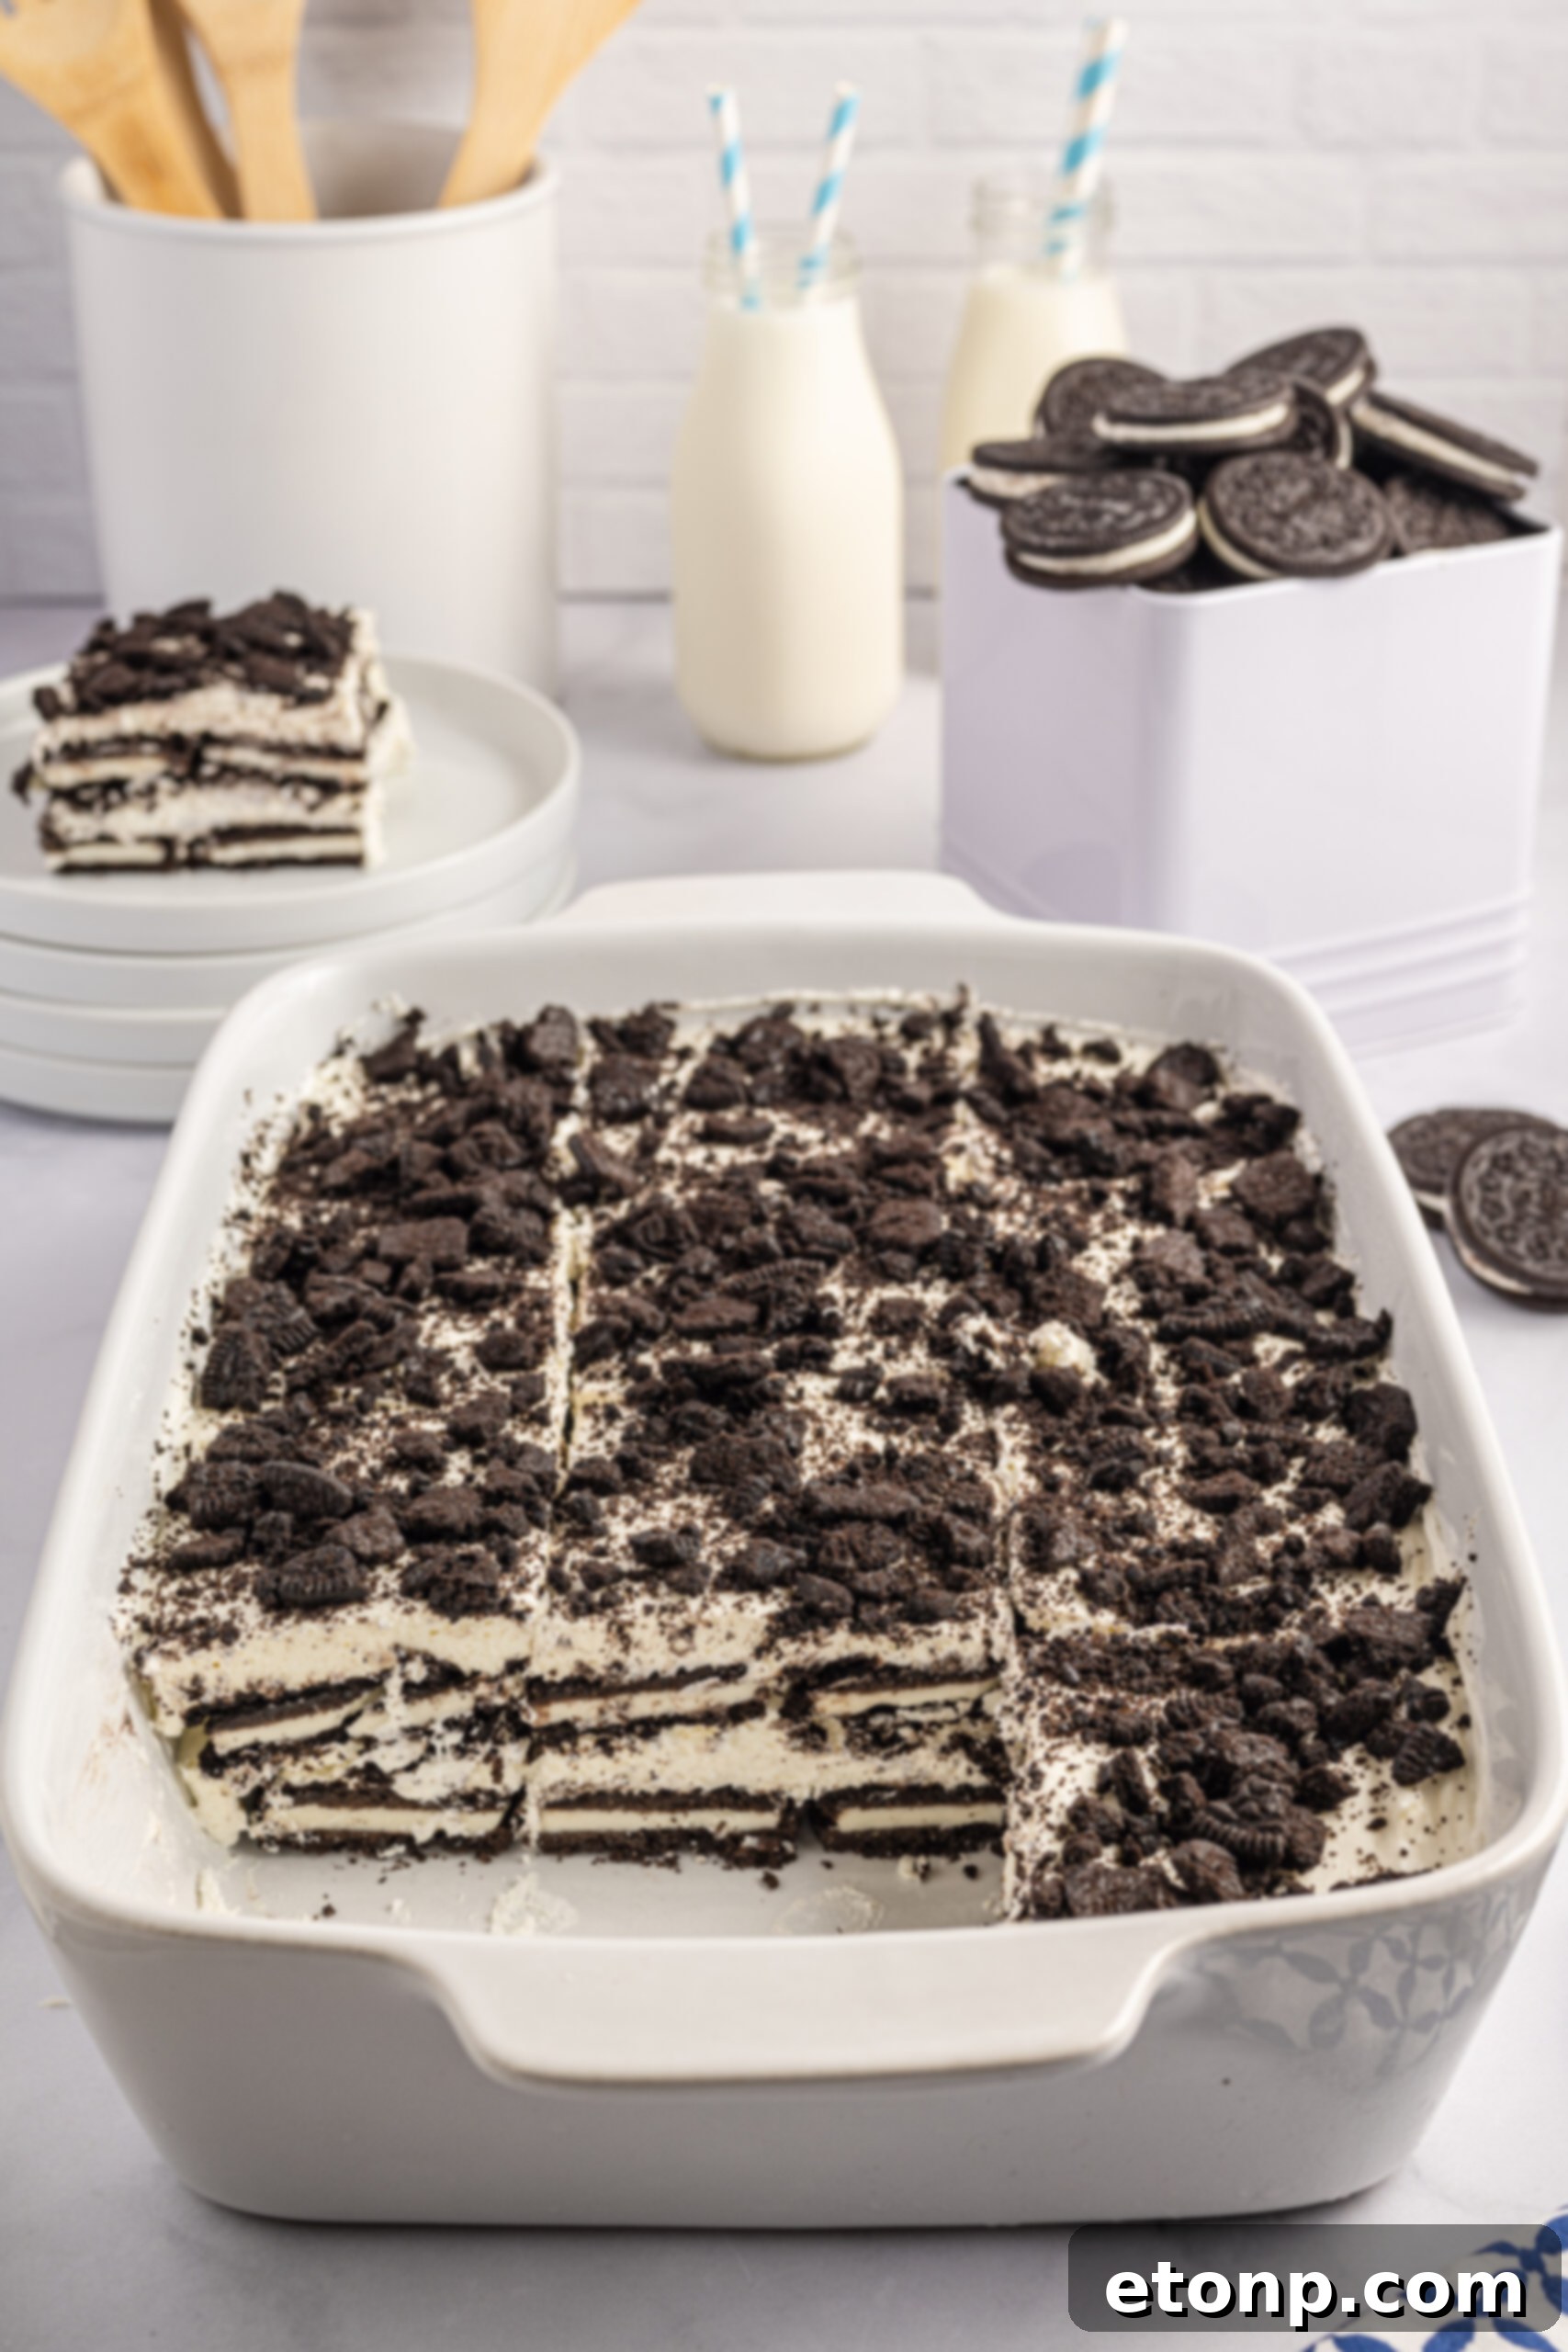
Easy Oreo Icebox Cake: The Ultimate No-Bake Dessert
The Oreo Icebox Cake stands out as the ideal dessert for anyone exploring delicious no-bake options. Its simplicity is truly a marvel, requiring only about six core ingredients, many of which are likely staples in your kitchen already, such as cream cheese, granulated sugar, and heavy whipping cream. If you’re eager to create an impressive yet remarkably easy dessert that’s perfect for a wide array of celebrations – be it birthday parties, anniversaries, casual family gatherings, or simply a sweet weeknight treat – gather your ingredients and prepare to assemble something truly unforgettable and enjoyable.
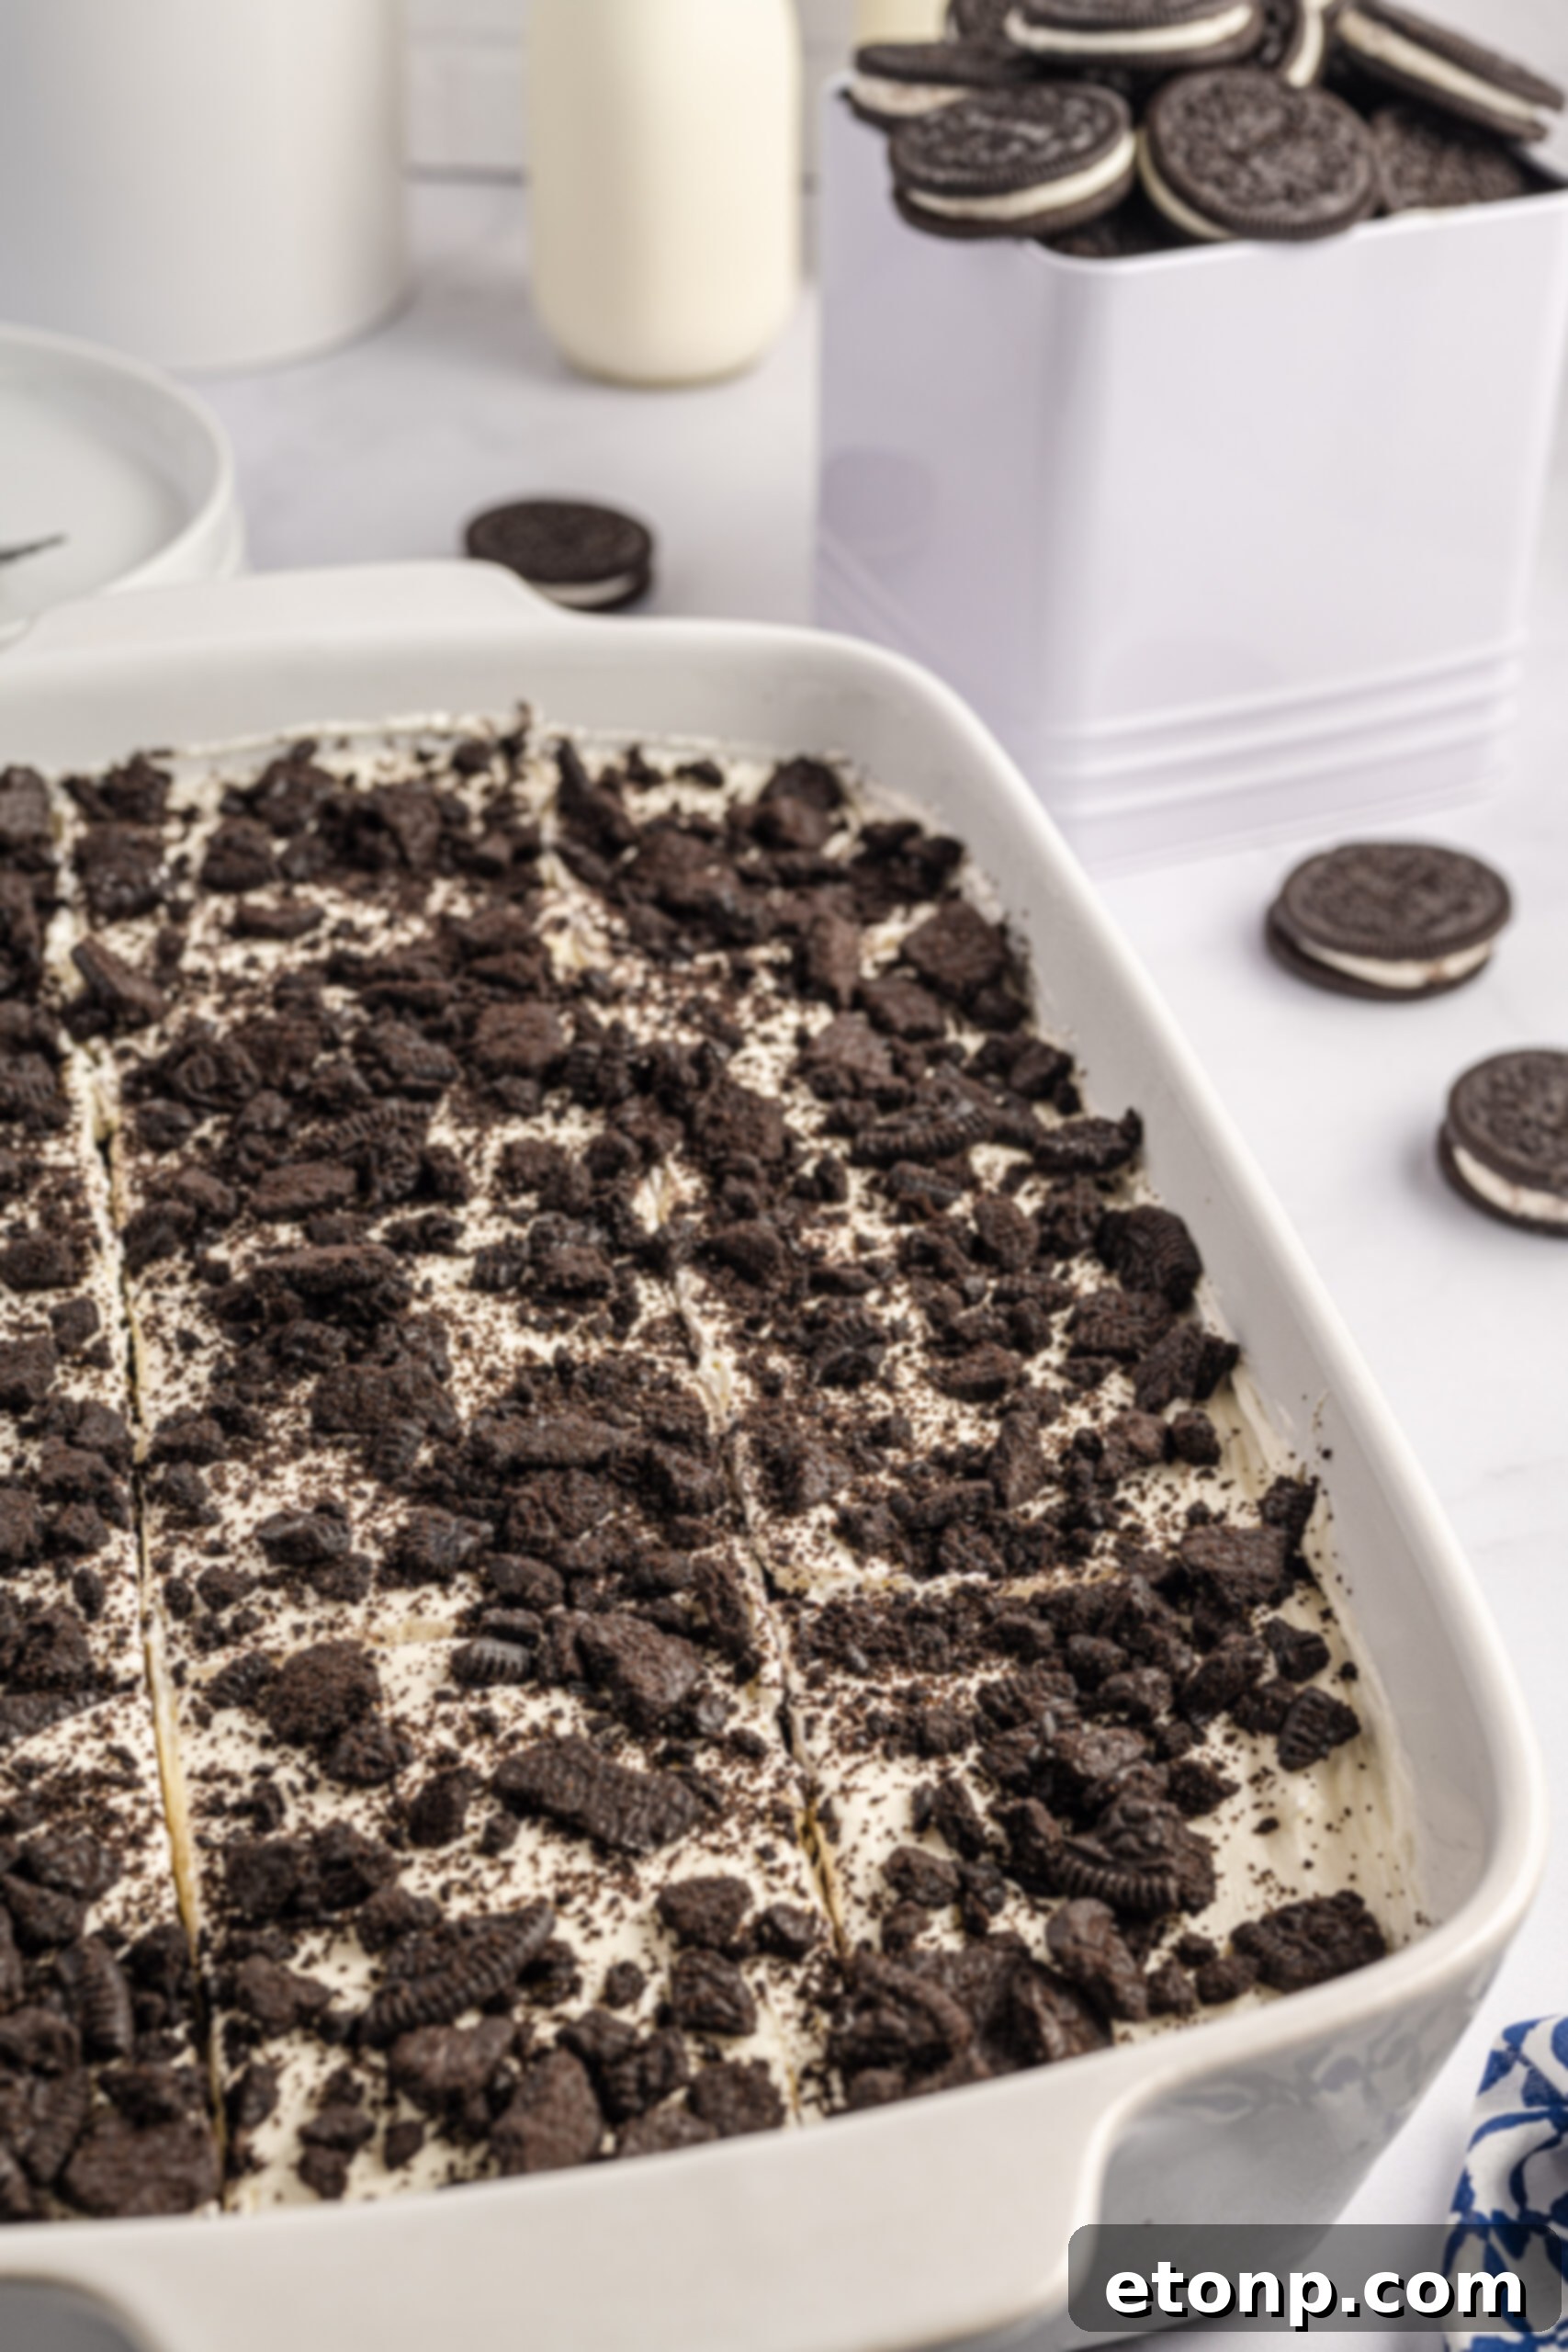
Why You’ll Absolutely Love This No-Bake Oreo Cake
This Oreo Icebox Cake isn’t just a dessert; it’s a culinary triumph that offers a multitude of reasons to fall in love with it:
- Effortless, Oven-Free Preparation: The primary charm of this recipe lies in its “no-bake” nature. This makes it an absolute godsend for those who might not have access to an oven, or more commonly, for anyone who prefers to avoid heating up their home – particularly during scorching summer months when a cool kitchen is a true luxury. It’s a dessert that perfectly complements warm weather entertaining.
- Unforgettably Delicious Chocolatey Flavor: If your heart truly belongs to chocolate, then this dessert is destined to become a firm favorite. Each luxurious bite delivers a harmonious blend of rich chocolate and sweet cream, characteristic of the beloved Oreo cookie, beautifully complemented by the creamy, tangy filling. It’s a flavor profile that consistently satisfies every chocolate craving.
- Endless Customization and Creativity: While utterly delightful in its classic form, this Oreo Icebox Cake is also a fantastic canvas for your culinary creativity. Feel free to personalize it with an array of different toppings and extra ingredients. Imagine adding chopped nuts for a textural crunch, colorful sprinkles for a festive touch, or even vibrant maraschino cherries for an extra pop of color and flavor. The possibilities are truly boundless, allowing you to tailor this cake to any taste or theme.
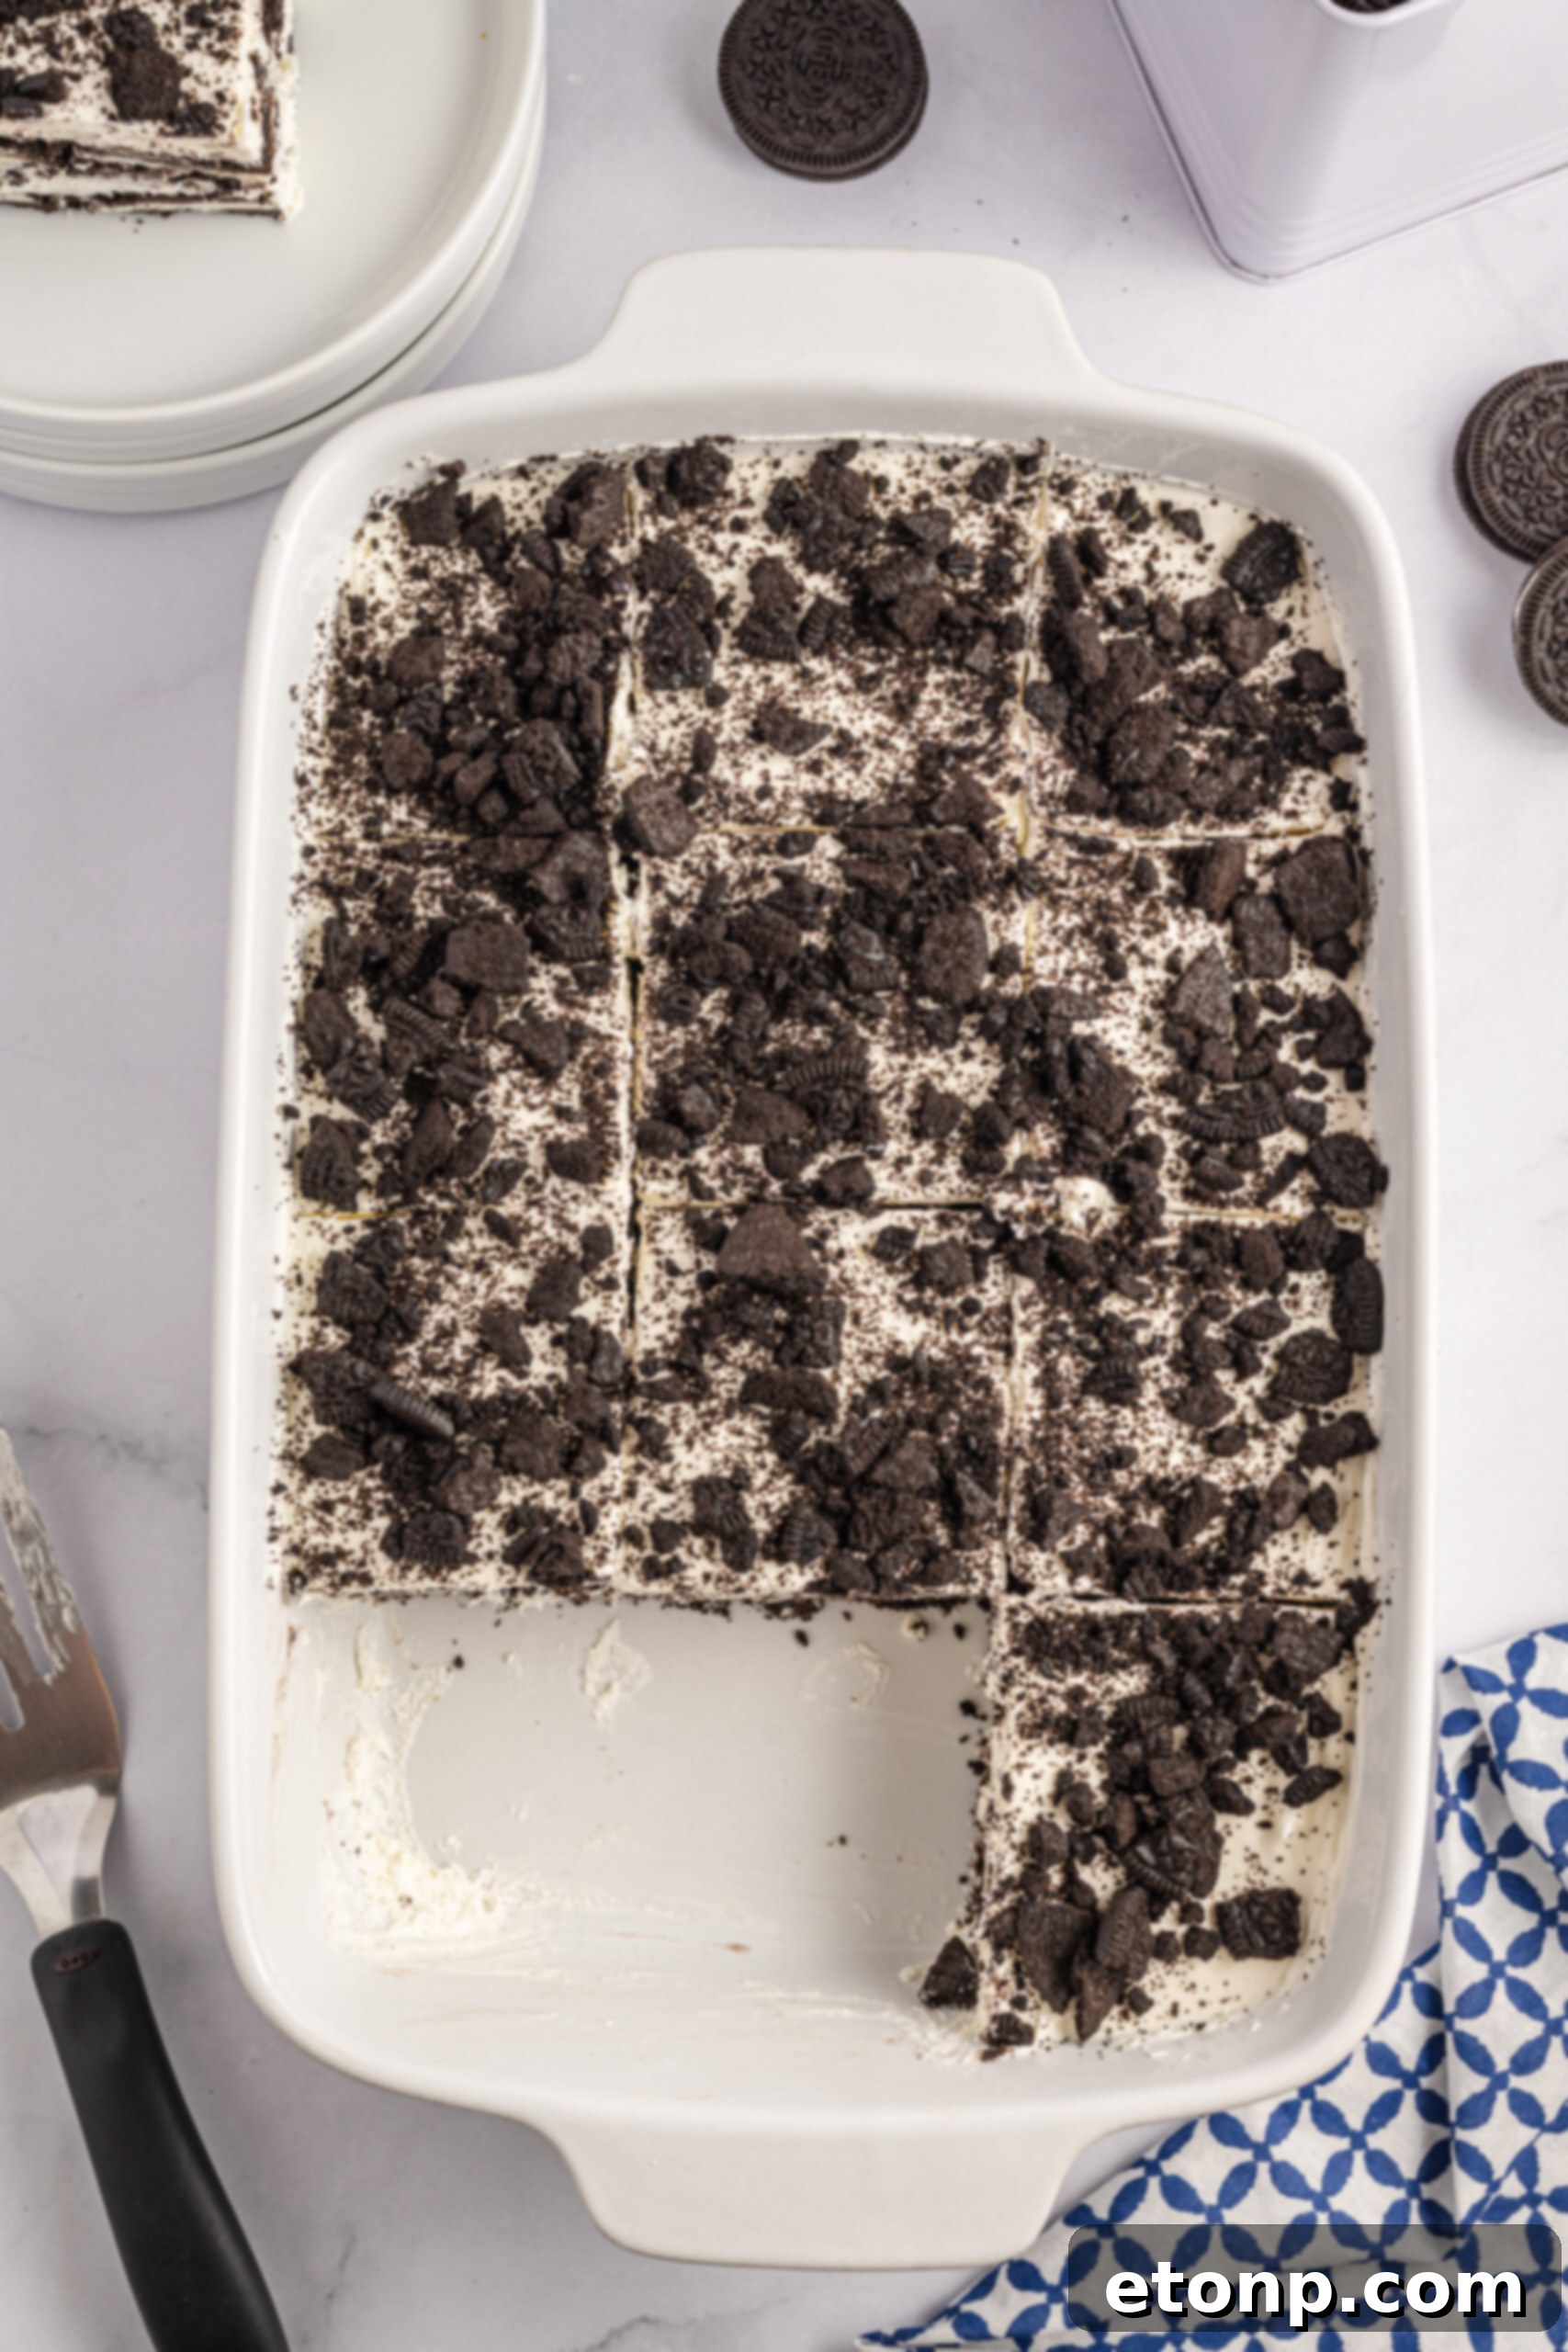
The Method: So Simple, It’s Practically Instinctive
This is truly one of those rare recipes where the preparation process is just as forgiving and straightforward as the ingredient list itself. You’ll begin by beating the softened cream cheese with sugar and a hint of heavy cream until it reaches a wonderfully smooth and uniform consistency. Then, the thawed whipped topping is gently folded in, creating a light, airy, and soft pillow-like filling. Just like that, your delectable cream mixture is ready! There’s no need for complicated steps involving gelatin, precise baking times, or finicky water baths. It’s pure, unadulterated simplicity.
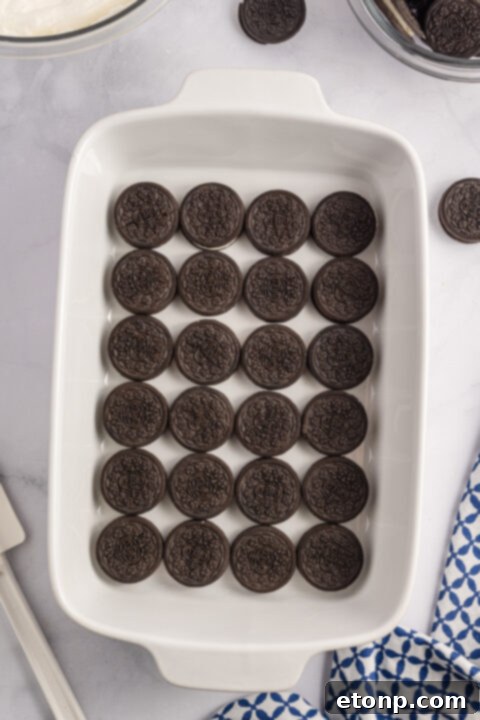
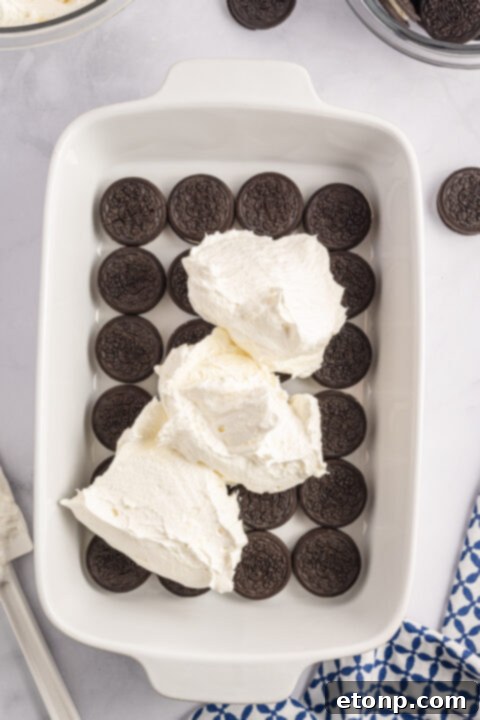
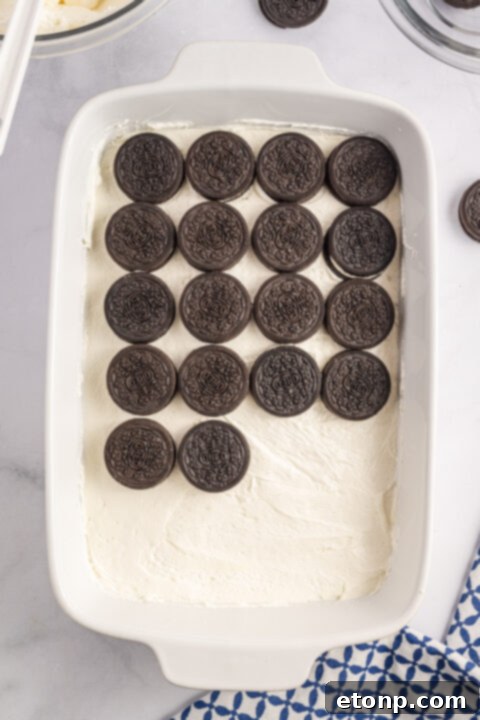
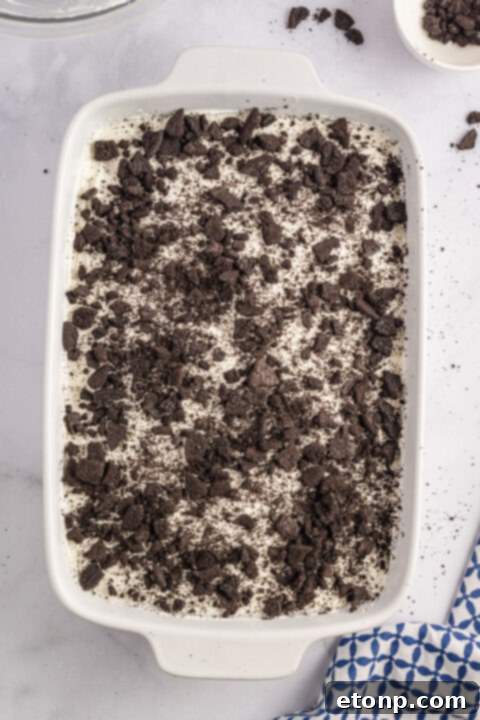
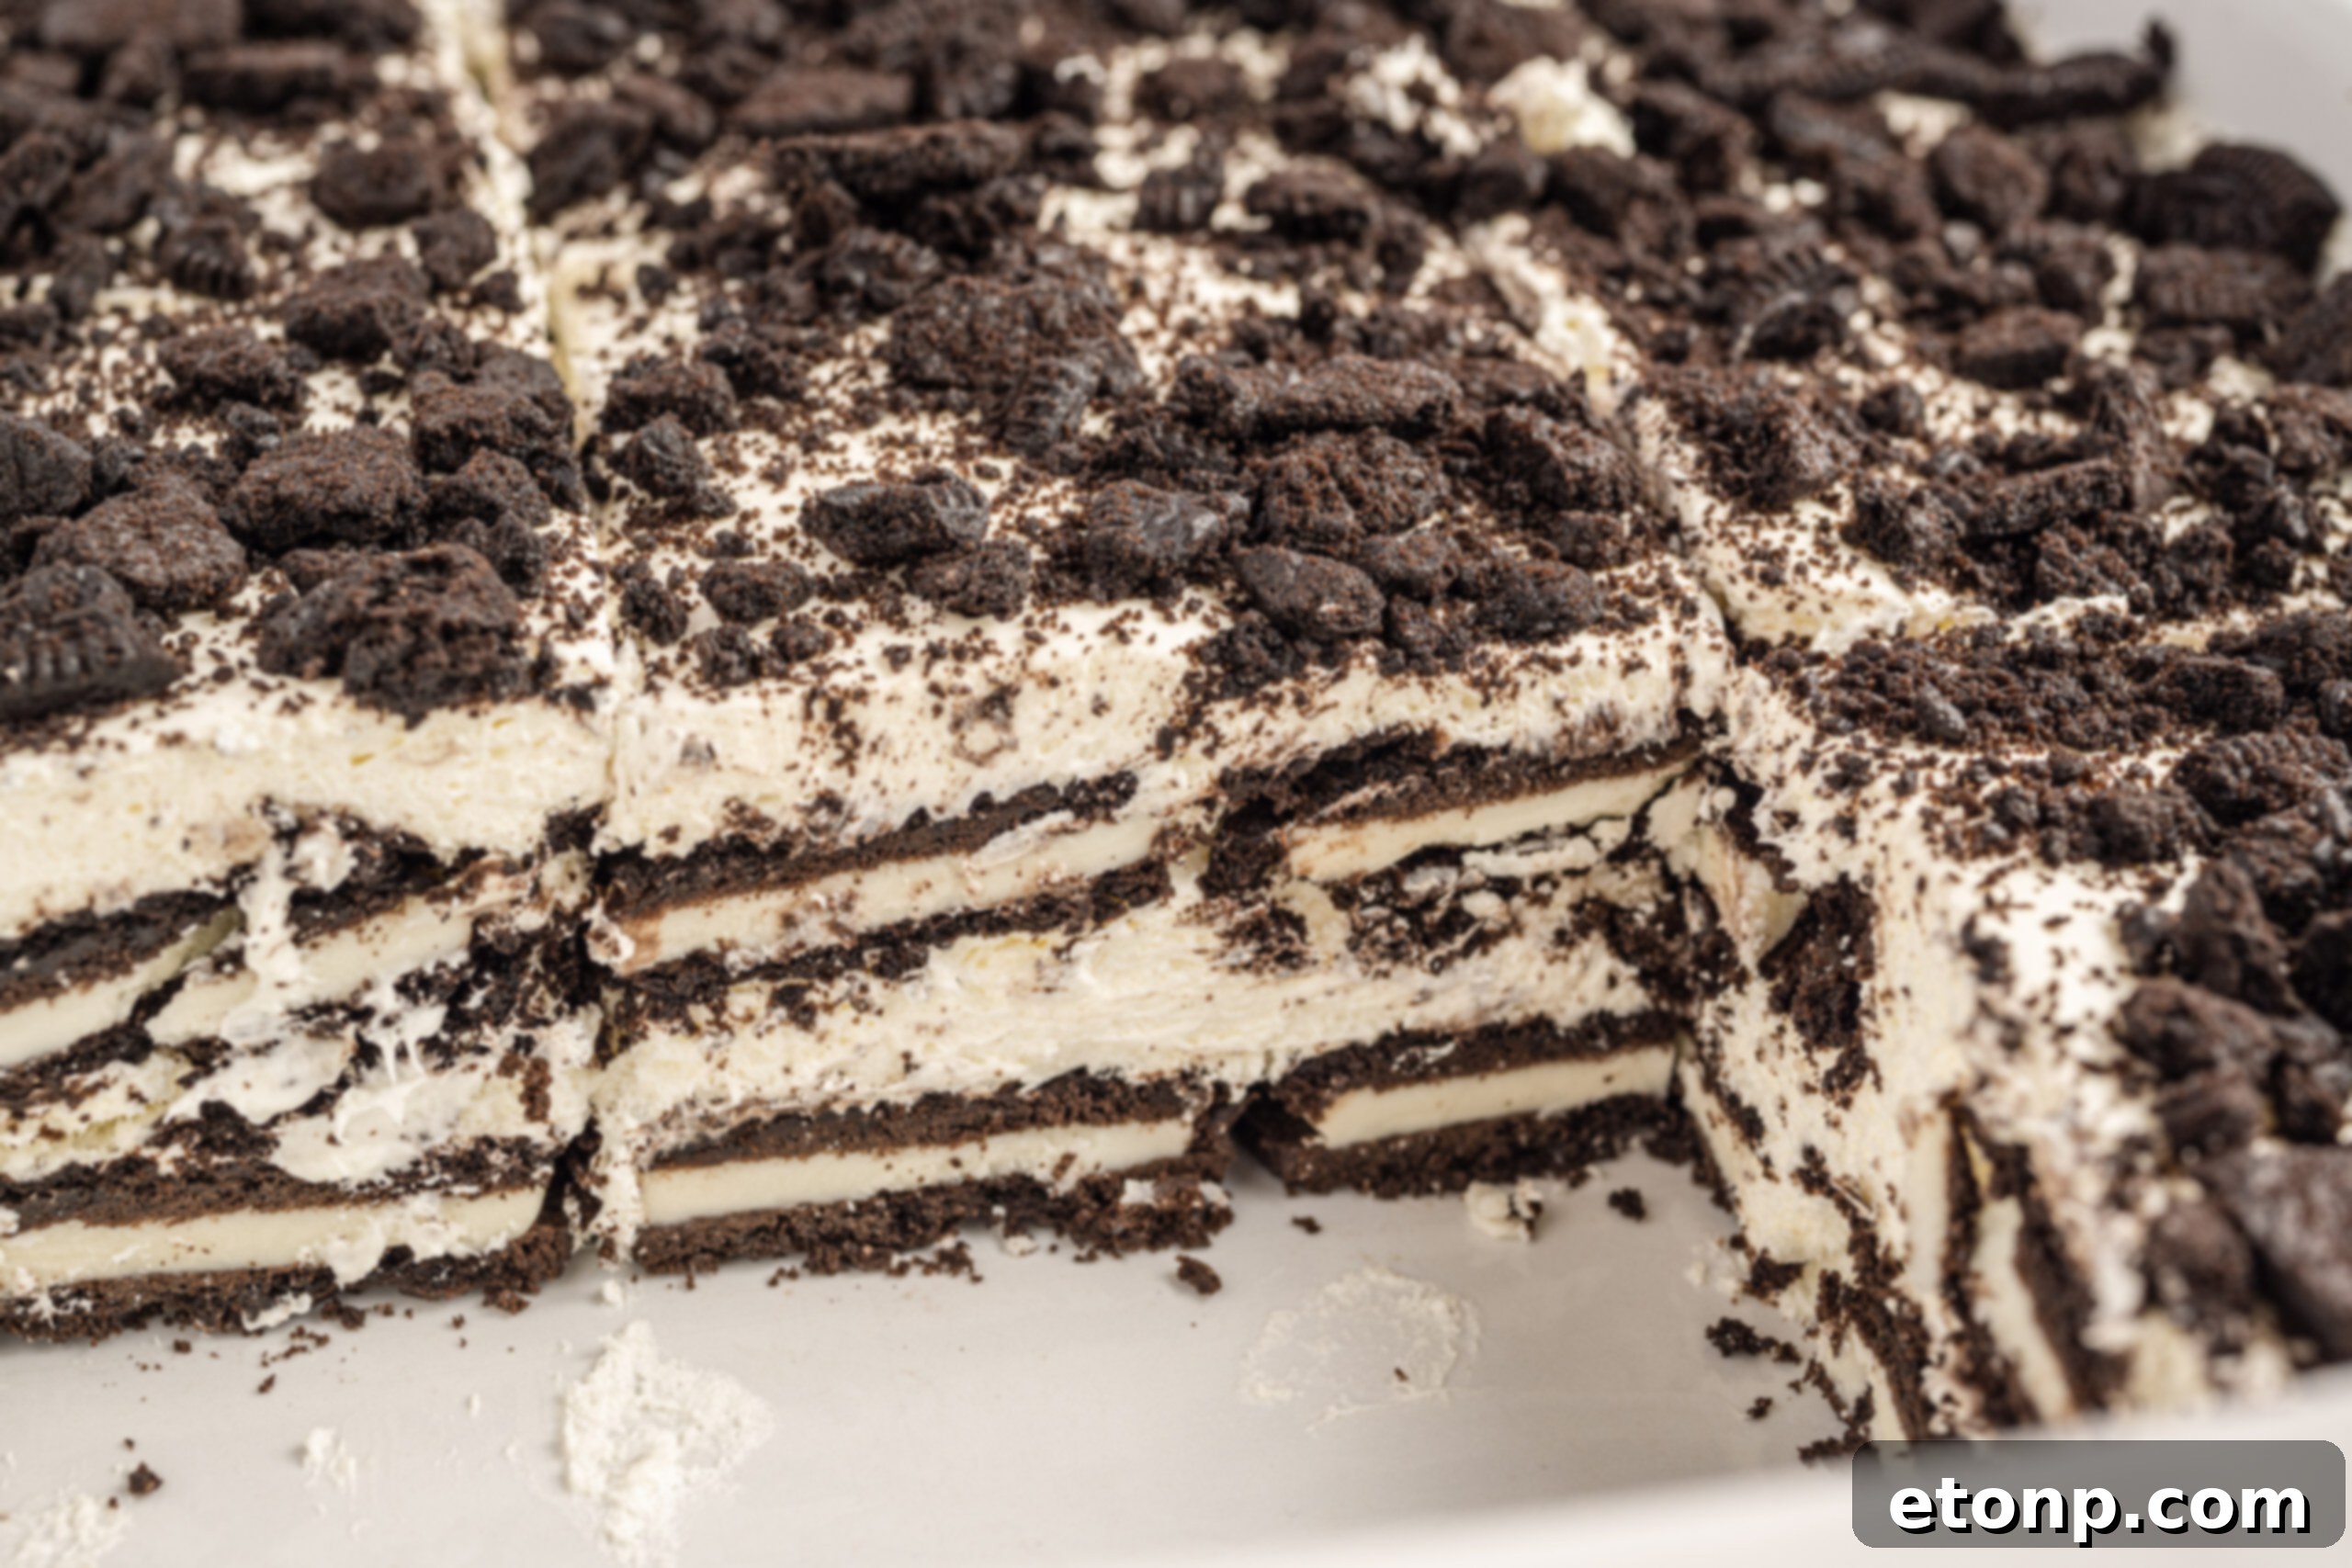
Once your filling is ready, the rest is simply about layering: a foundation of Oreo cookies, followed by a generous layer of cream, then more cookies, and another lush layer of cream. To finish, a final flourish of crushed Oreos is sprinkled on top. There’s no need for exact measurements when arranging the cookies; feel free to eyeball it. Arrange them in a loose grid, breaking a few if necessary to fill in any gaps along the edges. Stack them in, cover your creation, and then allow your refrigerator to perform all the remaining magic.
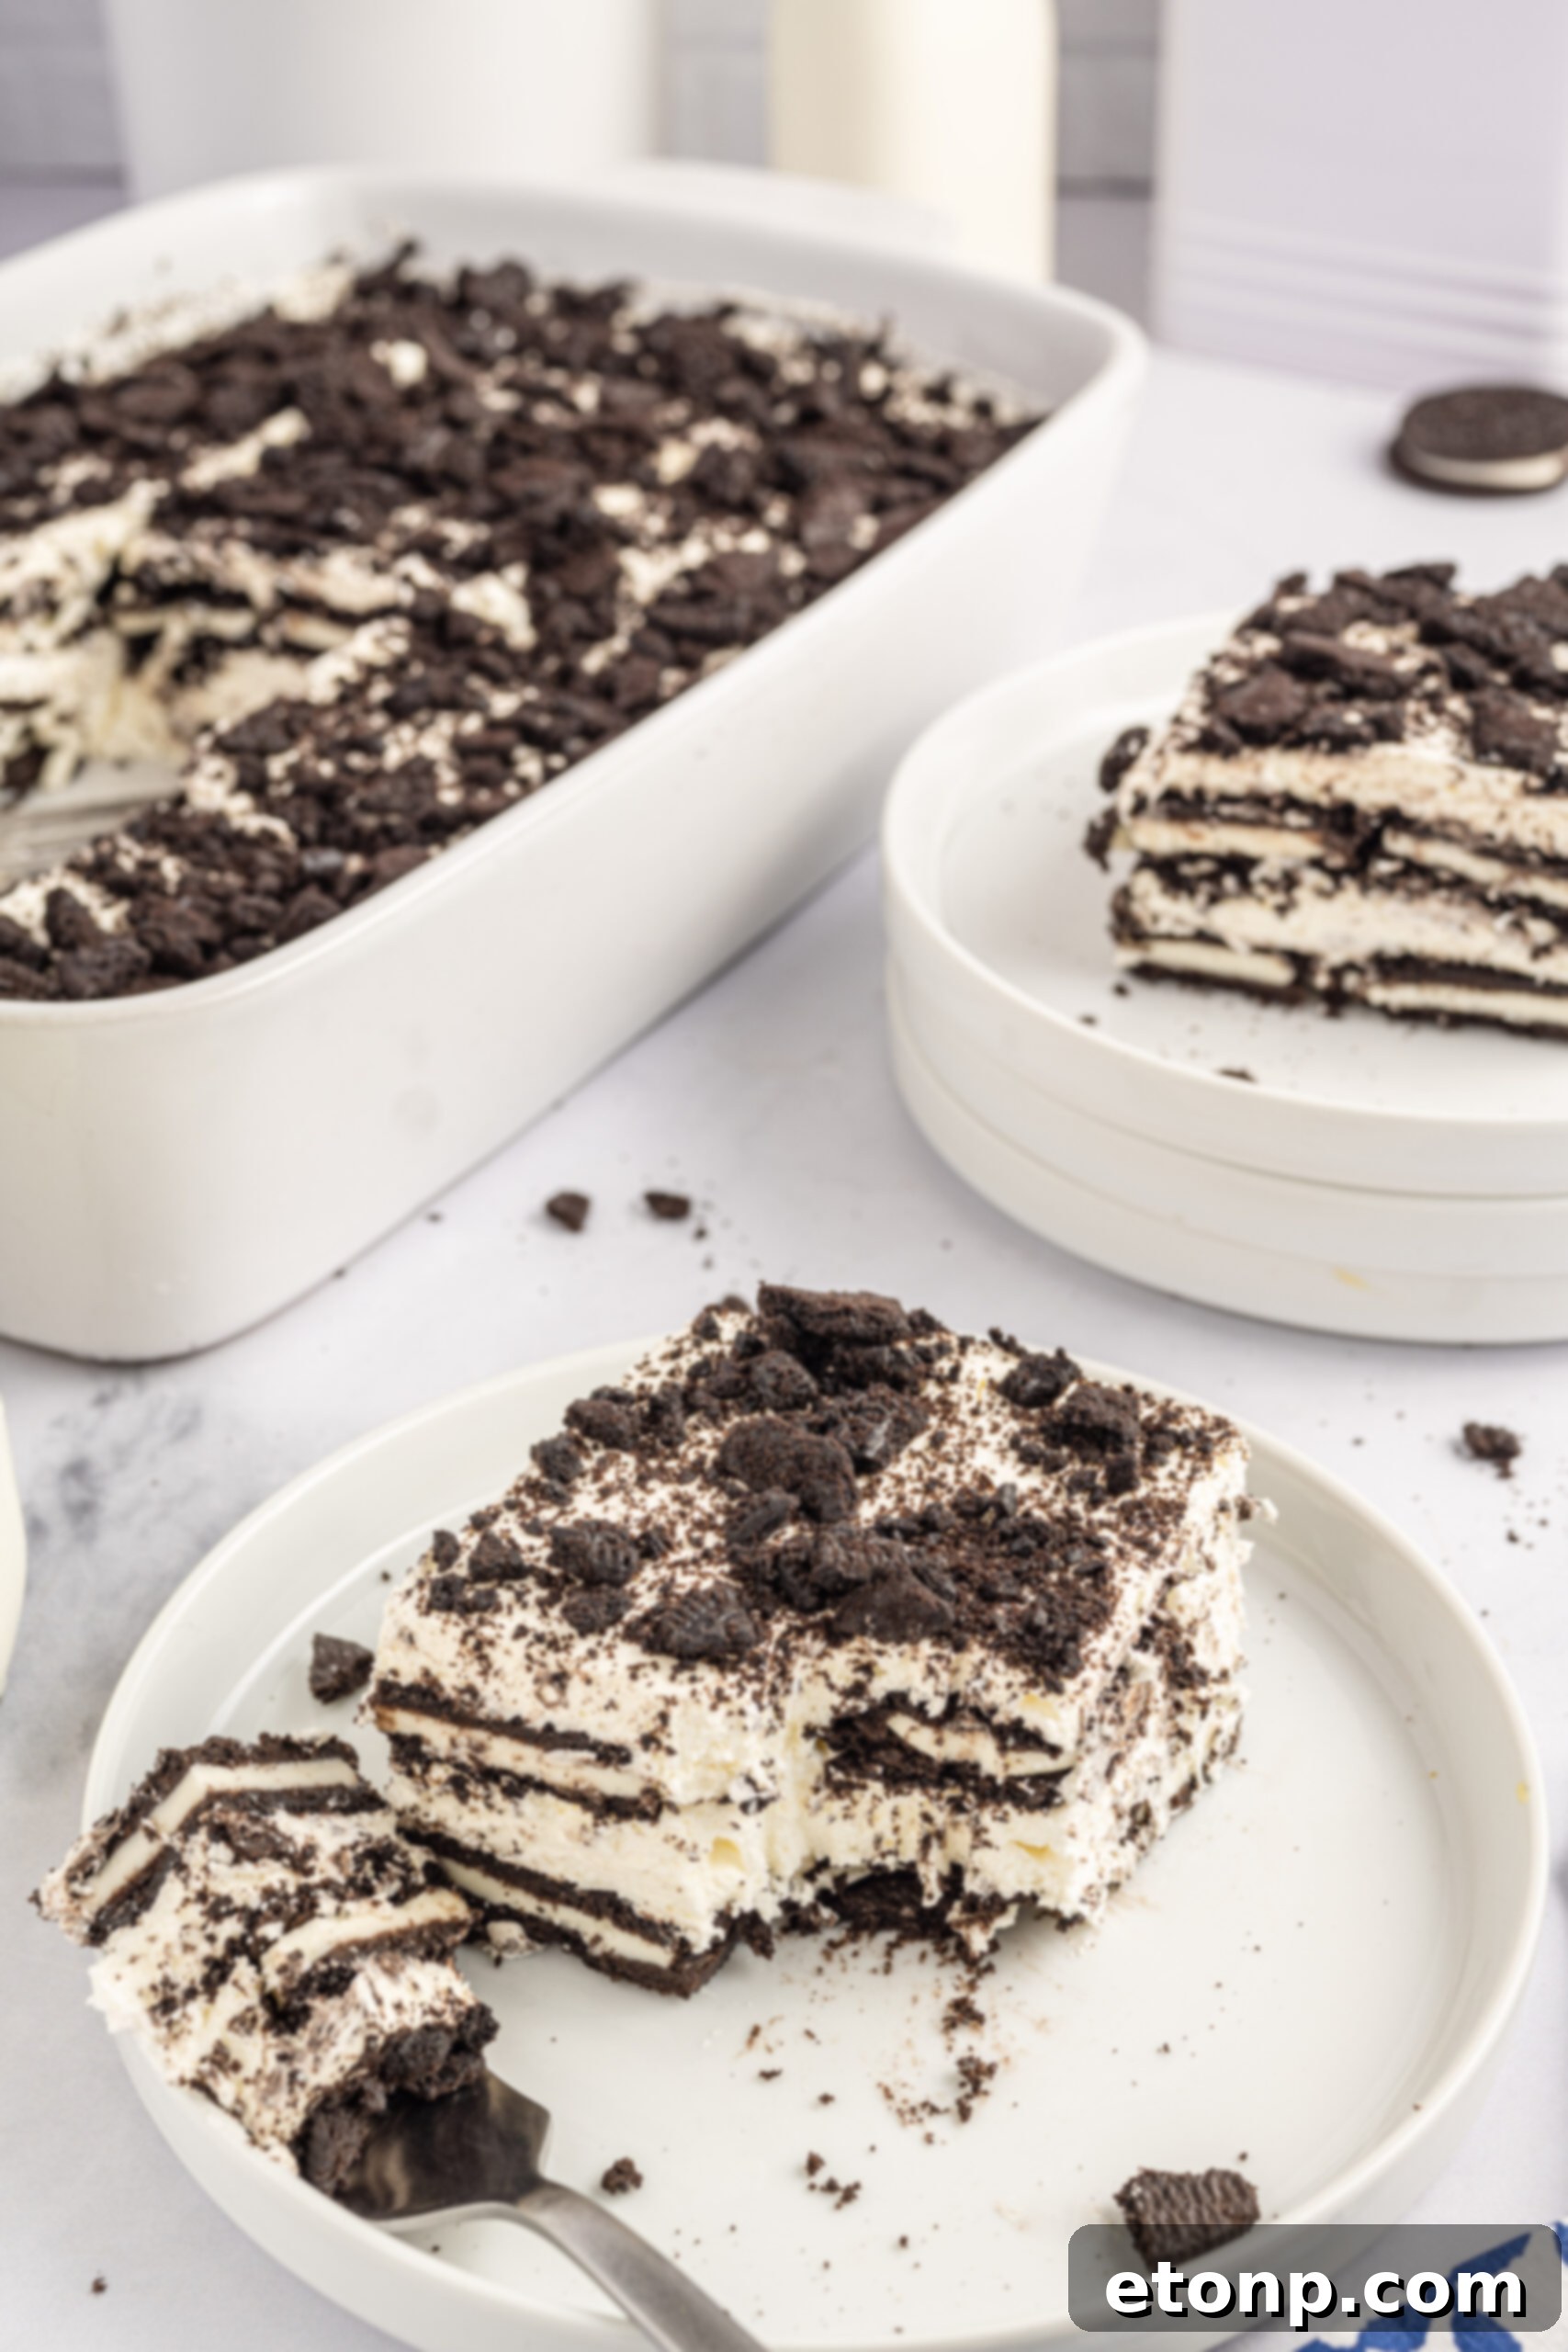
That crucial six-hour chilling period? It’s absolutely essential. This cake requires ample time for the individual components to meld and transform, becoming something far greater than the sum of its parts. During this rest, the Oreo cookies absorb just the right amount of moisture from the creamy filling, softening into a perfectly tender, spoonable, yet not at all soggy, texture. You’re aiming for that ideal bite where your fork effortlessly glides through the cookie, meeting the cream in a perfectly chilled, sweet, and almost nostalgically comforting sensation.
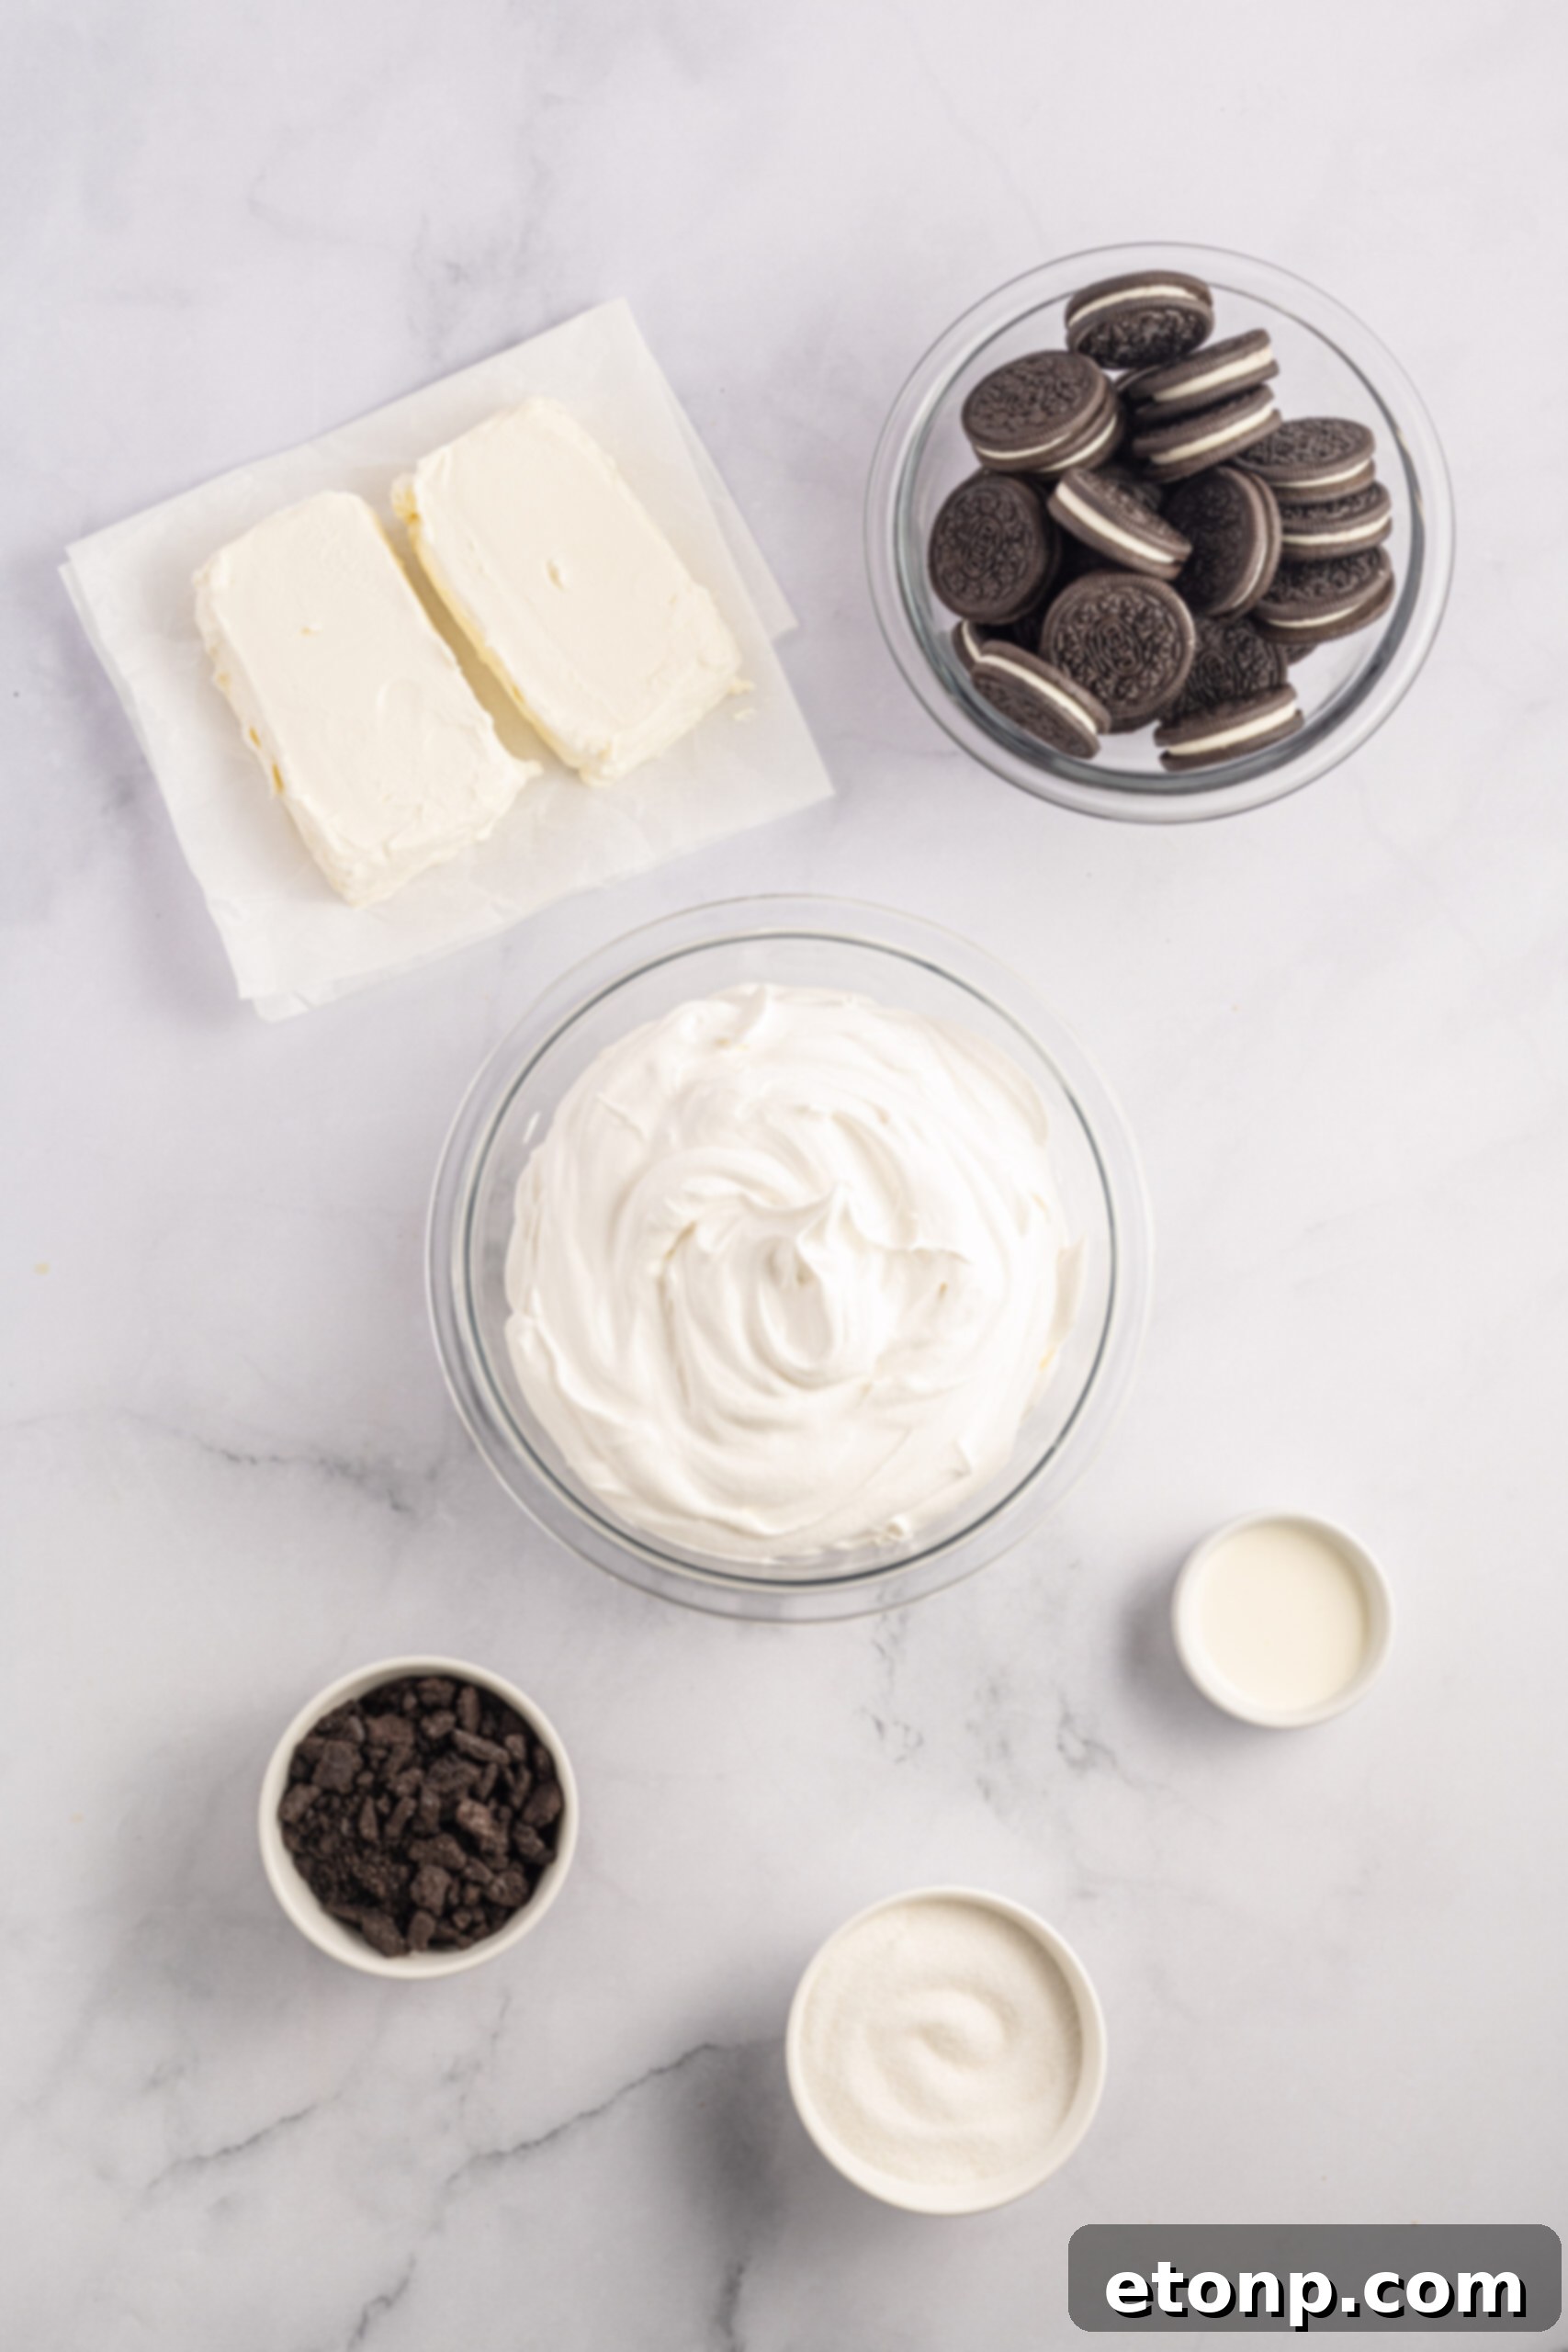
Essential Oreo Icebox Cake Ingredients
Crafting this irresistible Oreo Icebox Cake requires only a few key components. Here’s what you’ll need to assemble this dreamy dessert:
- Cream Cheese – You will need two 8-ounce packages of full-fat cream cheese. For the smoothest possible filling, ensure these are brought to room temperature before you begin mixing. This step is crucial for achieving a lump-free, creamy texture.
- Granulated Sugar – A ½ cup of granulated sugar is added to the cream cheese mixture to provide the perfect level of sweetness, balancing the tanginess of the cream cheese and the richness of the Oreos.
- Heavy Whipping Cream – This recipe calls for approximately three tablespoons of heavy whipping cream. It helps achieve a wonderfully smooth consistency in your cream cheese mixture.
- Whipped Topping – A 16-ounce container of frozen whipped topping (like Cool Whip) is a cornerstone of this cake’s lightness. Remember to let it thaw completely at room temperature alongside your cream cheese before incorporating it into the filling.
- Double Stuf Oreos – These iconic cookies are undoubtedly the star of this show. You’ll need a total of 48 Double Stuf Oreos, which typically equates to about two family-sized packages. The extra cream in Double Stuf Oreos contributes to an even more luxurious texture.
- Crushed Oreos – For a beautiful and flavorful garnish, you’ll also need ½ cup of extra crushed Oreos to sprinkle on top.
With these simple yet impactful ingredients in hand, you are perfectly equipped to effortlessly assemble this decadently delicious dessert. Prepare to be amazed by how easily something so profoundly satisfying can come together!
Expert Tips & Recipe Notes for Your No-Bake Oreo Cake
Elevate your Oreo Icebox Cake experience with these helpful tips and creative variations:
- Alternative Toppings: While crushed Oreo cookies make a classic and delicious topping, don’t feel limited! Consider using mini Oreos for a different visual and textural appeal – they’re equally delightful. You could also experiment with chocolate shavings, a drizzle of chocolate syrup, or even a dusting of cocoa powder.
- Homemade Whipped Cream Option: For an extra touch of homemade goodness, you can easily substitute the frozen whipped topping with freshly prepared whipped cream. To make your own, simply combine four cups of cold heavy whipping cream with one cup of powdered sugar in a large bowl. Use an electric hand mixer to beat the mixture on high speed until it becomes thick, fluffy, and reaches a smooth, spreadable consistency. This homemade option adds a luxurious richness to the cake.
- Generous Cream Cheese Filling: The key to achieving that signature melt-in-your-mouth texture is to be generous with your cream cheese filling between the layers of Oreo cookies. The moisture from the ample filling is what truly softens the cookies, transforming them from crunchy to wonderfully tender. Ensure each cookie layer is well-covered; this will prevent the dessert from being too crunchy and instead deliver a delightfully soft and luscious bite every time.
Why This Dessert Shines for Literally Any Occasion
The inherent brilliance of this No-Bake Oreo Icebox Cake lies in its unbeatable combination of minimal effort and maximum payoff. Heading to a potluck? This cake will undoubtedly become the center of attention, with guests congregating around the pan as if drawn by a sweet, irresistible magnet. Need a simple yet impressive dessert for an impromptu weeknight gathering? Done. Or perhaps you simply desire a comforting treat to patiently await you in the fridge all weekend, ready for you to scoop out a delightful portion each evening while unwinding with your favorite binge-worthy show on Netflix? This cake is not just a dessert; it’s a lifestyle enhancer, perfectly suited for such moments of pure comfort and indulgence.
Furthermore, it’s an absolutely fantastic recipe to involve children in the kitchen. With no sharp knives, hot burners, or stressful timing to worry about, it’s a safe and fun activity for young aspiring chefs. The process involves simple scooping, gentle spreading, and perhaps a few sneaky (but understandable) taste tests of an Oreo or two along the way. It’s a wonderful way to create sweet memories with very little culinary pressure.
Top Tips for an Unforgettable Oreo Icebox Cake
- Room Temperature Cream Cheese is Key: Seriously, cold cream cheese is the arch-nemesis of a silky-smooth filling. Make sure to give it ample time to come to room temperature before mixing; it will blend effortlessly into a dreamy, lump-free consistency.
- Don’t Overthink the Oreo Placement: There’s no need for military precision here. Simply lay your Oreos in a relatively neat single layer. If you need to break a cookie or two to fill in some gaps along the edges of your dish, go right ahead. Imperfection adds character!
- Patience is a Virtue (Especially When Chilling): That minimum 6-hour chill time isn’t just a suggestion; it’s a crucial step for the cake to truly set and for the cookies to achieve their perfect cake-like tenderness. For optimal results, an overnight chill is even better. This extended period allows the flavors to fully meld, ensuring the cake slices more cleanly and tastes even more integrated and delicious.
- Serve it Perfectly Cold: This dessert is designed to be enjoyed cold. The refreshing cool temperature is an integral part of the overall experience, enhancing the creamy textures and rich flavors. Avoid serving it at room temperature, as this can compromise its structural integrity and delightful mouthfeel.
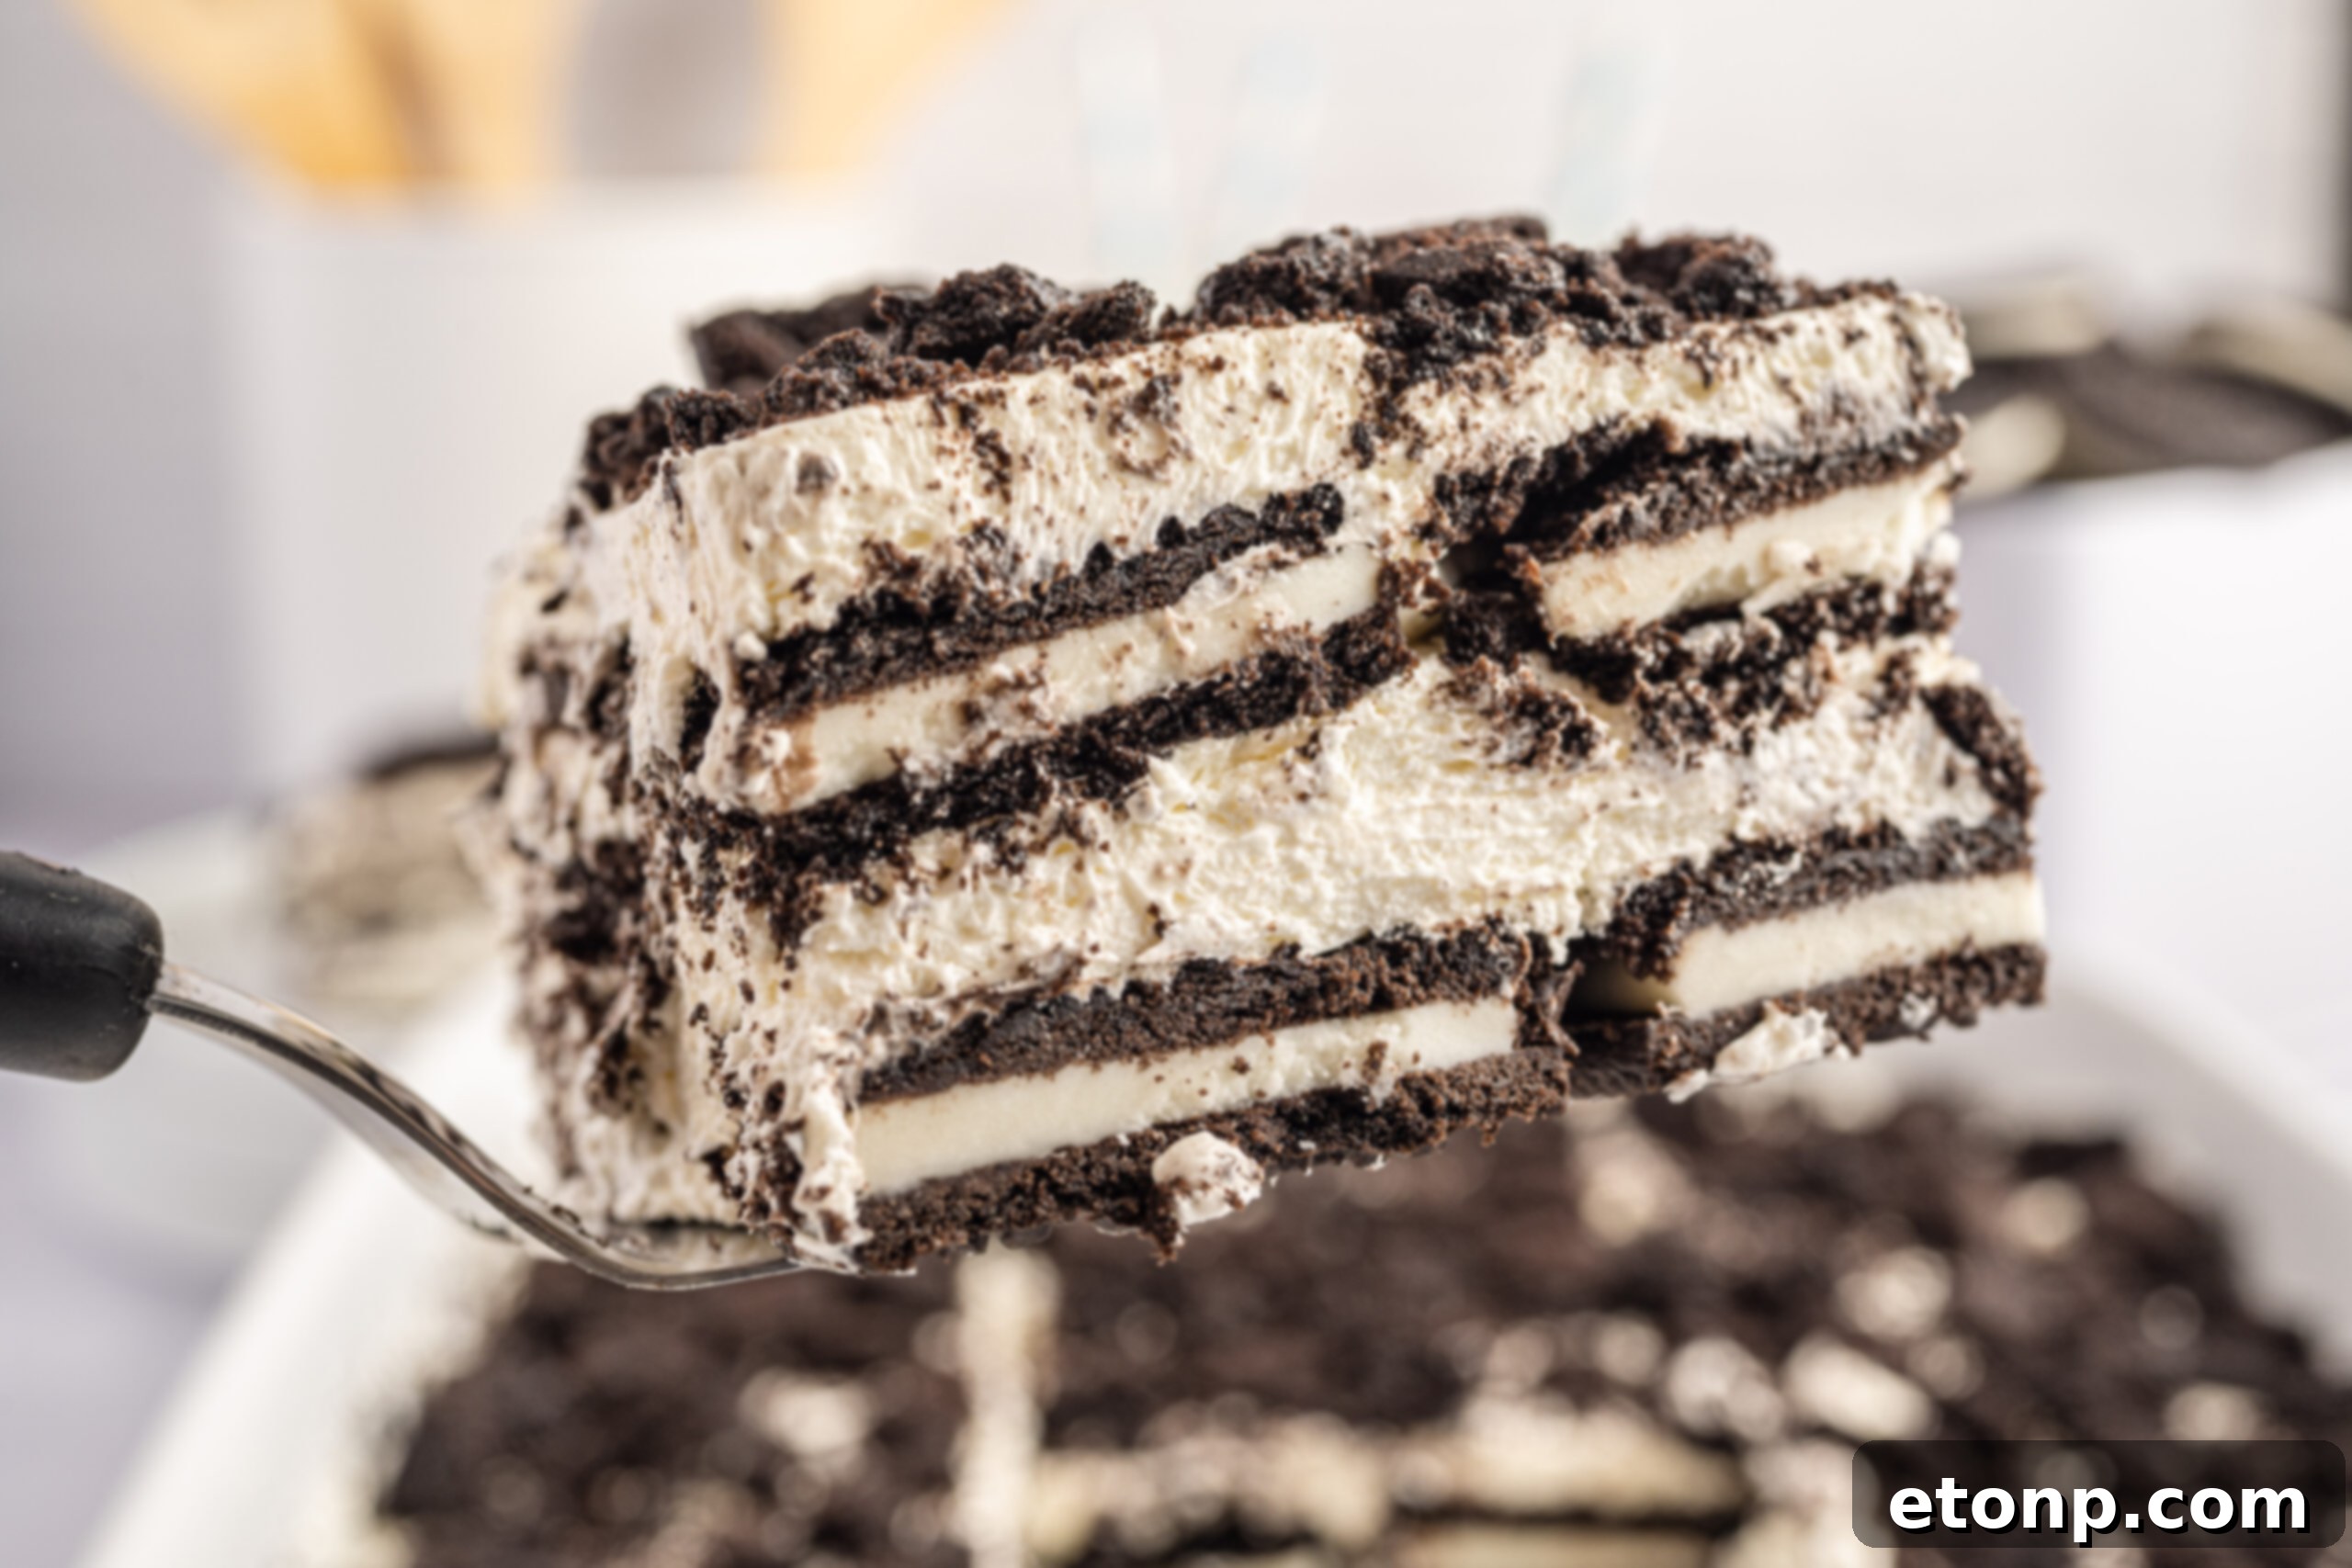
This isn’t the type of dessert you whip up when you’re aiming for overly elaborate or fussy presentation. Instead, it’s the kind you create when your heart yearns for something genuinely good – something that brings an instant smile to people’s faces without demanding an arduous culinary marathon from you in the kitchen. It’s wonderfully sweet, charmingly a little messy, and impeccably hits that universally crave-worthy cookies-and-cream spot that, thankfully, most of us never truly grow out of. It’s comfort, nostalgia, and deliciousness, all layered into one glorious pan.
Oreo Icebox Cake FAQs
Here are answers to some commonly asked questions about making this fantastic no-bake dessert:
Do I have to use cream cheese in this recipe?
While cream cheese provides a unique tang and richness that beautifully complements the Oreos, you can indeed adjust this recipe if it’s not to your liking. If you prefer to omit cream cheese, you can simply increase the amount of whipped topping used. Alternatively, if you’re making homemade whipped cream, you could prepare a larger batch and use that as a complete replacement for the cream cheese component, though the flavor profile will be slightly different.
What brand of cream cheese should I use?
When it comes to cream cheese, you have the flexibility to use any brand you personally prefer and typically keep in your refrigerator. Popular choices like Kraft’s Philadelphia Cream Cheese are excellent, widely available, and yield consistently good results. It’s a versatile ingredient that performs wonderfully in various desserts, including classic cheesecakes, making it a reliable option for your icebox cake.
Can I make this dessert in advance?
Absolutely! The Oreo Icebox Cake is an ideal dessert for making ahead, as it actually benefits from a longer chill time. If you plan to prepare it in advance, simply cover your baking dish tightly with plastic wrap to prevent any odors from permeating the cake. Store it in the refrigerator, and it will remain deliciously fresh for up to five days before serving. This makes it perfect for party planning or for having a ready-to-eat treat throughout the week.
Savor every bite of this wonderfully easy and utterly delicious Oreo Icebox Cake. It requires minimal preparation time and delivers an abundance of delightful flavor.
If you’re already dreaming about your next batch (and frankly, who wouldn’t be?), we have an equally enticing Golden Oreo Icebox Cake version right here on our site! It captures the same effortless charm and creamy deliciousness, but with a delightful buttery vanilla twist that is undeniably addictive. It’s a fantastic way to switch things up if you’re craving something beyond chocolate or simply want to explore new flavors. For the truly adventurous, you can even create a sensational Double Stuf mash-up, alternating layers of classic chocolate and Golden Oreos for an epic flavor combination – there are no rules here, only delicious, creamy chaos! This is truly one of those incredibly versatile recipes that encourages customization, so never hesitate to make it uniquely your own.
No special equipment is needed. No baking is required. No stress, no sweat. Just pure, creamy, cookie-stacked joy assembled in a pan that somehow miraculously improves with every single bite. So go ahead, clear a little space in your refrigerator, grab a couple of sleeves of your favorite Oreos, and get ready to create the dessert that practically makes itself! You deserve this simple pleasure.
More Irresistible No-Bake Recipes You Will Love!
No Bake Cookies & Cream Fudge
No Bake Chocolate Lasagna
Reese’s Chocolate Peanut Butter Cup Lasagna
Oreo Icebox Cake
Ingredients
- 2 8-ounce packages of cream cheese, room temperature
- 1/2 cup granulated sugar
- 3 tablespoons heavy whipping cream
- 1 16-ounce container of whipped topping, thawed
- 48 Double Stuf Oreos about 2 family-sized packages
- 1/2 cup crushed Oreos
Instructions
-
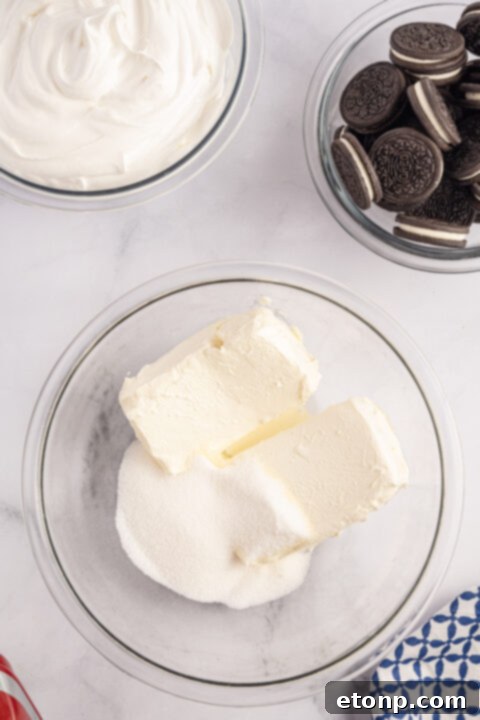
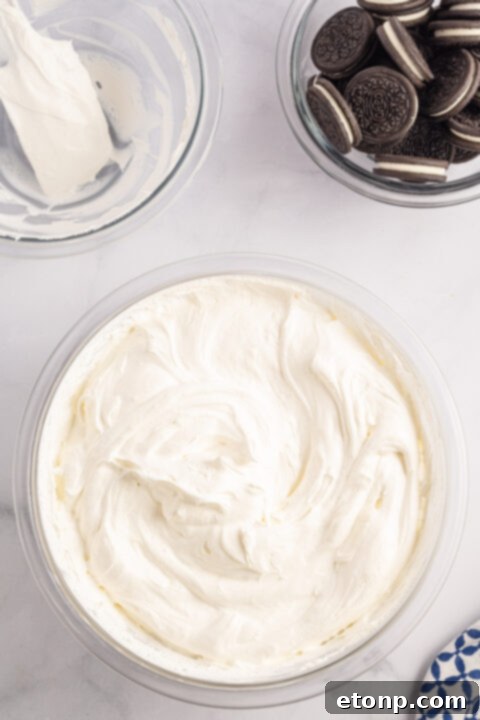
Using an electric hand mixer, beat together the cream cheese, sugar, and heavy whipping cream until smooth.
-
Carefully fold in the thawed whipped topping until combined. Set aside.
-
Lay out a single layer of 24 Oreos on the bottom of a 13×9 baking dish or pan.
-
Spoon half of the cream cheese mixture over the Oreos, and spread it out evenly with a spatula.
-
Create another layer of 24 Oreos, spread the second half of the cream cheese mixture, then top with the crushed Oreos.
-
Cover with plastic wrap, and chill in the refrigerator for at least 6 hours or until a knife can easily cut through the Oreos. Serve chilled.
Did you make this recipe?
Make sure to follow on Pinterest for more recipes!
Pin Recipe
Share on Facebook