
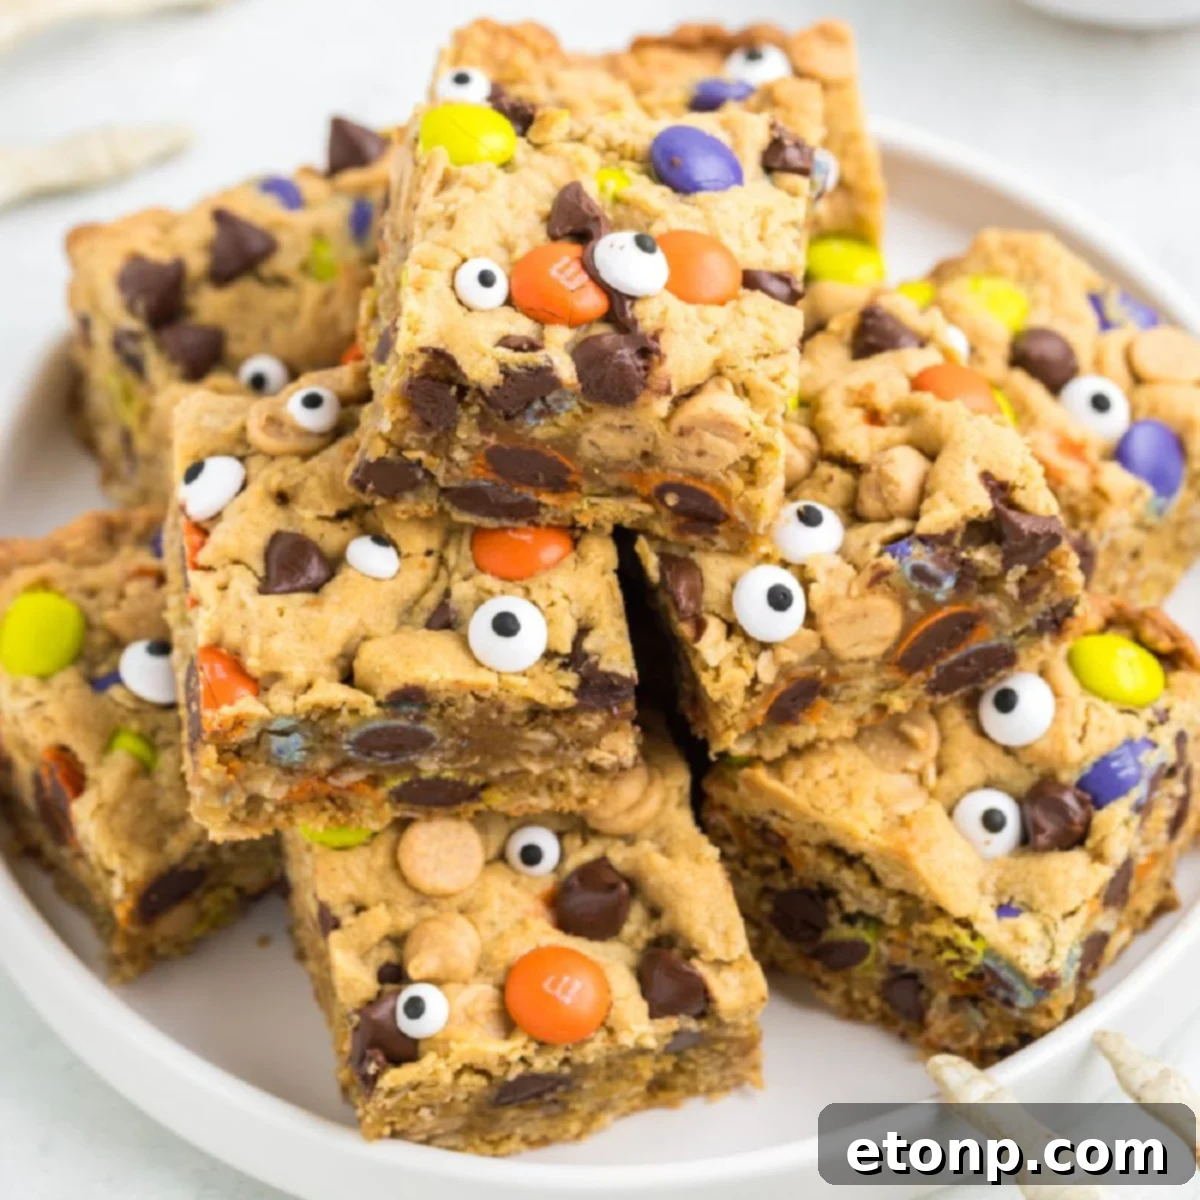
Trick or Treat? Get ready for a monstrously delicious treat this Halloween with these spooky Monster Cookie Bars! Whether you’re baking for a kid’s party, a classroom treat, or just looking to satisfy your sweet tooth, these festive bars will surely be a hit among both kids and adults alike. Prepare to enchant your taste buds with this incredibly easy and utterly delightful Halloween Monster Cookie Bar recipe, perfect for all your spooky season festivities.
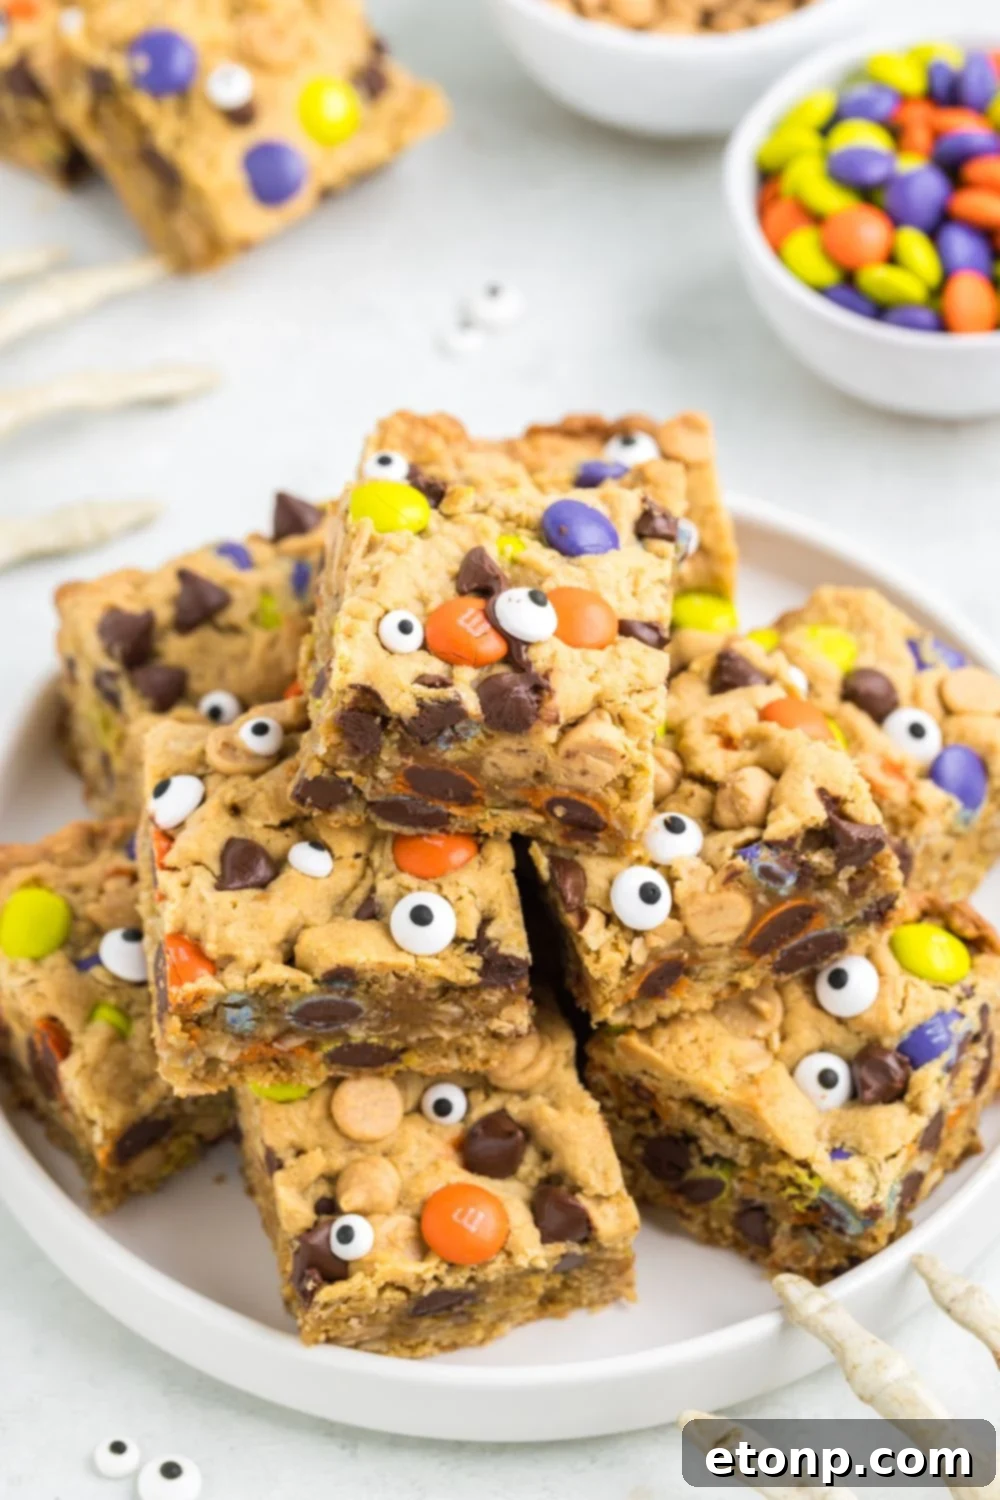
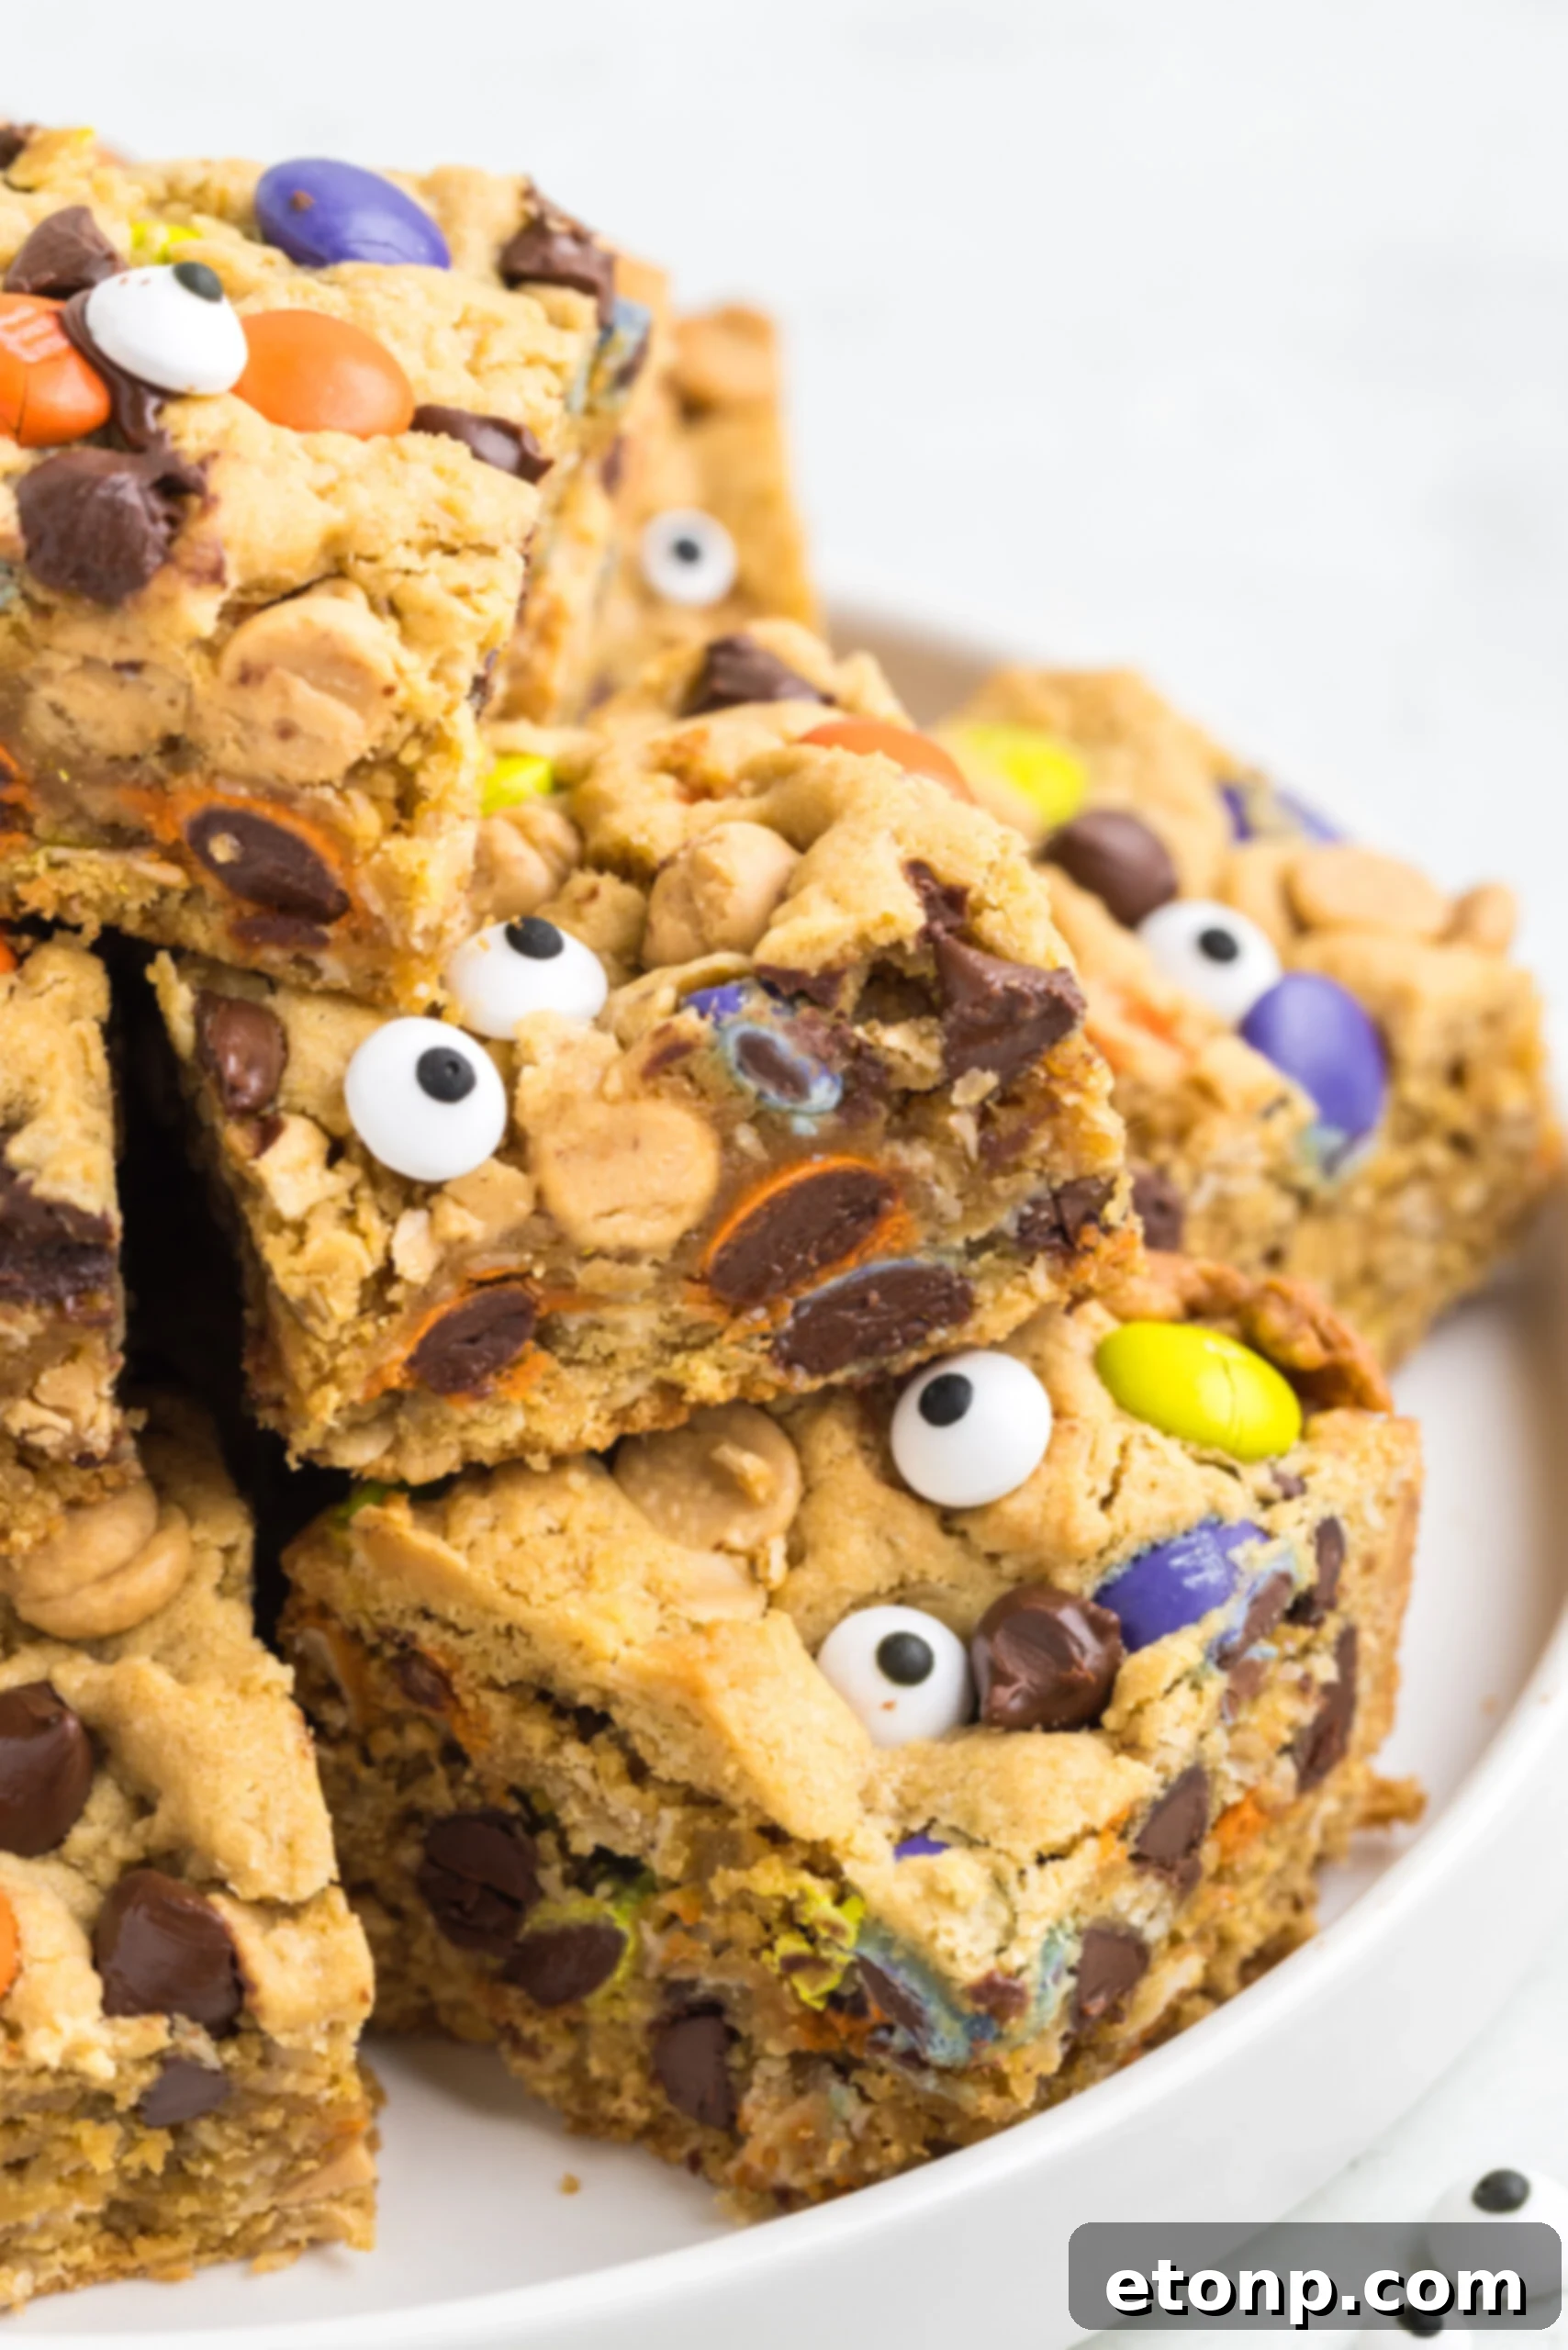
These chewy, buttery, and utterly delicious Halloween monster cookie bars are guaranteed to cast a spell on you this Halloween season. Far from your average cookie, these homemade monster cookie bars are crafted with a delightful blend of old-fashioned oats for a hearty texture, creamy peanut butter for richness, semi-sweet chocolate chips for classic sweetness, and festive Ghoul Mix M&M’s for a vibrant Halloween touch. They capture all the beloved flavors of a classic monster cookie but with an exciting, spooky twist, making them the ultimate Halloween dessert.
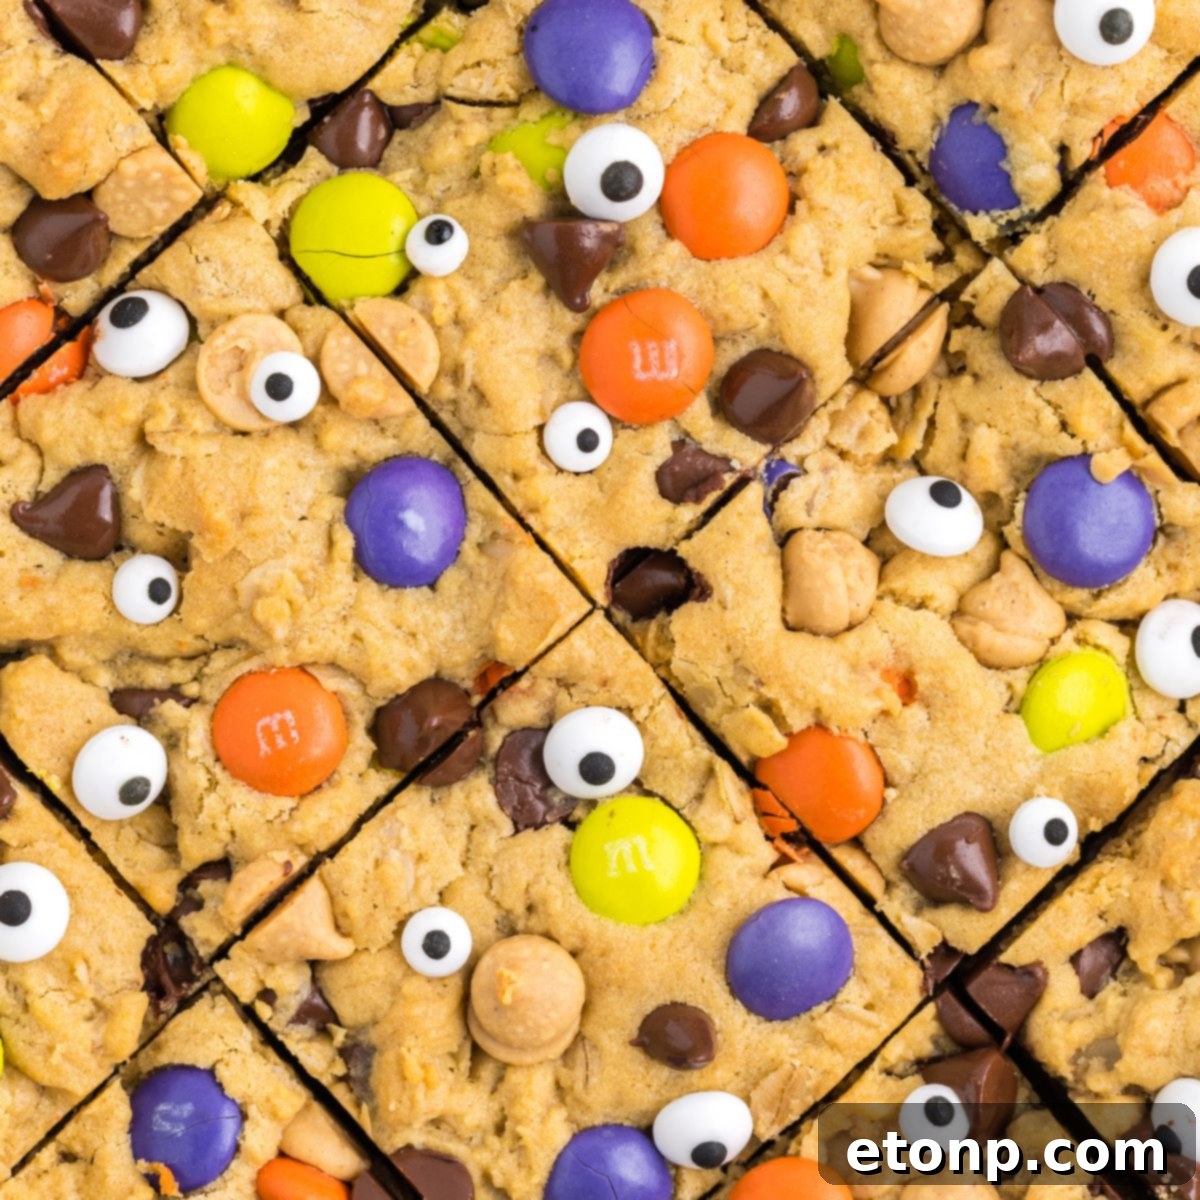
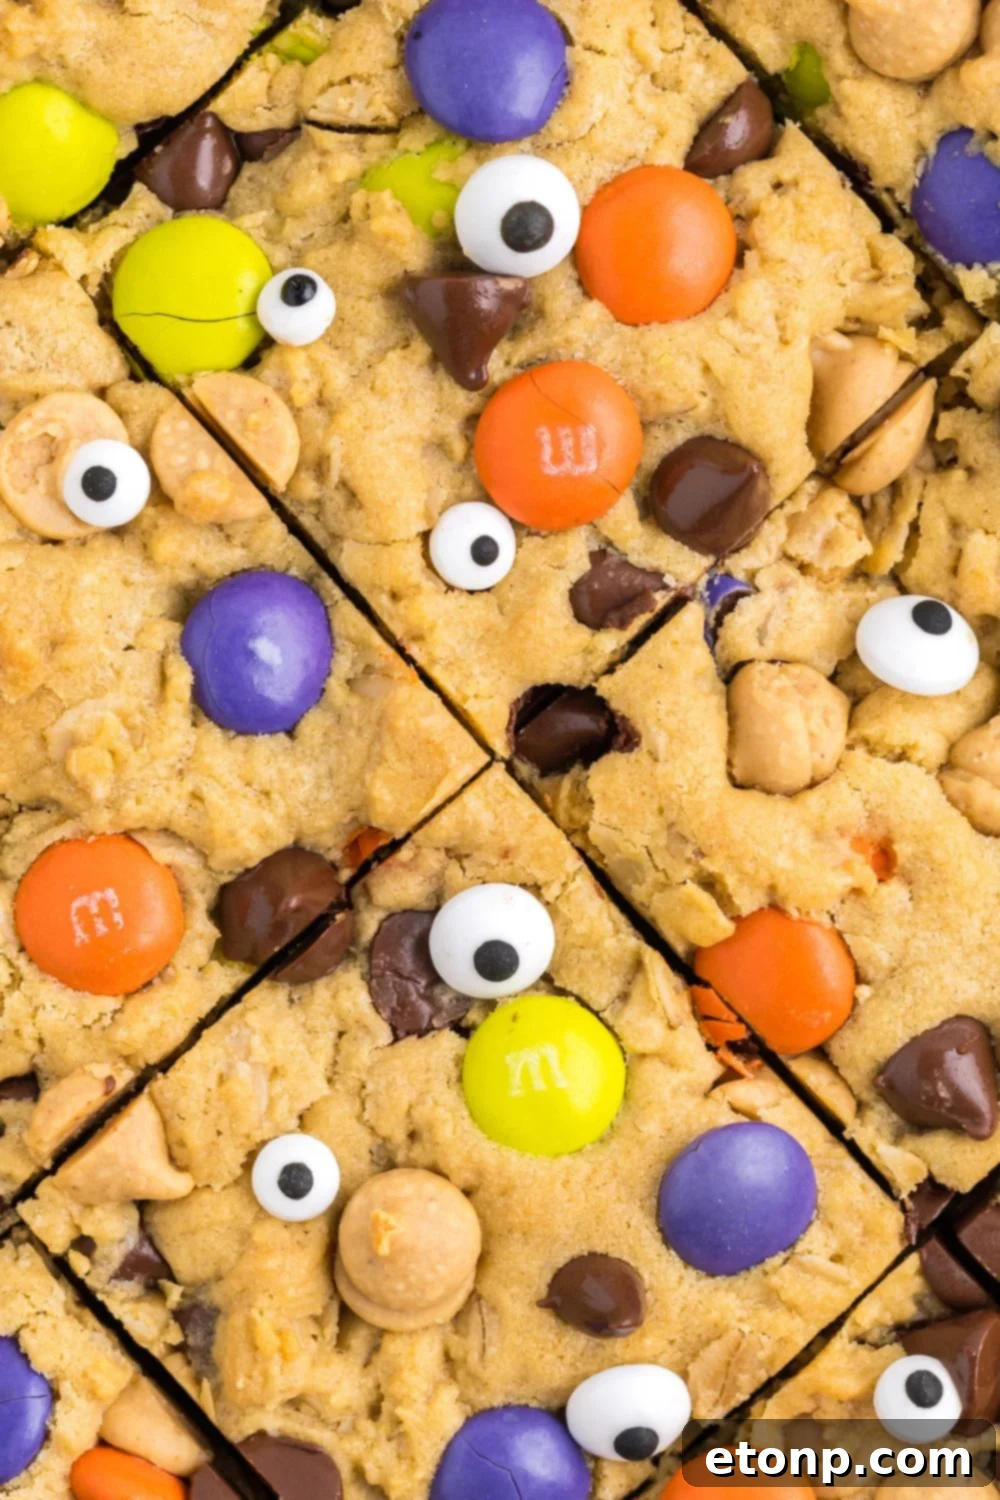
The addition of playful candy eyes is the perfect finishing touch, instantly transforming these delightful treats into truly spooky Halloween monster cookie bars. These easily sliceable cookie bars are notoriously hard to resist, making it a challenge to stop at just one! The best part? The preparation is incredibly simple: just mix your ingredients, pour the dough into a pan, and bake. It’s a straightforward and enjoyable process that yields professional-looking, delicious results with minimal effort, ideal for busy bakers looking for an easy Halloween dessert.
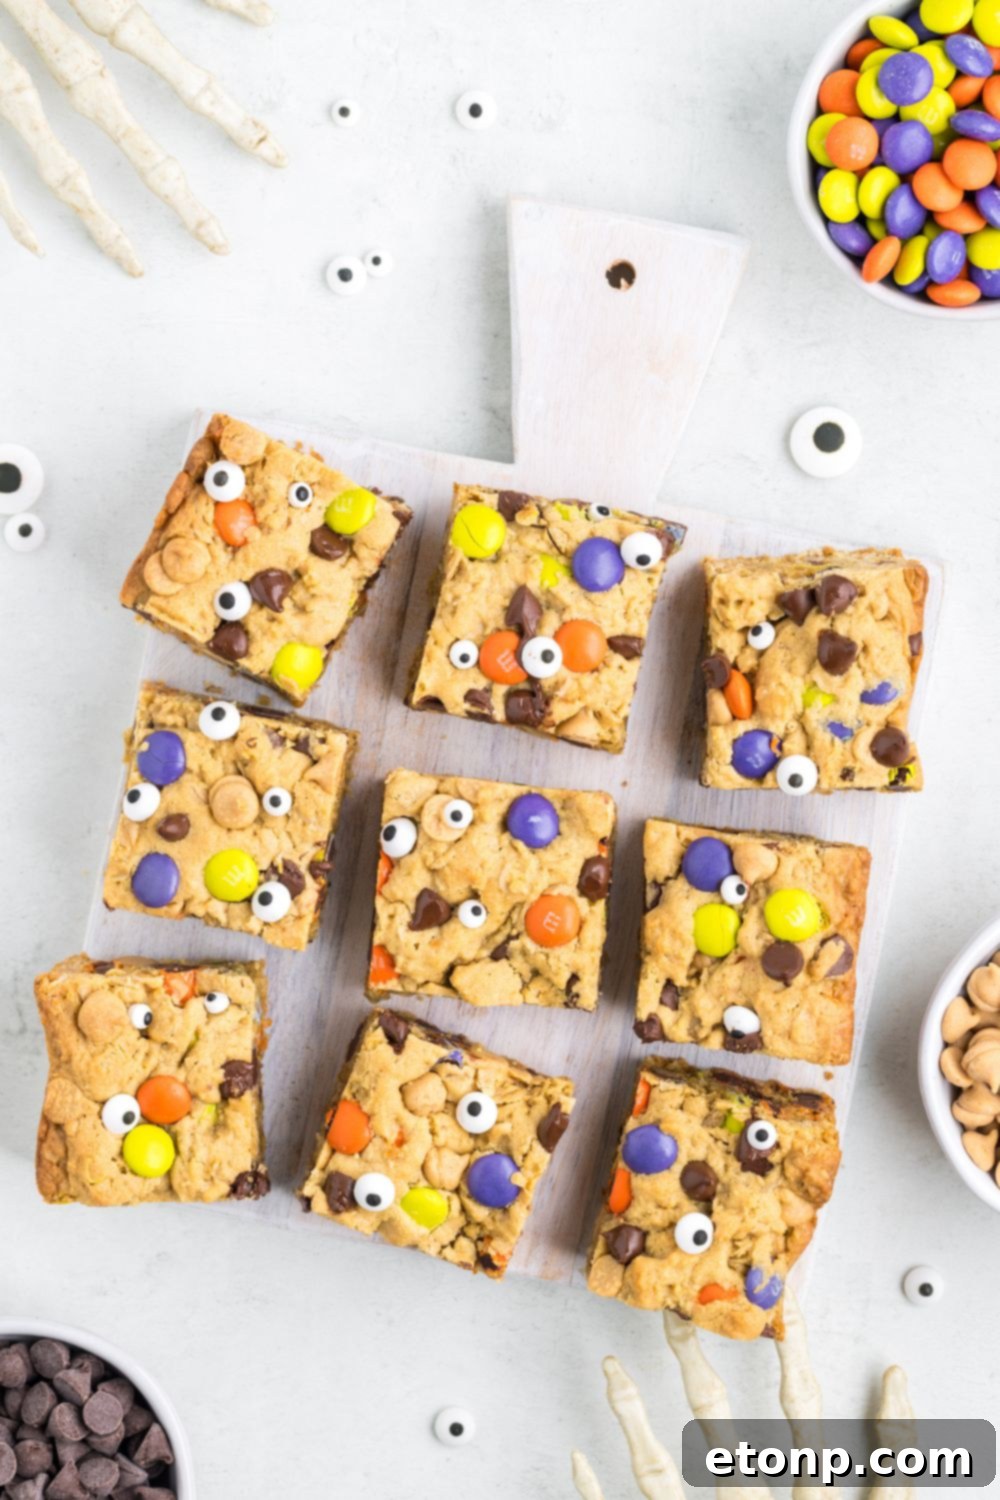
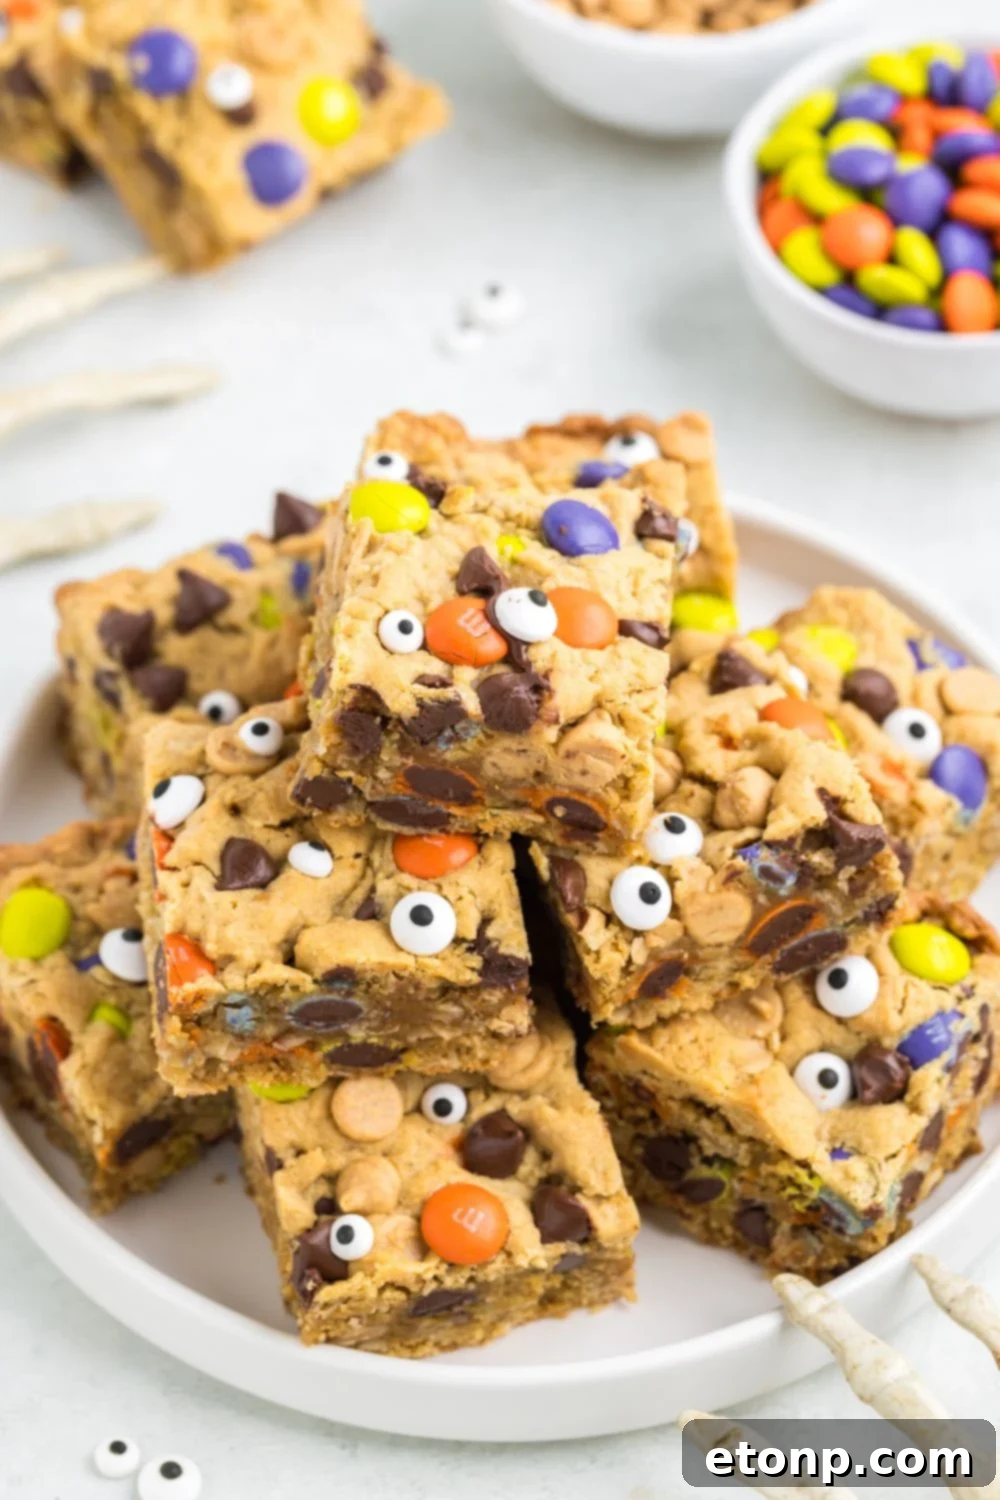
These festive cookie bars are perfectly designed for serving larger crowds, making them an excellent choice for any Halloween gathering or autumnal celebration. Their vibrant M&M’s and whimsical candy eyes add a fantastic pop of color and personality, instantly elevating any dessert table. This tasty Halloween bar recipe is sure to get your family and guests excited for dessert, offering a delightful combination of flavors and a charmingly spooky appearance that embodies the spirit of the season.
Enhance your fall experience by pairing these sweet cookie bars with a warm cup of coffee made with homemade pumpkin spice creamer. The rich, comforting flavors of pumpkin spice alongside the decadent monster cookie bars will truly bring the cozy feeling of autumn into your home.
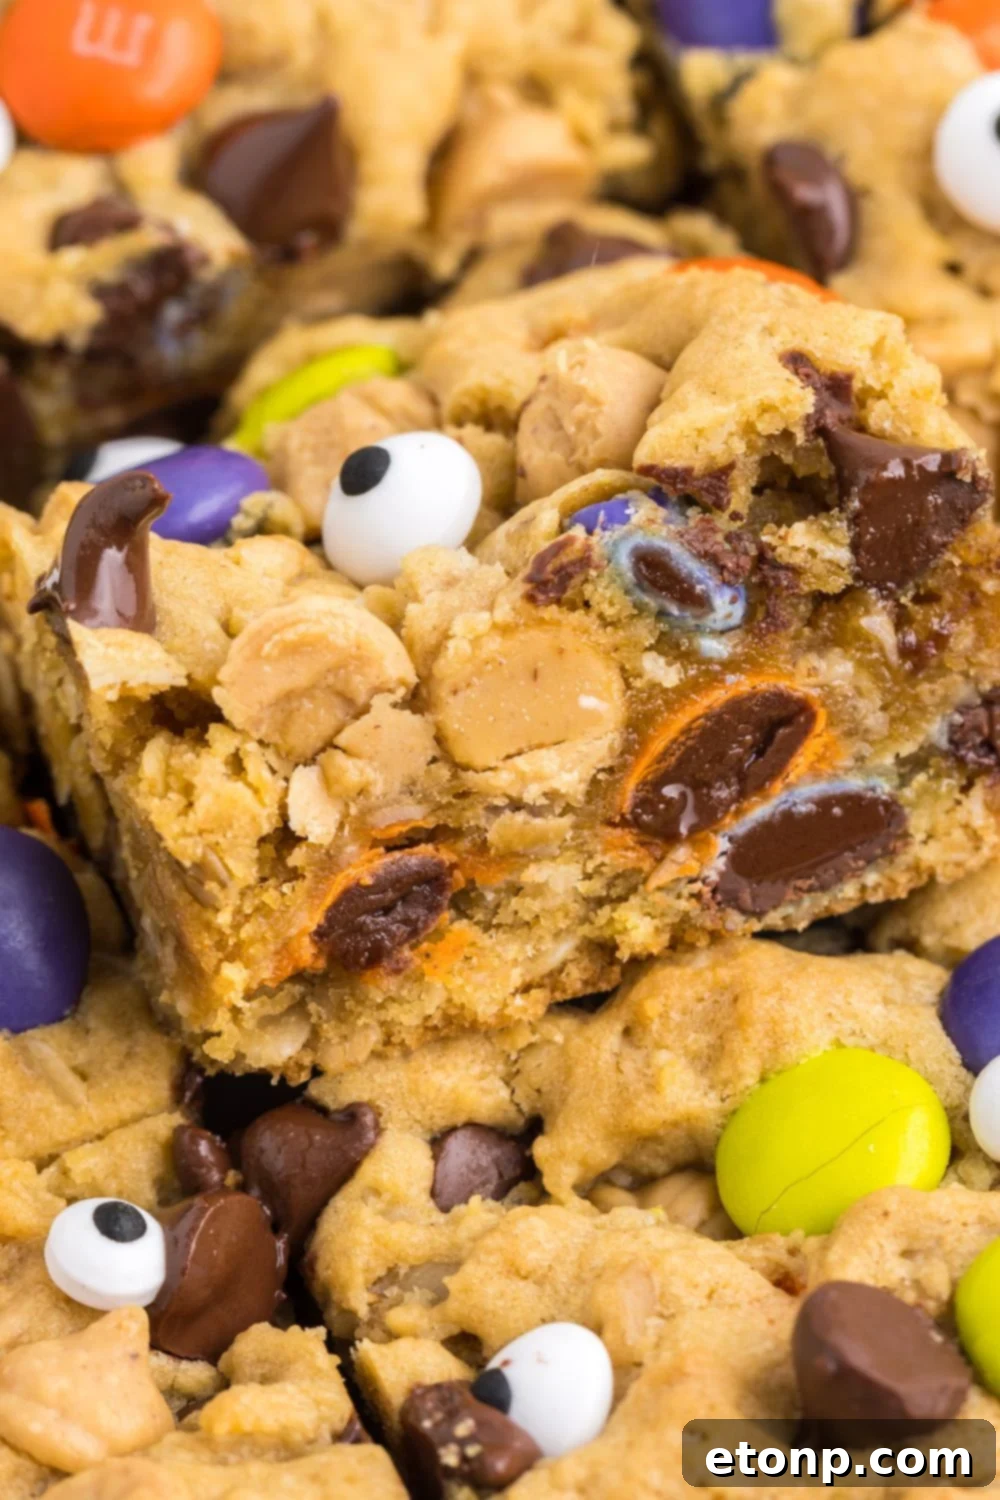
Reasons You Will Love These Halloween Monster Cookie Bars
- **Effortlessly Simple:** These Halloween monster cookie bars are incredibly easy to prepare. Unlike traditional cookies that require individual shaping and multiple batches, you simply mix all the ingredients, pour the dough into a single pan, and bake. This streamlined process saves time and effort, making it ideal for novice bakers and seasoned pros alike.
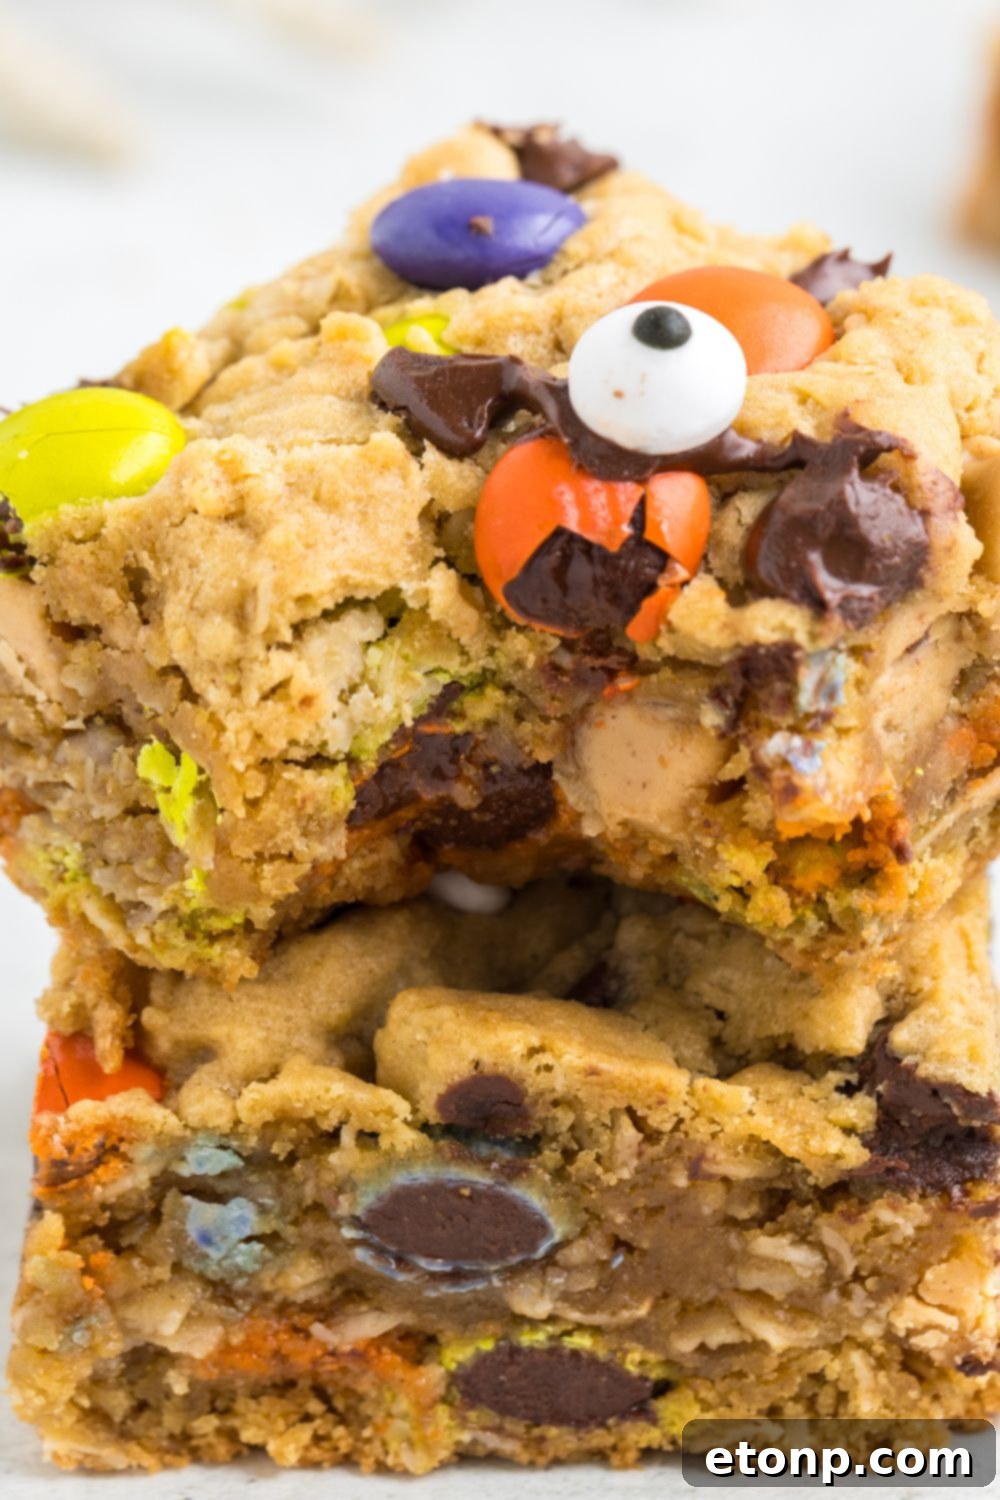
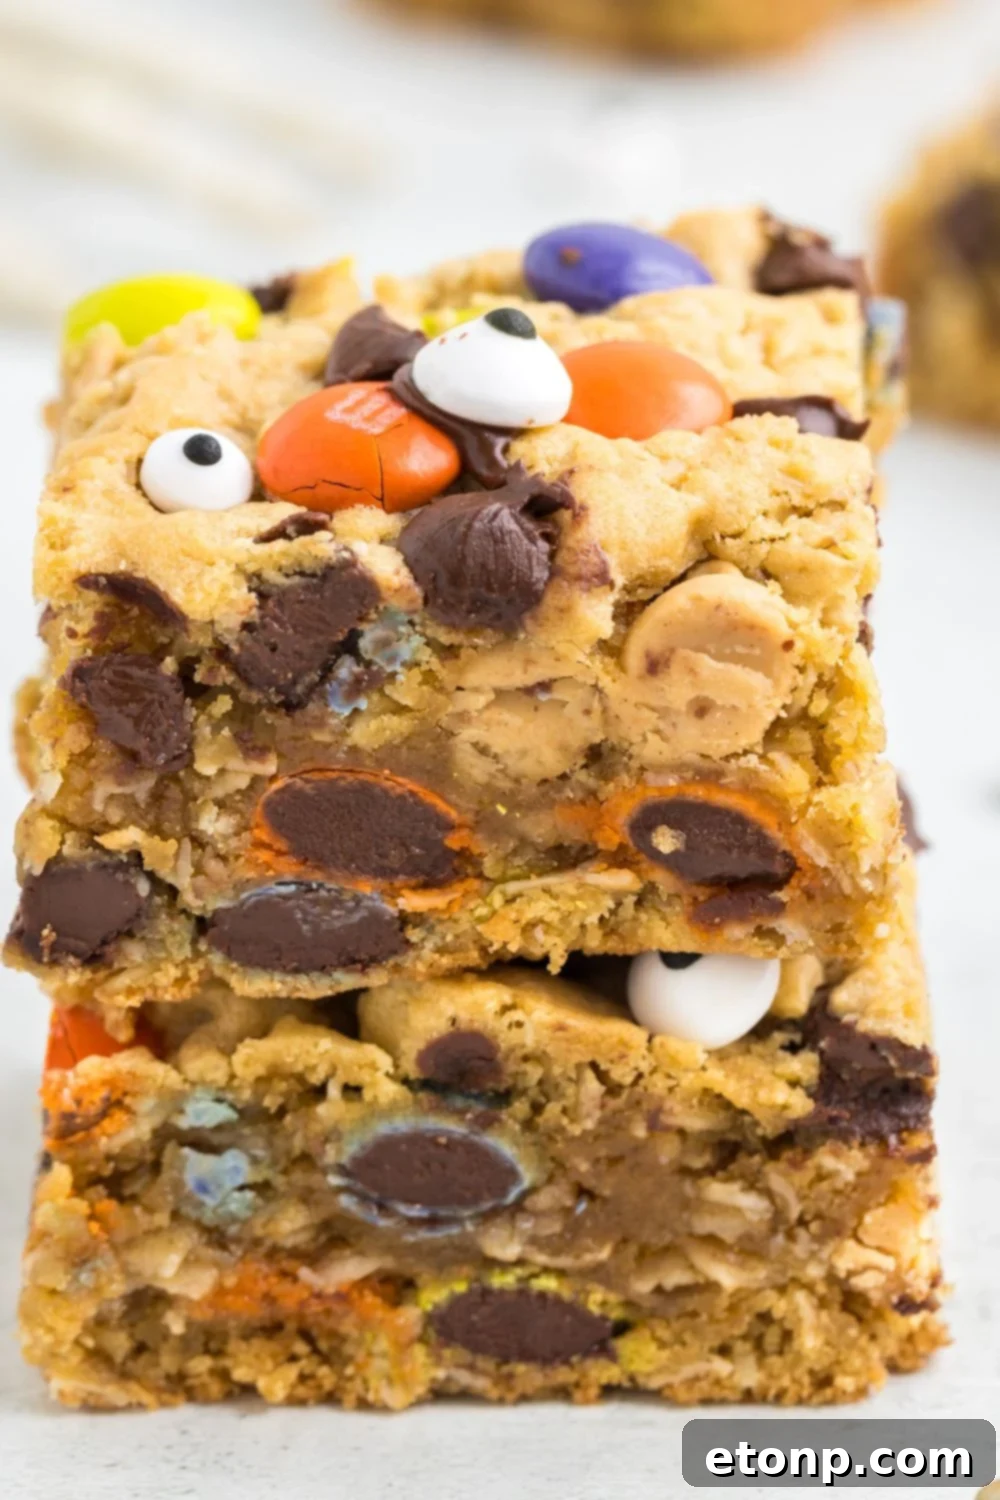
- **Irresistible Texture:** Experience a symphony of textures with every bite. The old-fashioned oats contribute a delightful chewiness, while the combination of sugars and butter creates a soft, yielding interior. The M&M’s and chocolate chips add a satisfying crunch and melt-in-your-mouth goodness, making for an enjoyable sensory experience.
- **Perfect for the Season:** With their vibrant Ghoul Mix M&M’s and optional candy eyes, these bars perfectly capture the fun and festive spirit of Halloween. They’re not just a dessert; they’re a celebration of the spooky season, making them a fantastic addition to any fall-themed event or October party.
- **Endlessly Versatile Decoration:** Unleash your creativity when decorating these cookie bars. While candy eyes are a must for that “monster” look, you can easily switch up the toppings with candy corn, other fall-themed candies, sprinkles, or even a drizzle of melted chocolate or icing to match your desired aesthetic.
- **Convenient Make-Ahead Option:** Planning a party? These bars can be prepared a day in advance without compromising their deliciousness or texture. This allows you to tackle your baking ahead of time, reducing stress on the day of your event and ensuring you have a fresh, ready-to-serve dessert whenever you need it.
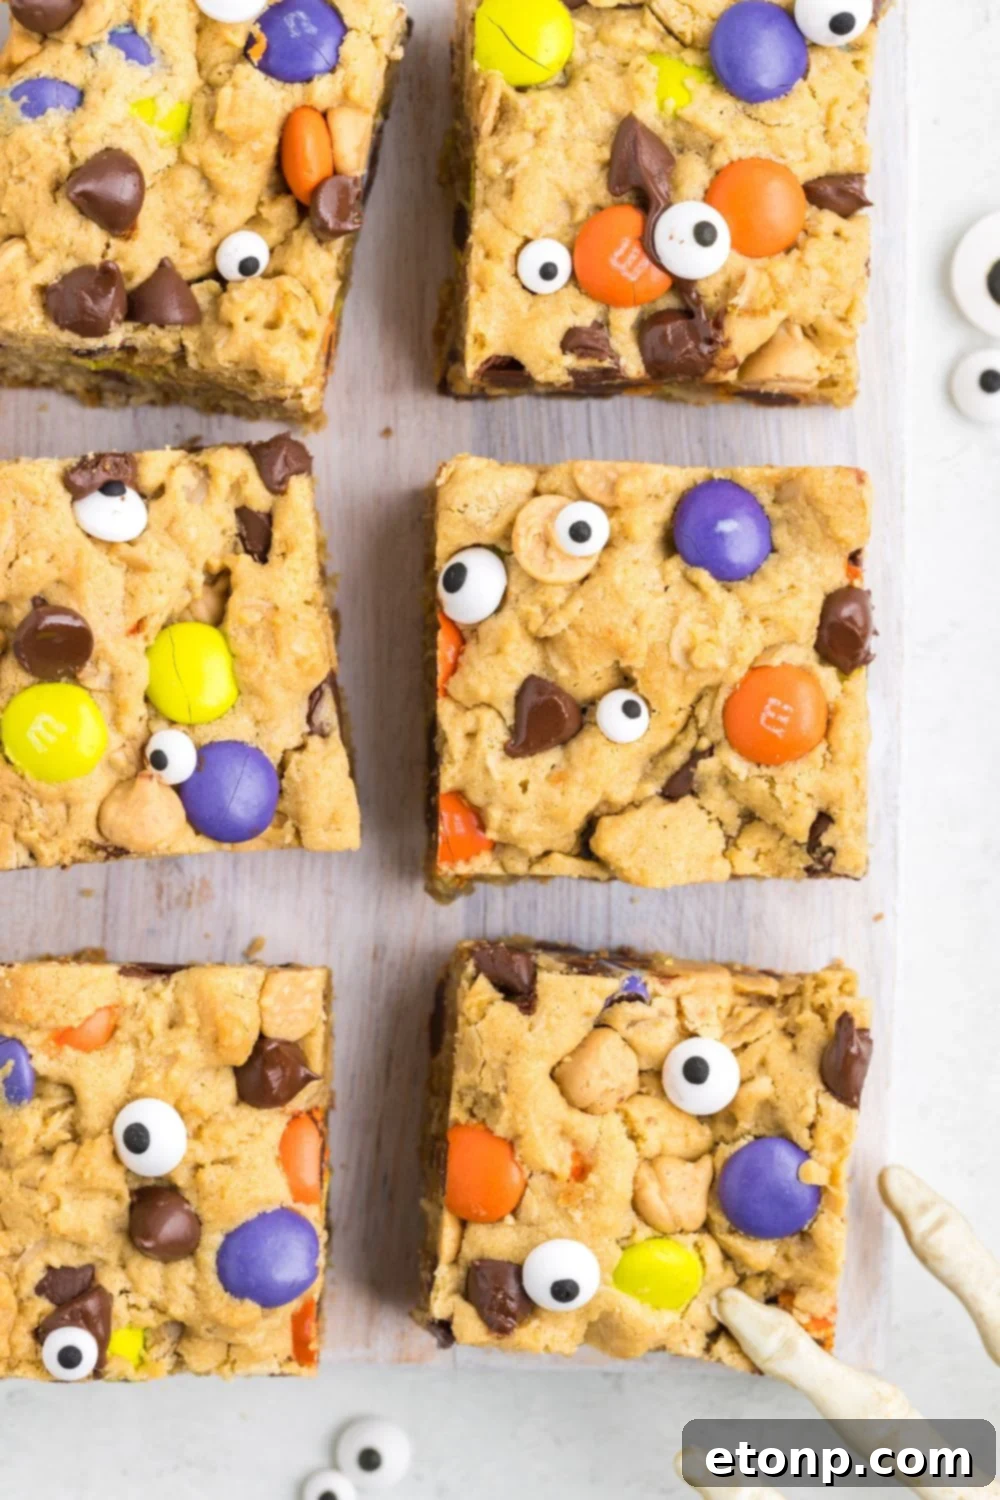
Giftable Halloween Treat
If you’re searching for a fun, thoughtful, and delicious homemade dessert to gift to co-workers, delight teachers at school parties, or share with appreciative neighbors, these Halloween Monster Cookie Bars are an absolute winner. Their festive appearance and irresistible taste make them a perfect present. For an charming presentation, simply place a few sliced bars in individually wrapped cellophane bags, tied with a festive ribbon, to create a delightful homemade Halloween gift package.
To elevate your gift even further, consider placing the wrapped cookie bars in a decorative coffee mug. You can then fill the mug with complementary goodies like packets of gourmet hot chocolate, a selection of specialty tea bags, or even single-serve coffee pods (K-cups). This transforms a simple dessert into a complete, cozy gift set, perfect for a crisp autumn evening. Imagine their delight upon receiving such a thoughtful and delicious Halloween treat!
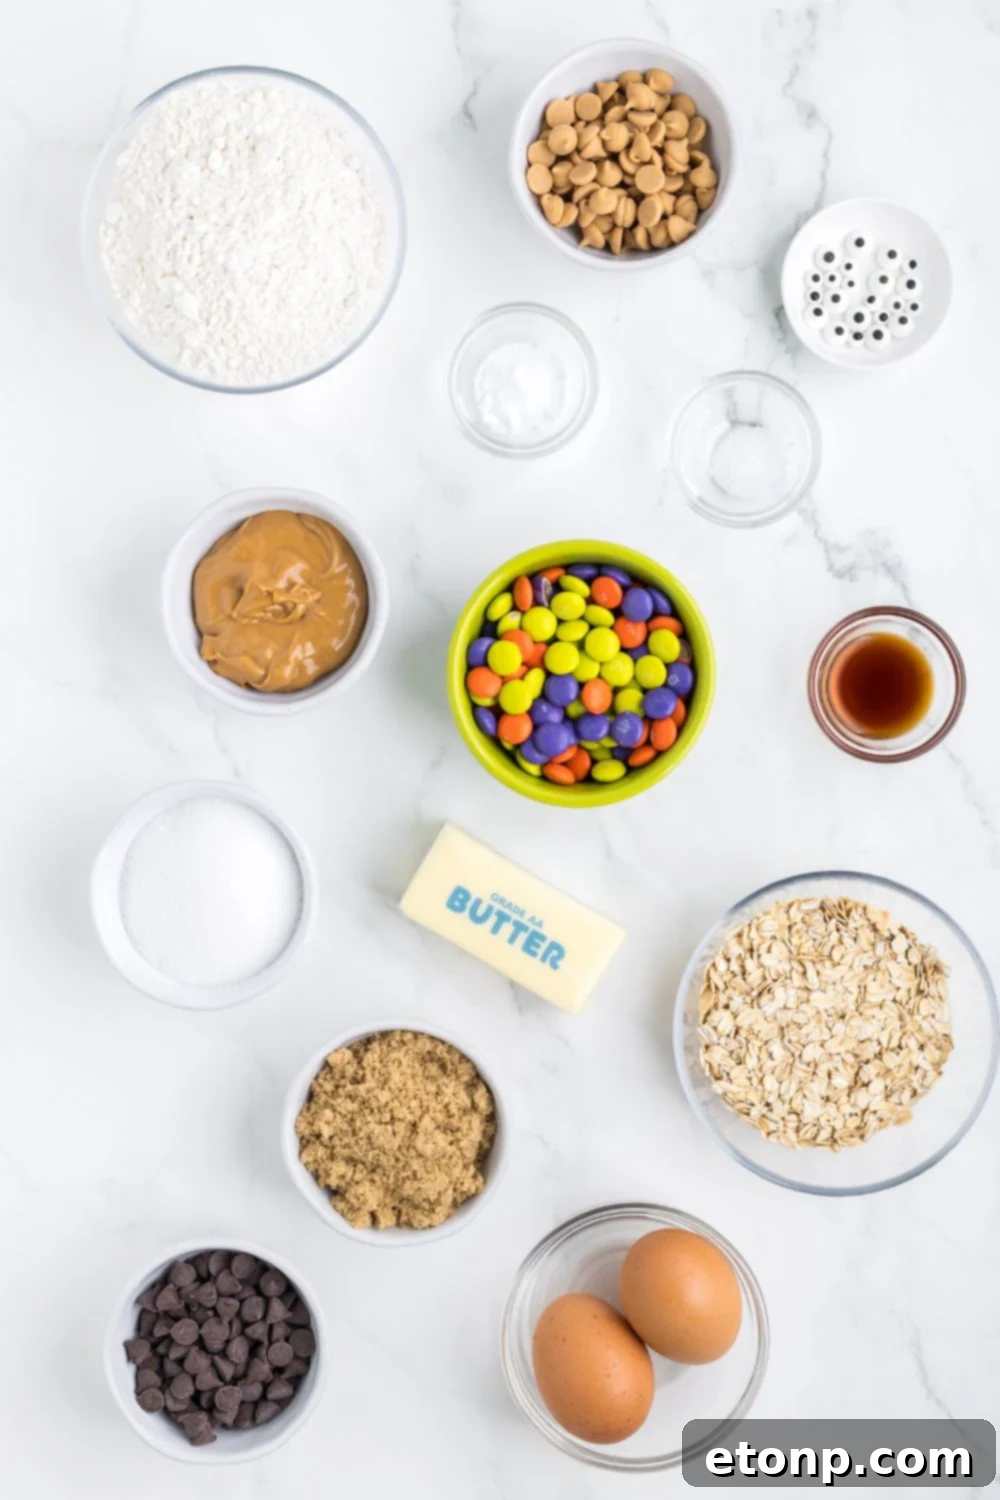
Essential Ingredients for Perfect Monster Cookie Bars
Crafting the perfect Halloween Monster Cookie Bar starts with high-quality ingredients. Here’s what you’ll need and why each component is crucial for achieving that irresistible flavor and texture:
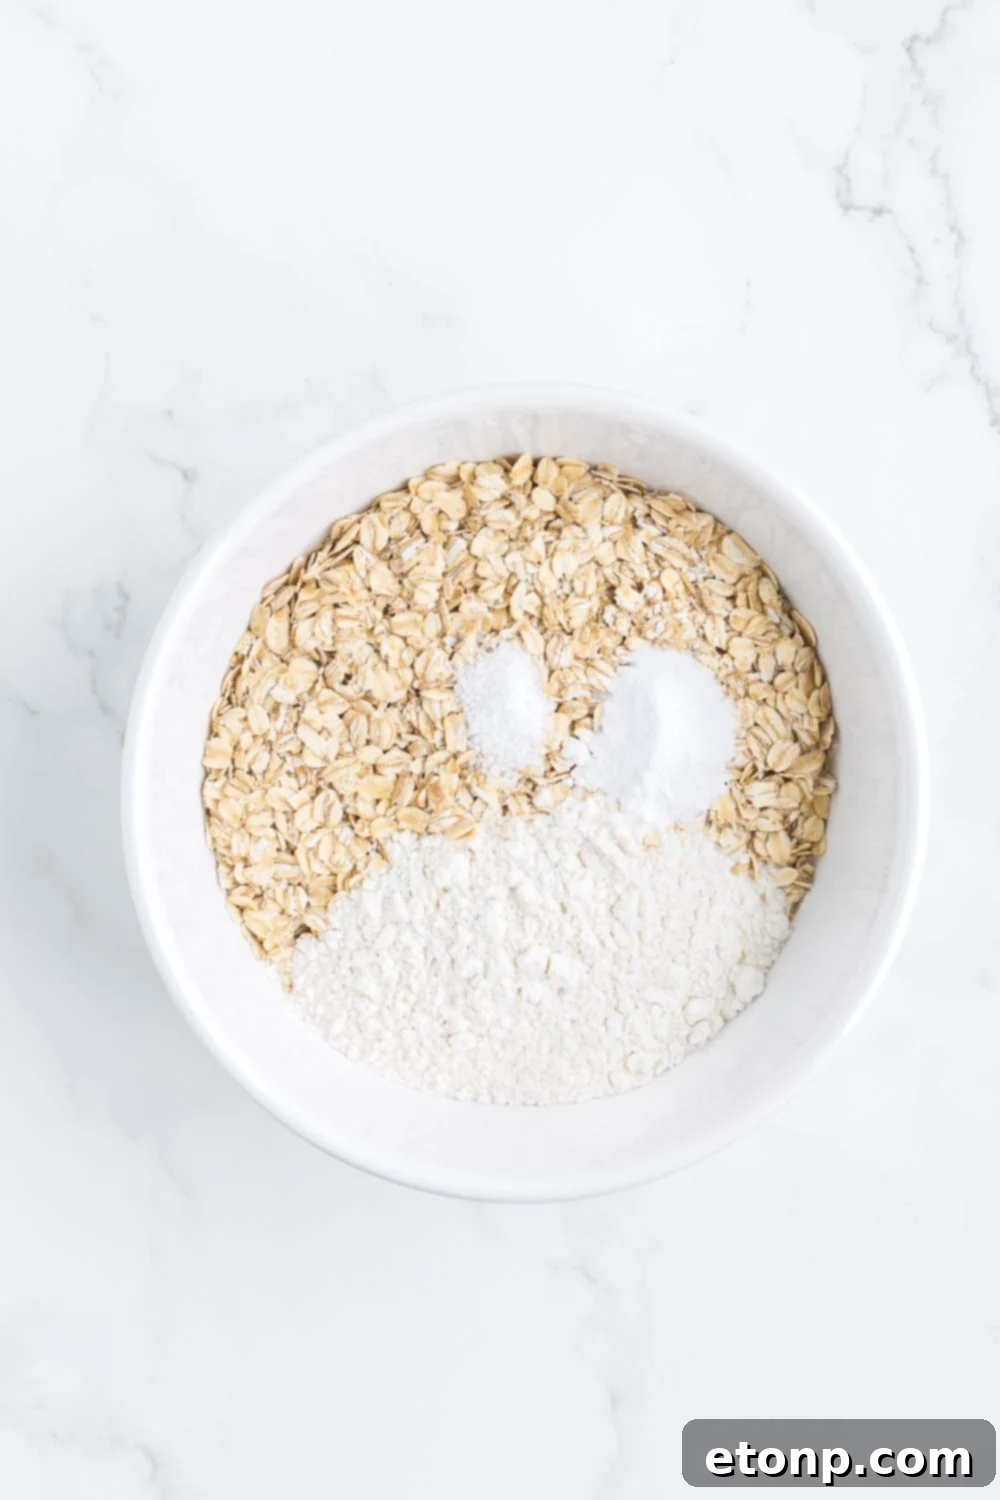
Flour: Use all-purpose flour. For precise measurements and best baking results, scoop the flour into the measuring cup using a spoon, then level it off with a straight edge rather than scooping directly from the bag. This prevents over-packing and ensures a tender bar.
Old-Fashioned Oats: These are key to the signature chewy texture of monster cookies. Their larger flakes hold up well during baking, providing a satisfying bite that quick oats cannot replicate. Quick oats can be used, but the bars will be less chewy.
Baking Soda: This leavening agent is essential for creating a soft, slightly risen, and perfectly chewy texture. It reacts with the acidic brown sugar to give the bars their wonderful crumb.
Salt: A non-negotiable in baking! Salt balances the sweetness of the sugars and chocolates, enhancing all the other flavors and preventing the bars from tasting bland or overly sugary.
Unsalted Butter: Ensure your butter is at room temperature for optimal creaming with the sugars. Using unsalted butter gives you control over the overall salt content of the recipe. If you opt for salted butter, be sure to omit the additional salt listed in the recipe.
Creamy Peanut Butter: The heart of a monster cookie! Creamy peanut butter provides a smooth, rich, and nutty flavor that is distinctly “monster” cookie. Feel free to use crunchy peanut butter if you prefer a bit more texture and a more pronounced peanut crunch.
Sugars: A combination of both granulated sugar and lightly packed brown sugar is used. Granulated sugar contributes to crisp edges and overall sweetness, while brown sugar adds moisture, depth of flavor, and chewiness, elevating the entire cookie bar experience.
Eggs: Use large eggs at room temperature. Room temperature eggs emulsify better with the fats (butter and peanut butter), leading to a smoother, more uniform batter and a finer texture in the final product.
Vanilla Extract: A generous splash of pure vanilla extract is crucial for enhancing all the sweet and nutty flavors in the cookie bars, adding a comforting aroma and taste complexity.
Ghoul Mix M&M’s: These festive M&M’s, often found during the Halloween season, are bright and colorful, perfectly capturing the holiday spirit. If unavailable, regular M&M’s or other themed candies will work just as well.
Peanut Butter Chips: These delightful chips add an extra burst of peanut butter flavor and a creamy texture that complements the overall profile of the bars. Look for them in the baking aisle.
Semi-Sweet Chocolate Chips: While semi-sweet chocolate chips provide a classic balance, you can easily swap them for milk chocolate for a sweeter profile or dark chocolate for a richer, more intense cocoa flavor. All variations work wonderfully in these bars.
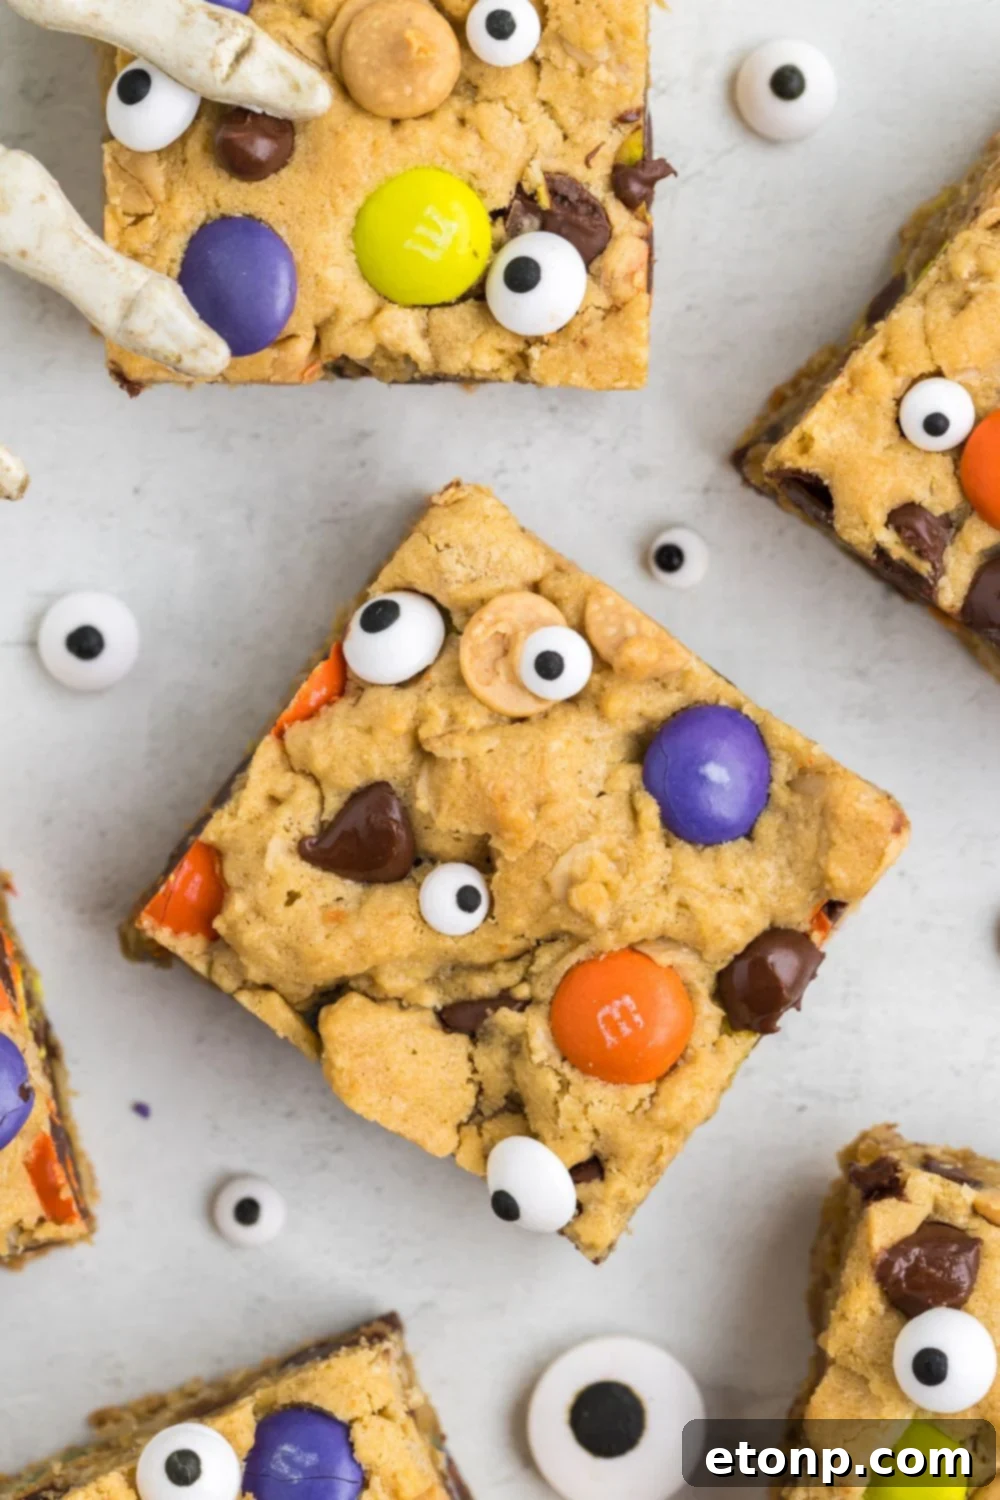
Candy Eyeballs: These small, edible decorations are found in the baking aisle and are essential for giving your cookie bars that iconic “monster” vibe. They’re a simple yet effective way to add a touch of playful spookiness that kids and adults adore.
Creative Variations to Your Monster Cookie Bar Recipe
While the classic Halloween Monster Cookie Bar recipe is fantastic as is, don’t hesitate to experiment with these delicious variations to customize your spooky treats:
- **Candy Bar Boost:** For an extra indulgent twist, mix in 1/2 to 1 cup of chopped candy bars or any leftover Halloween candy you might have. Think Snickers, Reese’s, or Kit Kats for added texture and flavor.
- **Chip Swaps:** Change up the chocolate chips! Substitute semi-sweet with white chocolate chips for a creamier, sweeter bar, or butterscotch chips for a distinct caramel-like flavor that pairs wonderfully with peanut butter.
- **Nut Butter Alternatives:** If peanut allergies are a concern, or you simply want to try something different, swap the peanut butter for almond butter, cashew butter, or even sunflower seed butter. The flavor profile will change, but the delicious chewiness will remain.
- **Texture Tweaks with Oats:** While old-fashioned oats offer the best chew, you can use quick oats if that’s all you have. Just be aware that the cookie bars will have a slightly less pronounced chewy texture.
- **Browned Butter Depth:** Elevate the flavor by using browned butter instead of regular butter. Browning the butter adds a rich, nutty, and complex depth to the cookie bars, making them even more irresistible.
- **Top with Crushed Goodies:** Before baking, sprinkle the top of the dough with crushed cookies (like Oreos or shortbread), more Halloween candy pieces, or even mini pretzels for a salty-sweet crunch.
- **Melted Candy Drizzle:** After the bars have cooled, drizzle them with melted candy melts in vibrant Halloween colors like orange, purple, or green for an eye-catching design and an extra layer of sweetness.
- **Autumnal Spice:** Infuse a taste of fall by adding 1/2 teaspoon of pumpkin spice seasoning to the dry ingredients. This will give your monster cookie bars a warm, cozy, and aromatic autumnal flavor.
- **Gooey Caramel Swirl:** For a decadent twist, swirl some salted caramel sauce over the top of the cookie dough before baking, or drizzle it generously over the cooled bars.
- **Coconut Lover’s Dream:** Add 1/3 cup of shredded coconut to the dough for an added chewy texture and a subtle tropical hint.
- **Nutty Crunch:** Incorporate 1/2 cup of chopped nuts, such as pecans or walnuts, for a satisfying crunch and earthy flavor. They blend beautifully with the other ingredients.
- **Fruity Sweetness:** Mix in 1/2 cup of dried raisins or cranberries for a sweet and slightly tart fruity twist that complements the richness of the peanut butter and chocolate.
Tips for Baking Success: Achieving Perfect Halloween Monster Cookie Bars
To ensure your Halloween Monster Cookie Bars turn out perfectly every time, keep these key baking tips in mind:
Cream Butter and Sugar Thoroughly
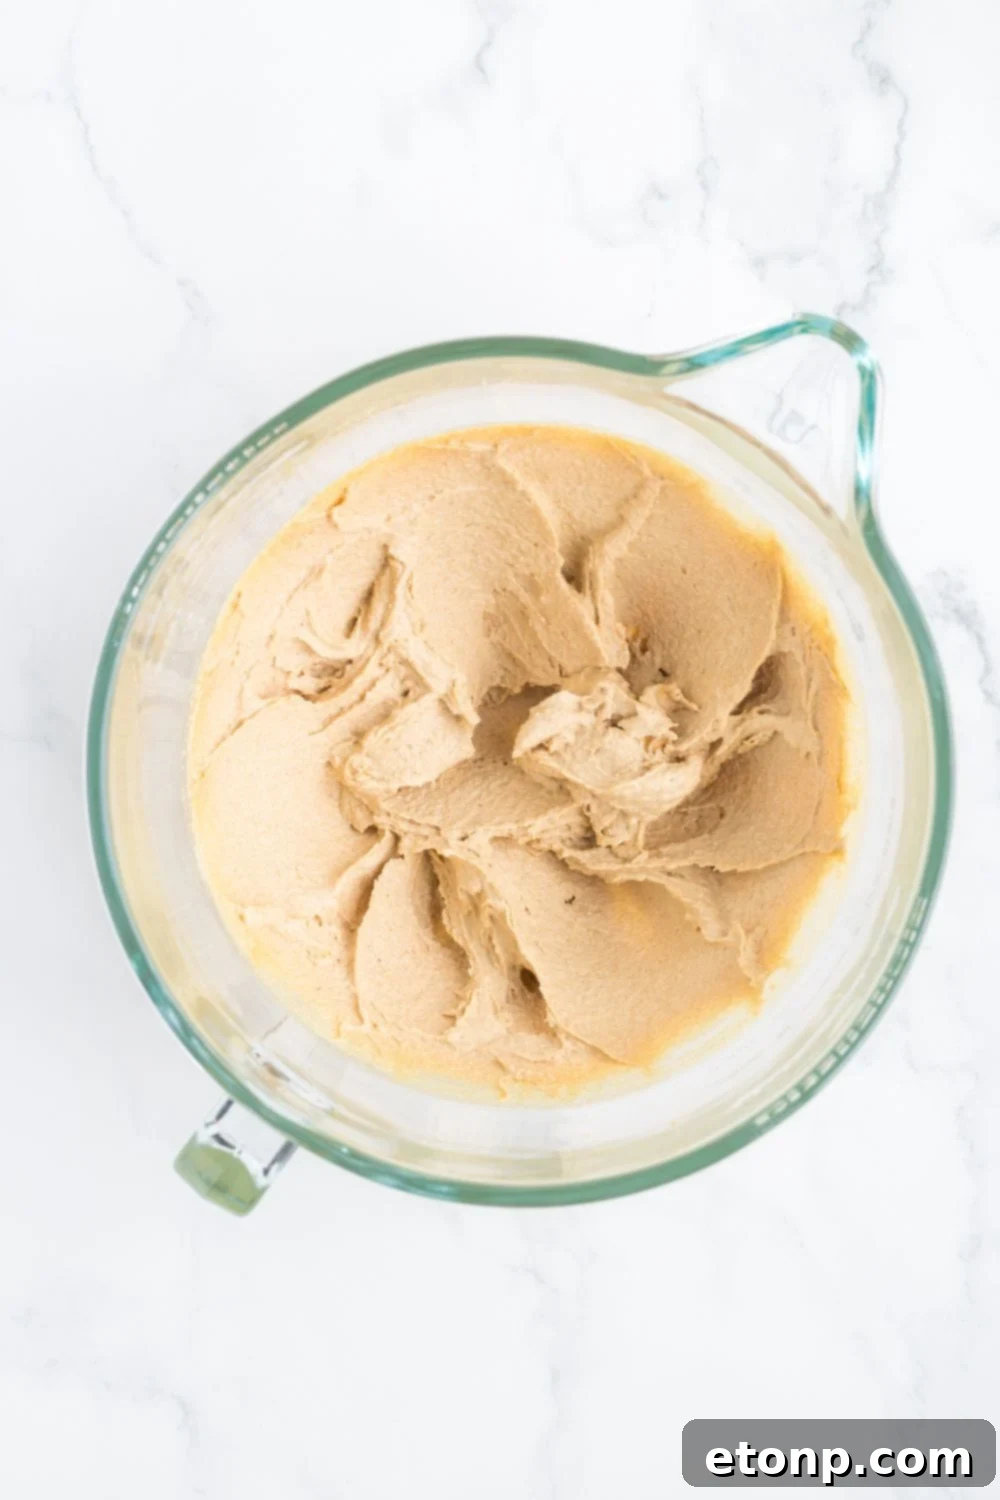
The step of creaming together the butter, peanut butter, and sugars for 2-3 minutes is absolutely vital. This process incorporates air into the mixture, resulting in a lighter, fluffier texture in your cookie bars. It also helps to fully dissolve the sugar crystals, contributing to a smoother, richer flavor and preventing a grainy texture. Don’t rush this step!
Gently Fold In The Candies
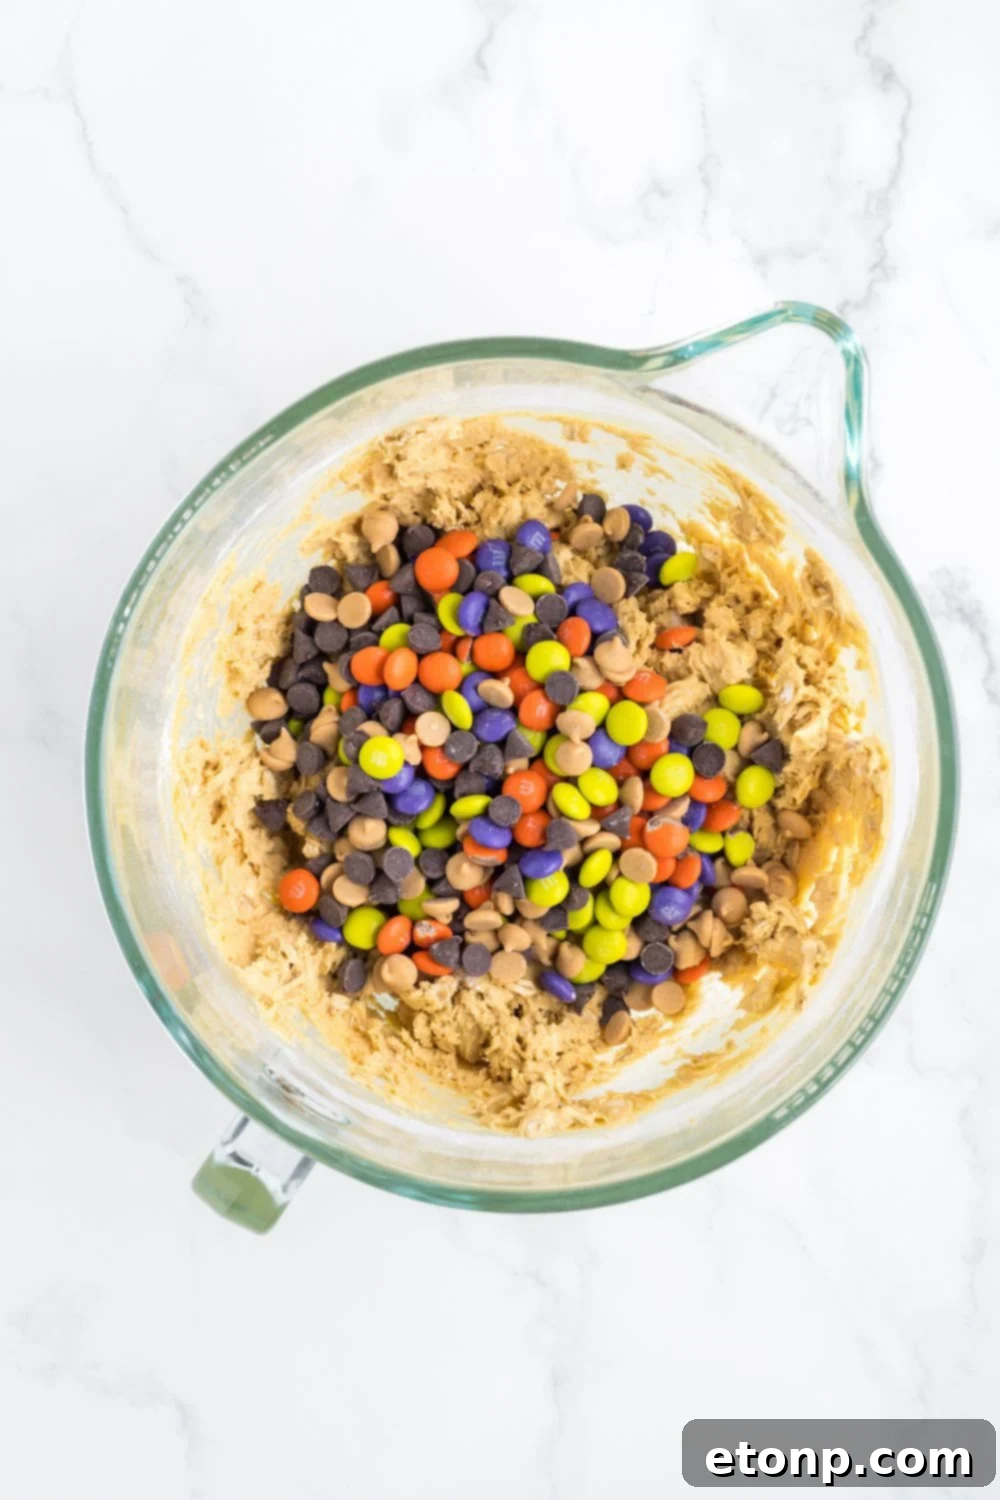
When adding your chocolate chips, peanut butter chips, and M&M’s, always fold them into the dough by hand using a spatula, rather than using a stand or hand mixer. Using a mixer can cause the candies to break apart or the M&M’s coating to bleed into the dough, which will detract from their vibrant color and overall aesthetic. Gentle folding preserves their integrity and ensures that gorgeous, colorful finished look.
Avoid Overbaking
Overbaking is the quickest way to end up with dry, crumbly cookie bars. Keep a close eye on your bars as they bake. The cooking time provided in the recipe is a guide; actual bake time can vary due to oven calibration, elevation, humidity, and the specific pan used. The bars are ready when the edges are set and a toothpick inserted into the center comes out with moist crumbs, not wet batter. They may seem slightly underdone in the center, but they will continue to set as they cool, ensuring a moist and chewy result.
Utilize Room Temperature Ingredients
For the best texture and consistency, ensure that your butter and eggs are at room temperature before you begin baking. Room temperature ingredients combine more easily and evenly, creating a smooth, homogenous batter. Cold ingredients can cause the batter to seize or curdle, resulting in a less uniform texture in the final cookie bars. Plan ahead and take them out of the refrigerator at least 30-60 minutes before you start.
Line Your Baking Pan
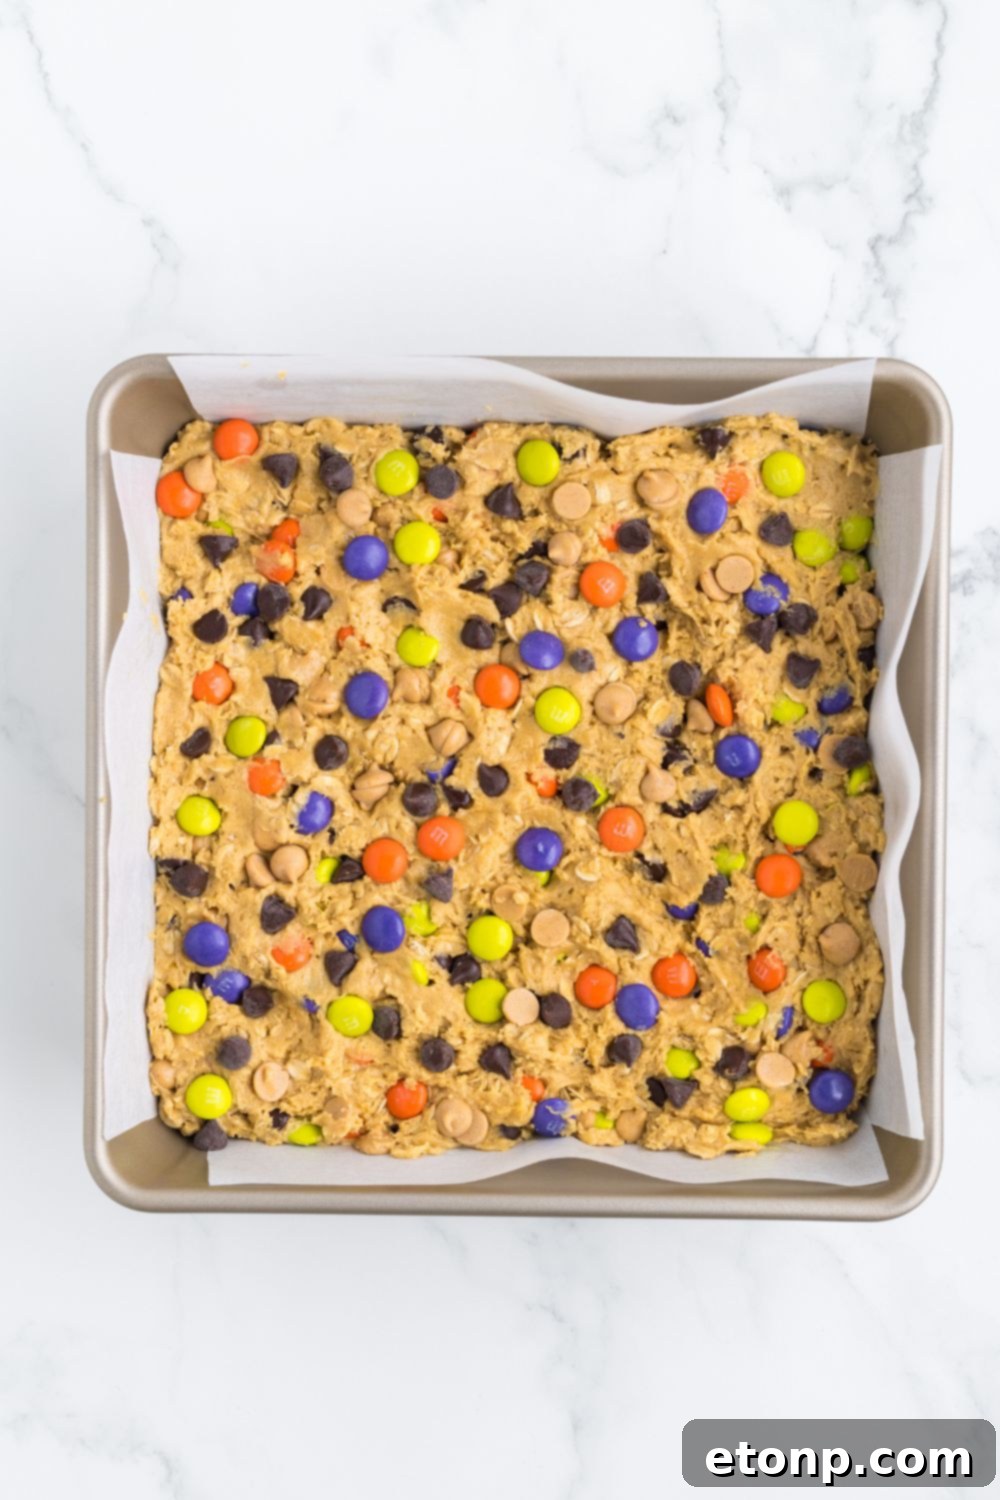
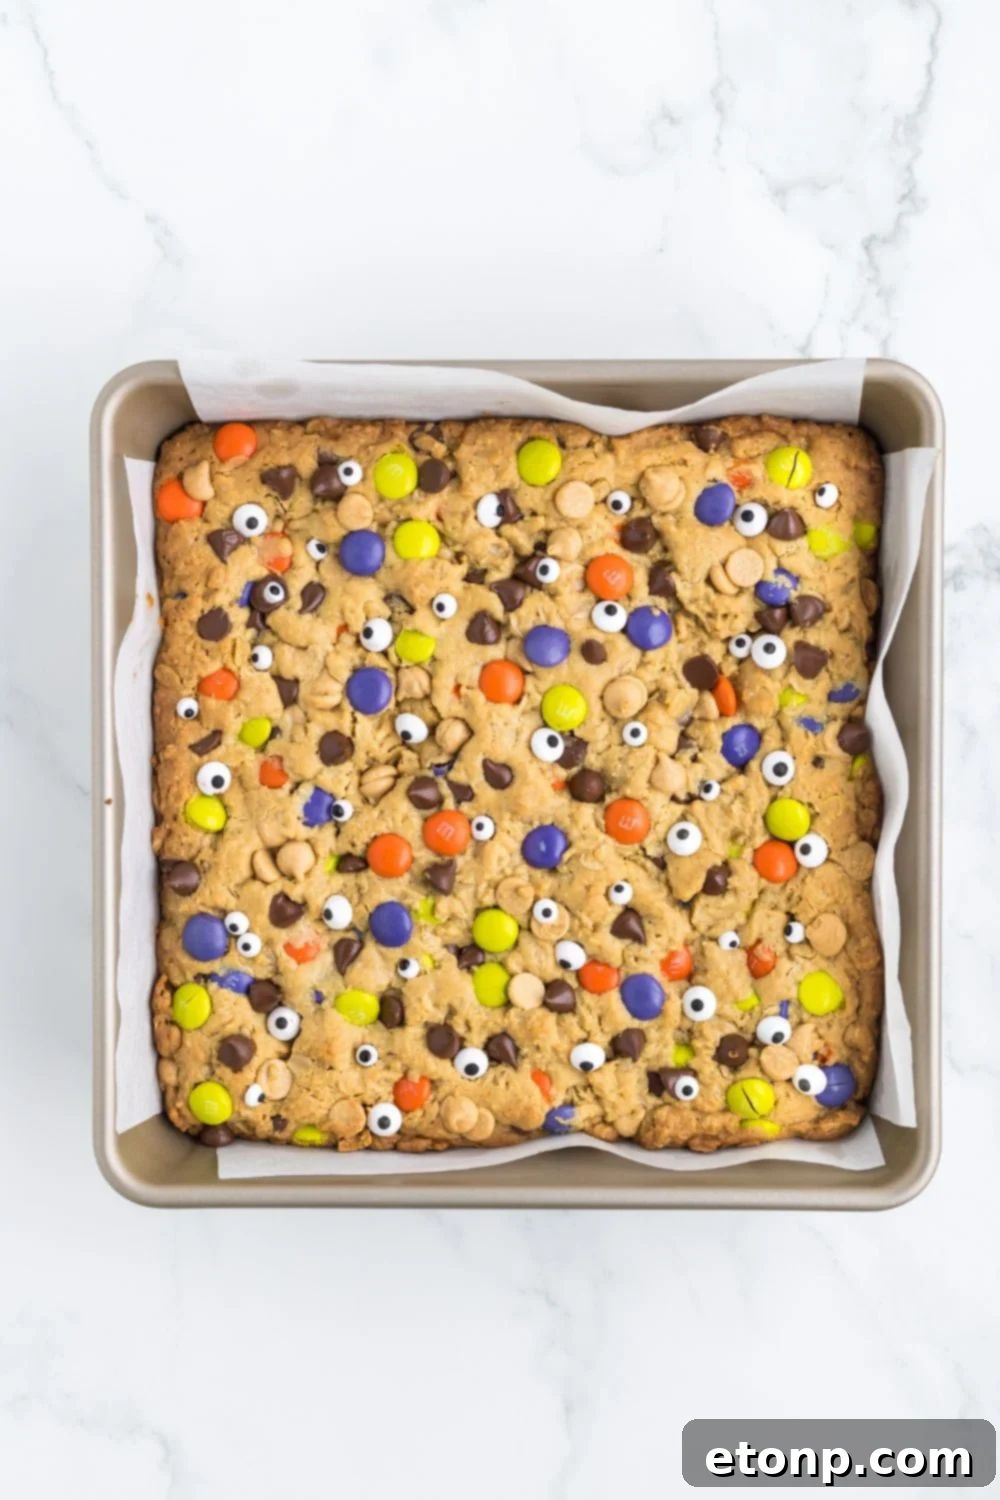
Lining your baking pan with parchment paper is a simple yet crucial step. It prevents the cookie bars from sticking to the pan and makes for incredibly easy removal. Leave a bit of an overhang on the sides, creating “handles” that you can use to lift the entire slab of cooled bars out of the pan effortlessly. This ensures your beautiful bars remain intact and unbroken.
Top with Extra Candies Before Baking
For a truly bakery-worthy presentation, generously scatter a handful of extra M&M’s, chocolate chips, and peanut butter chips over the top of the pressed cookie dough before it goes into the oven. Gently press them down slightly to ensure they adhere. This not only makes the bars look more appealing by showcasing the vibrant mix-ins, but also adds a delightful visual and textural element to each piece.
Achieve Clean Cuts
Patience is a virtue when it comes to slicing! For those perfectly neat, clean-edged squares, allow the cookie bars to cool completely in the pan before attempting to cut them. Slicing warm bars will result in crumbles and a messy appearance, as the ingredients are still soft and prone to breaking apart. Once cooled, use a sharp knife and make even, firm strokes for beautifully smooth and defined cuts.
Storing Your Halloween Monster Cookie Bars
Proper storage is key to keeping your delicious monster cookie bars fresh and enjoyable for longer:
Room Temperature: Once completely cooled, store your Halloween Monster Cookie Bars in a sealed, airtight container at room temperature. They will remain fresh and chewy for approximately 4-5 days. While they are still delicious, they may start to become a bit drier after the third day. To revitalize them and restore some of their chewiness, simply place an individual bar in the microwave and heat for about 10-15 seconds until slightly warm and softened. Remove and savor the refreshed flavor.
Freezing: These cookie bars freeze beautifully, making them an excellent make-ahead option or for portioning out leftovers. Place the cooled bars in a freezer-safe bag or an airtight container, ensuring they are separated by parchment paper if stacking to prevent sticking. They can be frozen for 2-3 months without significant loss of quality. When you’re ready to enjoy, simply thaw the bars on the kitchen counter at room temperature for a few hours, then indulge in your spooky treat!
Frequently Asked Questions (FAQs) About Halloween Monster Cookie Bars
Can I use store-bought cookie dough for Monster Cookie Bars?
Yes, you certainly can use store-bought cookie dough as a convenient base for your Monster Cookie Bars! For the best results, I’d recommend starting with a chocolate chip cookie dough. Then, you can customize it by mixing in some old-fashioned oats, peanut butter chips, and festive M&M’s. Keep in mind that while this is a quick shortcut, the texture and flavor will differ slightly from a fully homemade dough, often resulting in a denser bar.
How do I prevent the bars from becoming too soft or crumbly?
To prevent your cookie bars from being too soft or crumbly, it’s crucial to ensure they are fully baked. Often, bars that fall apart or are overly soft haven’t had enough time in the oven. Look for set edges and a top that is golden brown. A toothpick inserted into the center should come out with moist crumbs, not wet batter. Additionally, make sure you’re using the correct ingredient ratios and mixing the batter thoroughly but without overmixing once the flour is added.
Can I use gluten-free flour for Monster Cookie Bars?
Absolutely! You can confidently use a 1:1 gluten-free all-purpose flour blend to make gluten-free Monster Cookie Bars. Most commercially available 1:1 blends are designed to substitute regular flour directly. However, depending on the specific brand and composition of the gluten-free flour, you might need to make slight adjustments to the liquid content or baking time. Always follow the manufacturer’s recommendations for substitutions.
Can I add a frosting to the bars?
Adding frosting is a fantastic idea to enhance your Monster Cookie Bars! You can easily use a canned frosting for convenience or whip up a batch of homemade buttercream or cream cheese frosting for an extra special touch. Once the bars are completely cooled, spread your chosen frosting evenly over the top. Then, let your creativity shine by decorating the frosted surface with colorful sprinkles, more candy eyes, and extra M&M’s for a truly festive and decadent dessert.
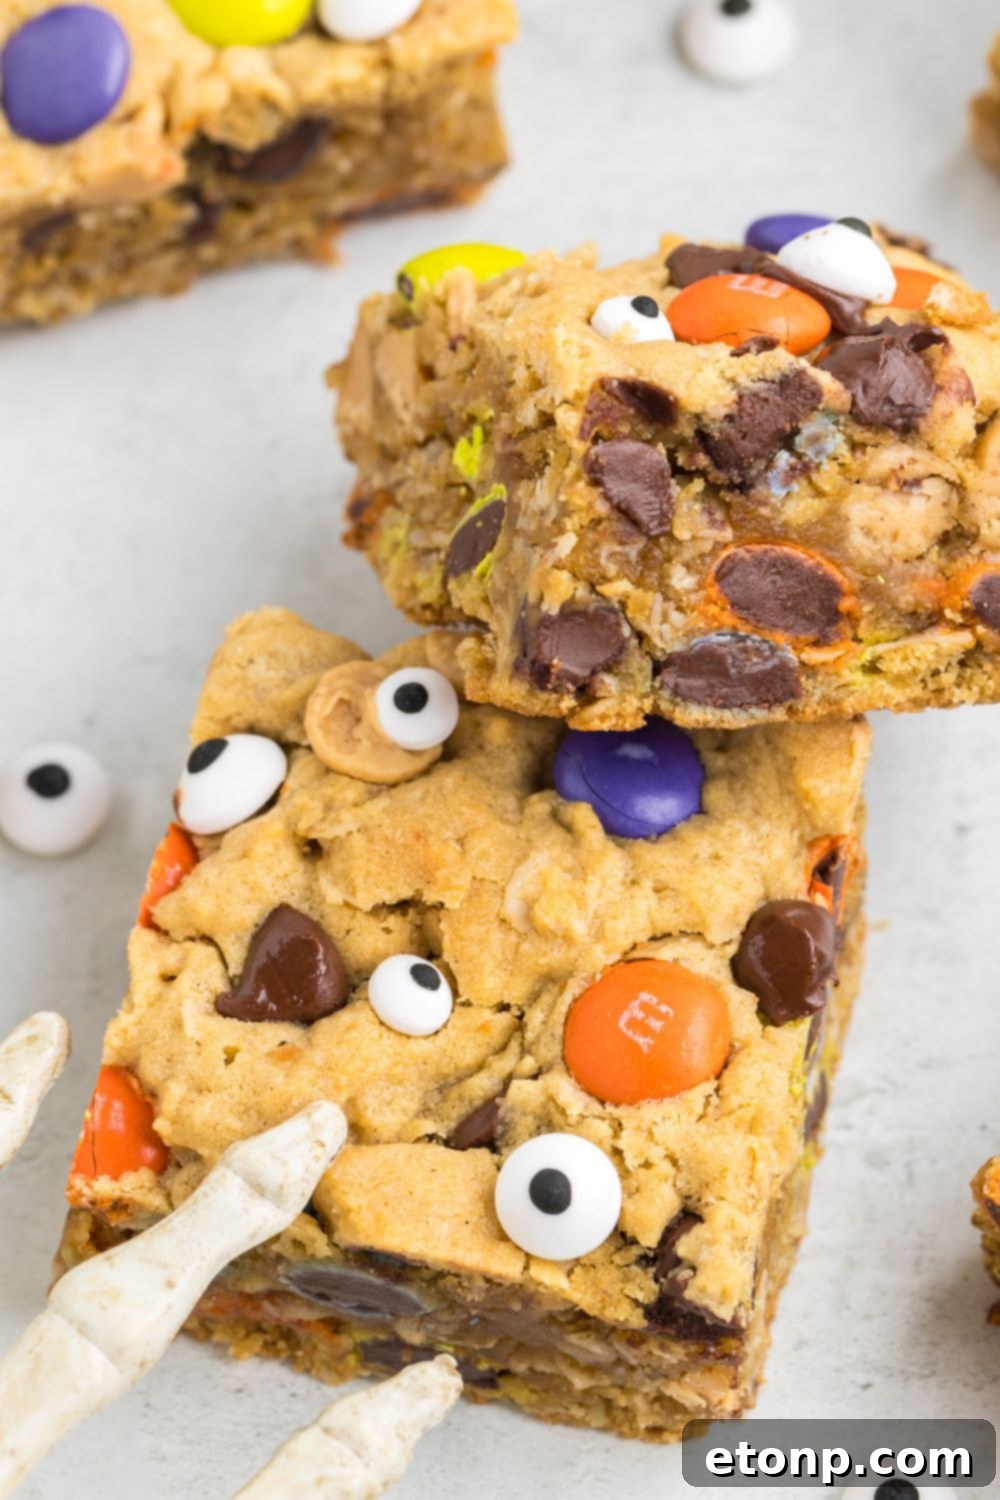
They’re quick and easy to make, delivering a delightful blend of chewy texture, rich peanut butter, and sweet chocolate, all adorned with fun, spooky flair. These Halloween Monster Cookie Bars are truly the perfect way to celebrate the spookiest time of the year. So, let’s get baking and create some magic! With this recipe, you’ll have creepy, colorful, and utterly delicious Halloween Monster Cookie Bars ready to satisfy everyone’s sweet tooth during the spooky season. Serve these up at a Halloween party, share them with appreciative friends and family, or enjoy them all by yourself – we promise not to tell!
More Delicious Desserts for Your Spooky Season
- Pumpkin Roll with Cream Cheese Frosting
- Festive Halloween Sugar Cookies
- Delightful Pumpkin Patch Cupcakes
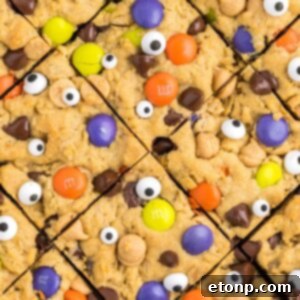
Halloween Monster Cookie Bars
Course: Dessert
Prep Time: 10 mins
Cook Time: 22 mins
Total Time: 32 mins
Servings: 16 servings
Halloween Monster Cookie Bars are a homemade monster cookie bar recipe. Made with chocolate chips, peanut butter, oats, M&M candies and more. A sliceable thick and chewy cookie bar with a Halloween theme.
Pin Recipe
Share Recipe
Ingredients
- 2 cups all-purpose flour (250 grams)
- 1 ½ cups old-fashioned oats (120 grams)
- 1 teaspoon baking soda
- ¼ teaspoon salt
- ½ cup unsalted butter, room temperature (113 grams)
- ½ cup creamy peanut butter (128 grams)
- ½ cup granulated sugar (100 grams)
- ½ cup brown sugar, lightly packed (100 grams)
- 2 large eggs, room temperature
- 2 teaspoons vanilla extract
- 1 cup Ghoul mix M&M’s, divided (165 grams)
- ½ cup semi-sweet chocolate chips, divided (85 grams)
- ½ cup peanut butter chips, divided (120 grams)
- Candy eyeballs to decorate (optional)
Instructions
- Preheat the oven to 350 degrees F (175°C). Line the bottom and sides of a 9×9 inch baking pan with parchment paper, leaving an overhang on two sides for easy removal, and set aside.
- In a medium bowl, whisk together the all-purpose flour, old-fashioned oats, baking soda, and salt. Set this dry mixture aside.
- In a large bowl, using a hand mixer or a stand mixer fitted with the paddle attachment, beat the softened butter, creamy peanut butter, granulated sugar, and brown sugar until the mixture is light and fluffy, usually 2-3 minutes.
- Scrape down the sides of the bowl with a spatula, then beat in the room temperature eggs one at a time, followed by the vanilla extract, until everything is well combined and smooth.
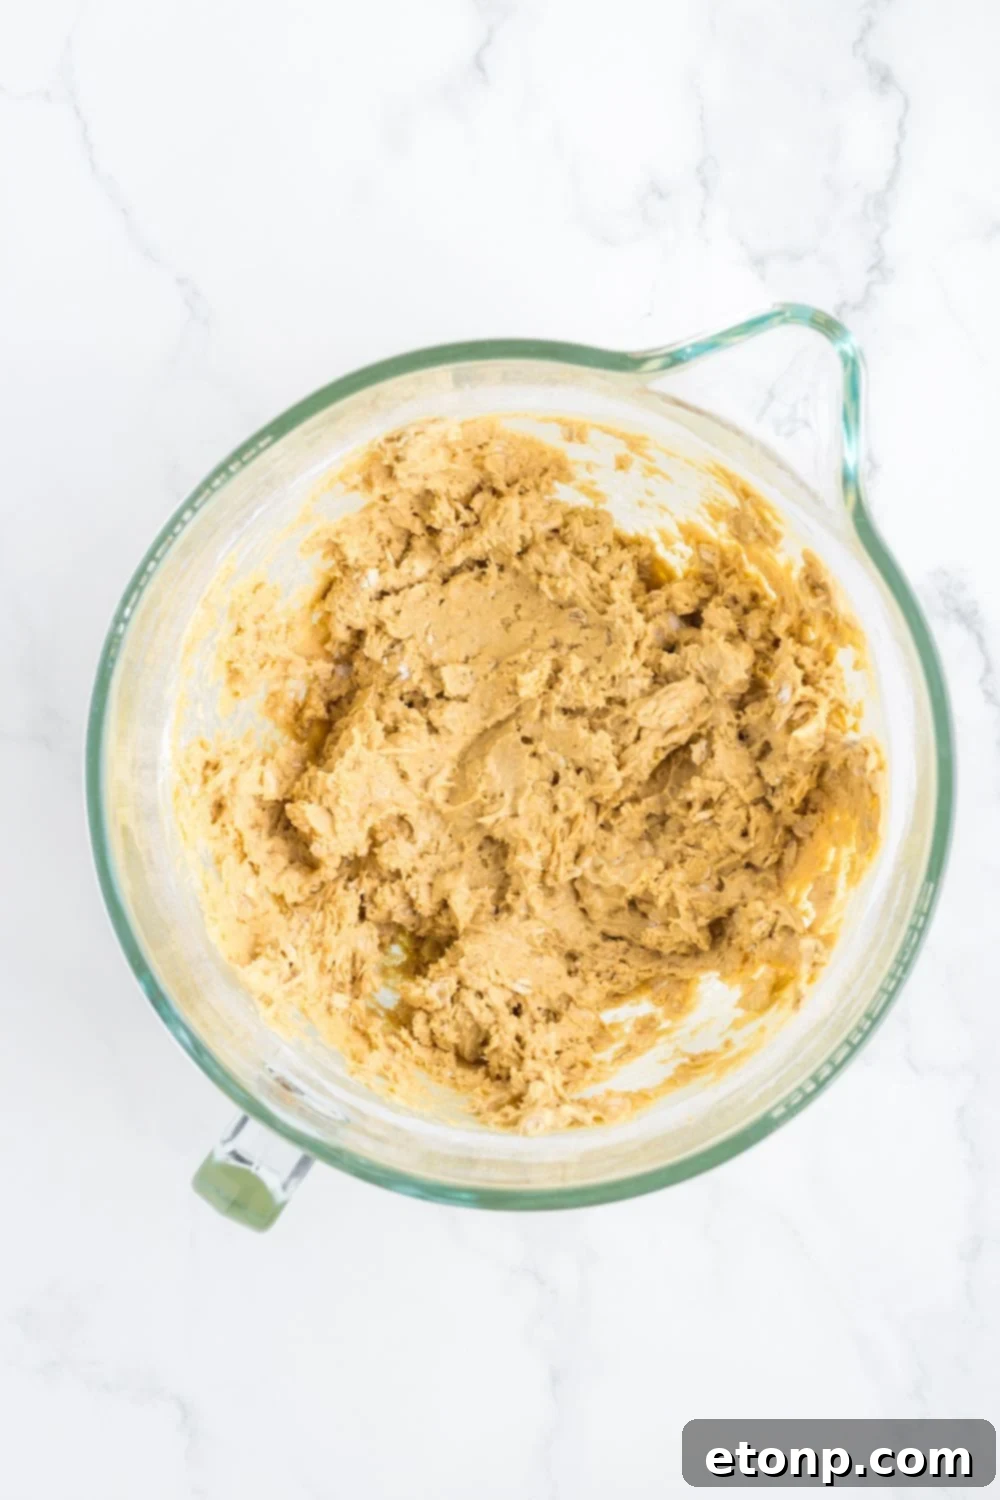
- Scrape the bowl again, then gradually add the reserved flour and oat mixture to the wet ingredients. Mix on low speed until just combined. Be careful not to overmix, as this can lead to tough cookie bars.
- Set aside ¼ cup of the Ghoul mix M&M’s and two tablespoons each of the semi-sweet chocolate chips and peanut butter chips. Gently fold the remaining M&M’s, chocolate chips, and peanut butter chips into the cookie dough by hand using a spatula.
- Transfer the cookie dough into the prepared 9×9 inch baking pan. Gently press the dough into an even layer, smoothing the top with a rubber spatula or the back of a spoon to ensure uniform thickness.
- Evenly scatter the reserved M&M’s, chocolate chips, and peanut butter chips over the top of the cookie dough in the pan. Gently press them down lightly into the dough to secure them.
- Bake for 22-28 minutes, or until the edges of the cookie bars are golden brown and set, and a toothpick inserted into the center comes out with moist crumbs attached (not wet batter). The center may look slightly soft but will firm up as it cools.
- Immediately after removing the pan from the oven, while the bars are still warm, gently press the candy eyeballs into the top of the cookie bars to create their “monster” look. Allow the cookie bars to cool completely in the pan on a wire rack before attempting to remove and cut them into squares. This ensures clean cuts and prevents crumbling.
Did you make this recipe?
Make sure to follow on Pinterest for more recipes!
Pin Recipe
Share on Facebook