
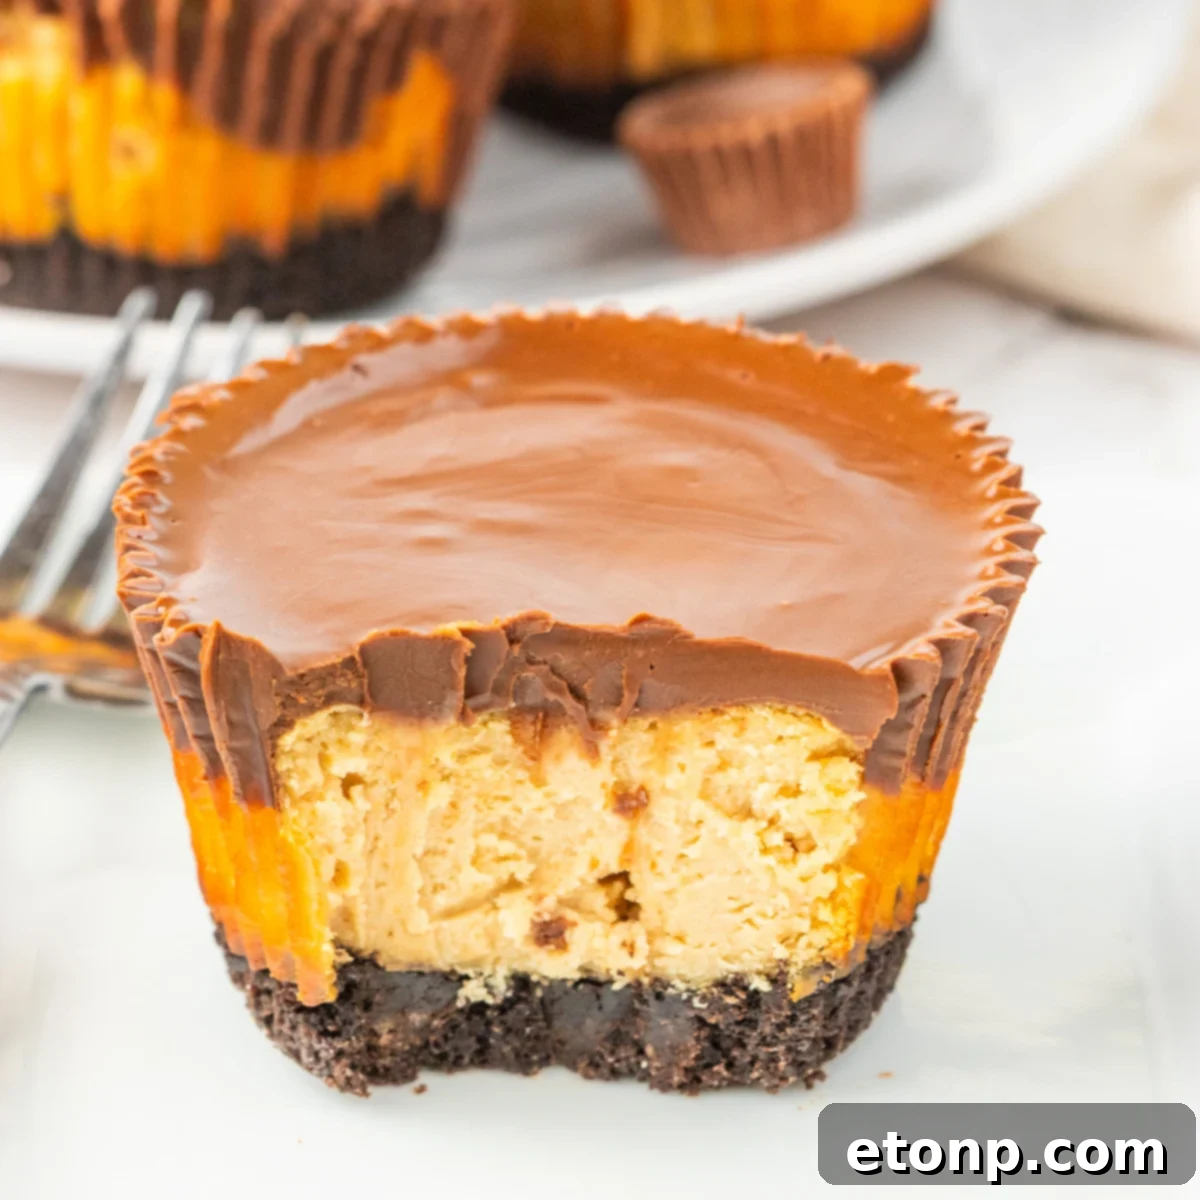
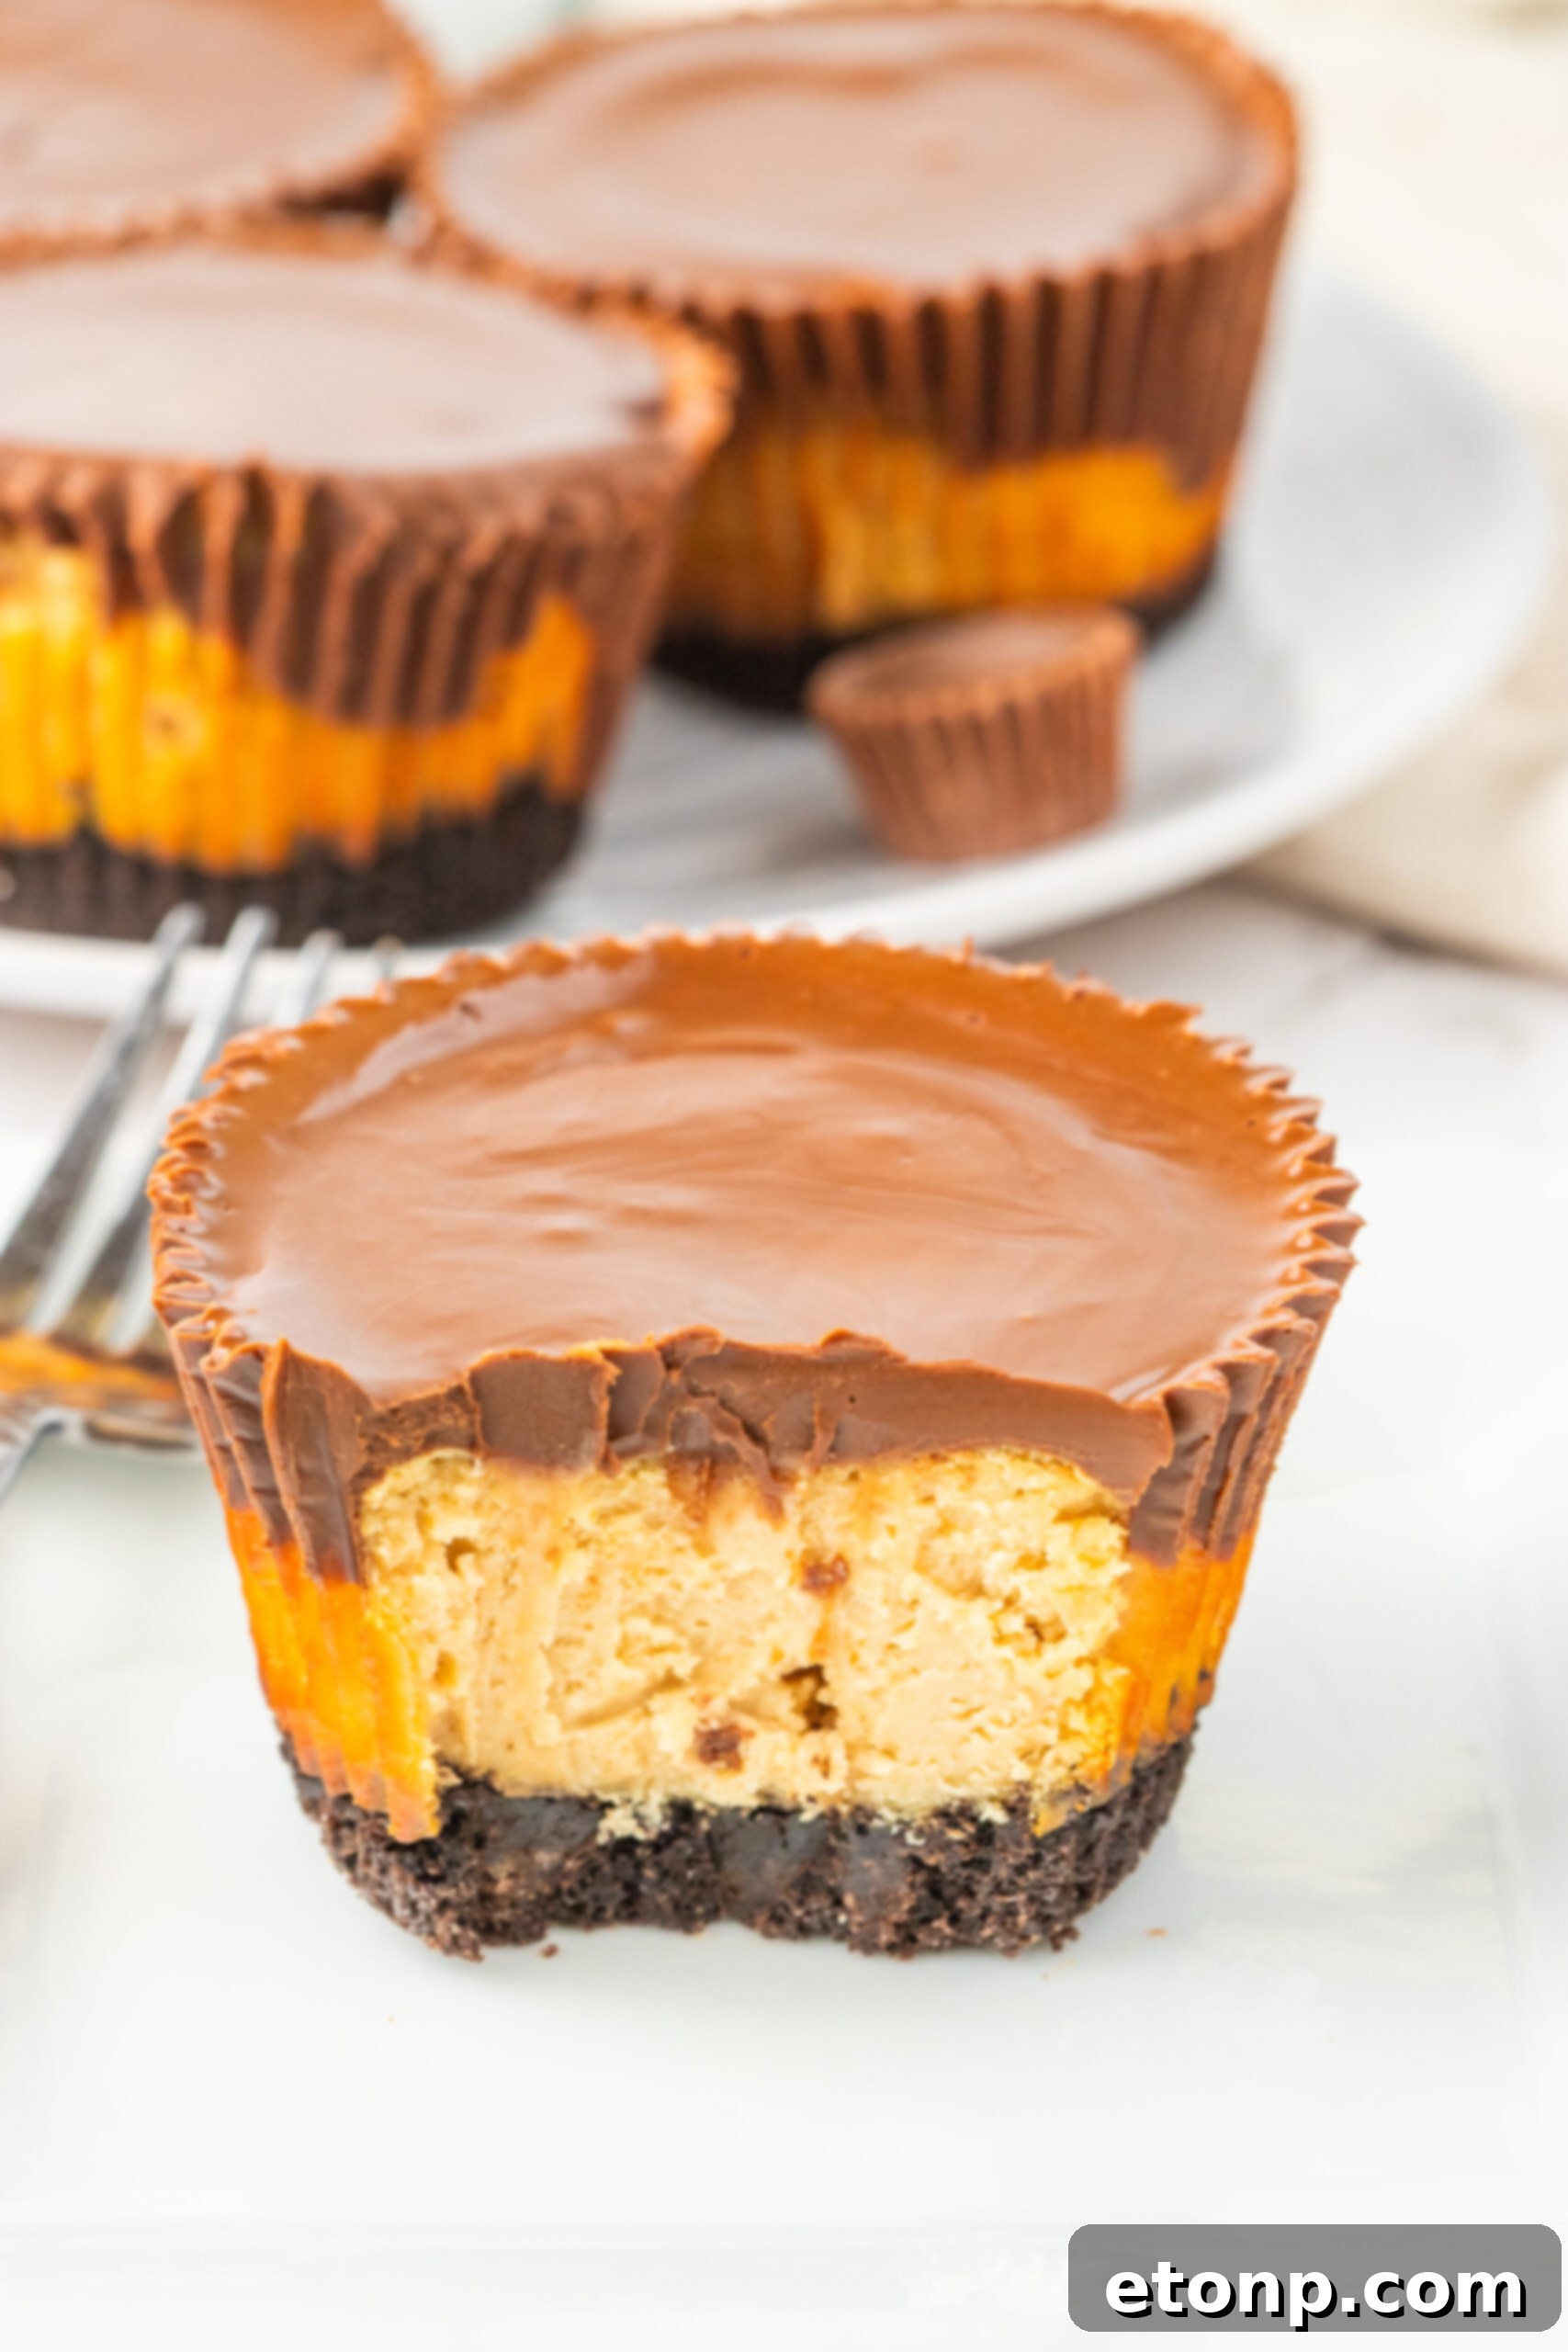
Prepare to tantalize your taste buds with these irresistible Peanut Butter Cheesecake Bites – a dream come true for any ardent lover of the classic chocolate and peanut butter combination! Imagine a perfectly crunchy Oreo cookie crust, giving way to a rich, velvety smooth peanut butter cheesecake filling, all crowned with a luscious, creamy chocolate and peanut butter topping that sets like a delicate shell. These bite-sized marvels aren’t just desserts; they’re miniature explosions of flavor and texture designed to delight with every single mouthful. Each component is meticulously crafted to deliver an unparalleled experience, making these cheesecake bites an absolute must-bake for your next gathering or simply to satisfy that undeniable sweet craving.
For those who find themselves captivated by the magic of peanut butter desserts, this recipe for Peanut Butter Cheesecake Bites is nothing short of a culinary revelation. If you adore the nutty, creamy goodness of peanut butter as much as we do, you’ll definitely want to explore some of our other cherished recipes. Our Peanut Butter Cup Layered Dessert is always a hit at parties, offering layers of peanut butter and chocolate decadence. For a more traditional yet equally delightful treat, try our stunning Layered Peanut Butter Cake, or indulge in the classic simplicity of our Peanut Butter Bars. Each recipe celebrates the versatility and comforting flavor of peanut butter, ensuring there’s a perfect treat for every occasion.
What Are Peanut Butter Cheesecake Bites?
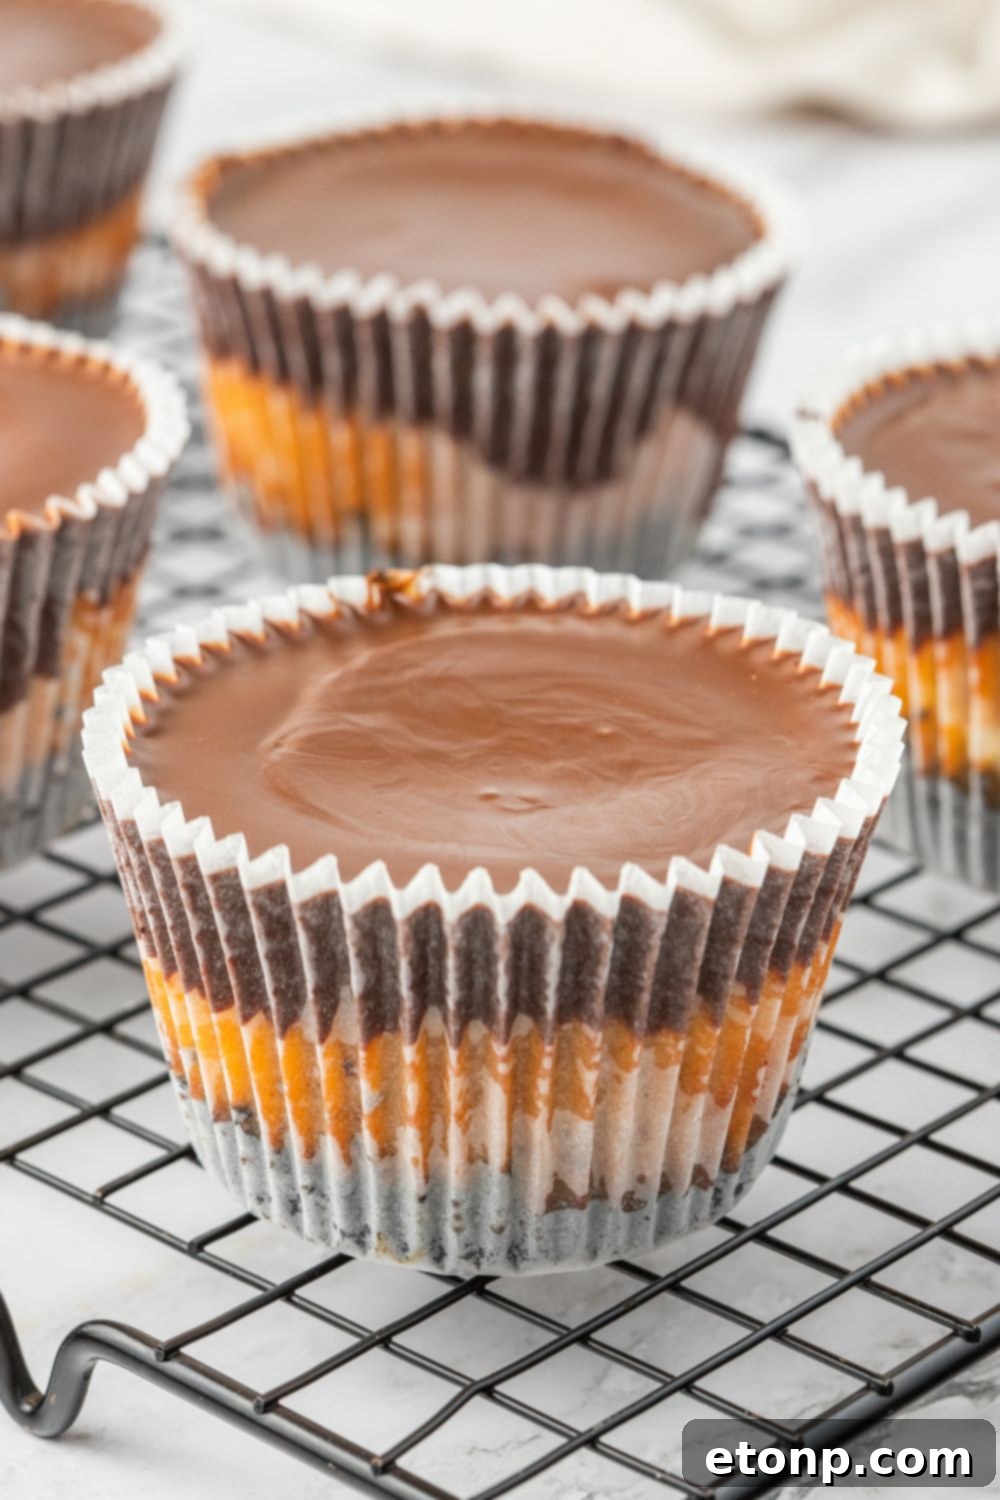
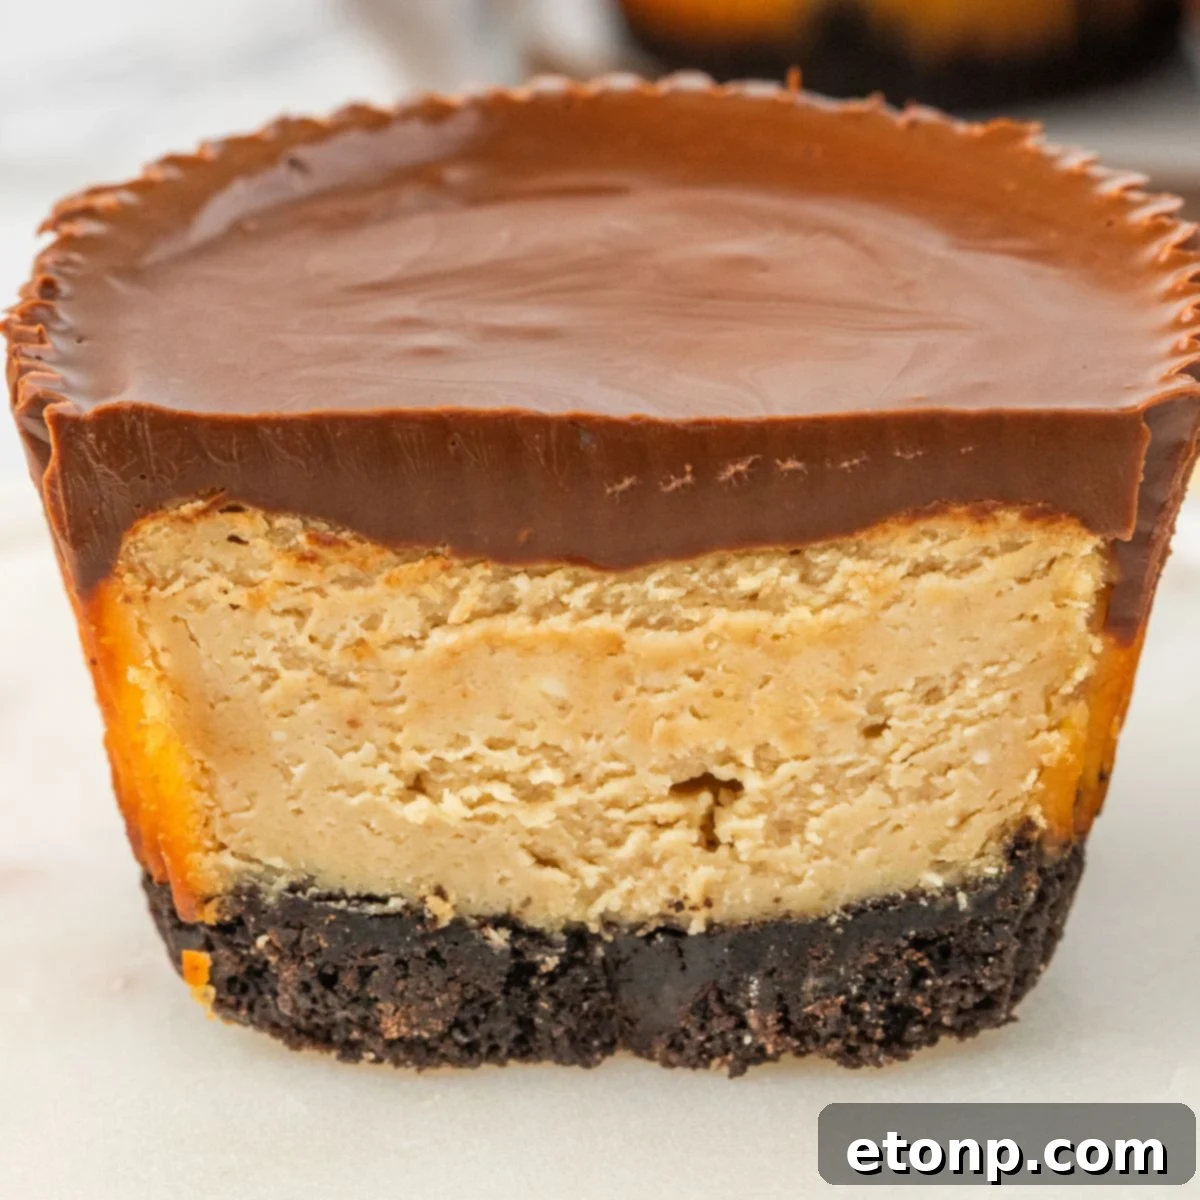
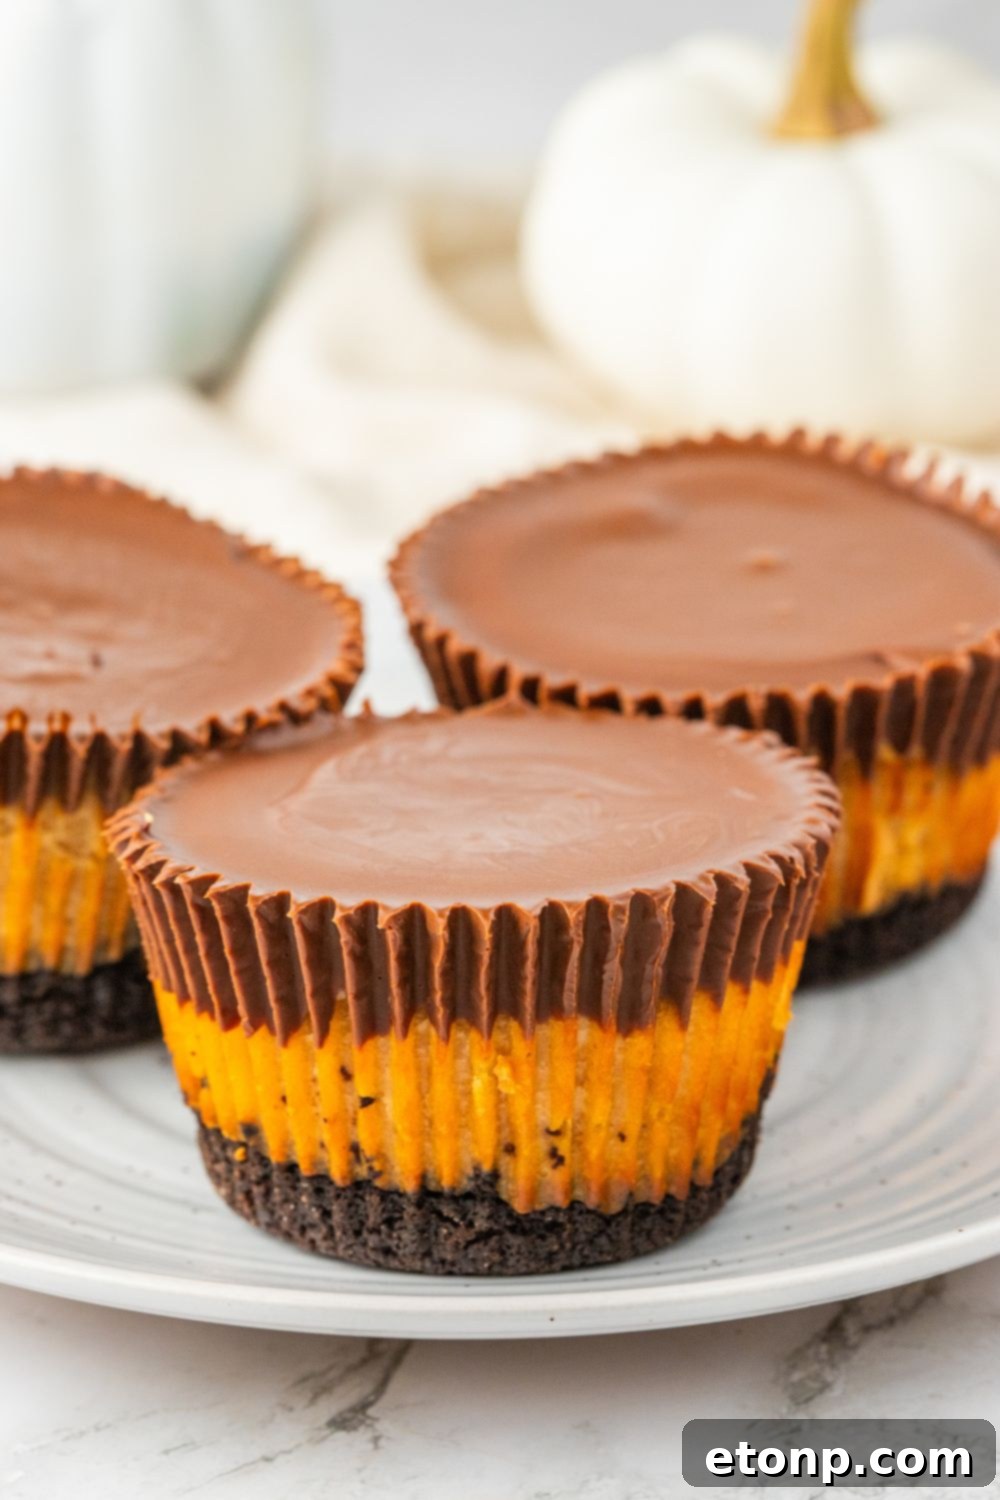
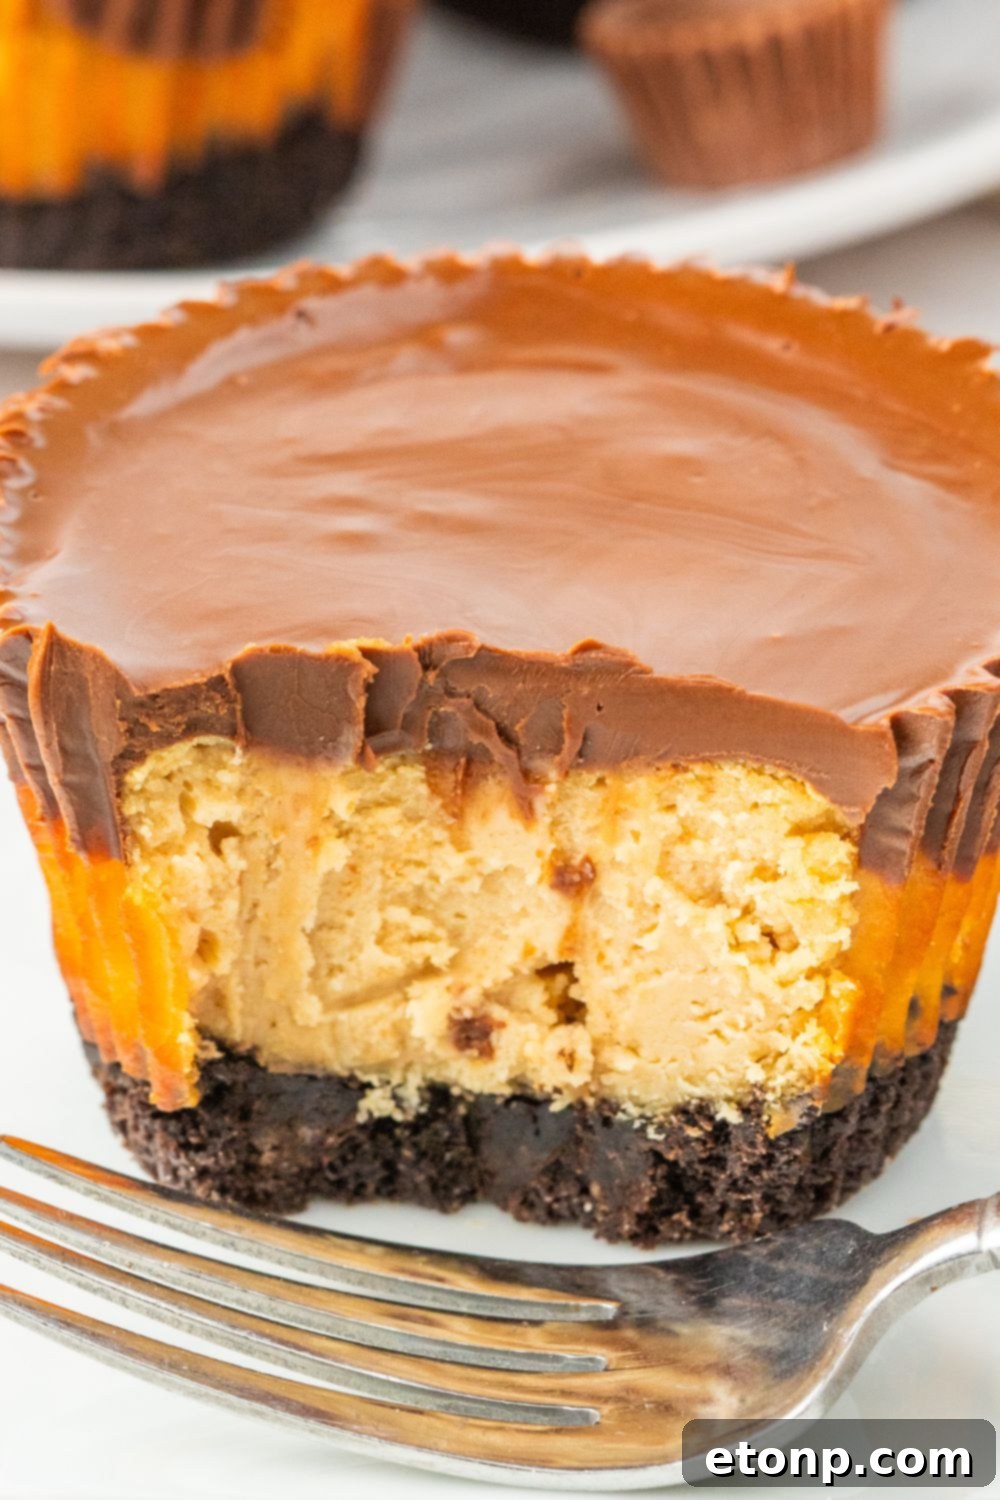
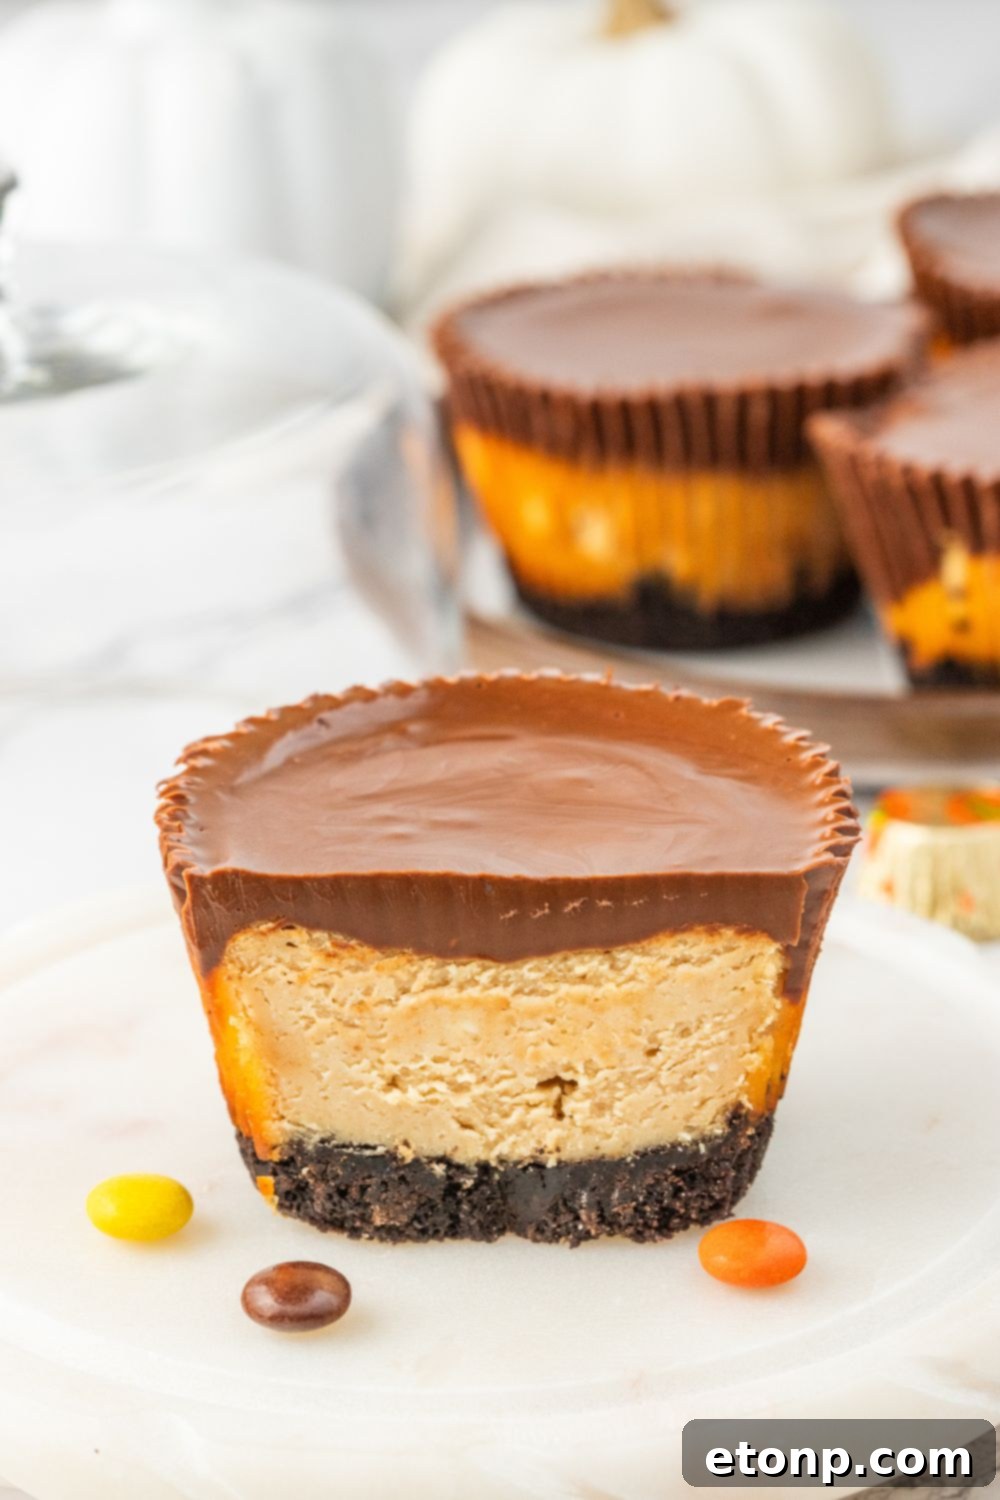
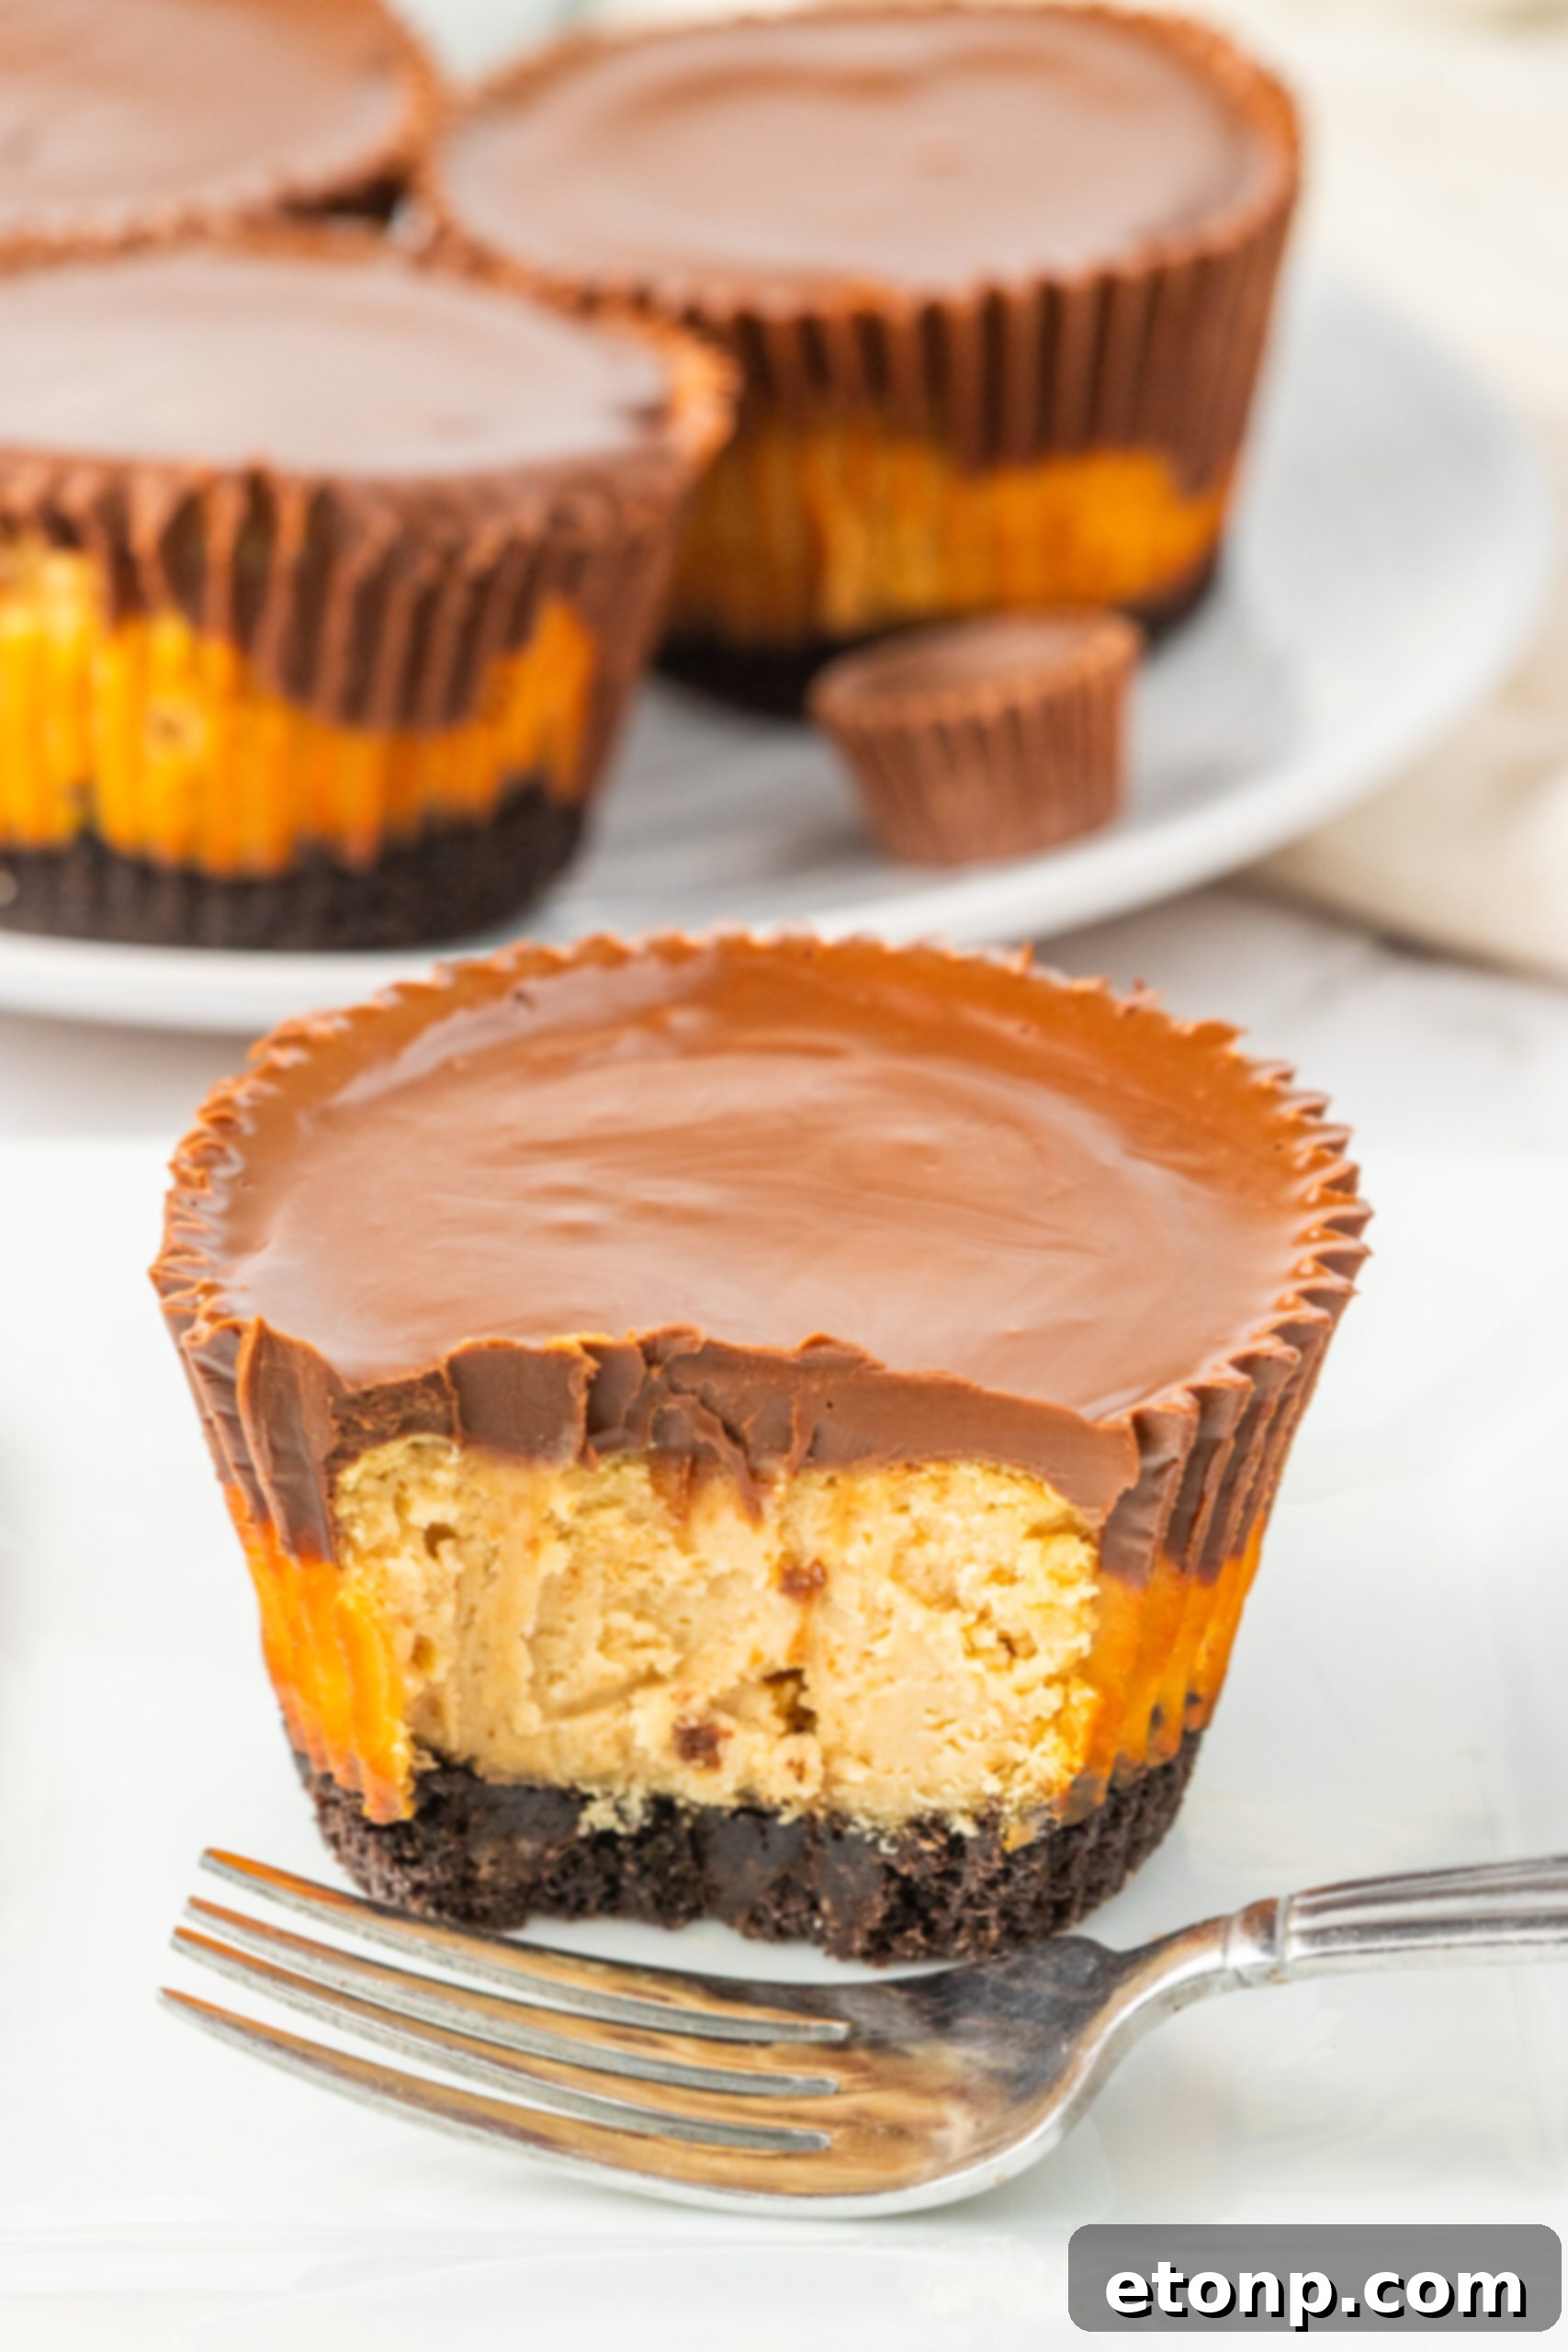
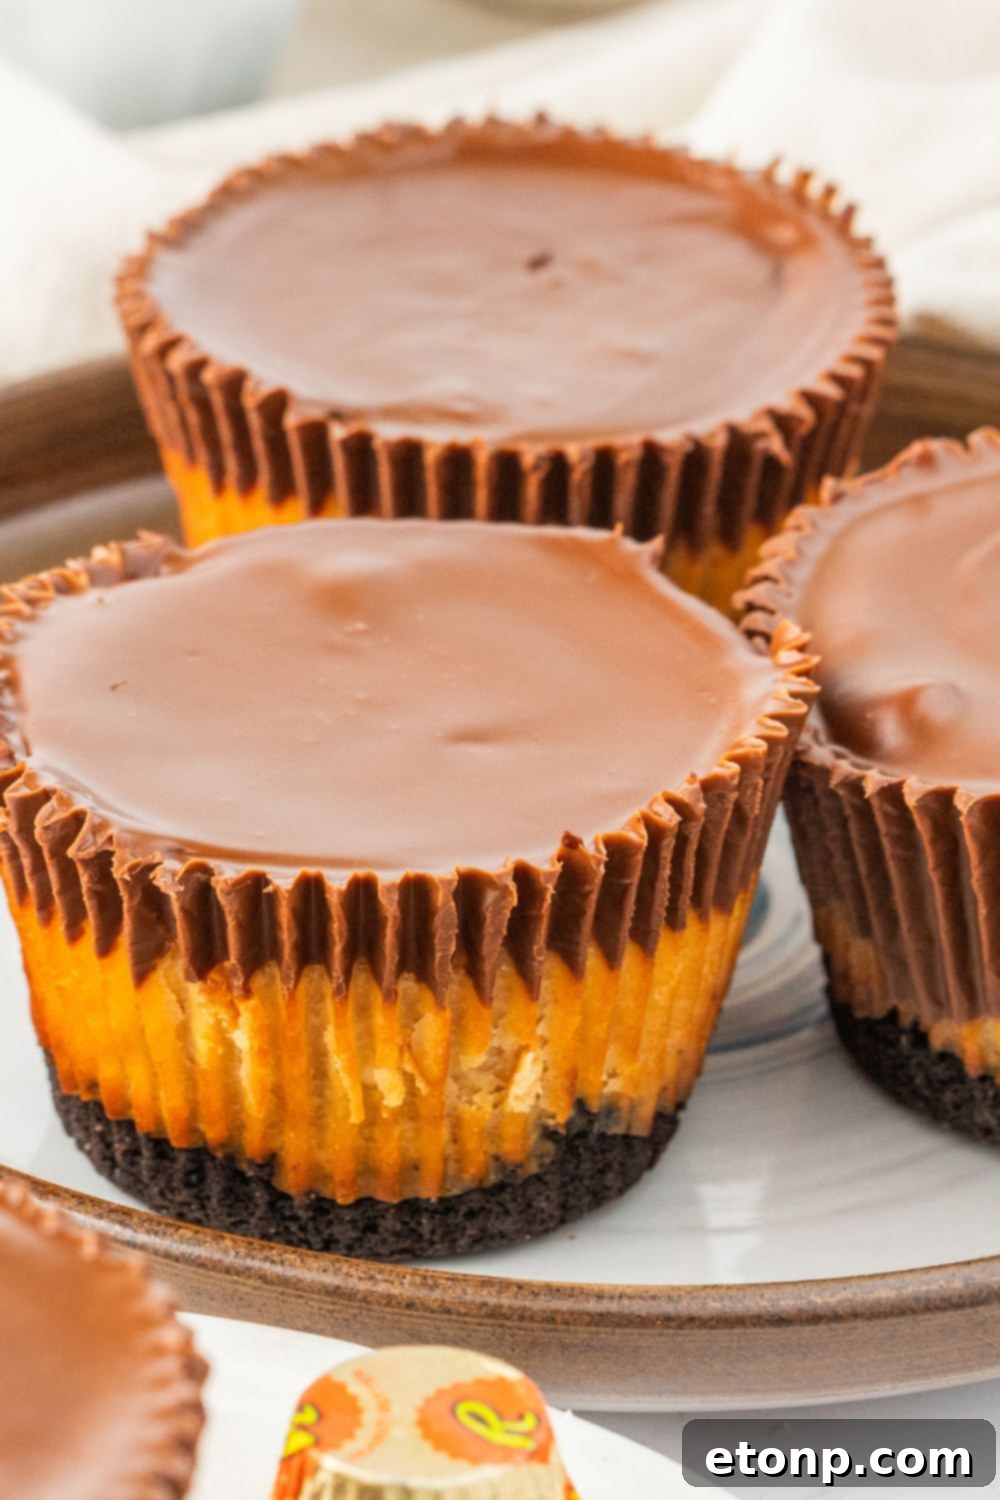
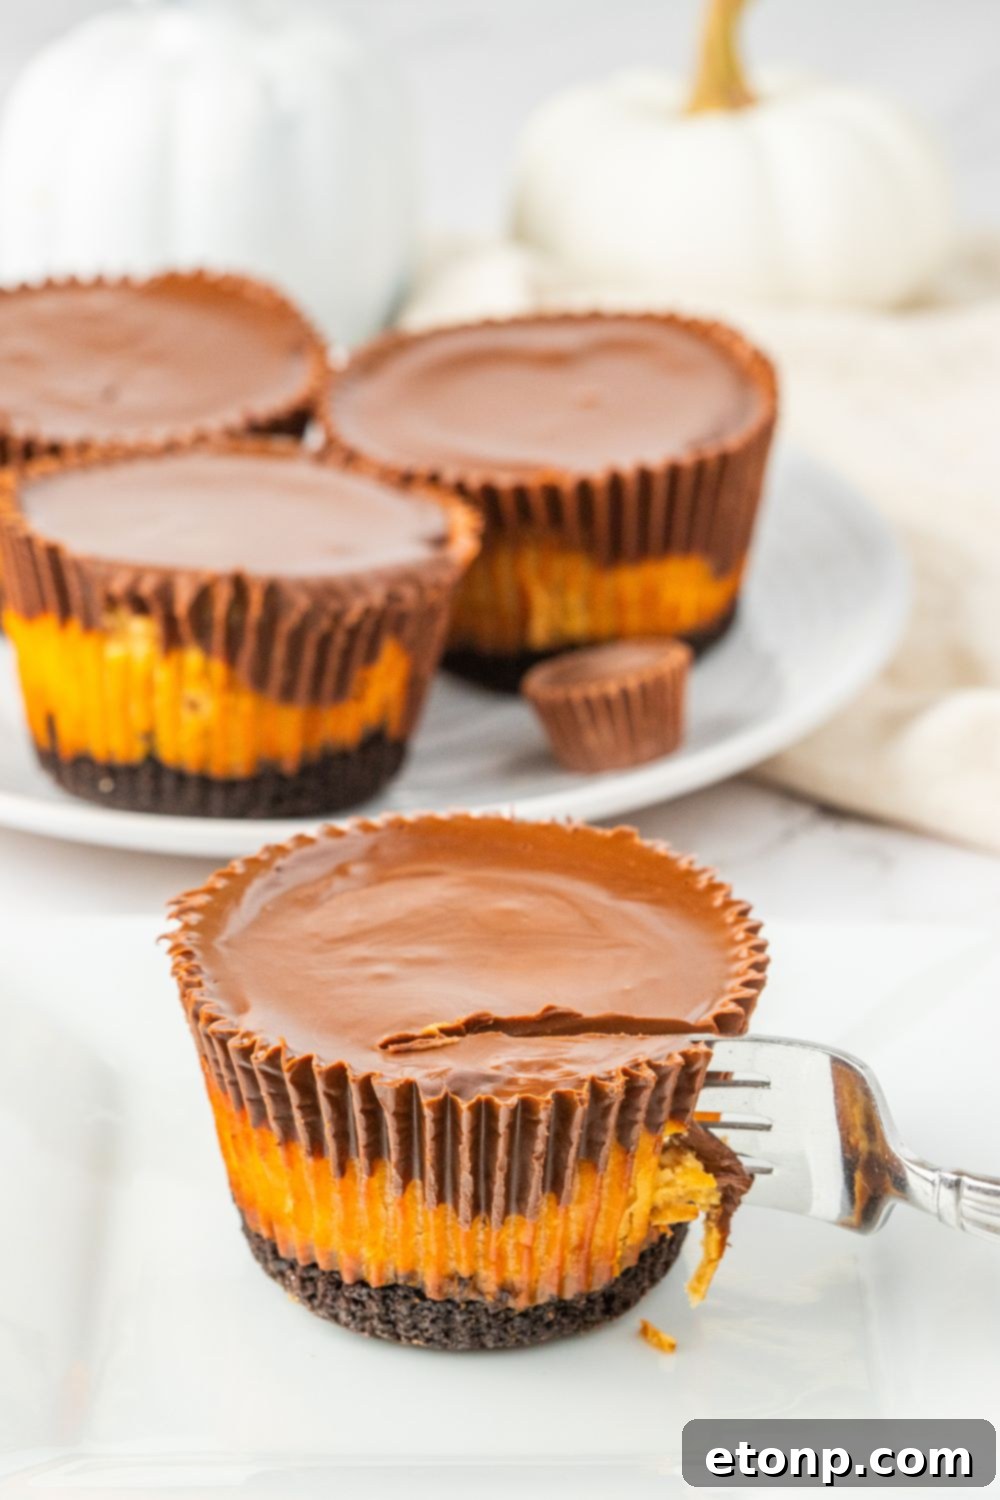
Peanut Butter Cheesecake Bites are individual, baked cheesecakes crafted with ease using a standard muffin tin. These delightful mini desserts feature a robust chocolate Oreo cookie crust that forms the perfect foundation, followed by a luscious and creamy peanut butter cheesecake filling. The experience is then completed with a decadent chocolate and peanut butter topping that beautifully encapsulates the flavors of a classic Reese’s Peanut Butter Cup. Unlike many no-bake alternatives, these cheesecakes are baked to achieve a perfectly set, rich, and dense texture that truly elevates the flavor profile.
These single-serve treats are incredibly versatile, making them an excellent choice for a wide array of occasions. Whether you’re hosting a large gathering and need an easily portioned dessert, looking for a convenient sweet treat to combat those spontaneous cravings, or simply want to impress guests with a homemade delight, these bites fit the bill. Their individual size makes them perfect for parties, potlucks, or even as a thoughtful homemade gift. If you’re a devoted fan of desserts that harmoniously blend chocolate and peanut butter, you will undoubtedly fall in love with these Reese’s peanut butter cup cheesecake treats.
Reasons You Will Love This Peanut Butter Cheesecake Recipe
- **Muffin Tin Convenience:** These cheesecakes are baked in a muffin tin, making them perfectly portioned single-serve delights. This eliminates the need for slicing and ensures consistent, beautiful presentation, making them ideal for any event from casual family dinners to elegant parties.
- **Iconic Reese’s Peanut Butter Cup Flavors:** Every bite of these mini cheesecakes delivers the beloved, nostalgic taste of a Reese’s Peanut Butter Cup. The exquisite balance of rich chocolate and creamy peanut butter creates a flavor profile that is both comforting and incredibly satisfying, appealing to almost everyone.
- **Utilizes Common Pantry and Fridge Ingredients:** You’ll be pleased to find that this recipe relies on readily available ingredients that you likely already have on hand. This makes whipping up a batch of these delectable treats quick and convenient, without the need for a special grocery run.
- **Perfect for Make-Ahead Preparations:** Designed with convenience in mind, these cheesecake bites are wonderfully make-ahead friendly. Prepare them a day or two in advance, store them in the refrigerator, and have a show-stopping dessert ready to go for parties, holiday gatherings, or a special date night at home, saving you precious time on the day of your event.
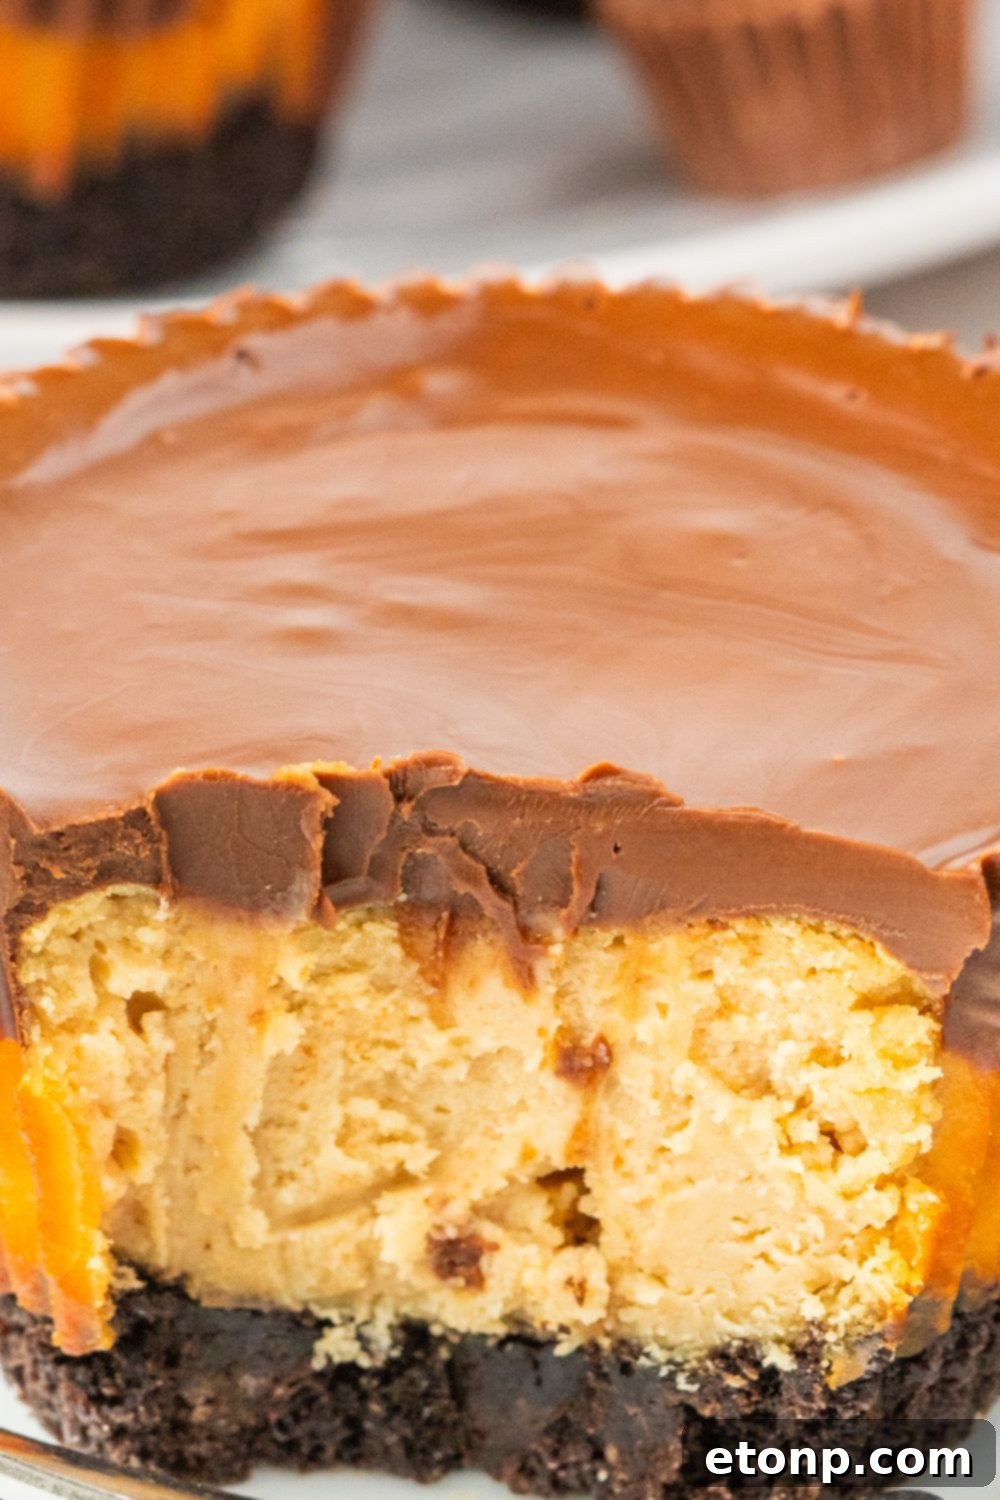
- **Delightful Textural Contrast:** Experience the ultimate sensory pleasure with a luxurious, velvety smooth peanut butter cheesecake filling contrasted beautifully with a crisp, chocolatey Oreo cookie crust. This combination of soft and crunchy textures makes each bite an engaging and incredibly enjoyable experience.
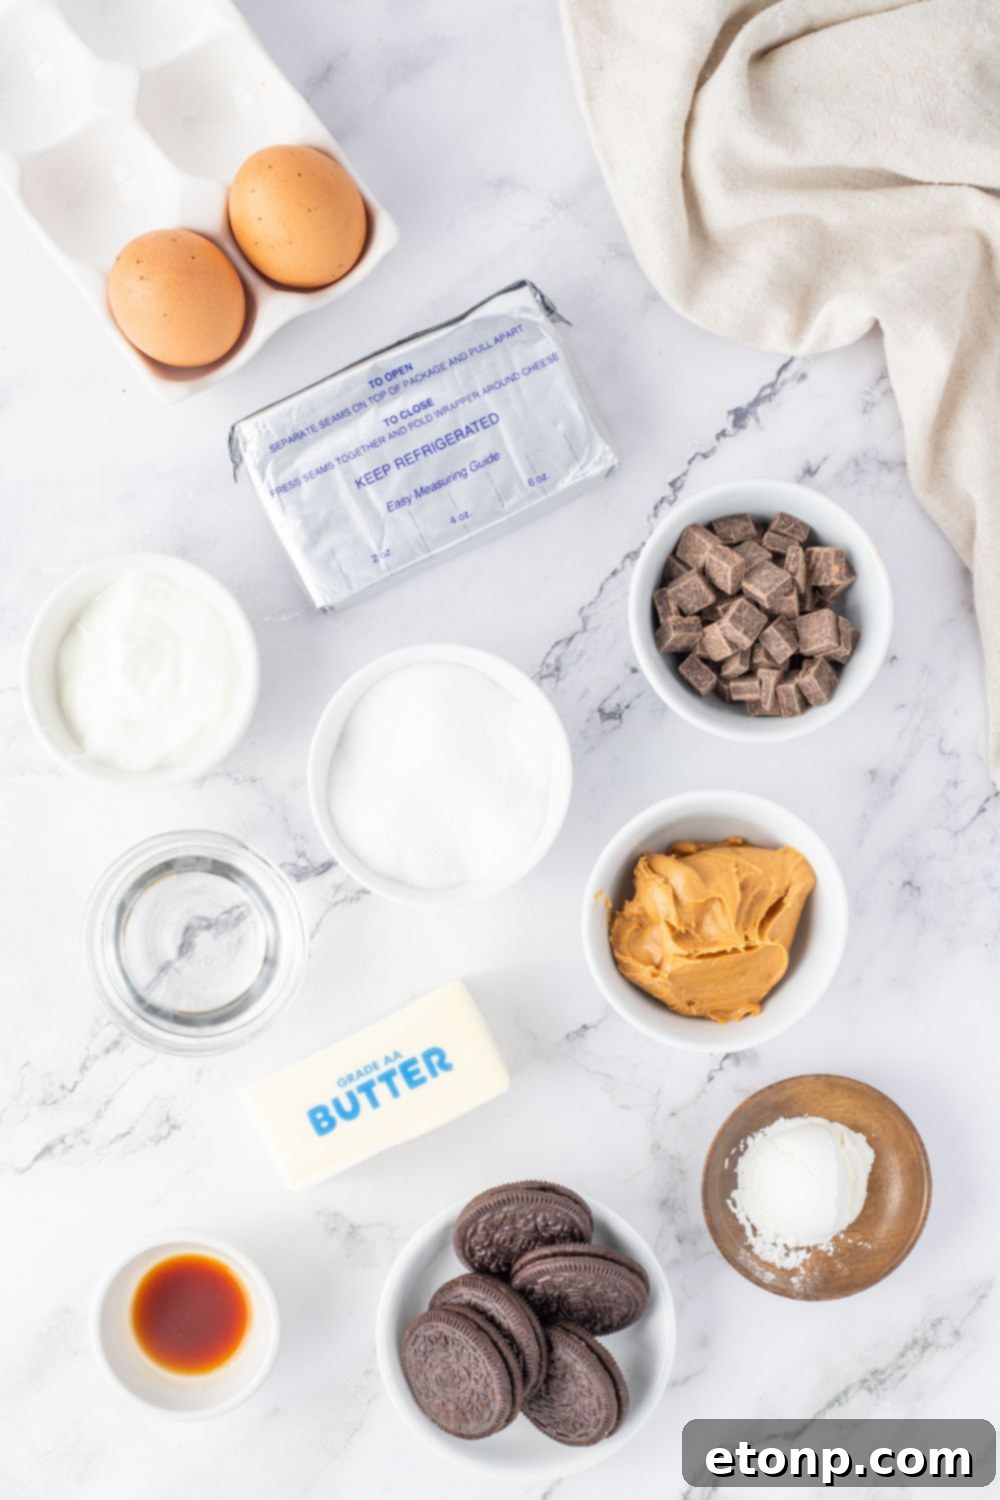
Key Ingredients for Success
Crafting these delectable peanut butter cheesecake bites relies on a selection of common yet crucial ingredients. Each plays a vital role in achieving the perfect flavor and texture:
Oreos: The foundation of our irresistible crust. Crushed Oreo cookies provide a wonderfully rich, chocolatey base that holds its shape beautifully and adds a delightful crunch, creating the perfect contrast to the creamy filling.
Butter: Melted butter acts as the binding agent for the Oreo crumbs, ensuring a cohesive and buttery crust. It infuses the base with a rich flavor that perfectly complements the chocolate.
Cream Cheese: The star of any cheesecake, softened room-temperature cream cheese is absolutely essential. It forms the smooth, rich, and velvety base of our peanut butter filling, contributing to its iconic tangy and creamy texture.
Sugar: Granulated sugar sweetens the cheesecake filling, balancing the tang of the cream cheese and Greek yogurt, and enhancing the overall decadent flavor profile of the peanut butter.
Eggs: Room temperature eggs are crucial for the cheesecake batter. They provide structure, richness, and help bind all the ingredients together smoothly, ensuring a consistent and perfectly set filling without overmixing.
Peanut Butter: The hero ingredient! Creamy peanut butter is generously incorporated into both the cheesecake filling for its unmistakable flavor and velvety texture, and into the chocolate topping for that classic blend. Any trusted brand of creamy peanut butter will work wonders here.
Greek Yogurt (or Sour Cream): Plain Greek yogurt introduces a lovely tangy note that brightens the cheesecake’s flavor profile. It also contributes to the filling’s incredibly smooth consistency and can even add a touch of protein, making the dessert feel a bit more substantial.
Cornstarch: Often used as a thickening agent, cornstarch is key to stabilizing the cheesecake batter. It helps ensure a firm yet creamy set, preventing cracks and contributing to the desired texture of a perfectly baked cheesecake.
Vanilla Extract: A splash of vanilla extract deepens and sweetens the overall cheesecake mixture, harmonizing all the flavors and adding a warm, aromatic complexity that elevates the dessert.
Semi-Sweet Chocolate Chips: These chocolate chips are melted down to create the glorious, hard-shell topping. Semi-sweet chocolate provides a balanced sweetness that pairs exquisitely with the peanut butter, delivering that classic Reese’s-like experience.
Coconut Oil: A crucial ingredient for the topping, coconut oil helps the melted chocolate and peanut butter mixture set into a firm yet snappy shell, mimicking the delightful texture of a store-bought peanut butter cup. It ensures a smooth, glossy finish that hardens beautifully.
Exciting Variations for Your Cheesecake Bites
While the classic peanut butter cheesecake bites are undeniably delicious, don’t hesitate to get creative with these exciting variations to customize them to your preferences:
- **Crunchy Peanut Butter Alternative:** For an added layer of texture and a more pronounced nutty flavor, substitute creamy peanut butter with crunchy peanut butter in both the filling and the topping. The small peanut pieces will add a fantastic bite.
- **Alternative Crust Options:** If Oreos aren’t your preference, consider using a classic graham cracker crust for a more traditional cheesecake flavor. You could also experiment with crushed Nilla Wafers, chocolate chip cookies, or even gluten-free cookies to cater to dietary needs.
- **Chocolate Type Experimentation:** Don’t limit yourself to semi-sweet chocolate. Explore other varieties like rich dark chocolate for a more intense flavor, creamy milk chocolate for a sweeter profile, or even elegant white chocolate for a sophisticated twist on the topping.
- **Amp Up the Crunch in the Filling:** For an extra textural dimension, fold in some finely chopped roasted peanuts directly into the cheesecake filling. This provides a delightful crunch that complements the creamy base beautifully.
- **A Touch of Sea Salt:** A sprinkle of flaky sea salt over the finished chocolate peanut butter topping is a gourmet touch. The salt perfectly cuts through the sweetness and enhances the complex flavors of both the chocolate and peanut butter.
- **Caramel Drizzle Decadence:** Before pouring on the chocolate topping, drizzle a generous amount of warm caramel sauce over the set peanut butter cheesecake filling. This adds another layer of sweet, buttery richness that takes these bites to a new level.
- **Chocolate Ganache Topping:** For a truly luxurious finish, swap the chocolate peanut butter topping for a rich, glossy chocolate ganache. A simple ganache made with dark chocolate and heavy cream will provide a smooth, intense chocolate experience.
Pro Tips for Perfect Peanut Butter Cheesecake Bites
Achieving bakery-quality mini cheesecakes is easier than you think with these expert tips:
Proper Muffin Tin Preparation
Always use a cupcake liner for each cheesecake cup. This step is critically important to ensure your cheesecakes do not stick to the pan, allowing for easy removal and a clean, beautiful presentation. Opt for sturdy liners that can handle the moisture and weight of the cheesecake batter for the best results.
Firmly Pressing the Crust
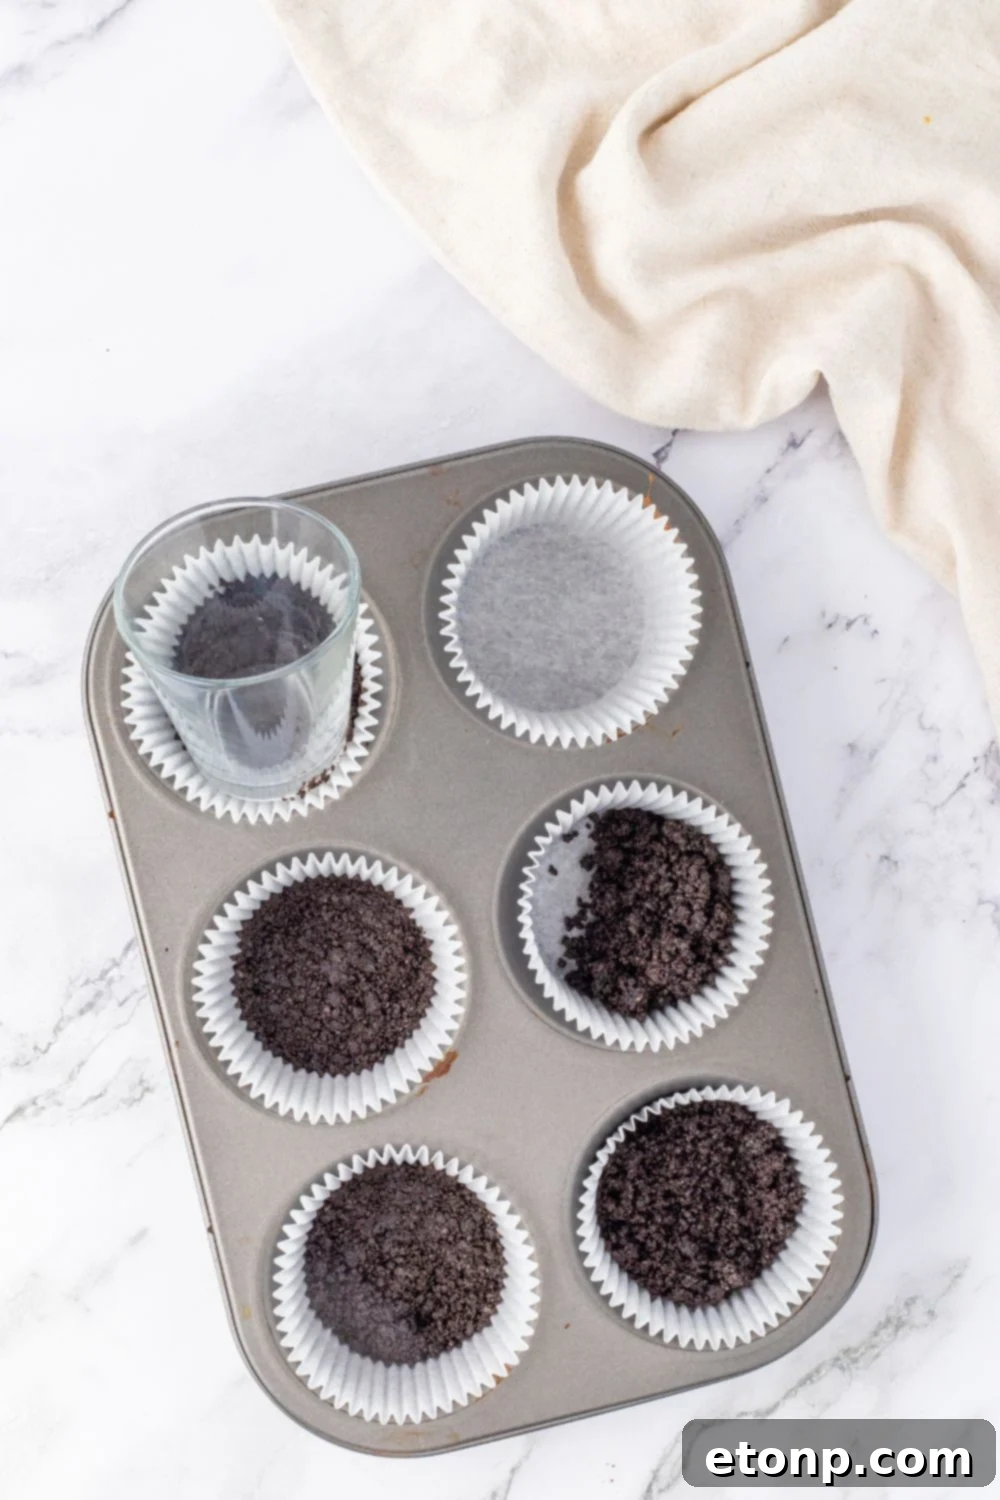
After placing the crushed Oreo mixture into each liner, it’s essential to press the crust down very firmly. A small glass, the back of a spoon, or a measuring cup works perfectly for this. A well-compacted crust will hold its shape during baking and cooling, providing a stable and delicious base that won’t crumble apart when handled.
Mixing the Cheesecake Filling Just Right
Using a stand mixer or a hand mixer is highly recommended to ensure all ingredients in your cheesecake mixture are thoroughly and smoothly incorporated. However, be mindful not to overmix the batter. Overmixing can introduce too much air, which can lead to air bubbles and cause the cheesecake tops to crack during baking. Mix just until combined for a perfectly smooth, velvety filling.
Mastering the Peanut Butter Topping
When preparing the rich peanut butter and chocolate topping, ensure you melt the ingredients gently. If using a microwave, heat in short, 30-second intervals, stirring thoroughly after each. This prevents the chocolate from burning or seizing, ensuring a smooth, glossy, and perfectly pourable topping that will set beautifully over your cheesecakes.
The Importance of Proper Cooling
Patience is key when it comes to cheesecake. After baking, your cheesecake bites need ample time to cool completely and then refrigerate to fully set. Skipping this crucial cooling and chilling process will result in a soft, unset texture and a less intense flavor. Refrigeration allows the flavors to meld and the cheesecake to firm up, developing its signature dense and creamy consistency.
Storing Your Peanut Butter Cheesecake Bites
These mini cheesecake delights are not only delicious but also incredibly convenient to store, making them perfect for advance preparation or enjoying leftovers:
Make Ahead: These mini cheesecake cups are an excellent make-ahead dessert. You can prepare them a full day or even two in advance of when you plan to serve them. Simply follow the recipe instructions through to the chilling phase, and then store them securely covered in the refrigerator until you are ready to dazzle your guests.
Refrigerate: For optimal freshness and texture, all baked cheesecake bites should be stored in an airtight container in the refrigerator. They will remain wonderfully fresh and delicious for approximately 5-6 days. For the best serving experience, we highly recommend keeping them chilled and only removing them from the fridge right before you plan to serve, as this helps maintain their firm texture and cool, refreshing flavor.
Freezer: Yes, these delightful mini cheesecakes are also freezer-friendly! To freeze them, first ensure they are completely cooled and the chocolate topping has fully set. You can then place them in a single layer on a baking sheet to freeze individually for about an hour. Once firm, transfer them to a freezer-safe, airtight container or a heavy-duty freezer bag, layering them with parchment paper if needed. They can be frozen for 2-3 months. When you’re ready to enjoy them again, simply thaw them overnight in the refrigerator for the best texture and taste.
Frequently Asked Questions (FAQs)
Can I use a different nut butter instead of peanut butter?
Absolutely! You are welcome to experiment with other nut butters, such as almond butter or cashew butter, as a replacement for peanut butter in this recipe. However, please be aware that using a different nut butter will likely affect both the flavor profile and the texture of the cheesecakes. Some nut butters are thinner or thicker, which might require slight adjustments to the other liquid or dry ingredients to achieve the desired consistency. Always choose a smooth variety for the best results in the filling and topping.
Do I need to chill the cheesecake before serving?
Yes, chilling the cheesecakes before serving is a critical step that should not be skipped. Refrigerating these mini cheesecakes allows them ample time to fully set, firm up, and develop their complete flavor profile. We highly recommend chilling cheesecakes for at least overnight (8-12 hours) for the absolute best quality, firmest texture, and most enhanced flavors. Proper chilling ensures they are easy to handle and offer that satisfying, creamy mouthfeel expected from a delicious cheesecake.
How do I prevent cracks in my cheesecake?
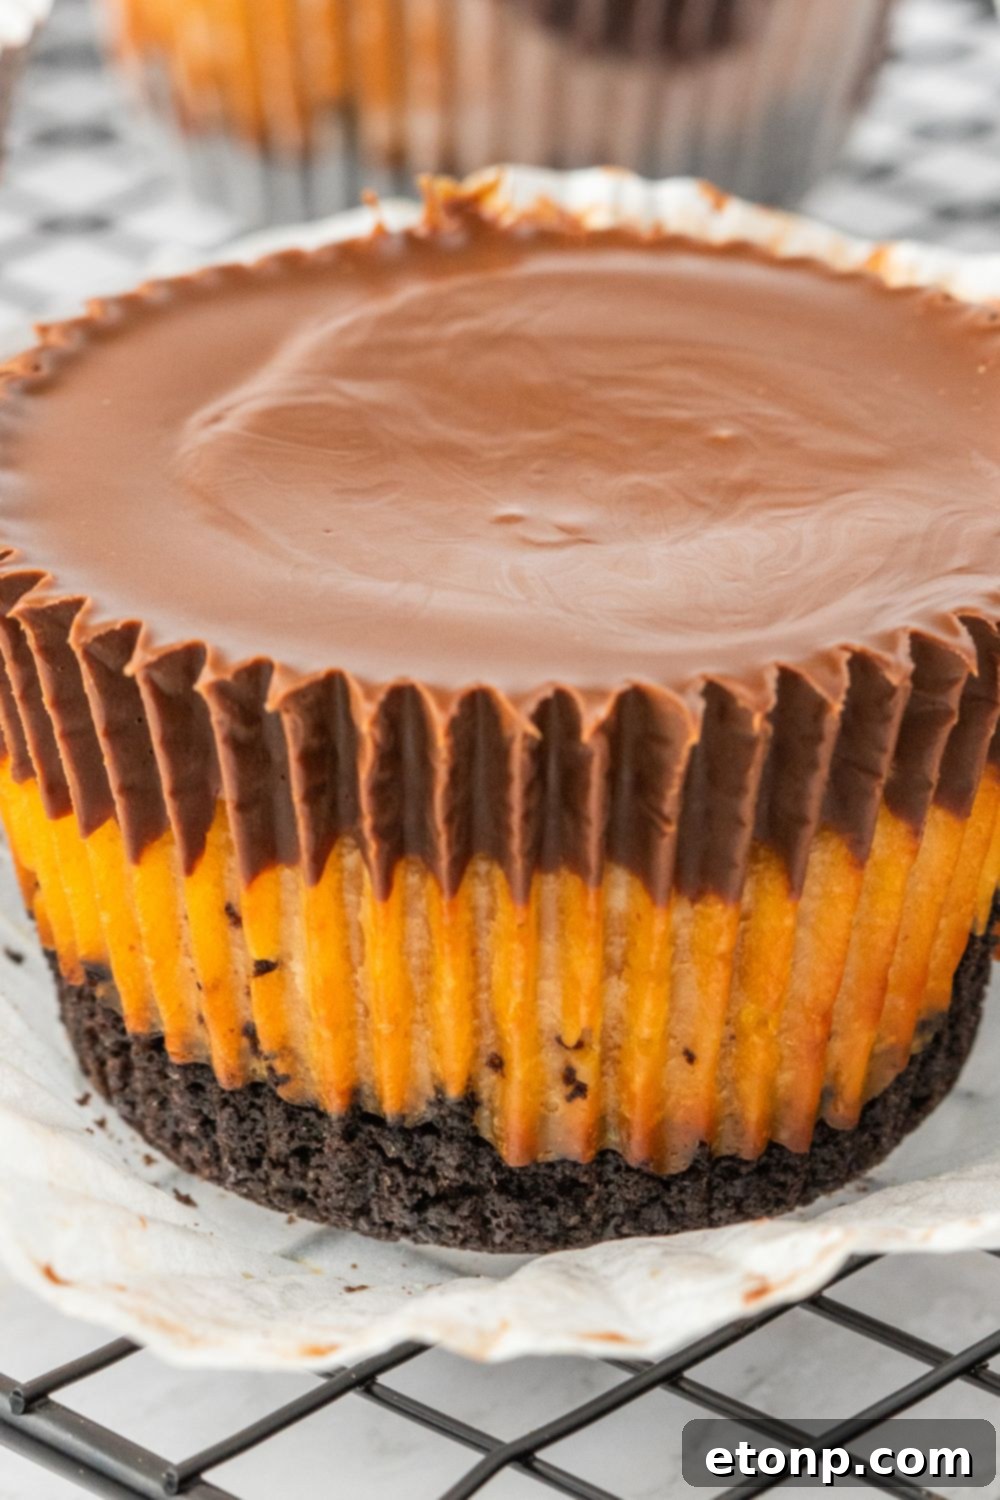
Cracks in cheesecake are often a result of either overbaking or too many air bubbles in the batter. To minimize the risk of cracks, ensure you do not overmix your cheesecake filling, as this incorporates excessive air. After pouring the batter into the muffin tin, gently tap the pan on the counter a few times. This simple action helps to release any trapped air bubbles, leading to a smoother, less prone-to-cracking surface. Additionally, allowing the cheesecakes to cool gradually (first on the counter, then in the fridge) also helps prevent sudden temperature changes that can cause cracking.
Can I use natural peanut butter in the filling?
You can certainly use natural peanut butter as a substitute for classic creamy peanut butter in the filling. The most significant difference you’ll observe is that natural peanut butter typically has more oil separation. If you choose to use natural peanut butter, ensure you stir it very well before measuring to combine the oil. You might also need to use a slightly lesser amount of natural peanut butter or adjust the liquid components in the recipe to maintain the desired consistency, as its texture can be runnier once incorporated.
More Decadent Cheesecake Recipes
If your love for cheesecake knows no bounds, then you’re in for a treat! Explore these additional decadent cheesecake recipes that are sure to impress and satisfy:
- Tangy Lemon Curd Cheesecake
- Creamy Banana Cream Cheesecake Bars
- Classic Chocolate Chip Cheesecake
Peanut Butter Cheesecake Bites
Course: Dessert
Prep Time: 15 mins
Cook Time: 30 mins
Total Time: 1 hr 15 mins
Servings: 12 servings
Peanut Butter Cheesecake Bites are single-serve peanut butter cheesecake cups made with an Oreo cookie crust, a rich peanut butter cheesecake filling, and a delightful chocolate topping.
Ingredients
Oreo Crust
- 1 1/2 cups Oreo Cookie Crumbs (approximately 16 Oreo Cookies)
- 4 tablespoons Butter, melted
Peanut Butter Cheesecake Filling
- 16 ounces Cream Cheese, room temperature
- 1/2 cup granulated Sugar
- 2 large Eggs, room temperature
- 1/2 cup creamy Peanut Butter
- 1/3 cup Greek Yogurt or Sour Cream, room temperature
- 1 tablespoon Cornstarch
- 1 teaspoon Vanilla extract
Chocolate Peanut Butter Topping
- 3/4 cup semi-sweet Chocolate Chips
- 4 tablespoons creamy Peanut Butter
- 1 tablespoon Coconut Oil
Instructions
- Preheat oven to 350 degrees F (175°C). Line a jumbo muffin pan with 6 liners, or a standard cupcake pan with 12 liners.
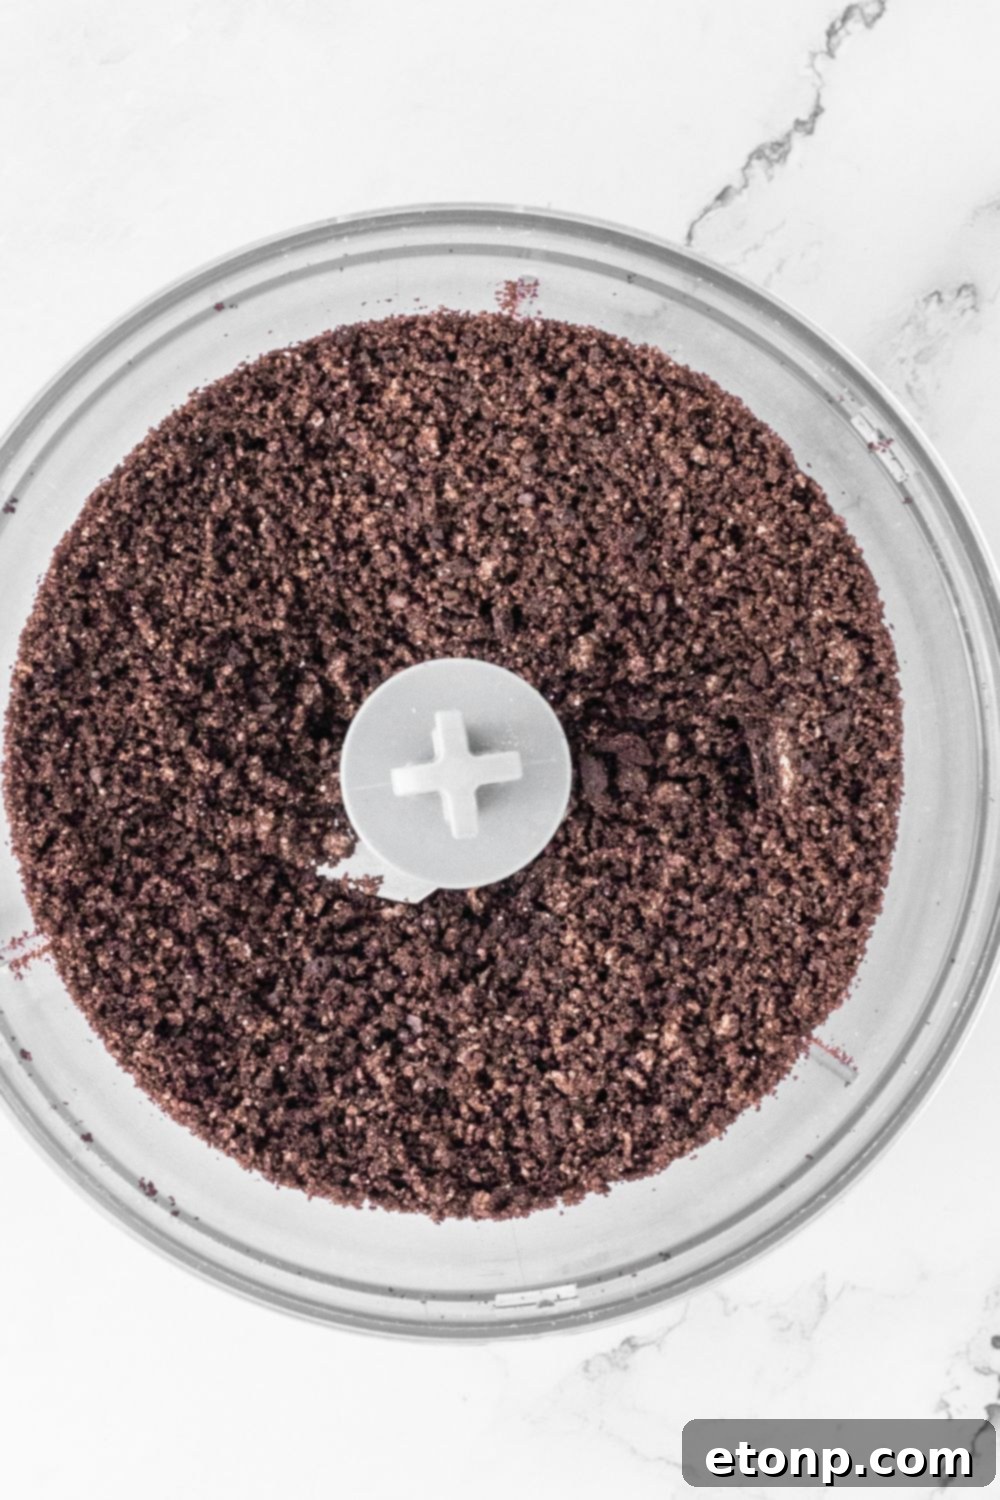
- In a food processor, pulse the Oreo cookies to fine crumbs (alternatively, place them in a plastic bag and crush with a rolling pin). Transfer the crumbs to a small bowl.
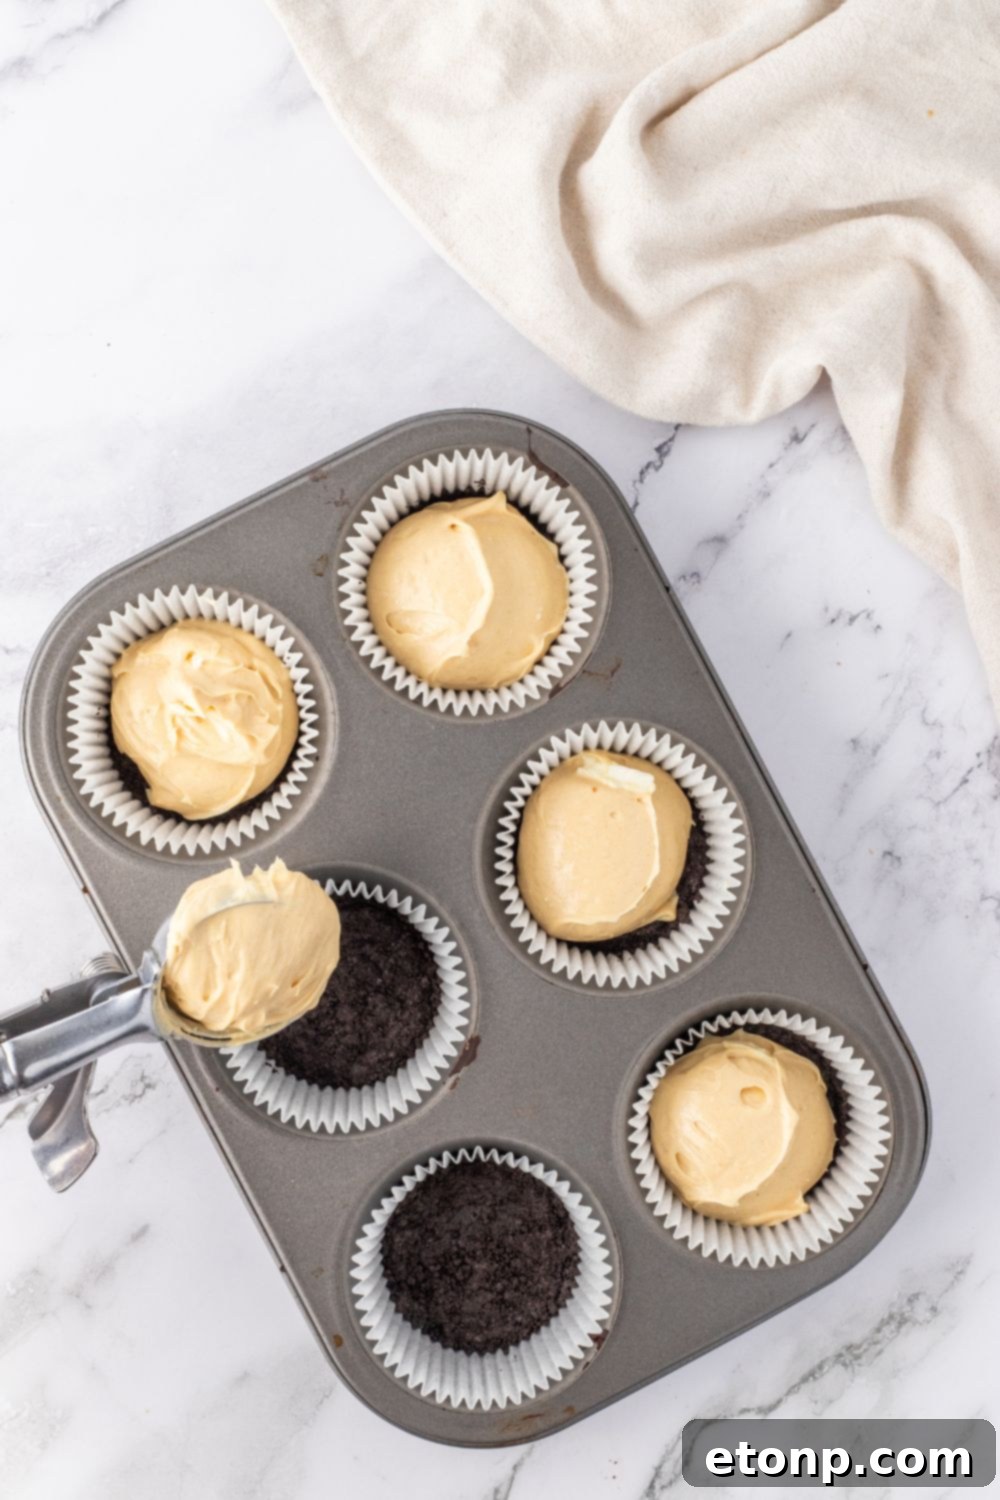
- Stir in the melted butter until the crumbs are thoroughly moistened. Press an even amount of this crust mixture firmly into the bottom of each muffin or cupcake liner. Use a small glass or measuring cup to compact the crust for best results.
- Bake the crusts for 5 minutes. Remove from oven and set aside to cool slightly while you prepare the filling.
Cheesecake Filling
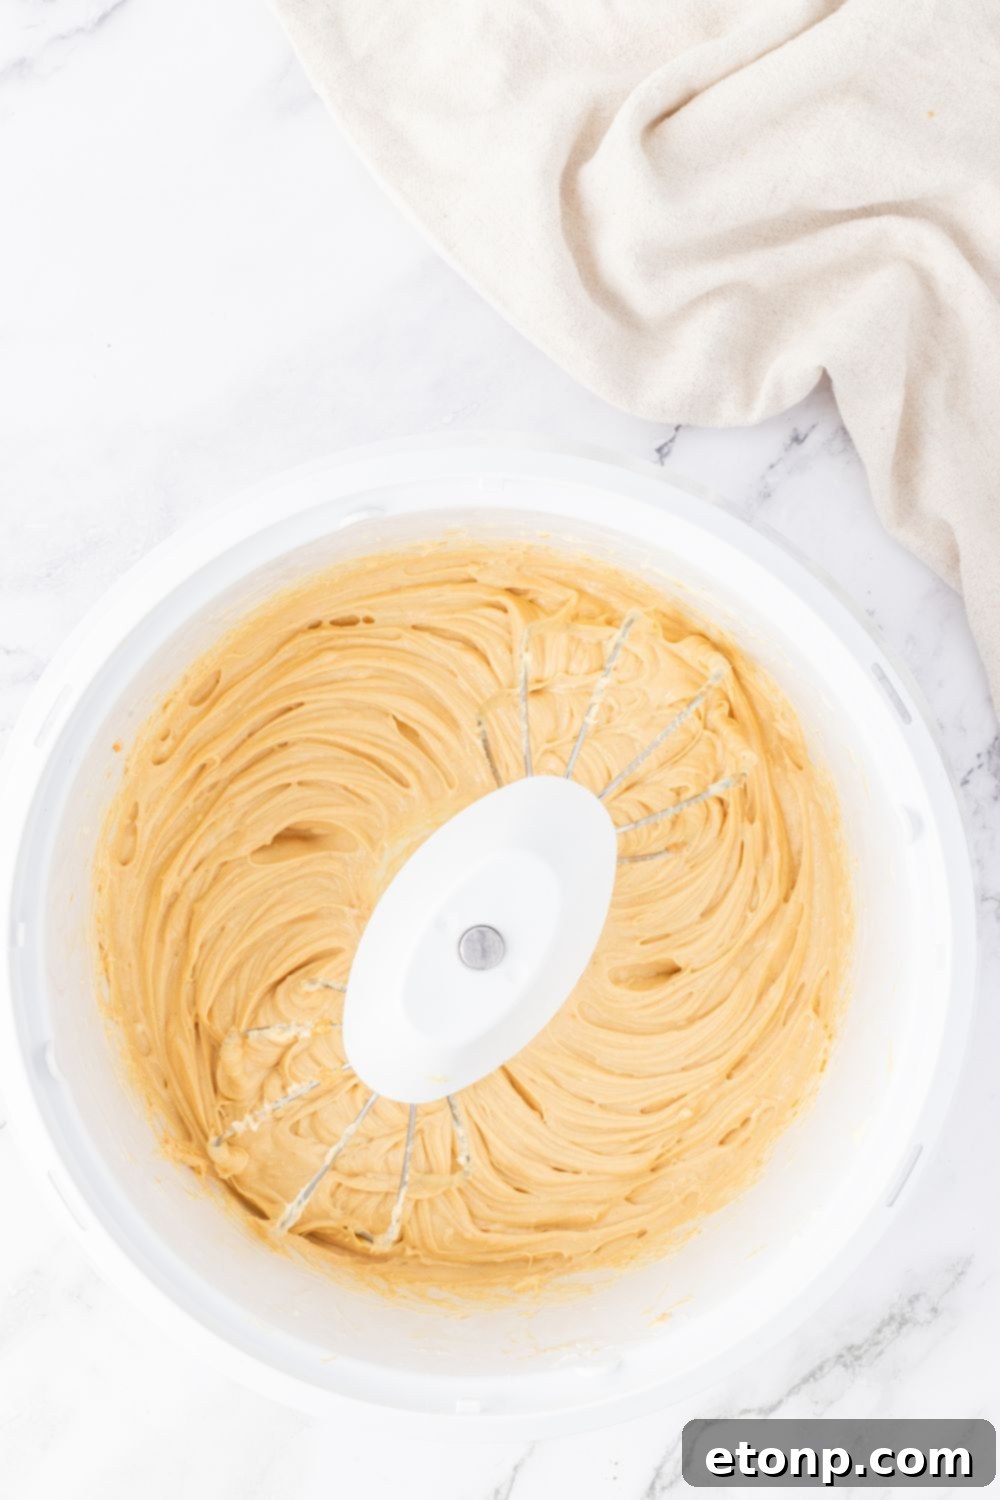
- In a large mixing bowl, add the room temperature cream cheese and beat with a mixer until it is smooth and creamy, with no lumps.
- Gradually add the granulated sugar and continue mixing until the mixture is smooth and well combined.
- Add the eggs, one at a time, mixing just until each is incorporated into the batter. Be careful not to overmix at this stage.
- Stir in the creamy peanut butter, Greek yogurt (or sour cream), cornstarch, and vanilla extract. Blend just until all ingredients are incorporated and the batter is smooth. Avoid overmixing to prevent air bubbles.
- Evenly distribute the cheesecake batter among the prepared cupcake liners. An ice cream scoop works well for this.
- Gently tap the muffin pan on the countertop a few times to help level the batter and release any trapped air bubbles, which can help prevent cracks.
- Place the mini cheesecakes in the preheated oven. Bake jumbo muffin size cheesecakes for approximately 30-35 minutes, or until the tops are no longer glossy and the edges are set, though the centers may still have a slight jiggle. For smaller cupcake-sized cheesecakes, baking time will be less; start checking them around 18 minutes.
- It’s normal for the tops to crack slightly during baking or cooling. Remove from the oven and allow them to cool completely on a wire rack for about 20 minutes, then transfer the pan to the refrigerator to chill for at least 40 minutes before topping. Your cheesecakes may sink slightly in the middle as they cool.
Chocolate Peanut Butter Topping
- In a small microwave-safe bowl, combine the semi-sweet chocolate chips, creamy peanut butter, and coconut oil.
- Microwave the mixture in 30-second increments, stirring thoroughly after each interval, until it is completely melted and smooth. Alternatively, you can melt the mixture over a double boiler on the stovetop.
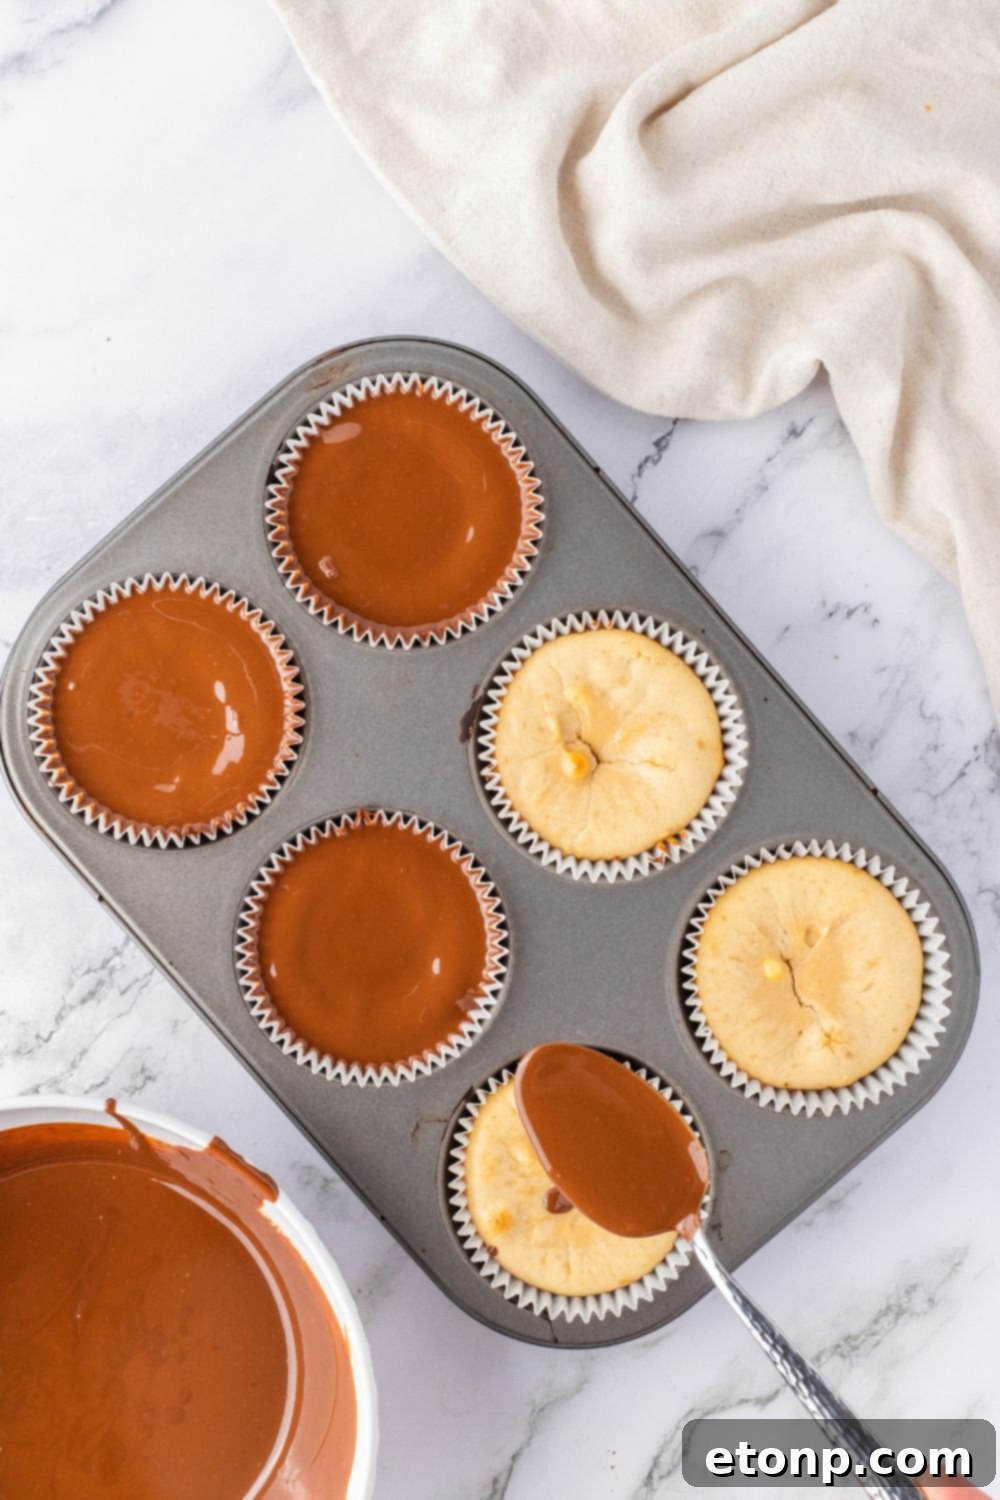
- Evenly divide the melted chocolate peanut butter topping over the tops of each chilled mini cheesecake. Gently tilt the pan from side to side until the entire top of each cheesecake is coated in the chocolate.
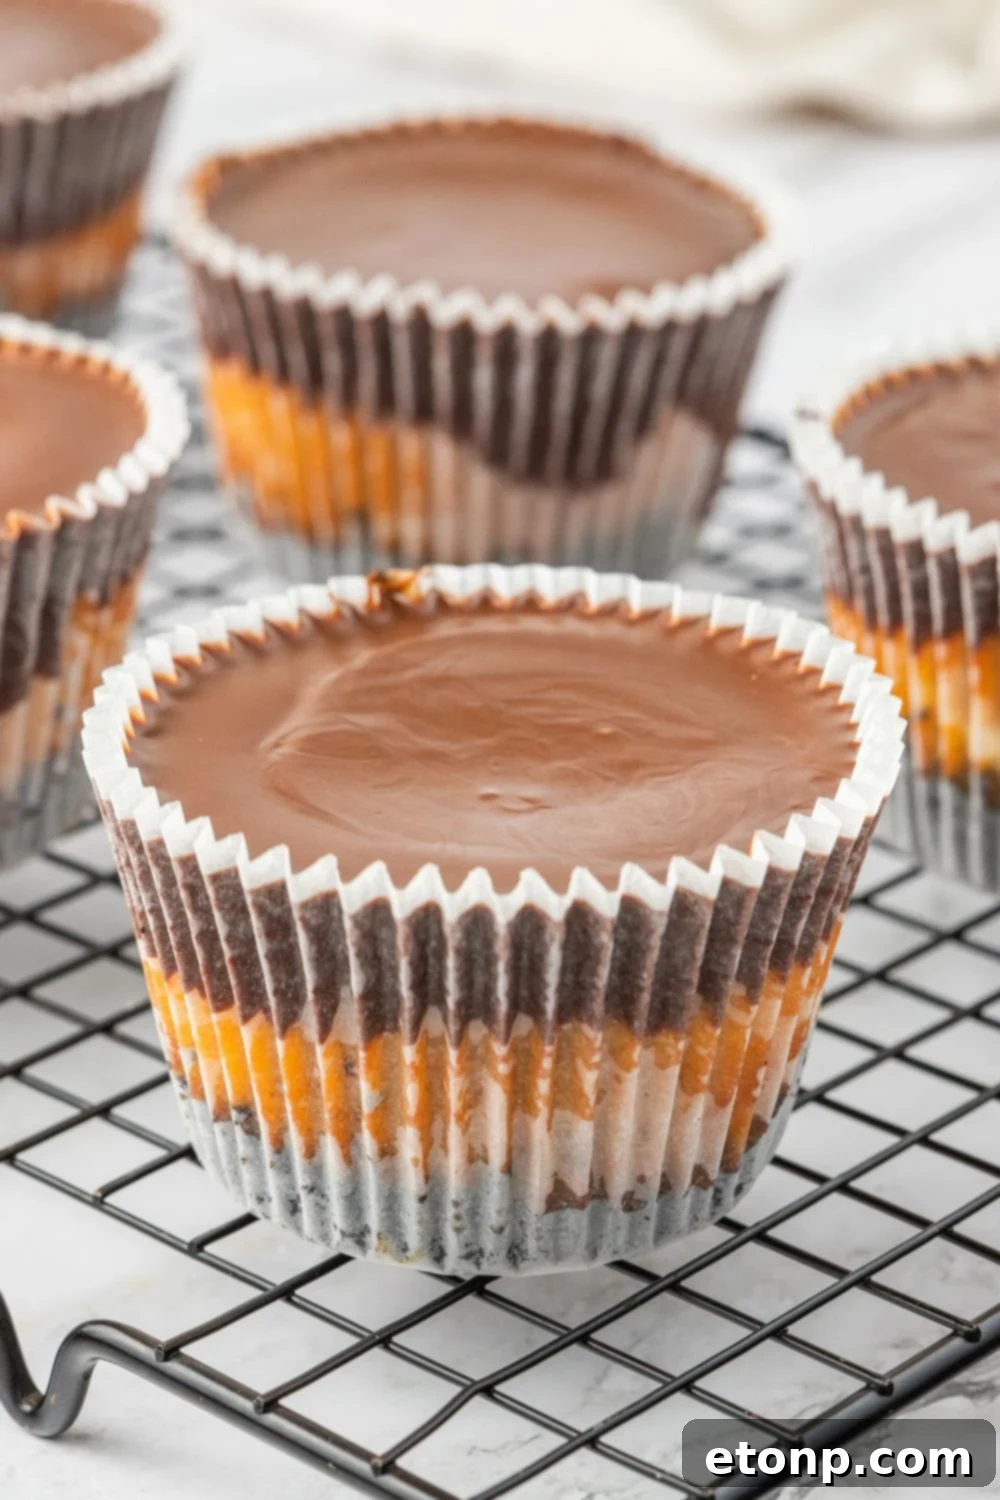
- Return the mini cheesecakes to the refrigerator and chill until the chocolate topping has completely hardened, forming a satisfying shell.
- Store the finished peanut butter cheesecake bites in a sealed container in the refrigerator until you are ready to serve. Enjoy your decadent treats!