
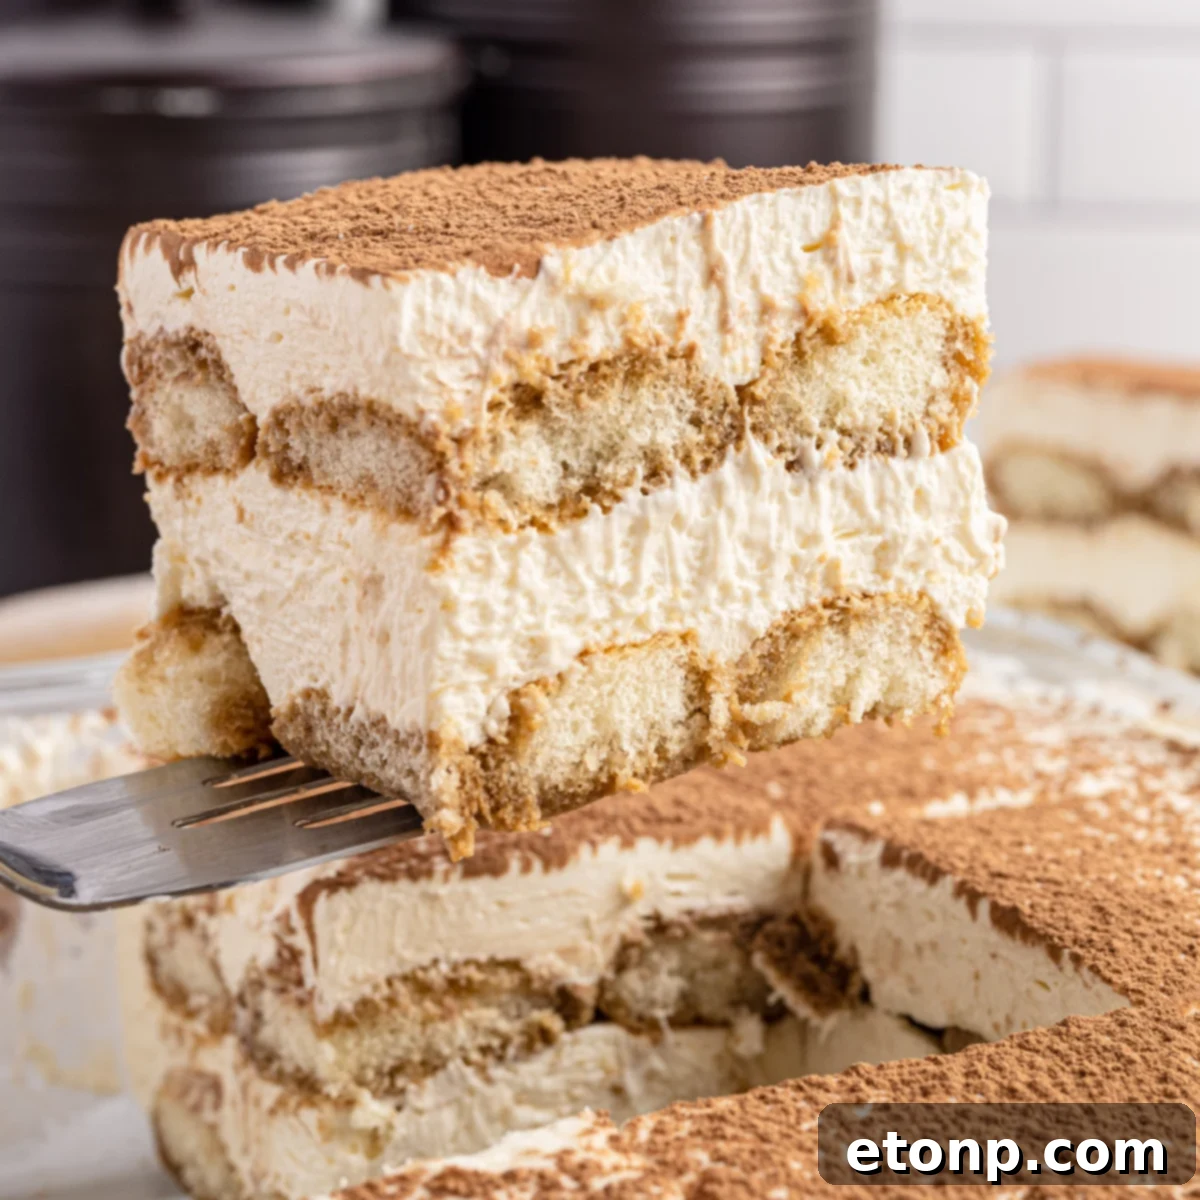
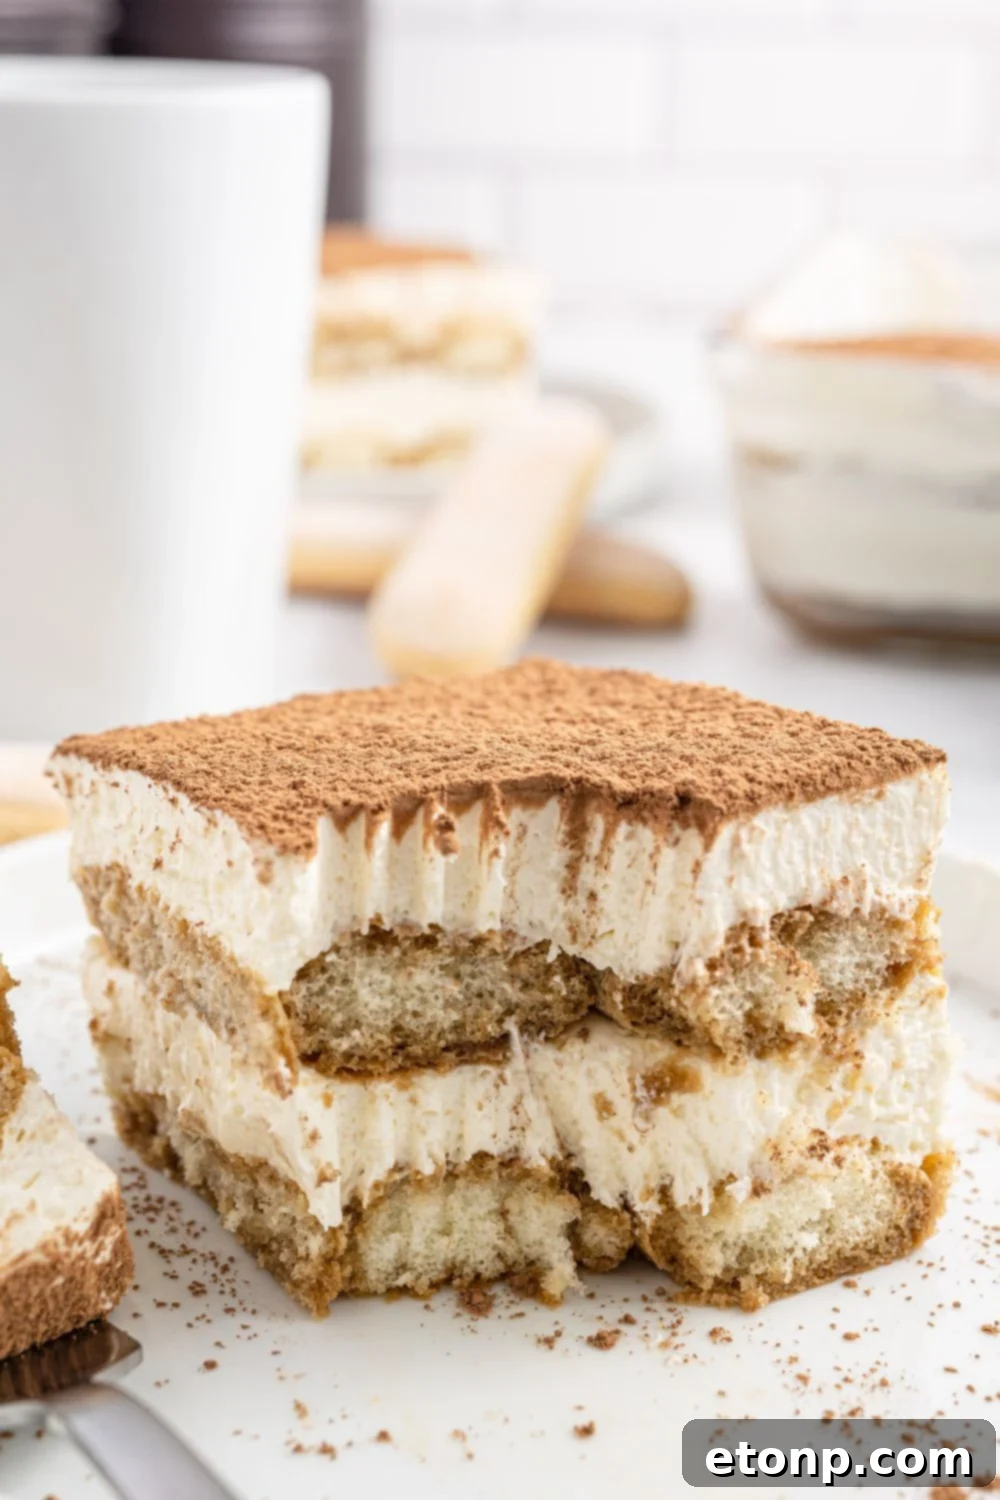
Craving a delightful, coffee-infused dessert that’s both elegant and incredibly simple to prepare? Look no further than this **Easy Tiramisu recipe**. This classic Italian delight, known for its rich flavors and sophisticated layers, is the perfect indulgence to serve after a special family dinner, impress guests at a gathering, or simply treat yourself to a moment of pure bliss. Forget complex culinary techniques; our straightforward guide shows you how to master homemade tiramisu with minimal effort, resulting in a coffee-flavored dessert that’s utterly delicious and surprisingly quick to assemble.
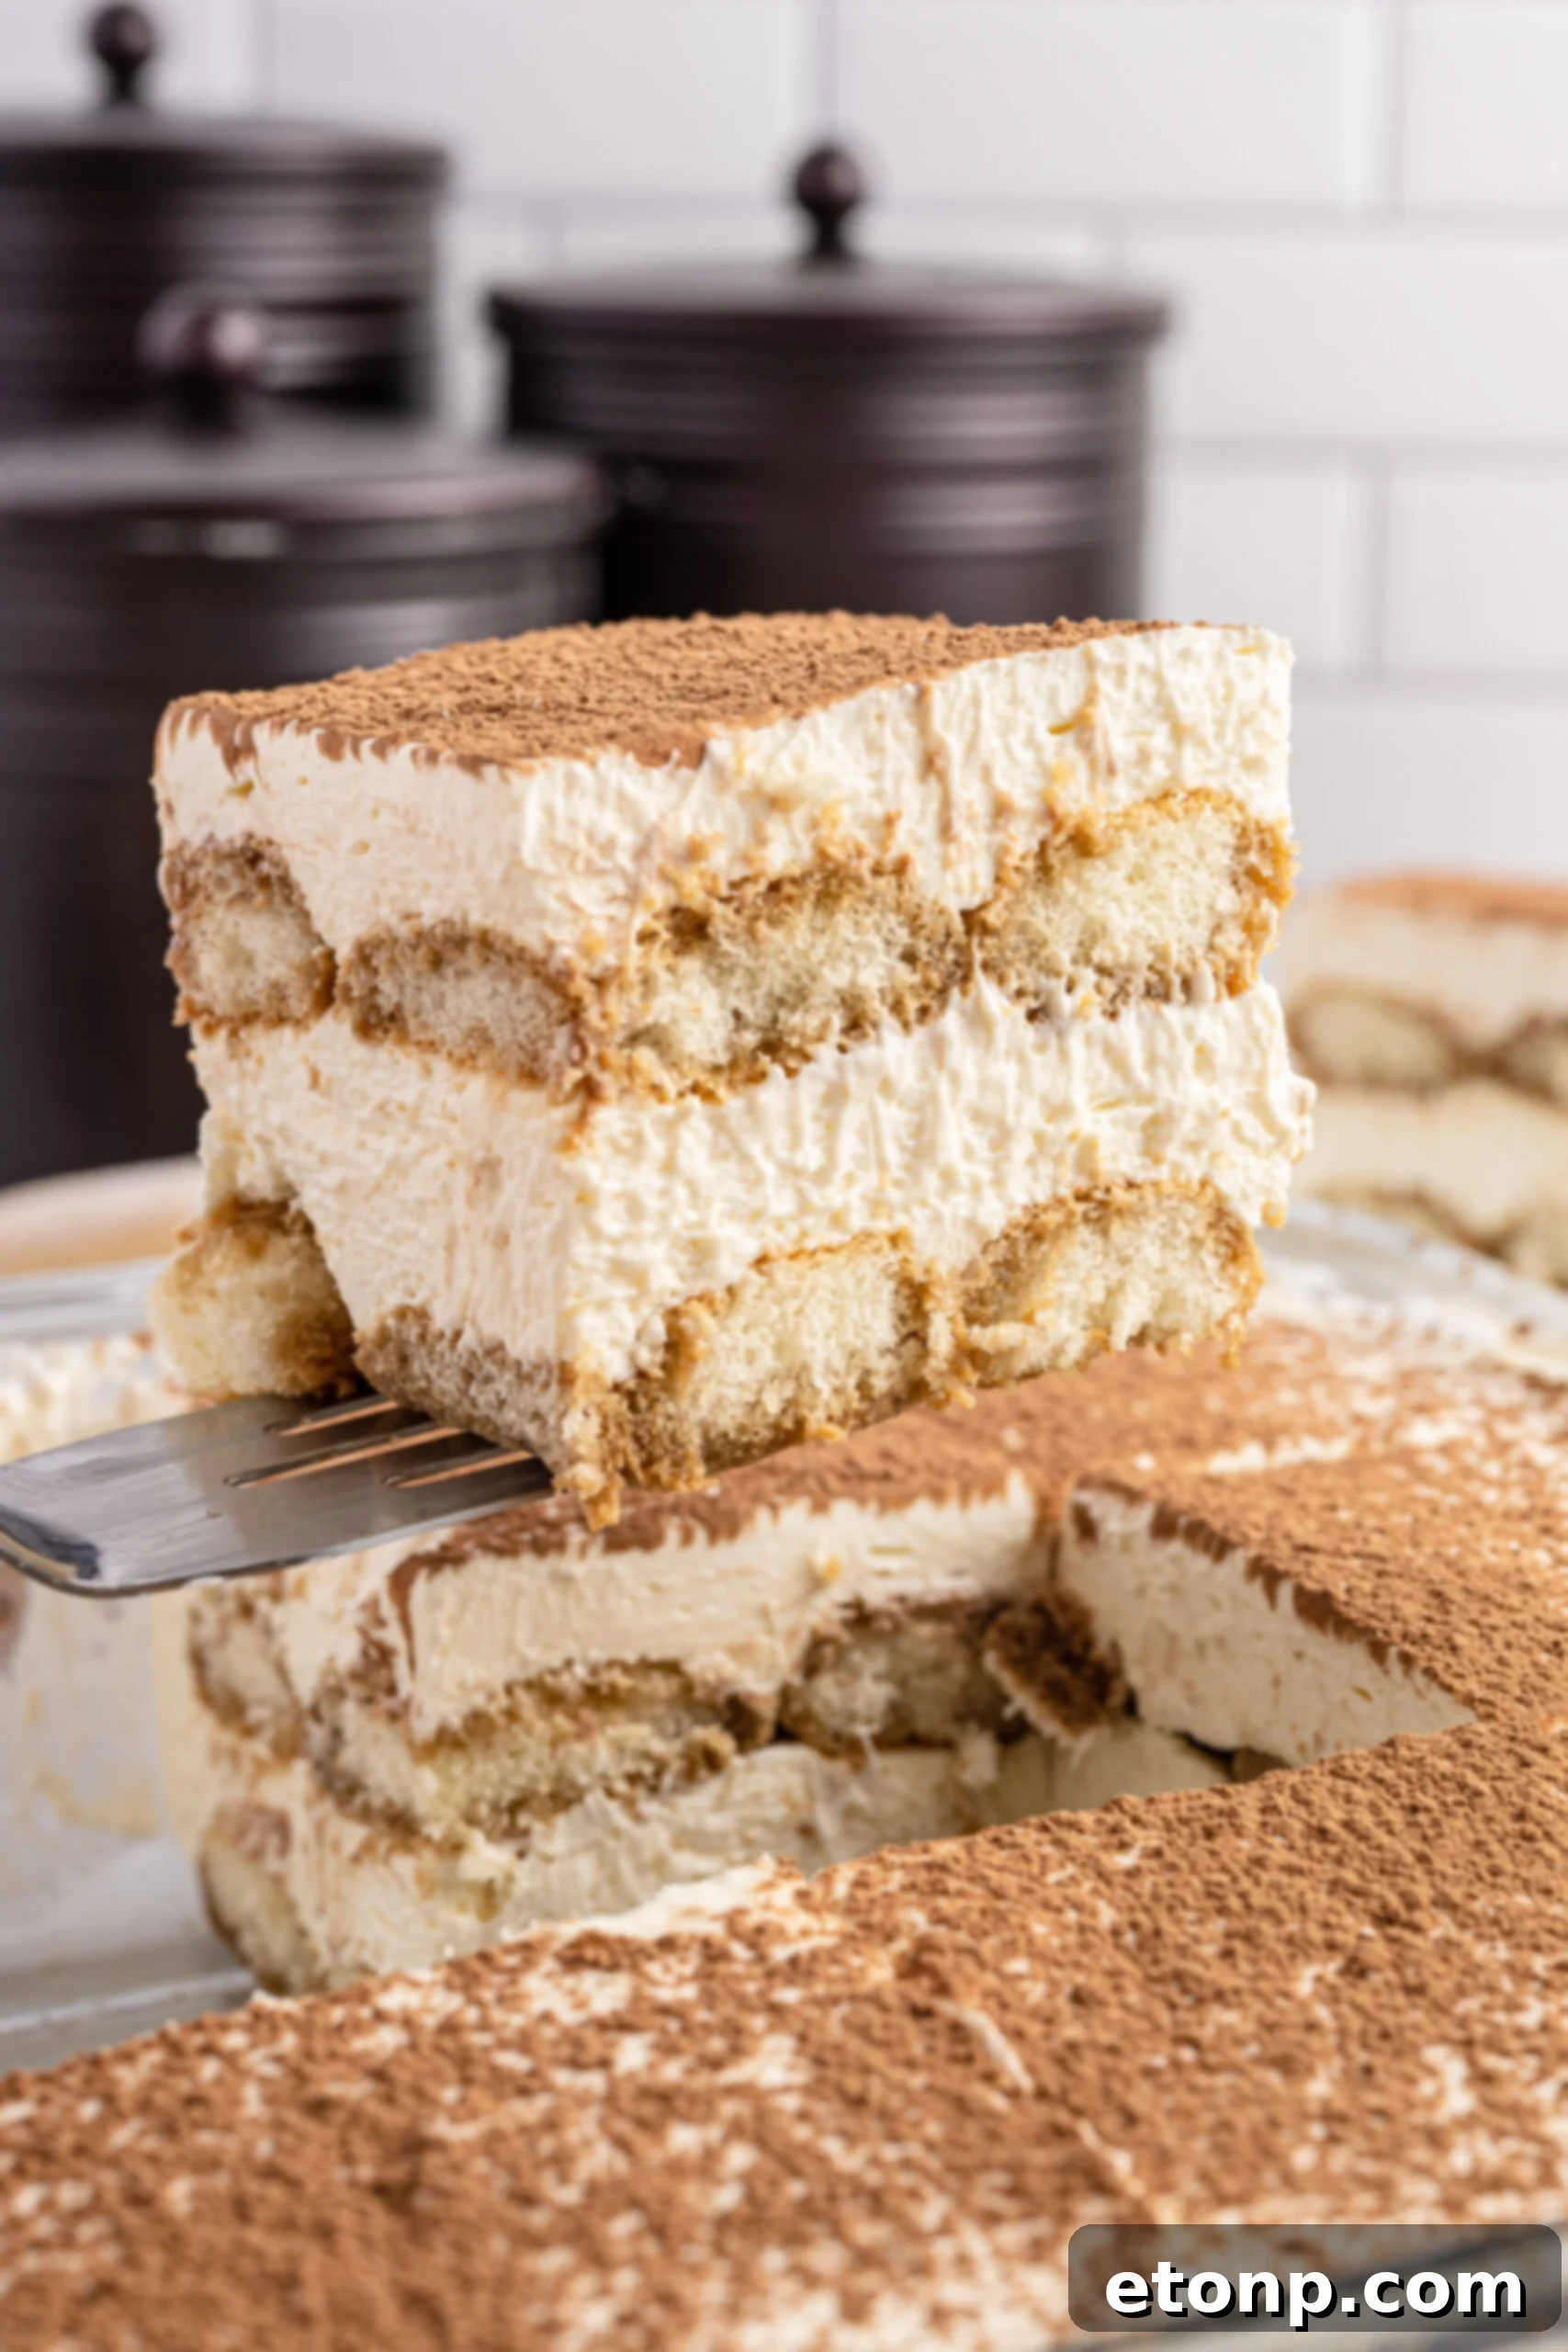
Elevate your dessert game with a treat that truly stands out. This **easy tiramisu** promises to impress your loved ones with its incredible flavor and luxurious texture, all without the fuss often associated with traditional recipes. One of its best qualities? It’s a fantastic make-ahead dessert. Prepare it in advance, let the flavors meld beautifully in the refrigerator, or even freeze it for a future special occasion. This flexibility makes it an ideal choice for busy hosts and dessert enthusiasts alike.
While tiramisu holds a special place in our hearts, you might also enjoy exploring other delightful dessert options. For those who love a fruity twist on classic coffee flavors, consider trying this blueberry coffee cake cheesecake. Alternatively, for a comforting and universally loved classic, my easy banana cake always hits the spot. Both are popular choices that are sure to please your family or a large crowd.
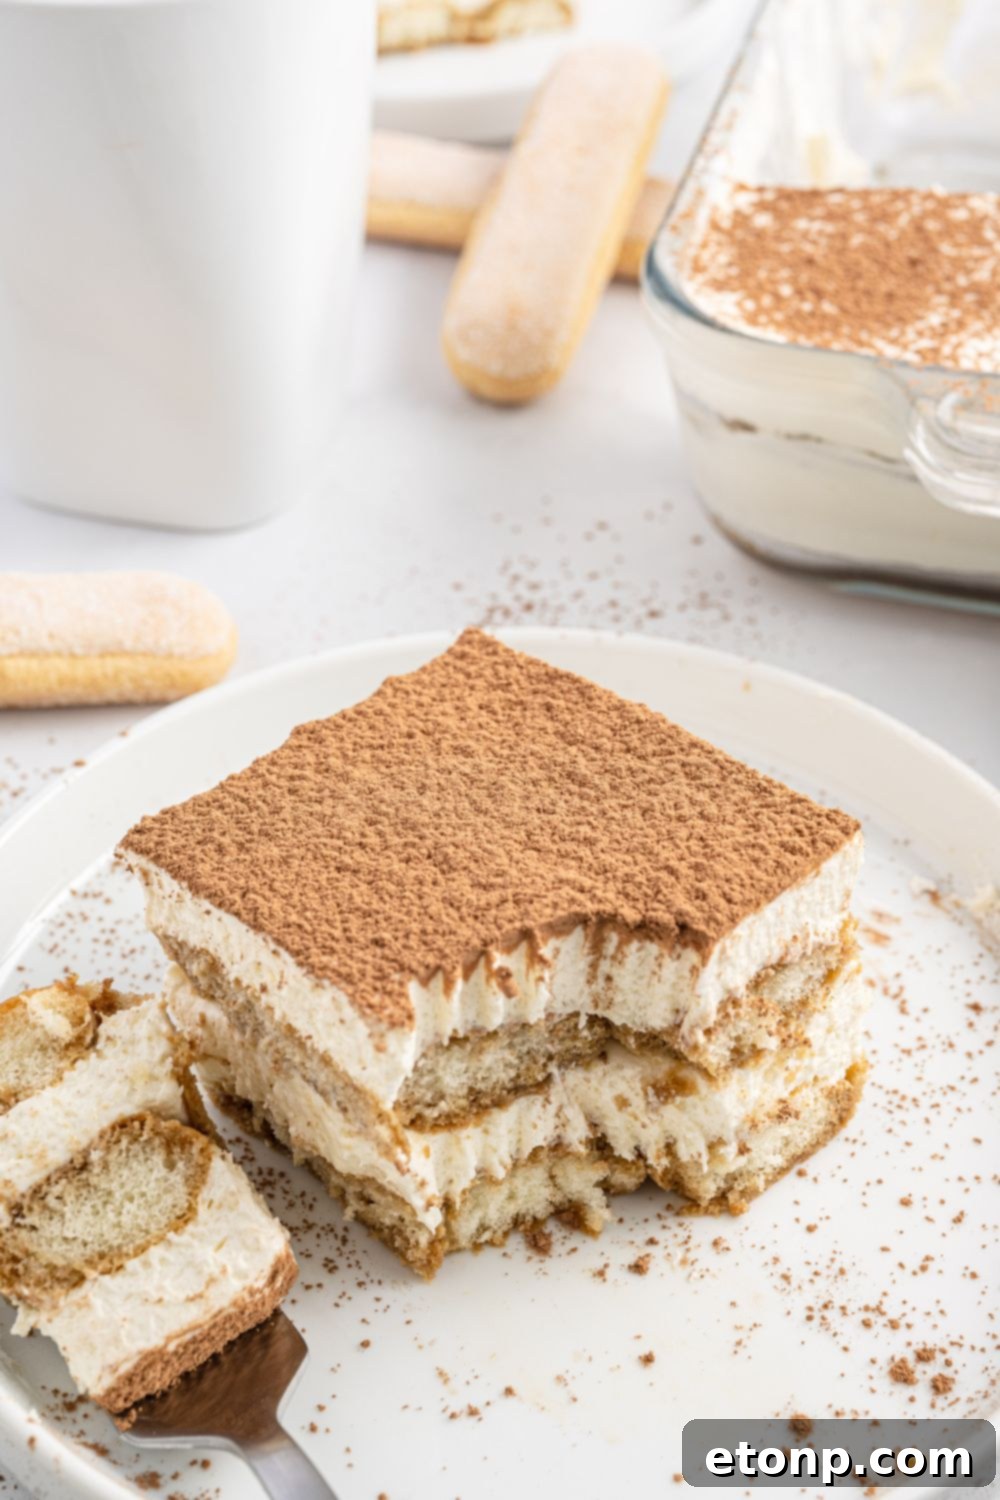
Easy Tiramisu Recipe: A Delectable Dessert Made Simple
Tiramisu, meaning “pick me up” in Italian, lives up to its name by offering a rich, invigorating boost of flavor from coffee and cocoa, complemented by a luxuriously creamy filling. If you’ve ever had the pleasure of tasting a perfectly prepared tiramisu, you know it’s an extraordinary experience. Many assume this elegant dessert is incredibly complicated to create at home, perhaps even daunting, and might be unsure where to begin.
However, this simplified **easy tiramisu recipe** challenges that notion entirely. It’s designed to prove that achieving that exquisite, authentic taste doesn’t require hours of work or a chef’s expertise. With just a handful of readily available ingredients and a mere 15 minutes of active preparation time, you can assemble a stunning dessert that will captivate everyone who tries it. This recipe strips away the complexities without sacrificing any of the decadent flavor or signature texture, making it an accessible joy for any home baker.
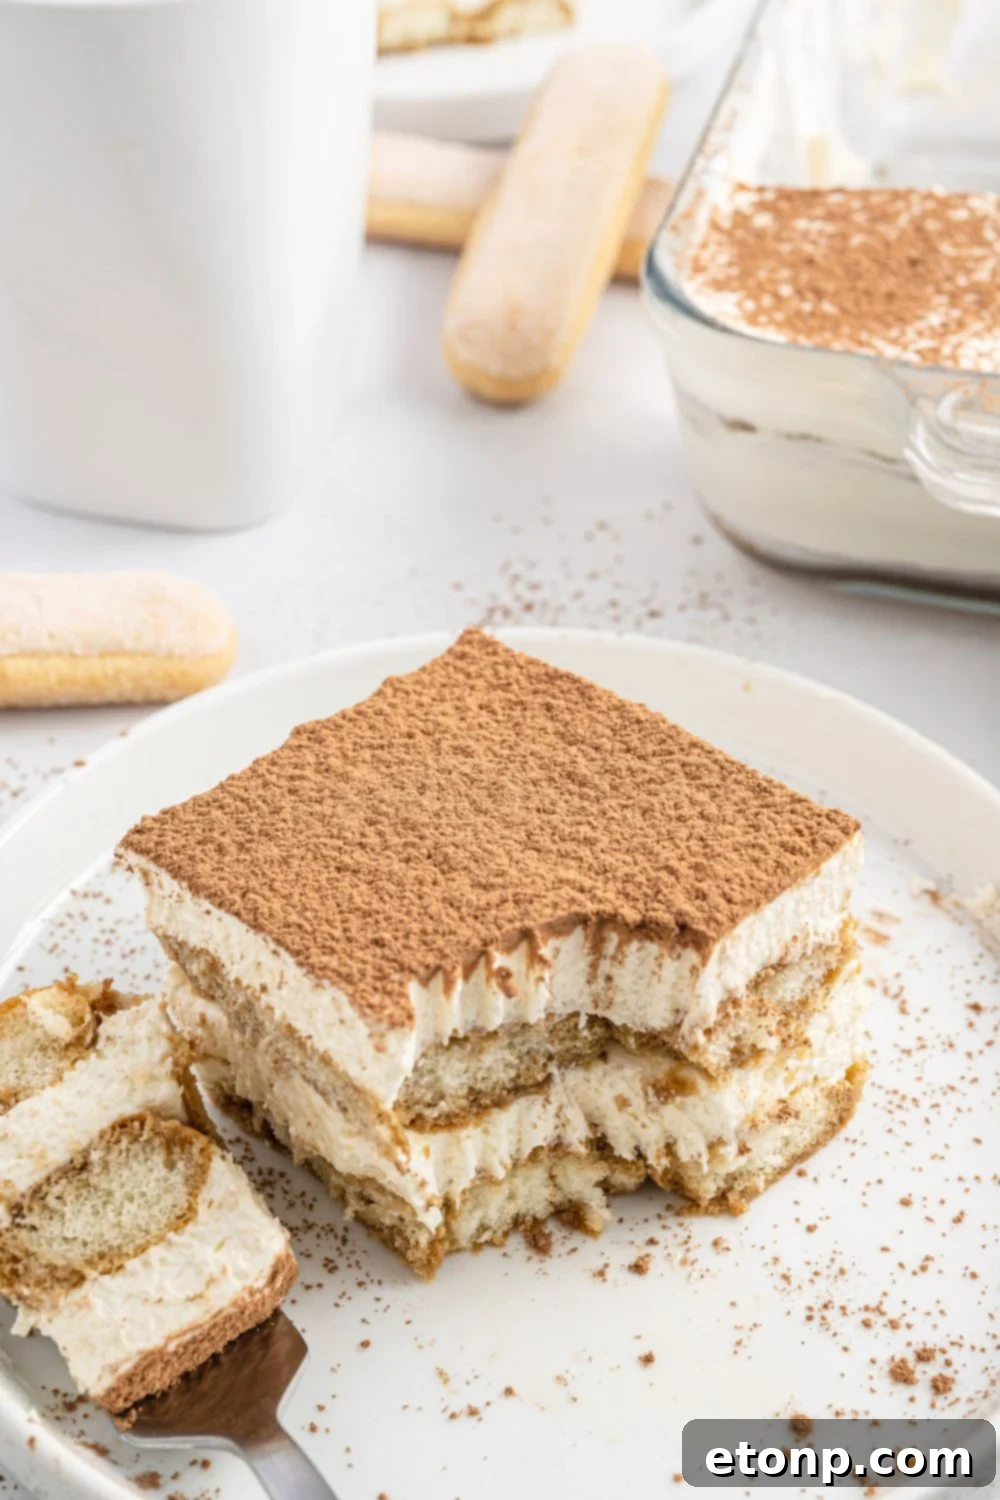
Why You’ll Fall in Love with This Easy Tiramisu Recipe
This isn’t just another dessert recipe; it’s an invitation to effortlessly create a masterpiece. Here’s why this particular **easy tiramisu** will become your go-to:
- Effortless Preparation: You’ll be astonished by how quickly this exquisite dessert comes together. With only about 15 minutes of hands-on assembly time, you can create a show-stopping dessert without breaking a sweat. It’s perfect for busy schedules!
- Unforgettable Flavor in Every Bite: If your taste buds sing at the thought of coffee-flavored treats, this recipe is tailor-made for you. Each spoonful delivers a harmonious blend of rich coffee, creamy mascarpone, and a hint of cocoa – a truly incredible experience.
- Better with Time: Unlike many desserts, this tiramisu truly improves with age. Storing it in the refrigerator for a day or two allows the individual flavors to fully meld and deepen, creating an even more harmonious and intense taste profile. This also makes it a superb make-ahead option.
- Perfect for Any Occasion: Whether you’re celebrating a birthday, hosting a wedding shower, gathering for the holiday season, or simply enjoying a quiet evening at home, tiramisu is always appropriate. There’s truly no wrong time to indulge in this magnificent dessert!
- Accessible Ingredients: You won’t need to embark on a scavenger hunt for obscure items. All the ingredients for this tiramisu are simple to find and readily available at almost any grocery store worldwide, ensuring a stress-free shopping experience.
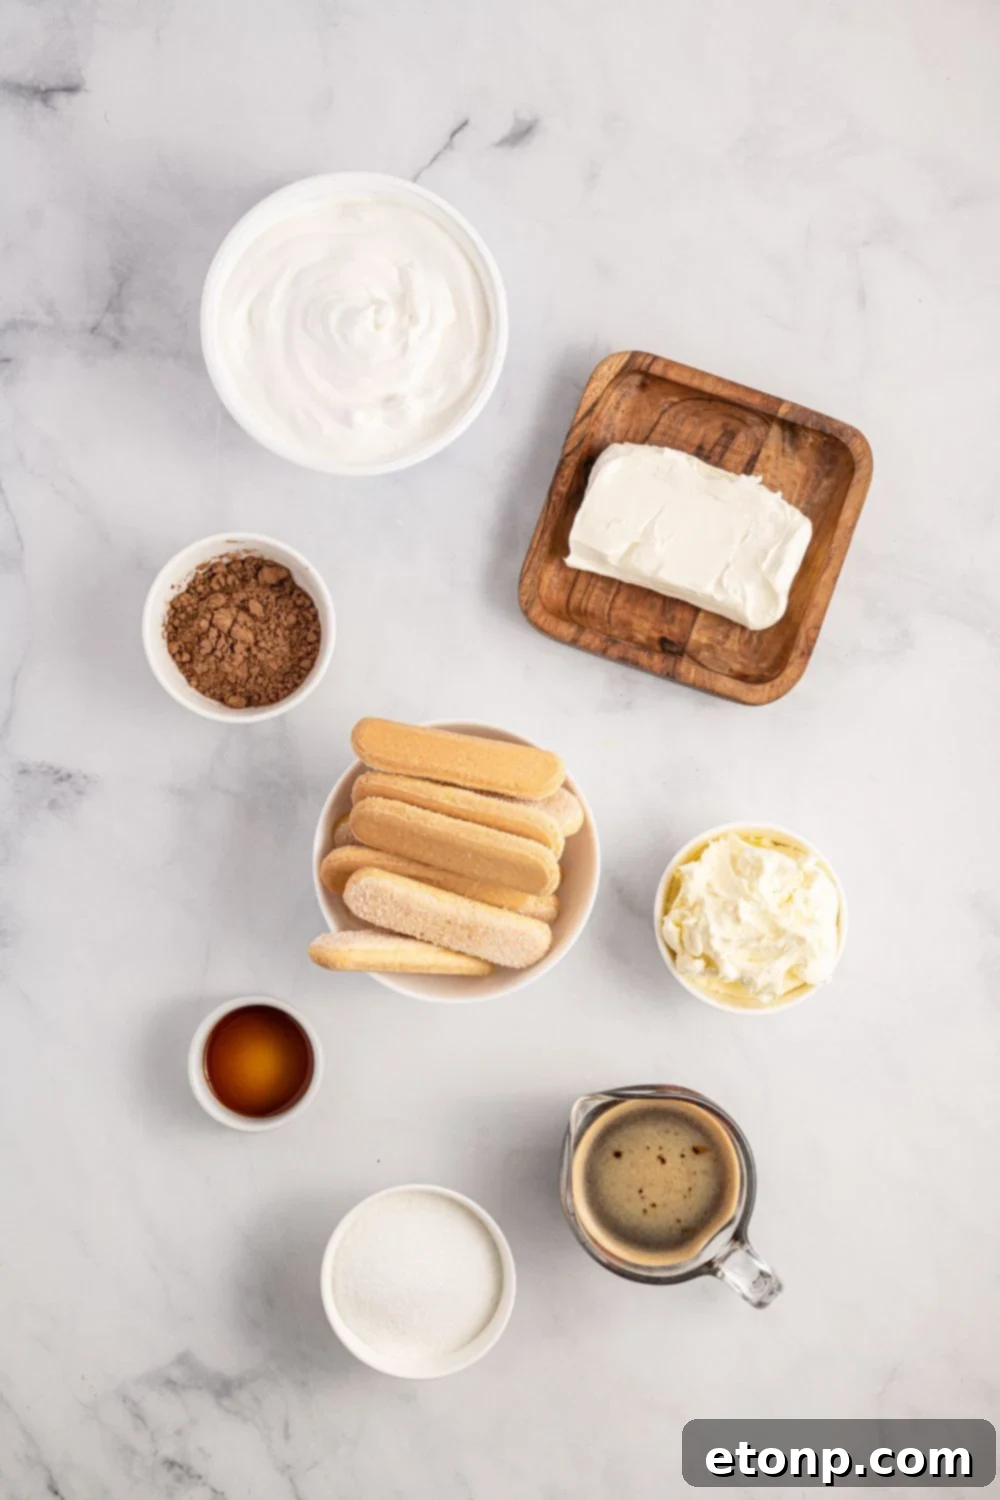
Essential Tiramisu Ingredients
Crafting this irresistible dessert requires a carefully selected list of ingredients that, when combined, create the magic of tiramisu:
- Mascarpone Cheese: Use an 8-ounce container of high-quality mascarpone cheese. For the smoothest consistency, ensure it reaches room temperature before mixing. This rich, Italian cream cheese forms the luscious base of our tiramisu.
- Cream Cheese: An 8-ounce package of cream cheese, also at room temperature, adds a wonderful tang and helps stabilize the creamy filling, making this recipe particularly easy and reliable.
- Granulated Sugar: About ½ cup of granulated white sugar sweetens the mascarpone mixture, balancing the richness of the cheese and the bitterness of the coffee. Adjust to your desired sweetness.
- Vanilla Extract: A teaspoon of pure vanilla extract enhances the overall flavor profile, adding warmth and depth to the creamy layers.
- Whipped Topping: A standard container of whipped topping (like Cool Whip), thoroughly thawed, contributes to the light and airy texture of the filling, making it incredibly easy to work with and wonderfully smooth.
- Ladyfingers: You will need approximately 19 ladyfinger cookies. These delicate, sponge-like biscuits are crucial for absorbing the coffee and creating the distinct layered structure of tiramisu.
- Cold Coffee or Espresso: Brew a cup of strong coffee or espresso and allow it to cool completely in the fridge before use. The quality of your coffee will significantly impact the final flavor of your tiramisu, so choose a blend you enjoy.
Additionally, you will need unsweetened cocoa powder for dusting, which adds a beautiful finish and a crucial bitter contrast to this delightful **easy tiramisu recipe**.
Make-Ahead and Storage Instructions for Tiramisu
One of the many advantages of this **Easy Tiramisu recipe** is how well it lends itself to advance preparation. In fact, making tiramisu ahead of time is not just a convenient option; it’s highly recommended. The flavors truly have a chance to meld and deepen when given ample time to sit in the refrigerator, resulting in a more harmonious and delicious dessert.
If you plan to prepare your tiramisu a day or two before serving, simply cover the baking dish tightly with plastic wrap to prevent any air exposure and keep it fresh. Store it in the refrigerator, ensuring it remains chilled. Once you’re ready to serve, remove it from the fridge, allow it to sit at room temperature for a few minutes if desired, and then sprinkle the unsweetened cocoa powder generously over the top for that signature finish. For longer storage, tiramisu freezes beautifully. Just ensure it’s in a freezer-friendly container, tightly wrapped, and it can last for up to two months. Thaw slowly in the refrigerator before serving.
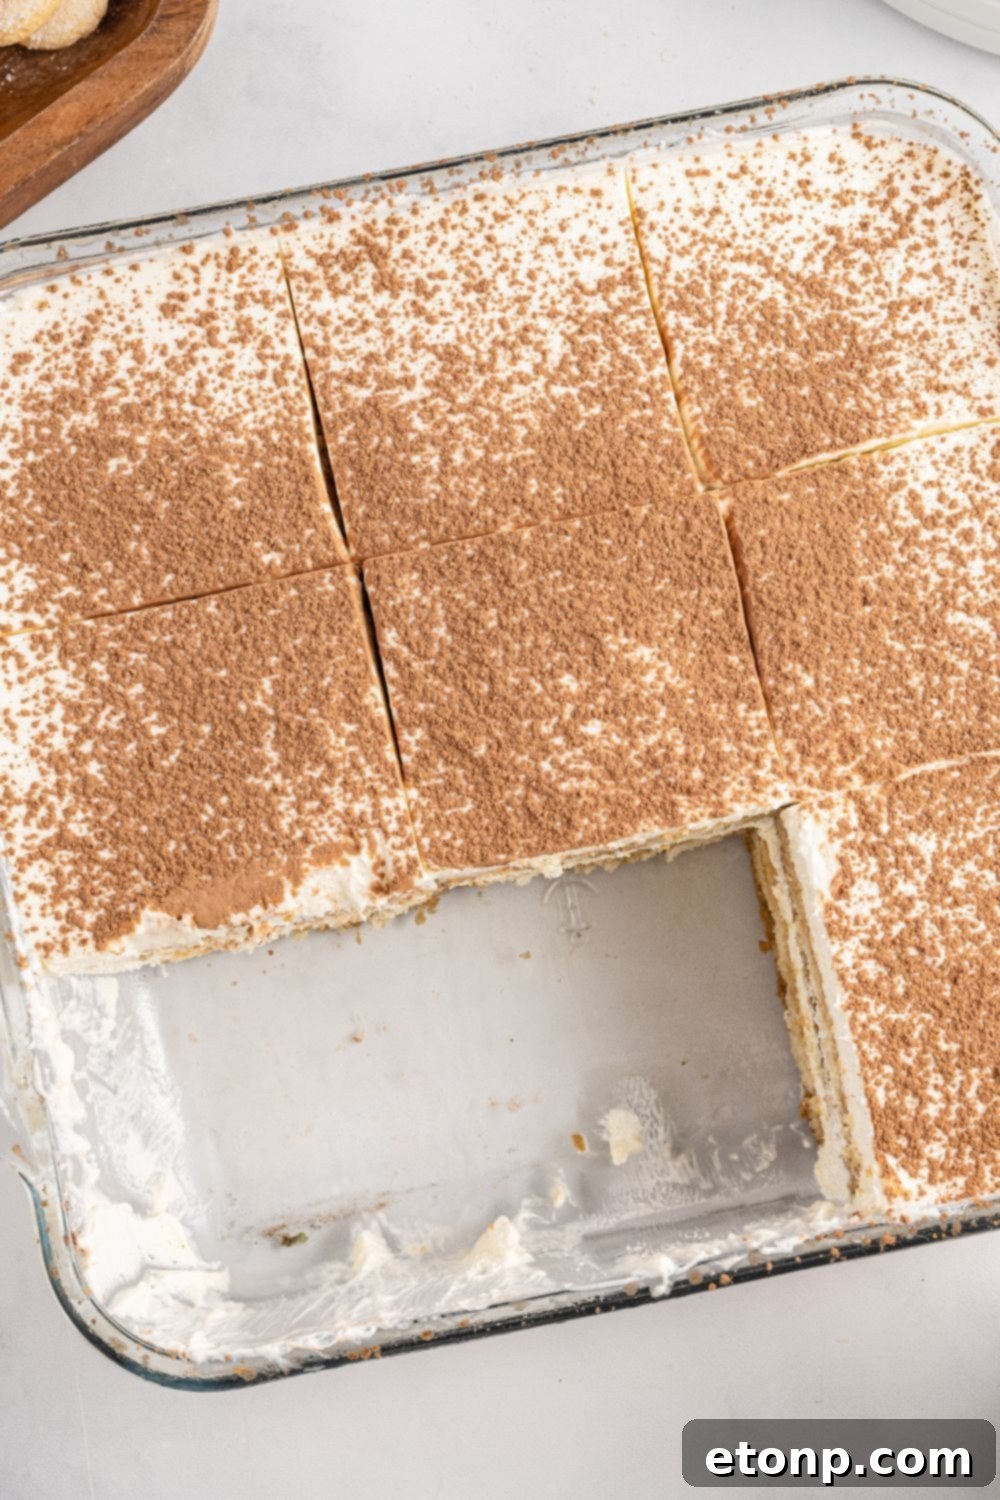
Creative Variations to Your Tiramisu Recipe
While this **easy tiramisu** is perfect as is, it’s also wonderfully adaptable! Feel free to get creative and customize it to your taste or for different occasions:
- Nutty Extracts: For a delightful twist, swap out the vanilla extract for almond extract. This introduces a subtle, elegant nutty note that complements the coffee beautifully.
- Autumnal Spice: Transform your tiramisu into a fall-inspired treat by adding a touch of pumpkin spice seasoning to the mascarpone mixture. For an even richer pumpkin flavor, fold in ½ cup of pumpkin puree.
- Fresh Fruit Infusion: Introduce a burst of freshness by adding layers of sliced fresh fruit. Raspberries, strawberries, or a vibrant mix of berries would be absolutely delicious and add a lovely texture contrast.
- Rum Revelation: If you’re out of vanilla extract or simply prefer a boozier kick, rum extract can be a fantastic substitute. It significantly enhances the dessert’s depth of flavor, giving it a more traditional European feel.
- Cookie Alternatives: No ladyfingers on hand or simply prefer something different? Vanilla wafer cookies can work as a substitute. The key is to use a relatively firm cookie that won’t become overly soggy when quickly dipped in espresso.
- Chocolate-Hazelnut Swirl: Swirl in some Nutella or your favorite chocolate-haznut spread into the mascarpone mixture for an added layer of rich, chocolatey, nutty flavor.
- Crunchy Toppings: Elevate the texture by topping your tiramisu with some finely chopped hazelnuts or elegantly sliced almonds just before serving.
- Alcoholic Kick: For an adult-only indulgence, add a splash of Kahlua, Amaretto, or even Marsala wine to your cold coffee or espresso before dipping the ladyfingers. This infuses the dessert with a wonderful boozy warmth.
- Individual Servings: Create charming single-serve tiramisu portions by layering the ingredients in small glass jars, ramekins, or dessert cups. These are perfect for parties and elegant presentations.
- Lighter Sweetness: For those conscious of sugar intake, replace granulated sugar with your preferred artificial sweetener to reduce the sugar content without sacrificing sweetness.
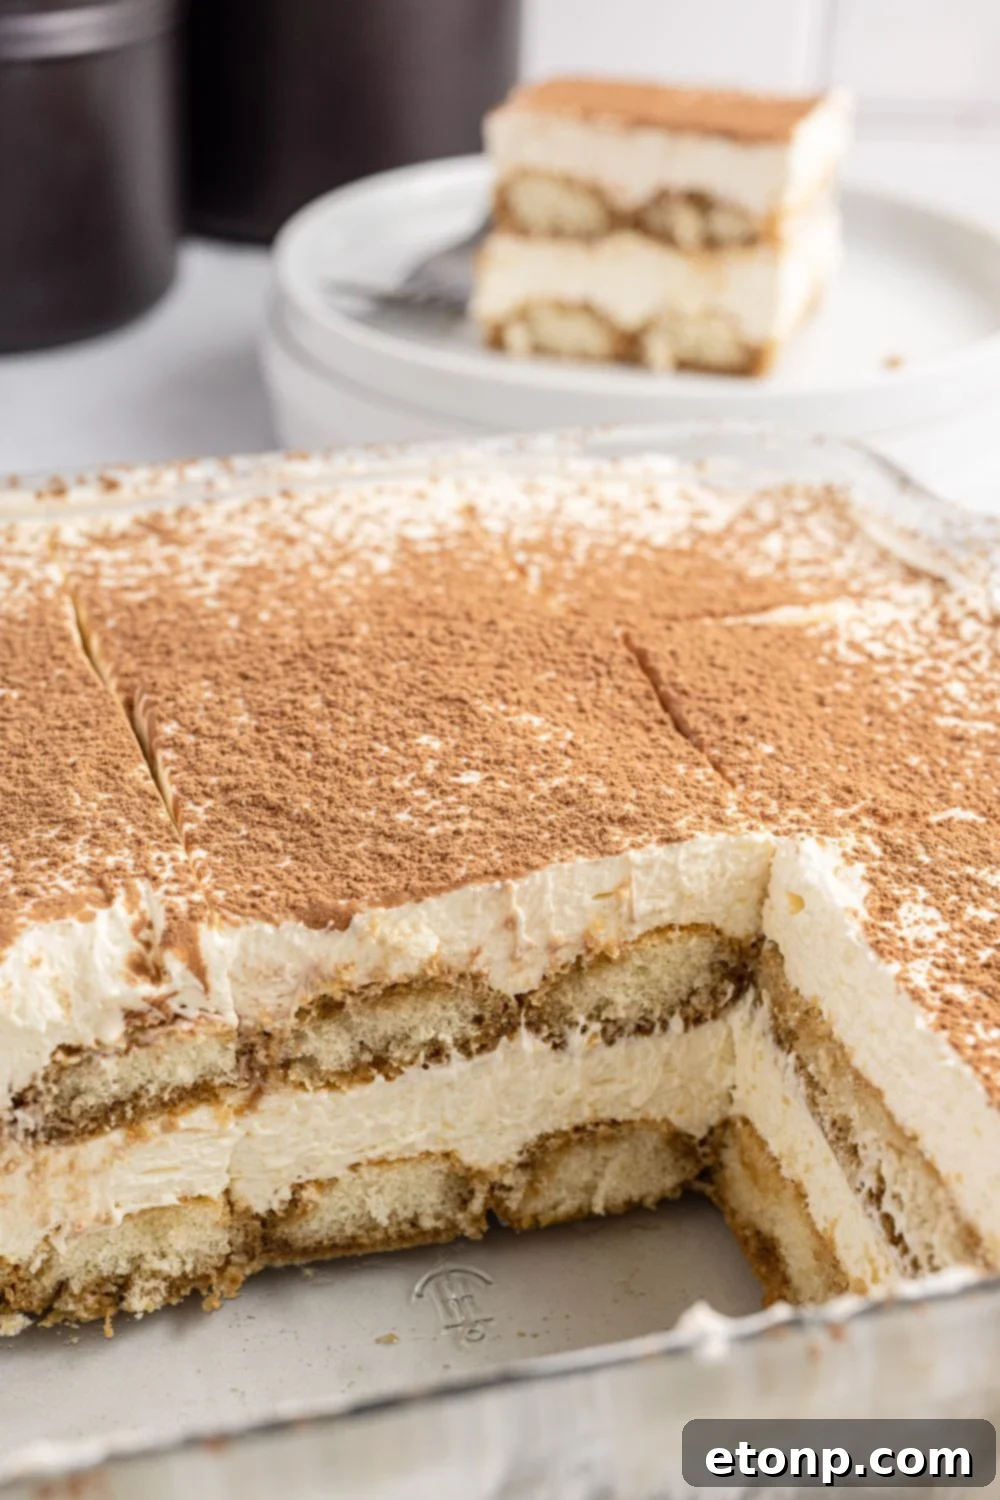
This amazing **easy tiramisu** has quickly become a family favorite! I’ve made it twice now for special family occasions – once for Thanksgiving, and it was an absolute hit. It came out perfectly both times, creamy, flavorful, and a delight for everyone. I’m already planning to make it again for Christmas, and after that, I’m sure I’ll be looking for any excuse to whip up another batch. It’s truly that good and consistently delivers!
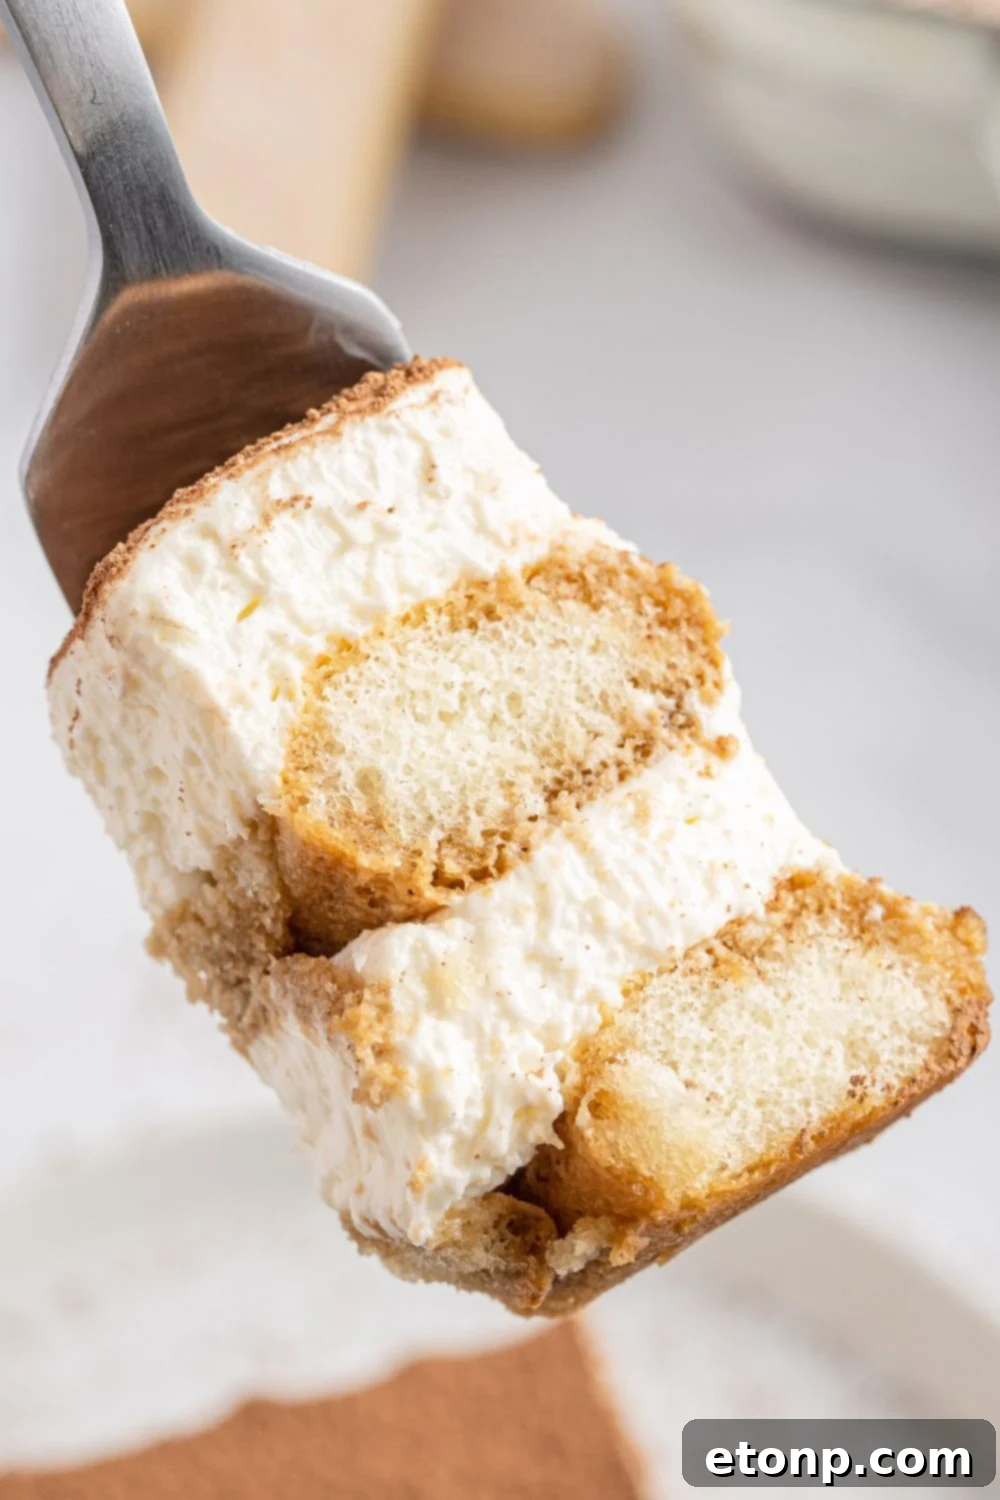
Expert Tips for Tiramisu Success
Achieving a perfect tiramisu, even an easy one, comes down to a few key techniques and considerations. Follow these tips to ensure your dessert is nothing short of spectacular:
- Quality Coffee is Paramount: The coffee or espresso forms the backbone of tiramisu’s flavor. Using a high-quality brew will make a significant difference in the depth and richness of your dessert. Opt for a dark roast or espresso for the most authentic taste.
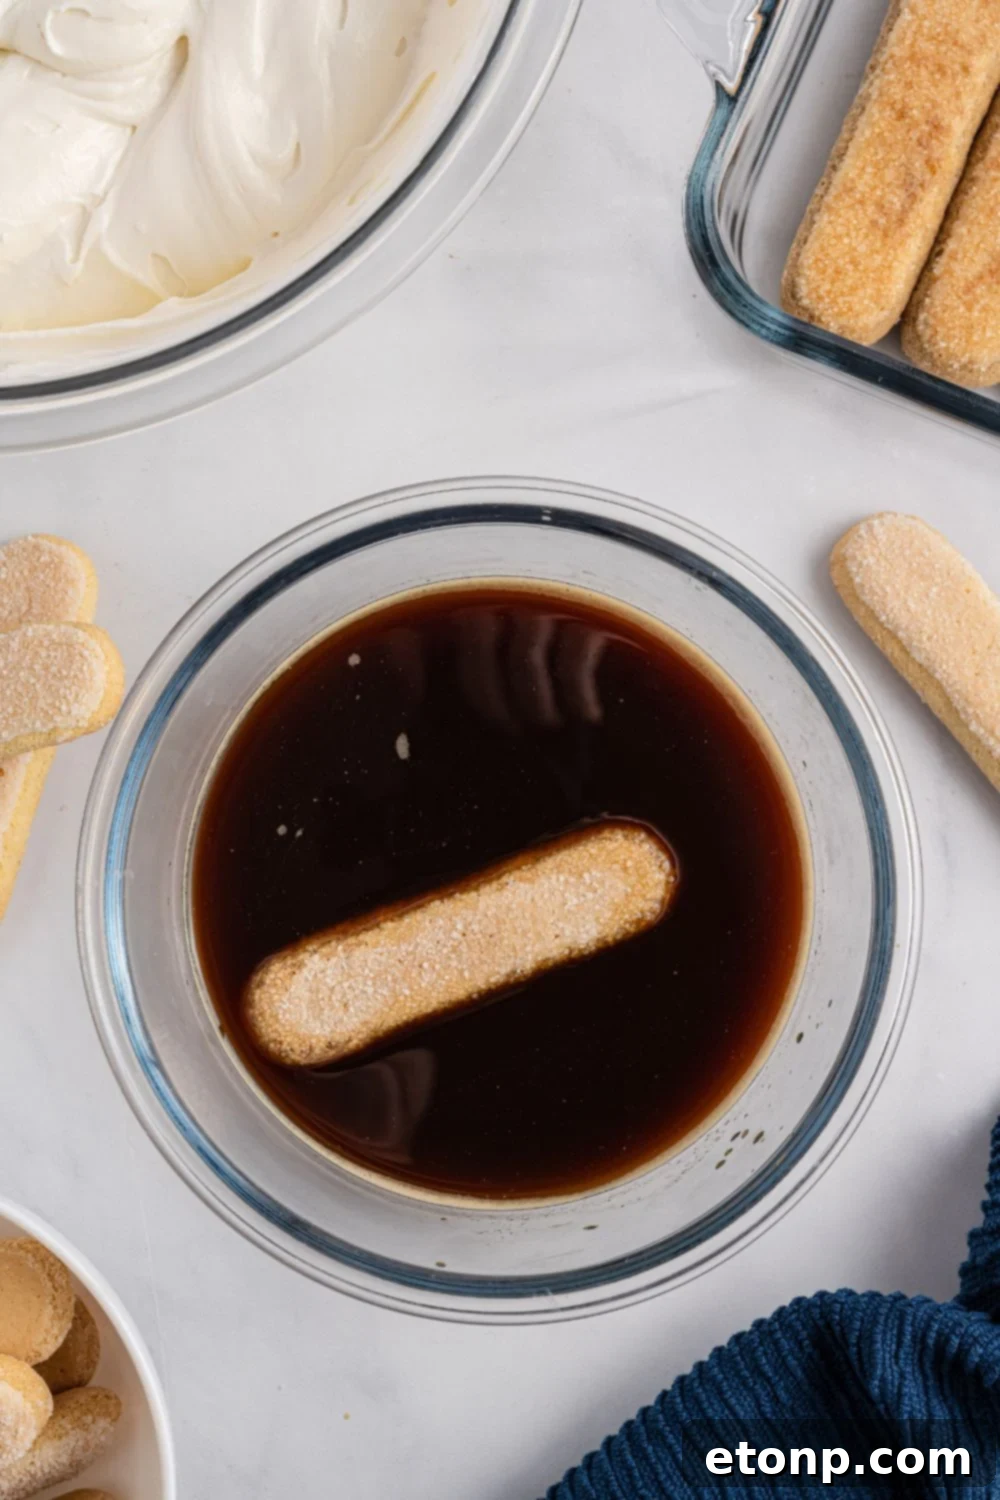
- Don’t Oversaturate Ladyfingers: This is a crucial step! Ladyfingers are sponges, and while they need to absorb coffee, prolonged soaking will make them mushy and cause your tiramisu to collapse. A quick dip – just a second or two on each side – is all that’s needed. You want them moist, not drenched.
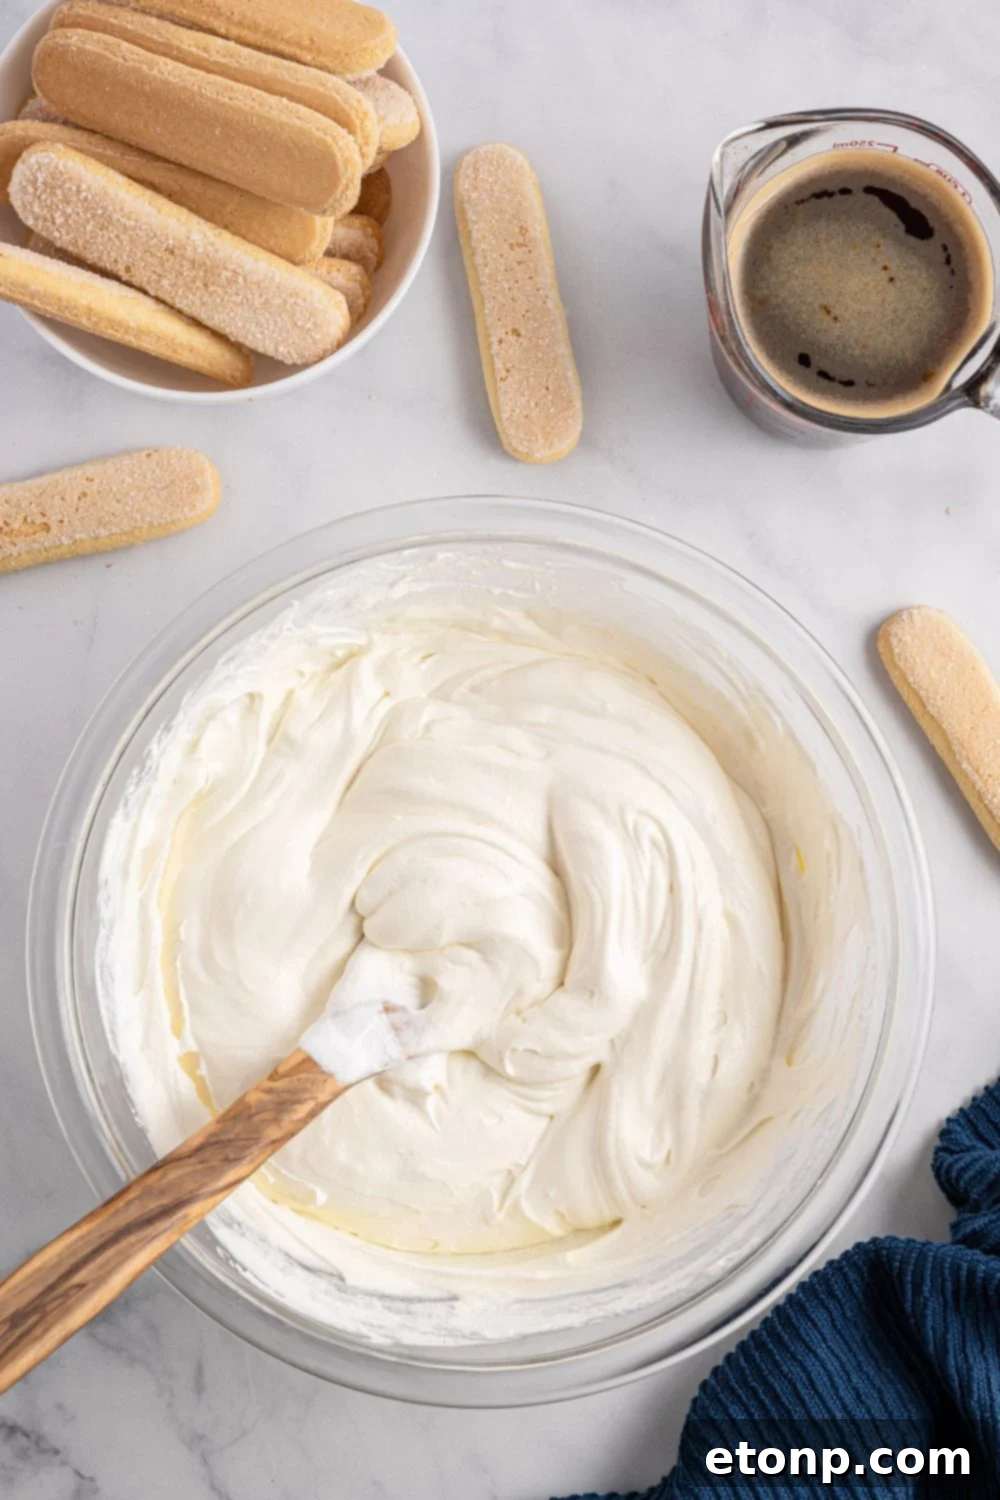
- Gentle Folding for Creamy Texture: When incorporating the thawed whipped topping into the mascarpone mixture, fold it in gently with a rubber spatula. Over-mixing can deflate the whipped topping, leading to a denser, less airy cream. The goal is a light and fluffy consistency.
- Chill Time is Non-Negotiable: Tiramisu requires adequate chilling time for the layers to set and the flavors to fully develop. Cover your dish tightly with plastic wrap and refrigerate for at least 4 hours, though overnight is truly best. This ensures a firm, easy-to-slice dessert with perfectly married flavors.
- Dust Generously with Cocoa: The final dusting of unsweetened cocoa powder is not just for visual appeal; it provides a vital bitter contrast to the sweet, creamy layers below. It elevates the dessert both in presentation and taste.
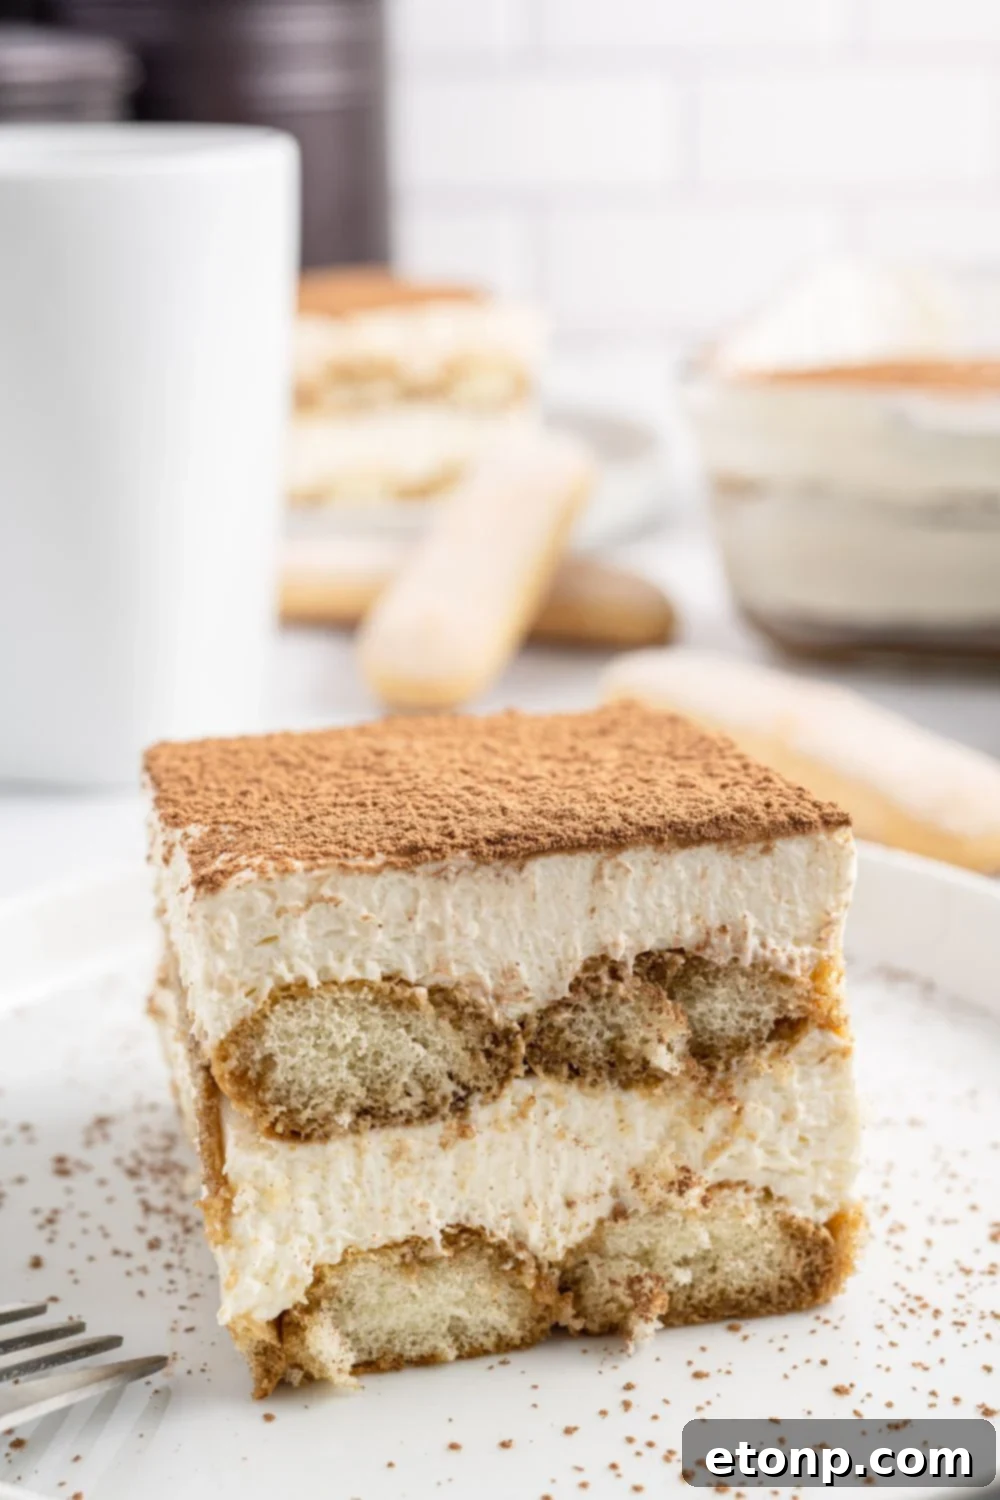
Easy Tiramisu FAQs: Your Questions Answered
Does this Easy Tiramisu recipe require raw eggs?
No, it does not! While many traditional tiramisu recipes do include raw eggs in the mascarpone cream for richness and texture, our **Easy Tiramisu recipe** thoughtfully omits them. This modification makes the dessert much safer and more accessible for everyone to enjoy without any concerns about raw egg consumption, all while maintaining that incredibly delicious taste and creamy texture you expect from tiramisu.
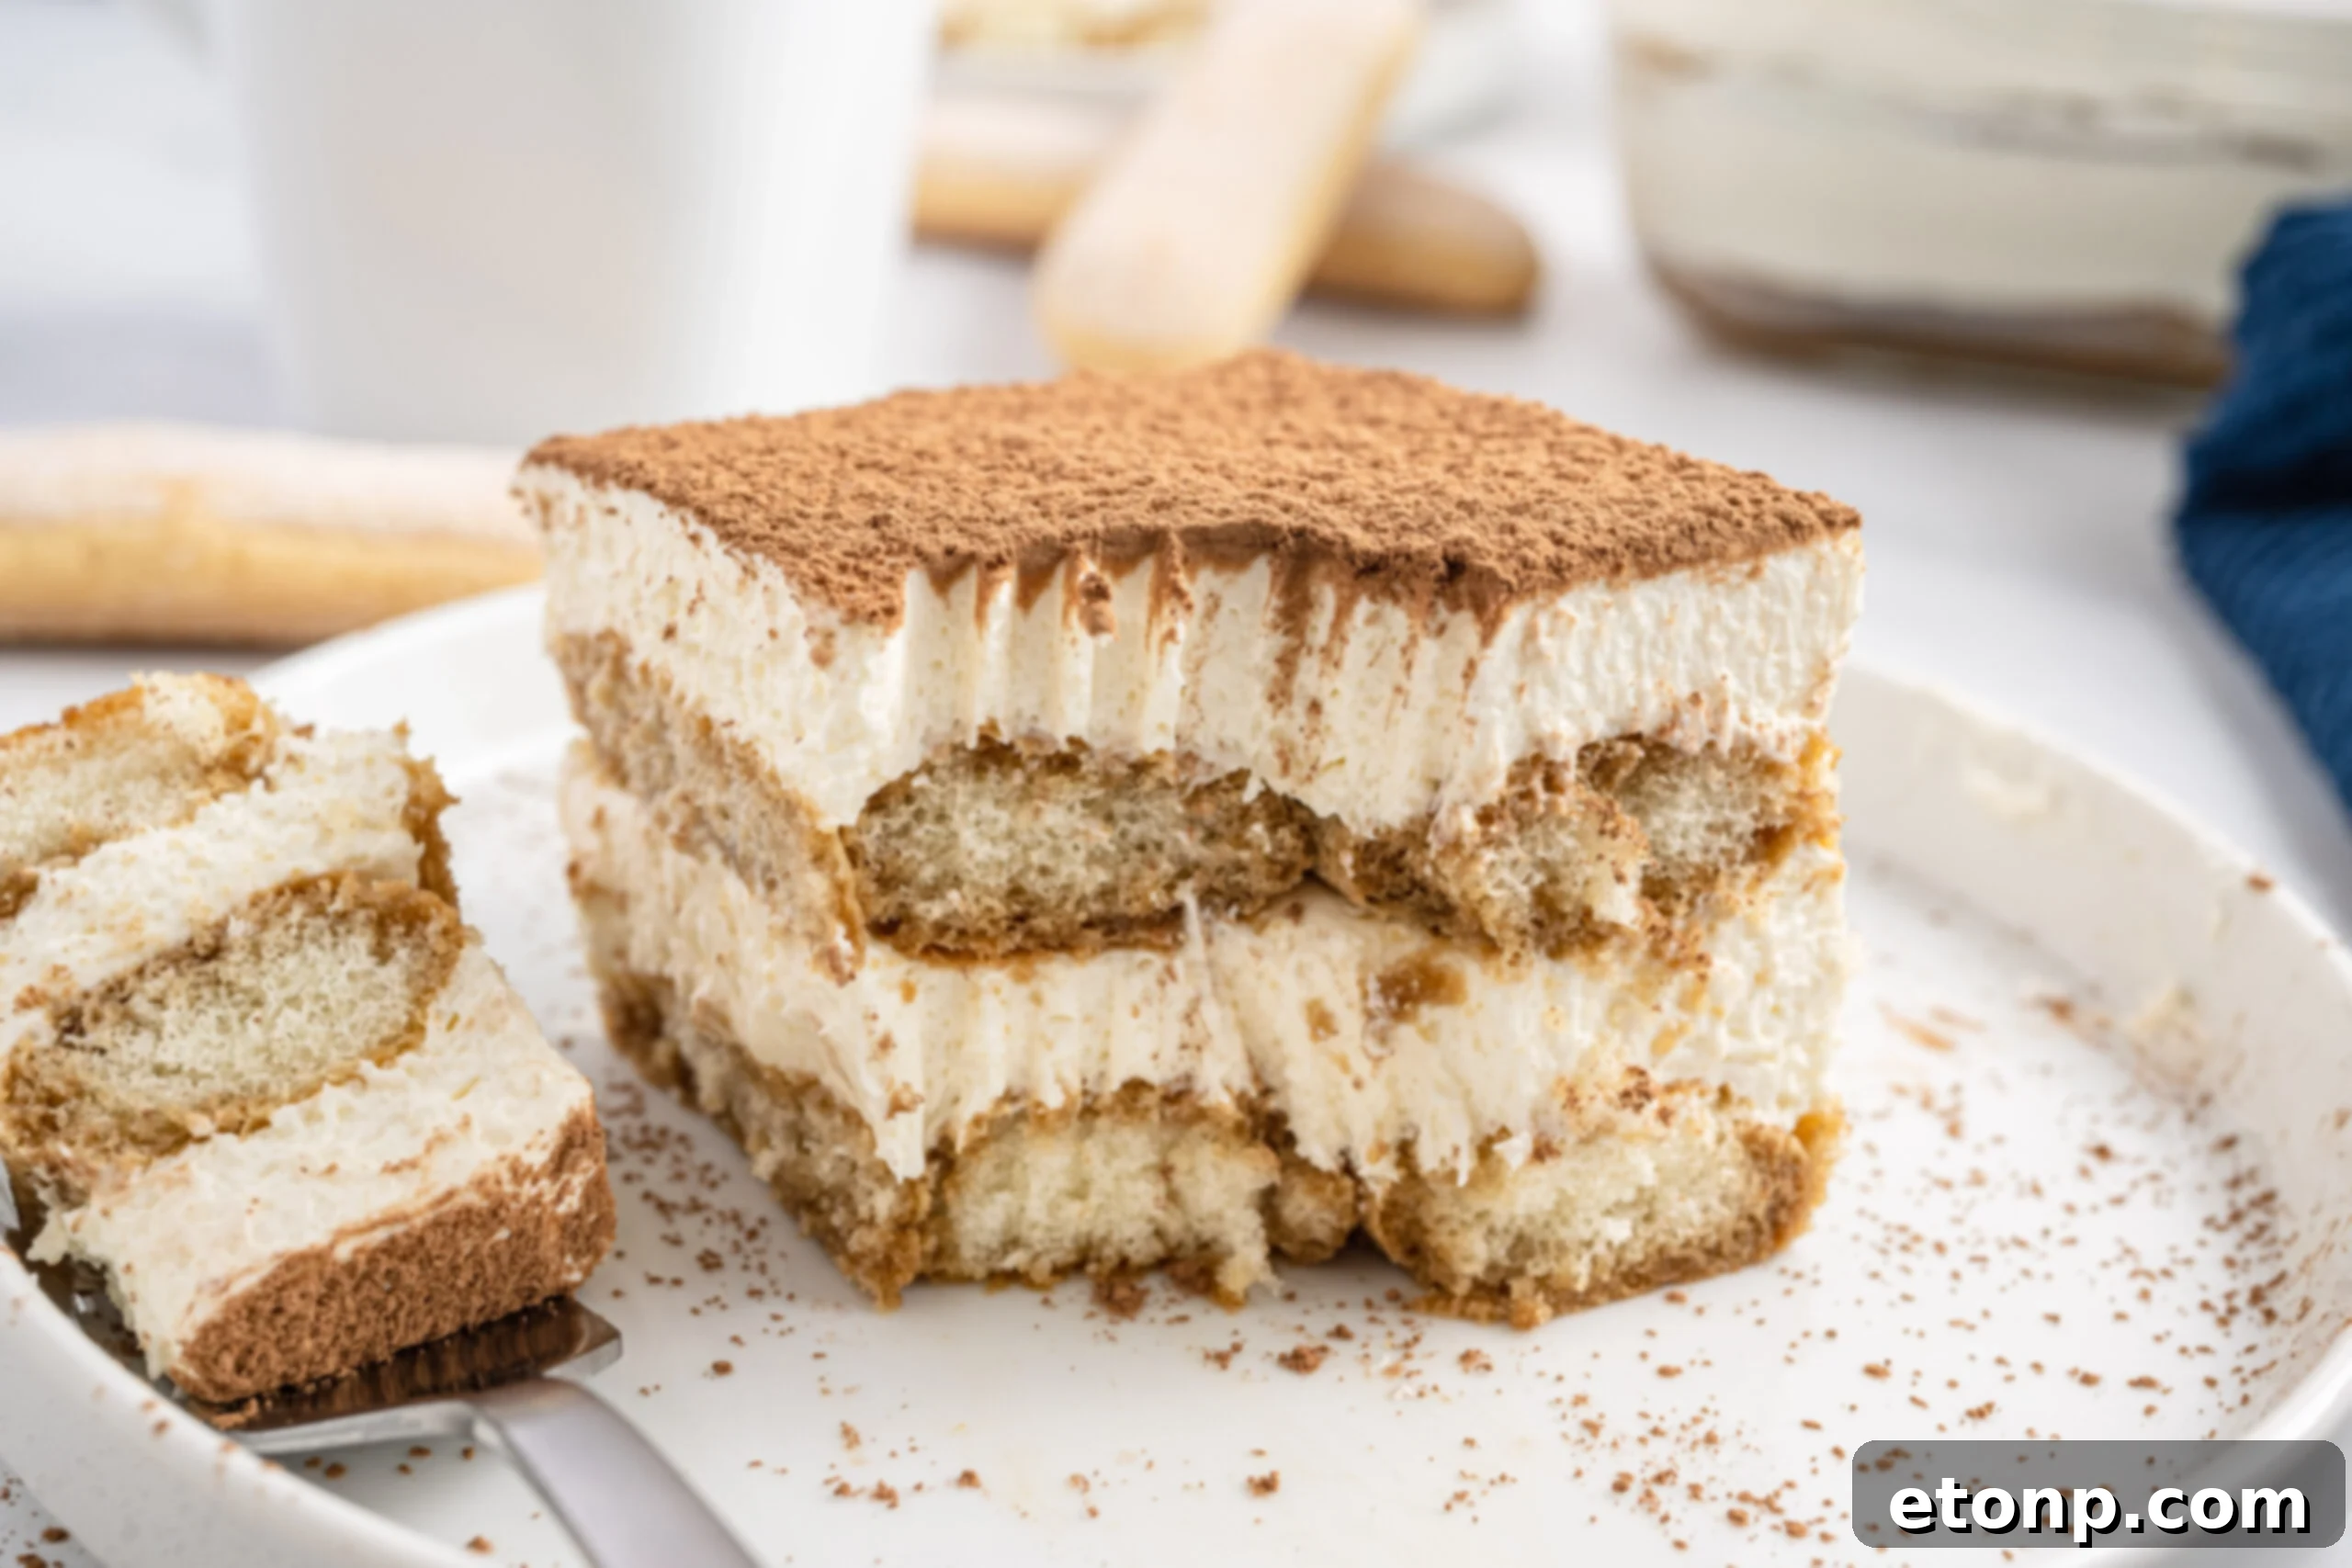
Can I skip the cocoa powder dusting?
Technically, yes, you can skip the cocoa powder if you prefer. While a traditional tiramisu is always finished with a dusting of unsweetened cocoa, which provides a lovely visual appeal and a contrasting bittersweet flavor, your dessert will still be delicious without it. As an alternative topping, you might consider a light sprinkle of powdered sugar for a different aesthetic and a touch of extra sweetness, or even some chocolate shavings.
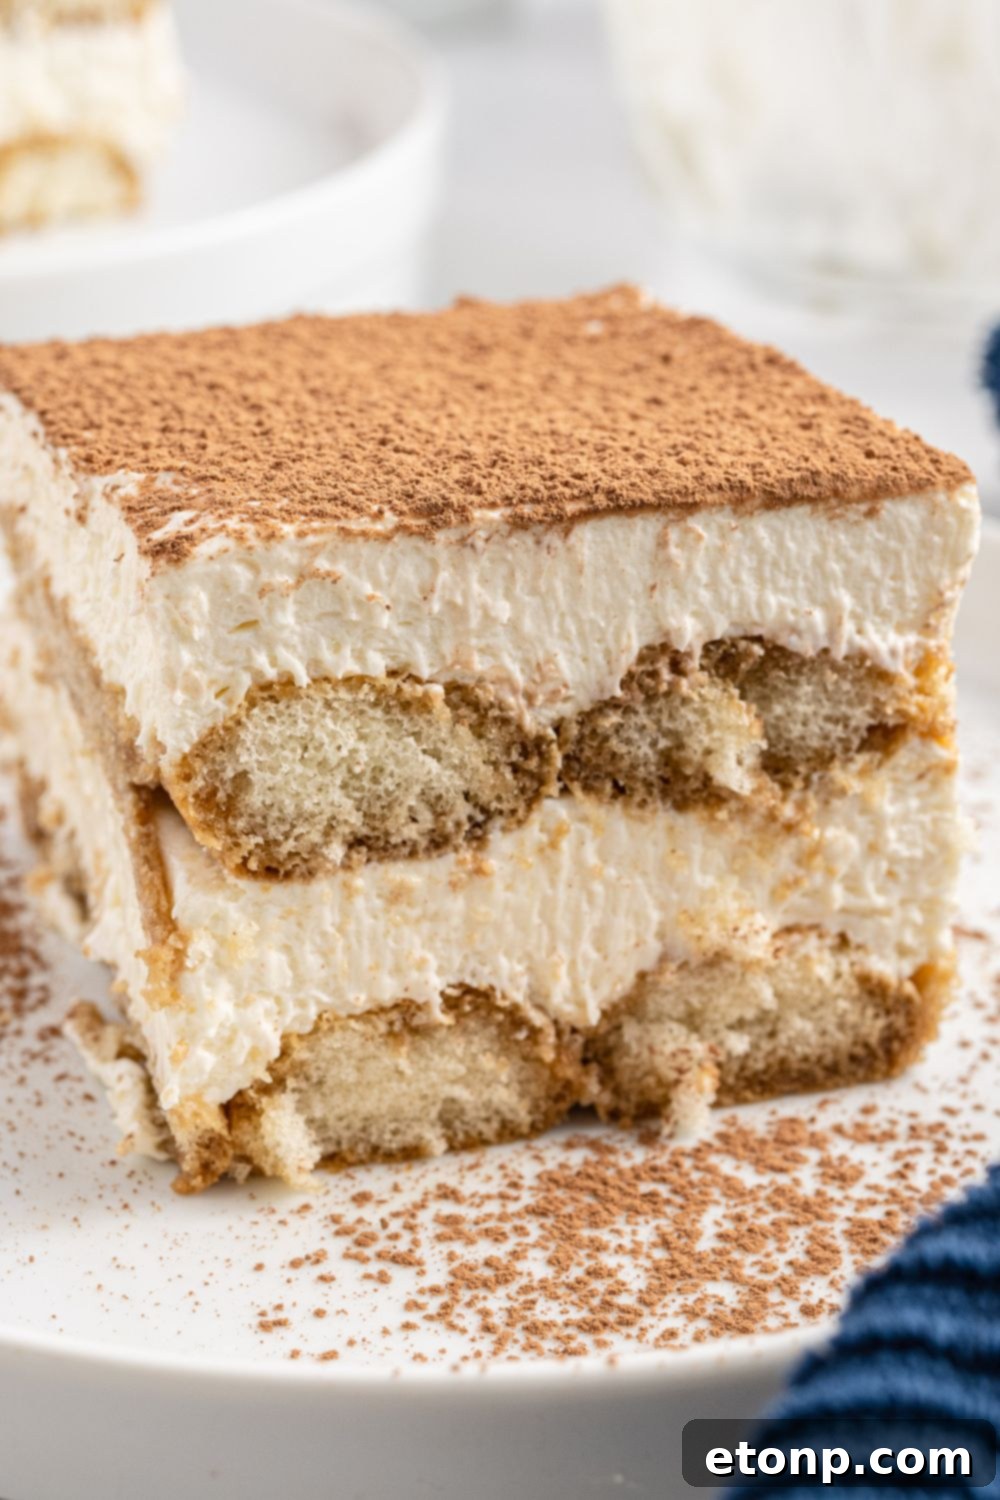
This **easy tiramisu** is a true delight: simple to prepare, a joy to assemble, and it tastes even better the next day—that is, if it lasts that long in your fridge!
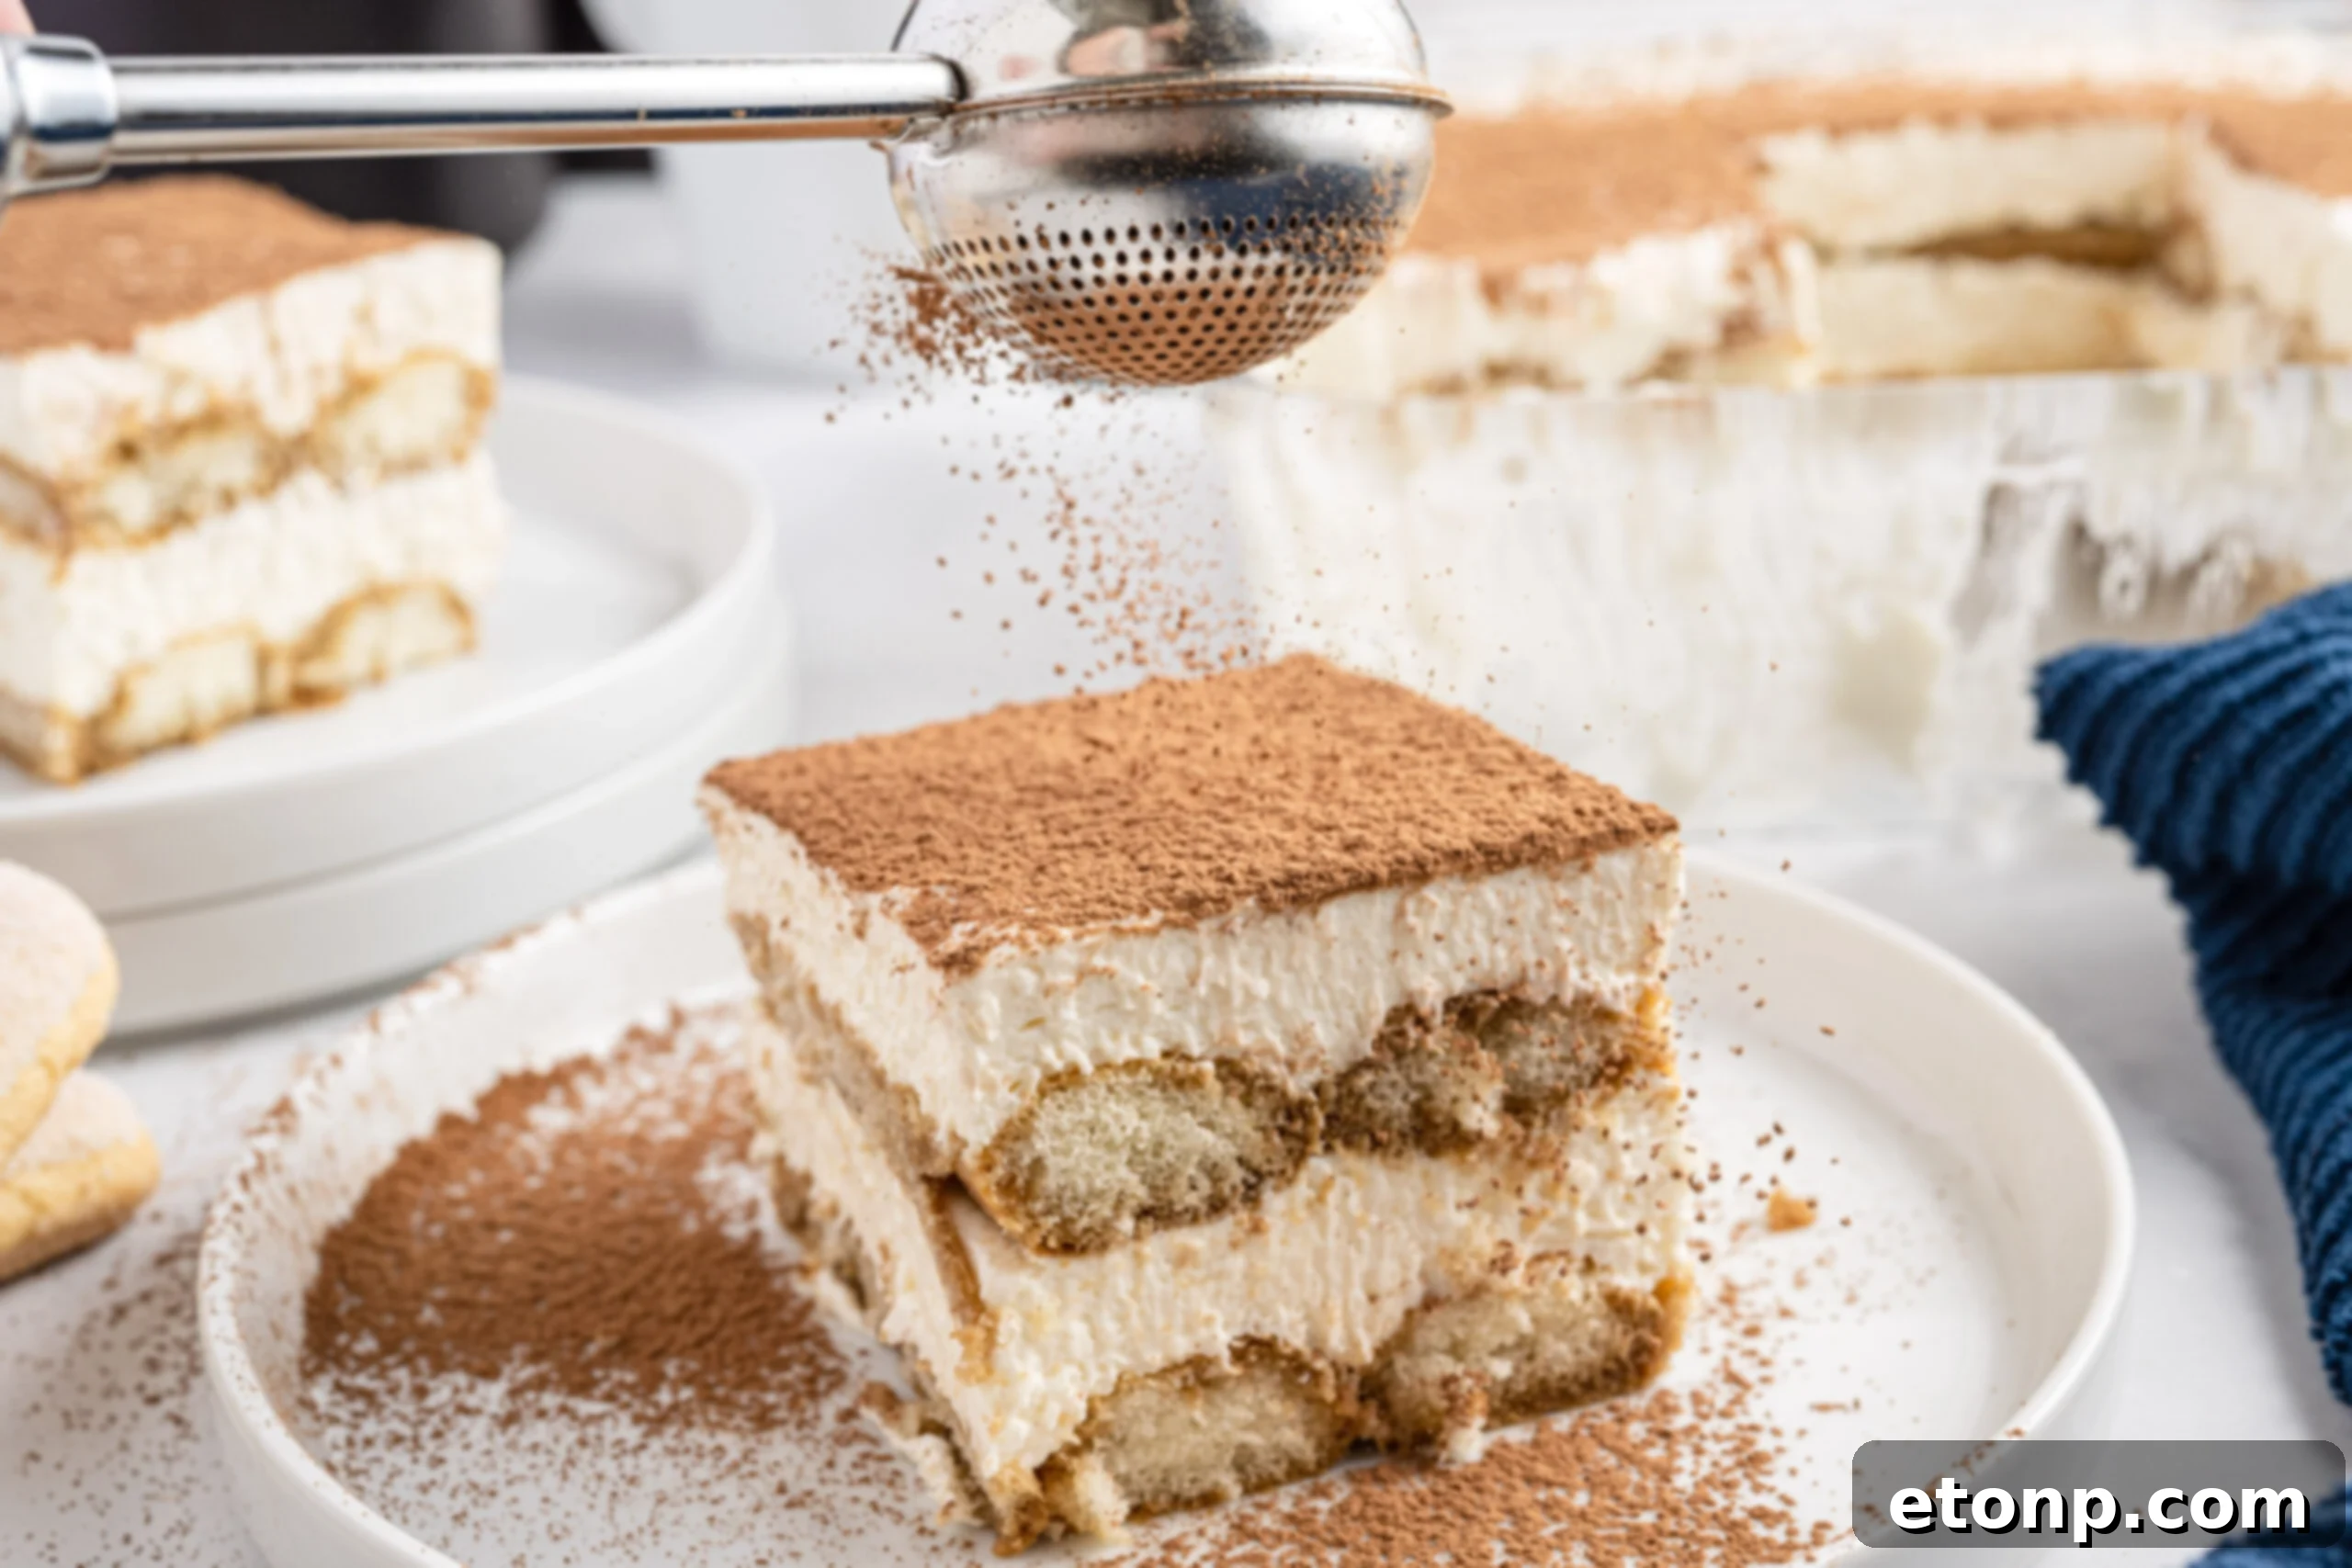
Its creamy texture and rich, sweet flavors are sure to have everyone asking for the recipe. Get ready to share your secret for this incredible dessert!
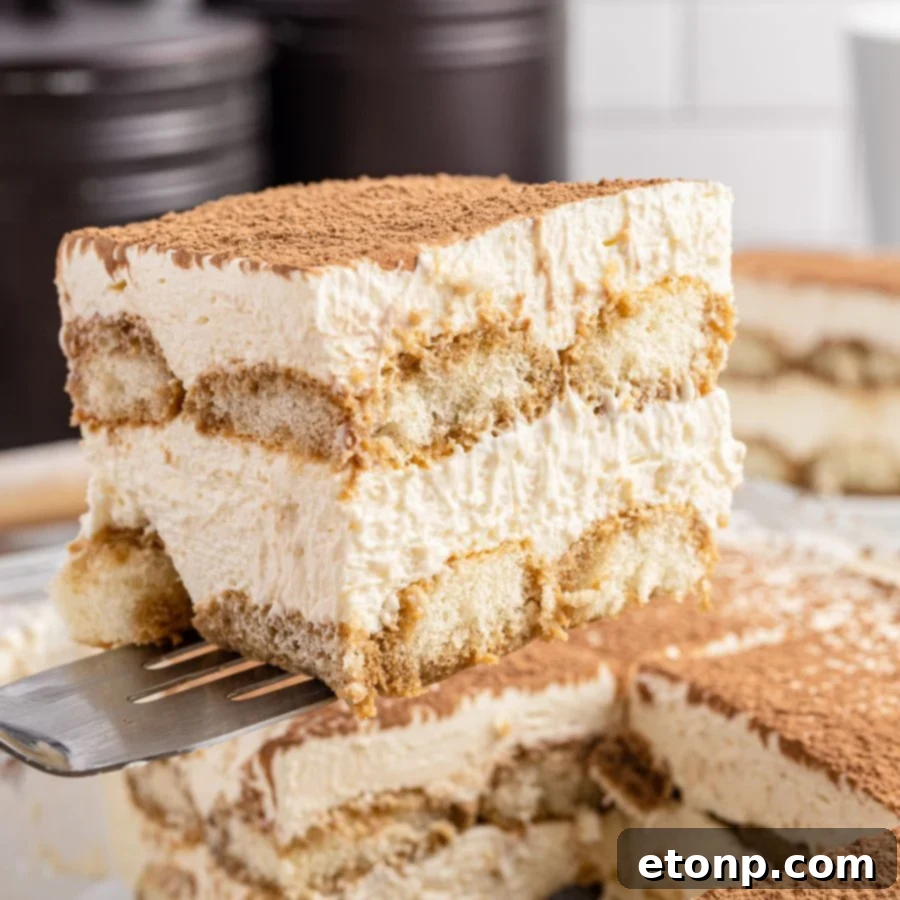
Can I freeze homemade tiramisu?
Absolutely! This **easy tiramisu recipe** is excellent for freezing, making it an ideal dessert to prepare well in advance for future enjoyment. Once assembled, simply cover the entire dessert tightly with plastic wrap, then place it in a proper freezer-friendly airtight container to protect it. It can be stored in the freezer for up to two months. When you’re ready to serve, transfer the frozen tiramisu to the refrigerator and allow it to thaw slowly overnight. This gradual thawing process helps maintain its creamy texture and prevents freezer burn, ensuring your tiramisu remains as delicious as if it were freshly made.
More Easy Desserts You’ll Love
If you enjoyed making this simple tiramisu, here are a few more incredible and easy dessert recipes to add to your repertoire:
- No-Bake Oreo Cheesecake
- Luscious No-Bake Banana Split Dessert
- No-Bake Chocolate Kahlua Truffles
Easy Tiramisu
Ingredients
- 1 8-ounce container mascarpone, room temperature
- 1 8-ounce package of cream cheese, room temperature
- 1/2 cup granulated sugar
- 1 teaspoon vanilla extract
- 1 8-ounce container whipped topping, thawed
- 1 cup brewed espresso or strong coffee cold
- Approximately 19 Ladyfingers
- 2 tablespoons unsweetened cocoa powder
Instructions
-
Prepare Baking Dish: Lightly grease an 8×8 inch baking dish with butter or shortening to prevent sticking. Set this prepared dish aside.
-
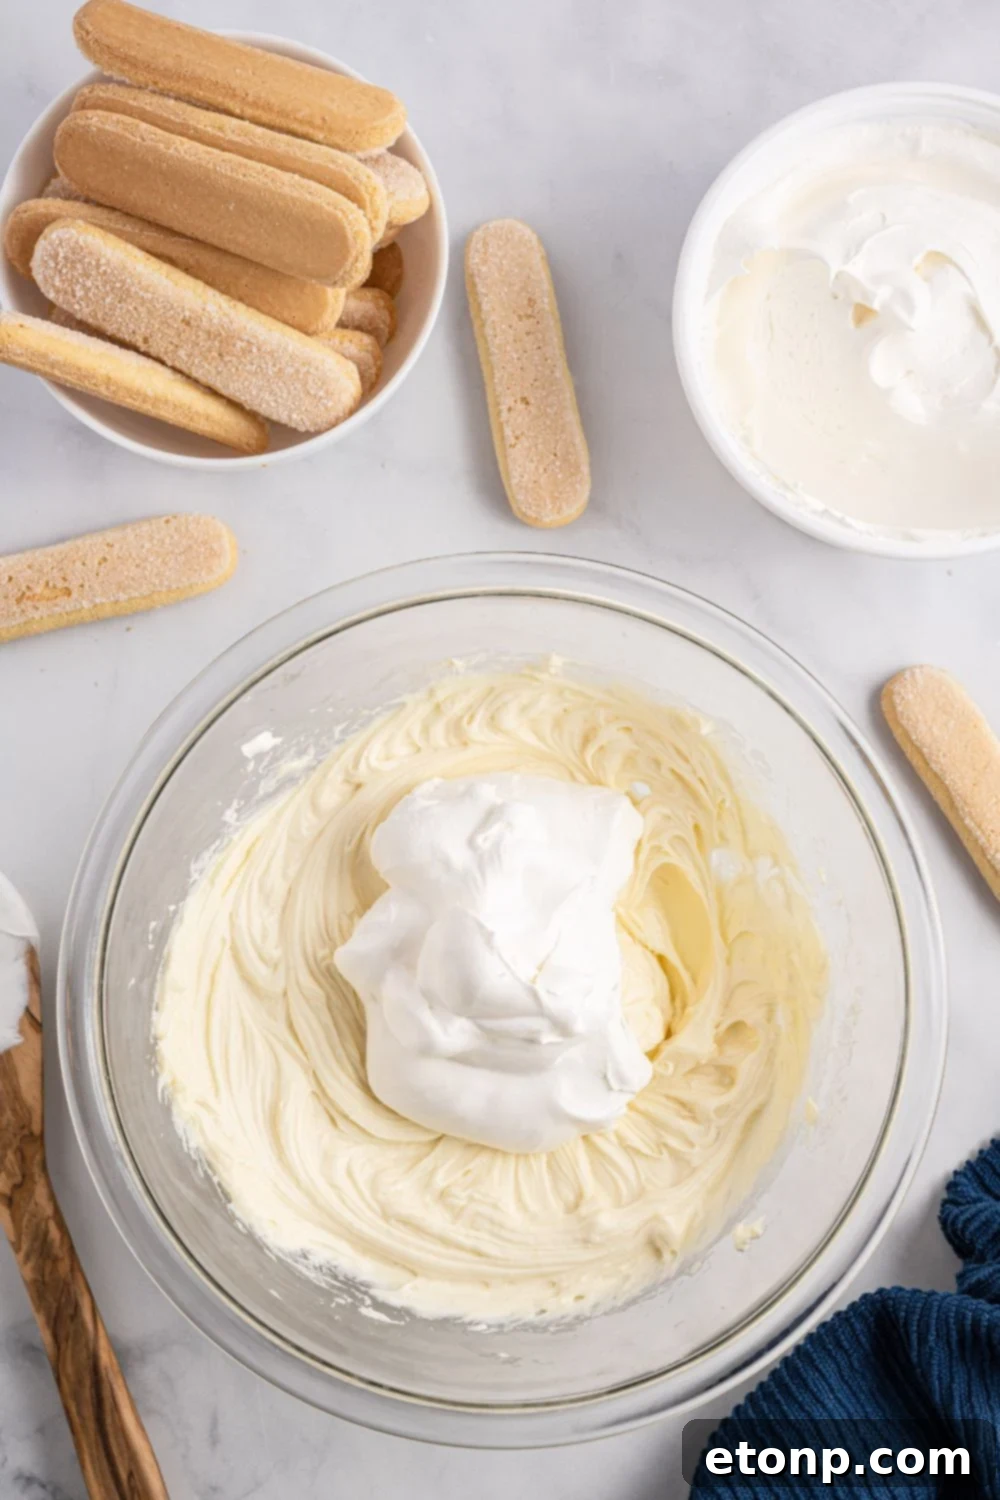
Create Mascarpone Mixture: In a large mixing bowl, combine the room-temperature mascarpone cheese, cream cheese, granulated sugar, and vanilla extract. Using an electric hand mixer, beat these ingredients together at medium speed until the mixture is completely smooth and free of lumps.
-
Fold in Whipped Topping: Gently fold in the thawed whipped topping into the mascarpone mixture using a wooden spoon or a rubber spatula until just combined. Be careful not to overmix, as this can deflate the whipped topping and reduce the cream’s airy texture. Set this creamy mascarpone mixture aside.
-
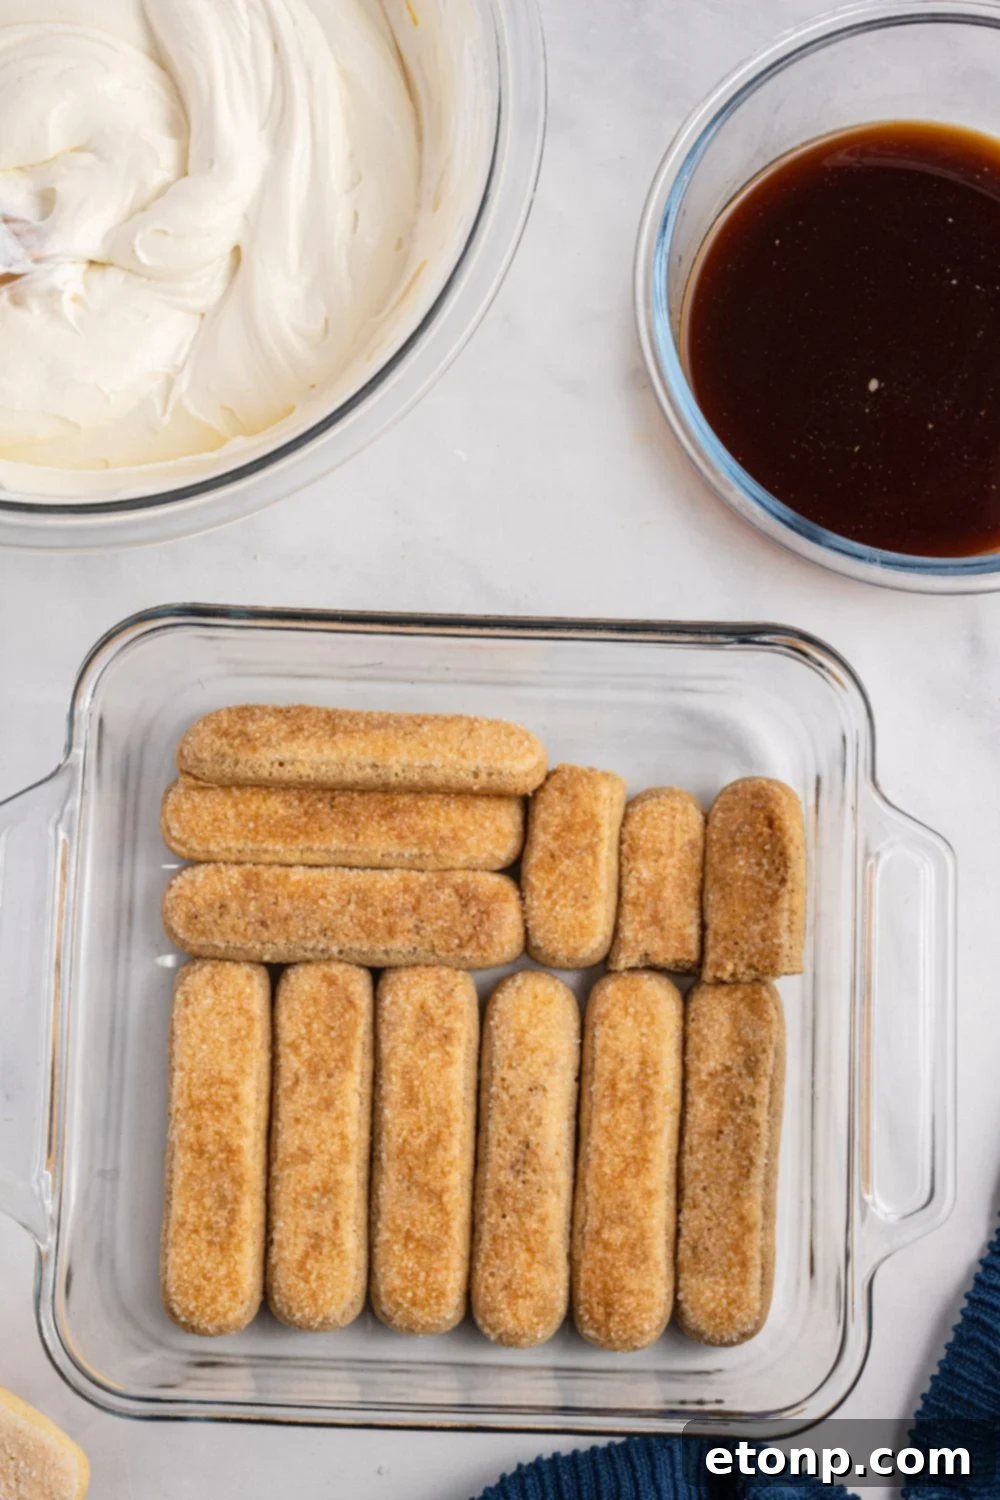
Dip Ladyfingers for First Layer: Pour the cold espresso or strong coffee into a shallow bowl or dish. Take one ladyfinger at a time and quickly dip it into the coffee, flipping it over once. Do not let it soak for too long, as it will become soggy. Immediately place the dipped ladyfinger into the base of your prepared 8×8 inch baking dish. Continue this process with about 8 more ladyfingers until the entire bottom of the dish is covered. Break some ladyfingers in half if necessary to fill in any smaller gaps or spaces.
-
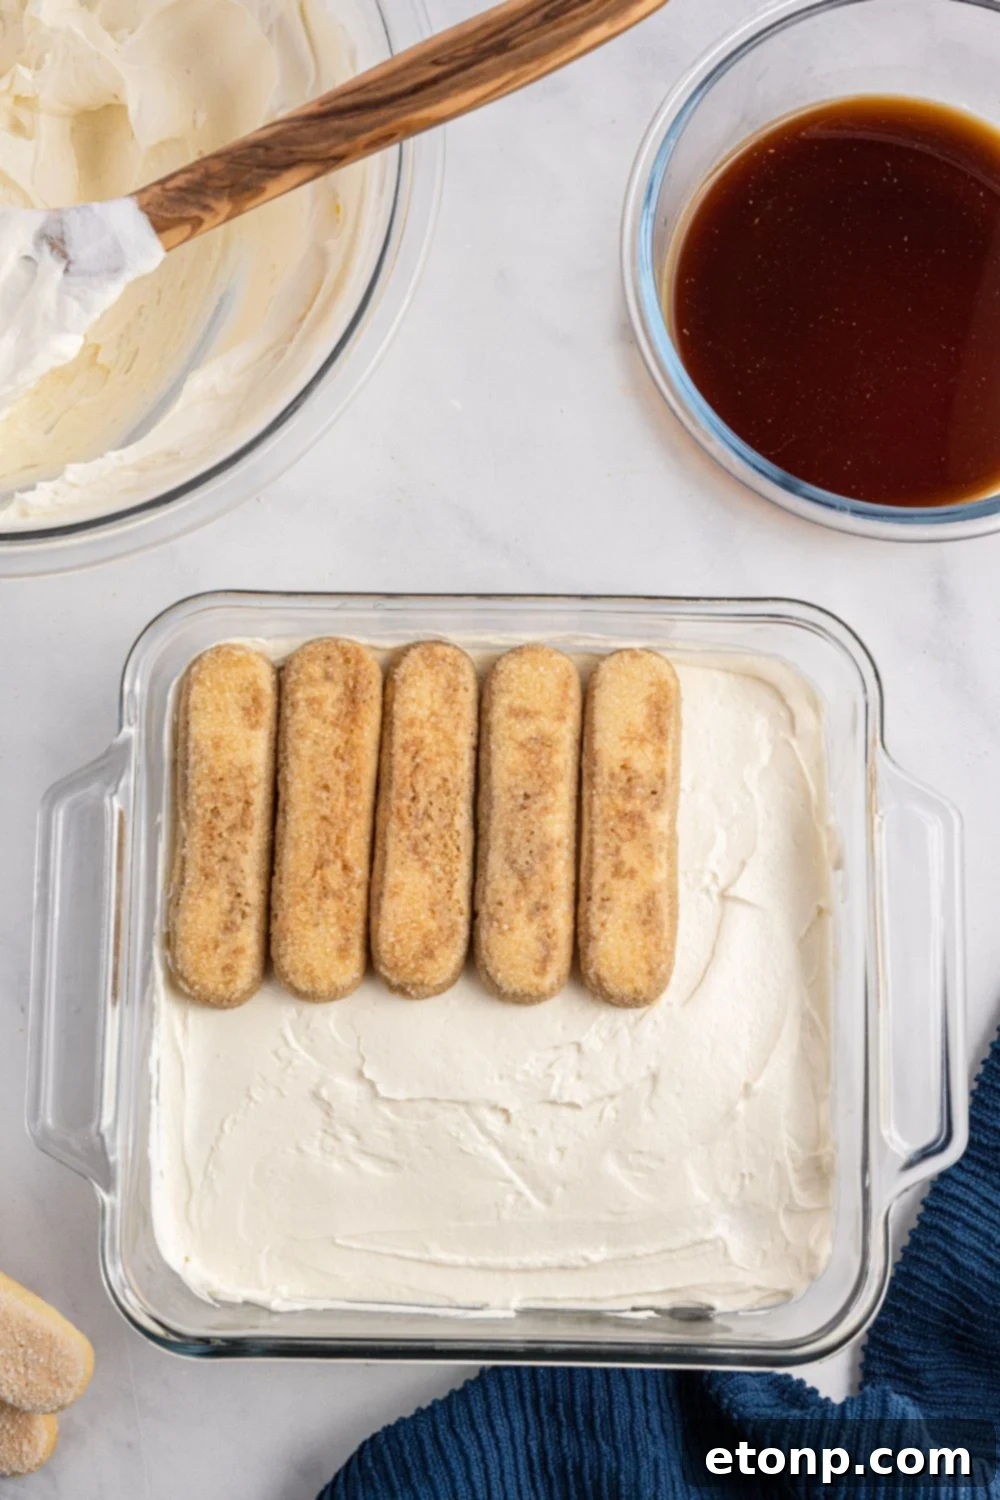
First Cream Layer: Spoon approximately half of the prepared mascarpone mixture evenly over the layer of coffee-soaked ladyfingers. Use a spatula to gently spread it out, ensuring it covers all the cookies.
-
Second Ladyfinger Layer: Dip the remaining ladyfingers in the cold espresso as before (quick dips only) and arrange them neatly on top of the first mascarpone layer, creating a second layer of cookies.
-
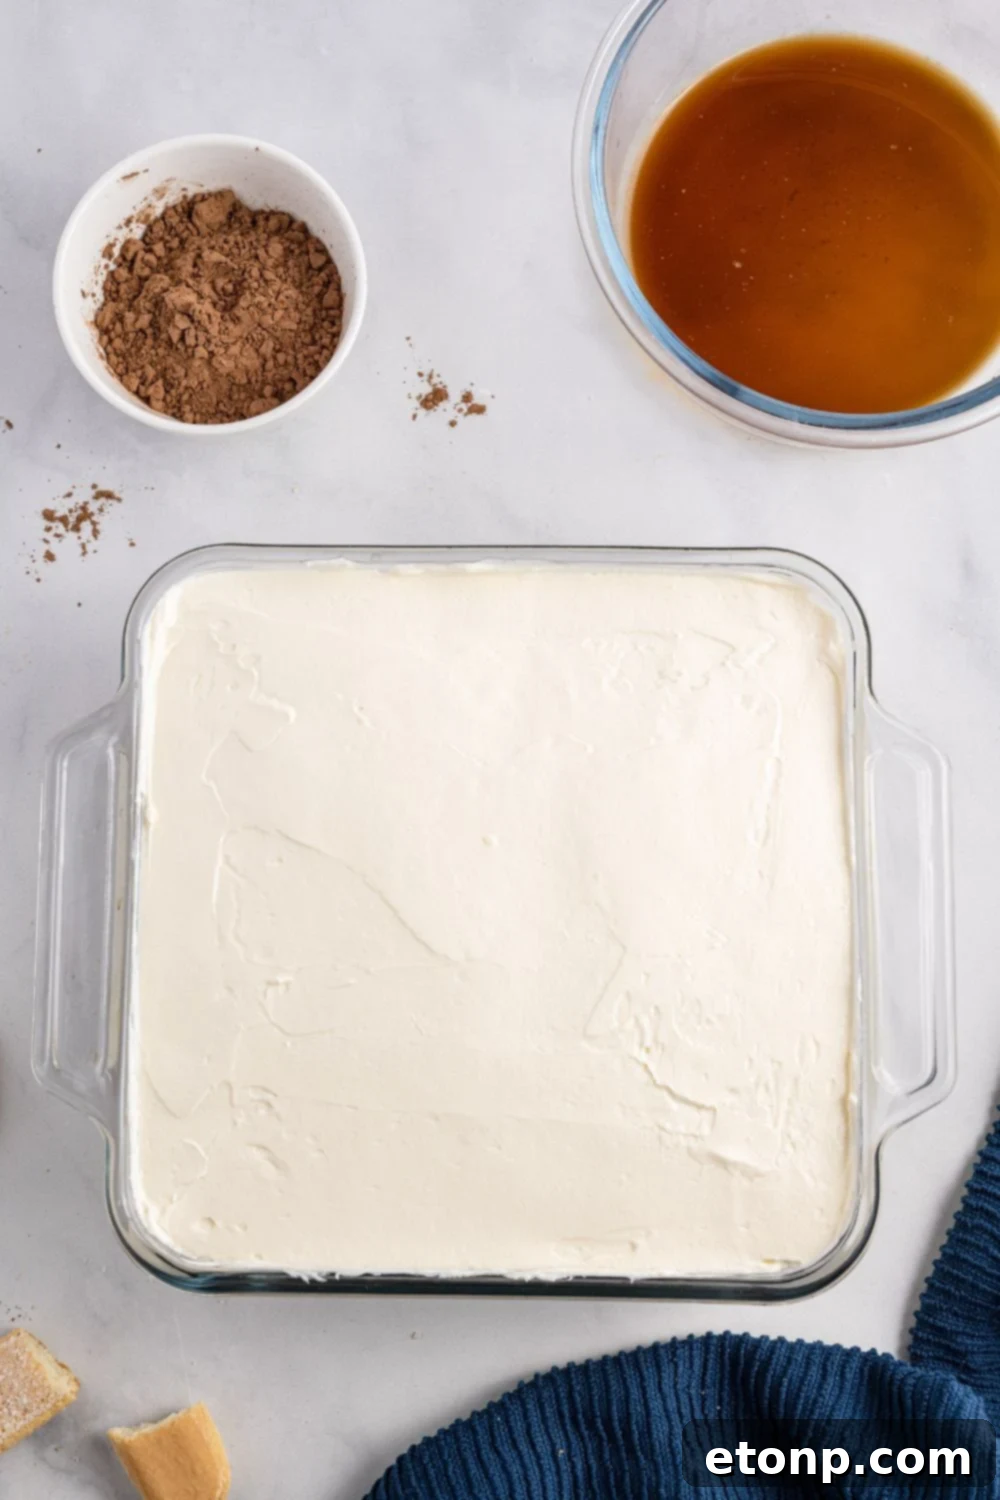
Final Cream Layer & Chill: Spread the rest of the mascarpone mixture over the second layer of ladyfingers, smoothing the top with a spatula to create an even surface. Cover the baking dish tightly with plastic wrap and place it in the refrigerator for at least 4 hours to allow the tiramisu to set. For the best flavor and texture, chilling overnight is highly recommended.
-
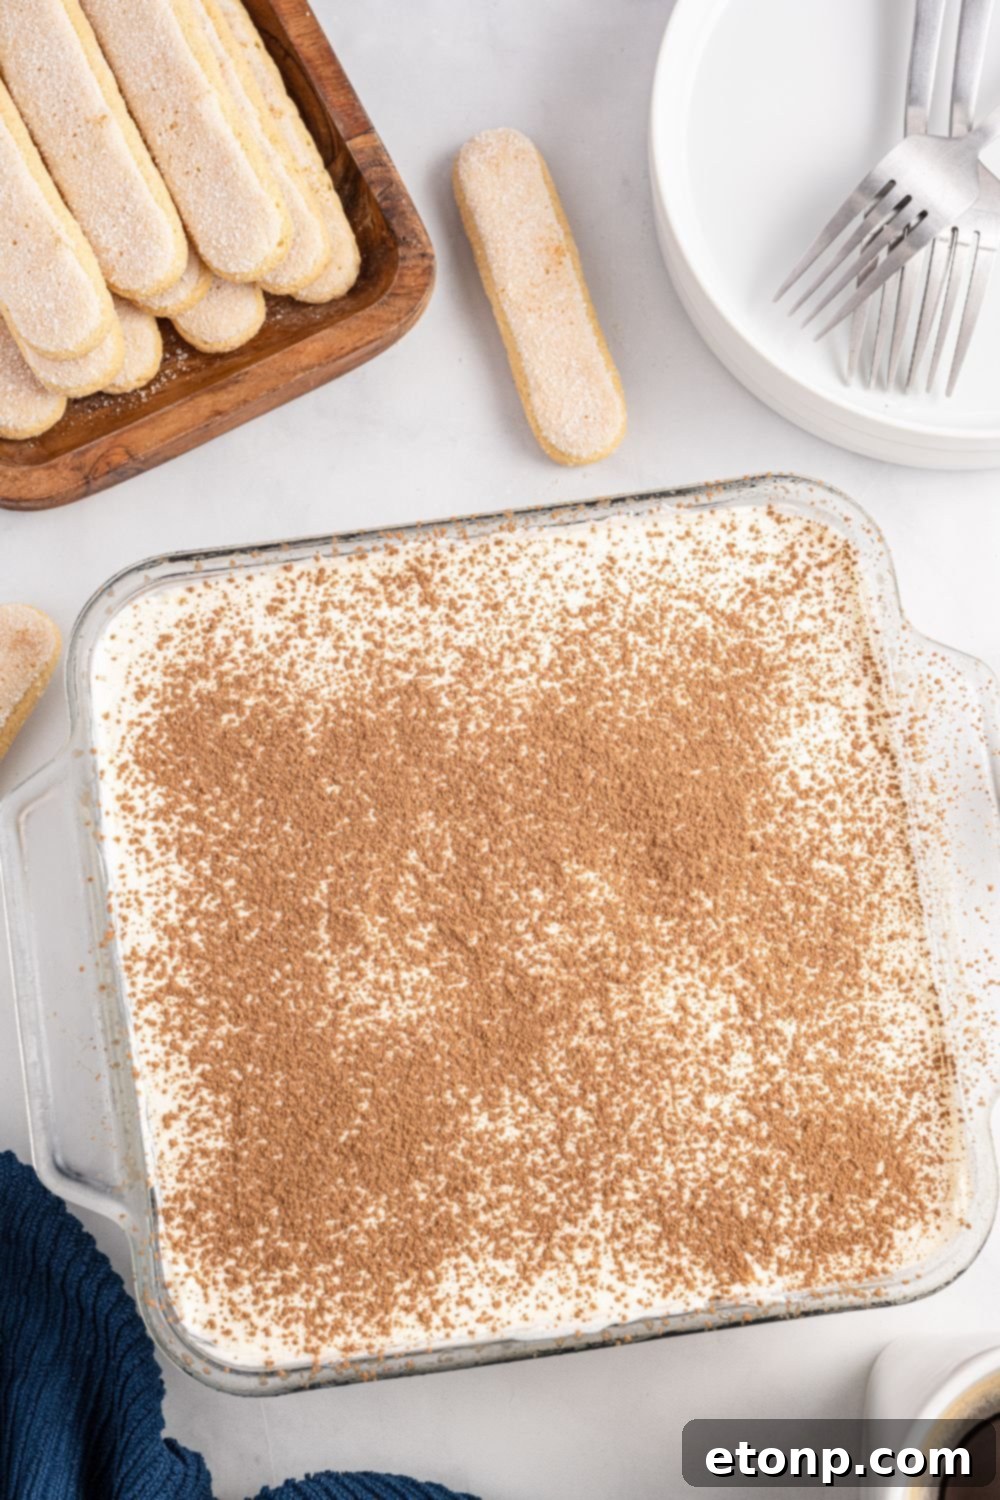
Serve: Just before serving, remove the plastic wrap and generously dust the top of your tiramisu with unsweetened cocoa powder. Slice and enjoy this delightful homemade treat!
Did you make this recipe?
Make sure to follow on Pinterest for more recipes!
Pin Recipe
Share on Facebook