
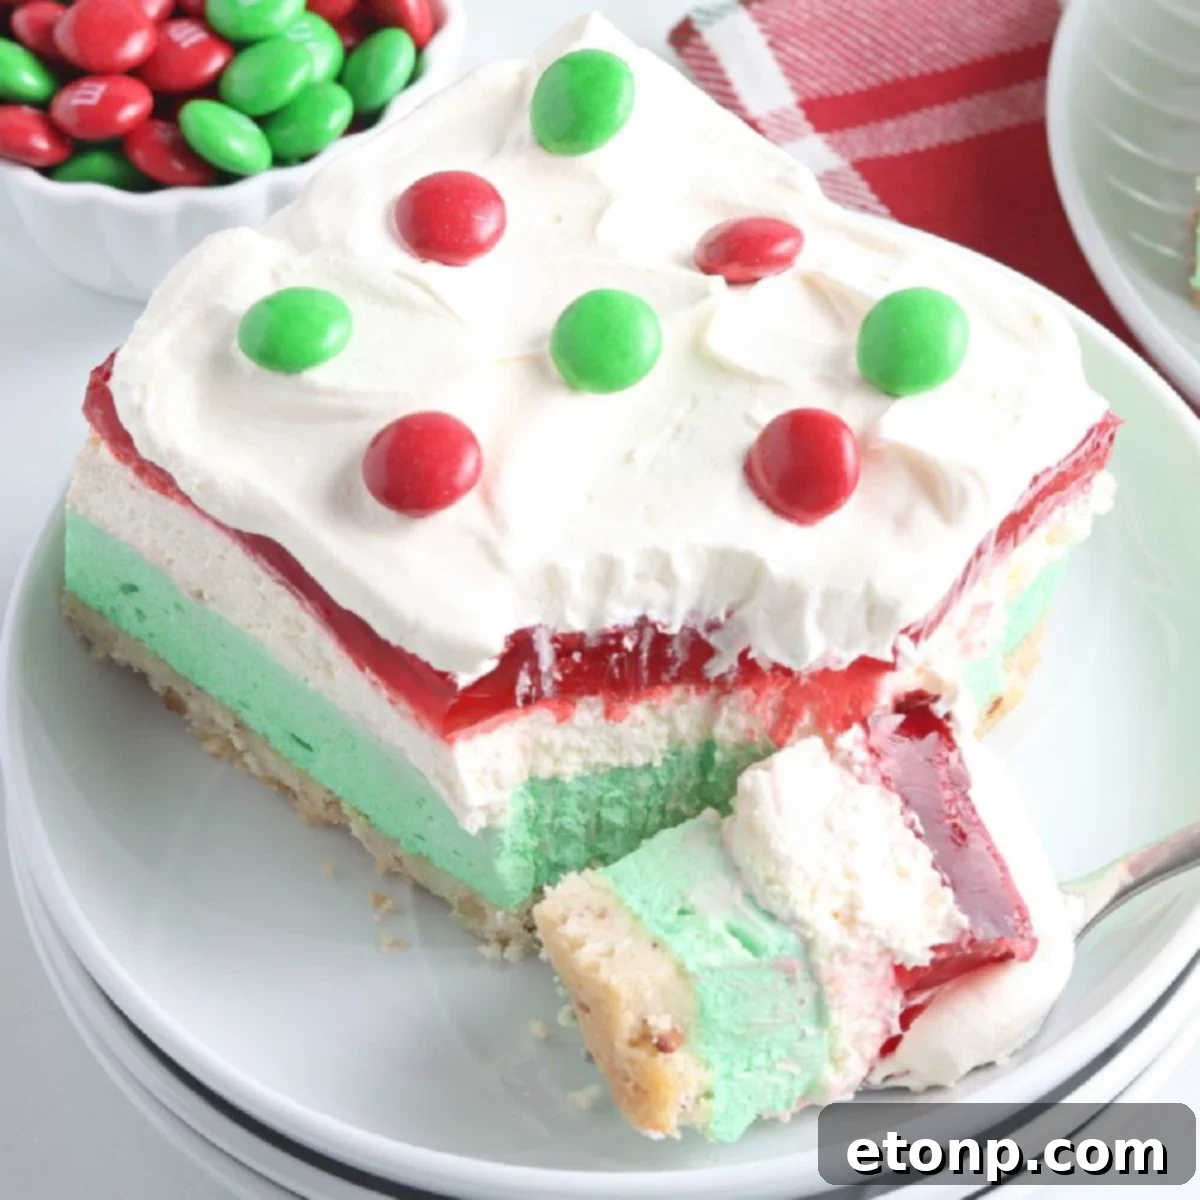
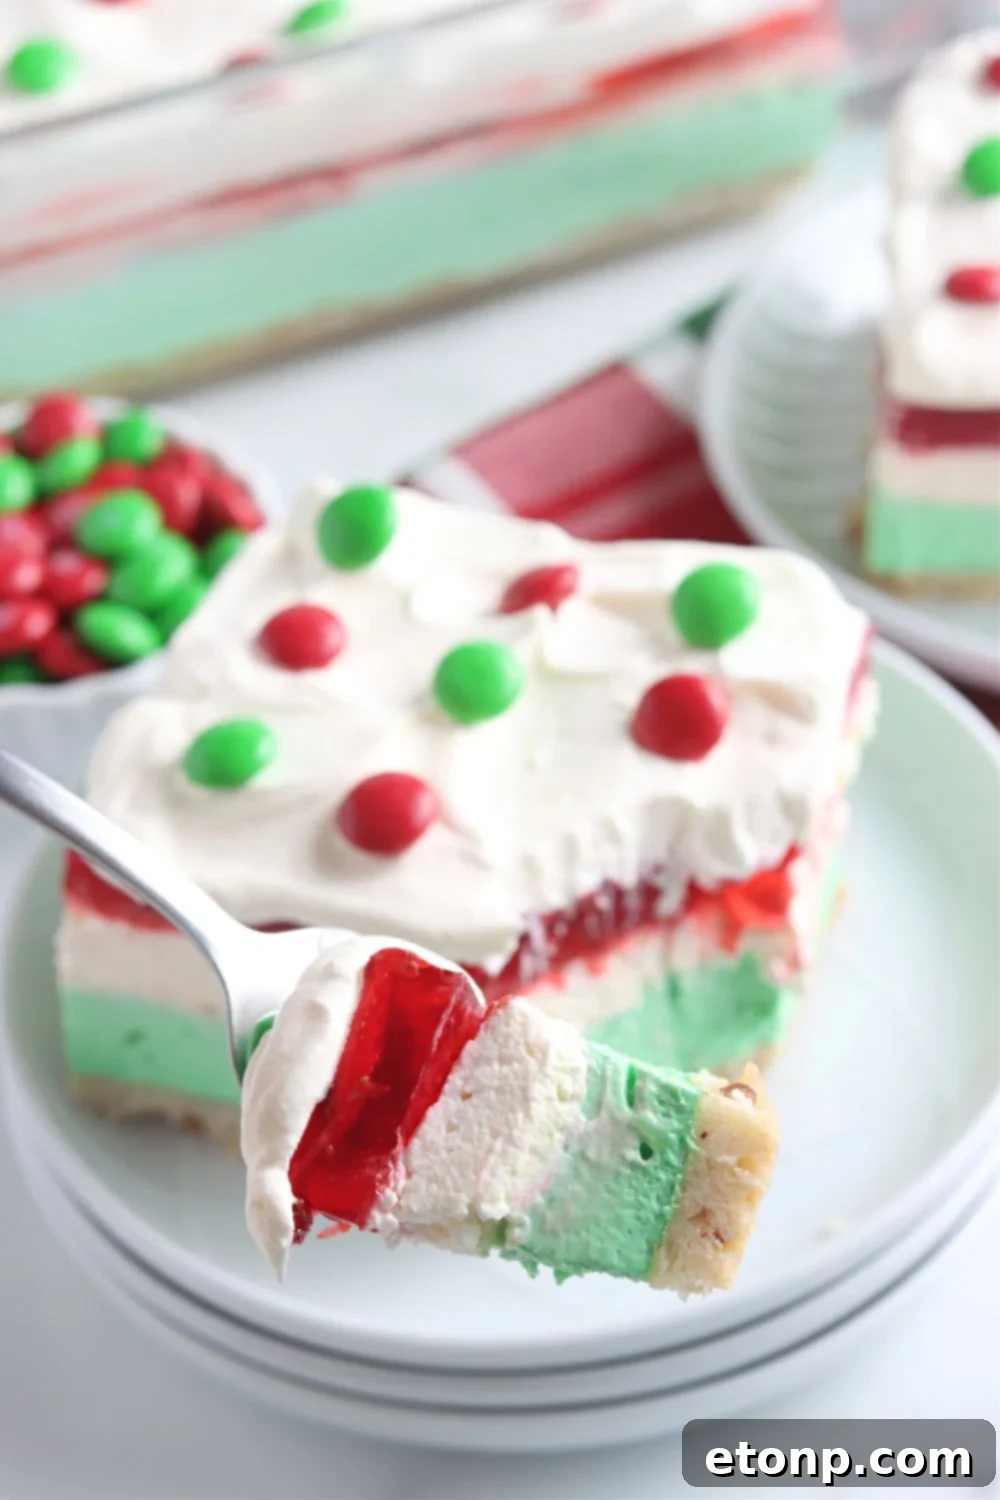
Prepare to enchant your taste buds and impress your holiday guests with this dazzling **No-Bake Christmas Lush**! This magnificent layered dessert is a festive masterpiece, featuring a delightful pecan shortbread-style crust that provides the perfect crunch. Above this foundation lies a vibrant, tangy lime cream cheese layer, followed by a luscious strawberry layer bursting with the freshness of real strawberries. Each forkful delivers a harmonious blend of textures and flavors, making it a truly unforgettable holiday treat. Crafted with readily available ingredients like Jell-O, rich cream cheese, and light whipped topping, this colorful Christmas dessert lasagna is not just a dessert, but a celebration in itself, designed to bring joy and a pop of festive color to any table.
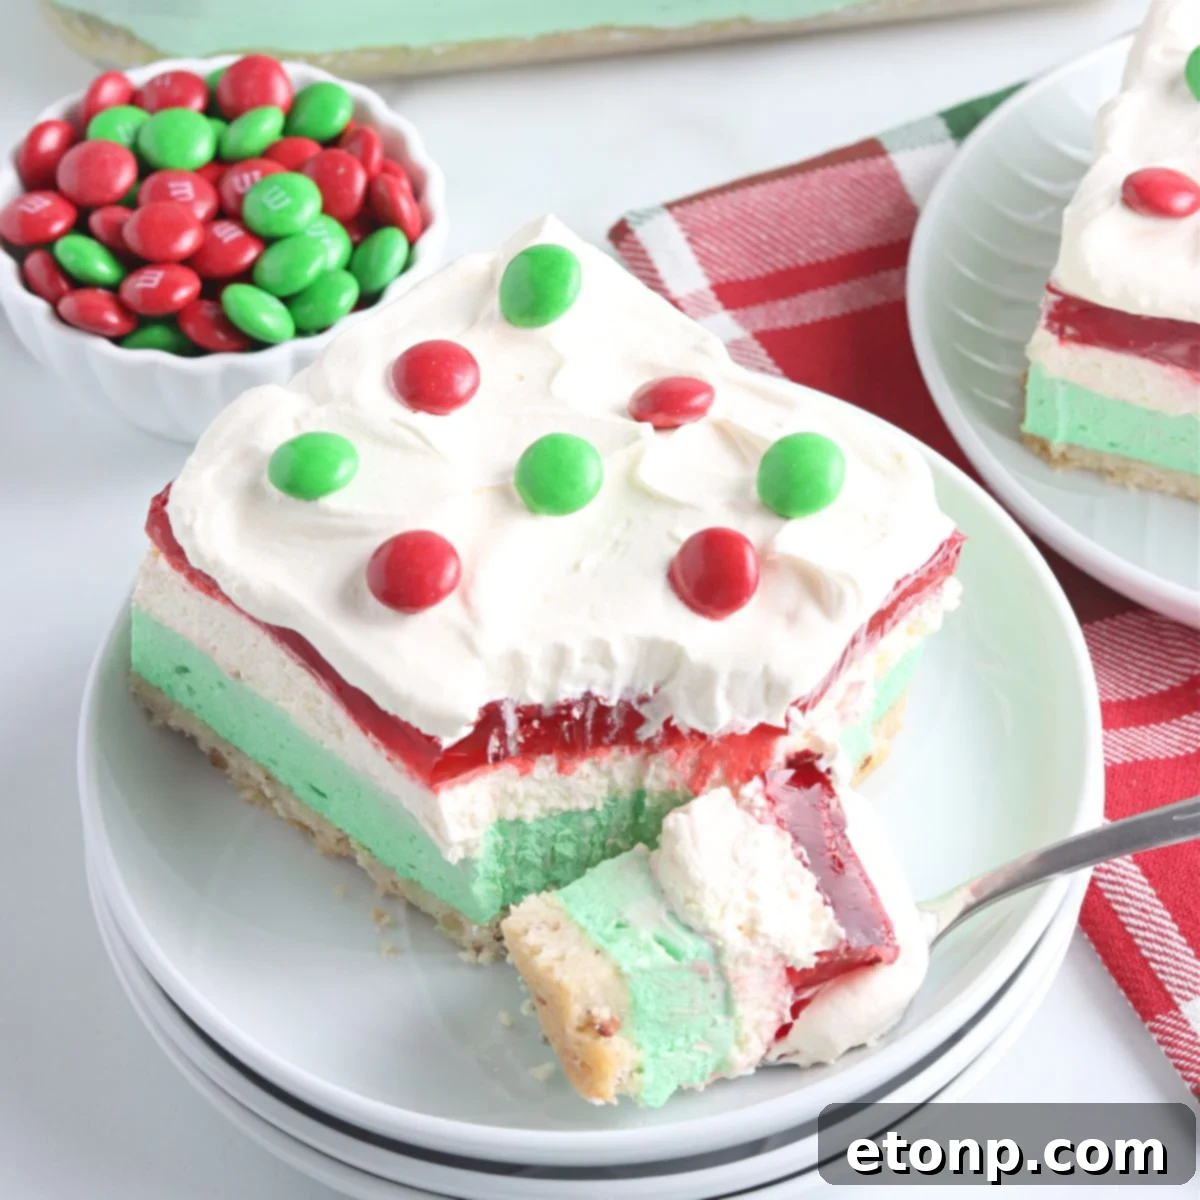
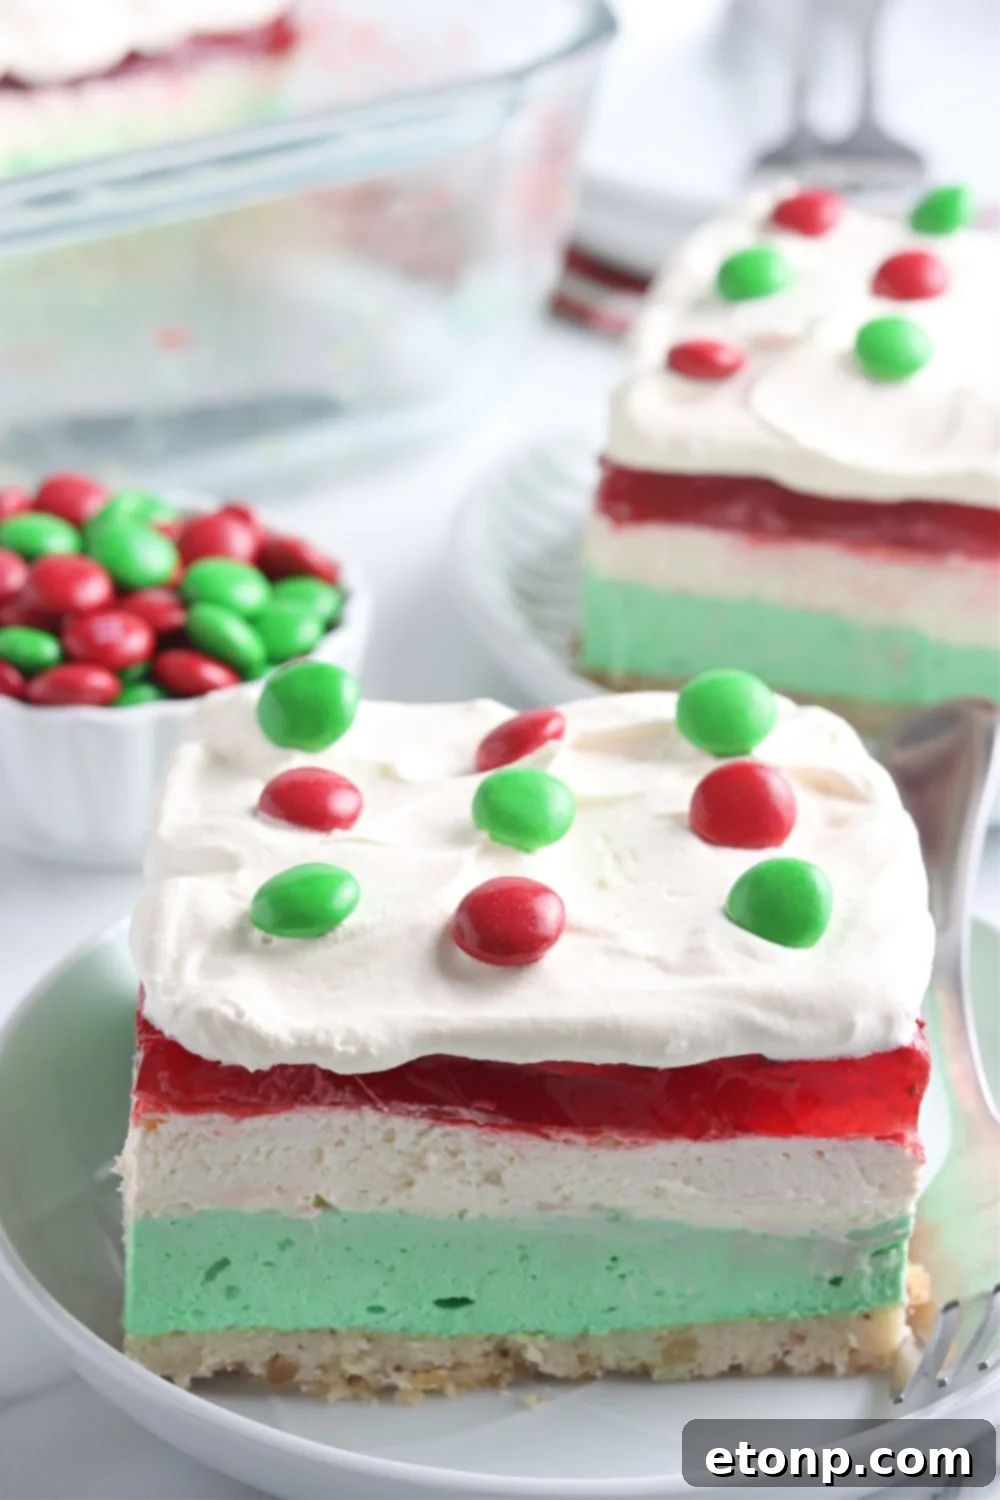
Layered desserts, often affectionately called dessert lasagnas, are renowned for their incredible appeal at parties and large gatherings. Their intricate layers of flavor and captivating colors effortlessly draw in a crowd, and this particular Christmas lush is no exception. It consistently earns rave reviews and quickly disappears from the dessert table, solidifying its place as one of my absolute favorite confections for the Christmas season. The strategic combination of refreshing lime Jell-O and sweet strawberry Jell-O, complemented by the creamy richness of cream cheese and the airy lightness of Cool Whip, creates that iconic red, white, and green aesthetic synonymous with holiday cheer. It’s a sweet, cool, and perfectly color-coordinated dessert that embodies the spirit of the season.
Why This No-Bake Christmas Lush Will Become Your Holiday Favorite
This holiday season, discover the irresistible charm of our No-Bake Christmas Lush. More than just a dessert, it’s a hassle-free, delightful addition to your festive celebrations. Here’s why this layered confection is destined to become a beloved tradition in your home:
- Simple, Accessible Ingredients: You’ll appreciate how this recipe utilizes everyday ingredients that are likely already stocked in your pantry and refrigerator. This makes preparation not only straightforward but also incredibly convenient, saving you trips to the grocery store during the busy holiday rush.
- Effortless Elegance, No Decorating Stress: Forget about intricate piping bags or elaborate garnishes. This dessert naturally forms beautiful, distinct layers that are stunning on their own. It’s a dream come true for those who desire a show-stopping presentation without any advanced decorating skills or extra effort.
- A Symphony of Flavors in Every Bite: The magic of a layered dessert lies in its ability to deliver a unique taste and texture experience with each spoonful. From the buttery crunch of the crust to the creamy tang of the lime and the sweet burst of strawberry, every bite offers a perfectly balanced blend of complementary flavors.
- Visually Captivating Holiday Hues: The vibrant red, white, and green layers instantly evoke the joyful spirit of Christmas. This dessert serves as a festive centerpiece, catching the eye and exciting guests, family, and friends before they even take their first bite. It’s truly a feast for the eyes as well as the palate.
- Ideal for Make-Ahead Preparation: Alleviate holiday stress by preparing this delicious lush a day in advance. Its flavors deepen and its layers set beautifully overnight in the refrigerator, making it an excellent option for busy hosts who prefer to prepare dishes ahead of time, ensuring a smooth and enjoyable celebration.
- Generous Portions for Any Gathering: Whether you’re hosting an intimate family dinner or a grand holiday party, this recipe is designed to feed a crowd. It yields multiple servings, and you can easily adjust slice sizes to accommodate more guests, making it a versatile and economical choice for any festive occasion.
Essential Ingredients for Your Festive Creation
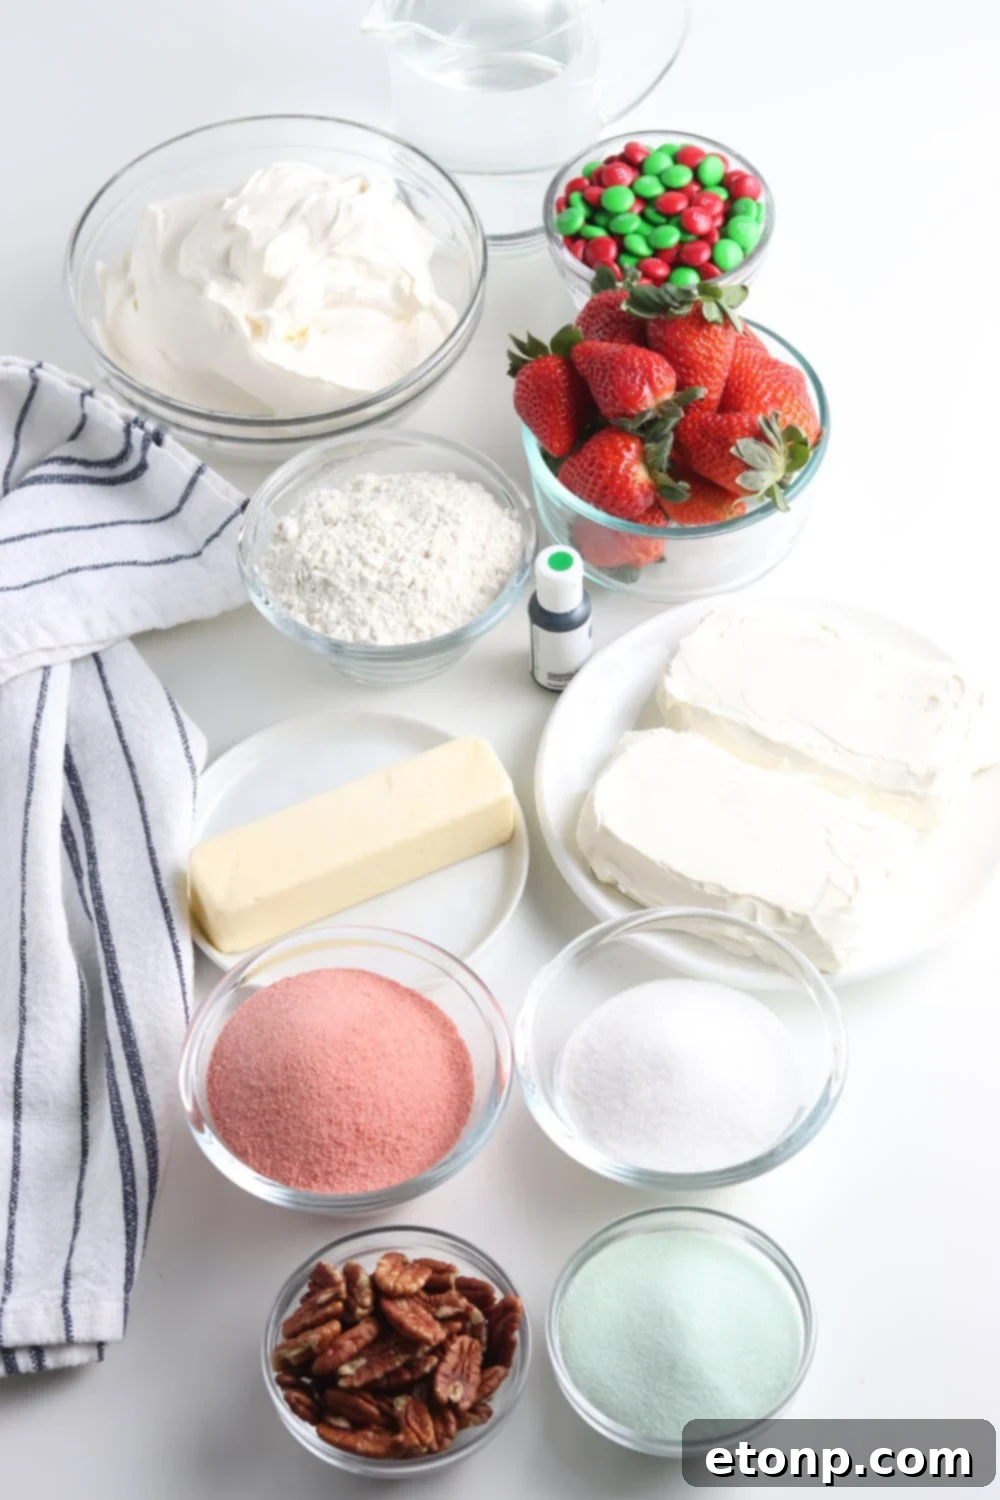
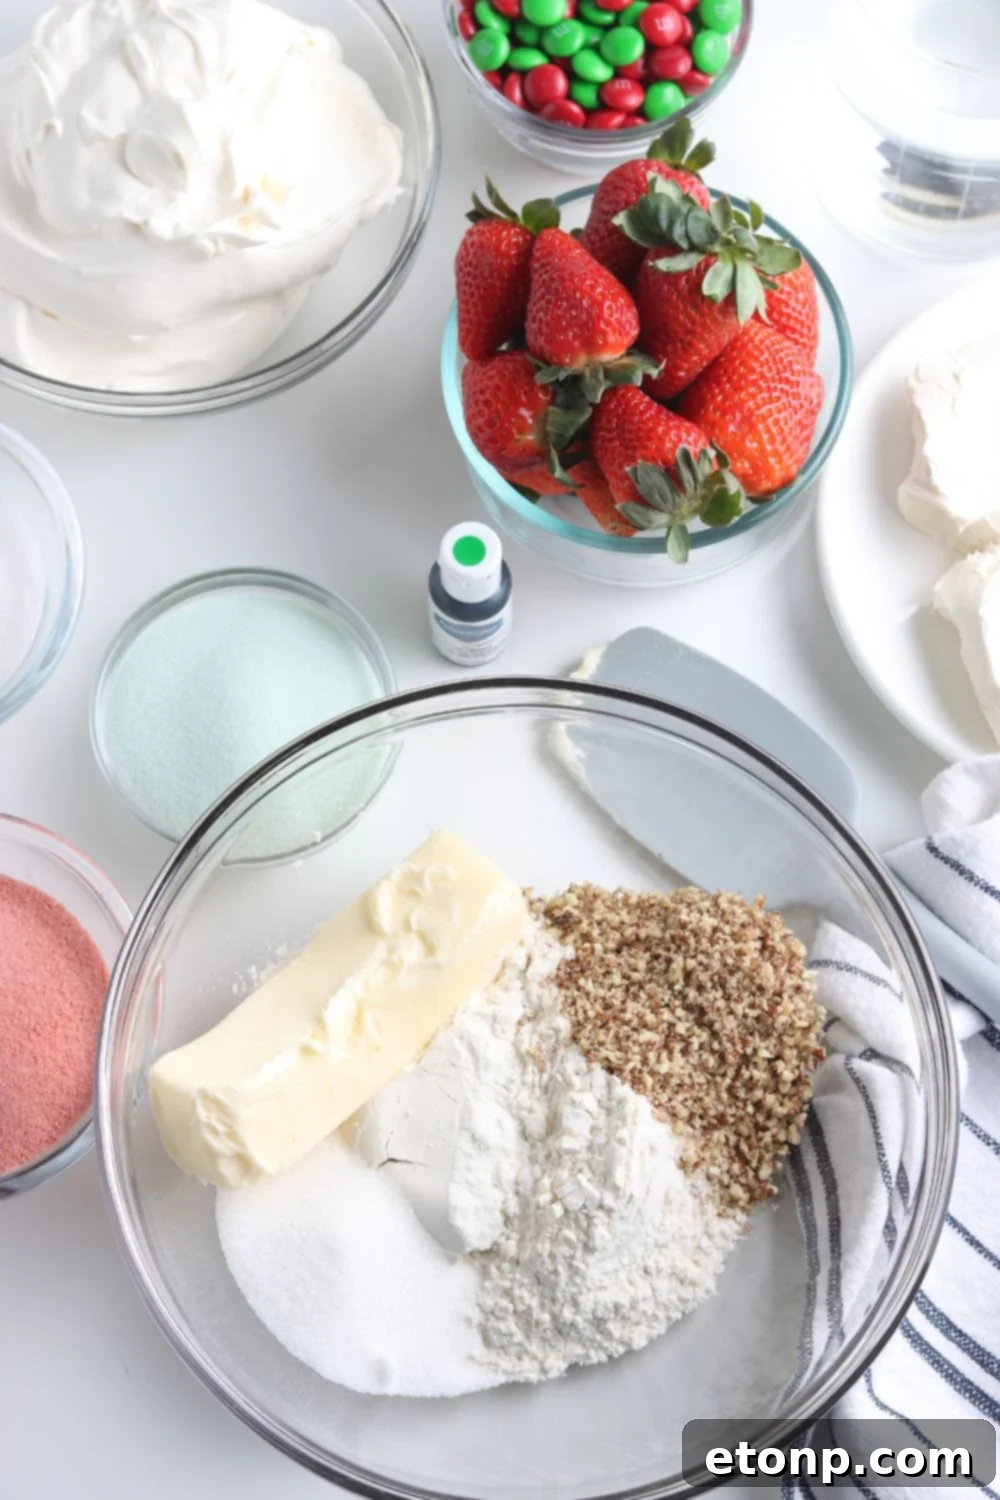
Crafting this delightful No-Bake Christmas Lush requires a selection of common pantry staples and fresh produce, ensuring a vibrant and flavorful result. While the complete, detailed list with precise measurements can be found within the recipe card below, here’s a quick overview of the key components that bring this festive dessert to life:
- All-Purpose Flour: The foundation for our delicious, crumbly shortbread-style crust.
- Granulated Sugar: Sweetens both the crust and the creamy layers, balancing the tartness of the lime.
- Nuts: Finely chopped pecans or walnuts add a wonderful nutty flavor and texture to the crust, complementing the sweet layers.
- Unsalted Butter: Softened butter is crucial for binding the crust ingredients and ensuring a rich, buttery base.
- Jell-O: We use both vibrant lime and sweet strawberry gelatin to create the iconic red and green layers, providing both color and a unique jiggly texture.
- Cream Cheese: Full-fat and softened, cream cheese forms the creamy, tangy core of our luscious layers, offering a delightful contrast to the sweetness.
- Whipped Topping: Thawed Cool Whip or a similar whipped topping adds an airy, light texture and additional sweetness, making the layers incredibly smooth and cloud-like.
- Food Coloring: Optional red and green gel or liquid food coloring can be used to intensify the festive hues of your Jell-O layers, making them even more visually striking.
- Fresh Strawberries: Sliced fresh strawberries are folded into the top Jell-O layer, adding a burst of natural fruitiness and a beautiful presentation.
- Sprinkles: Optional, but highly recommended for a final festive touch and a bit of playful sparkle.
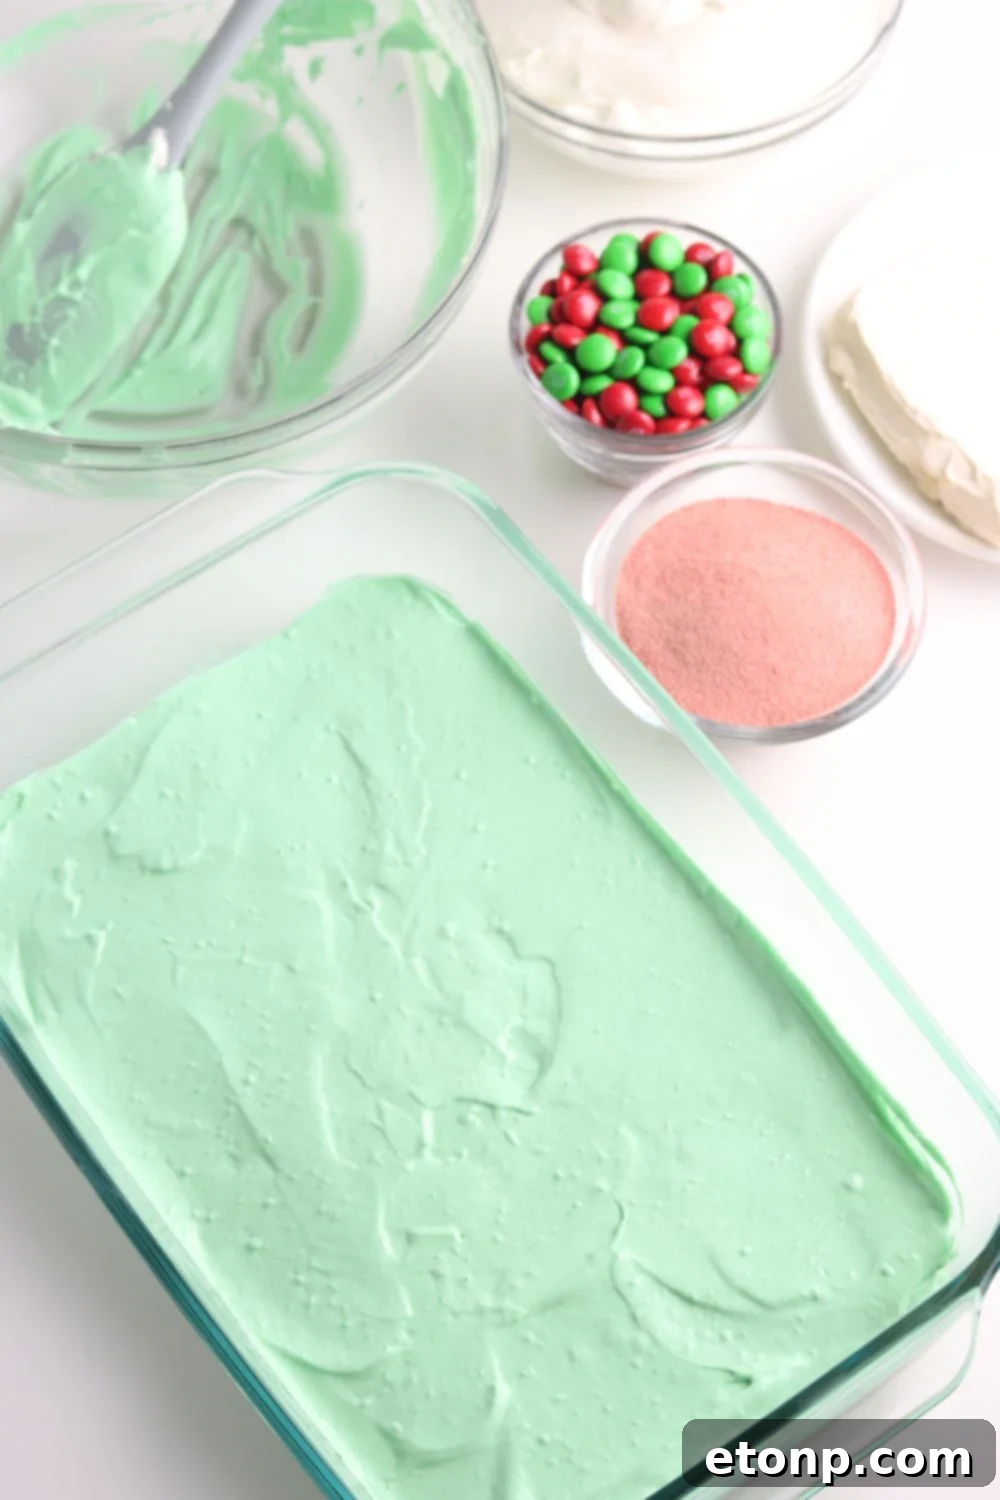
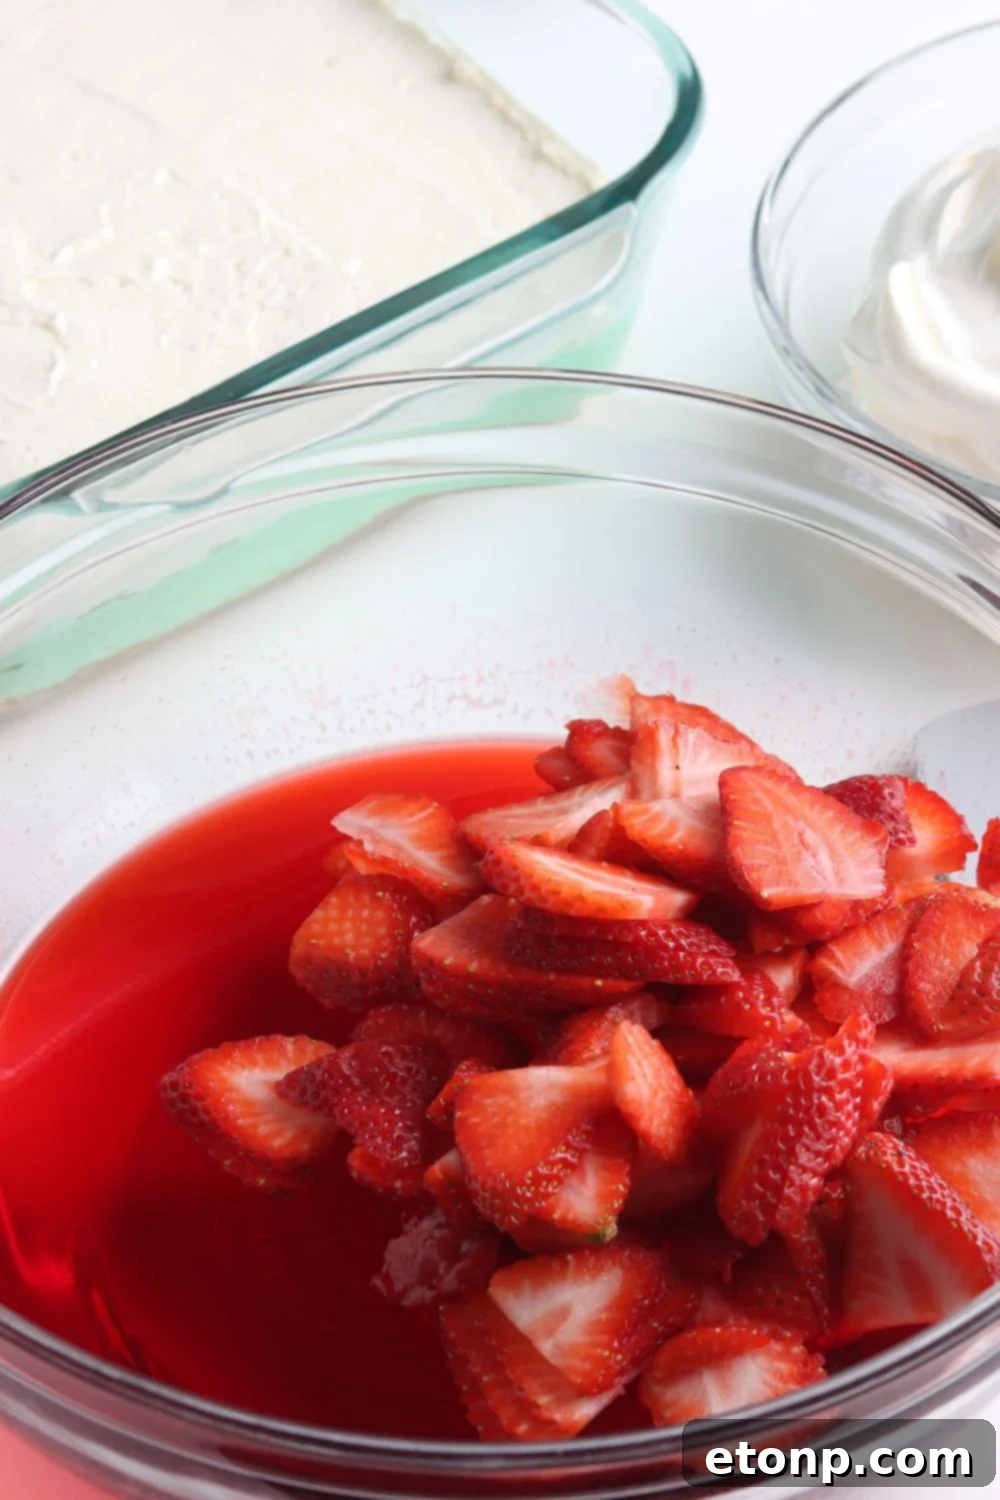
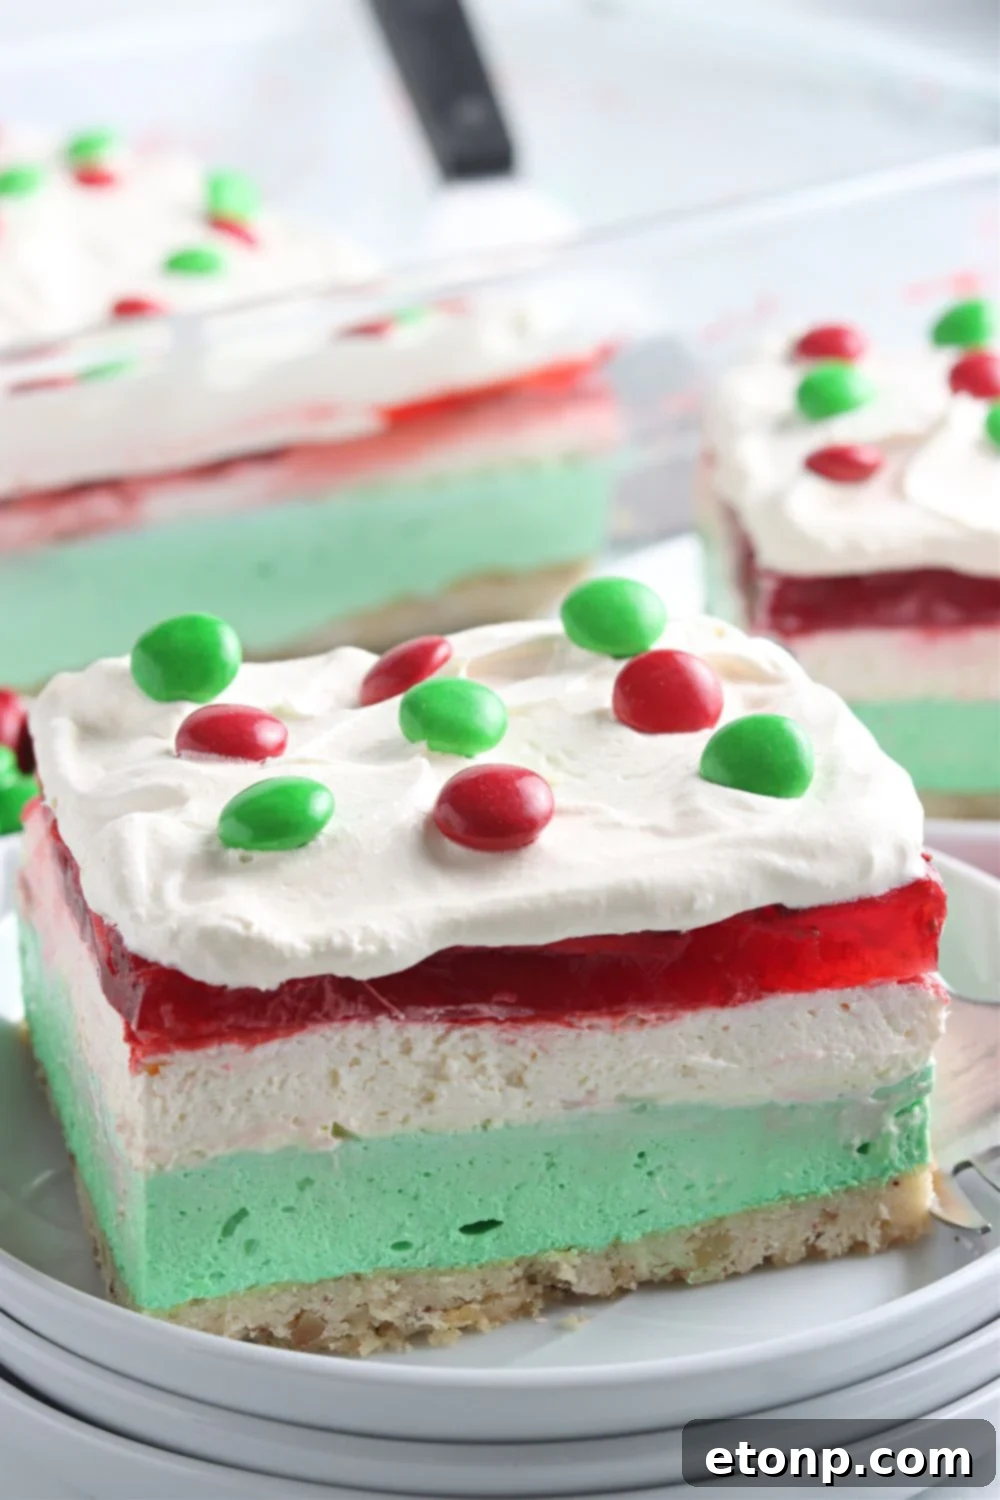
Creative Variations to Personalize Your Christmas Lush
While the classic red, white, and green combination of this Christmas Lush is undeniably festive, this recipe is wonderfully versatile, allowing for numerous delicious adaptations to suit your personal preferences or what you have on hand. Don’t hesitate to get creative and make this holiday dessert truly your own:
- Alternative Green Jell-O Flavors: If lime isn’t your favorite, consider swapping it for other green-hued gelatin flavors. Watermelon Jell-O offers a sweeter, fruity twist, while apple Jell-O provides a crisp, slightly tart option, all while maintaining that essential vibrant green color for your festive layers.
- Pudding for a Creamier Green Layer: For a richer, creamier green layer, try using pistachio pudding instead of green Jell-O. Pistachio pudding offers a distinct nutty flavor and a smoother texture. You can always enhance its color with a few drops of green food coloring to achieve a more intense and festive hue.
- Different Red Fruit Jell-O Options: Not a fan of strawberries? No problem! Cherry or raspberry Jell-O can easily be substituted for the strawberry gelatin, providing equally delicious and festive red layers. Both offer a classic fruit flavor that pairs beautifully with the creamy white and tangy green layers.
- Fruit-Free or Alternative Fruit Layers: If you prefer to omit real fruit from your layered dessert, simply leave it out of the top Jell-O layer. Alternatively, explore other fresh or frozen fruits like cherries, raspberries, or even pomegranate seeds (for a beautiful ruby red sparkle) to customize your dessert.
- Add a Fluffy Marshmallow Touch: For an extra layer of soft, fluffy texture and a hint of winter wonderland charm, sprinkle some mini marshmallows on top of the white cream cheese layer before adding the final fruit Jell-O layer. They’ll add a delightful chewiness and beautifully mimic freshly fallen snow.
- Diverse Crust Options: The pecan shortbread crust is wonderfully buttery and nutty, but if you’re looking for different flavor profiles or textures, consider other crust alternatives. A graham cracker crust offers a classic, comforting sweetness, an Oreo cookie crumb crust provides a rich chocolatey base, or a vanilla wafer-style crust delivers a delicate, familiar flavor.
- Festive Topping Extravaganza: Elevate the holiday spirit by decorating the top of your Christmas Lush with an array of festive toppings. Mini M&Ms, especially the red and green variety, add a fun crunch and burst of chocolate. Alternatively, use various Christmas sprinkles, crushed candy canes, or other holiday candies that complement the sweet and fruity layers.
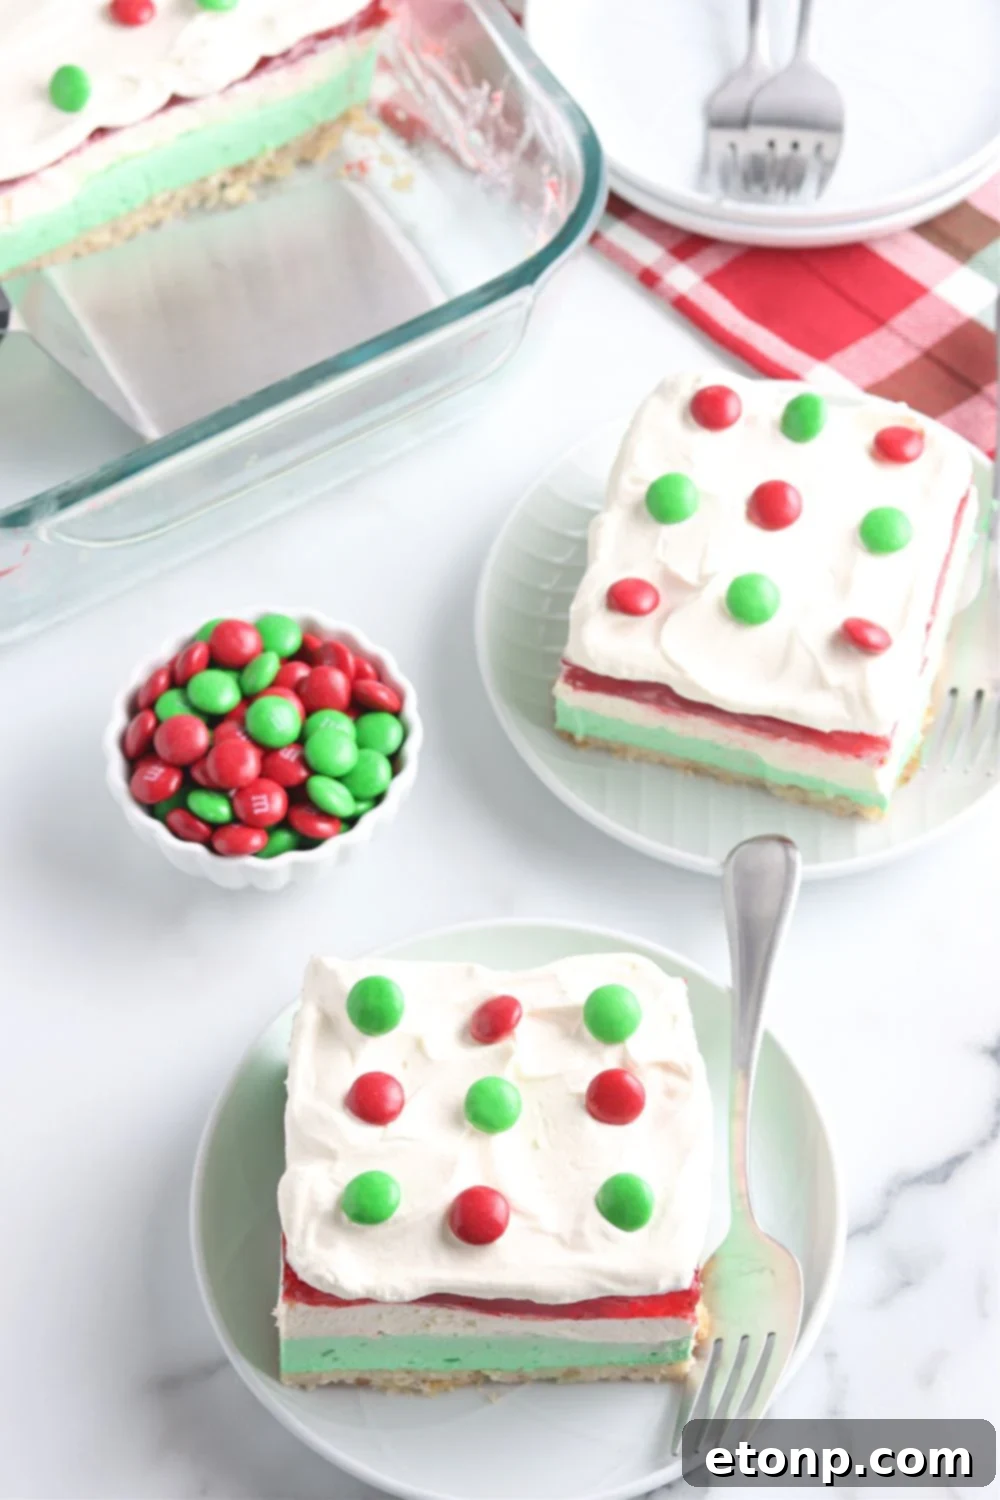
Expert Tips for a Flawless No-Bake Christmas Lush
Achieving a perfectly layered and visually stunning Christmas Lush is simpler than you might think, especially with a few expert tips. By following these suggestions, you’ll ensure your holiday dessert is not only delicious but also beautifully presented, impressing everyone at your festive gathering.
The Importance of Chilling Between Layers
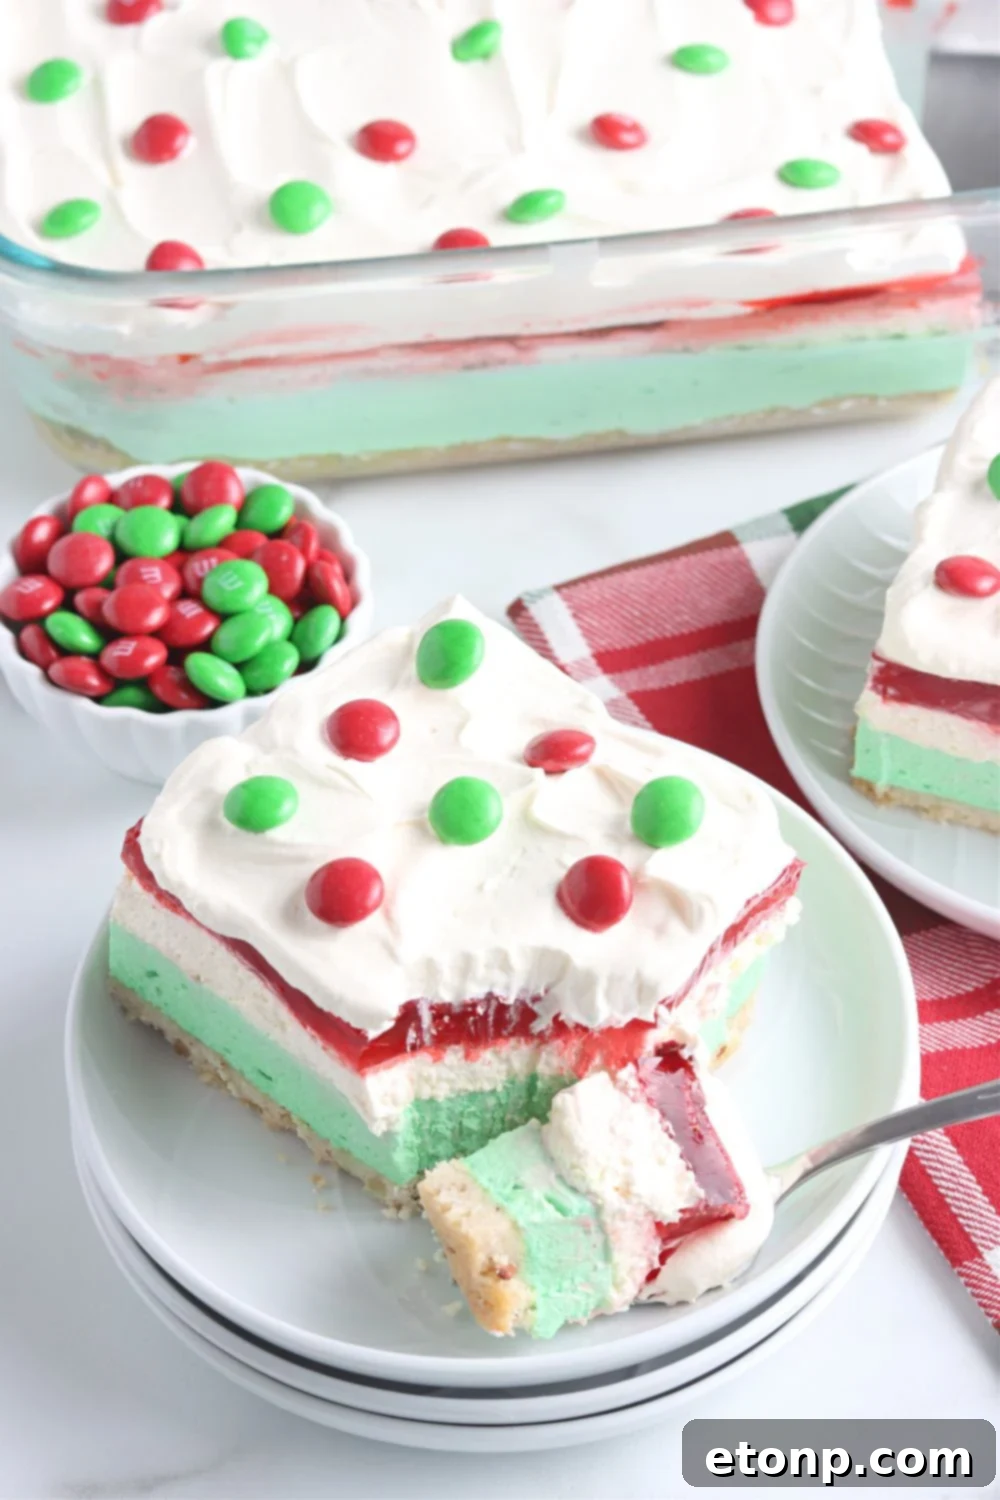
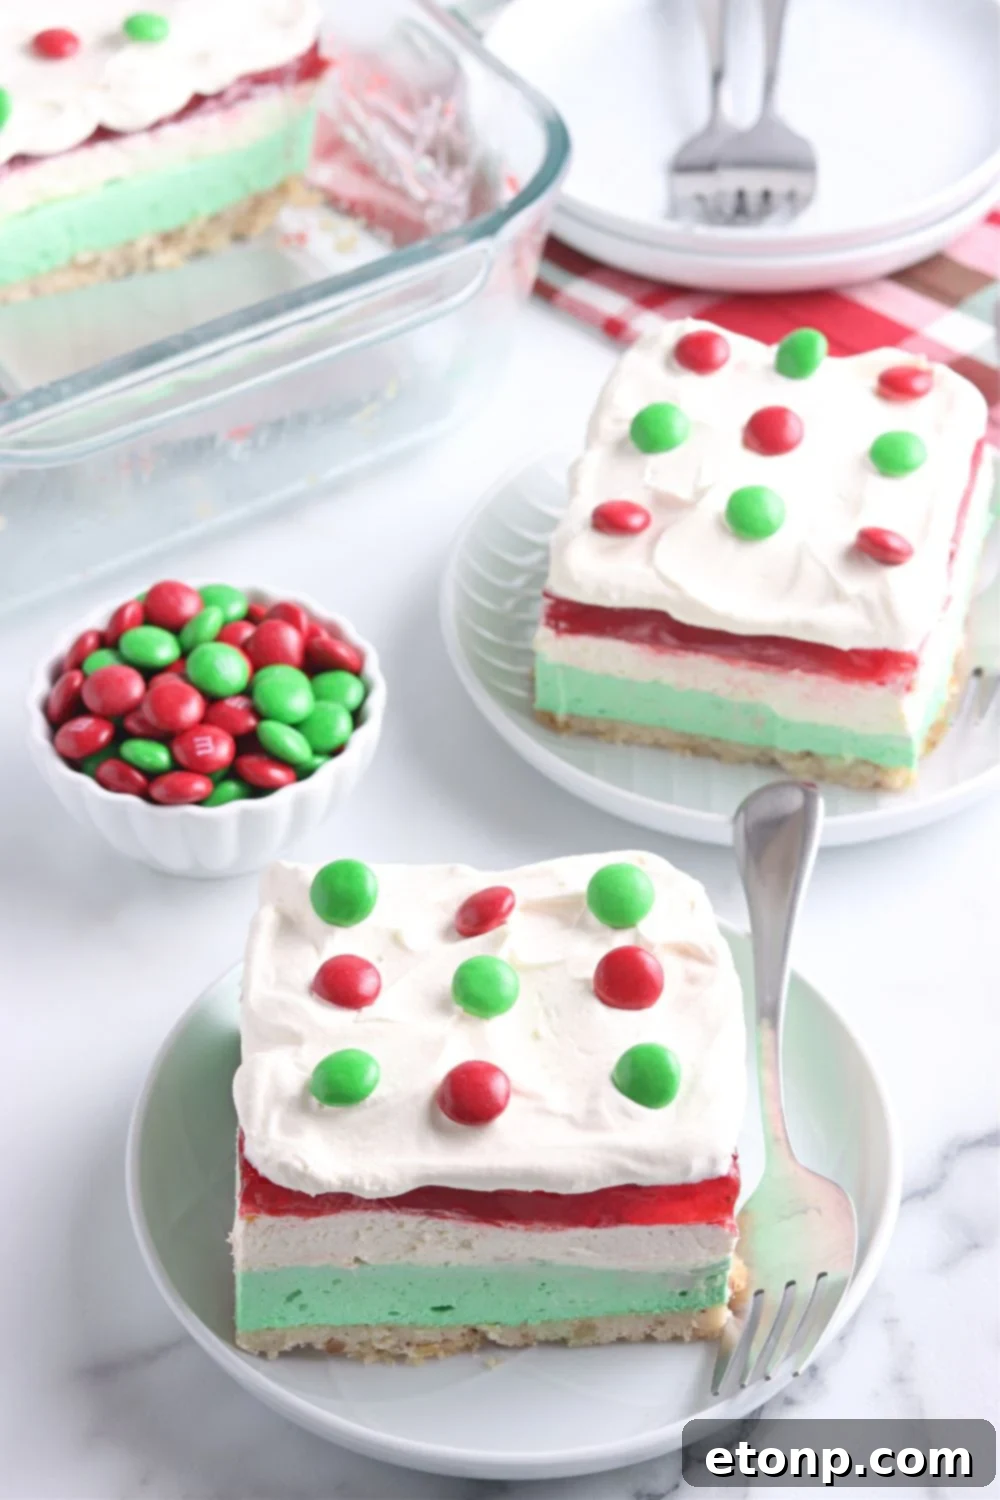
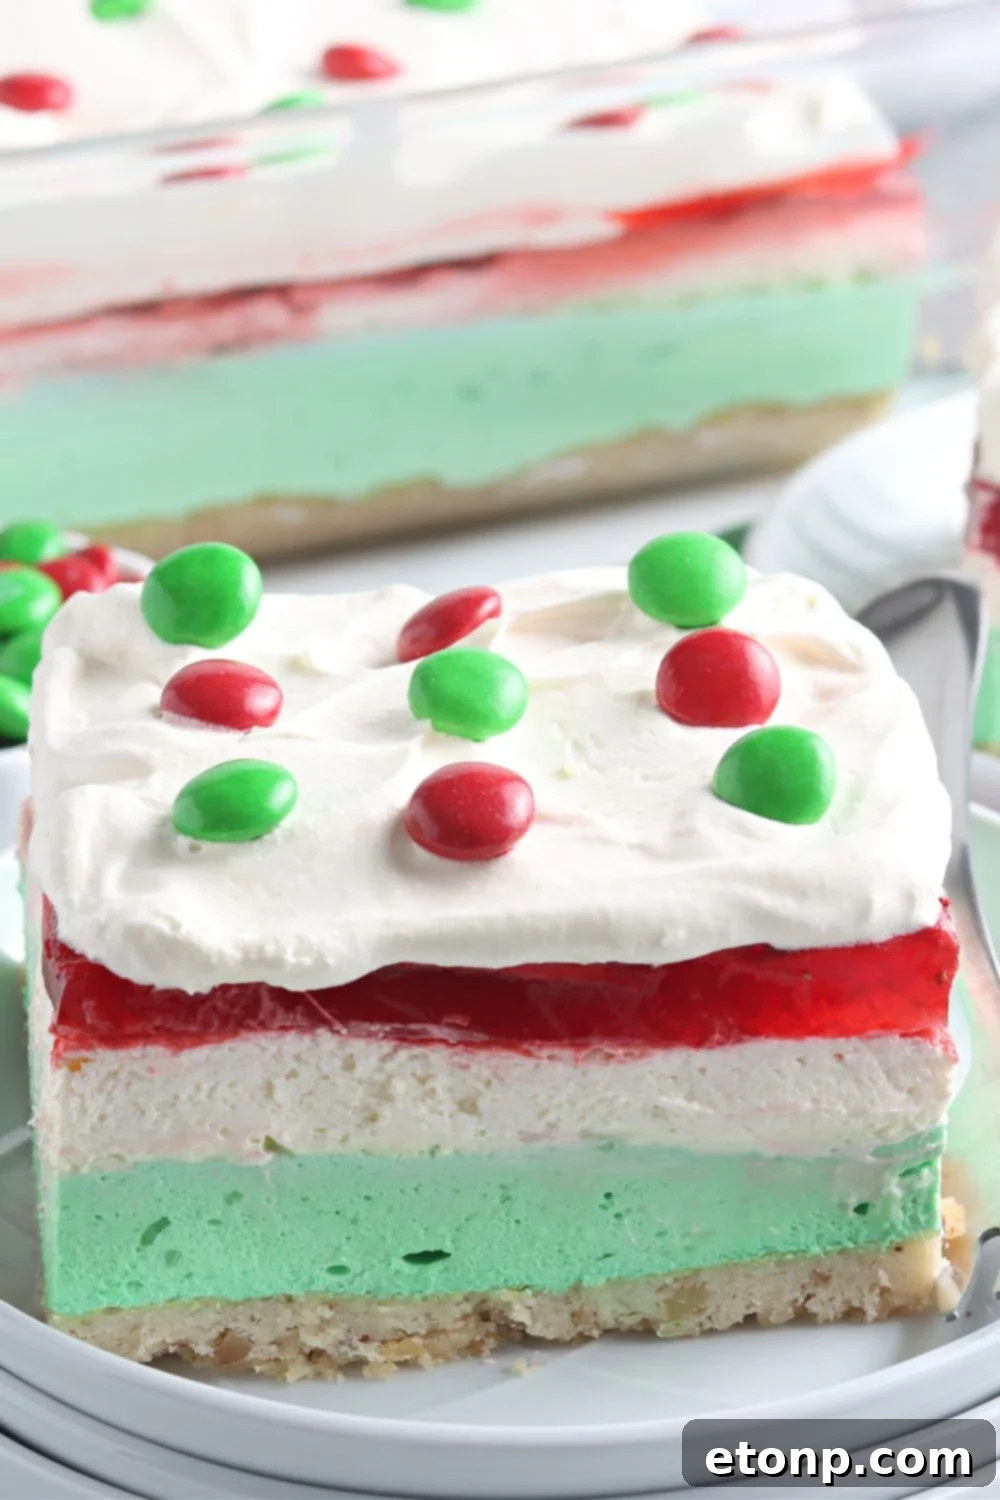
One of the most critical steps for a successful layered dessert is allowing ample refrigeration time between adding each layer, precisely as the recipe instructs. This crucial chilling period enables each individual layer to properly set and firm up. If you skip or rush this step, the distinct colors and textures will inevitably bleed into one another when you spread the next layer, resulting in a muddy appearance. Properly chilled layers create those clean, sharp lines and vibrant, defined colors that make this Christmas Lush so visually stunning.
Achieving the Perfect Crust
The crust is the sturdy base of your Christmas Lush, so ensuring it’s properly pressed into the pan is paramount. After combining your crust ingredients, use the back of a measuring cup or a flat-bottomed glass to firmly and evenly press the mixture across the bottom of your baking dish. You want to compact it thoroughly, as a loosely packed crust will inevitably crumble apart when you attempt to slice and serve your beautiful dessert bars. A firm crust provides stability and a satisfying textural contrast.
The Secret to Smooth Cream Cheese Layers
For velvety smooth, lump-free cream cheese layers, it is absolutely essential to use softened cream cheese. If your cream cheese is too cold or firm, it will not blend properly with the other ingredients, leading to unpleasant clumps and a grainy texture reminiscent of cottage cheese. To soften cream cheese quickly, you can leave it at room temperature for about 30-60 minutes, or gently microwave it on low power for 10-15 seconds until pliable.
Prep Your Pan for Easy Serving
Before you begin assembling your festive layers, take a moment to properly prepare your 9×13 inch baking dish. Generously grease the pan with cooking spray to prevent the dessert from sticking to the sides and bottom. For an even easier removal and cleaner cuts, consider lining the pan with parchment paper, leaving an overhang on the sides. This allows you to simply lift the entire dessert out of the pan before slicing, ensuring perfectly neat, professional-looking bars every time.
Storing Your Holiday Masterpiece
Proper storage ensures that your delightful No-Bake Christmas Lush remains fresh and delicious for as long as possible. Once assembled and thoroughly chilled, any leftovers of this festive dessert lasagna can be stored in an airtight container in the refrigerator for approximately 4-5 days. It’s important to note that as the dessert sits, especially with fresh fruit incorporated, the fruit may begin to release its natural juices. This can subtly thin or “water down” the Jell-O layers over time, so it’s best enjoyed within a few days of preparation for optimal freshness and texture.
Freezing this dessert is generally not recommended. Jell-O has a unique texture that does not freeze and thaw well; it tends to become watery, grainy, or develop an unappealing consistency once defrosted. To ensure the best experience, plan to make and consume your Christmas Lush within its refrigerated shelf life, savoring its vibrant layers and fresh taste during the holiday season.
Frequently Asked Questions About Christmas Lush
To help you prepare this delightful holiday dessert with confidence, here are answers to some common questions you might have:
Can I use different flavors of Jell-O?
Absolutely! The beauty of this recipe lies in its adaptability. While lime and strawberry are chosen for their festive red and green colors, you are welcome to experiment with any Jell-O flavors you desire. If you’re aiming for a three-layered, multi-colored effect, you’ll need at least two distinct Jell-O flavors to achieve the vibrant, separated layers within this no-bake dessert. Feel free to explore flavors that suit your palate or complement your holiday theme.
How long does the dessert need to chill?
Once you’ve finished assembling all the beautiful layers of your Christmas Lush, it’s crucial to allow the entire dessert sufficient time to chill. For optimal setting and stability, the Jell-O layered dessert should refrigerate for a minimum of a few hours, or ideally, overnight. This extended chilling period ensures that all the layers are fully set and firm, allowing the dessert to hold its shape perfectly and making it much easier to slice into clean, elegant portions.
Can I make the dessert ahead of time?
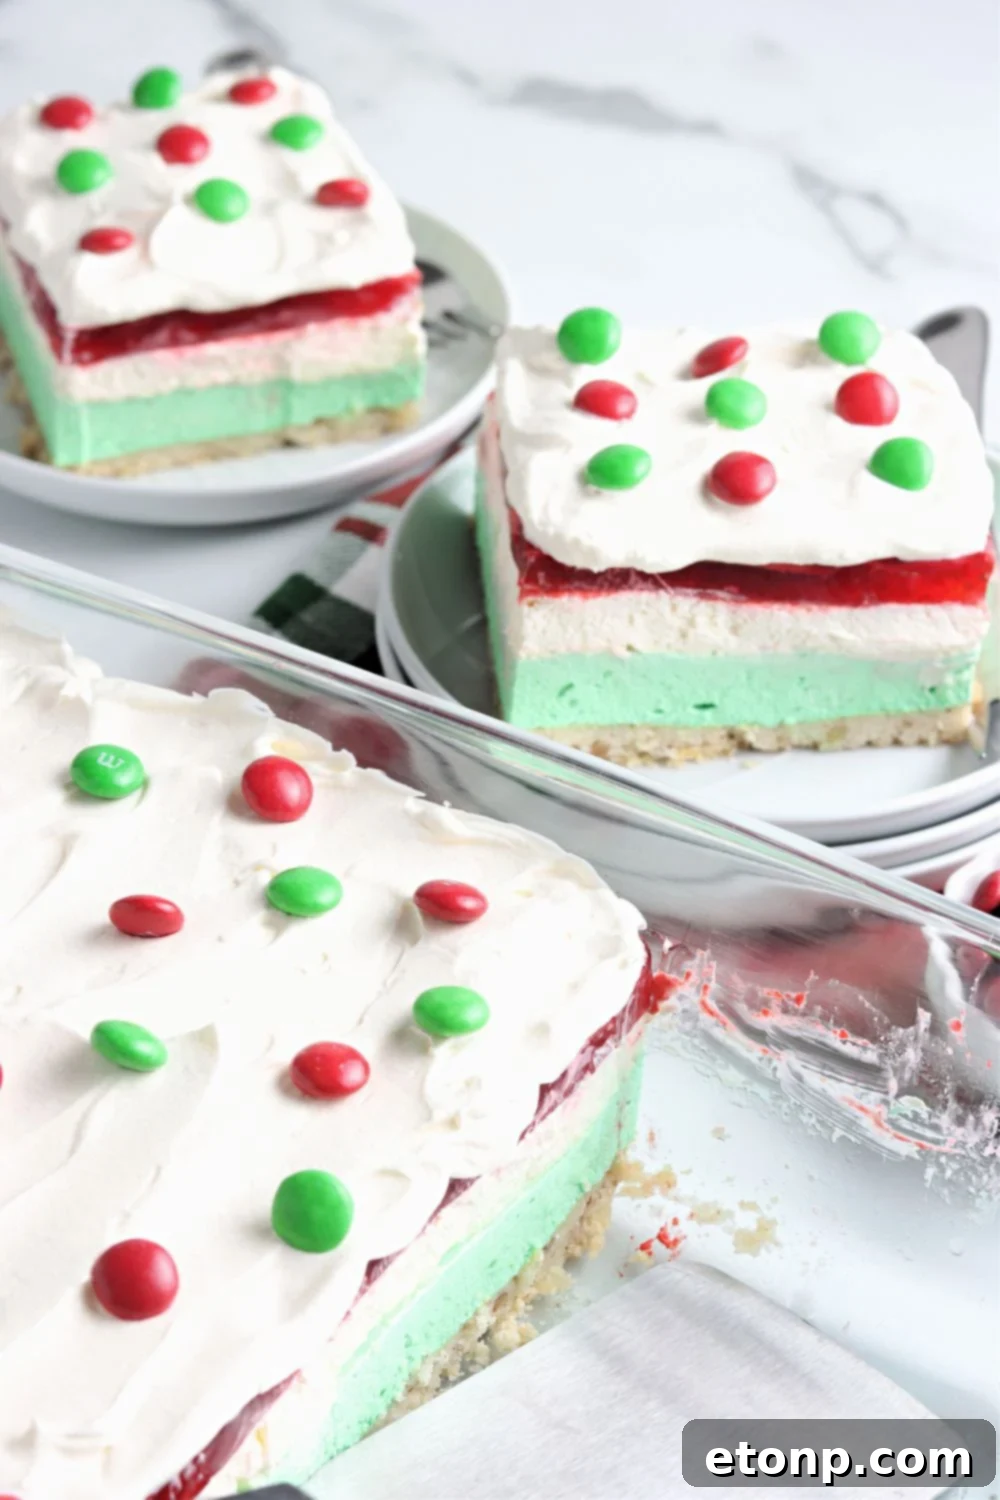
Yes, absolutely! This No-Bake Christmas Lush is a fantastic make-ahead dessert, which is a huge advantage during the busy holiday season. You can easily prepare and assemble this layered Christmas lasagna up to a full day before you plan to serve it. Simply follow all the assembly steps as directed, ensuring each layer has proper chilling time, then cover the baking dish tightly with plastic wrap and place it in the refrigerator. Preparing it in advance allows the flavors to meld beautifully and the layers to set perfectly, making for a stress-free serving experience.
Craving More Christmas Recipes?
- Original Christmas Crack
- Christmas Sugar Cookies
- Cranberry Pound Cake
Christmas Lush
Ingredients
For the Crust
- 1 cup all-purpose flour
- 2 tablespoons granulated sugar
- ¼ cup nuts pecans or walnuts, finely chopped
- ½ cup unsalted butter (1 stick), softened
For the First (Lime) Layer
- 1 cup boiling water
- 1 small box (3 oz) lime gelatin
- 1 8oz package cream cheese softened
- 1 8oz container whipped topping thawed
- Green food coloring (optional, for brighter color)
For the Second (Cream Cheese) Layer
- 1 8oz package cream cheese softened
- ½ cup granulated sugar
- 1 8 oz container whipped topping thawed
For the Top (Strawberry) Layer
- 2 cups boiling water
- 2 small boxes (3 oz each) strawberry gelatin
- 4 cups sliced fresh strawberries
For Additional Toppings (Optional)
- Additional whipped topping
- Sprinkles or candy
Instructions
Prepare the Crust
-
Preheat your oven to 350 degrees F (175 degrees C). This initial baking is for the crust only.
-
Lightly spray a 9×13 inch baking dish with cooking spray to prevent sticking. For even easier removal, you can line the dish with parchment paper, leaving an overhang on the sides.
-
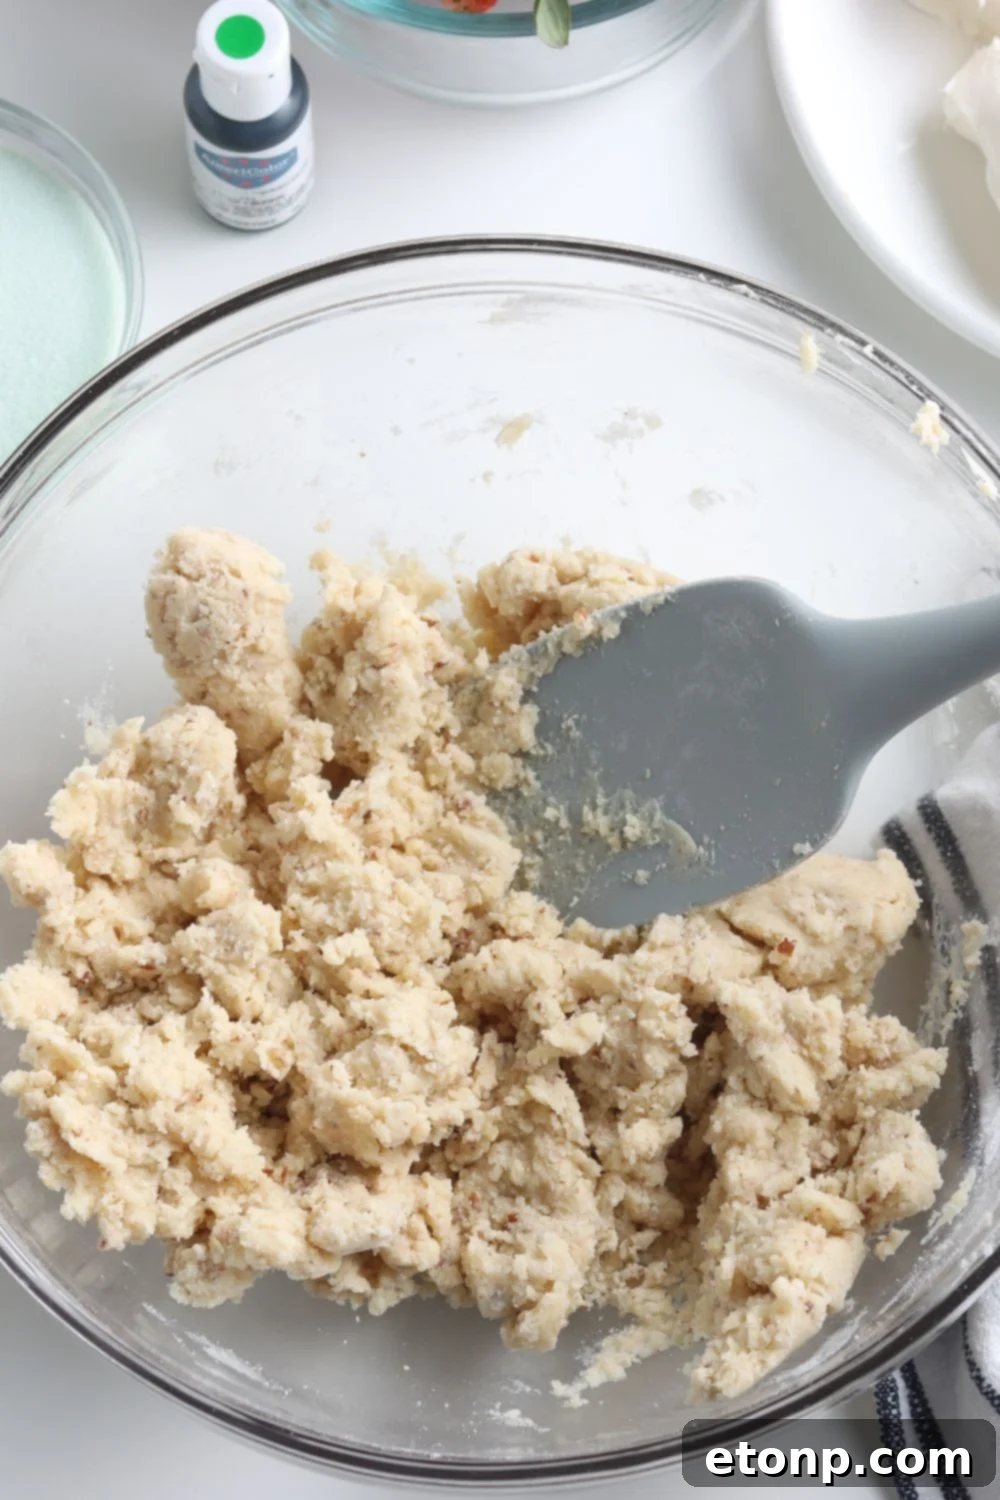
In a large mixing bowl, combine the all-purpose flour, granulated sugar, and finely chopped nuts. Add the softened unsalted butter and mix thoroughly until all ingredients are well-incorporated and the mixture resembles coarse, moist crumbs.
-
Evenly press the crust mixture into the bottom of the prepared 9×13 inch baking dish. Use the back of a measuring cup or a flat glass to compact it firmly.
-
Bake the crust in the preheated oven for 15-18 minutes, or until it achieves a light golden brown color and appears set.
-
Once baked, remove the crust from the oven and allow it to cool completely to room temperature before adding any layers. This prevents the layers from melting.
Assemble the First (Lime) Layer
-
In a large heat-safe bowl, add the lime gelatin powder. Carefully pour in 1 cup of boiling water.
-
Stir continuously for about 2 minutes, or until the gelatin granules are completely dissolved and no longer visible.
-
Place the dissolved lime gelatin mixture into the refrigerator until it is partially set. This usually takes about 1 hour. It should be slightly thickened but still pourable.
-
In a separate large bowl, beat the softened cream cheese with an electric mixer until it is light, fluffy, and completely smooth, with no lumps remaining.
-
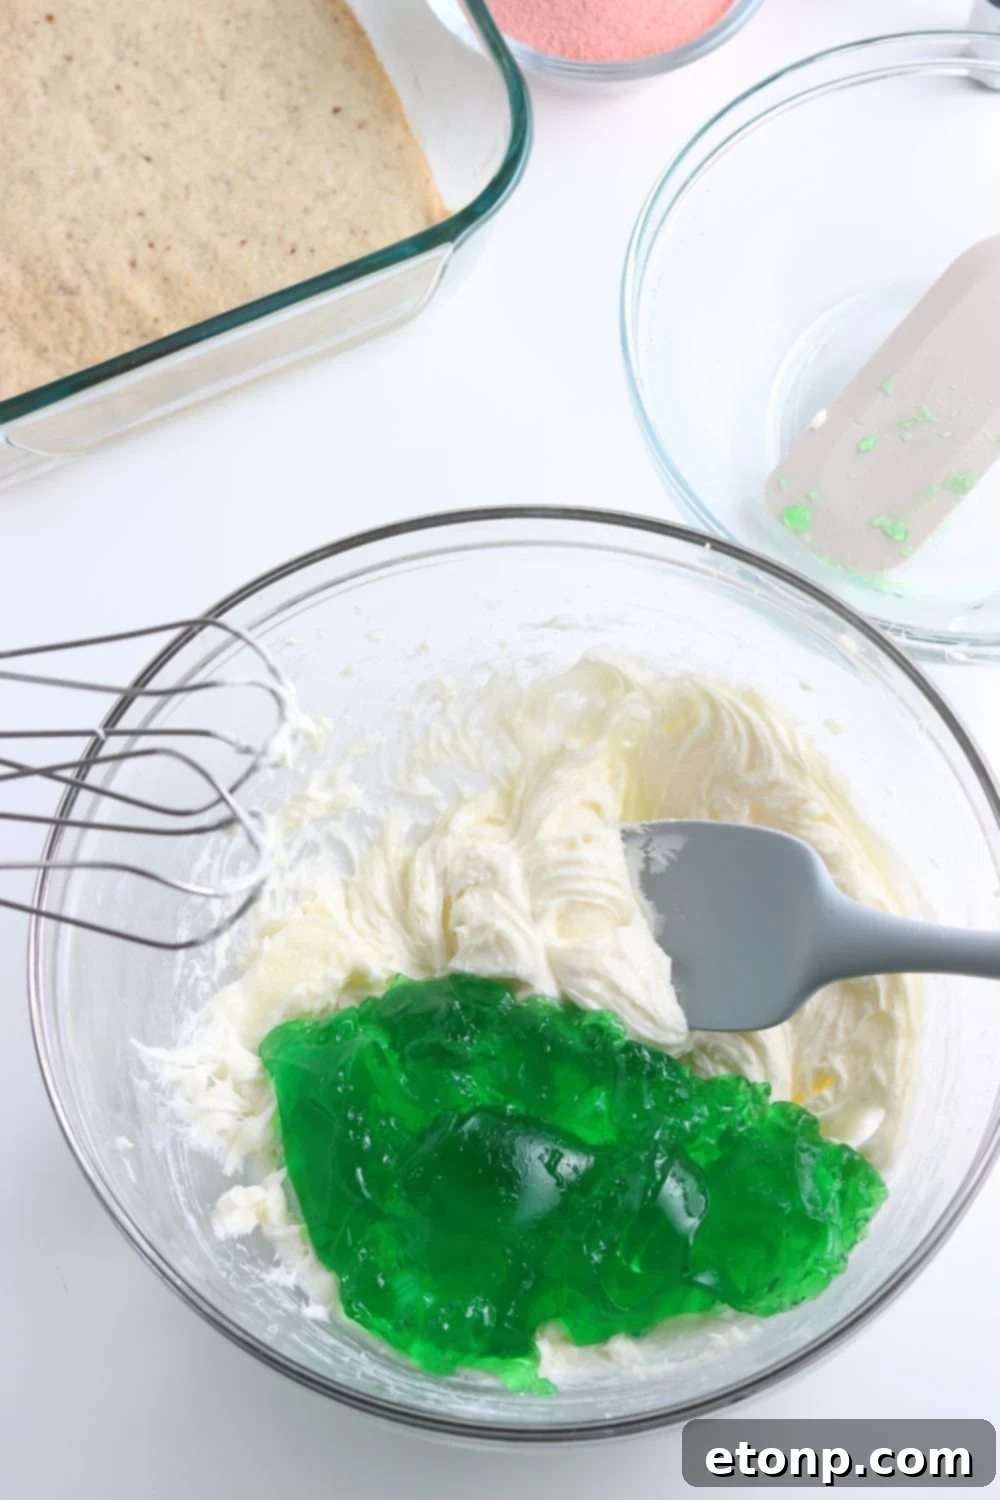
Gradually add the partially set, cooled lime gelatin to the beaten cream cheese, beating slowly until both are thoroughly combined and smooth.
-
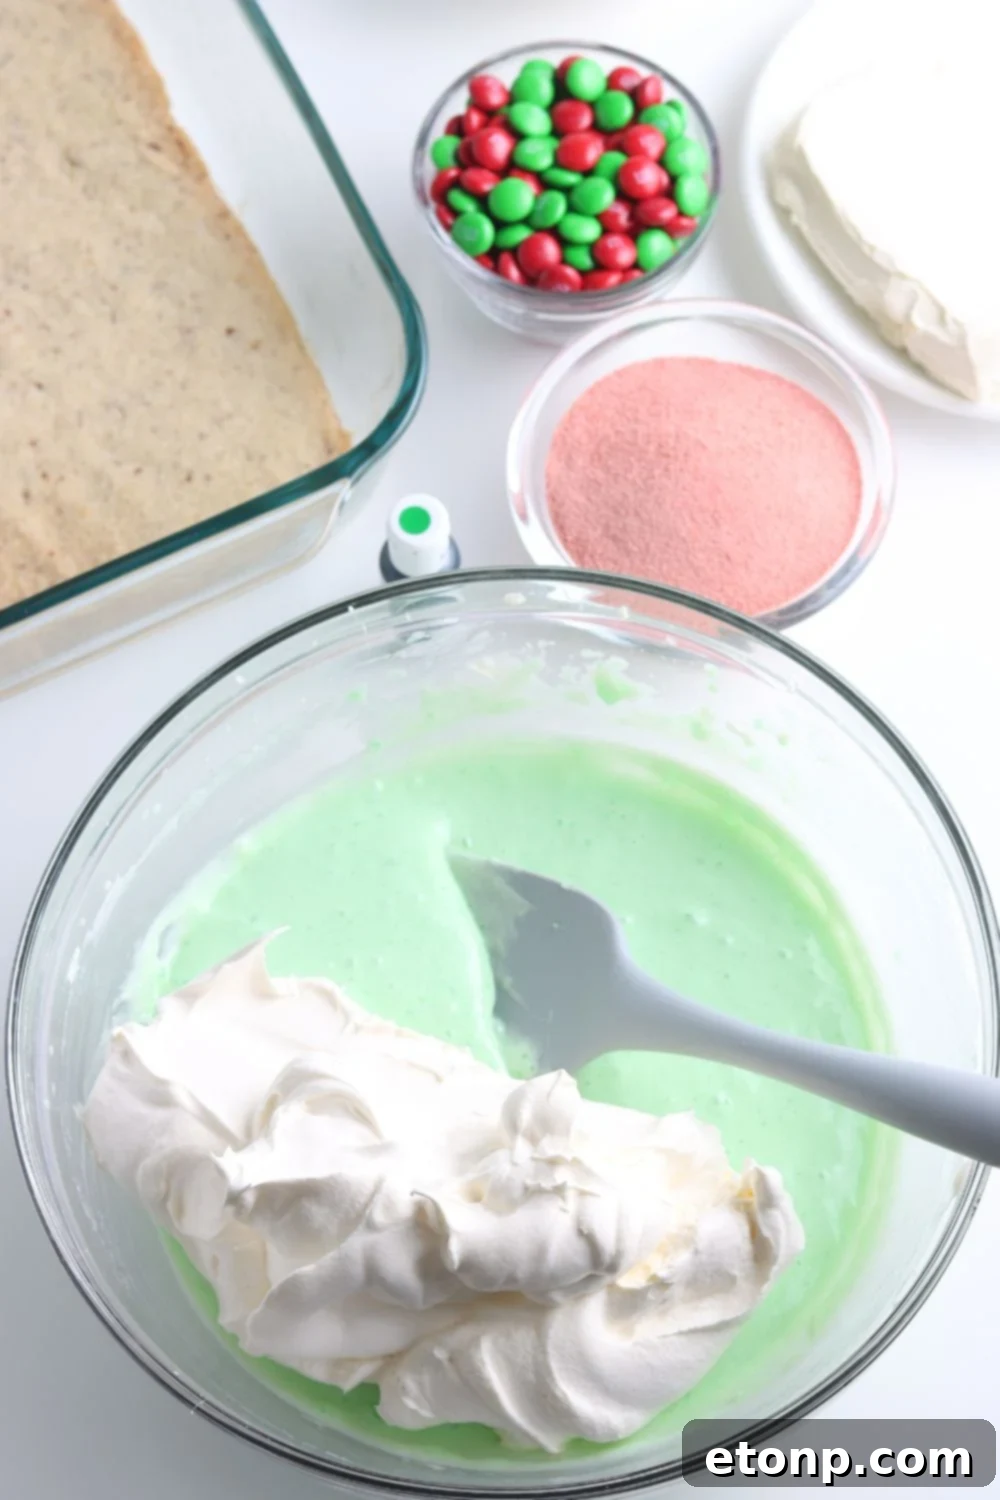
Gently fold in 1 container of thawed whipped topping until evenly incorporated, maintaining the airy texture.
-
If you desire a more vibrant green layer, add a few drops of green food coloring at this stage and gently mix until the desired hue is achieved.
-
Carefully spread this lime-cream cheese mixture over the cooled crust in the baking dish. Return the dish to the refrigerator for about 30-40 minutes, allowing this layer to set firmly.
Create the Second (Cream Cheese) Layer
-
In a clean large bowl, beat the second 8oz package of softened cream cheese together with the ½ cup of granulated sugar until the mixture is completely smooth, light, and free of any lumps.
-
Gently fold in the second 8 oz container of thawed whipped topping until it is evenly combined with the cream cheese mixture, ensuring a light and airy consistency.
-
Carefully spread this creamy white layer evenly over the chilled and set lime layer in the baking dish.
-
Return the dessert to the refrigerator for another 30-40 minutes to allow this second layer to set and firm up before proceeding.
Prepare the Top (Strawberry) Layer
-
In a large bowl, add the two small boxes of strawberry gelatin powder. Pour in 2 cups of boiling water.
-
Stir diligently for 2 minutes, ensuring that the gelatin is completely dissolved and there are no lingering granules.
-
Stir in the 4 cups of sliced fresh strawberries into the dissolved strawberry gelatin mixture.
-
Place this strawberry-gelatin mixture into the refrigerator until it is partially set, which should take about 30 minutes. Stir the mixture every 10 minutes during this chilling period. This step is crucial: you want the Jell-O to be thick enough to spoon over the layers without running through, but not fully solid. It should be the consistency of thick, pourable syrup or unset jelly.
-
Once the strawberry Jell-O reaches the desired consistency, gently spoon the mixture evenly over the chilled second cream cheese layer in the baking dish. Work carefully to avoid disturbing the layers underneath.
-
Return the entire dessert to the refrigerator for a final chill of approximately 2-4 hours, or ideally overnight, until all layers are completely firm and set.
-
Prior to serving, garnish your Christmas Lush as desired with additional whipped topping, festive sprinkles, or holiday candies for an extra touch of holiday cheer.
-
Store any leftover portions of the Christmas Lush in an airtight container in the refrigerator to maintain freshness.
Did you make this recipe?
Make sure to follow on Pinterest for more recipes!
Pin Recipe
Share on Facebook