

As the festive spirit of Easter draws near, there’s no better way to celebrate the joyous season than with a batch of delightful Easter Bunny Cookies. These enchanting treats are not just a feast for the taste buds but also a feast for the eyes, perfect for creating memorable moments with family and friends. Soft, chewy, and adorned with vibrant decorations, these cookies capture the essence of spring and the charm of the Easter bunny in every bite. They are incredibly easy to make, promising a fun baking adventure for all ages and leaving everyone in awe of their adorable appearance.

Easter, a time of renewal and blossoming joy, invites us to embrace the beauty of spring and create heartwarming traditions. What could be more fitting than baking a batch of these irresistible Easter Bunny Cookies? Each cookie, with its melt-in-your-mouth texture and subtle sweetness, is designed to bring a wide smile to anyone who encounters it. Whether you’re planning a festive gathering, a family brunch, or simply want to treat yourself to something special, these cookies are a surefire way to sweeten any occasion. Get ready to immerse yourself in the fun of baking and decorating, making this Easter truly extraordinary with your very own homemade Easter Bunny Cookies!
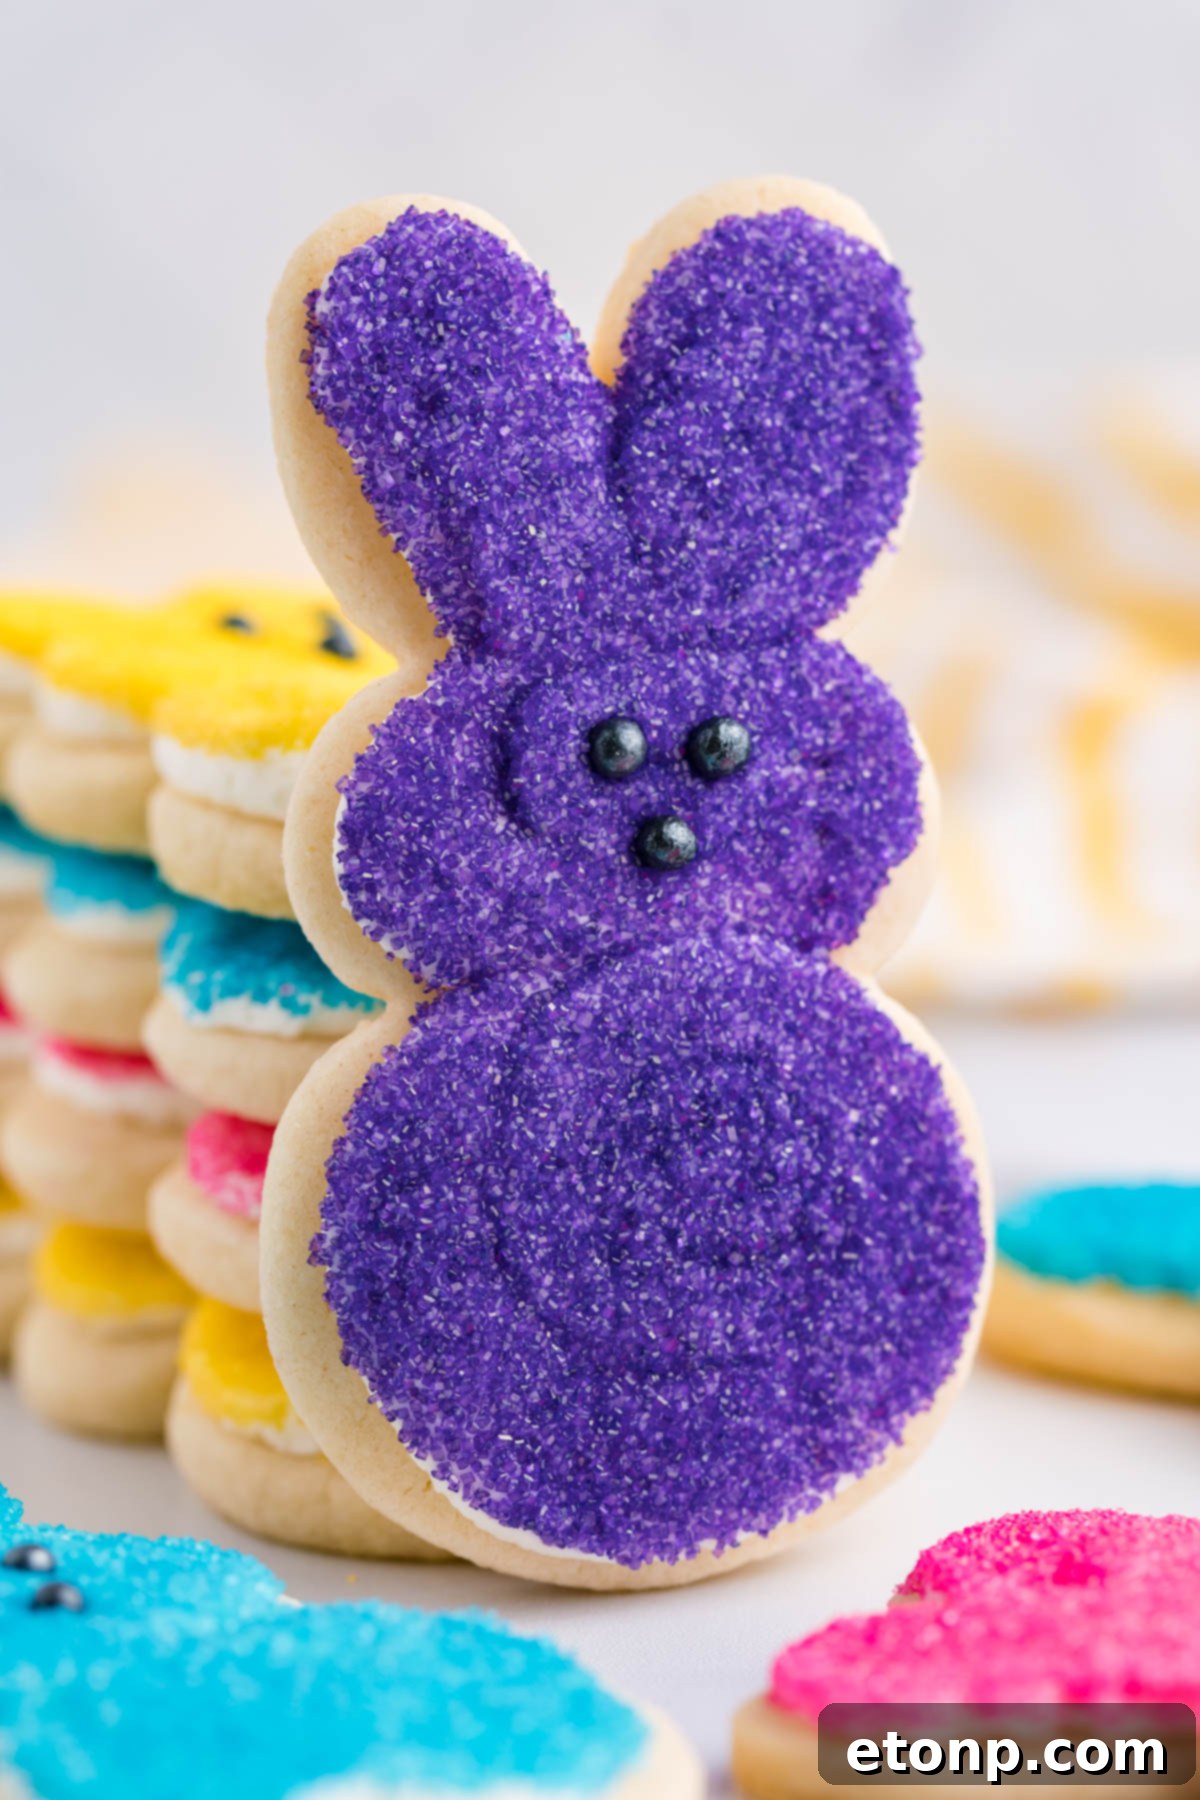
Why You’ll Adore These Easter Bunny Cookies
There are countless reasons why these Easter Bunny Cookies will quickly become a cherished part of your holiday traditions:
- Endless Decorating Fun: Unleash your inner artist! These cookies provide a perfect canvas for creativity. From choosing bright, pastel icing colors to experimenting with sprinkles, edible glitter, and even candy eyes, the possibilities for decorating your bunny cookies are truly endless. It’s a wonderful activity that allows both children and adults to express their festive spirit and personalize each treat, making every cookie a unique masterpiece. Imagine a lively decorating station where everyone can bring their bunny creations to life, sparking joy and shared laughter.
- Irresistible Flavor Profile: Prepare for a taste experience that is simply unbeatable. Our recipe yields fluffy, tender cookies boasting a rich vanilla essence, perfectly balanced with just the right amount of sweetness. The magic lies in the ideal blend of sugar and spice, creating a symphony of flavors that will undoubtedly delight every palate. These cookies aren’t just cute; they’re incredibly delicious, offering a comforting and indulgent treat that embodies the warmth of homemade baking.
- A Heartwarming Way to Bond: The Easter season is all about connection, and what better way to foster togetherness than by spending quality time in the kitchen? Gather your loved ones to bake and decorate these charming cookies. Share cherished stories, swap baking tips, or even host a friendly Easter Bunny Cookie decorating contest. This activity provides a fantastic opportunity to create lasting memories, strengthen family bonds, and enjoy the simple pleasure of working together towards a deliciously rewarding outcome.
- Versatile for Every Occasion: While perfect for Easter, the versatility of these sugar cookies extends beyond the holiday. You can easily adapt the cookie cutter shapes and decorations for other celebrations throughout the year. But for Easter, they serve as ideal dessert table centerpieces, thoughtful gifts for neighbors and teachers, or delightful additions to school lunchboxes. Their charming appearance makes them suitable for any festive spread, adding a touch of whimsy and homemade goodness.
- Simple Yet Impressive: Don’t let their elaborate appearance fool you; these Easter Bunny Cookies are surprisingly straightforward to prepare. With clear instructions and readily available ingredients, even novice bakers can achieve stunning results. The satisfaction of presenting a tray of beautifully decorated, homemade cookies that look professionally crafted is immensely rewarding, making you the star of any Easter gathering without hours of complex effort.

Essential Ingredients for Your Perfect Bunny Cookies
Crafting the perfect batch of Easter Bunny Cookies starts with selecting high-quality ingredients. While a detailed list is provided in the recipe card below, here’s a closer look at what makes these cookies so special:
- Salted Butter: This foundational ingredient is key to achieving a rich, creamy, and tender cookie. Using room-temperature salted butter ensures it creams smoothly with sugar, incorporating air for a lighter texture and adding a delightful depth of flavor that perfectly complements the sweetness. The slight saltiness also enhances all the other ingredients, creating a balanced and addictive taste.
- Shortening: Incorporating shortening into your cookie dough is a secret weapon for achieving a wonderfully light and flaky texture. It helps prevent over-spreading during baking, resulting in a cookie that holds its shape beautifully while remaining soft. For those seeking a vegan option, all-vegetable shortening works perfectly without compromising on texture.
- Granulated Sugar: Beyond providing essential sweetness, granulated sugar contributes significantly to the cookie’s structure and pleasant crunch around the edges. It helps the cookies spread slightly and achieve that desirable golden-brown finish. When creamed with butter and shortening, it helps aerate the mixture, leading to a softer, more delicate crumb.
- Egg: The humble egg acts as the vital binder, holding all the ingredients together to form a cohesive dough. It adds richness, moisture, and aids in leavening, contributing to the cookie’s overall structure and chewiness. One large egg is typically sufficient, but always ensure it’s at room temperature for optimal incorporation into the mixture.
- Vanilla Extract: No classic cookie recipe is complete without the warm, aromatic notes of vanilla extract. It imbues the cookies with that quintessential sweet scent and flavor, providing a comforting base that enhances all other elements without being overpowering. High-quality vanilla makes a noticeable difference in the final taste.
- Almond Extract: For an additional layer of nuanced, nutty sweetness that truly elevates these Easter Bunny Cookies, consider adding almond extract. Its delicate yet potent flavor pairs beautifully with vanilla, offering a sophisticated twist. A little goes a long way, so use it sparingly to achieve a distinctive and memorable taste. You can use it in addition to vanilla or as a substitution for a bolder almond profile.
- All-Purpose Flour: Providing the essential structure and stability to your cookie dough, all-purpose flour is crucial for achieving the perfect consistency. It contributes to the cookies’ volume, texture, and desirable chewiness, ensuring they are sturdy enough for decorating yet tender when eaten. Measure it correctly to avoid a tough or crumbly cookie.
- Cornstarch: A secret ingredient for ultimate cookie softness! Cornstarch helps absorb excess moisture from wet ingredients, resulting in a more tender and delicate crumb. When combined with flour, it also plays a significant role in reducing cookie spread during baking, helping your bunny shapes stay sharp and defined. This ensures your beautifully cut cookies maintain their adorable form.
- Baking Powder: As a leavening agent, baking powder is responsible for giving the cookies a slight lift and a tender, airy texture. It reacts during baking to create tiny air bubbles, preventing the cookies from being too dense. Ensure your baking powder is fresh for the best results.
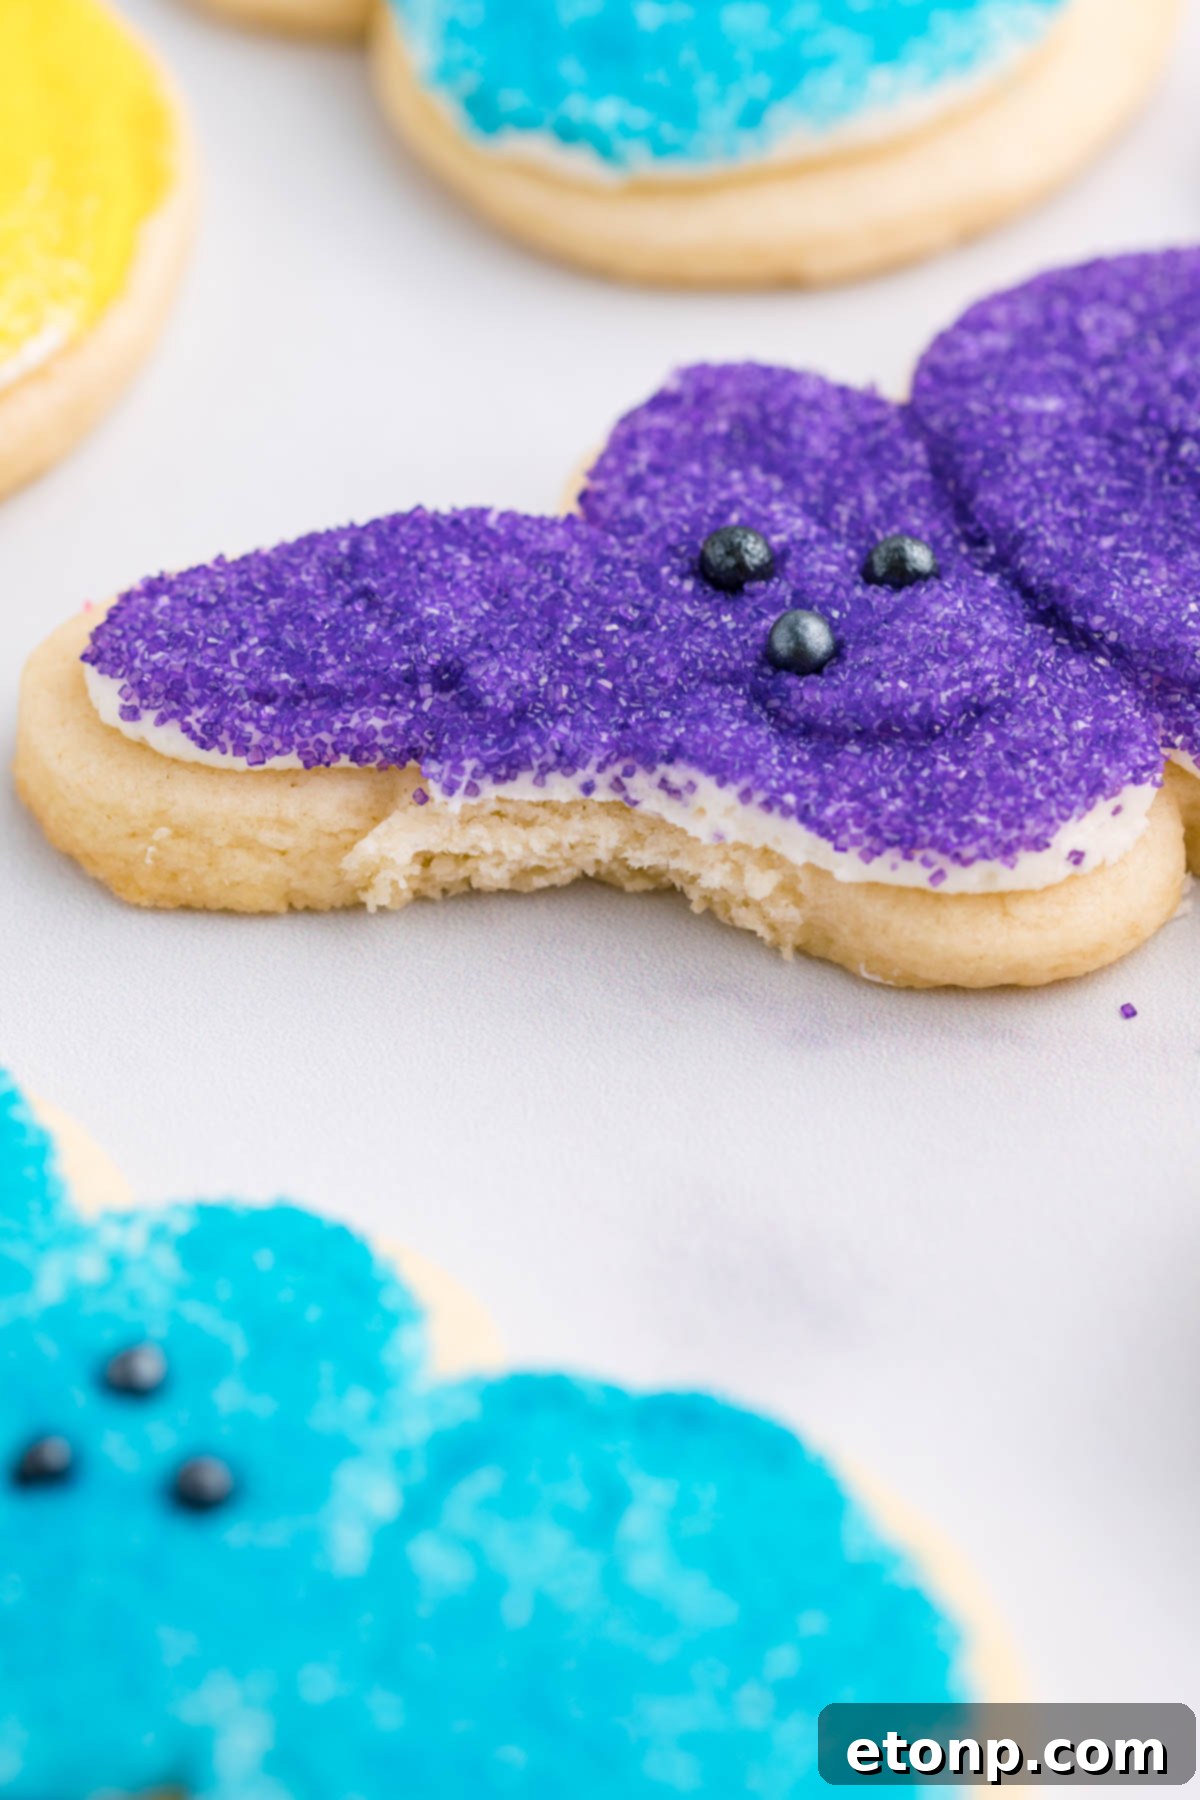
How to Store Your Delightful Bunny Cookies
Proper storage is essential to keep your Easter Bunny Cookies fresh, soft, and delicious for as long as possible. Once your finished cookies have cooled completely on a wire rack, they are ready for storage.
For short-term enjoyment, simply place the cooled cookies in an airtight container at room temperature. A covered plate also works well if they’ll be consumed within a day or two. Stored this way, the cookies will remain fresh and delightful for up to one week. To prevent them from sticking together, especially if they are frosted, you might want to place a piece of parchment paper between layers.
If you wish to extend their freshness and enjoy them beyond a week, freezing is an excellent option. Place the completely cooled cookies (frosted or unfrosted) in a single layer on a baking sheet and freeze for about 30 minutes until firm. This step prevents them from sticking together. Once firm, transfer them to a freezer bag or a vacuum-sealed package, layering them between sheets of parchment paper. They can be stored in the freezer for up to three months. When you’re ready to enjoy them, simply thaw the cookies at room temperature before serving. This method ensures you always have a delightful Easter treat ready to go!

Ingredients for the Perfect Bunny Cookie Icing
The magic of these Easter Bunny Cookies truly comes alive with the right frosting. This smooth, fluffy buttercream icing is not only easy to make but also incredibly versatile for all your decorating needs. Here’s what you’ll need to create a vibrant and delicious frosting that will make your cookies shine:
- Salted Butter, room temperature: Just like for the cookies, room temperature butter is crucial for a smooth, lump-free frosting. The salted variety adds a nice counterpoint to the sweetness.
- Powdered Sugar (Confectioners’ Sugar): This is the backbone of any good buttercream. Its fine texture dissolves easily, creating a silky-smooth icing that’s perfect for piping and spreading.
- Vanilla Extract: To infuse your frosting with that beloved sweet and comforting aroma. This enhances the overall flavor profile of the cookies.
- Heavy Whipping Cream: This ingredient is key to achieving that light, fluffy, and pipeable consistency for your buttercream. It adds richness and helps create a smooth texture, making the frosting a dream to work with.
- Black Sugar Pearls: These tiny, edible pearls are perfect for creating adorable bunny eyes and noses, adding a charming three-dimensional detail to your decorated cookies.
- Pink, Yellow, Purple, and Blue Sugar Sprinkles: A vibrant assortment of sprinkles brings a burst of color and fun to your bunny cookies. These classic Easter pastel shades make the cookies truly festive and appealing to everyone. Feel free to use other festive sprinkles or edible glitter to customize your designs.
Beyond these ingredients, consider having some gel food coloring on hand to tint your frosting into various pastel shades, making your Easter Bunny Cookies even more visually stunning. Gel colors offer intense hues without thinning out your icing, which is ideal for detailed decorating.
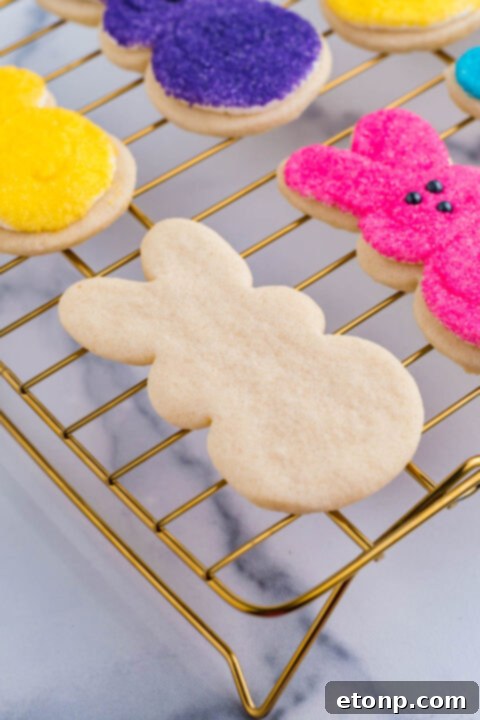



Expert Tips for Crafting Perfect Easter Bunny Cookies
Achieving bakery-quality Easter Bunny Cookies is simpler than you might think with these expert tips:
- Embrace Room Temperature Ingredients: Always ensure your butter and egg are at room temperature before you begin mixing. Cold ingredients don’t emulsify properly with sugar, leading to a lumpy batter and a denser, less tender cookie texture. Plan ahead by taking them out of the refrigerator at least 30 minutes to an hour before you start baking.
- Avoid Overmixing the Dough: Once you add the flour, mix the dough just until no dry spots remain. Overmixing develops the gluten in the flour too much, resulting in tough, chewy cookies instead of the desired soft and tender texture. A gentle hand is key here.
- Ensure Uniform Thickness: When rolling out your cookie dough, aim for a consistent thickness of about ¼ to ½ inch. This ensures that all your cookies bake evenly, preventing some from being undercooked while others are overbaked and crispy. Using rolling pin guides can be incredibly helpful for this.
- Optimize Baking Surface: For the best heat circulation and even baking, place your baking sheets directly on top of hot baking stones or use silicone baking mats. These tools help distribute heat more uniformly, preventing burnt bottoms and ensuring your cookies achieve a beautiful golden-brown color throughout.
- Monitor Baking Closely: Cookie ovens can vary, so keep a watchful eye on your cookies as they bake. Check them often, especially towards the end of the recommended baking time. If you notice uneven browning, rotate your trays halfway through the baking process to ensure every bunny gets an equal share of heat.
- Allow for Complete Cooling: Patience is a virtue, especially with cookies! Let your finished cookies cool completely on the baking sheet for at least 10 minutes before transferring them to a wire rack. This allows them to firm up, preventing breakage. They must be completely cool before frosting and storing to avoid melted icing or condensation.
- Chill Your Dough: If your dough feels too soft or sticky, don’t hesitate to chill it in the refrigerator for 20-30 minutes. Chilled dough is much easier to roll out and cut, and it helps prevent the cookies from spreading too much in the oven, ensuring your bunny shapes remain distinct.
- Use Parchment Paper: Always line your baking sheets with parchment paper or a silicone baking mat. This not only prevents sticking but also ensures even baking and easy cleanup. Your beautifully shaped cookies will lift off the tray without any fuss.
- Dust Your Work Surface Lightly: When rolling out the dough, use a minimal amount of flour on your work surface and rolling pin. Too much flour can make your cookies dry and crumbly. Just enough to prevent sticking is perfect.
- Get Creative with Cutters: While bunny cutters are a must for Easter, don’t limit yourself. Have a variety of sizes and perhaps even some Easter egg or chick cutters to add more variety to your festive spread.
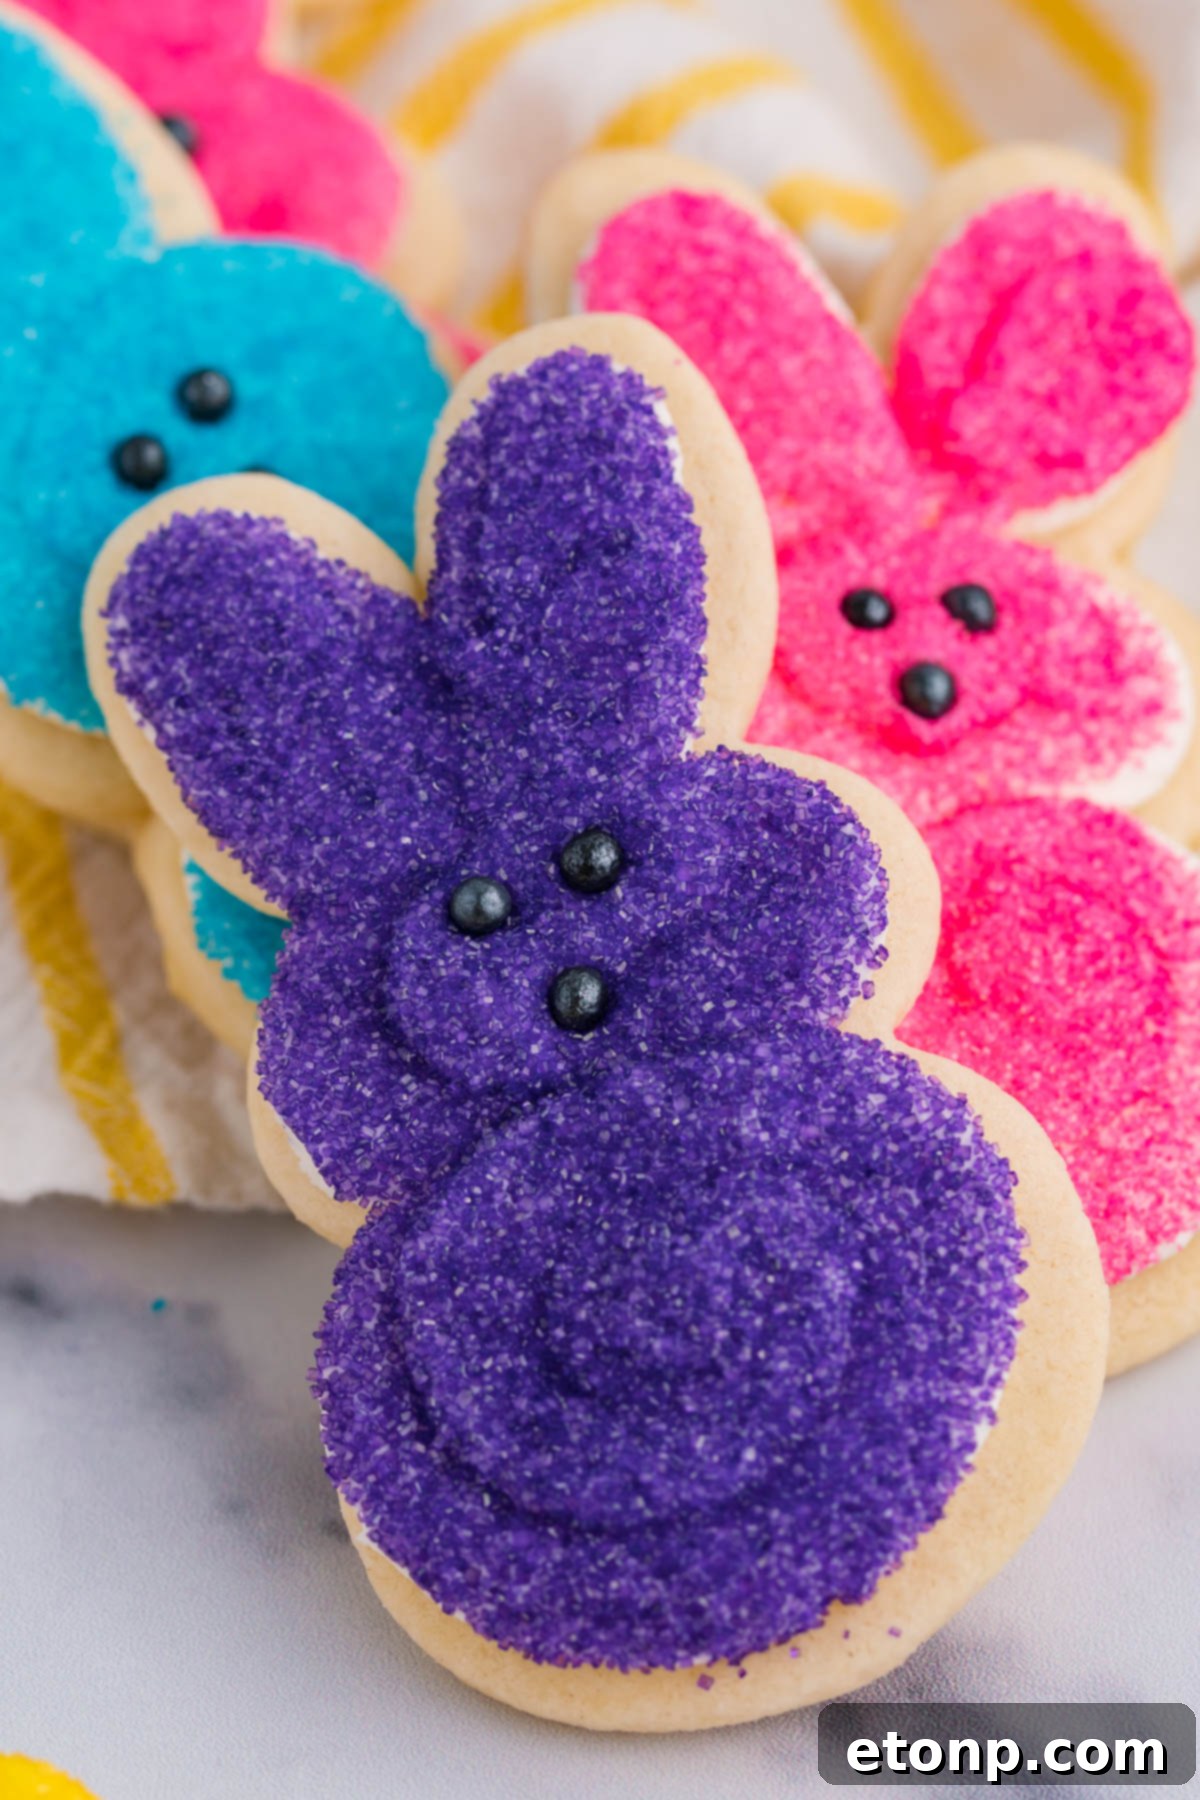
If you’re searching for a truly special and delicious treat to create this Easter season, look no further than these delightful Easter Bunny Cookies! They are guaranteed to bring smiles and festive cheer to any celebration. Are you planning on making these charming Bunny Sugar Cookies a highlight of your holiday? We certainly hope you do!

These Easter Bunny Cookies are more than just a sweet confection; they are a delightful combination of adoration and exquisite taste! The harmonious blend of soft, buttery cookie with the rich, sweet, and vibrantly colored frosting creates an unparalleled treat perfect for all your Easter festivities. Beyond their deliciousness, they offer a wonderfully engaging activity for children, allowing them to participate in the decorating fun and unleash their creativity, making the holiday even more memorable and personalized. Imagine the joy on their faces as they transform simple cookies into adorable works of art!

MORE DELICIOUS EASTER RECIPES YOU WILL LOVE!
Extend your Easter baking and cooking adventures with these other fantastic recipes:
Easter Bunny Cake
Easter Cupcakes
Easter Pudding Cookies

Easter Bunny Cookies
Ingredients
Cookies
- 1 cup salted butter room temperature
- ½ cup shortening
- 1 ½ cups granulated sugar
- 1 large egg
- 1 ½ teaspoons vanilla extract
- 2 teaspoon almond extract
- 3 ½ – 4 cup all-purpose flour
- ½ cup cornstarch
- 2 teaspoons baking powder
Frosting/Toppings
- 1 cup salted butter room temperature
- 6 cups powdered sugar
- 2 teaspoons vanilla extract
- ¼ cup heavy whipping cream
- Black sugar pearls
- Pink, yellow, purple, and blue sugar sprinkles
Instructions
Cookies
-
Preheat oven to 325 degrees F (160°C). Prepare two baking sheets by spraying generously with non-stick spray or lining with parchment paper, then set aside.
-
In the bowl of a stand mixer equipped with a paddle attachment, or using a hand mixer, cream the room-temperature butter, shortening, and granulated sugar together on medium-high speed until the mixture is light and fluffy. This usually takes about 2-3 minutes.
-
Add the large egg, vanilla extract, and almond extract to the creamed mixture. Mix until all ingredients are thoroughly combined and the mixture is smooth. Scrape down the sides of the bowl as needed.
-
Gradually add the all-purpose flour, starting with 3 ½ cups, along with the cornstarch and baking powder. Mix on low speed until there are no dry spots remaining and a cohesive dough forms. If the dough is still excessively sticky to the touch, add more flour, about ¼ cup at a time, until it is soft but manageable and no longer sticky. Be careful not to overmix.
-
Lightly flour a clean work surface and a rolling pin. Roll the dough out to an even thickness of approximately ¼ to ½ inch. Use a bunny cookie cutter to cut the dough into desired shapes. Carefully place each bunny cookie about 2 inches apart on the prepared baking sheets. Gather and re-roll any dough scraps until all dough is used.
-
Bake for 10 minutes, or until the edges of the cookies are lightly golden brown. Baking time may vary depending on your oven and cookie thickness. Remove the baking sheets from the oven and allow the cookies to cool on the pan for 10 minutes before carefully transferring them to a wire rack to cool completely. They must be fully cooled before frosting.
Frosting
-
Prepare the frosting by adding the room-temperature salted butter into the bowl of a stand mixer equipped with a paddle attachment. Cream on medium-high speed until the butter is soft, smooth, and pale in color, about 2-3 minutes.
-
Gradually add the powdered sugar, about 3 cups at a time, mixing on low speed until thoroughly combined and no dry spots of sugar remain. Continue until all 6 cups are incorporated.
-
Add the vanilla extract and heavy whipping cream last. Mix on low speed until just combined, then increase the speed to high and beat for 4-5 minutes, or until you achieve a smooth, light, and fluffy frosting texture. If desired, divide the frosting into separate bowls and tint with gel food coloring for various pastel colors.
-
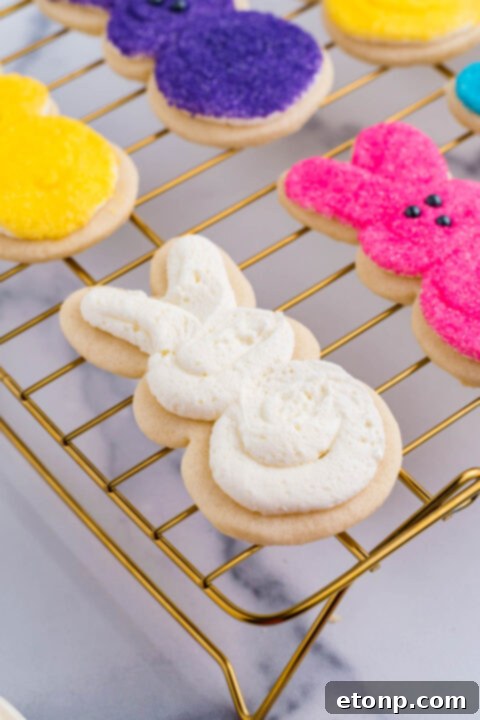
Transfer the prepared frosting to a piping bag fitted with a large round piping tip (a Wilton 2A tip works wonderfully for this).
Decorating
-
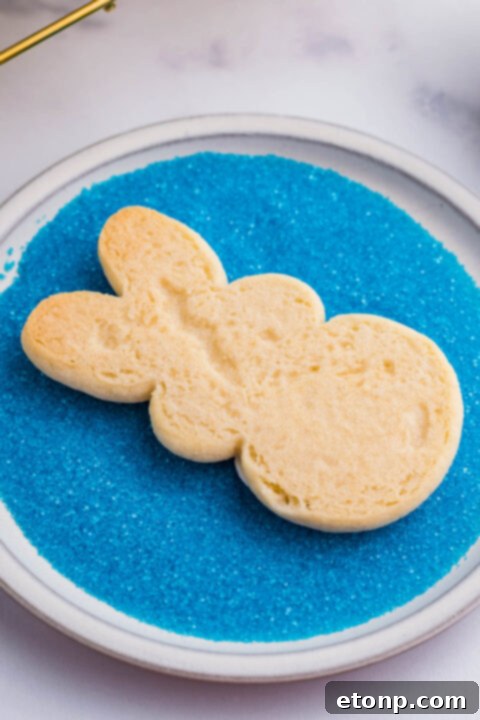
Pour each different color of sugar sprinkles into four separate small plates. Pipe a generous amount of frosting evenly onto each completely cooled cookie. Immediately and gently dip the frosted cookie into the sprinkles of your choice, ensuring the entire surface is covered. Lightly tap the cookie to remove any excess sprinkles. Finish by carefully placing two black sugar pearls for eyes and one for a nose on each bunny cookie to create their adorable faces.
-
Store the decorated Easter Bunny Cookies in an airtight container at room temperature for up to three days. Once the frosting has fully set and hardened slightly (this might take a few hours), you can carefully stack them between layers of parchment paper within the container for more efficient storage.
Did you make this recipe?
Make sure to follow on Pinterest for more recipes!
Pin Recipe
Share on Facebook