
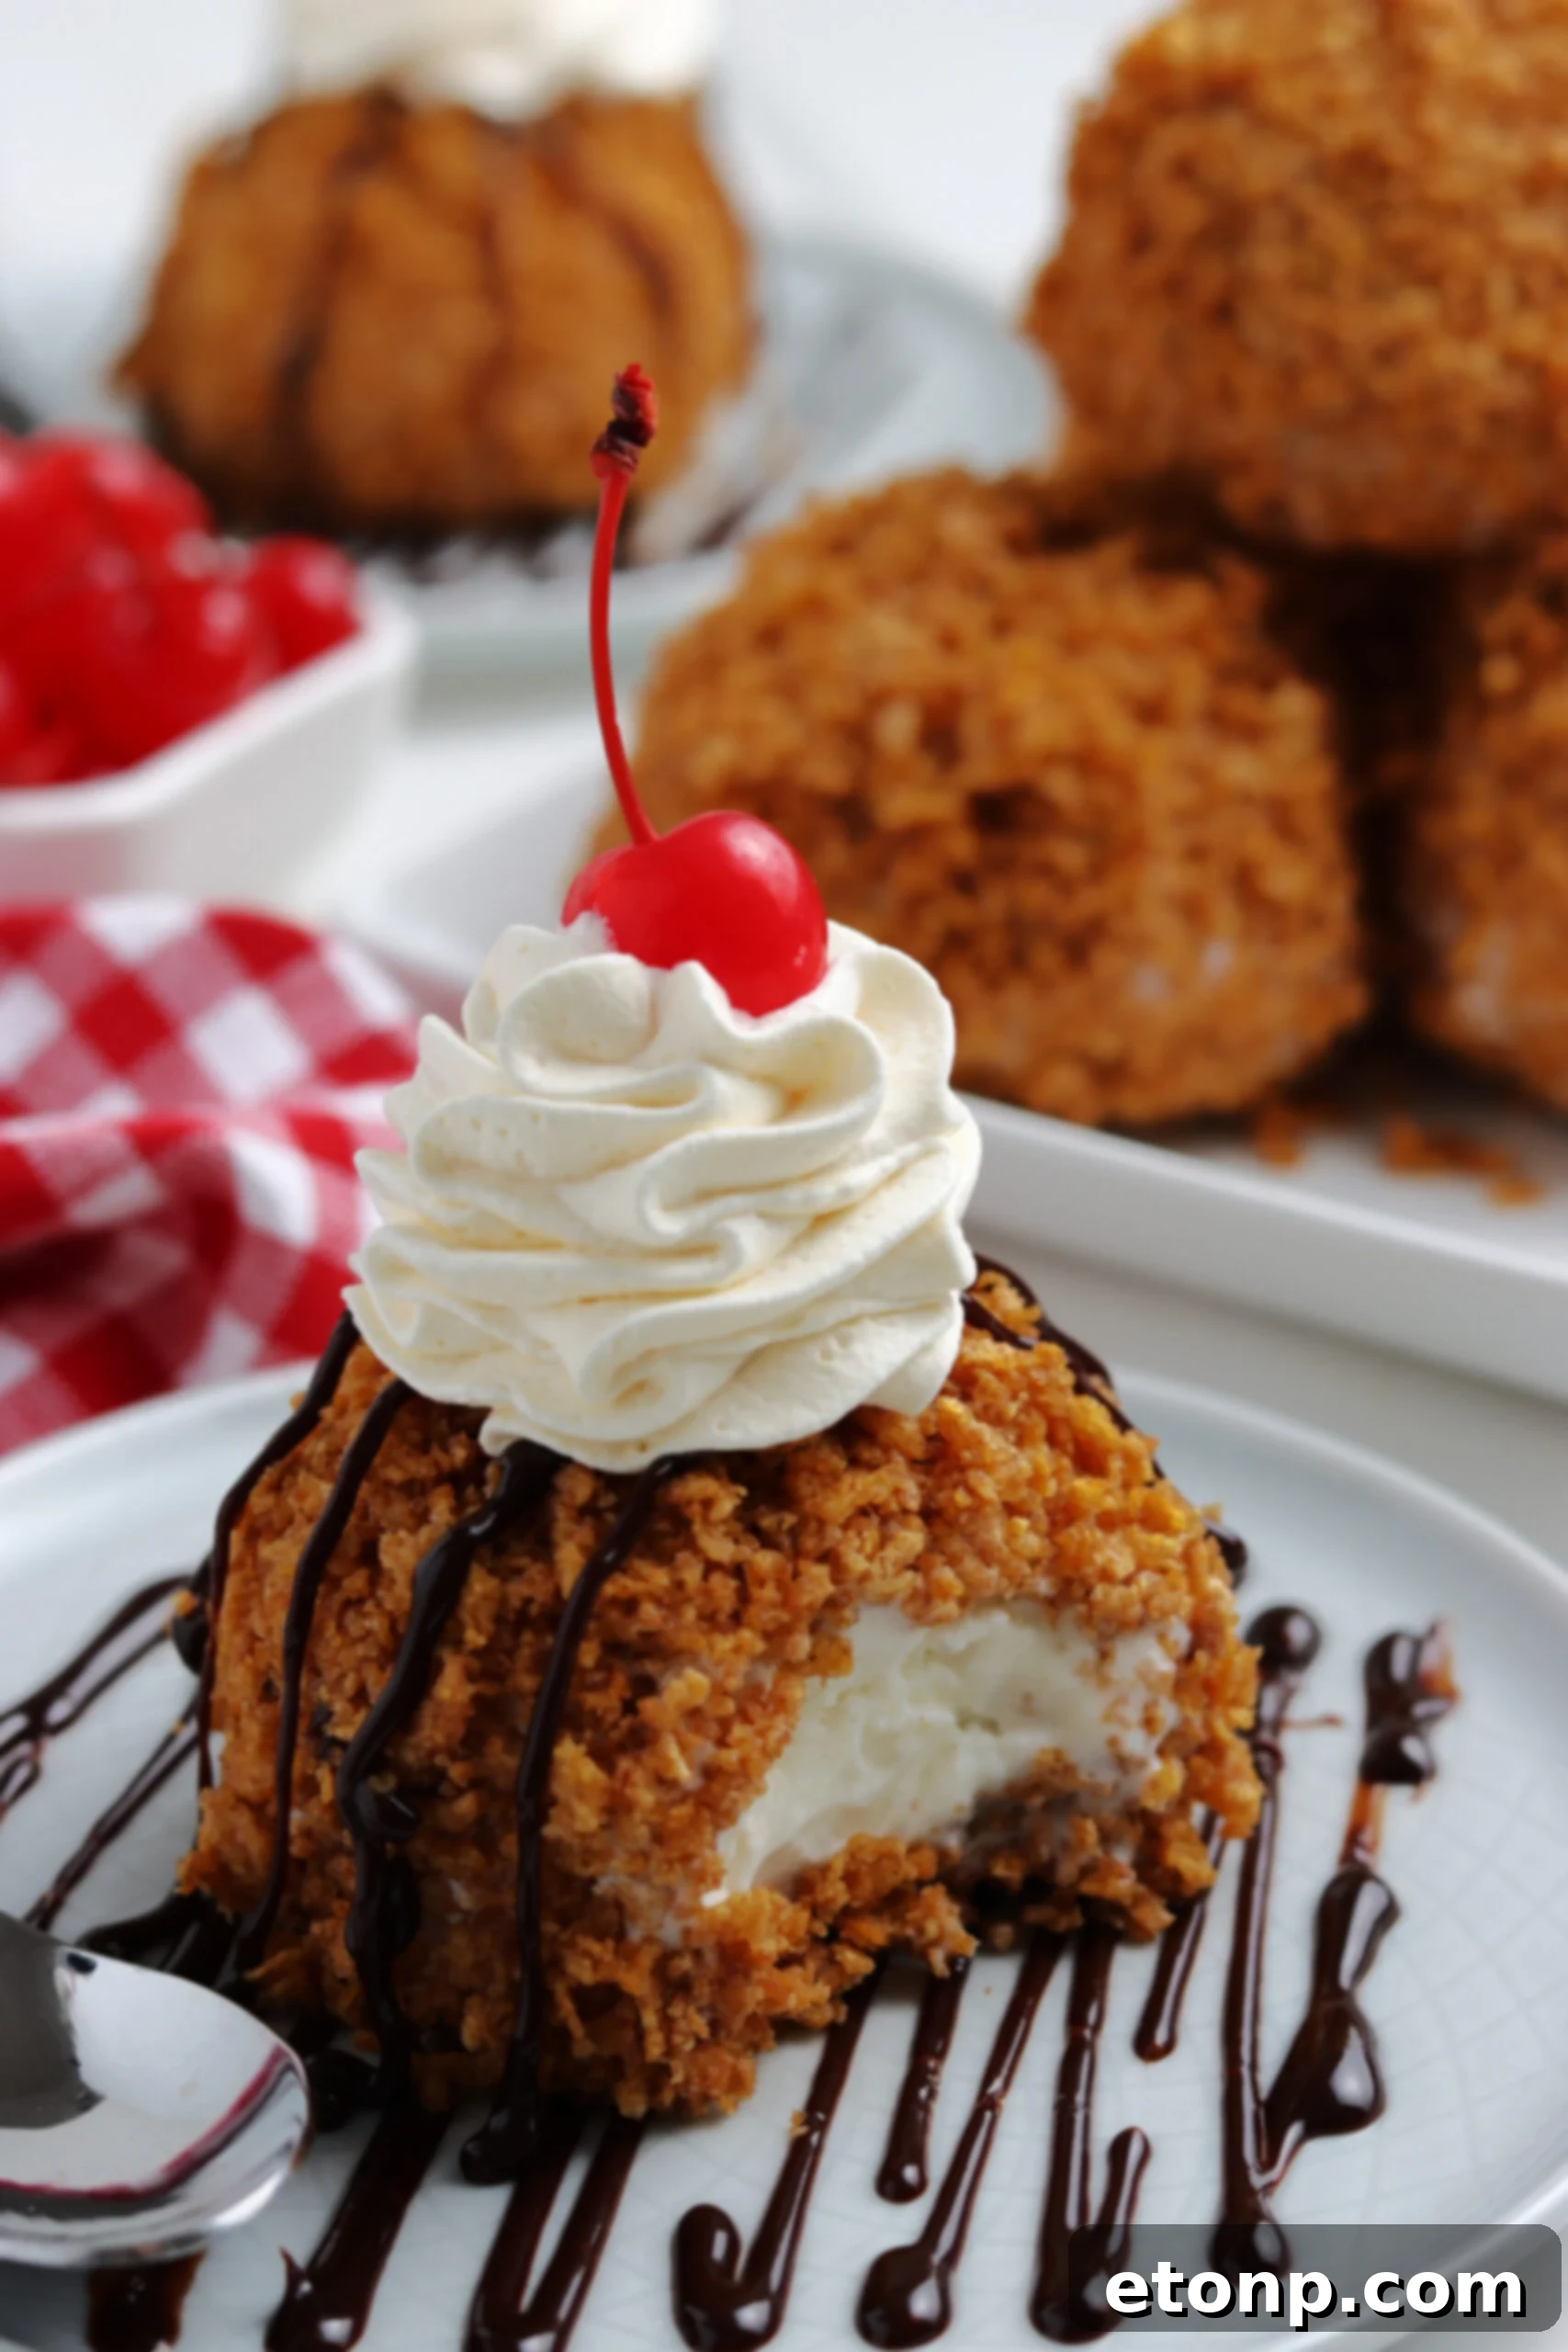
Classic Fried Ice Cream: A Crispy, Creamy Delight You Can Make at Home
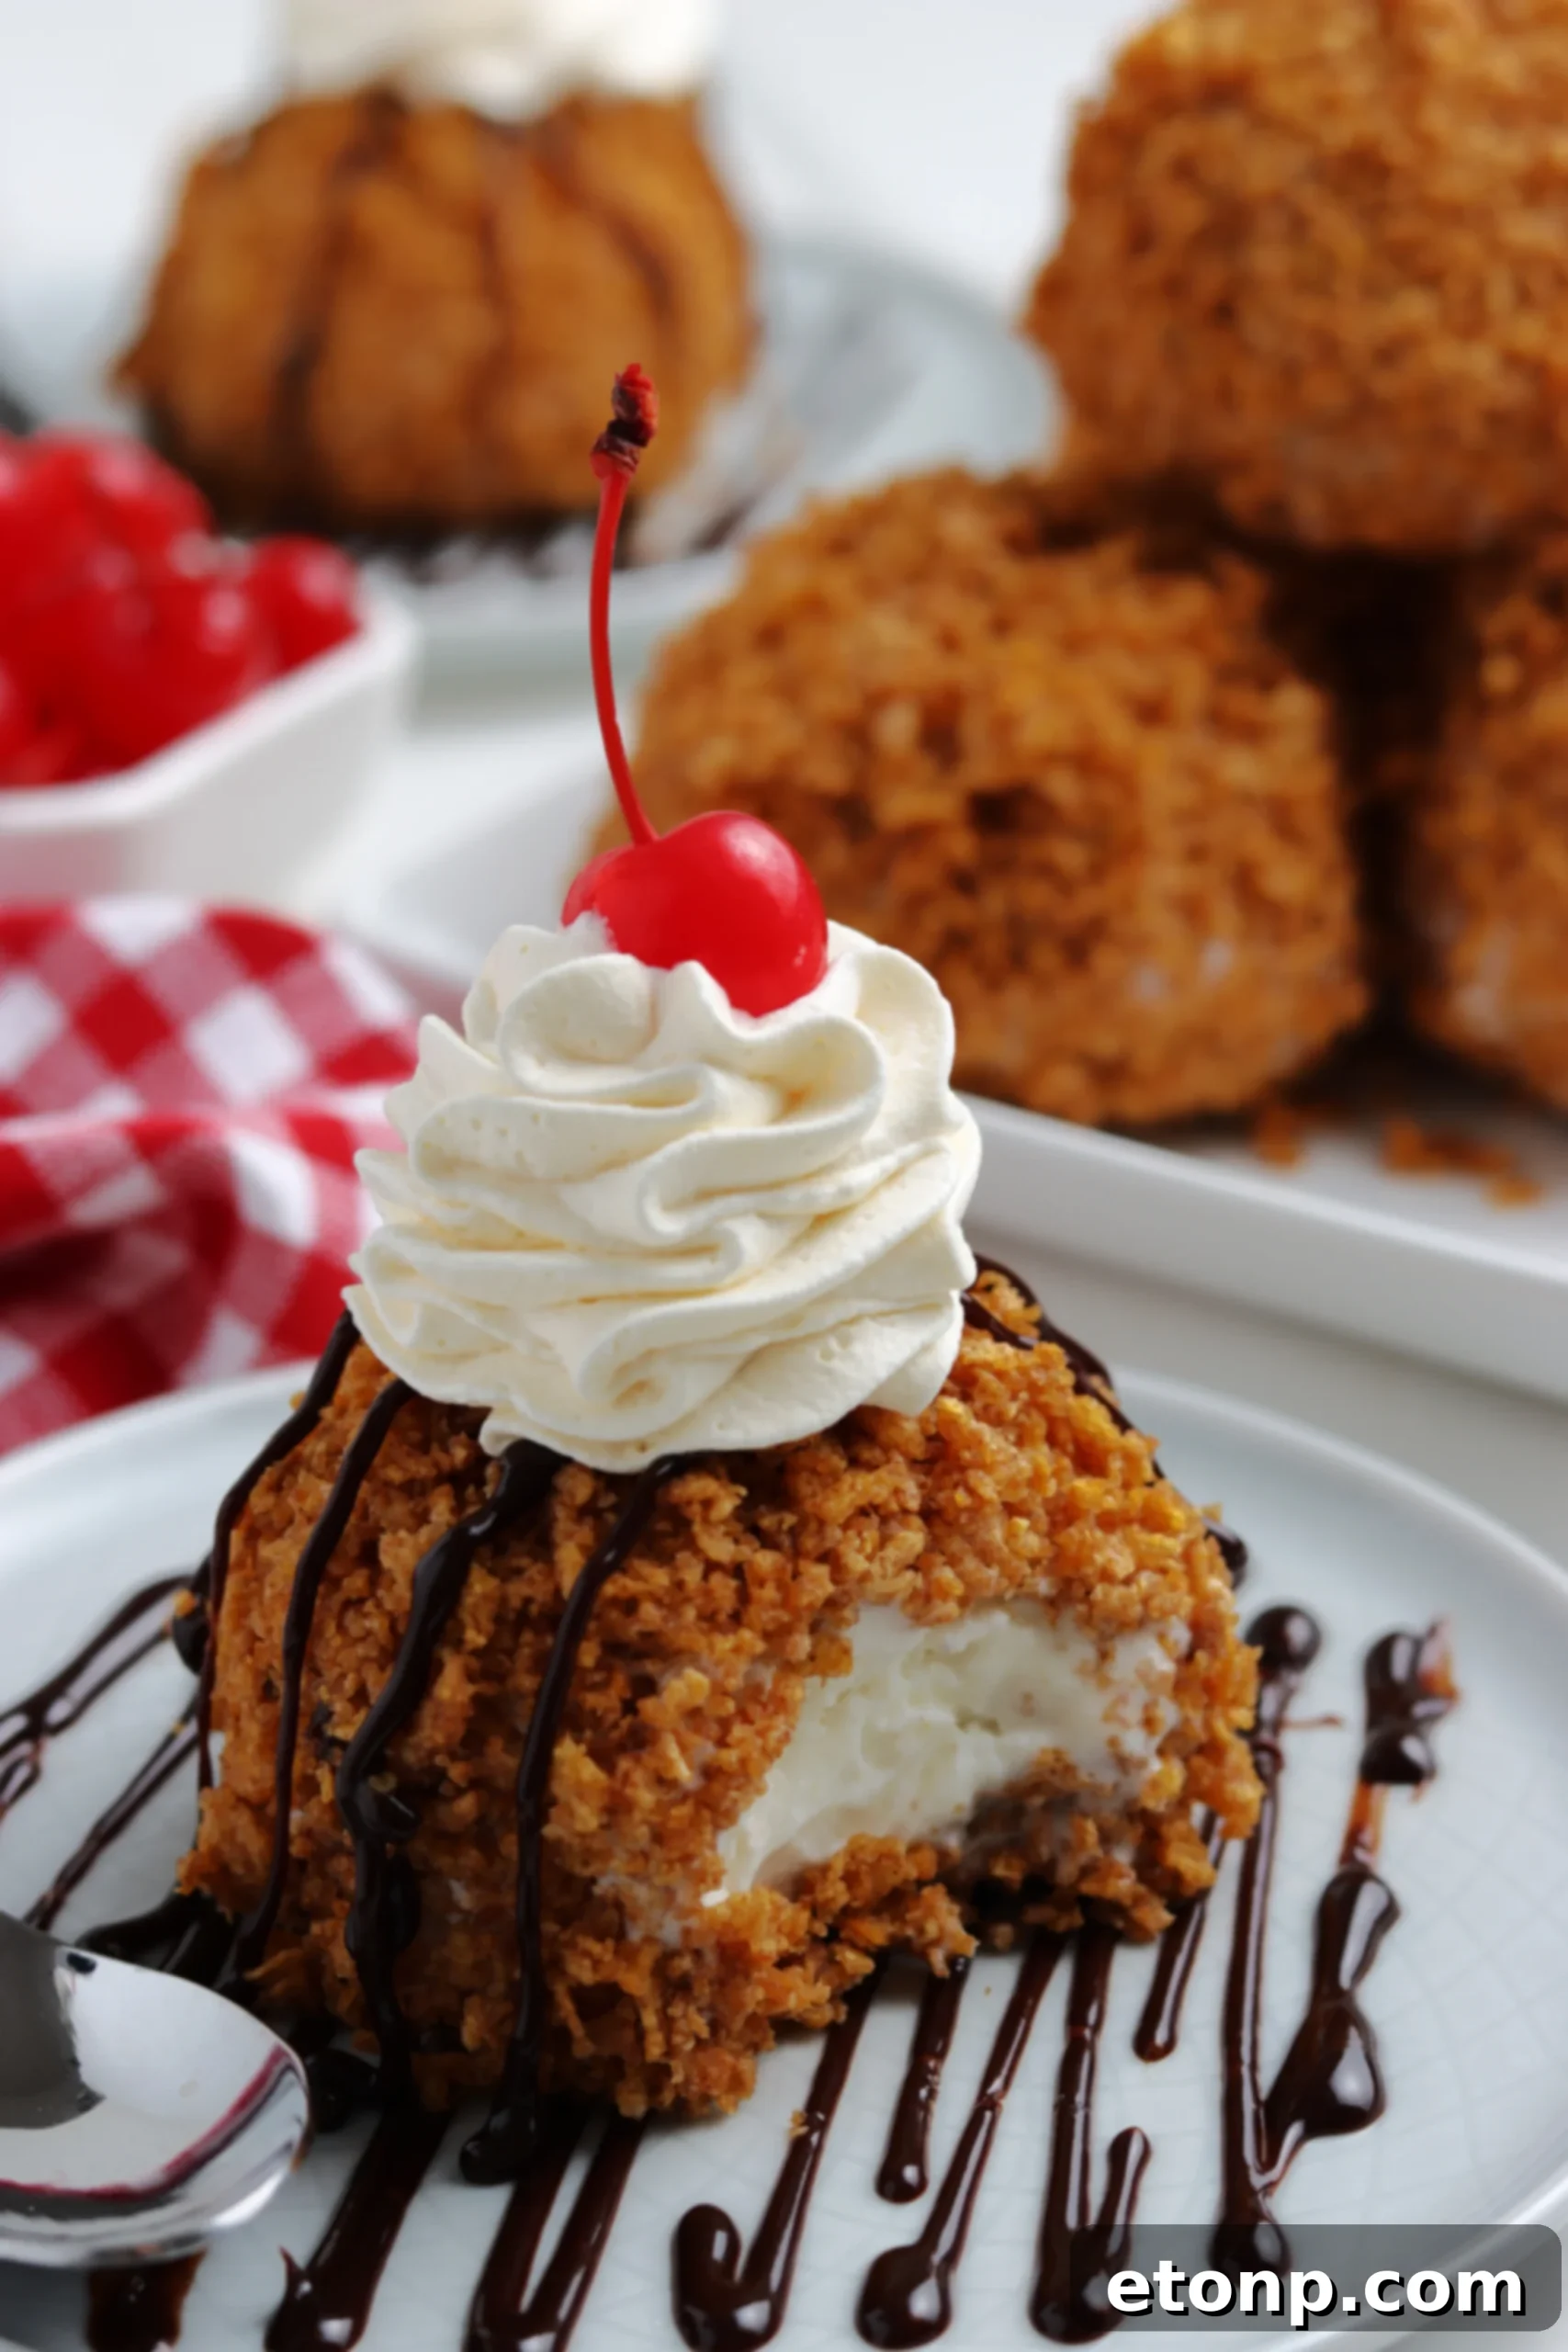
Transforming a simple scoop of ice cream into an extraordinary dessert is easier than you think. Forget everything you thought you knew about serving ice cream; a world of crispy, warm exteriors embracing a perfectly chilled, creamy core awaits. This classic fried ice cream recipe proves that sometimes, the most unique flavors come from unexpected combinations. With just a few basic ingredients and straightforward steps, you can create a dessert that promises an unforgettable culinary experience.
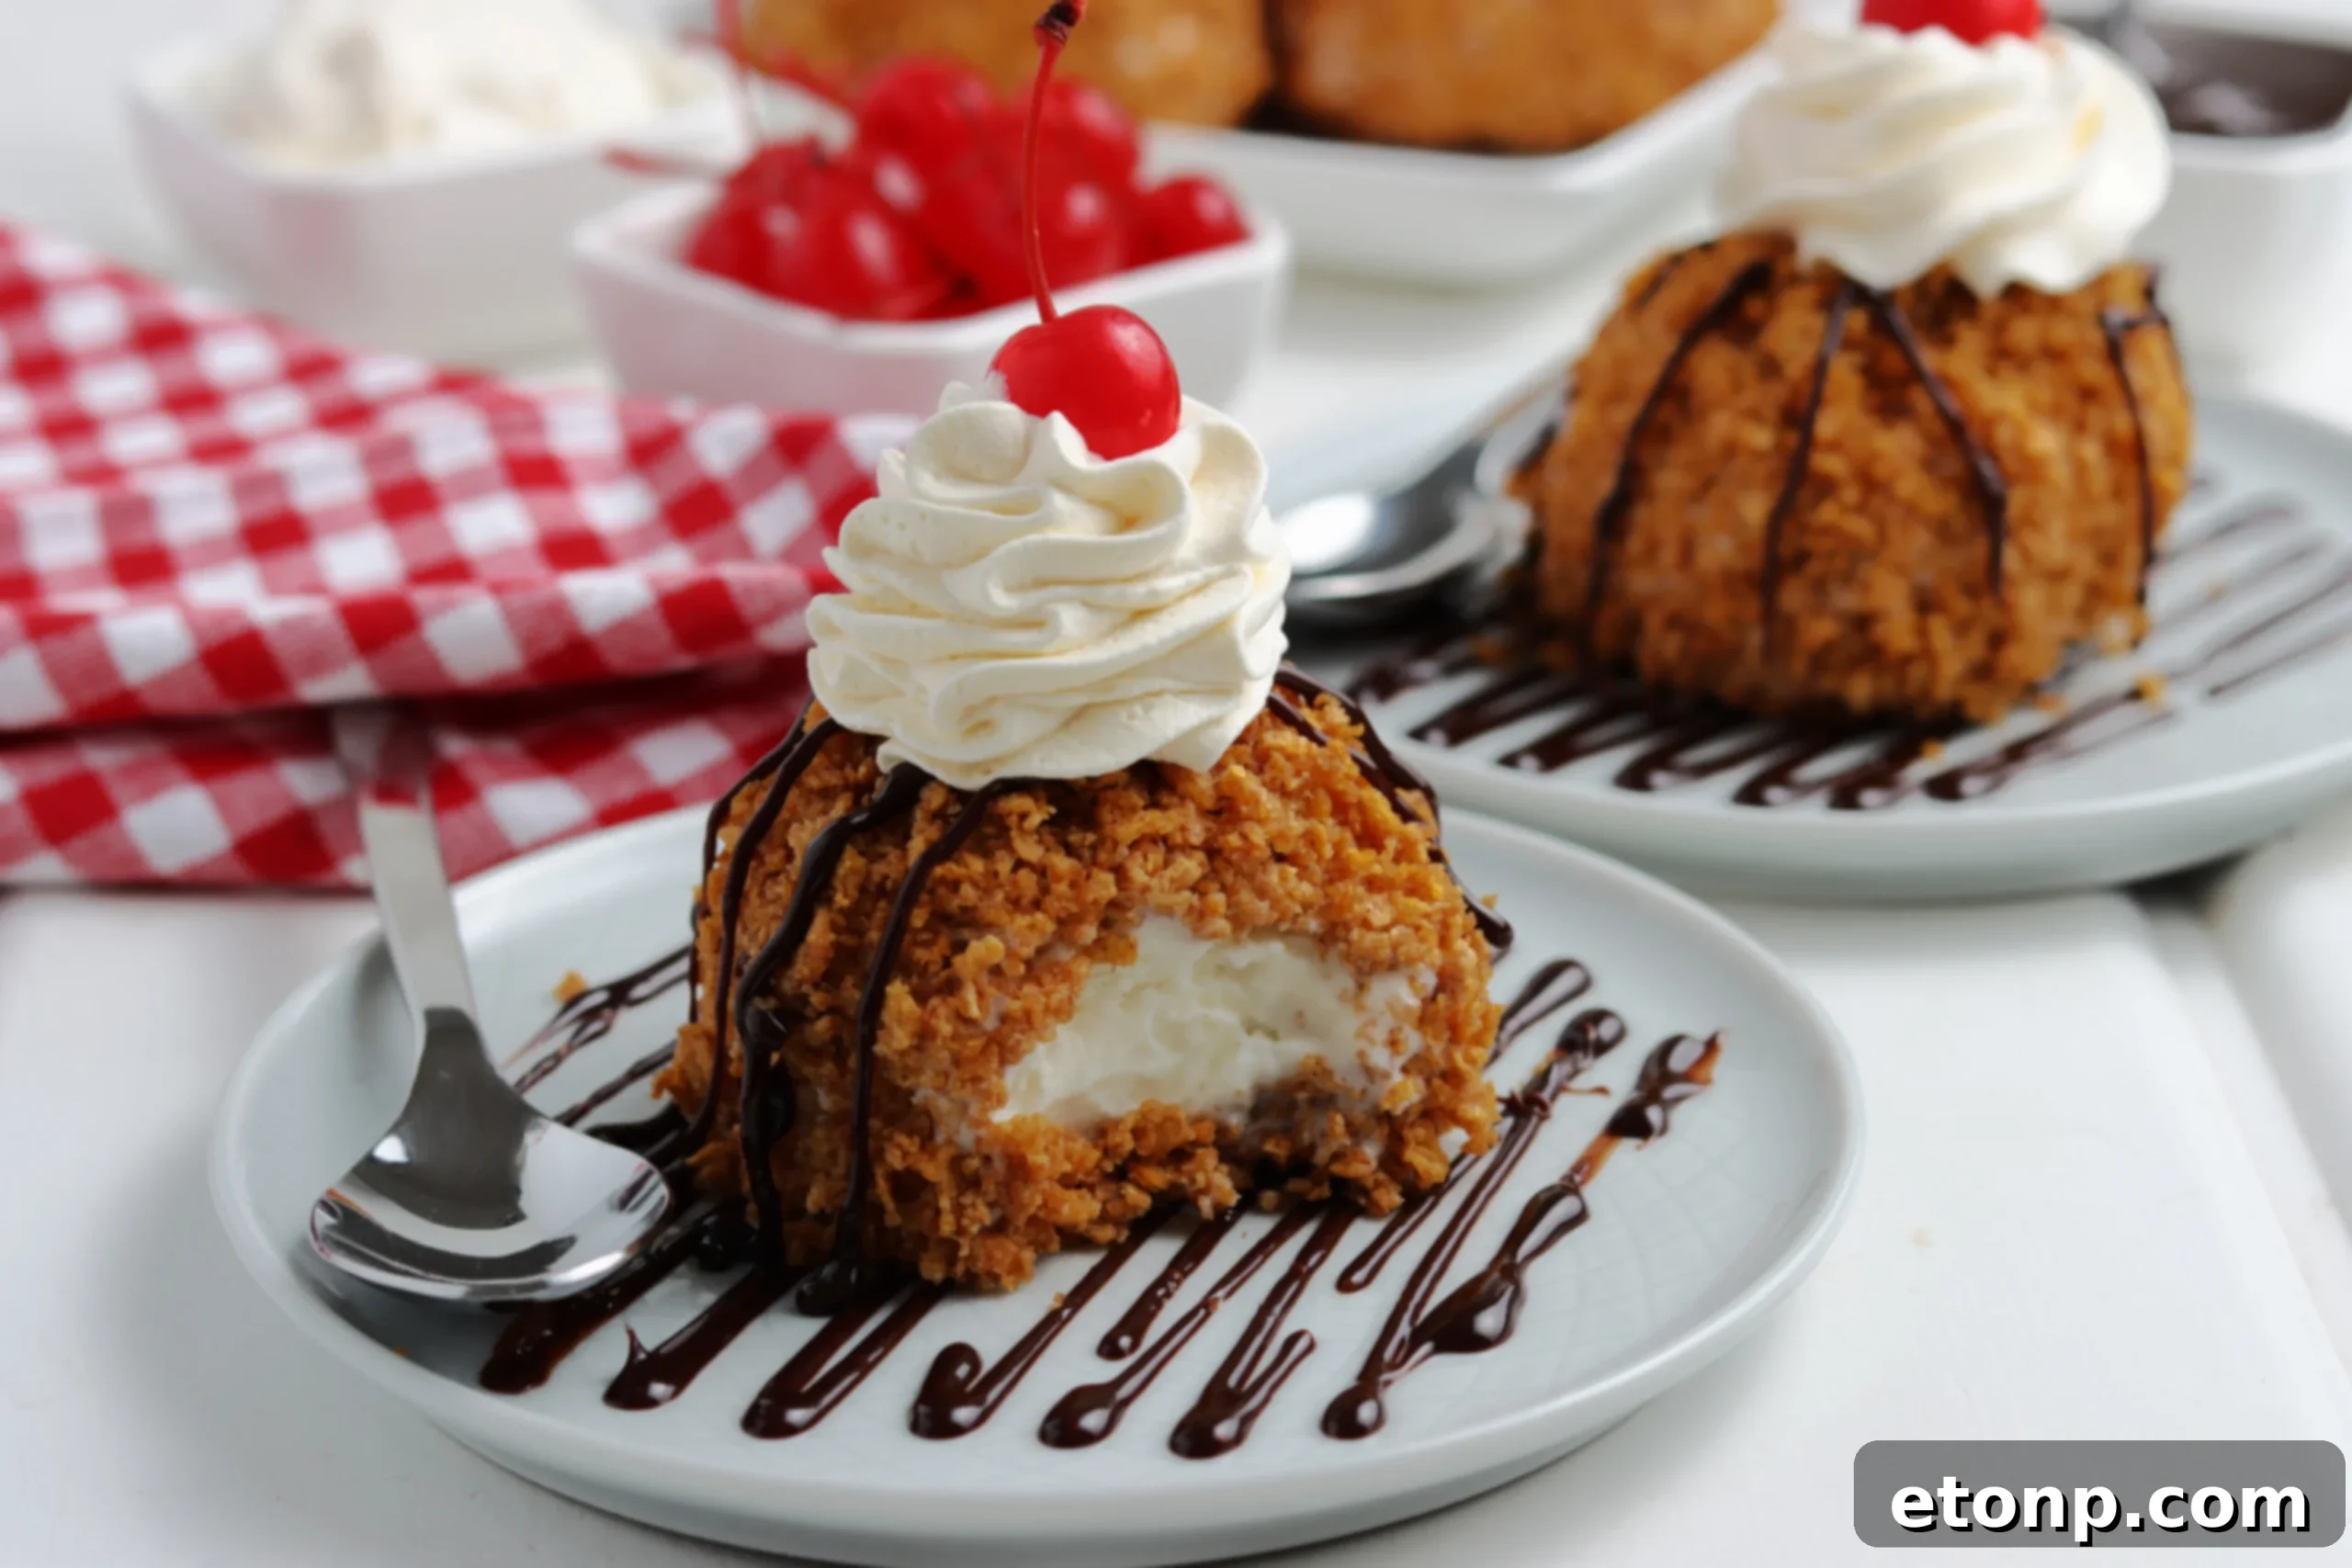
Imagine a dessert where the comforting crunch of a golden-brown crust gives way to a spoonful of silky-smooth, cold ice cream. It’s a tantalizing contrast of temperatures and textures that captivates the senses. Fried ice cream might sound like a magical feat, but the secret lies in quick frying and a well-frozen core. This incredible treat isn’t just for fancy restaurants anymore; you can master it right in your own kitchen!
If you’ve never had the pleasure of tasting fried ice cream, you are truly missing out on one of the most exciting and surprisingly simple desserts imaginable. It’s a delightful blend of warm and cold, soft and crunchy, making it an instant crowd-pleaser for any occasion. Prepare to impress your friends and family with this sensational creation!
What Exactly is Fried Ice Cream?
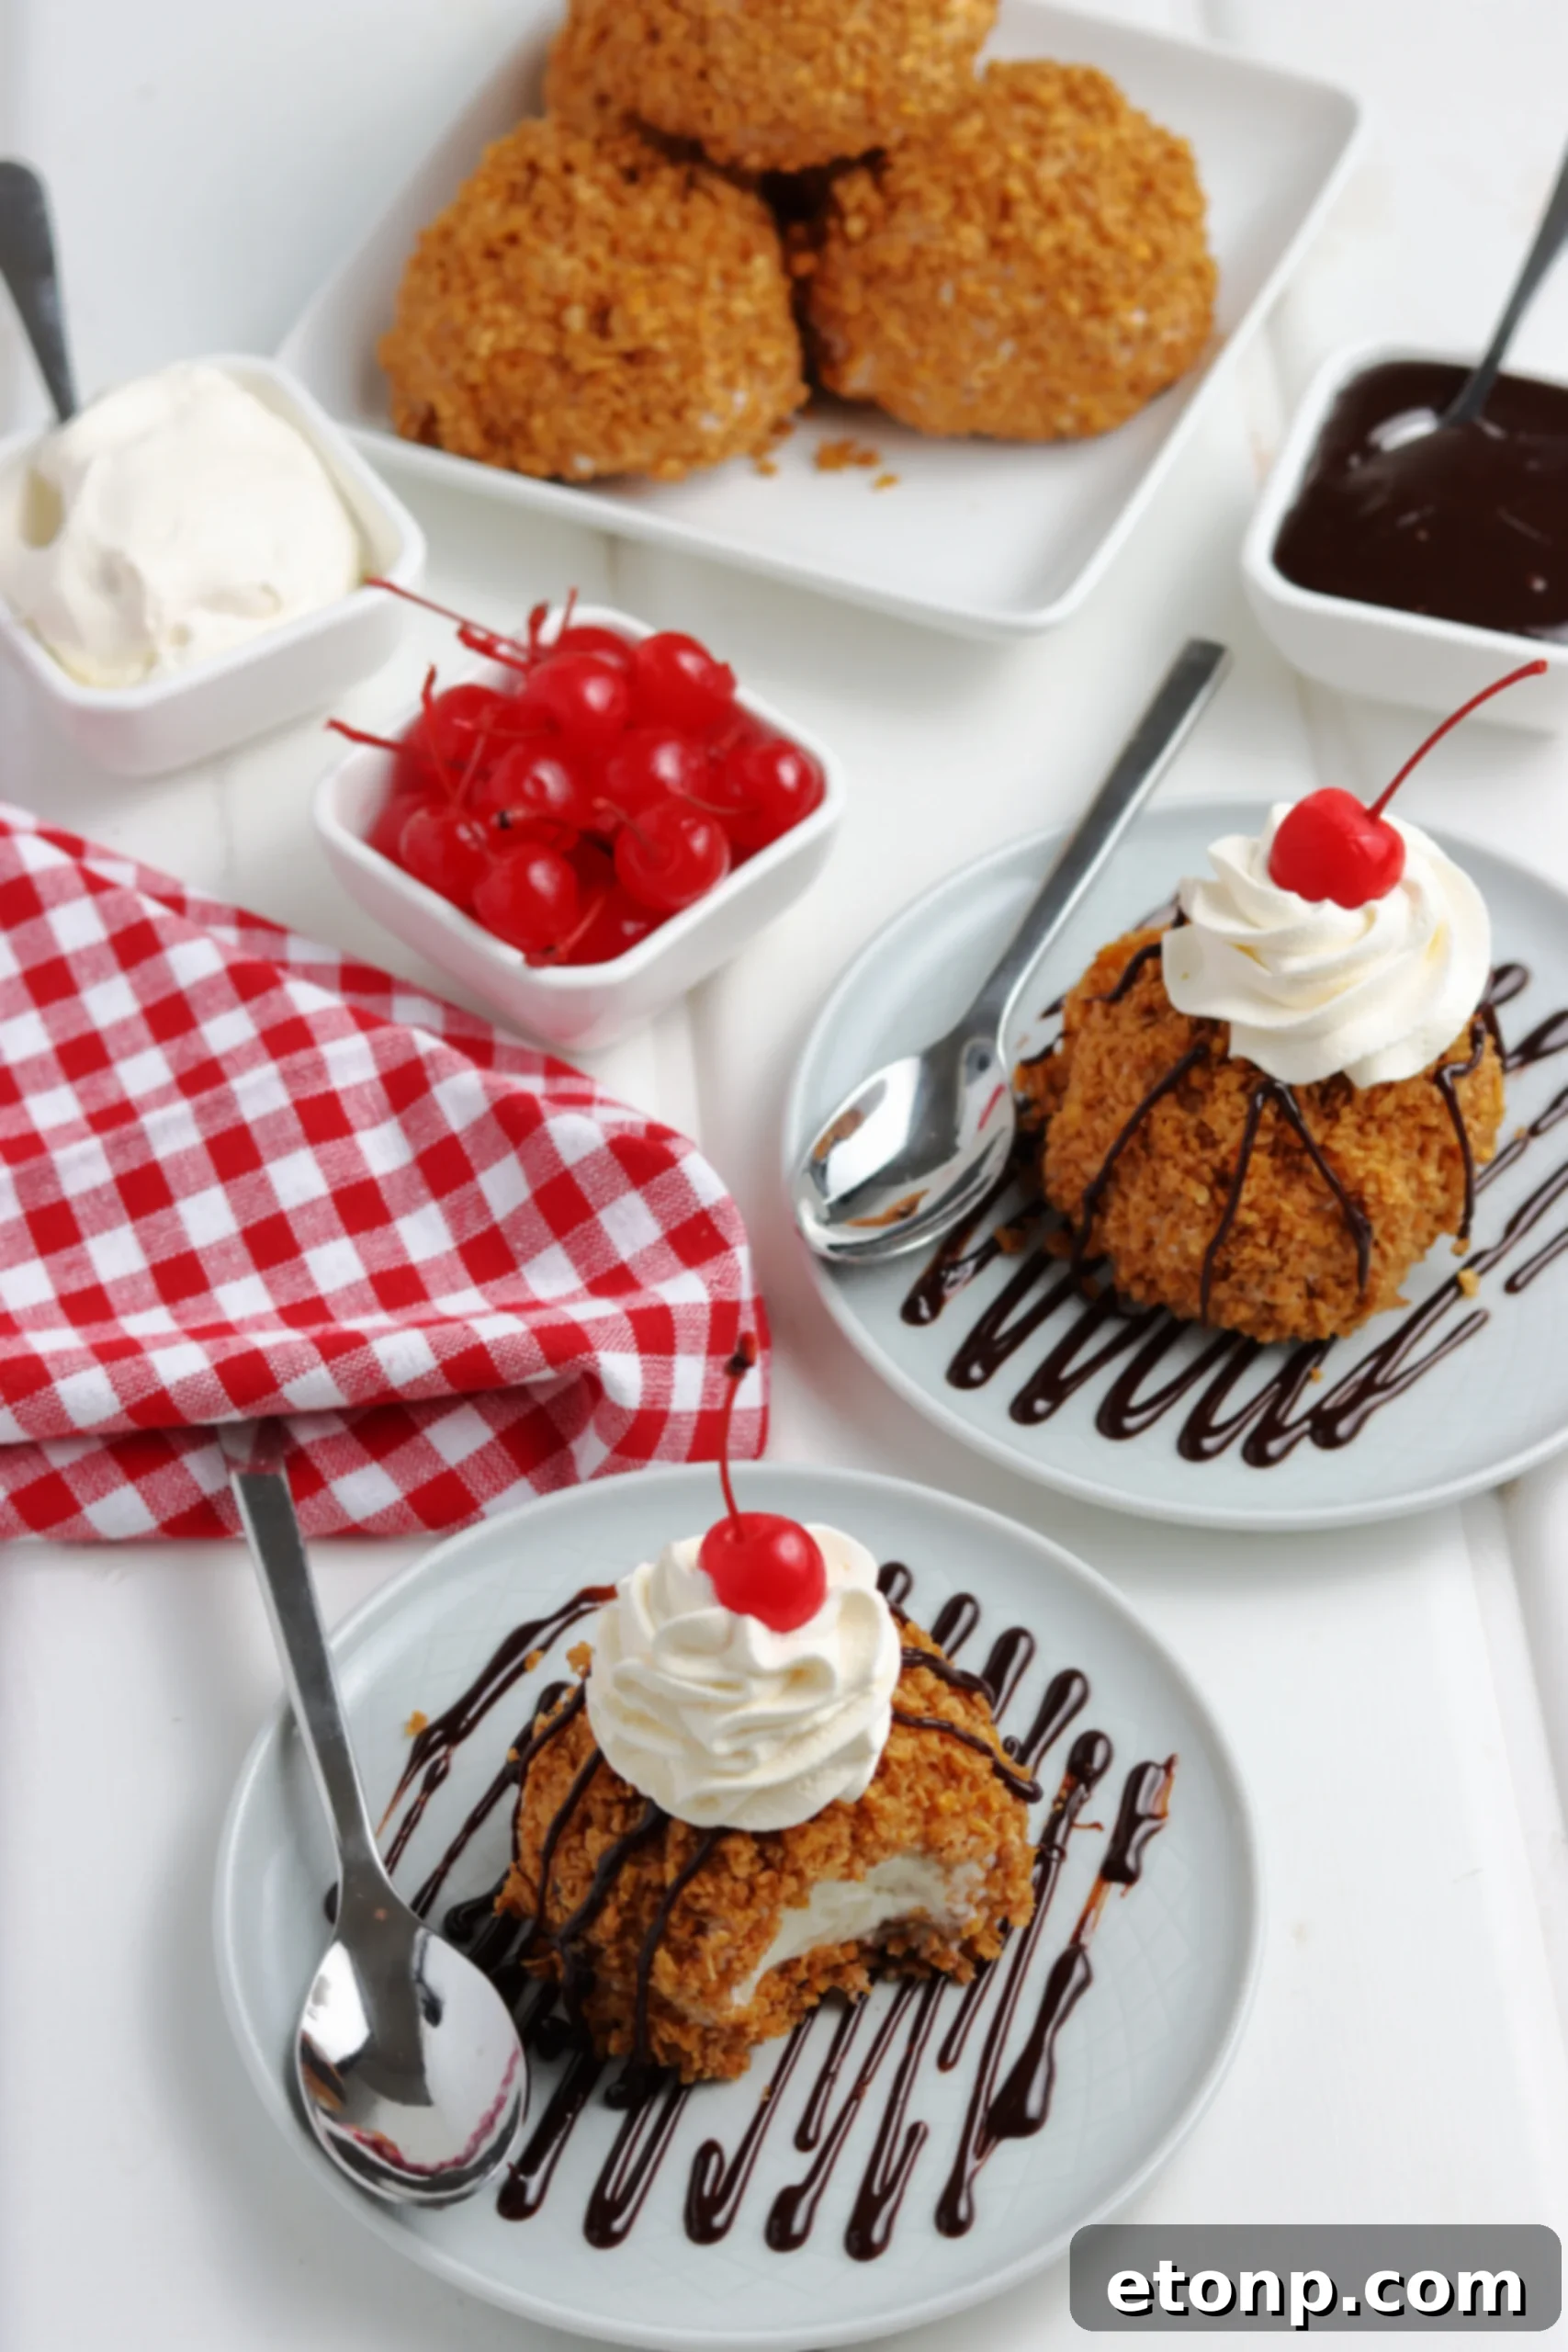
Fried ice cream is a unique dessert that typically involves a scoop of very firm ice cream, often vanilla, encased in a crispy, flavorful coating (such as crushed cereal or cake crumbs), and then briefly deep-fried. The magic happens rapidly: the high temperature of the oil quickly cooks and browns the exterior coating, while the intensely frozen ice cream inside remains solid and delightfully cold. This creates a mesmerizing contrast – a warm, golden, crunchy shell giving way to a cool, creamy interior. It’s a symphony of textures and temperatures that truly elevates the dessert experience.
Often associated with Mexican, Chinese, or Japanese restaurants, fried ice cream has gained popularity worldwide for its novelty and undeniable deliciousness. While it might seem complex to prepare, the process is surprisingly straightforward, relying on proper preparation and quick execution. Our recipe streamlines this process, making it accessible for any home cook eager to try their hand at this iconic treat.
The Foundation: Choosing Your Ice Cream Flavor
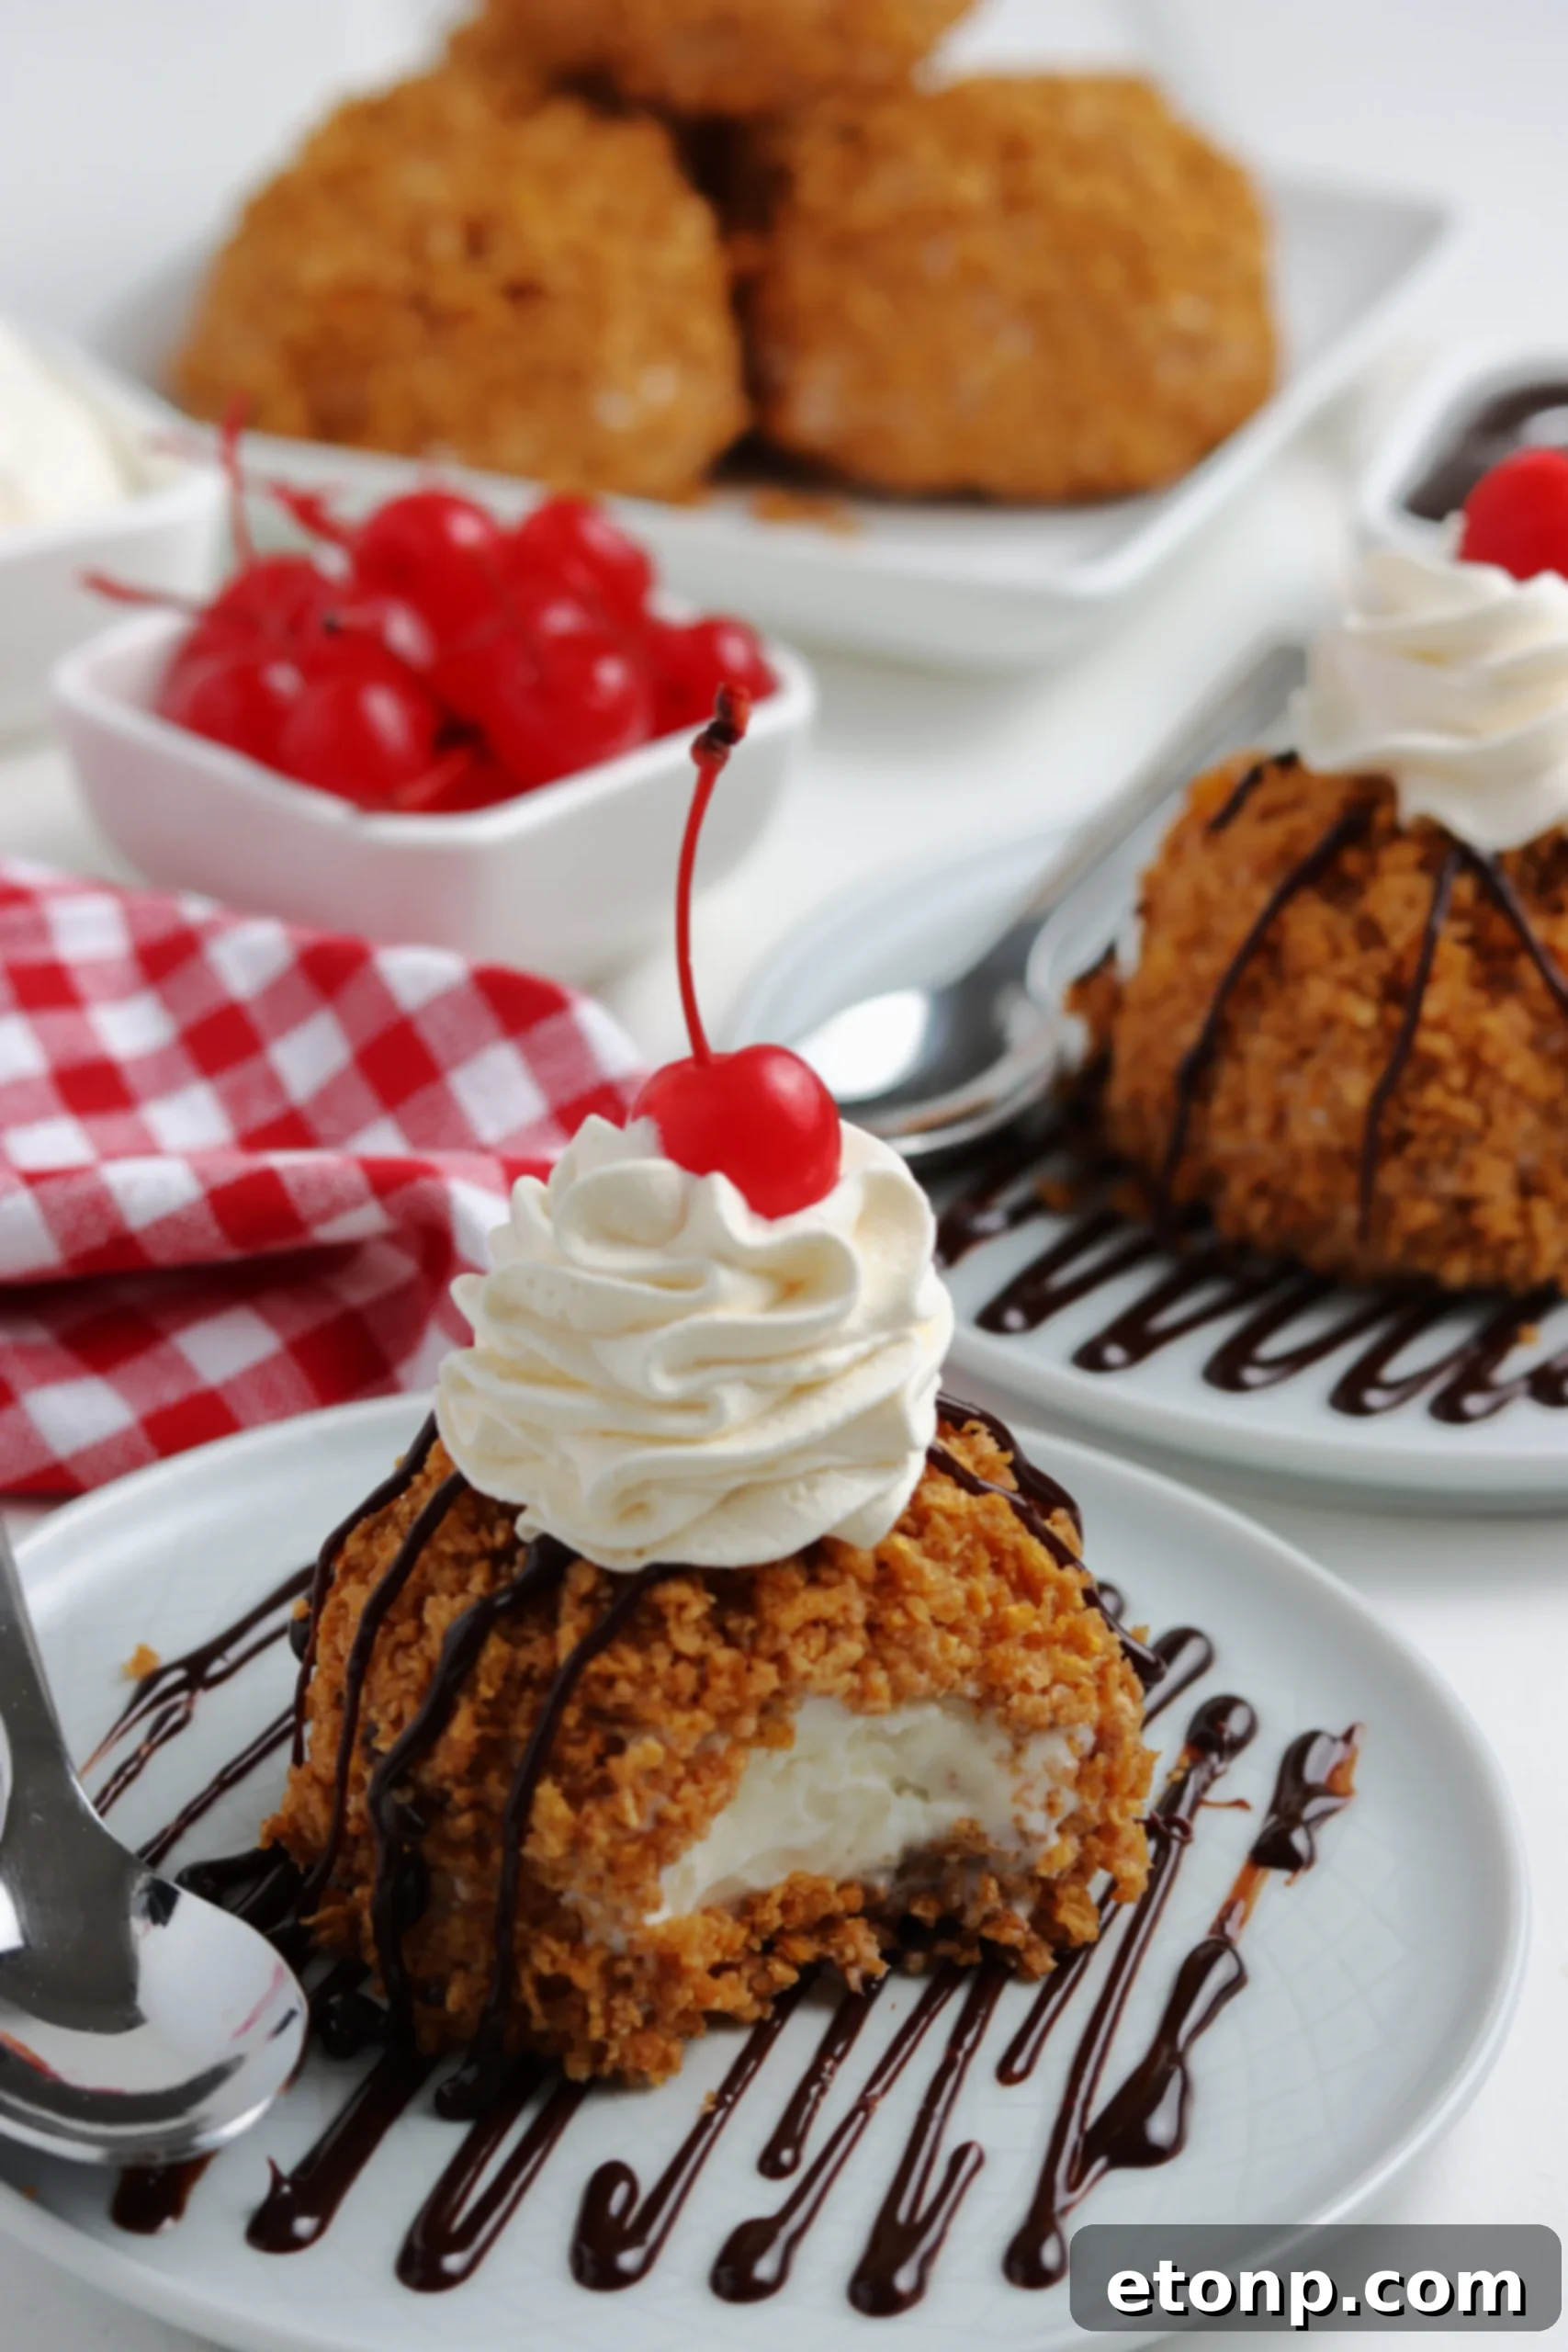
While classic fried ice cream traditionally features vanilla ice cream, its neutral and universally loved flavor provides the perfect canvas for the spiced, crunchy coating. However, the world of fried ice cream is your oyster! Feel free to experiment with other delightful flavors. Imagine the richness of chocolate ice cream, the refreshing tang of strawberry, or even the subtle sweetness of a coffee-flavored scoop. Just ensure your chosen ice cream is of good quality and freezes very firmly, as this is crucial for preventing a meltdown during the brief frying process. The possibilities for flavor combinations are truly endless, limited only by your imagination!
Why This Classic Fried Ice Cream Recipe is a Must-Try
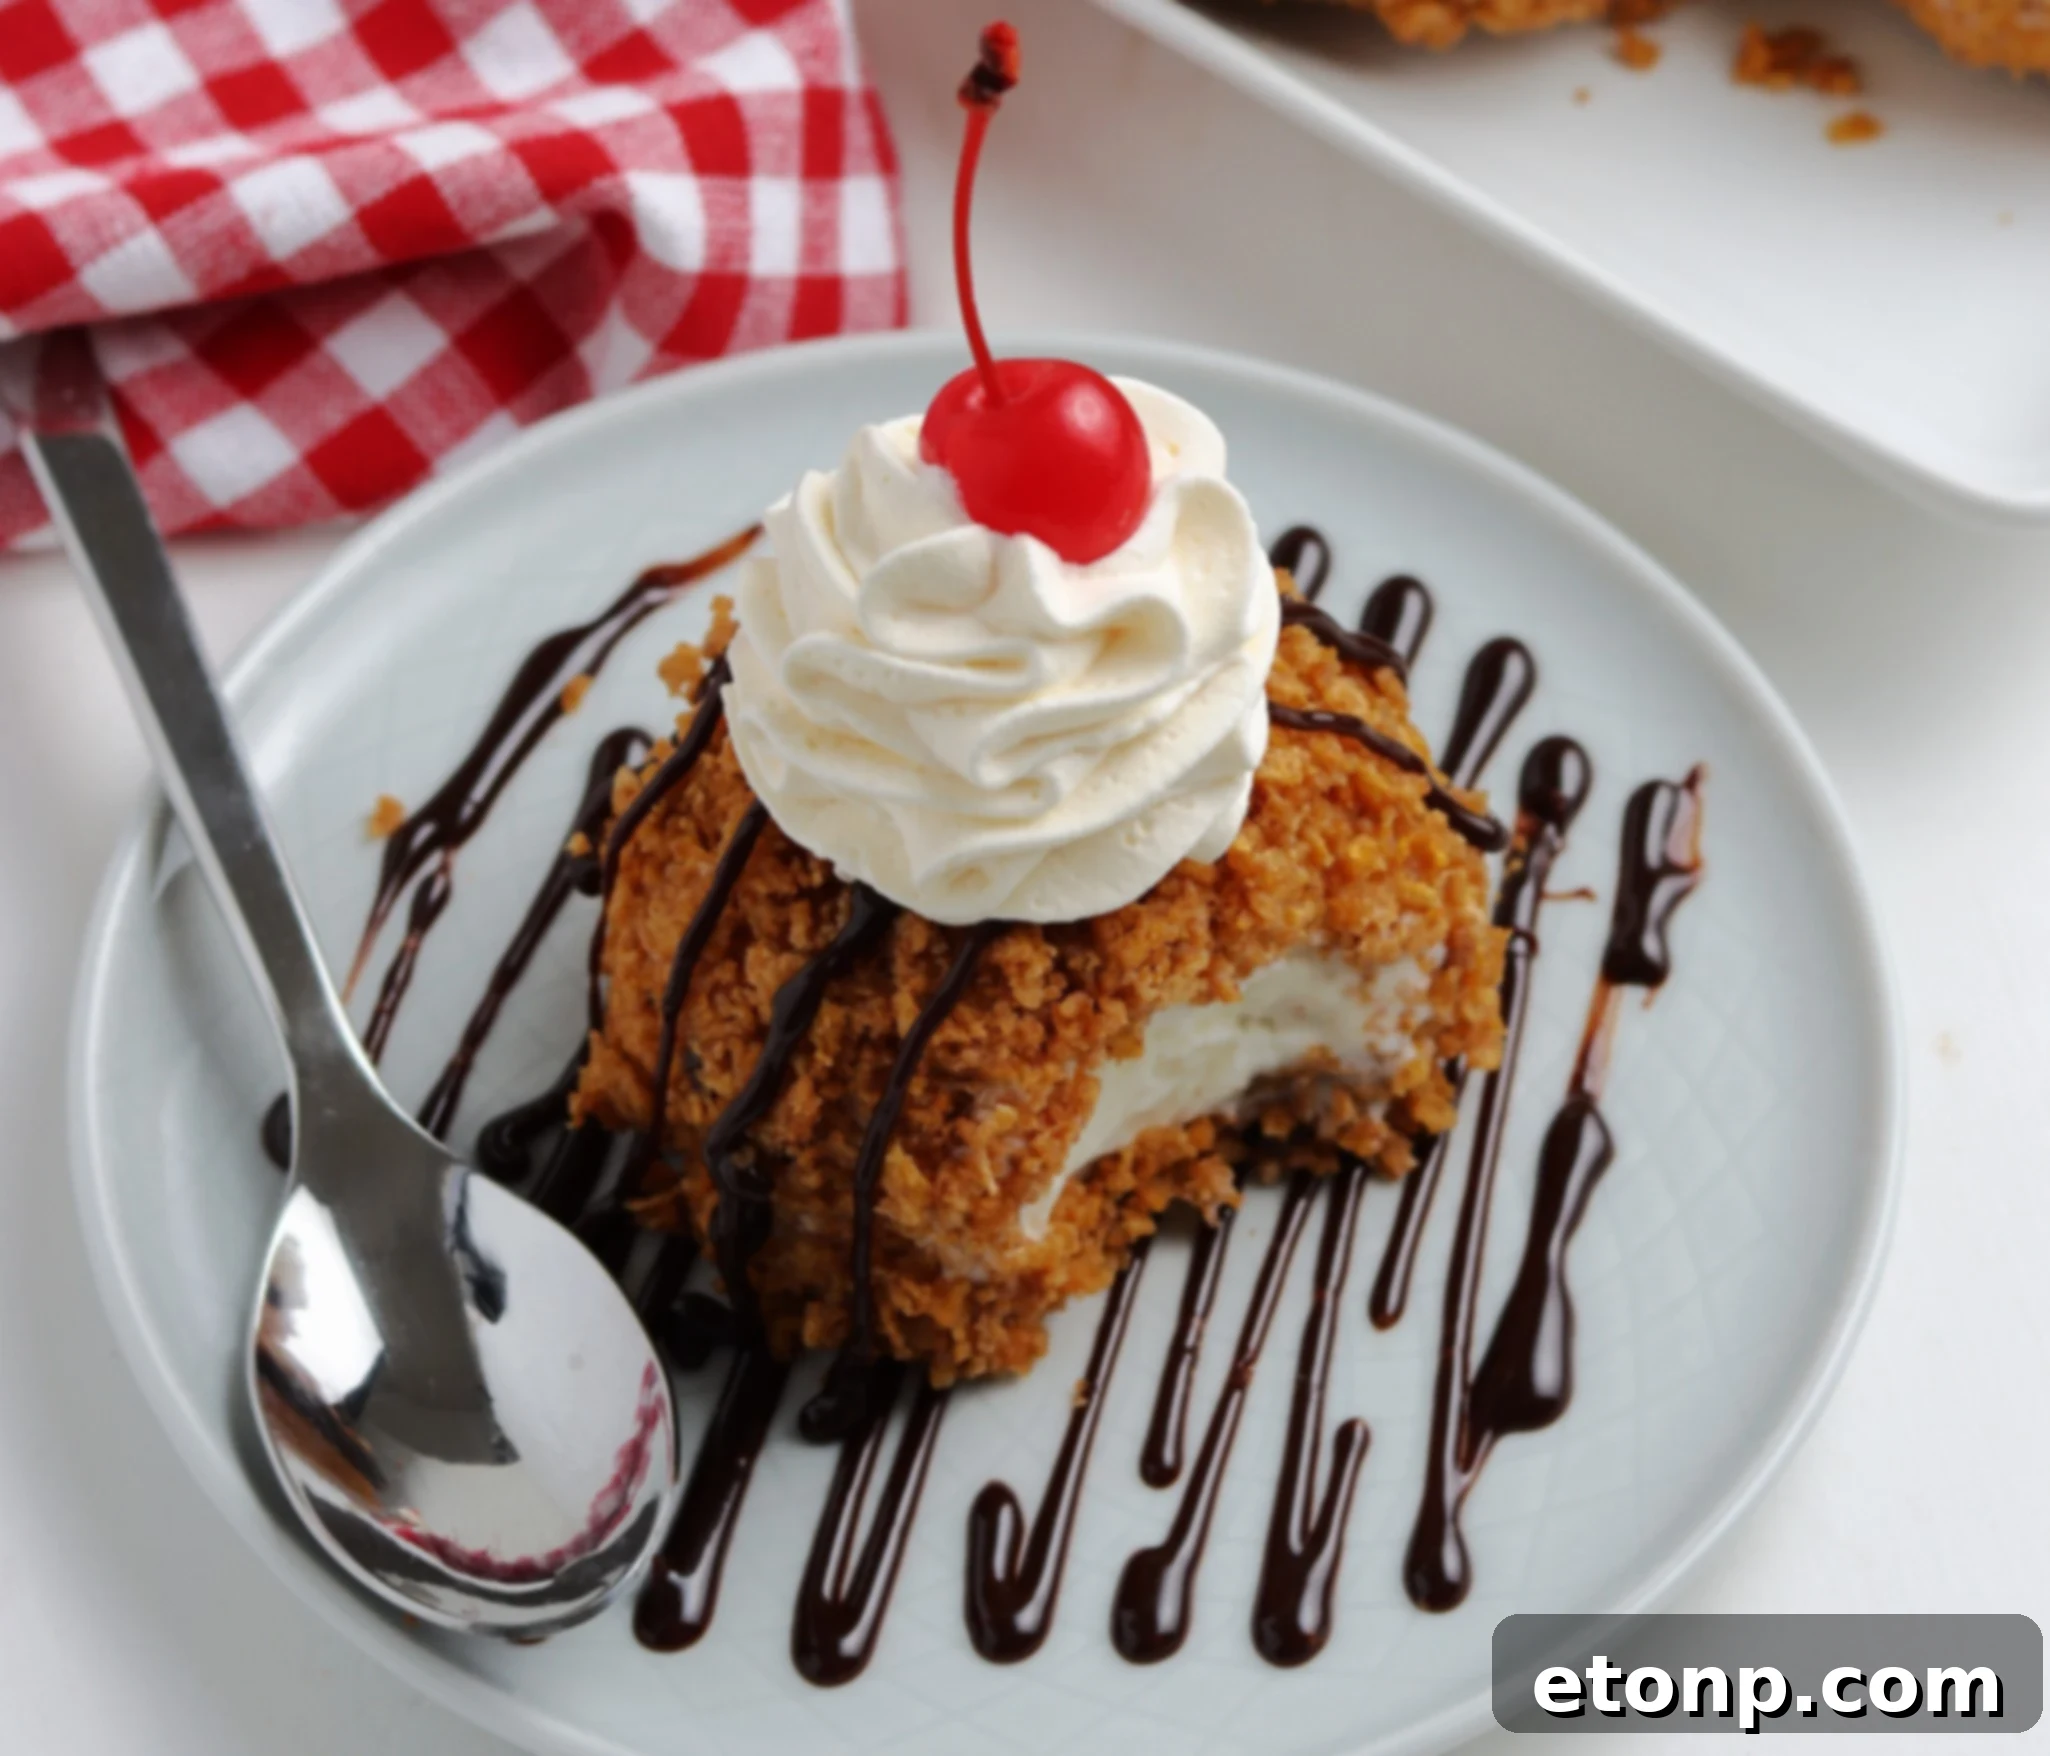
This isn’t just another dessert recipe; it’s an experience! It comes together remarkably quickly, making it a fantastic option for impromptu gatherings, festive celebrations, or simply when you crave something truly special. It’s particularly wonderful for summer parties, adding a unique twist to a beloved frozen treat, but its sensational taste makes it a year-round favorite. The simple yet ingenious combination of crispy, warm exterior and cold, creamy interior makes everyone fall in love at first bite. Plus, it only requires a handful of accessible ingredients, proving that extraordinary flavors don’t need extensive shopping lists.
Key Ingredients for Perfect Fried Ice Cream
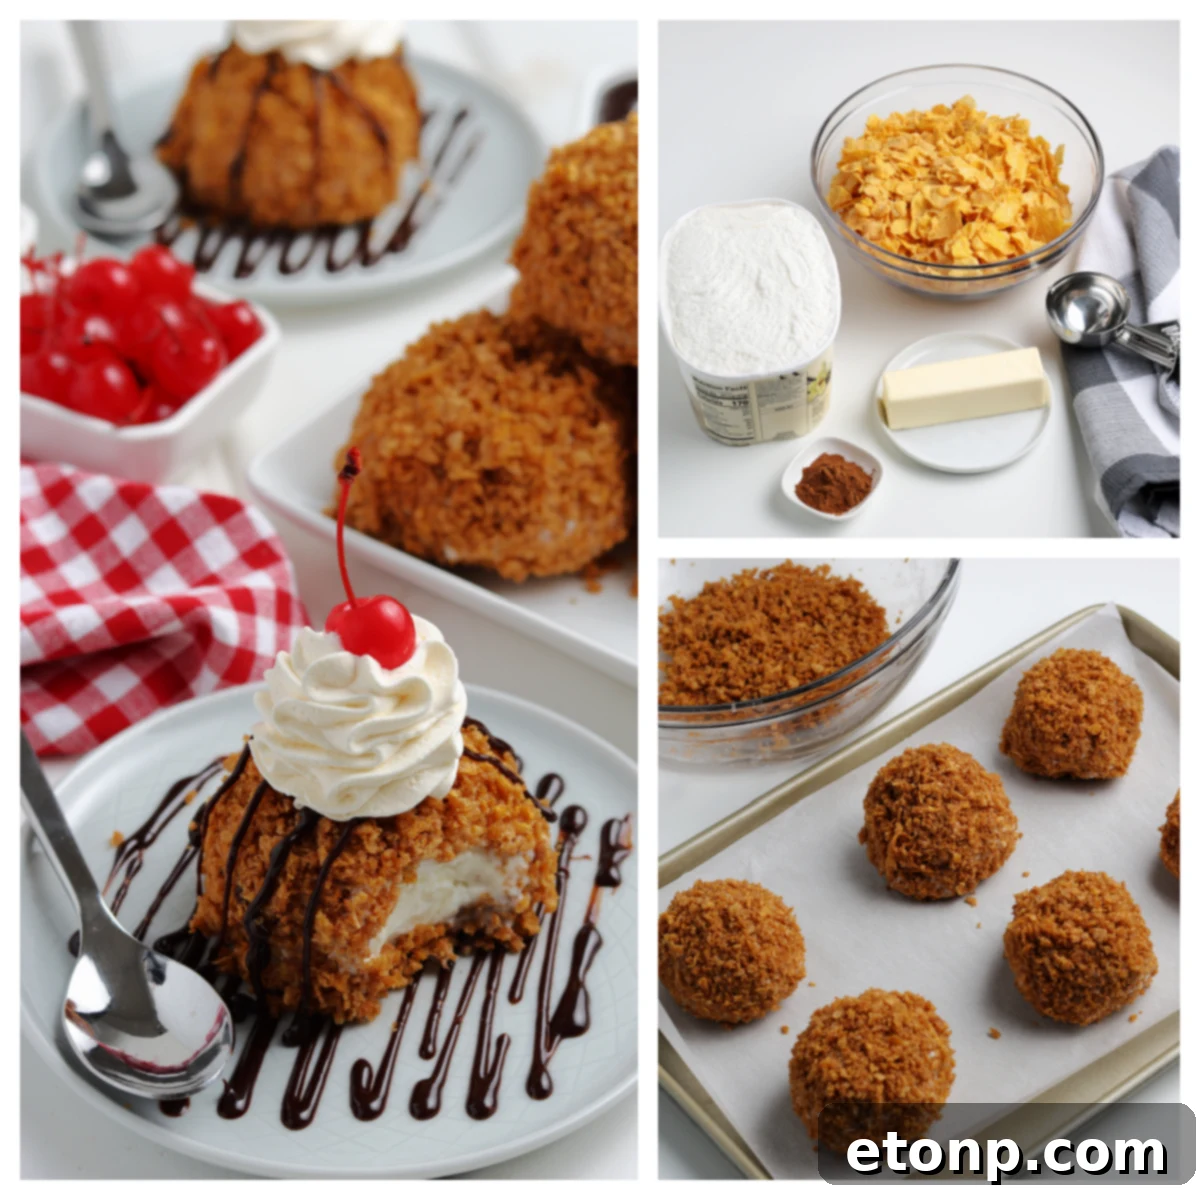
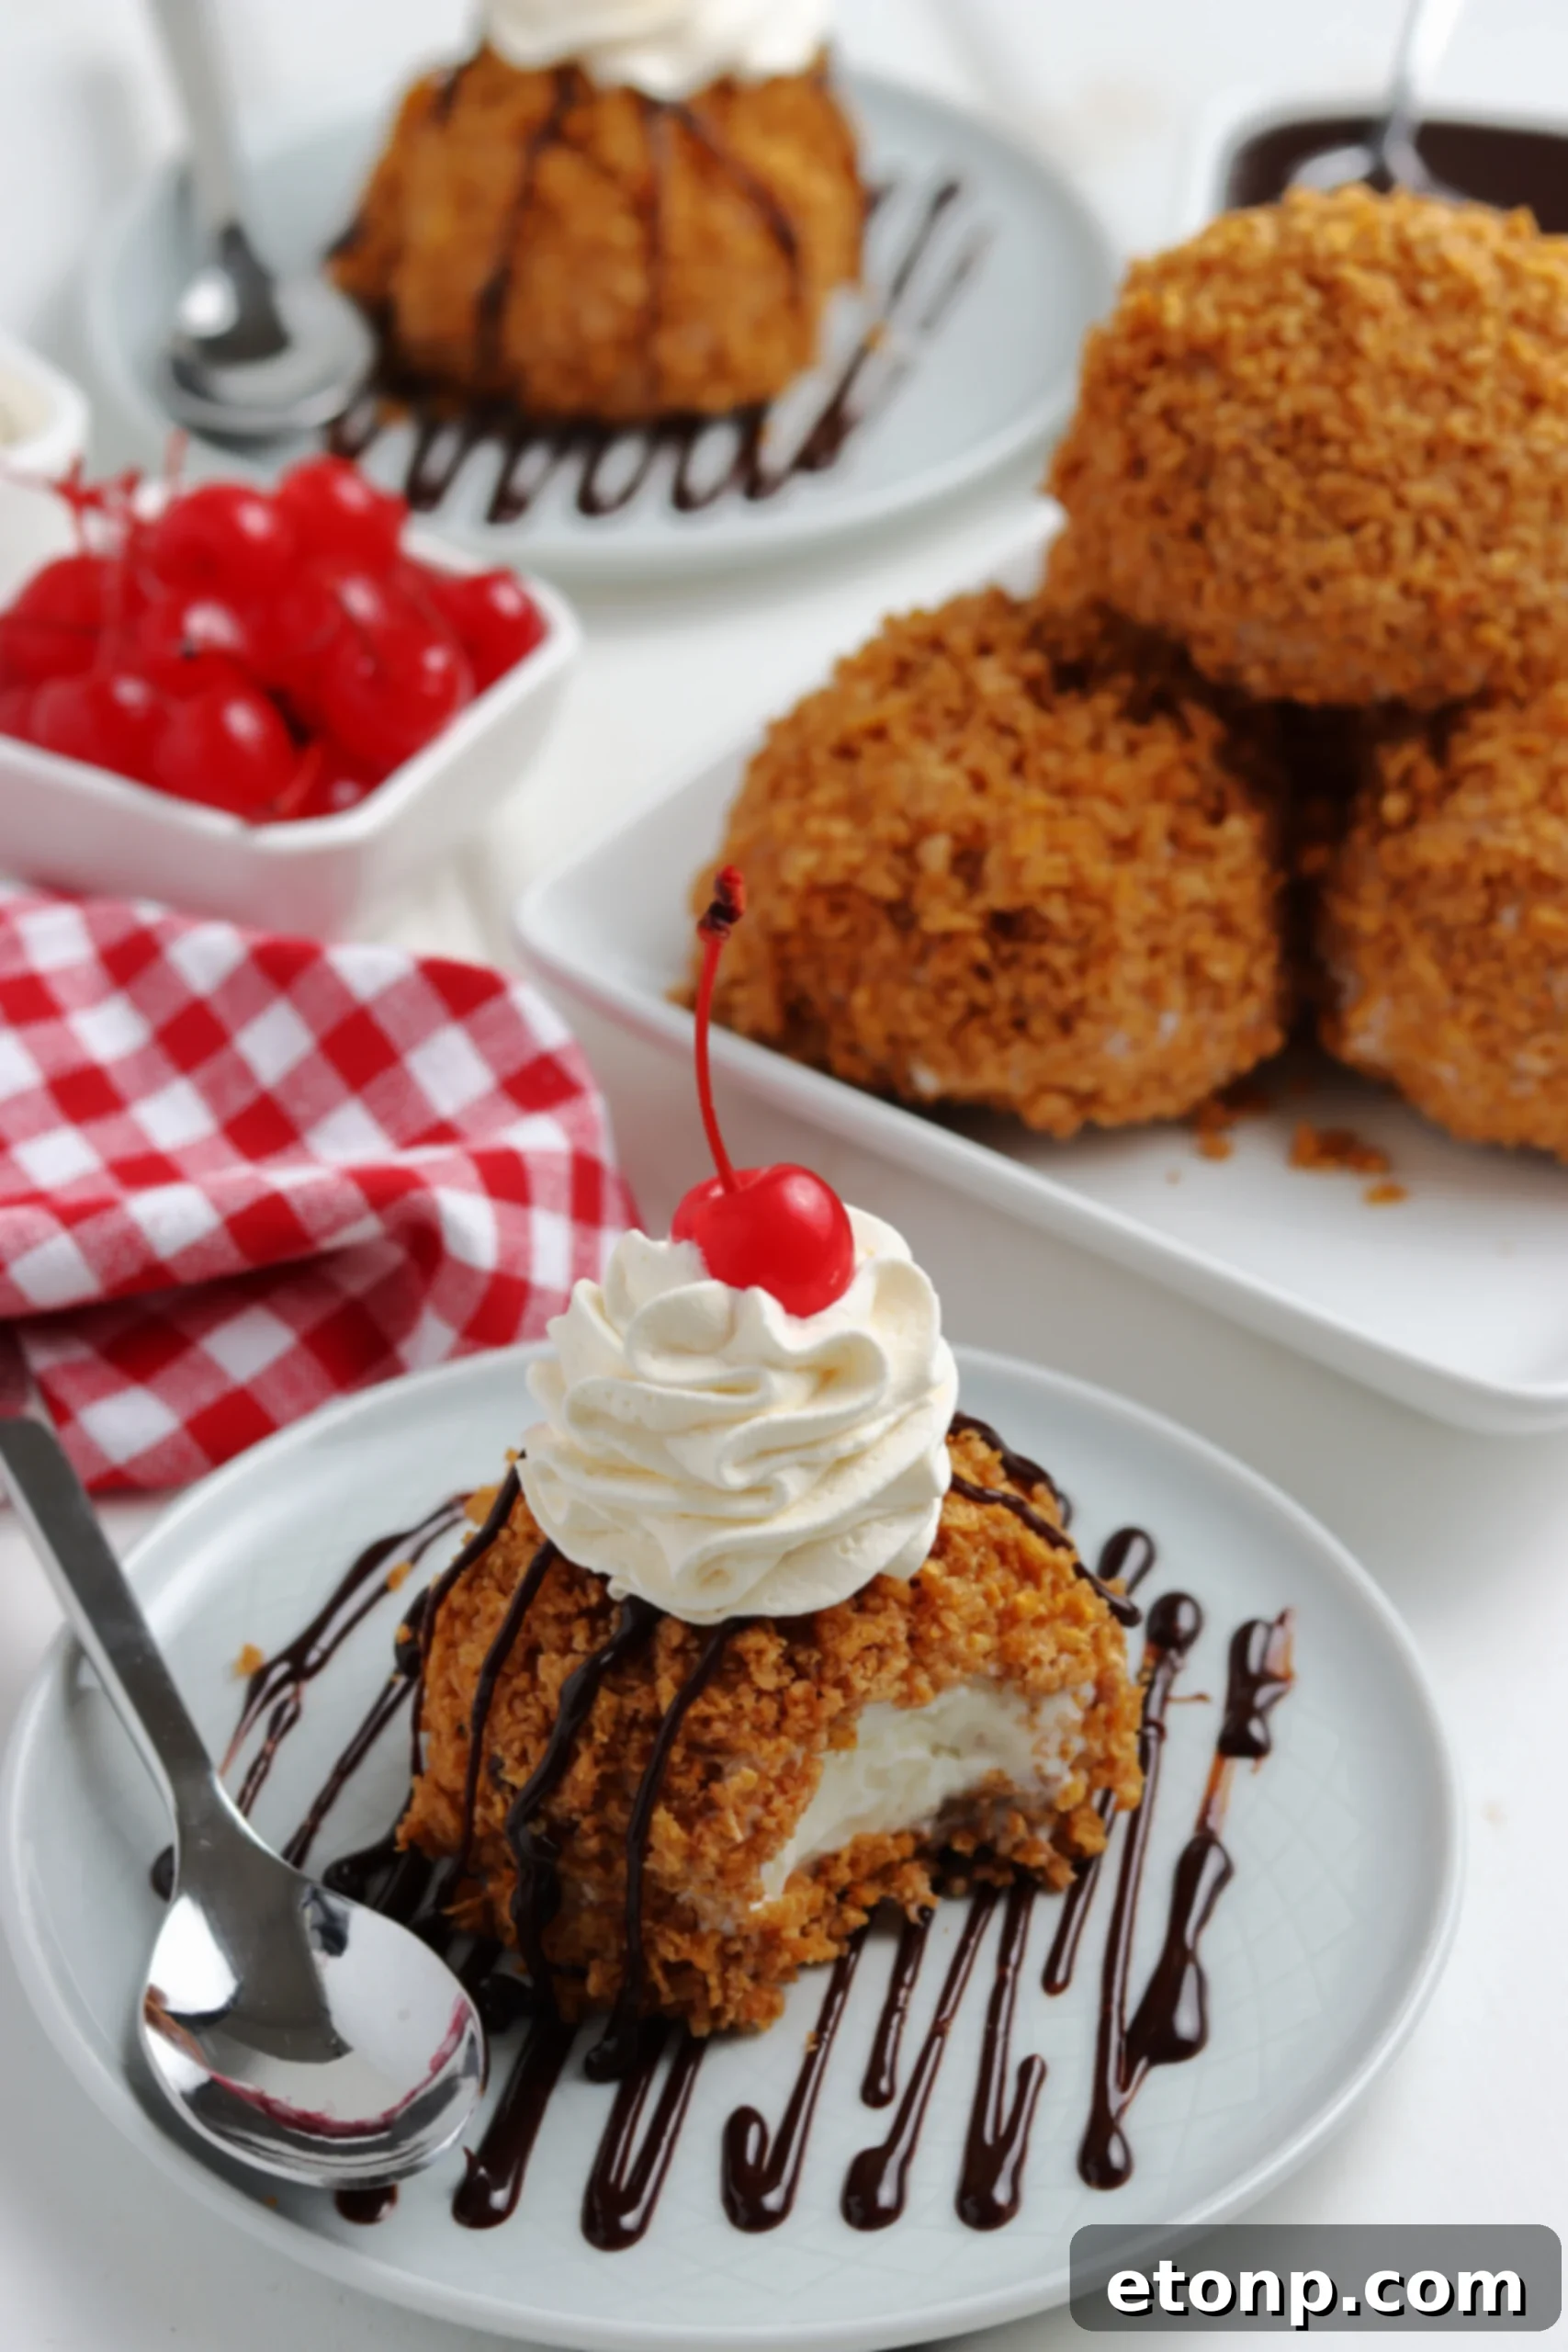
Creating this culinary marvel requires surprisingly few ingredients, each playing a vital role in achieving that perfect balance of textures and flavors. Here’s what you’ll need:
- Vanilla Ice Cream: The star of the show! A good quality, full-fat vanilla ice cream will provide the best flavor and texture. Ensure it’s very firm before starting the coating process.
- Corn Flakes Cereal (or Cinnamon Toast Crunch): This forms the signature crunchy coating. Corn flakes offer a neutral base that crisps beautifully, while Cinnamon Toast Crunch adds an extra layer of spice and sweetness, a delightful twist for those who enjoy a bolder flavor.
- Unsalted Butter: Used to toast the cereal crumbs, infusing them with a rich, nutty flavor and helping them achieve that irresistible golden-brown crispness.
- Ground Cinnamon: A classic spice that pairs wonderfully with both vanilla ice cream and the cereal coating, adding warmth and aromatic depth.
- Frying Oil: Choose an oil with a high smoke point, such as vegetable oil, canola oil, or peanut oil. You’ll need enough to deep-fry the ice cream balls.
For optional toppings, consider whipped cream, hot fudge or chocolate topping, and maraschino cherries to complete the classic diner-style presentation.
Step-by-Step Guide to Making Homemade Fried Ice Cream
Follow these detailed steps to ensure your fried ice cream is a resounding success:
- Prepare the Ice Cream: Take your vanilla ice cream out of the freezer and let it soften slightly for about 30 minutes. This makes it easier to scoop and shape.
- Scoop and Freeze: Line a baking sheet that fits into your freezer with parchment paper. Using an ice cream scoop, form firm balls of ice cream. Work quickly to prevent excessive melting. Place the scooped ice cream balls onto the prepared baking sheet.
- First Freeze: Immediately transfer the baking sheet with the ice cream balls to the freezer. They need to freeze solid, ideally for at least 2-3 hours, or even overnight. This crucial step prevents them from melting when coated and during frying.
- Prepare the Coating: In a large resealable bag or a food processor, add the corn flakes cereal. Crush the cereal into fine crumbs using a rolling pin or by pulsing in the food processor. The finer the crumbs, the better they will adhere.
- Flavor the Coating: Transfer the crushed cereal crumbs to a medium bowl and stir in the ground cinnamon until well combined.
- Toast the Coating: In a large skillet over medium heat, melt the unsalted butter. Add the spiced cereal crumbs to the melted butter and cook, stirring constantly, until the crumbs are golden brown and wonderfully fragrant. This usually takes about 2-3 minutes. Watch closely to prevent burning.
- Cool the Coating: Remove the skillet from the heat and transfer the toasted cereal mixture to a large bowl; allow it to cool completely to room temperature before proceeding. This prevents the ice cream from melting when rolled.
- Coat the Ice Cream: Once the ice cream balls are rock-hard and the coating is cool, take the ice cream out of the freezer. Roll each frozen ice cream ball firmly in the toasted cereal mixture, pressing gently to ensure an even and thick coating. The coating acts as an insulating layer.
- Second Freeze (Crucial!): Return the coated ice cream balls to the parchment-lined baking sheet and place them back in the freezer. Freeze for at least another 2-3 hours, or preferably overnight. The colder the ice cream, the longer it will withstand the hot oil.
- Heat the Oil: When you’re ready to serve, heat frying oil in a deep fryer or a large, heavy saucepan to 375°F (190°C). Use a candy thermometer or deep-fry thermometer to monitor the temperature accurately.
- Fry Quickly: Working with one or two ice cream balls at a time (do not overcrowd the fryer), carefully lower them into the hot oil using a deep-fry basket or a slotted spoon. Fry for a very short duration – typically only 10 to 15 seconds – just until the coating is golden brown and crispy. The goal is to cook the crust without melting the interior.
- Drain and Serve: Quickly remove the fried ice cream balls from the oil and drain them on a plate lined with paper towels to absorb excess oil. Serve immediately!
- Garnish and Enjoy: For a truly decadent experience, top your freshly fried ice cream with a dollop of whipped cream, a generous drizzle of hot fudge or chocolate topping, and a vibrant maraschino cherry. ENJOY!
Tips for Fried Ice Cream Success
Achieving the perfect fried ice cream is simple with these expert tips:
- Freeze, Freeze, Freeze: This cannot be stressed enough. Your ice cream balls must be absolutely rock-solid before coating and especially before frying. Double-freezing is key!
- Work Fast: When scooping, shaping, and coating, try to work as quickly as possible to minimize melting.
- Maintain Oil Temperature: Use a thermometer to keep the oil at a consistent 375°F (190°C). If the oil is too cool, the ice cream will melt before the coating crisps. If it’s too hot, the coating might burn too quickly.
- Don’t Overcrowd: Fry only one or two balls at a time to prevent the oil temperature from dropping significantly.
- Use the Right Oil: High smoke point oils (vegetable, canola, peanut) are essential for deep frying.
- Alternative Coatings: While cereal is classic, you can also use crushed cookies (like Oreos), cake crumbs, or even shredded coconut for different flavors and textures.
- Make Ahead: You can prepare and coat the ice cream balls a day or two in advance and keep them frozen until just before frying.
Creative Topping Ideas for Your Fried Ice Cream
While whipped cream, hot fudge, and cherries are traditional, feel free to unleash your creativity with toppings:
- Caramel Sauce: A drizzle of warm caramel adds a rich, buttery sweetness.
- Fresh Berries: Strawberries, raspberries, or blueberries provide a fresh, tart contrast.
- Chopped Nuts: Pecans, walnuts, or peanuts add extra crunch and a nutty flavor.
- Sprinkles: A festive touch, especially fun for kids.
- Dulce de Leche: For a rich, Latin-inspired twist.
- Maple Syrup: A unique breakfast-for-dessert vibe, especially with a cinnamon coating.
Frequently Asked Questions About Fried Ice Cream
Here are answers to some common queries about making this fantastic dessert:
Can I use an air fryer to make fried ice cream?
While some recipes attempt air frying, deep frying yields the best results for fried ice cream, creating that instant, crispy crust. An air fryer might not get hot enough quickly enough to prevent the ice cream from melting extensively before the coating crisps adequately. If you try, ensure the ice cream is frozen solid and preheat the air fryer to its highest setting.
How do you keep the ice cream from melting when it’s fried?
The key is extreme coldness. The ice cream balls must be frozen rock-solid (preferably double-frozen) before they hit the hot oil. The frying process is very quick (10-15 seconds), just enough time for the exterior coating to cook and crisp without significantly melting the super-cold interior.
What kind of oil is best for frying ice cream?
You need an oil with a high smoke point to withstand the high temperatures required for deep frying. Vegetable oil, canola oil, peanut oil, or sunflower oil are excellent choices. Avoid olive oil or butter, as they have lower smoke points and will burn.
Can I make fried ice cream ahead of time?
Absolutely! You can prepare and coat the ice cream balls up to a few days in advance. Store them in an airtight container or a freezer bag in the deepest part of your freezer until you are ready to fry and serve.
What other coatings can I use?
Beyond corn flakes or Cinnamon Toast Crunch, get creative! Try crushed graham crackers, vanilla wafers, shortbread cookies, or even a mix of panko breadcrumbs and sugar for a different texture. Adding spices like nutmeg or cardamom can also enhance the flavor profile.
Please remember to SHARE on Facebook and PIN IT!
FOLLOW ME ONPINTERESTBY CLICKING HERE <——
Classic Fried Ice Cream Recipe
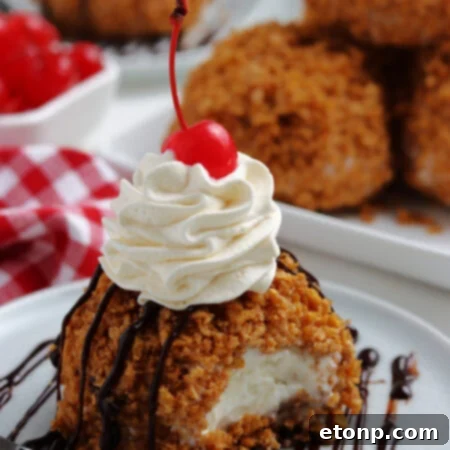
Experience the irresistible combination of a crispy, warm exterior and a perfectly cold, creamy interior with this easy-to-follow Classic Fried Ice Cream recipe. A truly sensational dessert that’s surprisingly simple to make at home.
Ingredients
- Serves: 6-8
- Prep Time: 15 minutes (plus freezing time)
- Cook Time: 2-3 minutes
- 1 quart vanilla ice cream
- 6 cups corn flakes cereal or cinnamon toast crunch cereal, crushed
- 1/2 cup (1 stick) unsalted butter
- 2 teaspoons ground cinnamon
Optional Toppings:
- Whipped cream or whipped topping, thawed
- Hot fudge or chocolate topping
- Maraschino cherries
Instructions
- Set ice cream out to soften for about 30 minutes, making it easier to scoop.
- Line a baking sheet, that will fit in your freezer, with parchment paper.
- In a large resealable bag, add corn flakes cereal and crush them into fine crumbs using a rolling pin, or use a food processor for a quicker method.
- Combine the crushed cereal crumbs and ground cinnamon in a medium bowl, stirring well to ensure the spice is evenly distributed.
- Melt the unsalted butter in a large skillet over medium heat.
- Add the spiced cereal mixture to the melted butter and cook, stirring constantly, until the crumbs are golden brown and fragrant, approximately 2-3 minutes. Be careful not to burn the mixture.
- Remove the skillet from heat and transfer the toasted cereal mixture to a large bowl; allow it to cool completely to room temperature.
- Scoop the softened ice cream with an ice cream scoop. Quickly form the scoops into firm balls with your hands and place them onto the prepared baking sheet.
- Roll each ice cream ball thoroughly in the cooled cereal mixture, pressing gently to create a solid, even coating. Return the coated ice cream balls to the baking sheet.
- Place the baking sheet with the coated ice cream balls back into the freezer. Freeze until they are rock-solid, ideally for at least 2-3 hours, or preferably overnight. This double-freezing step is crucial.
- When ready to serve, heat frying oil in a deep fryer or a large, heavy saucepan to 375°F (190°C). Use a thermometer to monitor the oil temperature accurately.
- Using a deep-fry basket or a slotted spoon, carefully fry the ice cream balls one or two at a time for only 10 to 15 seconds, just until the coating is golden and crispy.
- Quickly remove the fried ice cream from the oil and drain on paper towels to remove excess oil. Serve immediately.
- To serve, garnish with whipped cream, hot fudge or chocolate topping, and a maraschino cherry, if desired.
- ENJOY your homemade Classic Fried Ice Cream!
Did you make this recipe?
We’d love to see your creations! Make sure to follow us on Pinterest for more incredible recipes and inspiration!
Share on Facebook