
Irresistible Red Velvet Cheesecake Cookies: Soft, Chewy, and Absolutely Divine!
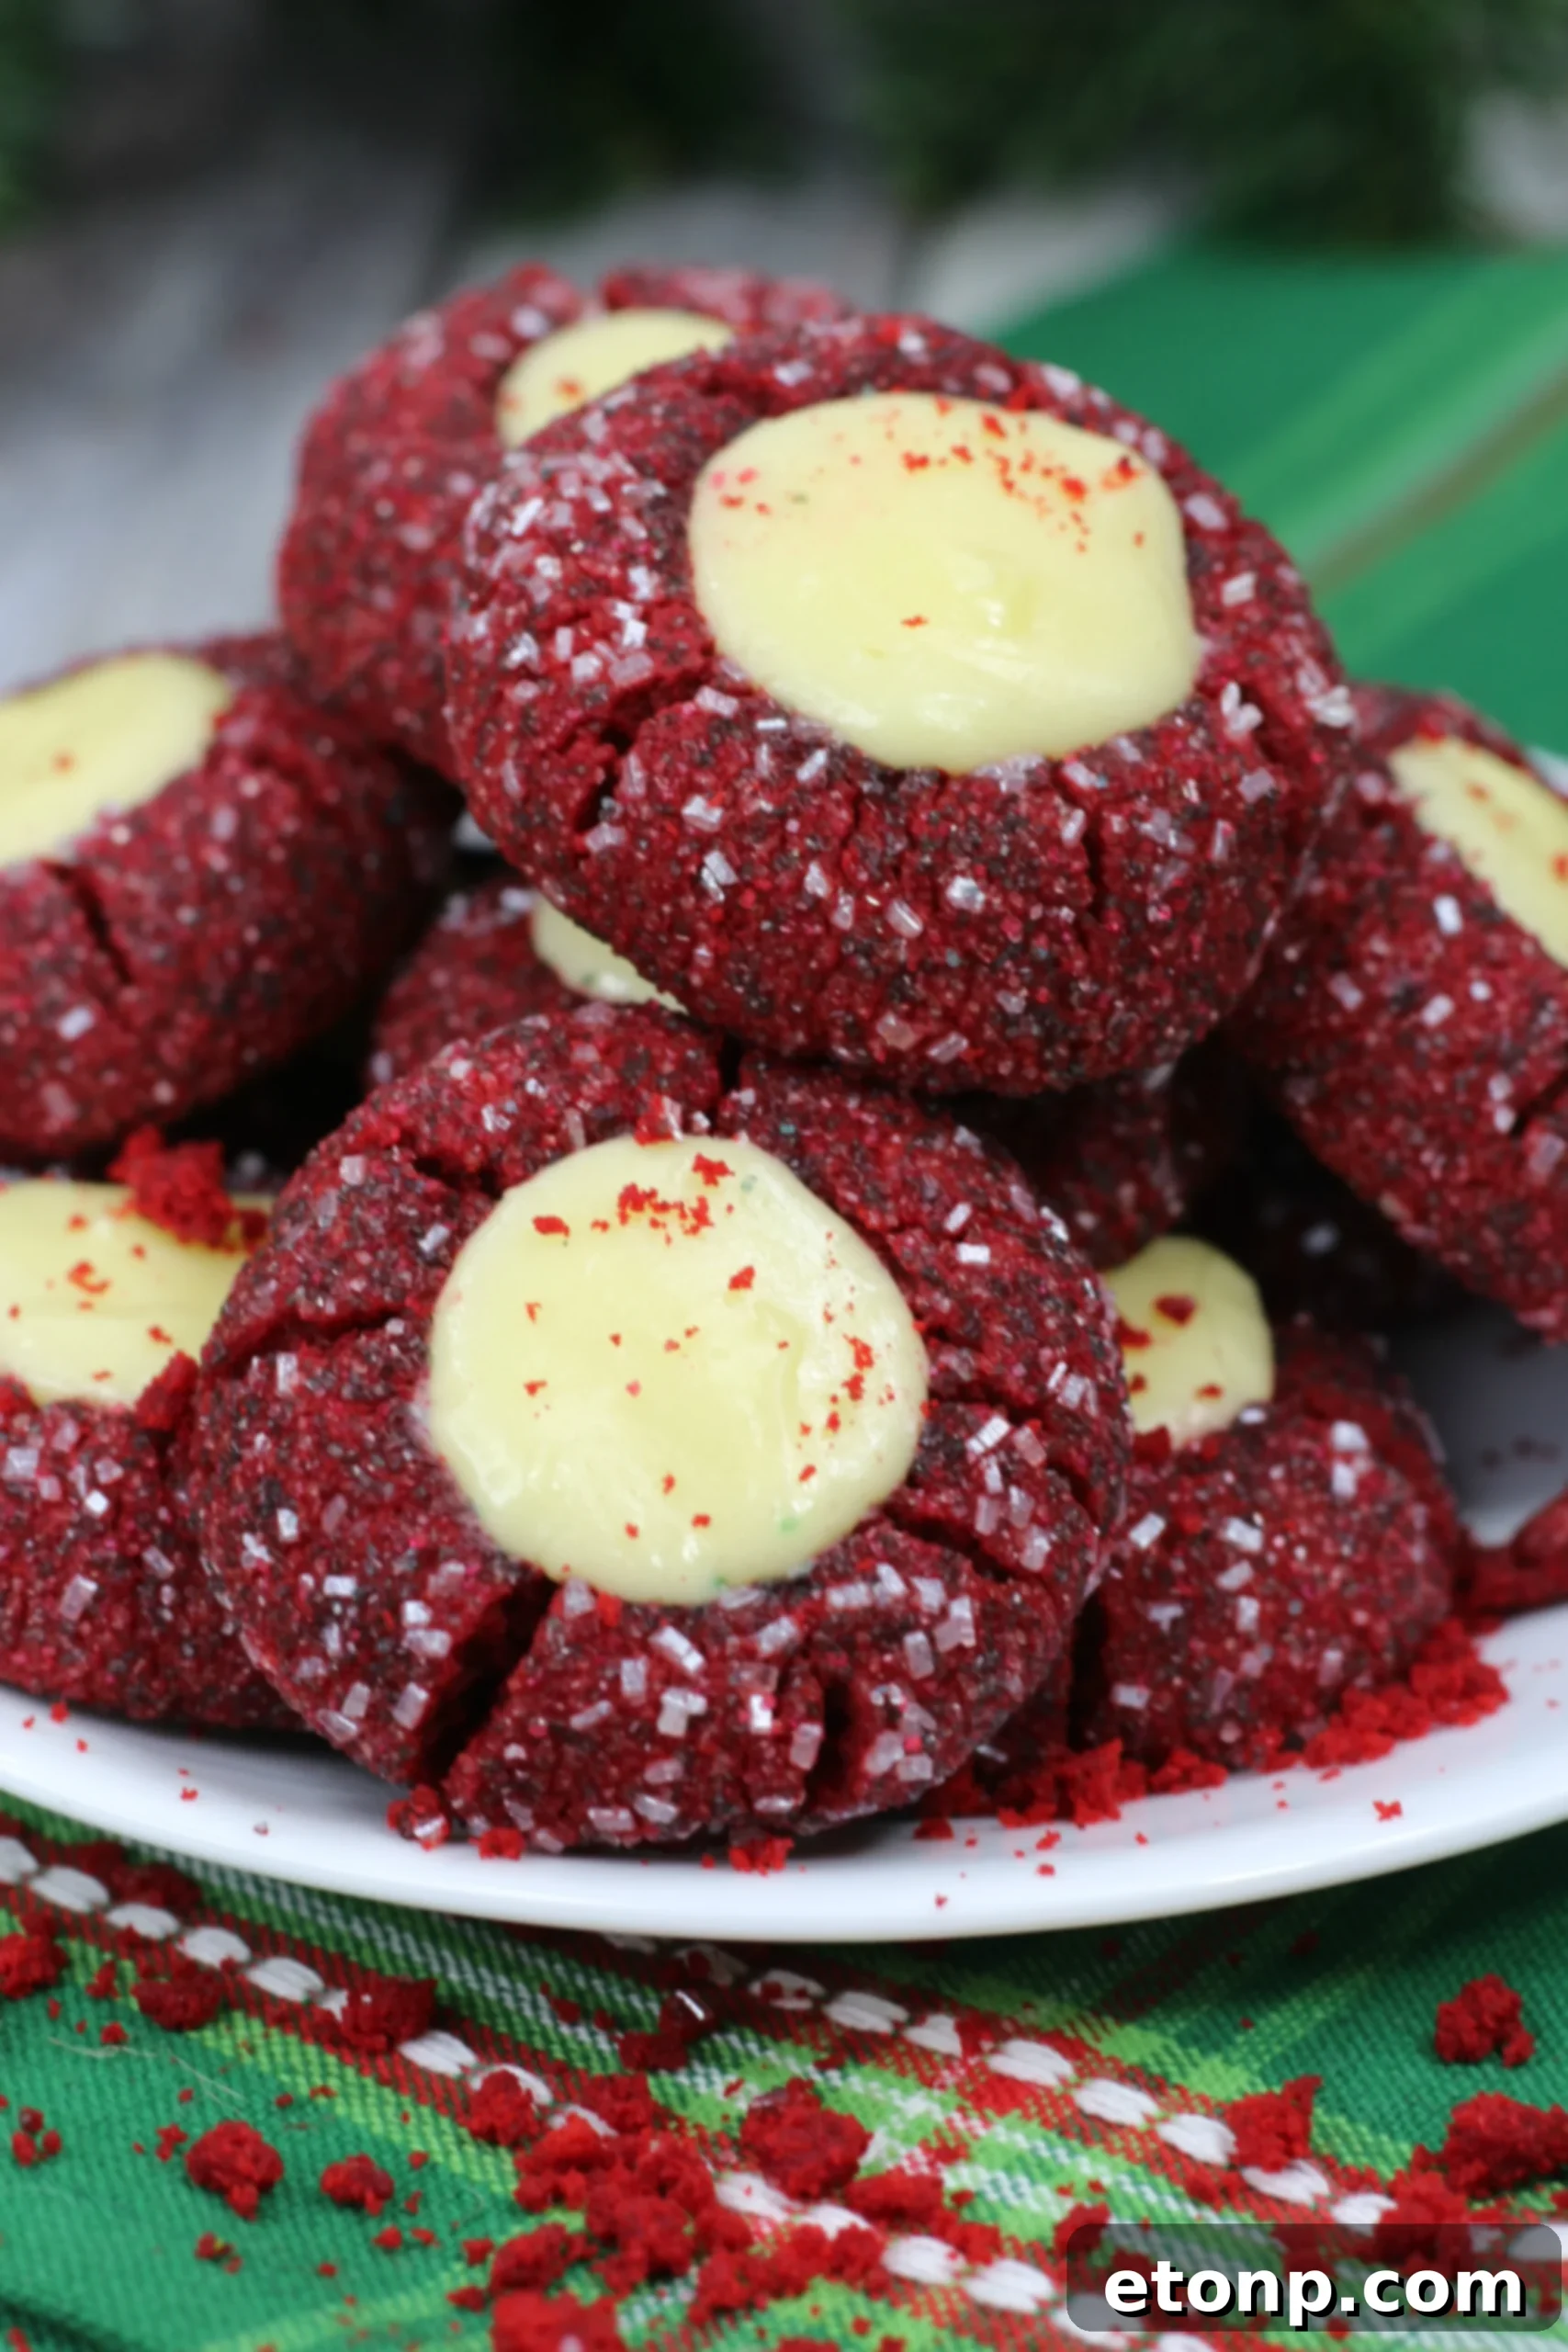
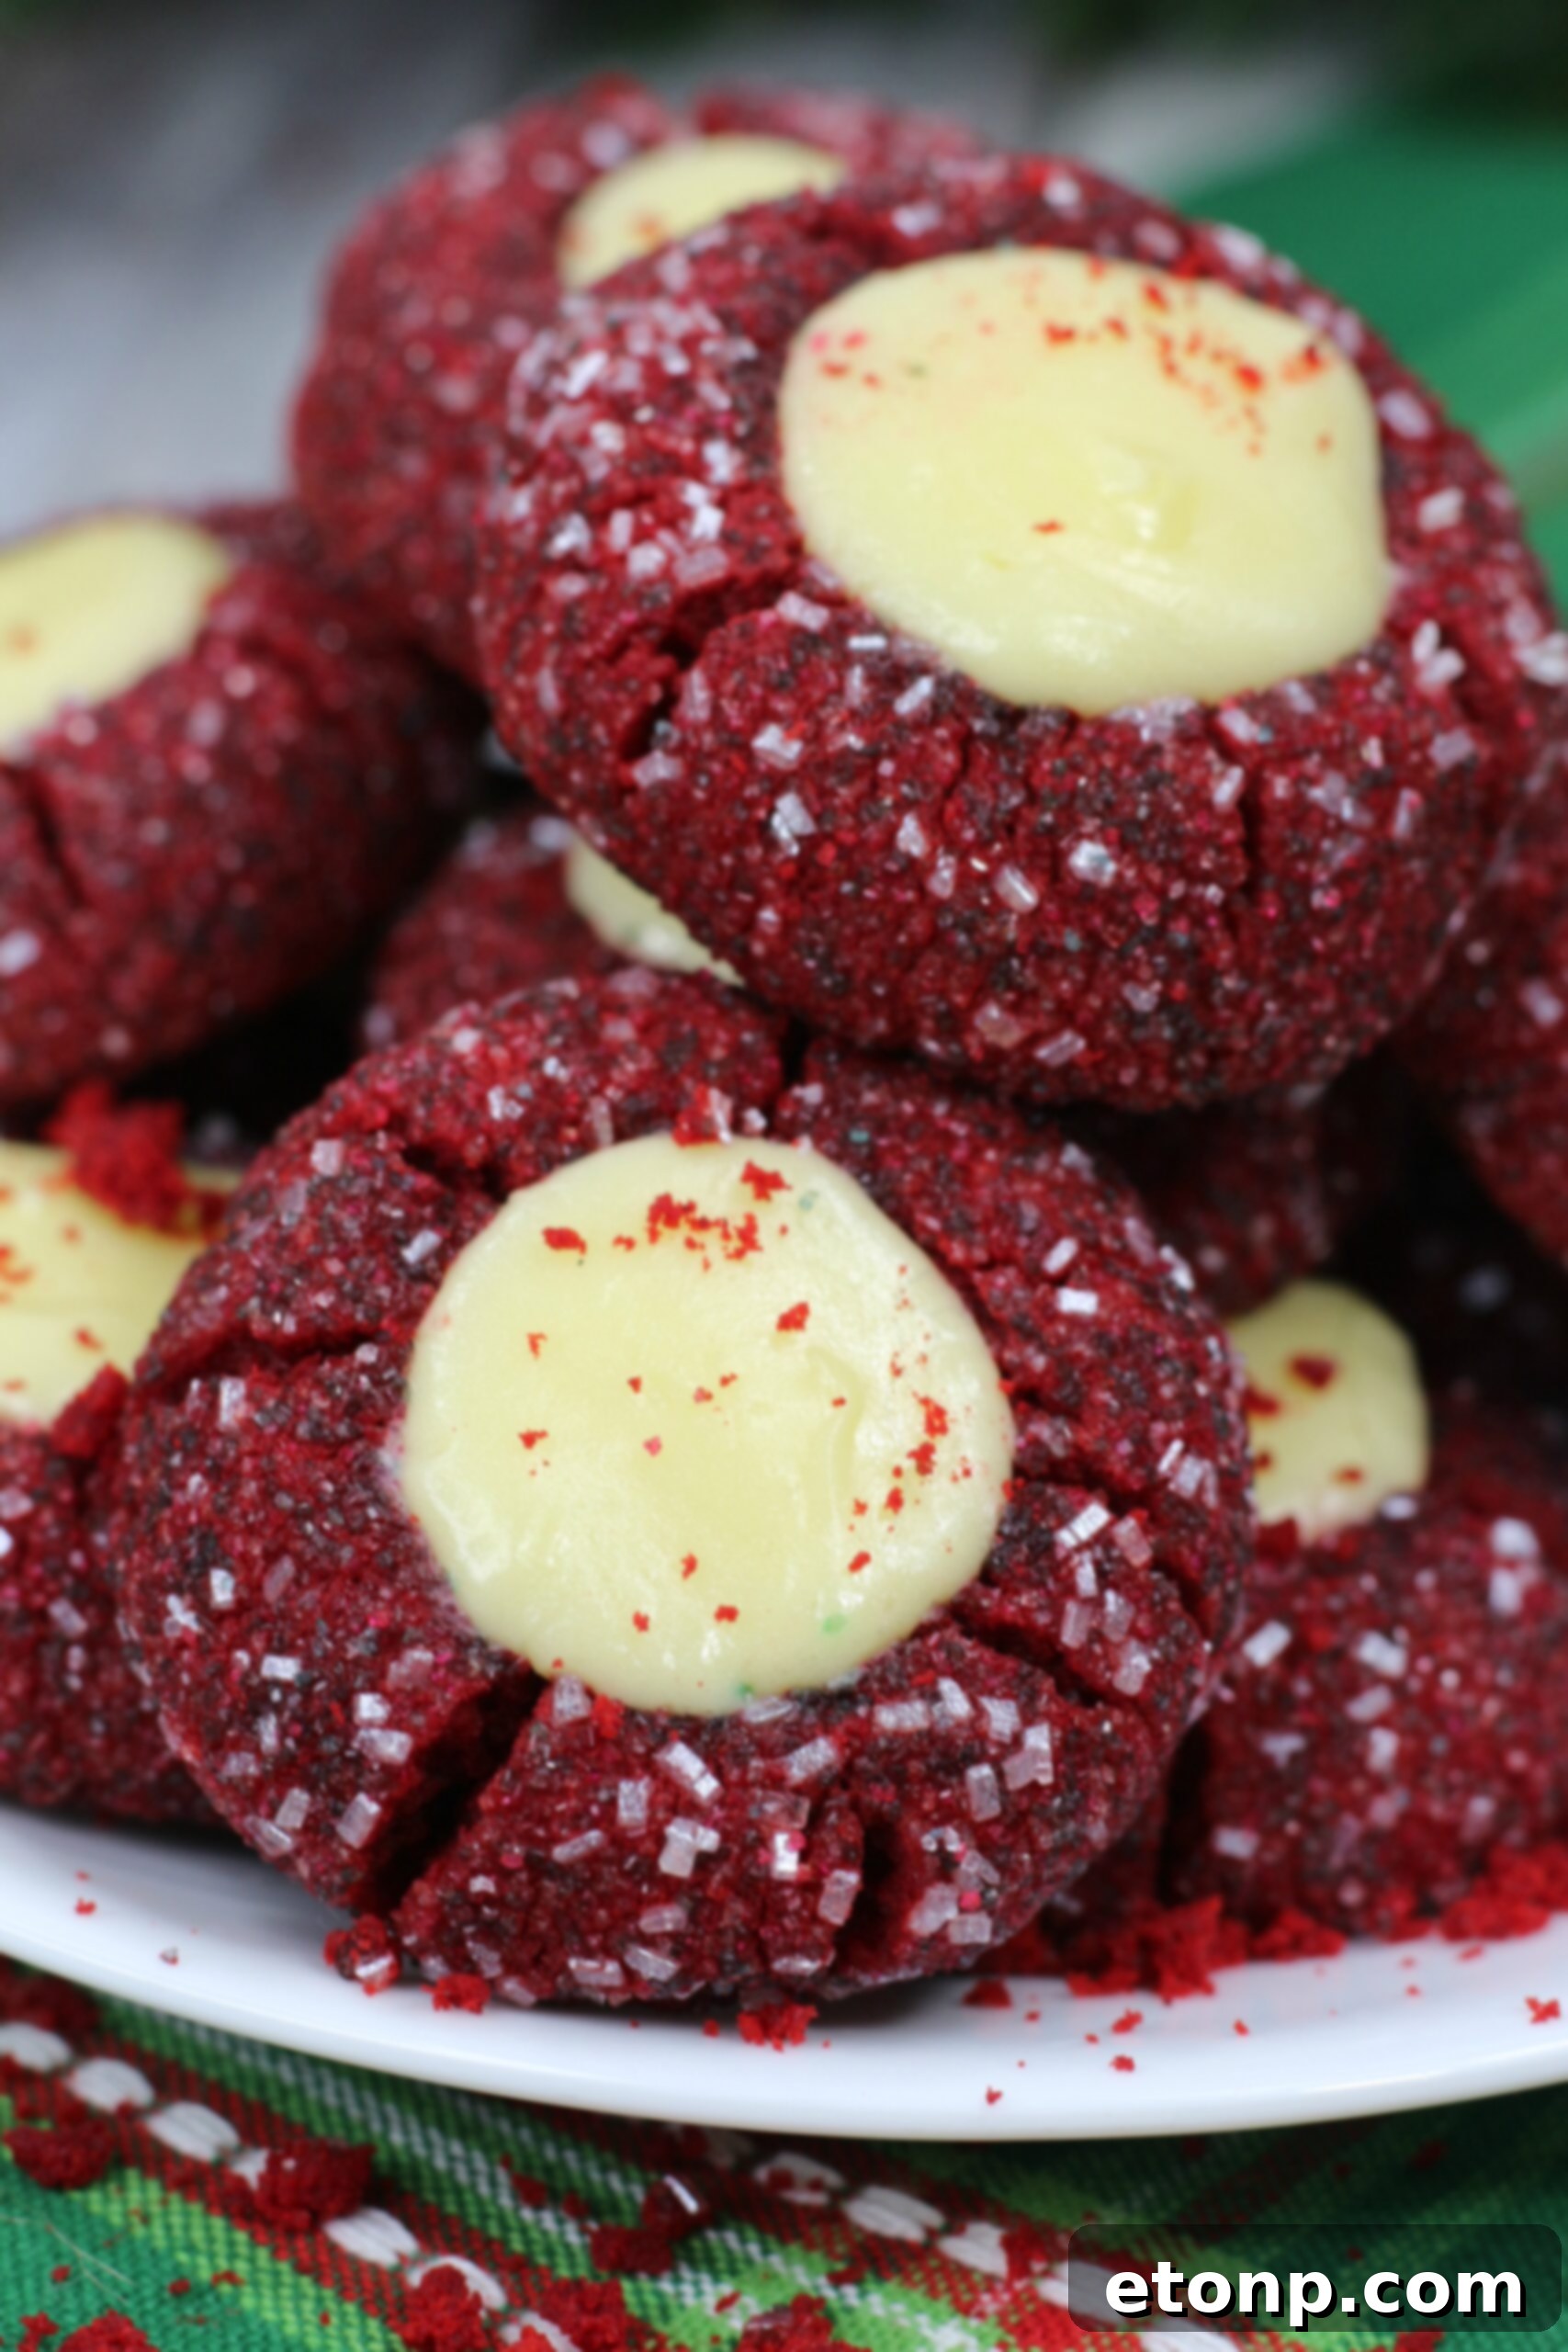
Prepare to be enchanted by these Red Velvet Cheesecake Cookies – a recipe that has earned its place as a cherished family favorite! These stunning cookies combine the best of two beloved desserts: the rich, cocoa-kissed tang of red velvet cake and the creamy, dreamy sweetness of cheesecake. The result? A perfectly soft and chewy cookie, beautifully adorned with a vibrant red hue and generously stuffed with a luscious cream cheese filling. They are not only a feast for the eyes but an absolute delight for the palate, promising to be the star of any dessert spread.
Impressive Appearance, Deceptively Simple Preparation
One of the most remarkable qualities of these Red Velvet Cheesecake Cookies is their ability to look incredibly impressive, as if they emerged from a gourmet bakery, while actually being deceptively easy to prepare. Don’t let their elegant appearance intimidate you; this recipe is straightforward and accessible for bakers of all skill levels. From their striking red color to the perfectly nestled cream cheese swirl, these cookies are designed to ‘wow’ without demanding hours in the kitchen. They consistently vanish from any cookie platter in record time and are always a top seller at bake sales, making them a reliable choice for any event where you want to leave a lasting impression.
The Allure of Thumbprint Cookies with a Cheesecake Twist
These cookies are crafted in the classic thumbprint style, a beloved format that allows for a delicious pocket of filling in every bite. I’ve always found thumbprint cookies to be particularly appealing, as I adore any kind of delightful center in my baked goods. For this recipe, the chosen filling elevates the experience to an entirely new level: a sweet, tangy cream cheese mixture that tastes exactly like a mini cheesecake nestled within a cookie. This “cheesecake-like” filling is not just incredibly flavorful; it’s also incredibly stable. Unlike some filled cookies where the center might ooze or become messy, this cream cheese filling holds its shape beautifully through baking and cooling, ensuring each cookie maintains its perfect presentation and delivers an over-the-top incredible taste sensation.
Perfect for Holidays, Valentine’s Day, and Everyday Indulgence
With their captivating red color and luxurious taste, these Red Velvet Cheesecake Cookies are a stellar choice for a variety of special occasions. They are an absolute showstopper for the holiday season, adding a festive splash of color to any Christmas cookie platter or gifting assortment. Beyond the winter holidays, their romantic hue makes them an ideal treat for Valentine’s Day, a sweet gesture for loved ones, or a delightful addition to any romantic celebration. Yet, their appeal isn’t limited to special events; these cookies are so utterly delicious that they make a fantastic everyday indulgence. Imagine pairing one with your morning coffee or enjoying it as an after-dinner treat. They travel well, hold up beautifully, and the filling won’t fall out, making them suitable for potlucks, parties, or simply bringing a smile to someone’s face.
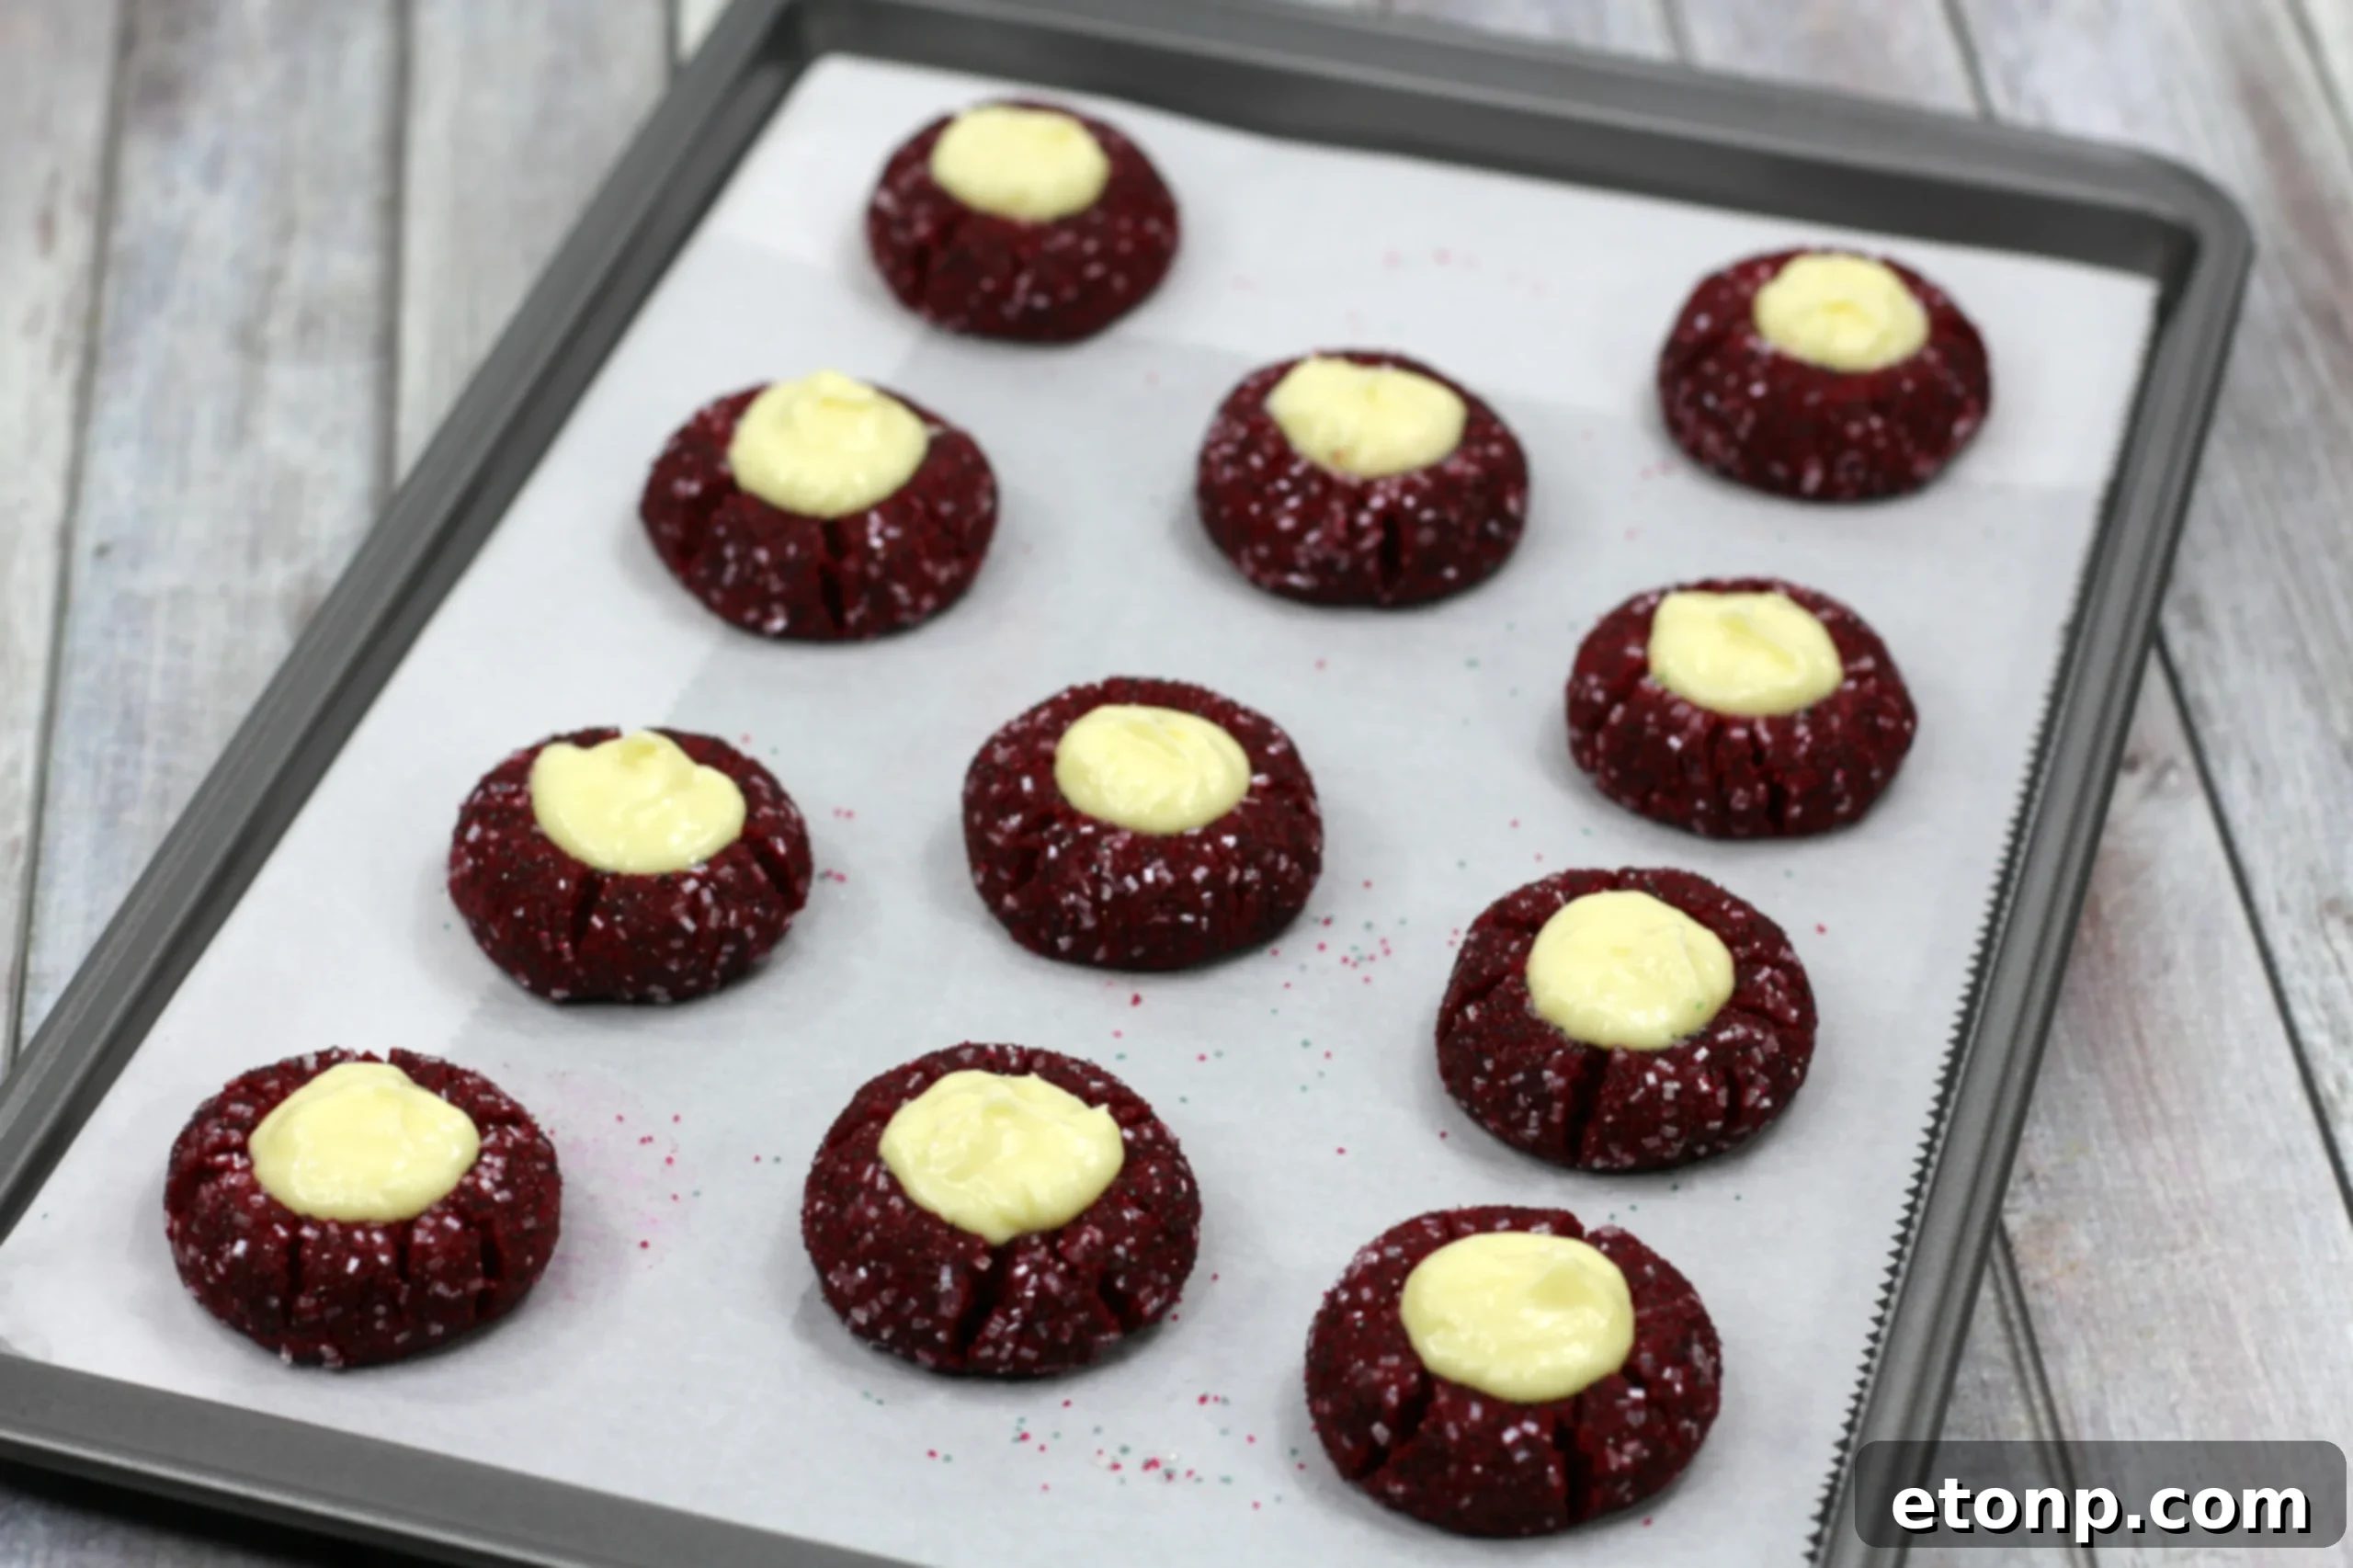
Crafting the Perfect Red Velvet Dough: Soft, Chewy, and Full of Flavor
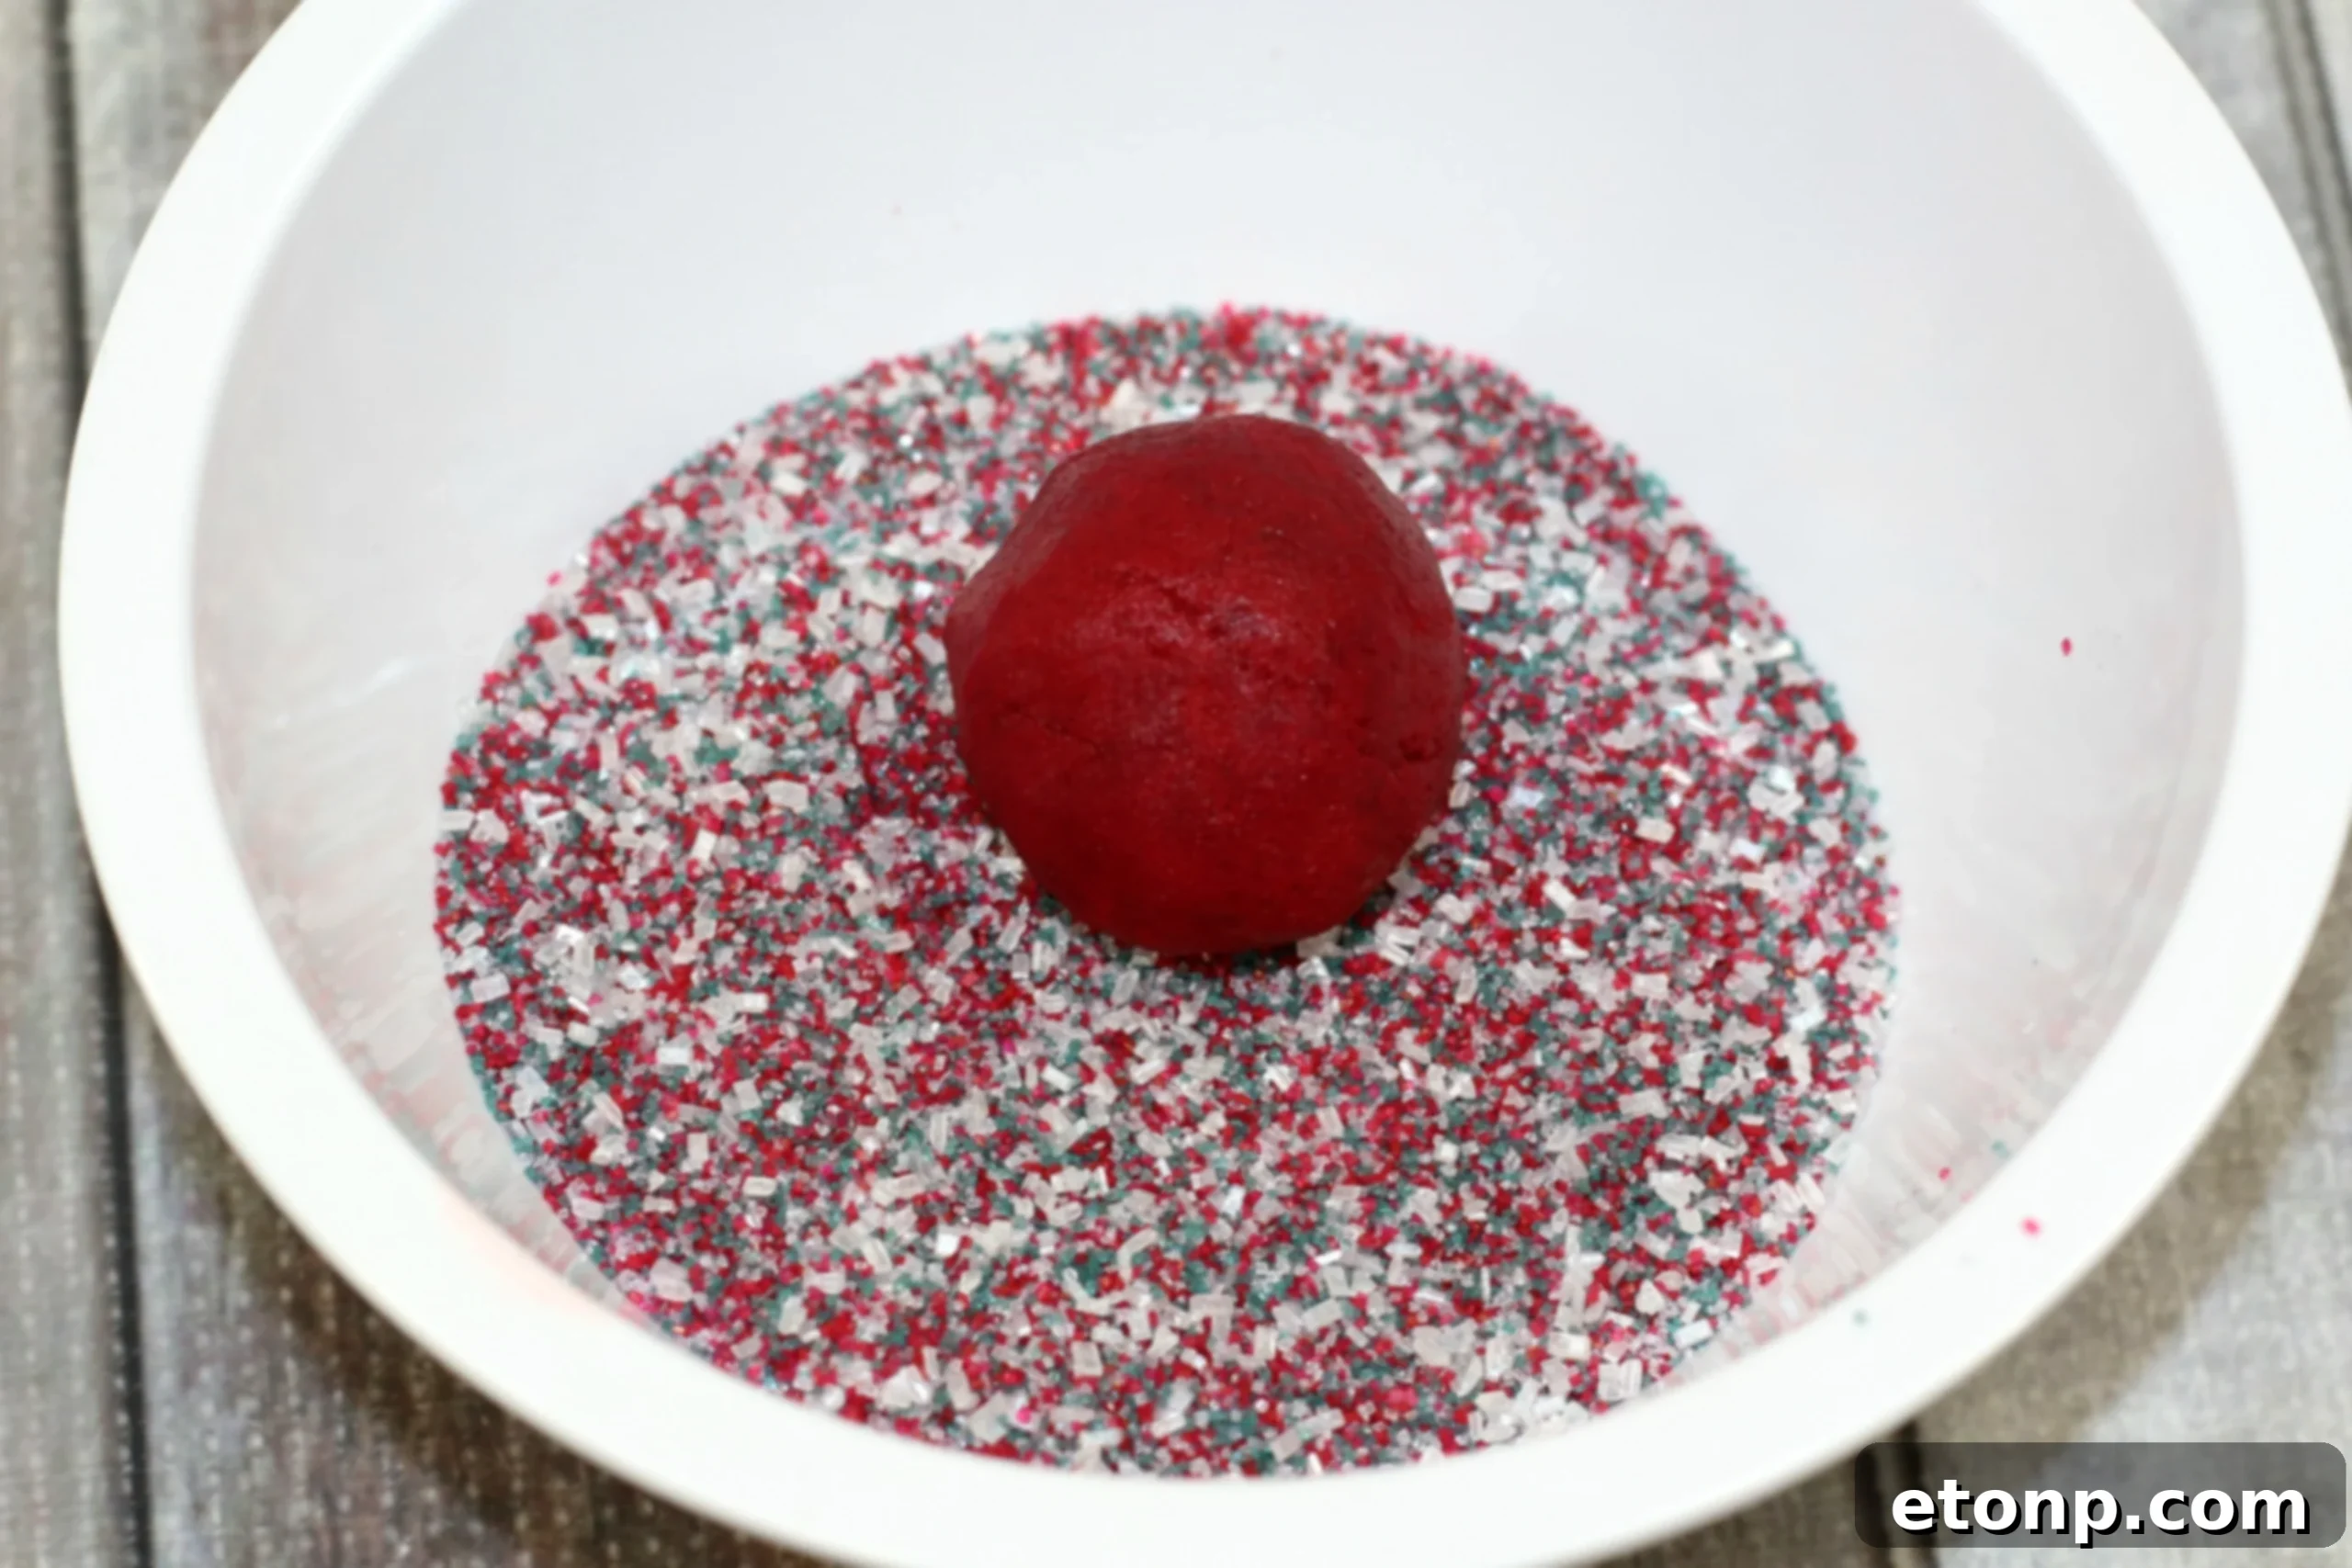
The foundation of these incredible cookies is the red velvet dough itself. Achieving that perfect balance of soft yet chewy texture, coupled with an intense red velvet flavor, is key. The dough is enriched with unsalted sweet cream butter, light brown sugar for moisture and a hint of caramel, a single egg yolk for richness and tenderness, and pure vanilla extract to enhance all the flavors. The distinctive red velvet profile comes from a thoughtful combination of vibrant red food coloring and a touch of cocoa powder. While the food coloring provides the iconic hue, the cocoa powder contributes that subtle, signature chocolate undertone that defines true red velvet. Mixing these ingredients carefully ensures a soft, pliable dough that is easy to work with and bakes up into perfectly consistent cookies. Rolling the dough balls in holiday sanding sugar before baking adds a beautiful sparkle and a delightful textural crunch, making each cookie even more appealing.

The Dreamy Cheesecake Filling: A Creamy Centerpiece
No Red Velvet Cheesecake Cookie would be complete without its namesake filling. This simple yet exquisite cream cheese filling is what truly sets this recipe apart. Made with softened cream cheese, another egg yolk for richness and stability, sugar for sweetness, a tiny pinch of kosher salt to balance the flavors, and a touch of pure vanilla extract, it whips up into a smooth, decadent concoction. The key is to ensure your cream cheese is properly softened to avoid lumps, creating a silky-smooth filling that bakes beautifully. When spooned into the warm indentations of the partially baked cookies, this filling transforms into a luscious, set center that perfectly complements the rich red velvet cookie. The interplay of the mildly tangy cream cheese with the subtly chocolatey, vanilla-infused cookie is a flavor match made in heaven.
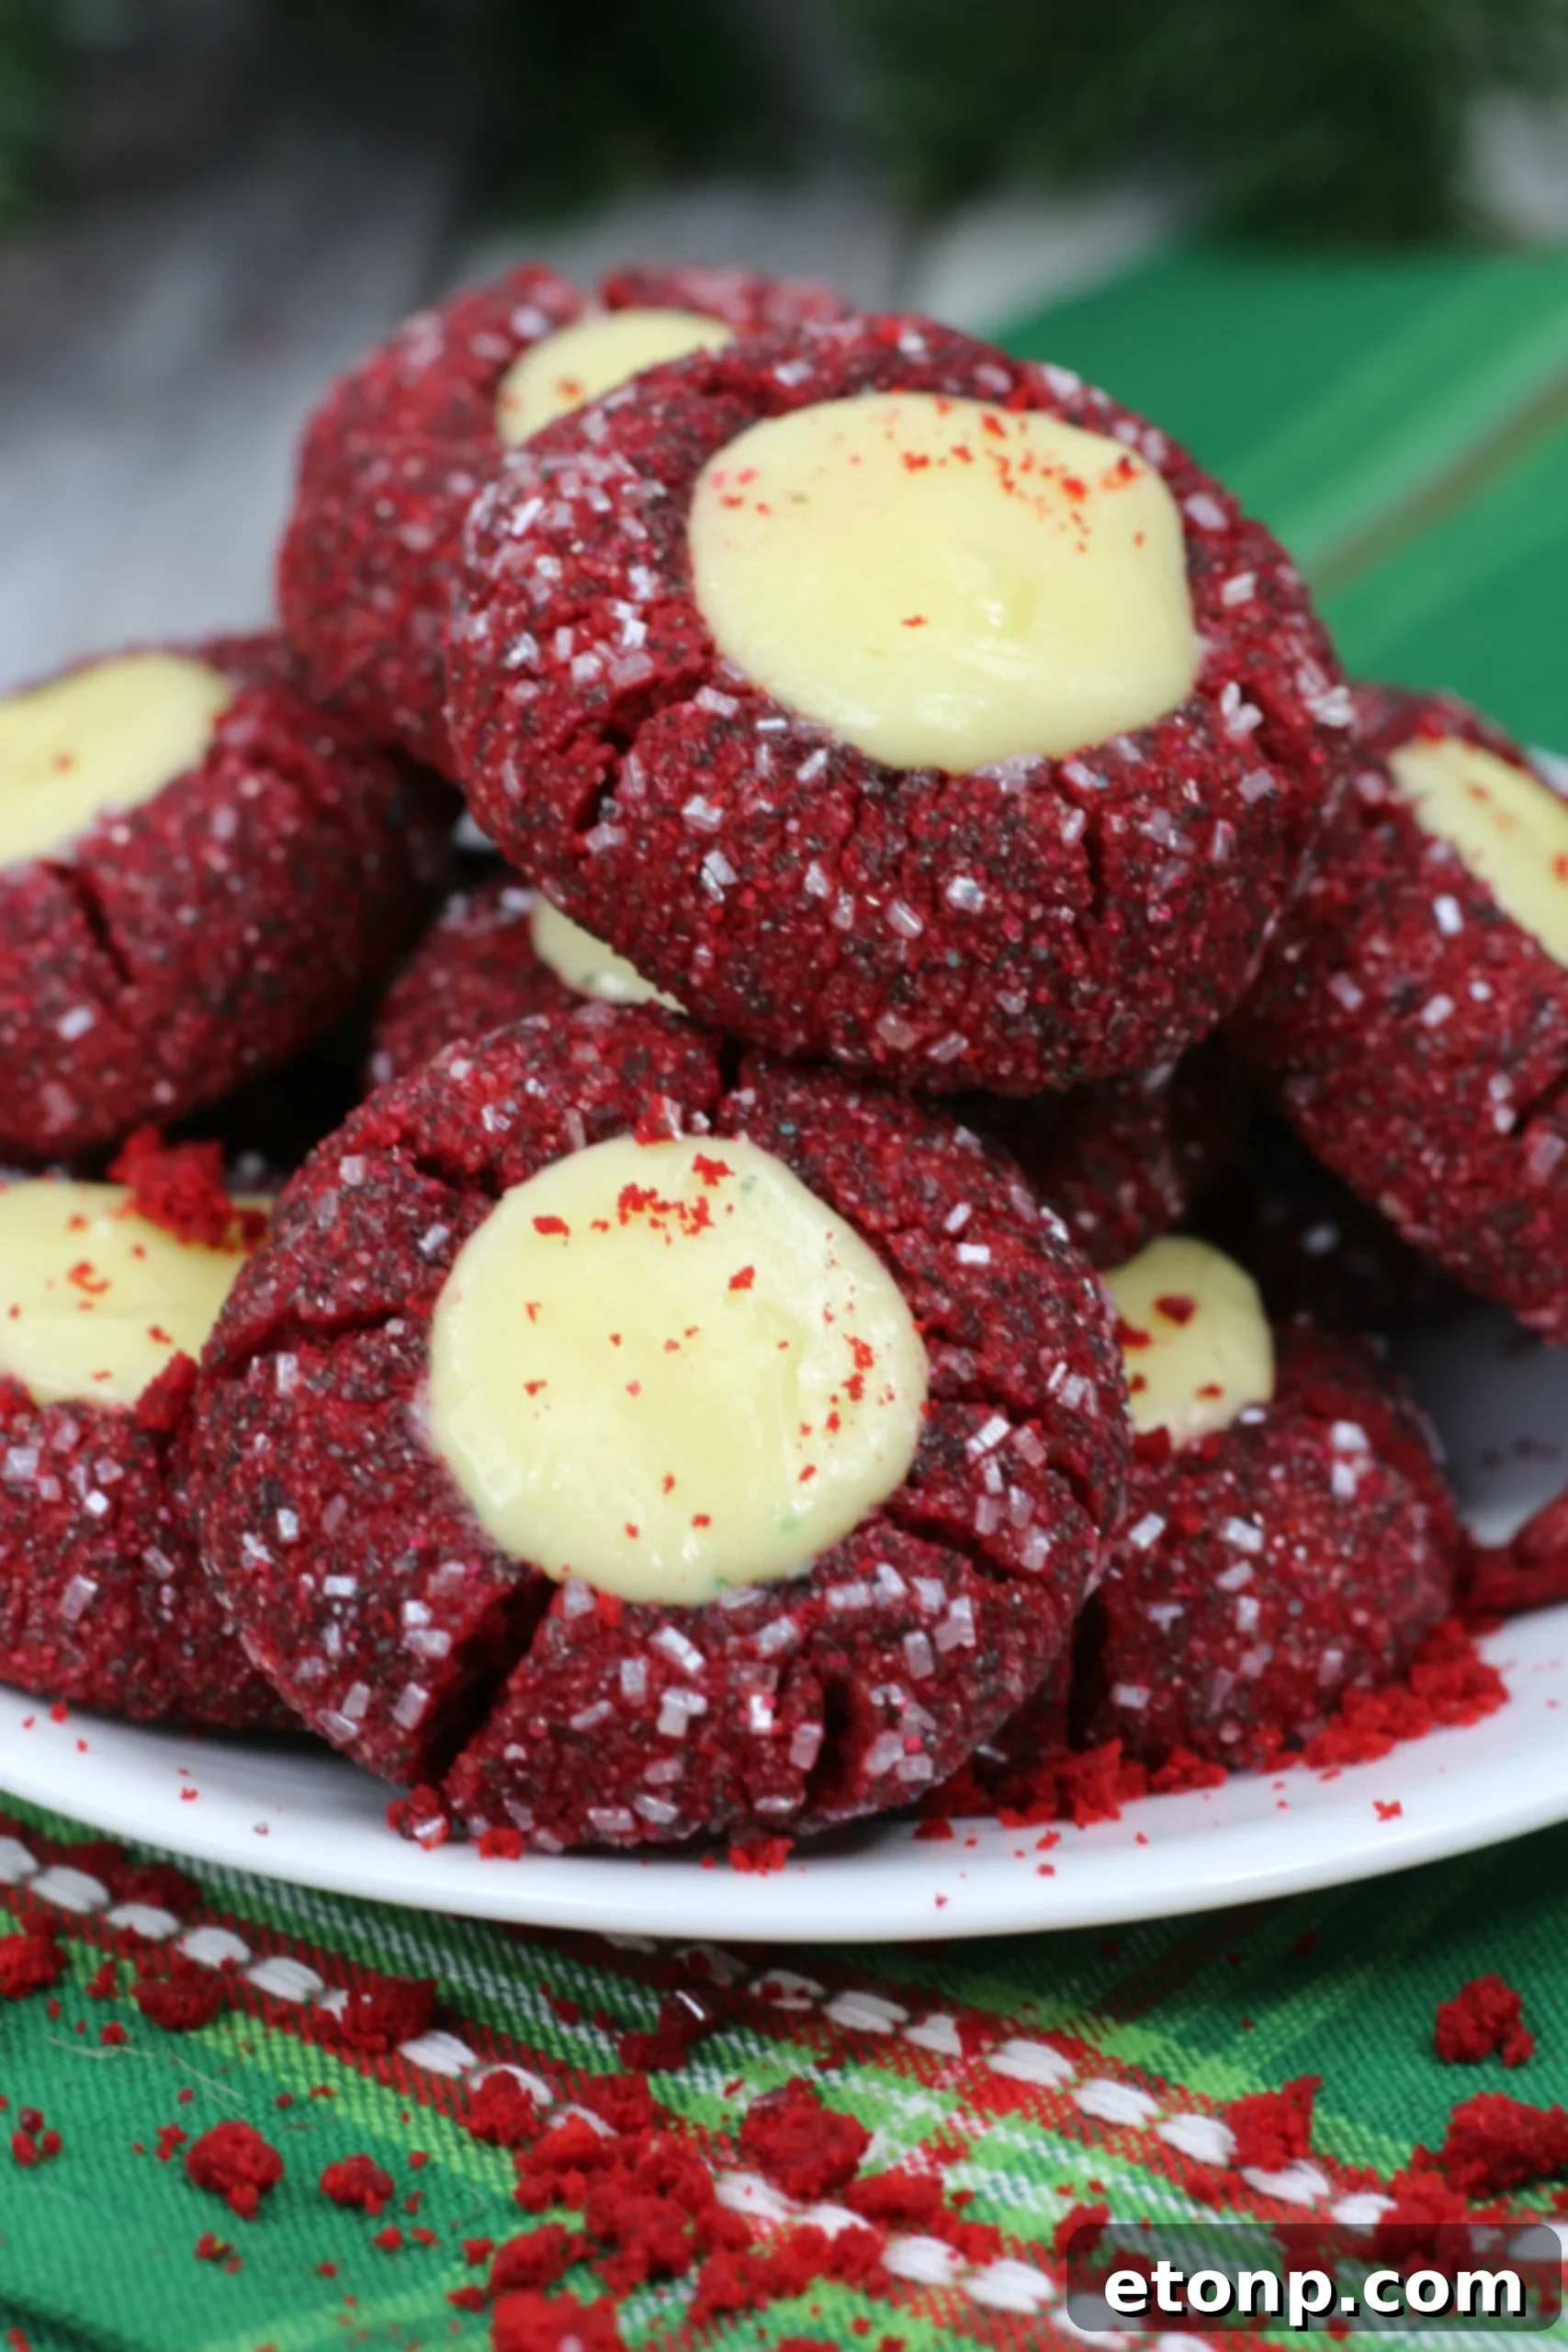
Pro Tips for Baking Perfect Red Velvet Cheesecake Cookies
- **Butter and Cream Cheese Temperature:** Ensure both your butter and cream cheese are truly softened to room temperature. This is crucial for a smooth, lump-free dough and a silky filling.
- **Measuring Flour:** For the best cookie texture, always spoon your flour into the measuring cup and then level it off with a straight edge. Don’t scoop directly from the bag, as this can pack too much flour and result in dry cookies.
- **Vibrant Color:** The “red-red” food coloring is essential for achieving that deep, iconic red velvet hue. Gel food coloring often yields a more concentrated color than liquid varieties.
- **Don’t Overmix:** Once you add the flour and cocoa powder, mix just until combined. Overmixing can develop the gluten in the flour, leading to tough cookies.
- **Consistent Sizing:** Use a small ice cream scoop to portion your dough for consistent cookie size and even baking.
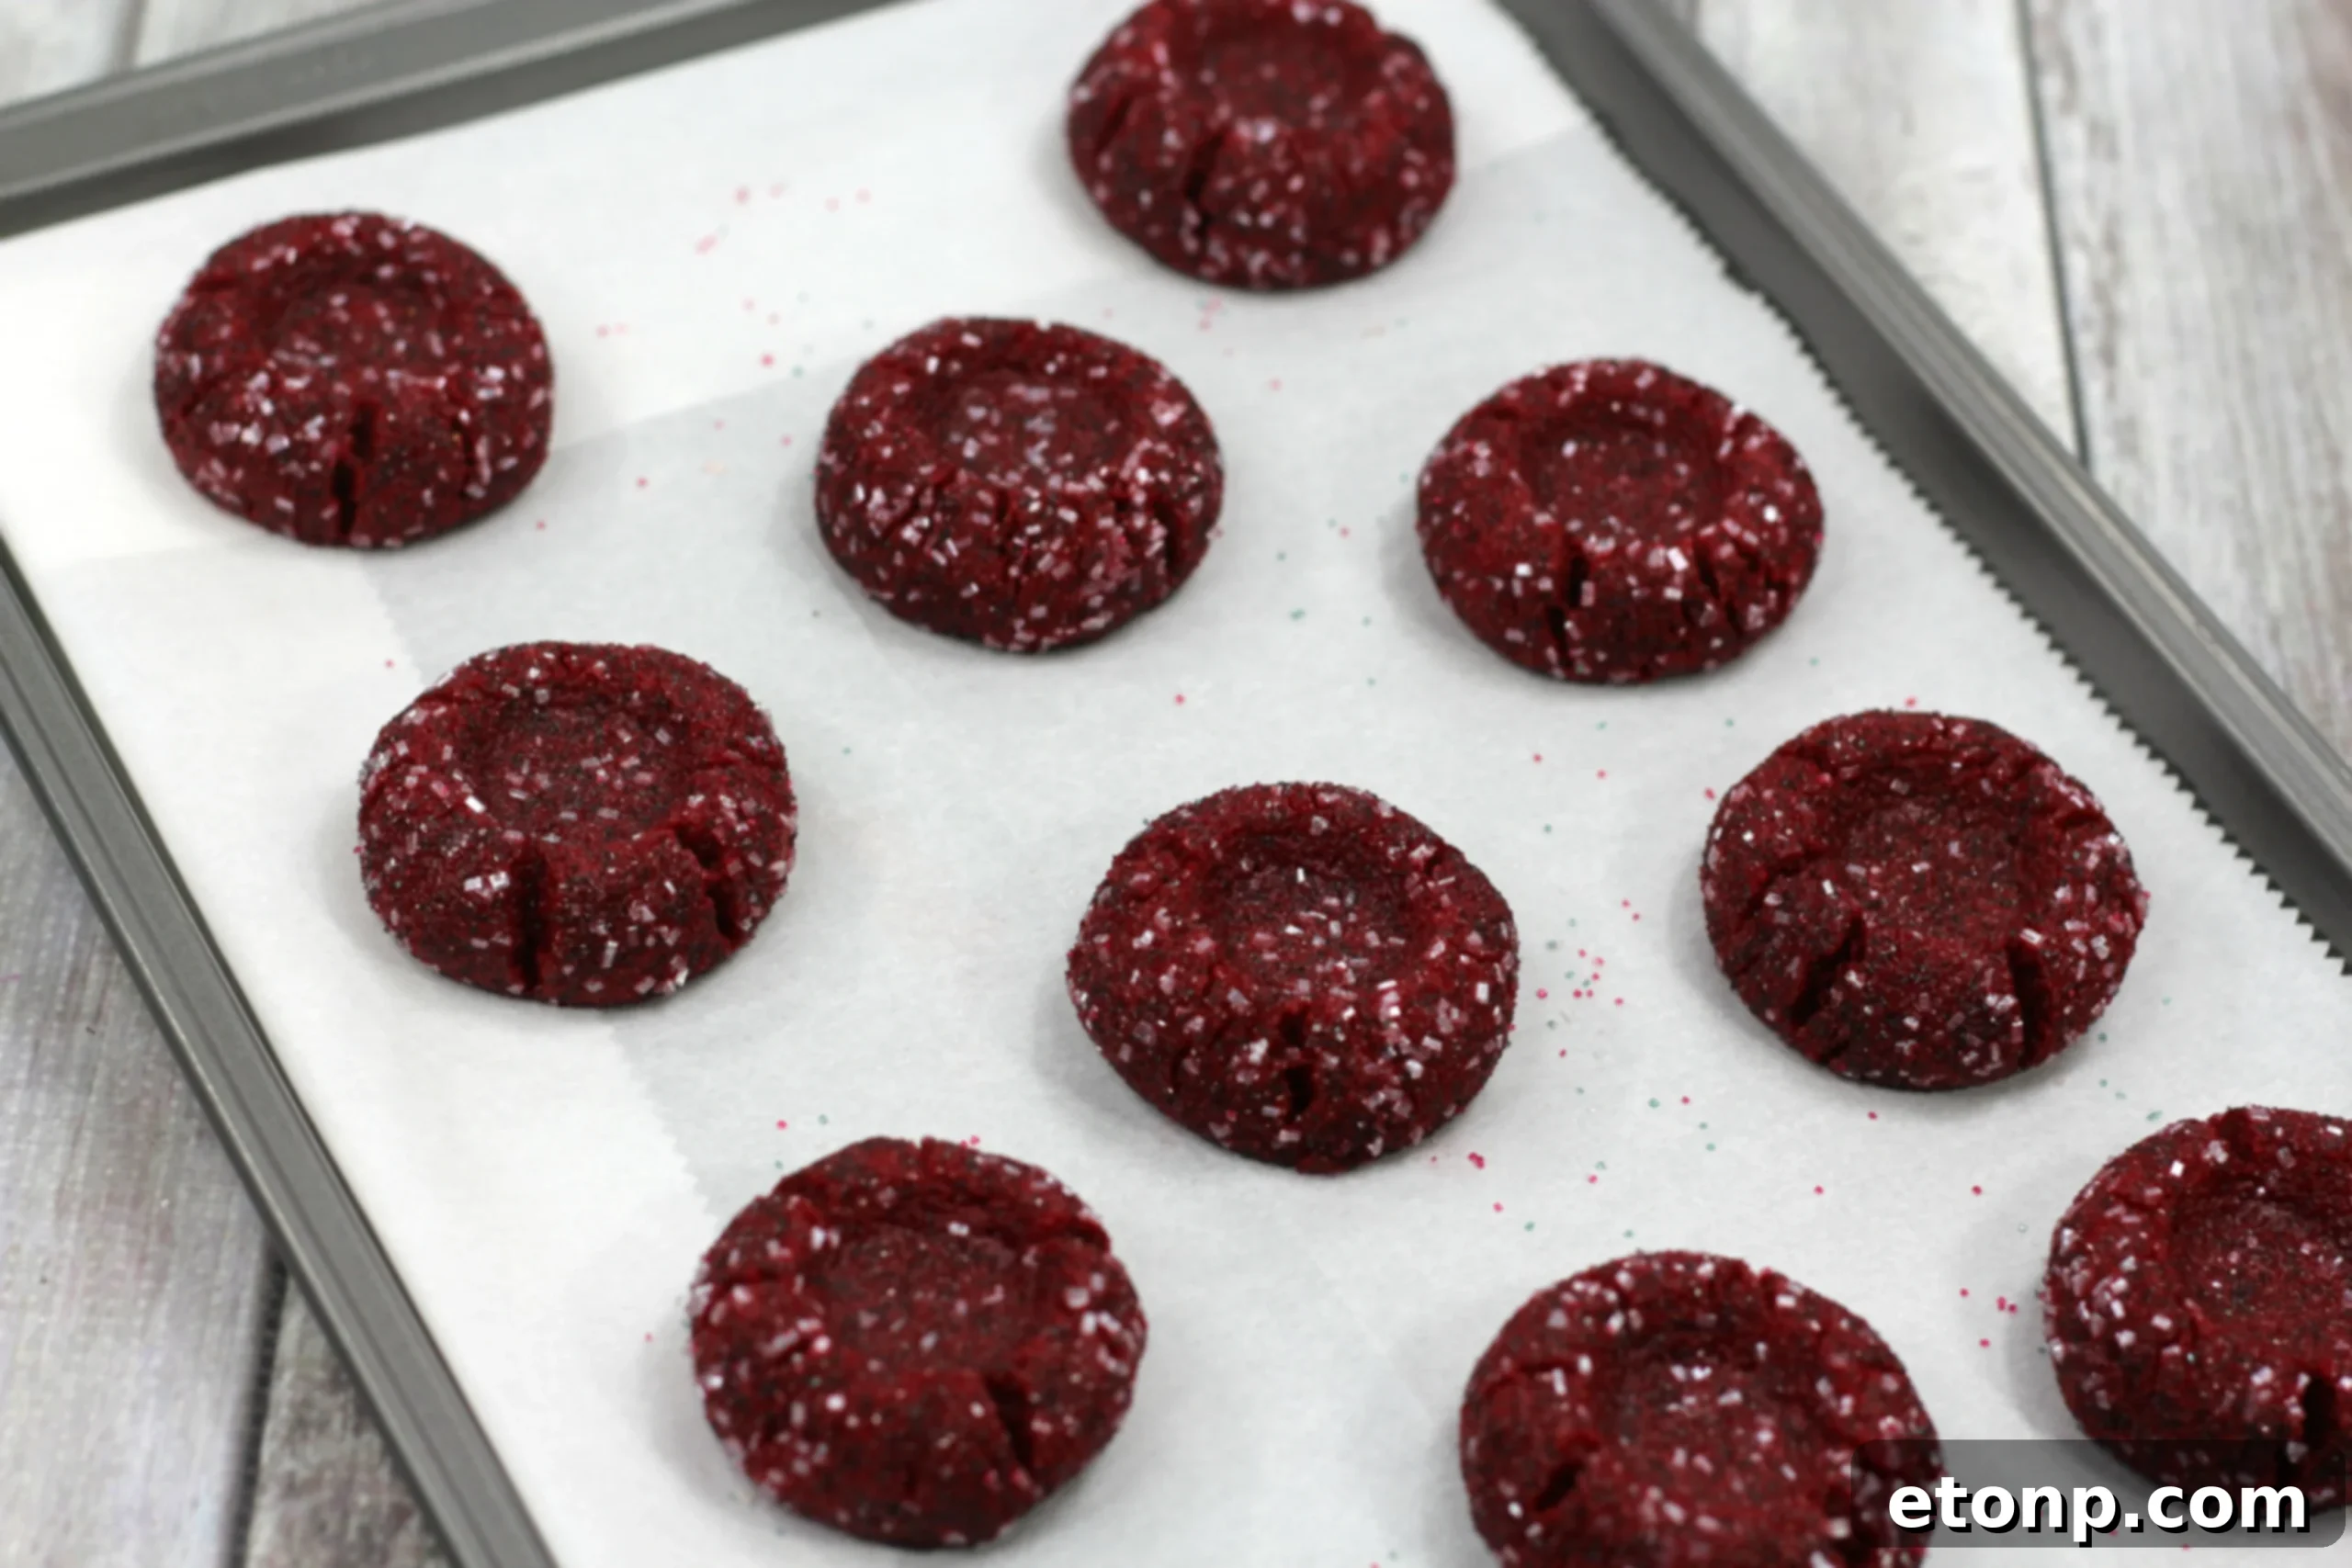
- **Even Indentations:** When making the indentations, a rounded teaspoon works perfectly. Be gentle but firm enough to create a distinct well for the filling. Do this while the cookies are still warm and pliable after their initial bake.
- **Cooling is Key:** Allow the cookies to cool completely on the baking sheet before transferring or enjoying them. This gives the cream cheese filling time to set properly and prevents any crumbling.
- **Storage:** Store these cookies in an airtight container at room temperature for up to 3 days, or in the refrigerator for up to a week.
Variations and Serving Suggestions
While these cookies are perfect as is, feel free to get creative! You could experiment with different extracts, like a hint of almond or orange, in either the cookie dough or the filling. For an extra chocolatey touch, consider adding mini chocolate chips to the cookie dough. Instead of holiday sanding sugar, you could roll them in regular granulated sugar for a subtle sparkle, or even red velvet crumbs for an intensified flavor and texture. Serve these cookies as a delightful after-dinner dessert, a charming addition to a brunch spread, or package them beautifully as homemade gifts. Their striking appearance and phenomenal taste make them memorable no matter the occasion.
These gorgeous red cookies are the epitome of indulgence, offering the perfect consistency of soft yet chewy, and totally packed with incredible red velvet flavor complemented by a rich, creamy cheesecake center. They are more than just a cookie; they’re an experience, a little piece of dessert heaven that will leave everyone craving more.
Please remember to SHARE on Facebook and PIN IT!
FOLLOW ME ONPINTERESTBY CLICKING HERE <——
Red Velvet Cheesecake Cookies Recipe
Ingredients
For the Red Velvet Cookies:
- 1 C Unsalted Sweet cream butter, softened
- 1/2 C light brown sugar
- 1 egg yolk
- 1 tsp pure vanilla extract
- 2 C all-purpose flour
- 4 tsp red-red food coloring
- 2 tsp cocoa powder
- 1/2 C holiday sanding sugar (for rolling)
For the Cream Cheese Filling:
- 4 ounces cream cheese, softened
- 1 egg yolk
- 1/4 C granulated sugar
- 1/8 tsp kosher salt
- 1/4 tsp pure vanilla extract
Instructions
- Preheat your oven to 300°F (150°C). Line a large cookie sheet with parchment paper.
- In the bowl of a standing mixer (or using an electric hand mixer), beat together the softened butter, light brown sugar, egg yolk, and 1 teaspoon of vanilla extract until the mixture is light and fluffy.
- Gradually mix in the flour, red food coloring, and cocoa powder. Continue mixing on low speed until a soft, cohesive dough forms. Do not overmix.
- Pour the holiday sanding sugar into a shallow bowl.
- Using a small ice cream scoop (about 1.5 tablespoons), scoop portions of the dough into your hands. Roll each portion into a smooth ball.
- Roll each dough ball generously in the sanding sugar until evenly coated. Place the sugared dough balls onto the prepared cookie sheet, spacing them a couple of inches apart.
- Repeat this process to form about 12-14 cookies, depending on the size.
- Bake the cookies for 10 minutes in the preheated oven.
- While the cookies are baking, prepare the cream cheese filling: In a clean bowl, using an electric mixer, beat together the softened cream cheese, 1 egg yolk, 1/4 cup sugar, kosher salt, and 1/4 teaspoon vanilla extract until the mixture is completely smooth and creamy.
- After the initial 10 minutes of baking, remove the cookie sheet from the oven. Using the back of a round teaspoon, gently create an indentation in the center of each warm cookie.
- Spoon approximately one teaspoon of the prepared cheesecake filling into each indentation.
- Return the cookies to the oven and bake for an additional 12 minutes, or until the cream cheese filling is set and the edges of the cookies are lightly golden.
- Once baked, let the cookies cool completely on the baking sheet before enjoying them. This allows the filling to fully set and the cookies to achieve their perfect texture.
Did you make this incredible recipe?
We’d love to see your creations! Share your photos on social media and tag us. And make sure to follow us on Pinterest for more delightful recipes!
Print Recipe
Share on Facebook