
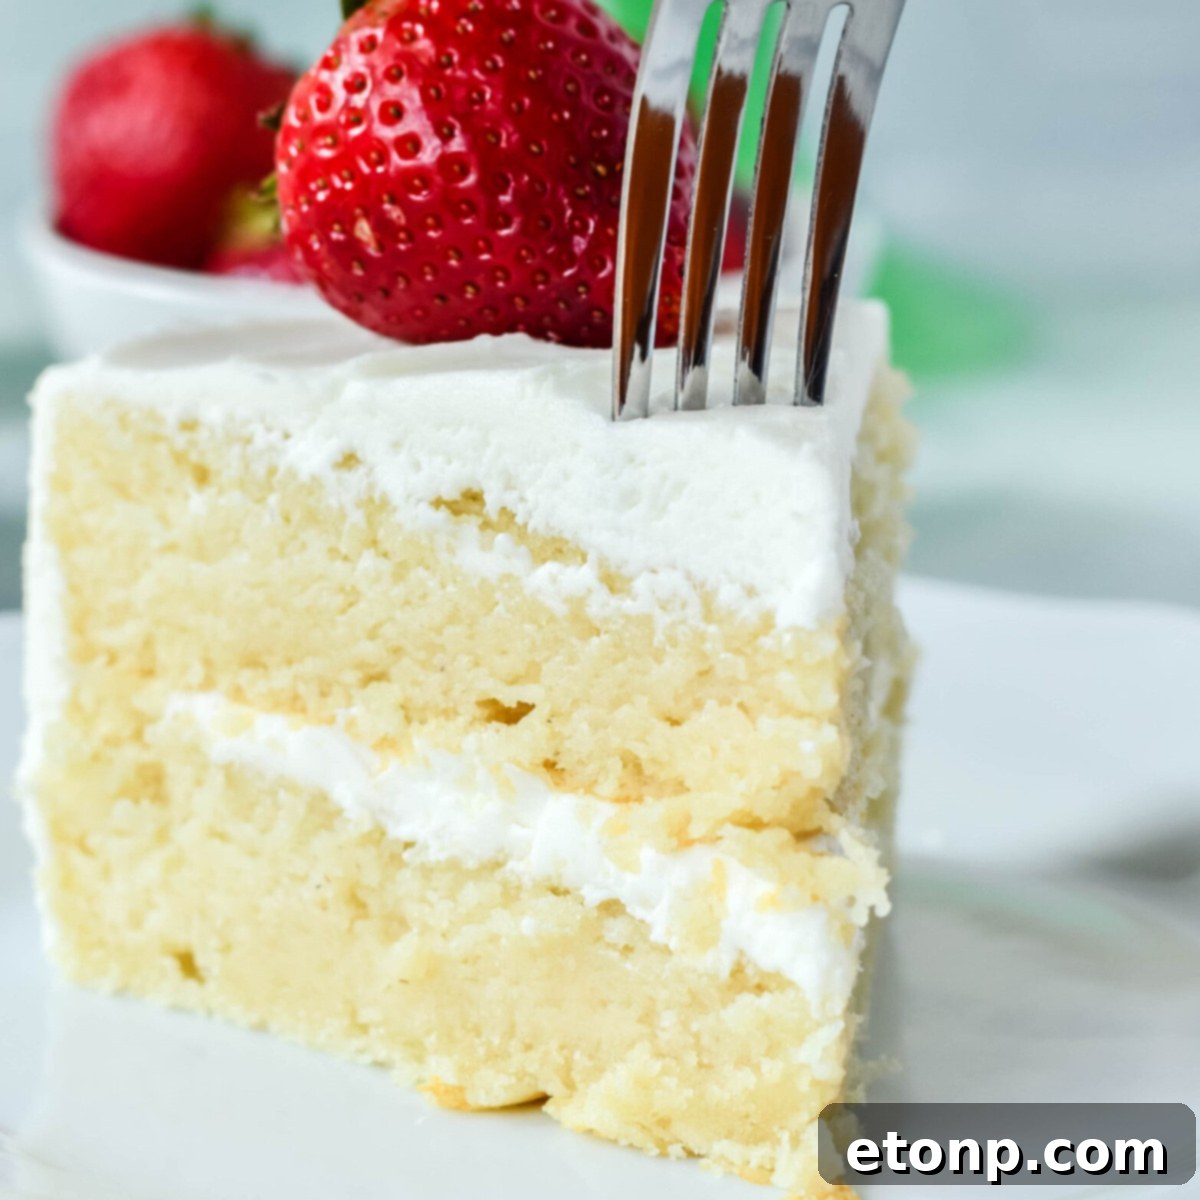
Are you searching for that elusive cake recipe that consistently delivers both incredible moistness and irresistible flavor? Your quest ends here with our fabulous **Classic Vanilla Cake recipe!** Forget store-bought options; this homemade delight tastes infinitely better, promising a bakery-quality experience right in your kitchen.
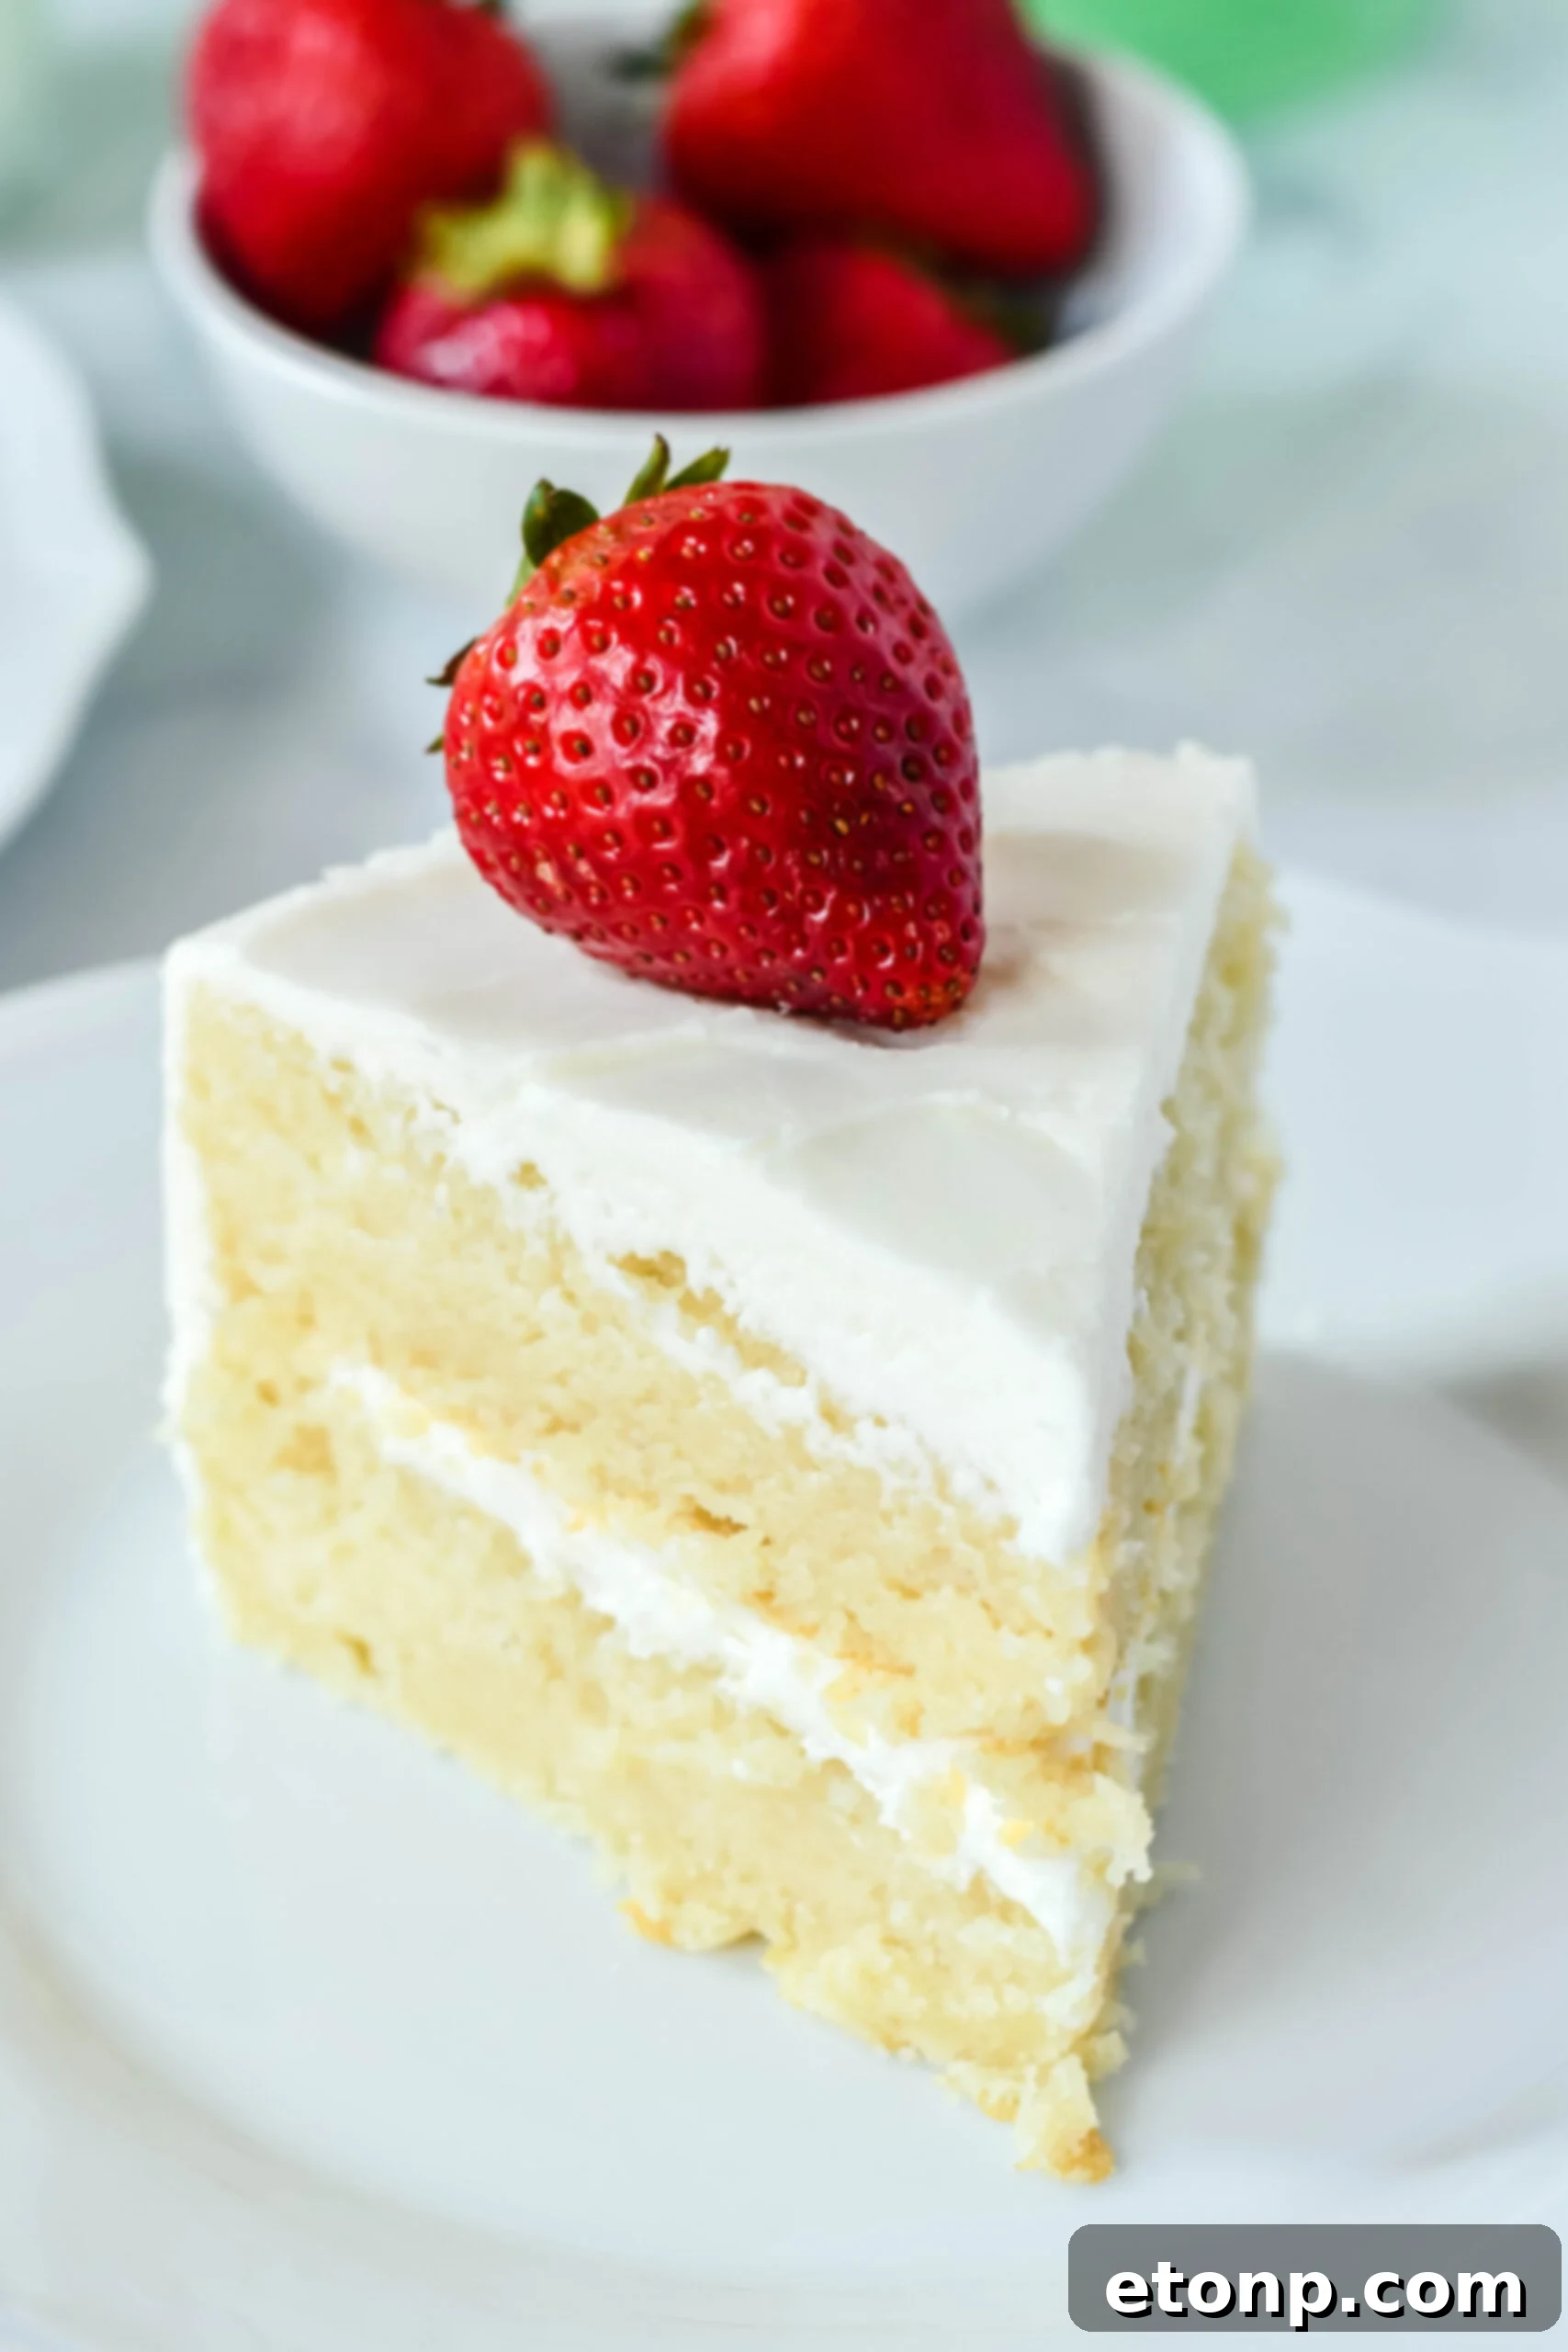
Crafting a Classic Vanilla Cake from scratch might sound daunting, but with our straightforward recipe and simple, readily available ingredients, you’ll achieve a spectacular result. Each bite of this moist, tender, and intensely flavorful cake will truly melt in your mouth, leaving a lingering sweetness that satisfies every craving.
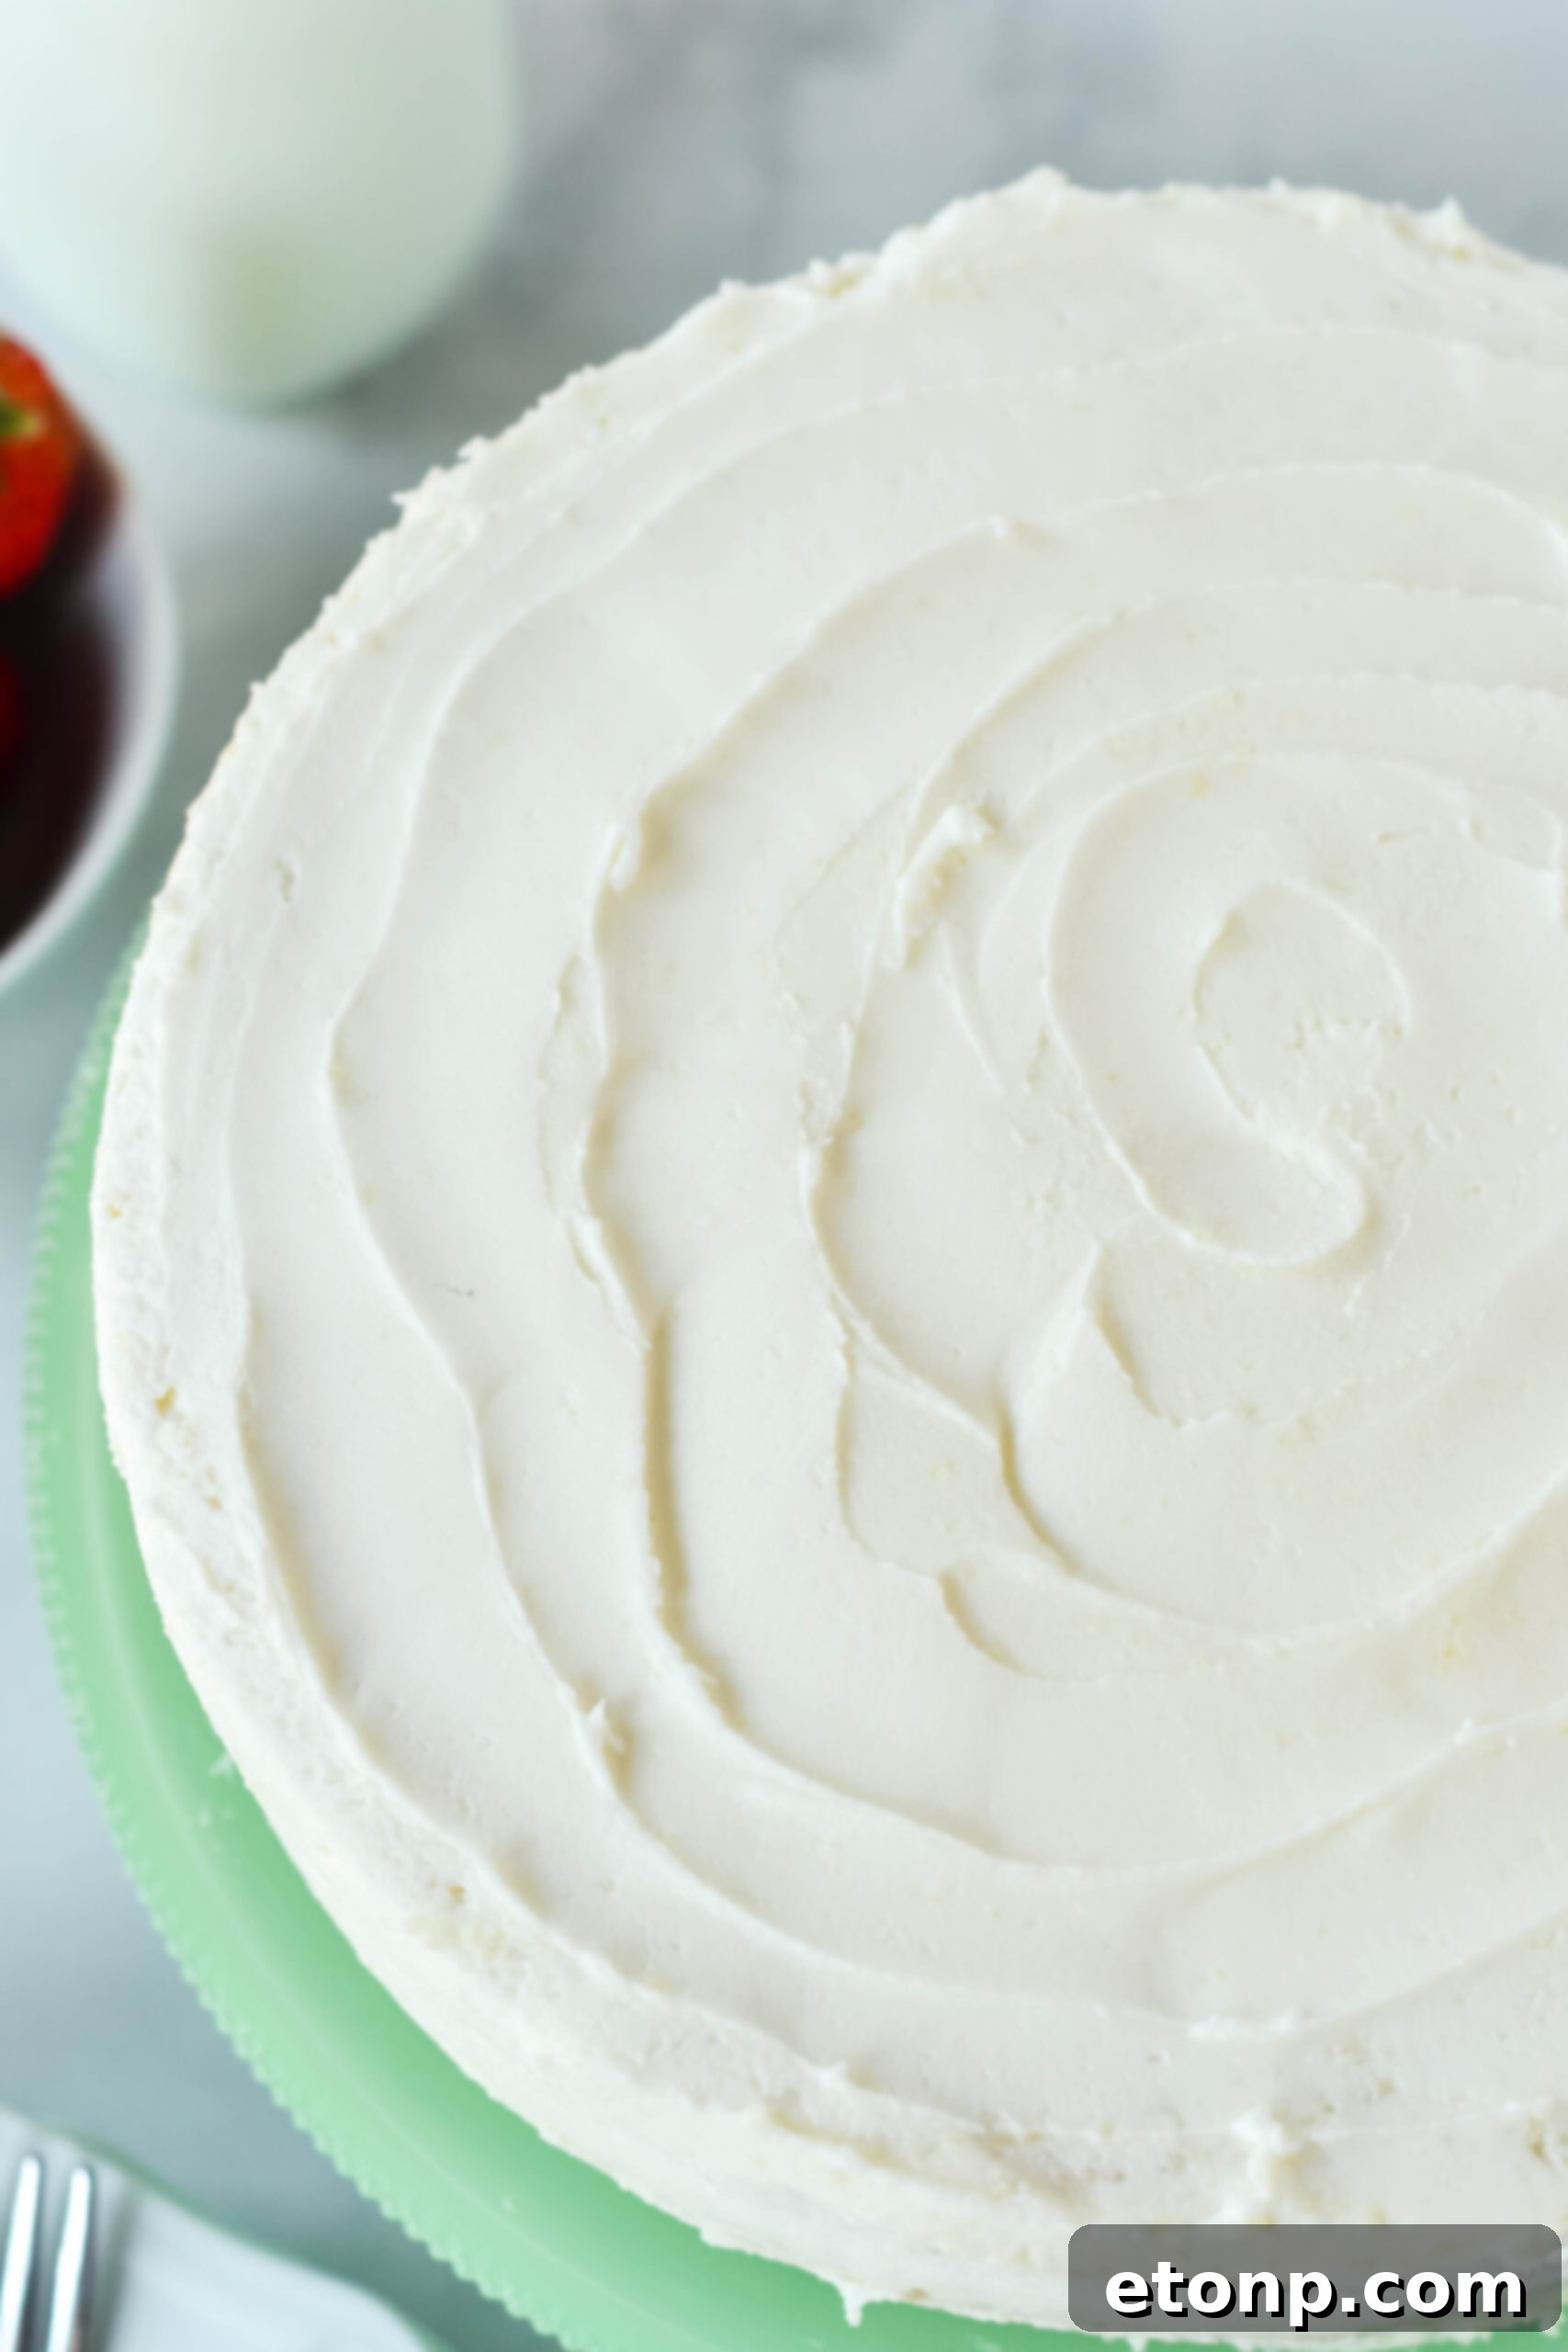
The Ultimate Classic Vanilla Cake Recipe
If you’ve been on the hunt for a versatile cake recipe that will delight everyone, from the pickiest eaters to the most seasoned dessert connoisseurs, this **Classic Vanilla Cake recipe** is an exceptional choice. Despite its simple nature, it’s bursting with rich vanilla flavor and pairs incredibly with its accompanying homemade vanilla buttercream frosting. The next time you’re inspired to bake a sweet treat for friends, family, or even just for yourself, make this your go-to recipe. Its ease of preparation combined with its undeniably delicious outcome makes it a true winner!
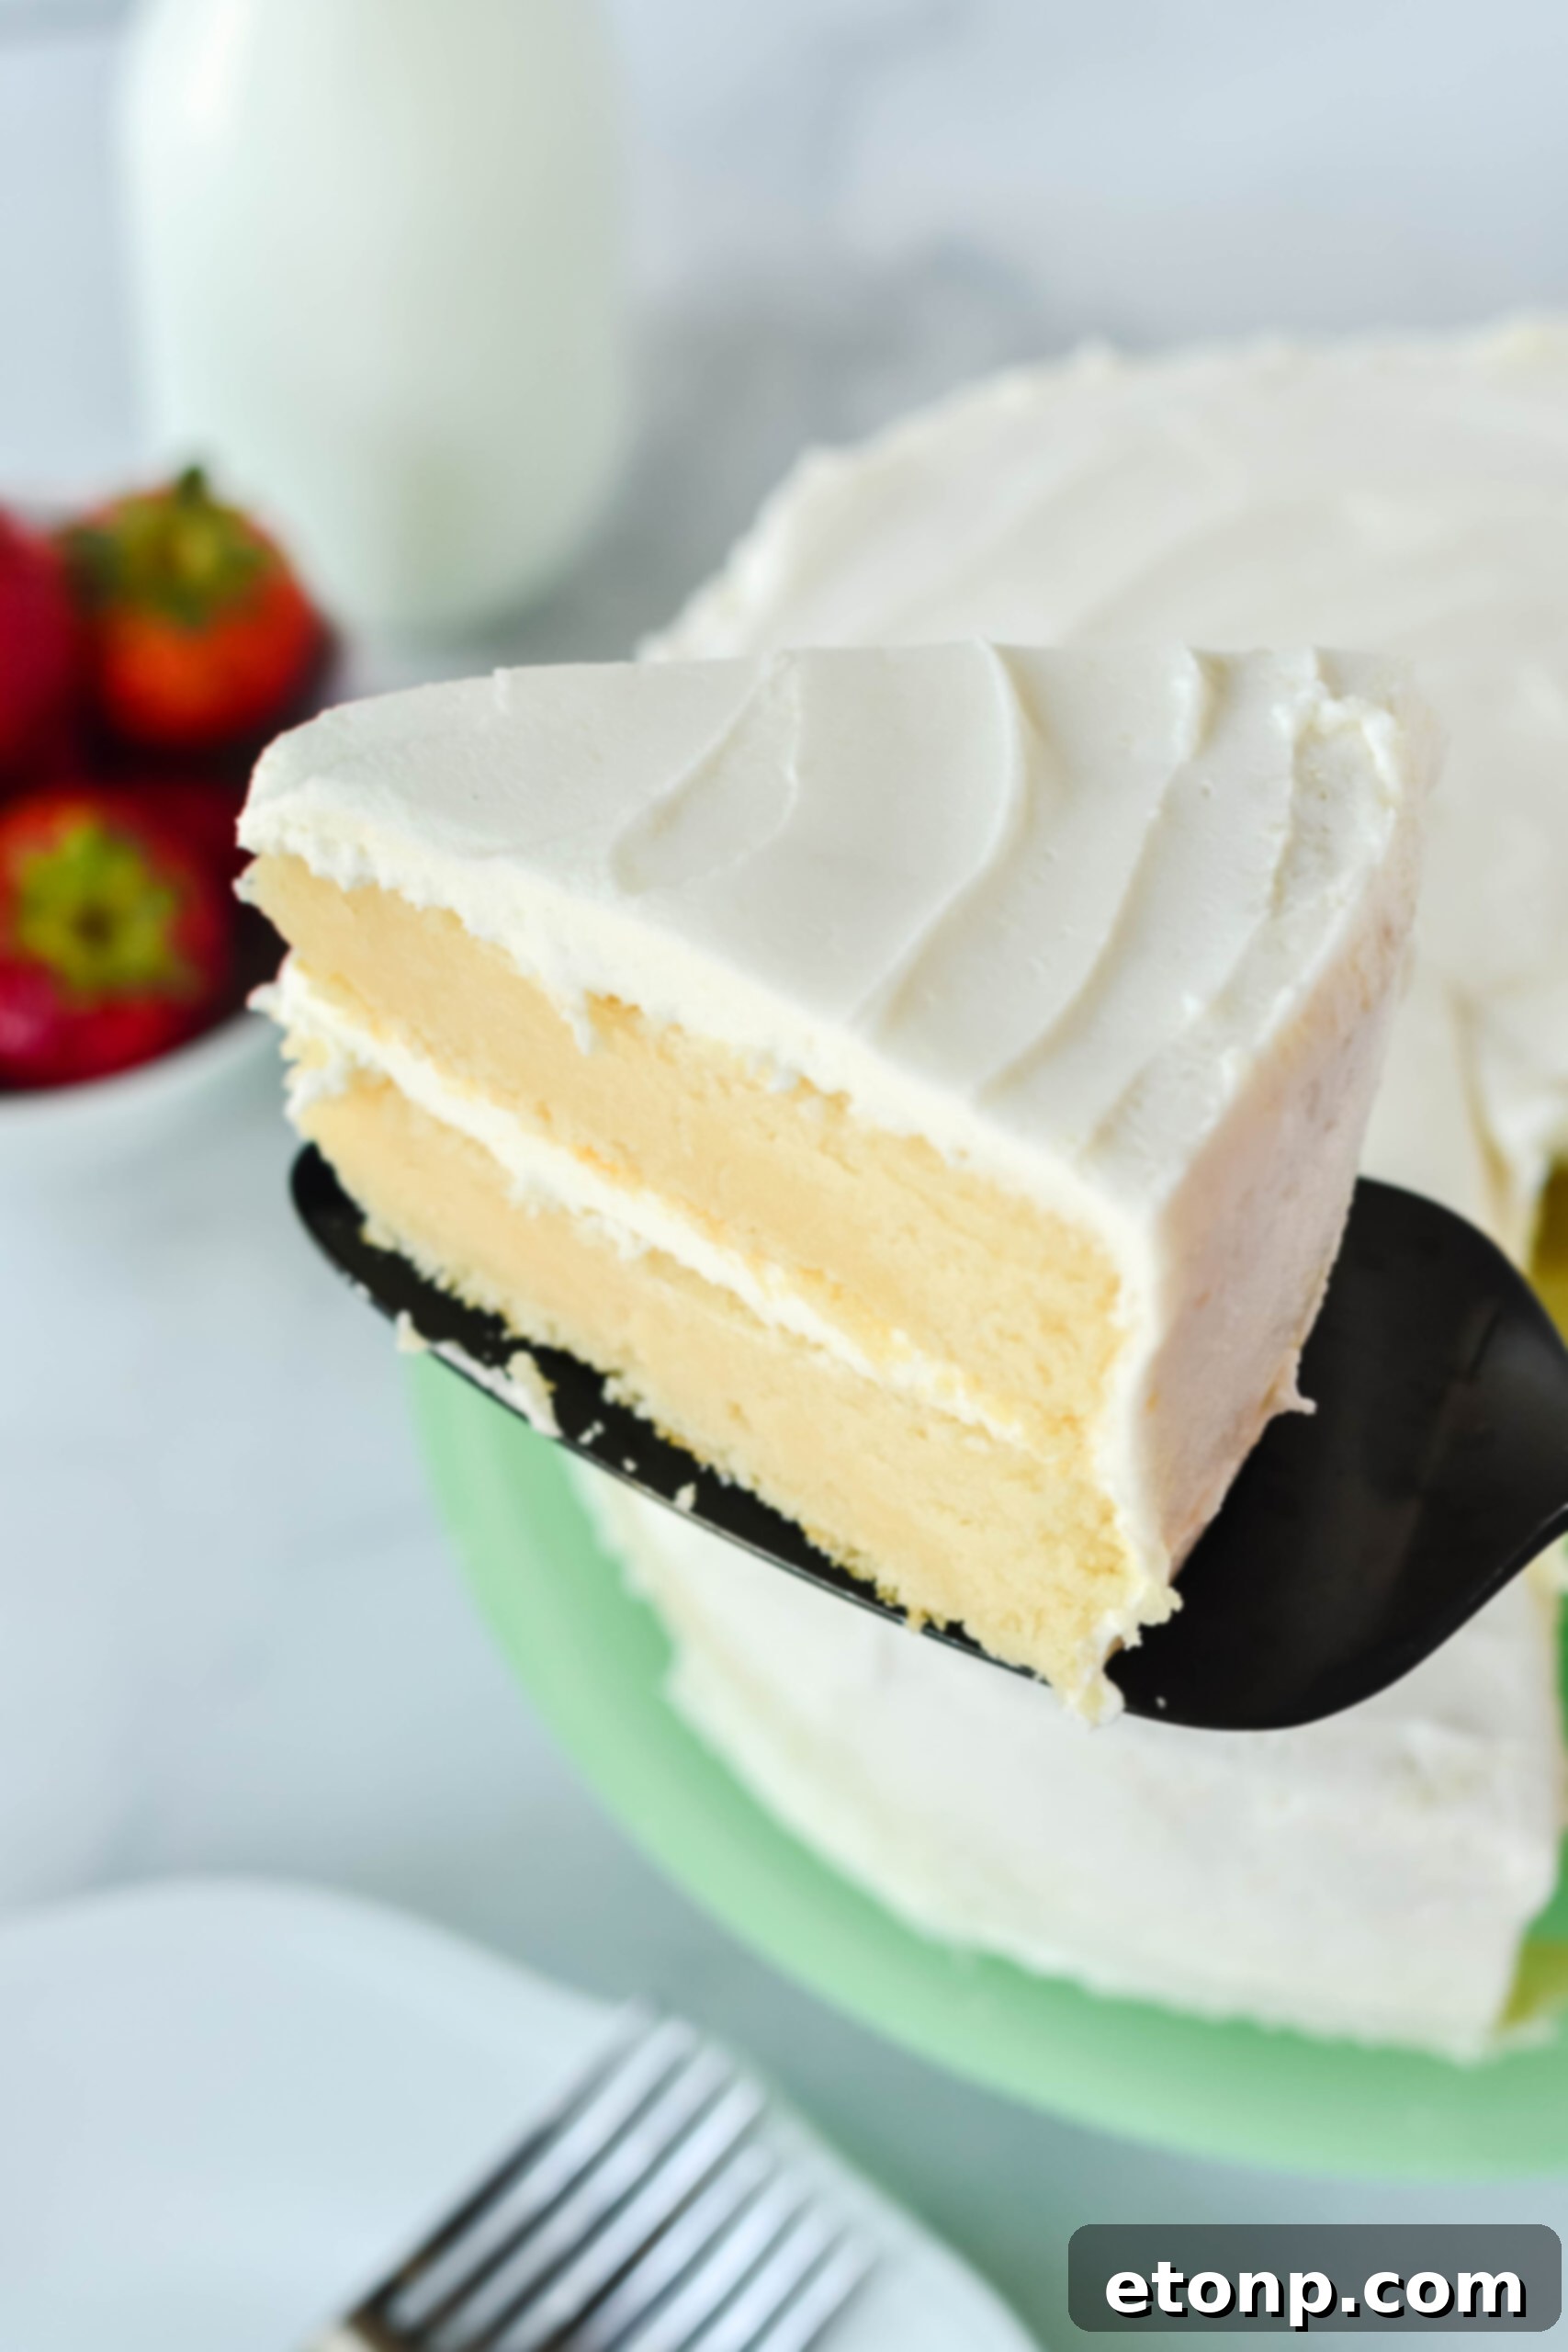
Why You’ll Fall in Love with This Vanilla Cake Recipe
This isn’t just another cake recipe; it’s an experience waiting to unfold in your kitchen. Here’s why this Classic Vanilla Cake will quickly become a cherished favorite:
- **Simple, Accessible Ingredients:** You won’t need a trip to a specialty store for exotic items. Most, if not all, of the ingredients required for this delicious dessert are likely already stocked in your pantry and fridge, especially if you enjoy baking regularly. This makes spur-of-the-moment baking a breeze!
- **Unrivaled Taste & Texture:** This isn’t your average vanilla cake. It’s crafted to deliver an exceptionally moist crumb and a wonderfully light, fluffy texture that simply melts in your mouth. This homemade Classic Vanilla Cake stands head and shoulders above any boxed cake mix you could ever find, offering a depth of flavor and freshness that only comes from baking from scratch.
- **Effortless Customization:** While perfect as is, this recipe is a fantastic canvas for your creativity. Easily customize it by pairing it with different types of homemade frostings – think chocolate ganache, strawberry buttercream, or a zesty lemon curd. You can also add your favorite toppings, from fresh berries and chocolate shavings to sprinkles or toasted nuts, personalizing it for any occasion.
- **Versatility for Any Occasion:** Whether it’s a birthday celebration, a holiday gathering, a potluck, or just a simple weekend treat, this vanilla cake fits perfectly. Its classic appeal makes it suitable for formal events, while its comforting flavor makes it ideal for everyday indulgence.
- **Beginner-Friendly Baking:** Our detailed instructions guide you through each step, making this recipe approachable even for novice bakers. You’ll gain confidence in the kitchen as you create a show-stopping cake that tastes like it came from a professional bakery.
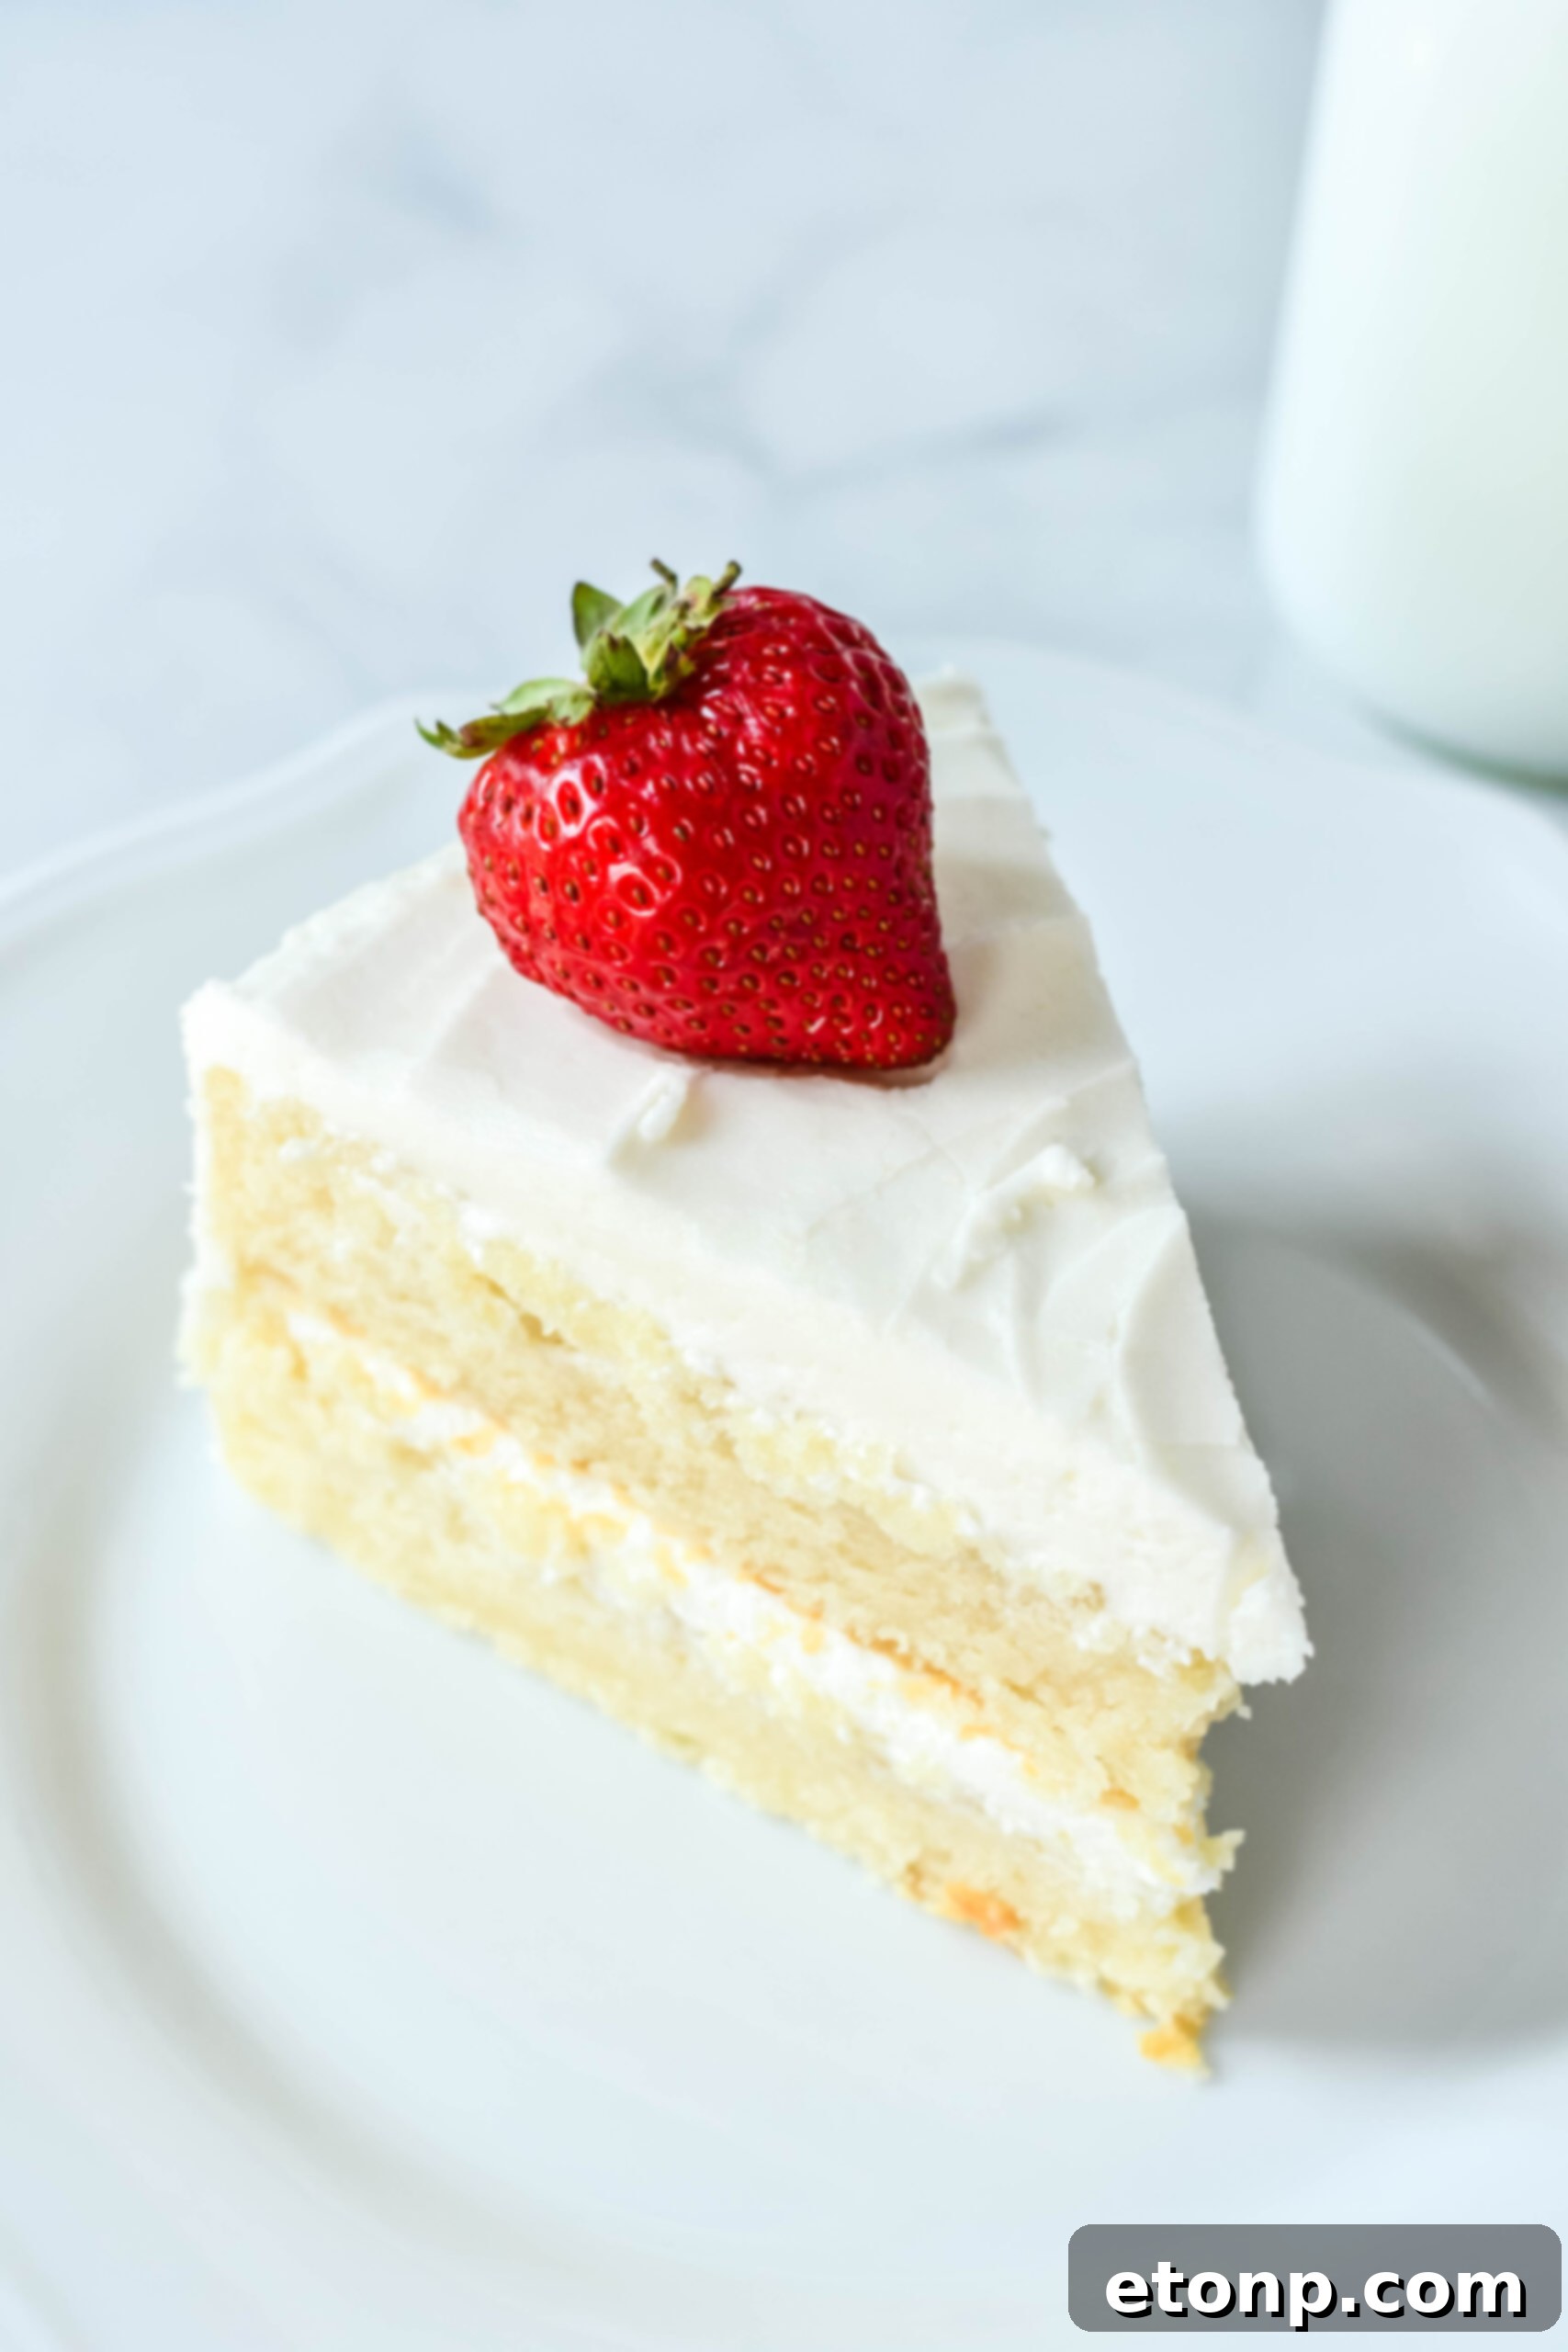
The Essential Ingredients for Your Vanilla Masterpiece
To prepare this exquisite cake from scratch, gather the following key ingredients. Understanding the role each component plays is essential to achieving baking perfection:
- All-Purpose Flour: This forms the foundational structure of your cake. For an even lighter crumb, some bakers prefer to use cake flour, which has a lower protein content. Sifting your flour can also help create a more tender cake.
- Baking Powder: Our primary leavening agent, baking powder ensures your cake rises beautifully, resulting in that desirable fluffy and airy texture. Always check the expiration date to guarantee its effectiveness!
- Salt: A crucial flavor enhancer, salt balances the sweetness of the sugar and brings out the rich vanilla notes, preventing the cake from tasting bland.
- Milk: Adds moisture and richness to the batter. Whole milk is generally recommended for its fat content, contributing to a more tender and flavorful cake. Make sure it’s at room temperature for better emulsion with other ingredients.
- Vanilla Extract: The star of the show! High-quality pure vanilla extract is paramount for achieving that authentic, comforting vanilla flavor. Avoid imitation vanilla for the best results.
- Vegetable Oil: Contributes significantly to the cake’s moistness, keeping it tender for days. Unlike butter, oil remains liquid at room temperature, which helps create a softer crumb.
- Unsalted Butter (Softened): Butter provides incredible flavor and helps create a tender, rich crumb. Ensure it’s softened to room temperature so it creams easily with the sugar, incorporating air into the batter for a lighter texture.
- Granulated Sugar: Sweetens the cake and aids in tenderizing the crumb. When creamed with butter, it creates air pockets, which contribute to the cake’s light structure.
- Egg Whites: Using only egg whites results in a lighter, whiter cake with a very tender texture, allowing the vanilla flavor to shine through without the richness of yolks. Ensure they are at room temperature before adding to the batter for better volume.
For the incredibly silky and delicious **homemade vanilla frosting**, you’ll also need additional softened butter, powdered sugar (confectioners’ sugar), a touch more vanilla extract, and either milk or whipping cream to achieve the perfect consistency.
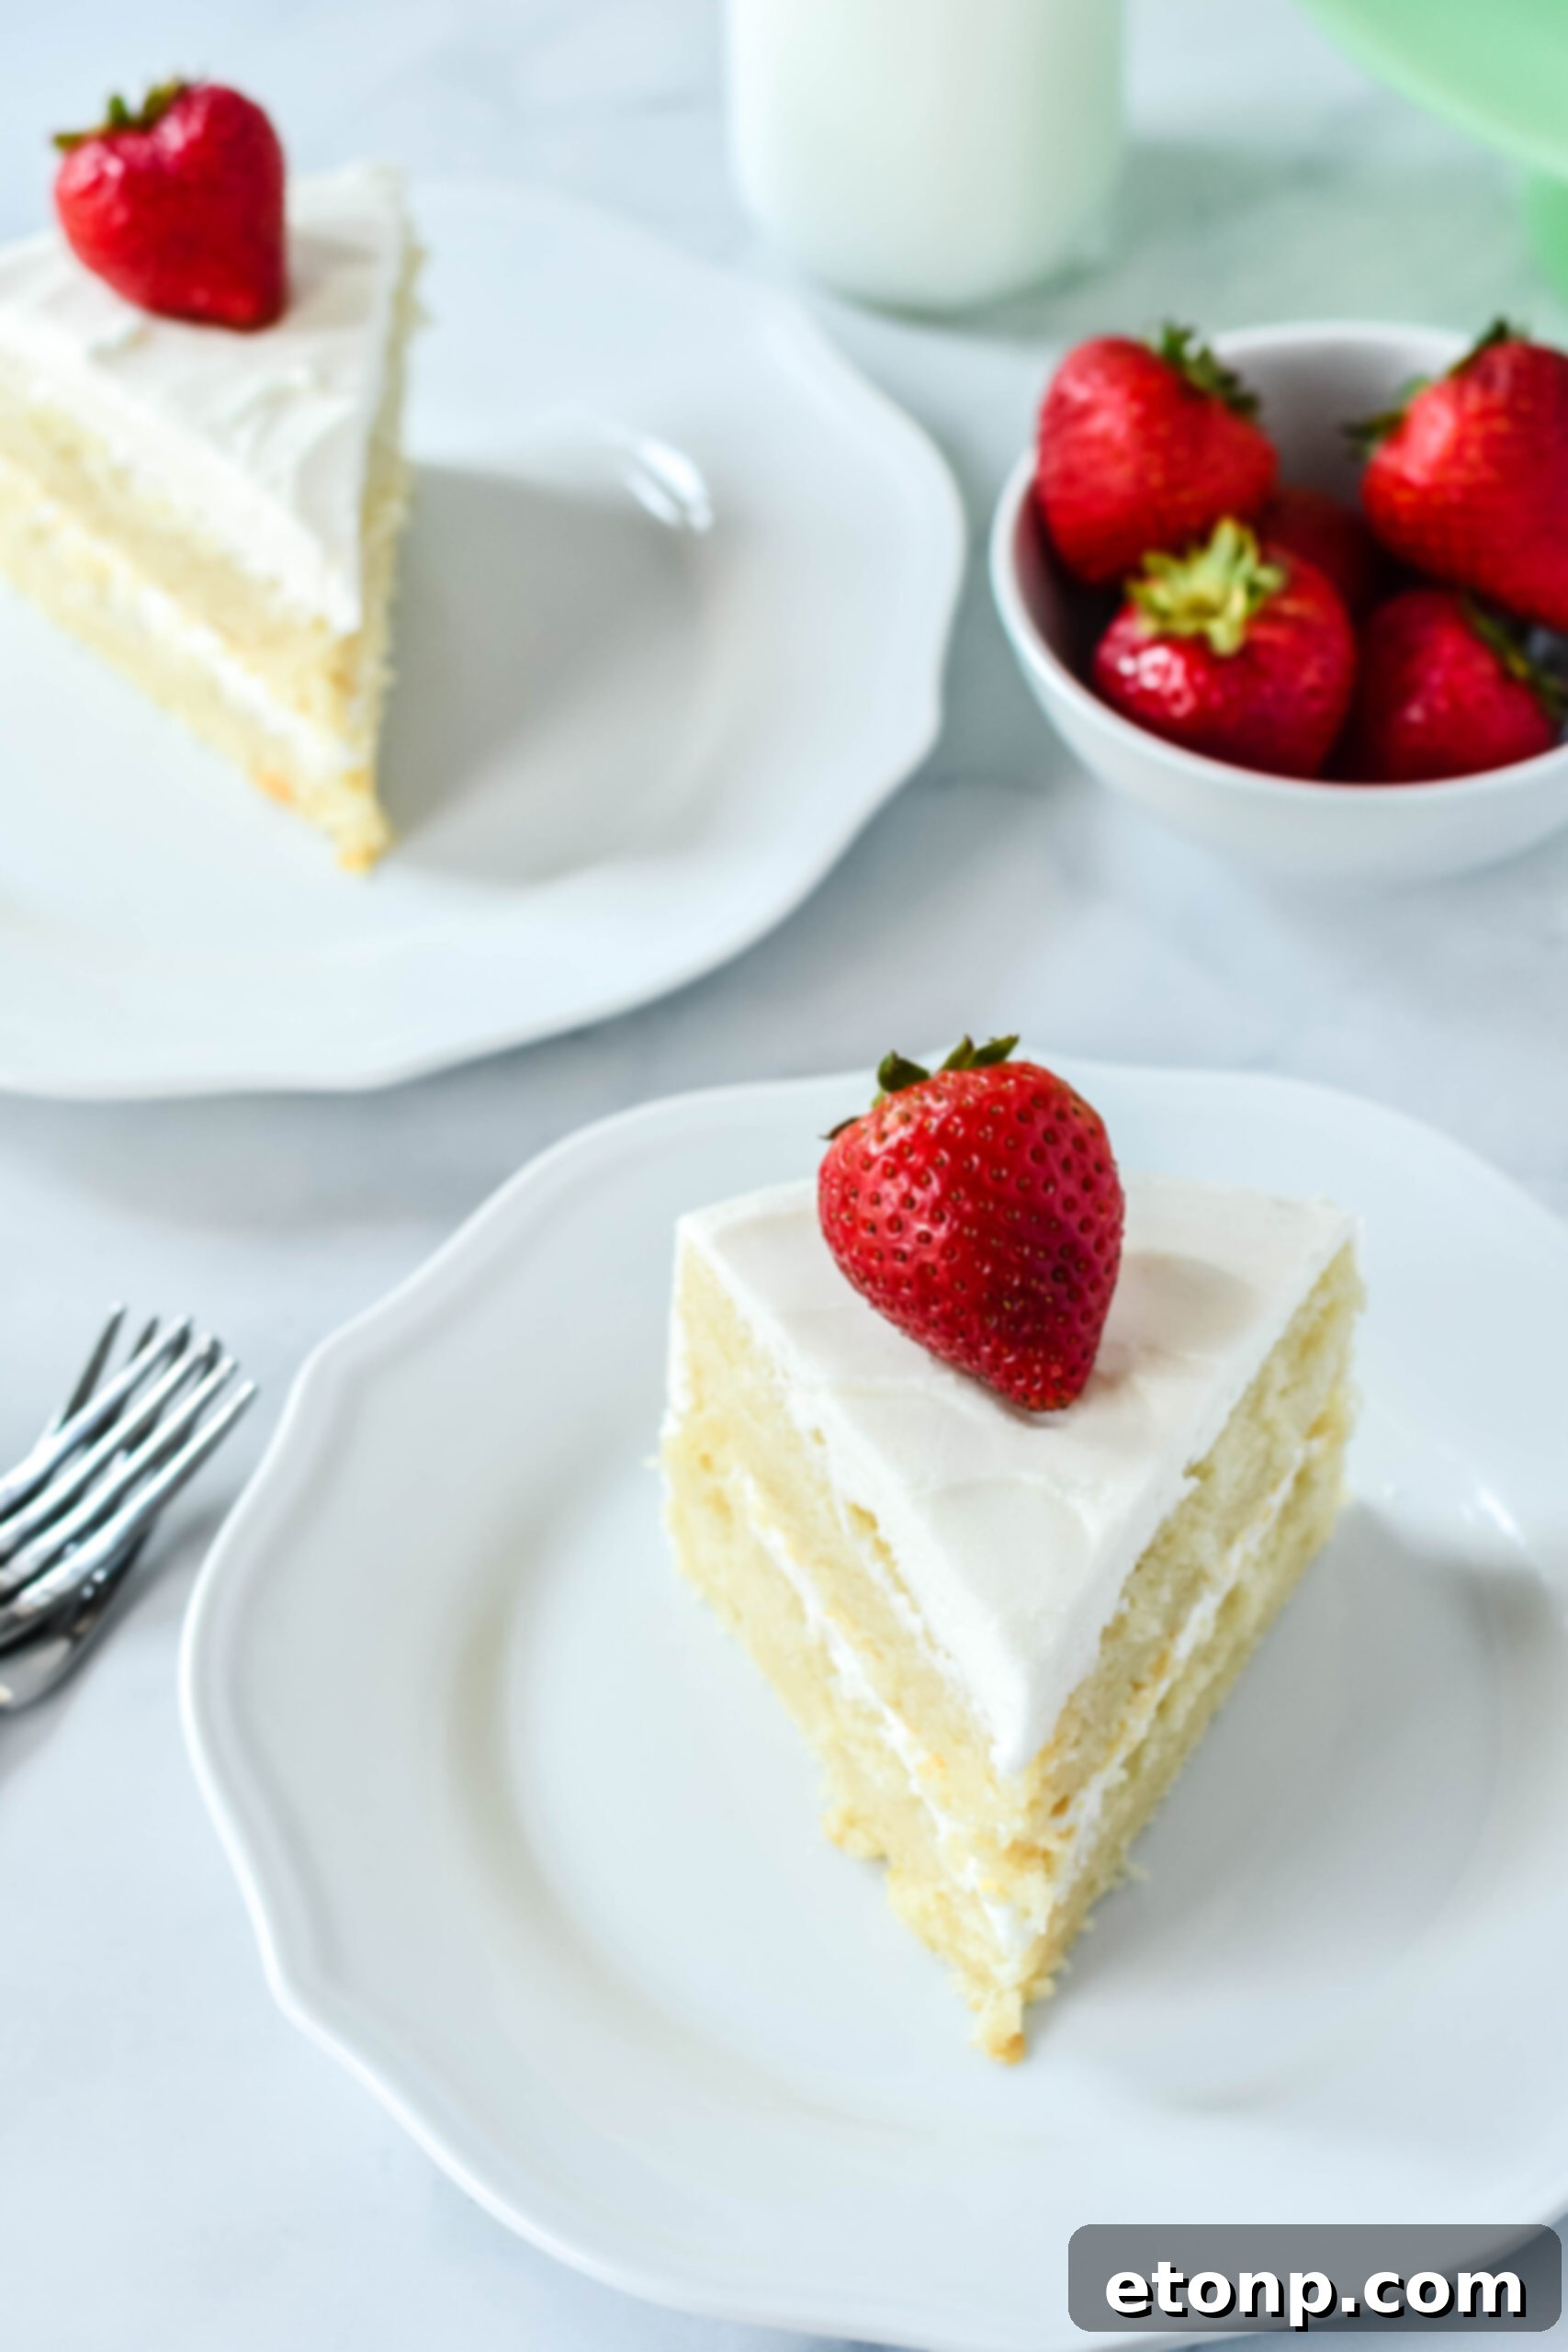
Frequently Asked Questions About This Vanilla Cake
Here are answers to some common questions that arise when baking this delightful Classic Vanilla Cake:
Can I make chocolate frosting instead?
Absolutely! This vanilla cake serves as a fantastic base for a variety of frosting flavors. If you desire a rich chocolate frosting, simply adapt our homemade recipe by incorporating a few tablespoons of unsweetened cocoa powder into the mixture. You’re also welcome to experiment with other delightful frosting flavors such as vibrant strawberry, tangy lemon, or even a sophisticated coffee buttercream.
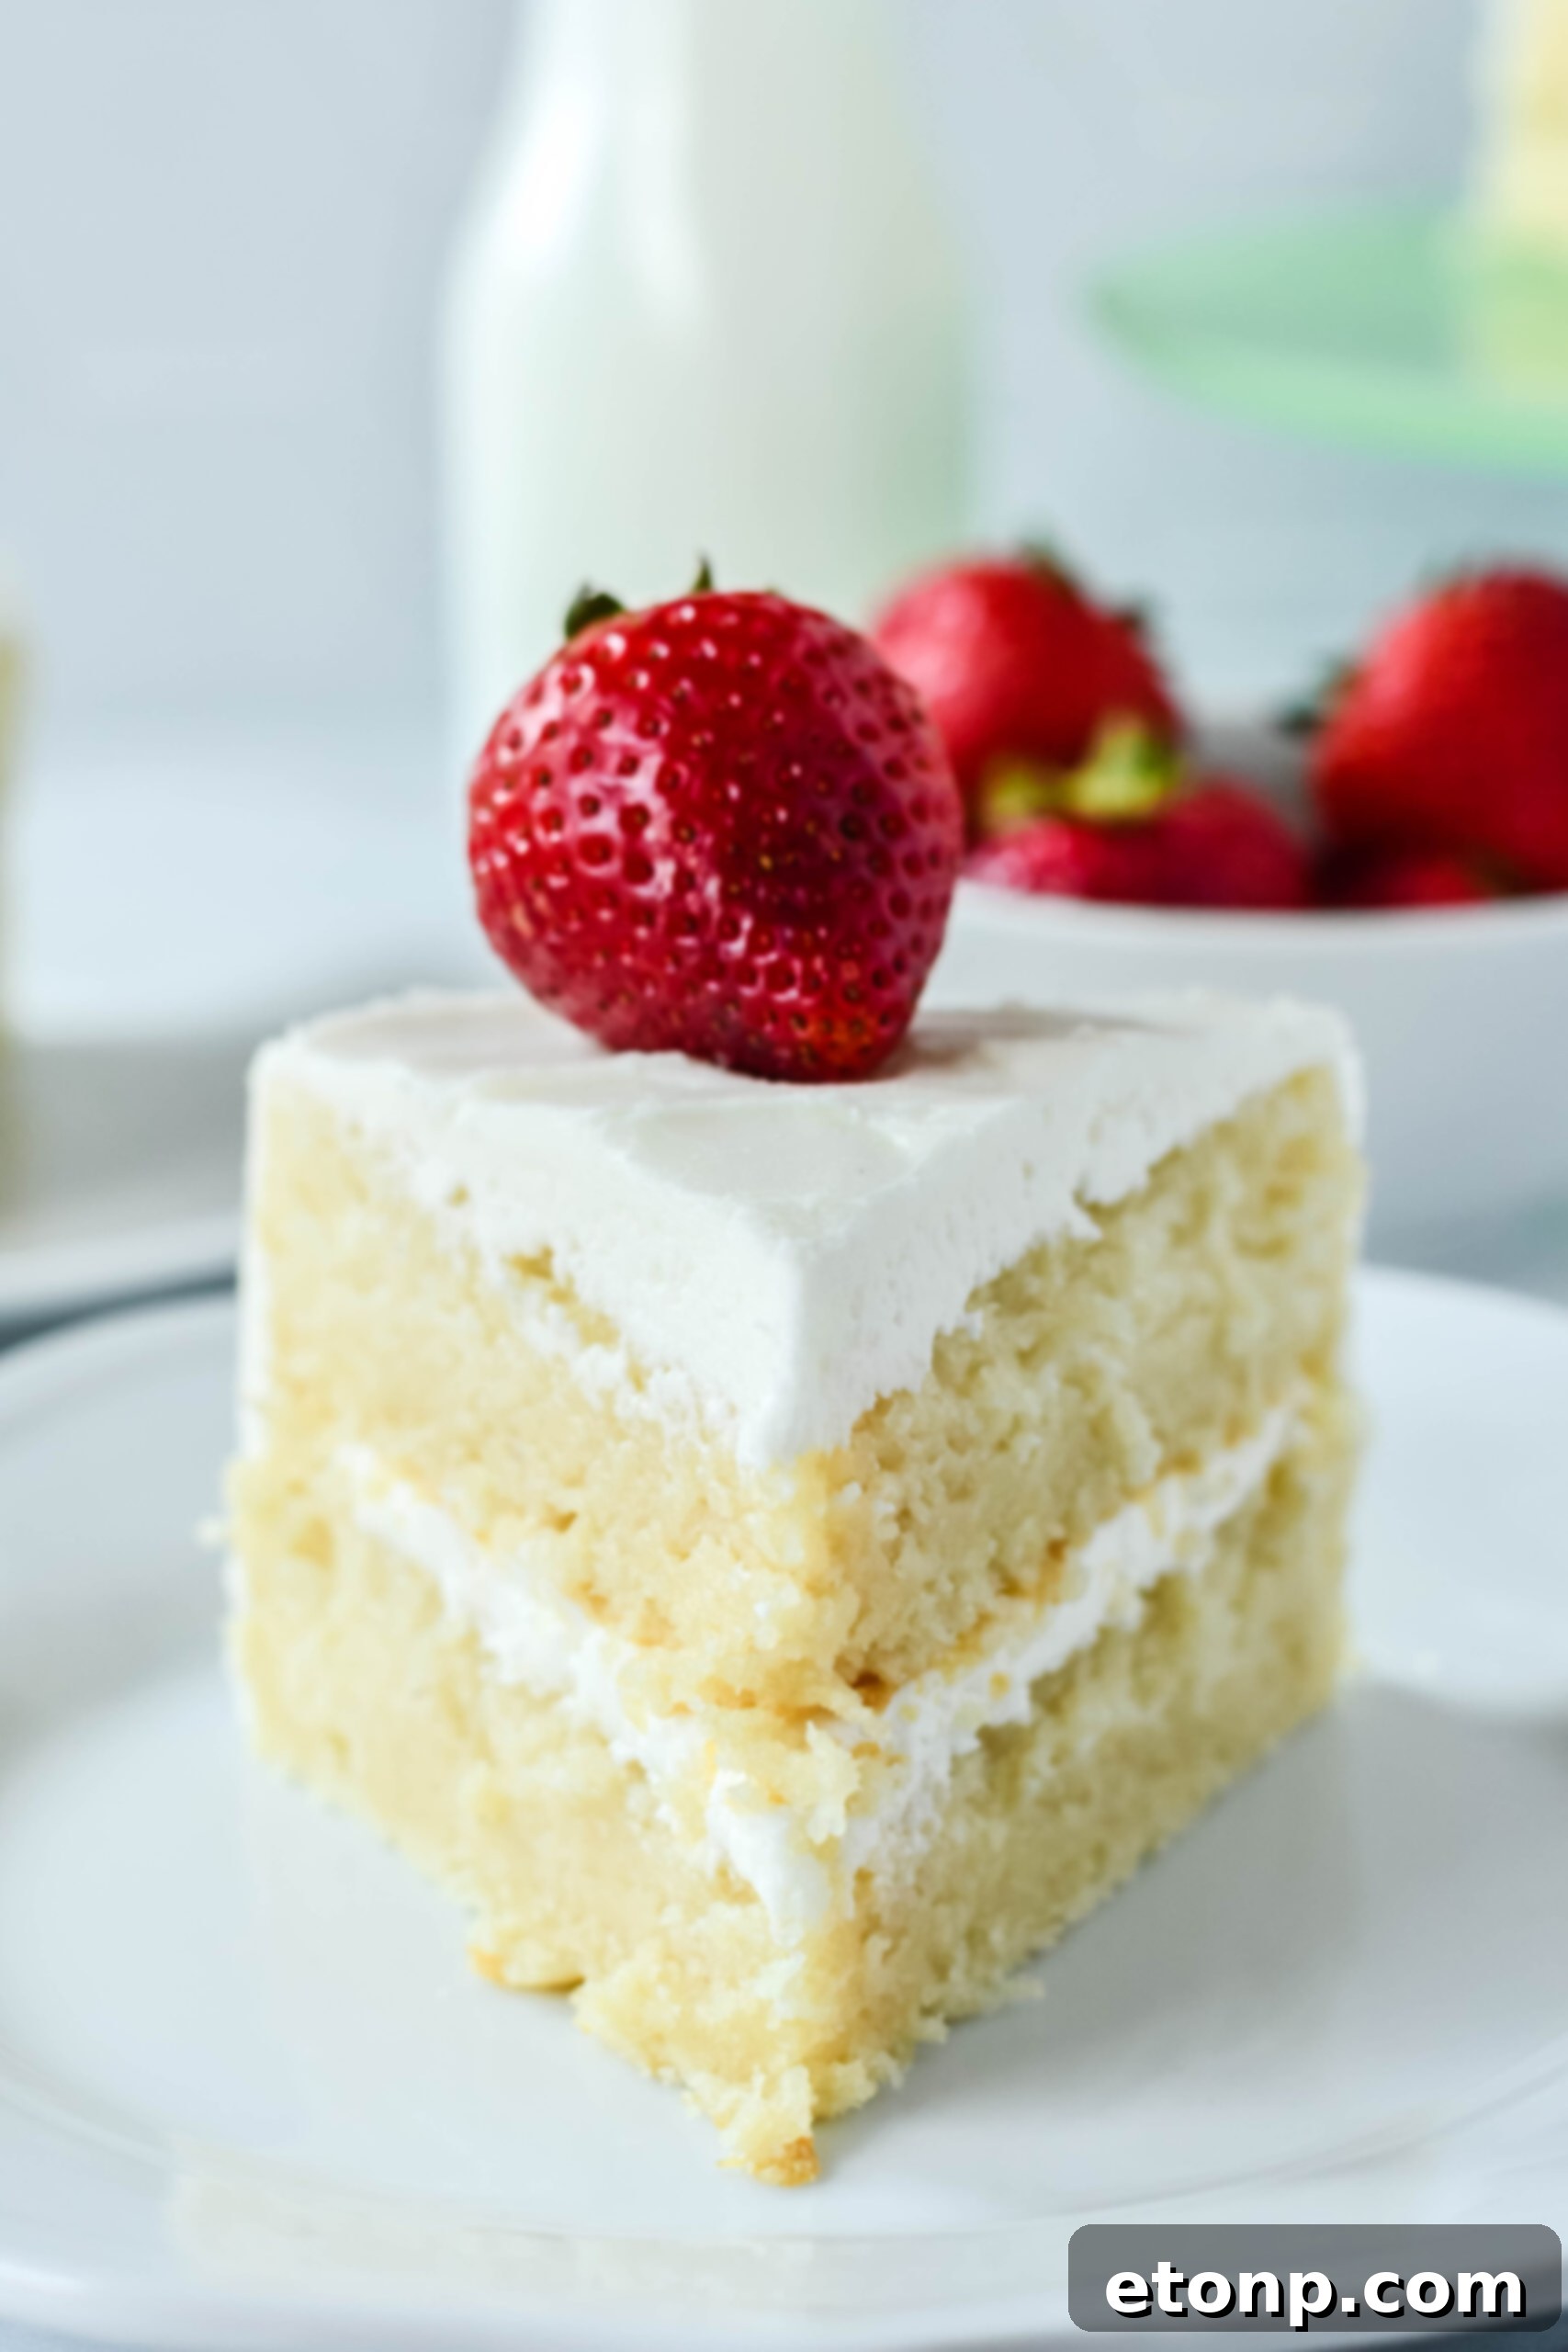
Do I frost the cakes fresh out of the oven?
No, it’s crucial to allow your cake layers to cool completely before you begin frosting them. Attempting to frost a warm cake will result in a melted, runny mess, as the heat will cause the buttercream to liquefy. Let them sit in their pans for about 10-15 minutes immediately after baking, then carefully invert them onto wire racks to finish cooling. This process can take anywhere from 1 to 2 hours, depending on your kitchen’s temperature. Patience here ensures a beautiful, stable frosting application.
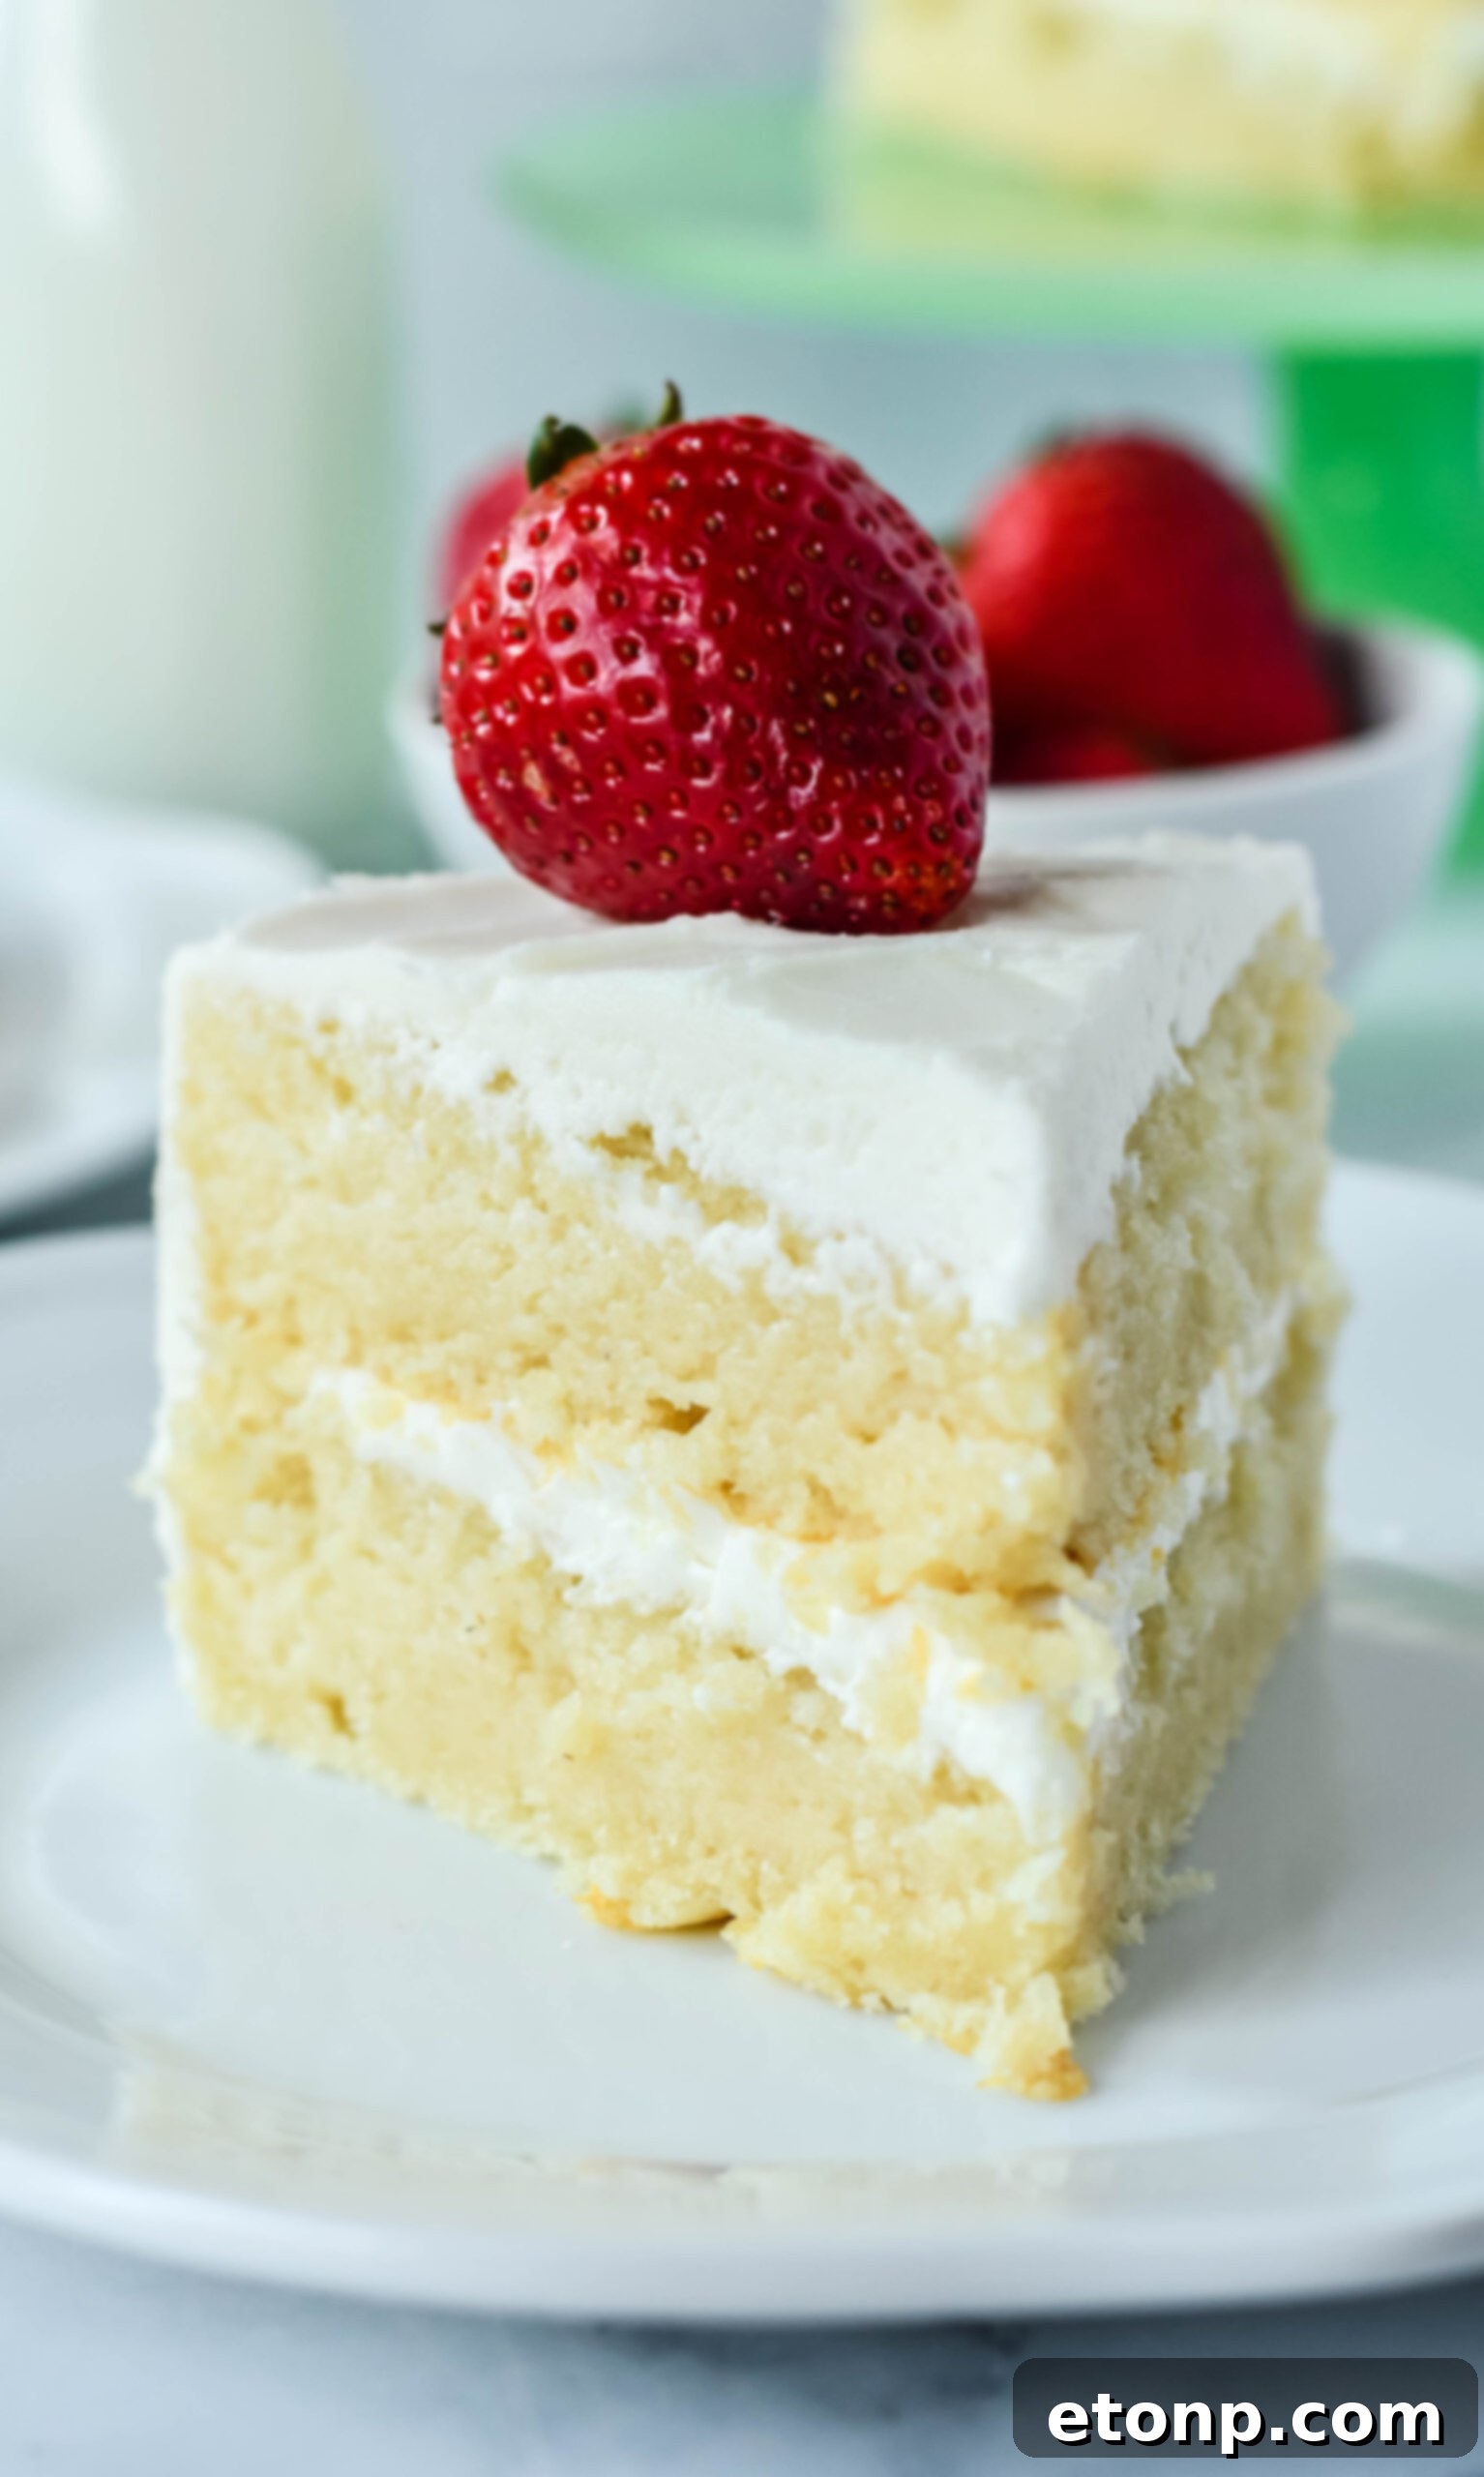
Can I add extra ingredients to this cake batter?
Absolutely! This recipe is wonderfully adaptable for customization. If you’re aiming for a funfetti version, simply fold in about ½ to ¾ cup of colorful sprinkles with your dry ingredients before combining with the wet. For a delightful chocolate chip rendition, toss a handful of your favorite chocolate chip morsels (mini or regular) into the batter just before pouring it into the pans. You could also gently fold in a cup of fresh berries like blueberries or raspberries for a fruity twist, or even some citrus zest for a brighter flavor profile.
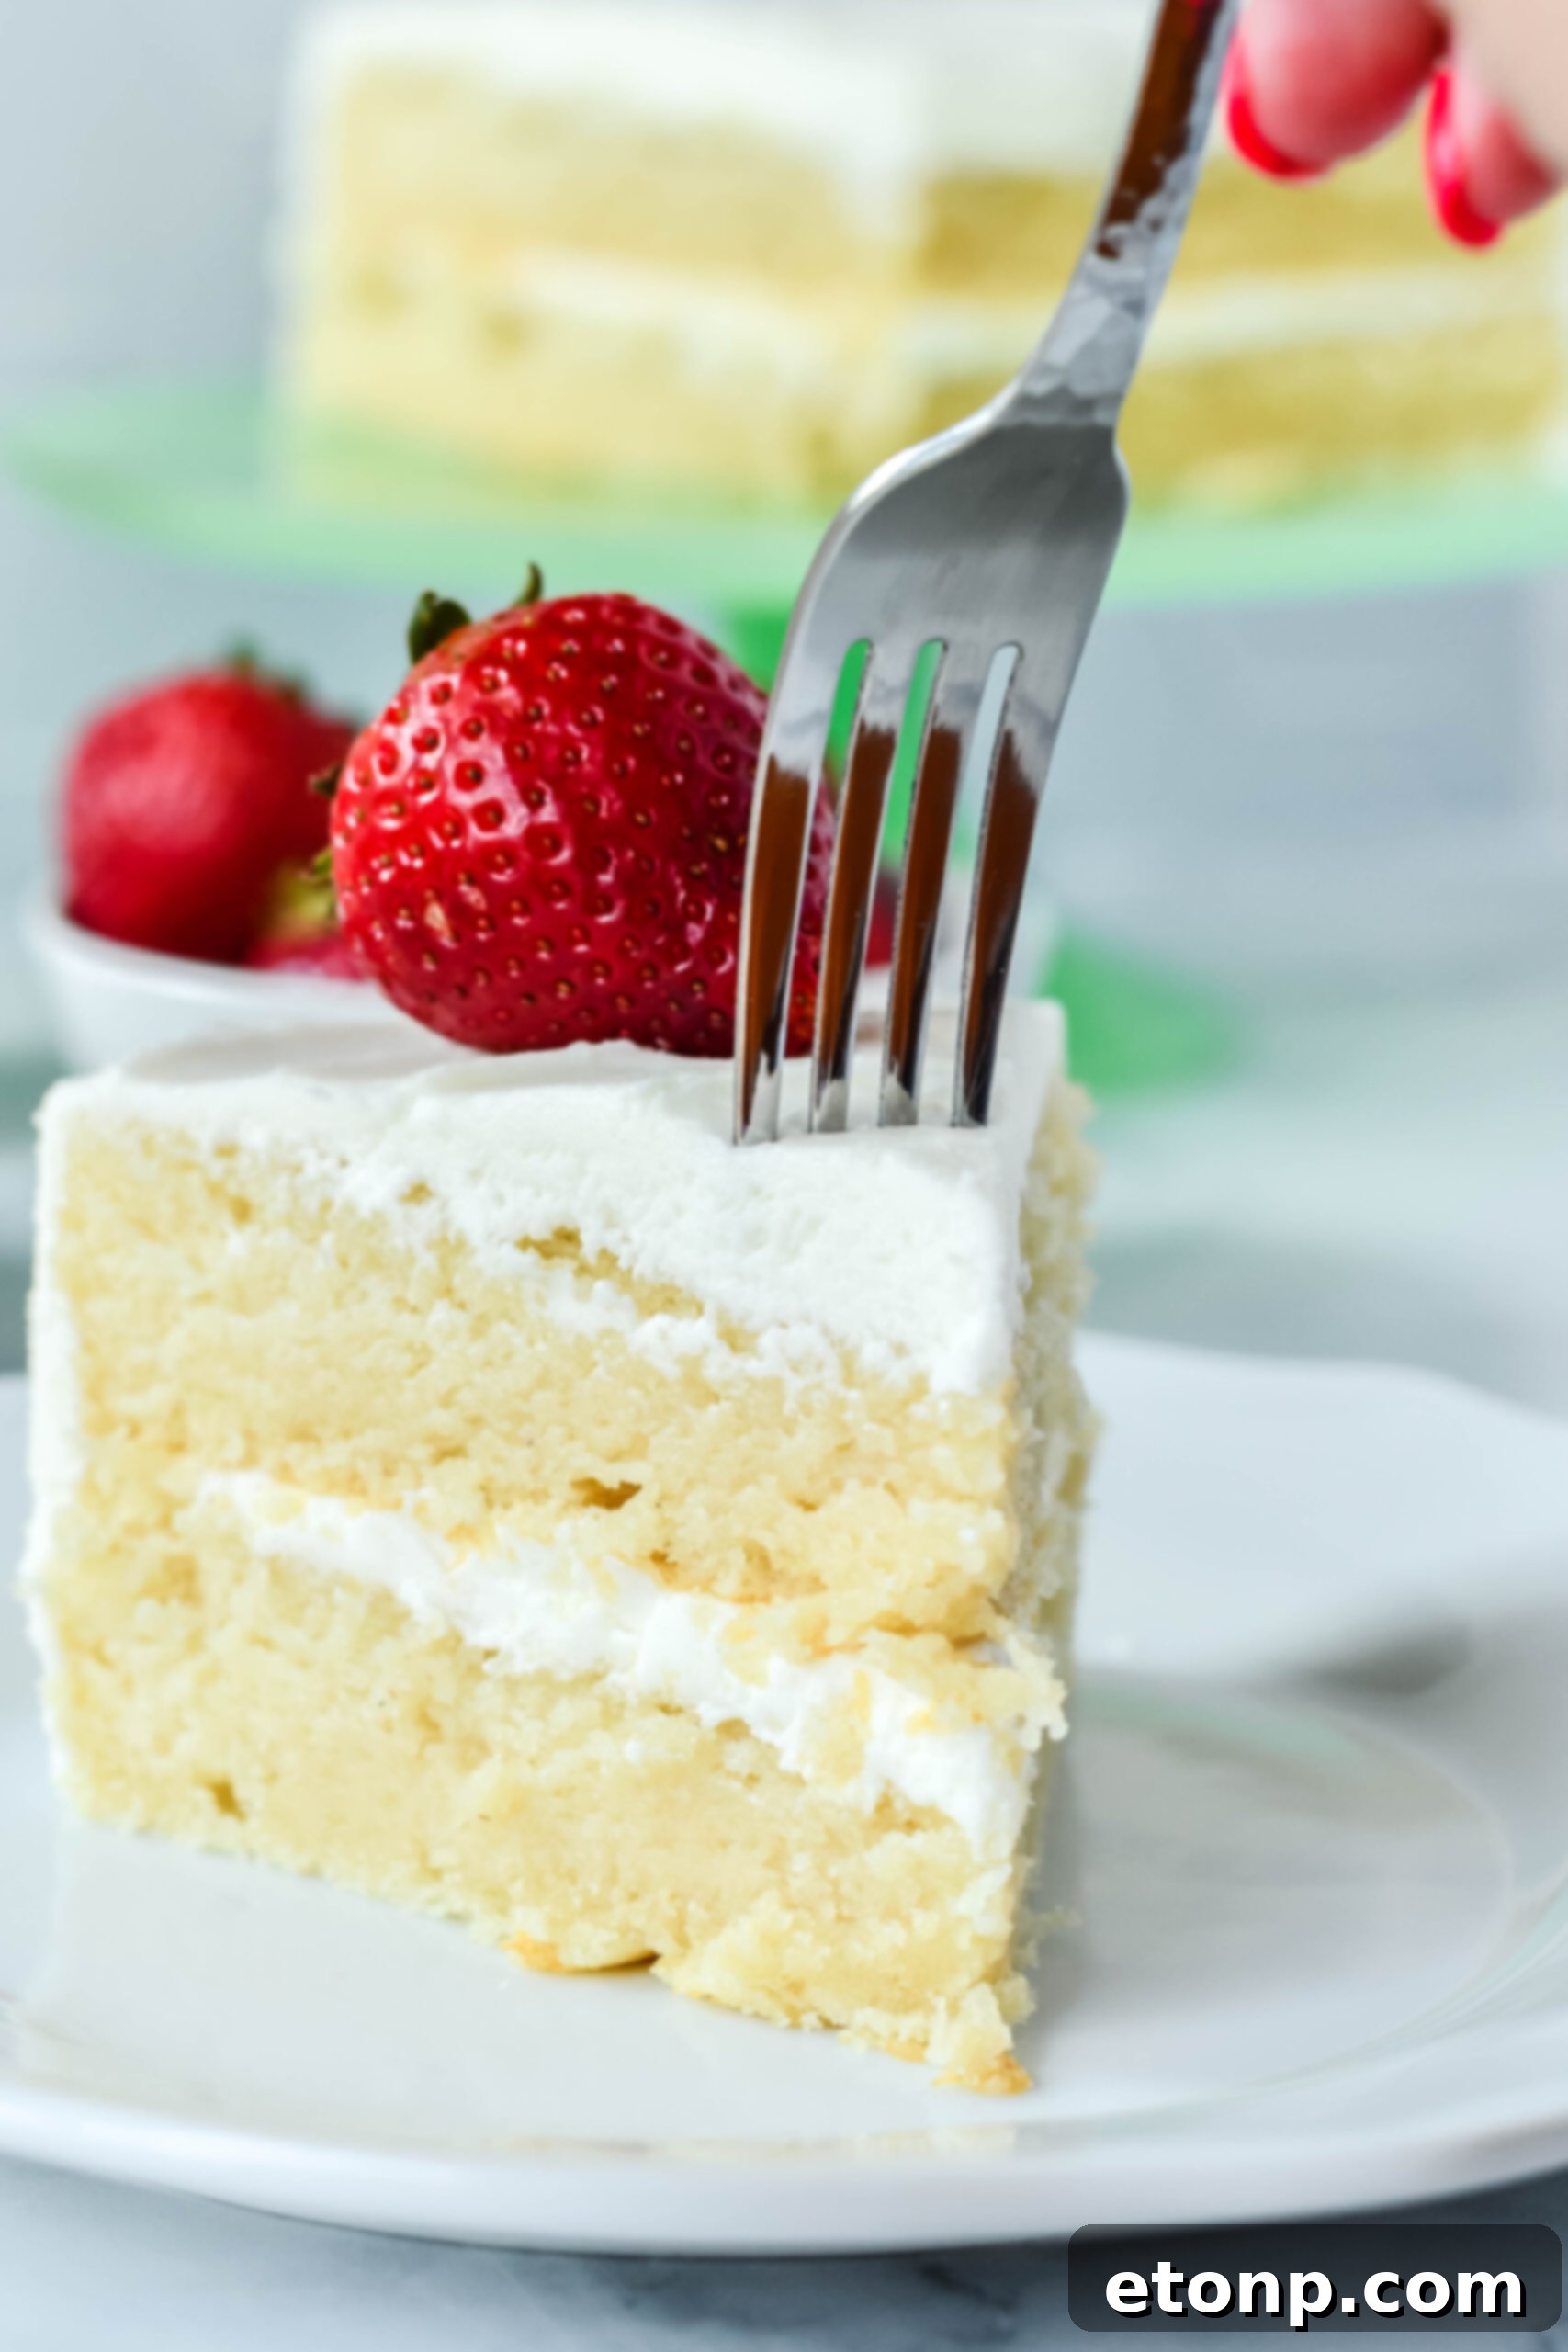
What toppings taste best on this cake?
While the homemade vanilla frosting alone pairs perfectly with this cake, enhancing it with additional toppings can elevate its appeal and flavor profile. Consider fresh sliced strawberries, vibrant cherries, a medley of chopped nuts (like pecans or walnuts), or delicate shredded coconut flakes. For an extra touch of decadence, a drizzle of caramel sauce, chocolate ganache, or even a scattering of edible flowers can make this cake truly unforgettable. Feel free to experiment with your favorite flavors and textures to customize this cake even further for any occasion.
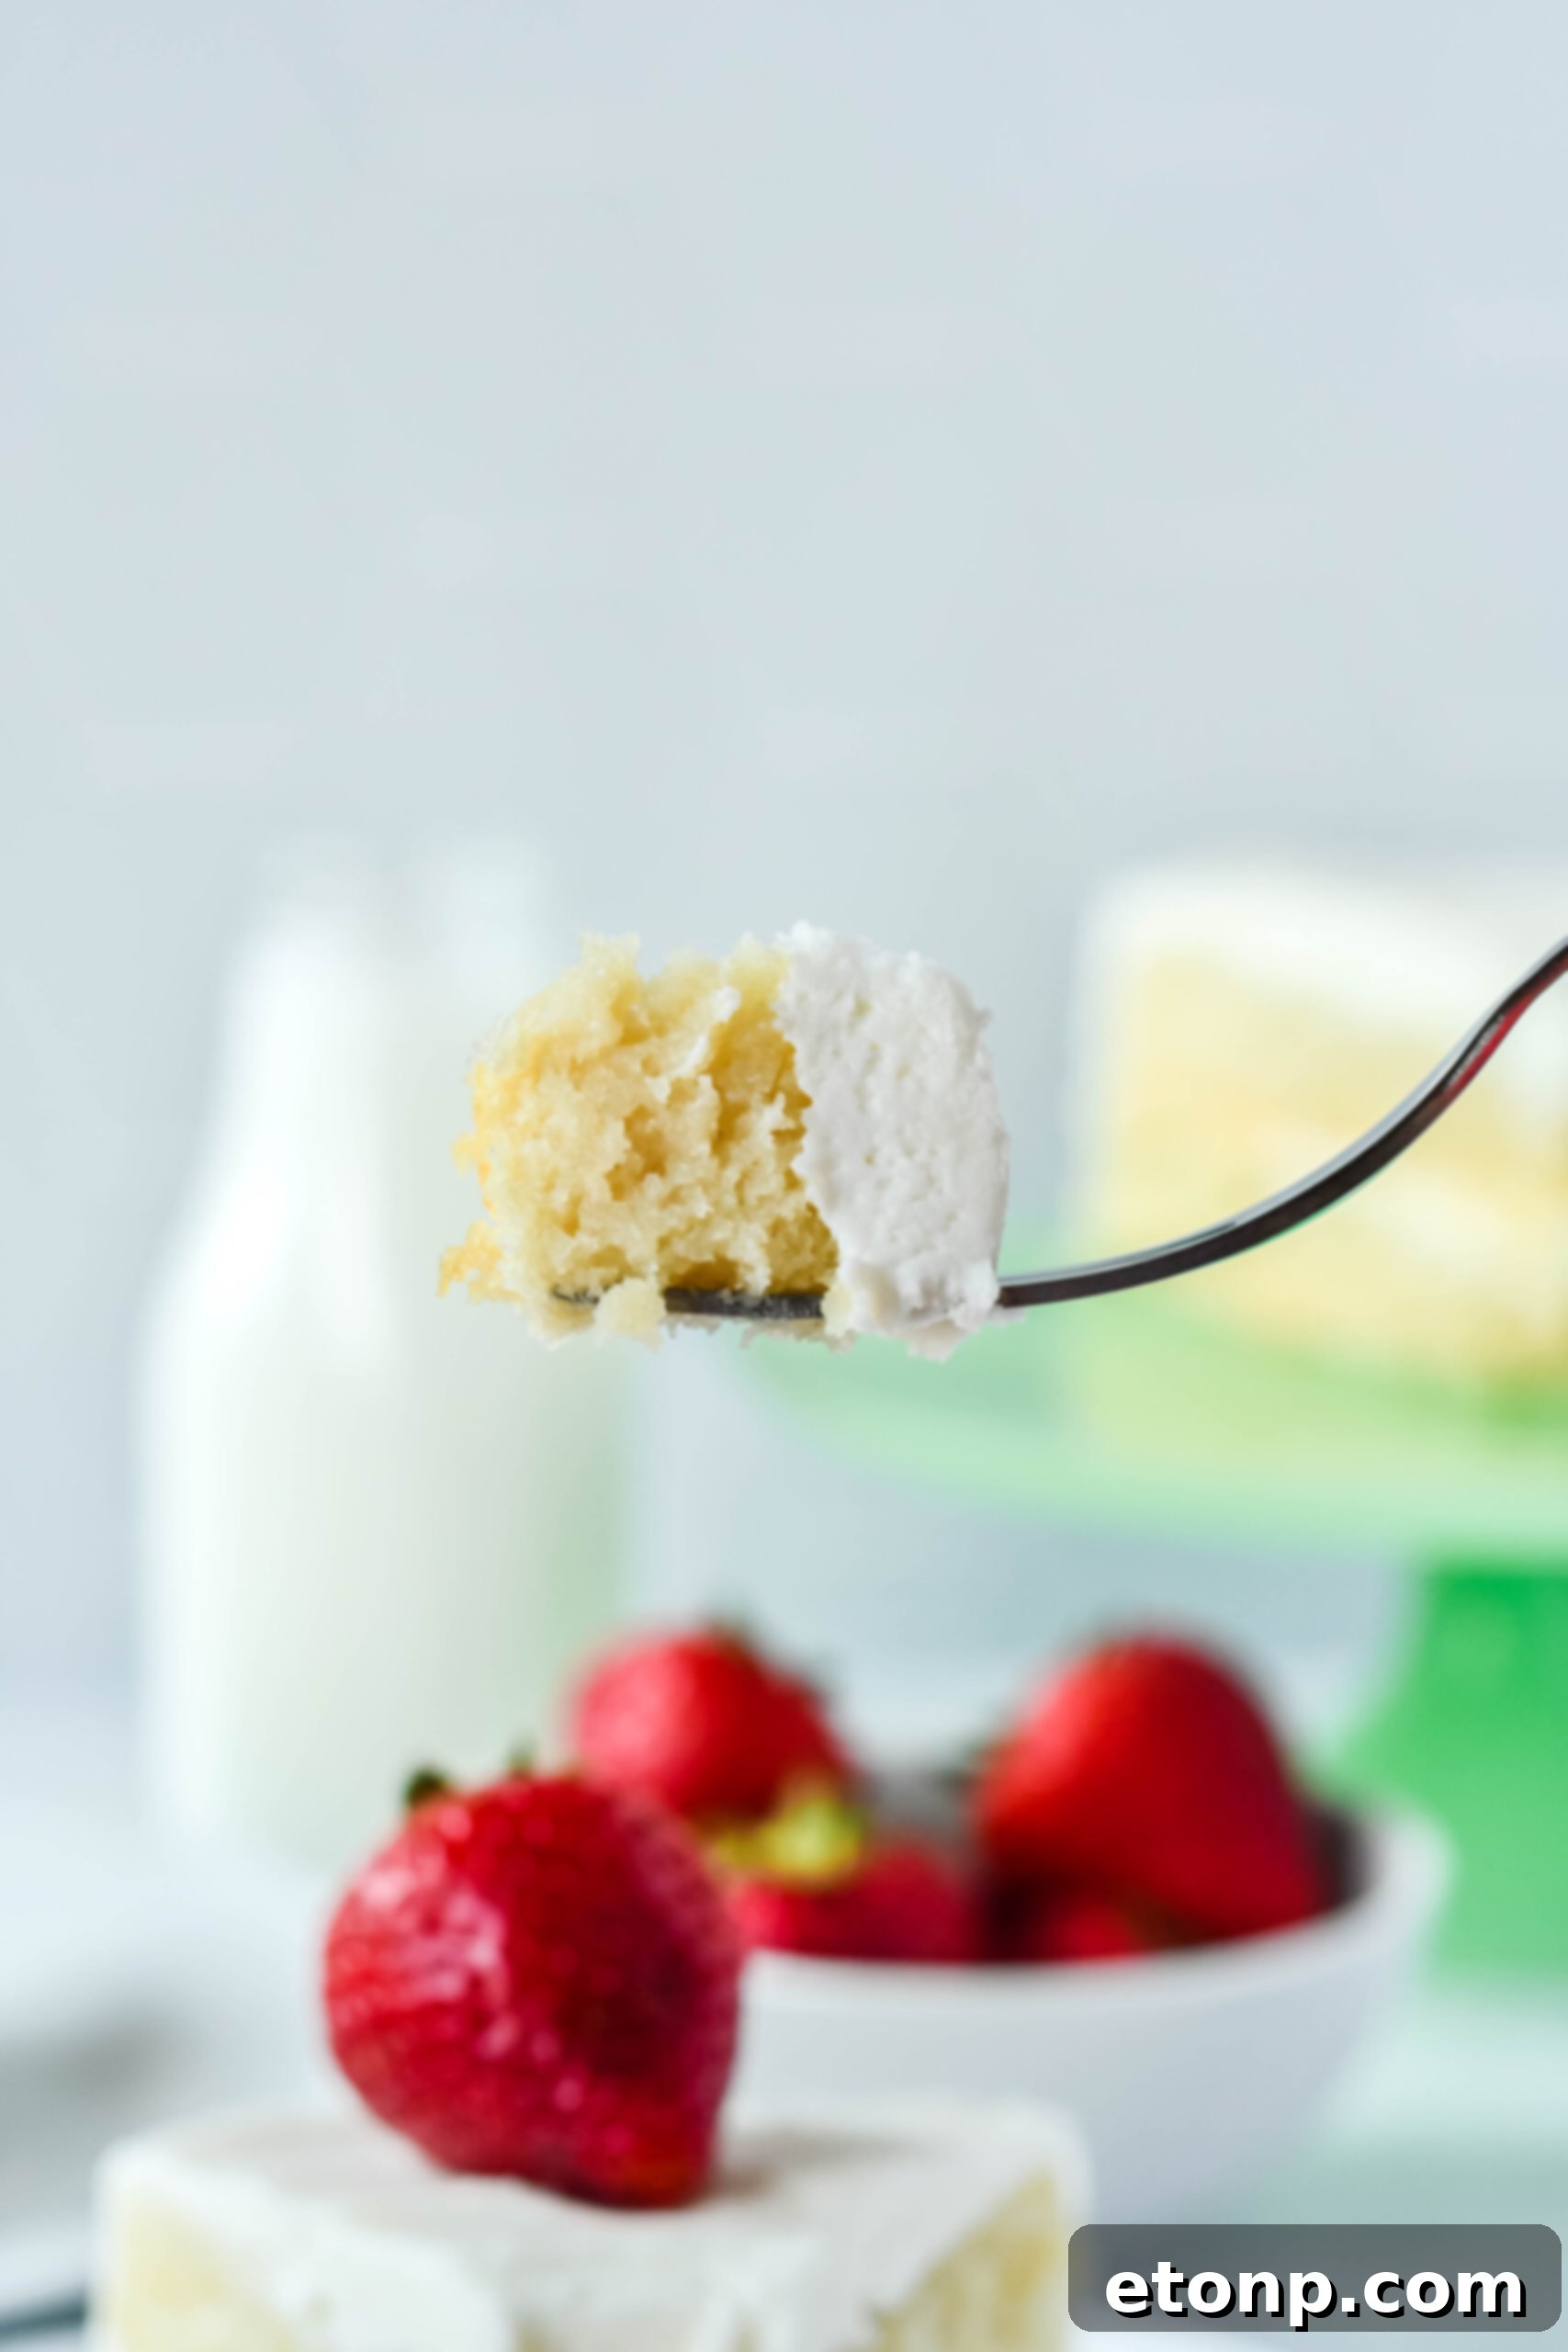
Expert Tips & Tricks for Vanilla Cake Perfection
Achieving a perfect homemade vanilla cake is easier with these insightful tips and tricks:
- **Transform into Cupcakes:** This versatile batter isn’t just for layer cakes! You can easily make delicious vanilla cupcakes by pouring the batter into a muffin tin lined with paper cups. Bake for a shorter duration (typically 18-22 minutes) until a toothpick comes out clean. Allow them to cool completely before frosting for a delightful individual treat.
- **Mastering the Frosting Application:** For a truly professional-looking cake with flat, even layers of frosting, place each cake layer top side down when you’re ready to frost. This technique utilizes the flatter bottom of the cake as the top surface for frosting, making it significantly easier to achieve a smooth, level finish that enhances your cake’s overall appearance.
- **Decorative Flair:** Elevate your cake’s presentation by adding decorative designs using your homemade frosting and a piping bag fitted with a tip of your choice. A star tip can create beautiful rosettes or borders, while a round tip is perfect for dots or writing. Don’t be afraid to get creative and personalize your cake with elegant swirls or festive patterns.
- **Room Temperature Ingredients are Key:** Ensure your butter, milk, and egg whites are all at room temperature before you begin. This allows them to emulsify properly, creating a smoother, more uniform batter that bakes evenly and results in a tenderer cake.
- **Do Not Overmix:** Once you’ve added the flour mixture, mix only until just combined. Overmixing develops the gluten in the flour, leading to a tough, dense cake. A few lumps are perfectly fine!
- **Proper Pan Preparation:** Always generously grease and flour your cake pans. This creates a non-stick surface that ensures your cakes release easily without sticking or tearing, preserving their beautiful shape.
- **Cool Completely:** We can’t stress this enough! Frosting a warm cake is a recipe for disaster. Allow your cake layers to cool entirely on wire racks to prevent the frosting from melting and sliding off.
- **Leveling Cake Layers:** For an even, professional look, consider using a serrated knife or a cake leveler to trim any domes from your cooled cake layers. This creates flat surfaces for stacking and ensures a stable, well-balanced cake.
This classic vanilla cake is truly a star for so many different occasions. Its flavor profile is sensational – incredibly moist with a frosting that is utterly divine! It’s the kind of cake that brings joy and makes any moment feel special.
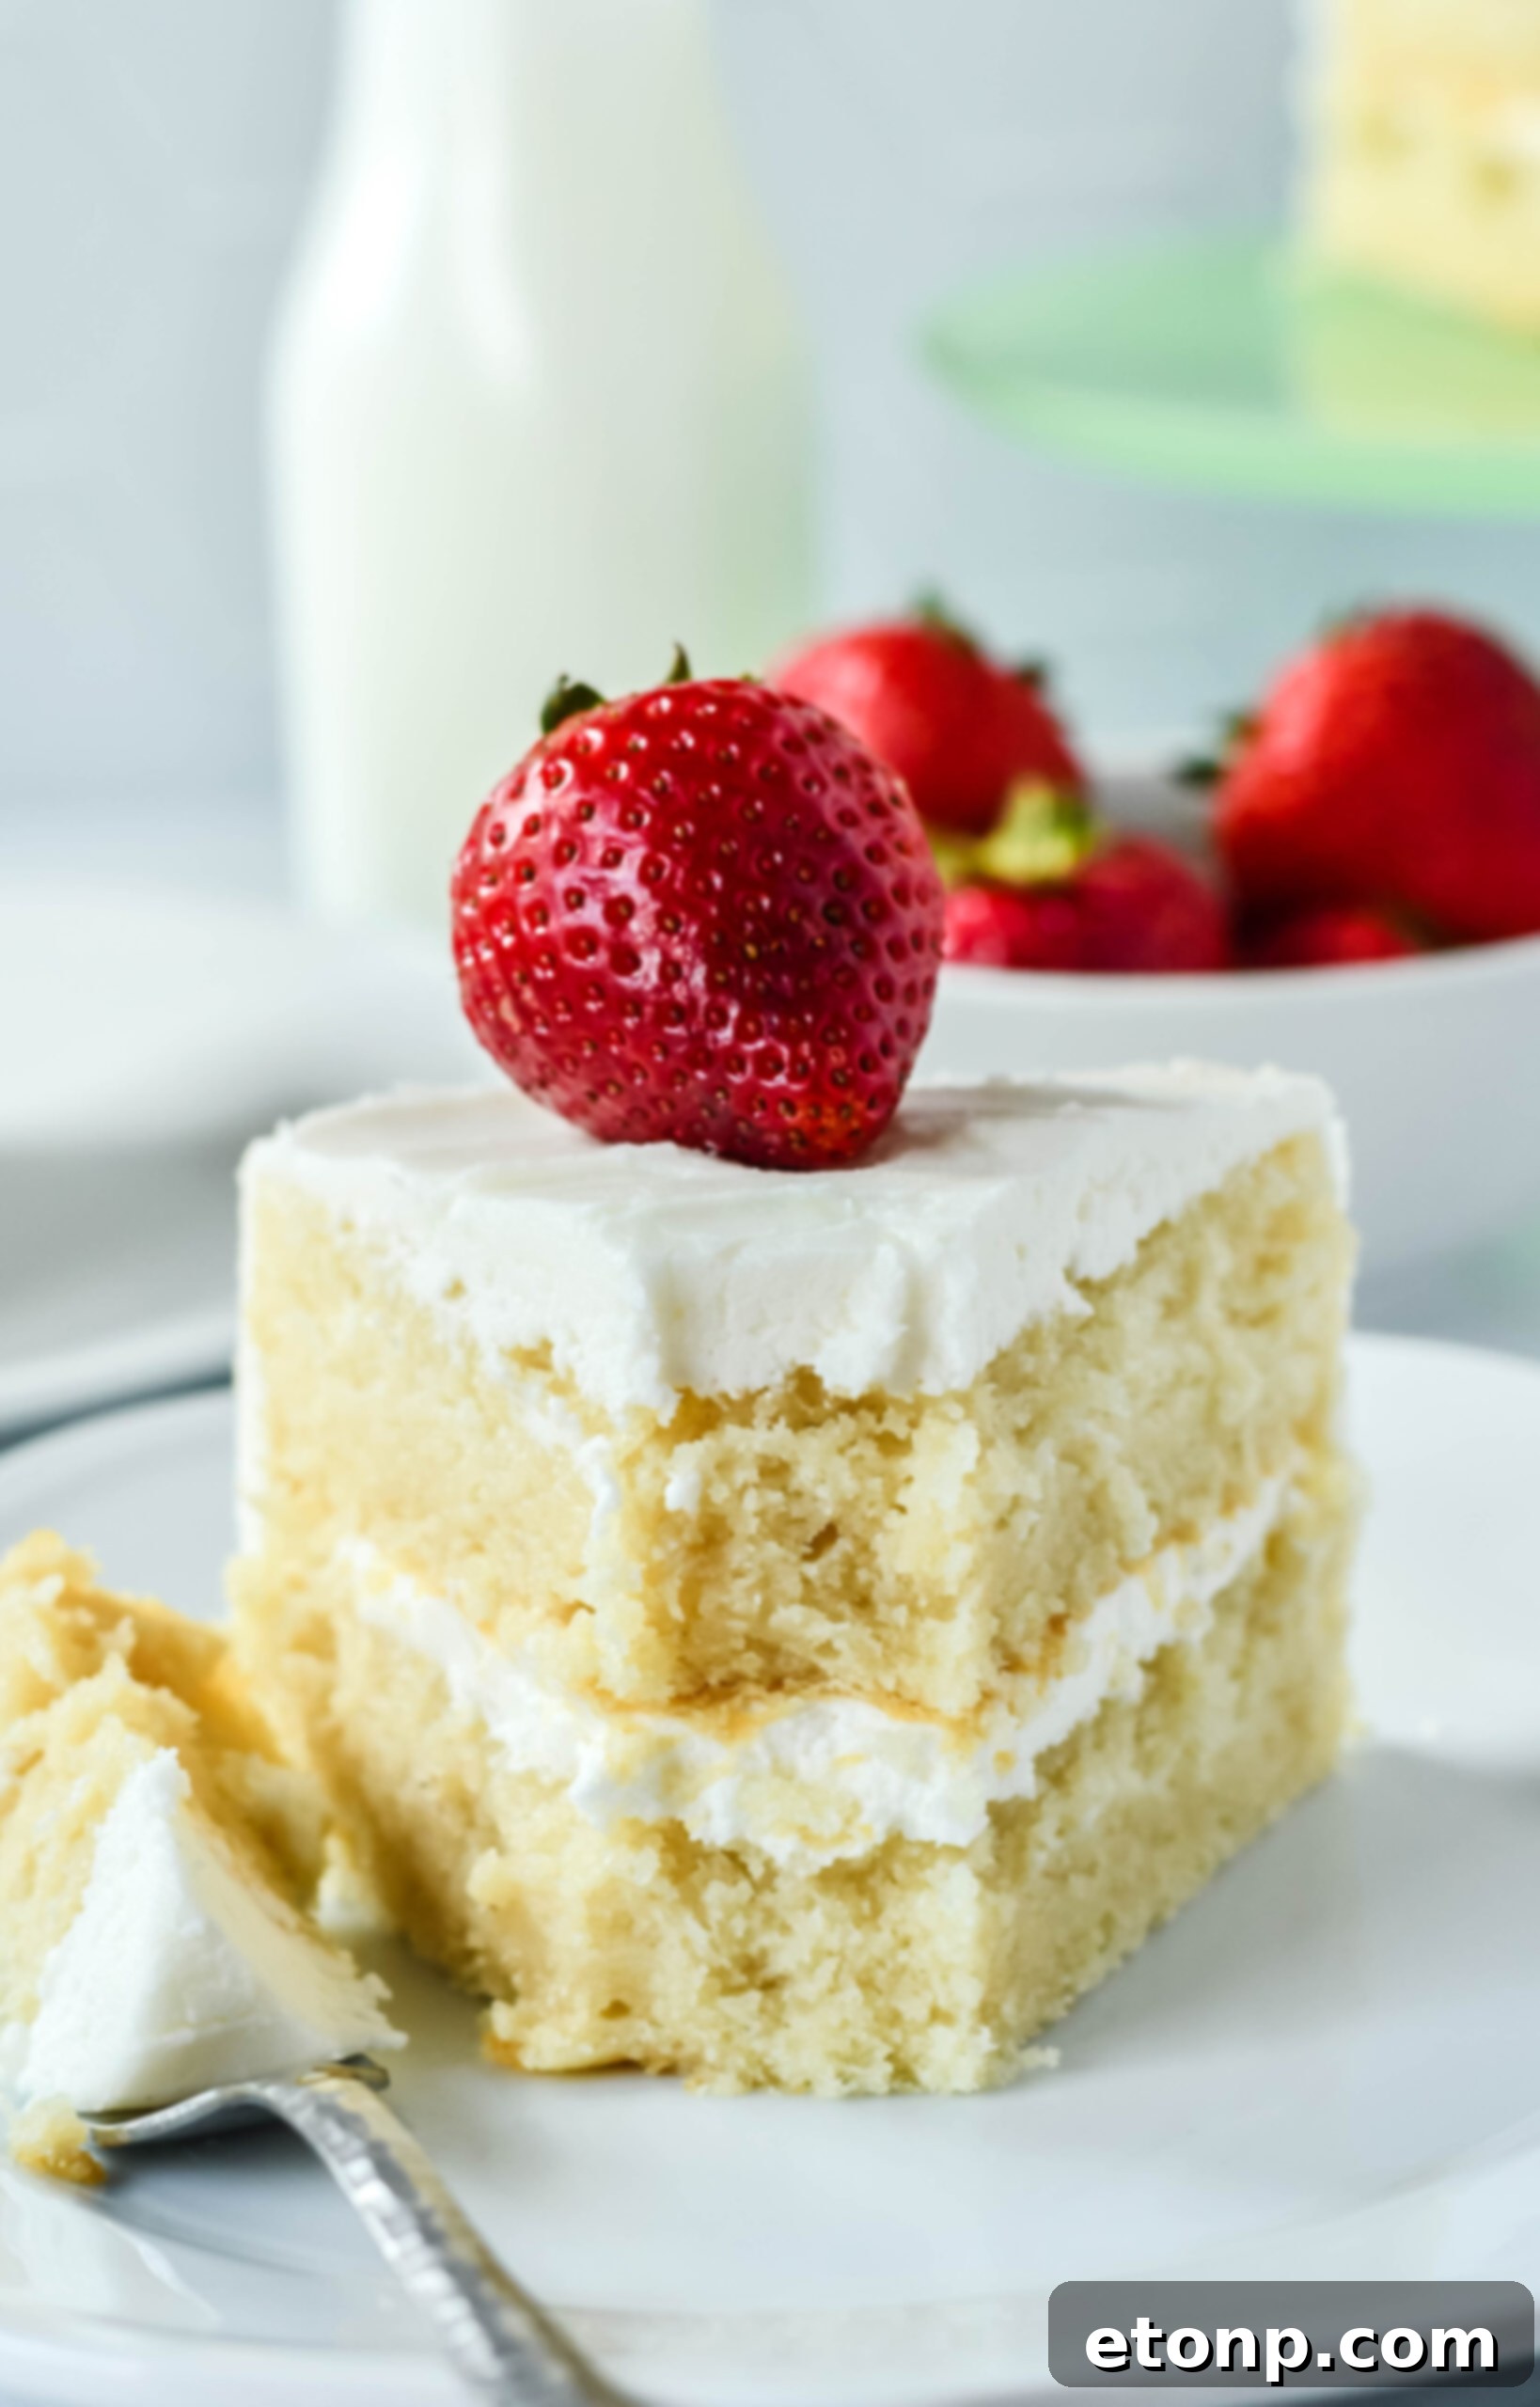
Should you choose to make cupcakes using this versatile recipe, rest assured they will come out just as delicious and equally moist! Don’t hesitate to change the frosting colors to match a party theme or holiday for a different look, all while keeping the same perfectly reliable cake base.
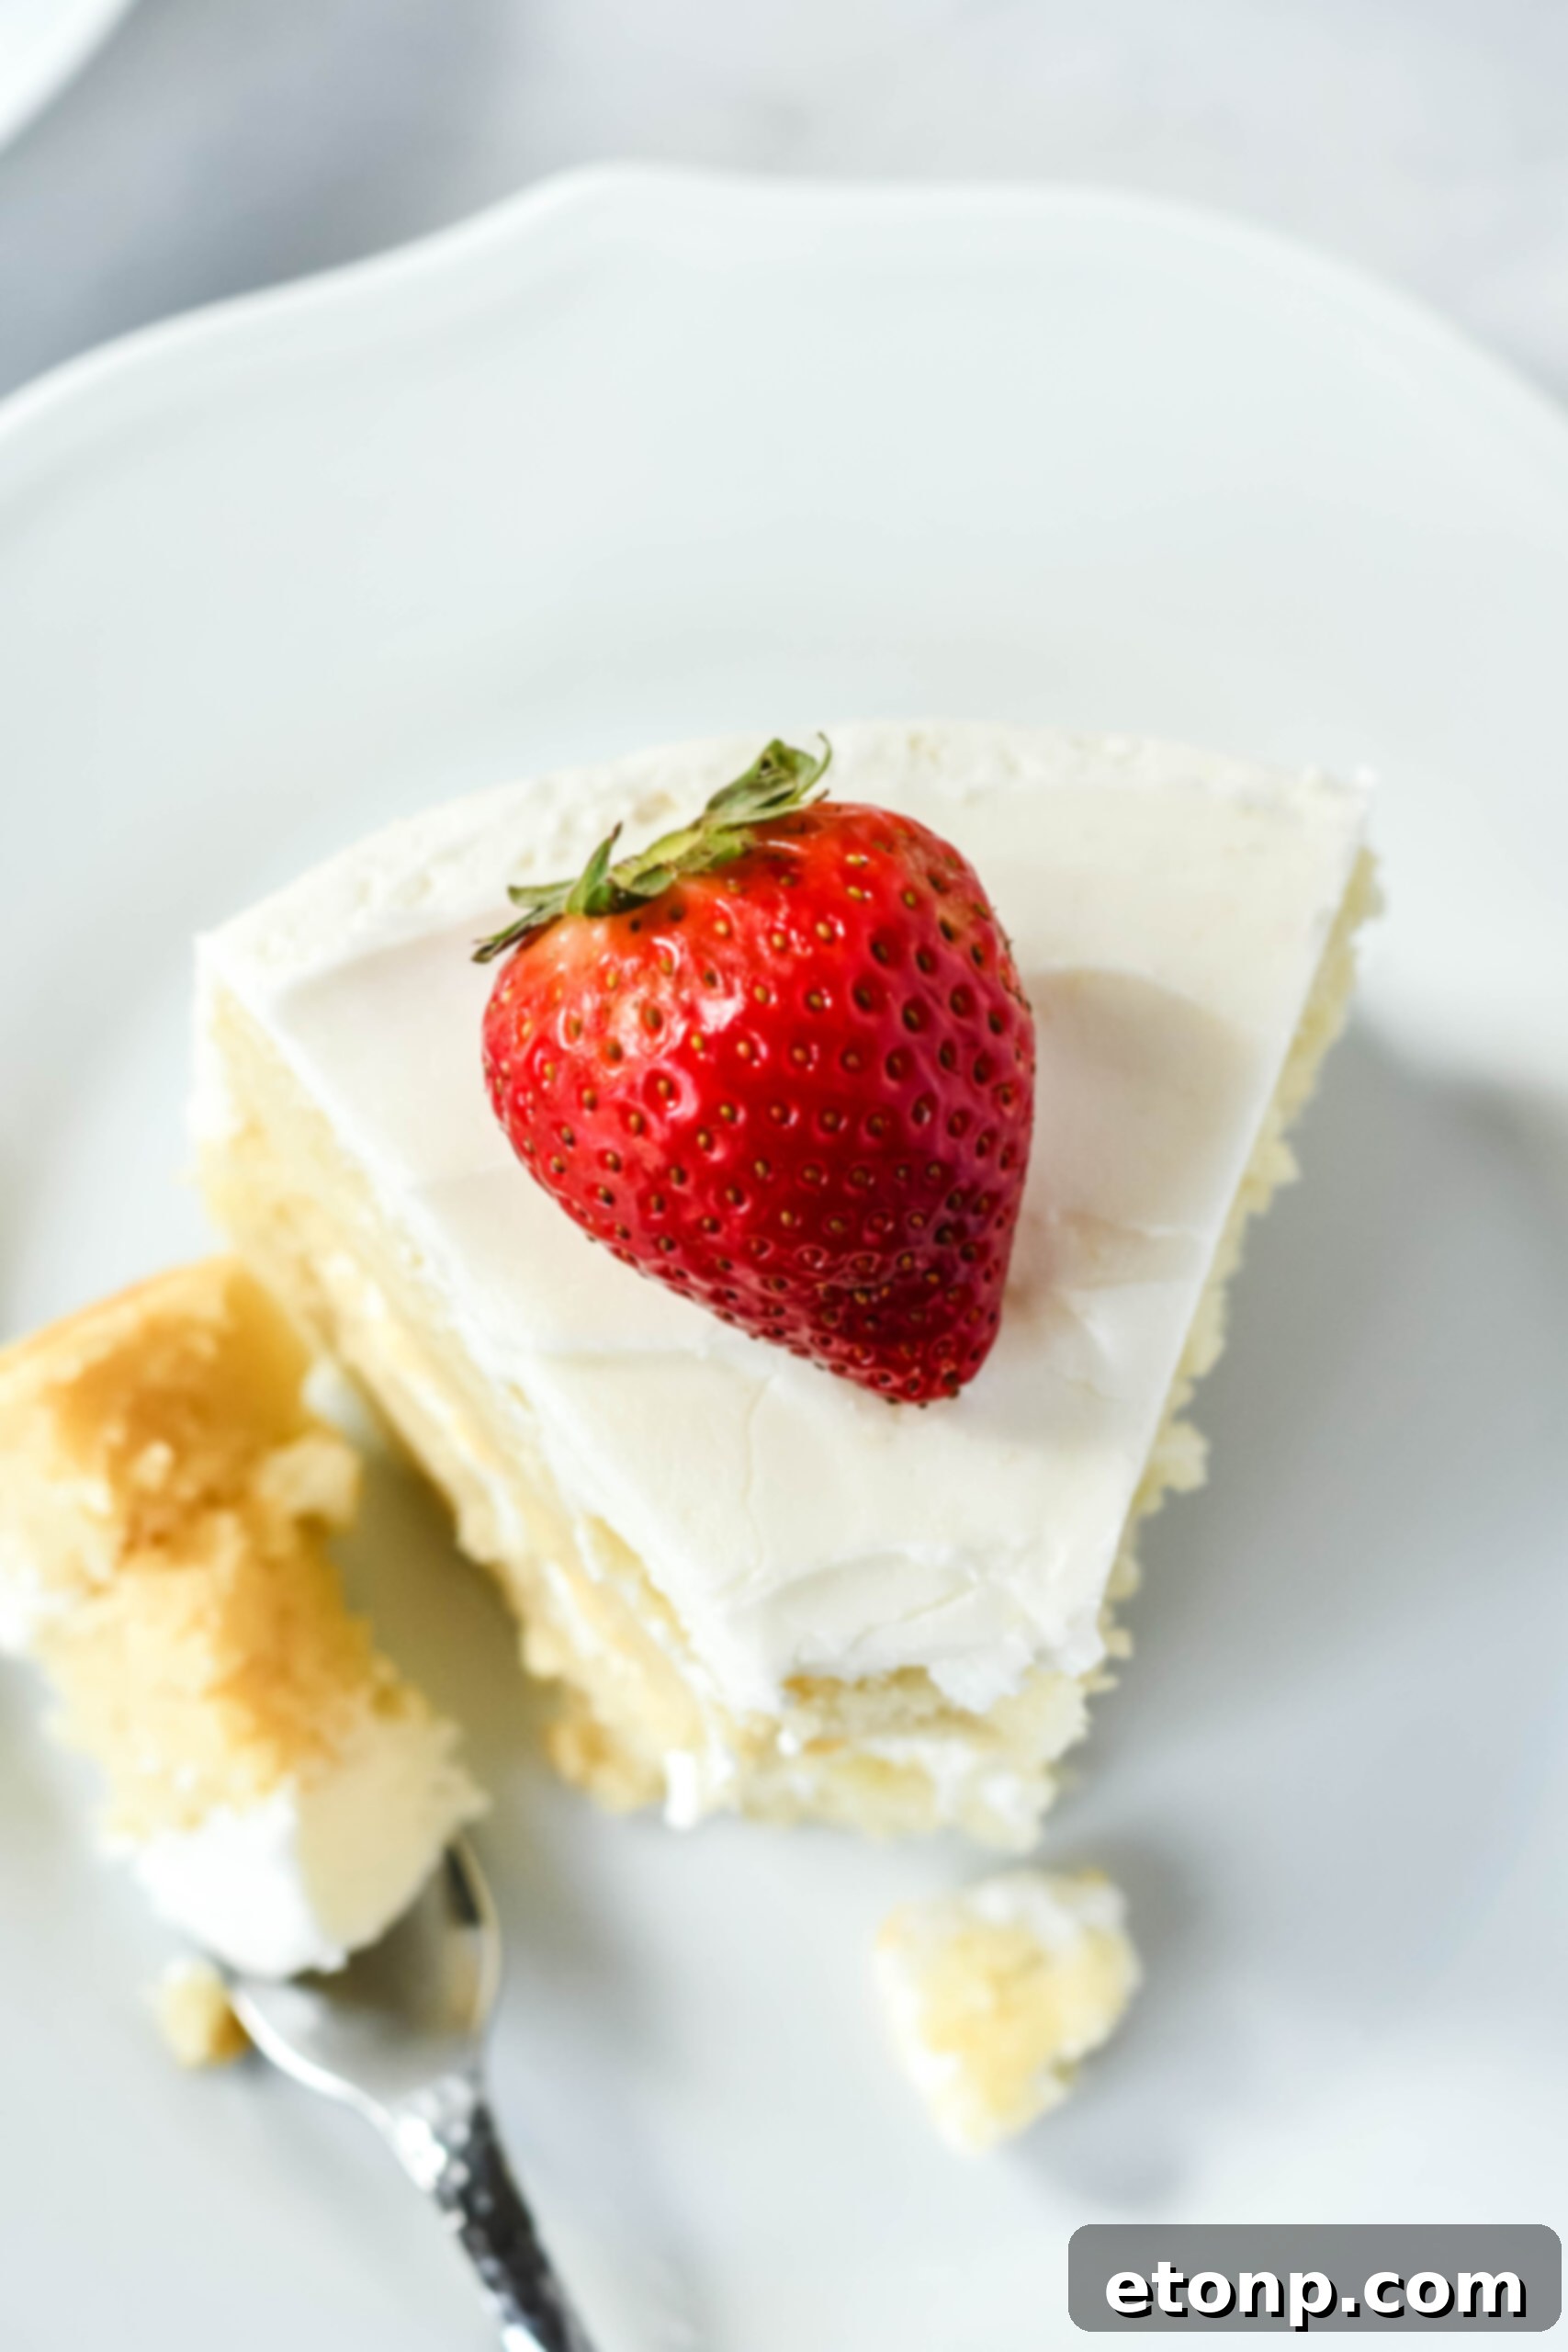
Classic Vanilla Cake
Summary: Are you searching for that perfect cake recipe that’s both moist and delicious? Then be sure to try this fabulous Classic Vanilla Cake recipe!
Course: Dessert
Prep Time: 10 mins
Cook Time: 30 mins
Total Time: 40 mins
Servings: 8 Servings
Ingredients
Cake
- 2 1/2 cups all-purpose flour
- 2 1/2 teaspoons baking powder
- 1/2 teaspoon salt
- 1 1/4 cups whole milk (room temperature)
- 1 Tablespoon pure vanilla extract
- ¼ cup vegetable oil
- ¾ cup unsalted butter, softened to room temperature
- 1 cup granulated sugar
- 5 large egg whites (room temperature)
Homemade Vanilla Frosting
- 2 sticks (1 cup) unsalted butter, softened to room temperature
- 4-5 cups powdered sugar (confectioners’ sugar), add more for a sweeter frosting
- 2 teaspoons pure vanilla extract
- 3-4 Tablespoons milk or heavy whipping cream (for a more “whipped” frosting consistency)
Instructions
For the Cake:
- Preheat your oven to 350°F (175°C). Prepare two 10-inch round cake pans by generously greasing them with vegetable shortening or butter, then lightly flouring them to prevent sticking.
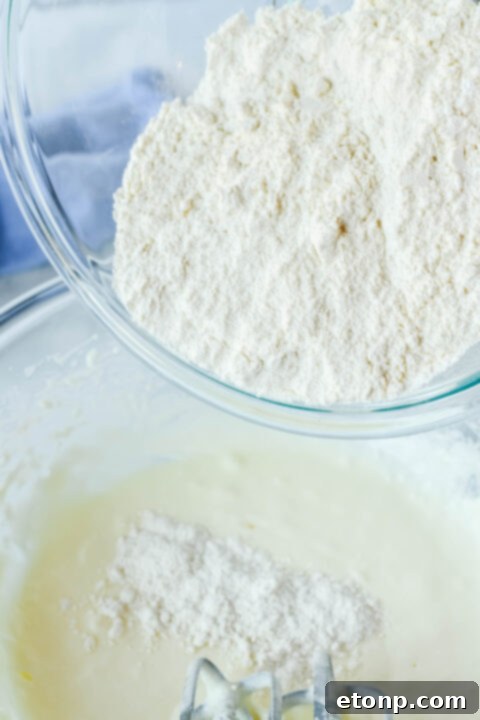
- In a medium bowl, whisk together the flour, baking powder, and salt. Set aside.
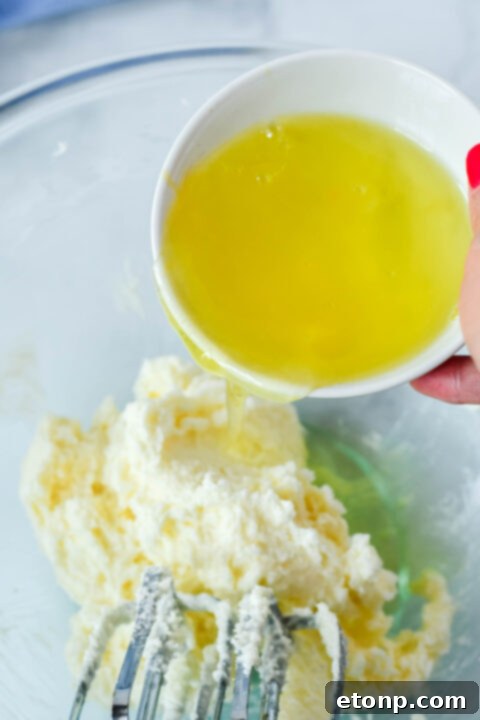
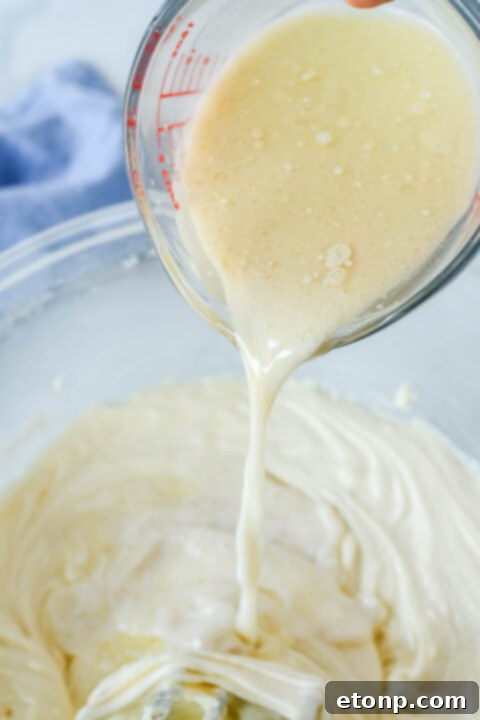
- In a large measuring cup or separate bowl, combine the milk, vanilla extract, and vegetable oil. Set aside.
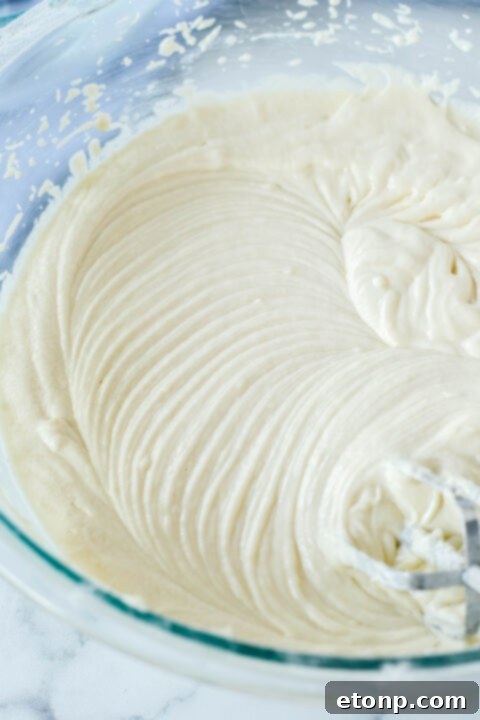
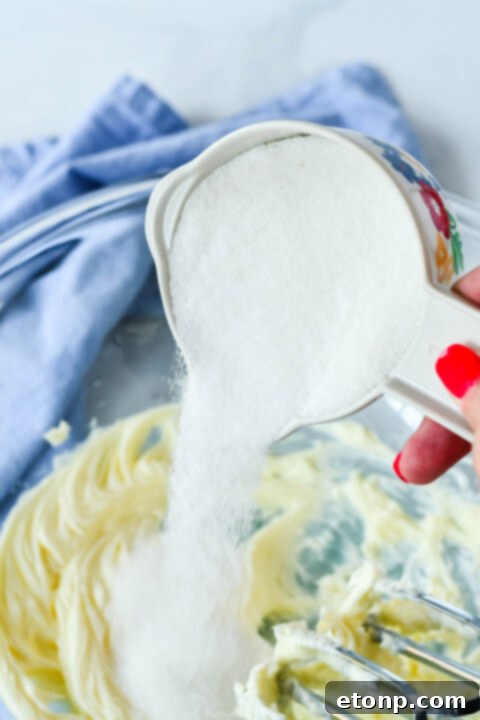
- In the bowl of a stand mixer fitted with a paddle attachment, cream together the softened butter and granulated sugar on medium-high speed until the mixture is light, fluffy, and pale in color (about 3-5 minutes).
- With the mixer on low speed, slowly add the egg whites one at a time, mixing thoroughly after each addition until fully incorporated.
- Reduce the mixer speed to low. Alternate adding the dry flour mixture (in three additions) and the wet milk mixture (in two additions) to the creamed butter and sugar. Begin and end with the dry ingredients. Mix until just combined, being careful not to overmix.
- Scrape down the sides and bottom of the bowl with a spatula to ensure all ingredients are well combined. Give it one final quick mix.
- Divide the cake batter evenly between the two prepared pans. Bake for 30-35 minutes, or until a wooden skewer or toothpick inserted into the center of the cakes comes out clean.
- Allow the cakes to cool in their pans for 10-15 minutes before carefully inverting them onto a wire rack to cool completely. This is crucial before frosting.
For the Frosting and Assembly:
- While the cake layers are cooling, prepare your homemade vanilla frosting. In the clean bowl of a stand mixer fitted with a paddle attachment, beat the softened butter on high speed for 3-5 minutes until it is very light, fluffy, and pale. Ensure there are no lumps.
- Add the vanilla extract to the butter and mix until just combined.
- With the mixer on low speed, gradually add the powdered sugar, about ½ cup at a time, until fully incorporated. Once all the powdered sugar is added, scrape down the sides and bottom of the bowl. Increase the speed to high and beat for another 2-3 minutes until the frosting is incredibly light and fluffy.
- If the frosting is too thick, add milk or whipping cream one tablespoon at a time until you reach your desired consistency. If it’s too thin, add a little more powdered sugar.
- To assemble, place one cooled cake layer, top-side down (using the flatter bottom as your top for this layer) onto a cake stand or serving plate. Spread about ½ cup of frosting evenly over the top.
- Place the second cake layer on top, also top-side down for a flat surface. Spread the remaining frosting evenly over the top and sides of the entire cake. Use an offset spatula or bench scraper for smooth finish.
- Decorate as desired with extra toppings or piped frosting designs. Serve and enjoy!
Serving Suggestions & Storage Tips
This Classic Vanilla Cake is delicious on its own, but here are some ideas to enhance your serving experience:
- **With Fresh Berries:** A handful of fresh strawberries, raspberries, or blueberries adds a beautiful burst of color and a refreshing tartness that complements the sweet vanilla.
- **A Dollop of Cream:** Serve with a spoonful of freshly whipped cream or a scoop of vanilla bean ice cream for an extra touch of indulgence.
- **Coffee or Tea:** A slice of this cake pairs perfectly with a warm cup of coffee, espresso, or your favorite herbal tea for a cozy treat.
- **Sauces:** Drizzle with warm caramel sauce, chocolate syrup, or a simple fruit coulis (like raspberry or strawberry) for added flavor dimensions.
Storing Your Vanilla Cake:
To keep your Classic Vanilla Cake fresh and moist, store it covered at room temperature for up to 2-3 days. If your frosting contains cream cheese or fresh fruit, it’s best to refrigerate the cake. When refrigerating, ensure it’s in an airtight container to prevent it from drying out or absorbing odors. Bring refrigerated cake to room temperature for about 30 minutes before serving for the best flavor and texture.
You can also freeze individual slices or whole unfrosted cake layers. Wrap them tightly in plastic wrap, then aluminum foil, and store in the freezer for up to 1-2 months. Thaw in the refrigerator overnight before frosting or serving.
More Delicious Recipes You Will Love!
Texas Sheet Cake
Very Cherry Cake with Vanilla Buttercream
Strawberry Whipped Cream Cake
Did you make this recipe?
We’d love to see your creations! Share your photos on social media and tag us, or follow on Pinterest for even more delicious recipes and baking inspiration!
Share on Facebook