
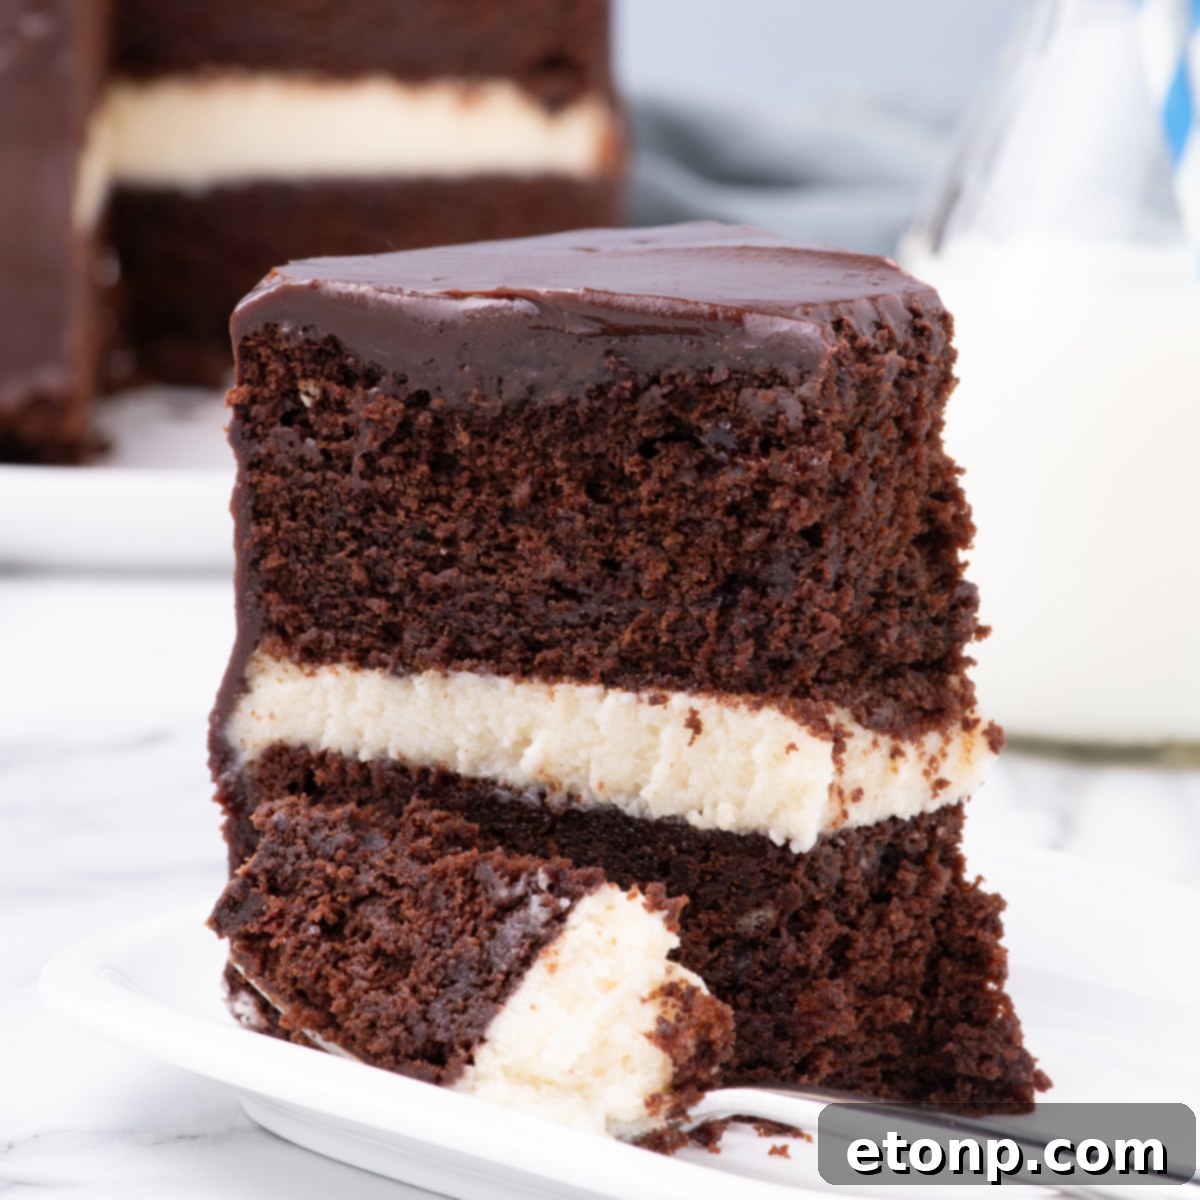
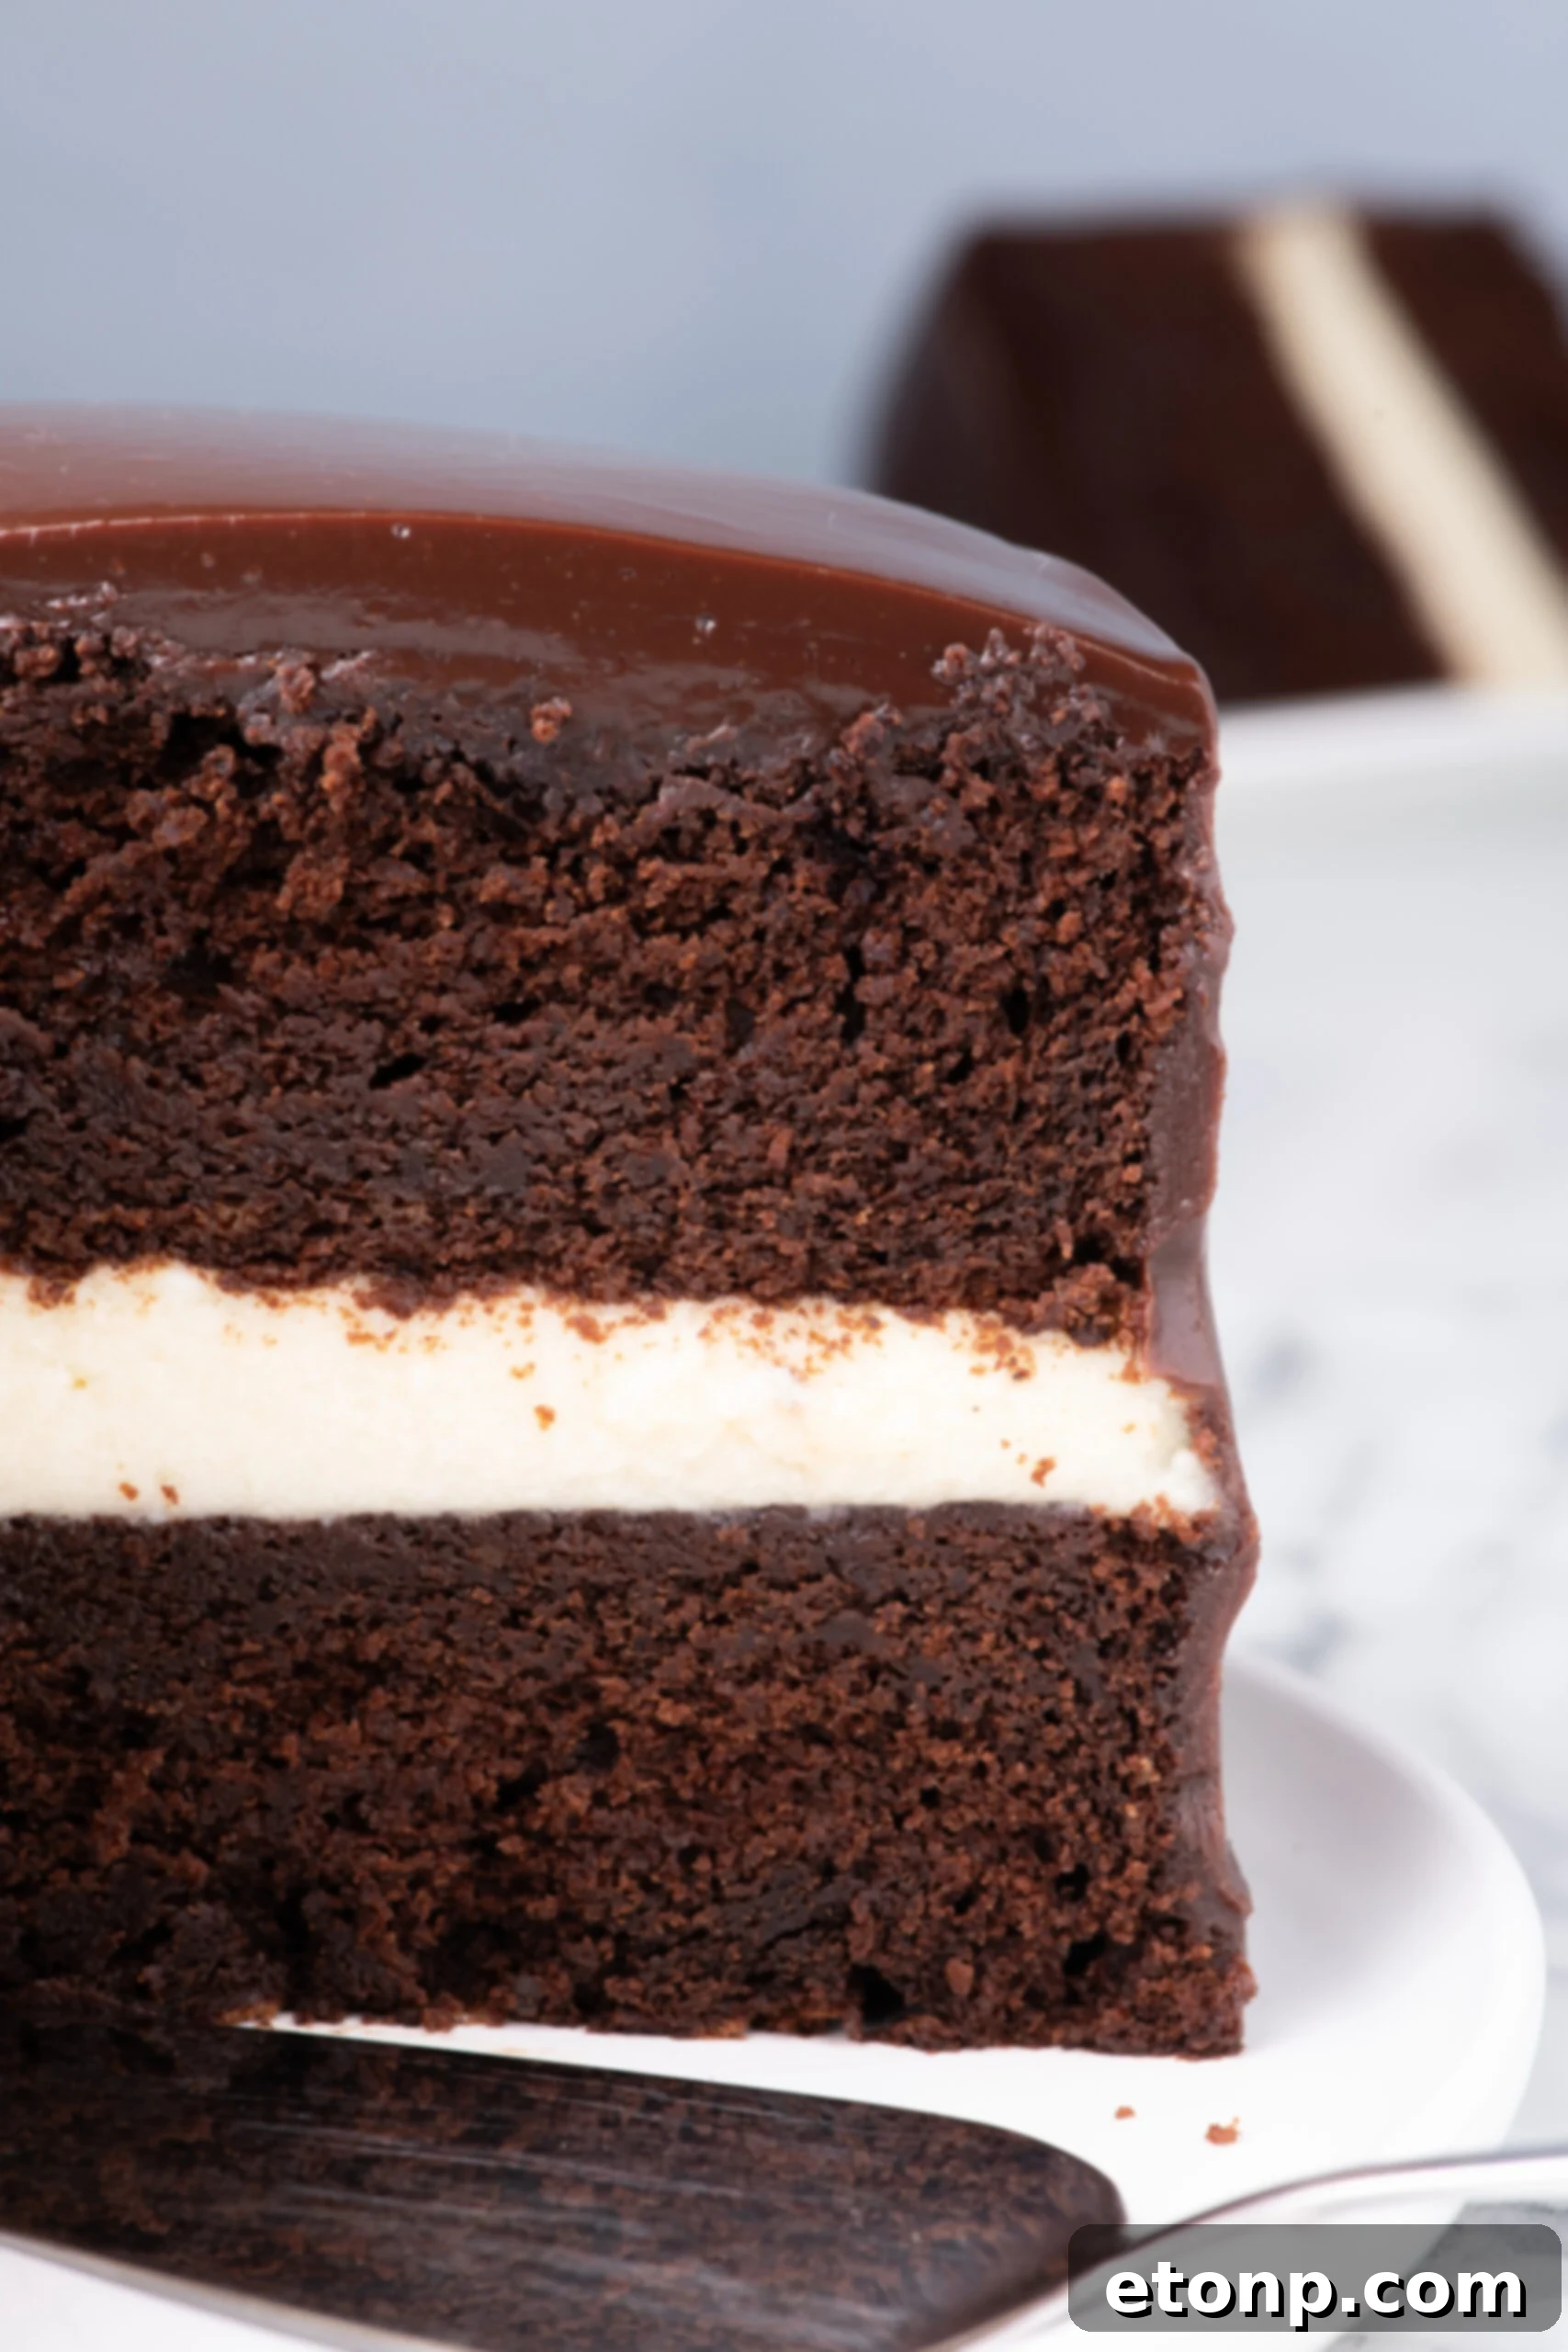
Unlock the cherished flavors of your childhood with this extraordinary homemade Ding Dong Cake. This isn’t just a dessert; it’s a nostalgic journey, reimagined as a rich, layered masterpiece. Picture a deeply decadent chocolate sponge cake, reminiscent of your favorite snack cake, generously filled with a velvety, smooth, and irresistibly sweet cream. To crown this culinary marvel, a glossy, luxurious chocolate ganache glaze cascades over the top, making it an absolute showstopper. Perfect for birthday celebrations, intimate family gatherings, or as a potluck centerpiece that will leave everyone talking, this Ding Dong Cake promises an unforgettable experience in every slice. Forget those store-bought treats – this is the elevated, from-scratch version you’ve been dreaming of, designed to impress and delight.
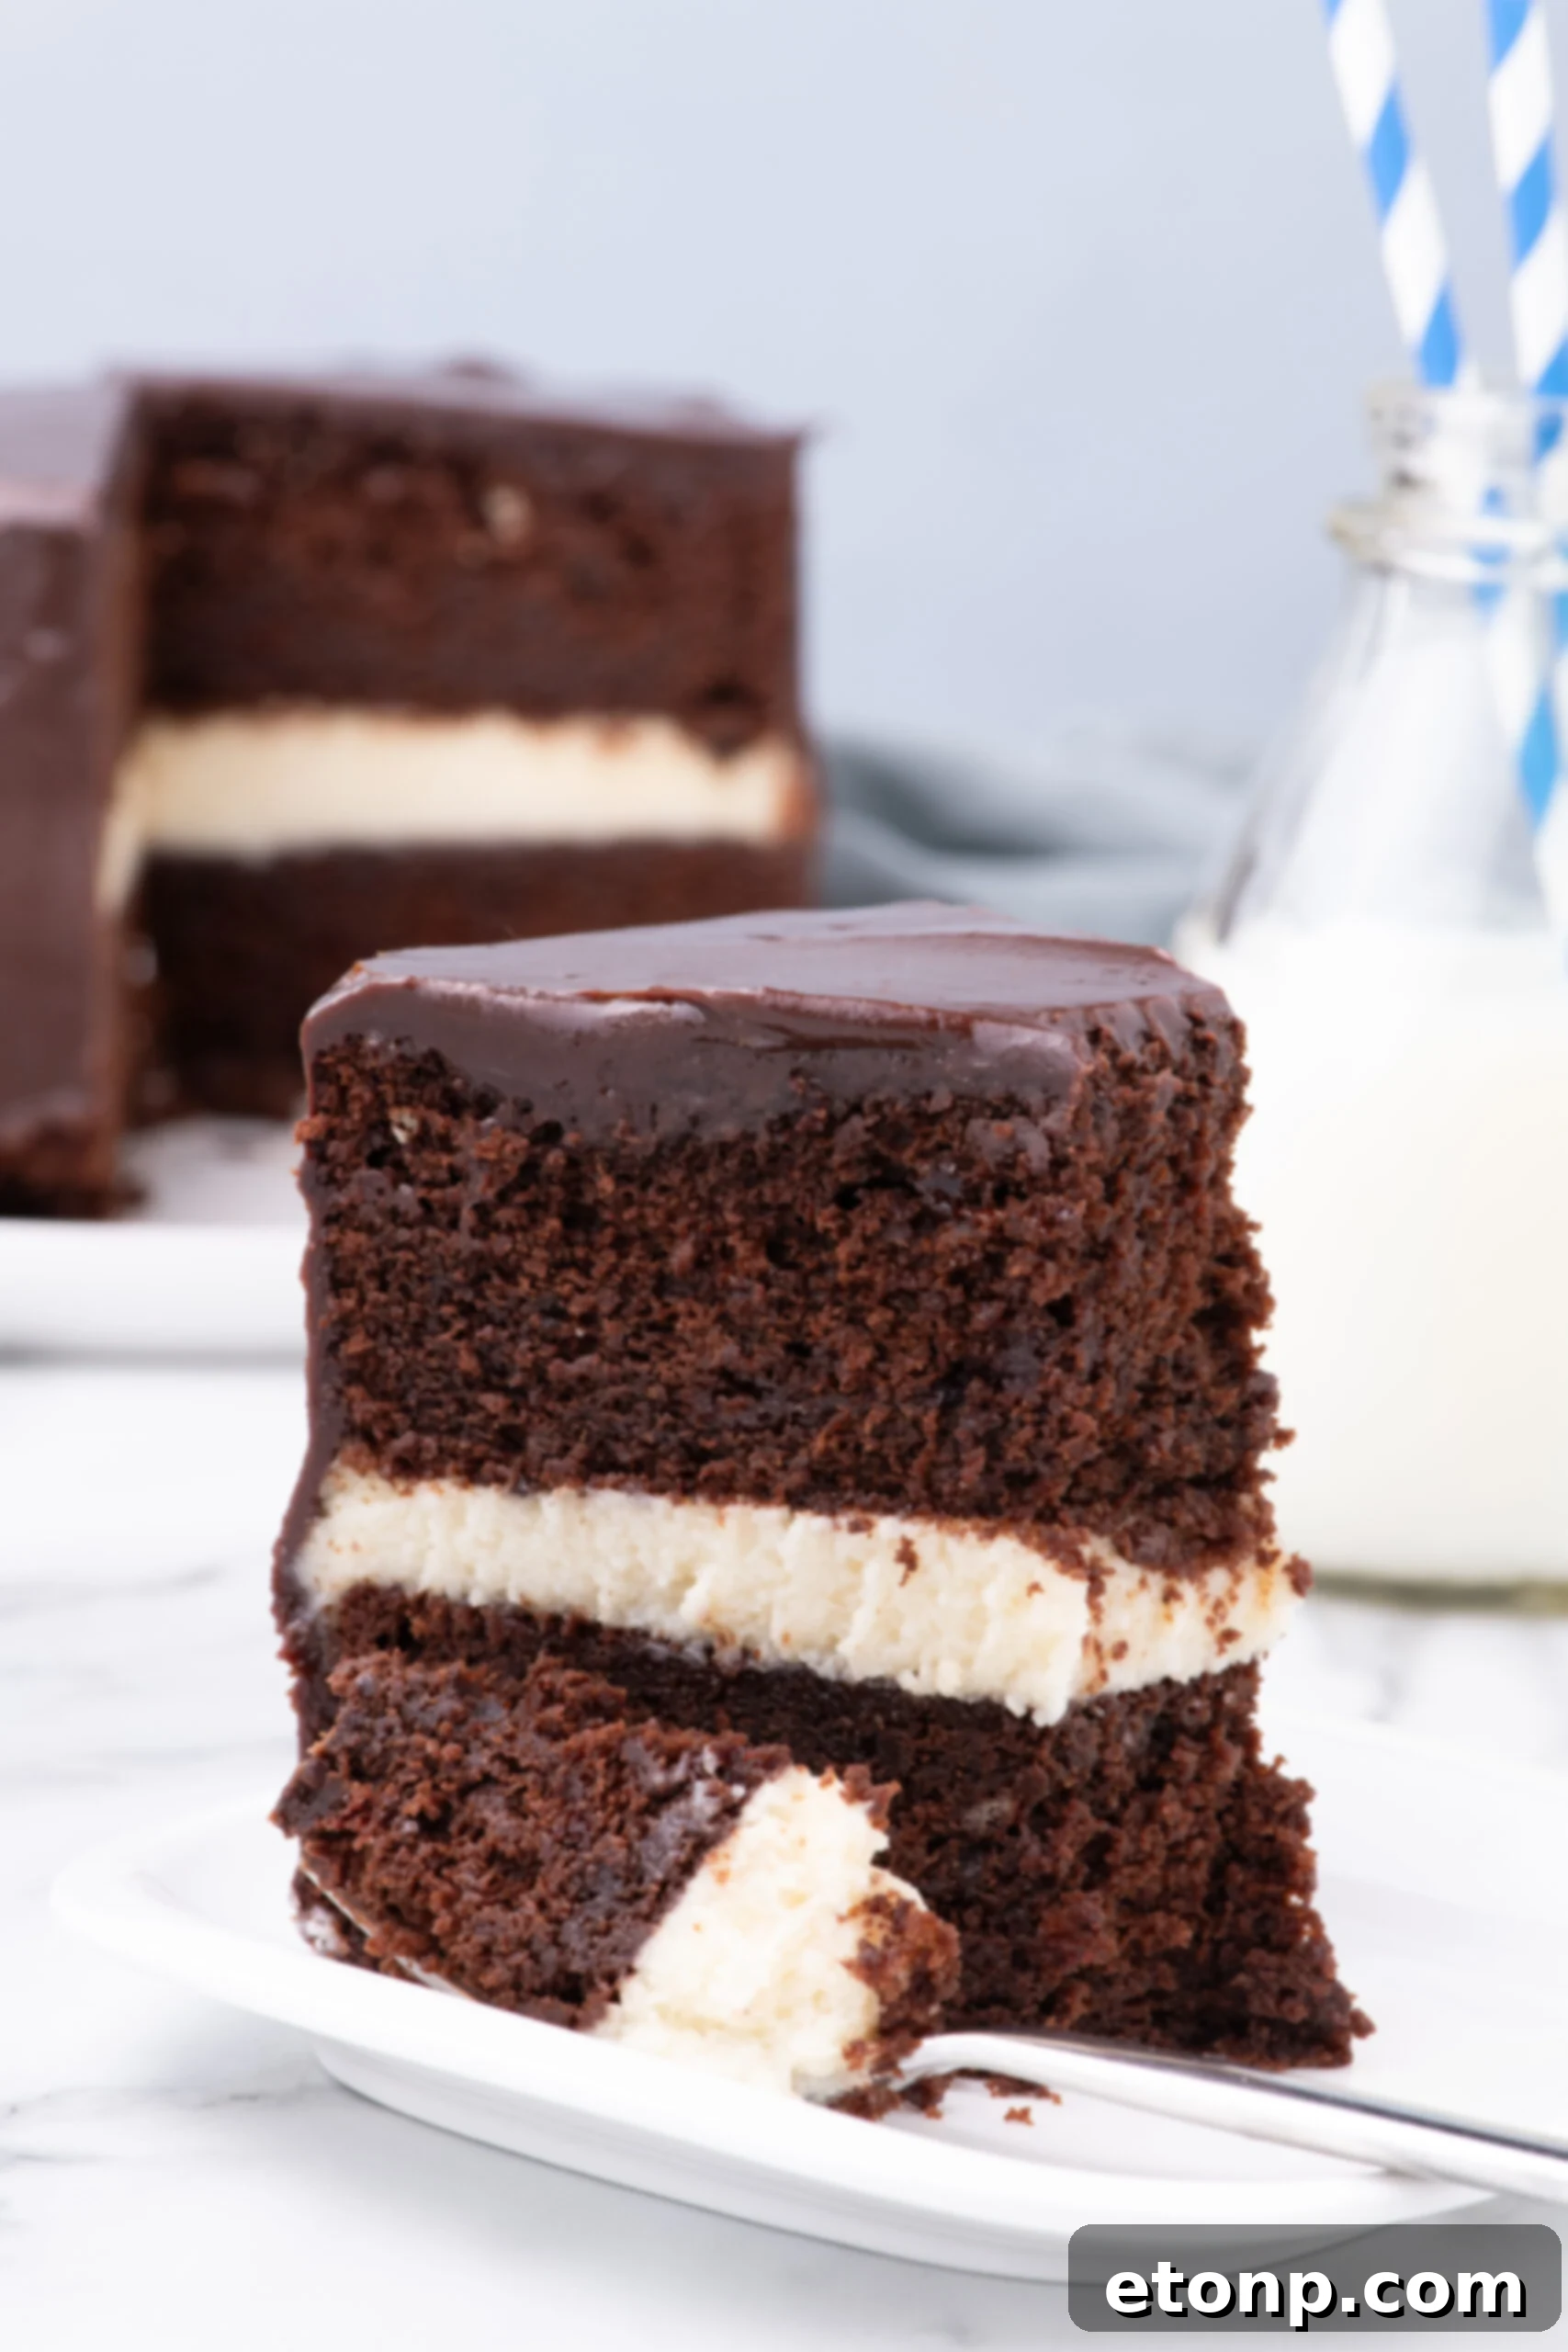
Indulge in Nostalgia: The Ultimate Homemade Ding Dong Cake
There’s an undeniable magic in transforming a beloved childhood snack into a grand, celebratory dessert. That moment when you’re standing in your kitchen, whisk in hand, gazing at a magnificent layered cake that’s essentially a supersized version of a Hostess Ding Dong, is truly special. It perfectly blends comforting nostalgia with a deep, satisfying chocolate craving, delivering exactly the kind of joyful dessert energy we all need. This isn’t merely a replica; it’s an elevated tribute, designed to evoke warm memories while creating new ones.
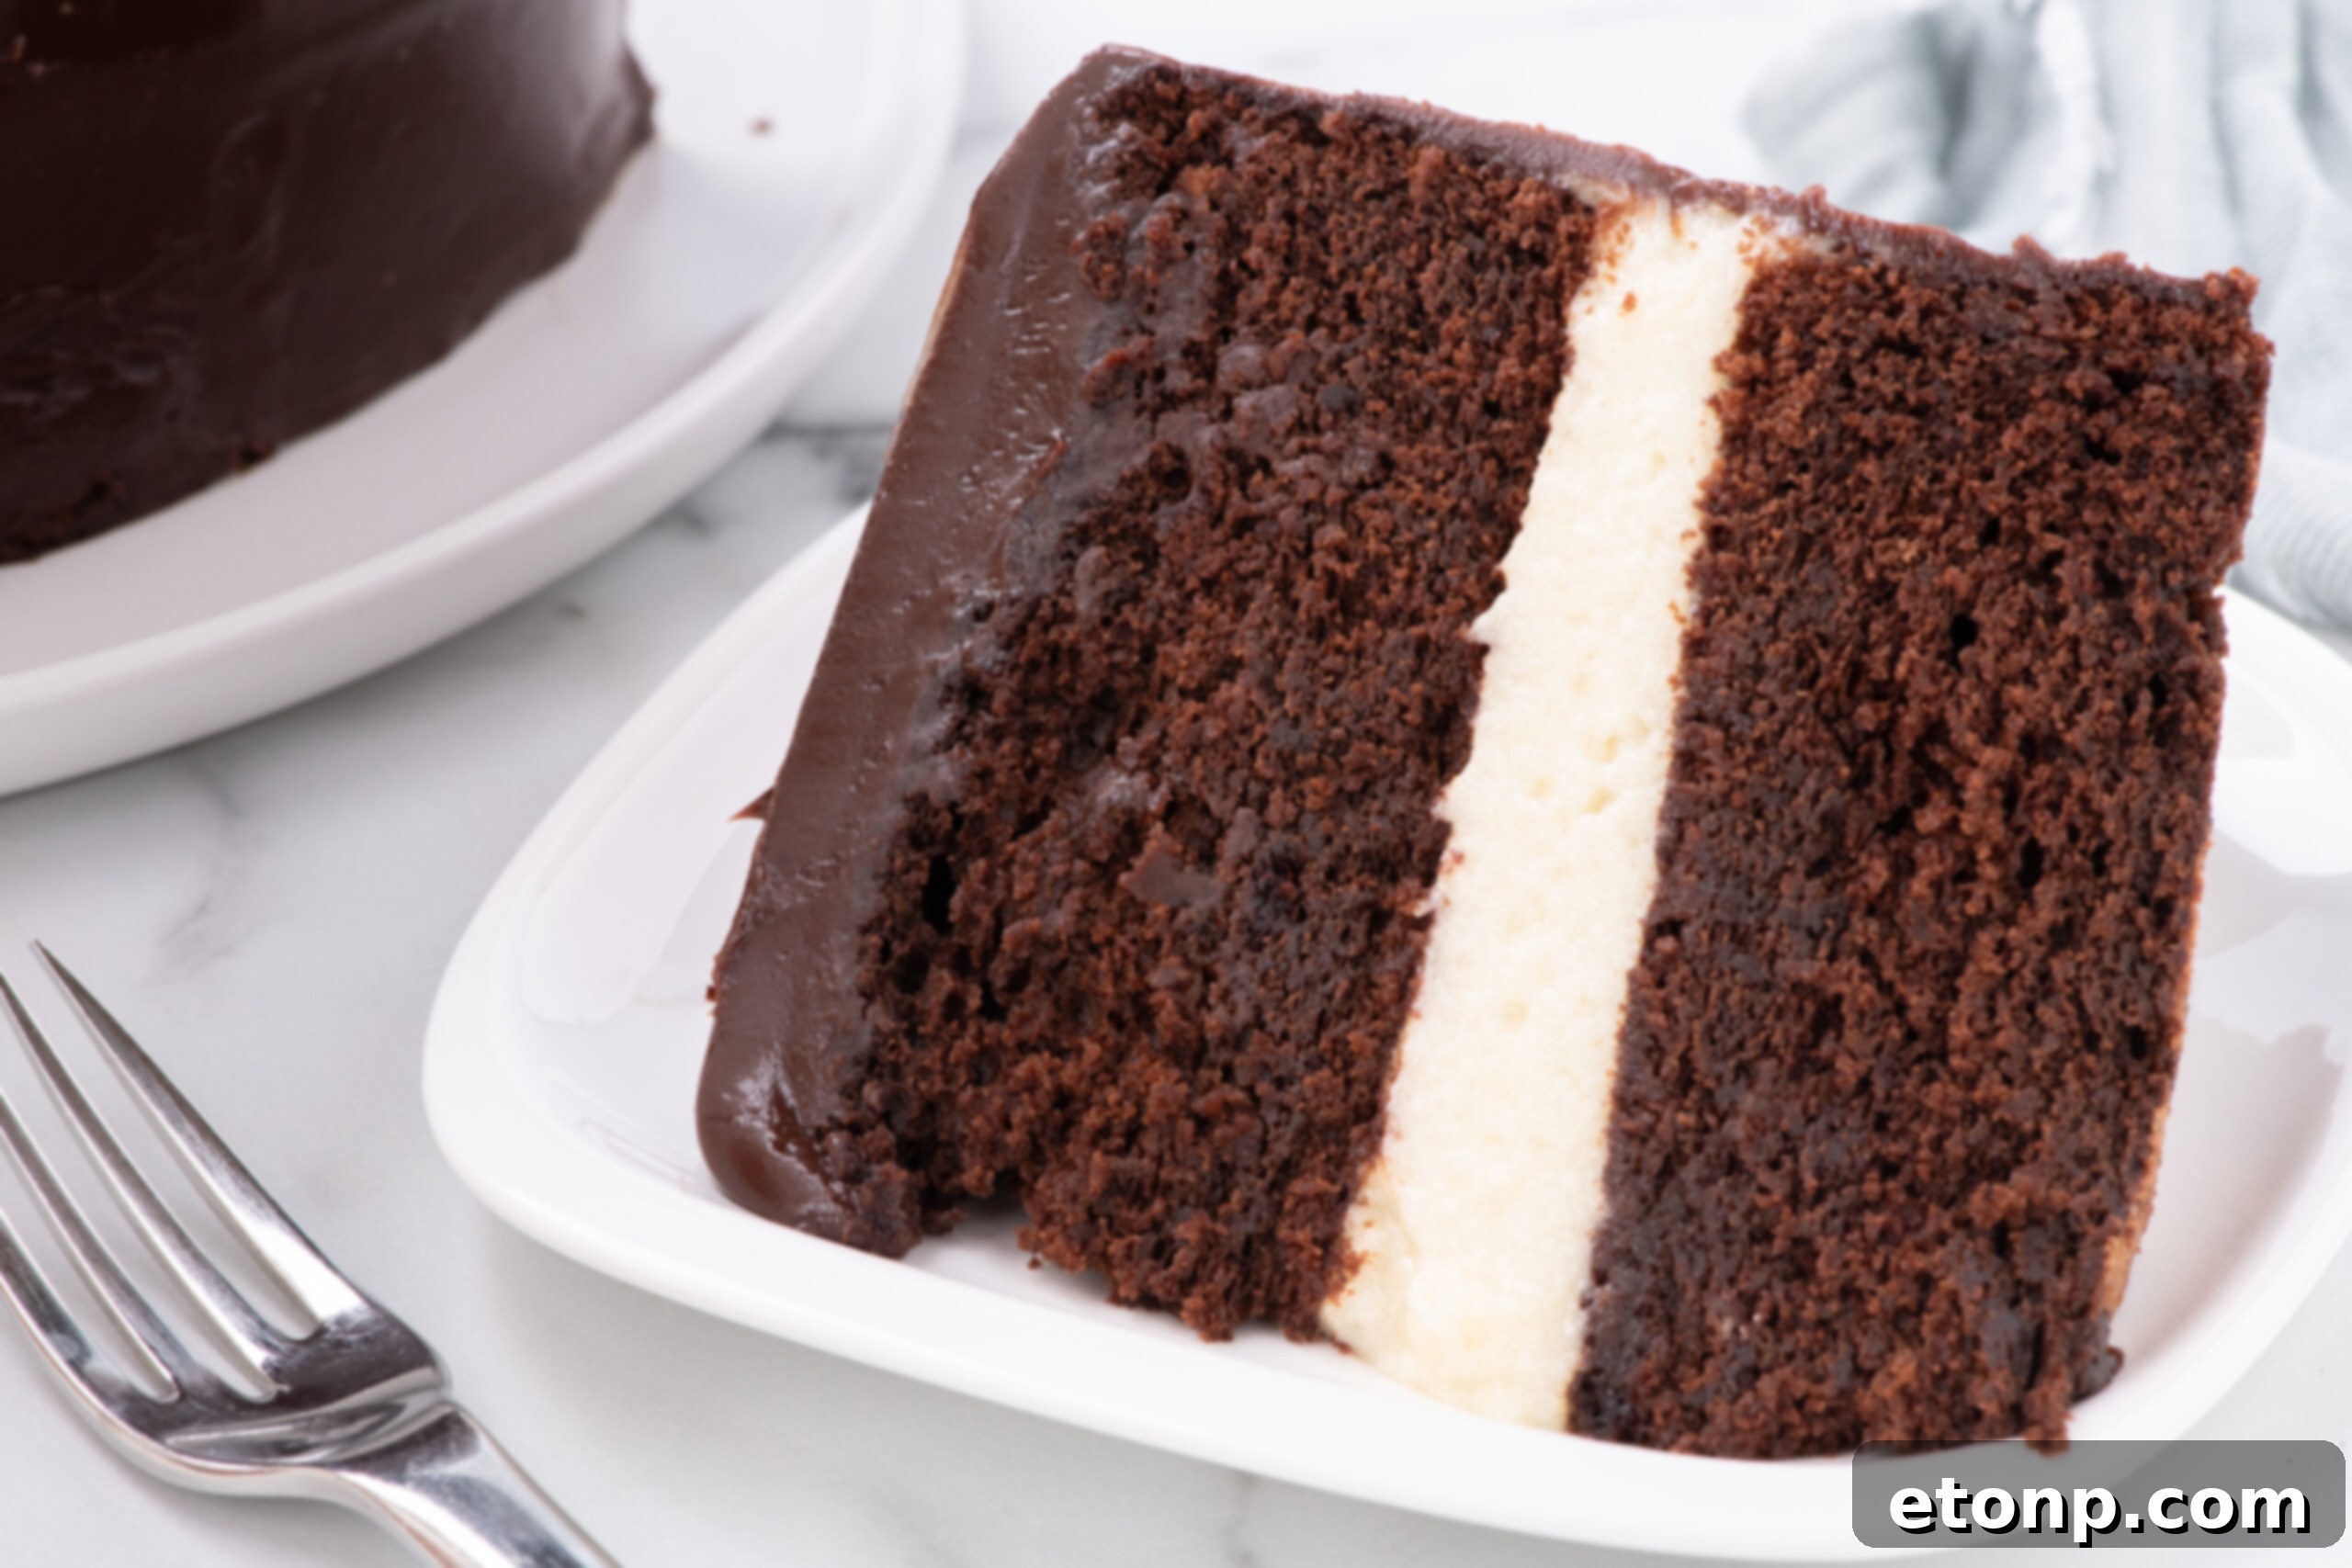
Our Ding Dong Cake, often lovingly referred to as a Ho Ho Cake or Hostess Cake depending on regional preferences, transcends the realm of a simple copycat recipe. This is a genuinely impressive, bakery-quality cake. It features two moist, rich layers of dark chocolate cake, generously sandwiched with a light, subtly sweet, and wonderfully creamy filling. Each layer contributes to a symphony of textures and flavors. The entire confection is then enveloped in a thick, shimmering chocolate ganache glaze – so satisfying to pour and even more delightful to eat. This is the kind of showstopper that inspires you to host an impromptu gathering, just so you can nonchalantly announce, “Oh, I just whipped up a Ding Dong Cake,” as if creating such a masterpiece is a routine Tuesday evening activity. While it might not be a typical weeknight bake, it’s certainly within reach, and the results are incredibly rewarding.
Spoiler alert: it’s not an everyday bake for most. But it *can* be, especially when you crave something truly extraordinary.
Mastering the Ding Dong Cake: A Labor of Love (Absolutely Worth It!)
Let’s be upfront: this isn’t a quick, one-bowl, eat-it-in-an-hour kind of dessert. The entire process, from mixing to chilling, will likely take around two hours or more. You’ll be using several bowls, your trusty stand mixer, a saucepan or two, and probably every spatula you own. However, if you’re in the mood for a culinary project that yields something far more spectacular and satisfying than any boxed cake mix, then this homemade Ding Dong Cake is precisely what you’re looking for. The effort invested translates directly into a depth of flavor and a gourmet experience that is simply unparalleled.
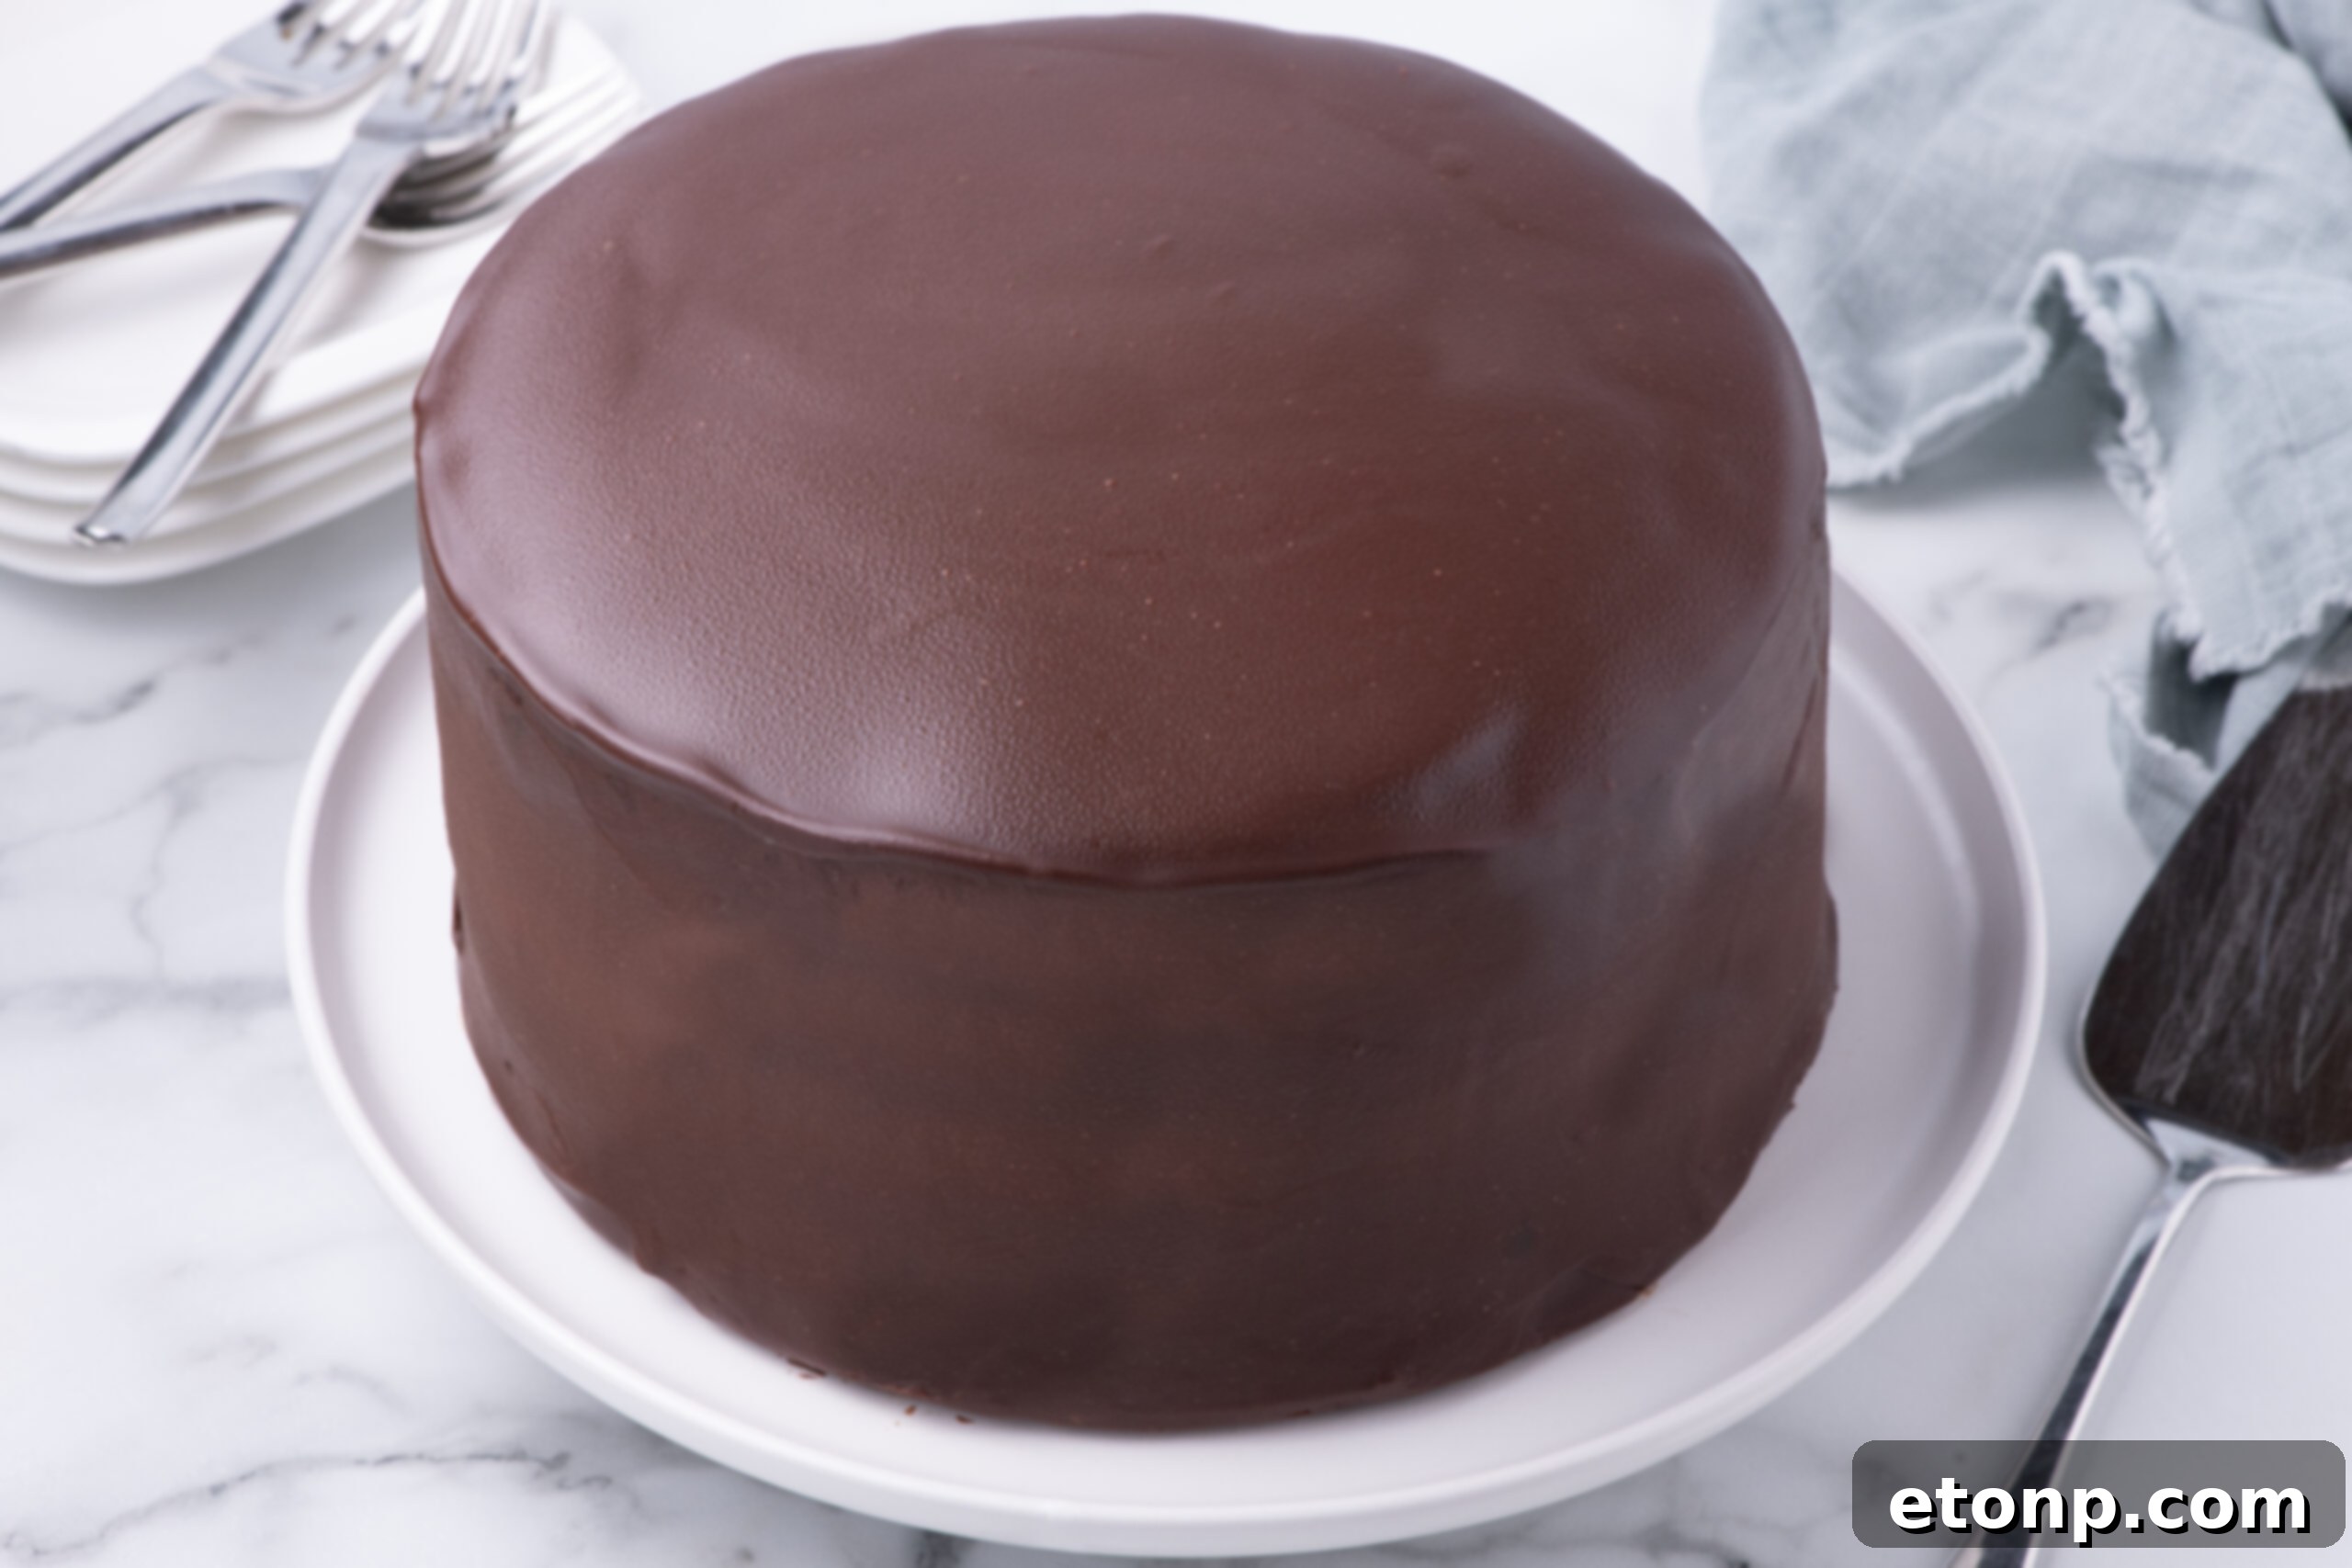
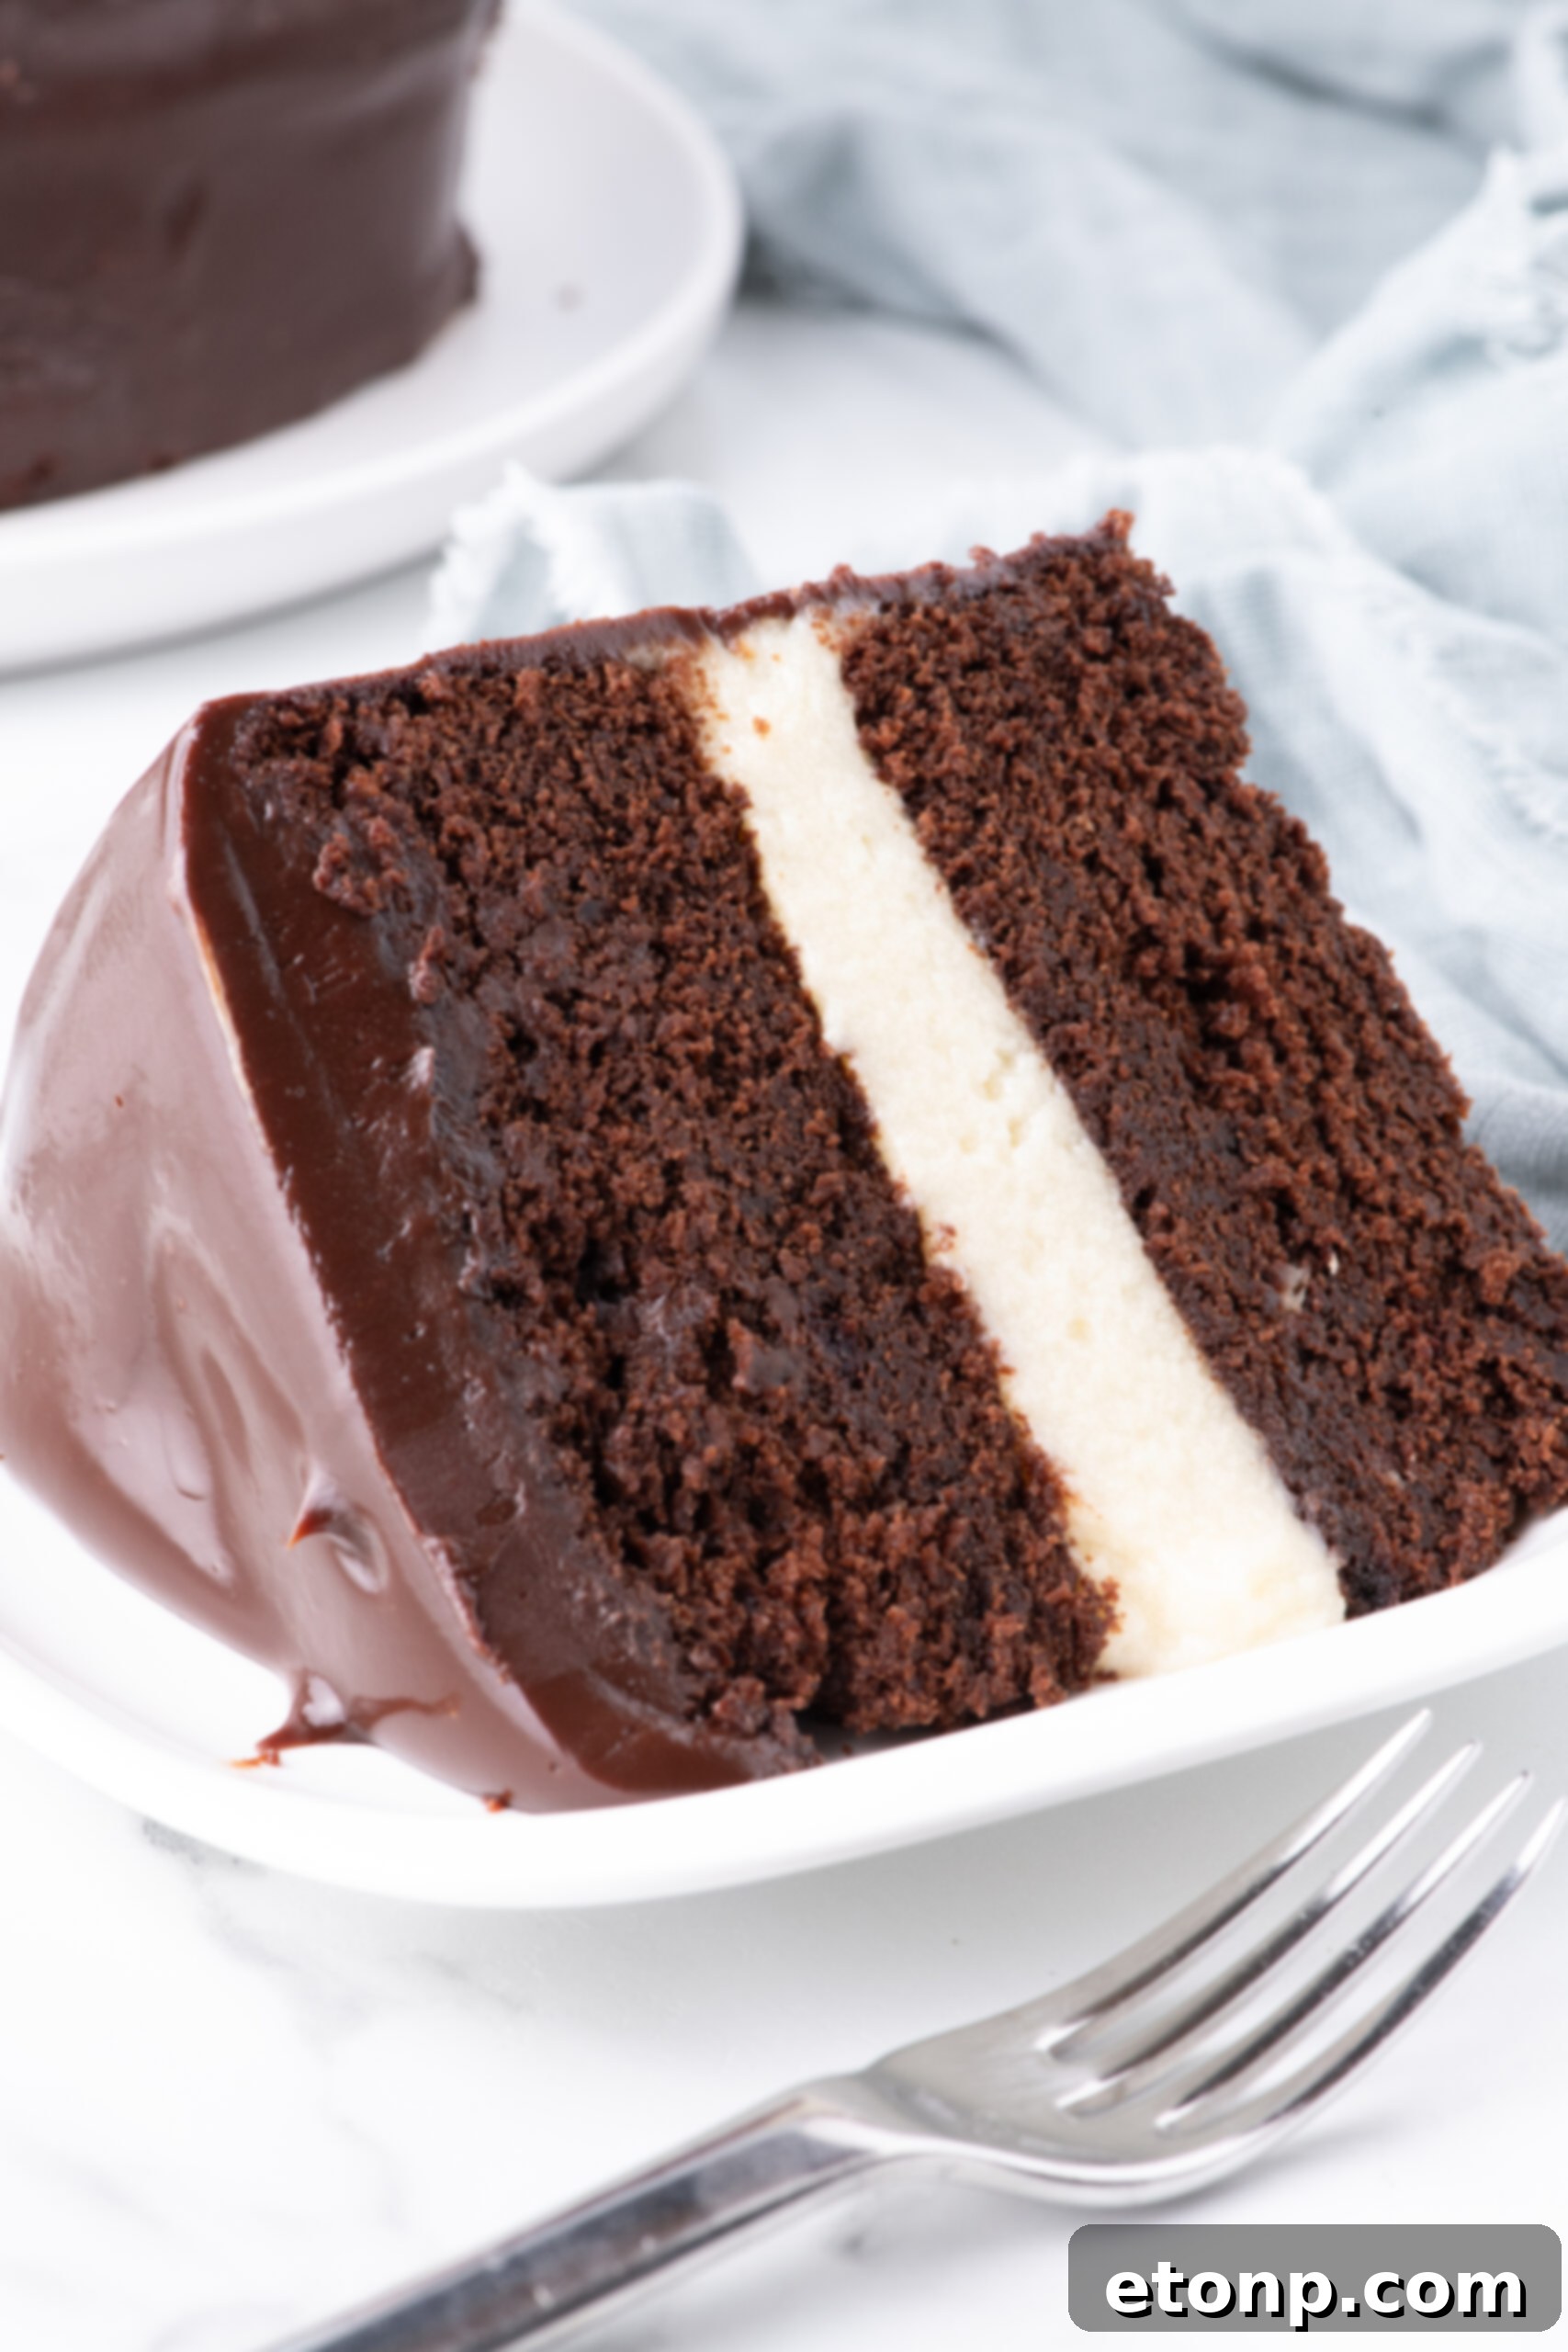
This exquisite chocolate cake is layered not just physically, but also in its complex and harmoniously balanced flavors. Each component plays a crucial role:
- **The Rich Chocolate Cake Base:** Crafted with a careful blend of coffee and high-quality cocoa powder, this foundation provides an incredible depth of flavor. Don’t worry, the coffee doesn’t make the cake taste like a mocha; instead, it ingeniously enhances and amplifies the rich, dark notes of the chocolate, making it truly exceptional.
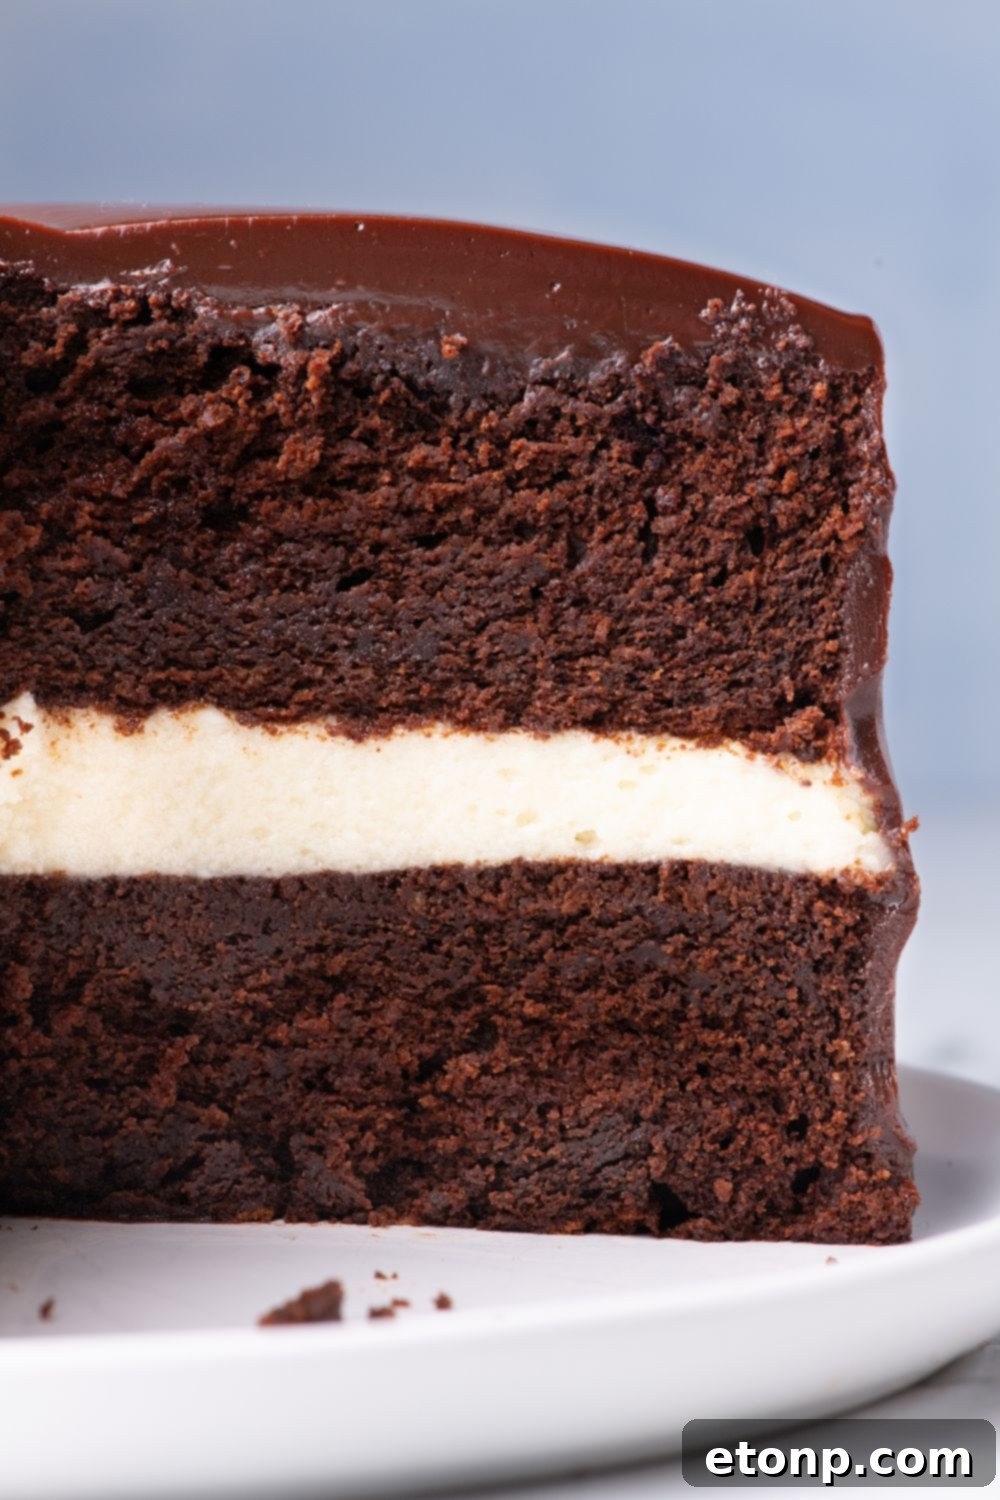
- **The Cloud-Like Creamy Filling:** This is not your standard whipped cream or a heavy buttercream. It’s a unique, light, and wonderfully fluffy creation that strikes the perfect balance somewhere in between. Its airy texture provides a delightful contrast to the dense cake layers, making each bite a harmonious experience.
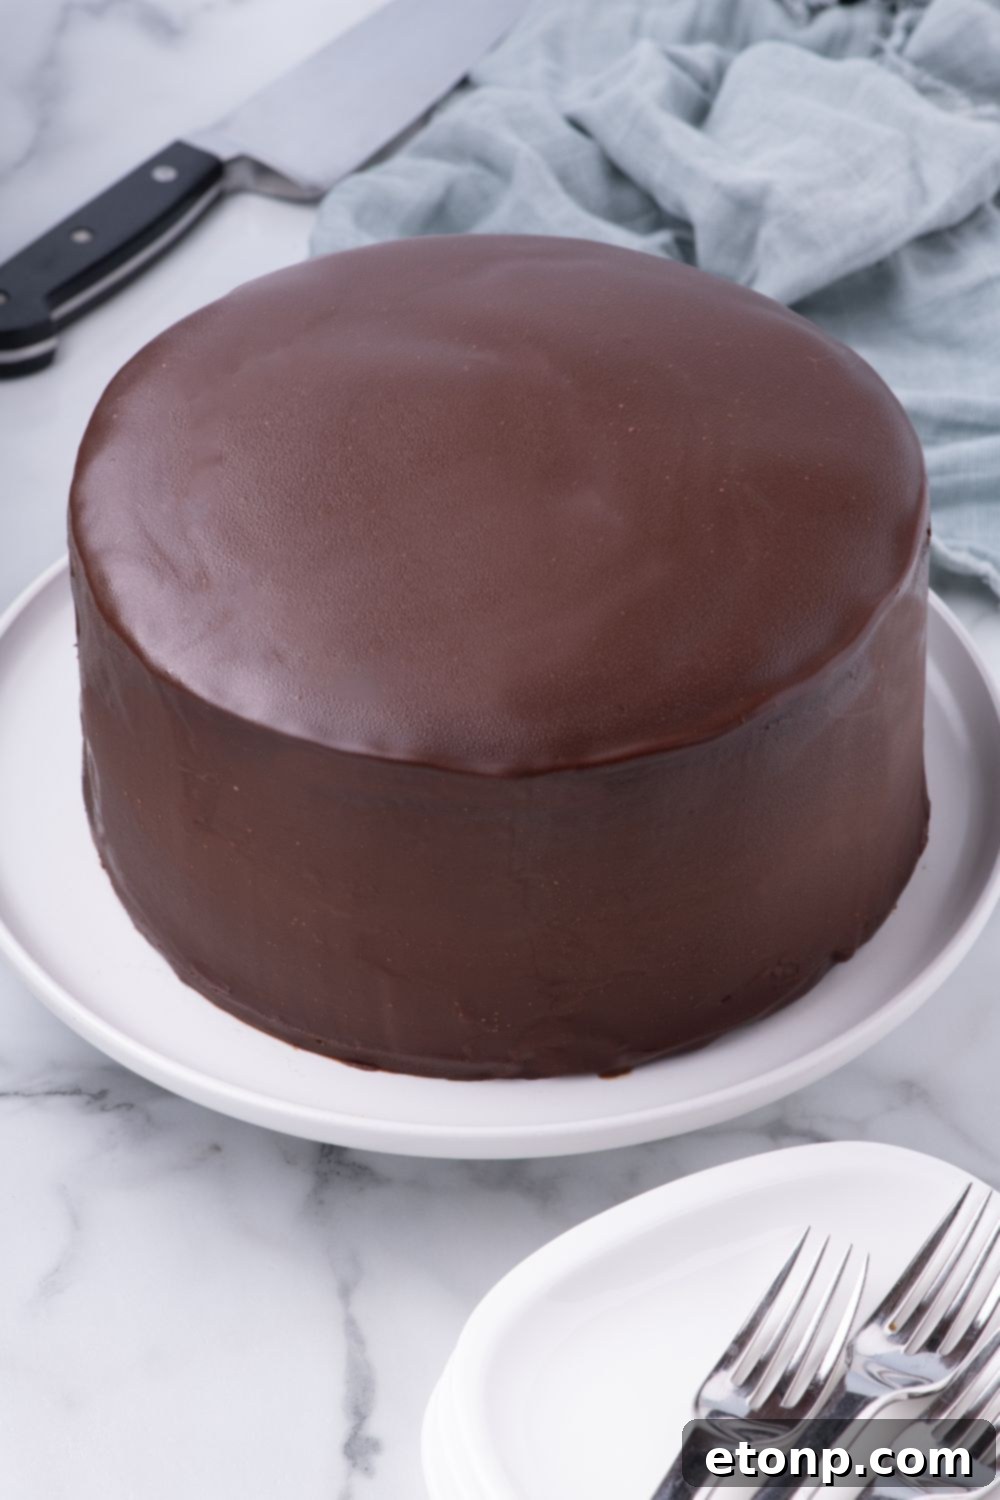
- **The Decadent Ganache Glaze:** A luscious, ganache-style chocolate glaze generously blankets the entire cake. It sets beautifully in the refrigerator, firming up just enough to create a clean slice, yet remaining incredibly shiny and invitingly smooth as you cut into it, ensuring a luxurious finish.
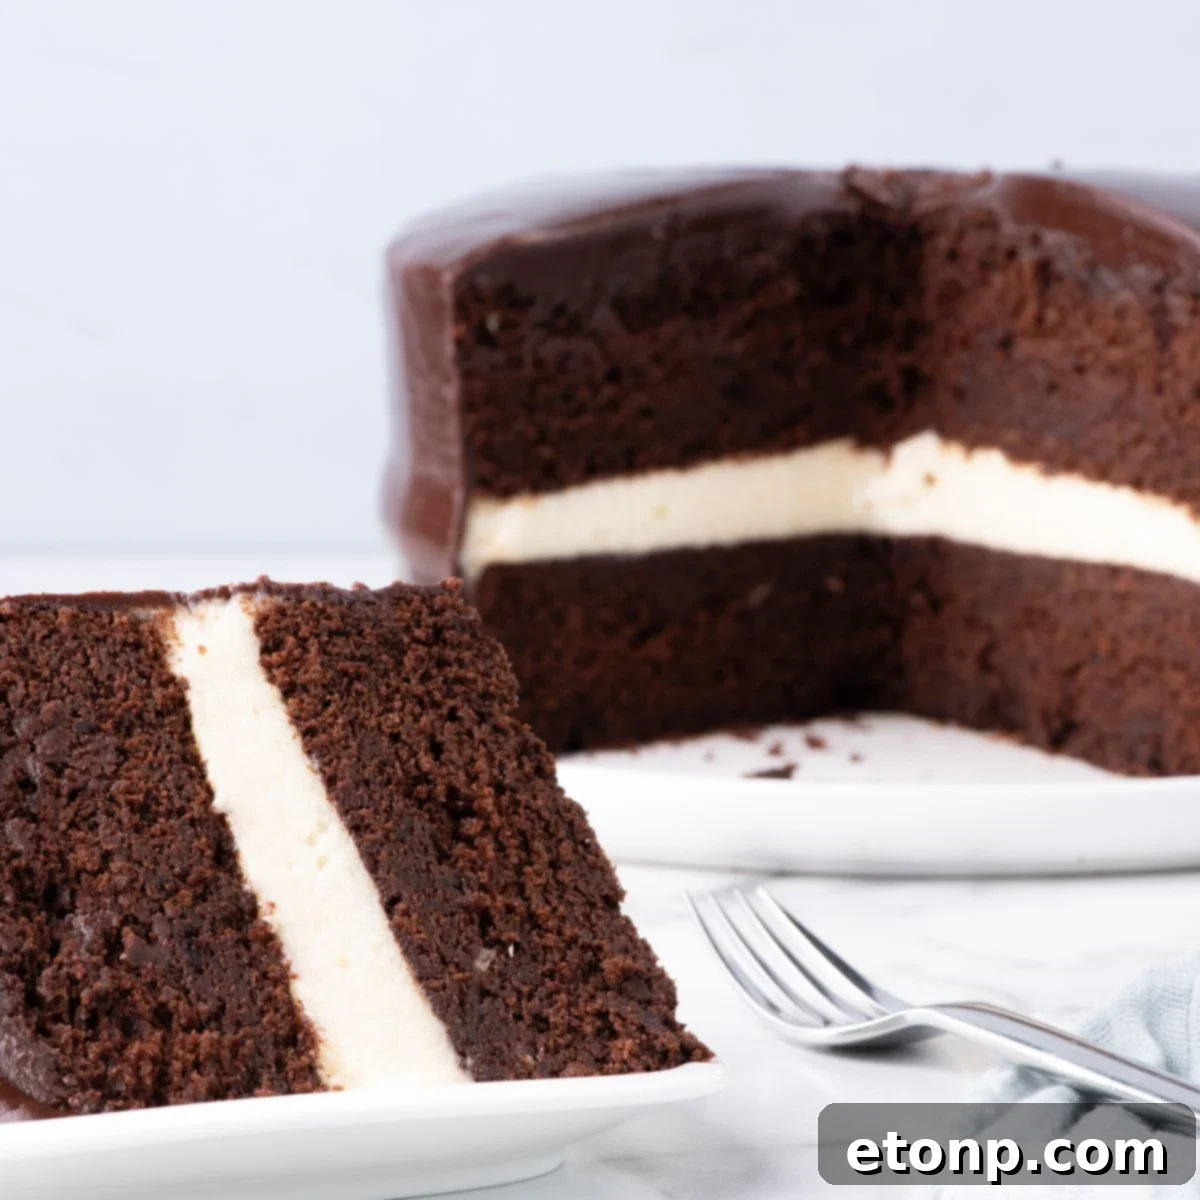
The Irresistible Appeal: Why Everyone Loves Ding Dong Cake
Honestly, a significant part of the widespread obsession with this cake stems from its sheer crave-worthiness. It achieves a remarkable balance: rich and deeply chocolatey, yet not excessively sweet. It offers a delightful interplay of textures—the moist cake, the airy filling, and the smooth glaze—combined with that powerful, “secretly nostalgic” factor. For anyone who grew up excitedly peeling back the foil from a little round snack cake, this homemade version will undoubtedly tap into those treasured memories in the most delicious way imaginable. It’s a taste of the past, elevated for the present.
What’s more? This Ding Dong Cake is an absolute showstopper. Its perfectly poured, glossy chocolate glaze alone gives the impression that you’re an experienced baker, even if it’s your very first attempt at a layered cake. It’s one of those elegant desserts that truly doesn’t require any additional embellishments like sprinkles, fresh fruit, or elaborate piping. It confidently stands on its own, a testament to its inherent beauty and deliciousness.
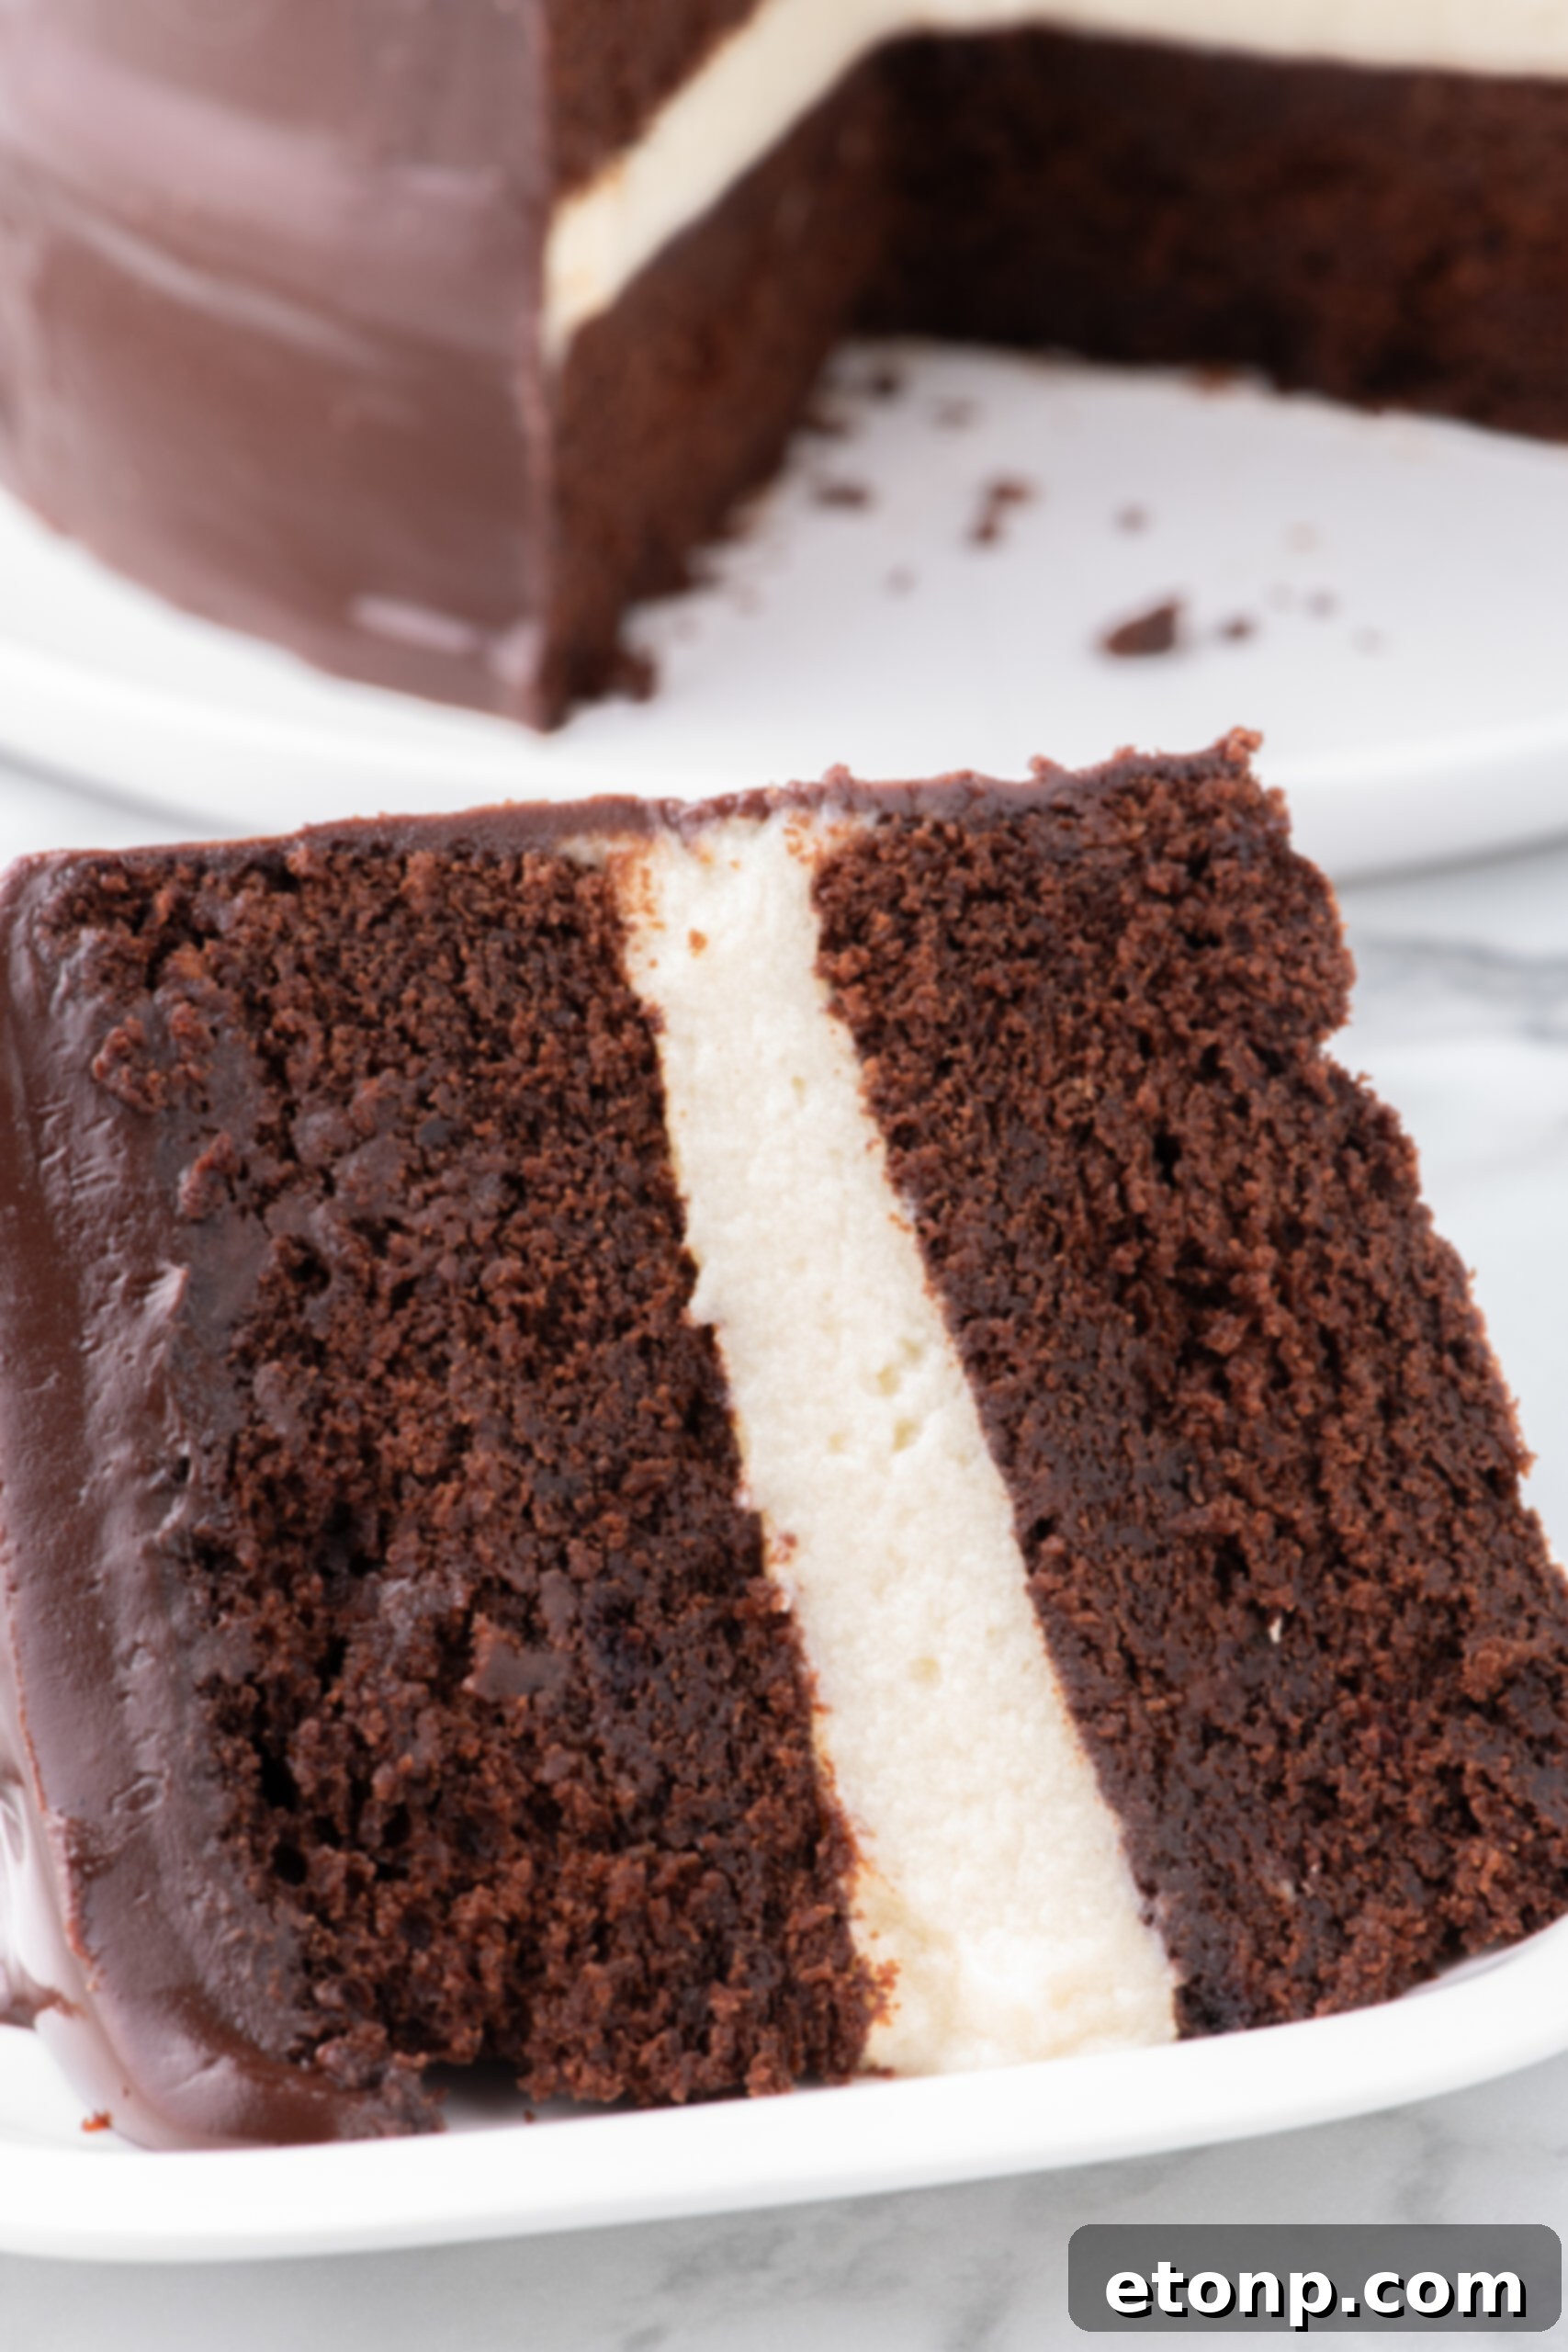
Essential Baking Tips for Every Home Baker (Even If You’re a Cake Newbie!)
If you find yourself thinking, “This looks incredible, but I’m not a seasoned baker,” rest assured, you can absolutely make this cake a success! Here are some invaluable tips to guide you through the process, ensuring a perfect outcome:
- The Crucial Chocolate-Coffee Mix: This combination is the absolute backbone of the cake’s flavor profile – do not, under any circumstances, skip it. While you won’t distinctly taste the coffee, its presence is vital as it dramatically deepens and intensifies the dark, rich chocolate flavor, making it truly standout.
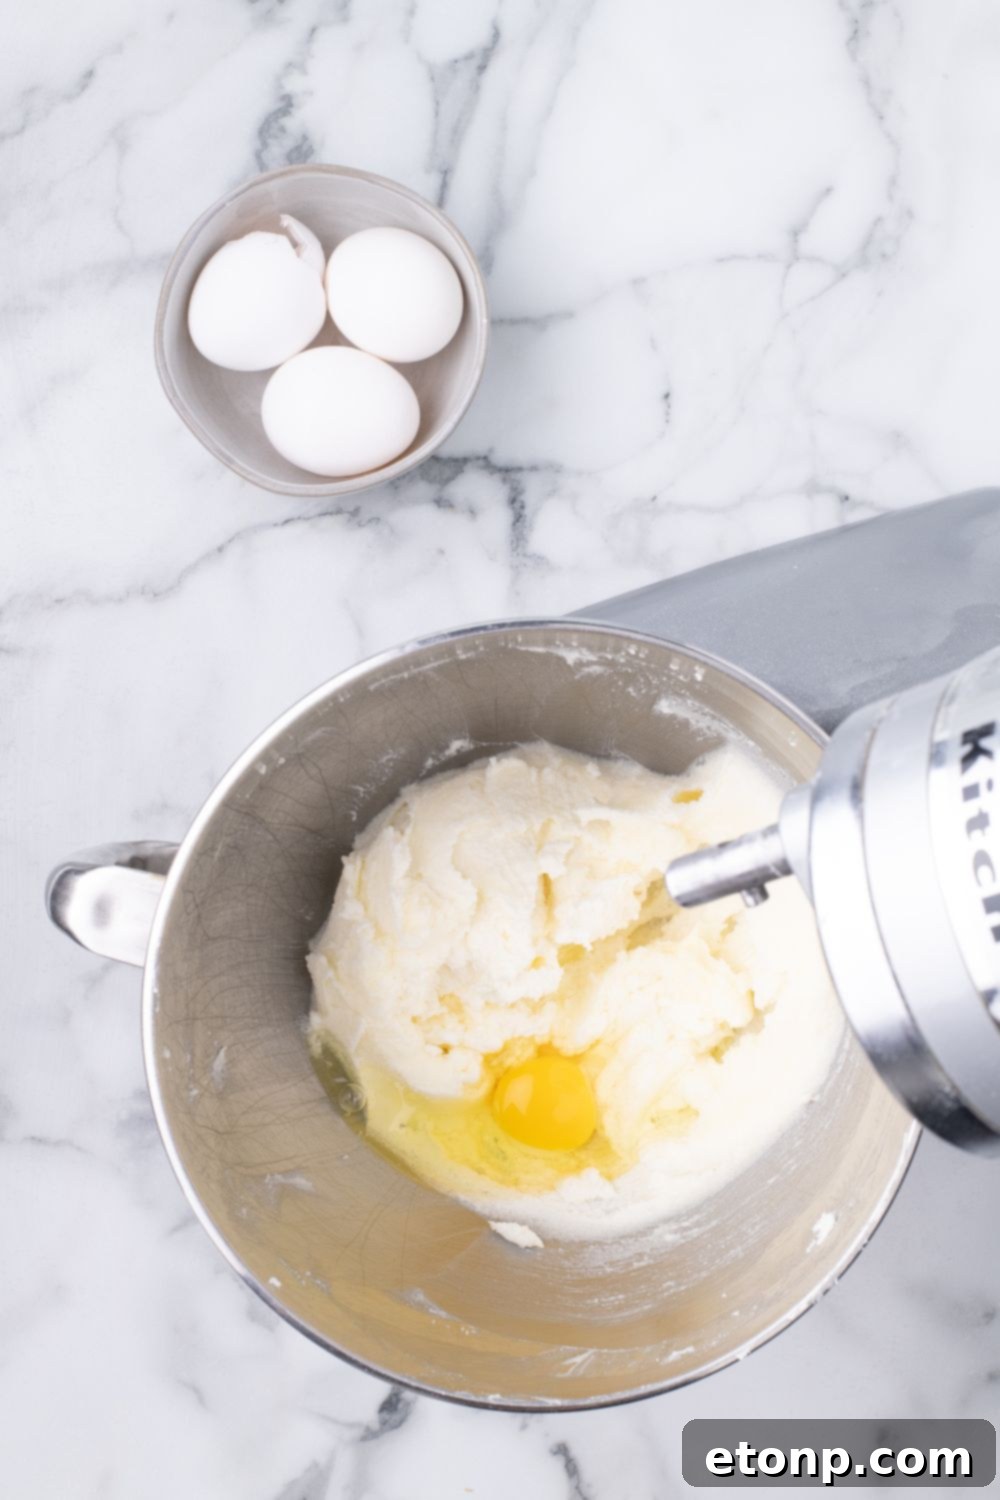
- Room Temperature Ingredients are Key: Paying attention to details like using room temperature butter and eggs truly makes a significant difference. These ingredients emulsify much more smoothly, preventing a clumpy batter and ensuring a uniform, tender crumb in your finished cake.
- Embrace the Unique Filling Process: The filling method might seem a little unconventional at first. Cooking flour and cream into a thick, pudding-like base before whisking it with butter might sound odd, but wholeheartedly trust the process. This technique is the secret to achieving the lightest, most ethereal, and cloud-like middle layer, making it the true star and MVP of this Ding Dong Cake.
- The Forgiving Ganache Glaze: Don’t stress over the glaze; it’s remarkably forgiving. If it thickens too much, simply warm it gently over a double boiler or in short bursts in the microwave until it reaches a pourable consistency. If it’s too thin, let it sit at room temperature for a bit longer to firm up. When applying, pour it slowly and let gravity do most of the work – no intricate piping or fancy tricks are necessary for a beautiful finish.
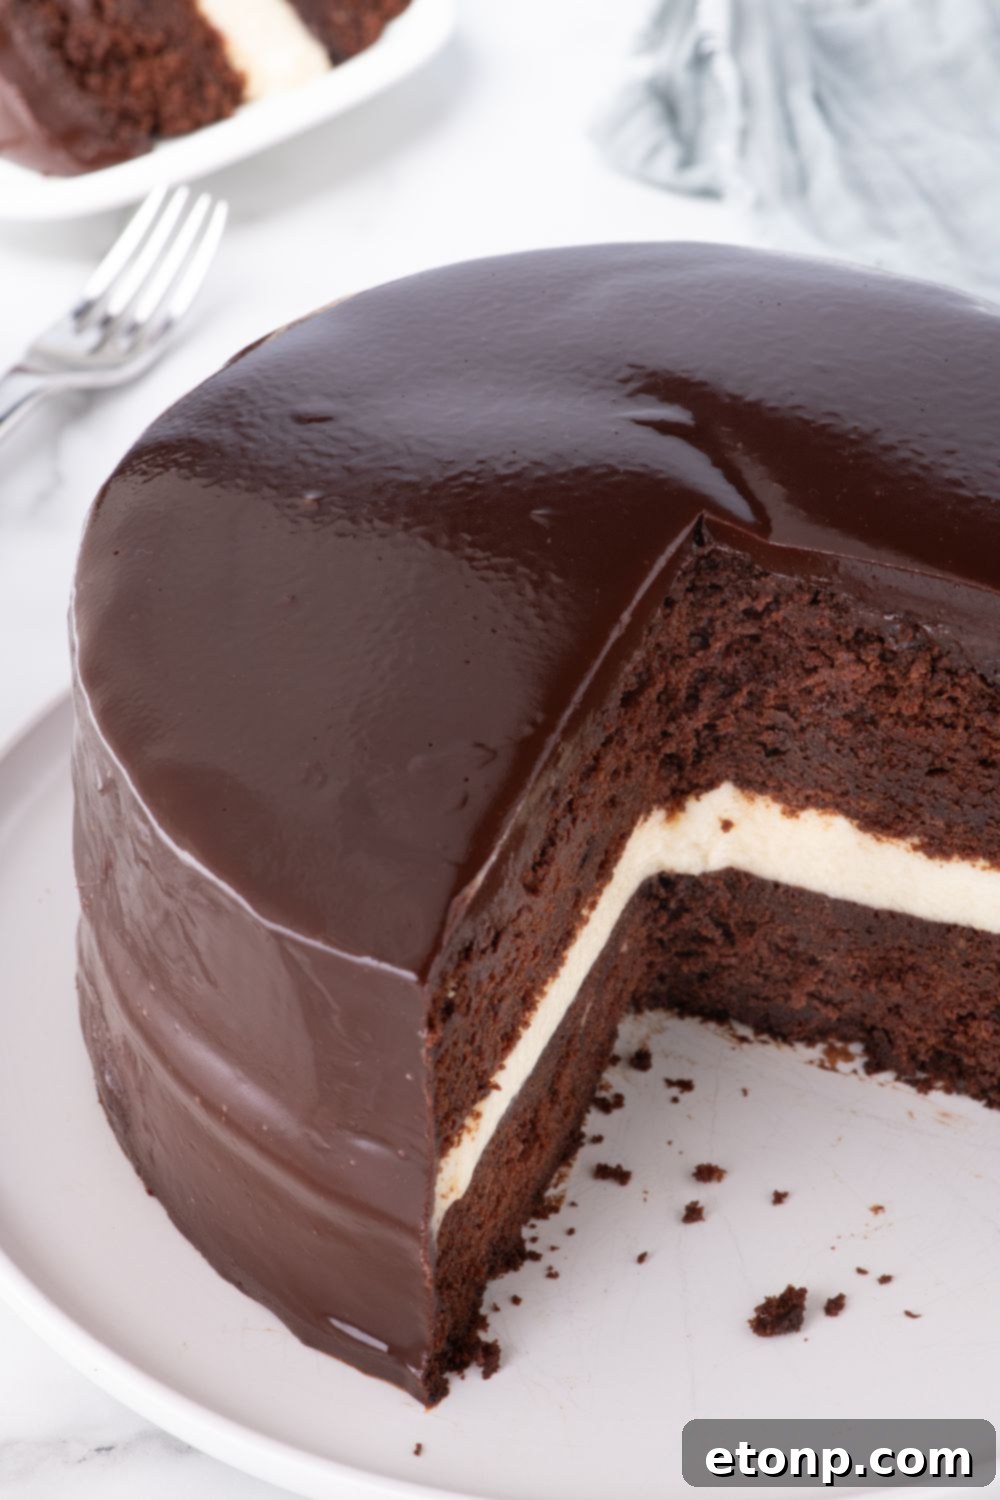
- Chill Time is Non-Negotiable: Allow this assembled cake at least an hour (or preferably more) in the refrigerator to properly firm up before attempting to slice it. This crucial chill time ensures that the creamy filling sets perfectly, holding its beautiful shape when you cut into those inviting layers, preventing any messy spills.
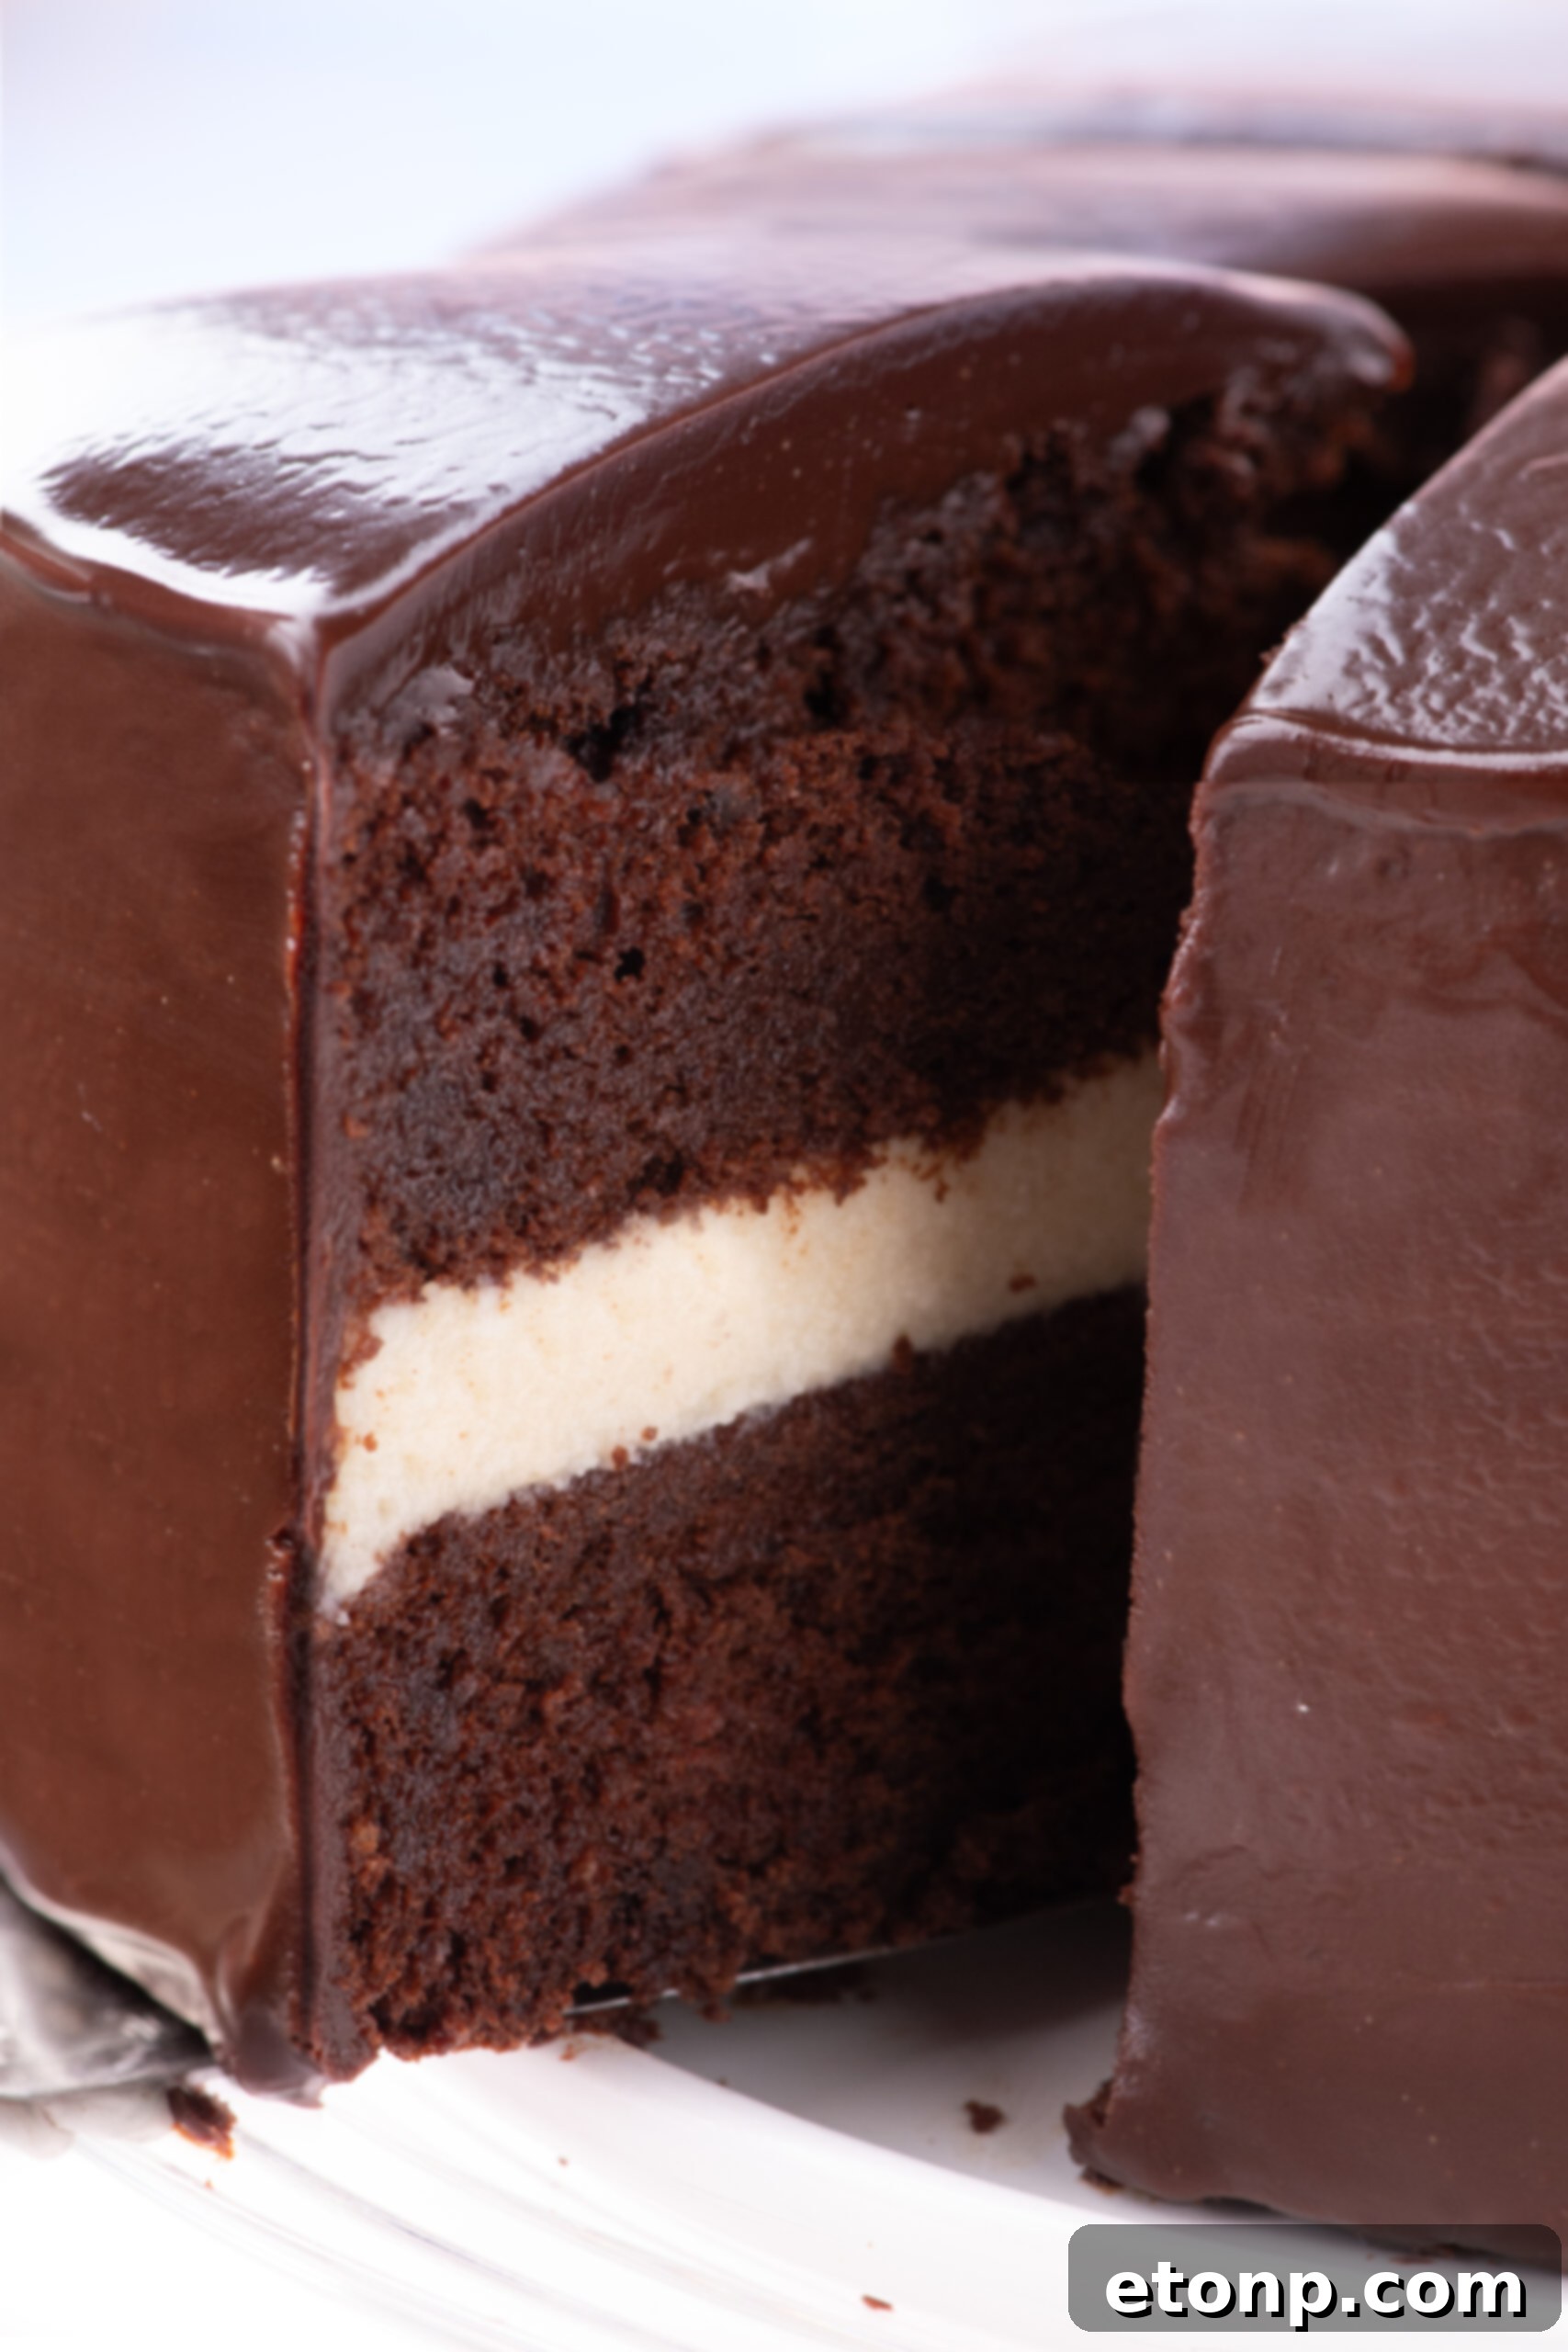
The Perfect Occasion: When to Bake This Iconic Cake
When is the best time to make this incredible Ding Dong Cake? A birthday celebration? Absolutely. A casual potluck? Without a doubt. A random Tuesday evening simply because you’re craving something deeply satisfying and chocolatey? One hundred percent yes! This cake transcends specific occasions, fitting perfectly into almost any scenario where deliciousness is desired.
But perhaps the very best time to bake this cake is when you’re in need of a little personal triumph in the kitchen. It’s a project, to be sure, involving multiple steps and a bit of dedication. Yet, it’s an immensely rewarding one. If you’re going to invest a couple of hours in baking, you might as well emerge with a dessert that is not only profoundly crave-worthy but also beautiful, shareable, and destined to become a beloved favorite. It’s a delightful way to spend an afternoon and reap sweet rewards.
Ding Dong Cake Frequently Asked Questions (FAQ)
Get all your questions answered about making, storing, and customizing this delightful Ding Dong Cake.
Can I prepare this Ding Dong Cake in advance?
Yes, absolutely! In fact, this cake often tastes even better the next day once the flavors have had a chance to meld and deepen. We highly recommend making it the night before and chilling it overnight in the refrigerator. This allows the various components to settle beautifully, and the ganache glaze will set perfectly for clean slicing.
Is it okay to omit the coffee from the recipe?
You certainly can substitute the hot coffee with an equal amount of hot water. However, it’s worth noting that the coffee is not included for its flavor but rather for its remarkable ability to significantly enhance and bring out the deep, rich notes of the chocolate. Even if you’re not a coffee enthusiast, we strongly encourage you to include it in this recipe for the best possible chocolate flavor profile.
What is the texture of the filling like? Is it similar to whipped cream?
The filling for this Ding Dong Cake isn’t quite like traditional whipped cream, nor is it as dense as a typical buttercream. It’s a unique and delightful hybrid, striking a perfect balance between the two. Expect a wonderfully creamy, yet surprisingly light and fluffy texture that isn’t overly sweet. It’s designed to hold its shape beautifully between the cake layers without feeling heavy, offering a perfect textural contrast.
What’s the best way to store this cake?
To maintain its freshness and deliciousness, store your Ding Dong Cake covered tightly in the refrigerator. When properly stored, it will remain fresh and delightful for up to 4 days. For the optimal soft bite and flavor experience, we recommend letting it come to room temperature for about 30 minutes before serving.
Can I use a boxed cake mix to simplify the recipe?
Certainly, if you’re particularly short on time or simply prefer to streamline the baking process, using a high-quality boxed chocolate cake mix is an option. The true magic and distinction of this Ding Dong Cake primarily lie in its unique, homemade creamy filling and the luscious chocolate ganache glaze. However, once you experience the superior taste and texture of the from-scratch chocolate cake layers, you might find it hard to go back to a mix!
Is it possible to freeze the Ding Dong Cake?
You can definitely freeze the individual chocolate cake layers ahead of time. Simply wrap them tightly in plastic wrap and then in foil, and thaw them thoroughly before assembling the cake. Unfortunately, the fully assembled cake, due to its delicate cream filling, does not freeze well, as the texture of the filling can be compromised upon thawing.
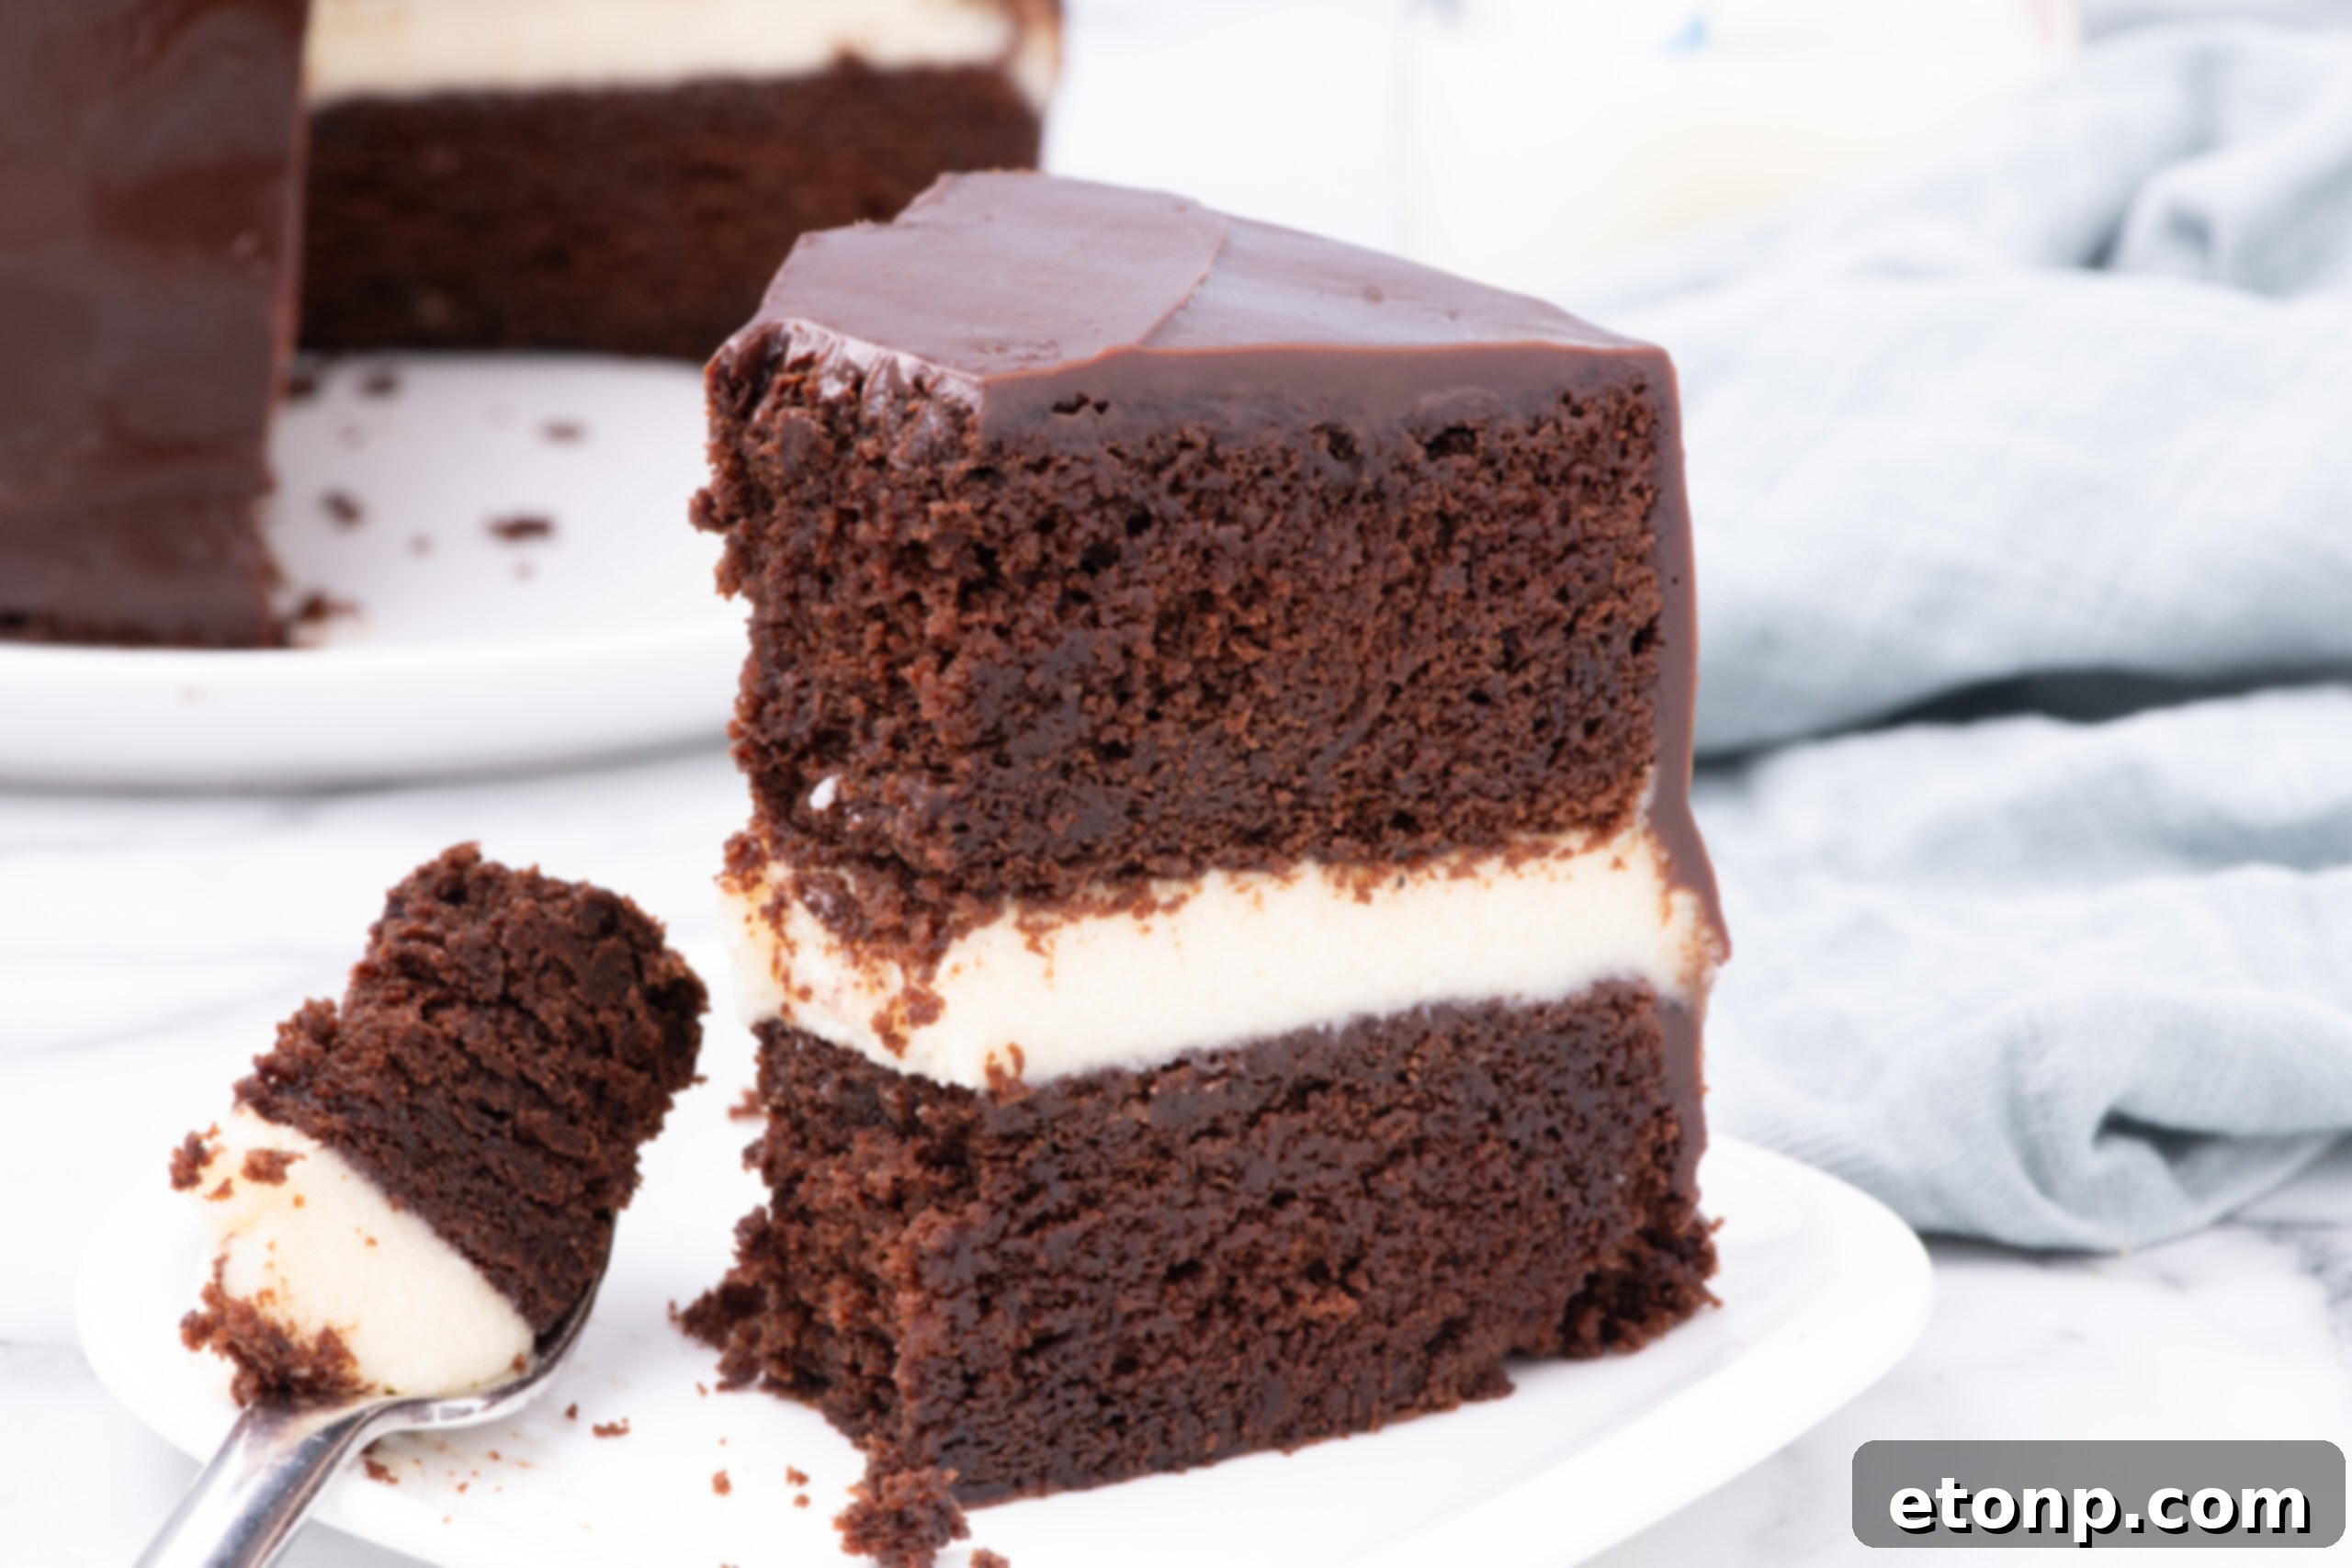
This exquisite Ding Dong layered cake brilliantly captures all the beloved flavors of your favorite nostalgic snack cake, elevated to a sophisticated dessert. Both children and adults will be thrilled to receive a generous slice of this sweet, chocolatey delight. Its comforting familiarity paired with its luxurious presentation makes it an instant crowd-pleaser for any occasion.
Craving more fantastic cake ideas to impress your friends and family? Be sure to whip up this incredible Italian Love Cake, our decadent Oreo Icebox Cake, or even the uniquely flavored Dr. Pepper Cake. These are all exceptionally popular cake recipes cherished by readers of the blog. Each of these desserts is guaranteed to become the highlight of your next gathering and the subject of much praise!
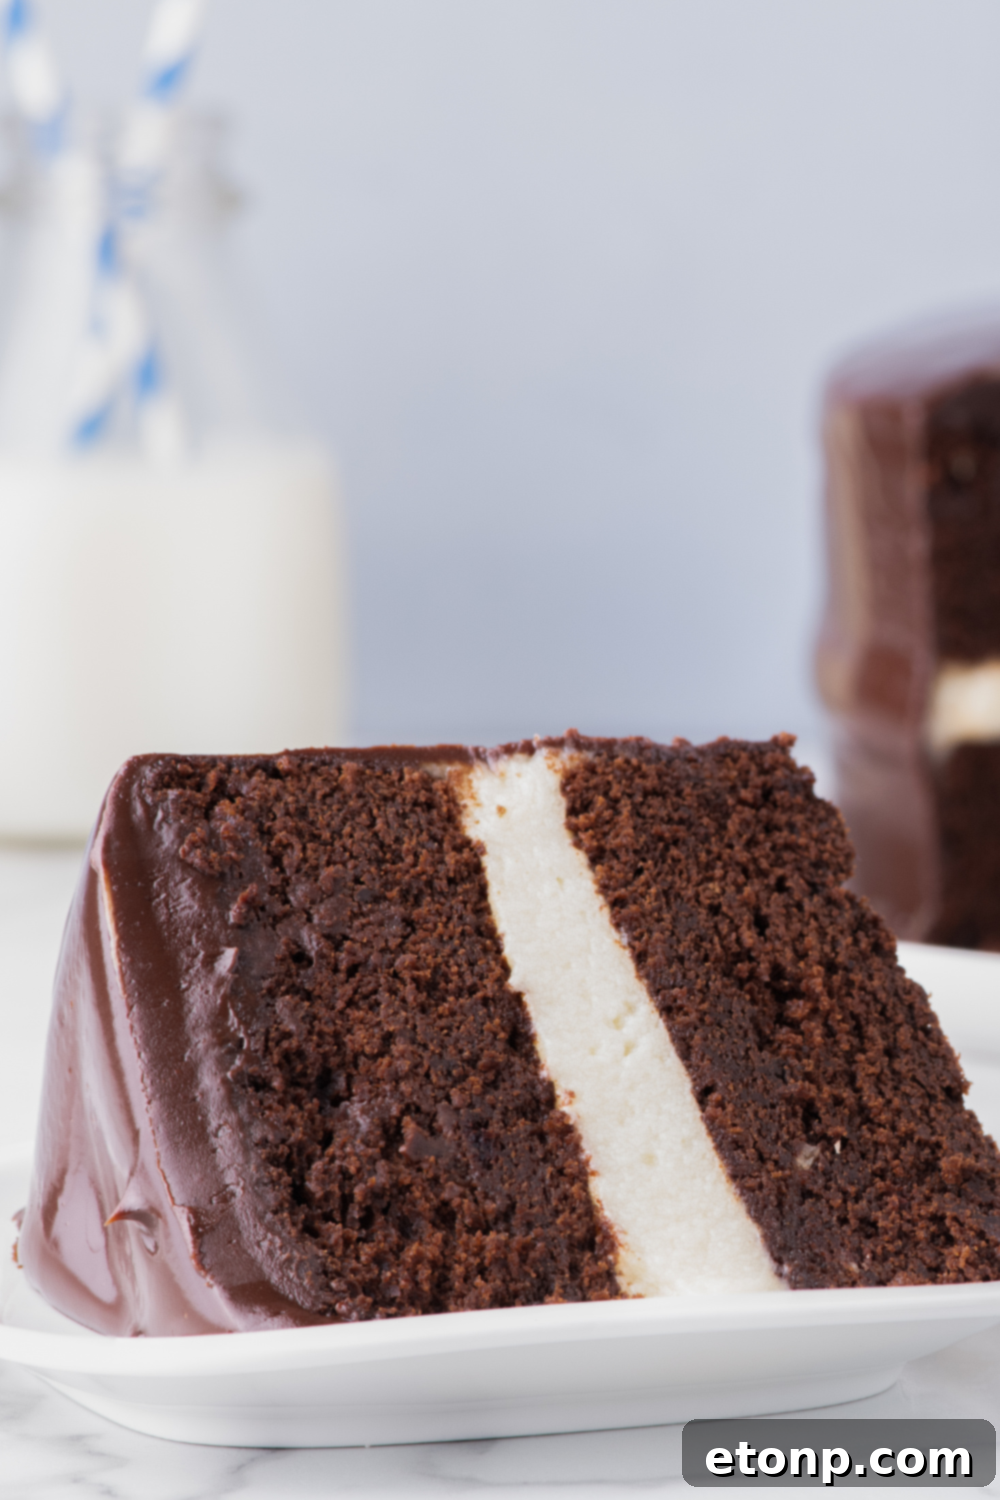
Compelling Reasons to Bake This Incredible Ding Dong Cake
- **Authentic Snack Cake Flavor, Elevated:** This recipe delivers all the classic, comforting flavors of a traditional Ding Dong snack cake, but with the superior quality and rich taste that only a homemade dessert can offer.
- **Rich, Deep Chocolate Experience:** Crafted from scratch, this cake boasts a truly rich and bold chocolate flavor in every single bite, far surpassing anything store-bought. It’s a chocolate lover’s dream come true.
- **Ultra-Fluffy, Bright White Filling:** The star-studded filling is exceptionally fluffy and strikingly white, perfectly replicating the iconic, snowy-white cream found in those cherished classic snack cakes, providing a delightful textural contrast.
- **Versatile for Any Occasion:** This stunning cake is incredibly versatile. It’s elegant enough to serve as a show-stopping birthday party dessert, comforting enough for a simple weeknight treat, or thoughtful enough to bake as a heartfelt gift for a loved one.
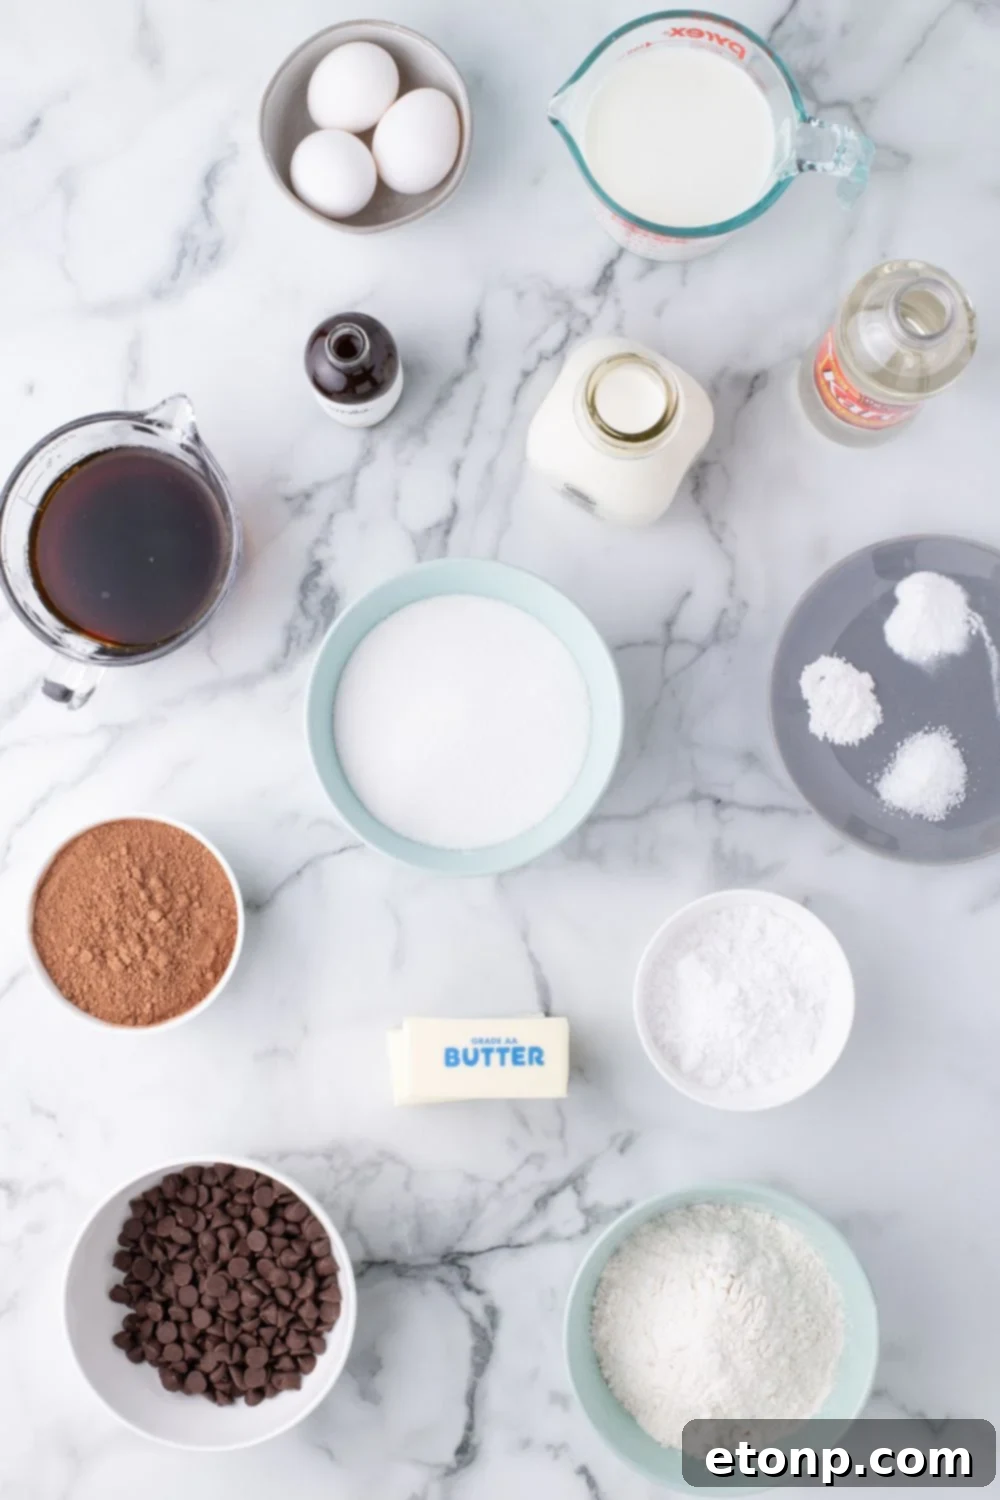
Essential Ingredients You Will Need for Your Ding Dong Cake
Gathering the right ingredients is the first step to creating this delectable Ding Dong Cake. Here’s a breakdown of what you’ll need and why each component is important:
- **Unsalted Butter:** Always opt for unsalted butter at room temperature. This is crucial for both the cake batter and the creamy filling, as it allows for proper creaming with sugar, resulting in a light, fluffy texture and better control over the cake’s overall saltiness.
- **Unsweetened Cocoa Powder:** This ingredient is vital for enriching the deep, dark chocolate flavor of the cake layers, giving it that signature Ding Dong taste. Use a good quality cocoa for the best results.
- **Semi-Sweet Chocolate Chips:** Divided for both the cake and the ganache, semi-sweet chocolate offers a balanced sweetness. While you can substitute with dark chocolate for a more intense flavor or milk chocolate for a sweeter profile, be aware that it will slightly alter the final taste.
- **Vanilla Extract:** Essential for adding a warm, aromatic depth to both the cake and the filling. For the filling, consider using a clear vanilla extract to help maintain its bright white, snow-like appearance.
- **Hot Black Coffee:** Don’t skip this! A cup of strong, hot black coffee is a secret weapon that won’t make your cake taste like coffee. Instead, it incredibly deepens and amplifies the chocolate flavor, making it richer and more profound.
- **Buttermilk:** This magical ingredient is key to creating a wonderfully moist, tender, and vibrant crumb in the chocolate cake, reacting with the baking soda to give a perfect lift.
- **Baking Soda and Baking Powder:** These leavening agents work in tandem to give the cake its desirable light and fluffy texture, ensuring it rises beautifully and isn’t dense.
- **Sea Salt:** A touch of sea salt is used to balance and elevate the flavors in both the cake and the frosting components, enhancing their sweetness and richness without making it taste salty.
- **Granulated Sugar:** Sweetness is essential! The sugar is carefully divided between the cake batter and the creamy filling, providing just the right amount of sweetness to each component.
- **Large Eggs:** Ensure your eggs are at room temperature. This helps them incorporate more smoothly and completely into the cake batter, creating a uniform emulsion and a finer cake texture.
- **Heavy Cream:** This rich dairy product is used for both the luxurious ganache glaze and a portion of the creamy filling, contributing to their decadent texture and velvety mouthfeel.
- **Light Corn Syrup:** This often-overlooked secret ingredient in the ganache helps create that beautiful, glossy sheen and smooth texture, preventing crystallization and adding an extra layer of sweetness and silkiness.
Expert Tips for Perfectly Baked Cake and Flawless Frosting
Achieving bakery-quality results at home is easier than you think with these professional tips for baking your chocolate cake and preparing the dreamy filling and glaze:
- **Level Your Cake Layers:** For a professional, even appearance and stable layers, use a serrated bread knife or a specialized cake leveler to carefully trim the domed tops off your cooled cake layers. This creates flat surfaces that stack beautifully.
- **Avoid Overmixing the Batter:** Once you’ve added the dry ingredients, mix the cake batter only until just combined. Overmixing develops the gluten in the flour, which can lead to a tough, dense cake with a less desirable texture.
- **Ensure Cakes Are Completely Cool:** Patience is a virtue here! It’s absolutely crucial to allow your cake layers to cool completely before you even think about adding the creamy filling. If the cakes are still warm, the delicate filling will melt, creating a messy and unstable cake.
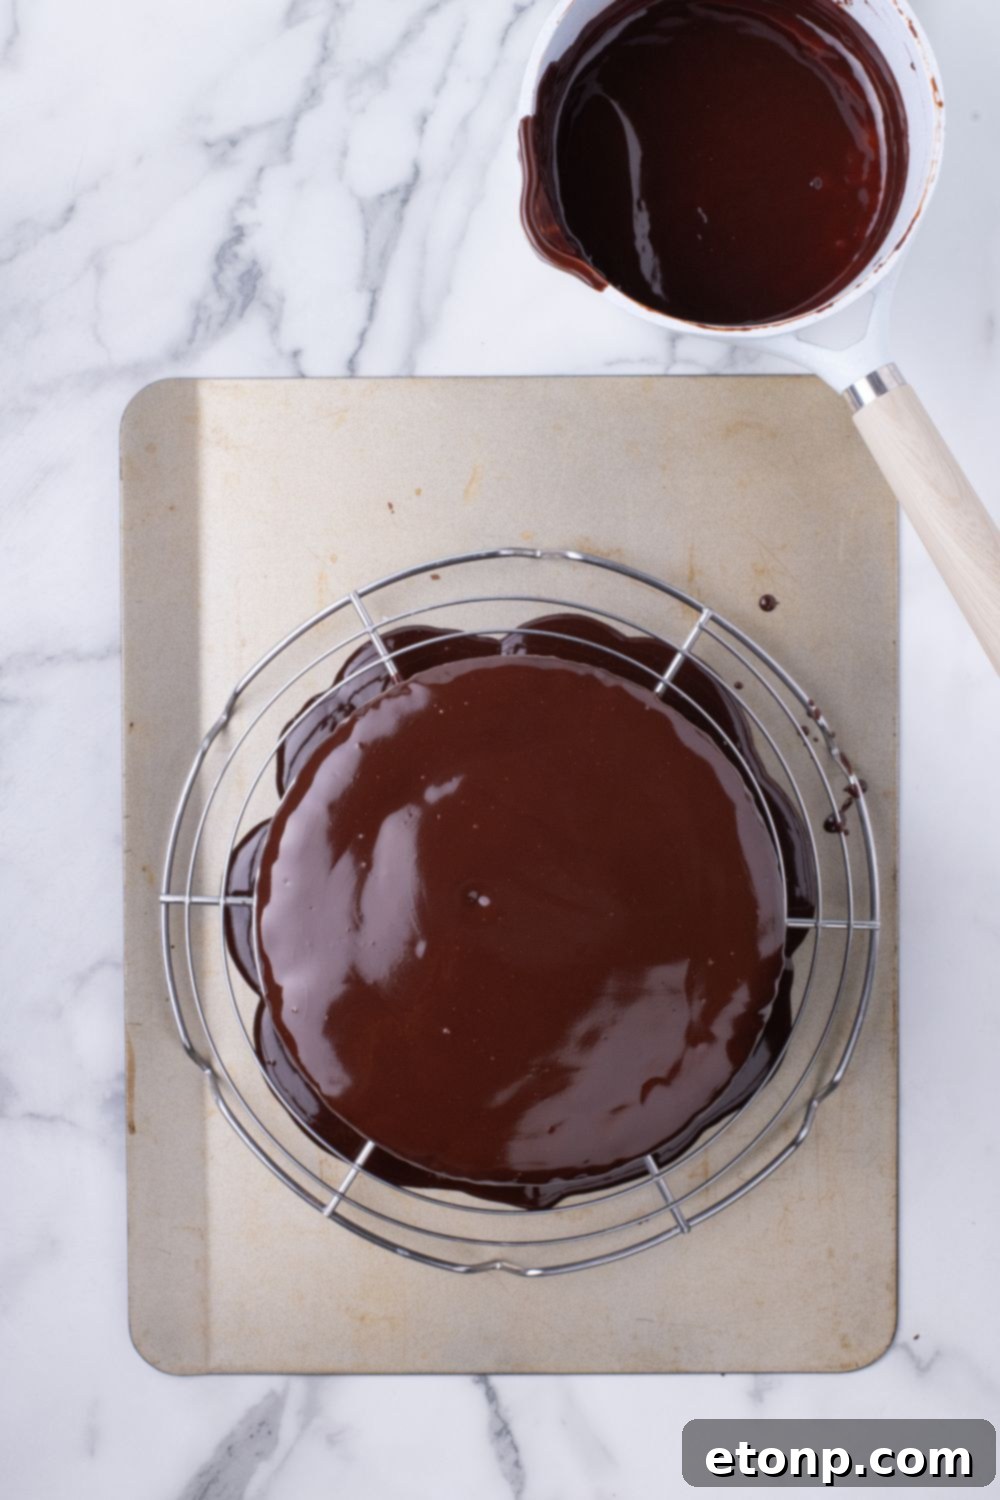
- **Achieving a Smooth Ganache Glaze:** For an even, consistent glaze, you will likely need to pour it over the cake more than once. Use a large sheet pan or another pan placed beneath your wire rack to catch any excess glaze as it drips off. You can gently reheat and reuse the drips for a second coat if needed, ensuring full, beautiful coverage.
- **Boost the Chocolate Flavor:** If you’re a true chocolate aficionado and desire an even deeper, more intense chocolate flavor, consider using a dark chocolate cocoa powder in your cake batter. This simple swap will significantly elevate the richness of your chocolate Ding Dong Cake.
- **Prepare Your Pans Properly:** Always grease and line your baking pans with parchment paper on the bottom. This essential step creates a non-stick barrier, guaranteeing that your beautifully baked cake layers release cleanly and easily from the pans without any sticking.
Optimal Storing and Freezing Techniques for Your Ding Dong Cake
To ensure your delicious Ding Dong Cake stays fresh and enjoyable for as long as possible, proper storage is key. Here’s how to do it:
For immediate enjoyment, you can store your cake at room temperature in an airtight container for 3-4 days. However, due to its creamy filling, for extended freshness, it’s highly recommended to refrigerate the cake. When kept covered tightly in the fridge, it will remain fresh and delightful for up to 5-6 days. Remember to bring it to room temperature for about 30 minutes before serving to achieve the perfect soft texture.
If you wish to preserve the cake for a longer period, freezing is a viable option for the cake layers. You can freeze individual cake layers, well-wrapped, for 2-3 months. Thaw them on the counter or in the refrigerator before assembling. For a fully assembled cake, while technically possible, the creamy filling’s texture might change slightly upon thawing. If freezing the assembled cake, wrap it very tightly in plastic wrap and then foil. You can then eat the cake directly from the freezer for a delightful frozen treat, or thaw it in the fridge overnight. Note that the texture of the cream filling is best when not frozen as an assembled cake.
Additional Questions About Your Homemade Ding Dong Cake
Here are some further clarifications to help you master this exceptional dessert:
I’m not a coffee drinker. What can I use as an alternative to coffee in the cake recipe?
While the coffee plays a crucial role in deepening the chocolate’s flavor, it doesn’t impart a coffee taste to the cake itself. If you prefer to avoid coffee entirely, you can substitute it with an equal amount of hot whole milk. This will still add liquid to the batter and ensure a moist cake, but the depth of chocolate flavor might be slightly less intense than with coffee.
I only have 9-inch cake pans; can I use them instead of 8-inch pans?
Yes, you can absolutely use 9-inch round cake pans if 8-inch pans are not available. When using larger pans, the cake layers will be slightly thinner, so you’ll need to adjust the baking time. Reduce the baking time to approximately 20-25 minutes, or until a toothpick inserted into the center of the cake comes out clean and free of wet batter. Always rely on the toothpick test for doneness.
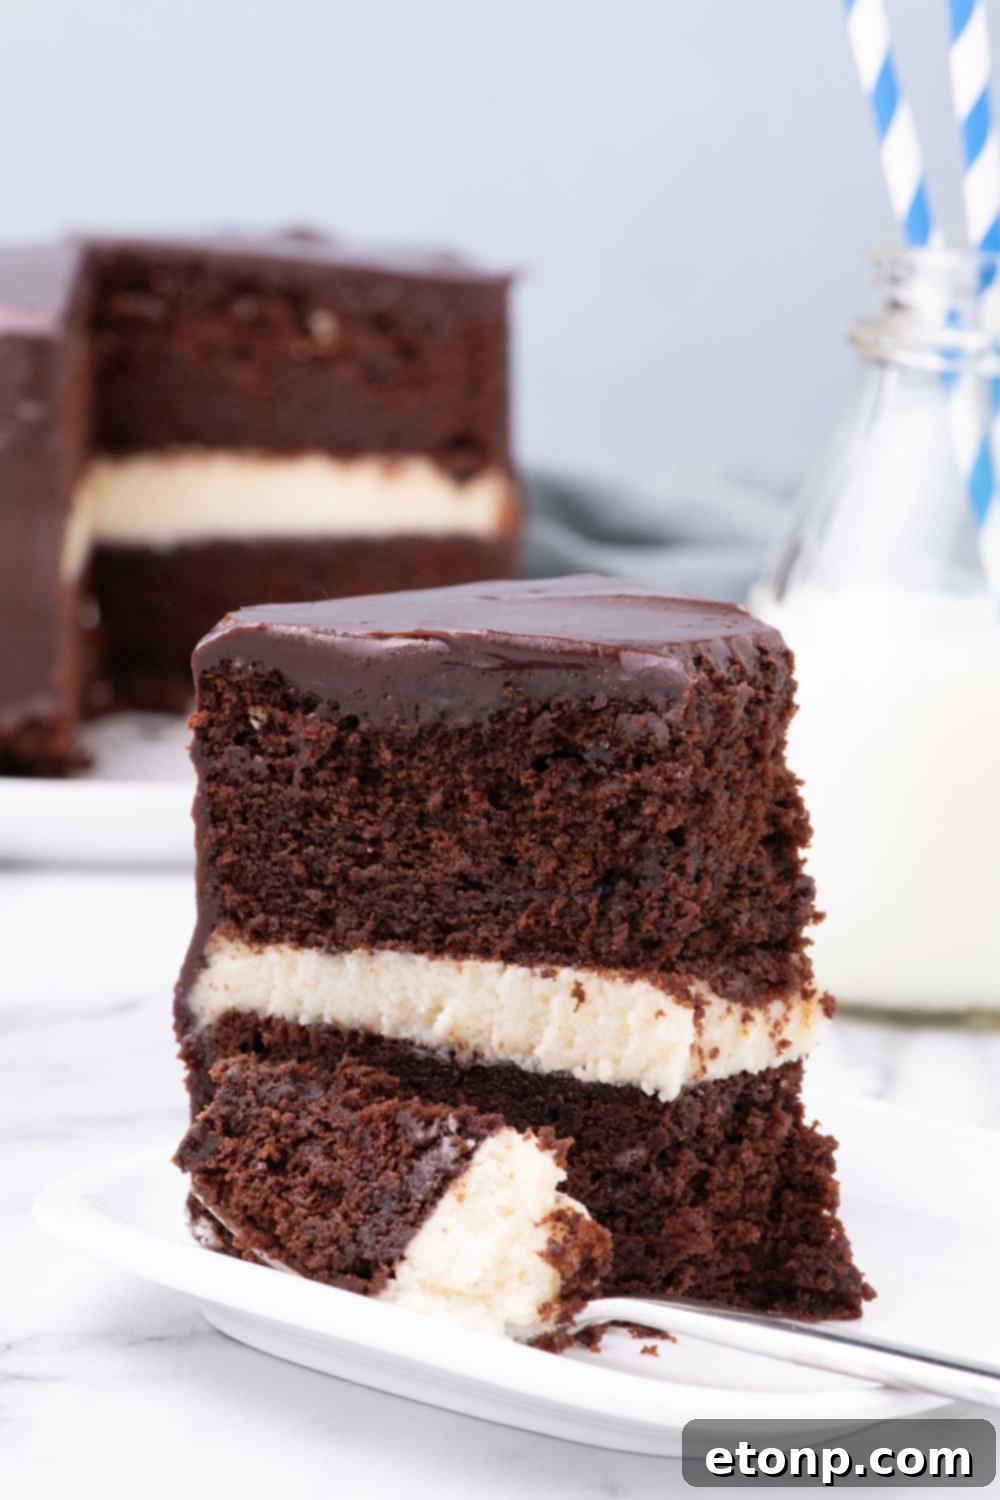
One of the most delightful aspects of this Ding Dong Cake is its perfect equilibrium between comforting familiarity and impressive sophistication. It’s a dessert that feels casual enough to enjoy in your coziest sweatpants, yet it’s undeniably striking enough to bring to the most elegant dinner party. The best part? No intricate decorating skills are required – just a genuine love for rich chocolate and a little patience as each delicious layer comes together. This is the kind of dessert that will earn you repeated requests from appreciative guests, all without making you feel like you’ve committed to a full-time baking career.
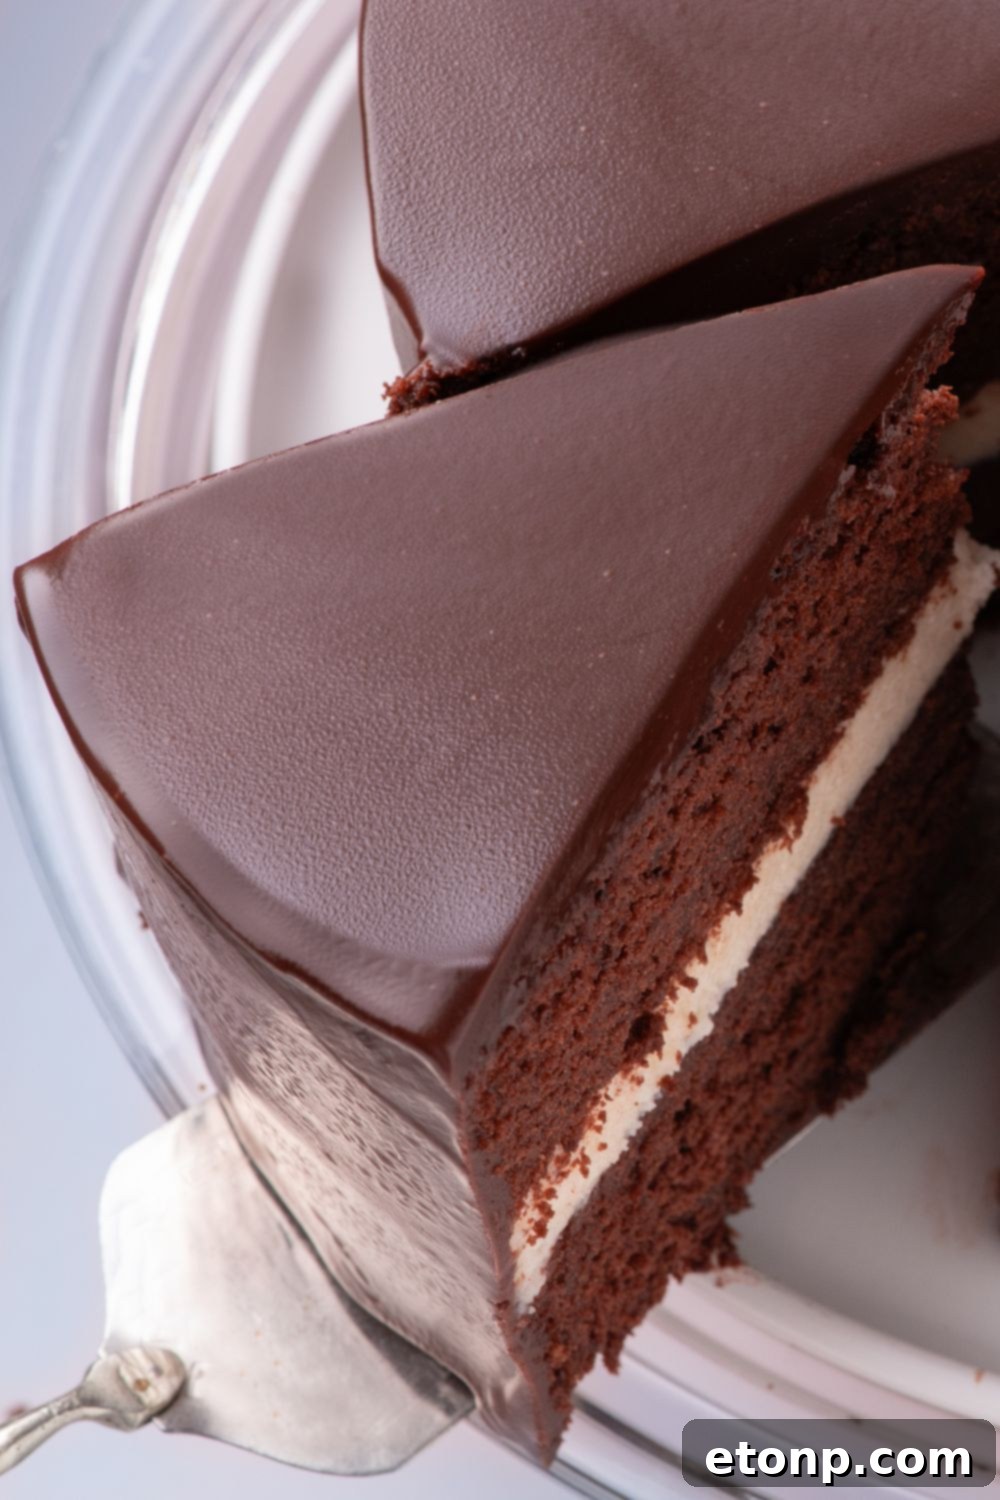
And let’s be truly honest—there’s an unparalleled satisfaction that comes from taking a bite of this cake and realizing it genuinely tastes like a grown-up, gourmet version of the iconic snack cakes you once cherished in your lunchbox. It’s wonderfully familiar, yet distinctly better. It’s homemade with love, but without any unnecessary fuss. Once you’ve successfully made it once, this recipe will quickly find its permanent place in your recipe rotation, ready for both those grand special occasions and the simple, indulgent Sunday afternoons.
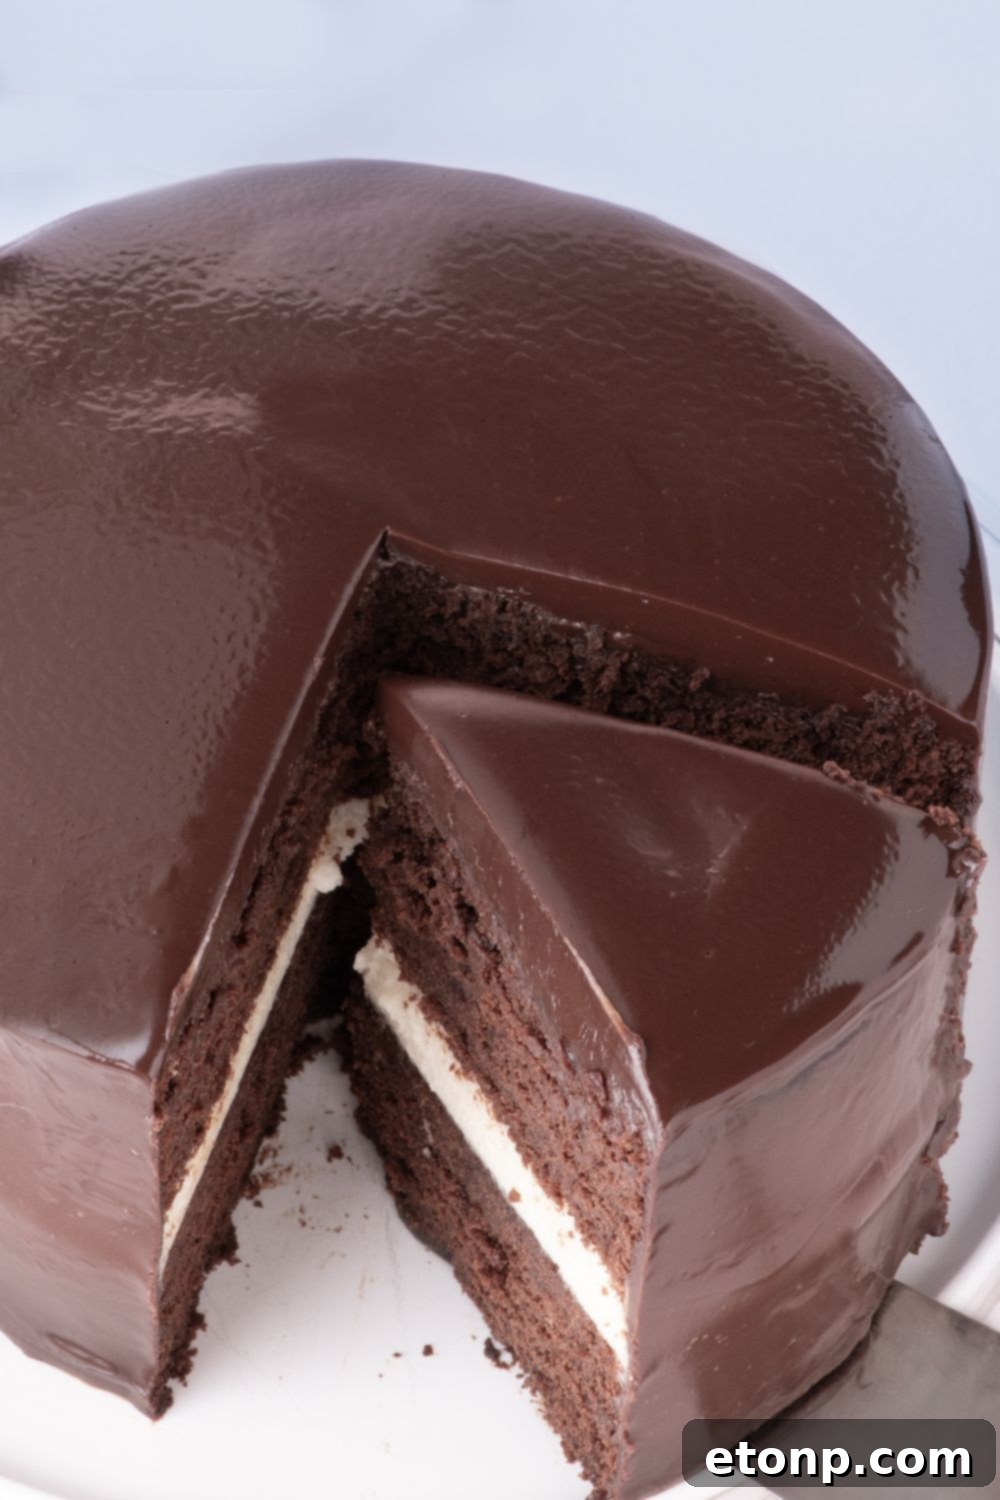
So, if you’re contemplating baking something that promises an abundance of rich flavor, a delightful touch of nostalgia, and an irresistible surge of chocolate energy for your table—look no further than this magnificent Ding Dong Cake. Put on your favorite playlist, get your mixer ready, and embark on a baking adventure that will result in a cake far beyond a mere Hostess throwback. It’s a total culinary victory you’ll be proud to share!
Discover more delightful baking inspirations on my dedicated baking blog, BakingUpMemories.com, where you’ll find an extensive collection of cheesecakes, layer cakes, and other irresistible desserts!
More Decadent Dessert Recipes to Explore
- Irresistible Peanut Butter Brownies
- Luscious Coconut Custard Cake
- Refreshing No Bake Strawberry Cheesecake Delight
- Delicious Keto Cheesecake
Ding Dong Cake
Ingredients
- 2 cups 4 sticks unsalted butter, room temperature
- 1 cup unsweetened cocoa powder
- 12 ounces semisweet chocolate chips divided
- 1 cup black coffee hot
- 2 ½ teaspoons vanilla extract divided
- ¾ cup buttermilk
- 2 ¼ cups all-purpose flour divided
- 1 teaspoon baking powder
- 1 teaspoon baking soda
- 1 ½ teaspoons sea salt divided
- 2 ¾ cups sugar divided
- 3 large eggs
- 2 cups heavy cream divided
- 2 tablespoons light corn syrup
Instructions
-
Prepare two 8-inch cake pans by greasing the bottoms with nonstick spray and fitting them with parchment paper rounds. Grease and flour the parchment and sides of the pans.
-
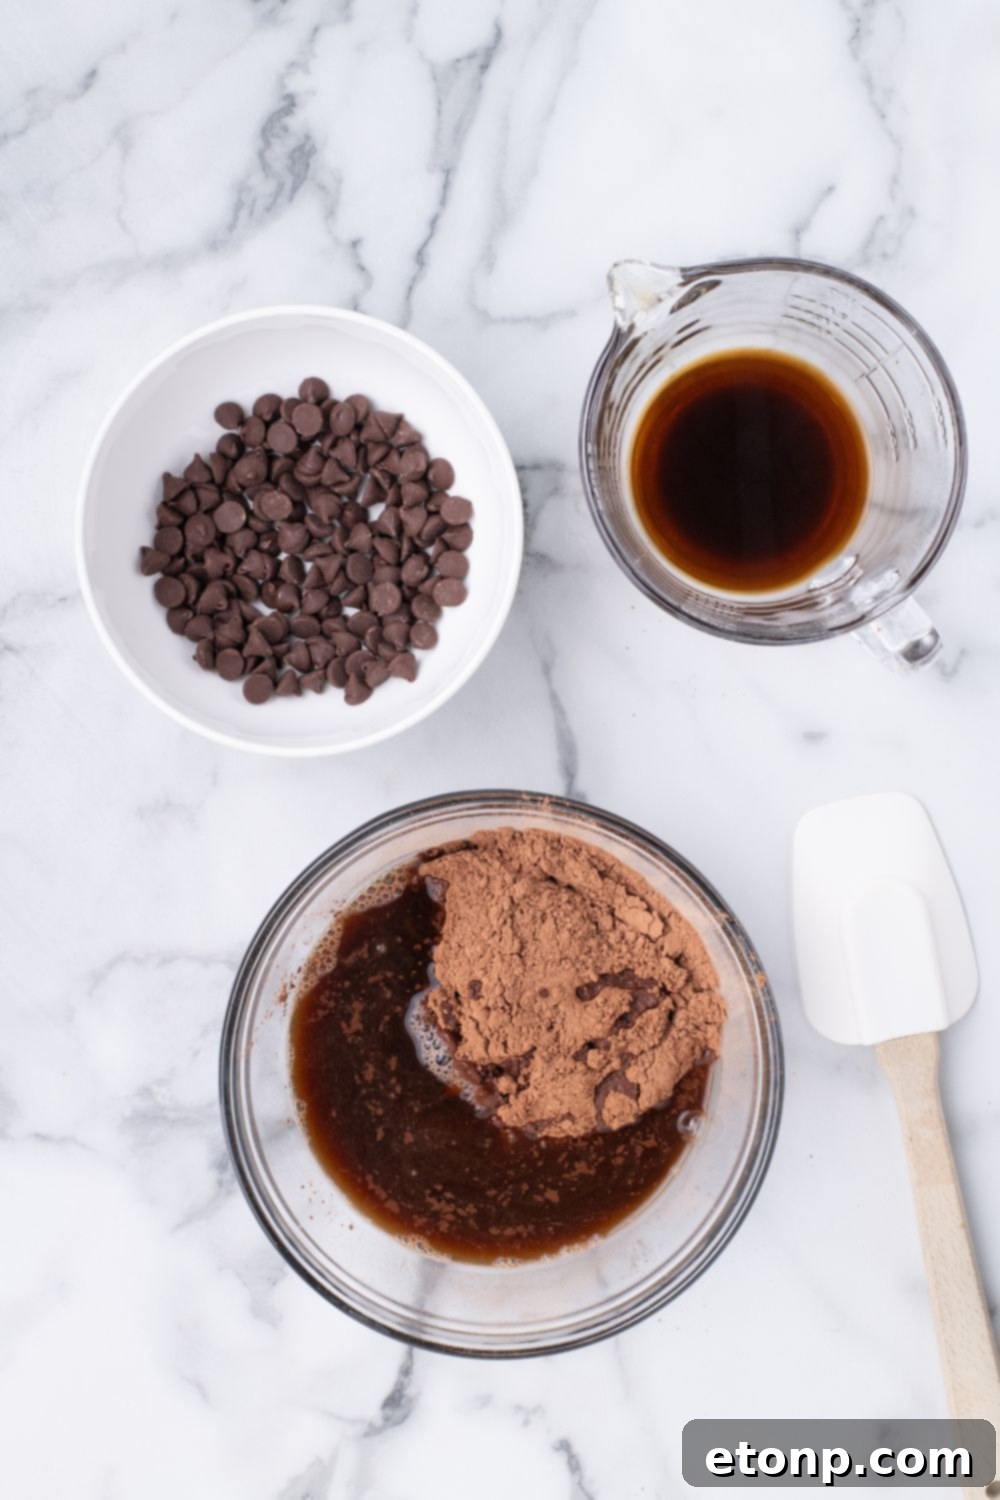
Place the cocoa powder and 4 ounces of chocolate chips in a heatproof bowl. Pour the hot coffee over the chocolate and let it stand for a couple of minutes. Stir until melted and smooth.
-
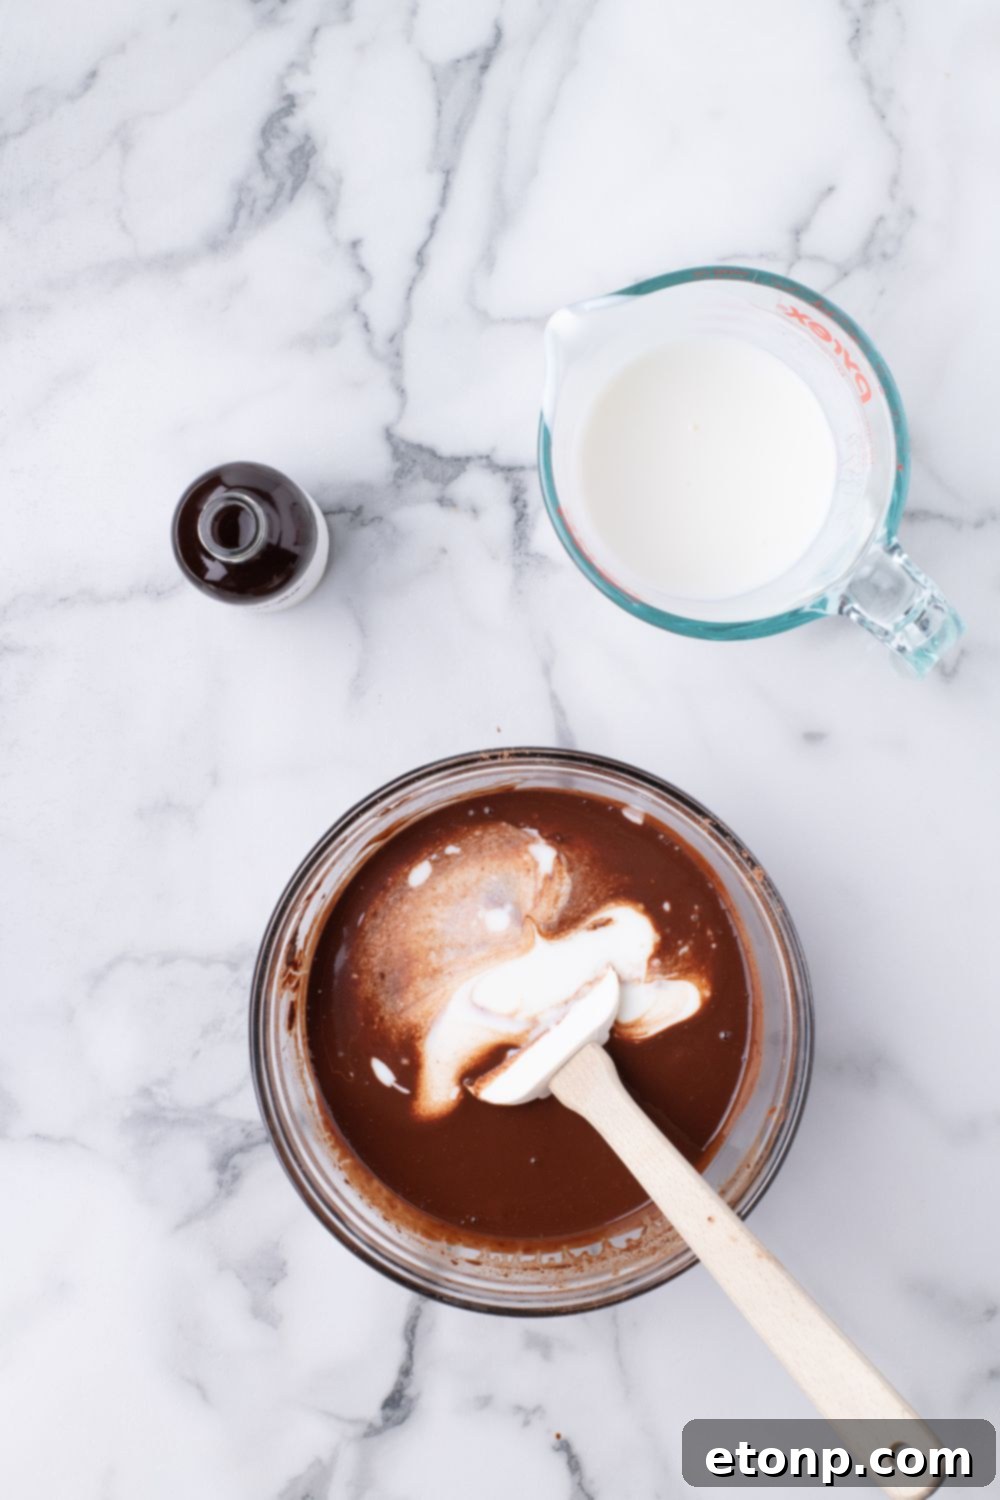
Stir in 1½ teaspoons of vanilla extract and buttermilk into the melted chocolate mixture and set aside until needed.
-
In a medium size bowl whisk together 2 cups flour, baking powder, baking soda, and 1 teaspoon salt and set aside.
-
In the bowl of a stand mixer fitted with a paddle attachment, beat together 2 cups sugar and 1 cup (2 sticks) butter until fluffy and light.
-
Add in eggs, one at a time, beating before adding the next egg so that everything is well incorporated. Make sure to scrape down the sides of the bowl and continue to beat the sugar mixture until it is light and fluffy.
-
Add 1/3 of the flour mixture to the butter mixture, stirring until just combined. Alternate with 1/2 cup of the chocolate mixture (beginning and ending with the flour mixture).
-
Transfer the batter between the prepared cake pans, ensuring they are evenly divided.
-
Bake the cakes on the center rack of the preheated oven for approximately 30 minutes or until a toothpick tester comes out clean and free of crumbs.
-
Remove the cake pans from the oven and let them cool on a wire rack for 10 minutes. Carefully remove the cake from the pans and continue to let them cool on a wire rack for a further 20 minutes while you prepare the filling.
-
In a small saucepan over medium/low heat, whisk together the remaining ¼ cup of flour and 1 cup of cream until you reach a pudding-like consistency (about 5 minutes). Make sure not to let it boil.
-
Remove from heat, stir in the remaining 1 teaspoon of vanilla extract, and let it cool in the fridge for 15 minutes.
-
In the bowl of a stand mixer fitted with the whisk attachment, beat the remaining 1 cup (2 sticks) of butter with the remaining ¾ cup of sugar and remaining ½ teaspoon of salt, until light and fluffy.
-
Add the cooled flour and cream mixture to the butter and continue to beat for an additional 2 minutes (or until fluffy)
-
To make the glaze: Add the remaining 1 cup heavy cream, 8 ounces chocolate chips, and 2 tablespoons corn syrup to a small saucepan over medium/low heat. Stir until the chocolate has melted and the mixture is smooth. Set aside and allow the glaze to come to room temperature (about 15 minutes but still pourable)
-
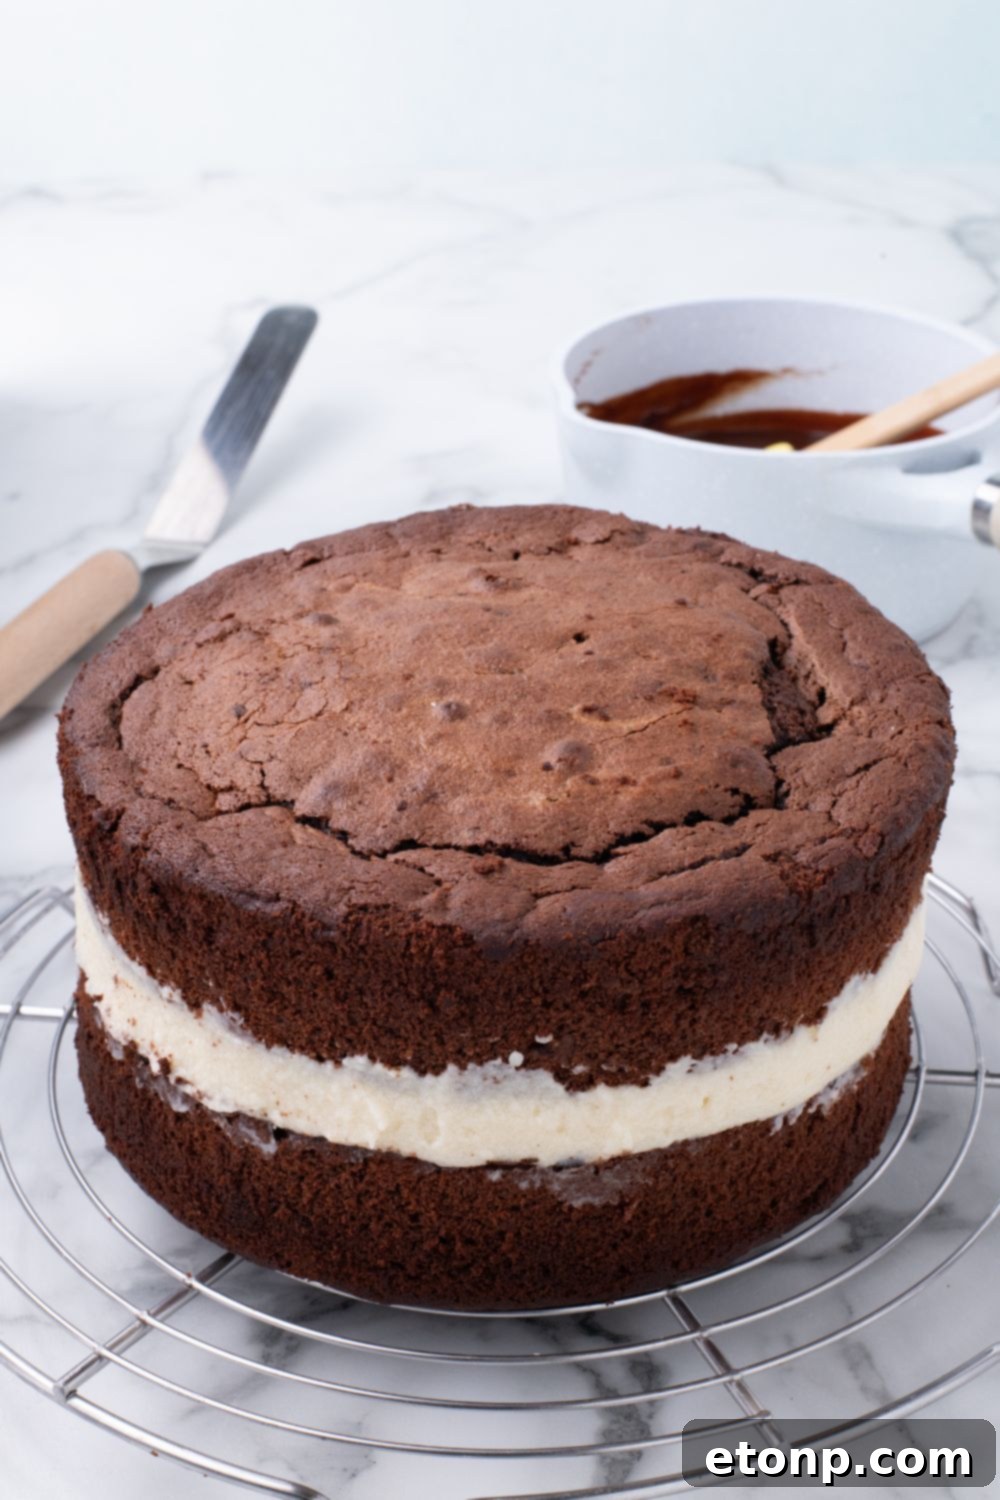
Place one of the cooled cakes onto a wire cooling rack set. Place the filling on the cake’s center and spread the filling just shy of the edge of the cake using an offset spatula. Place the second cake layer on top of the filling and lightly press down so the filling doesn’t squeeze out.
-
Place the wire rack over a baking sheet and pour the glaze slowly and evenly over the entire cake, making sure to cover all areas with the chocolate.
-
Once the glaze has set, transfer the cake to a cake stand or large plate.
-
Chill until ready to serve.
Did you make this recipe?
Make sure to follow on Pinterest for more recipes!
Pin Recipe
Share on Facebook