
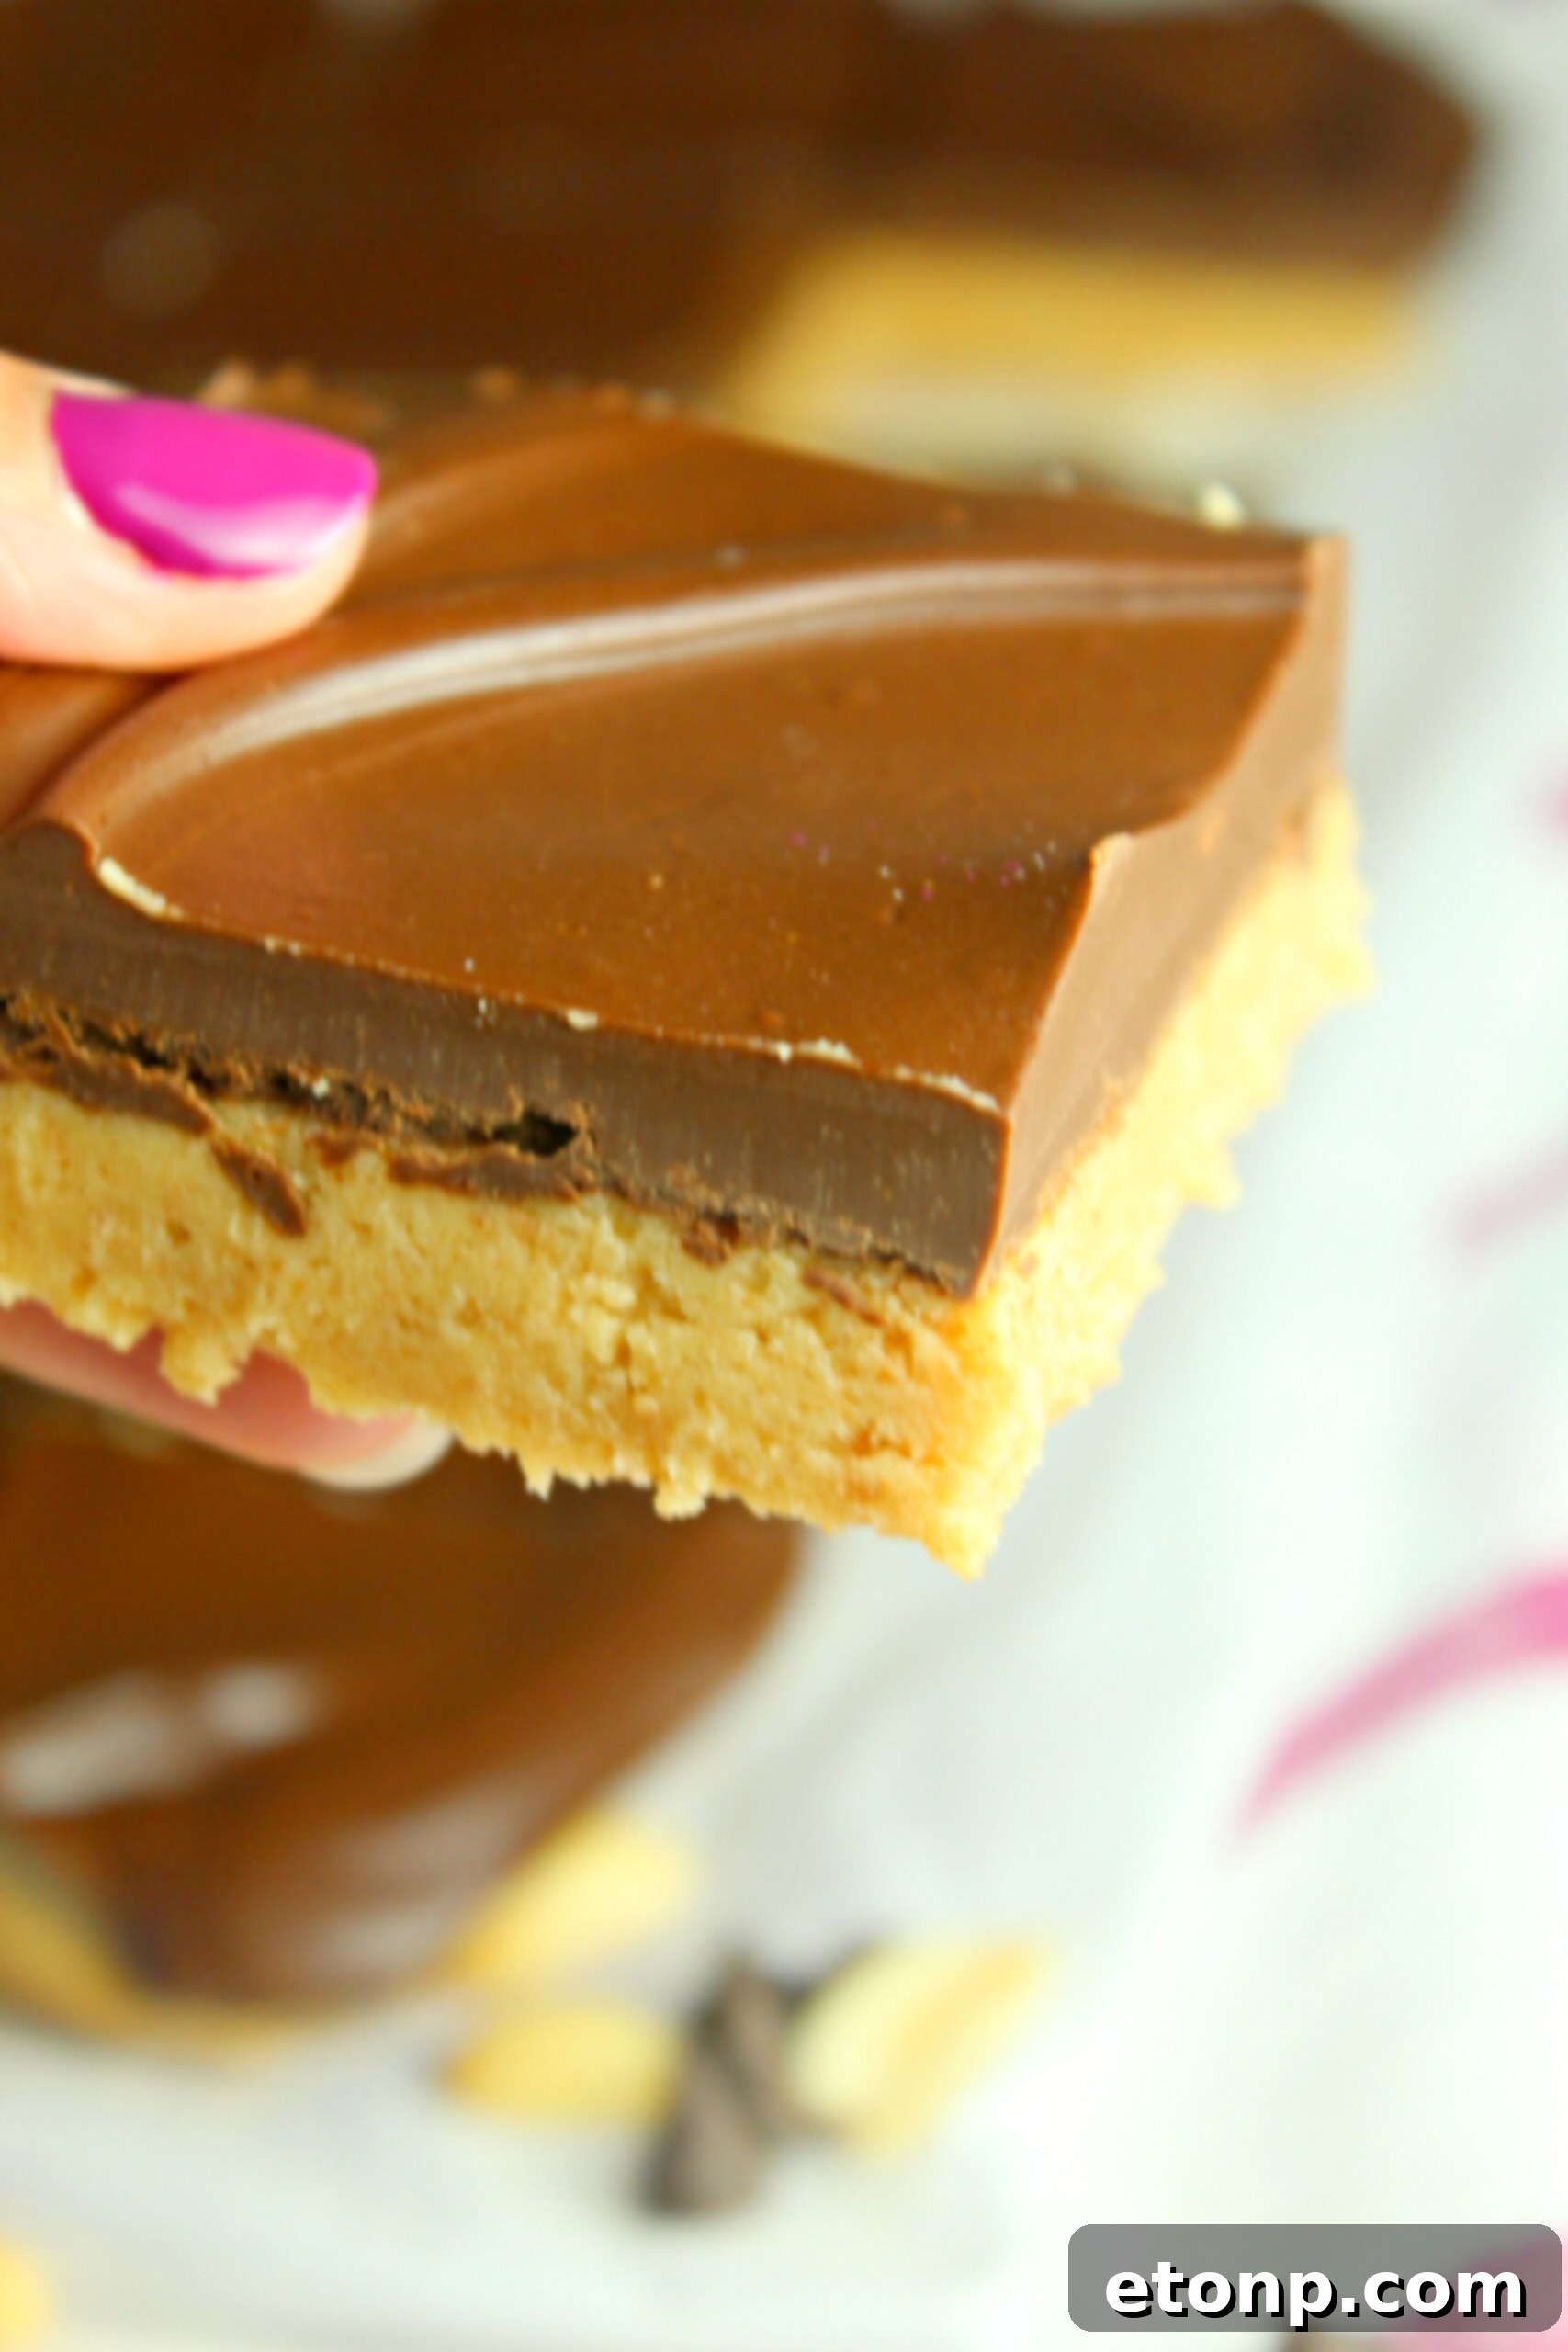
Irresistible No-Bake Peanut Butter Cup Bars: A Homemade Dream Come True!
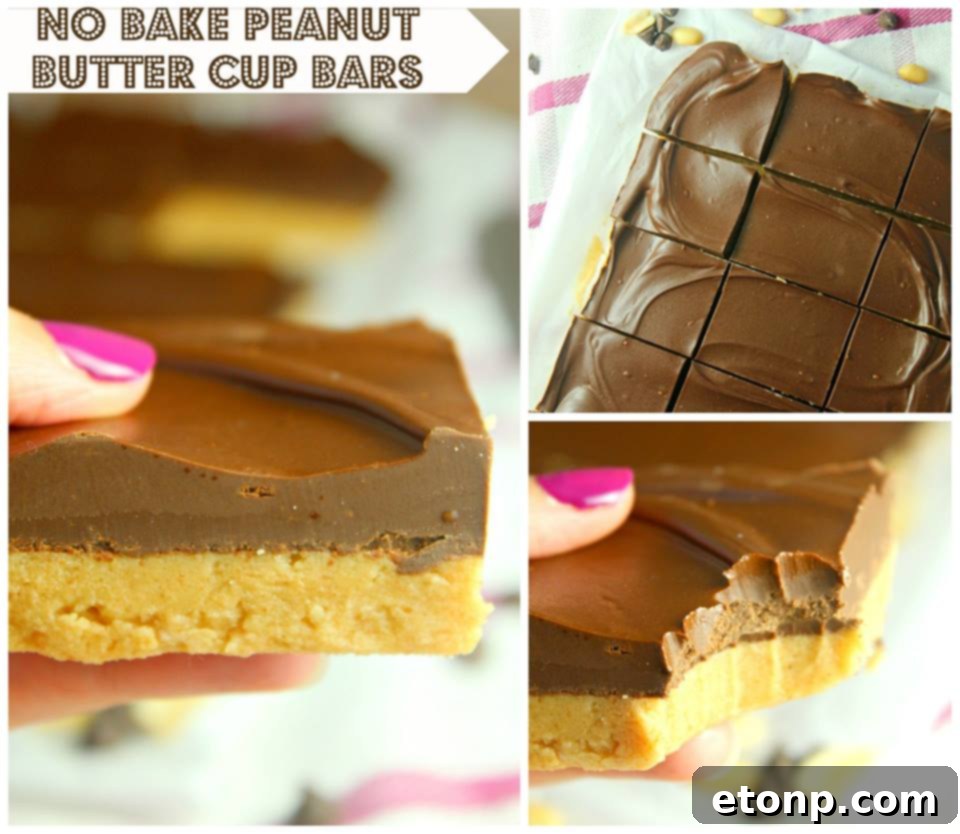
Welcome to the ultimate indulgence for every chocolate and peanut butter enthusiast! If you’re searching for a dessert that captures the nostalgic charm of your favorite candy but delivers an elevated, homemade taste experience, look no further than these incredible No-Bake Peanut Butter Cup Bars. Imagine the perfect harmony of rich, creamy peanut butter filling nestled under a decadent layer of smooth chocolate – all without ever turning on your oven. These bars aren’t just a treat; they’re a revelation, reminding us of classic Reese’s Peanut Butter Cups, but with a depth of flavor and a melt-in-your-mouth texture that makes them undeniably *better*.
The Perfect & Easy Dessert for All Chocolate and Peanut Butter Lovers!
There’s a reason the combination of chocolate and peanut butter is so universally adored. It’s a symphony of sweet and salty, rich and creamy, a flavor profile that tantalizes the taste buds and leaves you craving more. These no-bake bars celebrate this iconic duo in the simplest, most satisfying way possible. They are the ideal solution for gatherings, last-minute cravings, or simply when you want to impress without the stress of complex baking. Their straightforward preparation means anyone can achieve dessert perfection, regardless of their baking experience. From busy weeknights to holiday potlucks, these bars are guaranteed to be a hit, proving that the best desserts don’t always require an oven.
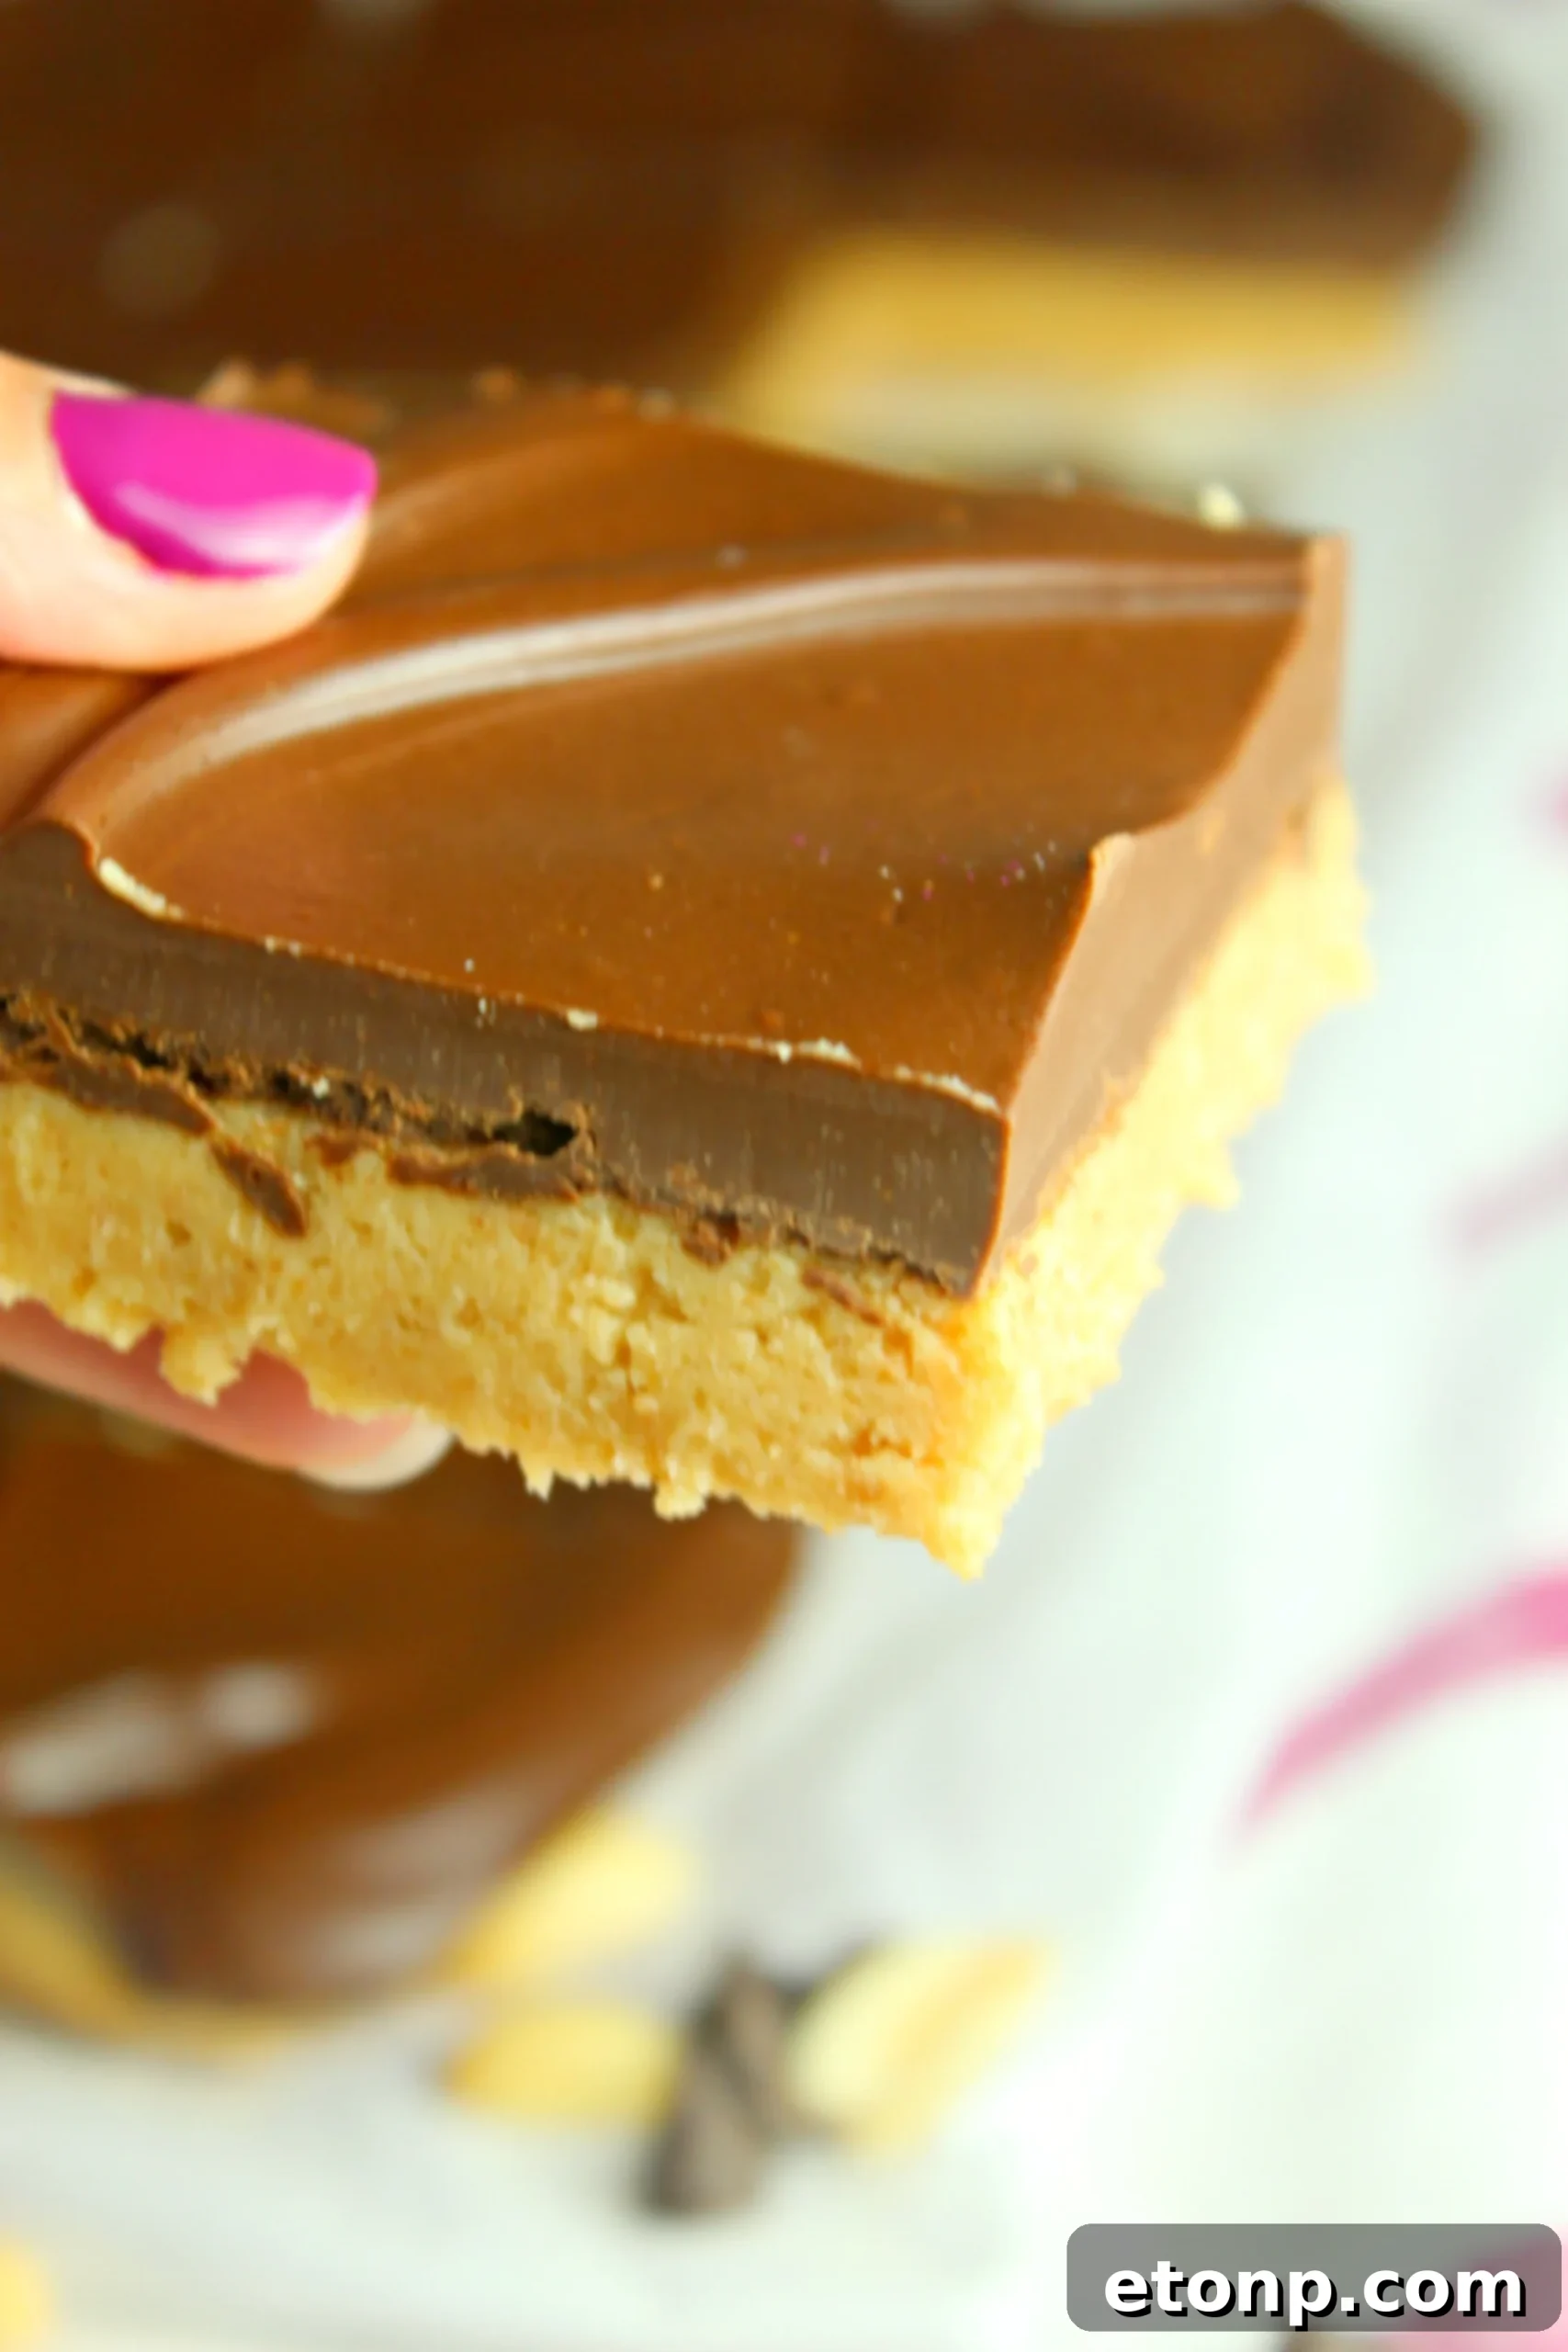
My husband, a true Reese’s enthusiast, was initially skeptical. But one bite was all it took – he was HOOKED.
When I first introduced these No-Bake Peanut Butter Cup Bars to my husband, a self-proclaimed connoisseur of all things Reese’s, he approached them with a healthy dose of skepticism. He loved his classic peanut butter cups and wasn’t easily swayed by alternatives. However, the proof, as they say, is in the pudding—or, in this case, the peanut butter bar. The moment he took that first bite, his skepticism melted away, replaced by pure delight. His eyes widened, a smile spread across his face, and he declared, “These are even better!” As a creator, there’s no greater compliment. It was a proud moment for me, knowing I had truly captured the essence of that beloved flavor combination, elevating it into something truly special and uniquely satisfying.
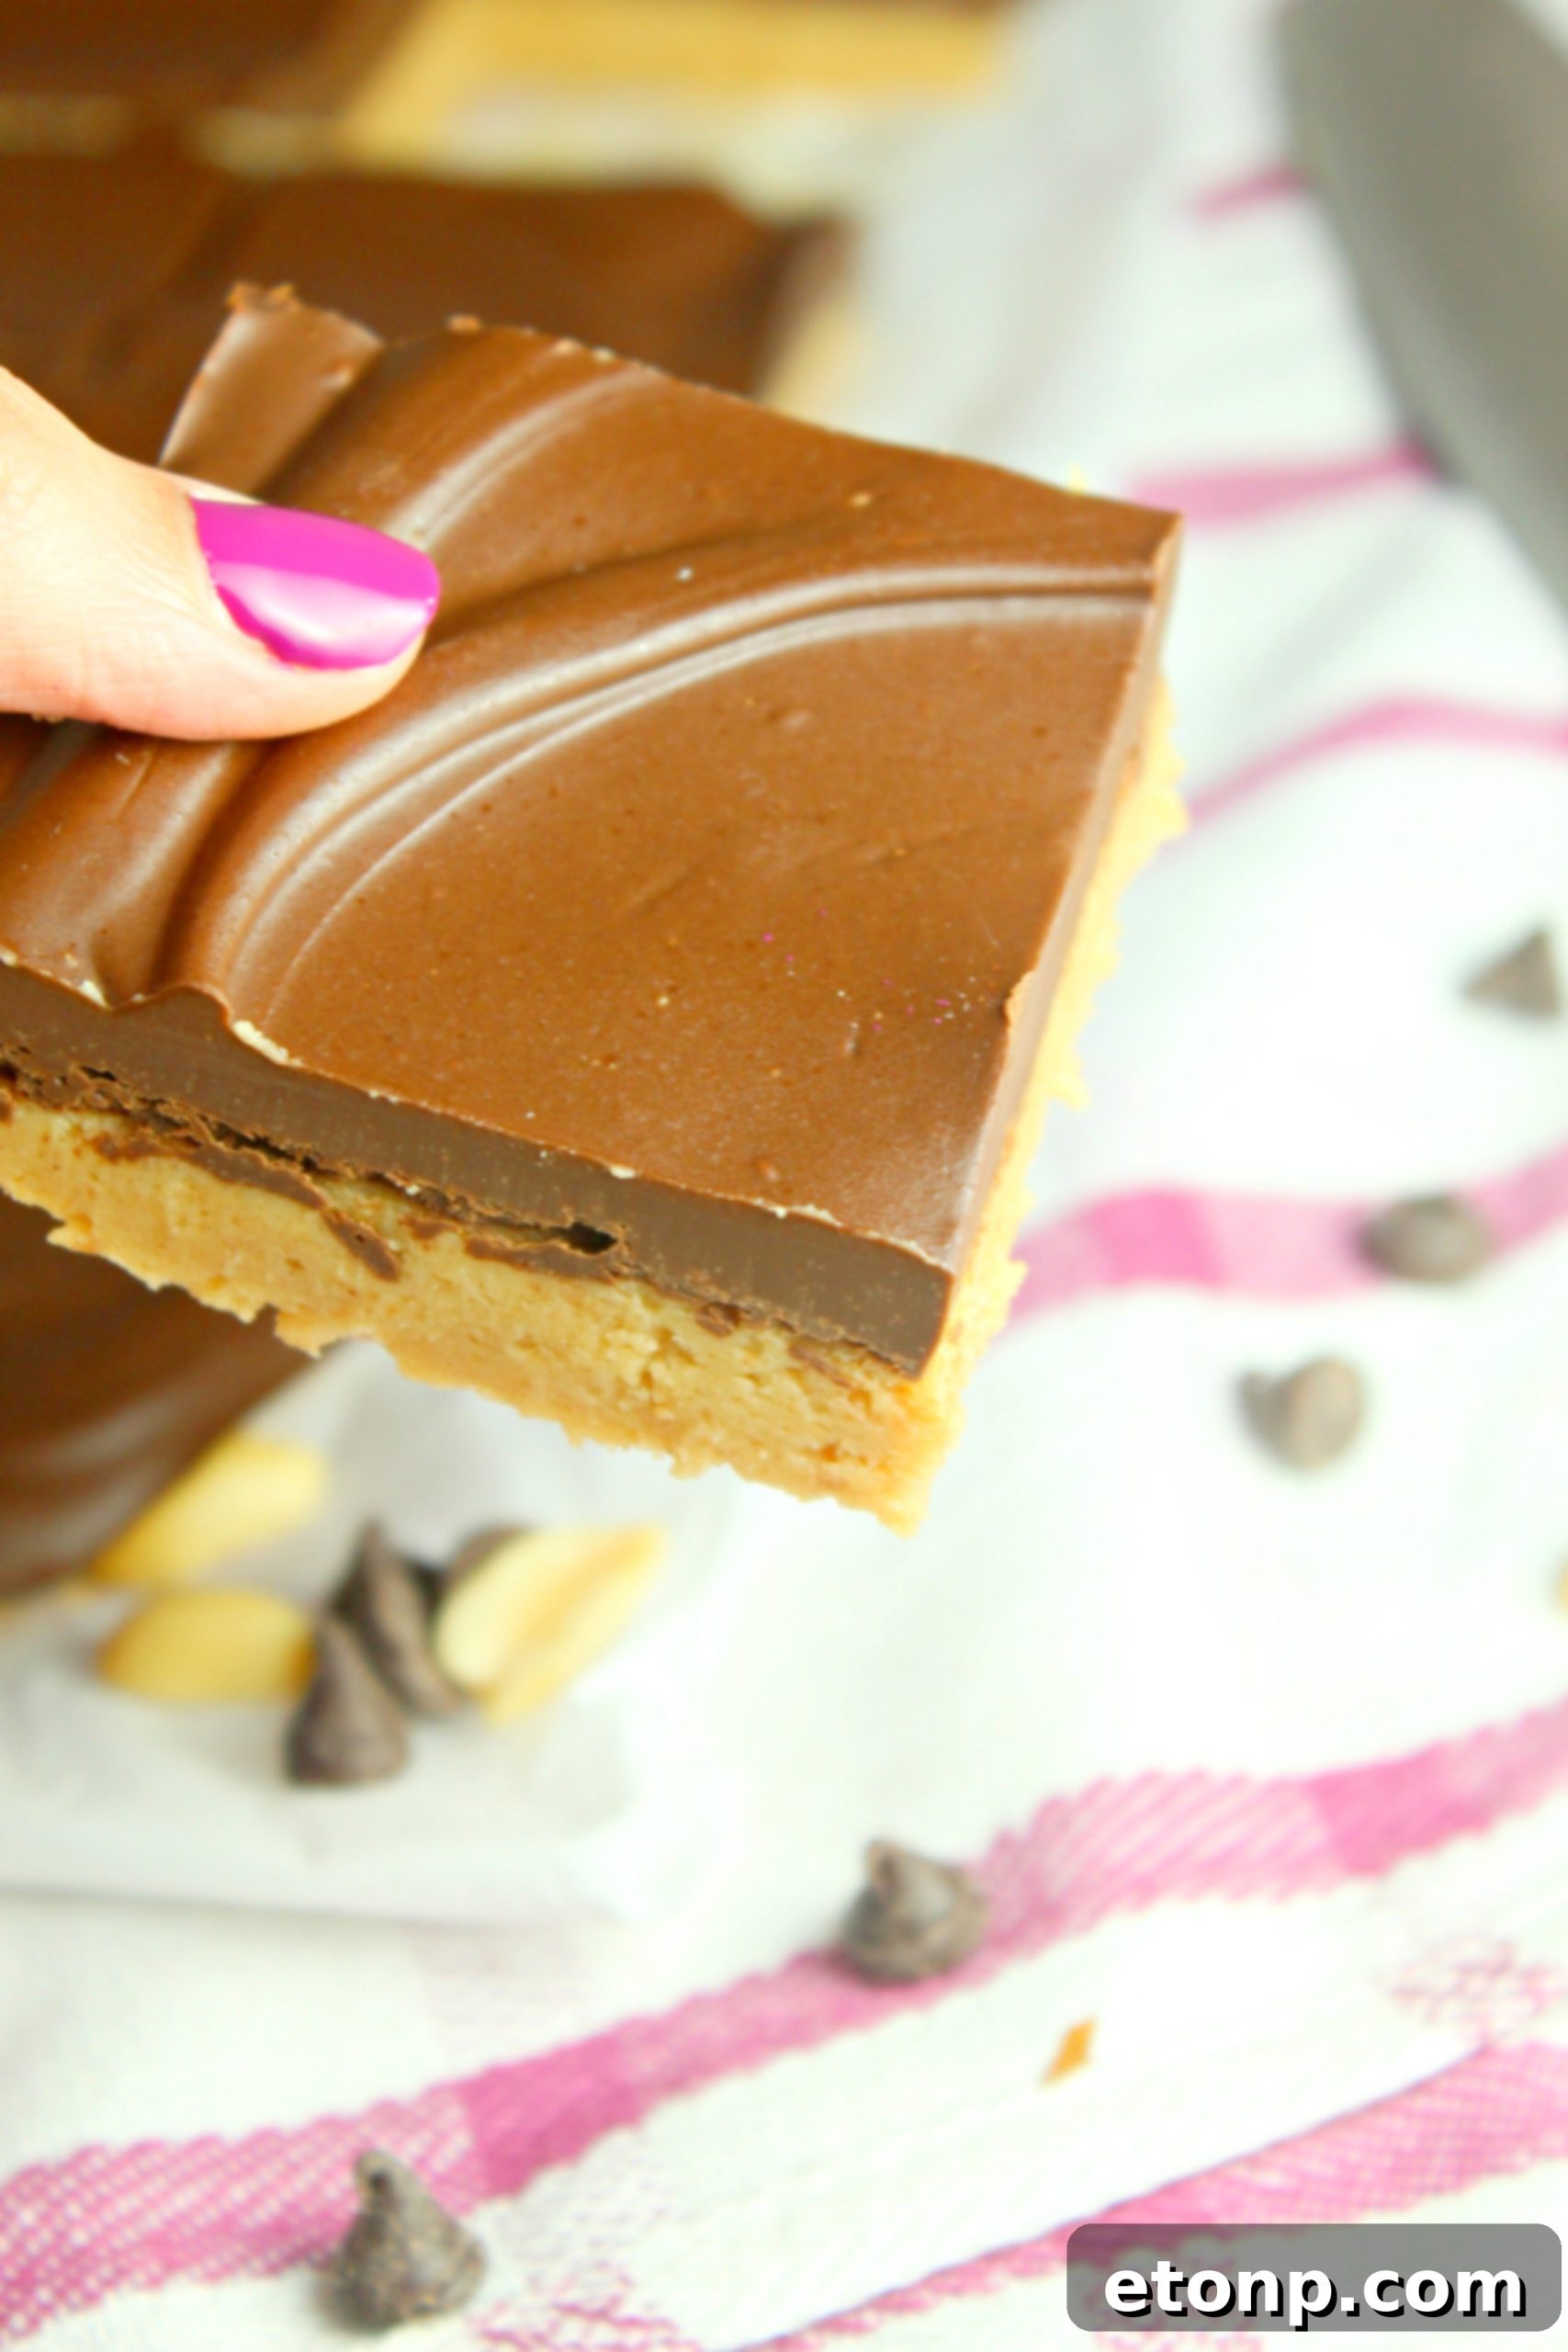
No-bake desserts are my favorite kind because sometimes you need more room in the oven or you want dessert to not be complicated – these bars fit the bill perfectly!
There’s an undeniable charm to no-bake desserts. They offer a welcome respite from the demands of oven space, especially during holiday baking marathons or when your kitchen is already buzzing with other culinary creations. Beyond the practicalities, no-bake recipes embody simplicity and instant gratification. They eliminate the guesswork of baking times, oven temperatures, and potential pitfalls, offering a foolproof path to deliciousness. These No-Bake Peanut Butter Cup Bars are a prime example: they require minimal effort, basic equipment, and deliver maximum flavor. They’re perfect for those days when you crave a homemade treat but want to keep things refreshingly uncomplicated. Just mix, chill, and enjoy!
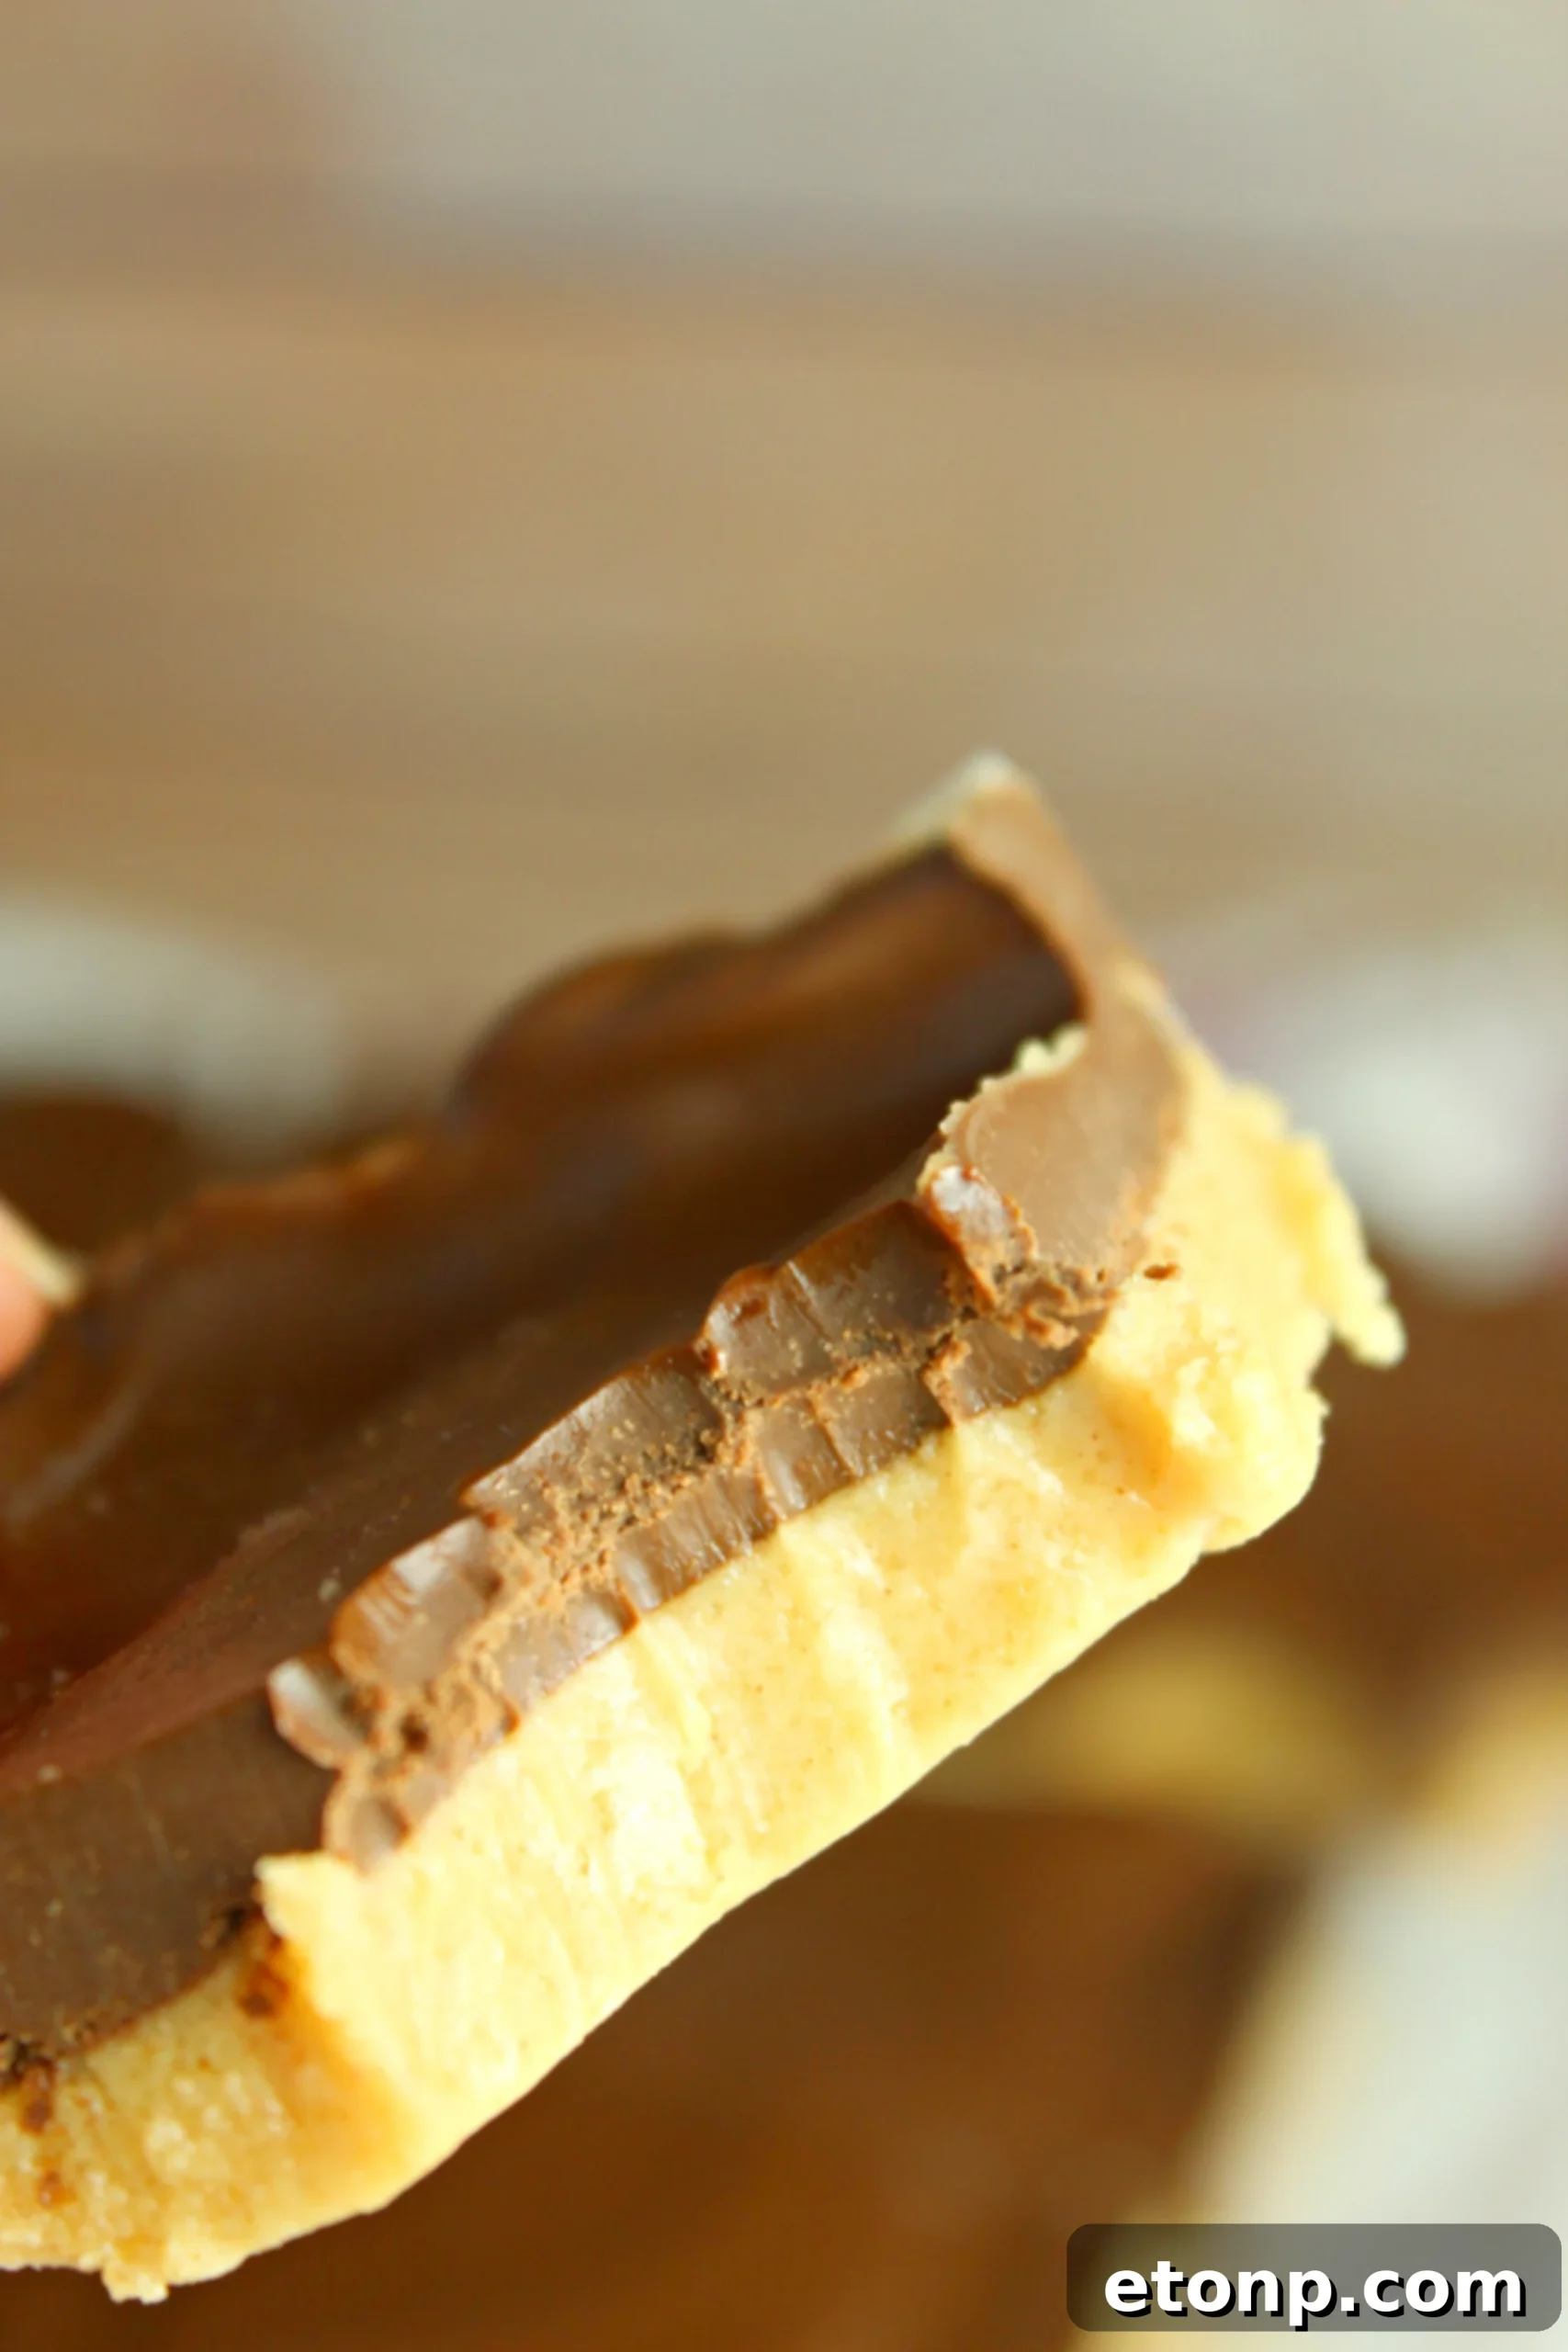
They require only a few simple ingredients that everyone always has in their pantry!
One of the most appealing aspects of these delectable bars is their reliance on readily available pantry staples. You won’t need to hunt down exotic components or make a special trip to the grocery store for obscure items. Chances are, you already have graham crackers, butter, powdered sugar, brown sugar, and of course, plenty of peanut butter and chocolate chips on hand. This accessibility makes them a spontaneous treat you can whip up whenever a craving strikes. It’s truly a testament to how simple, everyday ingredients can be transformed into something extraordinary with just a little bit of magic and a thoughtful recipe. The only real challenge, as many will discover, is resisting the urge to eat them all before they’ve fully set—or even after! It’s a delightful predicament.
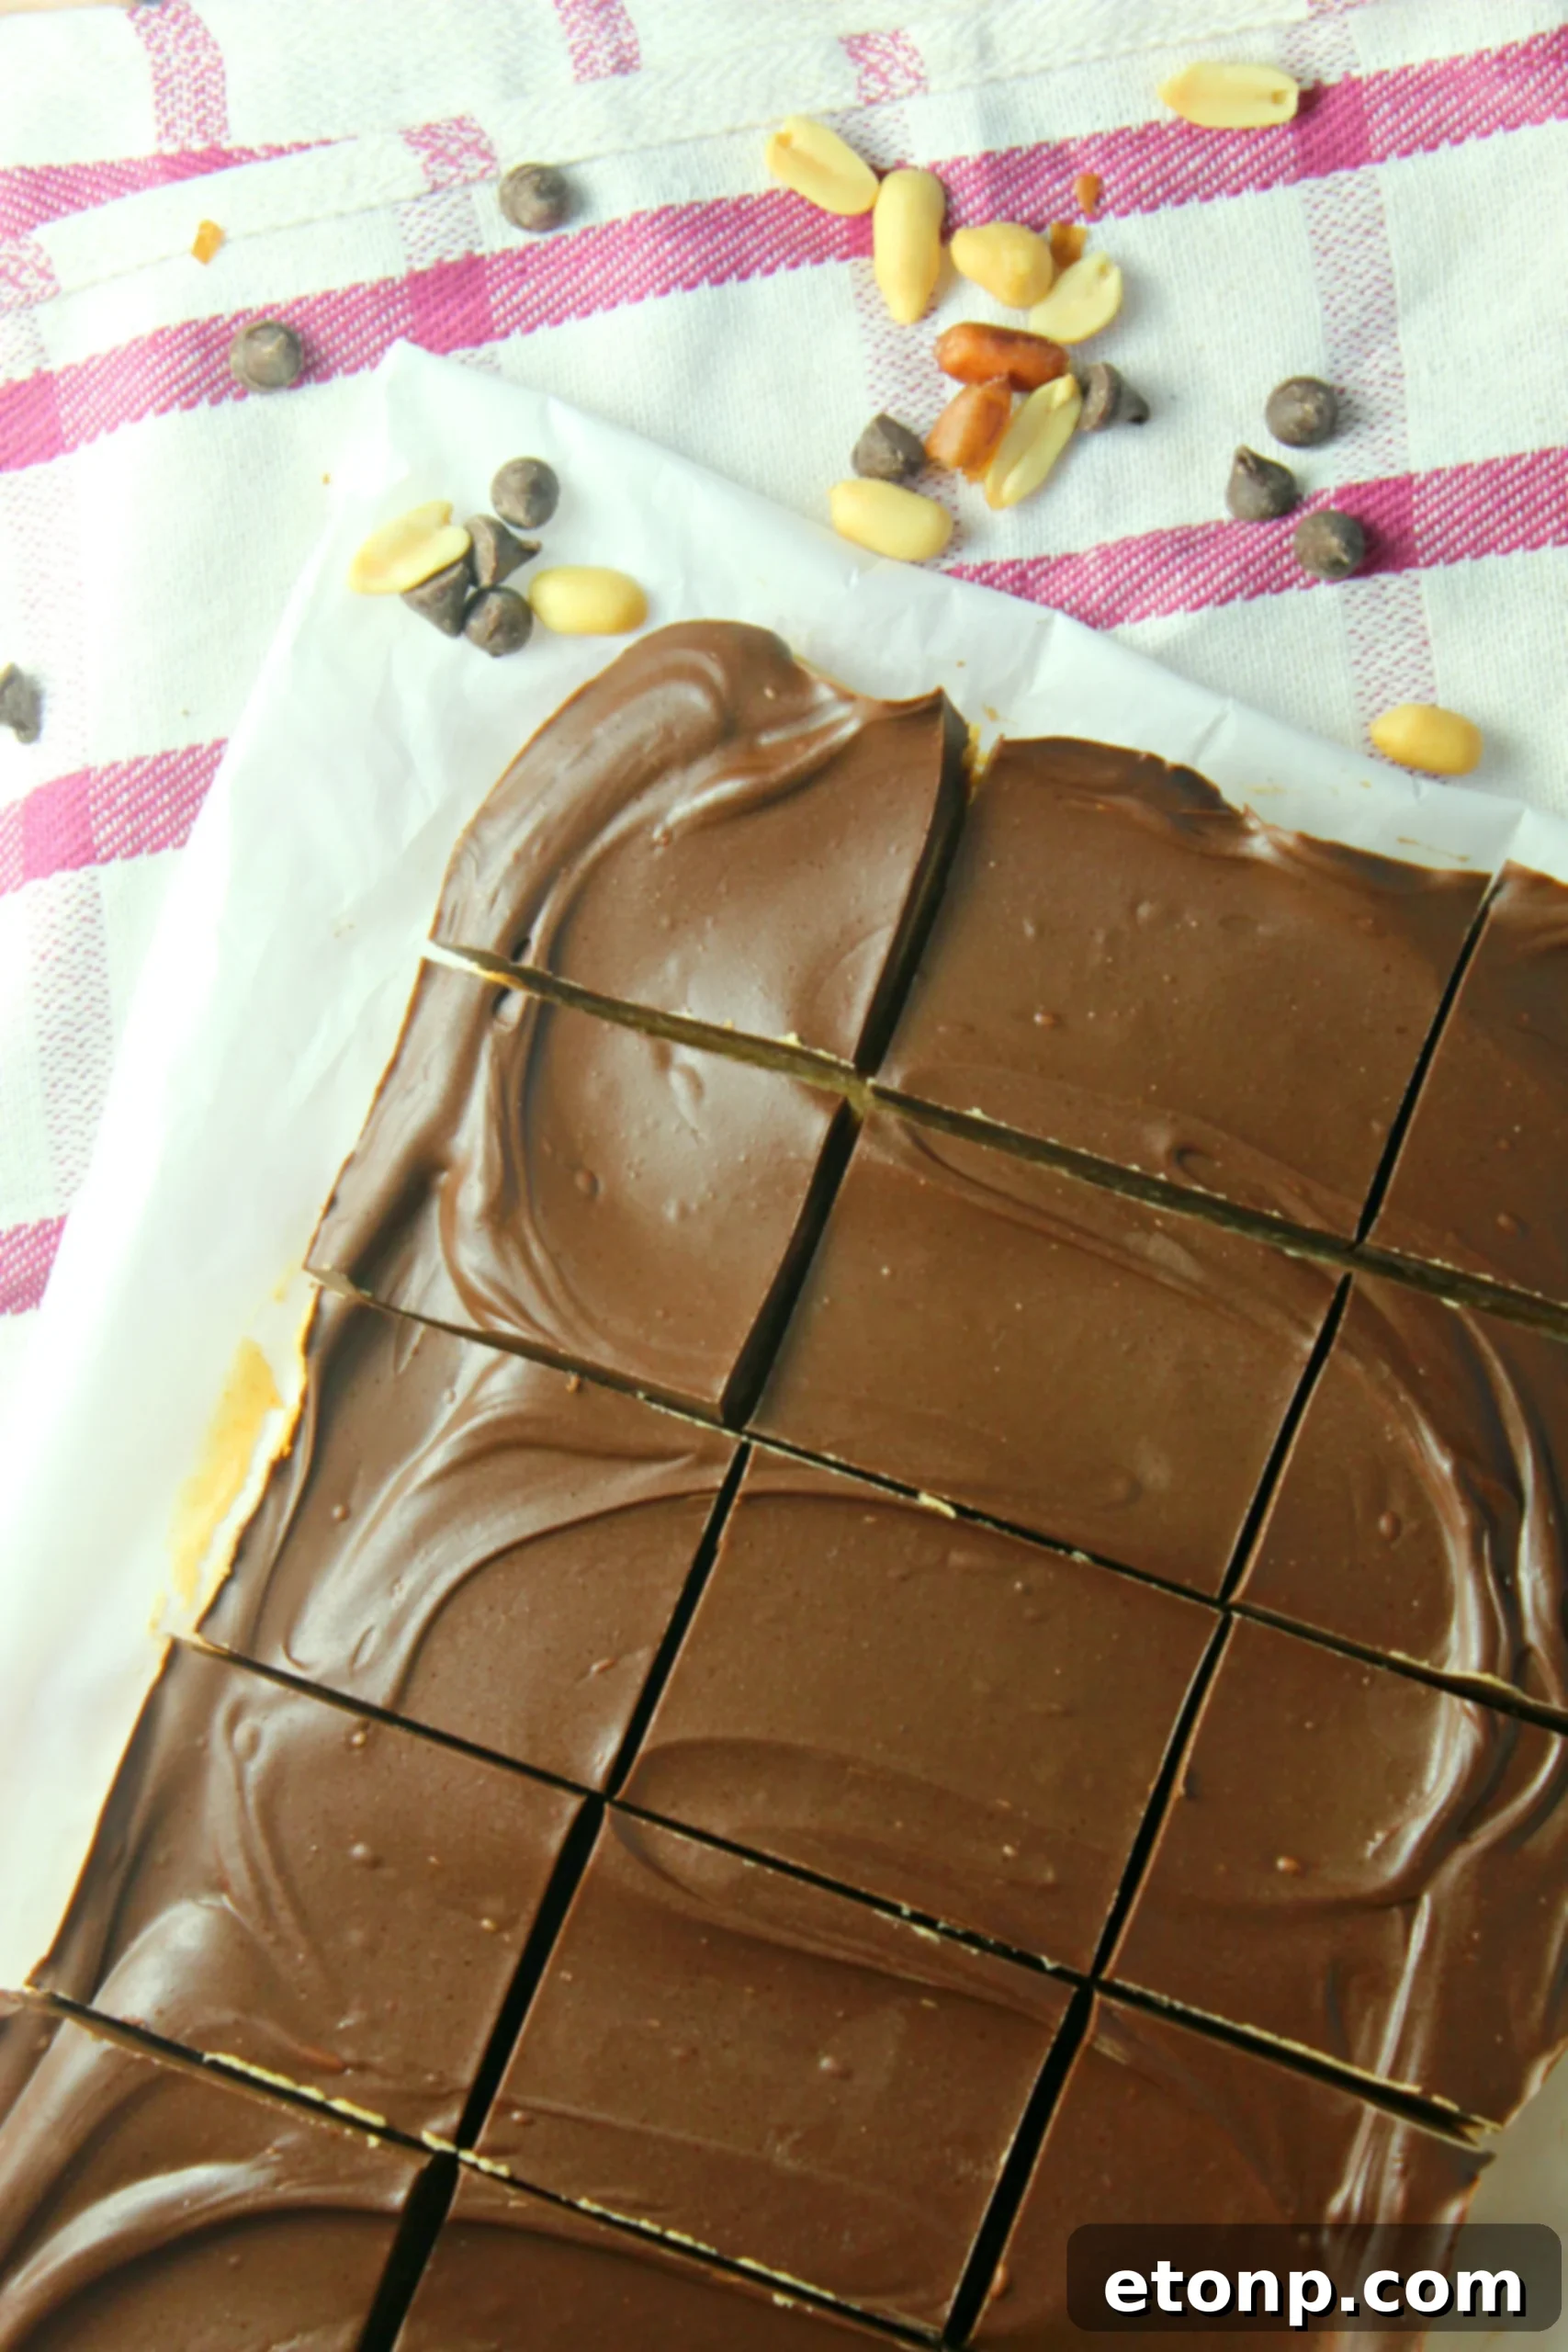
Tips for Crafting the Perfect No-Bake Peanut Butter Cup Bars
Achieving absolute perfection with these No-Bake Peanut Butter Cup Bars is incredibly straightforward, but a few simple tips can elevate your dessert from great to truly unforgettable:
- Choosing Your Peanut Butter: For the classic, smooth texture reminiscent of a candy cup, opt for creamy peanut butter. While natural peanut butter can be used, its oil separation might alter the texture slightly. Stick to conventional creamy for the most consistent results.
- Crushing Graham Crackers: A food processor makes quick work of this, ensuring a fine, even crumb for the crust. If you don’t have one, place graham crackers in a sturdy zip-top bag and crush them with a rolling pin. Aim for fine crumbs, as this helps the crust bind together better.
- Melting Chocolate: When melting the chocolate chips and peanut butter for the topping, microwave in short 30-second bursts, stirring vigorously after each interval. This prevents scorching the chocolate and ensures a silky-smooth, pourable mixture. Patience is key here; don’t rush it.
- Parchment Paper is Your Best Friend: Lining your baking dish with parchment paper, leaving an overhang on the sides, is crucial. This creates “handles” that allow you to easily lift the entire slab of bars out of the dish once they’ve set, making for clean cuts and easy serving.
- The Art of Chilling: Don’t skip or shorten the chilling time. Three hours in the fridge allows the peanut butter layer to firm up and the chocolate topping to set perfectly, resulting in clean, well-defined bars that hold their shape beautifully. This also enhances the overall texture, giving you that delightful bite you crave.
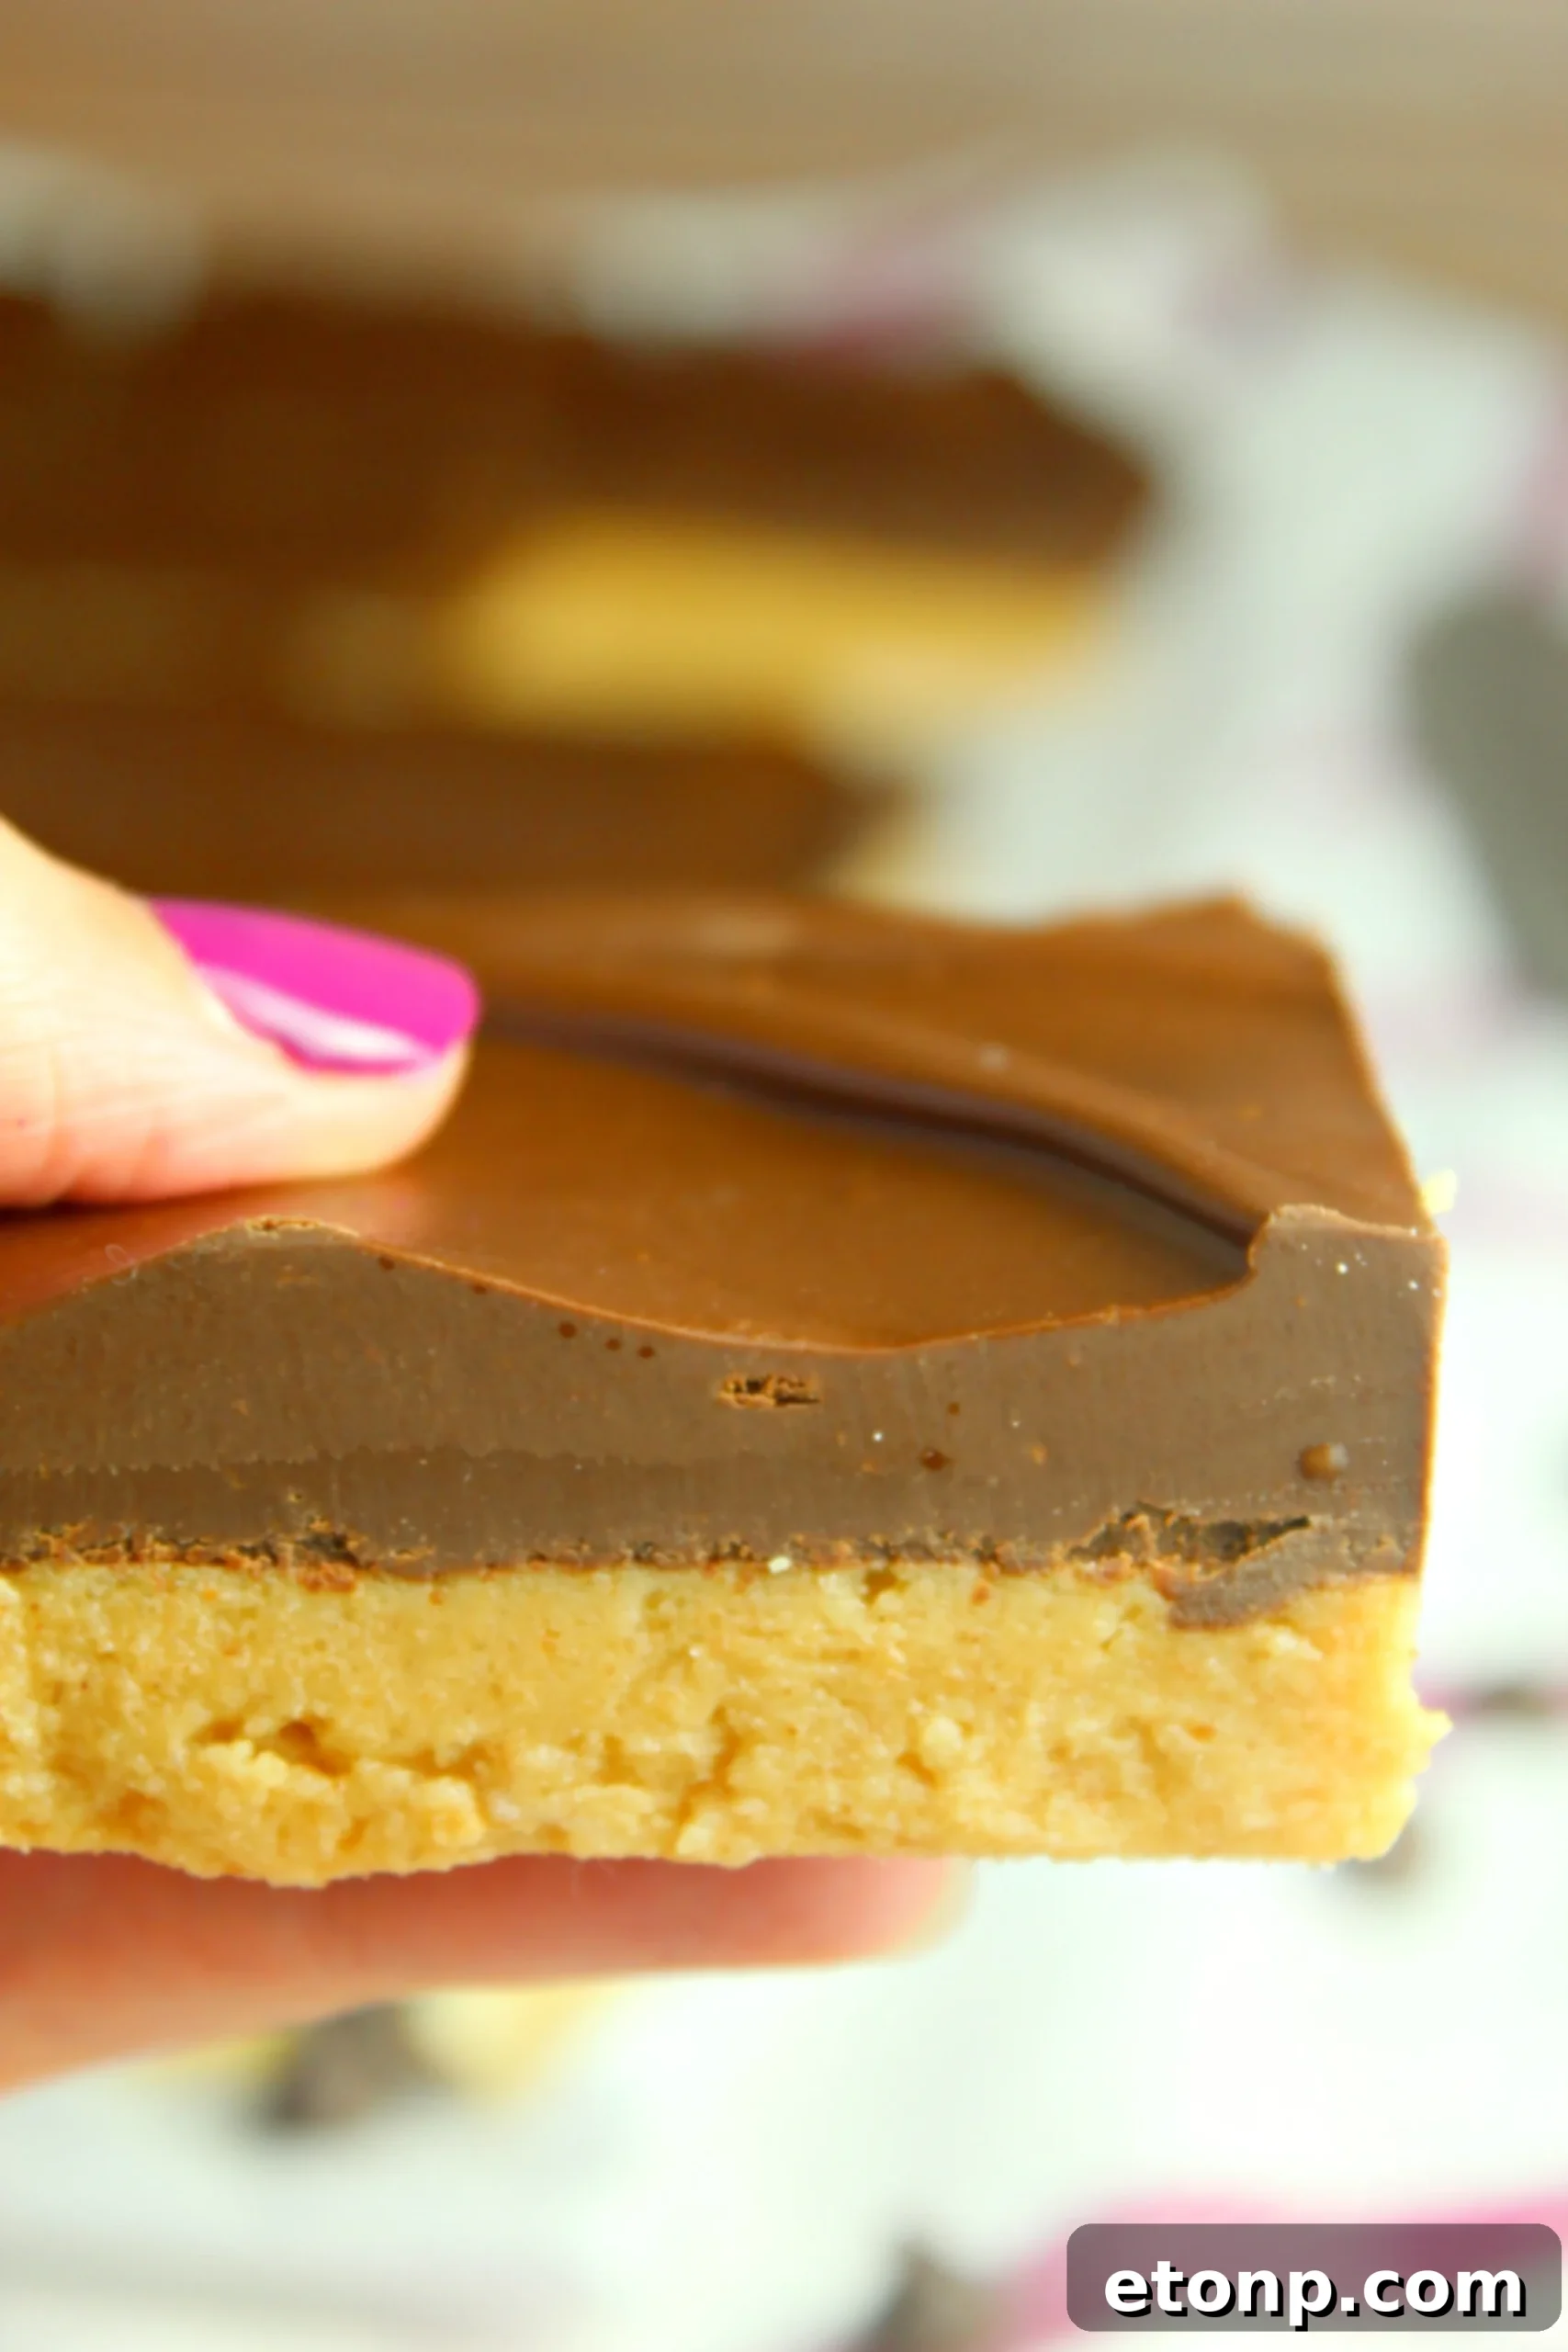
I always make a double batch of these bars because my family and friends are always asking me to send them home with some!
These No-Bake Peanut Butter Cup Bars have become such a staple in my household that a single batch simply isn’t enough. They disappear at an astonishing rate, always leaving everyone clamoring for more. Whether it’s my family enjoying them as an after-dinner treat or friends requesting them for their own gatherings, the demand is consistently high. I’ve learned that doubling the recipe is the only way to ensure there’s enough to go around—and maybe, just maybe, a few extra for my husband’s relentless sweet tooth! Their popularity is a testament to their irresistible flavor and ease. They’re simply too good not to share, and too tempting to stop at just one.
Variations to Personalize Your Peanut Butter Bars
While the classic recipe is perfect as is, these No-Bake Peanut Butter Cup Bars are wonderfully versatile and can be customized to suit your taste or occasion:
- Crunch Factor: For an added textural dimension, try mixing a handful of chopped roasted peanuts into the peanut butter layer.
- Salted Caramel Swirl: Drizzle a thin layer of store-bought or homemade salted caramel over the peanut butter layer before adding the chocolate for an extra layer of decadence.
- Different Chocolate: Experiment with different types of chocolate for the topping. Milk chocolate chips will yield a sweeter, creamier top, while dark chocolate chips will offer a more intense, slightly bitter contrast to the sweet peanut butter. White chocolate can also create a beautiful visual and flavor variation.
- Sprinkle Fun: Before the chocolate layer sets, sprinkle with festive sprinkles for holidays or birthdays, or a pinch of sea salt for a gourmet touch that enhances the chocolate flavor.
- Gluten-Free Option: Easily make these bars gluten-free by substituting gluten-free graham crackers or using finely crushed gluten-free vanilla wafers or shortbread cookies.
- Nutella Twist: For an ultimate chocolate-hazelnut experience, consider swirling a layer of Nutella into the melted chocolate topping, or even replacing some of the peanut butter in the base with Nutella.
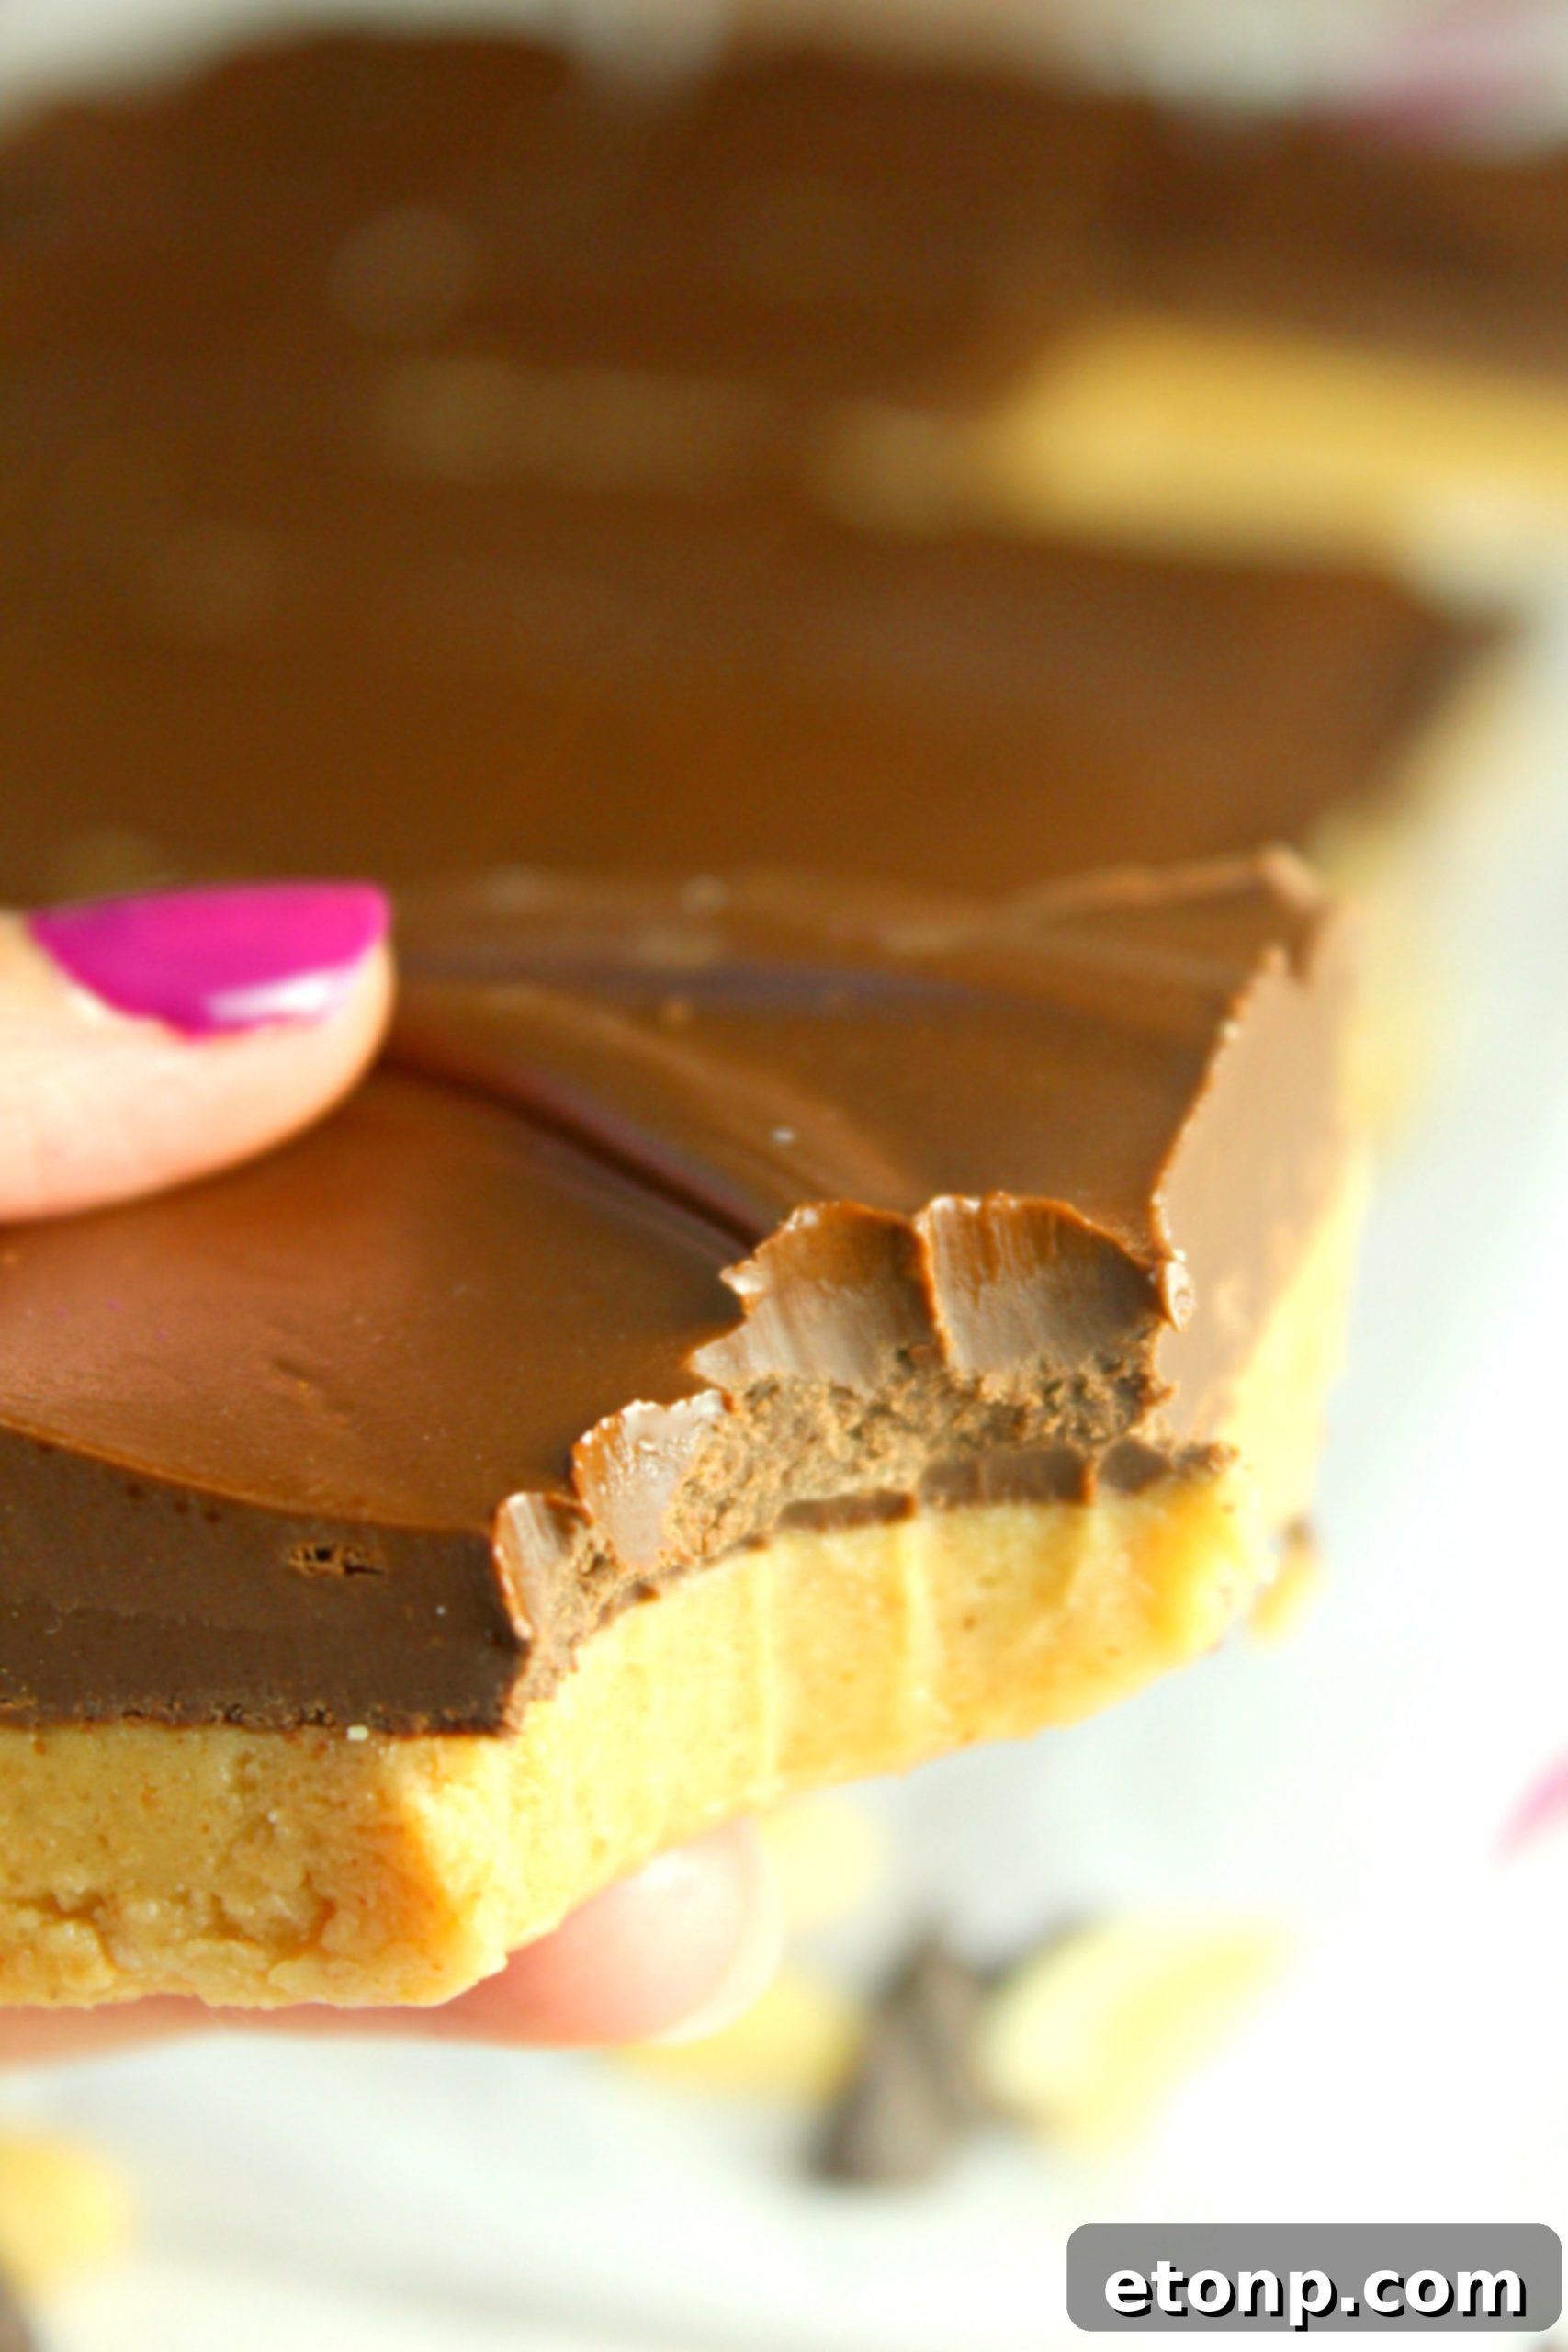
These would be great for any cookie exchange, bake sales or even just as a wonderful dessert your entire family will thank you for!
The versatility and universal appeal of these No-Bake Peanut Butter Cup Bars make them a stellar choice for almost any occasion. Imagine bringing a tray of these to a holiday cookie exchange—they’re guaranteed to stand out amongst the traditional baked goods. Their striking appearance and irresistible flavor profile make them a hot commodity at bake sales, where they’re sure to sell out quickly. Beyond special events, they shine as a simple yet extraordinary dessert for your own family. Picture the joy on everyone’s faces as you present a platter of these homemade delights after a weeknight dinner or for a weekend gathering. They’re a treat that brings smiles, creates memories, and consistently earns heartfelt thank-yous. Easy to transport, simple to store, and utterly delicious, these bars are a true crowd-pleaser that will solidify your reputation as a dessert maestro.
Storage Tips for Maximum Freshness
To enjoy your No-Bake Peanut Butter Cup Bars at their best, proper storage is key:
- Refrigeration is a Must: Due to the butter and peanut butter content, these bars are best stored in an airtight container in the refrigerator. This keeps them firm, fresh, and prevents the chocolate from becoming too soft.
- Shelf Life: When stored correctly in the fridge, these bars will maintain their deliciousness for up to 5-7 days.
- Freezing for Longer: For extended enjoyment, these bars freeze beautifully. Cut them into squares, then place them in a single layer on a parchment-lined baking sheet and freeze until firm. Once solid, transfer them to a freezer-safe airtight container or bag, separating layers with parchment paper to prevent sticking. They can be frozen for up to 2-3 months. Thaw in the refrigerator for a few hours before serving, or enjoy them straight from the freezer for a delightful frozen treat!
Frequently Asked Questions (FAQ) About No-Bake Peanut Butter Cup Bars
Here are answers to some common questions about making and enjoying these delightful bars:
- Can I use crunchy peanut butter? While creamy peanut butter is recommended for the smoothest texture, crunchy peanut butter can be used if you prefer a bit of texture in your base layer.
- My chocolate isn’t melting smoothly. What went wrong? This usually happens if the chocolate is overheated or if any water gets into the mixture. Melt in short bursts, stirring frequently, and ensure your bowl and spatula are completely dry.
- How do I get clean cuts? For perfectly neat squares, chill the bars thoroughly for at least 3 hours. Then, use a sharp knife that has been run under hot water and wiped dry between each cut.
- Can I make these dairy-free? Yes, you can! Use a dairy-free butter alternative, dairy-free chocolate chips, and ensure your graham crackers are dairy-free (some brands contain milk).
- Are these suitable for a crowd? Absolutely! This recipe is easily doubled or even tripled for larger gatherings. They’re always a huge hit.
Ready to Create Your Own Peanut Butter Cup Paradise?
These No-Bake Peanut Butter Cup Bars are more than just a dessert; they’re an experience. From their effortless preparation to their undeniable deliciousness, they offer everything you could want in a sweet treat. They are proof that some of life’s greatest pleasures are also the simplest. So go ahead, gather your ingredients, and prepare to delight your senses and those of everyone you share them with. You’ll quickly understand why these homemade bars are often hailed as even better than their store-bought counterparts. Get ready to fall in love with your new favorite no-bake dessert!
Please remember to SHARE on Facebook and PIN IT!
FOLLOW ME ONPINTERESTBY CLICKING HERE <——
No Bake Peanut Butter Cup Bars!
Ingredients
PEANUT BUTTER LAYER
- 2 cups graham crackers, crushed
- 1 cup unsalted butter, melted
- 1 3/4 cups powdered sugar
- 1/4 cup brown sugar
- 1 cup peanut butter
CHOCOLATE LAYER
- 3 cups semi-sweet chocolate chips
- 1/4 cup peanut butter
Instructions
-
Line a 9×13 baking dish with parchment paper, leaving an overhang on the sides, and set aside.
-
In a food processor, pulse graham crackers until they form a fine crumb.
-
Add the melted butter, powdered sugar, brown sugar, and 1 cup of peanut butter to the food processor and pulse until thoroughly combined and a sticky dough forms.
-
Transfer the peanut butter mixture to the bottom of the prepared baking dish and press it down evenly to create a firm, compact crust. Use the back of a spoon or your hands.
-
In a microwave-safe bowl, combine the semi-sweet chocolate chips and 1/4 cup of peanut butter. Microwave in 30-second intervals, stirring well after each burst, until the chocolate is completely melted and the mixture is smooth and glossy.
-
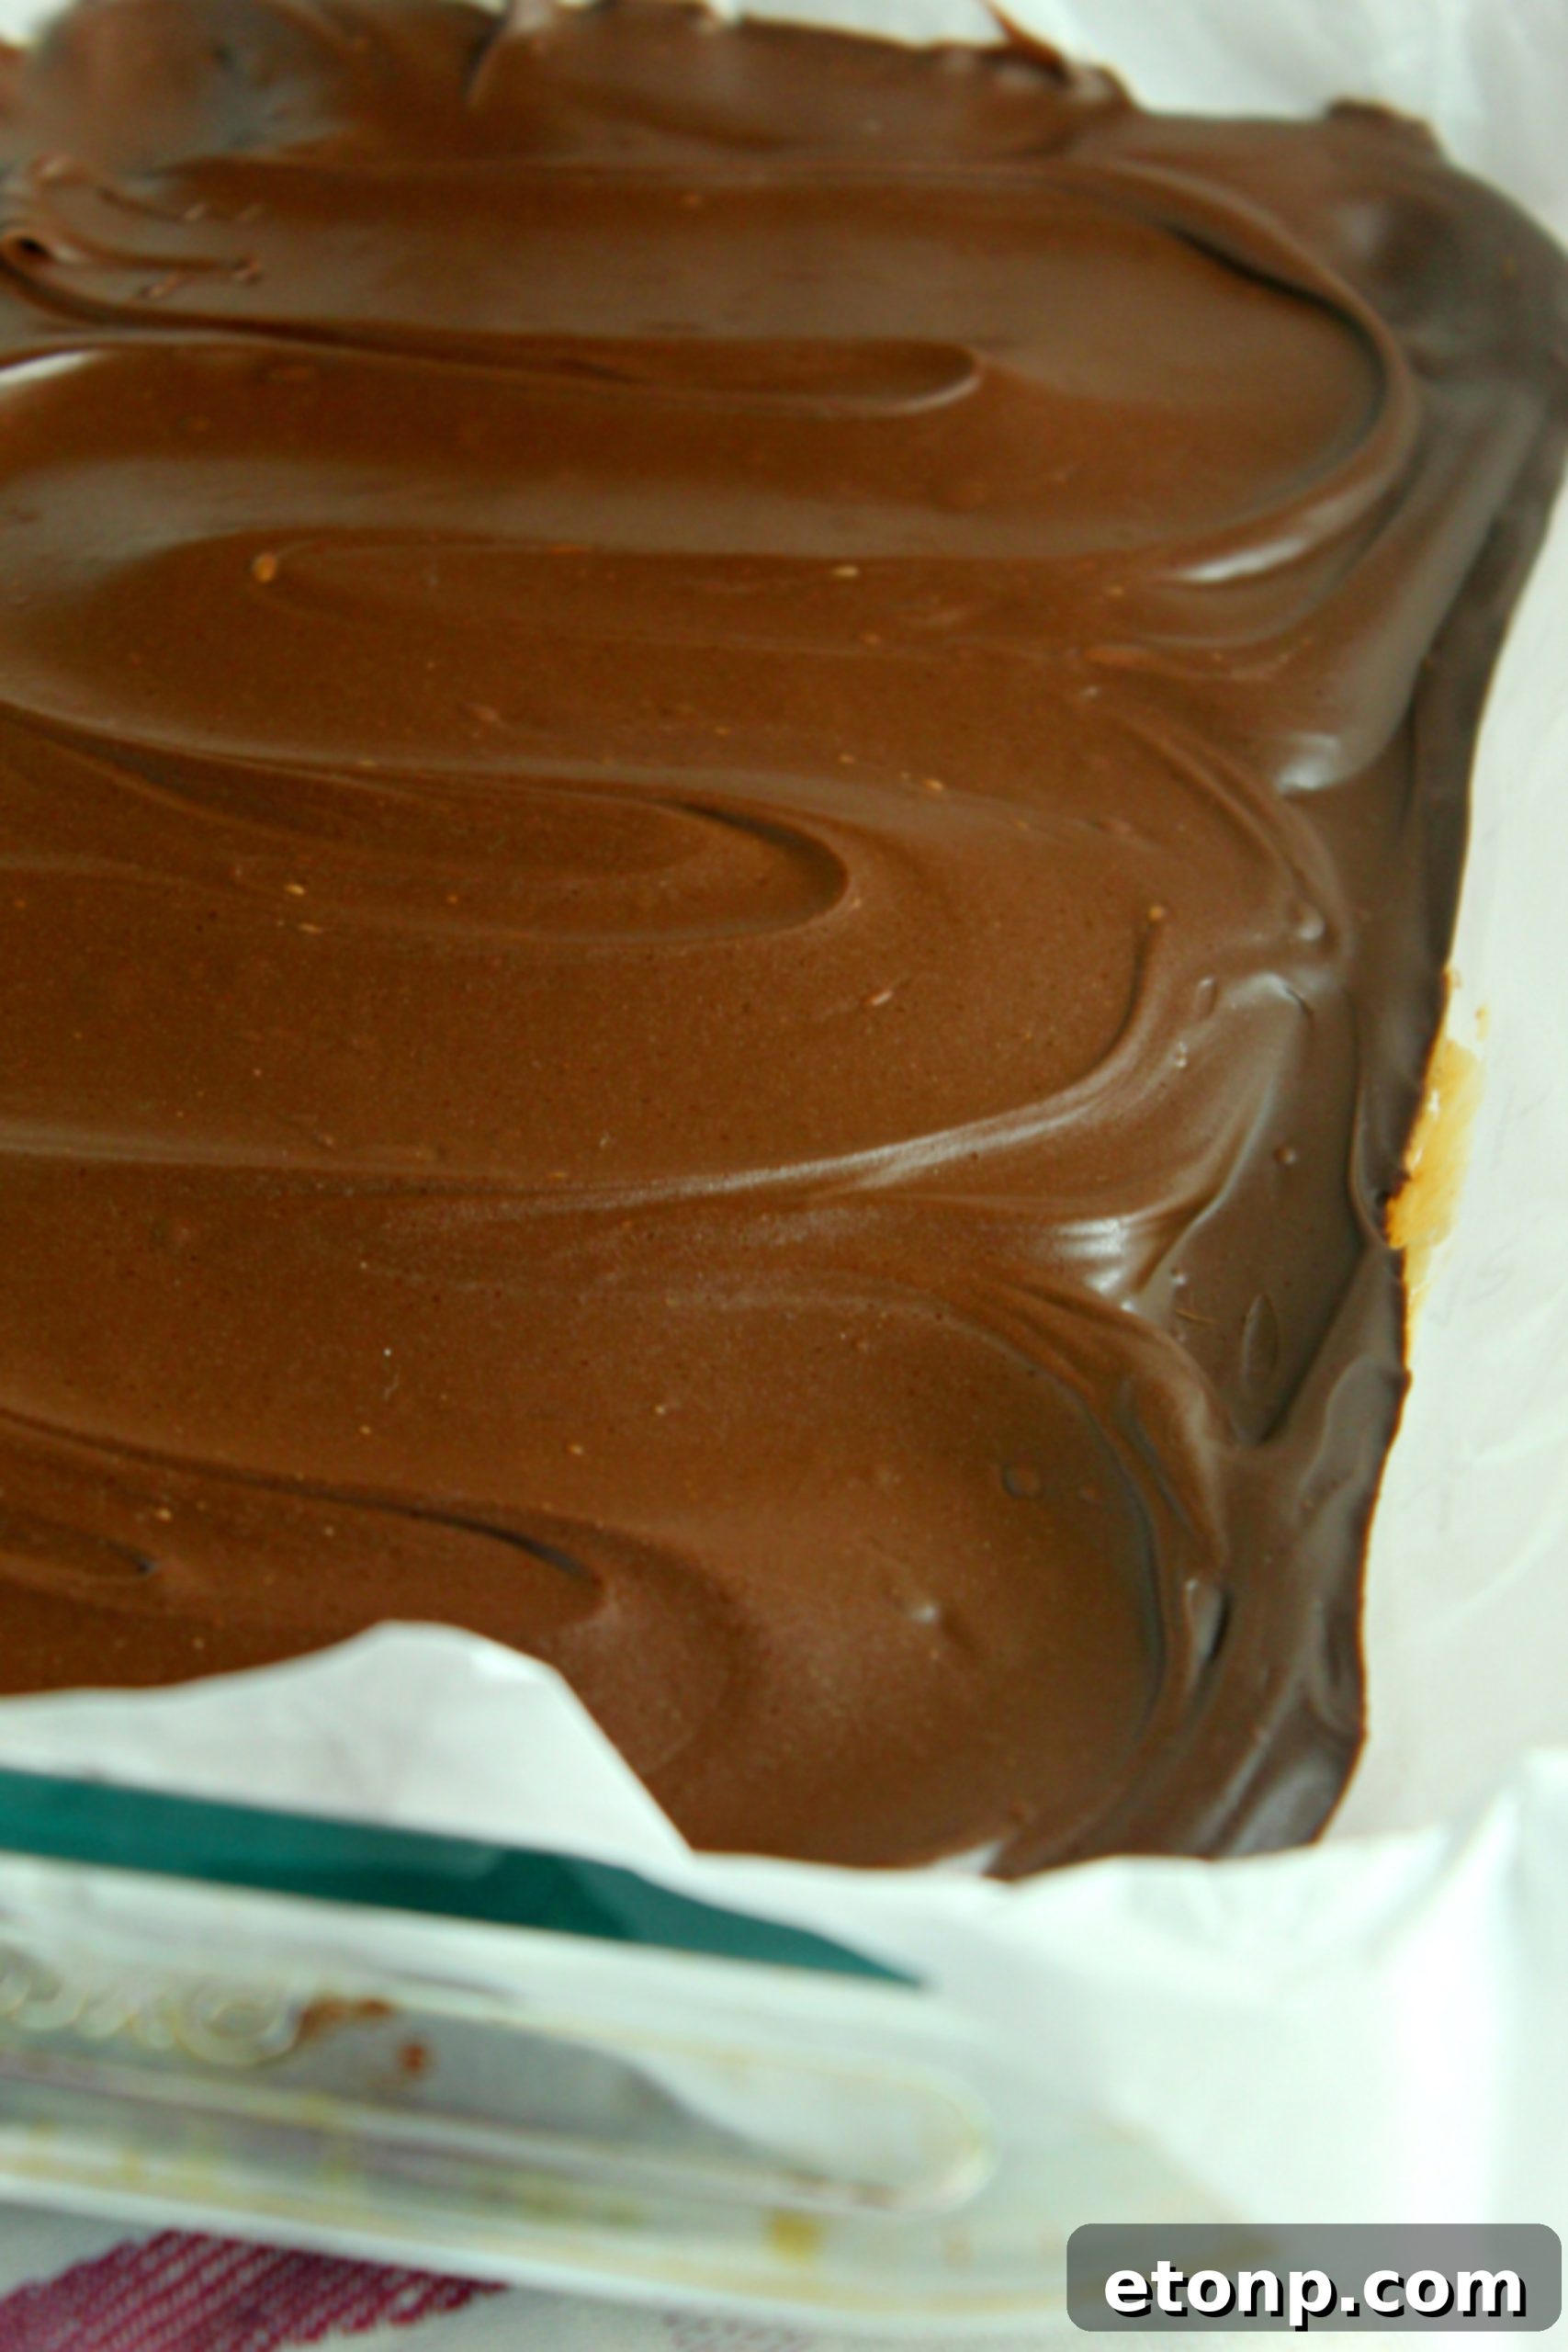
Carefully pour the melted chocolate mixture over the peanut butter base in the baking dish. Using a rubber spatula, spread it gently and evenly to cover the entire peanut butter layer.
-
Place the dish in the refrigerator and allow it to chill for at least 3 hours, or until the chocolate layer is completely set and firm.
-
Once set, use the parchment paper overhang to lift the entire slab of bars out of the dish. Place it on a cutting board and cut into squares or rectangles of your desired size.
-
Serve immediately and ENJOY! Store any leftovers in an airtight container in the refrigerator.
Did you make this recipe?
Make sure to follow on Pinterest for more recipes!