
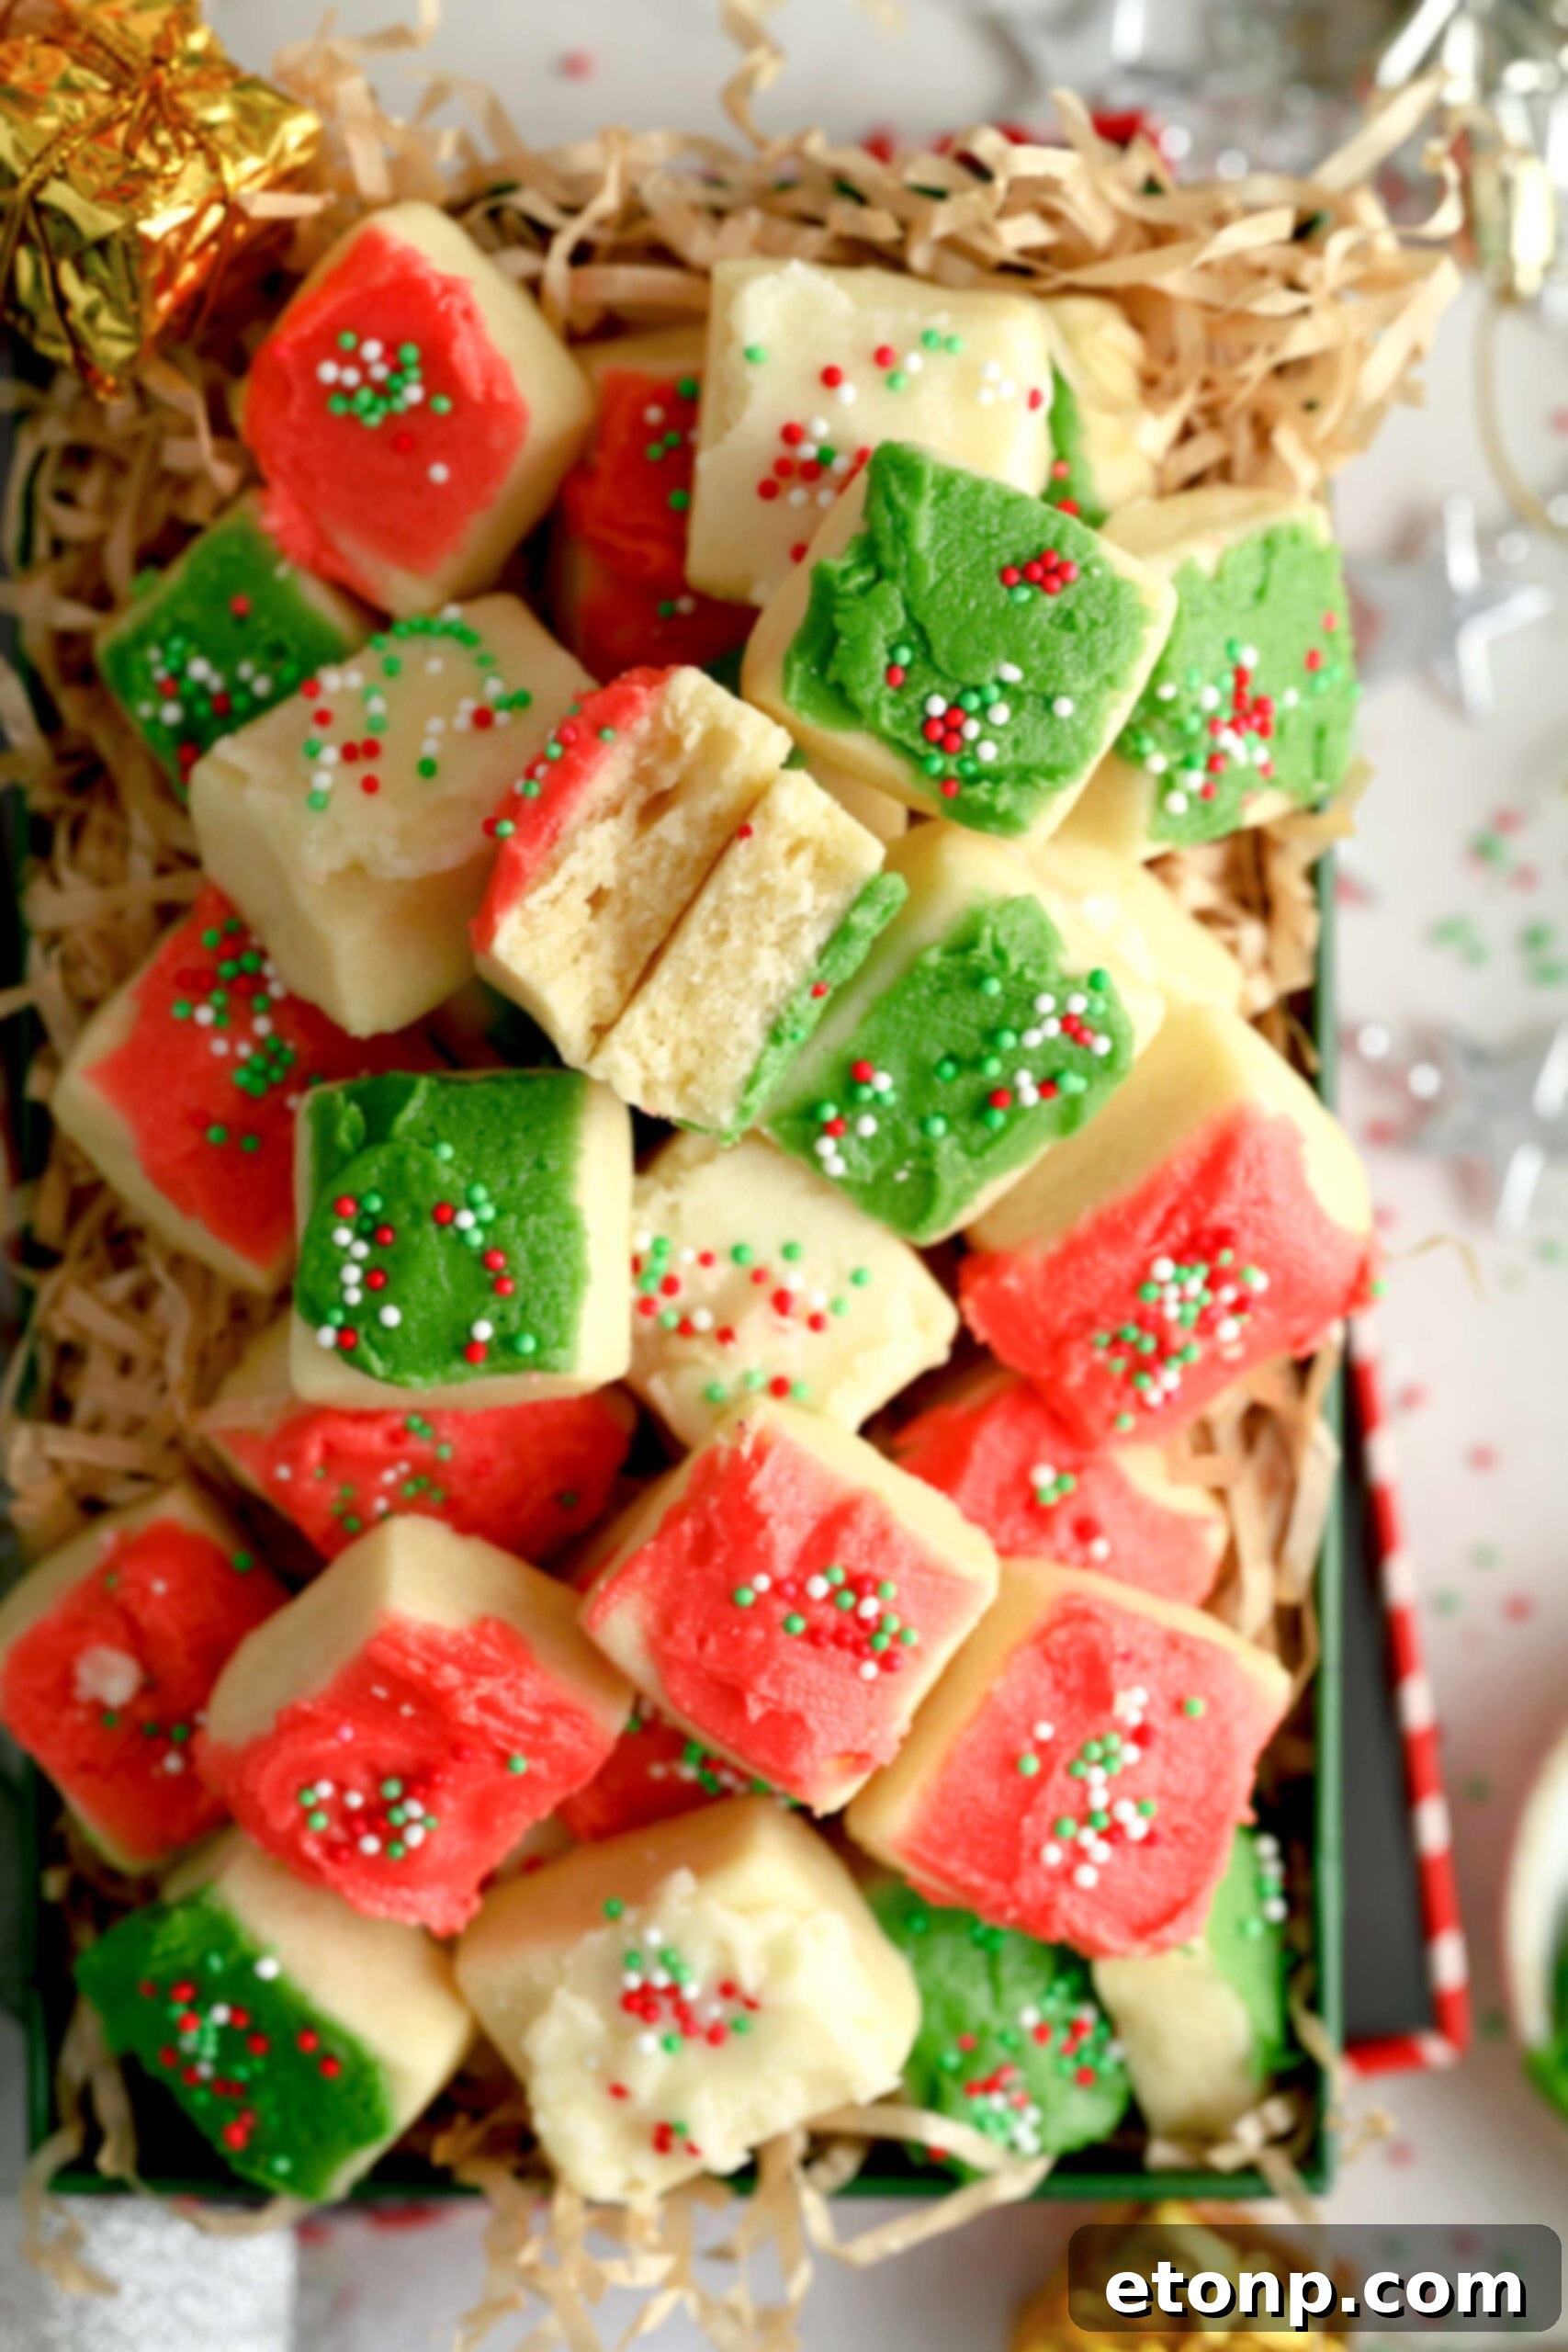
Unforgettable Christmas Sugar Cookie Bites: The Ultimate Holiday Treat
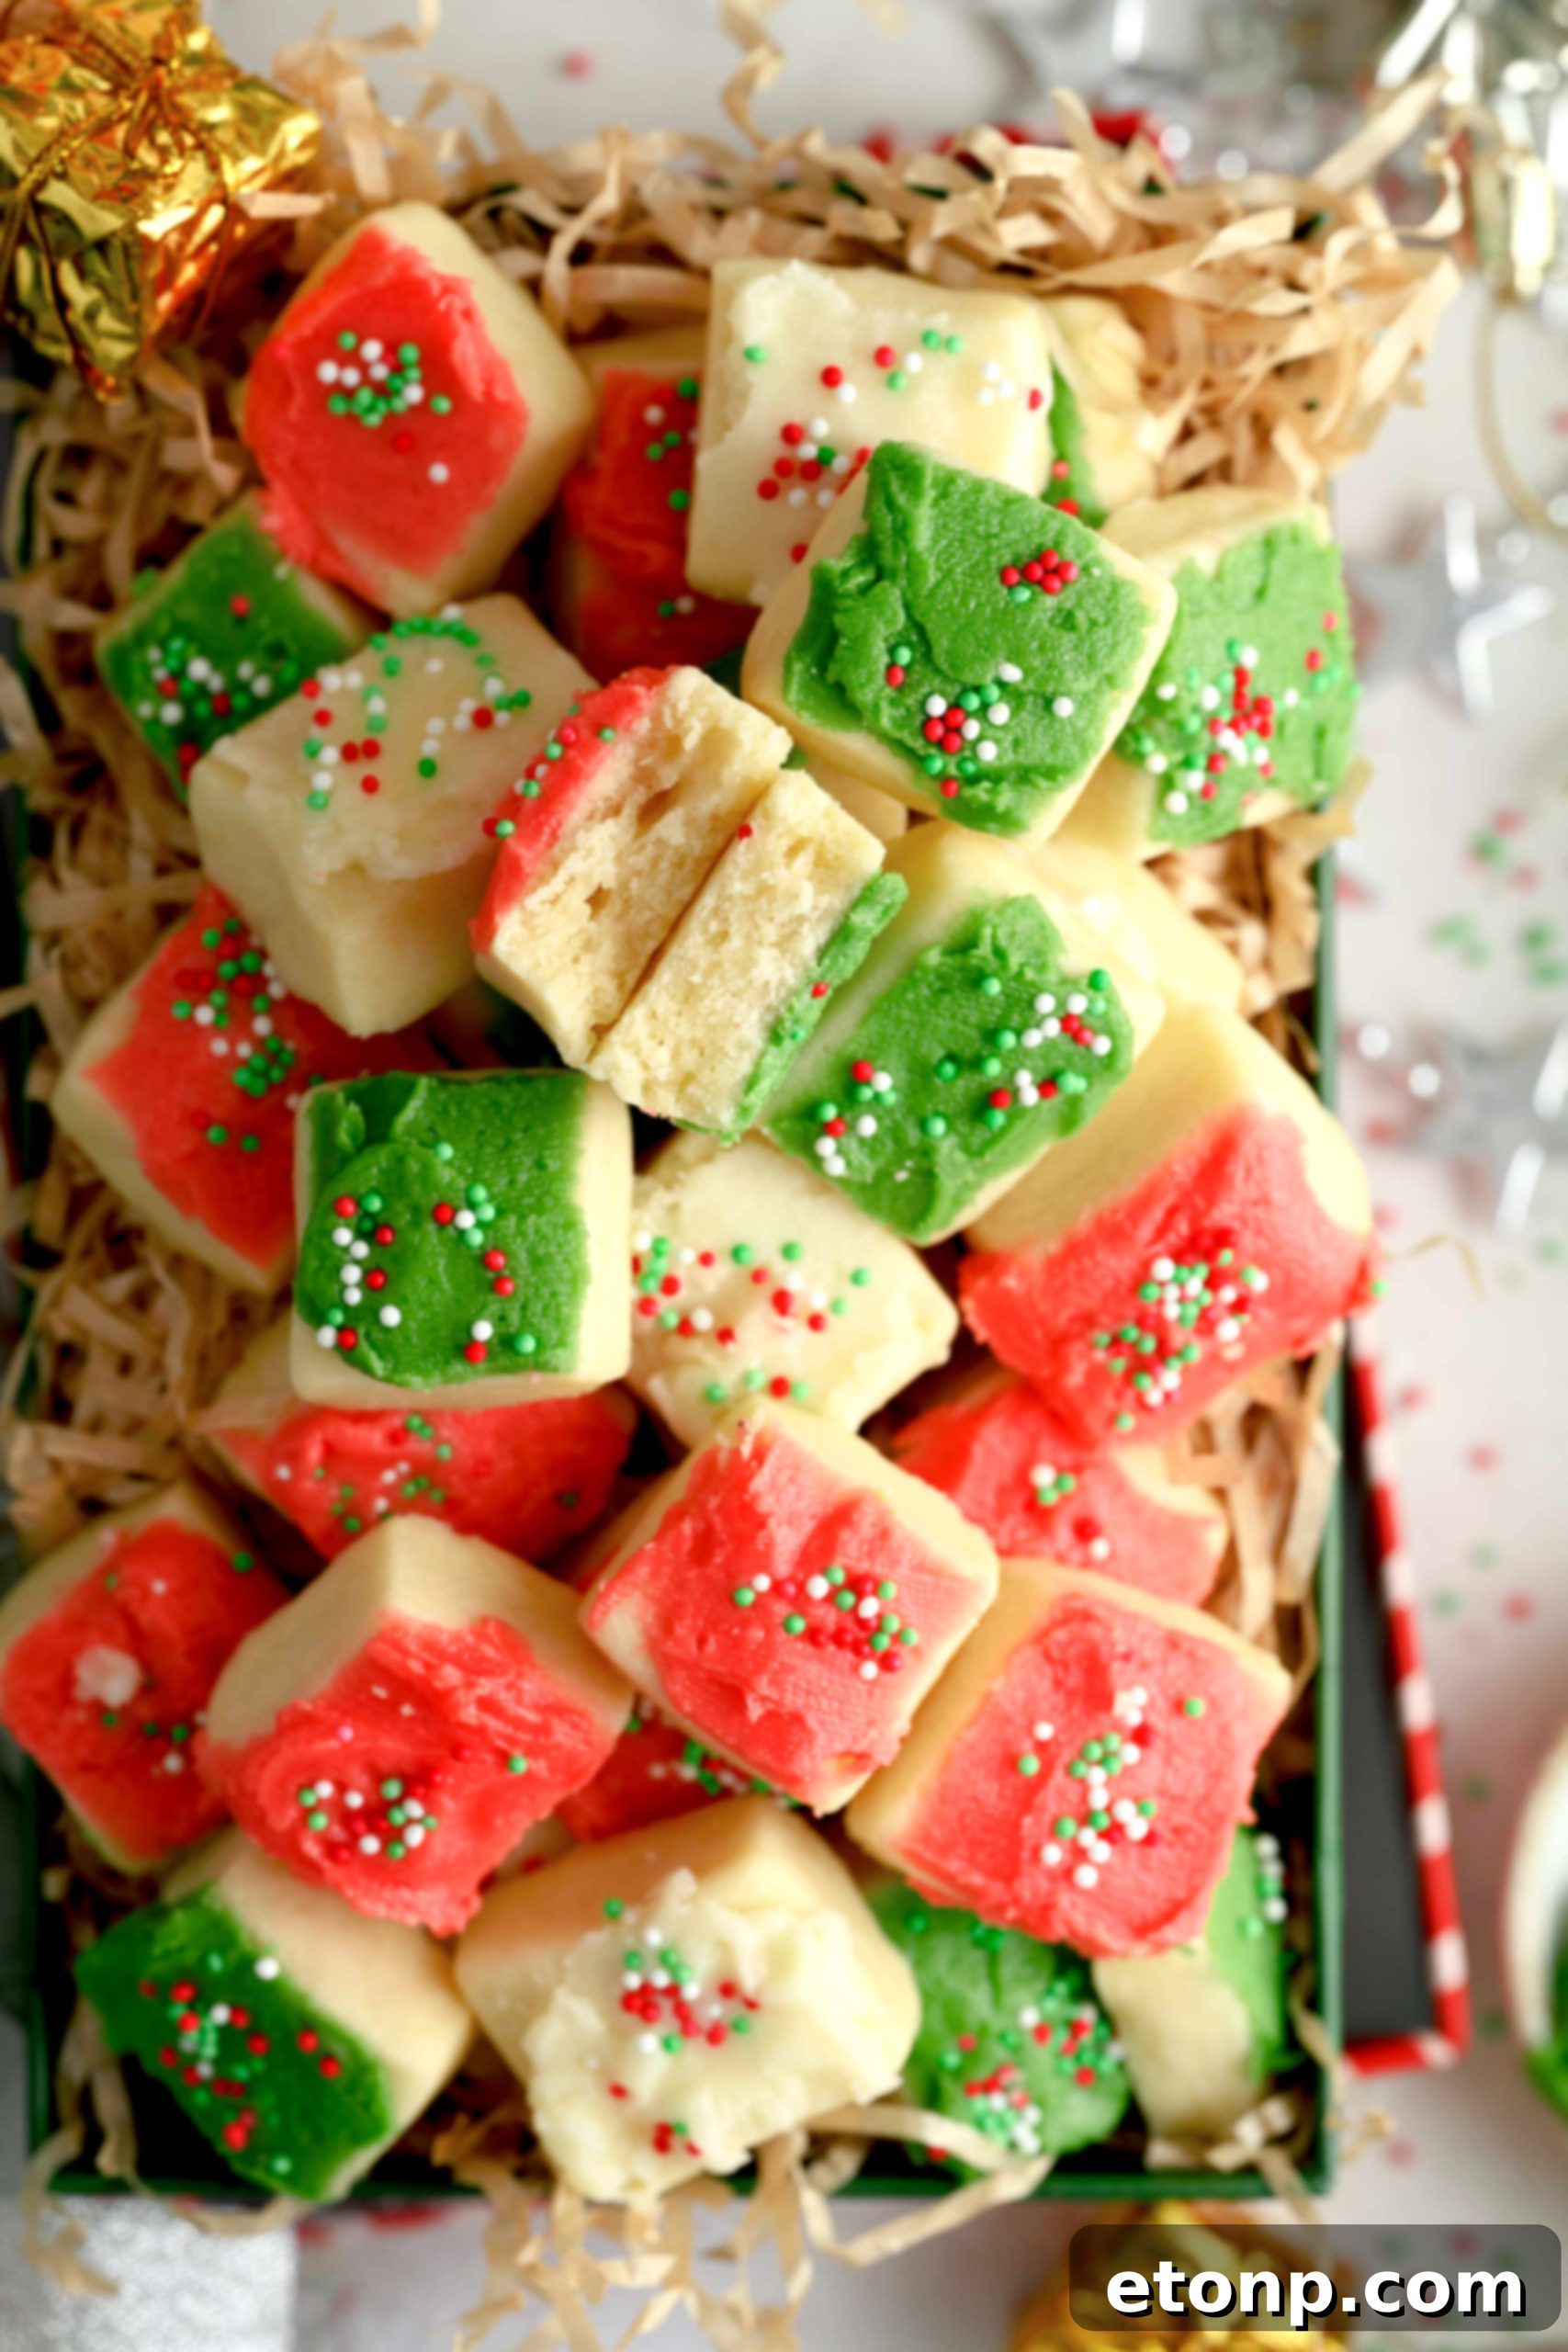
Craft the Perfect Bite-Sized Delights for Your Festive Celebrations
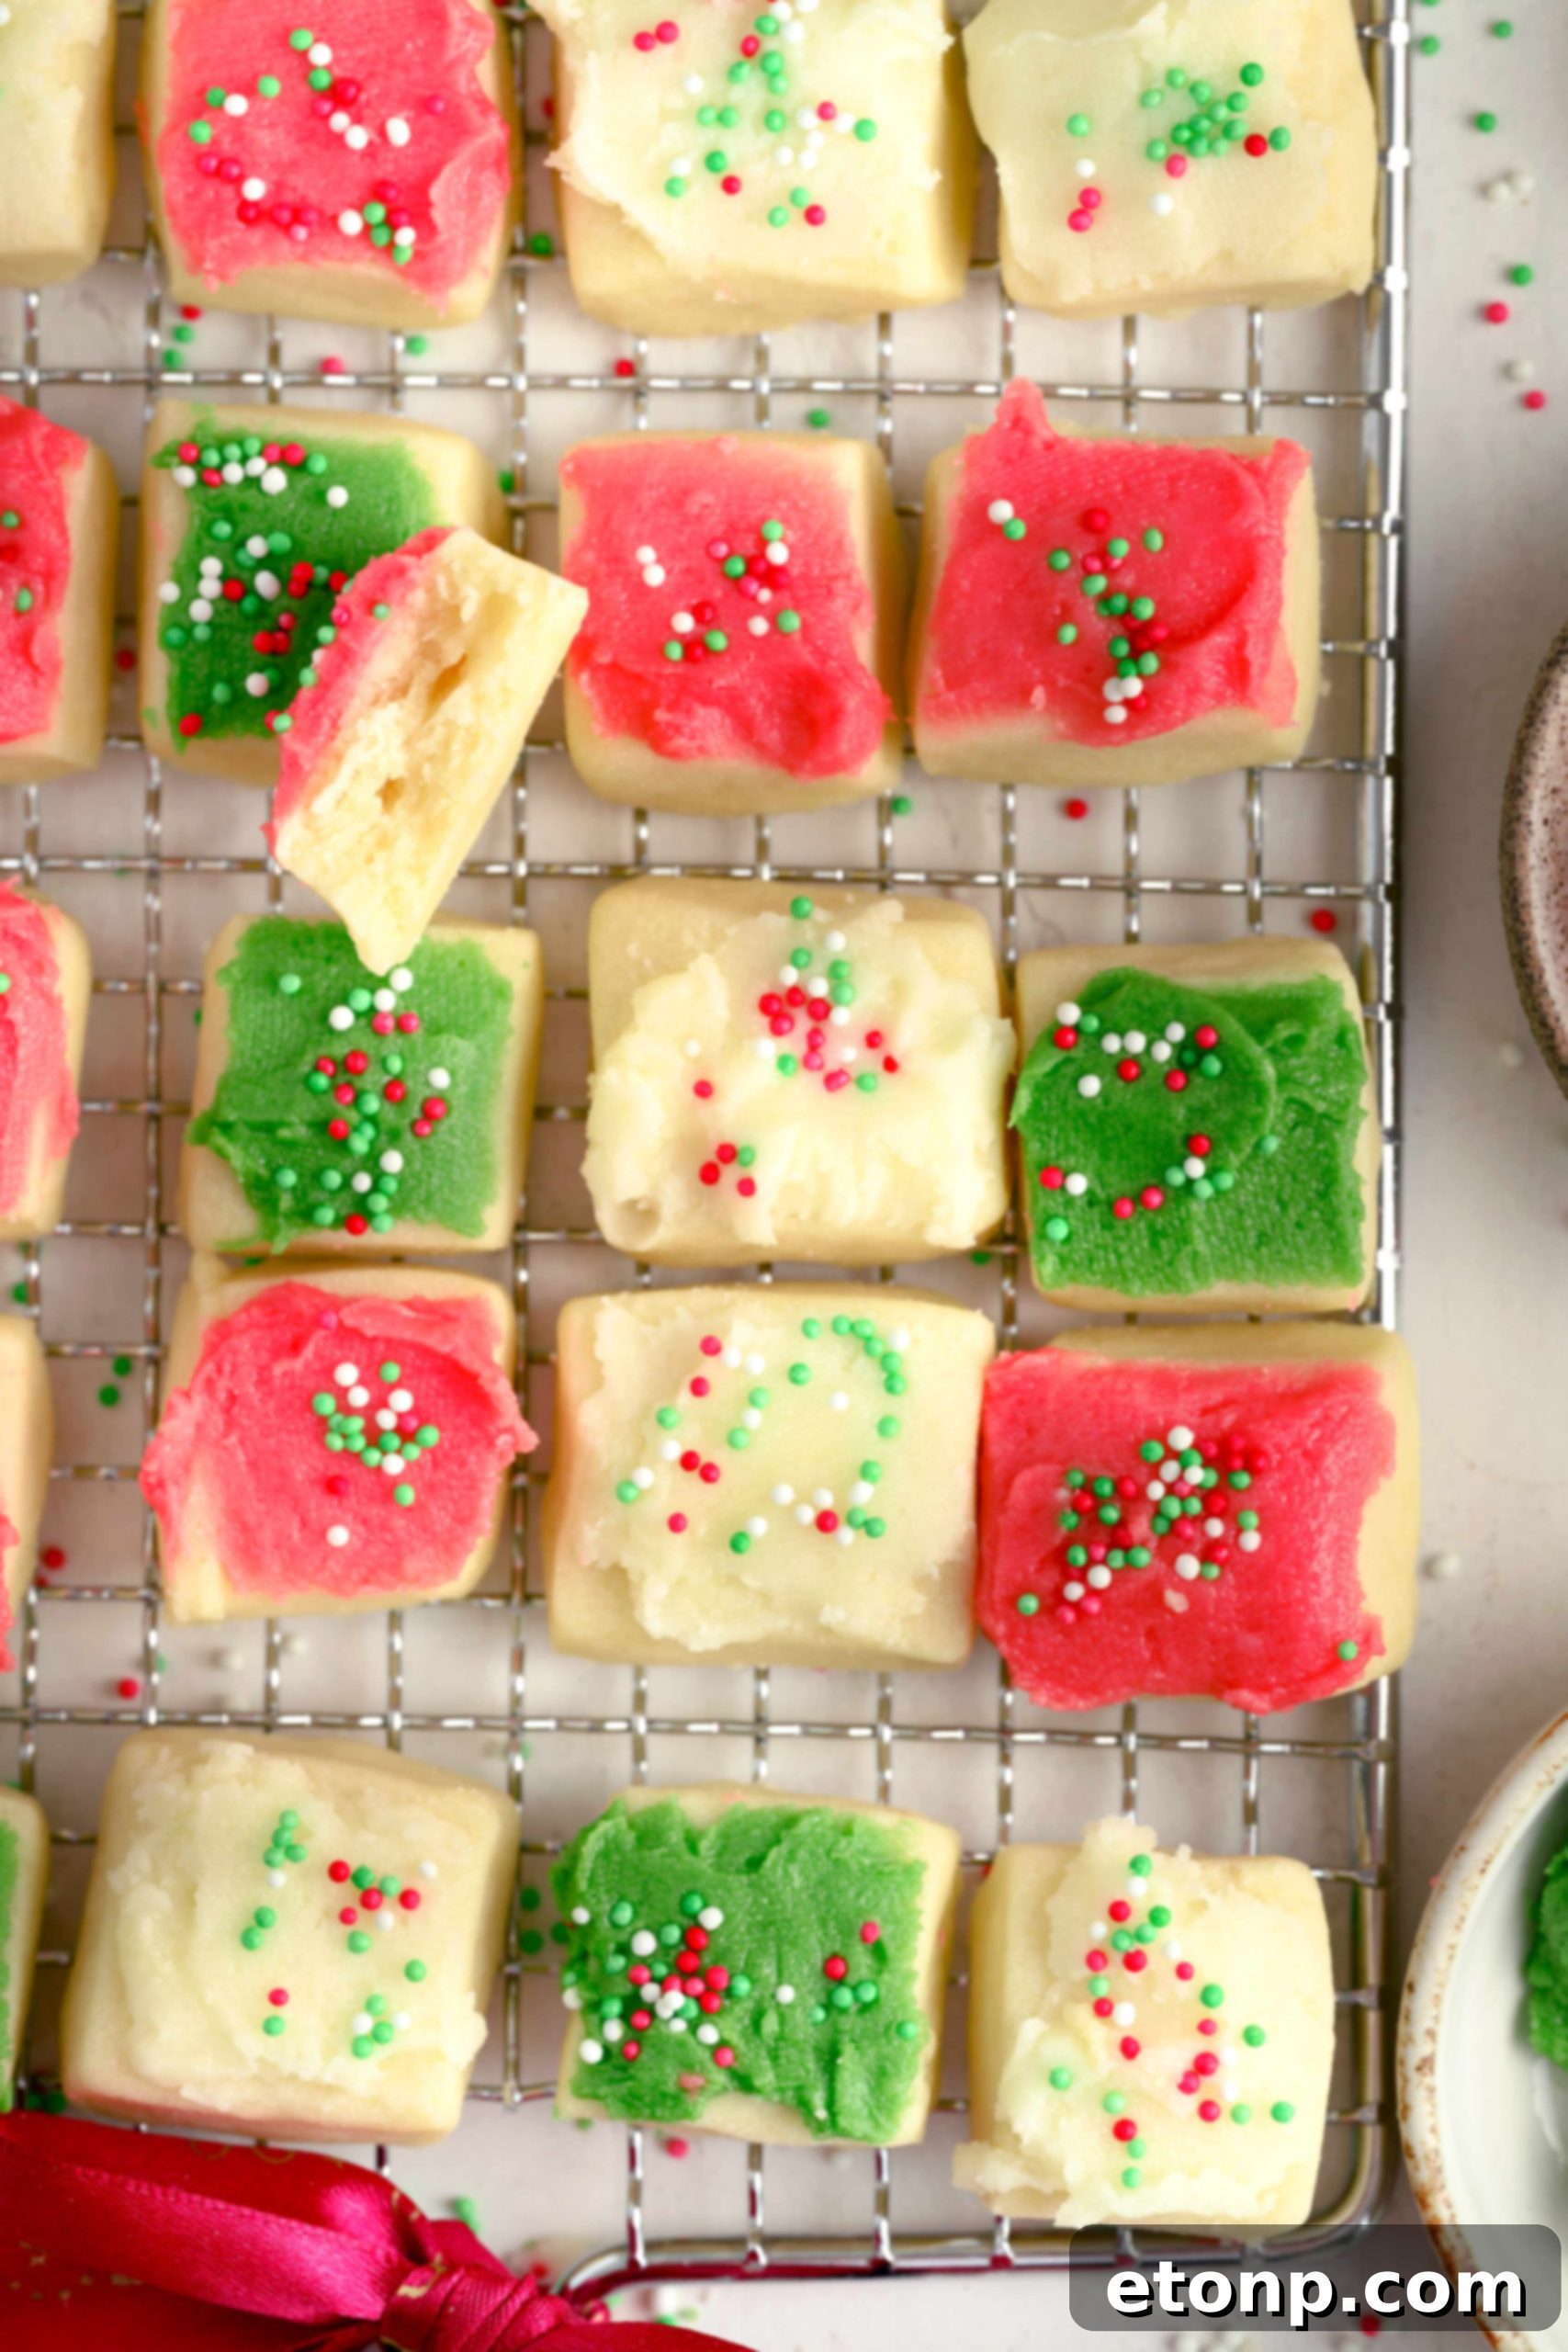
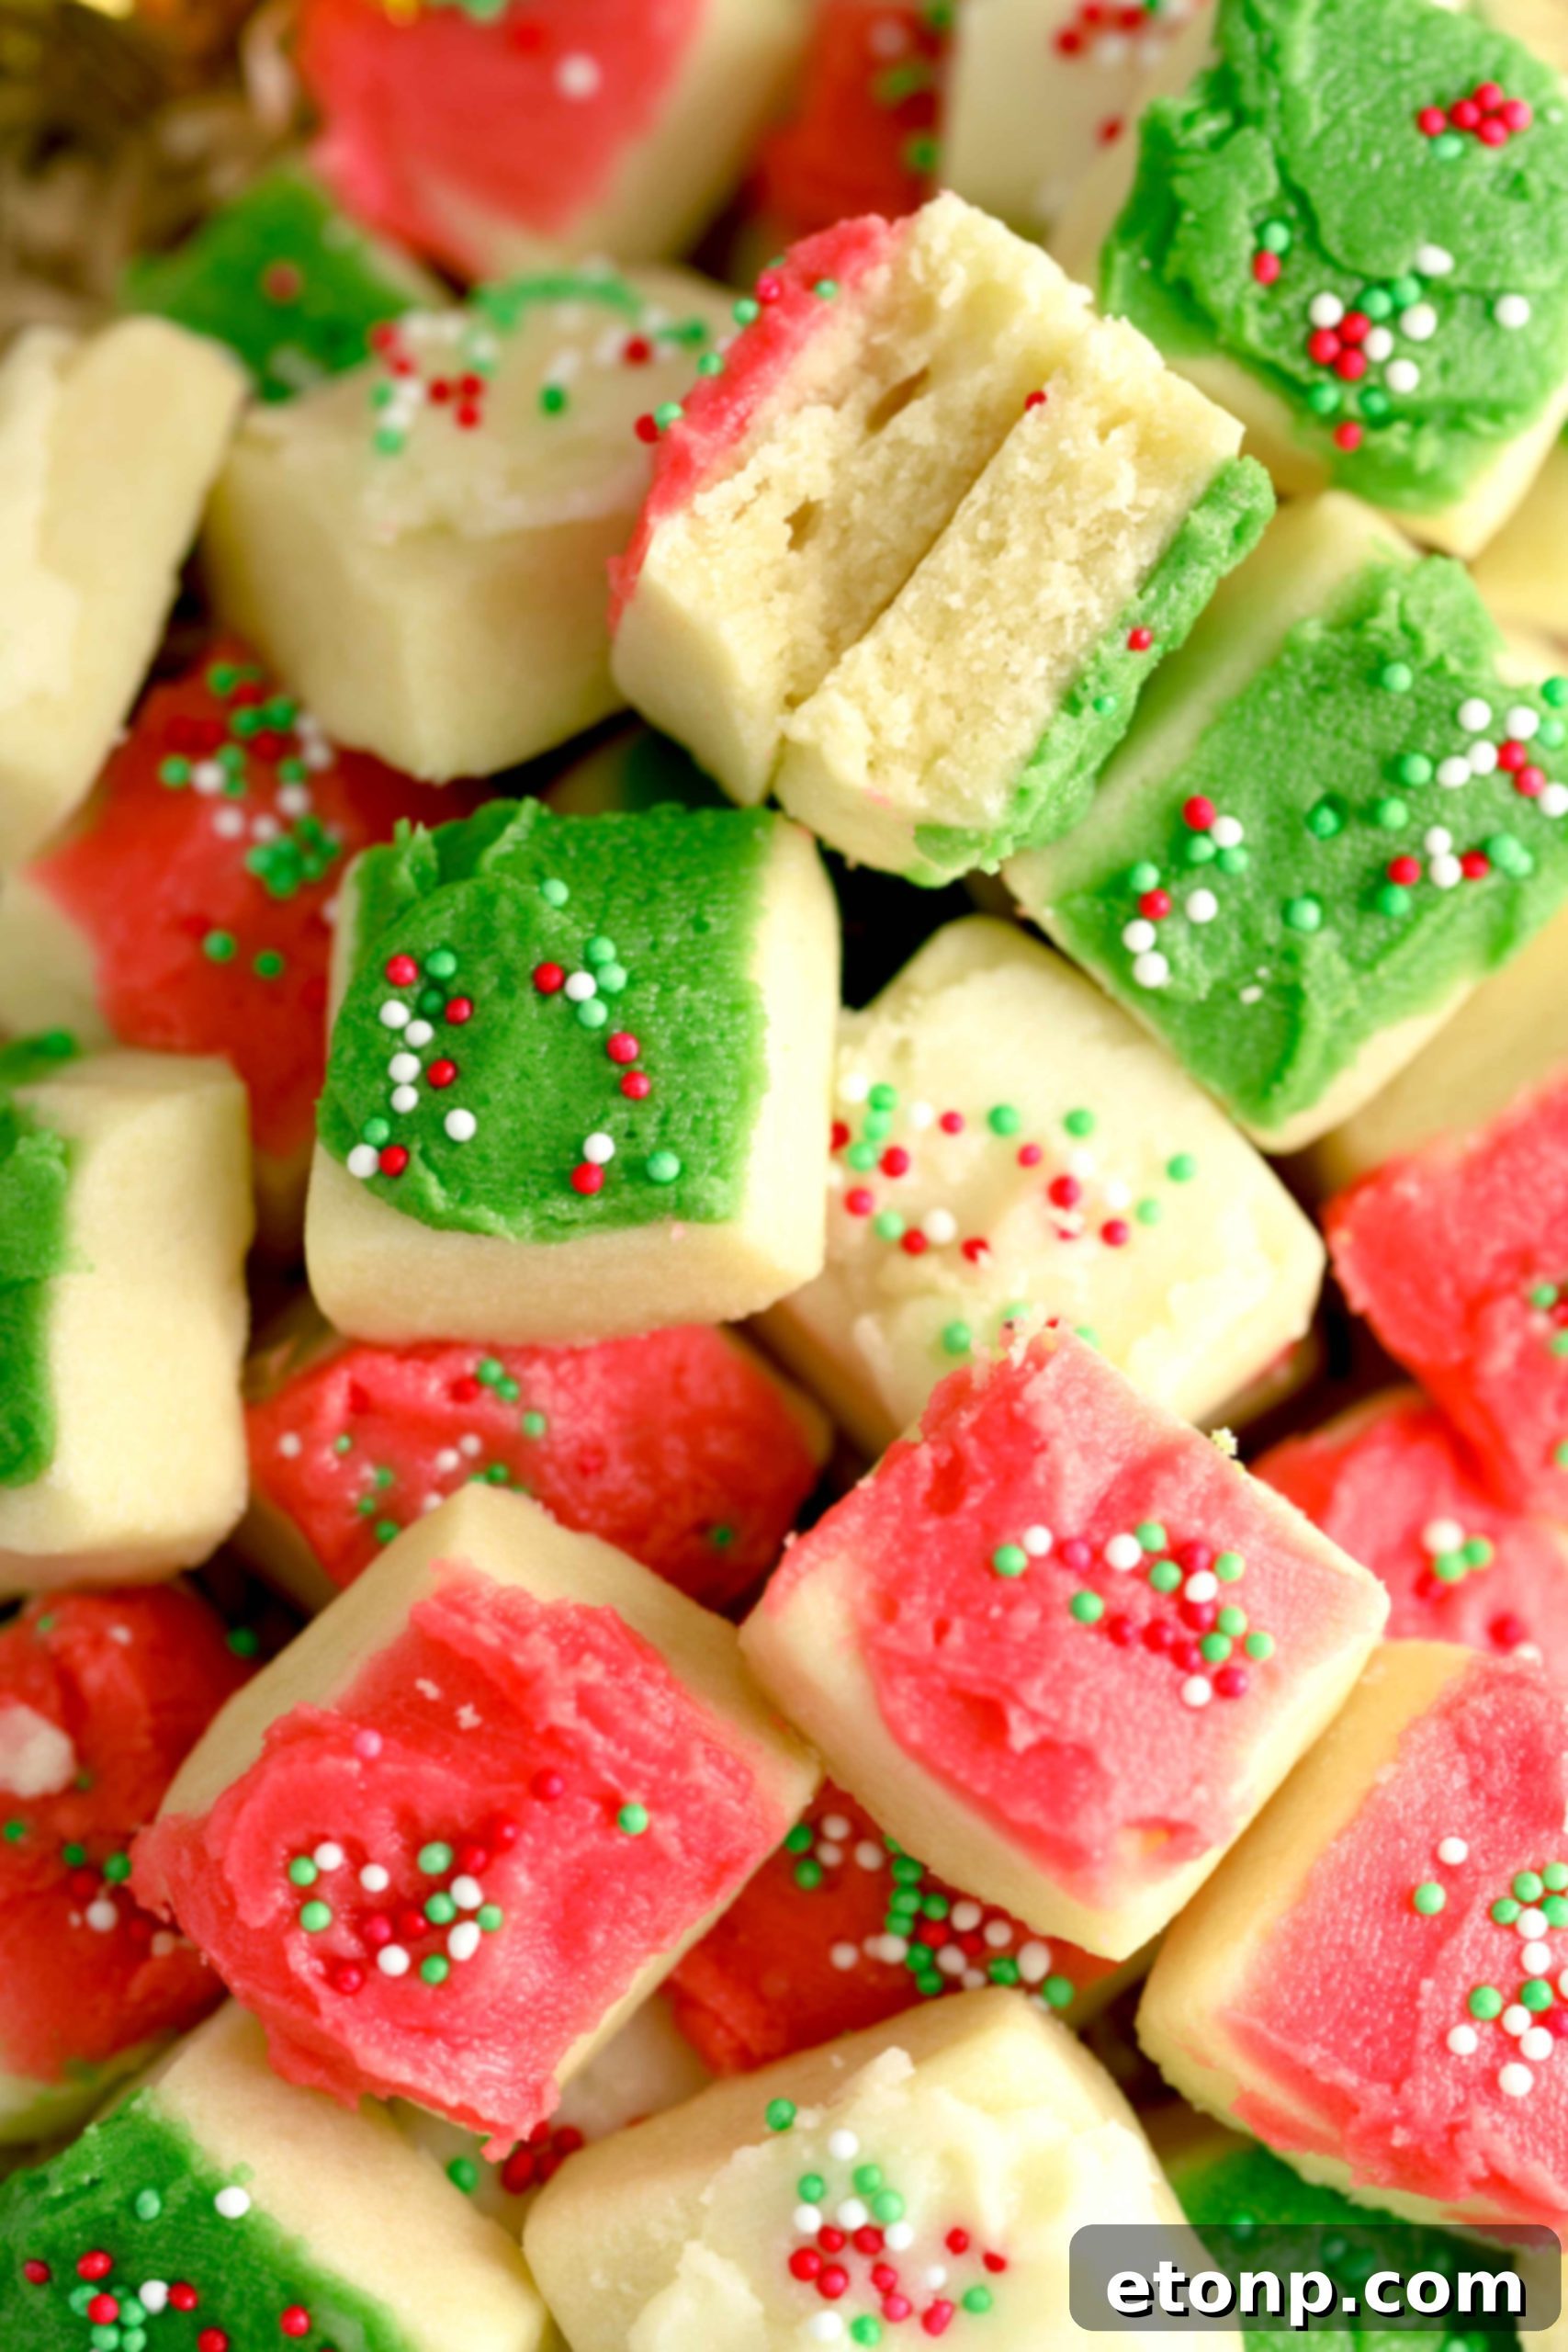
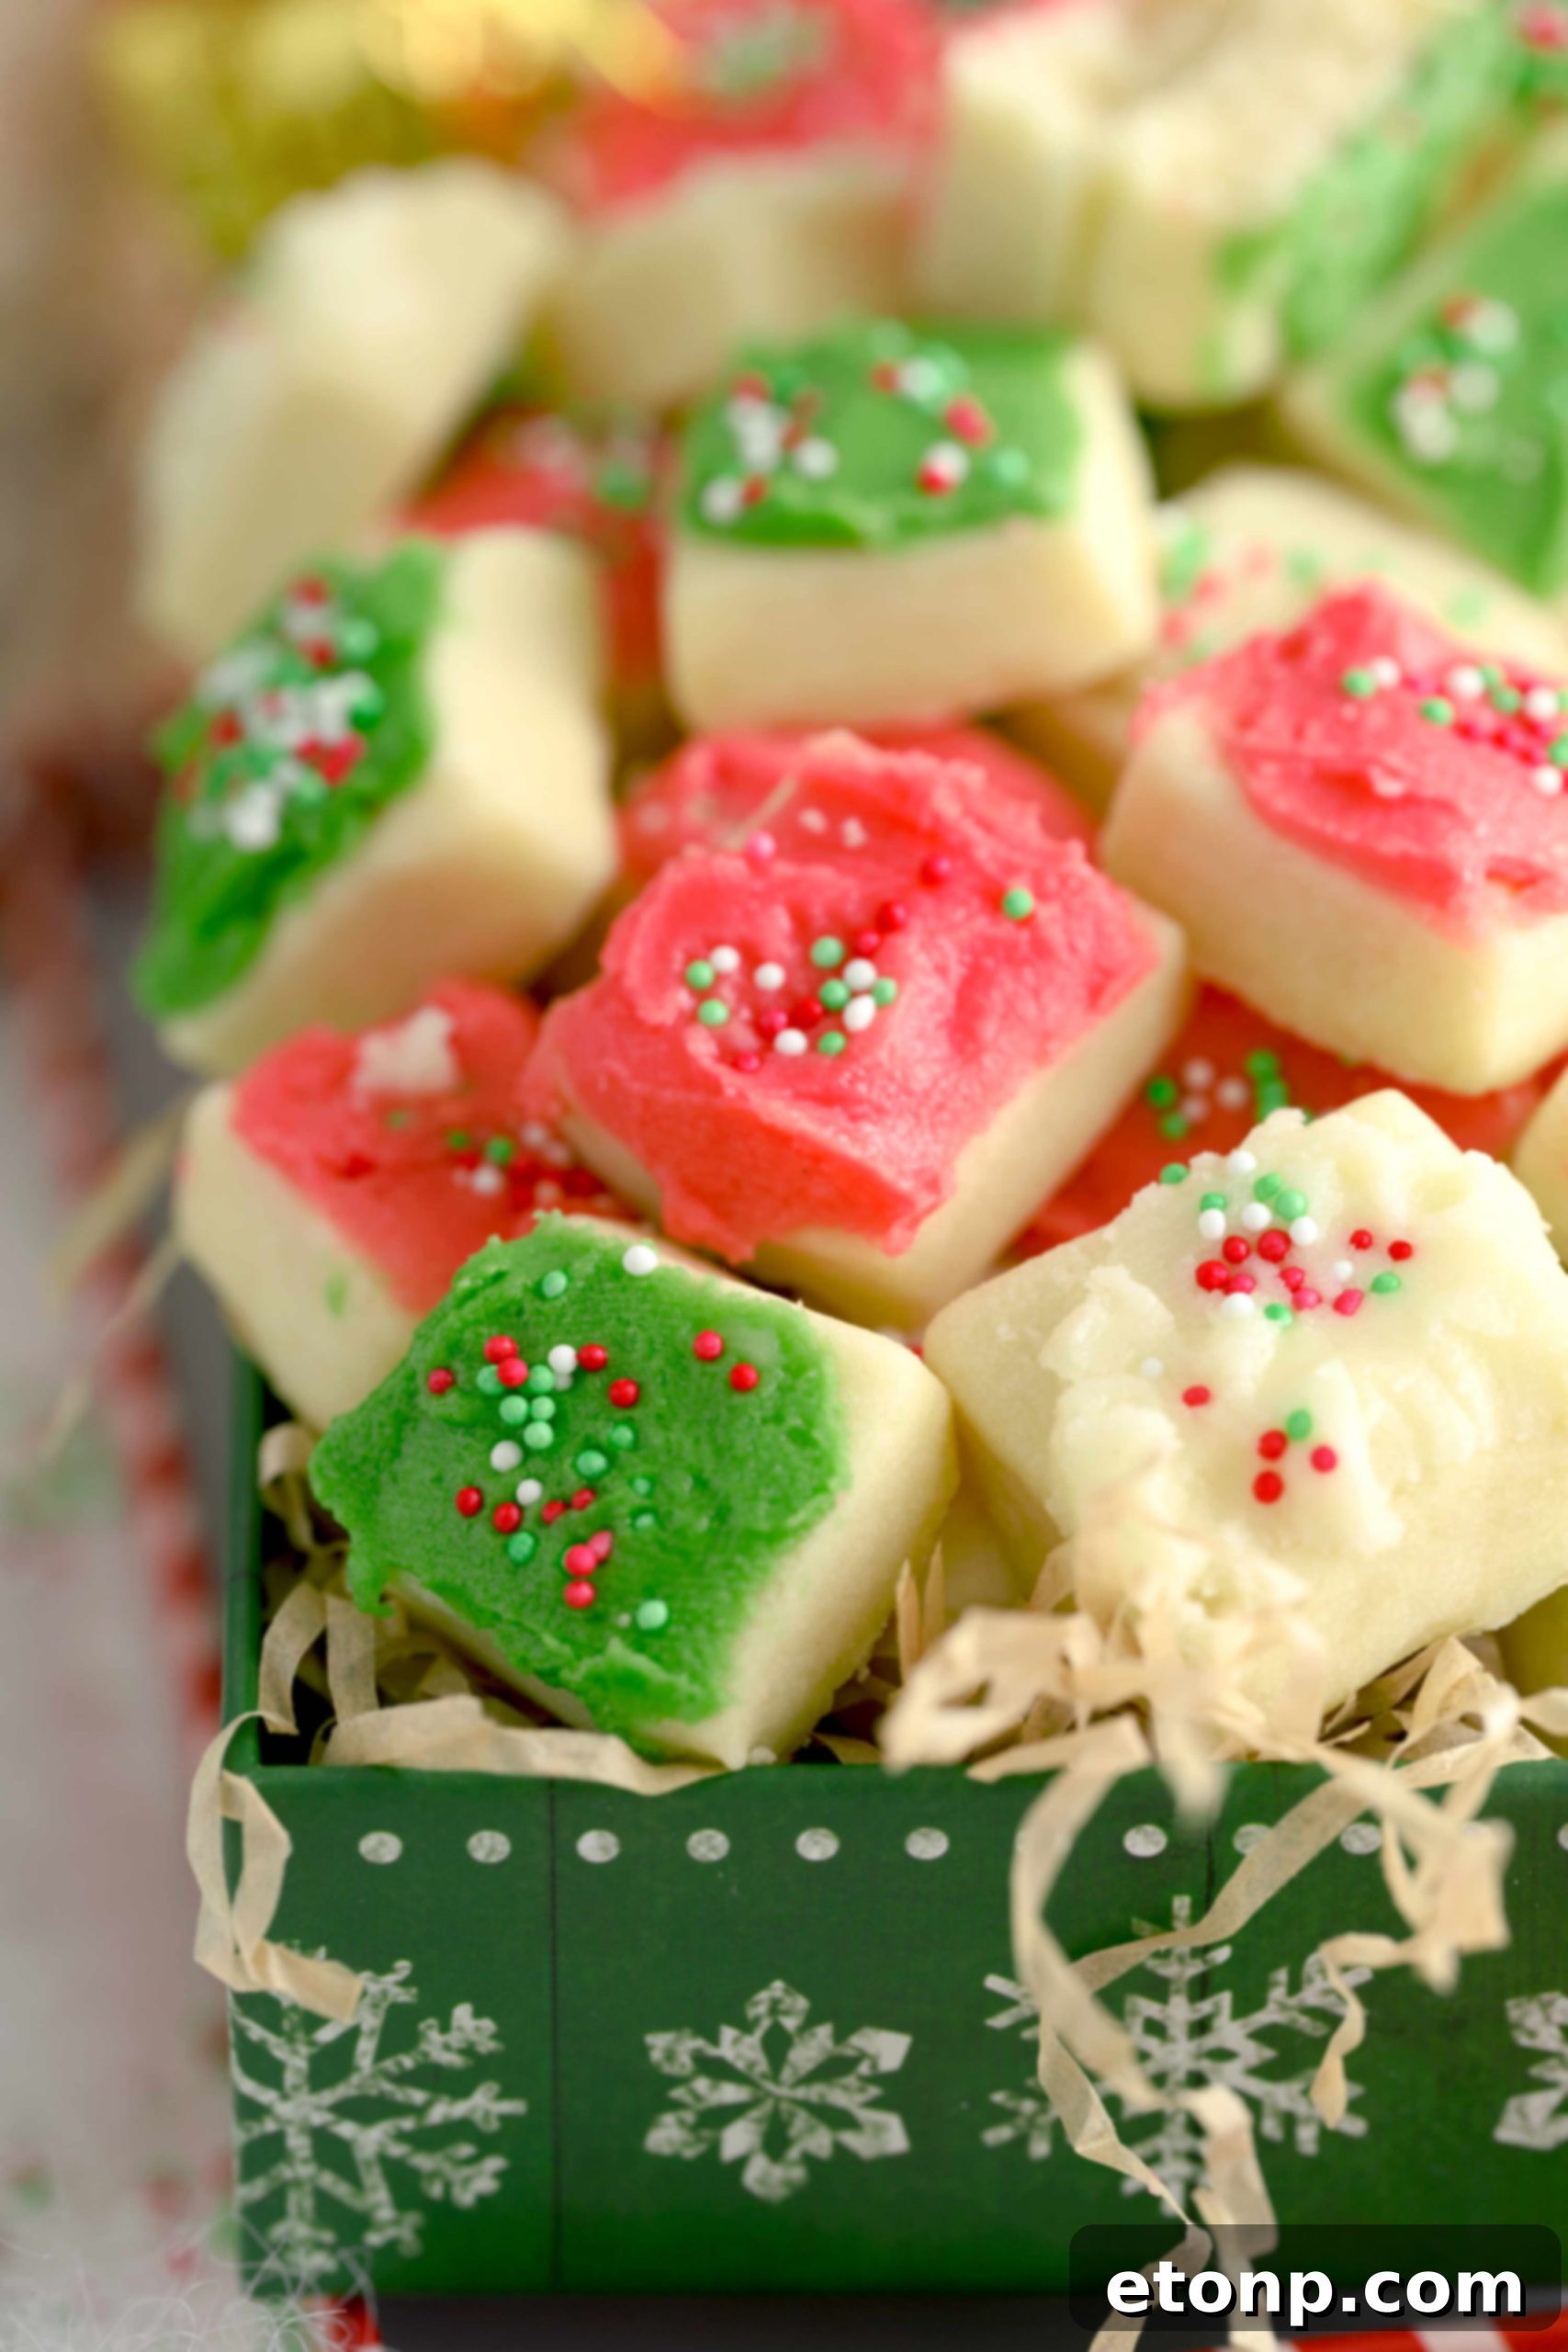
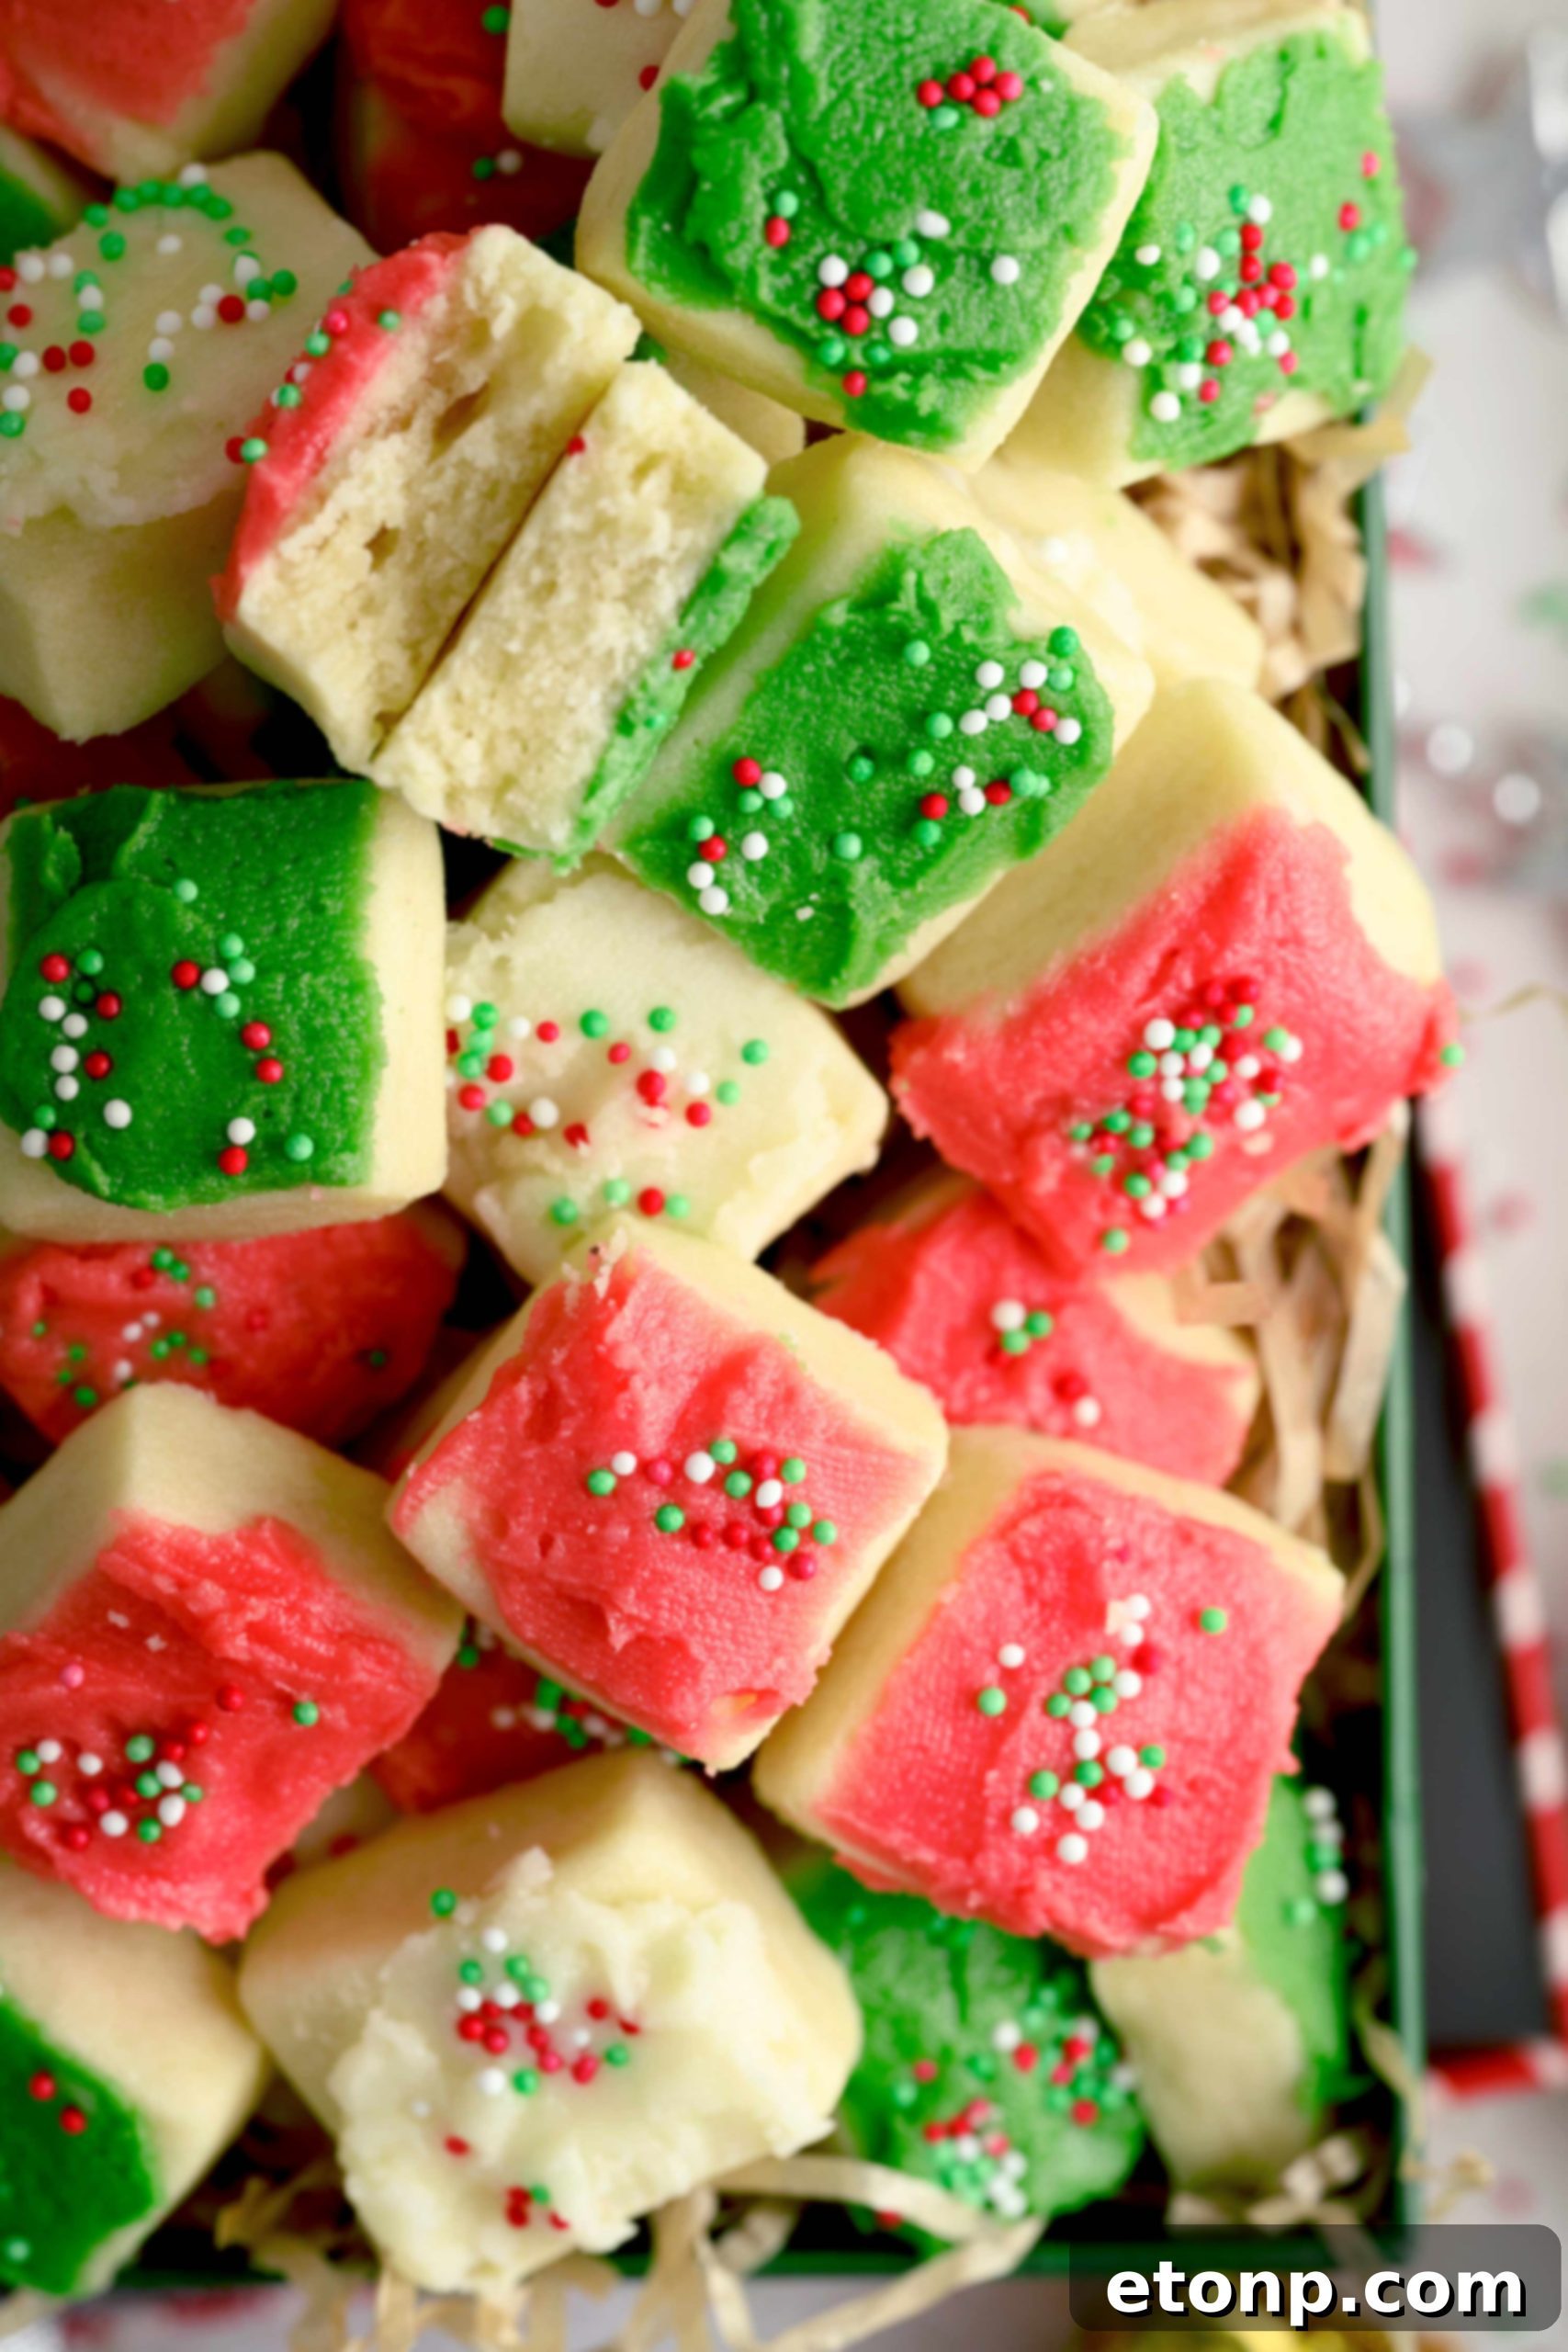
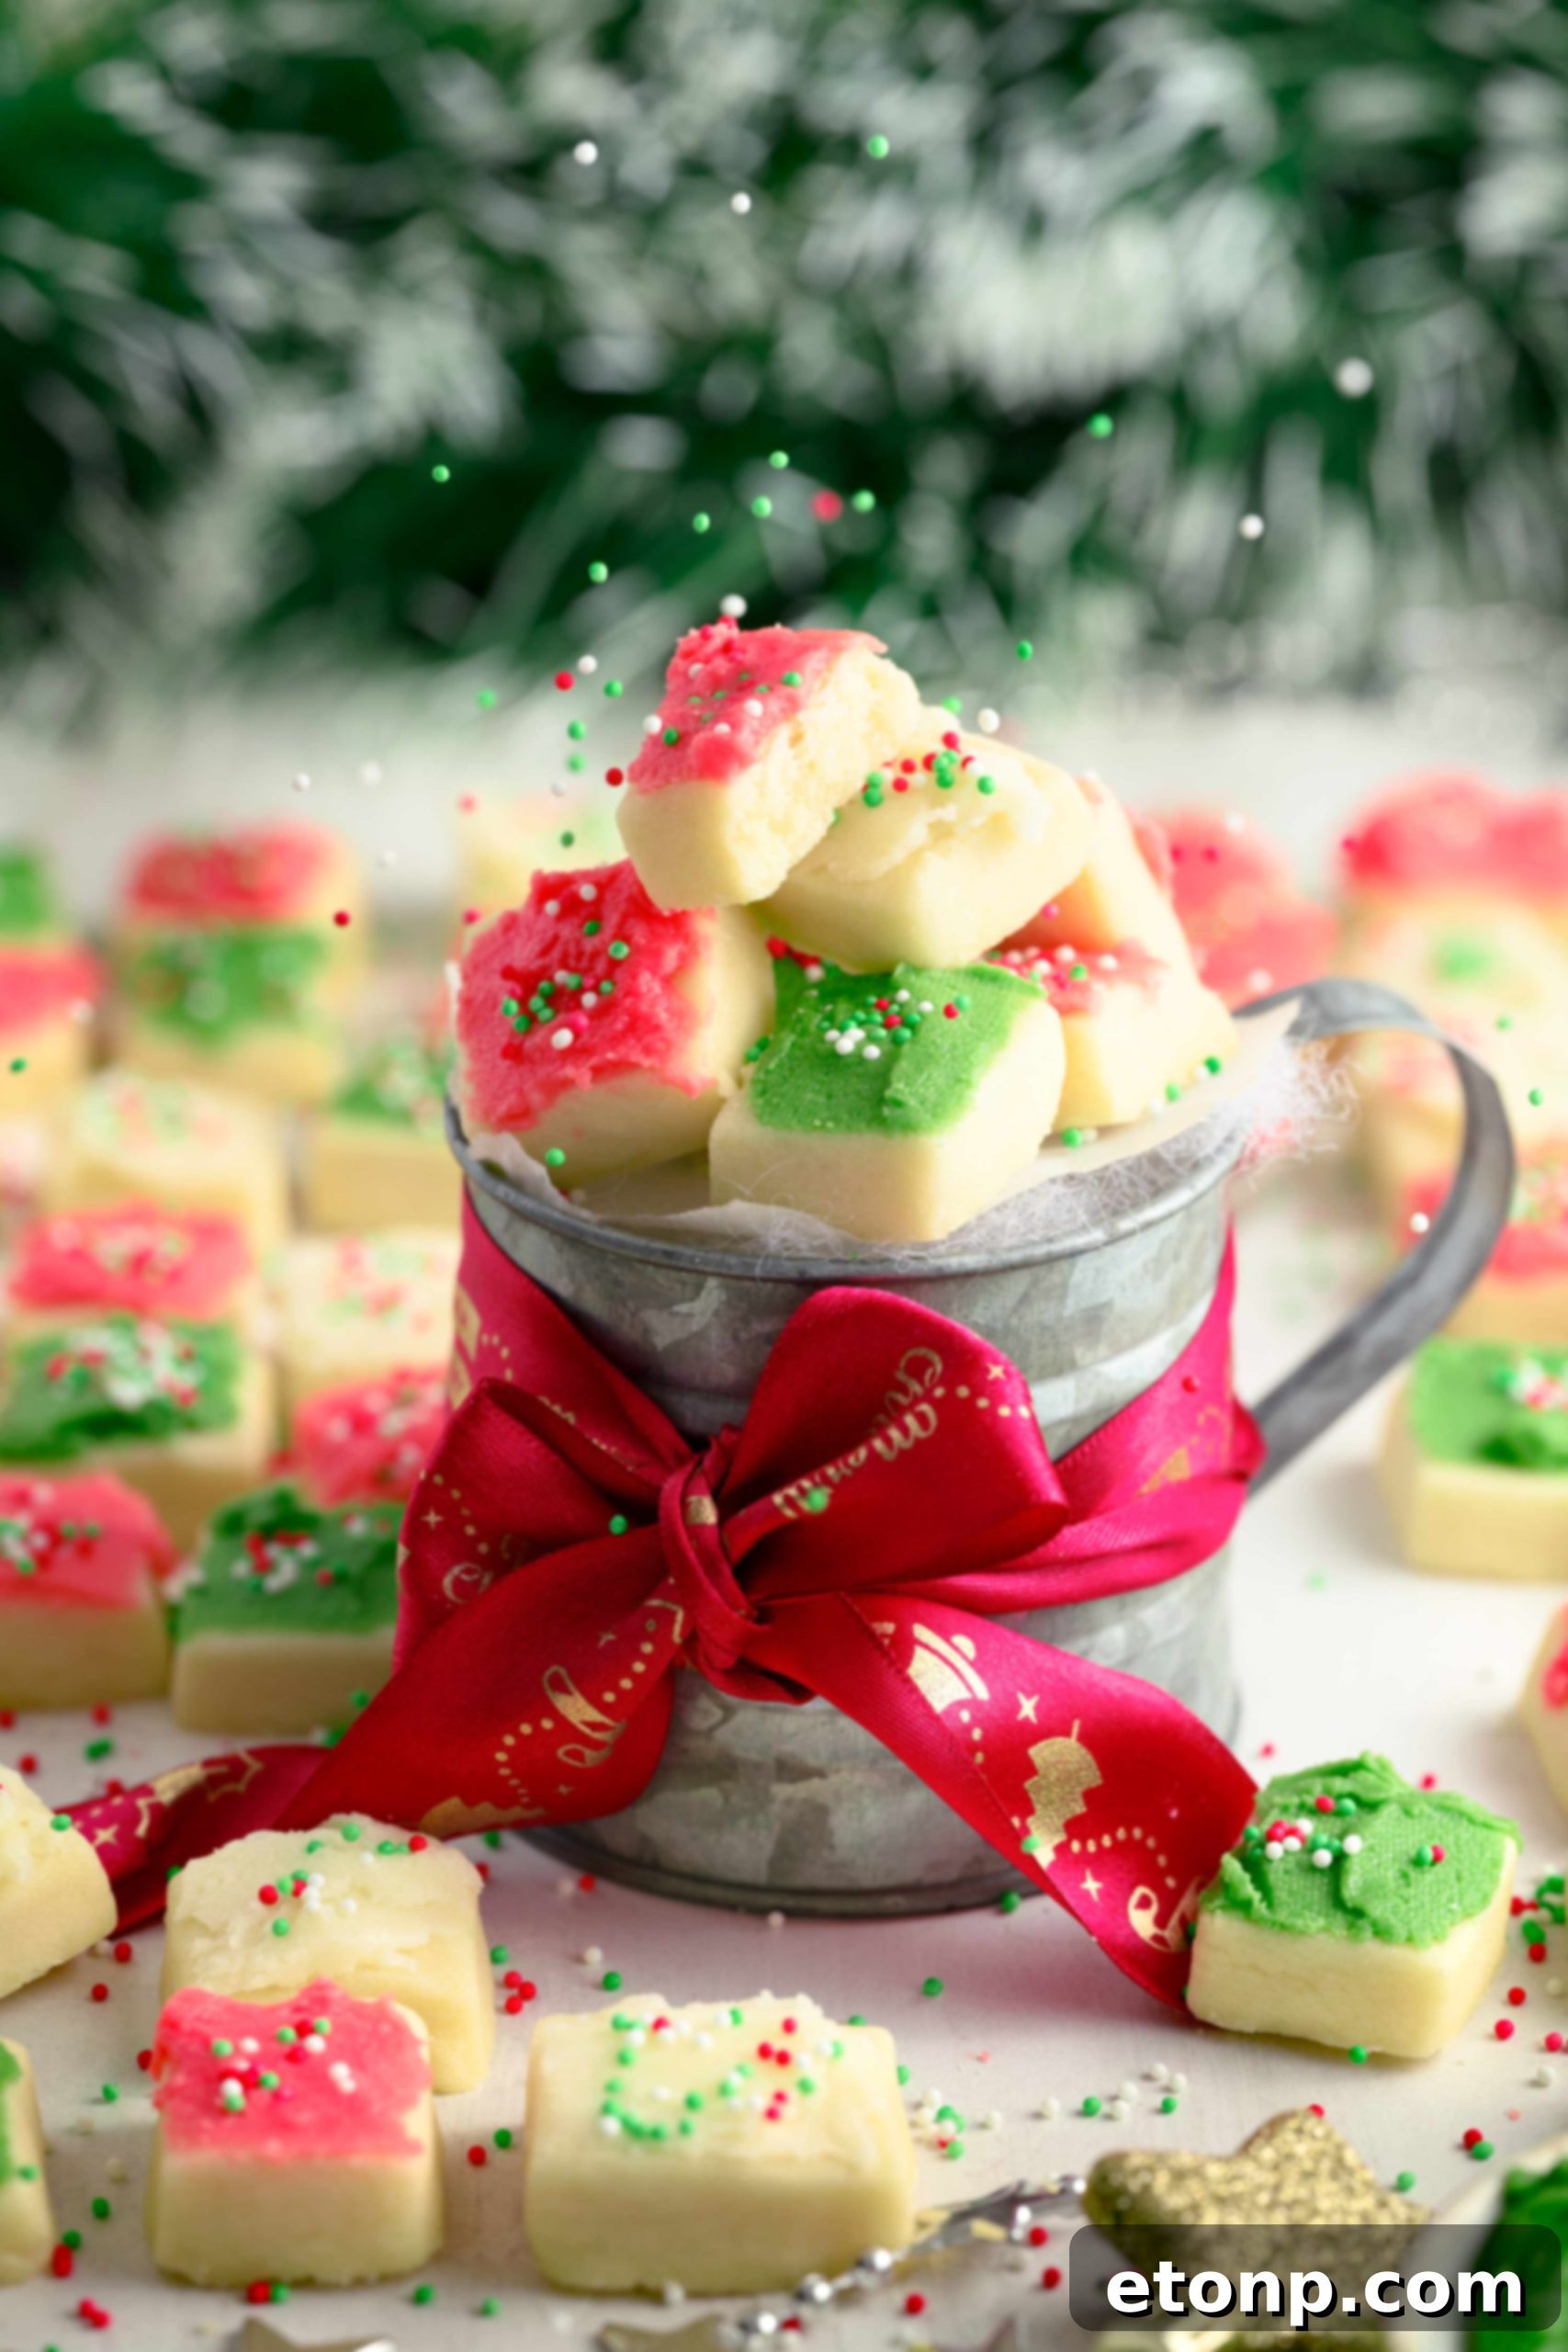
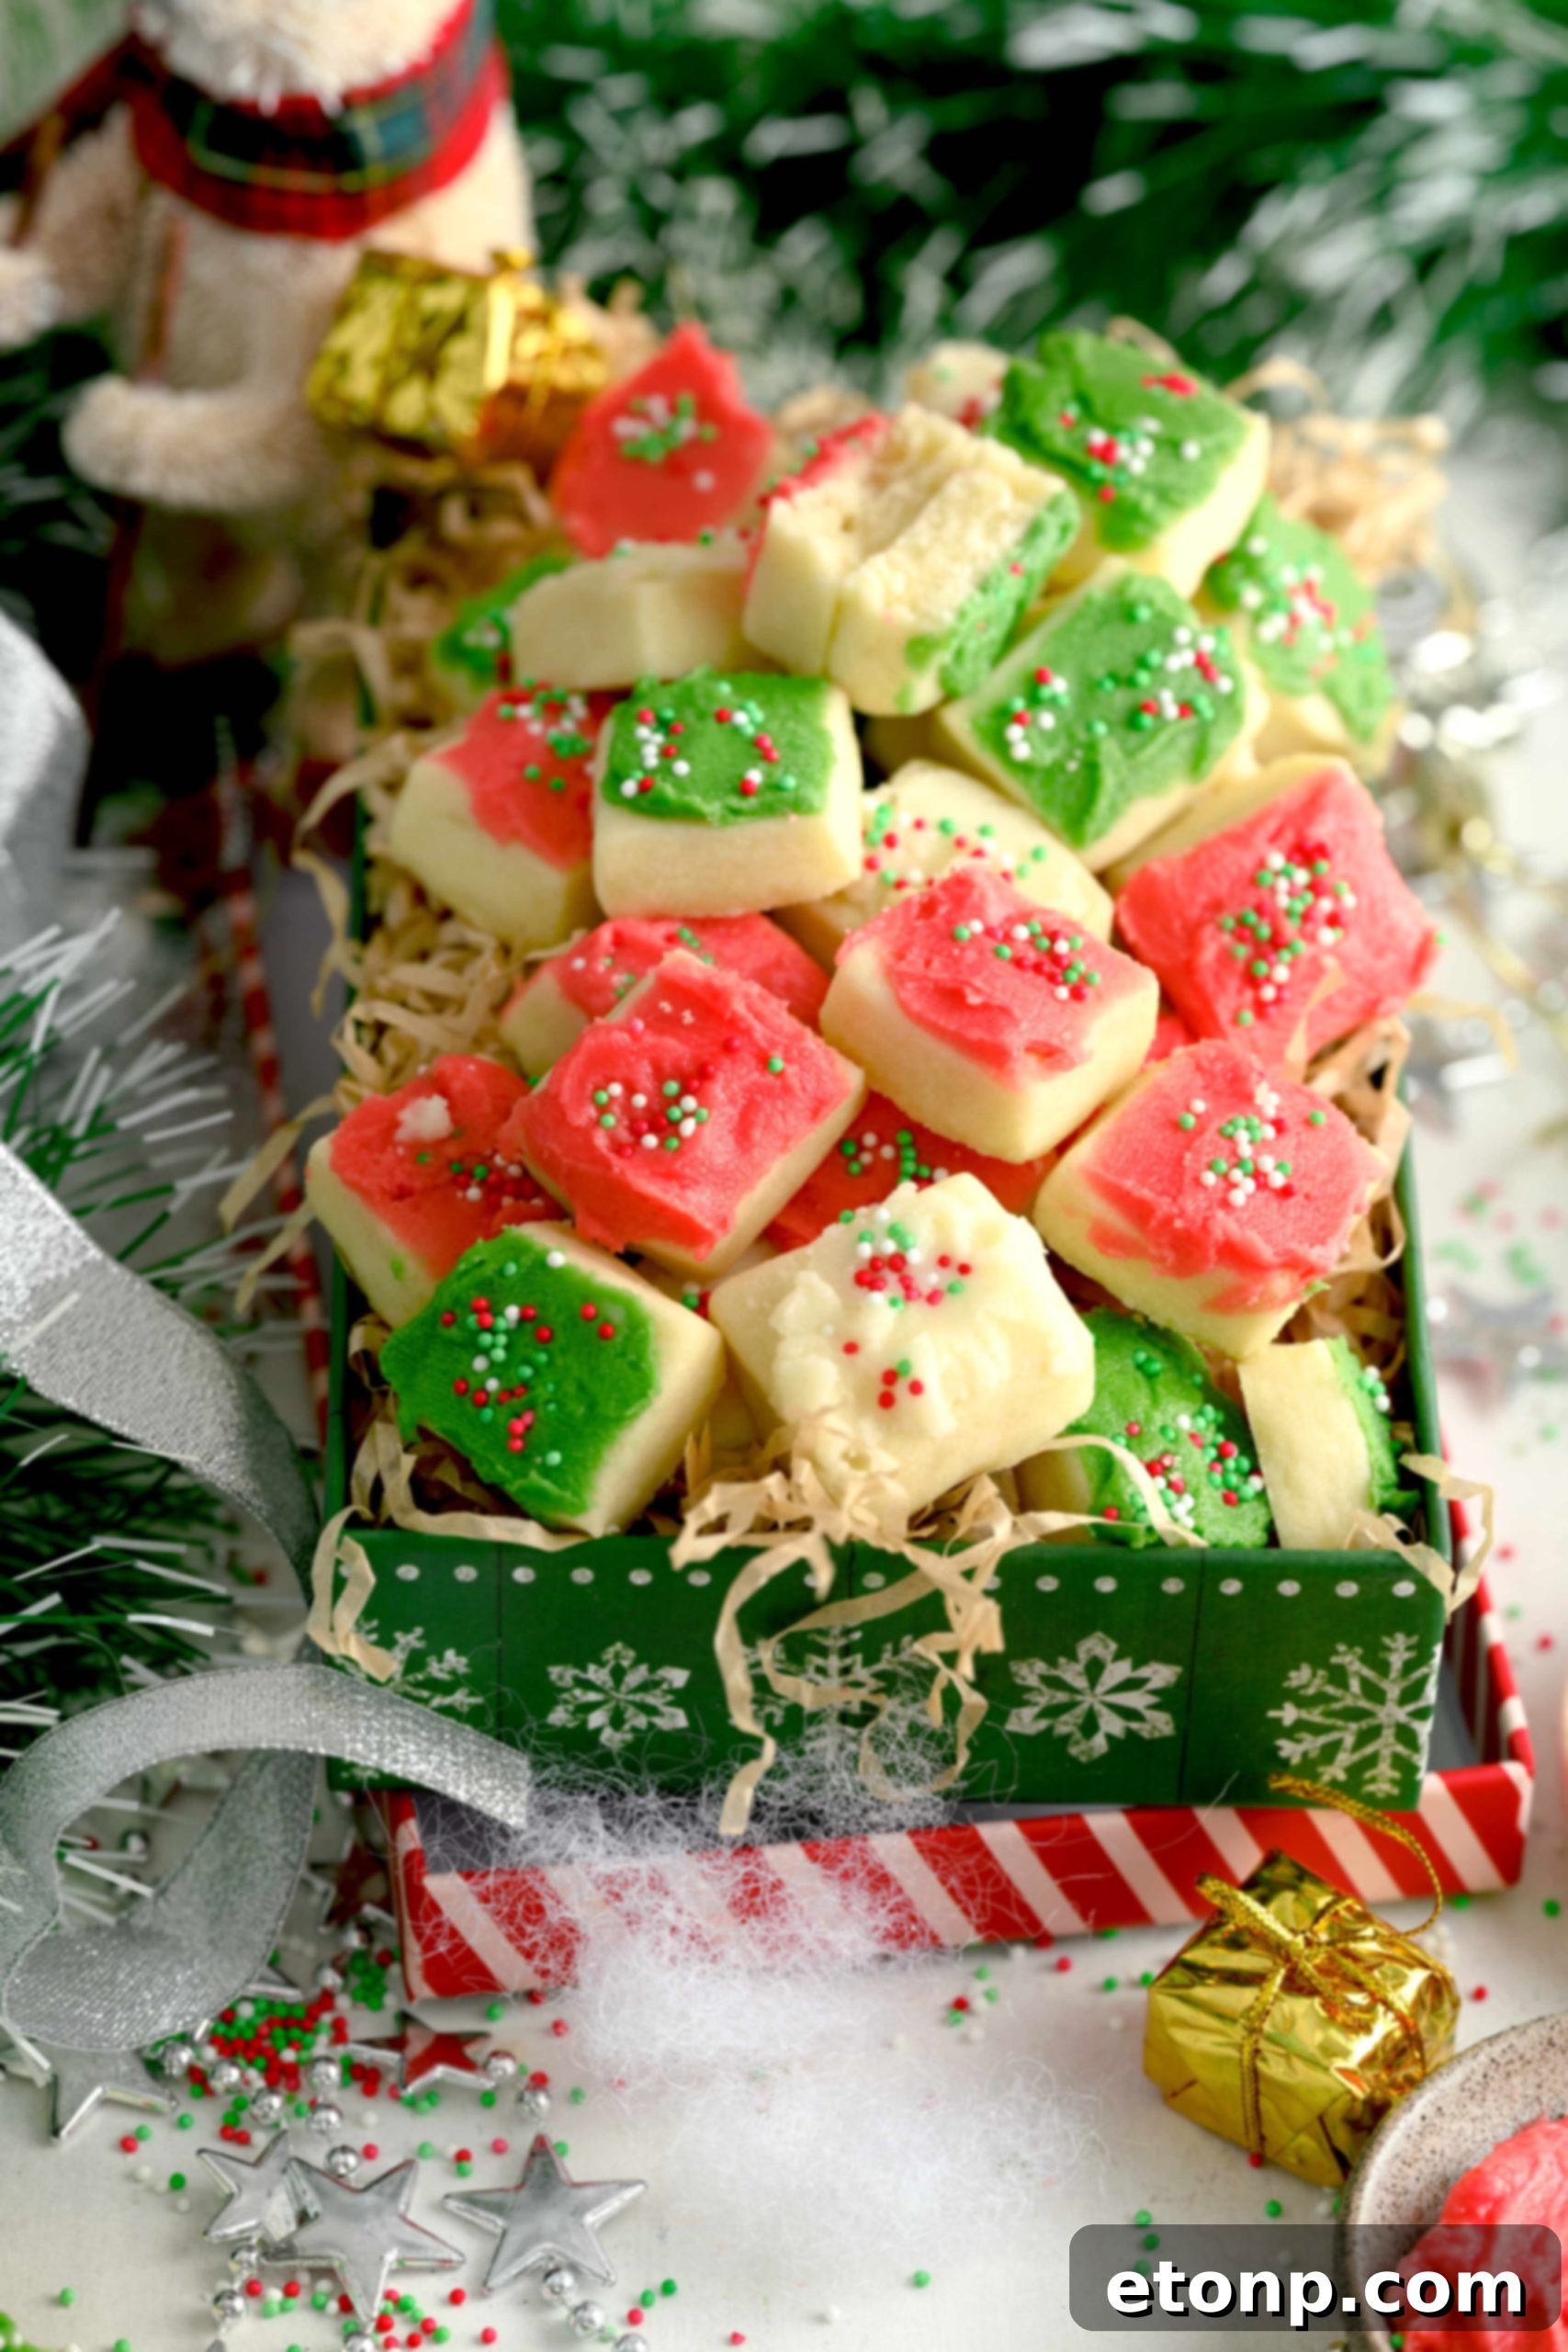
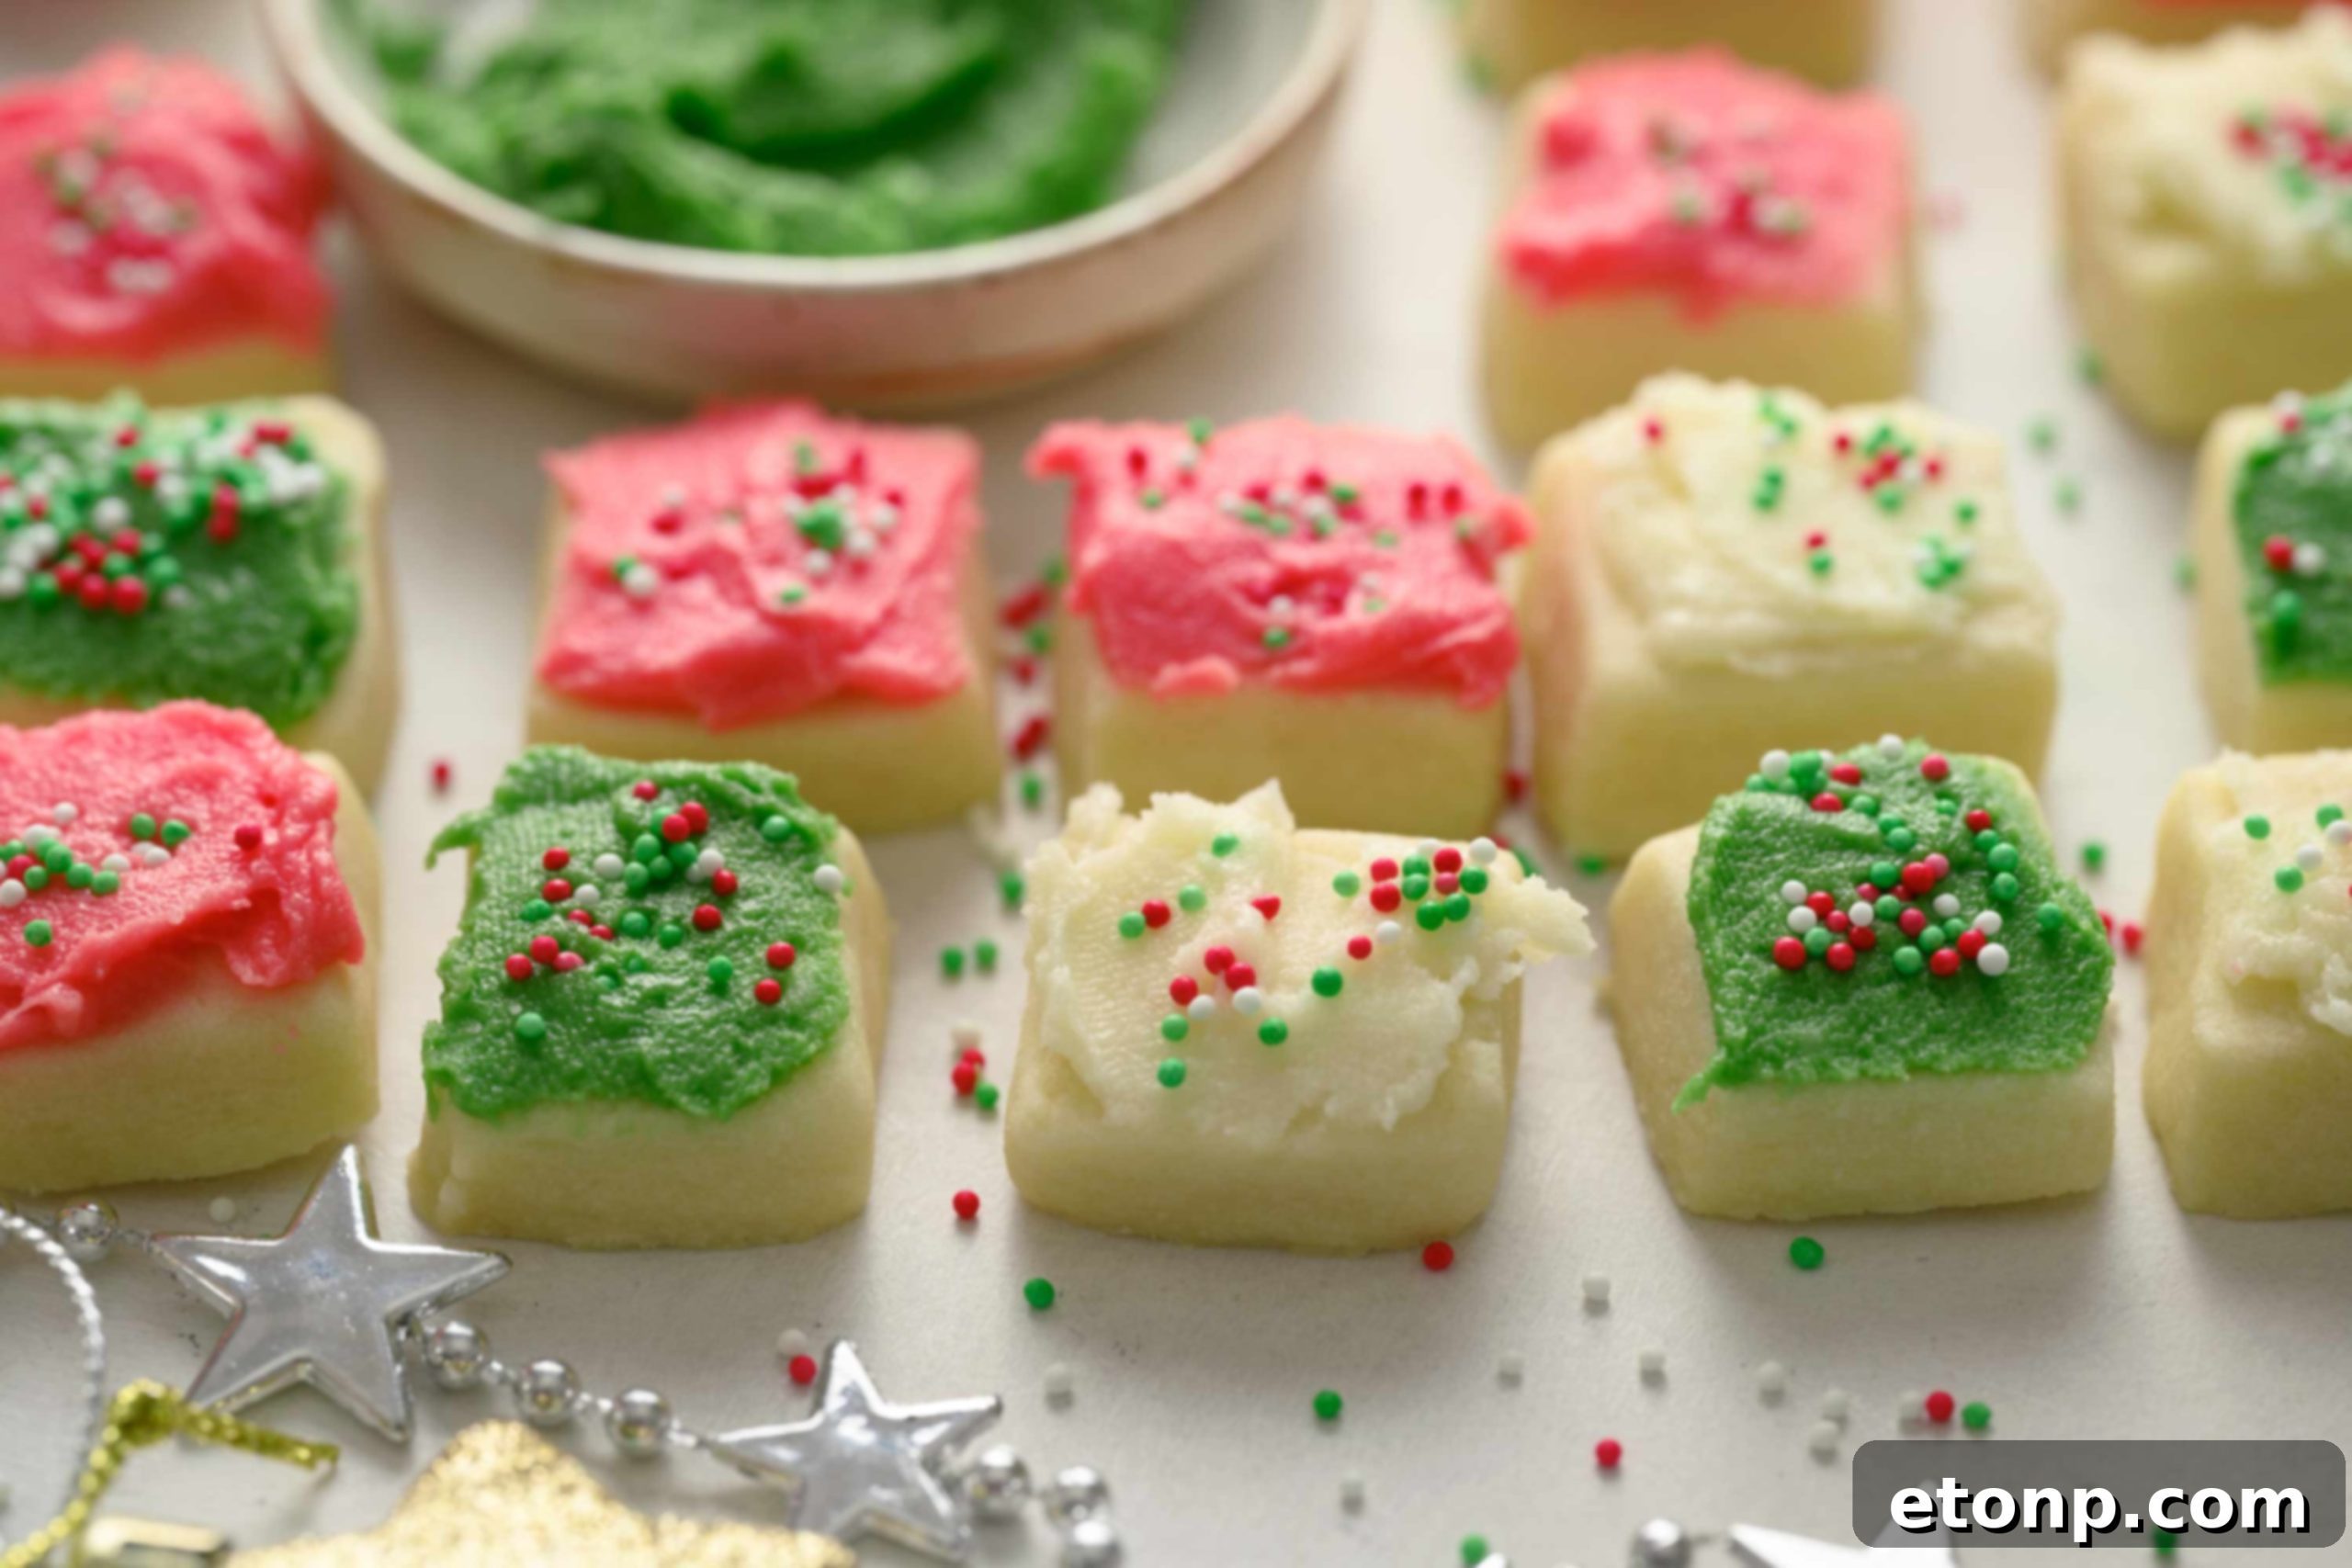
As the holiday season draws near, the air fills with the delightful scent of freshly baked goods, and nothing quite captures the spirit of Christmas like a classic sugar cookie. But imagine elevating that timeless joy into perfectly proportioned, melt-in-your-mouth morsels – that’s precisely what our Christmas Sugar Cookie Bites offer. These irresistible treats are not just cookies; they’re tiny canvases of festive cheer, generously topped with smooth, creamy buttercream frosting and adorned with cheerful sprinkles. Designed to be the star of any holiday gathering, these miniature wonders are simply too good to resist, making them the ultimate offering for Santa and a guaranteed crowd-pleaser for all your cherished guests.
Whether you’re looking for a charming dessert to serve at your holiday party, a delicious edible gift for friends and family, or a special treat to enjoy with a warm cup of cocoa, these Christmas Sugar Cookie Bites are the answer. Their convenient bite-sized nature makes them perfect for on-the-go snacking, effortless sharing, and impressive presentation on any dessert platter. You’ll find yourself reaching for just one more, and then another! We highly recommend doubling this recipe, because once your loved ones get a taste, they’ll disappear faster than you can say “Merry Christmas!”
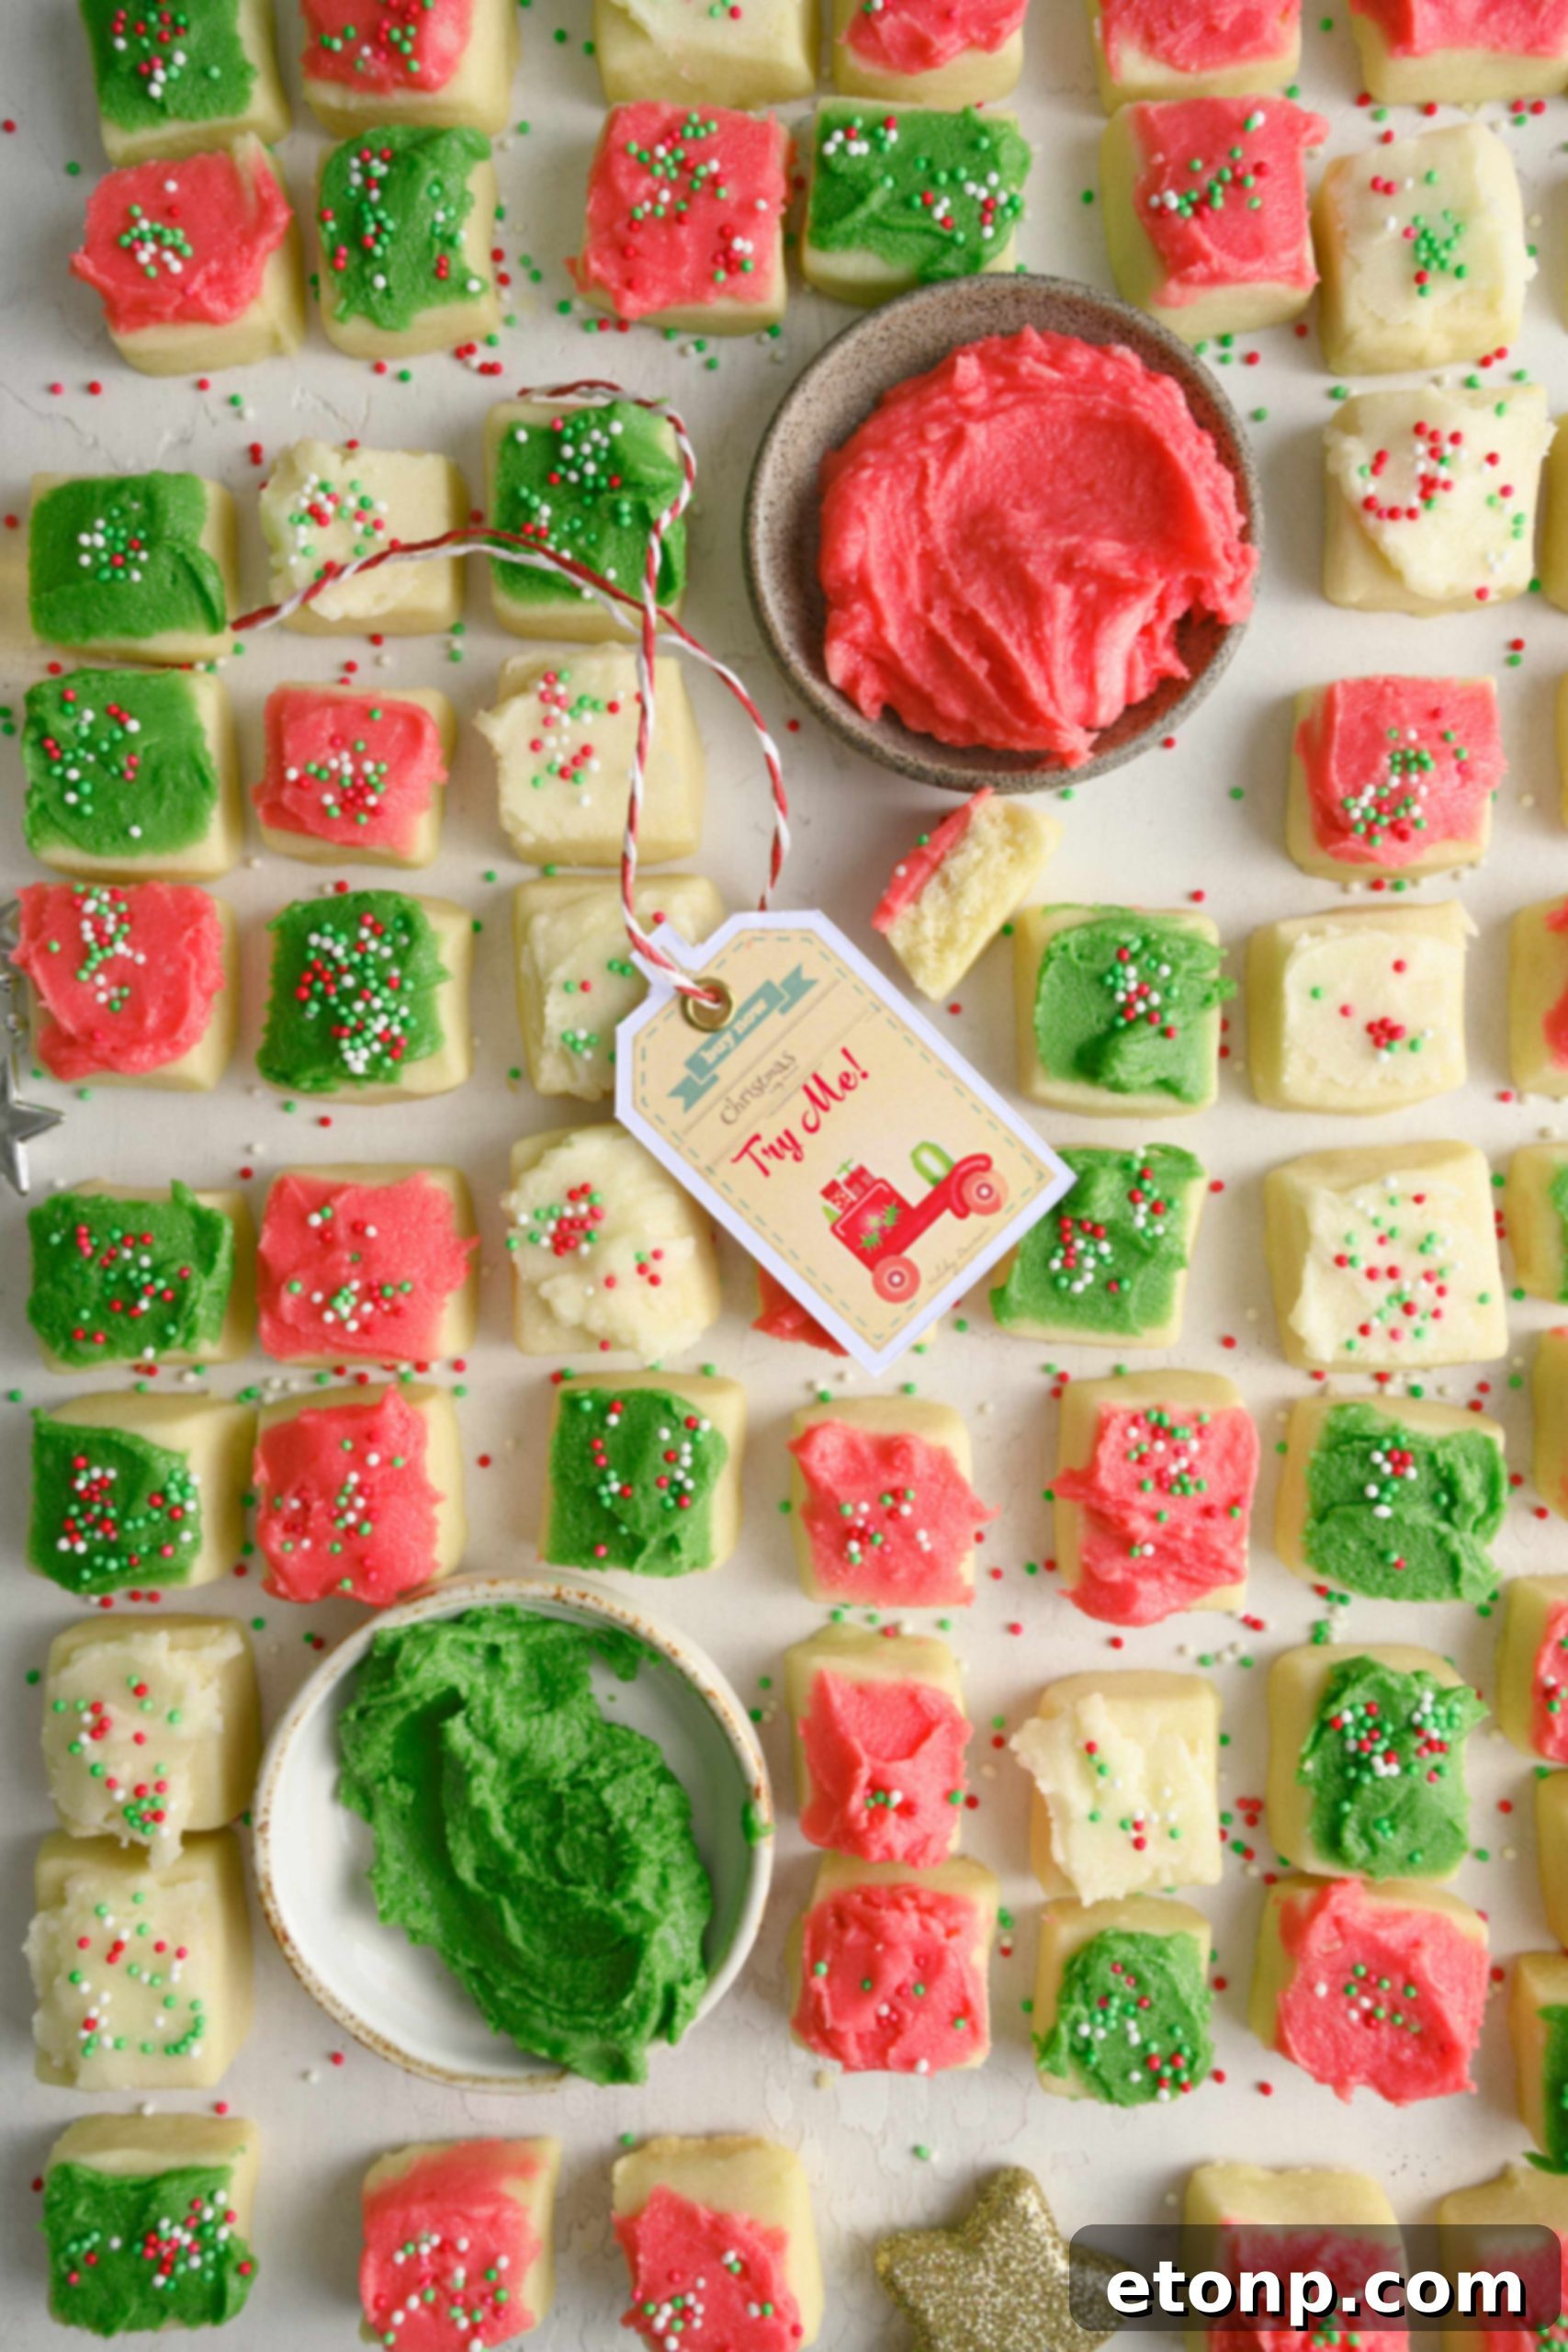
The Magic of Homemade Christmas Sugar Cookie Bites
There’s an unparalleled satisfaction that comes from baking something delicious from scratch, and these Christmas Sugar Cookie Bites truly embody that feeling. If you have a soft spot for classic sugar cookies, prepare to be captivated by this recipe. We’ll guide you through the process of creating both an impressive cookie dough and a luscious buttercream frosting using simple, accessible ingredients. From the foundational all-purpose flour and rich unsalted butter to the aromatic vanilla extract and sweet confectioners’ sugar, each component plays a vital role in crafting these delectable treats. The beauty of baking these cookies at home lies in the control you have over the quality and freshness of ingredients, resulting in mini cookies that boast an incredible flavor profile and a tender, buttery texture that surpasses any store-bought alternative.
Making these cookies is more than just following a recipe; it’s an experience. The process itself is wonderfully therapeutic, from creaming butter and sugar until light and fluffy, to slowly incorporating the dry ingredients to form a smooth, pliable dough. Then comes the artistic part: chilling the dough, cutting out perfect bite-sized squares, and finally, the anticipation as they bake to golden perfection. And let’s not forget the frosting – a simple yet elegant buttercream that comes together quickly and provides the ideal canvas for your holiday decorating creativity. These homemade cookies are not just a dessert; they’re a labor of love, a cherished memory in the making, and a delicious way to spread joy throughout the festive season.
Why You’ll Absolutely Love This Christmas Sugar Cookie Recipe
These Christmas Sugar Cookie Bites aren’t just another holiday dessert; they’re a celebration in every tiny bite. Here’s a closer look at why this recipe will quickly become a cherished part of your holiday baking traditions:
-
Irresistibly Addictive Flavor and Texture:
The name says it all – these cookie bites are truly addicting! Their melt-in-your-mouth texture, combined with the rich, buttery flavor of the cookie and the sweet, velvety buttercream frosting, creates a harmonious taste sensation that will have everyone reaching for more. It’s a delightful balance of softness and chewiness that perfectly complements the smooth frosting. You’ll be hard-pressed to stop at just one, making them a dangerous but delicious indulgence.
-
Effortless to Prepare, Even for Novice Bakers:
Don’t let their elegant appearance fool you; these Christmas Sugar Cookie Bites are surprisingly easy to prepare. You won’t need advanced baking skills or an arsenal of specialized tools. The steps are straightforward, making this recipe approachable for bakers of all experience levels. Even if you’re new to holiday baking, you can confidently create these beautiful and delicious cookie bites, impressing your family and friends with minimal stress or effort.
-
The Quintessential Holiday Party Treat:
Their festive appearance and convenient size make them absolutely perfect for serving at holiday parties, family gatherings, cookie exchanges, or any festive occasion throughout the holiday season. They’re easy to transport, simple to serve, and their vibrant colors add a cheerful touch to any dessert table. Plus, because they’re bite-sized, guests can enjoy a little taste without feeling overwhelmed, leaving room to try other holiday delights.
-
Delightfully Customizable:
While classic red and green frosting is perfect for Christmas, these sugar cookie bites can be customized to suit any theme or preference. Experiment with different food coloring gels for other holidays or occasions. You can also vary the sprinkles, adding edible glitter, mini chocolate chips, or even finely chopped nuts to the frosting for extra texture and visual appeal. The possibilities are endless, allowing you to personalize each batch.
-
Ideal for Gifting:
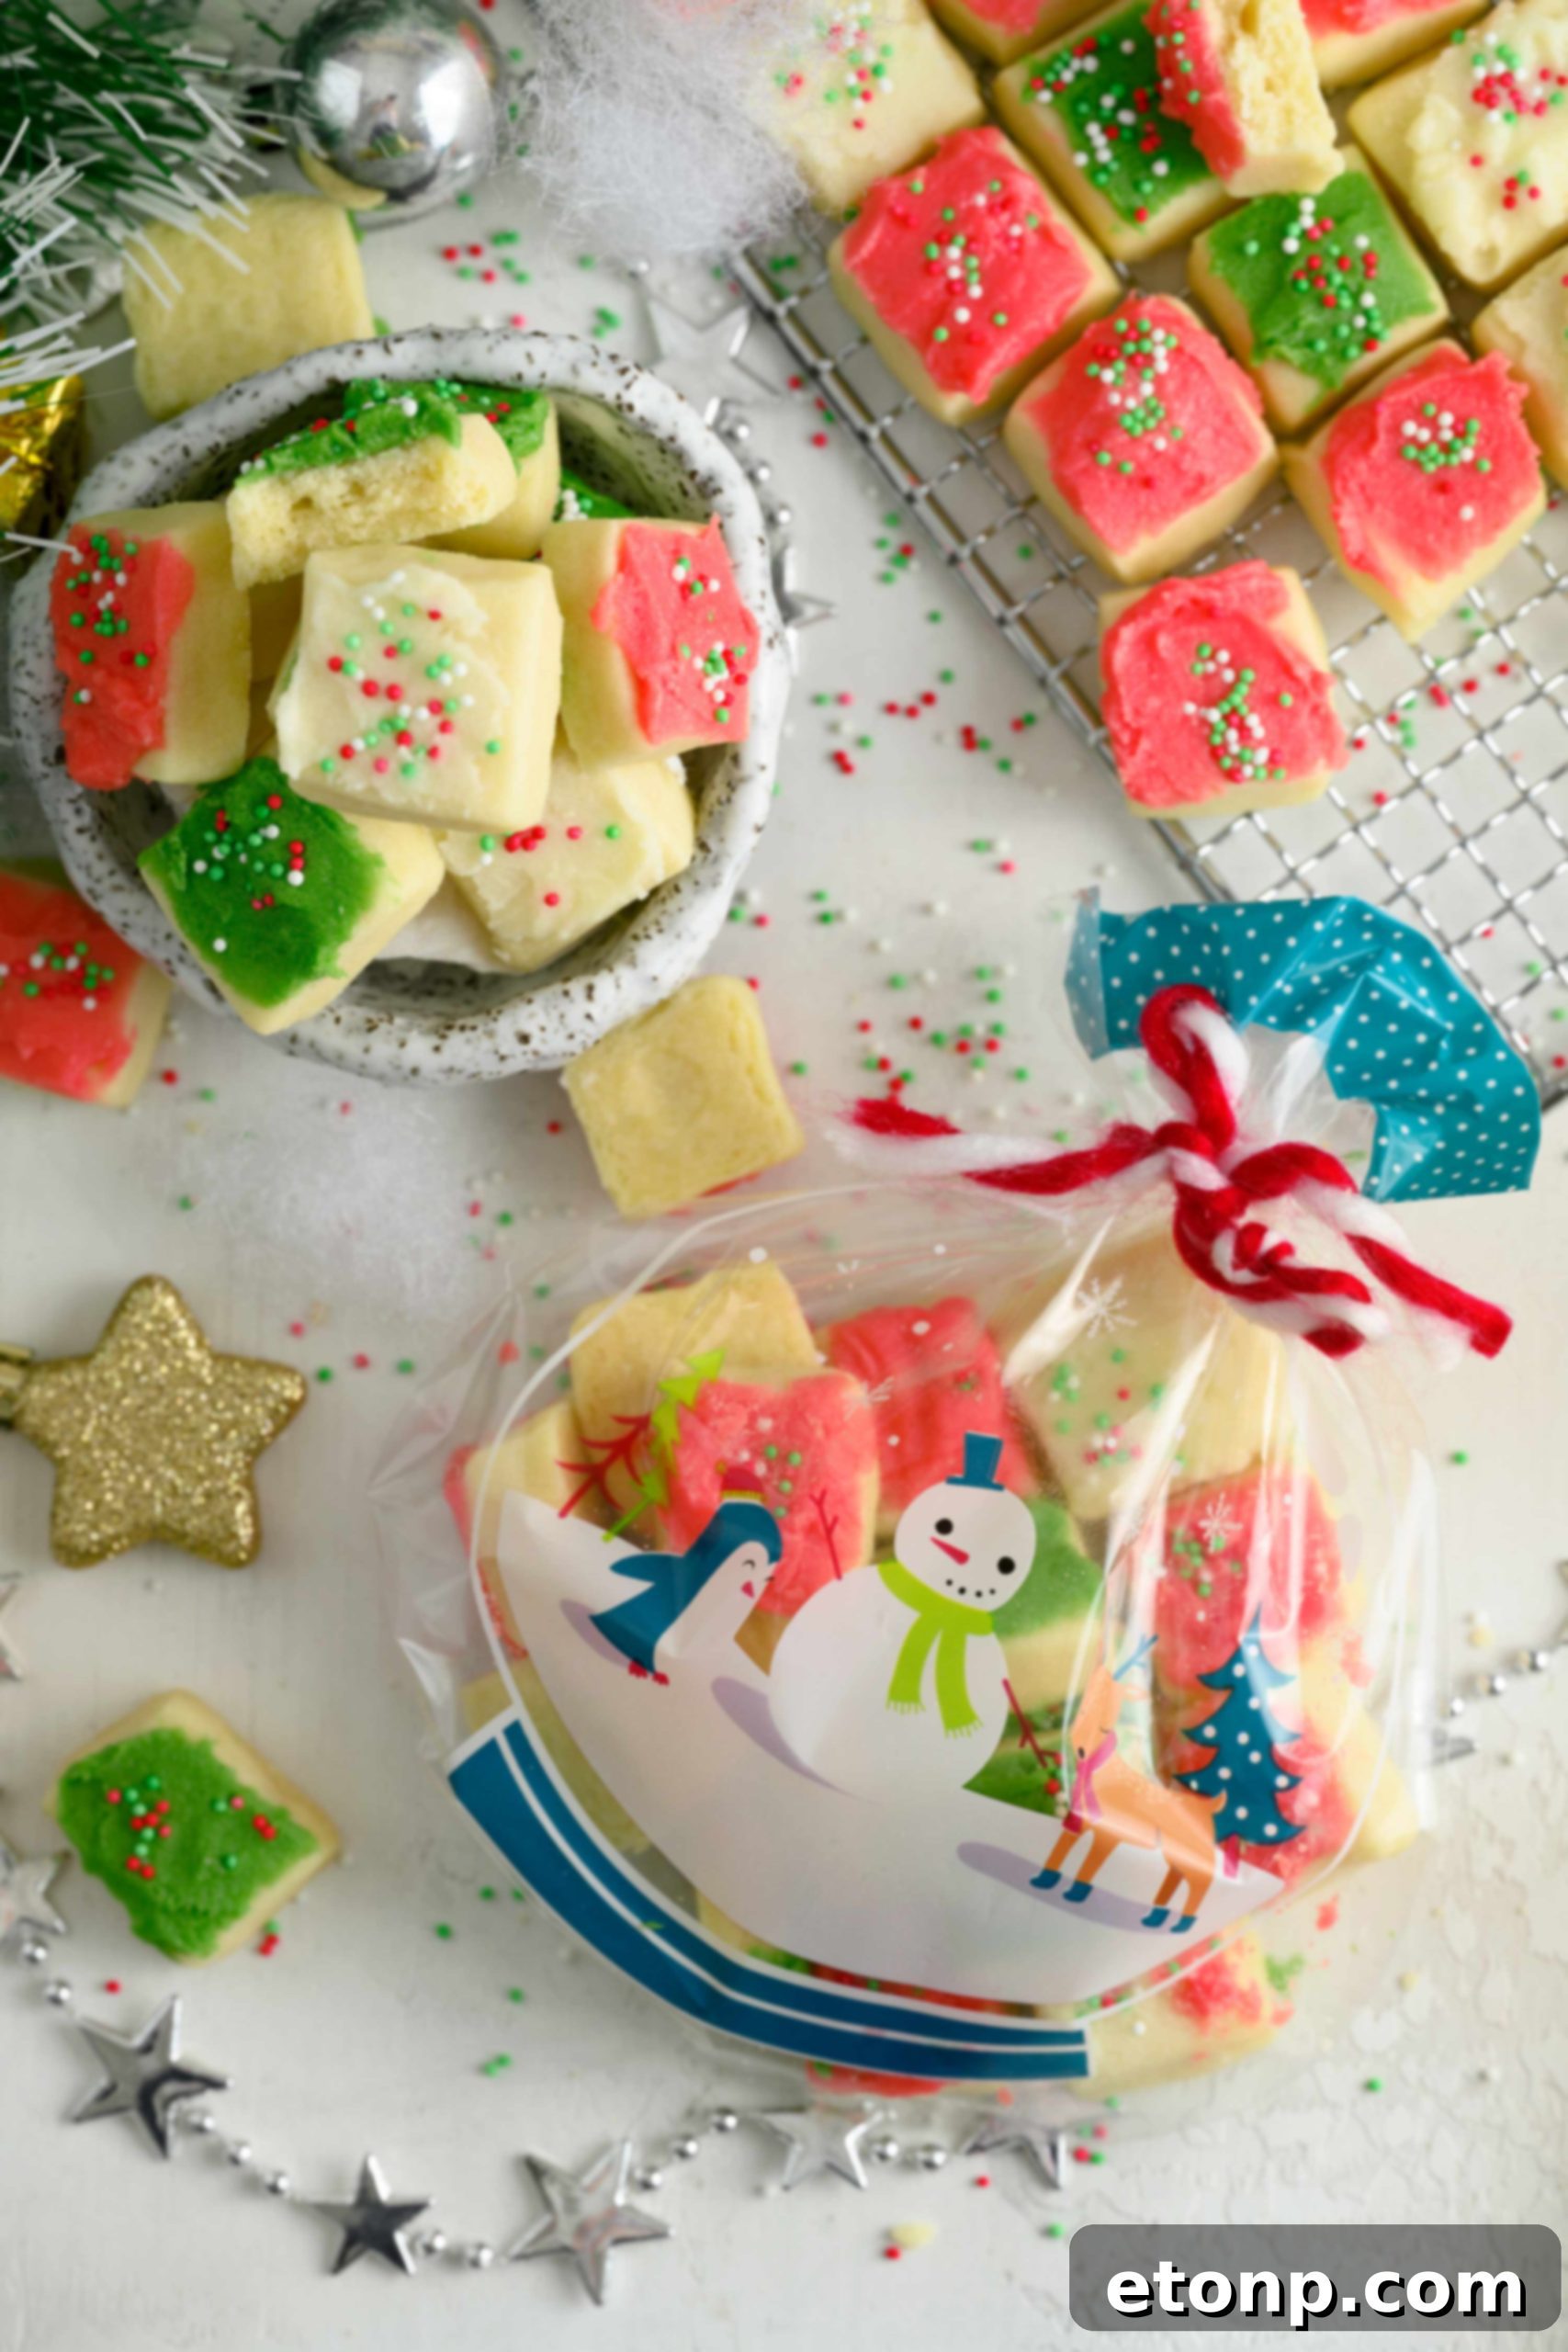
Packaged in a festive box or clear bag with a ribbon, these homemade Christmas Sugar Cookie Bites make thoughtful and delicious gifts. They show you’ve put time and care into creating something special, and who wouldn’t appreciate a sweet, homemade treat during the holidays? They’re perfect for teachers, neighbors, co-workers, or as a host/hostess gift.
Frequently Asked Questions About Christmas Sugar Cookie Bites
Baking can sometimes bring up a few questions, especially when you want to ensure your holiday treats are perfect. Here are answers to some commonly asked questions when preparing these incredible Christmas Sugar Cookie Bites.
Can I freeze the cookie dough?
Yes, absolutely! Freezing the cookie dough is an excellent way to get a head start on your holiday baking, especially if you want to prepare it well in advance of Christmas or other festive occasions. To freeze the cookie dough, first, roll it between two sheets of parchment paper to your desired thickness (as specified in the recipe). Then, you can either cut out the bite-sized squares and freeze them flat on a baking sheet until firm, or simply freeze the entire rolled-out dough sheet. Once firm, transfer the dough pieces or the sheet into an airtight container or a heavy-duty freezer bag. This prevents freezer burn and keeps the dough fresh. Stored properly in the freezer, the cookie dough will remain fresh and flavorful for up to three months. When you’re ready to bake, simply transfer the frozen dough to the refrigerator to thaw overnight before cutting (if not pre-cut) and baking as directed.
Can I make the cookie dough in advance without freezing?
Definitely! This cookie dough is very forgiving and actually benefits from a period of chilling. You can prepare the cookie dough up to a week in advance and store it in the refrigerator. Simply wrap the dough tightly in plastic wrap or place it in an airtight container to prevent it from drying out or absorbing odors from the fridge. Chilling the dough not only allows the flavors to meld beautifully but also makes it much easier to roll out and cut into uniform shapes without sticking. When you’re ready to bake, remove the dough from the fridge about 15-20 minutes before rolling and cutting to allow it to soften slightly, making it more pliable.
How many cookies does this recipe make?
When you follow this recipe as written, you’ll be delighted to have approximately 60 delicious bite-sized Christmas Sugar Cookie Bites ready to serve and share with your family and friends. This generous yield makes it perfect for a typical holiday gathering or a delightful treat for your household. However, if you’re planning a large holiday party, hosting a grand event with many guests in attendance, or participating in a cookie exchange, don’t hesitate to double or even triple the recipe. These cookies are so popular, you’ll be glad to have an abundance!
Can I decorate the cookies while they’re still warm?
No, it’s crucial to resist the temptation to decorate the cookies while they’re still warm. Patience is a virtue when it comes to frosting! If you apply buttercream frosting to warm cookies, the heat will cause the butter in the frosting to melt. This will result in a messy, runny glaze that won’t stick properly, will lose its vibrant color, and will ultimately destroy the beautiful end result you’re aiming for. Always wait for the cookies to cool down completely to room temperature. This typically takes at least 30-60 minutes, or longer if they are larger. A fully cooled cookie ensures your buttercream frosting sets beautifully, looks neat, and holds its shape perfectly.
What if I can’t find Wilton food coloring gels?
While Wilton food coloring gels are highly recommended for their vibrant colors and ease of use, don’t worry if you can’t find them. Many other reputable brands offer excellent gel food colorings, such as Americolor or Chefmaster. The key is to look for gel or paste food colorings rather than liquid drops. Liquid food colorings can alter the consistency of your buttercream frosting by adding too much moisture. Gel colorings are highly concentrated, meaning a little goes a long way to achieve brilliant, festive colors without thinning your frosting. Always do a quick search or check reviews for quality and vibrancy to ensure your Christmas Sugar Cookie Bites look as good as they taste!
Essential Recipe Tips for Perfect Christmas Sugar Cookie Bites
Achieving baking perfection often comes down to a few key techniques and insider tips. Follow these guidelines to ensure your Christmas Sugar Cookie Bites turn out beautifully every time:
-
Monitor Baking Time Closely:
The recommended baking time for these cookies is 10-12 minutes. This range is crucial for achieving that signature melt-in-your-mouth texture. Overbaking, even by a minute or two, can lead to dry, crumbly cookies with burnt edges, significantly diminishing their deliciousness. Keep a close eye on them; the edges should be lightly golden, but the centers should still appear soft. Remember that ovens can vary, so it’s always best to know your own oven and adjust accordingly.
-
Achieving Perfect Frosting Consistency:
If your homemade buttercream frosting seems a bit too dry or stiff, don’t panic! This is easily remedied. Gradually add a tablespoon or two of milk (or cream for an even richer frosting) to the mixture. Combine thoroughly until it becomes smooth and reaches your desired spreadable consistency. It’s always better to add liquid slowly, one tablespoon at a time, to avoid making it too thin. You can always add more, but you can’t easily take it away!
-
Smooth Frosting Application and Setting:
For effortless and even frosting, use a butter knife or a small offset spatula to spread the buttercream gracefully over the cooled cookies. The smooth surface of these tools helps achieve a professional-looking finish. After frosting, it’s vital to allow the frosting to “set” before stacking or storing your cookies. This means letting the frosting dry slightly, forming a light crust on the surface. If you skip this step, the frosting may smear, stick to other cookies, and create a sticky mess, compromising their beautiful presentation. Give them at least 30 minutes to an hour at room temperature, or even briefly in the fridge, to ensure the frosting is firm to the touch.
-
The Importance of Chilling the Dough:
Don’t skip the chilling step for the cookie dough! Refrigerating the dough for at least 30 minutes (or longer, as specified) is crucial for several reasons. It helps to firm up the butter in the dough, preventing the cookies from spreading too much during baking and ensuring they hold their bite-sized shape. Chilled dough is also much easier to handle, roll out, and cut cleanly, resulting in perfectly uniform cookies.
-
Quality Ingredients Make a Difference:
While this recipe uses simple ingredients, their quality significantly impacts the final taste. Opt for good quality unsalted butter, real vanilla extract (or almond extract for a different twist), and fresh milk. These small choices contribute to the rich, authentic flavor of your Christmas Sugar Cookie Bites.
How to Store Your Freshly Baked Christmas Sugar Cookie Bites
Proper storage is key to keeping your delicious Christmas Sugar Cookie Bites fresh, moist, and perfectly presented. After allowing the buttercream frosting to fully set on your cookies (this is a critical step!), you can proceed with storing them.
Place your frosted cookies in an airtight food storage container. The airtight seal is important to prevent them from drying out and to keep them fresh for longer. To maximize freshness and prevent the cookies from sticking to one another or smearing the frosting, you can layer them. Place a sheet of parchment paper between each layer of cookies. This acts as a protective barrier, ensuring each cookie remains pristine.
Store your container of cookies in a cool, dry area at room temperature. A pantry or a cool countertop away from direct sunlight and heat sources is ideal. You do not need to place these cookies in the refrigerator. In fact, refrigerating them can sometimes alter their texture, making them a bit firmer than desired. Stored correctly, these Christmas Sugar Cookie Bites will stay fresh and delightful for up to 3-5 days.
When you’re ready to serve these delightful treats, simply remove them from the container and arrange them beautifully on your favorite festive serving tray or a decorative plate. These cookies are absolutely divine on their own, but they taste exceptionally wonderful when paired with a cold glass of milk, a warm cup of coffee, or a comforting mug of hot chocolate. Enjoy sharing these homemade delights and watch them bring smiles to everyone’s faces!
Embrace the Joy of Holiday Baking!
These Christmas Sugar Cookie Bites are more than just a recipe; they’re an invitation to create heartwarming memories and spread festive cheer. With their simple preparation, irresistible flavor, and charming appearance, they are destined to become a staple in your holiday baking repertoire. So gather your ingredients, turn on some holiday tunes, and get ready to bake some magic!
Please remember to SHARE on Facebook and PIN IT!
FOLLOW ME ONPINTERESTBY CLICKING HERE <——
Christmas Sugar Cookie Bites
Pin Recipe
Share Recipe
Ingredients
For the Cookie Dough:
- 2 cups all-purpose flour
- 1/4 teaspoon salt
- 1 cup unsalted butter, room temperature
- 1/2 cup confectioners’ sugar, sifted
For the Buttercream Frosting:
- 1 cup powdered confectioners sugar
- 1/4 cup unsalted butter, softened
- 1-2 tablespoons milk
- 1 teaspoon vanilla OR almond extract
- Wilton Christmas red and moss green food coloring gels (or other high-quality gel food coloring)
- Red, green, and white sprinkles, for decoration
Instructions
Cookies:
- In a medium bowl, whisk together the all-purpose flour and salt. Set aside.
- Place the unsalted butter into the bowl of your stand mixer, fitted with the paddle attachment. Beat until smooth and light, typically for about 40-60 seconds.
- Add in the sifted confectioners’ sugar and continue to beat until the mixture is smooth and well combined.
- Gradually add the flour mixture to the butter-sugar mixture, beating on low speed until a smooth dough forms. Be careful not to overmix.
- Roll the dough between two sheets of parchment paper until it is about 1/4-inch thick. Transfer the rolled dough (still between parchment paper) onto a baking sheet and refrigerate for at least 30 minutes, or until the dough is firm.
- Meanwhile, preheat your oven to 350°F (175°C).
- Remove the firm dough from the refrigerator and carefully cut it into bite-sized squares or desired festive shapes.
- Arrange the cut cookies on a baking sheet lined with parchment paper. Bake for 10-12 minutes, or until the edges are lightly browned. Do not overbake.
- Allow the cookies to cool completely on the baking sheet before transferring them to a wire rack. Ensure they are fully cooled before proceeding with frosting.
Buttercream Frosting:
- In a large bowl, cream together the softened unsalted butter, powdered sugar, and vanilla (or almond) extract until smooth and fluffy.
- If the frosting appears too dry or stiff, add 1-2 tablespoons of milk, one tablespoon at a time, mixing until it reaches a smooth, spreadable consistency.
- Divide the buttercream frosting into three separate portions.
- Tint one portion with red food coloring gel and another with green food coloring gel. Leave the third portion white. Mix each portion thoroughly until the color is evenly distributed.
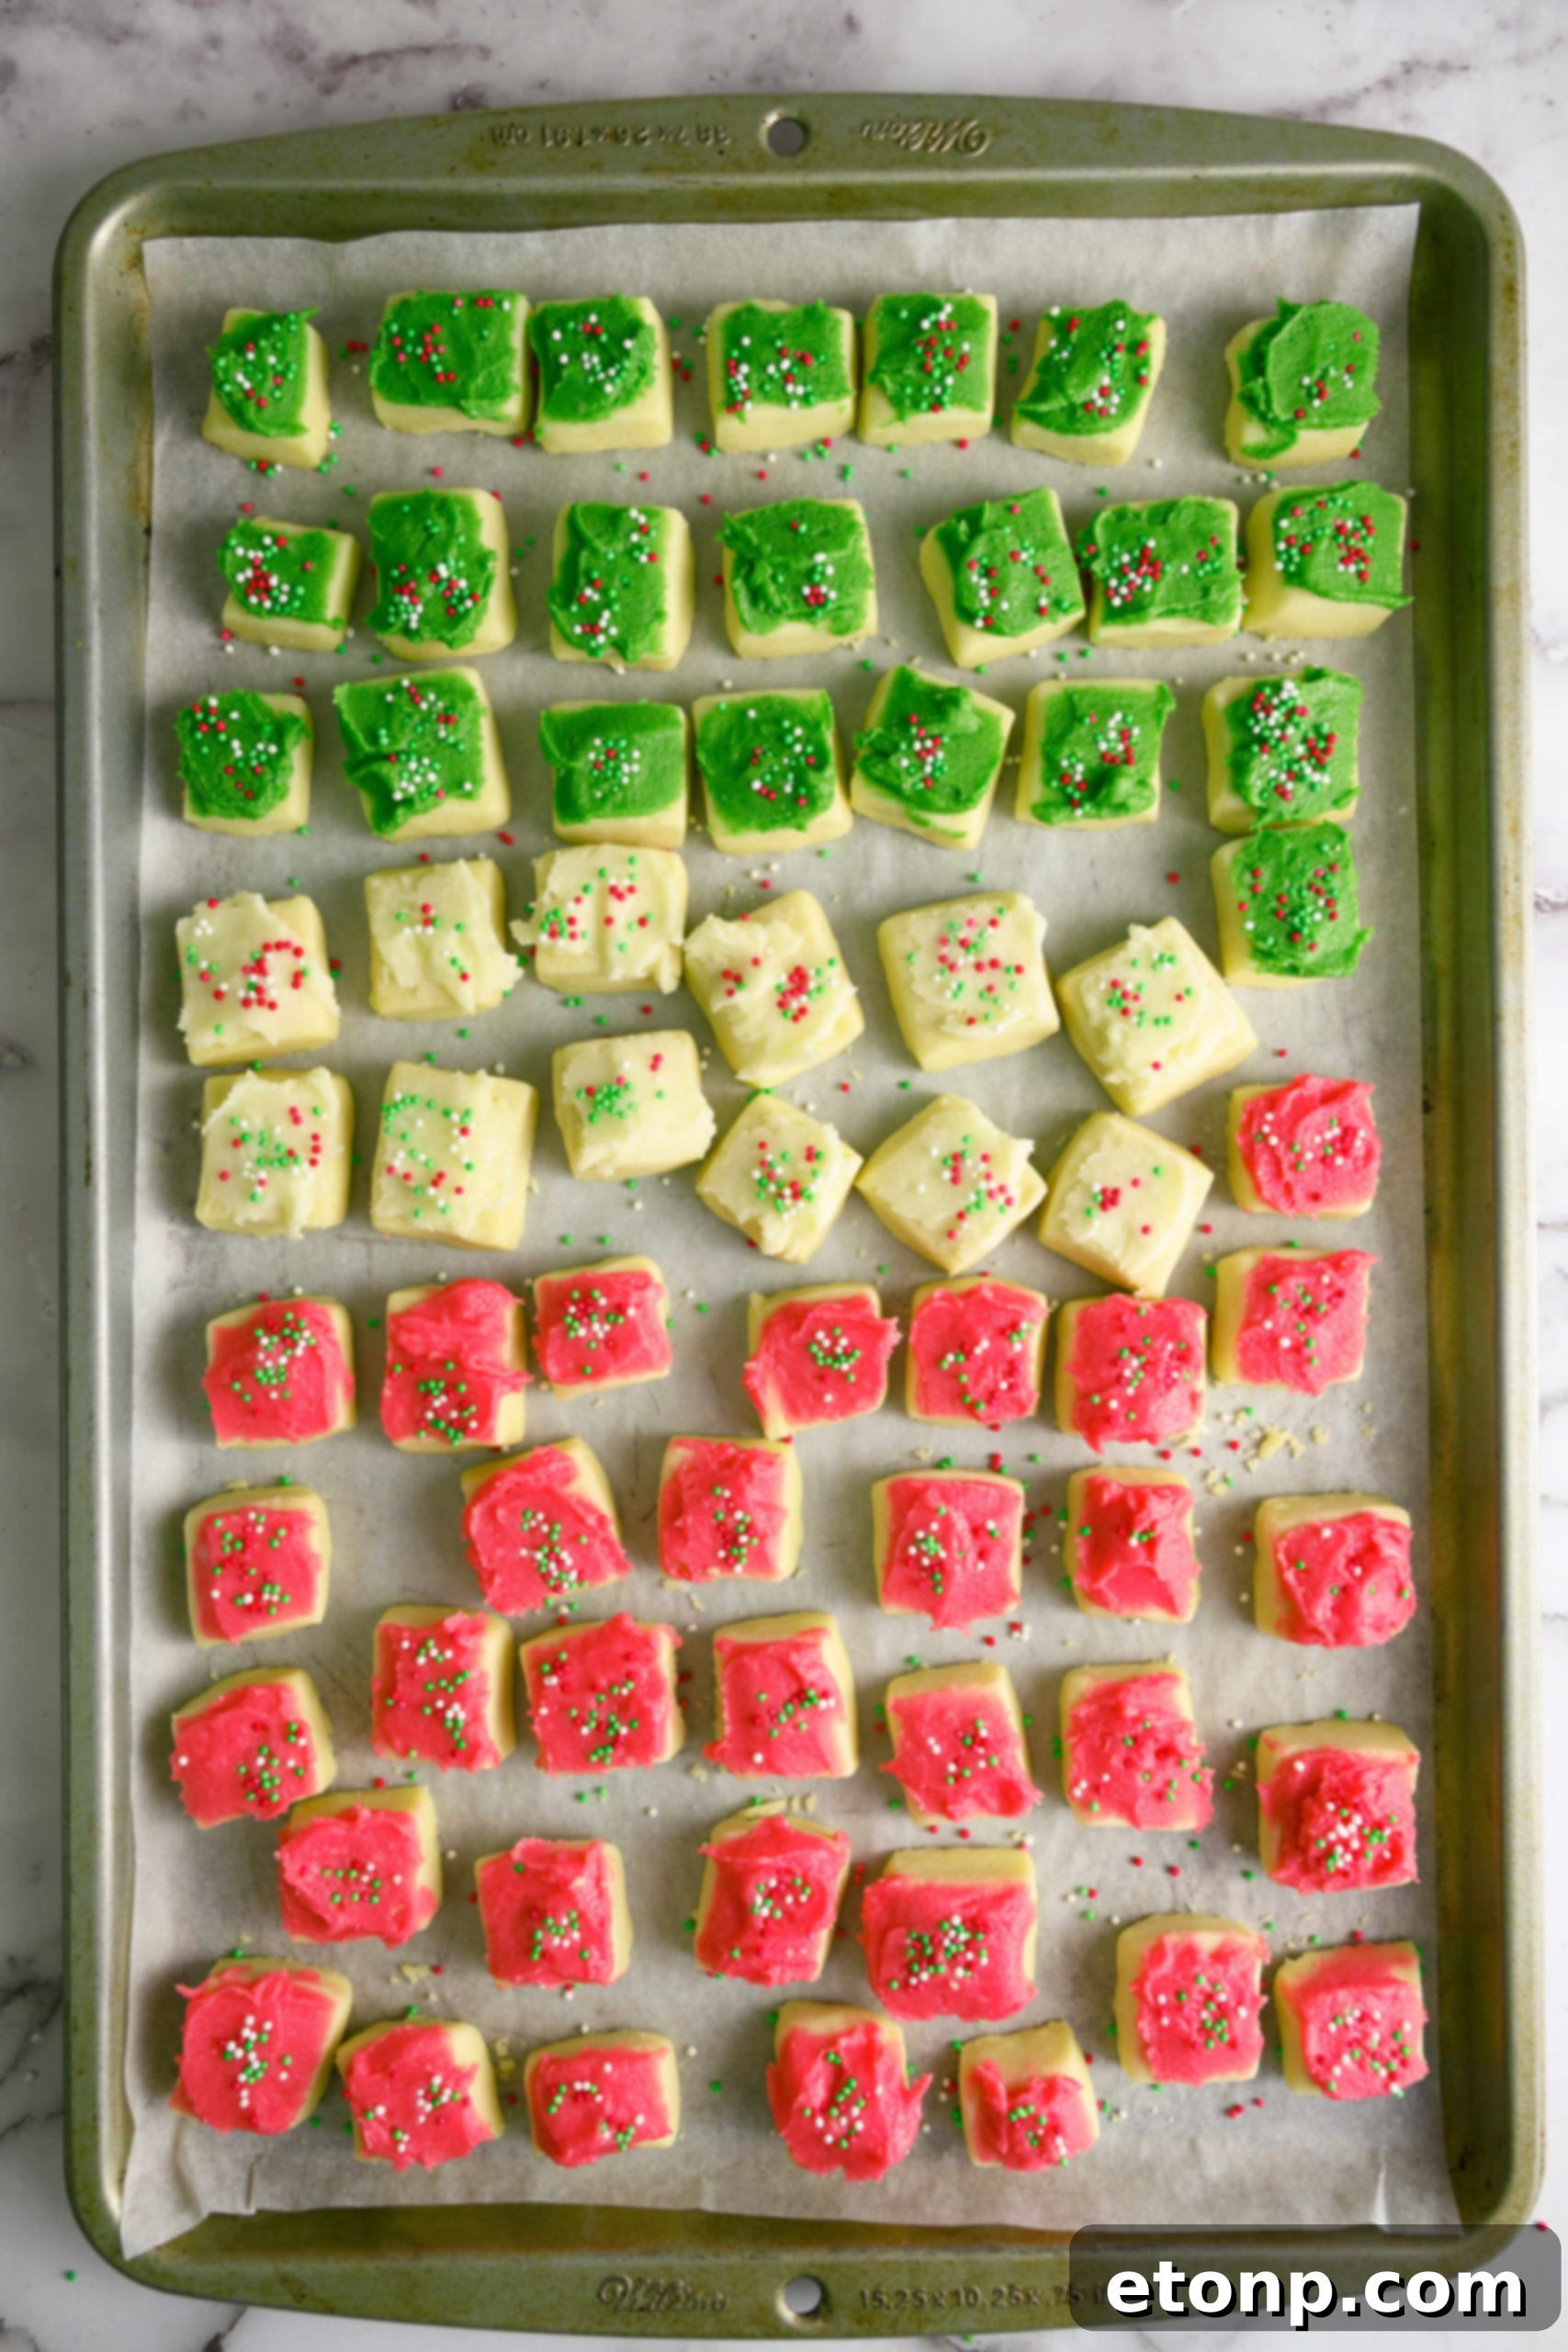
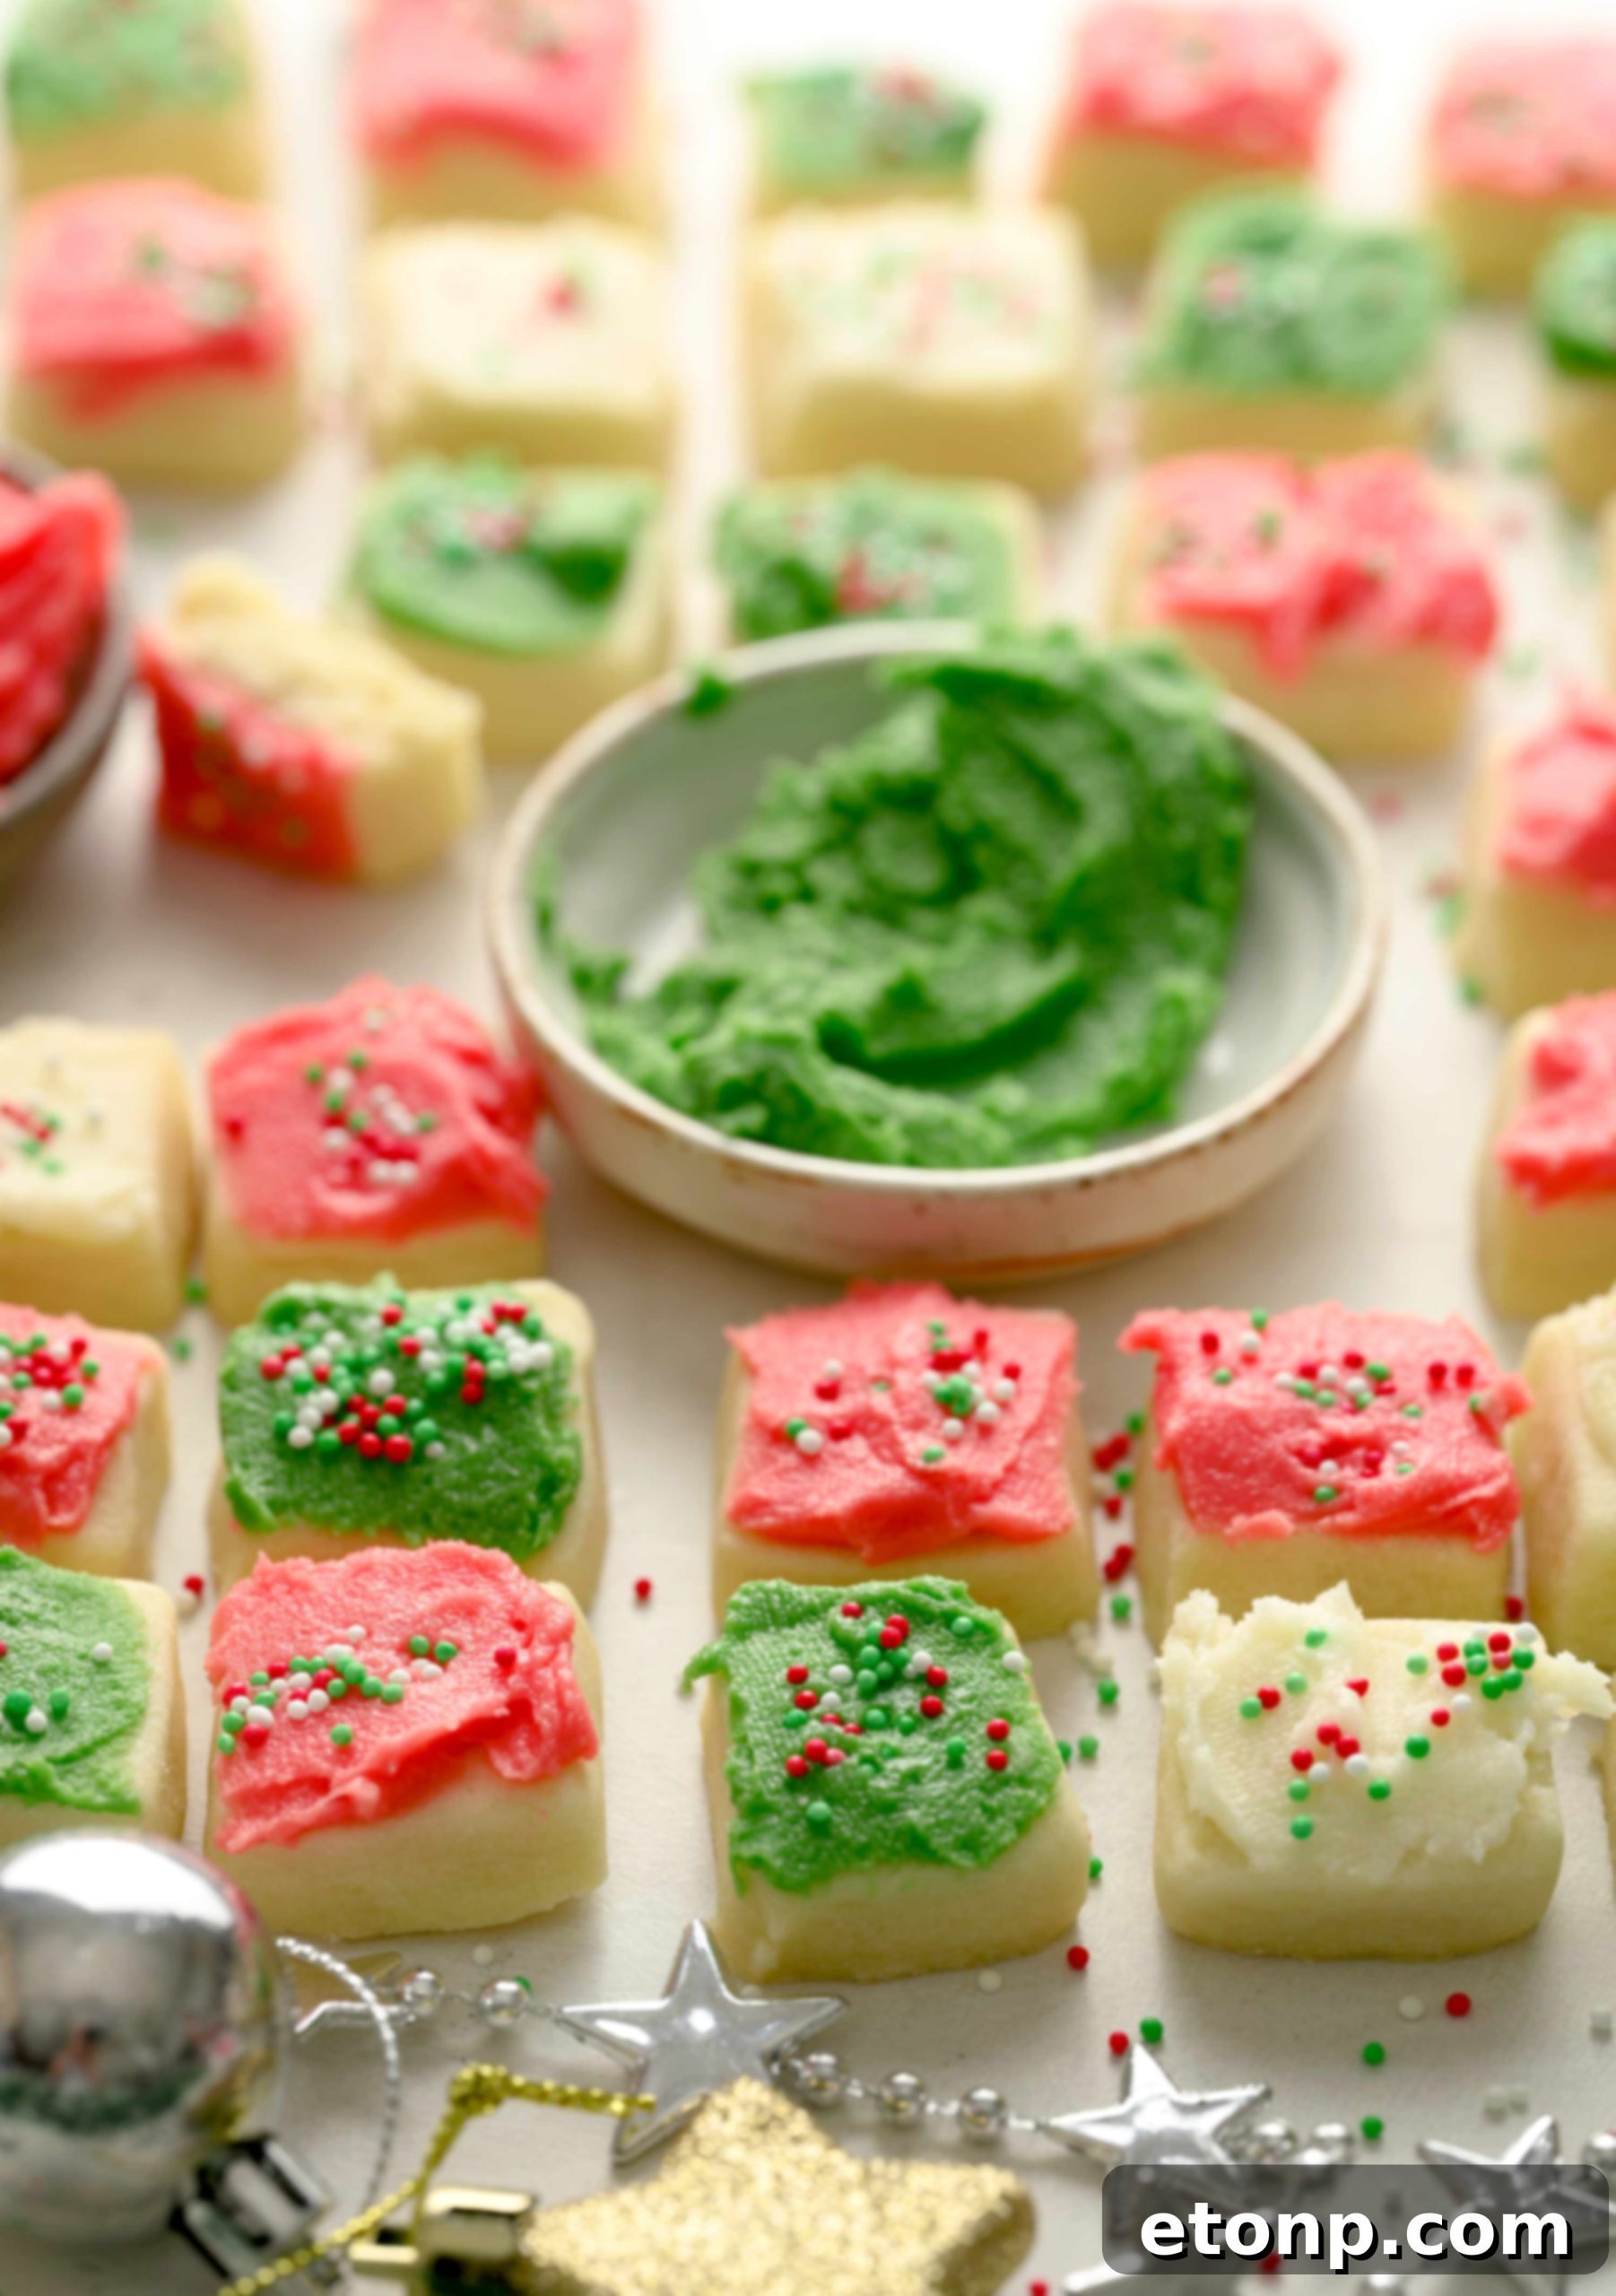
- Once the cookies are completely cooled, decorate them with the colored buttercream frosting. Simply spread some frosting on each cookie with a butter knife or a small offset spatula.
- Immediately after frosting, sprinkle with your festive red, green, and white sprinkles for decoration.
- Allow the frosting to set completely at room temperature (about 30-60 minutes) before storing the cookies.
- ENJOY your delightful Christmas Sugar Cookie Bites!
Did you make this recipe?
Make sure to follow on Pinterest for more inspiring recipes and culinary adventures!
Pin Recipe
Share on Facebook