
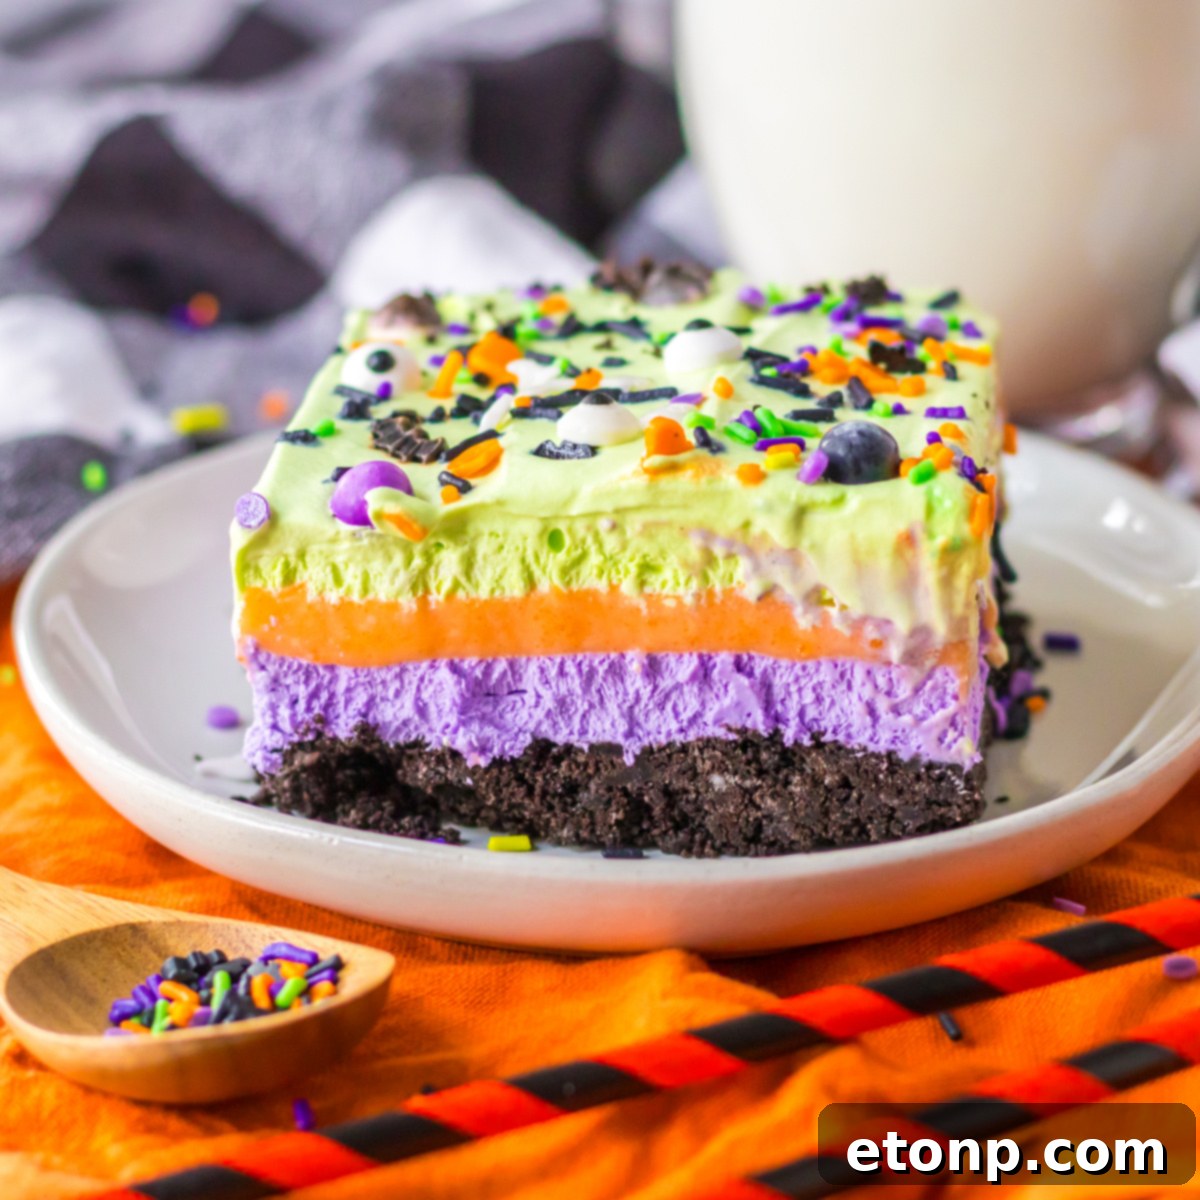
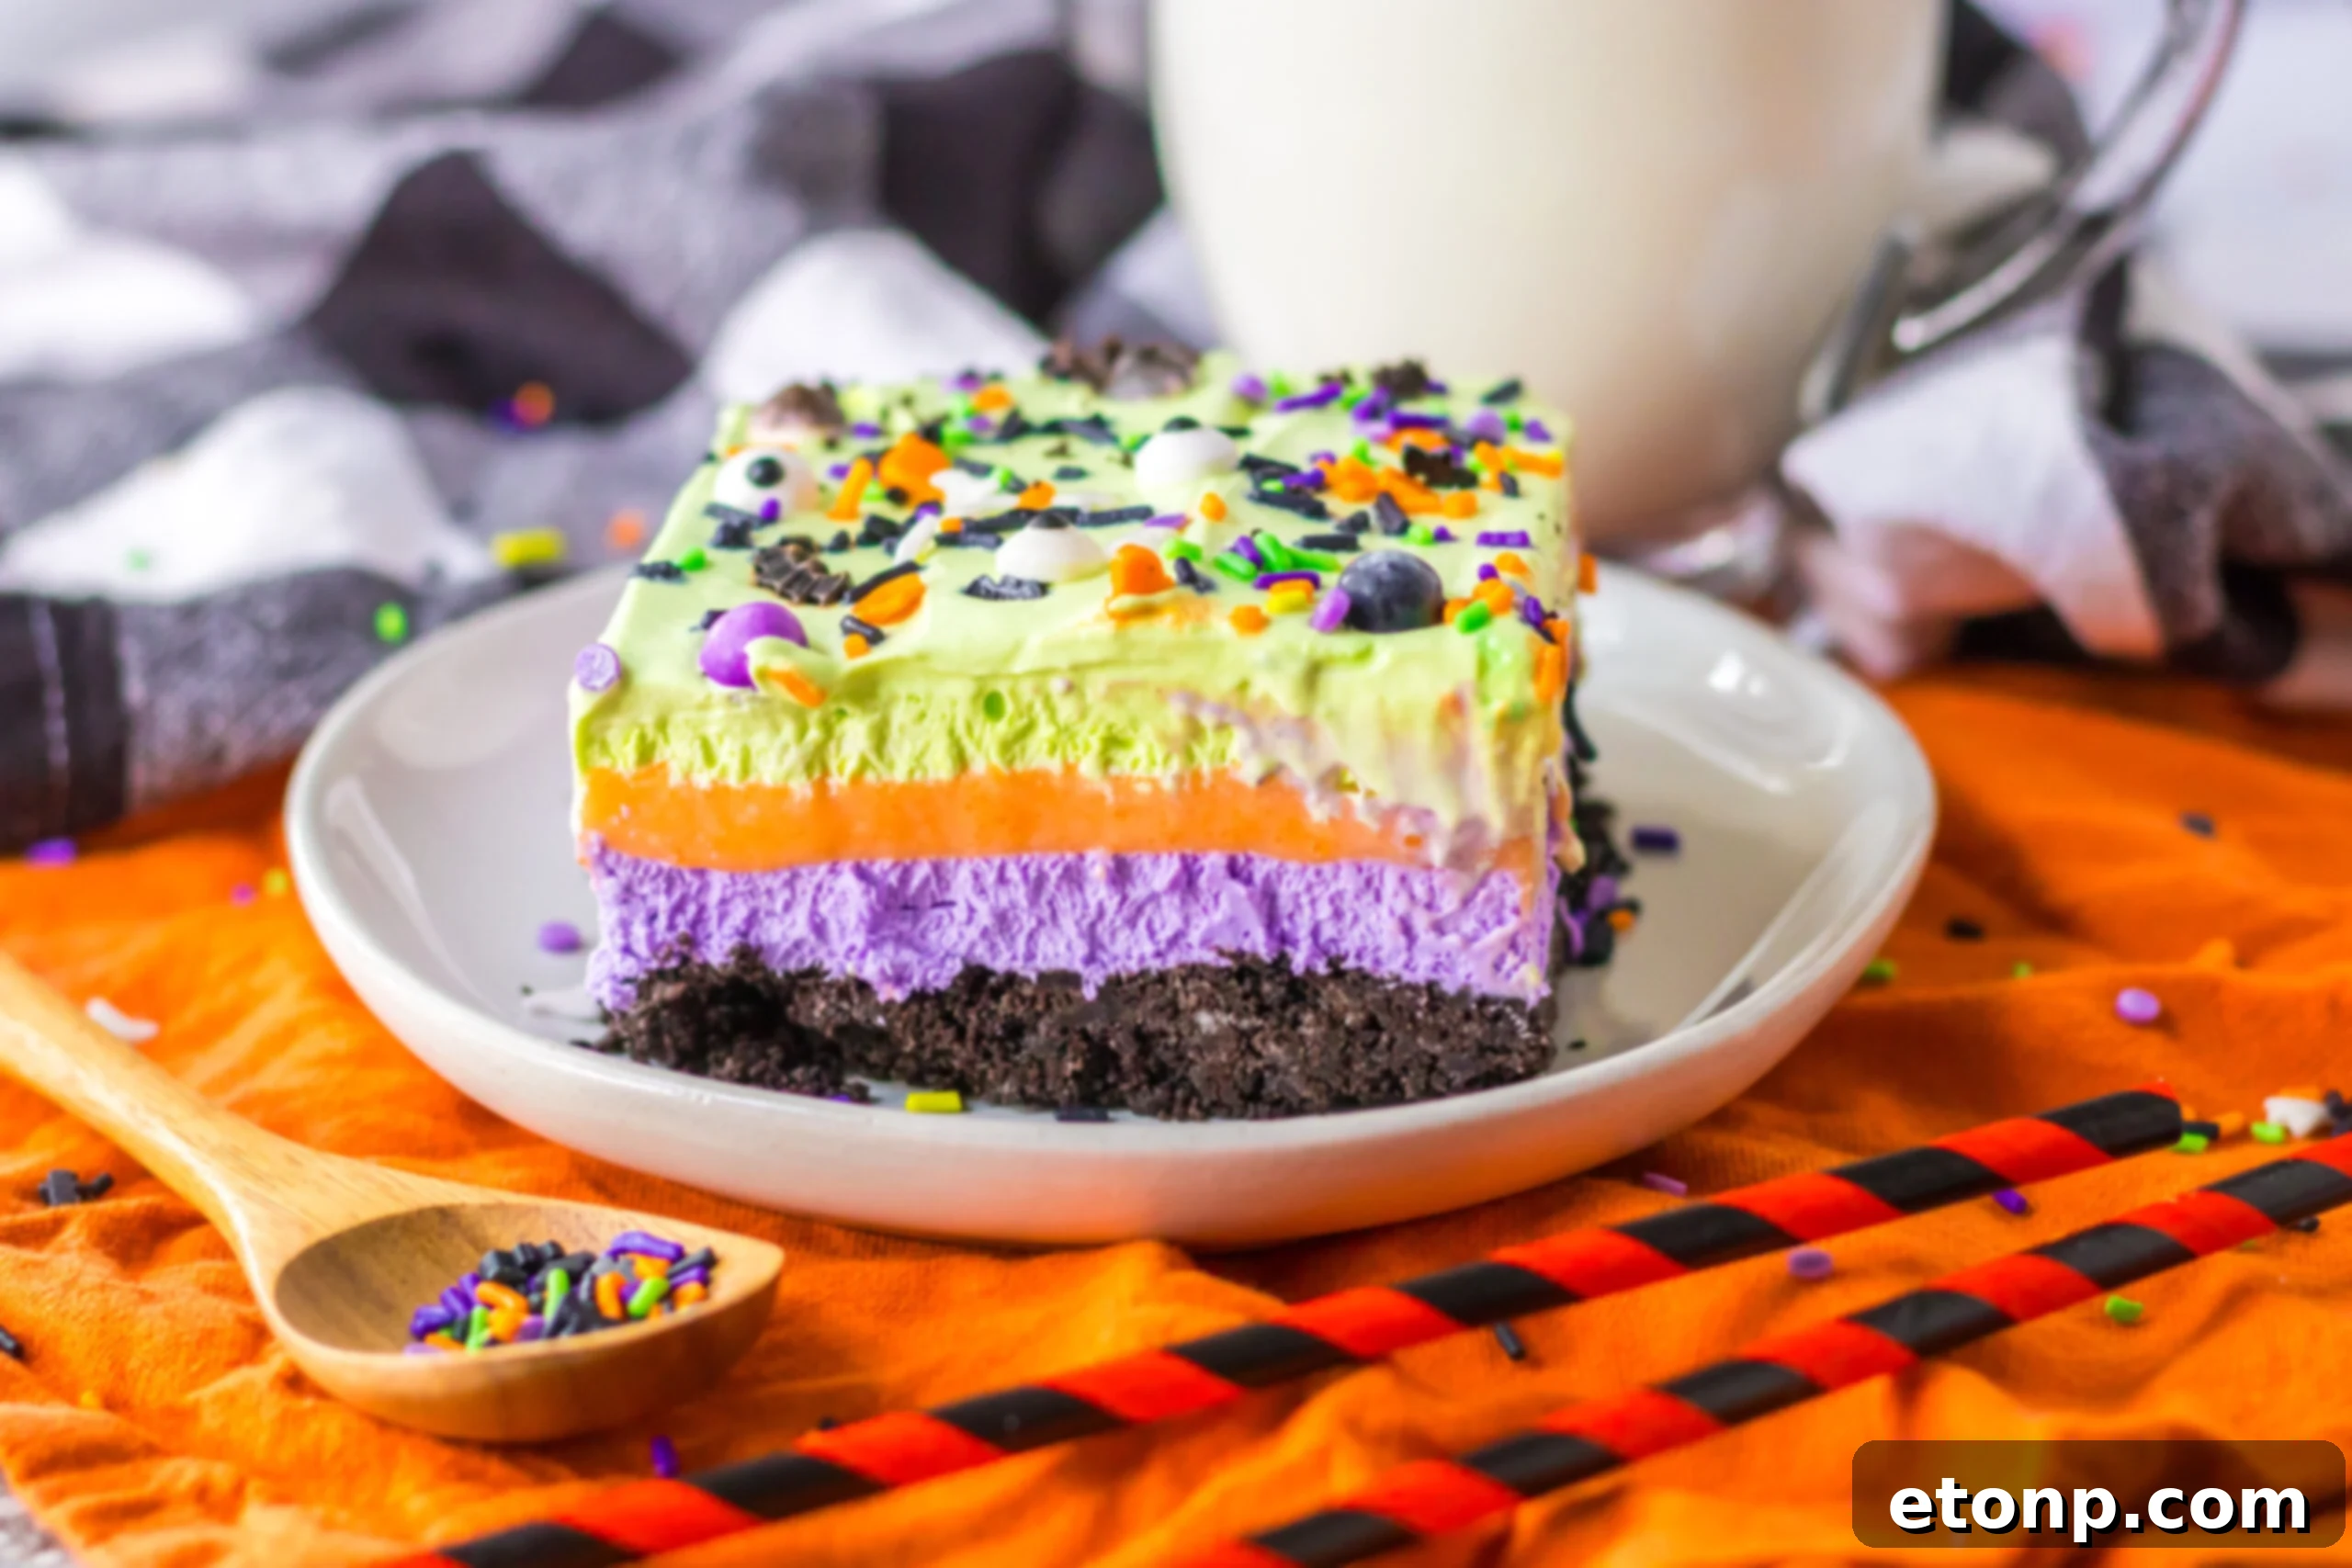
Whip up a pan of this sensational No-Bake Halloween Lush dessert, and prepare for it to be the absolute star of your next spooky soirée! This exquisitely layered treat is a dream come true for hosts and guests alike: entirely no-bake, featuring a delightfully crunchy crushed cookie base, a rich and creamy cheesecake layer, a vibrant orange-flavored creamy layer, and a cloud-like whipped topping. The final flourish comes with an array of spooky, creepy, and utterly fun Halloween sprinkles and candies, transforming a simple dessert into a festive masterpiece.
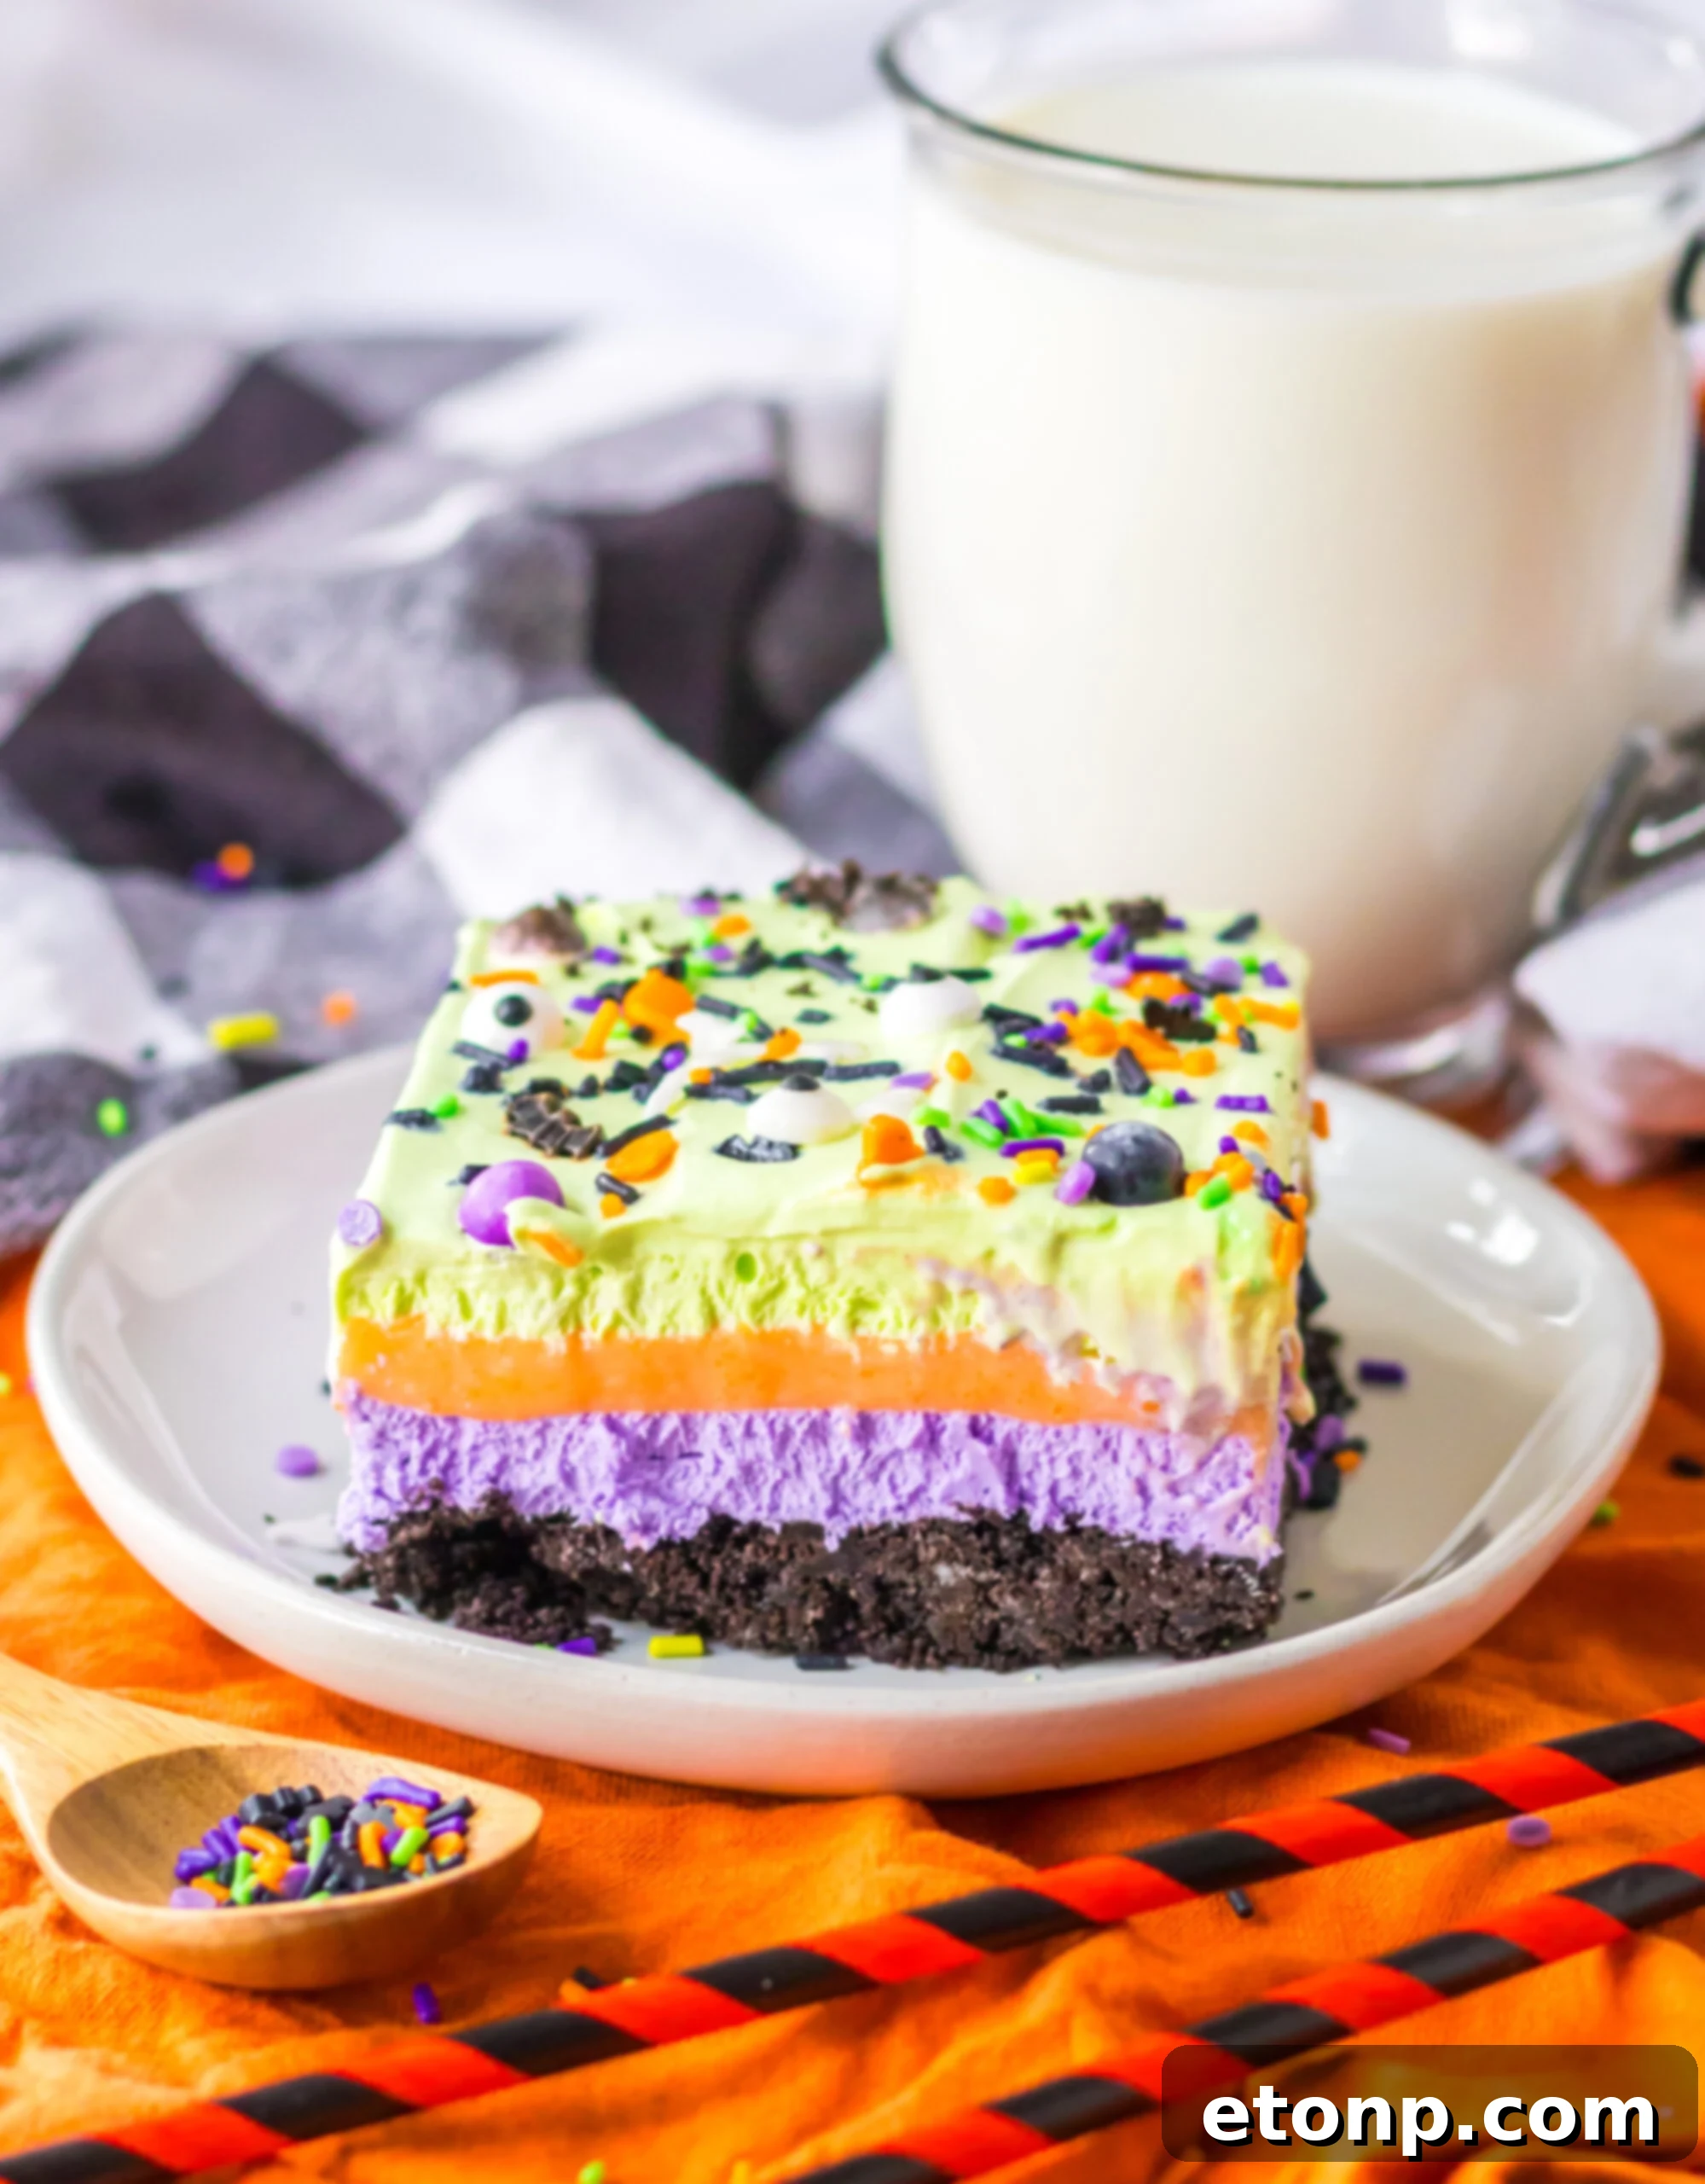
As the air grows crisp and the nights draw in, are you searching for that perfect, deliciously eerie dessert to complete your Halloween festivities? Something that promises shivers of delight rather than fear? Your quest ends here! Allow me to introduce you to my renowned No-Bake Layered Halloween Lush – a dessert that’s as hauntingly beautiful as it is incredibly easy to prepare. This enchanting confection is ideal for any Halloween party or gathering, offering a symphony of textures and flavors that will have your taste buds screaming for more! Let’s embark on this wickedly good culinary adventure and create a treat that will be remembered long after the last ghostly ghoul has departed.
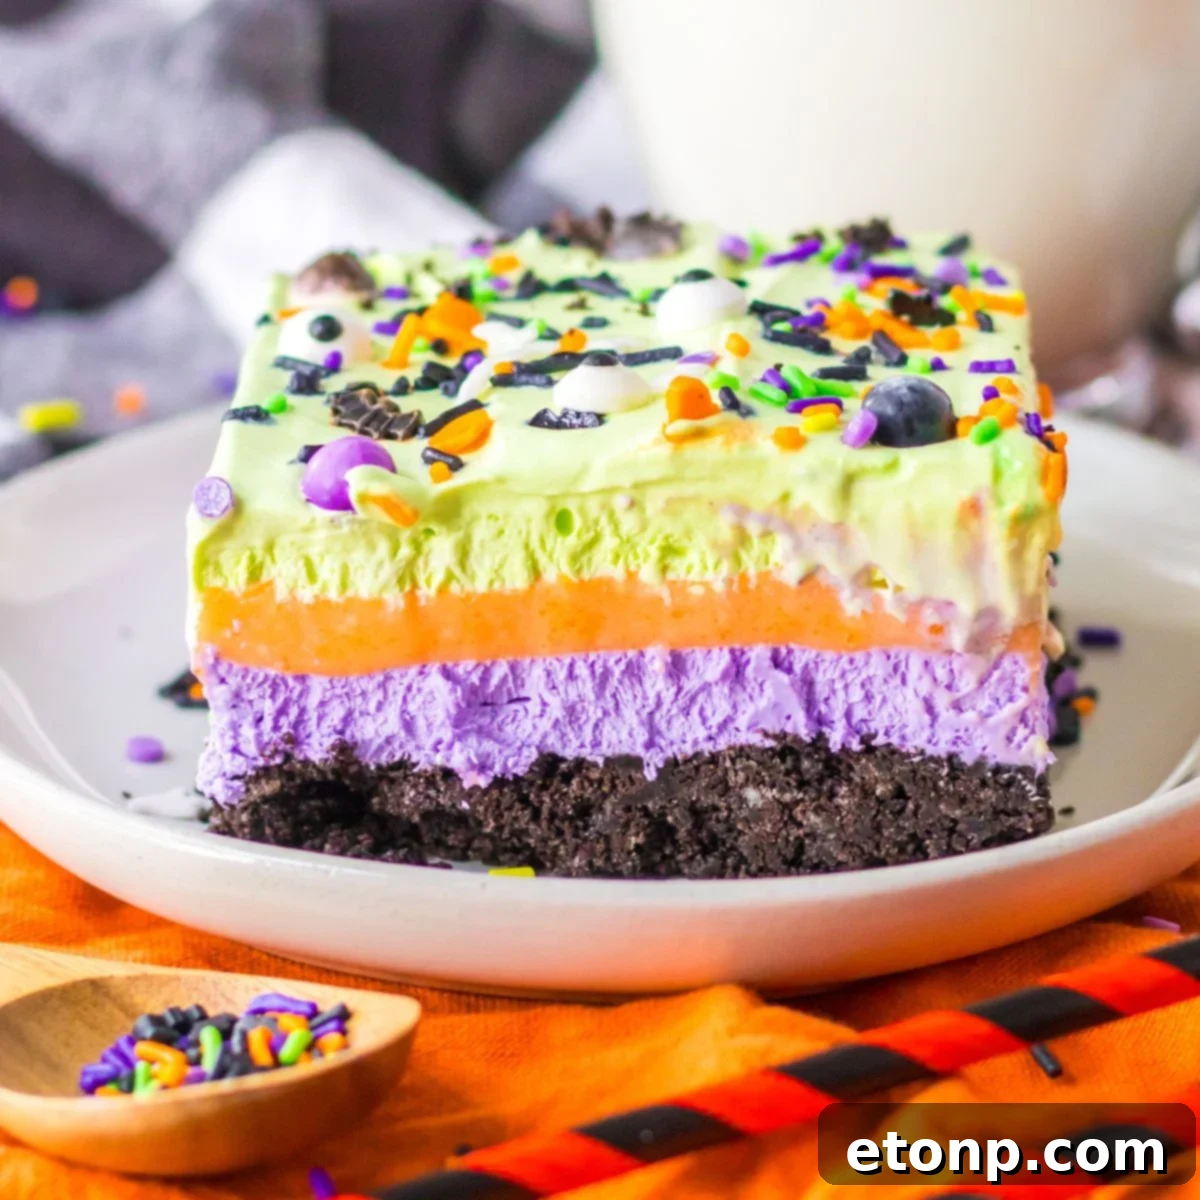
This dessert isn’t just delicious; it’s an incredibly enjoyable project that even the younger members of your family can get involved with. Kids, in particular, will love helping to create or, at the very least, decorate this bright and colorful Halloween delight. Its vibrant layers and fun toppings make it a truly eye-catching and sliceable treat, ensuring everyone at your Halloween gathering can grab a perfectly portioned piece of spooky sweetness.
Looking for more spine-tinglingly good recipes to round out your Halloween spread? Be sure to conjure up some of my other festive favorites, like my irresistible Halloween Dirt Cake, the sweetly spooky Pumpkin Sugar Cookies with Buttercream Icing, or these mischievously fun Ghost Jello Shots. Each recipe is designed to add a touch of magic to your Halloween celebrations!
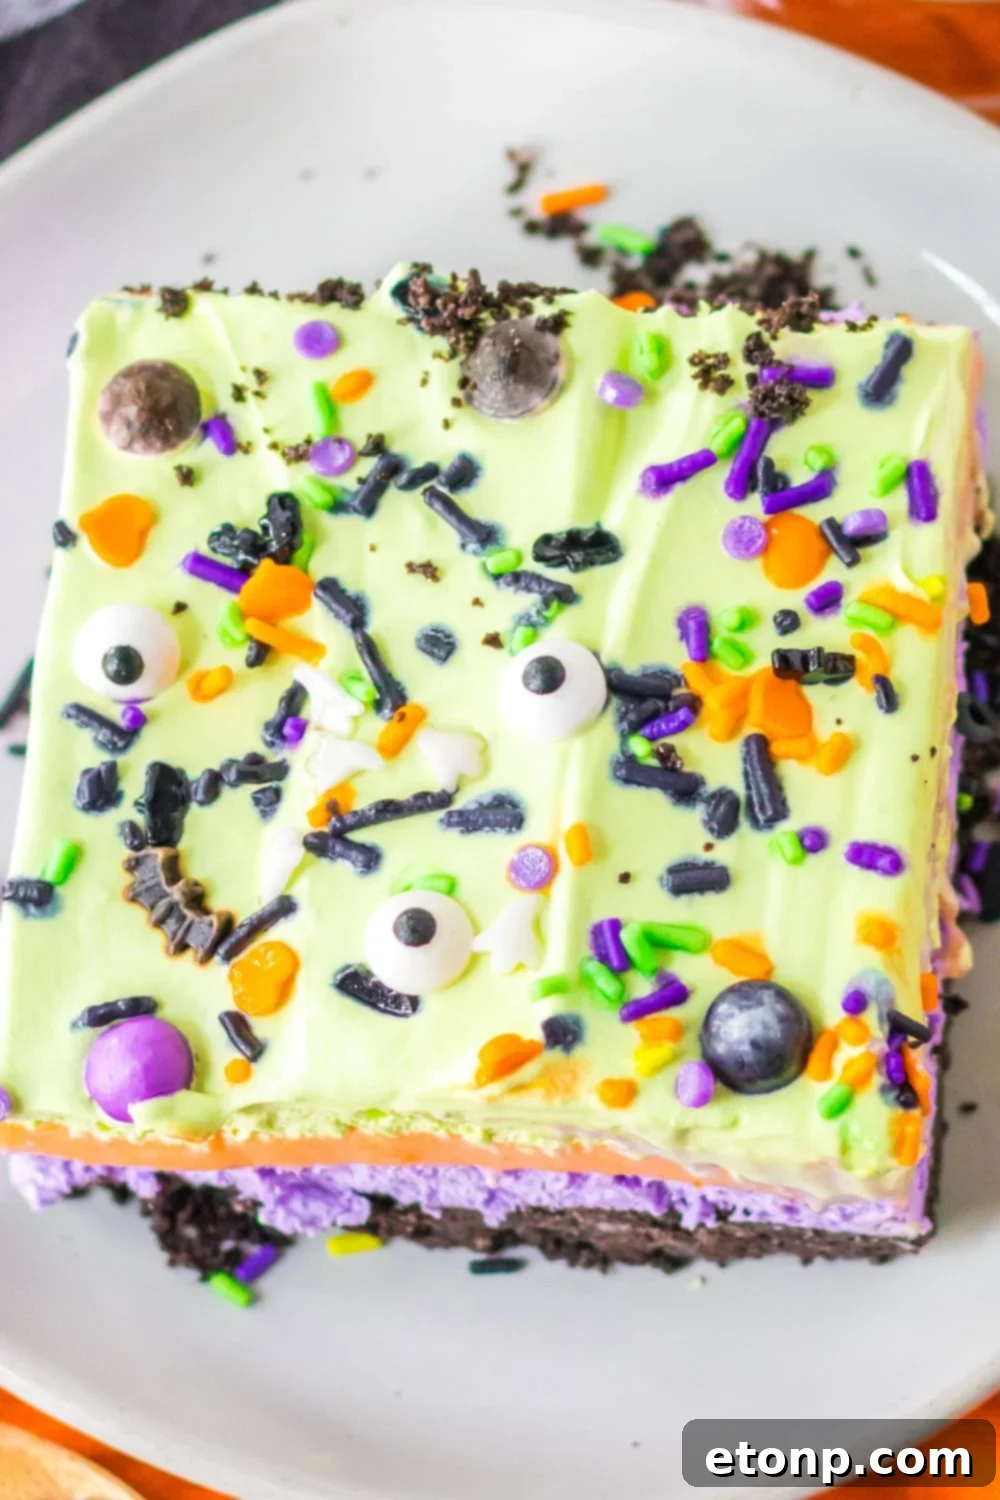
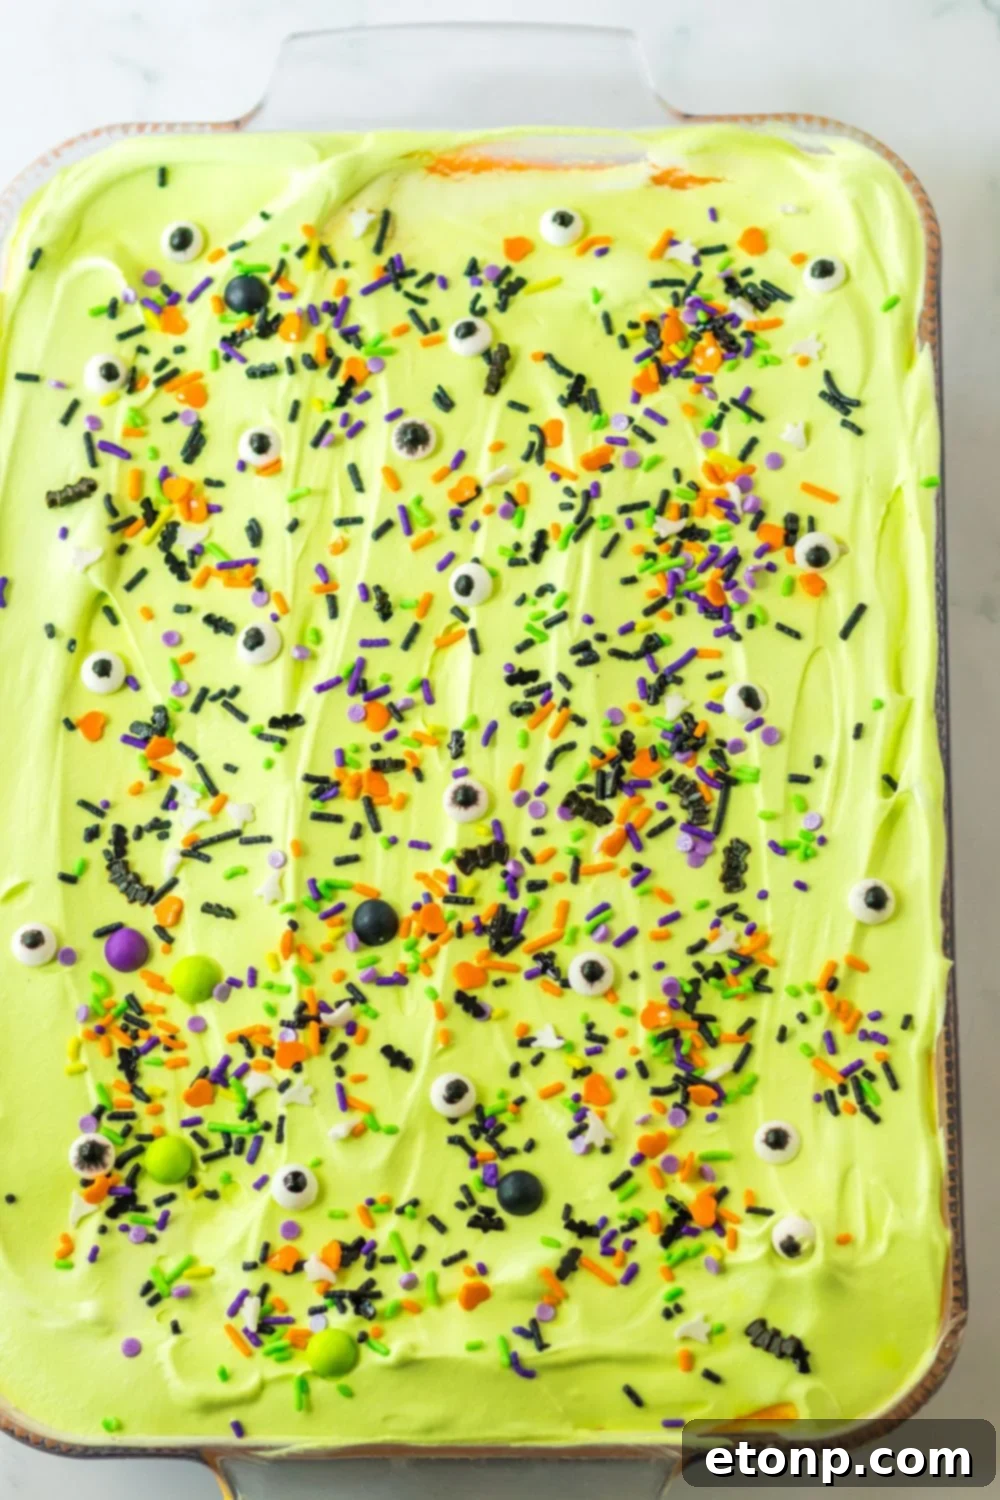
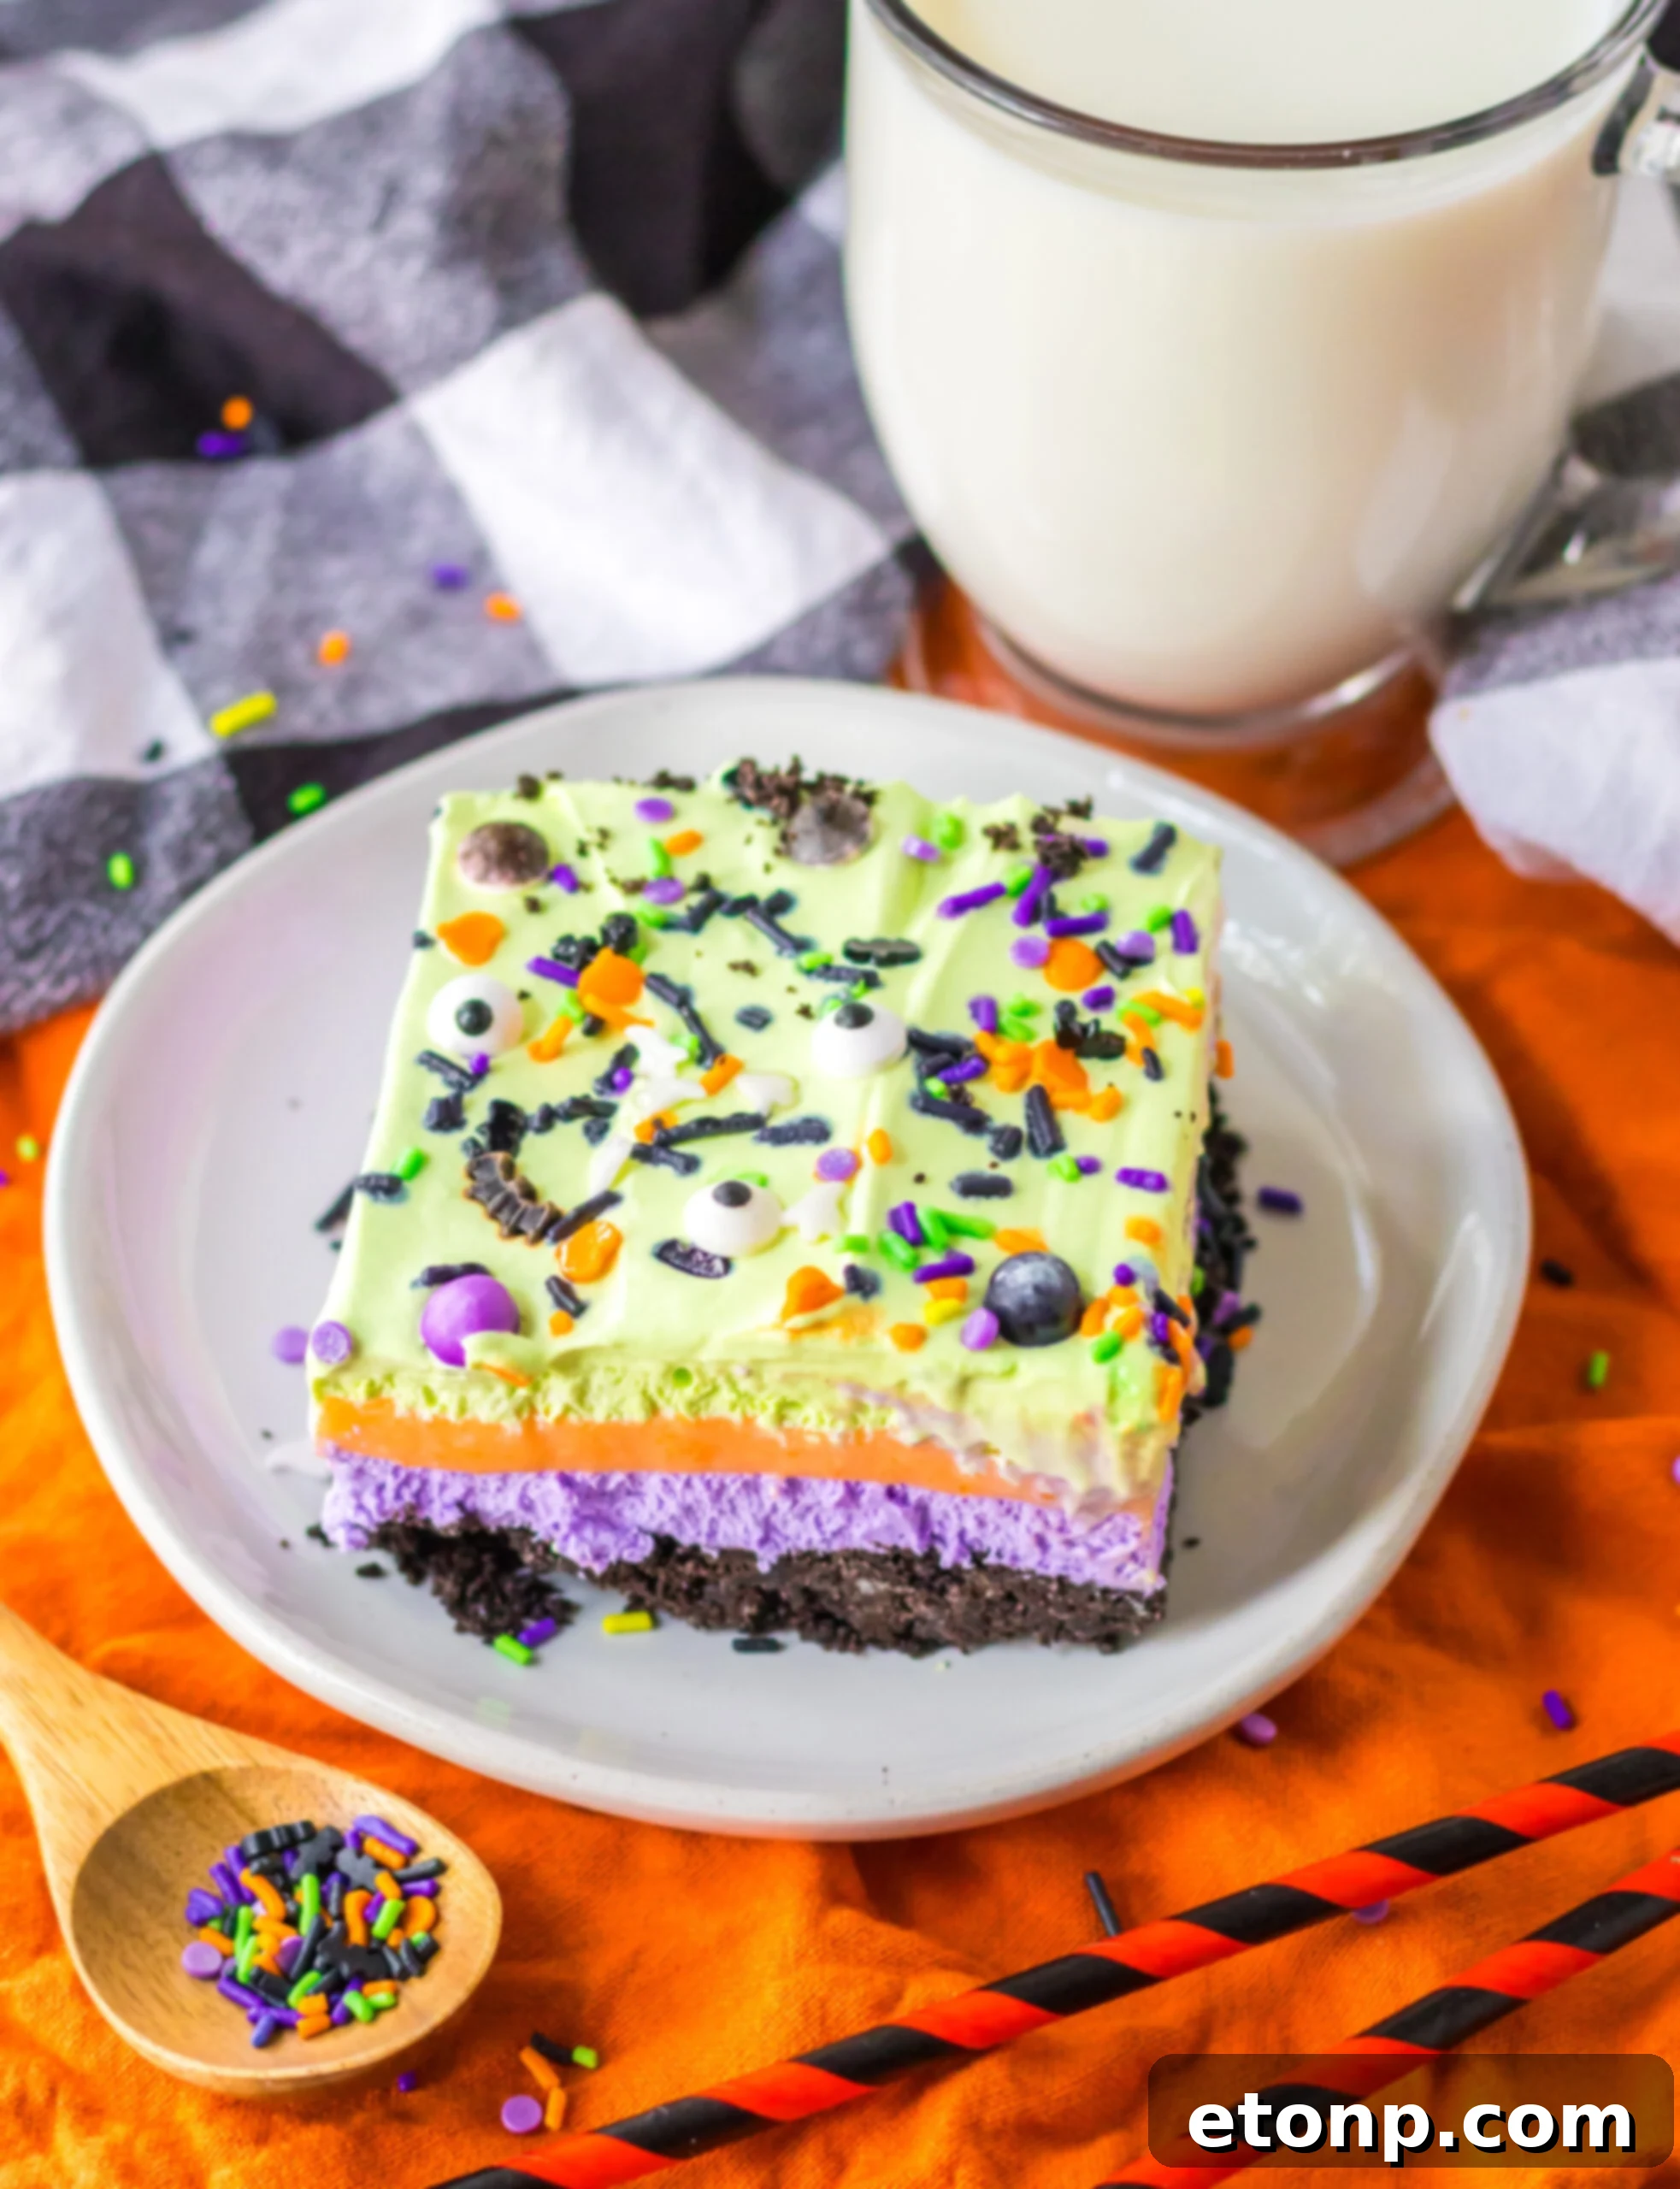
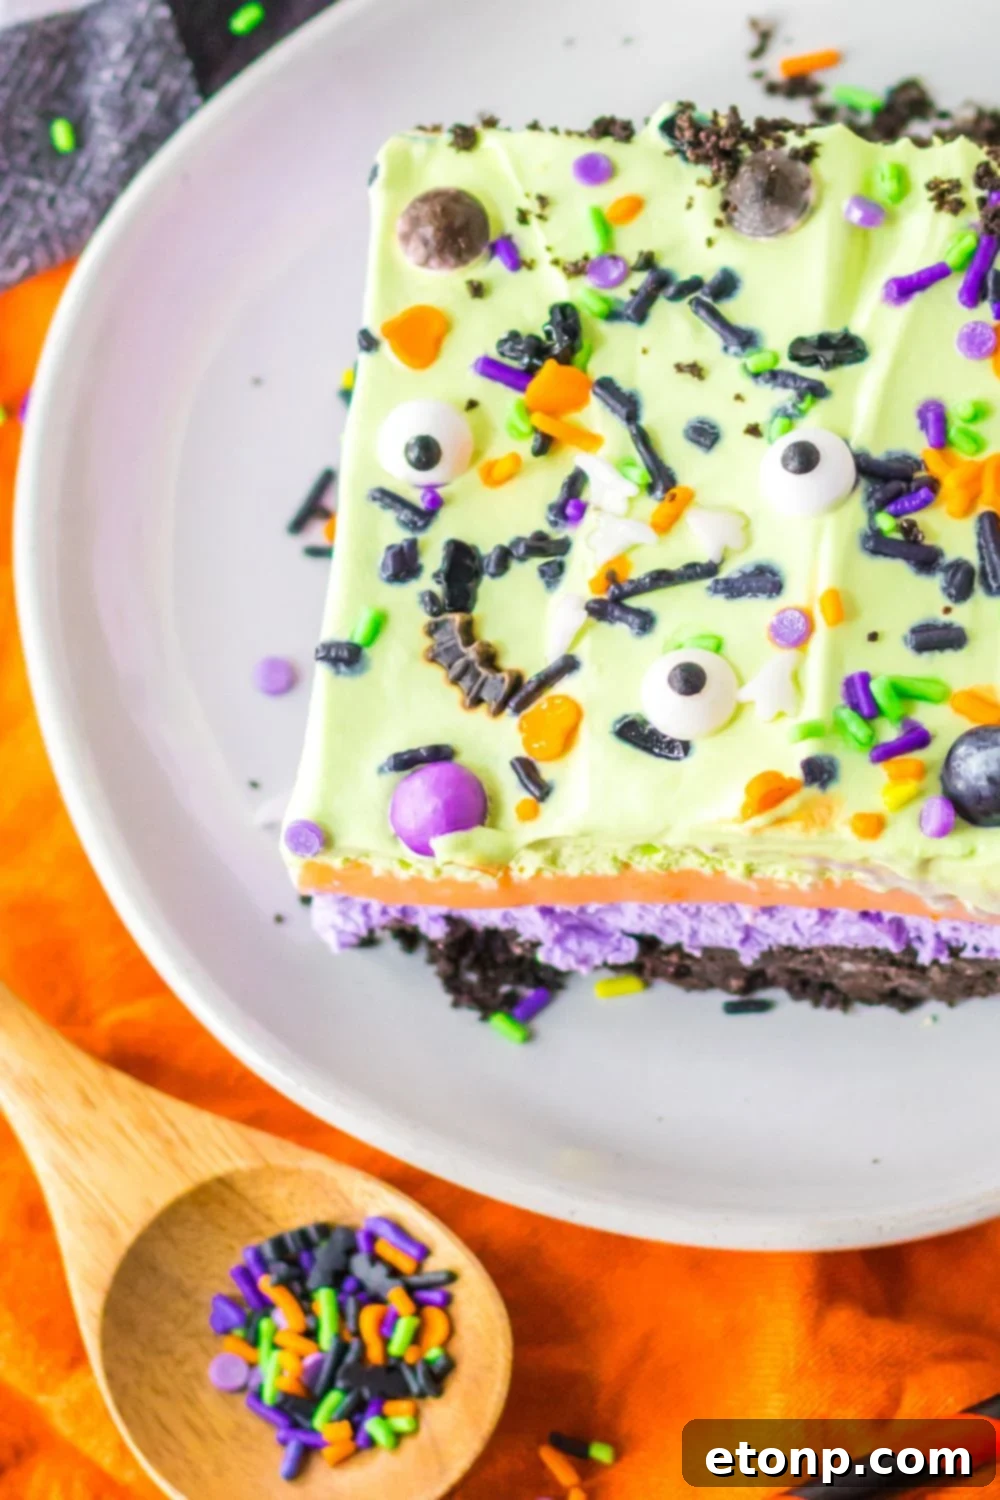
Now for the most exhilarating part – the decorating! This is where you truly get to unleash your inner mad scientist and let your creativity run wild. Transform your Halloween Lush into a truly unique masterpiece by adorning it with a fantastical array of spooky, Halloween-themed candies, edible eyeballs (just like I did here for an extra ghoulish gaze!), and other imaginative decorations. You could opt for ghostly sugar eyes that seem to watch your guests, delicate chocolate bats taking flight across the surface, or even a dusting of edible glitter for an ethereal, ghostly shimmer that will capture everyone’s imagination. The possibilities are endless when it comes to making your dessert uniquely terrifyingly tasty!
What is a Lush Dessert?
A “lush dessert” is an enchanting culinary creation, typically characterized by its distinct, indulgent layers. At its heart, a lush dessert is a type of layered no-bake dessert or “dessert lasagna” that artfully combines a foundational crunchy base with successive strata of creamy, flavorful fillings and often a light, airy topping. The magic lies in the harmonious interplay of these textures – the satisfying crunch of the base, the velvety smoothness of the creamy layers, and the delicate fluff of the topping. Designed to cater to a crowd, lush desserts are not only decadently delicious but also offer an impressive visual appeal, making them perfect for potlucks, holidays, and special gatherings where both presentation and taste are paramount.
Are Lush Desserts Difficult to Make?
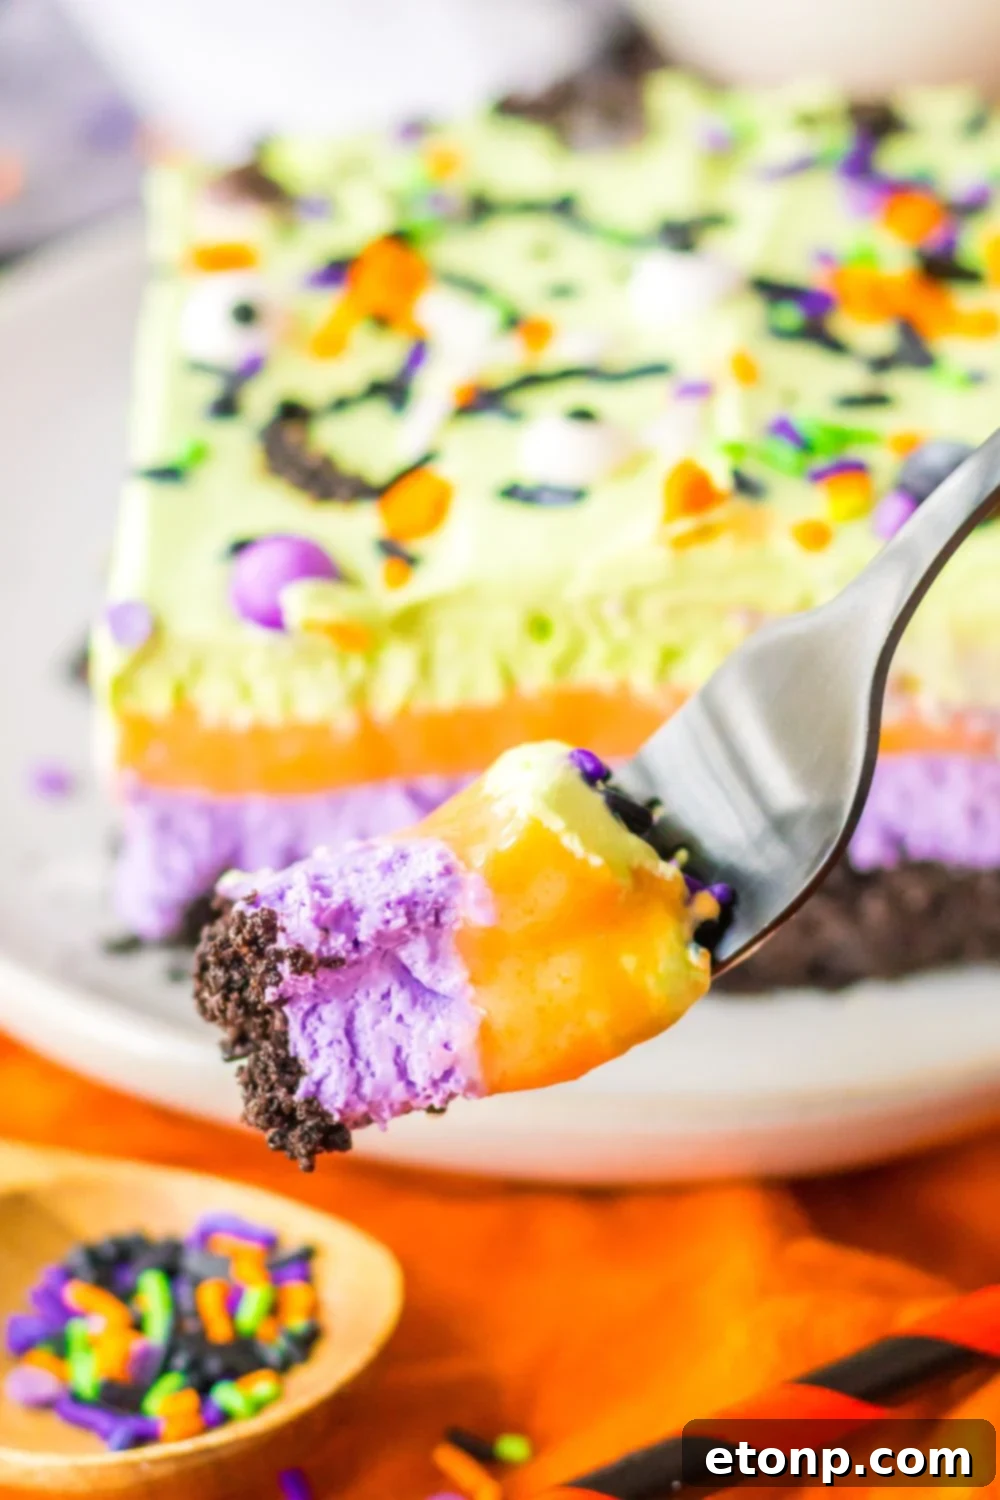
Despite their elaborate appearance, lush desserts are surprisingly simple and straightforward to assemble, making them an excellent choice for both novice and experienced bakers (or rather, “no-bakers”!). The primary method involves working in sequential layers: you’ll prepare one component, carefully spread it into your baking dish, and then repeat the process with the next mixture. The “hardest” part, if you can call it that, is simply exercising a little patience as each layer requires a brief chill time to set properly before the next is added. This step-by-step approach eliminates complex techniques and oven-baking, ensuring a stress-free and enjoyable dessert-making experience that yields impressive results every time.
Once you fall in love with the ease and deliciousness of this Halloween Lush, be sure to explore more lush dessert recipes! Try my rich and nutty Turtle Lush, the bright and zesty Lemon Lush, or for a unique flavor profile, this delightfully green Pistachio Lush. Each variation offers a distinct flavor adventure, bursting with sweet indulgence in every decadent bite.
Reasons You Will Adore This Halloween Lush Dessert
There are countless reasons why this Halloween Lush Dessert will become your go-to treat for the spooky season. Its effortless preparation and delightful outcome make it an undeniable winner:
- Effortless No-Bake Creation: Forget about turning on the oven! This dessert is entirely no-bake, saving you time and keeping your kitchen cool. It’s perfect for busy schedules and provides a hassle-free way to create an impressive treat.
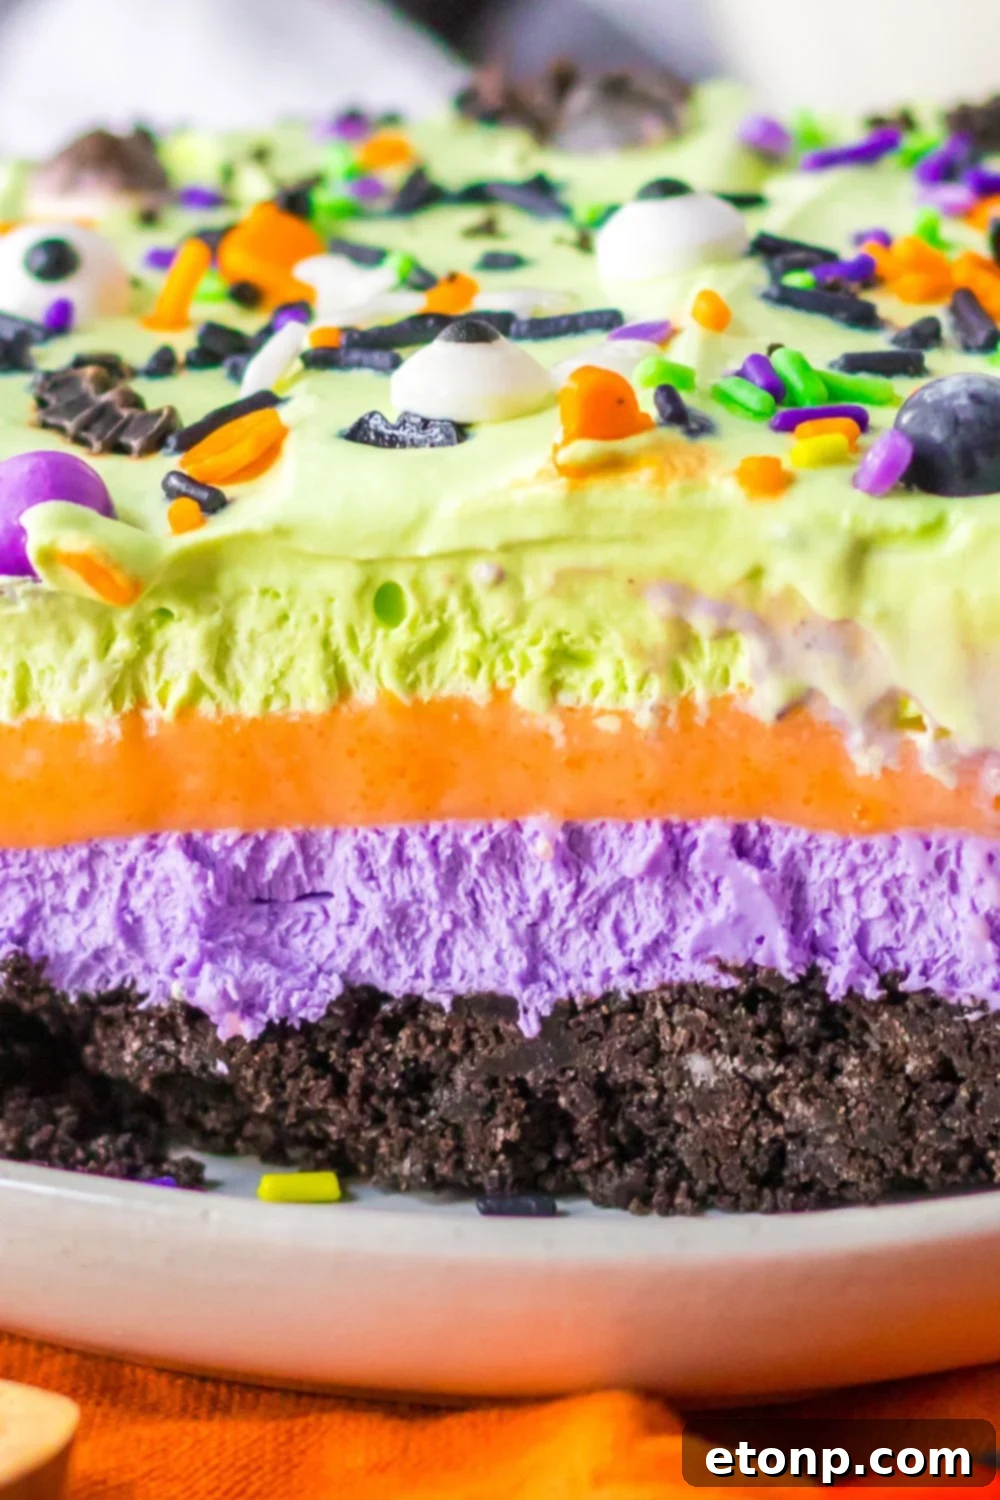
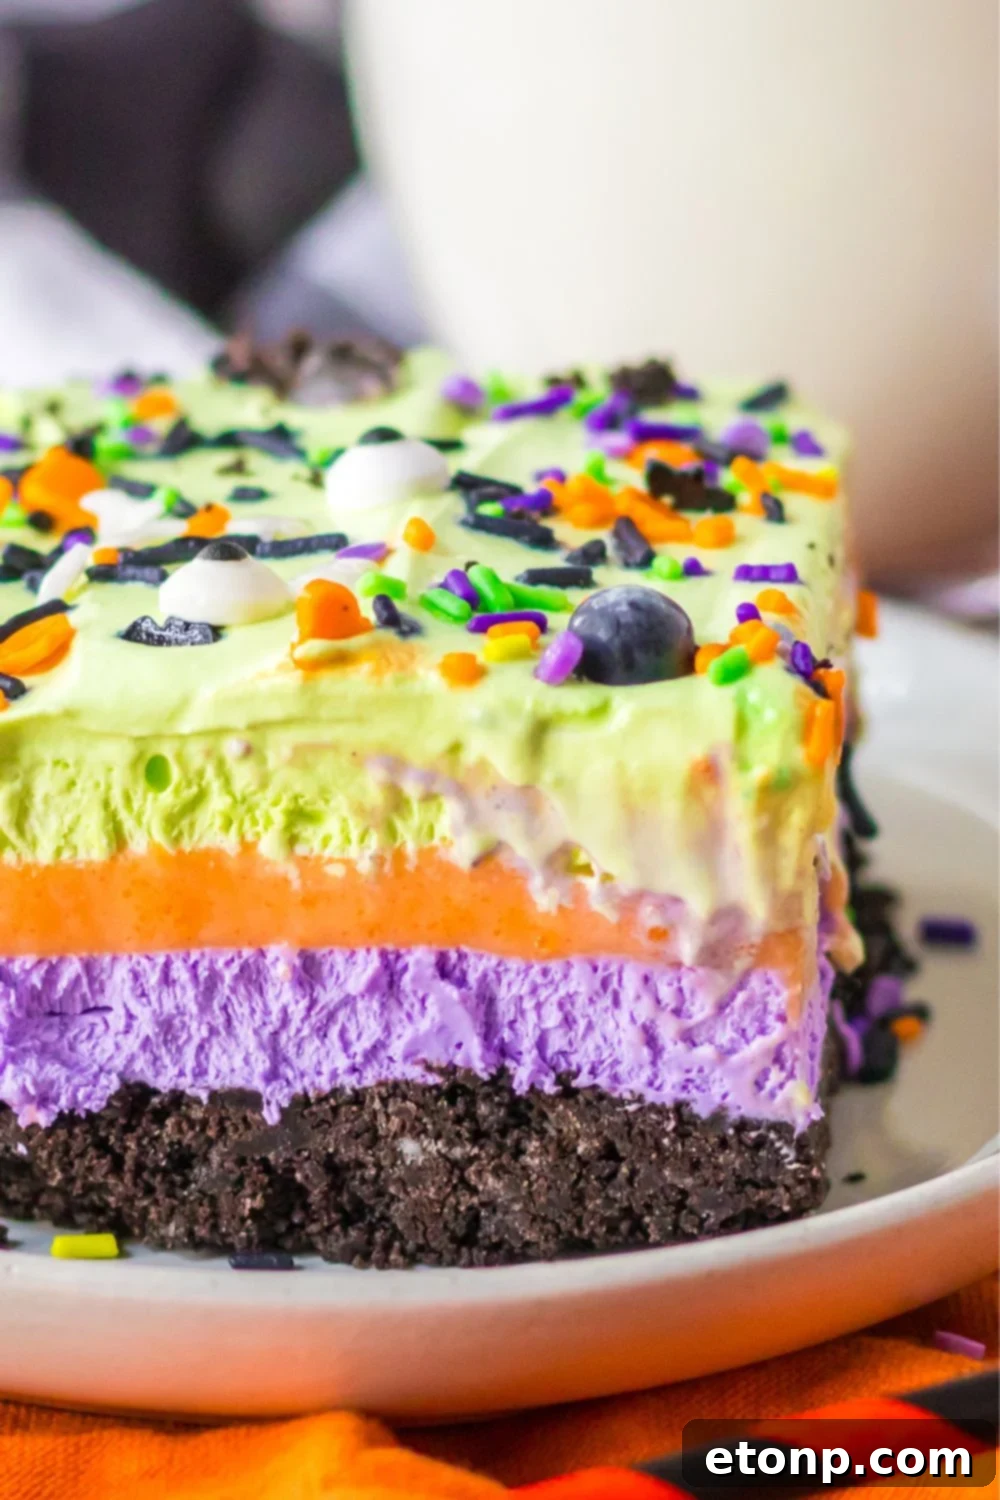
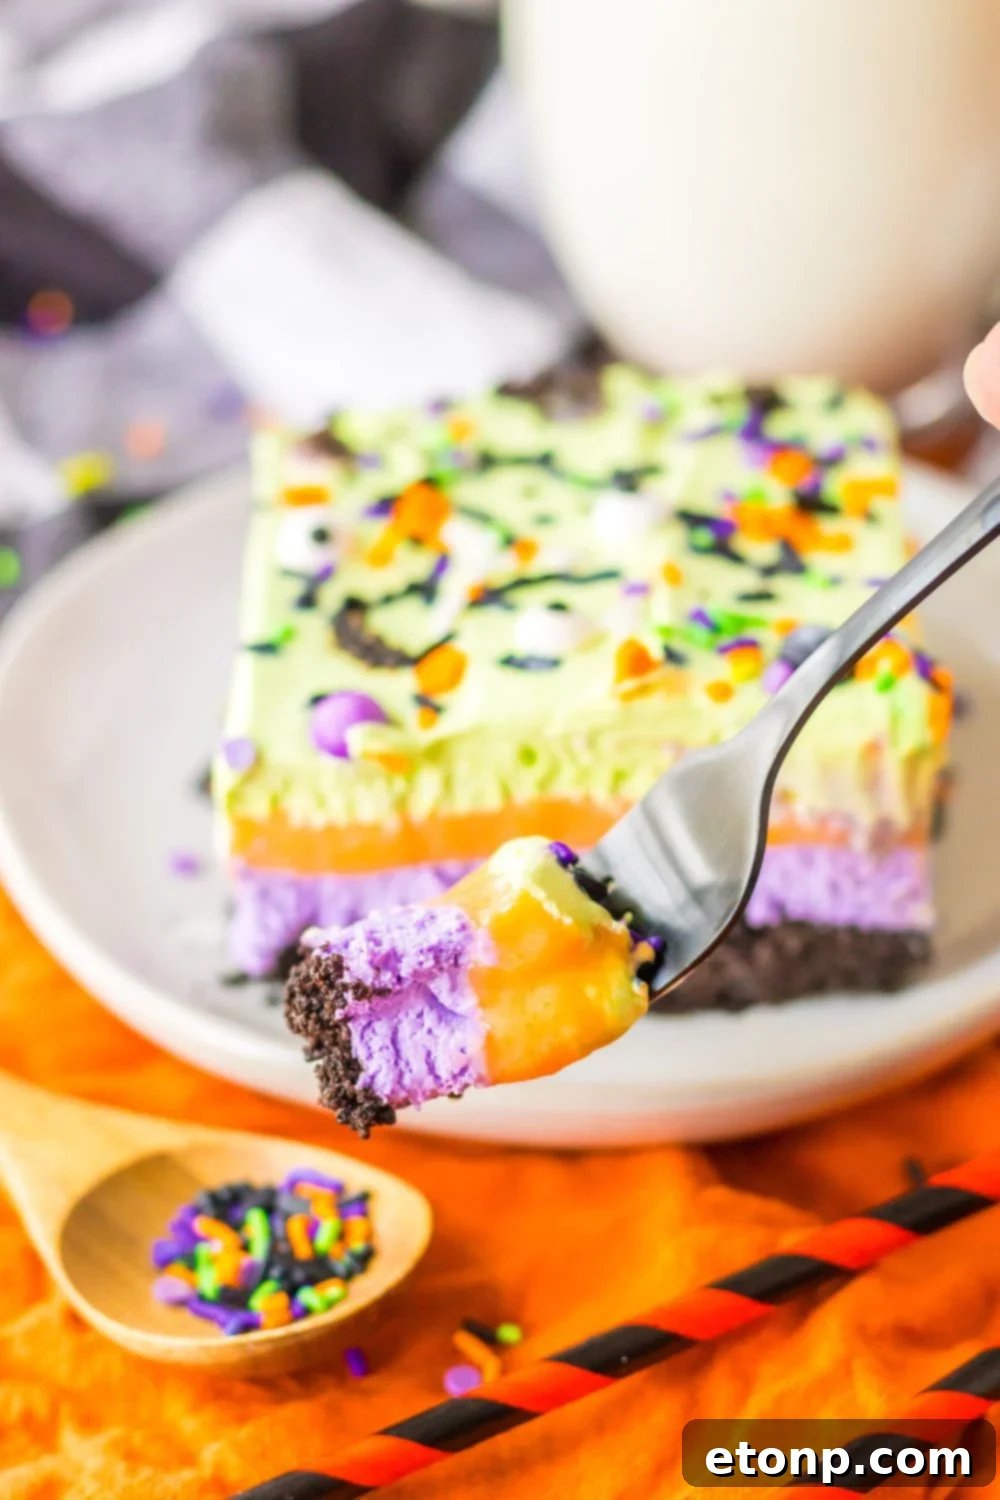
- Irresistible Layers of Texture: Experience a delightful textural journey in every bite, from the satisfying crunch of the cookie crust to the smooth, creamy cheesecake, and the airy whipped topping. This interplay of textures is what makes a lush dessert so incredibly appealing.
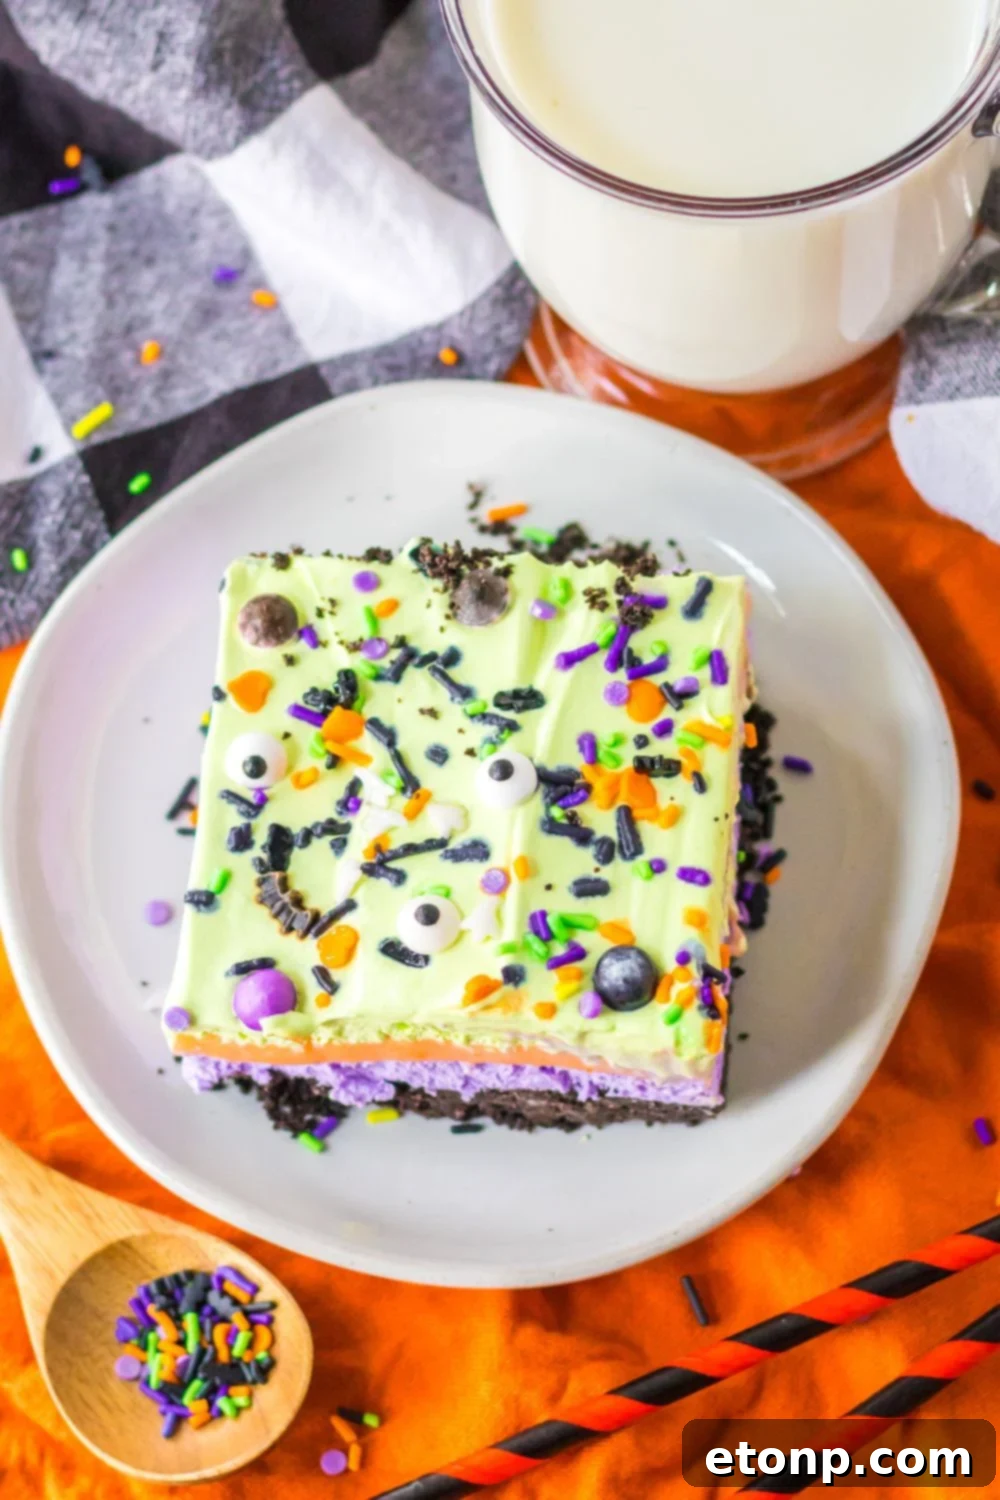
- Festive Halloween Hues: With its striking orange and black base layers, beautifully topped with vibrant green whipped cream and playful festive sprinkles, this dessert embodies the spirit of Halloween. Its bright, eye-catching colors make it a true centerpiece.
- Delightfully Kid-Friendly Flavors: The combination of chocolate cookies, creamy vanilla, and fruity orange is a universally loved flavor profile. Plus, if you have little helpers, they’ll undoubtedly enjoy assisting with the crushing of cookies and, especially, the imaginative decoration!
- The Ultimate Make-Ahead Treat: One of the biggest advantages of this Halloween Lush is that it can be prepared the night before you plan to serve it. This allows the layers ample time to set beautifully and for the flavors to meld, making it an excellent stress-free option for party hosts.
- Minimal Active Preparation Time: While it does require a few different bowls for mixing each layer, the active preparation time for this dessert is surprisingly short. The majority of the “work” is done during the chilling process, allowing you to focus on other party preparations.
- Stress-Free Entertaining: By making this dessert a day in advance, you eliminate last-minute dessert panic. You can relax and enjoy your Halloween party, knowing a spectacular, homemade treat is perfectly chilled and ready to impress your guests.
- Impressive Presentation: Despite its ease, the distinct layers and vibrant colors of this lush dessert create an elegant and professional-looking treat that will undoubtedly garner compliments from all your attendees.
Essential Ingredients for Your Halloween Lush
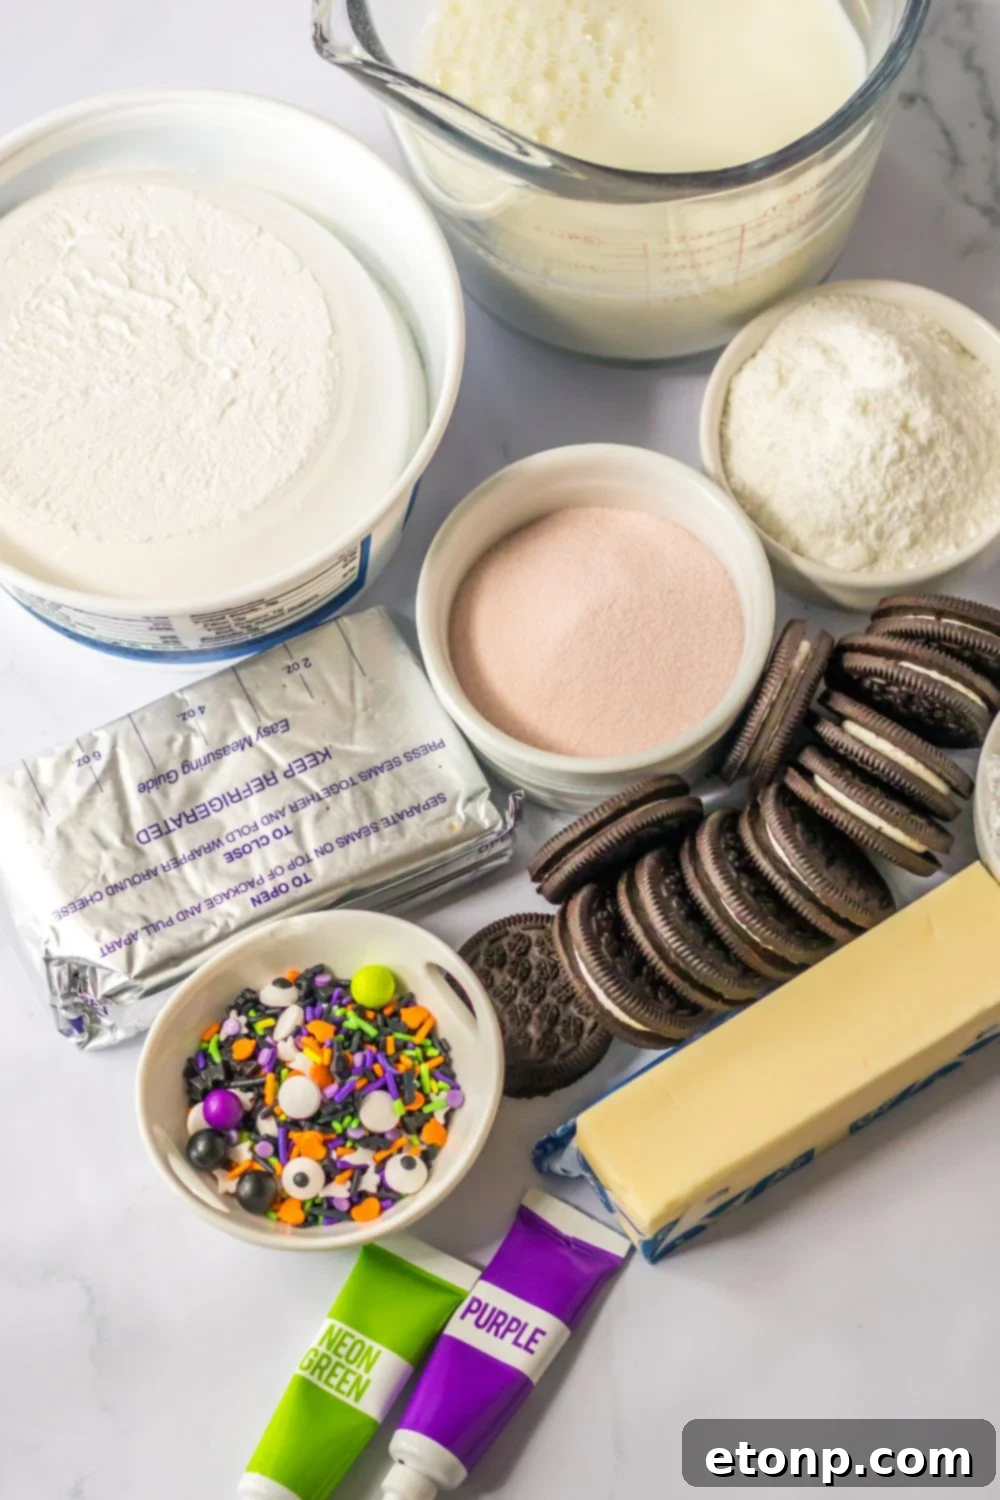
Crafting this spooky masterpiece requires a few key components. Here’s a breakdown of what you’ll need and why each ingredient plays a vital role:
Cookies: For the crunchy base, I specifically chose Oreo sandwich cookies. Their classic chocolate flavor and satisfying crunch make them ideal. However, feel free to substitute with any chocolate sandwich cookie you prefer, or even other cookie types for a different twist.
Butter: Crucial for binding the cookie crumbs into a firm, delicious crust. Always opt for real butter, not margarine, as it provides a superior flavor and a more stable, rich texture to your crust.
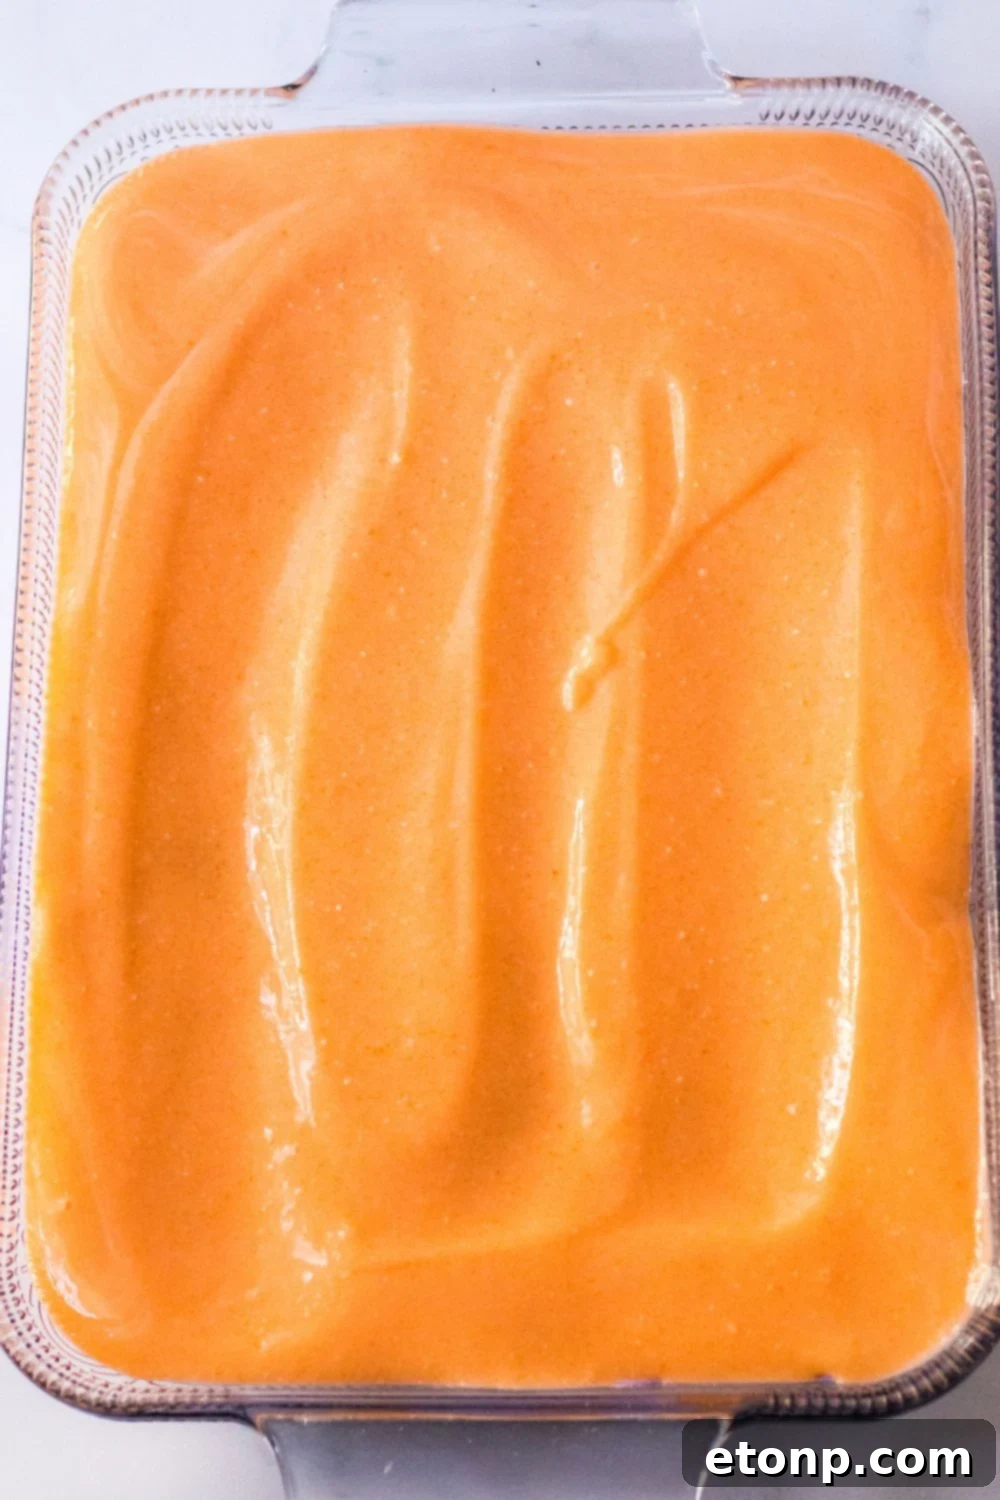
Jello: Orange gelatin is used to infuse one of the creamy layers with a bright, fruity flavor and, more importantly, a vibrant Halloween-appropriate color. It adds a delightful tang that cuts through the richness of the other layers.
Pudding: Instant vanilla pudding mix is the secret to achieving that ultra-smooth, rich, and creamy texture in your filling layers. Its convenience ensures quick preparation and a perfectly thickened result.
Milk: Whole milk is recommended for the pudding layers as it contributes the richest and most decadent flavor, making the creamy layers extra luscious. If dietary needs require, you can certainly use a lower fat percentage milk, though the richness might slightly vary.
Cream Cheese: A key player in the velvety cheesecake layer. Ensure your cream cheese is completely softened to room temperature before mixing; this is essential for achieving a lump-free, impeccably smooth consistency.
Powdered Sugar: This fine sugar is used in the cheesecake layer to sweeten it without adding any grainy texture. If your powdered sugar tends to clump, a quick sift through a fine-mesh sieve before using will ensure a perfectly smooth and airy filling.
Whipped Cream: For stability and ease, a pre-made whipped topping like Cool Whip is highly recommended. Its stabilized texture holds up beautifully in a layered dessert. If you prefer, homemade whipped cream can be used, but ensure it’s stiffly whipped to maintain its structure.
Food Coloring: To truly capture the Halloween spirit, I’ve used green and purple food coloring to create those rich, festive layers. Feel empowered to experiment with other Halloween colors like black, red, or even a deep blue to customize your dessert.
Sprinkles: The final flourish! Any Halloween-themed sprinkles you have on hand will work wonderfully to add a playful, festive touch and conceal any minor imperfections on the surface.
Exciting Variations to Customize Your Recipe
One of the many joys of making this Halloween Lush is its incredible versatility. Feel free to unleash your inner mad scientist and customize this recipe to suit your tastes and Halloween theme:
- Change the Jello Flavor: While orange is classic, don’t hesitate to switch out the orange gelatin for another exciting flavor and color. Purple grape, vibrant red cherry, eerie green lime, or even a dark black cherry jello would all make fantastic Halloween-themed layers.
- Experiment with Pudding Flavors: The vanilla pudding provides a neutral canvas, but imagine the possibilities with different instant pudding flavors! Chocolate, pistachio, banana, or even a pumpkin spice pudding could entirely transform the dessert’s character. Just be mindful that darker puddings might affect the visual clarity of your distinct layers.
- Customize Your Color Palette: Feel free to make the layers the same as mine, or get creative with a completely different spooky color scheme. Think black and orange, green and purple, or even a ghostly white with red drizzles.
- Alternate Crust Options: Instead of the classic Oreo cookie crust, consider using a traditional graham cracker crust for a sweeter, honeyed flavor, or a chocolate graham cracker crust for an intensified cocoa base. Vanilla wafers or even gingersnaps could also offer a unique twist.
- Spooktacular Topping Ideas: The top layer is your canvas for ultimate Halloween fun! Adorn your dessert with an assortment of your favorite Halloween candies. From eerie gummy eyeballs and wiggly gummy worms to gooey chocolate spiders, candy corn, chocolate shavings, or even custom spooky cookie cutouts, the options for creating a hauntingly delicious display are limitless.
- Elegant Whipped Cream Embellishments: For an extra touch of sophistication, transfer some of the whipped cream into a piping bag fitted with a decorative tip. Pipe a beautiful border around the edges of your dessert, or create intricate designs on top for an added wow factor.
- Seasonal Fruit Additions: While not traditional for Halloween, consider adding thinly sliced fruit (like mandarin orange segments if using orange jello) between layers or as a garnish for an unexpected burst of freshness.
Tips for Achieving Lush Perfection
To ensure your Halloween Lush turns out perfectly Instagram-worthy and deliciously irresistible, keep these helpful tips in mind:
- Achieve Even Layers: The visual appeal of a lush dessert heavily relies on neat, even layers. When spreading each ingredient, aim for consistency across the entire dish. A small offset spatula or the back of a spoon can be your best tools for achieving a smooth, uniform surface for each stratum.
- Allow Pudding to Set Slightly: Before adding the next creamy layer, ensure the pudding mixture has had a few minutes to thicken. This slight setting time is crucial for preventing the layers from blending together and helps maintain those beautifully defined lines when sliced.
- Control Food Coloring Intensity: Add food coloring gradually, drop by drop, stirring thoroughly after each addition. This allows you to control the depth and intensity of the color, ensuring you achieve your desired spooky shade without over-coloring.
- Keep Your Spatula Clean: For the cleanest, smoothest top layer, periodically wipe your spreading spatula clean with a paper towel as you work. This prevents stray crumbs or bits of previous layers from marring the pristine surface of the current layer.
- Don’t Fear Imperfections: Remember, any minor bumps, smudges, or unevenness in your creamy layers can be easily disguised! The final decorating stage with sprinkles, candies, and other spooky embellishments is fantastic for hiding any small imperfections, so don’t stress too much during the spreading phase.
- Crucial Refrigeration Time: This is arguably the most important tip for success. Allow the dessert ample time to chill in the refrigerator – at least 4 hours, but preferably overnight. This extended chill time allows all the layers to firm up and meld together, ensuring clean, sharp slices and a stable structure when serving.
- Ensure Softened Cream Cheese: For a perfectly smooth cheesecake layer, make sure your cream cheese is at true room temperature. Cold cream cheese will result in lumps, no matter how much you mix it.
- Chill the Crust: After pressing the cookie crust into the pan, consider chilling it for 15-20 minutes before adding the first creamy layer. This helps the butter firm up, creating an even more stable base.
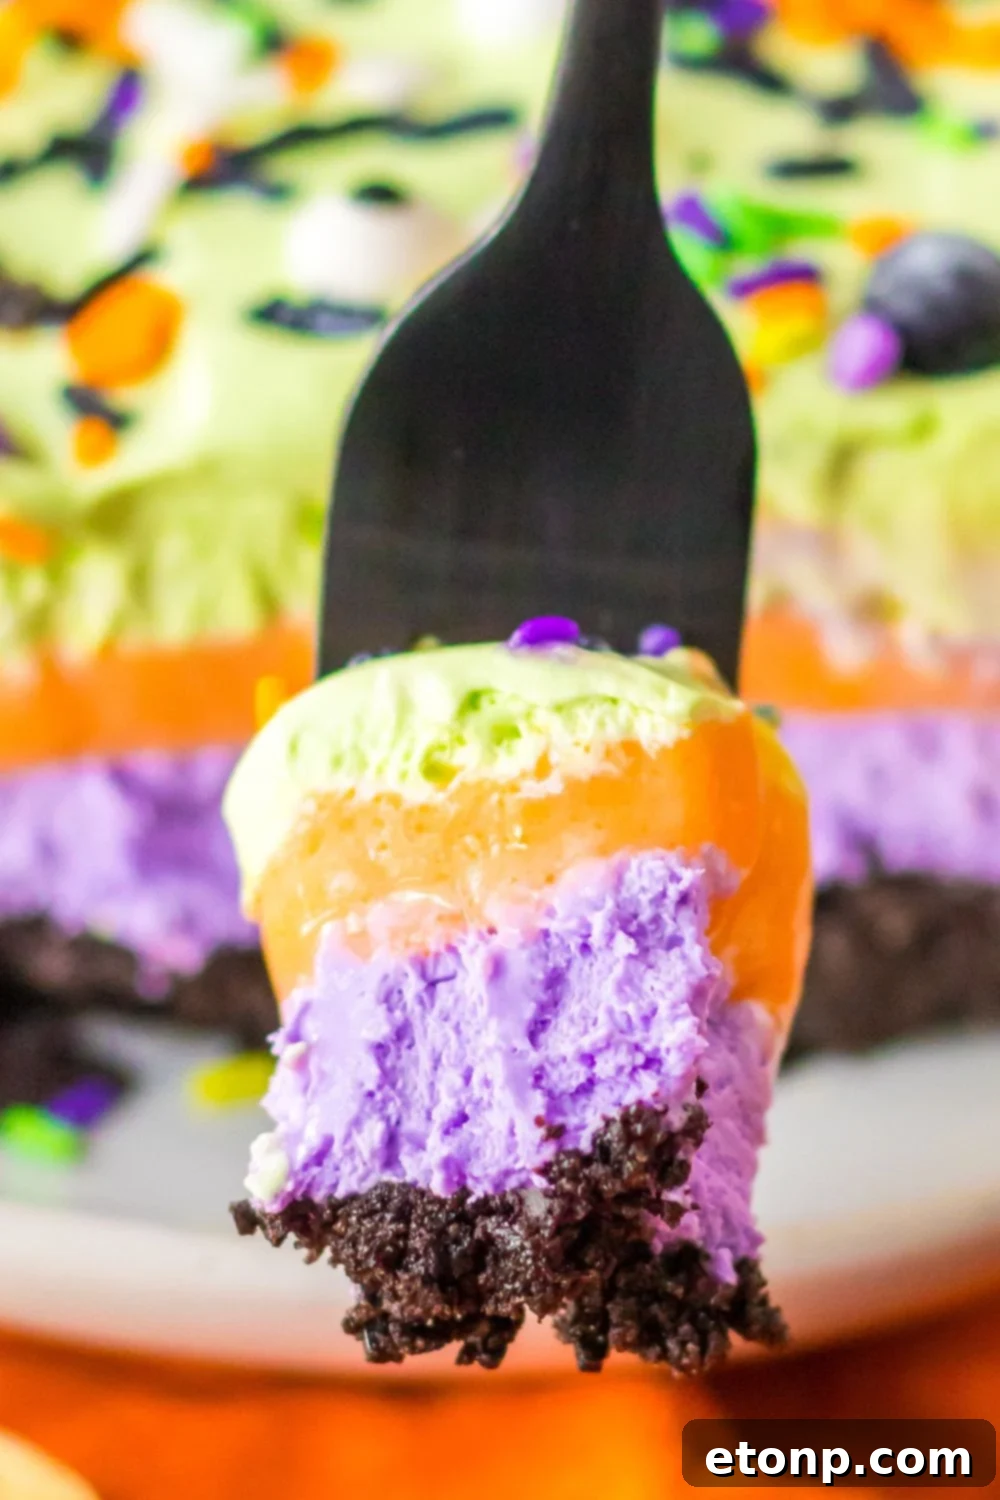
Once your chilling time is complete and the dessert is perfectly set, simply slice it into neat, chilling squares. Arrange them artfully on a festive platter, and prepare to watch as your guests are utterly bewitched by the captivating layers of deliciousness. With its robust crunchy cookie base, the rich, flavor-infused creamy middle layers, and a delicate, silky topping, this Halloween Lush Dessert is guaranteed to impress even the most discerning and wicked Halloween enthusiasts! It’s truly a layered delight that will leave your taste buds screaming for more.
Storing Your Halloween Lush
Proper storage is key to maintaining the freshness, texture, and visual appeal of your No-Bake Halloween Lush. Here’s how to keep your decadent dessert delicious:
Refrigerate: Any leftover lush dessert should be stored in the refrigerator. It’s crucial to place it in an airtight, sealed container to prevent it from absorbing any odors from other foods in your fridge and to maintain its moisture. Keeping it chilled is paramount, as the creamy layers will soften and spoil if left at room temperature, losing their defined shape and texture. When properly stored, this dessert can remain fresh and delightful for 3-4 days in the refrigerator.
Freeze: If you find yourself with more Halloween Lush than you can enjoy right away, or if you simply want to prepare it far in advance, this dessert freezes remarkably well! Cut the lush into individual servings or larger blocks, then wrap each portion tightly in plastic wrap, followed by a layer of aluminum foil. Place these wrapped portions into a freezer-friendly container or heavy-duty freezer bag. This double-layer protection helps prevent freezer burn. When you’re ready to indulge, simply transfer the frozen portions to the refrigerator and allow them to thaw overnight. Once thawed, it will be ready to slice and serve, tasting just as fresh as the day you made it. It can be stored in the freezer for up to 1-2 months.
Frequently Asked Questions (FAQs)
Can you use premade pudding in a lush recipe?
Absolutely! If you’re looking to save even more time and streamline the preparation process, using premade pudding is a fantastic shortcut. Instead of mixing instant pudding from a box, simply purchase ready-to-eat vanilla (or your preferred flavor) pudding cups or tubs. When substituting, ensure you have enough volume to match the quantity the recipe calls for. If you’re still aiming for that vibrant orange layer, you can either stir the orange Jello powder directly into the premade vanilla pudding until dissolved (this might require a small amount of warm water to fully dissolve the Jello first, then combine with pudding) or use orange food coloring to tint the vanilla pudding to your desired Halloween shade. This flexibility makes the lush dessert even more accessible!
Are lush desserts customizable?
Lush desserts are renowned for their incredible adaptability, making them one of the most customizable treats around! You are absolutely encouraged to swap out fillings, experiment with toppings, and integrate various mix-ins to create a dessert that perfectly matches your preferences or themed event. Consider incorporating fresh sliced fruit (like berries, bananas, or peaches) between layers, drizzling caramel or hot fudge over the top or within a layer, or even adding a swirl of peanut butter for a nutty twist. The possibilities truly are endless, allowing you to create a unique flavor profile every time. From chopped nuts to mini chocolate chips or different crushed candies, let your imagination guide you!
Are lush desserts suitable for special dietary needs?
Yes, with careful ingredient selection, lush desserts can often be adapted to accommodate various special dietary needs. For a dairy-free version, simply choose dairy-free alternatives for milk, cream cheese, and whipped topping (many excellent plant-based options are available). If gluten-free is a necessity, opt for gluten-free chocolate sandwich cookies for the crust. For a vegan-friendly dessert, ensure all ingredients, including cookies, gelatin (there are vegan gelatin alternatives or agar-agar), milk, cream cheese, and whipped topping, are certified vegan. Always double-check ingredient labels to ensure they meet the specific dietary requirements you are catering to, and adjust accordingly for a delicious and inclusive treat.
This hauntingly easy-to-make dessert is more than just a sweet treat; it’s the perfect centerpiece for Halloween parties and gatherings. Its mesmerizing layers and delightful flavors will leave your taste buds screaming for more! So let’s get started on this wickedly good recipe, transforming simple ingredients into a festive marvel.
So, gather your ingredients, put on your favorite spooky Halloween playlist, and immerse yourself in the joy of creating this fang-tastic No-Bake Layered Halloween Lush. Prepare for a hauntingly good time and a dessert that will be the talk of the town!
More Haunting Halloween Ideas
- Witch’s Brew Cake
- Ghost Truffles
- Jack O Lantern Cookies
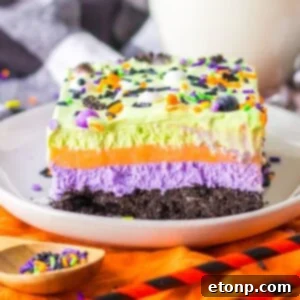
Halloween Lush
Ingredients
- 36 chocolate sandwich cookies
- 6 tablespoons butter melted
- 2 boxes 3 ounce each orange gelatin
- ⅓ cup boiling water
- 2 boxes 3.4 ounce each vanilla instant pudding & pie filling mix
- 2 ½ cups cold milk
- 1 package 8 ounce cream cheese, softened
- 1 cup powdered sugar
- 2 8 ounce tubs whipped topping
- Green and purple food coloring
- Halloween sprinkles
Instructions
-
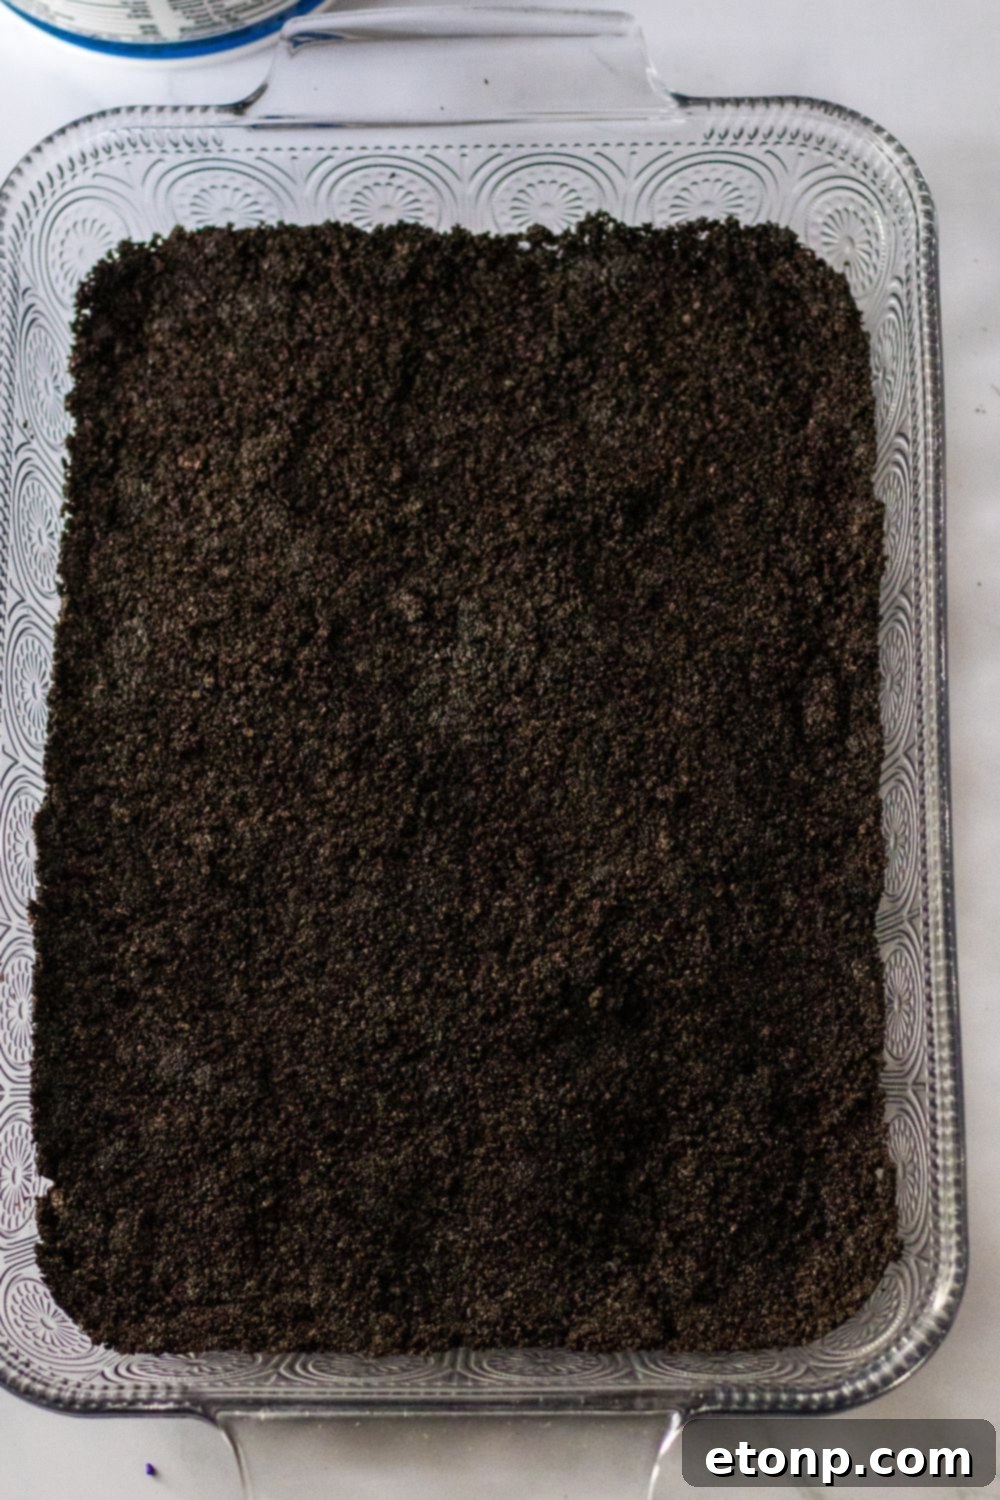
Begin by preparing your delicious cookie crust. In a food processor, crush all the chocolate sandwich cookies until they form fine, even crumbs.
-
Transfer the crushed cookie crumbs into a large mixing bowl. Pour in the melted butter and mix thoroughly until all the crumbs are moistened and resemble wet sand.
-
Evenly press the buttered cookie crumbs into the bottom of a 9×13-inch glass baking dish. Use the back of a spoon or your fingers to create a firm, compact layer. Set aside.
Orange Gelatin & Pudding Filling
-
Next, prepare the flavorful creamy fillings that will form the vibrant middle layers of your lush dessert.
-
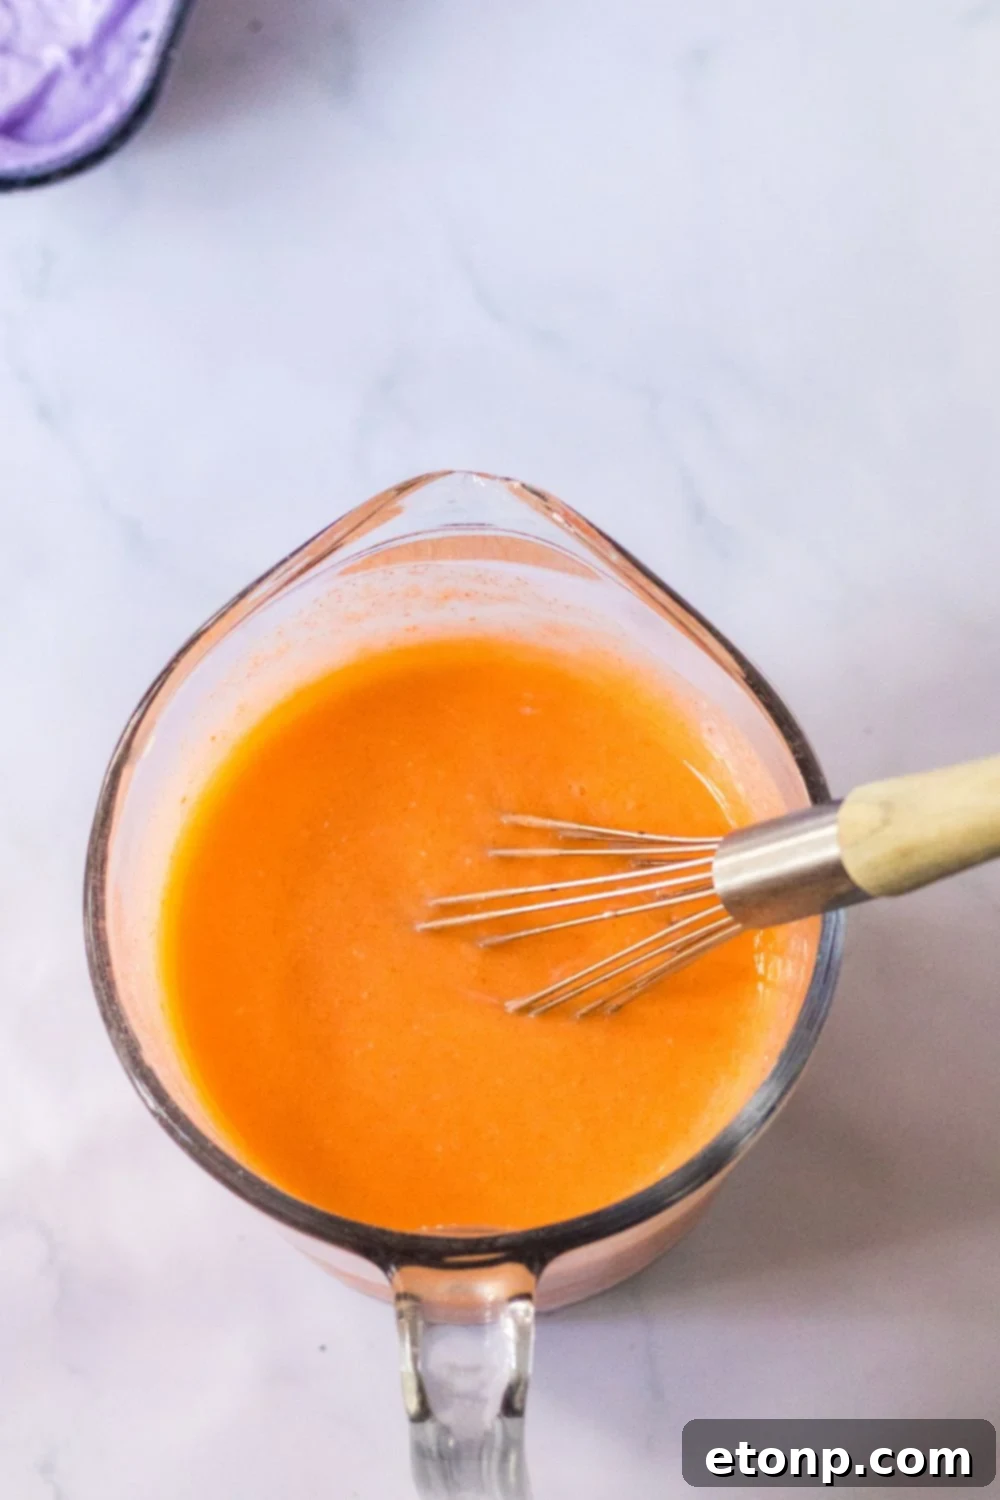
In a small, heatproof bowl, combine the orange gelatin powder. Carefully add the boiling water and whisk continuously until the gelatin is mostly dissolved. This should take about 2-3 minutes. Set aside to cool slightly.
-
In a separate medium-sized bowl, whisk together the dry vanilla instant pudding mixes and the cold milk. Continue whisking for a few minutes until the pudding begins to thicken significantly.
-
Once the orange gelatin mixture has cooled slightly (it shouldn’t be hot), whisk it thoroughly into the thickened vanilla pudding until completely combined and smooth. This will create your vibrant orange creamy layer. Set this mixture aside for a moment.
Cheesecake Layer
-
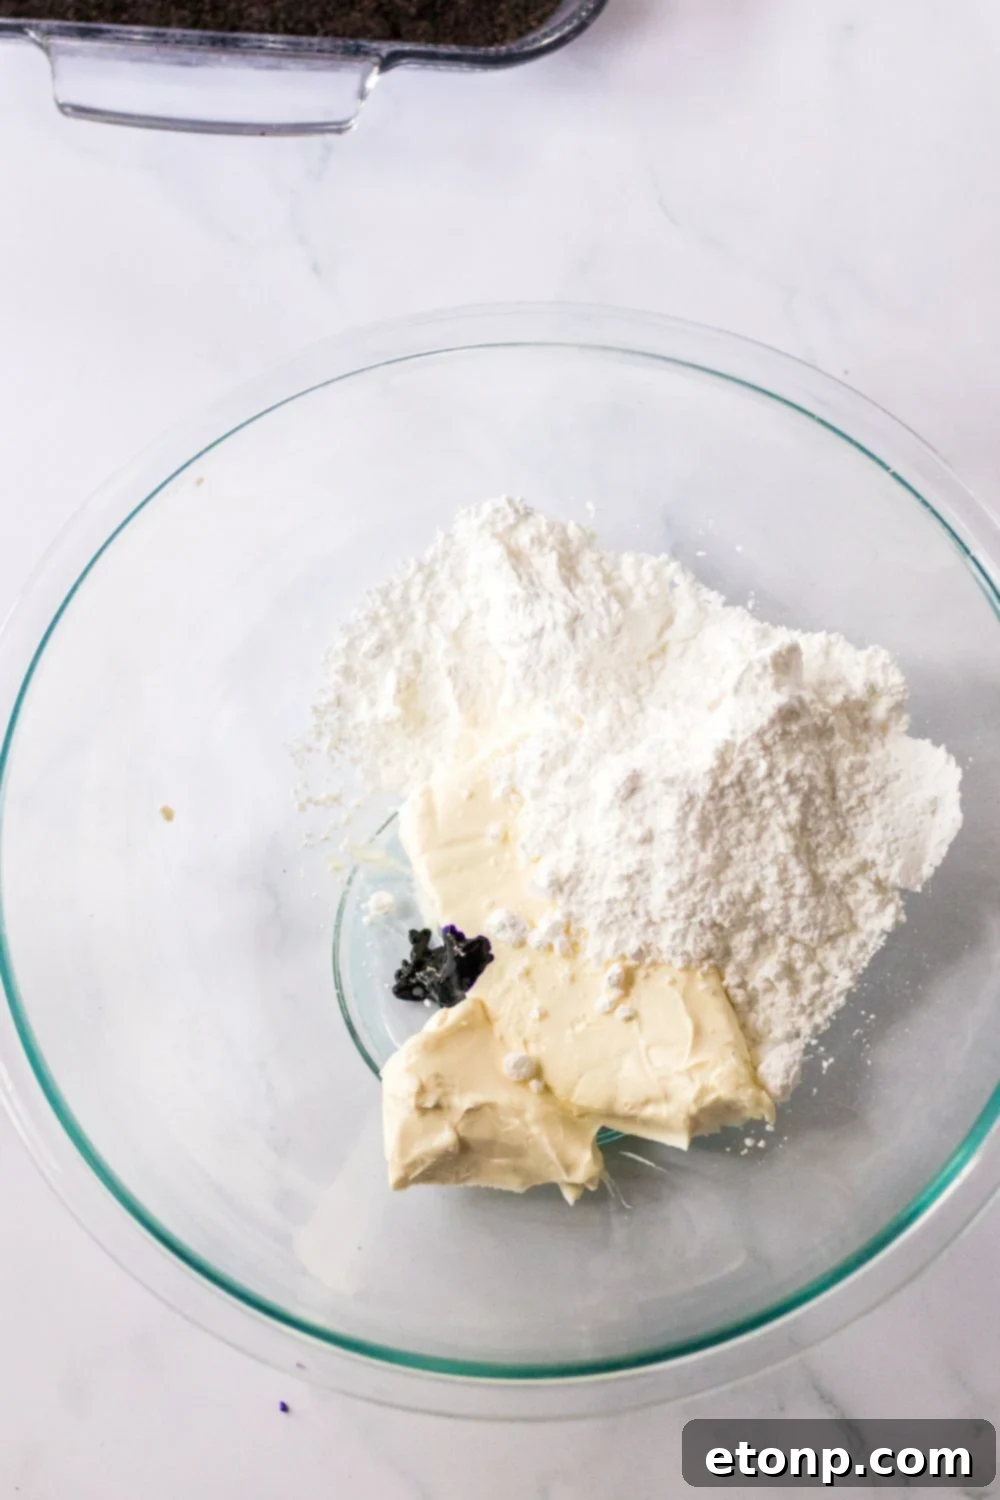
In a large bowl, using an electric mixer, beat the softened cream cheese and powdered sugar together until the mixture is light, fluffy, and completely smooth, with no lumps remaining.
-
Gently fold in 2 cups of the whipped topping into the cream cheese mixture until just combined. Be careful not to overmix, which can deflate the whipped topping.
-
Add a few drops of purple food coloring to the cheesecake mixture and gently stir until you achieve your desired haunting purple shade. This creates a beautifully colored layer.
Assemble Your Halloween Lush
-
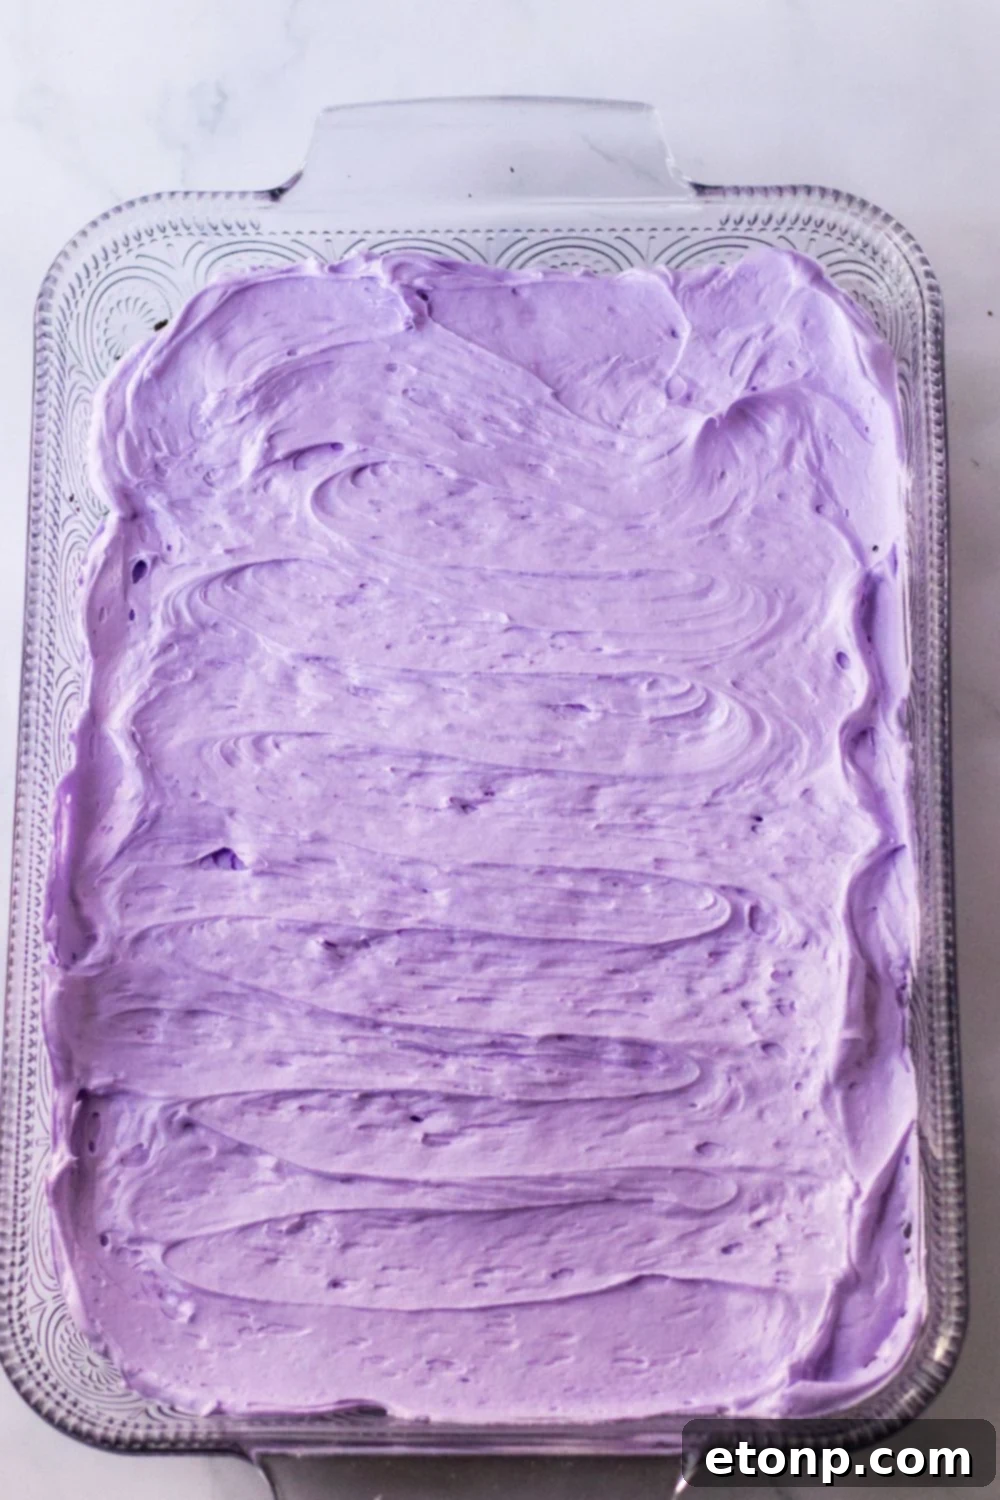
Carefully spread the purple cheesecake layer evenly over the prepared cookie crust in the baking dish.
-
Next, gently spread the orange jello/pudding mixture over the purple cream cheese layer, taking care not to disturb the layer beneath.
-
In a separate bowl, mix the remaining whipped topping with a few drops of green food coloring until you achieve a vibrant green hue.
-
Gently spread the green whipped topping over the orange gelatin layer, creating a smooth and appealing top.
-
Now for the fun part! Sprinkle generously with festive Halloween sprinkles or decorate the top with your favorite spooky candies as you desire.
-
Cover the baking dish tightly with plastic wrap and refrigerate for a minimum of 4 hours, or ideally overnight, to allow the dessert to fully set. Once firm, slice into squares and serve your mesmerizing Halloween Lush!
Did you make this recipe?
Make sure to follow on Pinterest for more recipes!
Pin Recipe
Share on Facebook