
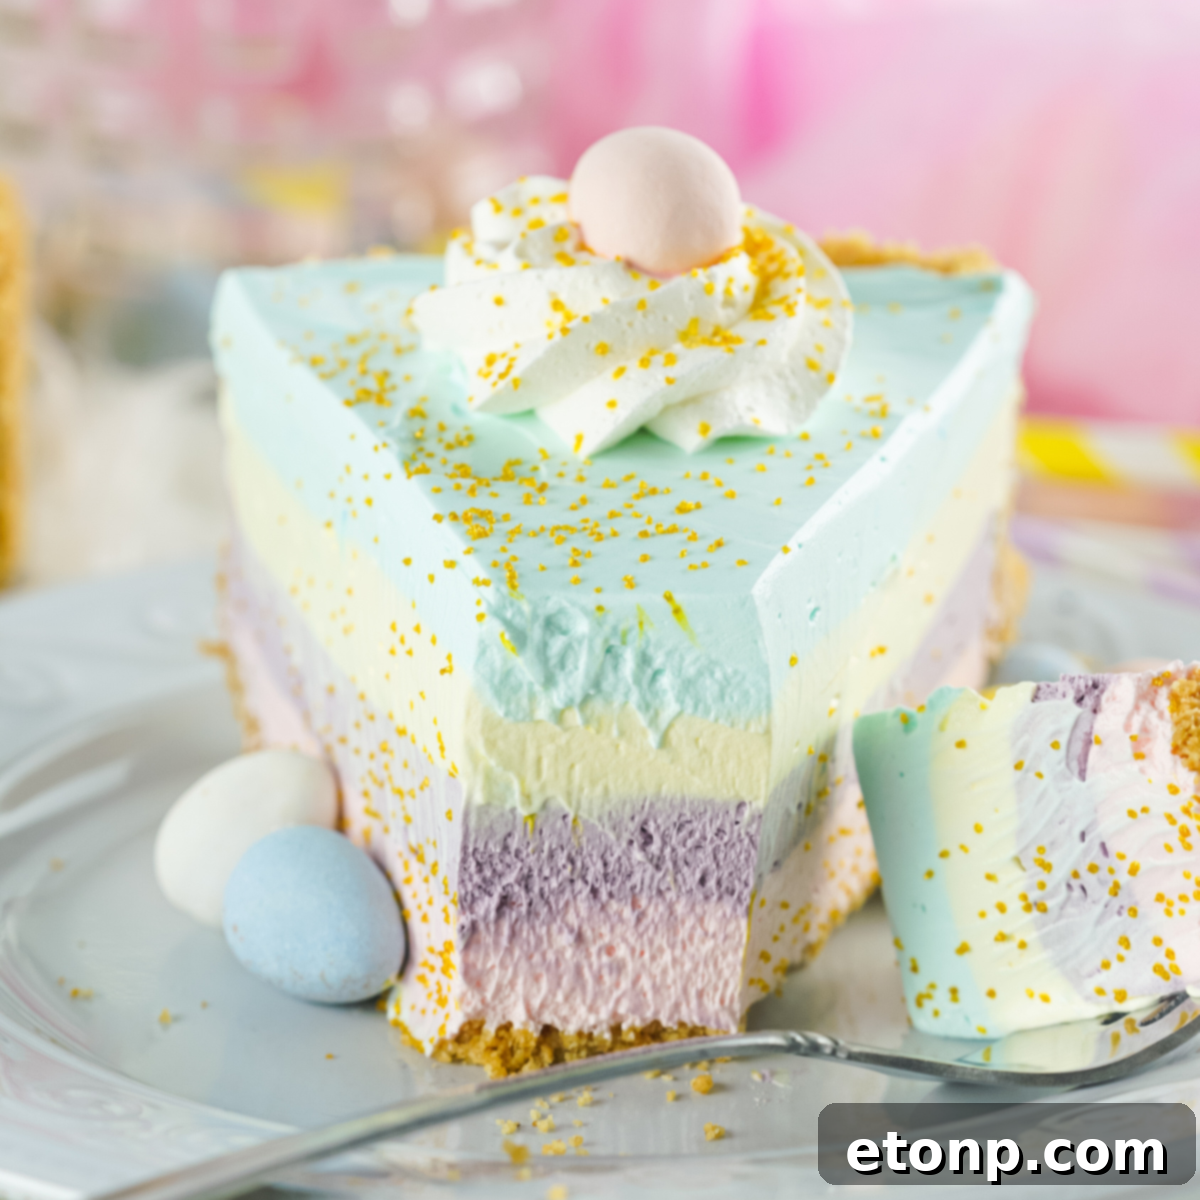
Easter Kool-Aid Pie: A Festive, No-Bake Delight for Spring Celebrations
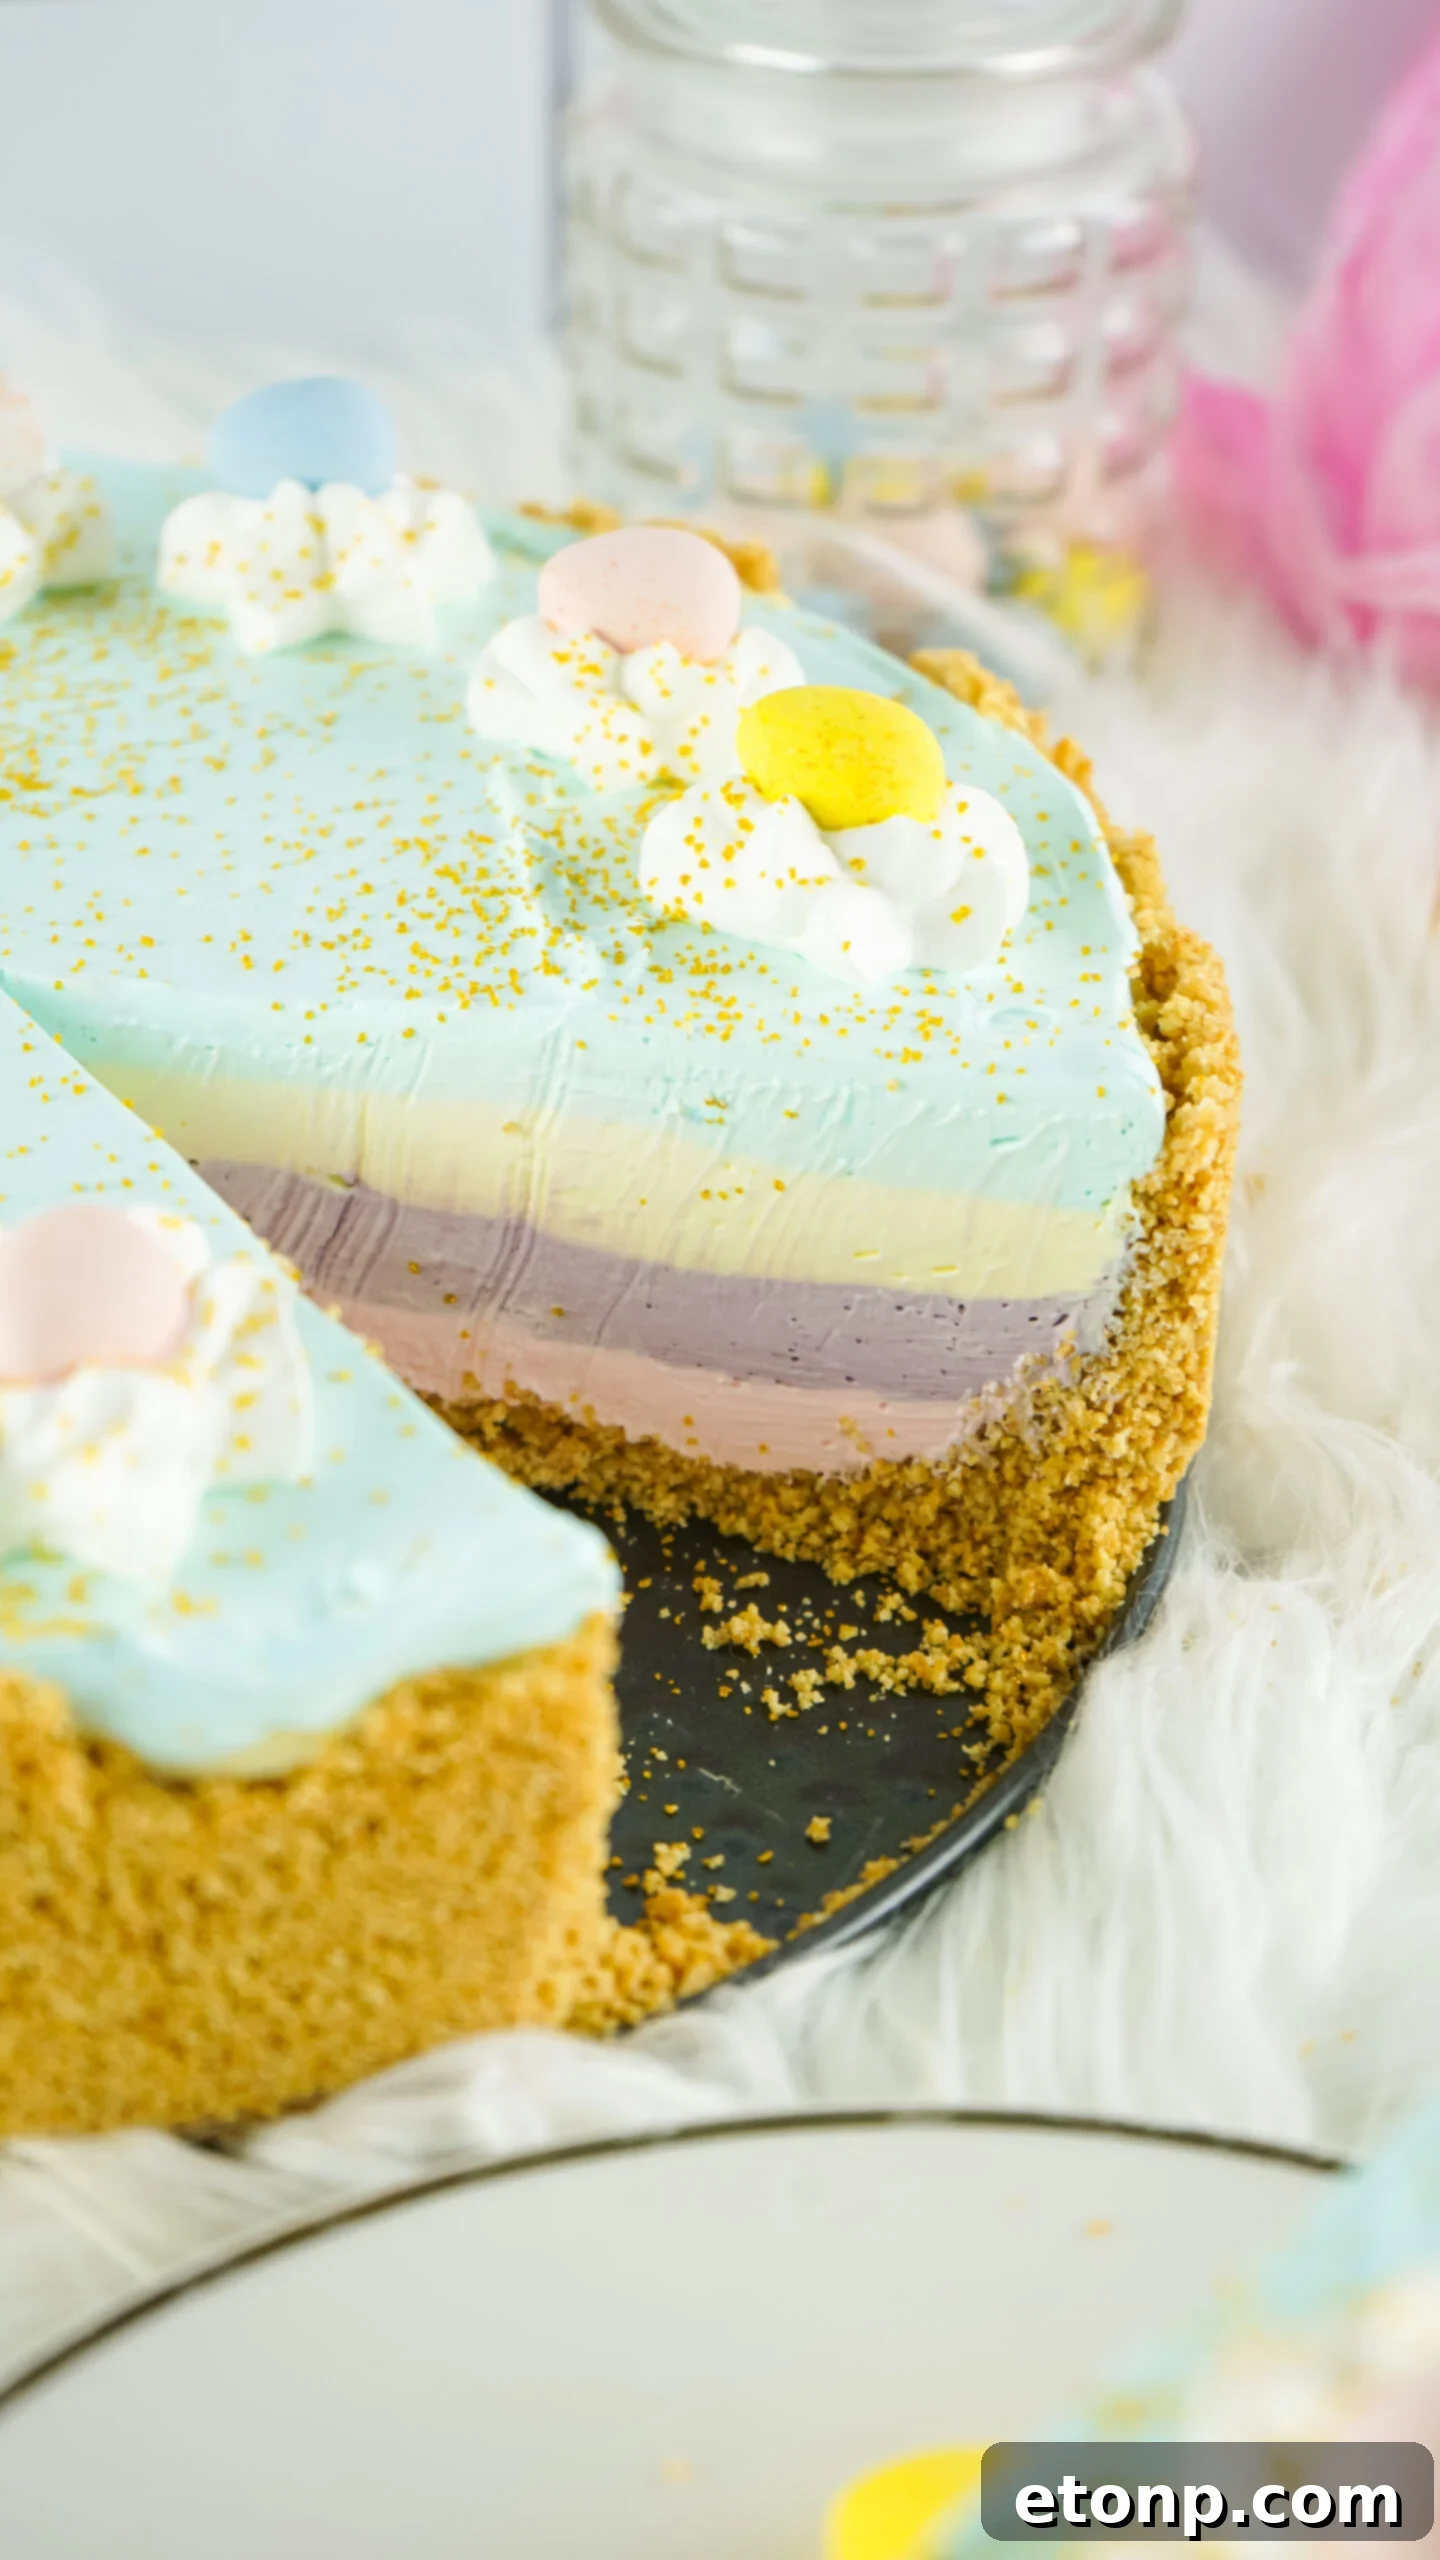
As the days grow longer and spring breathes new life into the world, it’s the perfect time to infuse your celebrations with something truly unique and vibrantly delicious. This Easter Kool-Aid Pie is precisely that—a spectacular no-bake dessert that promises both delightful flavor and incredible fun to prepare! Its eye-catching layers and irresistible taste make it the ultimate treat, guaranteed to be a cherished addition to any family gathering or festive occasion.
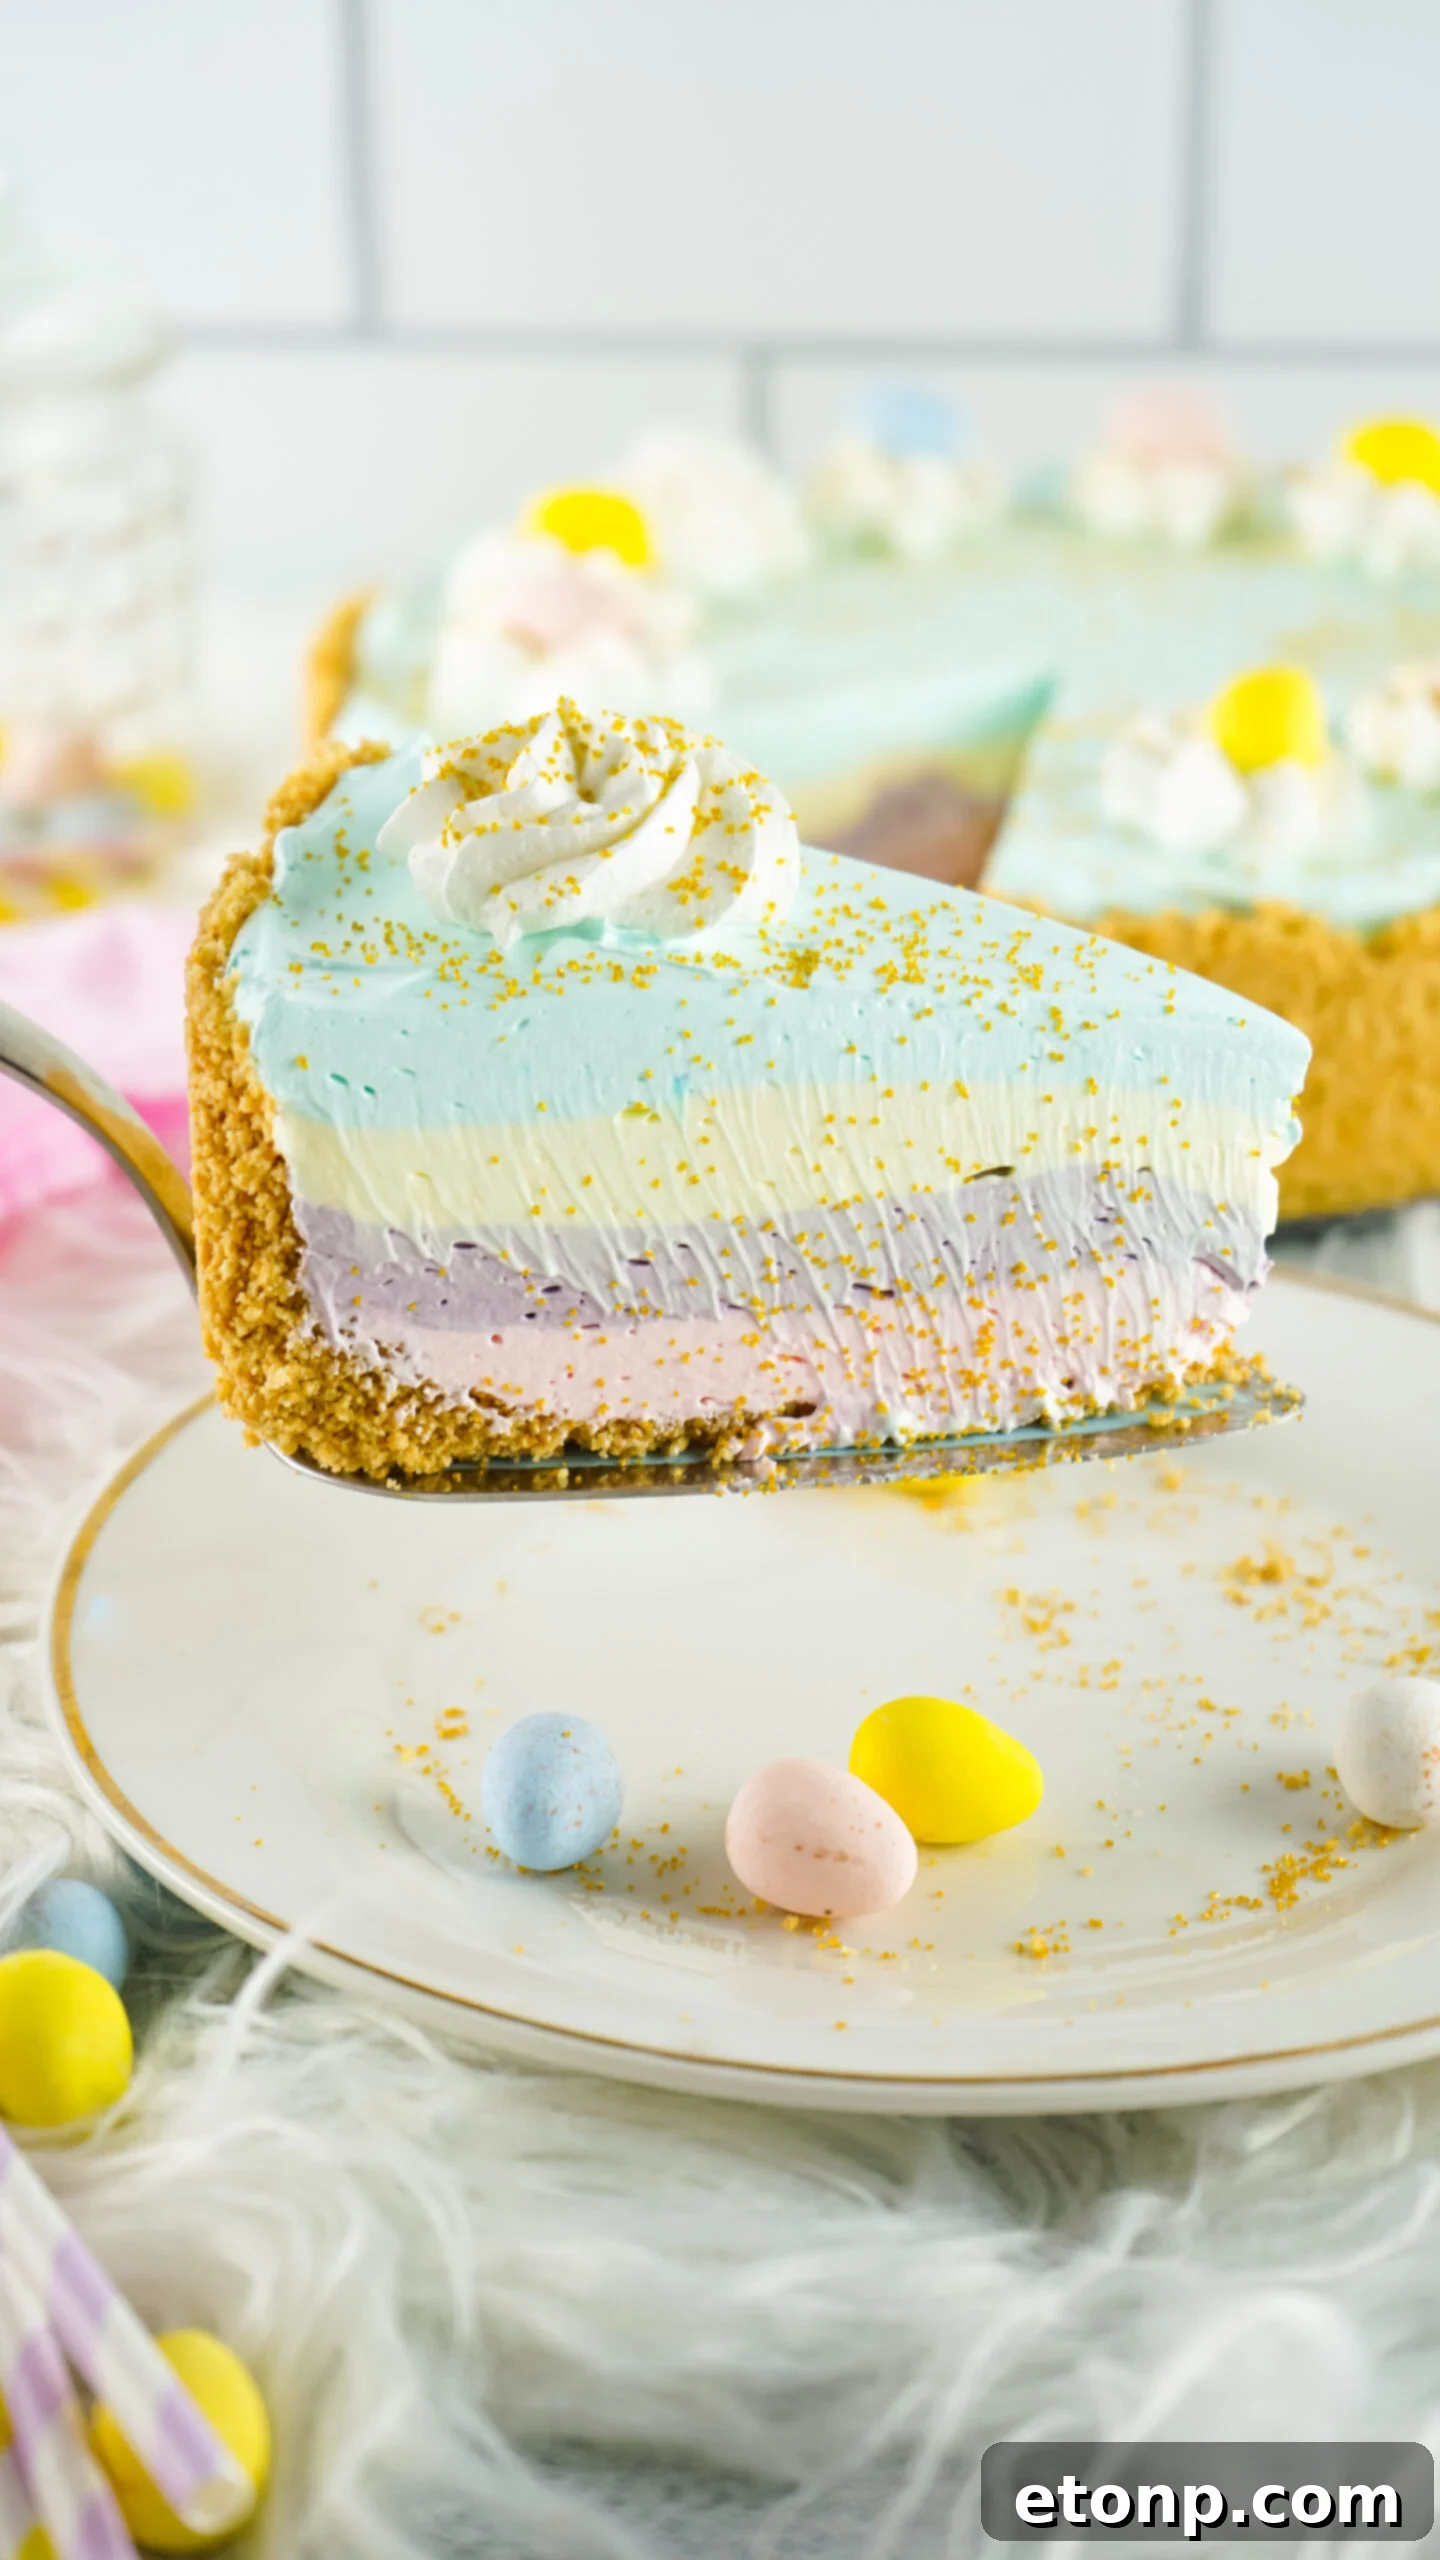
Treat your family to this wonderfully bright-colored and flavorful Easter Kool-Aid Pie. It’s the perfect sweet and slightly tangy dessert, a taste sensation that children and adults alike will absolutely adore. Imagine the joy on their faces as they discover each vibrant layer!
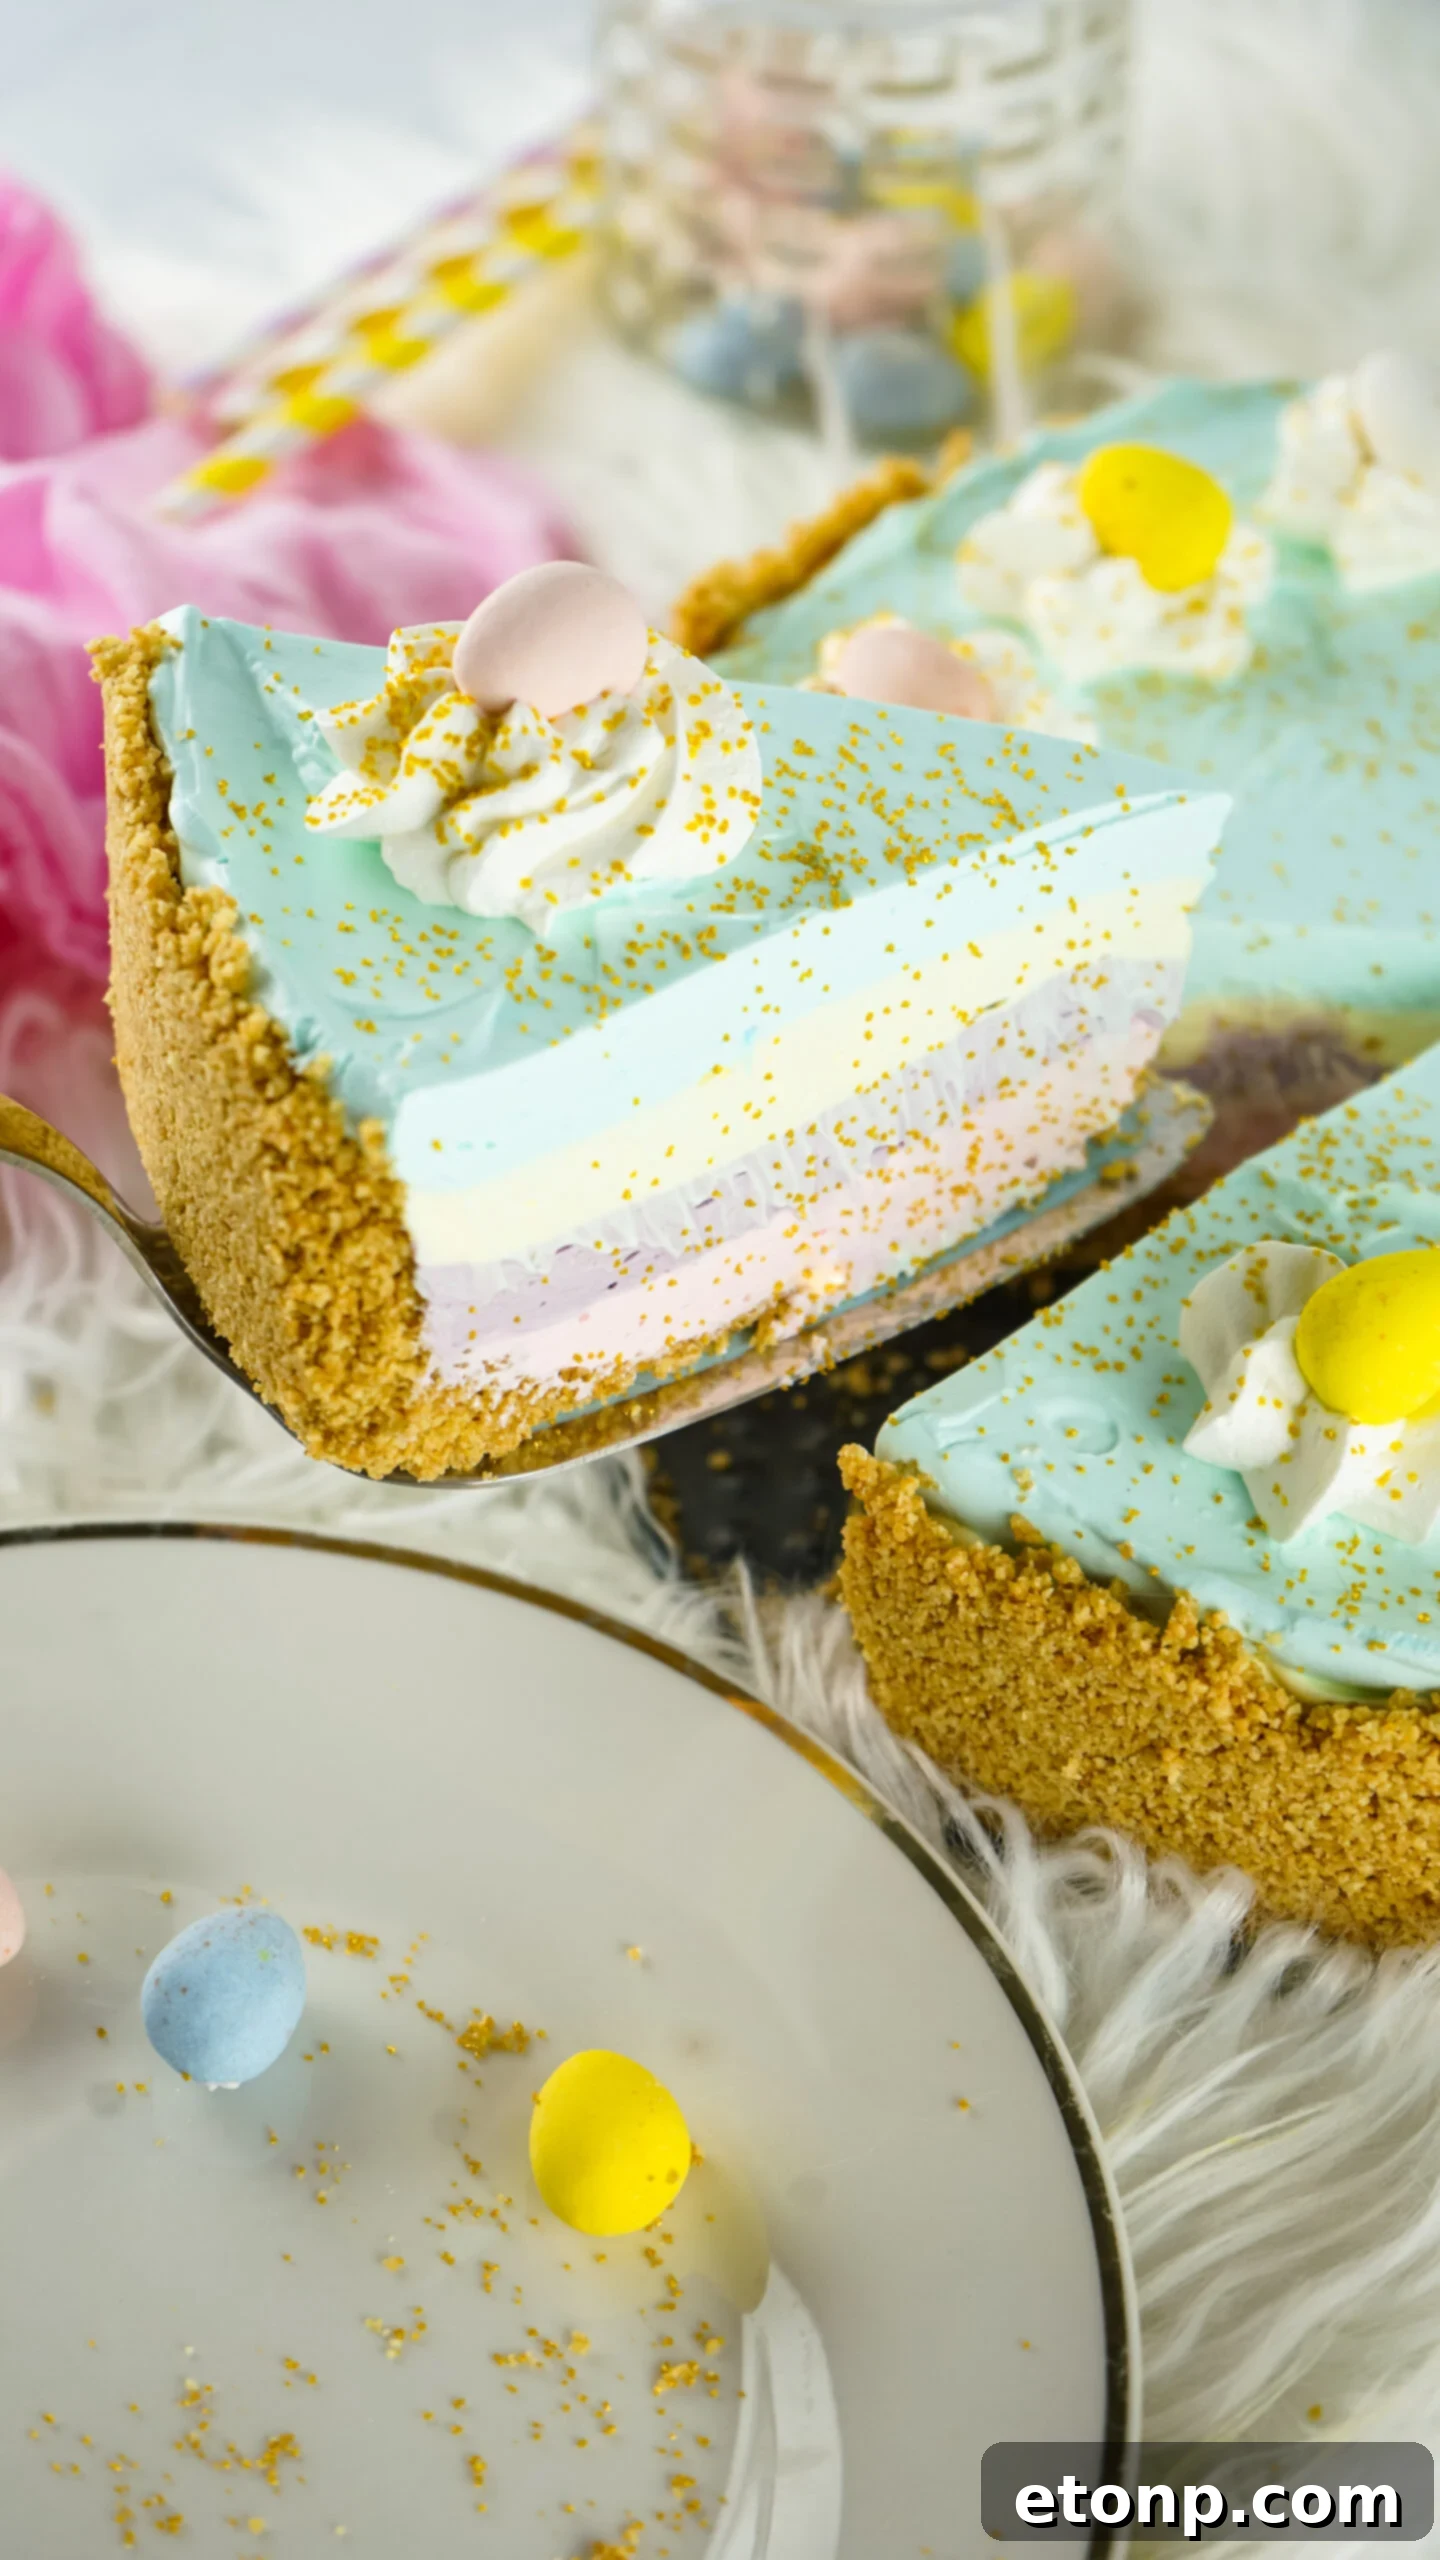
Discover the Magic of Kool-Aid Pie
If your search for the perfect Easter dessert leads you to something extraordinary, bursting with flavor, and remarkably simple to create, then this delightful Easter Kool-Aid Pie is your answer. Unlike traditional baked pies, this no-bake wonder comes together with just a handful of accessible ingredients. You’ll only need some graham cracker crumbs for a perfectly sweet and sturdy crust, a few packets of colorful Kool-Aid, and a couple of other pantry staples. Its straightforward preparation, minimal ingredient list, incredibly refreshing taste, and brilliantly colorful appearance make it the quintessential dessert for Easter day. It’s not just a pie; it’s a celebration of spring’s vibrancy, delivered in every sweet and tangy slice.
The concept of Kool-Aid pie dates back to a time when home cooks sought ingenious ways to create delicious treats without extensive effort or specialized equipment. Kool-Aid, with its powerful flavor and vibrant colors, became an instant hit for creating unique desserts, especially during warmer months. This particular layered version elevates the classic Kool-Aid pie, making it an even more visually stunning and memorable centerpiece for your holiday table. Each layer offers a distinct flavor experience, all harmonizing beautifully within a crunchy graham cracker crust.
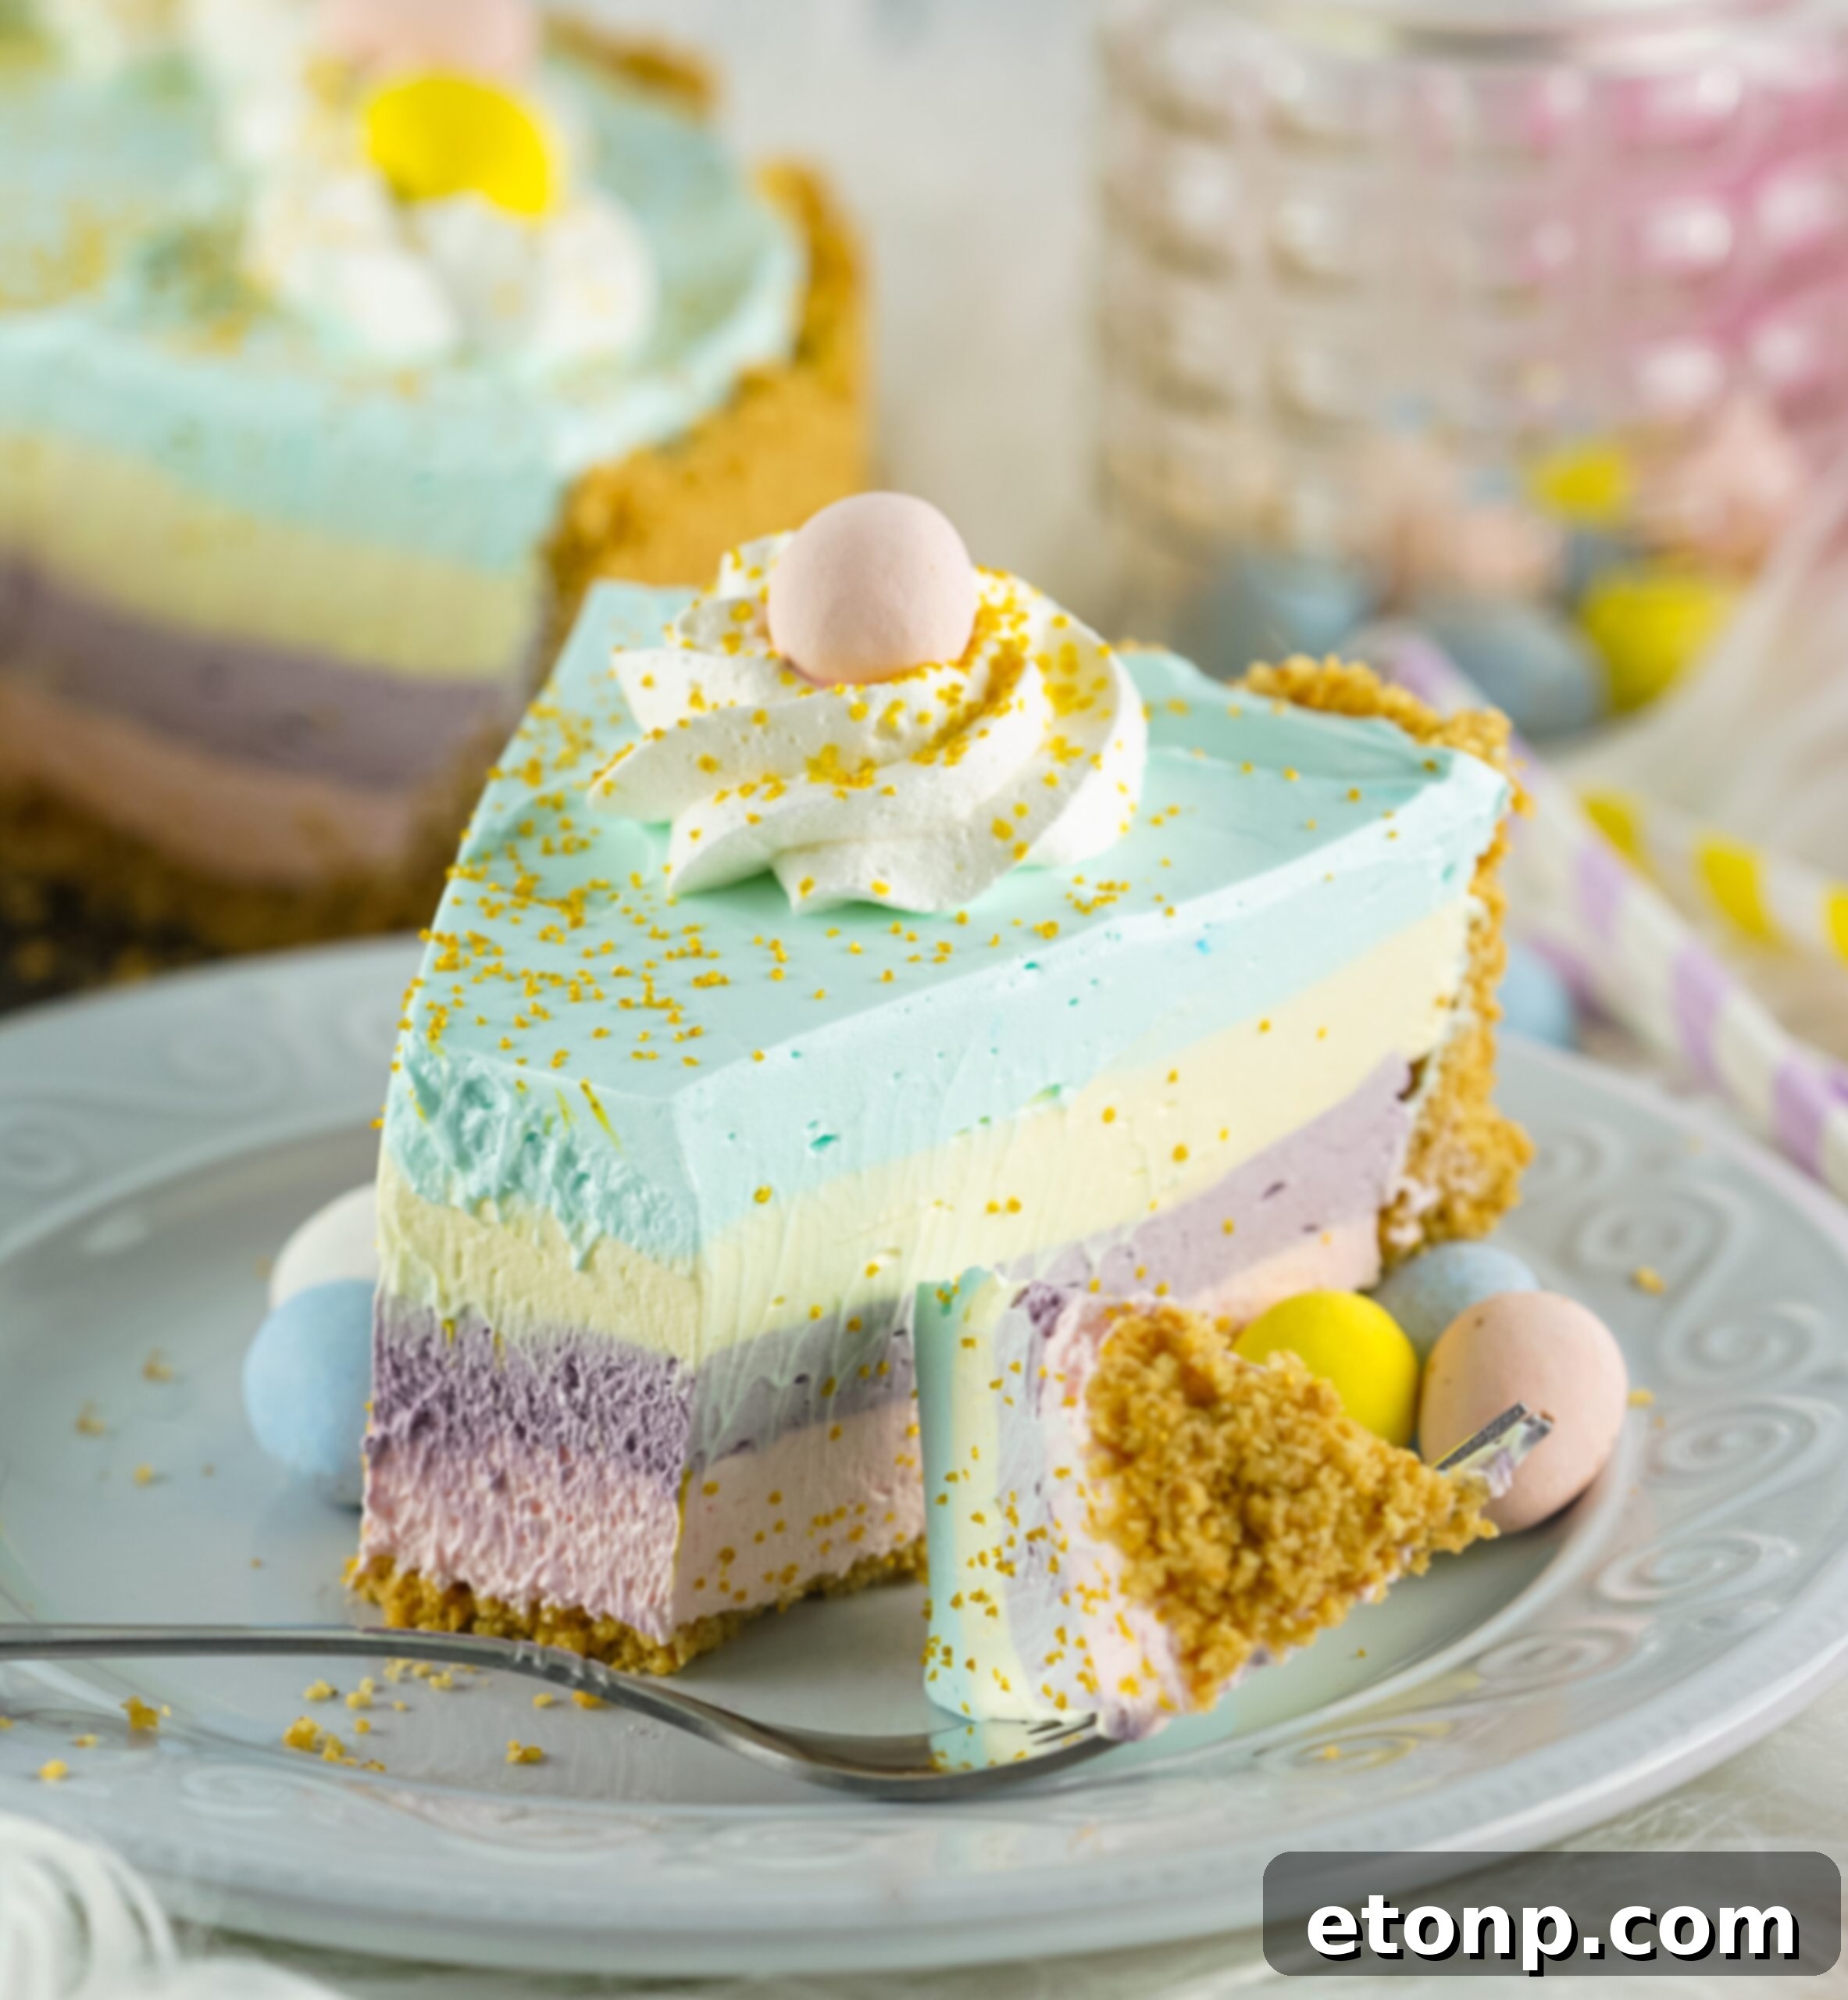
Why This Easter Kool-Aid Pie Recipe Will Be Your New Favorite
There are countless reasons why this Easter Kool-Aid Pie stands out as a must-try recipe, especially for your spring festivities. From its delightful taste profile to its ease of preparation, it truly ticks all the boxes for a perfect holiday dessert:
- A Symphony of Sweet and Tangy Flavors: This Easter Kool-Aid Pie masterfully blends a wonderful sweetness with a subtle, refreshing tartness. This unique and balanced flavor profile makes it an incredibly desirable treat that appeals to virtually everyone, making it perfect for any occasion, especially the joyful atmosphere of Easter. The combination of creamy filling and the vibrant fruity notes of Kool-Aid creates an unforgettable dessert experience.
- Effortless Preparation for Busy Holidays: Forget about complicated baking steps and extensive ingredient lists. This dessert is designed to be incredibly simple to prepare, requiring only a handful of common ingredients and minimal kitchen skills. It’s a fantastic option for those who want to create an impressive dessert without spending hours in the kitchen, freeing up valuable time to enjoy with loved ones. The “no-bake” aspect means no oven preheating, no monitoring baking times—just mix, layer, and chill!
- Perfect for Sharing: Generously serving up to eight people, this layered pie is ideal for family dinners, small gatherings, or even larger celebrations. You’ll have more than enough to go around, ensuring every guest gets to enjoy a slice of this colorful masterpiece. Its substantial size and impressive appearance make it a wonderful focal point for your dessert spread.
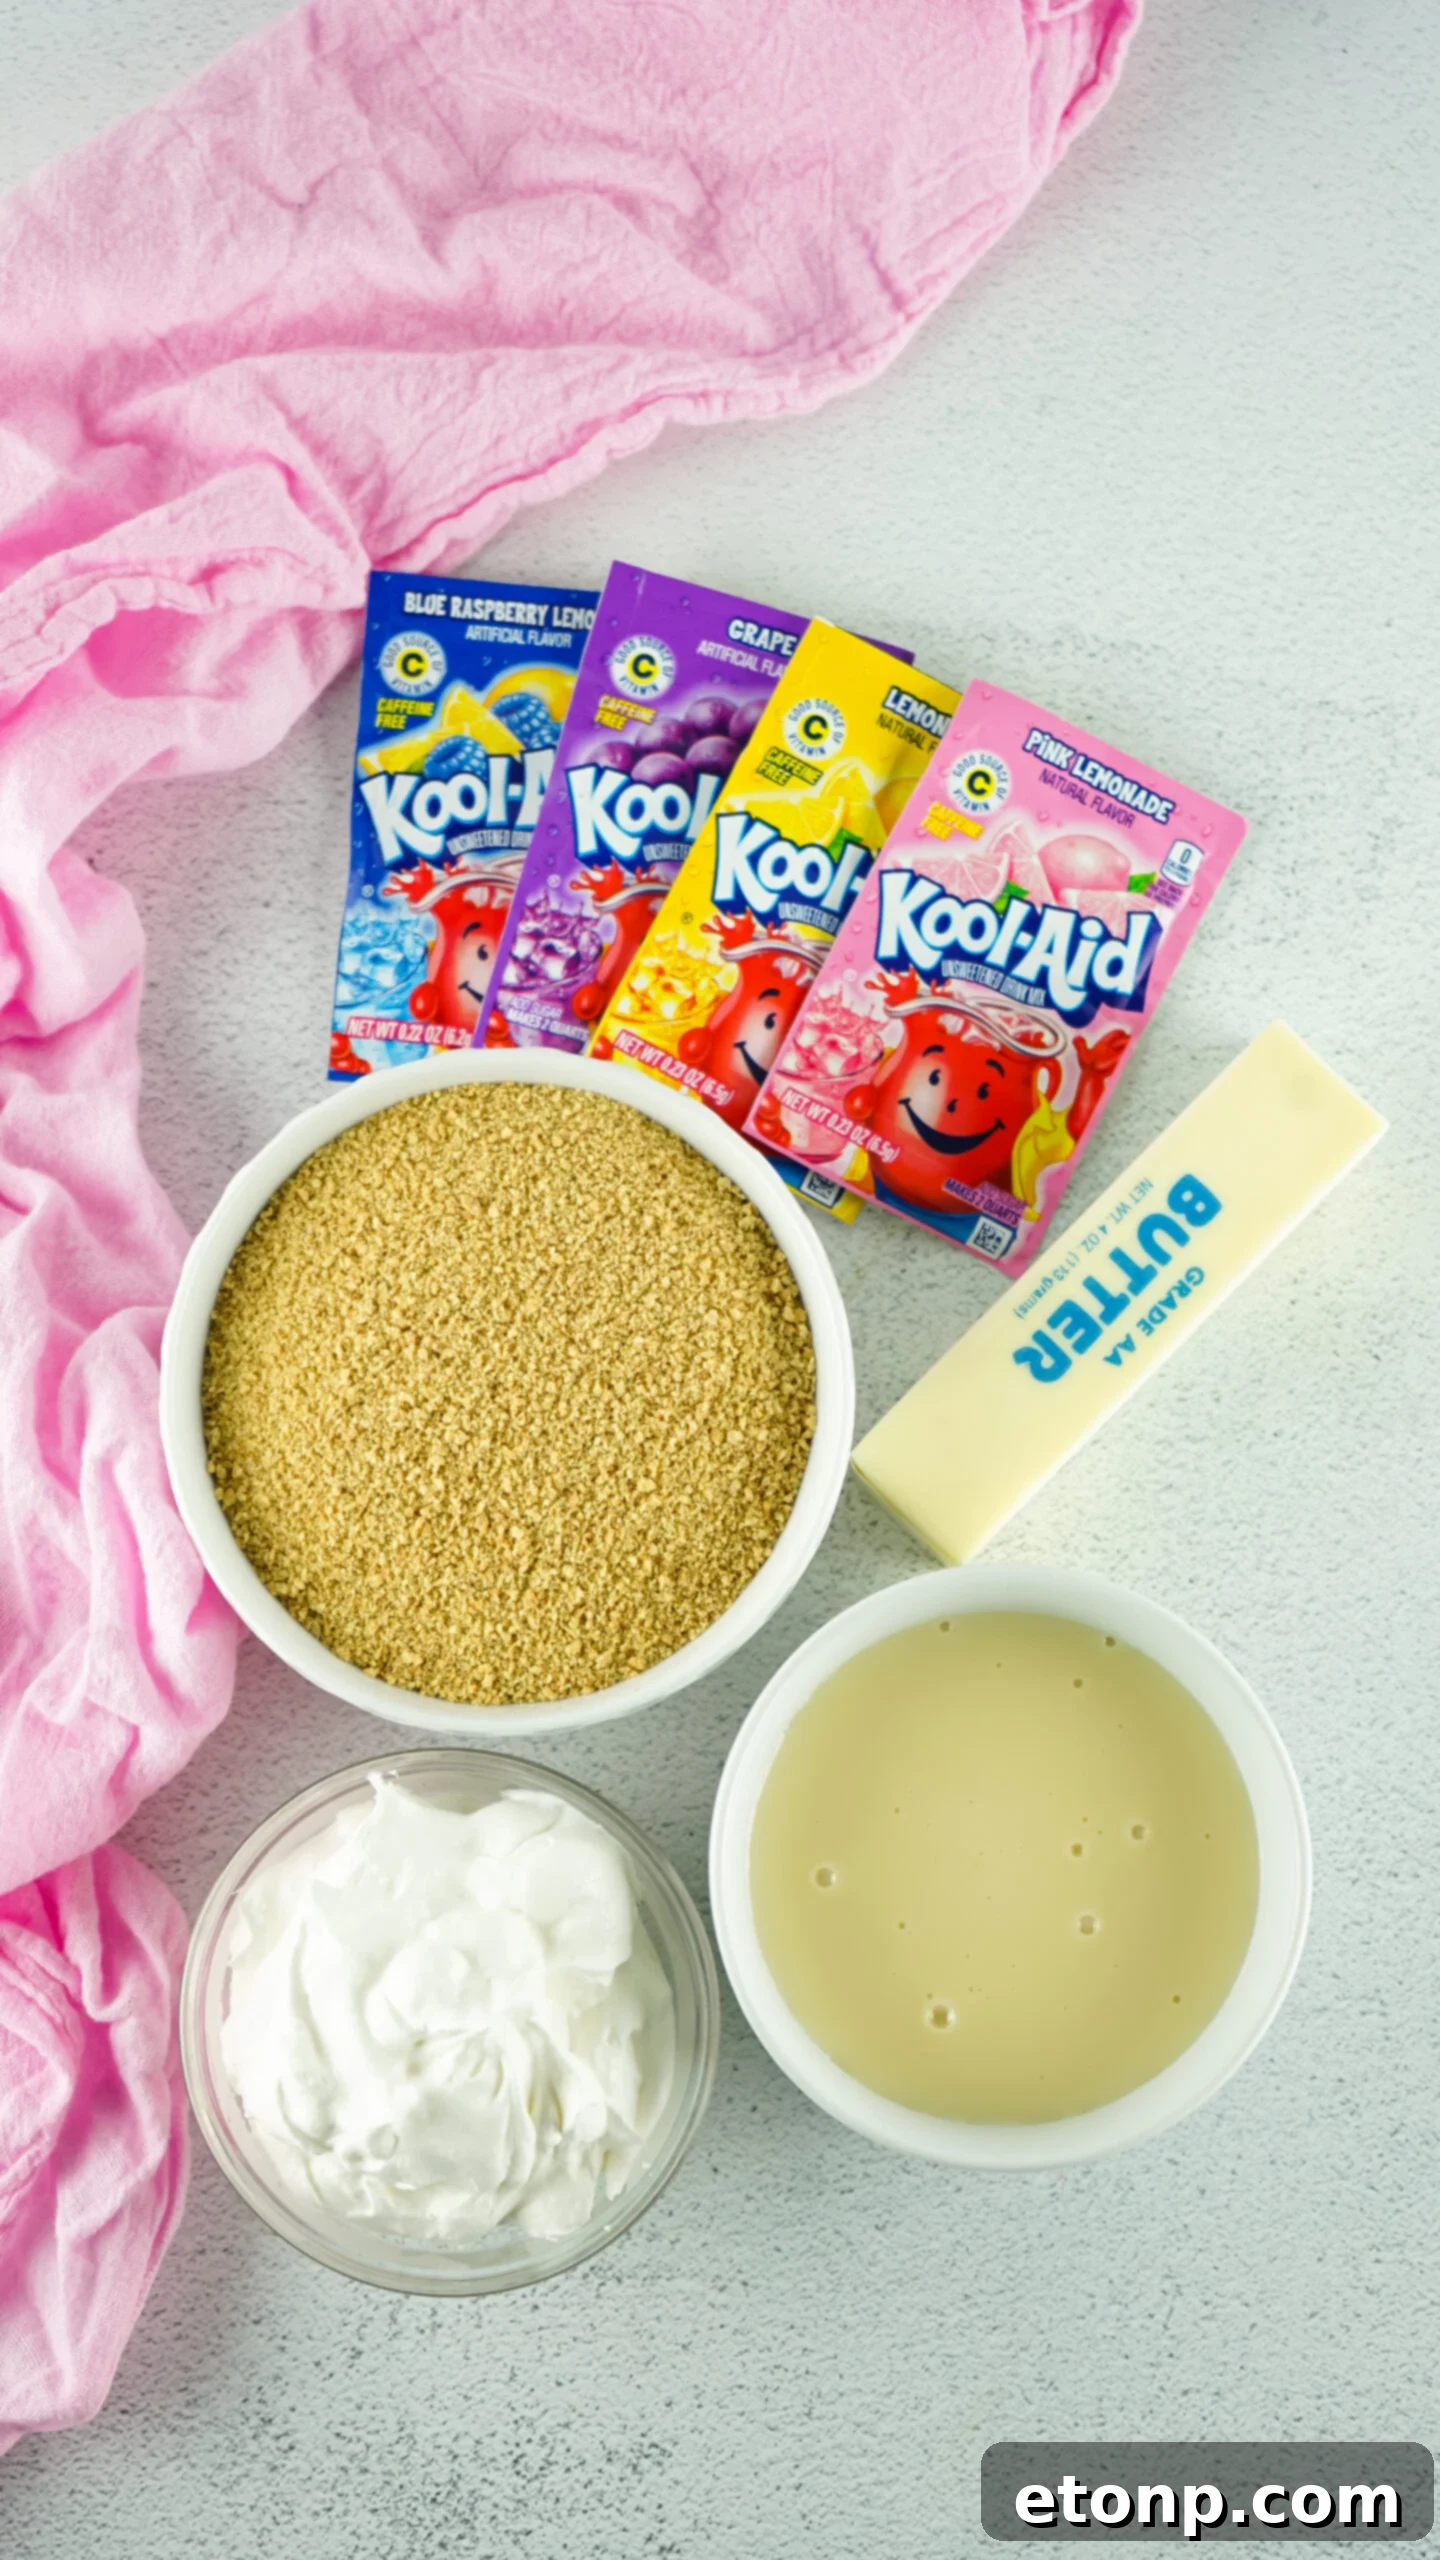
Essential Ingredients for Your Vibrant Layered Pie
Crafting this stunning and delectable layered Kool-Aid pie requires a select group of ingredients, each playing a crucial role in achieving its unique texture and unforgettable taste. Here’s a closer look at what you’ll need:
- Graham Cracker Crumbs: These form the foundation of your pie – a wonderfully sweet and slightly crunchy crust. You have the flexibility to either buy pre-crushed graham cracker crumbs for ultimate convenience or crush whole graham crackers yourself. Crushing them yourself can sometimes yield a fresher taste and a slightly coarser texture, if that’s what you prefer.
- Unsalted Butter: Melted and combined with the graham cracker crumbs, unsalted butter is the binder that creates a perfectly cohesive and flavorful pie crust. Using unsalted butter allows you to control the overall saltiness of the dessert, ensuring the sweetness shines through without being overpowered.
- Whipped Cream: A 16-ounce container of whipped cream is essential for creating the light, airy, and creamy base of your pie filling. It contributes to the luxurious texture and helps to balance the sweetness of the condensed milk and the tartness of the Kool-Aid, making each bite incredibly smooth and delightful.
- Sweetened Condensed Milk: You’ll need two 14-ounce cans of this rich, thick, and sweet milk. Sweetened condensed milk is key to the pie’s creamy consistency and provides the primary source of sweetness, creating a luscious texture that sets beautifully when chilled. It binds all the flavors together, giving the pie its characteristic indulgent quality.
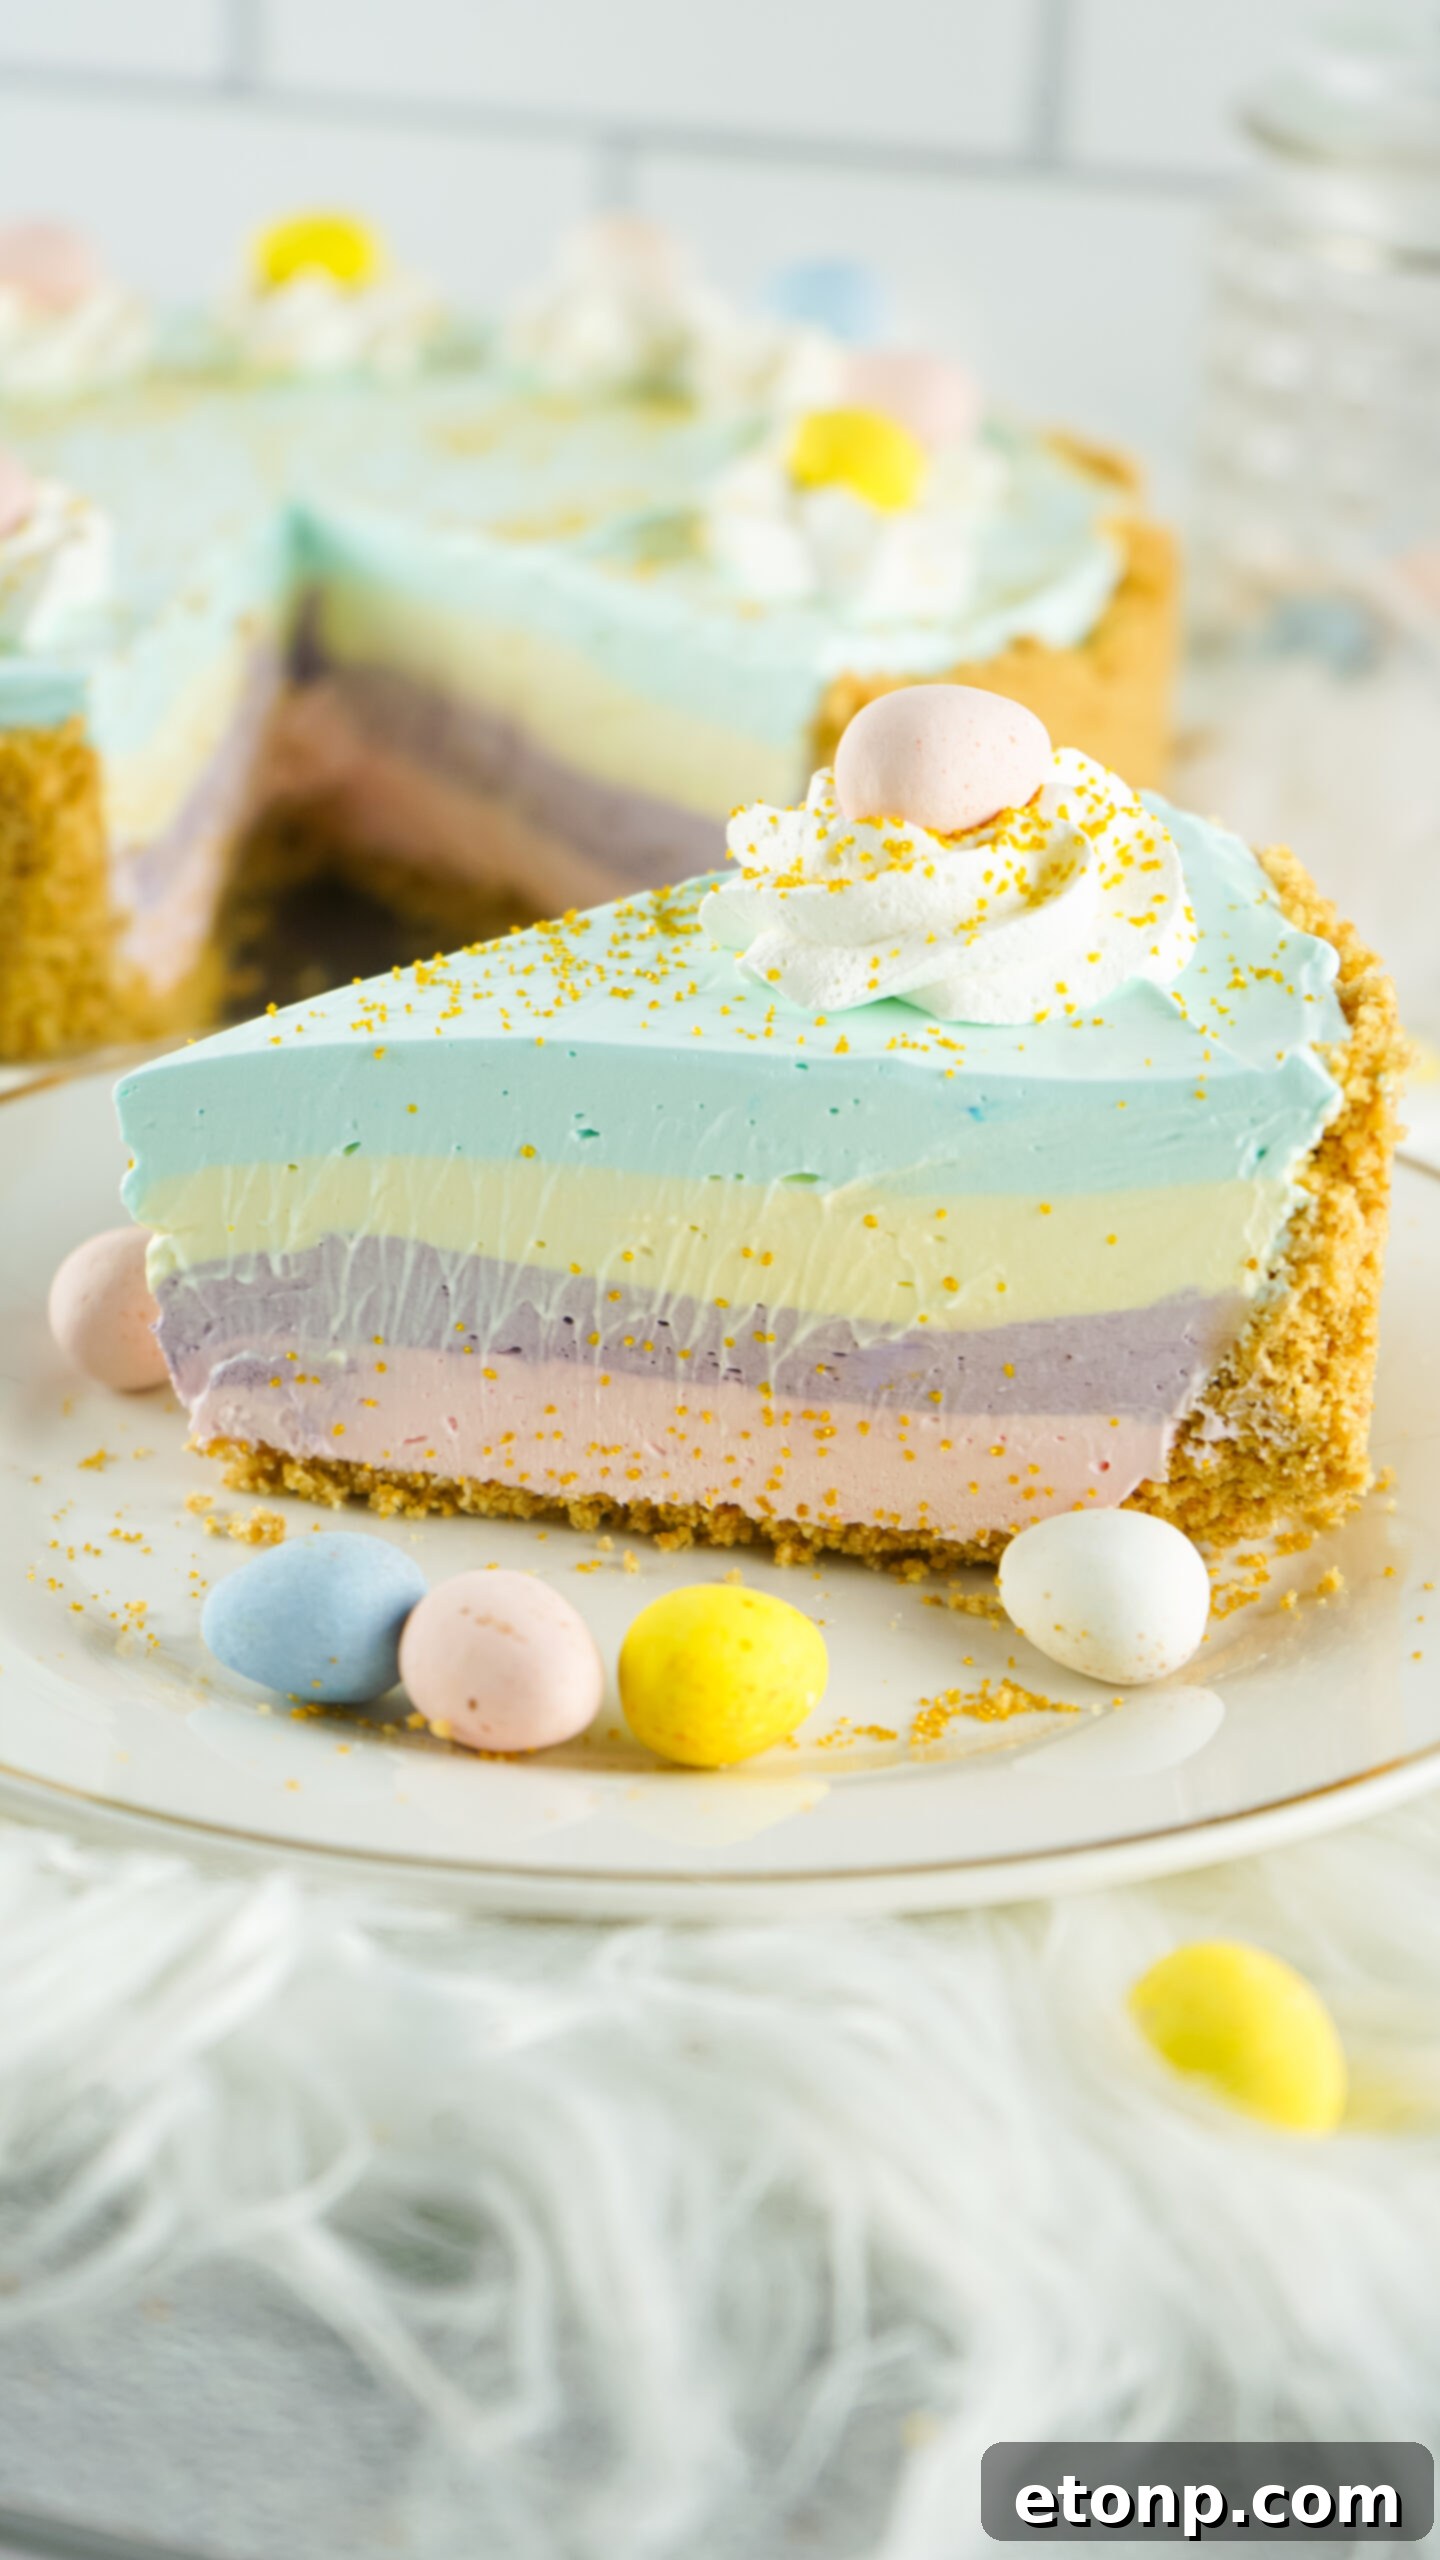
- Kool-Aid Packets: The star of the show for both flavor and color! For a truly festive Easter pie, we recommend grabbing a packet each of pink (like pink lemonade), yellow (classic lemonade), blue (such as blue raspberry lemonade), and grape Kool-Aid. These specific colors will create a visually stunning layered effect reminiscent of spring blossoms and Easter eggs, while providing a variety of complementary fruity flavors.
With these simple yet powerful ingredients, you’re all set to create a sweet, tangy, and incredibly refreshing layered pie that everyone will rave about. The unique combination of flavors and textures ensures a truly memorable dessert experience!
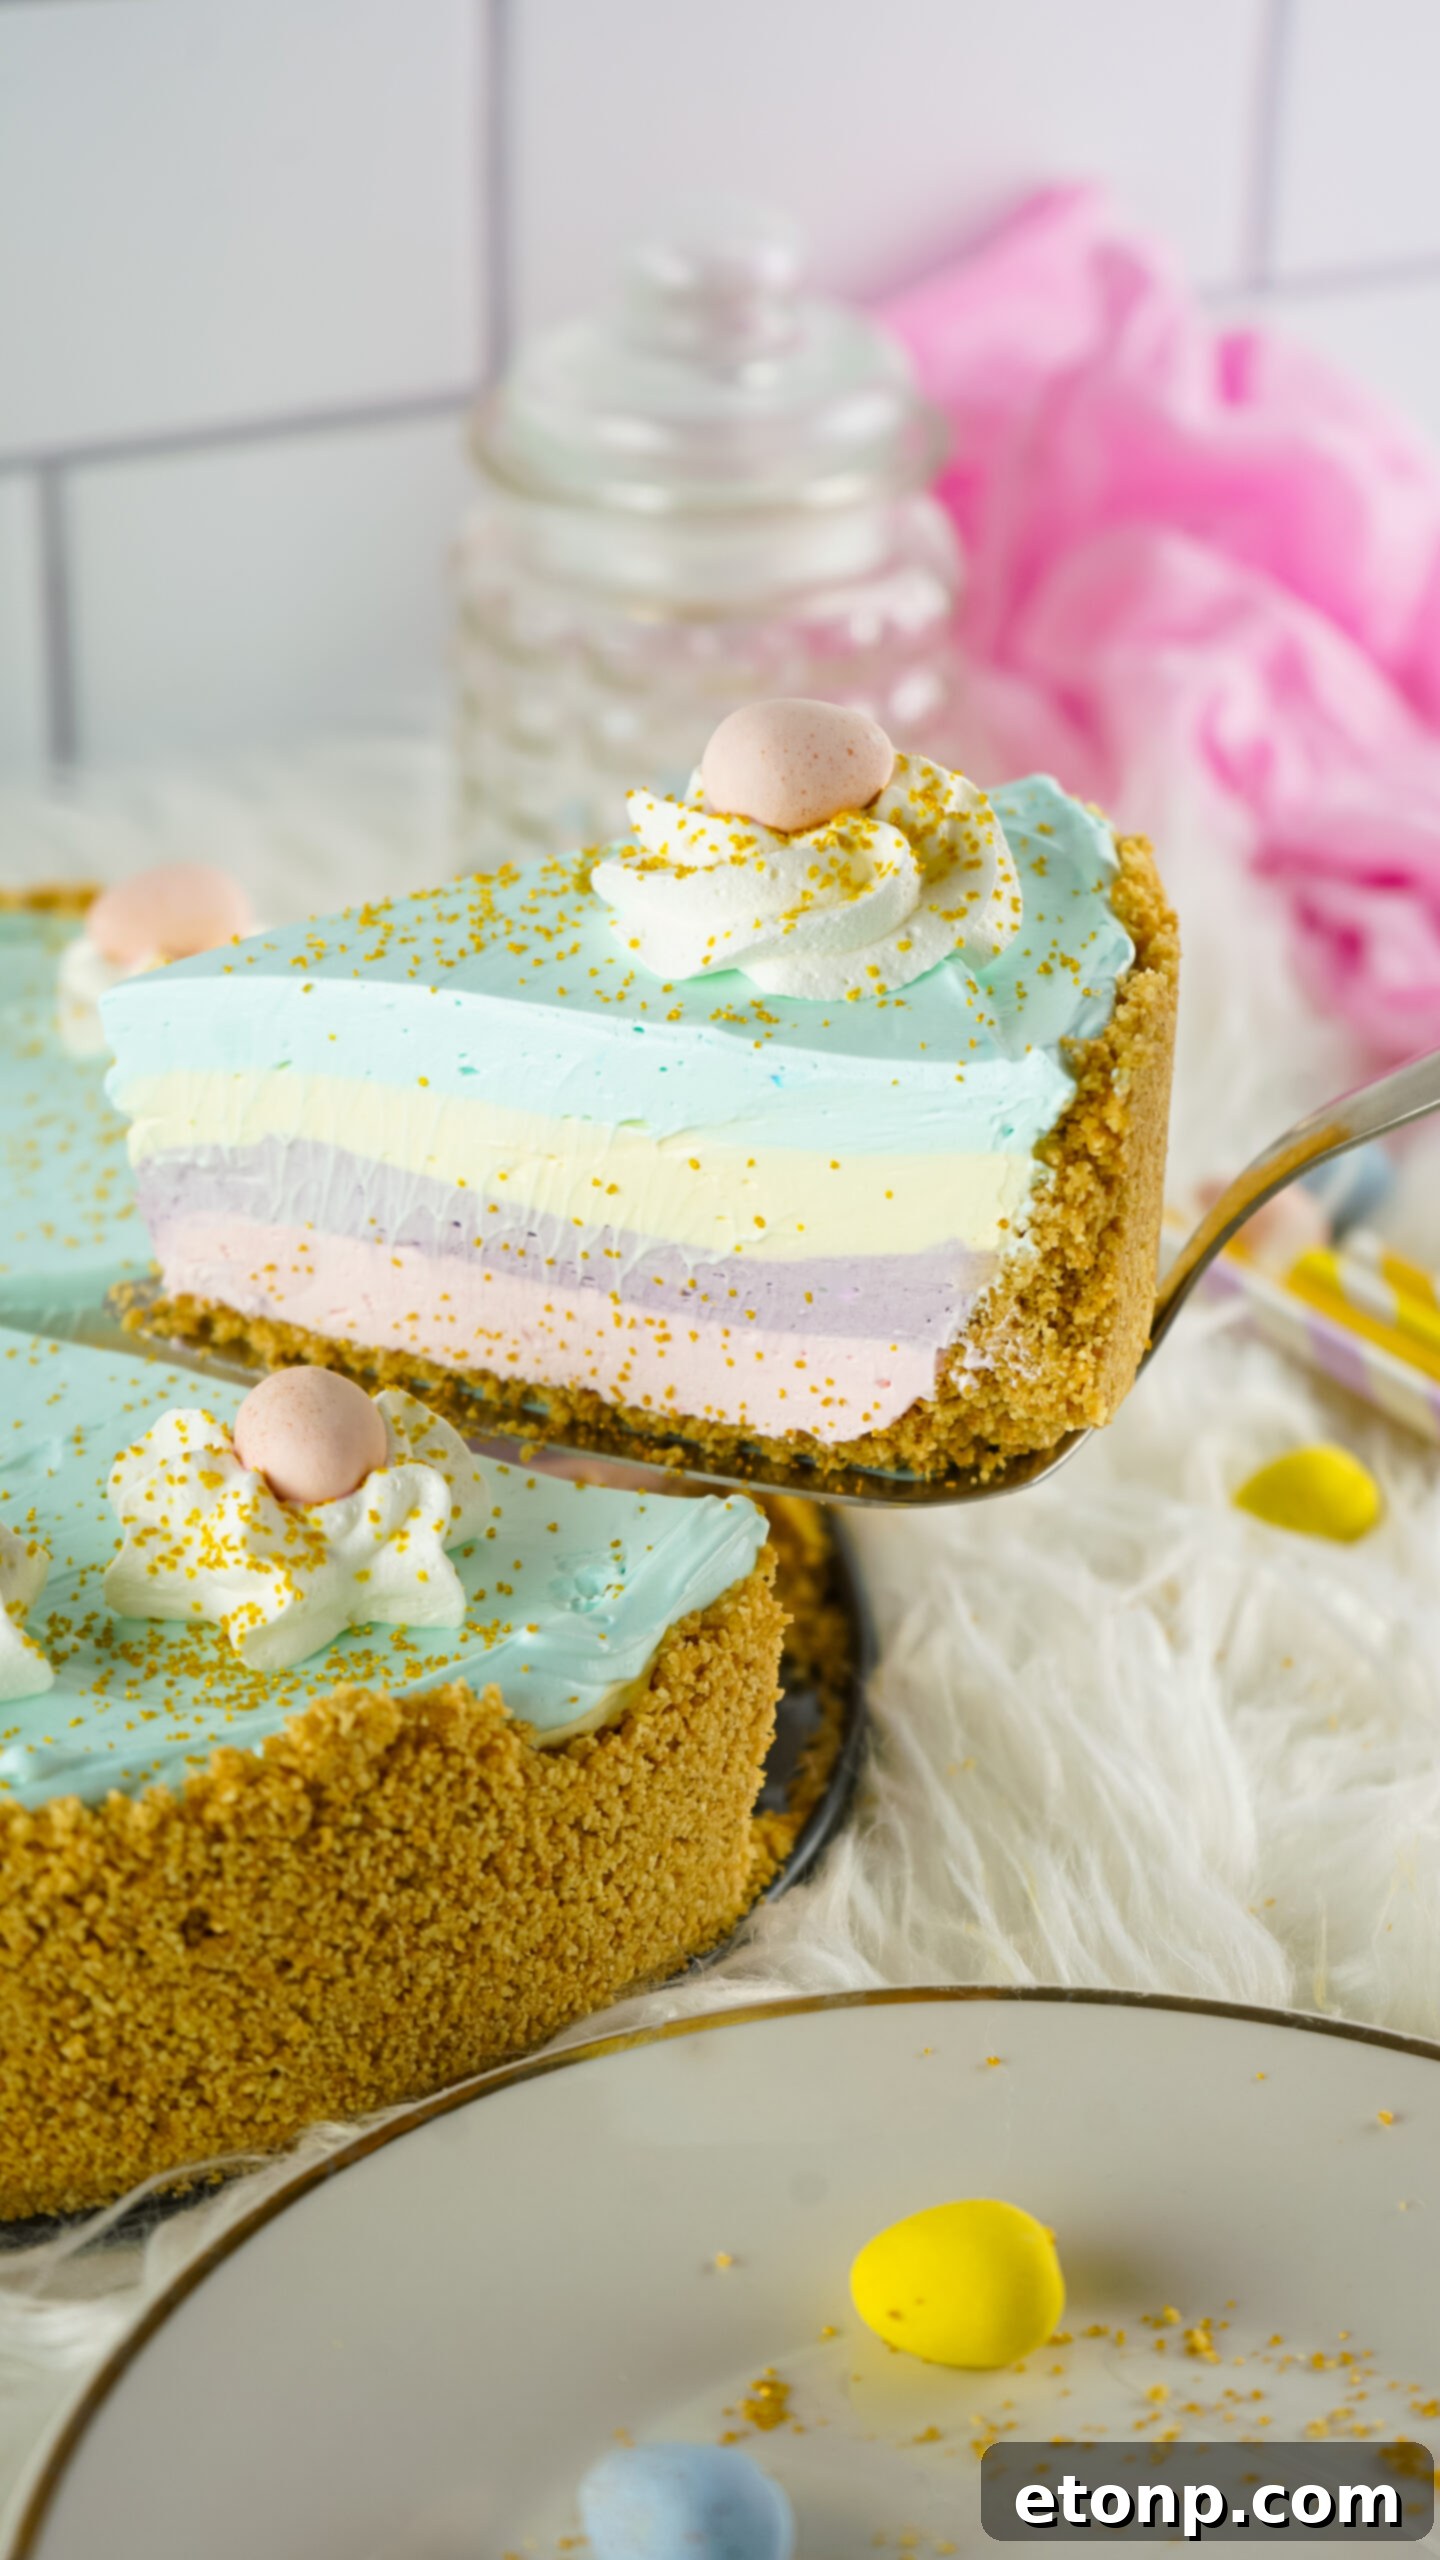
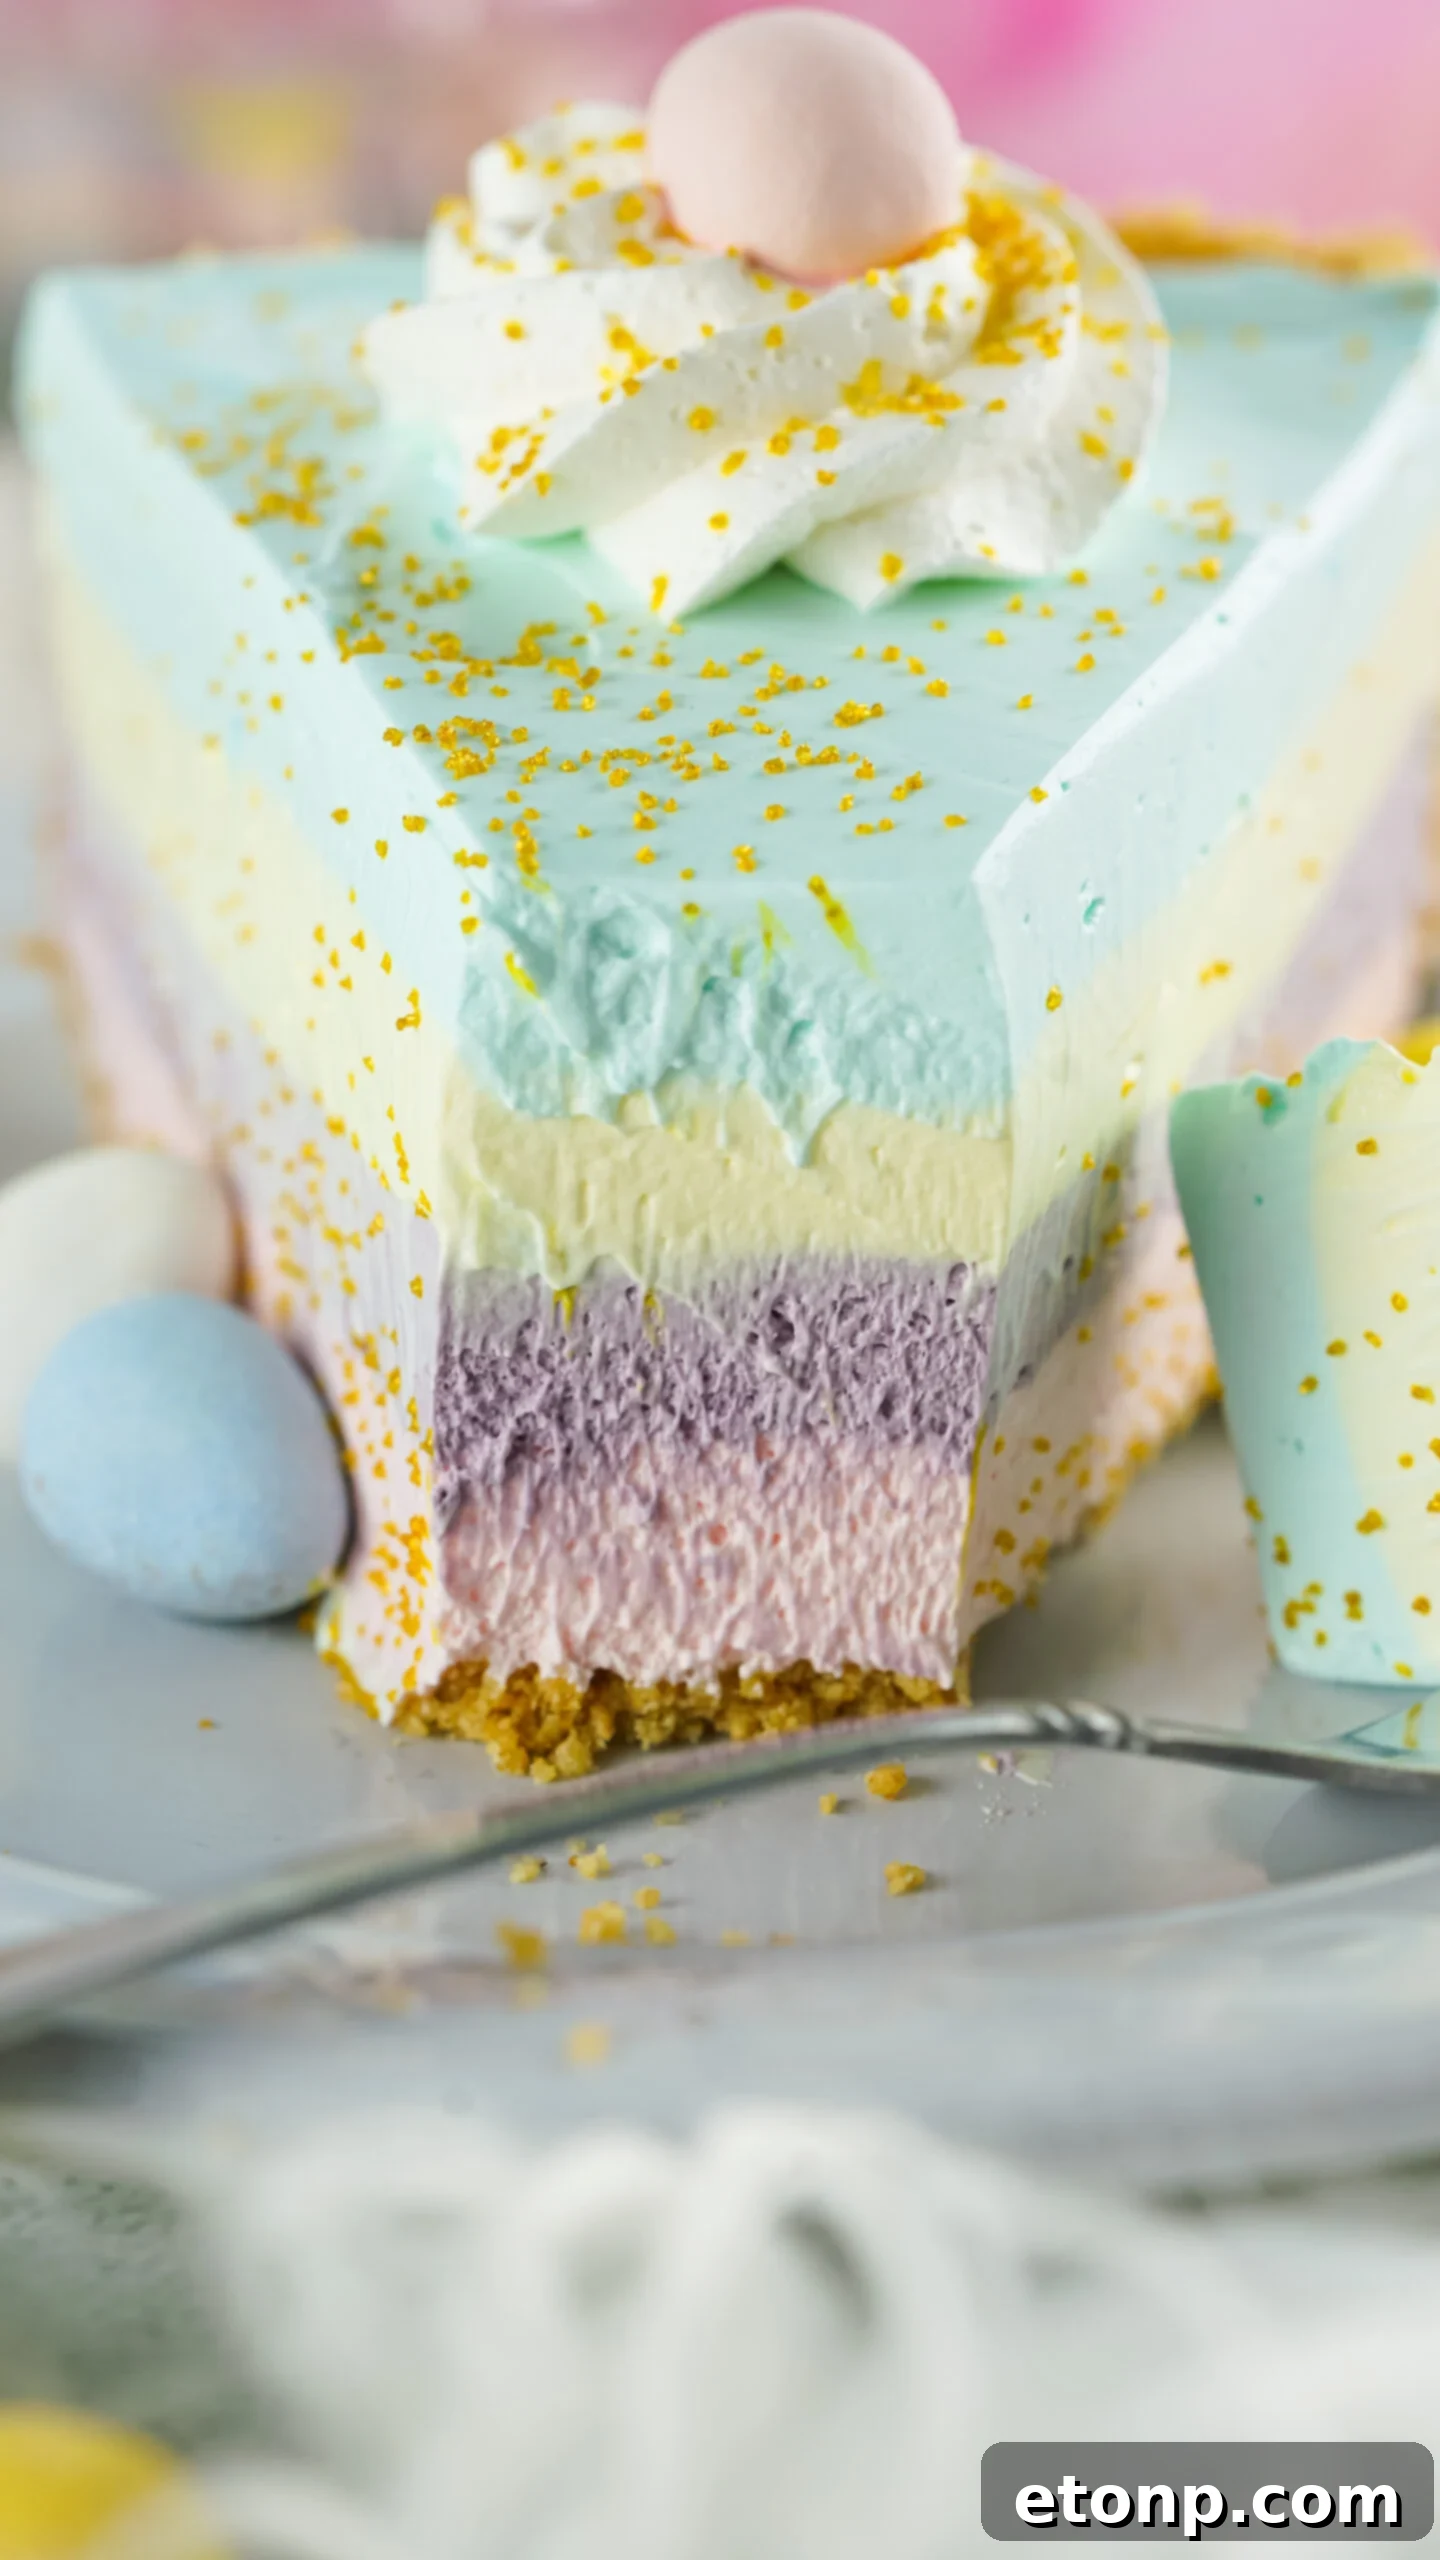
This vibrant Easter Kool-Aid Pie is undeniably going to be the highlight of your holiday dessert table. It’s not only incredibly delicious, offering a burst of fruity flavors, but its gorgeous, multi-colored layers also make it an absolute showstopper. Get ready for compliments galore!
Crafting Your No-Bake Easter Kool-Aid Pie: A Step-by-Step Guide
Easter Kool-Aid Pie
Course: Dessert
Prep Time: 20 mins
Total Time: 3 hrs 20 mins
Servings: 8 Servings
This Easter Kool-Aid Pie is a delightful, no-bake dessert that’s as fun to make as it is to eat. With vibrant colors and a perfect balance of sweet and tangy flavors, it’s sure to be a hit!
Ingredients:
- 2 ⅔ Cups Graham Cracker Crumbs (or 18 graham cracker sheets, crushed)
- 1 Stick Unsalted Butter (½ cup), melted
- 16 Ounces Whipped Cream (one large container)
- 2 Cans Sweetened Condensed Milk (14 ounces each)
- 1 Packet Blue Kool-Aid (e.g., blue raspberry lemonade)
- 1 Packet Yellow Kool-Aid (e.g., lemonade)
- 1 Packet Pink Kool-Aid (e.g., pink lemonade)
- 1 Packet Purple Kool-Aid (e.g., grape)
- Yellow Food Dye (optional, for enhancing yellow color)
Instructions:
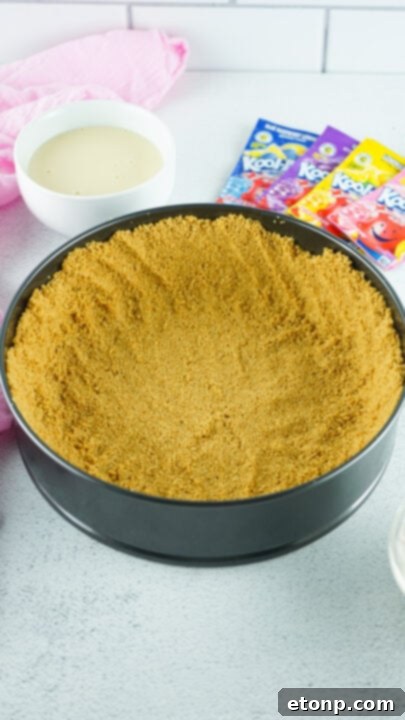
- Prepare the Crust: Place the butter in a small microwave-safe dish and microwave on high for one minute, until fully melted. In a medium mixing bowl, combine the melted butter with the graham cracker crumbs. Mix thoroughly until a uniform, sand-like mixture forms.
- Form the Crust: Transfer the graham cracker mixture into your springform pan. Press the mixture firmly and evenly into the bottom of the pan and slightly up the sides, just under the rim, to create a stable crust.
- Chill the Crust: Place the prepared crust into the freezer and let it chill until you are ready to add the filling layers. This helps it firm up and prevents sogginess.
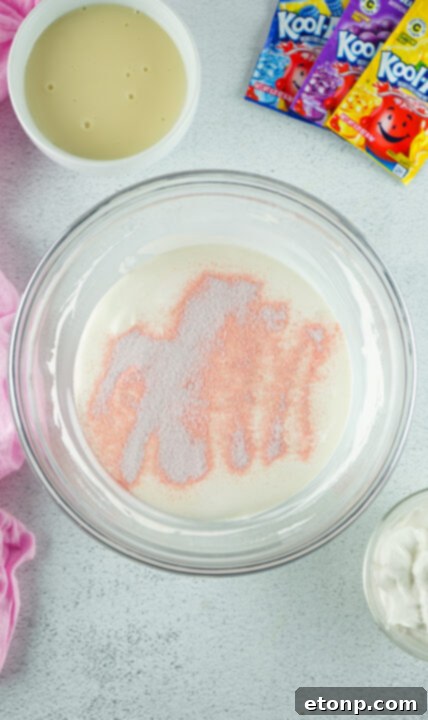
- Prepare the Pink Layer: In a separate medium mixing bowl, combine 4 ounces of whipped cream (approximately ¼ of your container) and about 7 ounces (half of one 14-ounce can) of the sweetened condensed milk. Mix these two ingredients together until well combined and smooth.
- Add Pink Kool-Aid: Open the packet of pink Kool-Aid and add the entire contents to the whipped cream and condensed milk mixture. Stir until the color is consistent, and no streaks of powder remain.
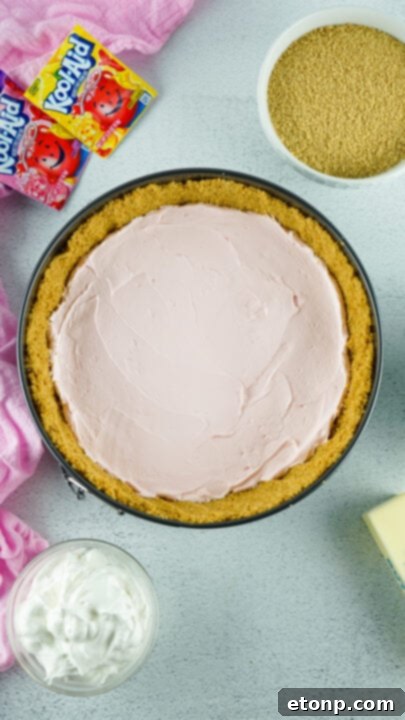
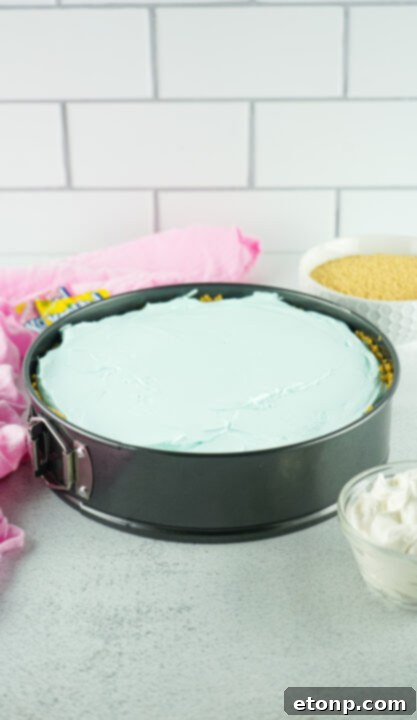
- First Layer & Chill: Remove your chilled crust from the freezer. Carefully spoon the pink mixture into the bottom of the crust, gently smoothing it out to create an even layer. Immediately place the pie back into the freezer.
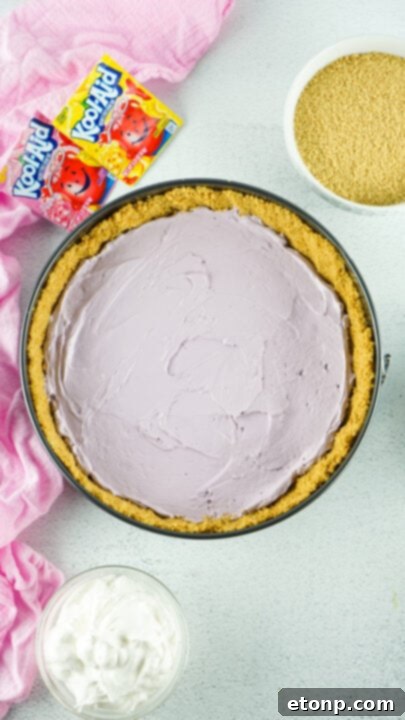
- Repeat for Remaining Colors: Repeat steps 4-6 for each of the remaining Kool-Aid colors, following this order: purple, yellow, and then blue. For the yellow layer, if you find the color isn’t as vibrant as you desire, feel free to add a couple of drops of yellow food dye to enhance its brightness. Remember to chill the pie in the freezer after adding each color layer to prevent them from bleeding into one another.
- Final Chill: Once all layers are complete, place the pie back into the freezer for a minimum of 3 hours, or into the refrigerator for at least 6-8 hours (or overnight), until the pie is fully set and firm.
- Serve and Enjoy: Once firm, remove the pie from the freezer or fridge. If desired, top with additional whipped cream or festive sprinkles before slicing. Serve immediately and enjoy your beautiful, layered Easter Kool-Aid Pie!

Expert Tips and Tricks for the Perfect Kool-Aid Pie
Achieving a show-stopping Kool-Aid pie is simpler than you think with these helpful notes and tips:
- Adjusting the Tanginess: While this pie boasts a delightful balance of sweet and tangy, the sour notes from the Kool-Aid are generally not overwhelming. However, if you prefer a less tart dessert, you can easily adjust the intensity. Instead of using a full packet of each Kool-Aid flavor, try using only half a packet per layer. This will still impart plenty of vibrant flavor and color without as much of the sour punch. Experiment to find your perfect balance!
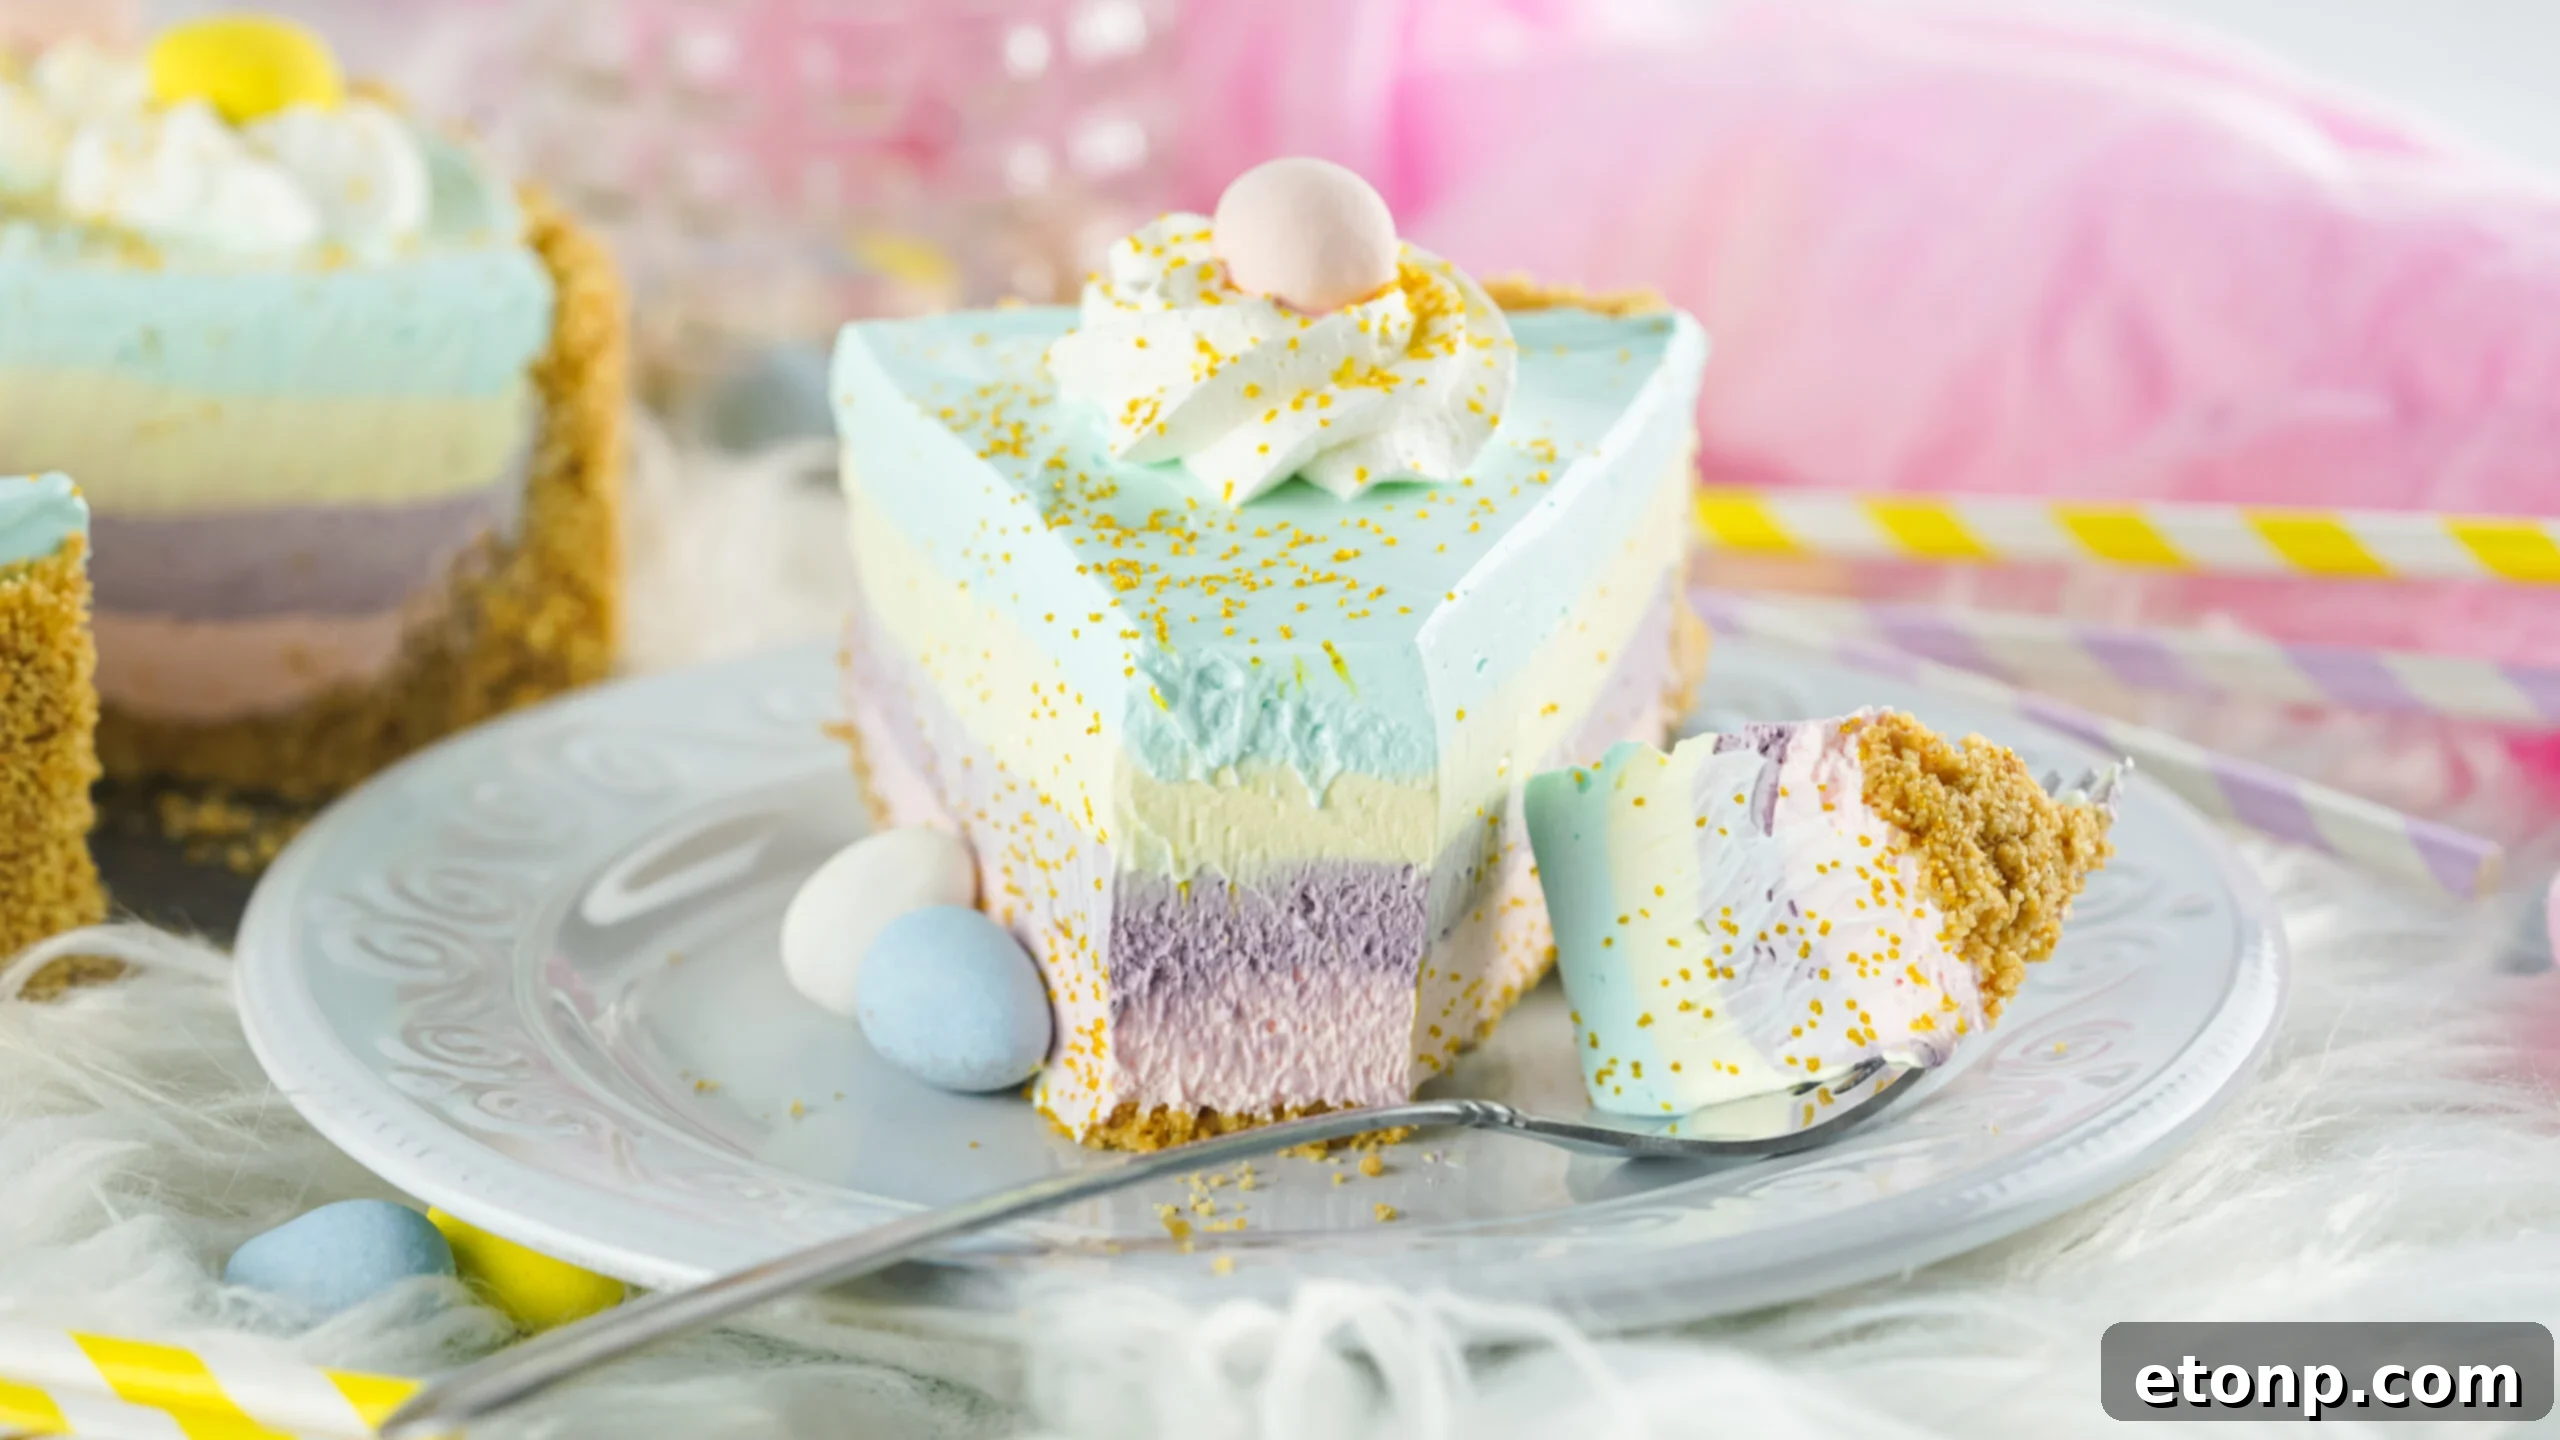
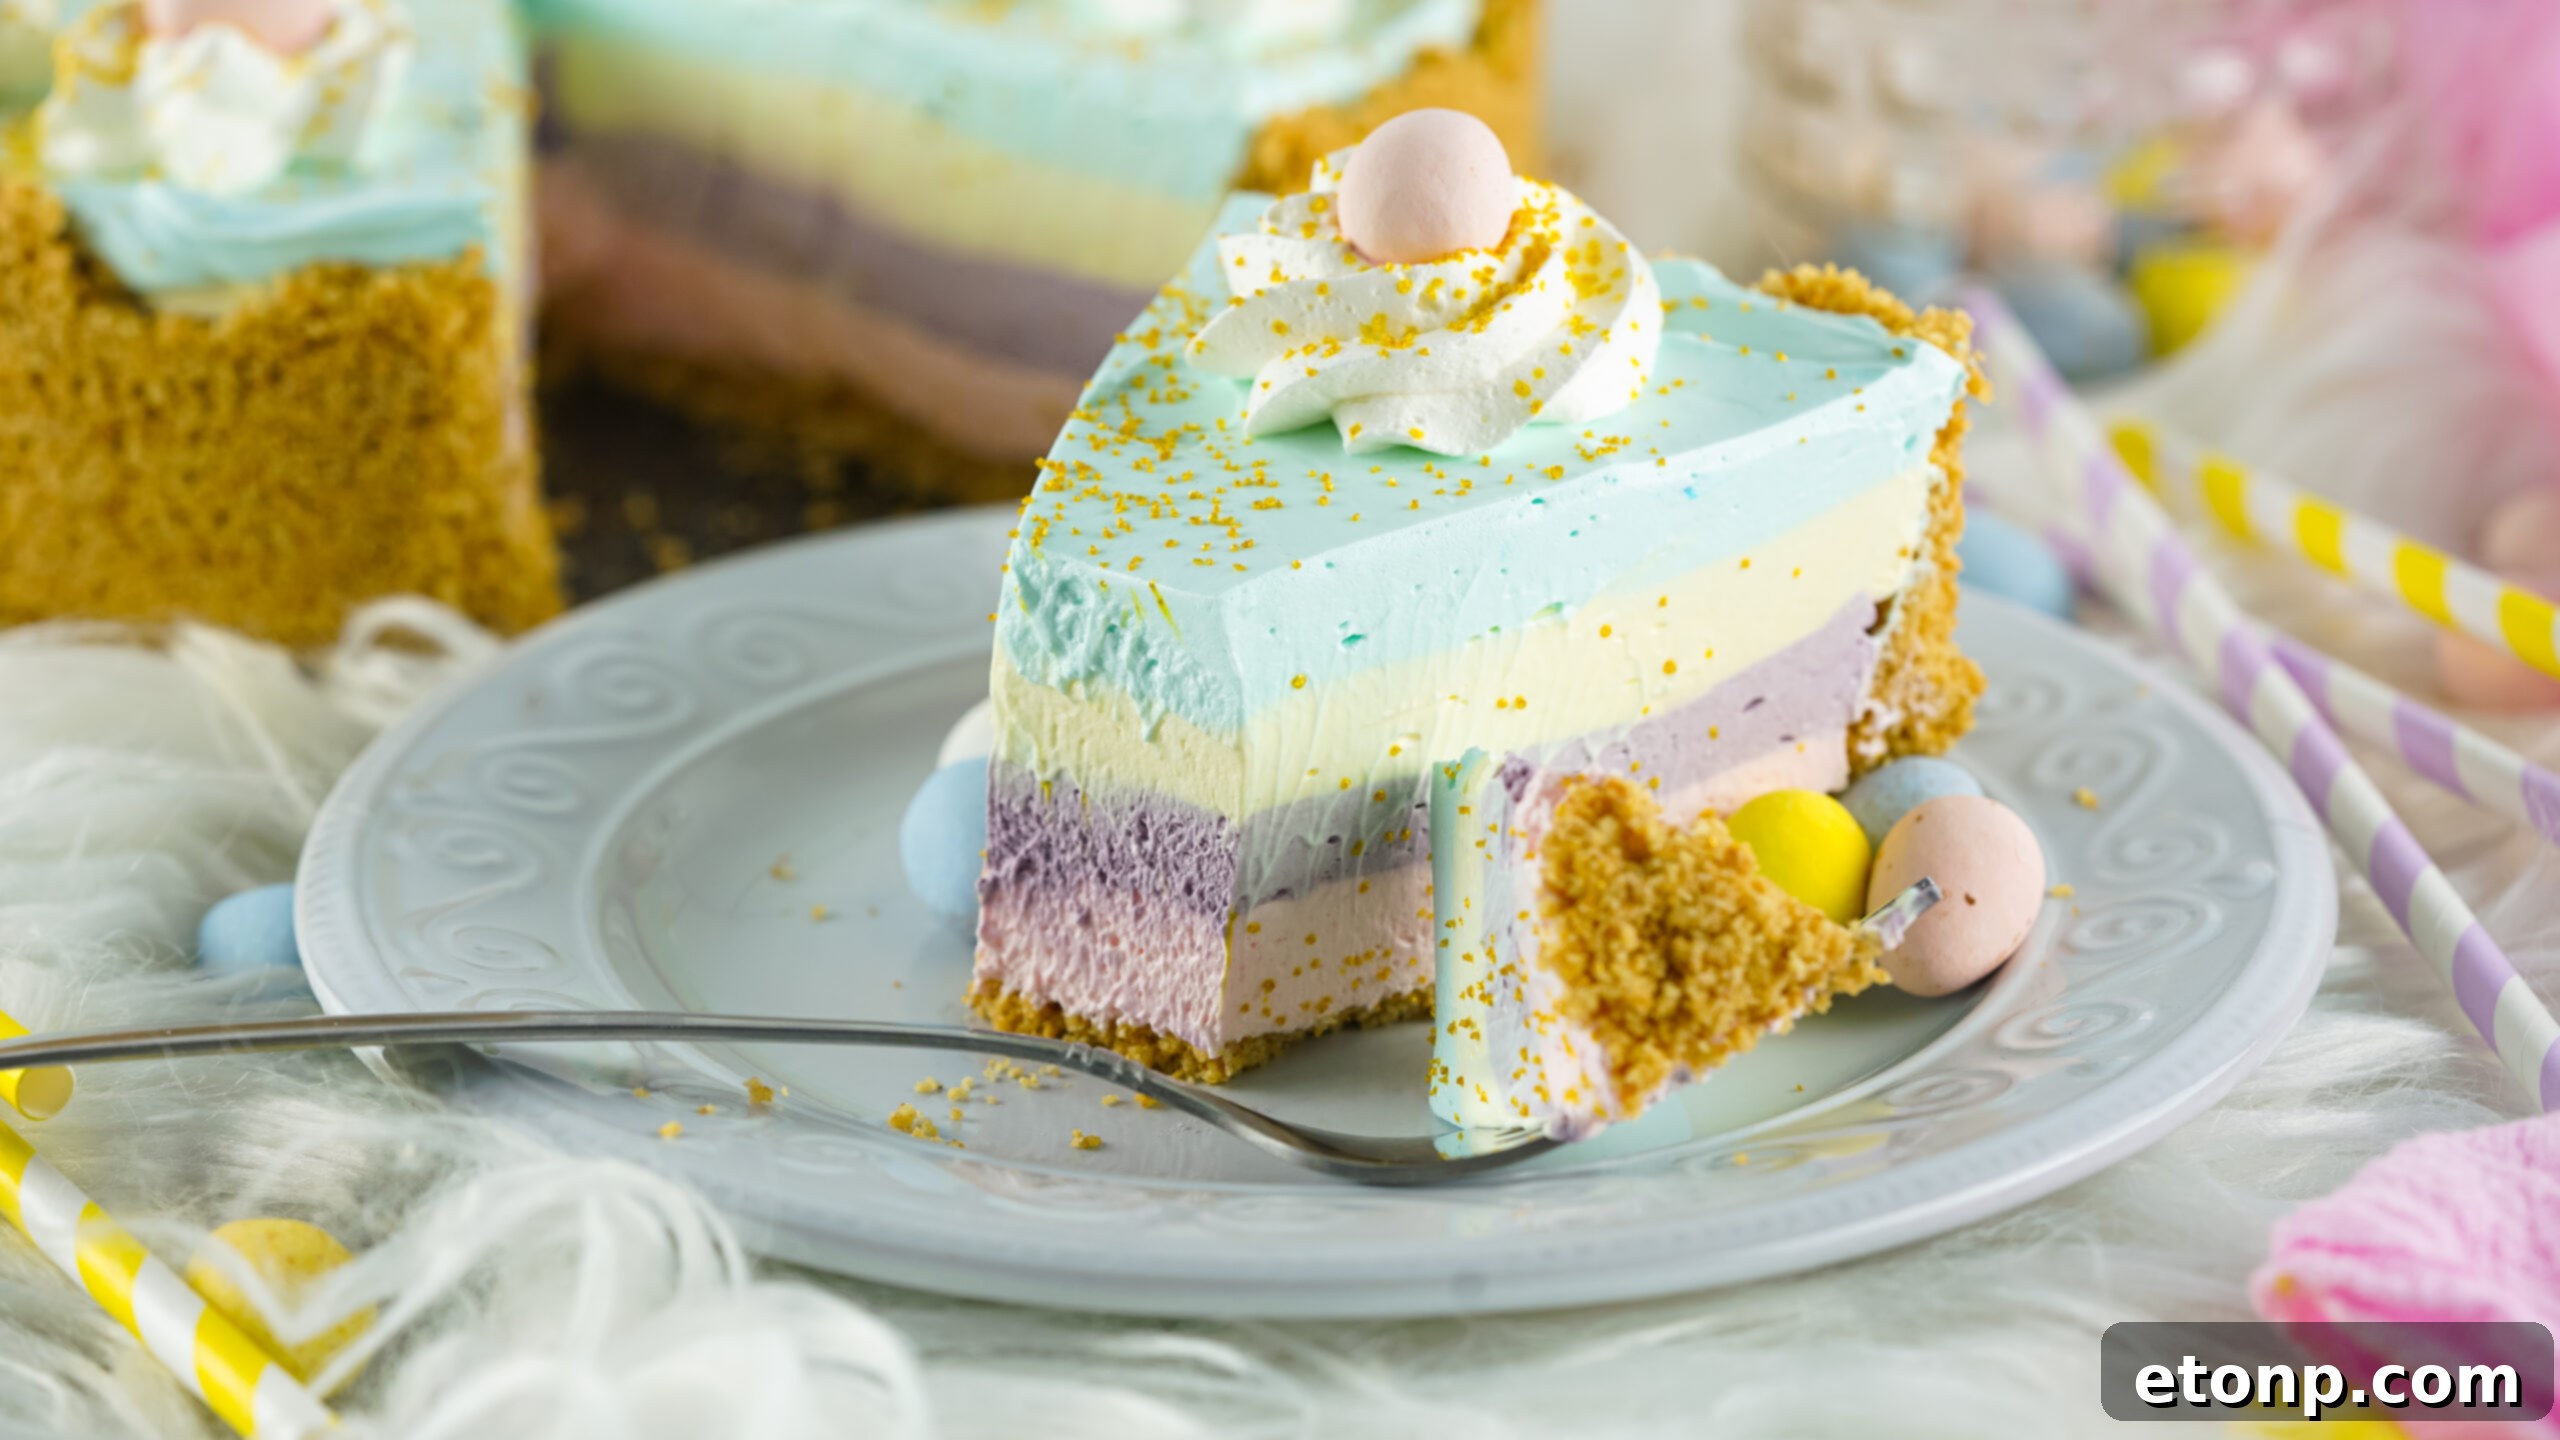
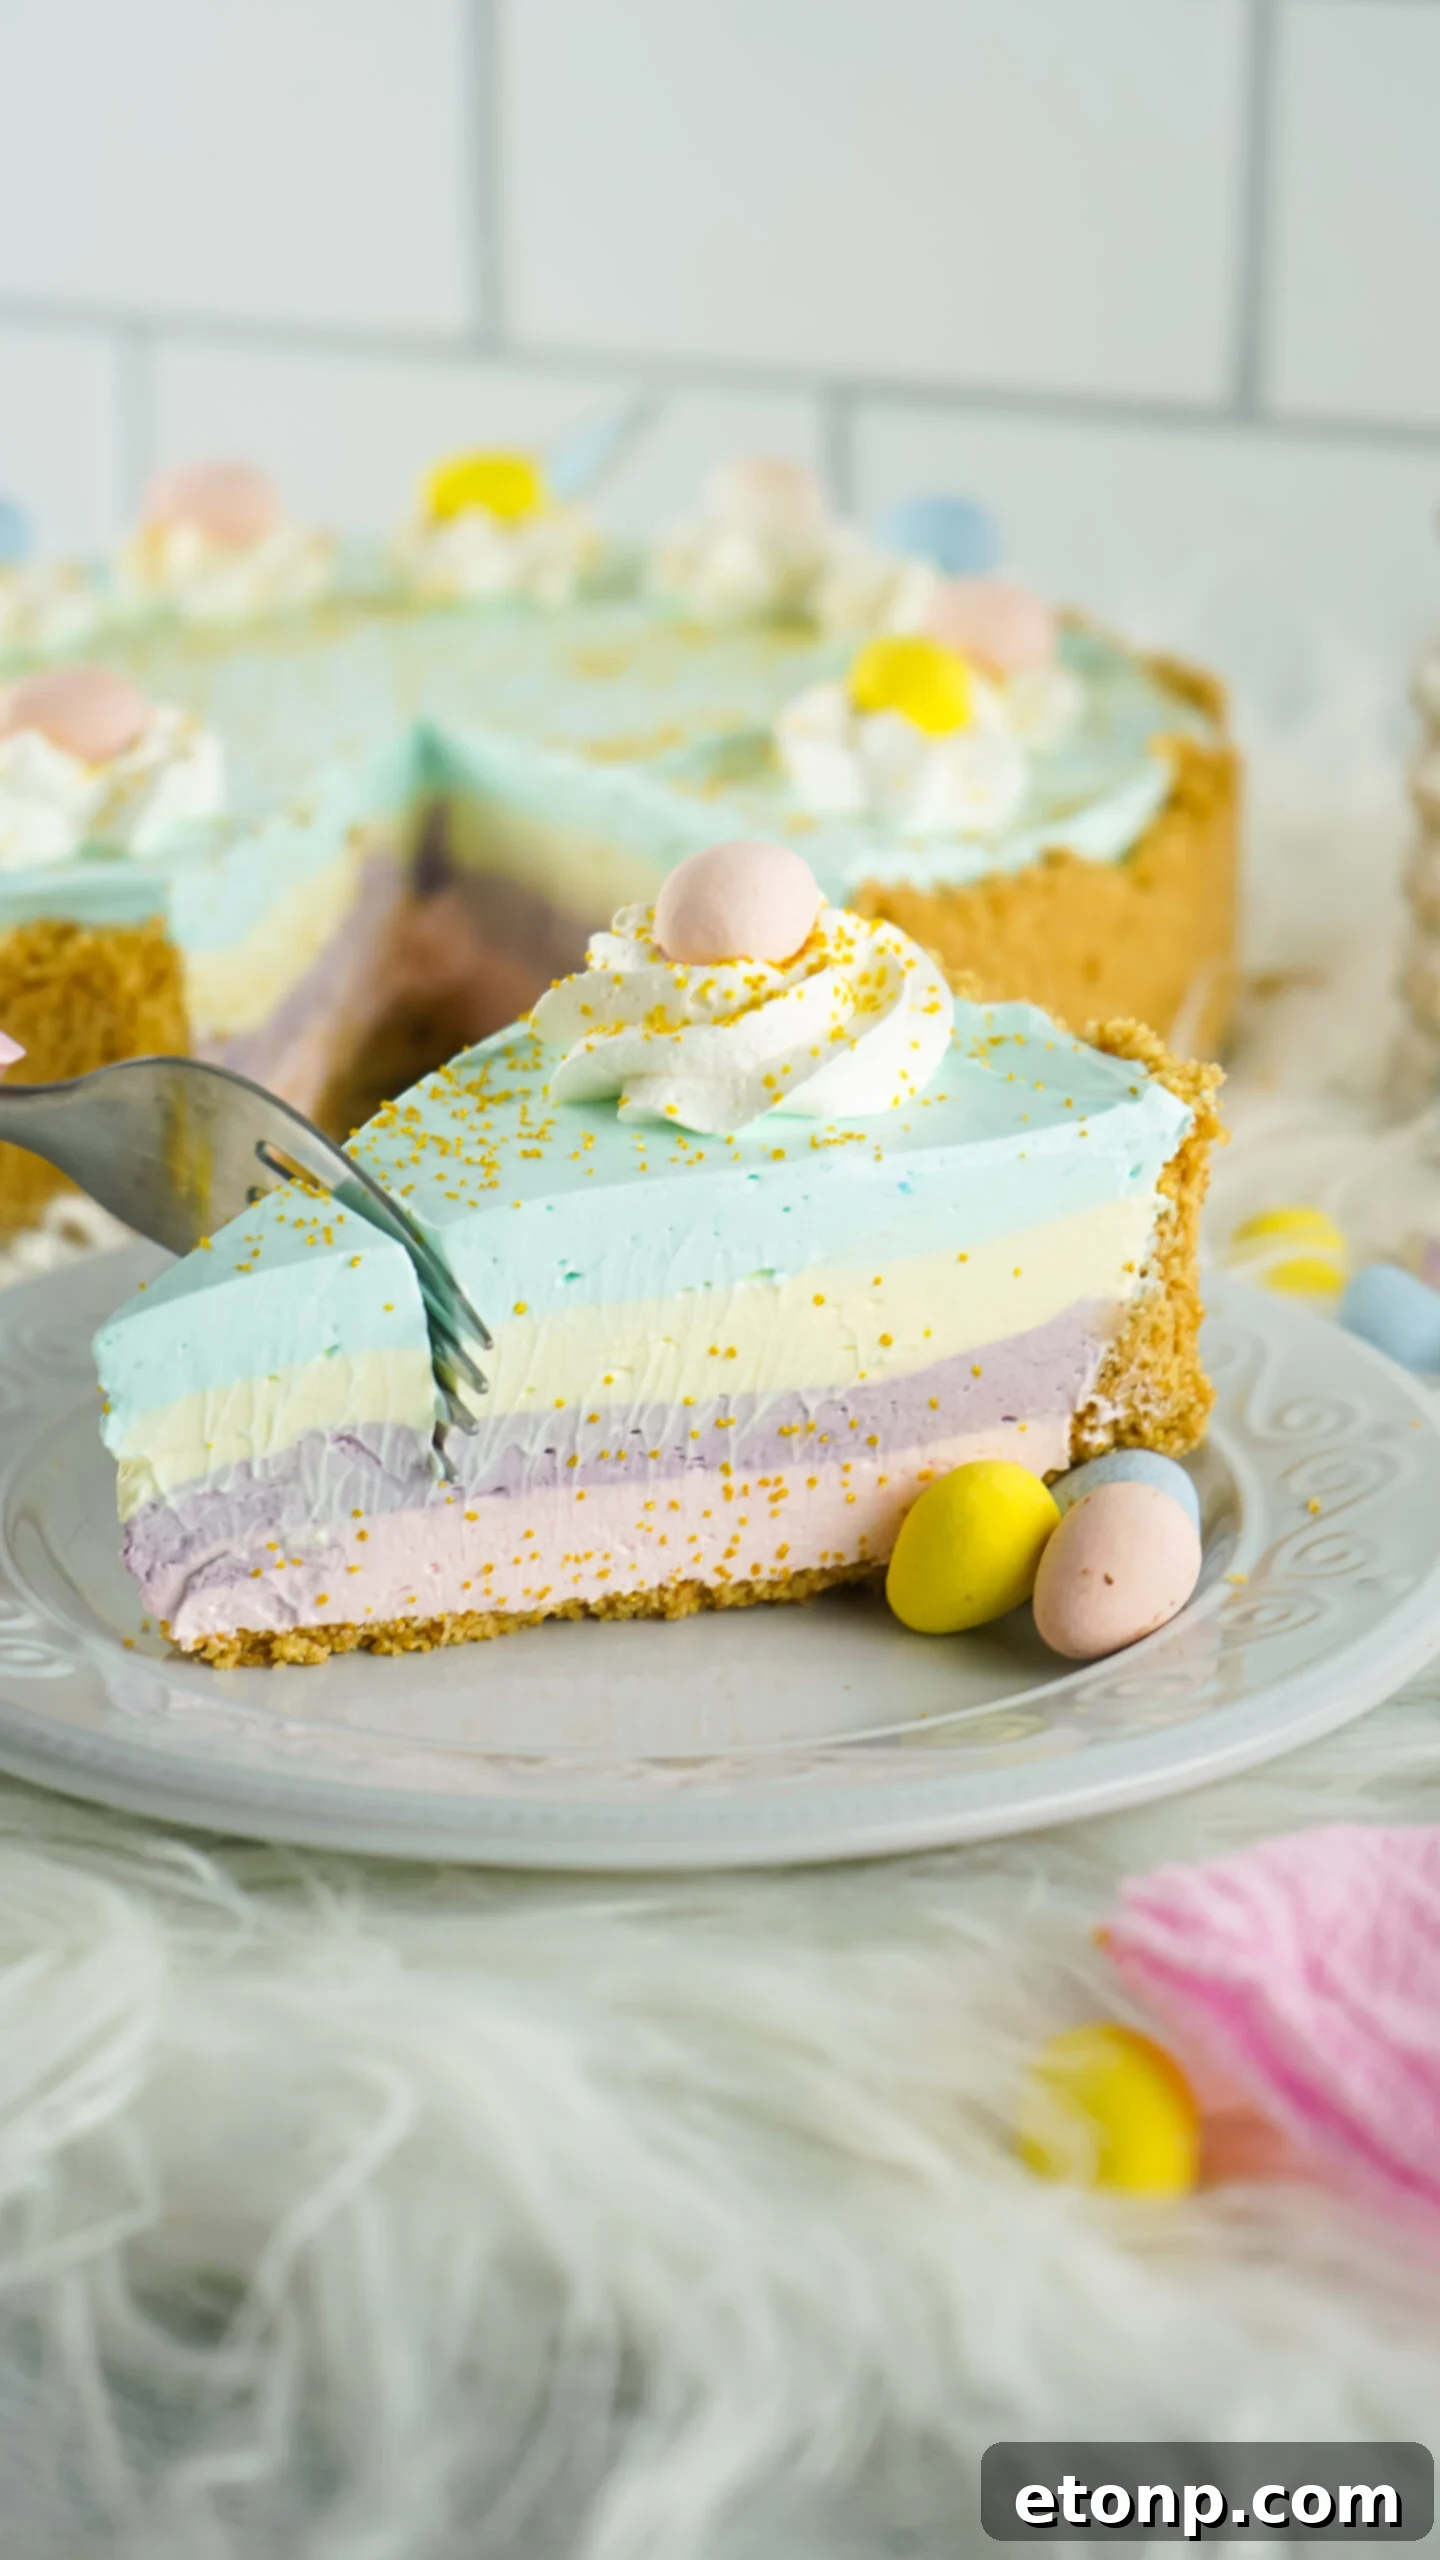
- The Crucial Freezing Step for Layers: This is arguably the most important tip for a beautifully layered pie. You absolutely *must* place your pie in the freezer after adding each individual colored layer. If you skip this critical step, or don’t allow enough time for each layer to set, the colors will inevitably start to bleed into one another. This will result in a muddy appearance rather than distinct, vibrant stripes, which is something you’ll definitely want to avoid for that stunning visual impact. Allow each layer to firm up for at least 20-30 minutes before adding the next.
- Creative Flavor and Color Combinations: Don’t feel limited to the pink, purple, yellow, and blue suggestions. Feel free to explore and use any specific flavors of Kool-Aid that you and your family prefer. The beauty of this recipe lies in its adaptability. However, when choosing your flavors, always keep the visual appeal in mind. Select colors that will look appealing together and create a bright, bold, and festive appearance, especially for a holiday like Easter. Consider combinations like green (lime), red (cherry/strawberry), or orange for other seasonal themes.
- Achieving Smooth Layers: For the cleanest, most defined layers, after gently spooning each mixture onto the chilled crust or previous layer, use the back of a spoon or an offset spatula to very carefully spread it evenly. Work quickly and avoid disturbing the layer beneath.
- Enhancing Presentation: A beautiful pie deserves a beautiful presentation! Before serving, consider garnishing your Easter Kool-Aid Pie with a generous swirl of extra whipped cream, a sprinkle of colorful edible glitter, or even some mini Easter candies or sprinkles. These small touches can elevate the dessert from delicious to truly spectacular.
Properly Storing Your Colorful Creation
Once your exquisite layered Kool-Aid pie is fully prepared and set, proper storage is key to maintaining its freshness, flavor, and delightful texture. After chilling, make sure to cover your pie tightly. You can use plastic wrap directly over the pie, ensuring it doesn’t touch the top layer to avoid condensation issues, or place it in a large airtight container with a secure lid. This prevents freezer burn and keeps unwanted odors from affecting the pie’s delicate taste.
If you choose to store your Easter Kool-Aid Pie in the **freezer**, it can remain fresh and delicious for an impressive period of up to three months. This makes it an ideal make-ahead dessert; you can prepare it days, weeks, or even months in advance of your Easter celebration, allowing you to enjoy a stress-free holiday. When you’re ready to serve a frozen pie, simply transfer it to the refrigerator a few hours beforehand to allow it to thaw slightly, making it easier to slice and enjoy, while still maintaining a delightful chilled texture.
For shorter-term storage, keeping the layered pie in the **refrigerator** is perfectly fine. When stored properly in the fridge, this vibrant dessert will maintain its quality for up to five days. This is great for enjoying leftovers or preparing it just a few days before your event. Always ensure it’s well-covered to prevent it from absorbing any other flavors from your refrigerator.
Frequently Asked Questions About Kool-Aid Pie
What should I do if I don’t have a springform pan?
While a springform pan is ideal for showcasing the beautiful layers of this pie, its absence doesn’t mean you can’t make this delicious dessert! As an alternative, you can simply use a standard 9-inch pie dish. If using a regular pie dish, you might opt to use fewer colors—perhaps just two or three—to simplify the layering process. The result will still be a wonderfully tasty and colorful pie, even if the layers aren’t as dramatically displayed. Remember, the flavor is what truly matters!
What can I do if the yellow shade looks too light?
Kool-Aid colors can sometimes vary in intensity, and yellow can occasionally appear lighter than desired against other vibrant hues. If you notice your yellow layer isn’t as bright or bold as you’d like, don’t hesitate to enhance it! Simply add a small amount of yellow food dye to the mixture until you achieve your preferred shade. A few drops can make a significant difference, helping to bring out that cheerful color and make your pie visually pop even more.
Do I have to use graham crackers for the crust?
Absolutely not! While graham cracker crusts are a classic and delicious choice, feel free to get creative with your pie base. You can use various types of cookies to create a unique and equally delightful crust. Popular alternatives include vanilla wafers (like Nilla Wafers) for a softer, buttery flavor, or chocolate sandwich cookies (like Oreos) for a rich, dark contrast. Simply crush your chosen cookies into fine crumbs and mix with melted butter as you would with graham crackers. Use what you like best to craft a delicious and sweet crust that perfectly complements your Kool-Aid filling.
Can I use a pre-made pie crust?
Yes, you can absolutely use a pre-made pie crust! This recipe is all about convenience and enjoyment, especially during busy holiday seasons. If you’re looking for an excellent way to save time without compromising on flavor, a pre-made graham cracker crust (or even a shortbread crust) is a fantastic option. It means less prep work for you, allowing you to focus on the fun layering process and still present a wonderfully delicious and sweet pie for your family to savor on Easter. Just unwrap and start layering!
What are some other Kool-Aid flavor combinations I can try?
The possibilities are endless when it comes to Kool-Aid flavors! For a tropical twist, try cherry, pineapple, and orange. For a berry blast, combine strawberry, raspberry, and grape. You could also create a vibrant rainbow with red, orange, yellow, green, blue, and purple for an extra festive look. Consider seasonal flavors too – lime and lemon for summer, or even a single flavor pie for simplicity. Just remember to choose colors that complement each other visually if you’re aiming for that layered effect.
How can I prevent my layers from becoming runny or mixing?
The key to distinct, non-runny layers is thorough chilling between each addition. Ensure each layer is completely firm before pouring the next one. Also, make sure your mixing bowls are completely dry when preparing each color mixture, and use a light hand when spreading new layers to avoid disturbing the one beneath. If your kitchen is particularly warm, working quickly and returning the pie to the freezer promptly after each layer is essential. A well-chilled crust also helps prevent the first layer from softening too much.
More Delightful Spring Desserts to Explore!
If you’ve enjoyed the simplicity and deliciousness of this Easter Kool-Aid Pie, you might love these other easy and delightful recipes perfect for spring gatherings:
- Strawberry Kool-Aid Pie (No Bake) – Only 4 Ingredients
- Easter Marshmallow Bark
- Springtime Cheesecake Dip
Conclusion: Your Ultimate Easter Dessert Awaits
This Easter Kool-Aid Pie is more than just a dessert; it’s an experience. It brings together ease of preparation, a vibrant visual appeal, and a refreshingly sweet and tangy taste that captures the essence of spring and the joy of Easter. Whether you’re a seasoned baker or a kitchen novice, this no-bake recipe empowers you to create an impressive and delicious treat that will be remembered long after the last slice is gone. So gather your ingredients, embrace the fun, and prepare to delight your family and friends with this incredibly charming and flavorful layered pie. Happy Easter and happy baking (or rather, no-baking)!
Did you make this recipe?
Make sure to follow on Pinterest for more recipes!
Pin Recipe
Share on Facebook