
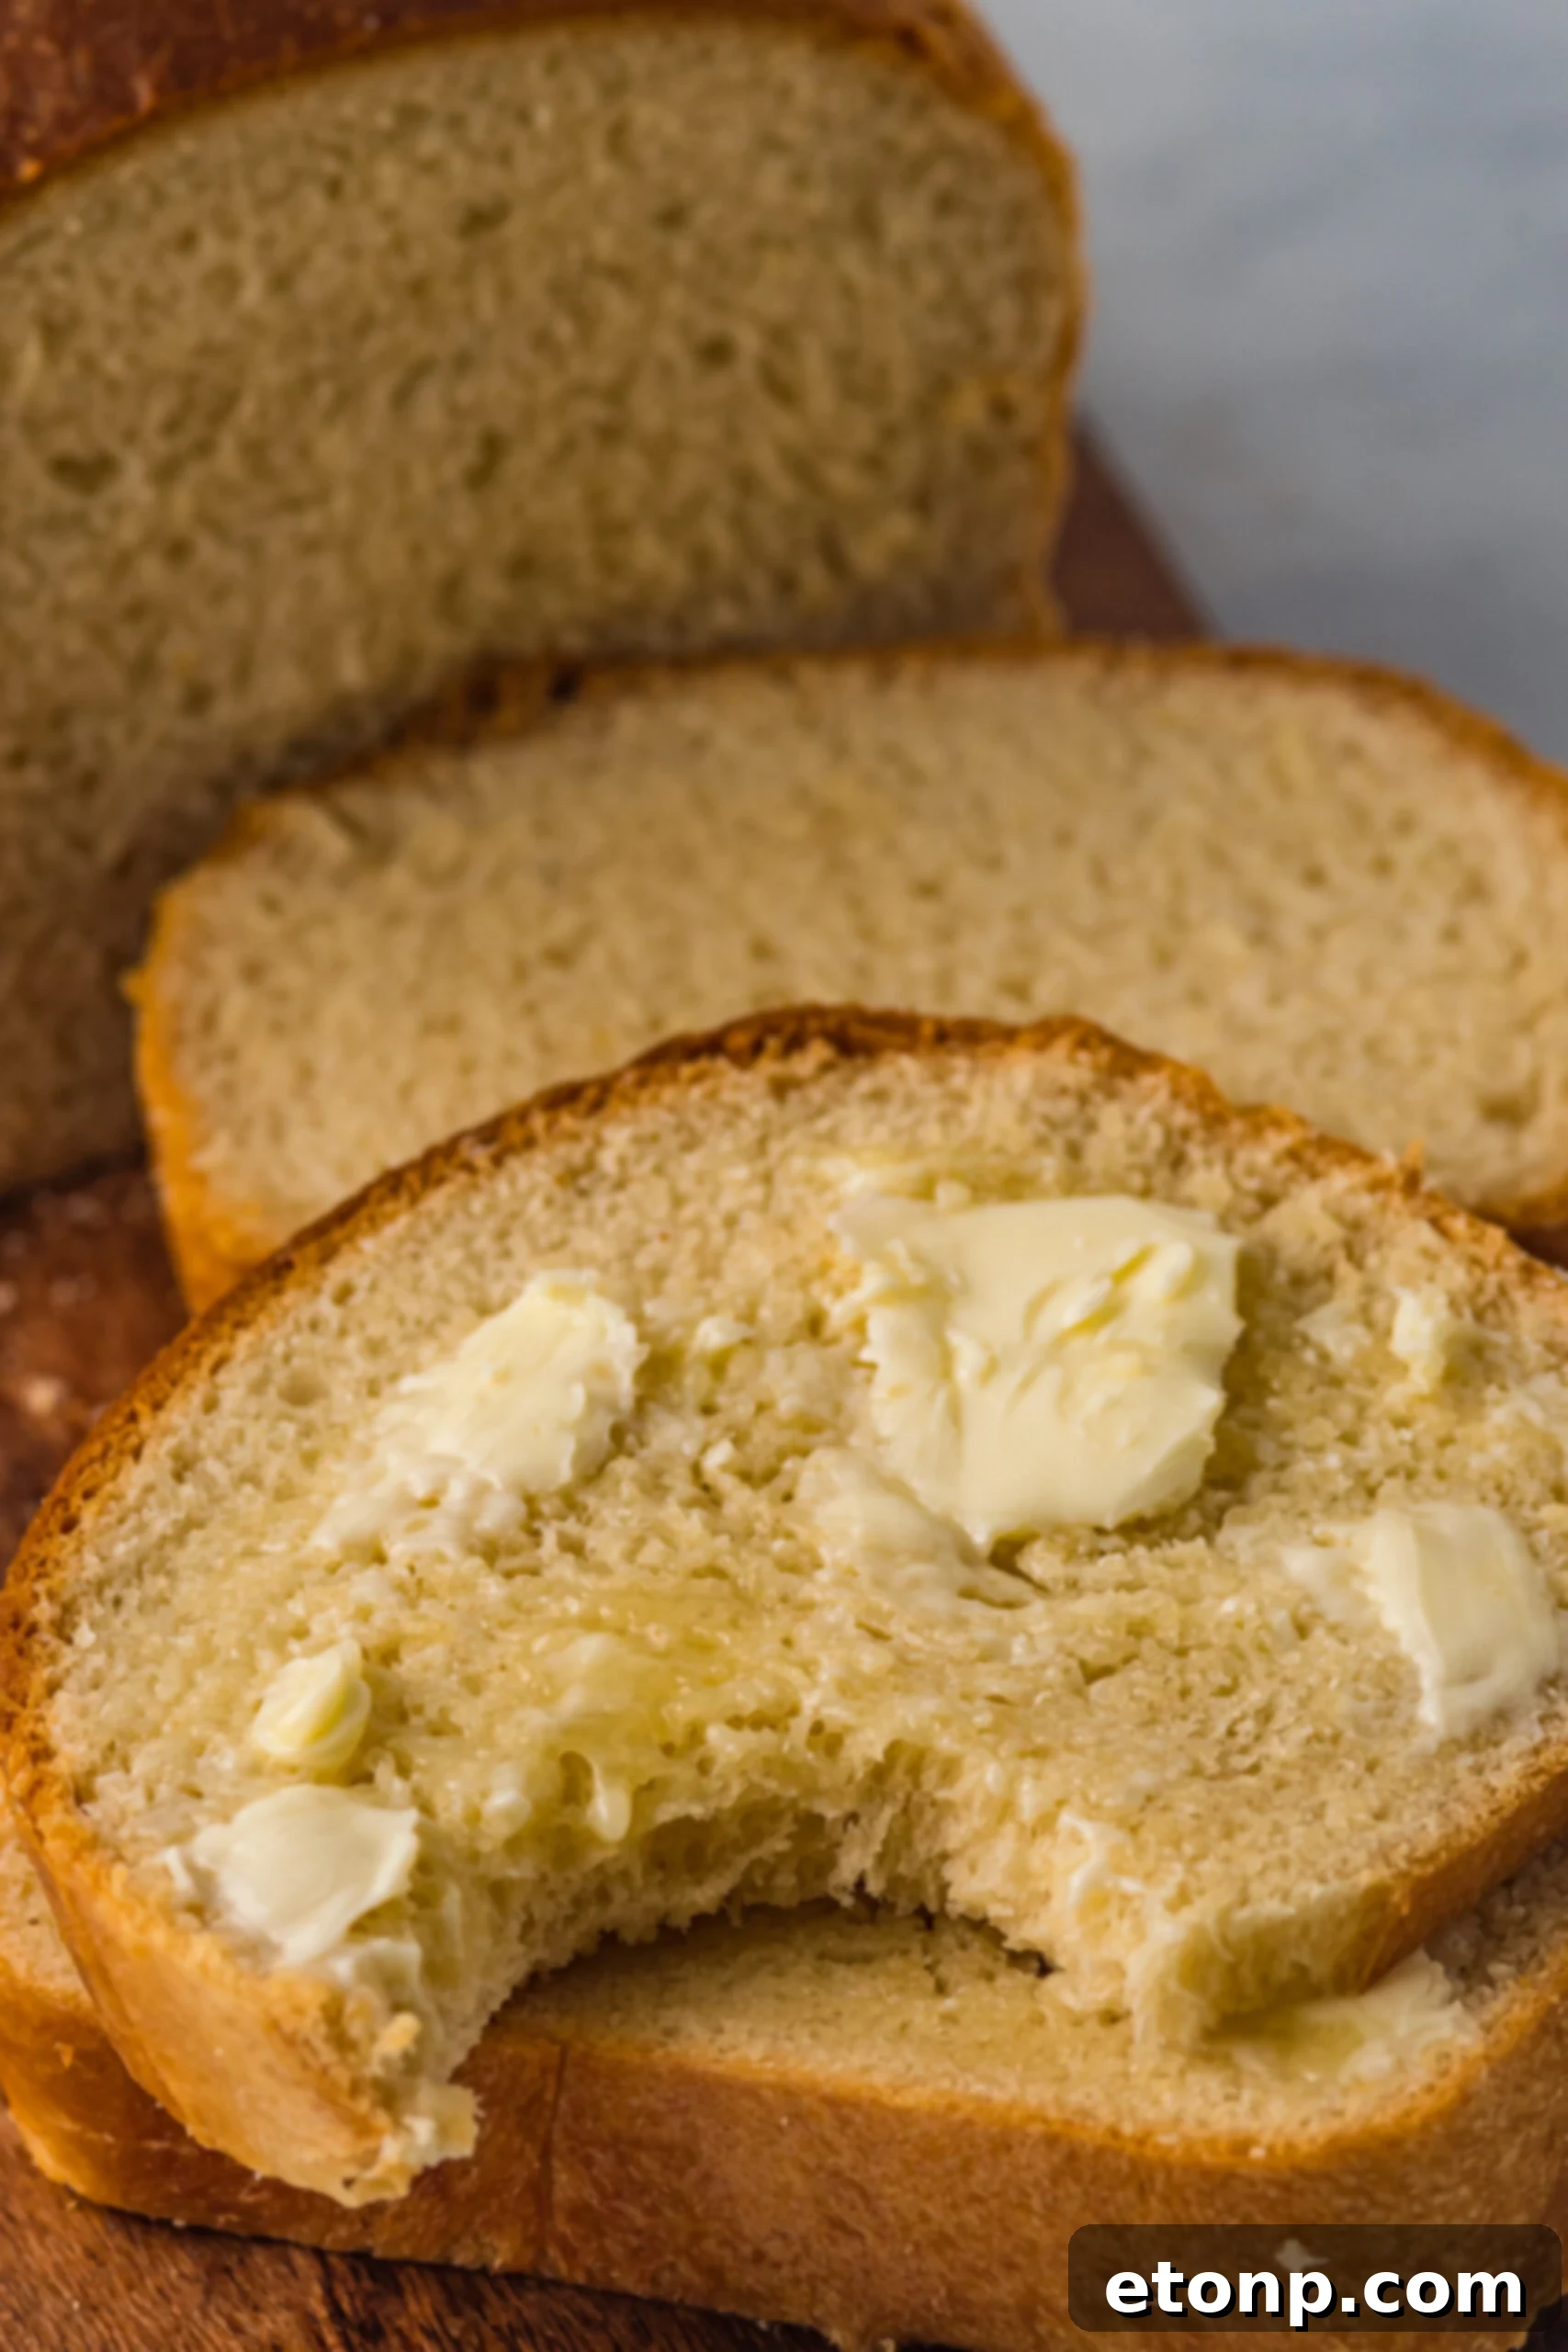
Easy Amish White Bread Recipe: Homemade Perfection (with Cinnamon Swirl Variation!)
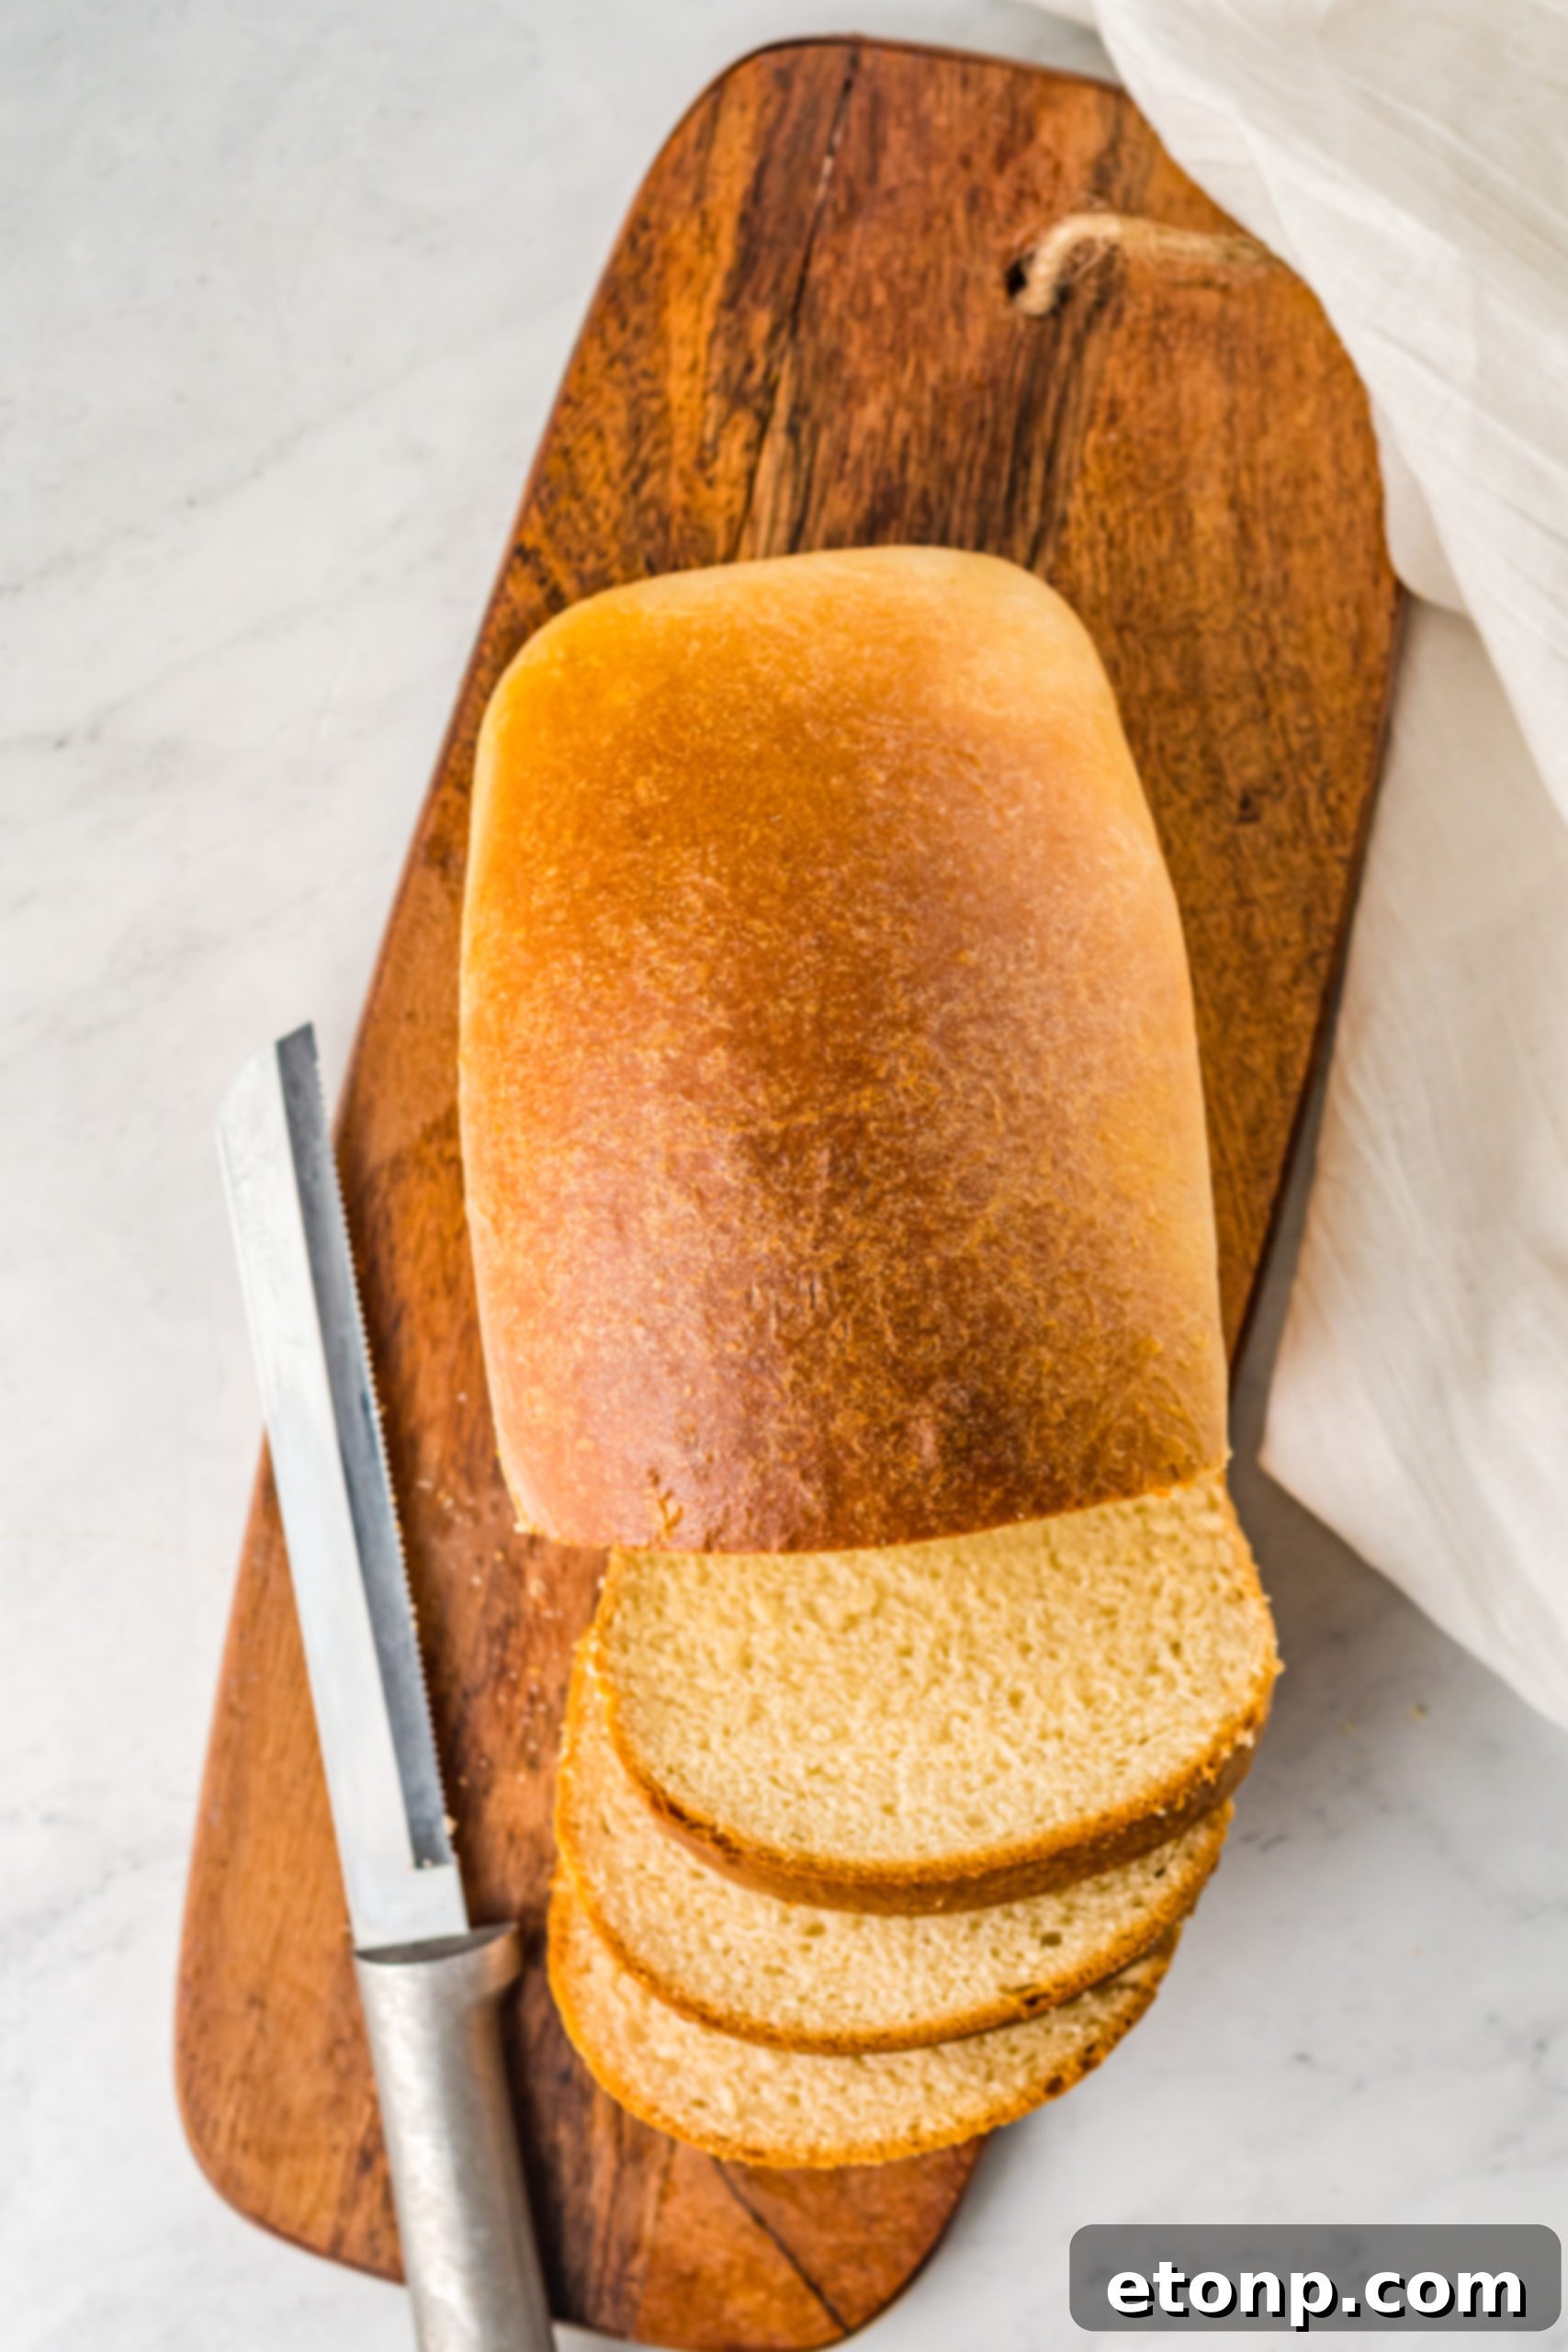
Welcome to the ultimate guide for baking the most incredibly soft, fluffy, and delicious Amish White Bread right in your own kitchen! If you’ve ever dreamt of enjoying warm, freshly baked bread without the hassle, this recipe is designed for you. With simple ingredients and straightforward steps, you’ll quickly master the art of homemade bread, banishing bland store-bought loaves from your pantry forever. This versatile recipe is perfect for everything from sandwiches to toast, and we’ve included an irresistible cinnamon swirl variation that’s bound to become a family favorite. Prepare to fill your home with the comforting and unforgettable aroma of truly exceptional bread!
Why You’ll Fall in Love with This Homemade Amish White Bread
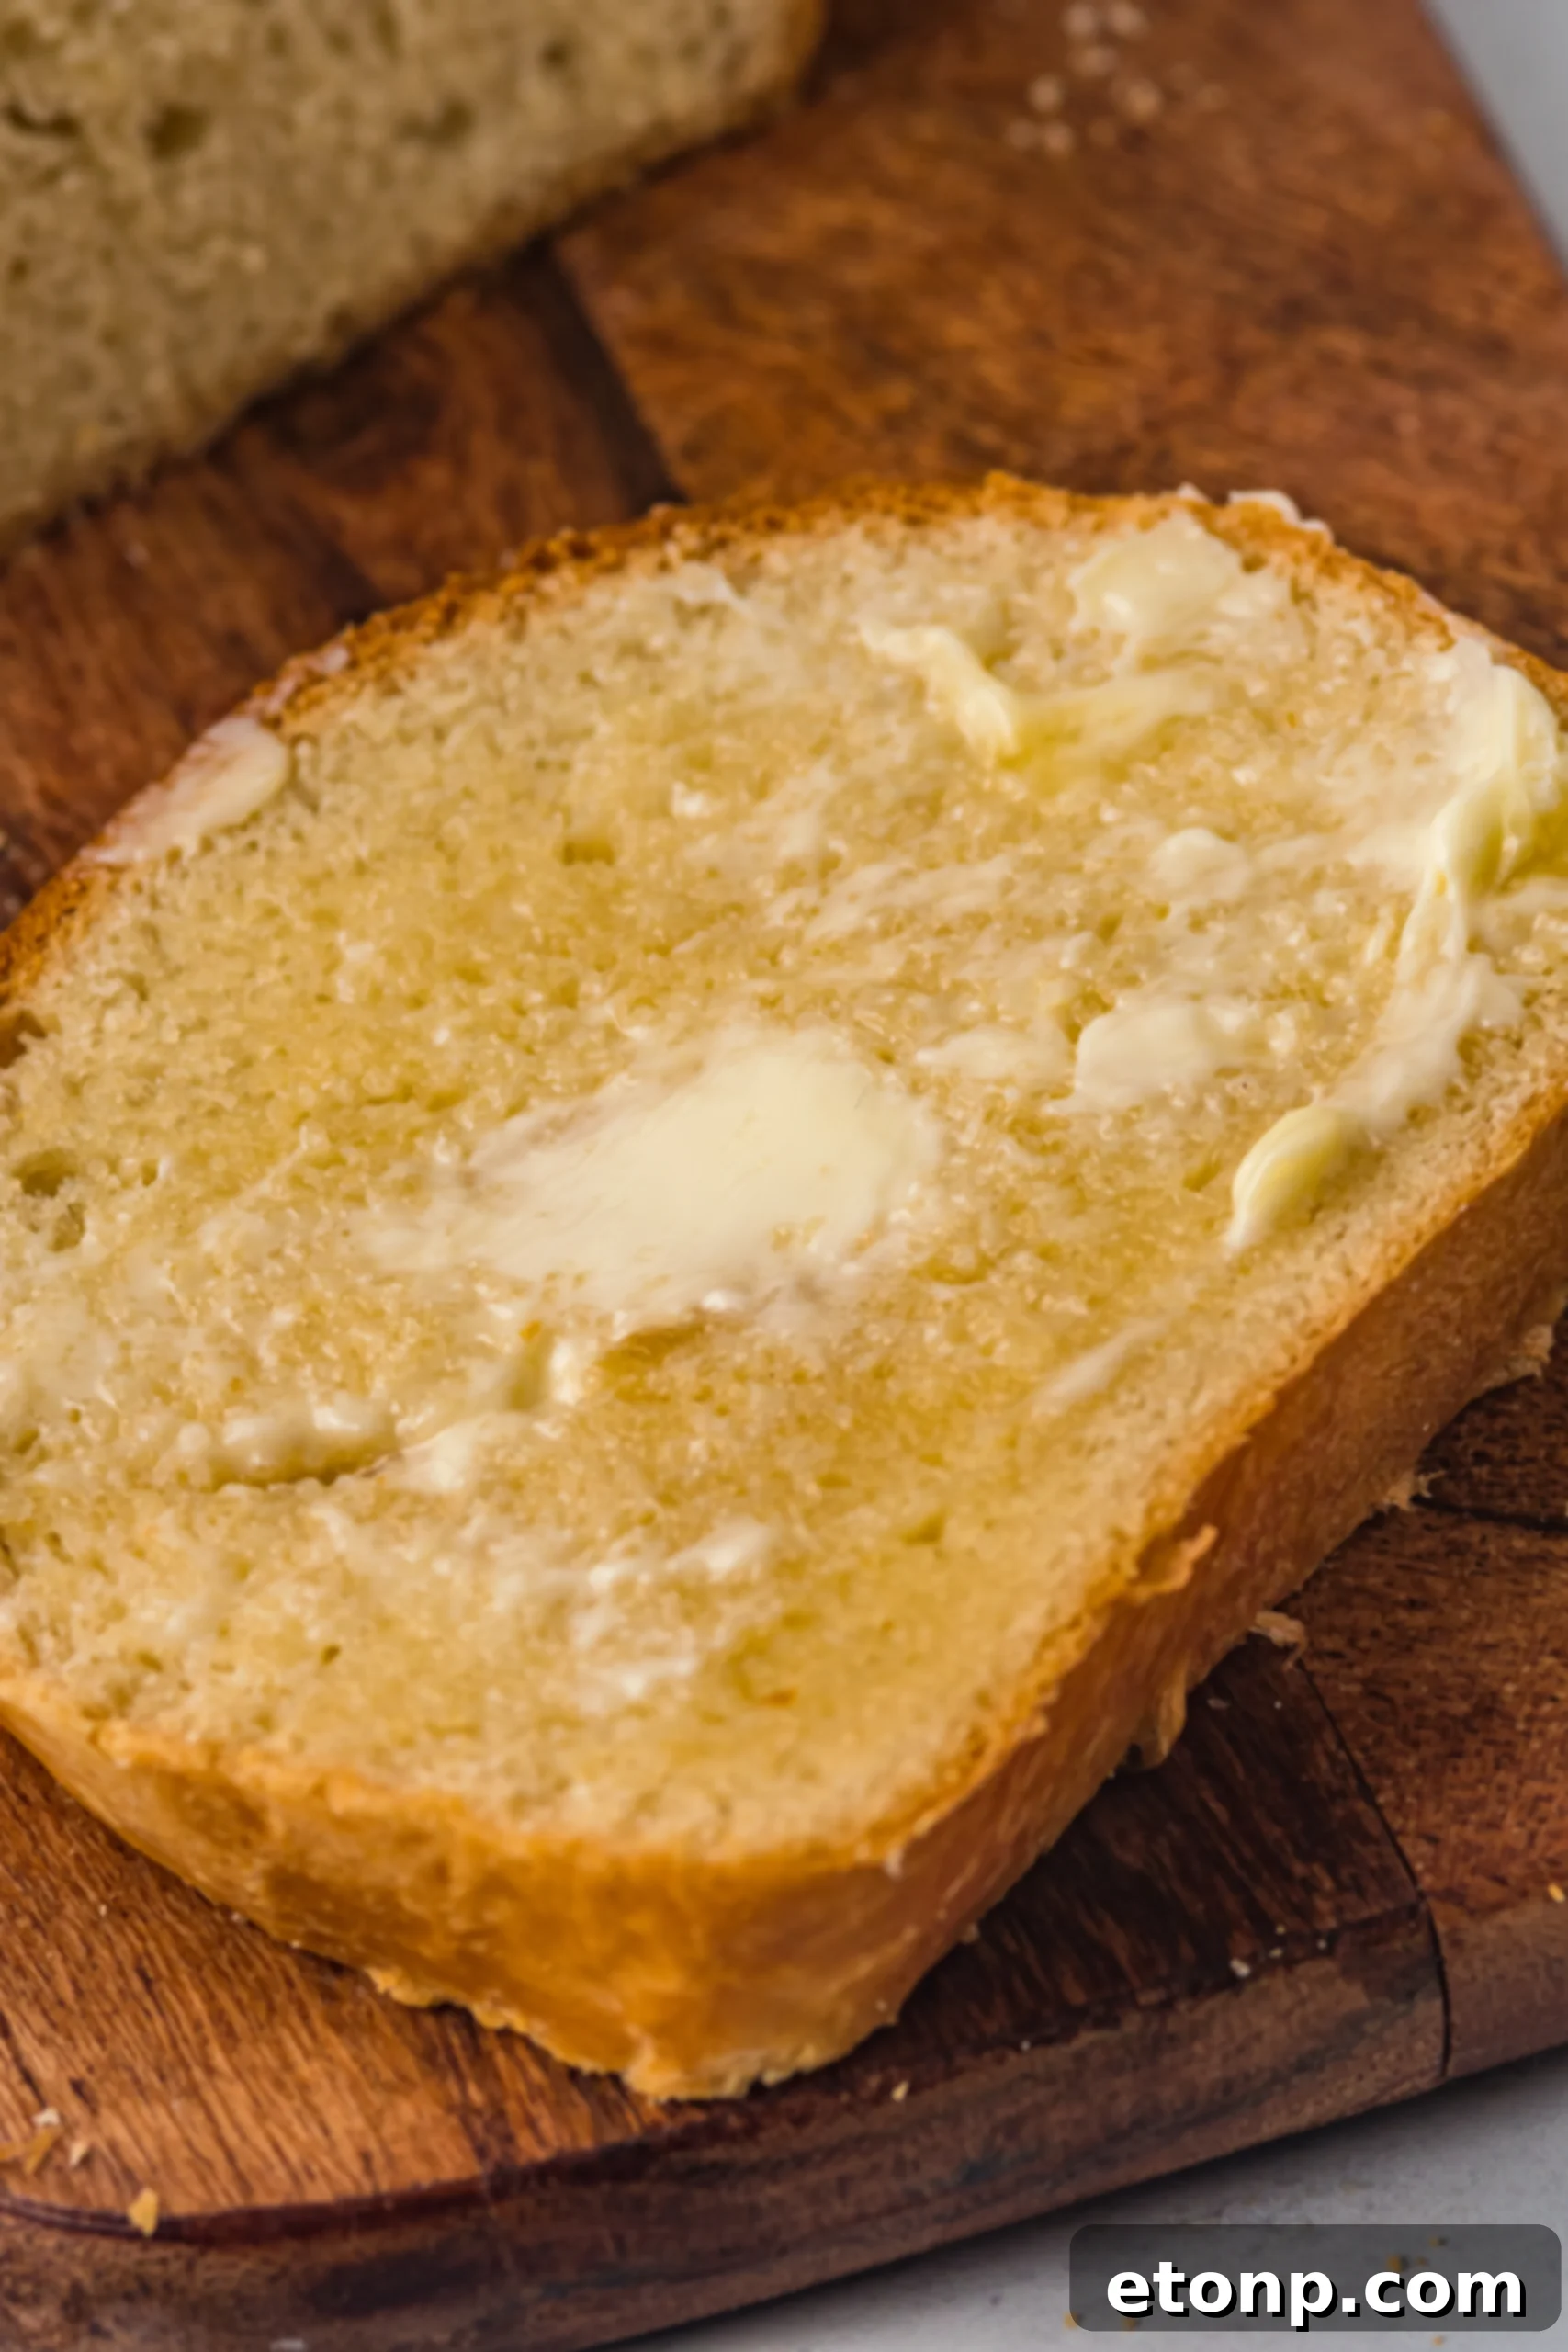
There’s a unique satisfaction that comes with baking your own bread, and this Amish White Bread recipe makes the process surprisingly enjoyable and rewarding. Often referred to as “Amish Friendship Bread” due to its comforting nature and ease of sharing, this recipe is perfect for both novice bakers and experienced enthusiasts. Here’s why it’s guaranteed to become a cherished addition to your recipe collection:
- Effortlessly Simple to Master: We believe that preparing delicious, from-scratch bread shouldn’t be intimidating. This recipe utilizes basic, accessible ingredients and follows a logical, easy-to-follow process, making homemade bread a joyous activity, not a daunting task. You’ll be amazed at how quickly you can create bakery-quality loaves.
- Incredible Versatility for Endless Creations: This isn’t merely a recipe for two loaves of bread; it’s a foundational dough that unlocks a world of baking possibilities. While perfect for classic sandwich bread, the same adaptable dough can be transformed into soft, gooey cinnamon rolls, decadent sticky buns, or even savory herb and cheese loaves. Your culinary imagination is the only limit!
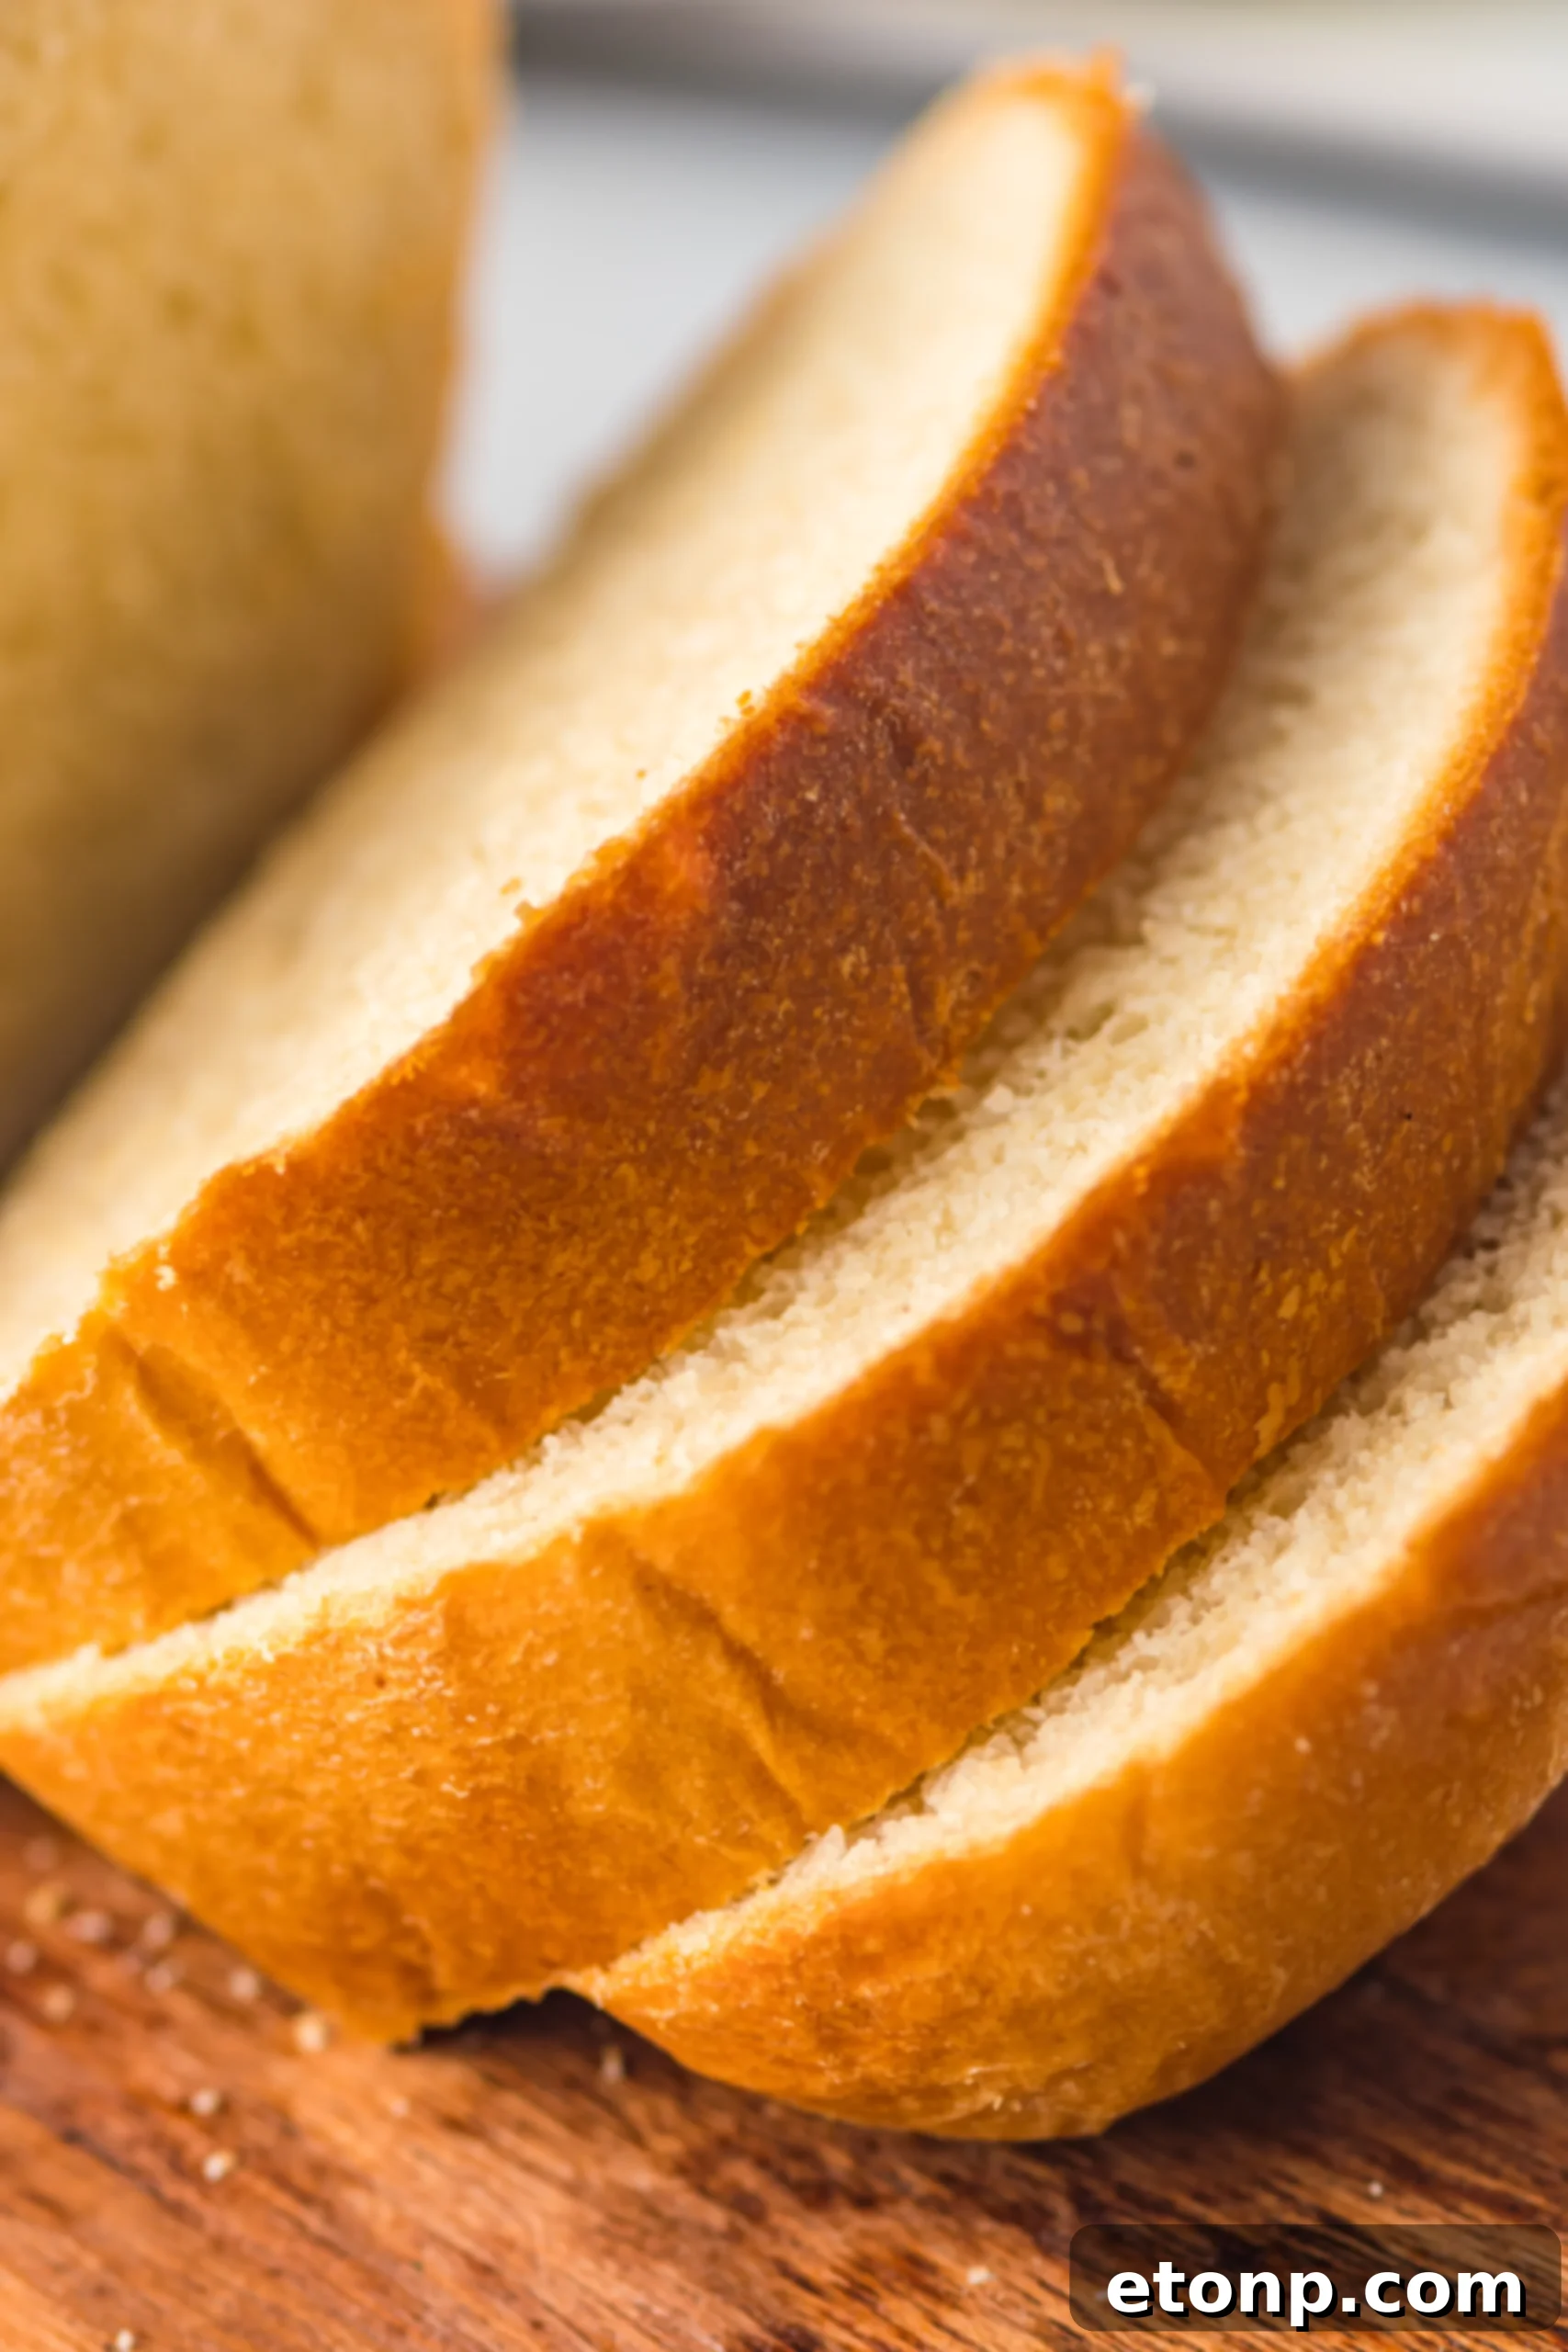
- Unmatched Taste and Irresistible Texture: Prepare to redefine your expectations for white bread. This homemade version boasts an exquisitely soft, tender crumb, a delicate golden crust, and a subtle, balanced sweetness that sets it miles apart from anything you’ll find on a grocery store shelf. Each bite offers a satisfying chewiness and a rich, wholesome flavor that mass-produced bread simply cannot replicate.
- A Healthier, Preservative-Free Choice: When you bake your own bread, you control every ingredient. This means no artificial preservatives, unnecessary additives, or high-fructose corn syrup. You’re providing your family with a purer, more wholesome product, packed with natural goodness and made with love.
- Cost-Effective and Highly Rewarding: Regularly buying artisanal or even standard bread can add up. Making your own Amish White Bread at home is not only significantly more economical but also incredibly fulfilling. The sense of accomplishment and the delightful aroma that fills your home are priceless.
Essential Ingredients for Your Perfect Loaf of Amish White Bread
The magic of this delicious bread comes from a handful of simple, readily available ingredients. Understanding the role each one plays will help you appreciate the science and art of bread making:
- Granulated Sugar: Beyond merely adding sweetness, sugar is vital for two key functions: it provides immediate food for the yeast, helping it activate and rise efficiently, and it contributes to the beautiful golden-brown color of the crust during baking. Rest assured, the amount used ensures a delightful, subtle sweetness, not an overwhelmingly sugary taste.
- Warm Water (110° to 120°F): This is the crucial element for waking up your active dry yeast. The temperature is critical – water that’s too cold won’t activate the yeast, leading to a flat loaf, while water that’s too hot will kill the yeast entirely. Think of it as a comfortable bath for your yeast!
- Honey: A delightful natural sweetener that imbues the bread with a unique, subtle depth of flavor. Honey also acts as a humectant, helping to keep the bread wonderfully moist and tender for longer. If honey isn’t available, you can substitute with an equal amount of granulated sugar, though the flavor profile will shift slightly.
- Active Dry Yeast: The powerhouse behind your bread’s incredible rise. Yeast is a living organism that, when activated by warmth and fed by sugar, produces carbon dioxide gas, which gets trapped in the dough’s gluten structure, causing it to expand. Ensuring your yeast is fresh and active is paramount for a successful bake.
- Warm Milk: Incorporating milk instead of just water contributes significantly to a richer, more complex flavor profile and yields a remarkably softer, more tender crumb. The fats and sugars in milk also aid in browning the crust beautifully.
- Unsalted Butter (Divided): Butter is a flavor enhancer and a tenderizer. It adds richness and a delightful mouthfeel to the bread. A portion is melted and kneaded directly into the dough, while the remaining amount is specifically reserved for the indulgent cinnamon swirl variation. Using unsalted butter gives you precise control over the overall sodium content of your loaf.
- Salt: Often overlooked, salt is an indispensable ingredient in bread making. It doesn’t just add flavor; it also strengthens the gluten structure, controls the rate of yeast fermentation, and prevents the bread from tasting bland. Never omit the salt!
- Bread Flour: This is the foundation of your loaf! Bread flour boasts a higher protein content compared to all-purpose flour, meaning it develops more gluten during kneading. This robust gluten network is essential for creating the elastic structure that traps the gases produced by the yeast, allowing your bread to achieve a magnificent rise and a satisfyingly chewy texture. We recommend starting with 4 cups and incrementally adding more (up to 6 cups total) until you achieve a dough that is soft, pliable, and slightly tacky, but no longer excessively sticky. This flexible approach ensures perfect dough consistency, adapting to varying humidity and flour types.
Frequently Asked Questions About Baking Homemade Amish White Bread
Do I have to use honey in this recipe?
While honey undeniably imparts a wonderful, nuanced sweetness and contributes to the bread’s tender texture and appealing color, it is not an absolute requirement. If you find yourself without honey, or simply prefer to omit it, you can substitute it with an equal amount of granulated sugar. Be aware that this might slightly alter the bread’s characteristic subtle flavor and moisture, but your loaf will still be deliciously homemade and satisfying.
Can I customize this bread with other ingredients?
Absolutely! This Amish White Bread recipe provides a wonderfully versatile foundation, inviting you to experiment with various flavors. For a savory loaf, consider folding in your favorite dried herbs like rosemary, thyme, or oregano, a touch of garlic powder or minced fresh garlic, or even chopped olives and shredded hard cheeses like Parmesan or cheddar. For sweet variations, in addition to the cinnamon swirl, you could incorporate pumpkin pie spice, nutmeg, dried fruits such as raisins or cranberries, or even chocolate chips. Feel free to get creative and make this recipe truly your own!
What are the best ways to enjoy this homemade bread?
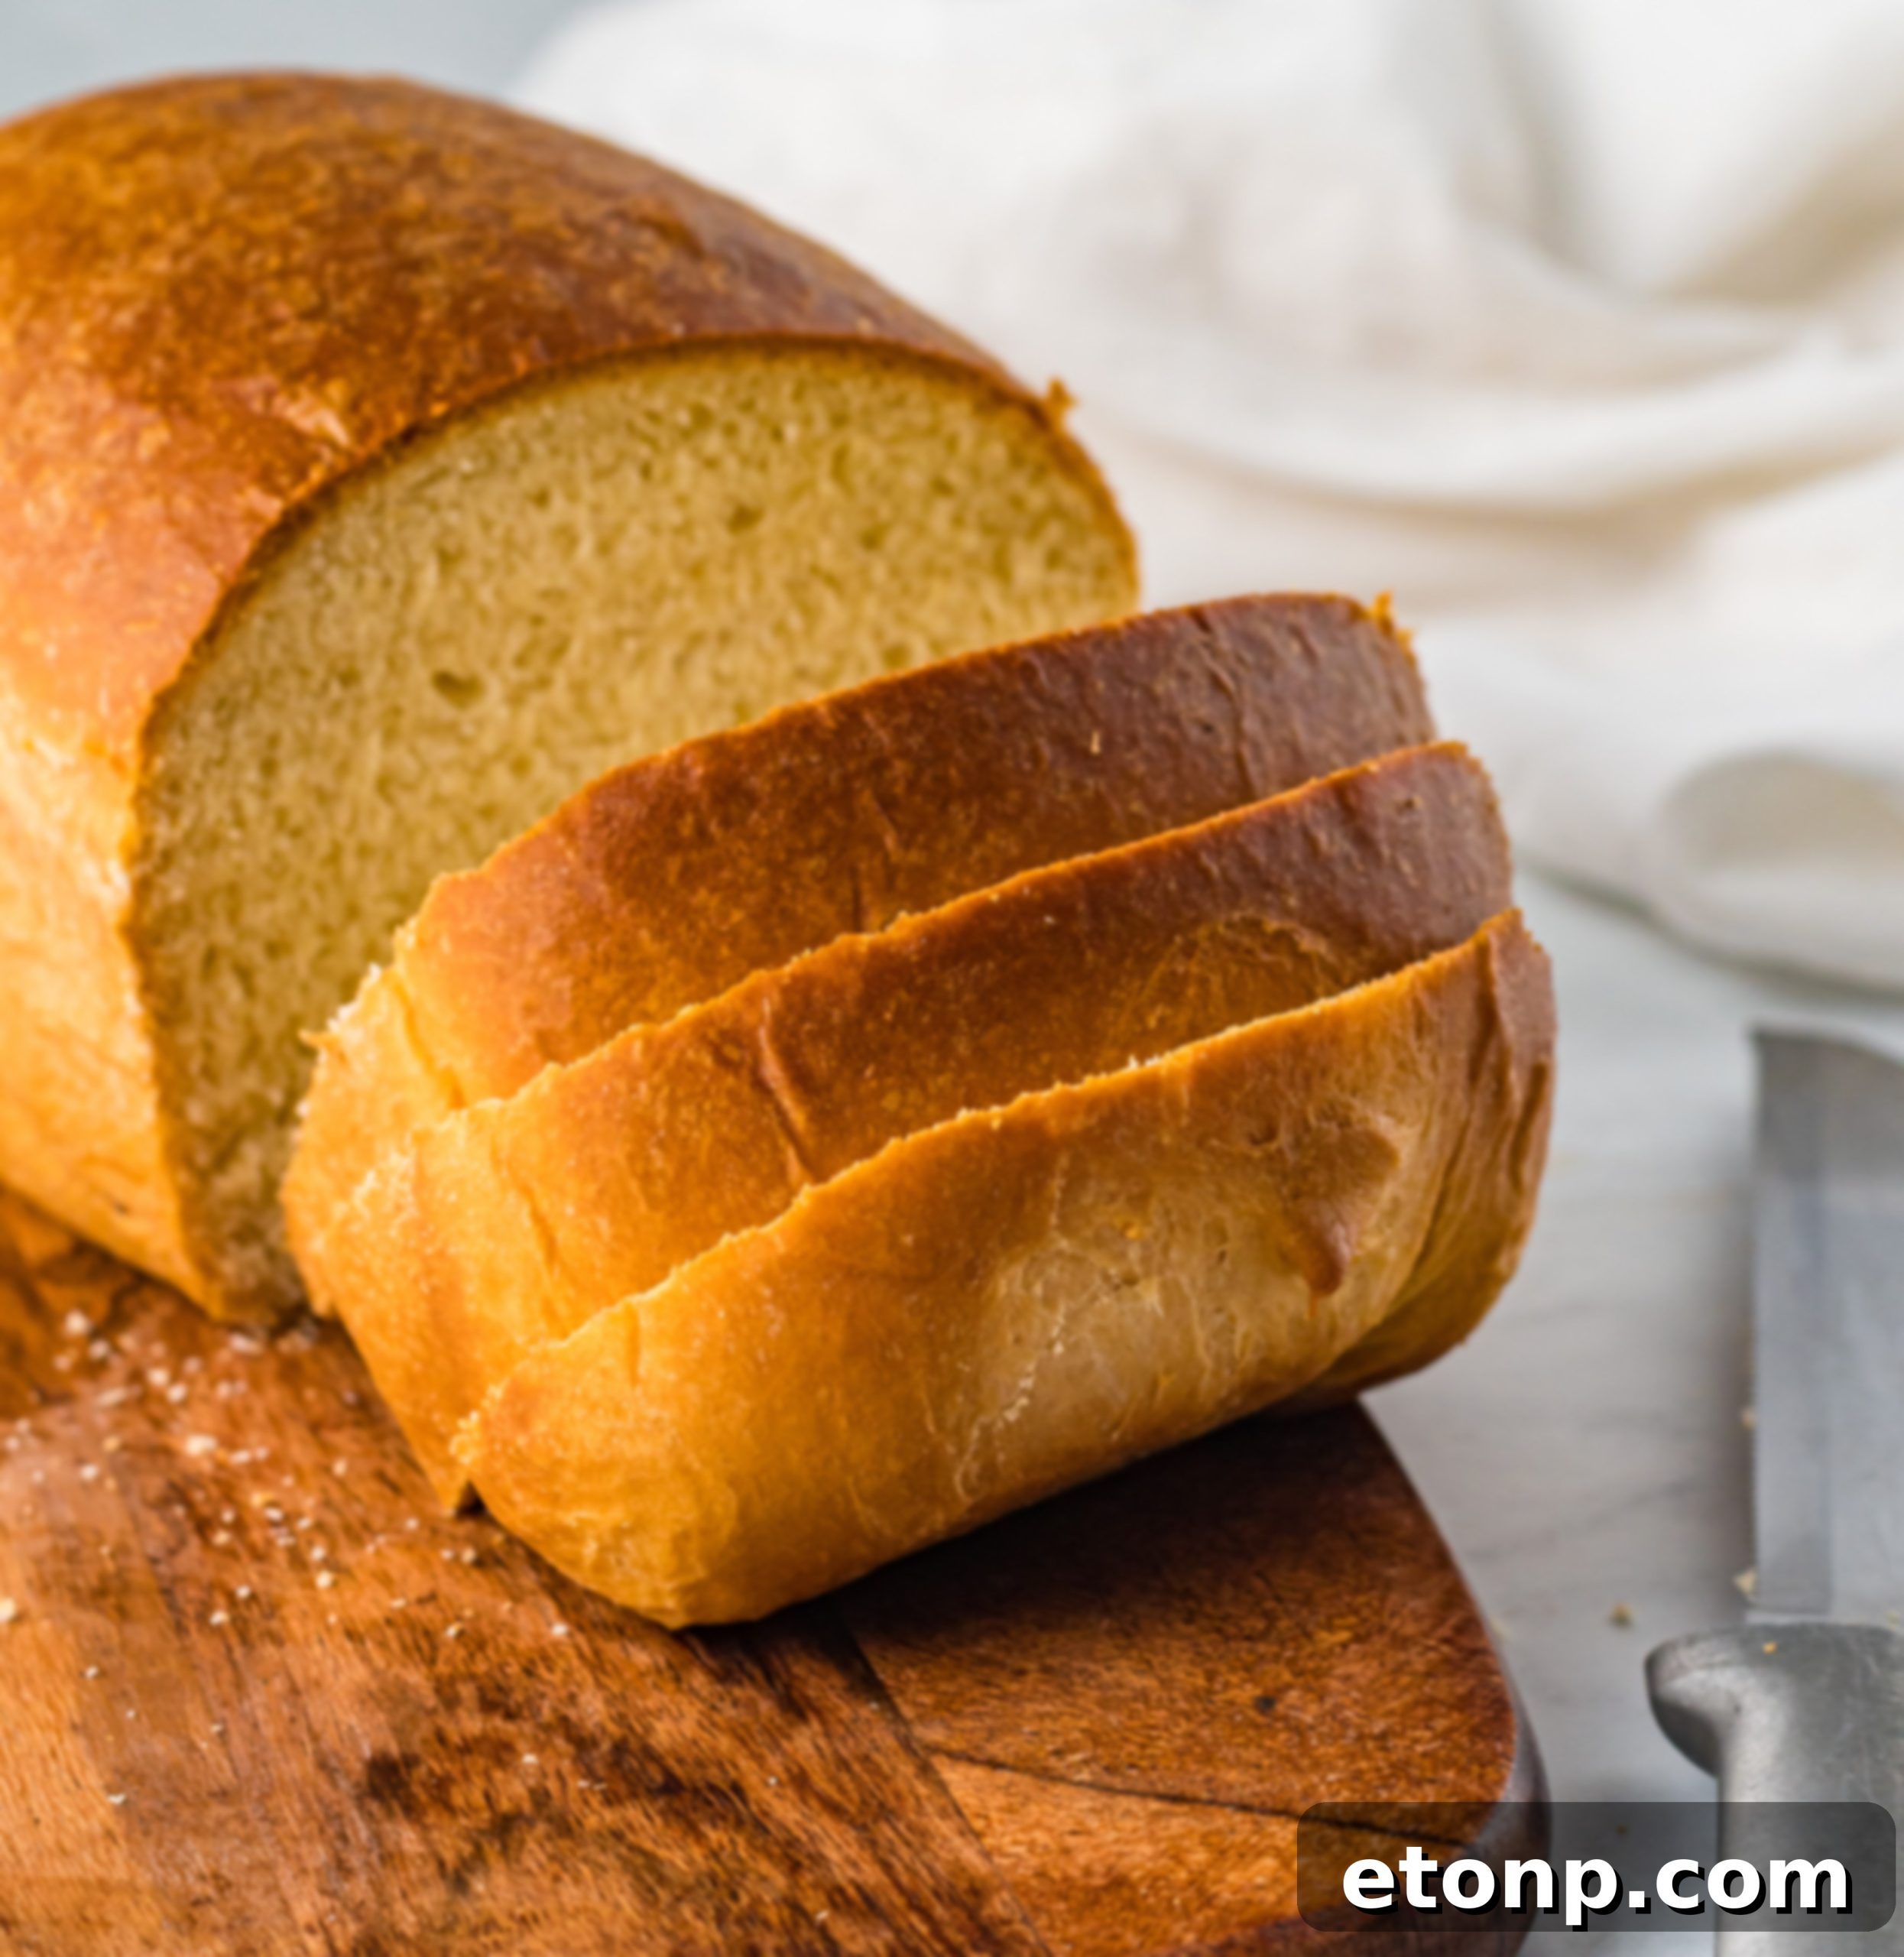
The beauty of this Amish White Bread lies in its incredible versatility! While utterly delicious on its own, especially when still warm from the oven, it serves as a perfect canvas for countless accompaniments. A simple pat of butter (or even homemade jam) is pure bliss. It makes the most fantastic sandwiches, whether piled high with deli meats and cheeses or spread with classic peanut butter and jelly. Don’t forget about French toast, grilled cheese, or serving it as a delightful accompaniment to your favorite hearty soups, stews, or chili for dipping. The cinnamon swirl variation is particularly exceptional toasted and topped with a dollop of cream cheese frosting or a drizzle of glaze.
What should I do if I don’t own a stand mixer?
No stand mixer? No problem at all! While a stand mixer equipped with a dough hook simplifies the kneading process significantly, you can absolutely achieve a perfect dough by hand. Hand kneading will require a bit more physical effort and a longer commitment, typically around 15 minutes of continuous, vigorous kneading. The goal is to develop the gluten to the point where the dough is smooth, elastic, and passes the “windowpane test” – meaning you can stretch a small piece of dough thin enough to see light through it without it tearing. Embrace the process; hand kneading can be a very therapeutic and rewarding experience!
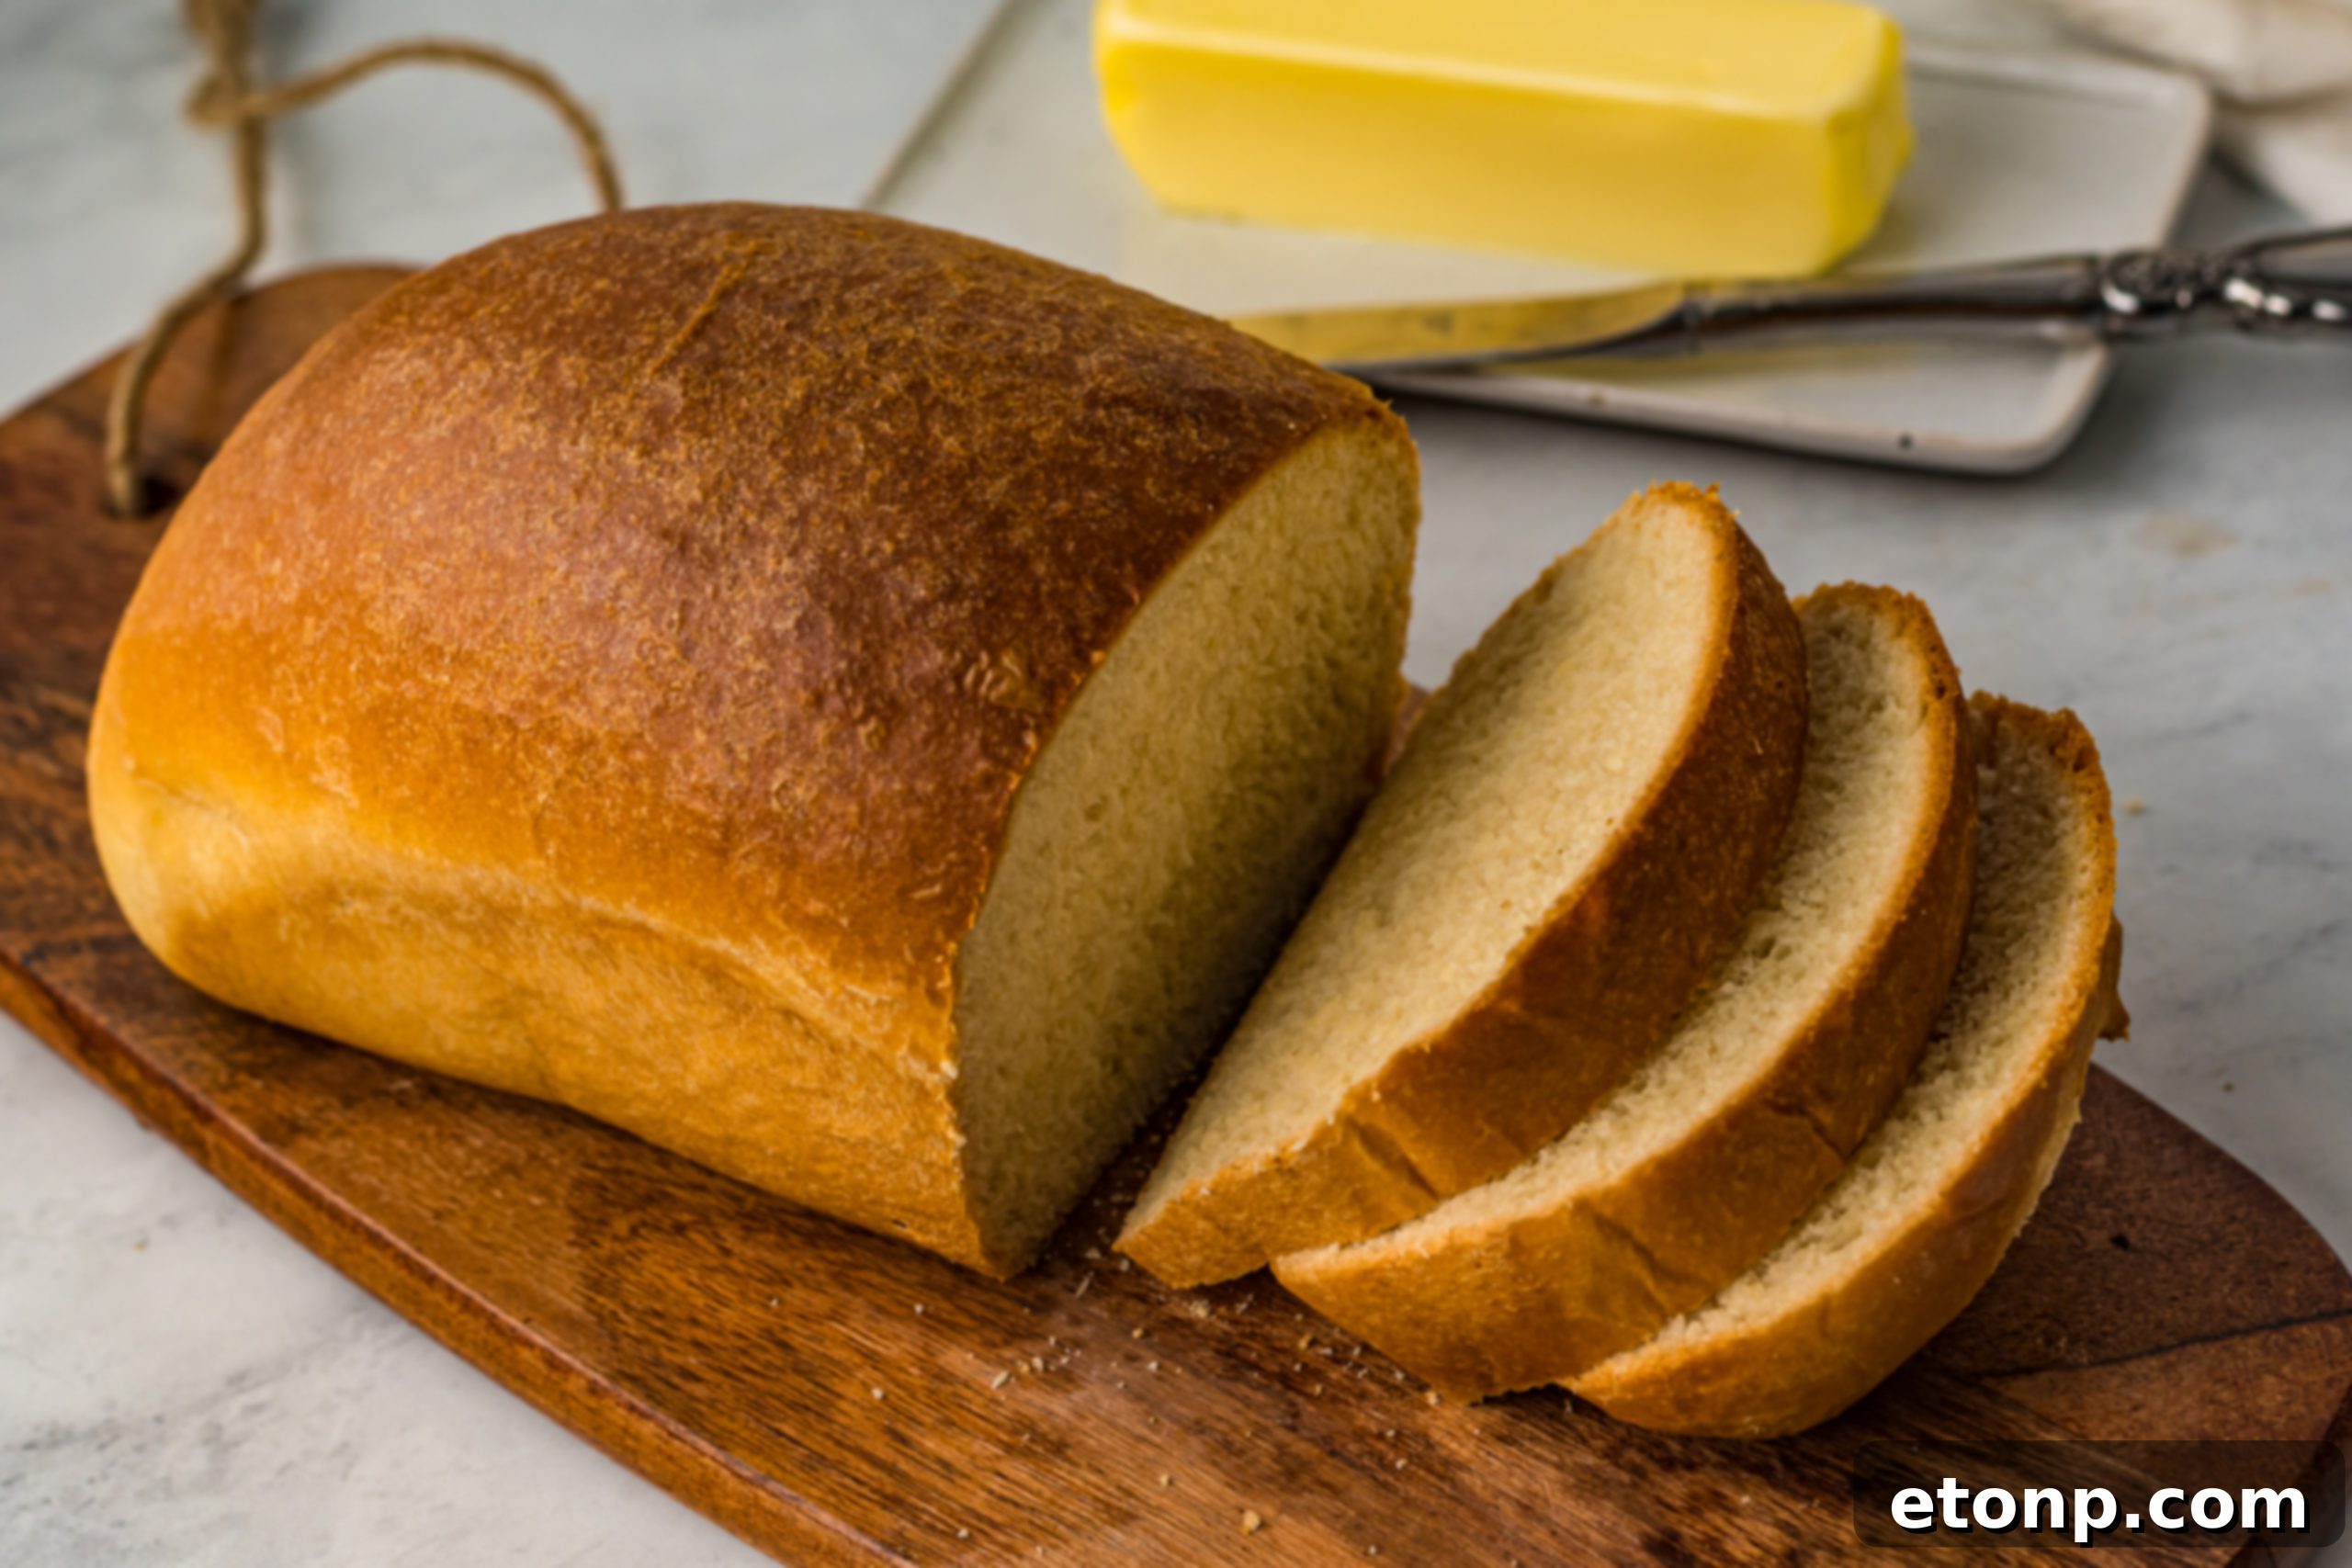
Expert Tips for Baking Perfect Amish White Bread Every Time
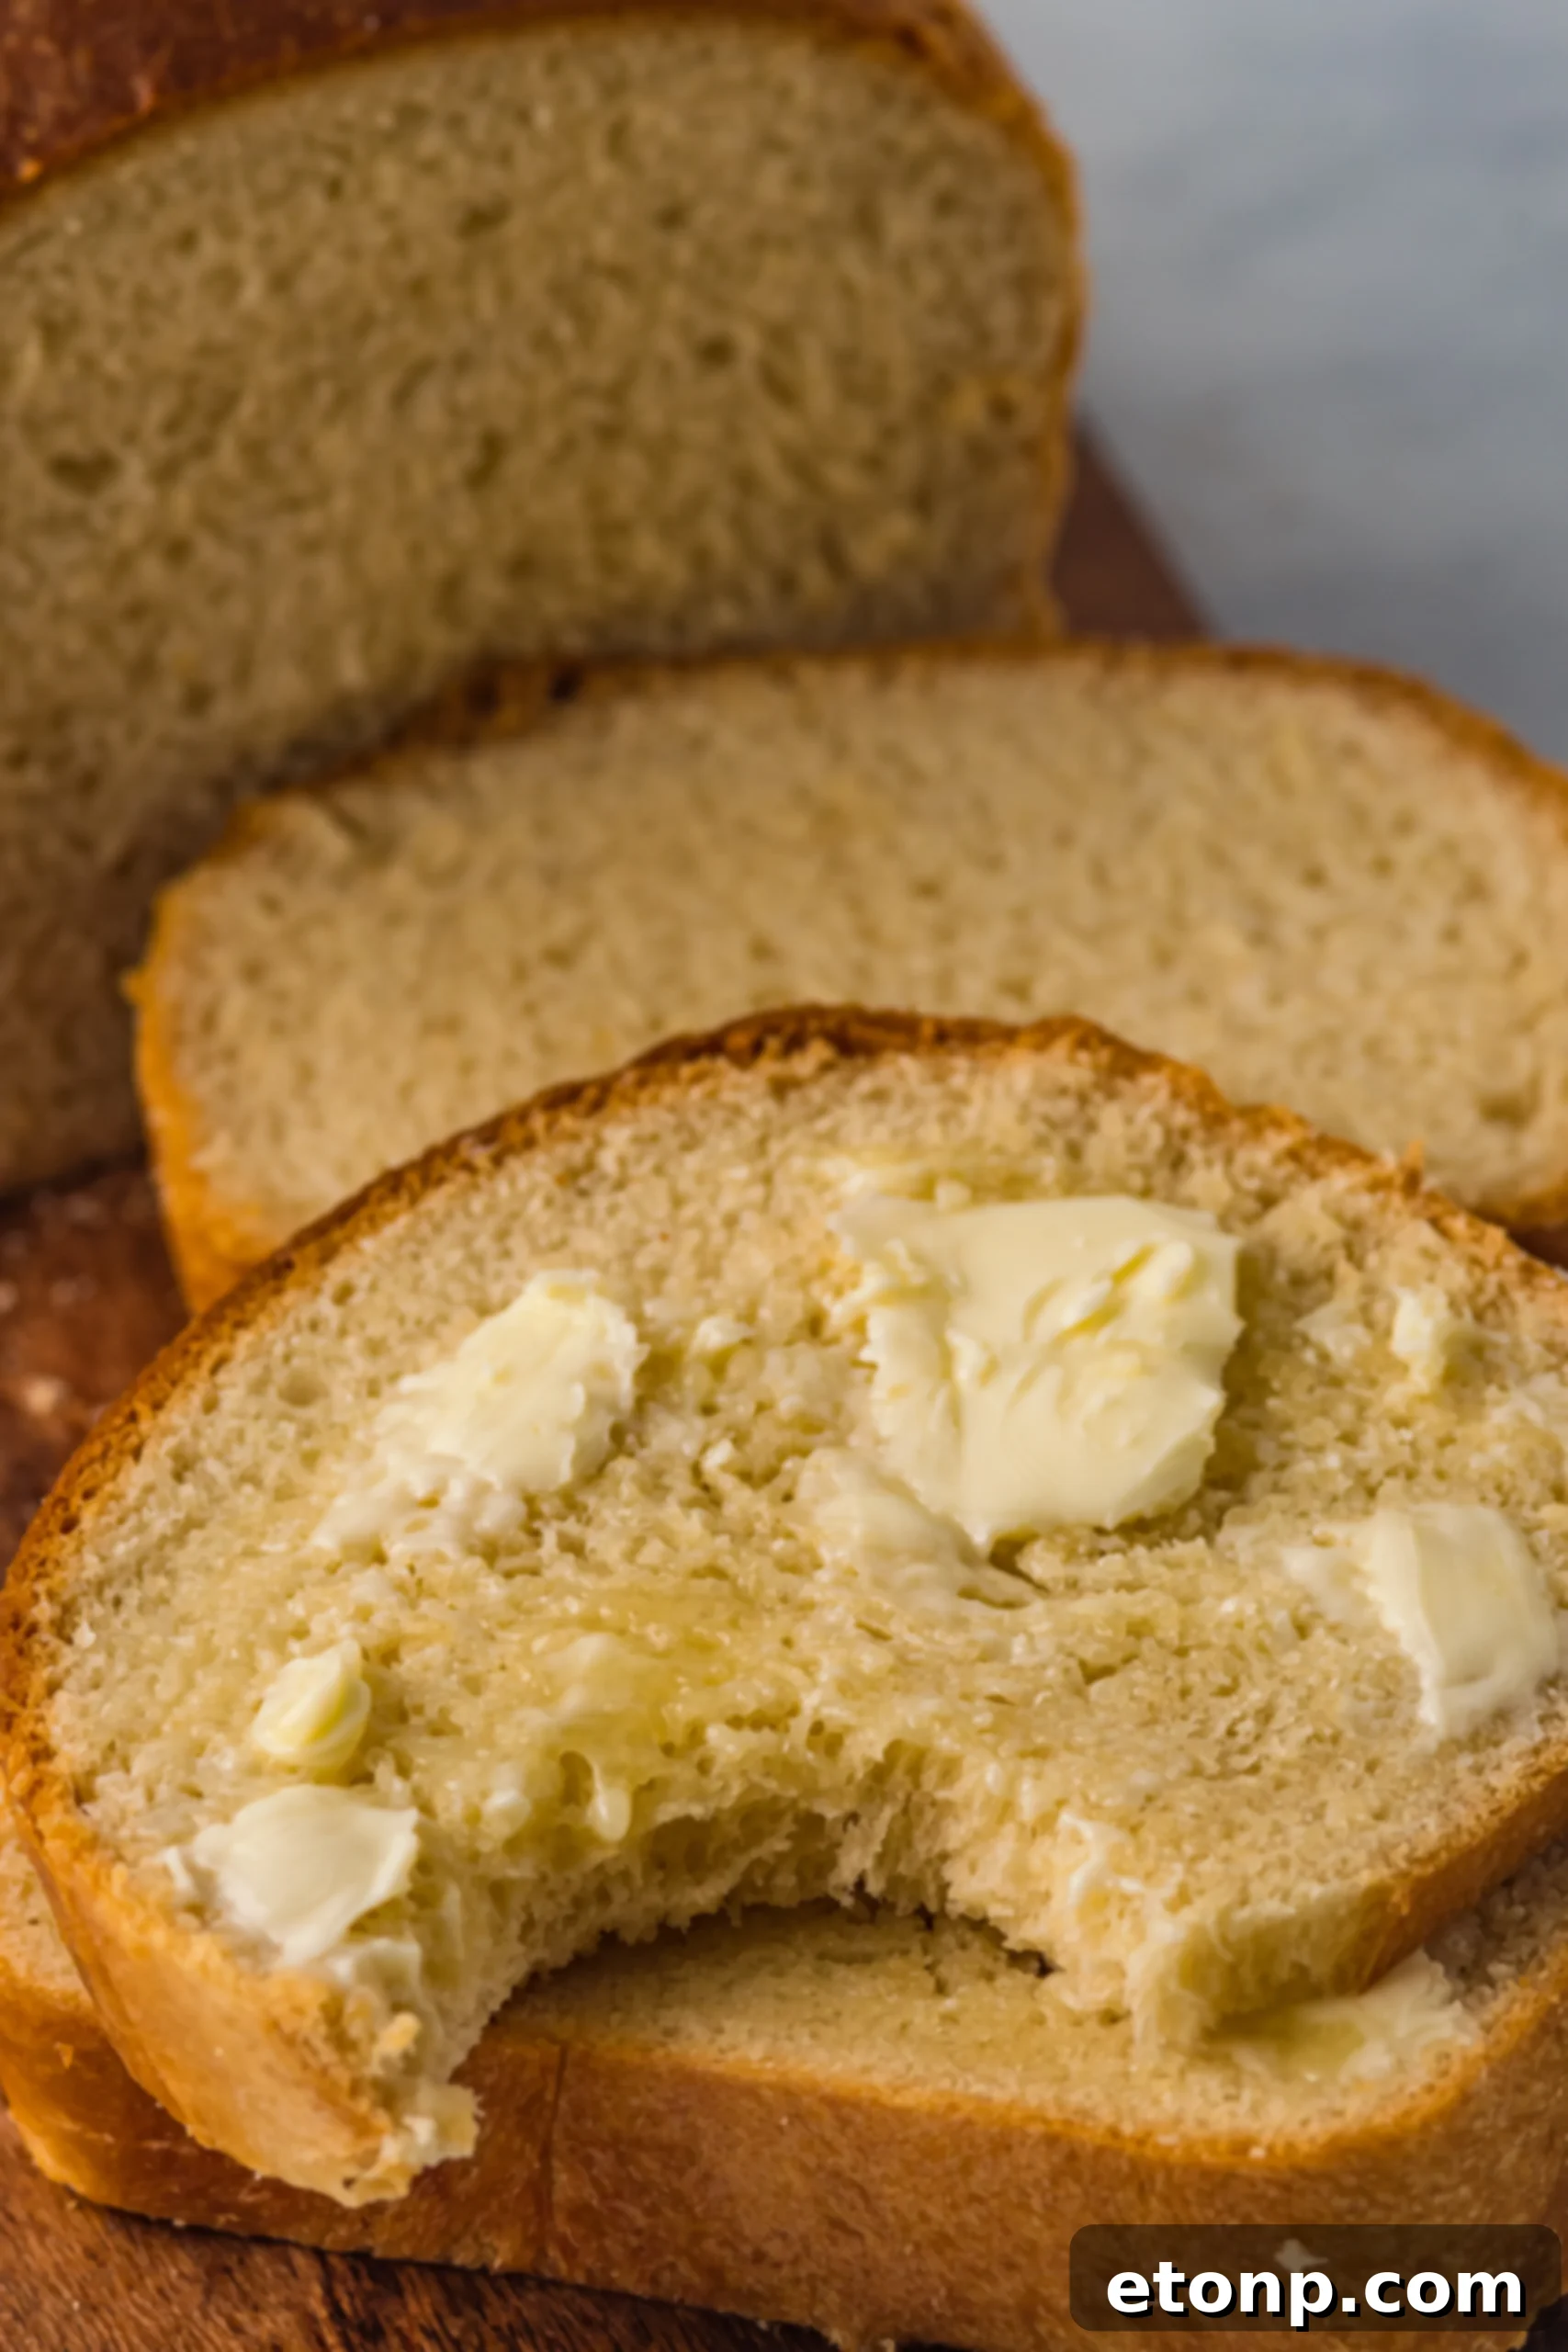
Achieving bakery-quality bread at home is easier than you think with these helpful tips:
- Always Verify Yeast Activity: For consistent results, ensure your active dry yeast is fresh and potent. Before mixing all ingredients, you can “proof” your yeast by combining a small portion with the warm water and a pinch of sugar. If it becomes bubbly and foamy within 5-10 minutes, your yeast is alive and ready to work! If not, it’s time for a new packet.
- Provide a Warm Environment for Rising: Yeast thrives in warmth. For optimal rising, place your covered dough bowl in a warm, draft-free location. This could be near a sunny window, inside a slightly warm (but turned off) oven, or even on top of a refrigerator or other warm appliance. Consistency in temperature helps ensure a good rise.
- Avoid Over-Flouring: It’s a common beginner mistake to add too much flour when dough feels sticky. However, excess flour leads to dry, dense bread. Add flour gradually, only until the dough is soft, pliable, and no longer excessively sticky – it should still have a slight tackiness to it. Trust the process and resist the urge to add more than necessary.
- Thorough Kneading is Crucial: Whether you’re using a stand mixer or kneading by hand, adequate kneading is fundamental. This process develops the gluten strands in the flour, creating the elastic network that gives bread its structure, chewiness, and ability to hold its shape. Knead until the dough feels smooth, supple, and stretches without tearing.
- Check Internal Temperature for Doneness: The most reliable way to ensure your bread is perfectly baked through is by checking its internal temperature with an instant-read thermometer. The bread is typically done when it reaches 190°F (88°C). If you don’t have a thermometer, tap the bottom of the loaf – a hollow sound indicates it’s likely finished.
- Patience During Cooling: As tempting as it is to slice into a hot loaf, allowing the bread to cool completely on a wire rack is essential. This crucial step allows the internal structure of the bread to set and firm up, preventing a gummy or doughy texture.
How to Store Your Freshly Baked Amish White Bread for Maximum Freshness
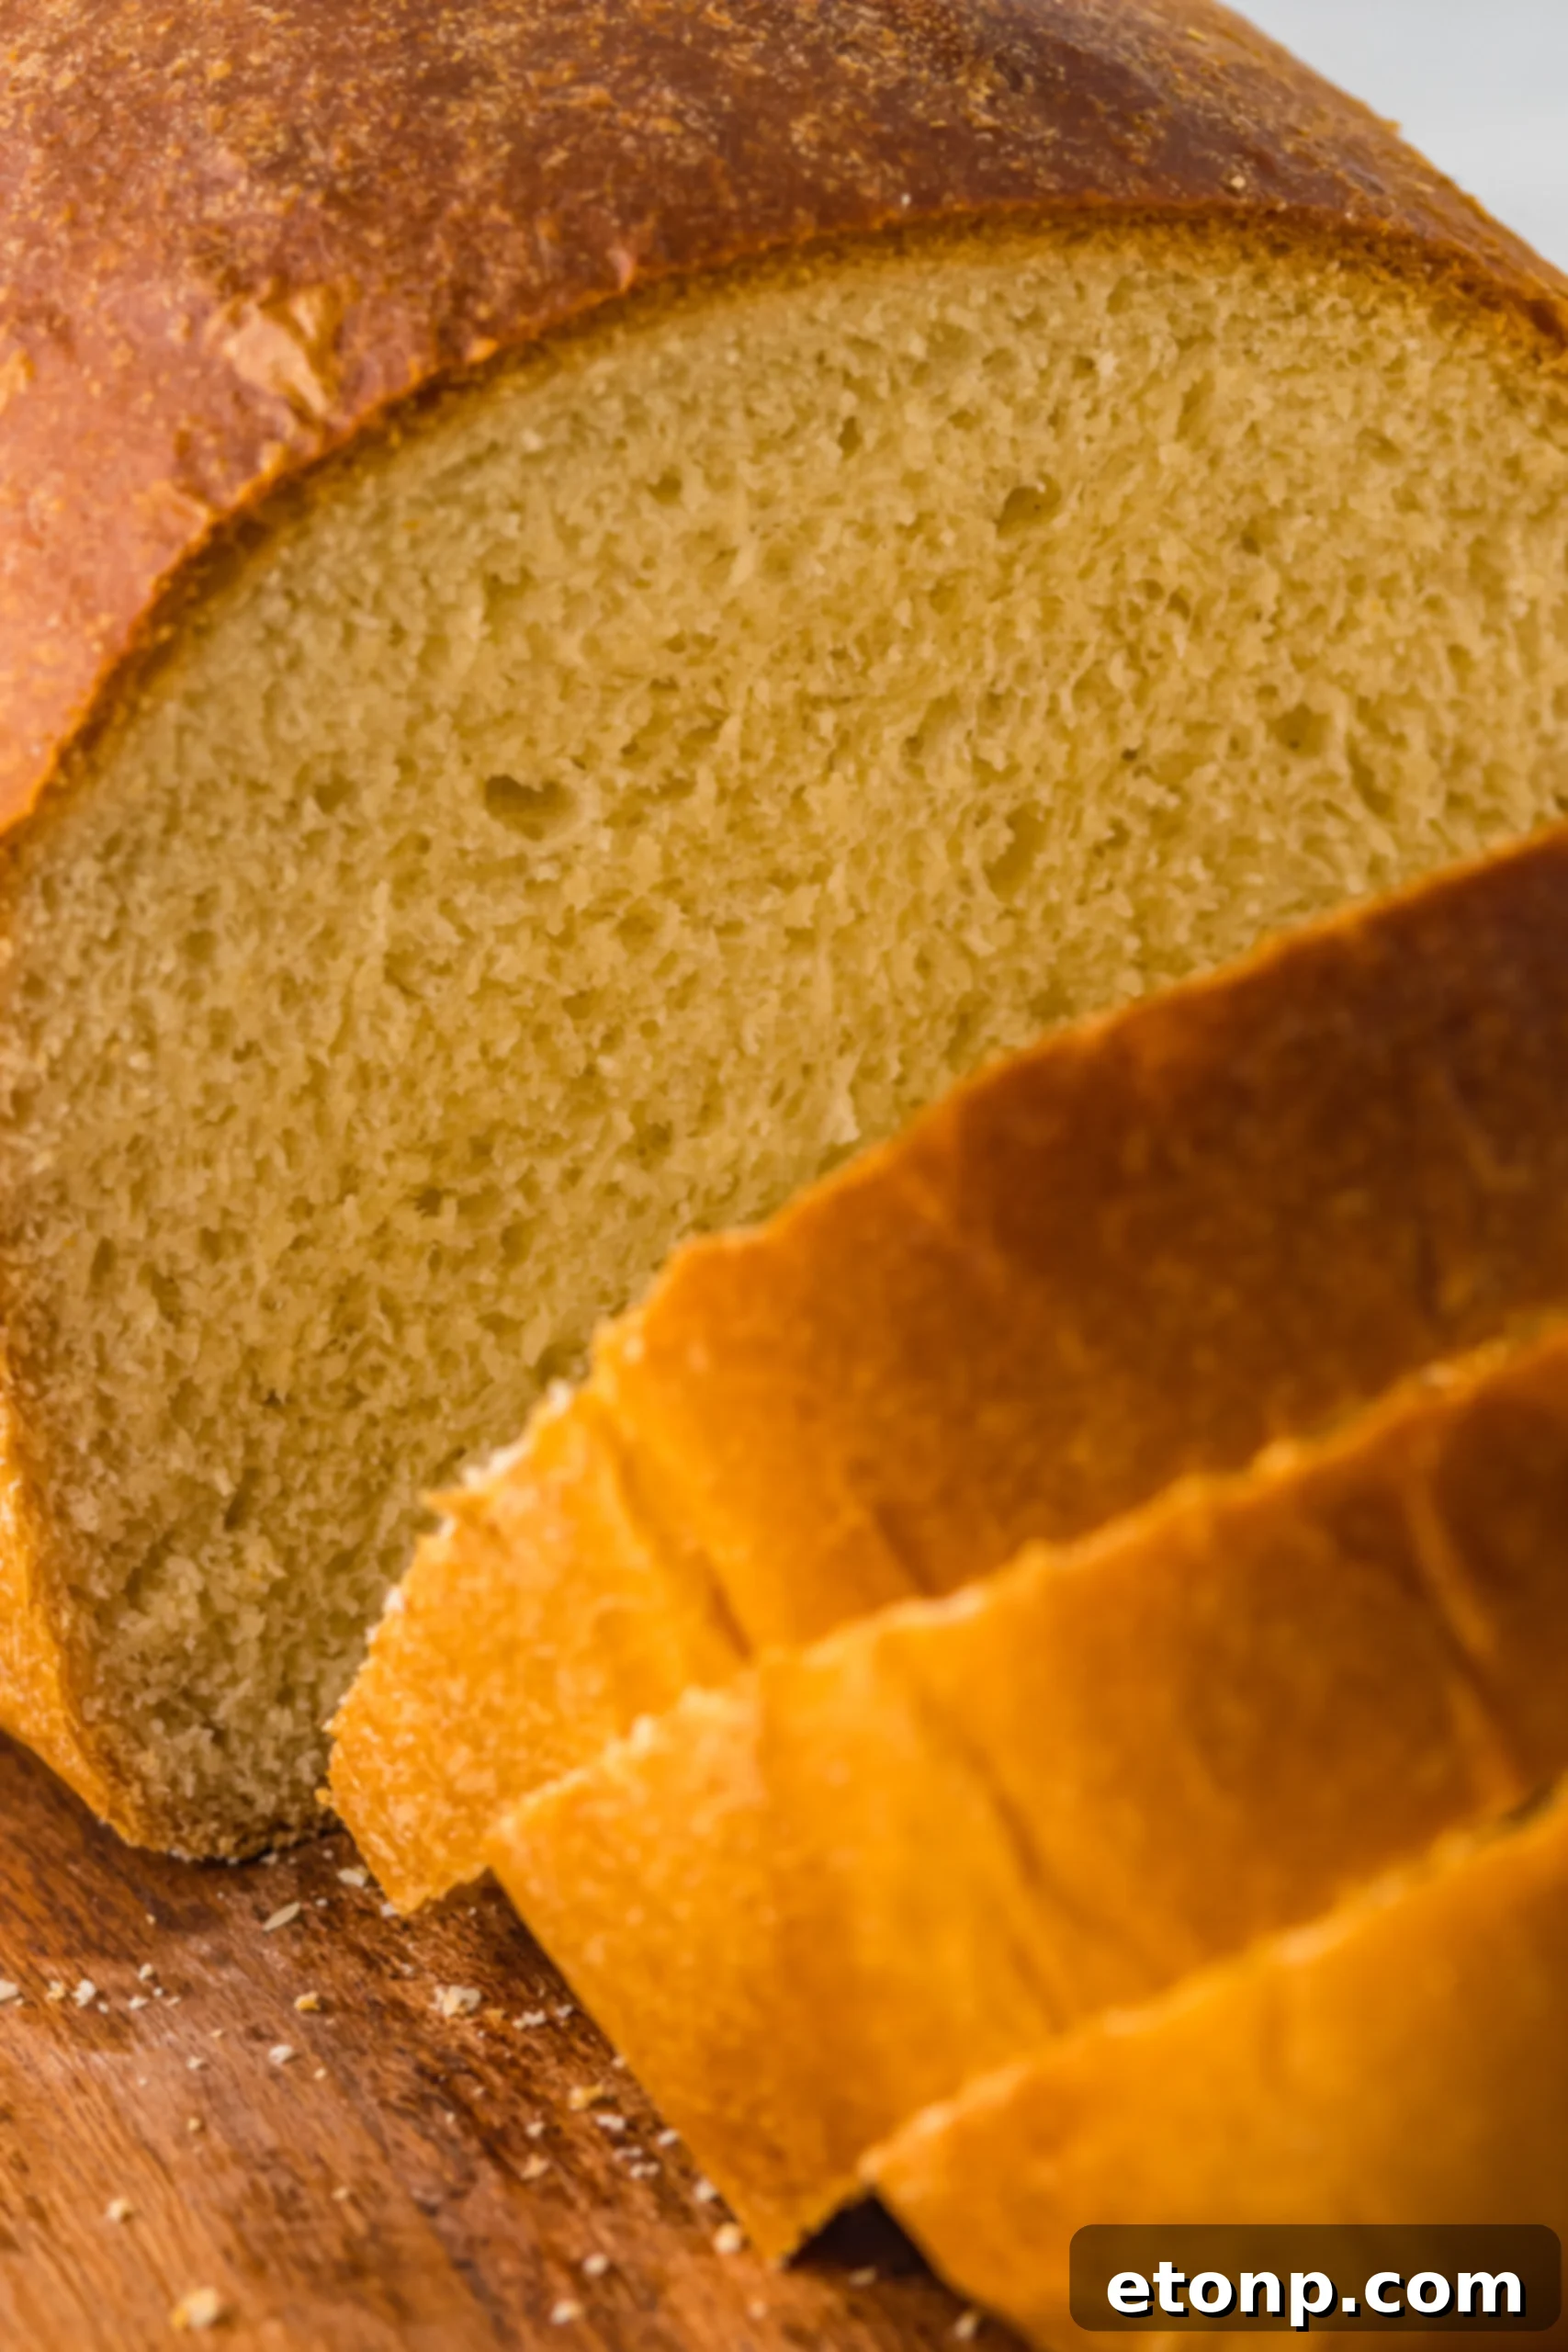
Proper storage is key to extending the deliciousness of your homemade Amish White Bread. Here’s how to keep it fresh:
- Room Temperature (2-3 Days): For immediate enjoyment, once the bread has completely cooled, store it at room temperature. The best methods include a dedicated bread box, a large airtight plastic bag (like a Ziploc), or wrapped tightly in plastic wrap or aluminum foil. Storing it cut-side down can also help prevent the exposed crumb from drying out.
- Refrigeration (Up to 5 Days): While refrigeration can extend shelf life slightly, it can also cause bread to dry out faster due to starch retrogradation. If you do choose to refrigerate, ensure it’s in a truly airtight container or bag to minimize moisture loss. This method is best if you live in a very humid climate or need to keep it for slightly longer than room temperature allows.
- Freezing for Long-Term Storage (Up to 3 Months): For the longest-lasting freshness, freezing is your best option. Once your loaves are entirely cool, wrap them tightly first in plastic wrap, then in a layer of aluminum foil, or place them into a freezer-safe bag. This double layer helps prevent freezer burn. To enjoy, simply thaw at room temperature. You can also warm slices directly from frozen in a toaster, oven, or microwave for a quick refresh.
Amish White Bread: A Beloved Recipe (Also Known as Amish Friendship Bread!)
This particular recipe holds a special place in the hearts of many home bakers, often lovingly referred to as “Amish Friendship Bread.” Its widespread appeal stems from its straightforward preparation and the consistently delightful results it yields. This bread embodies a sense of community and comfort, making it perfect for sharing with friends and family. The characteristic soft texture and balanced sweetness make it universally appealing, serving as the perfect base for anything from a hearty breakfast to a comforting afternoon snack. It’s truly a timeless classic that brings warmth and joy to any table.
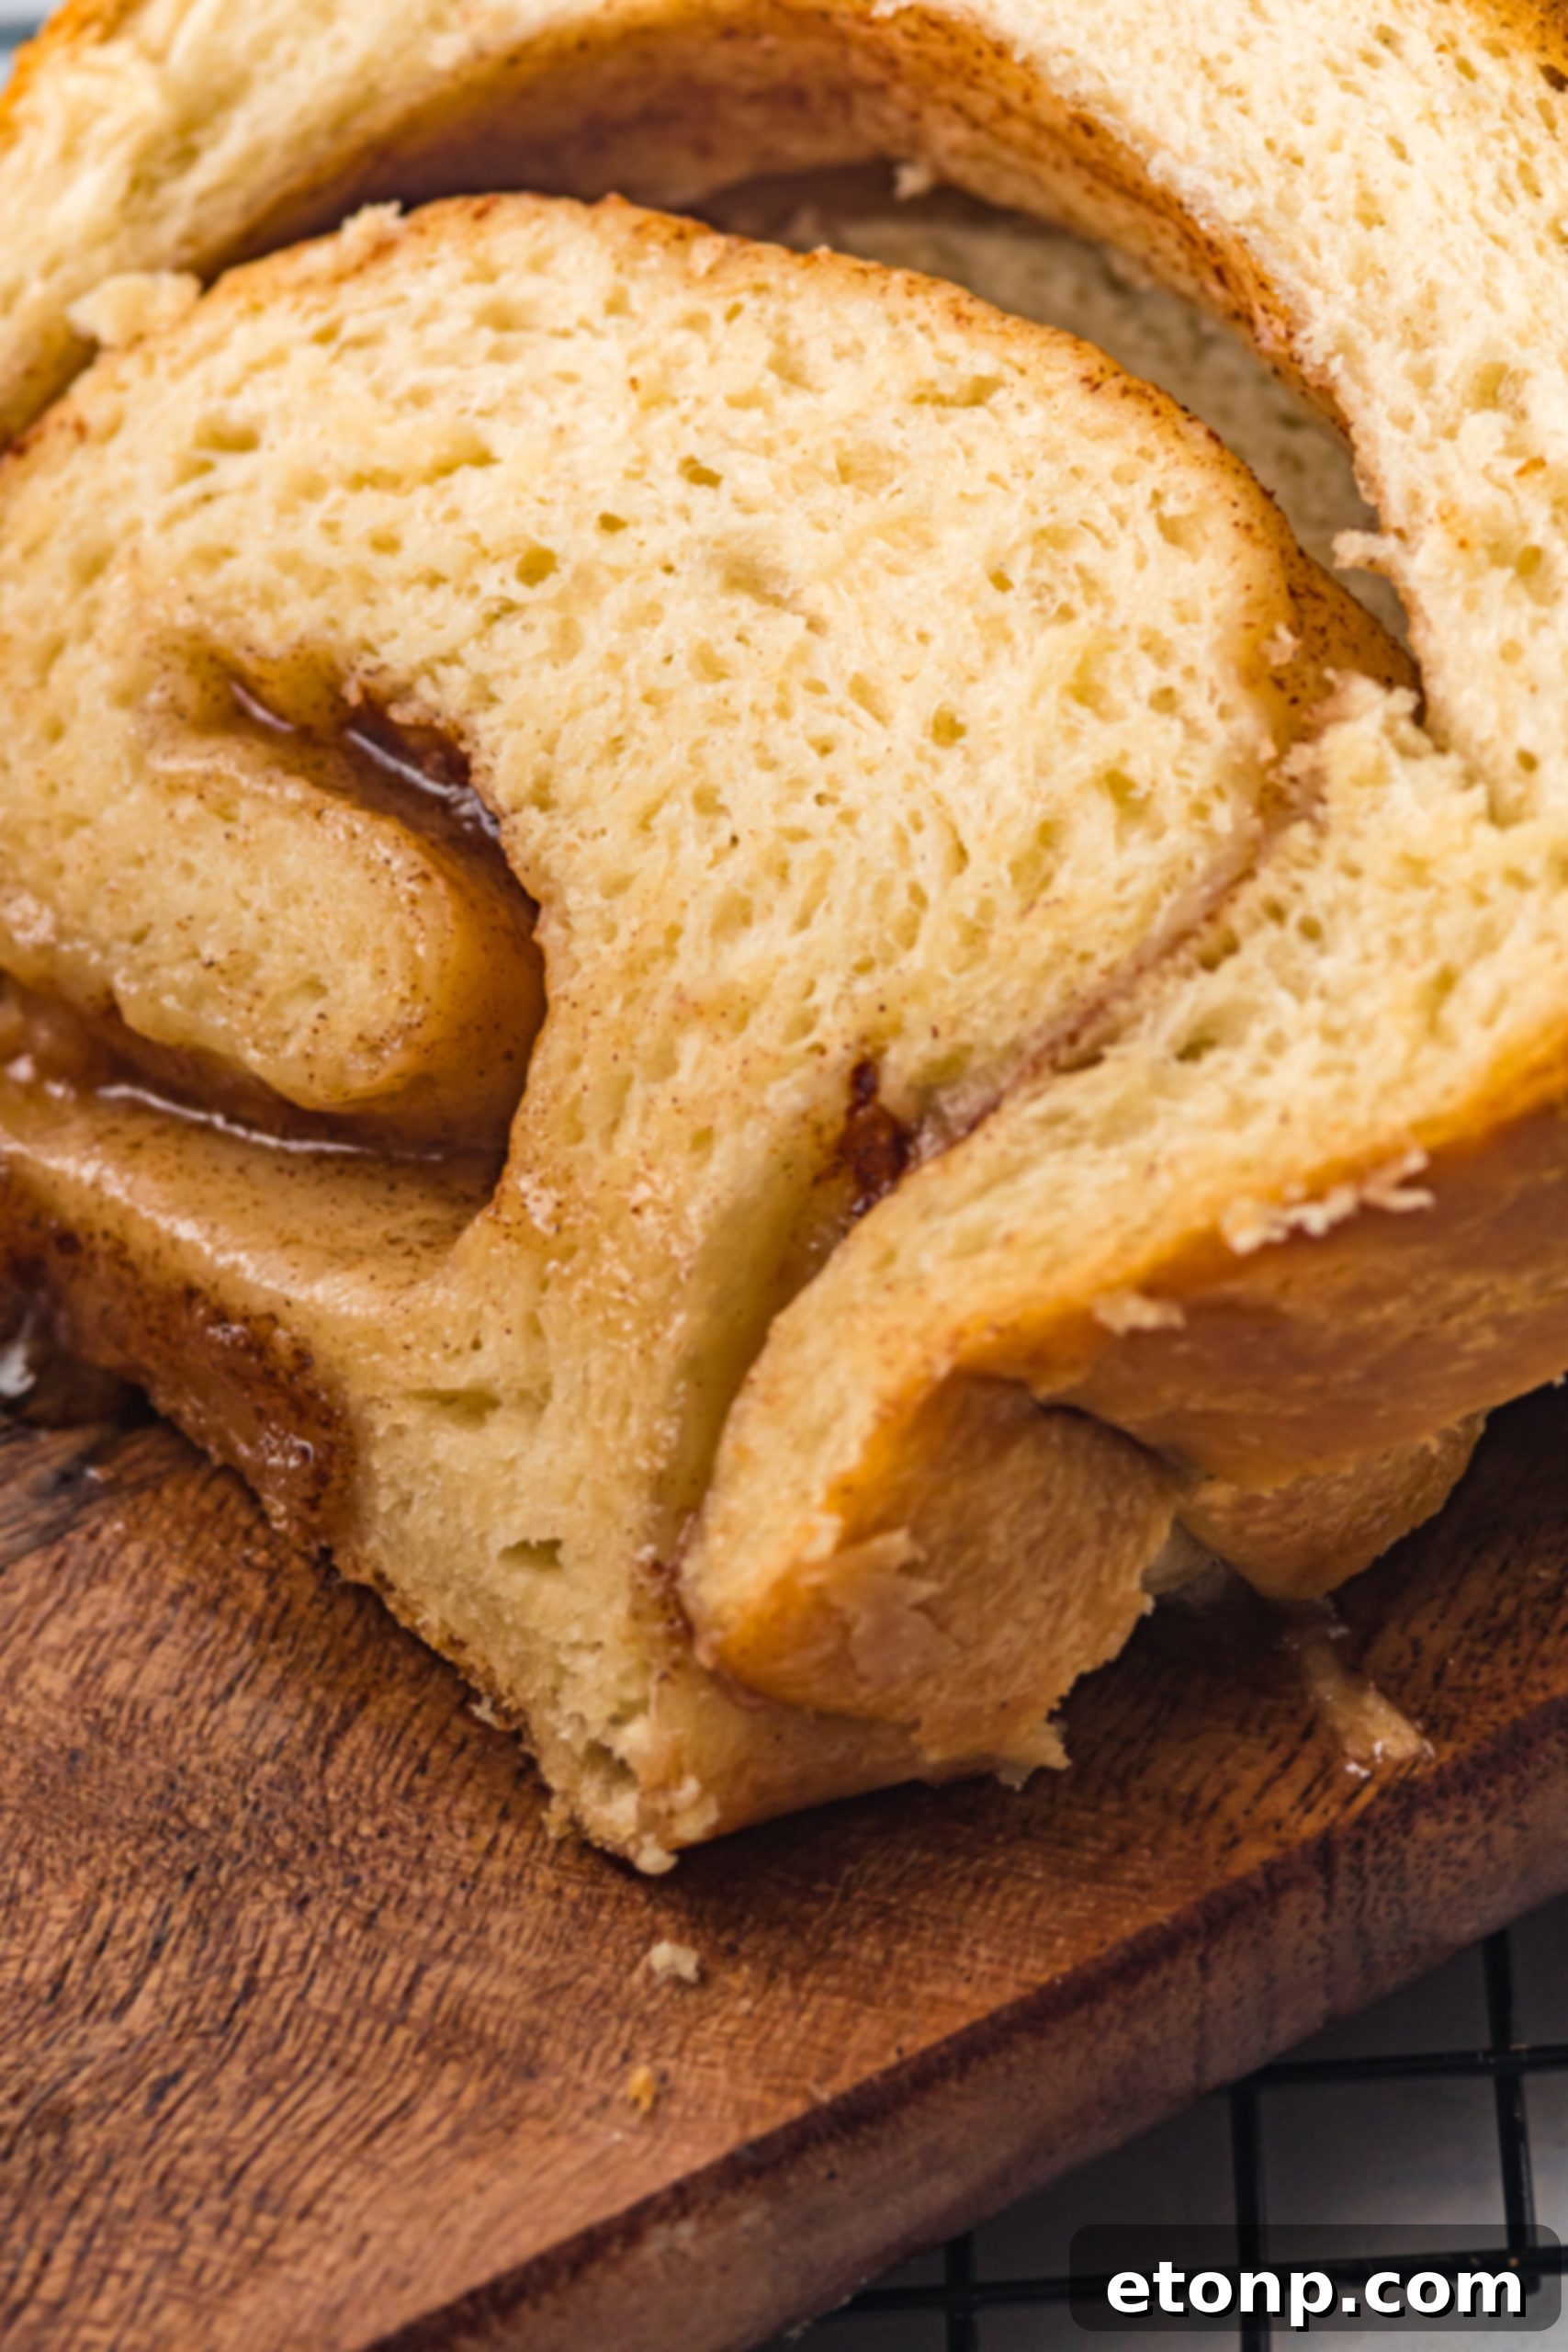
Get Creative: Expanding Beyond Loaves with Your Amish Bread Dough
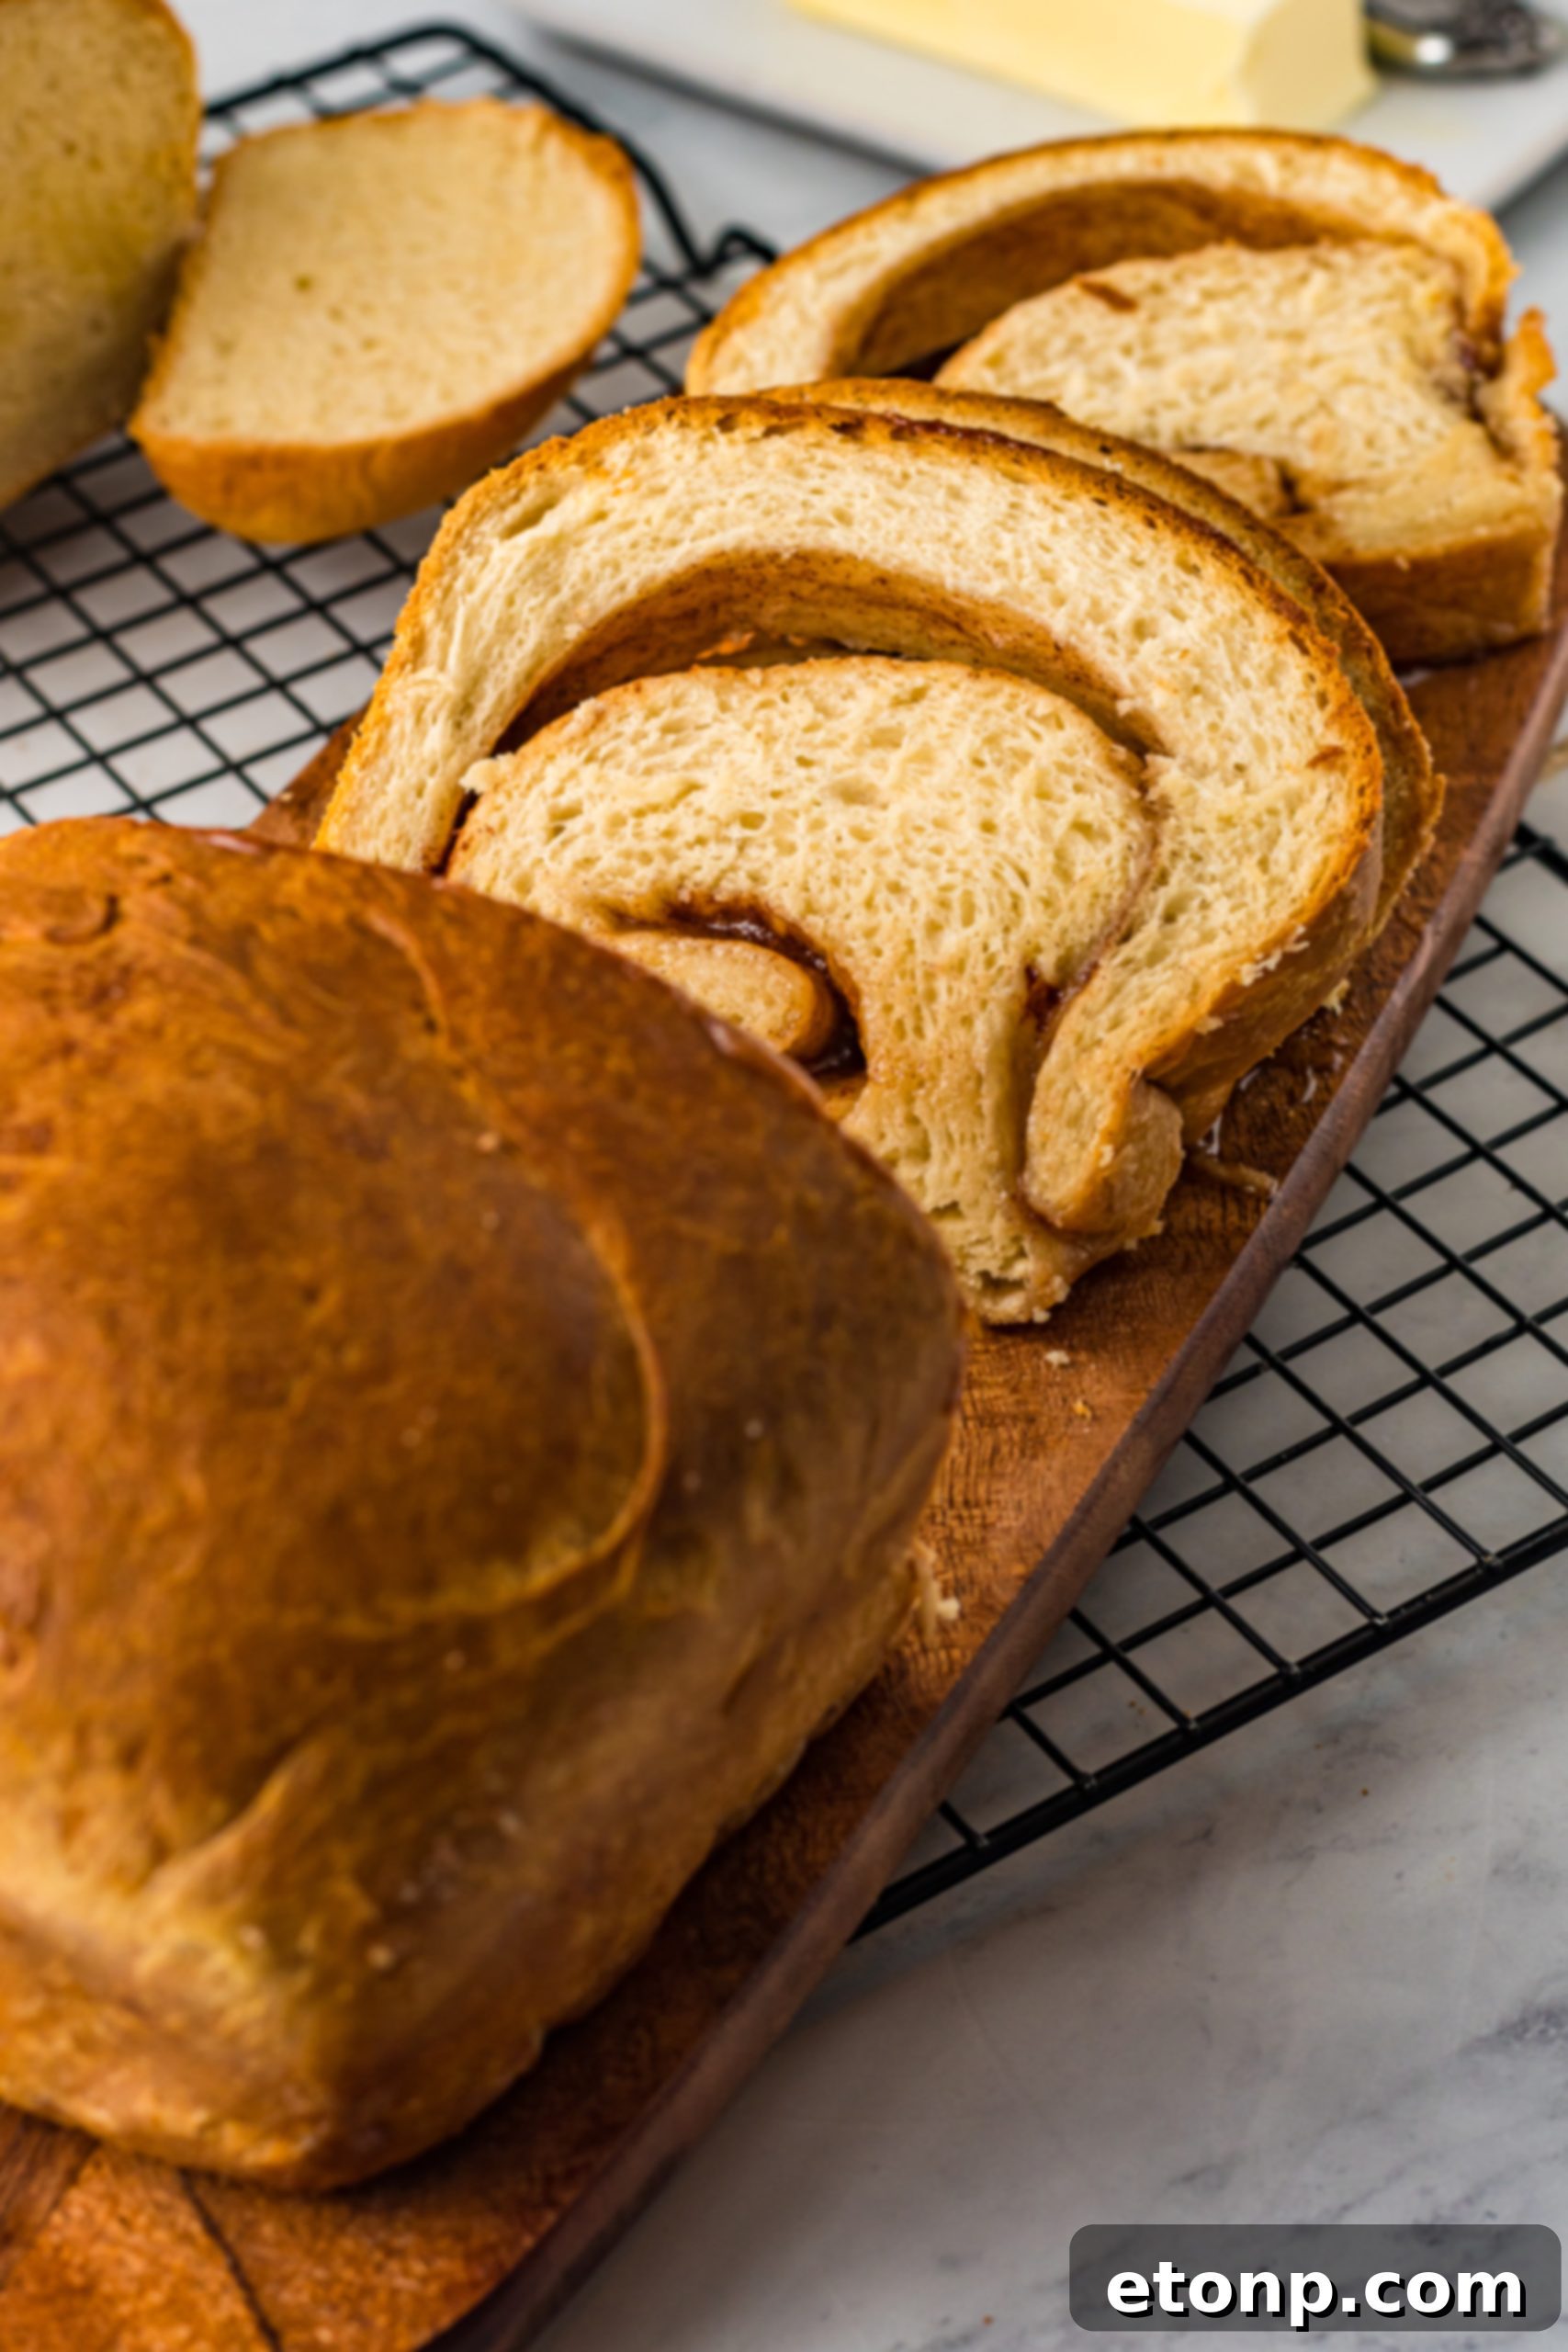
While this recipe is crafted to yield two magnificent loaves, its exceptionally versatile dough is a treasure trove for countless other baked delights. Don’t feel confined to just bread pans! Here are some exciting ways you can adapt this dough:
- Cinnamon Rolls & Sticky Buns: This dough is absolutely divine for crafting classic cinnamon rolls or sticky buns. After the first rise, simply roll out the dough, generously spread it with melted butter, sprinkle with a delightful mix of cinnamon and sugar (and perhaps some brown sugar and nuts for sticky buns), then roll it up tightly. Slice into individual rolls, place them in a baking dish, let them rise again, and bake. The soft, rich texture of this dough holds up beautifully to sweet fillings and gooey glazes, promising a truly indulgent treat.
- Delectable Mini Muffins: For a quick and charming breakfast or snack, you can easily transform this dough into fluffy mini muffins. After the first rise, gently divide and press small portions of the dough evenly into greased muffin tins, filling each cavity about one-third full. Bake at 350°F (175°C) for approximately 25 minutes, or until they’re golden brown and a toothpick inserted into the center comes out clean. These mini muffins are heavenly when slathered with butter, jam, or even a light dusting of powdered sugar.
- Savory Garlic and Herb Knots: If you’re leaning towards a savory appetizer or a side for dinner, this dough is perfect for garlic and herb knots. Roll out small sections of dough, tie them into charming knots, then brush generously with melted butter infused with minced garlic and your favorite fresh or dried herbs (like parsley, oregano, or Italian seasoning). Bake until golden and fragrant for an irresistible savory bite.
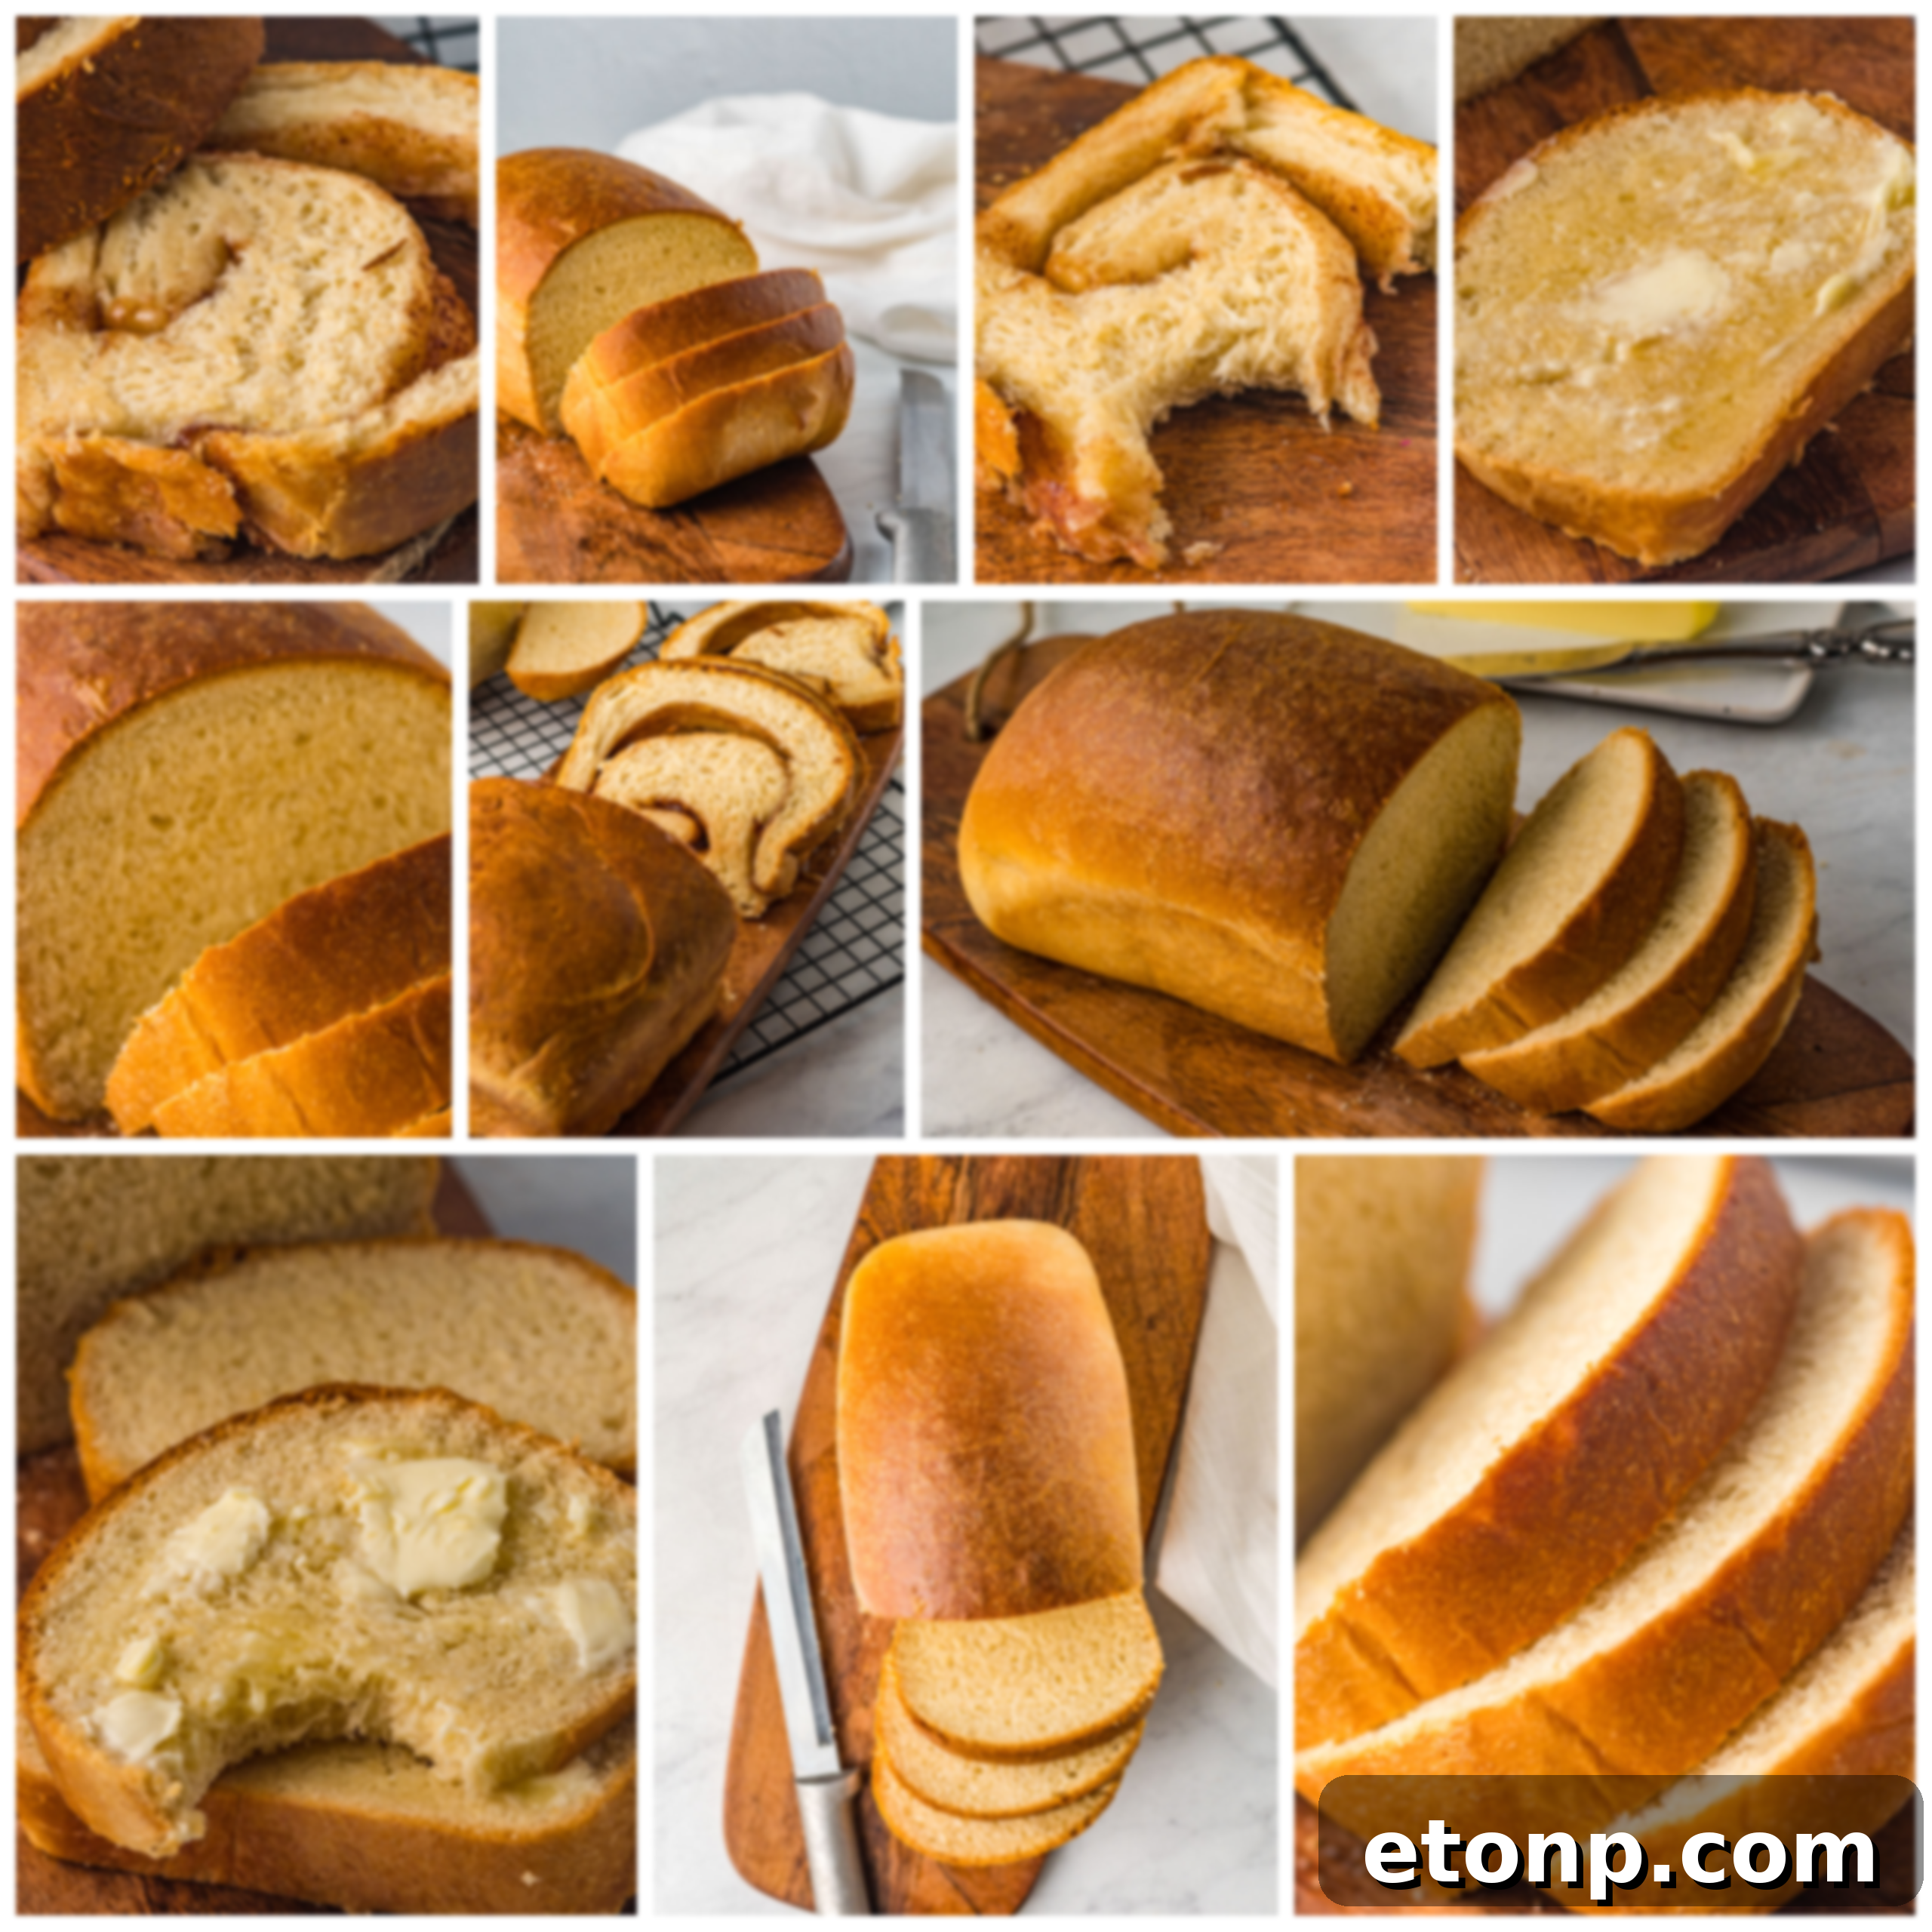
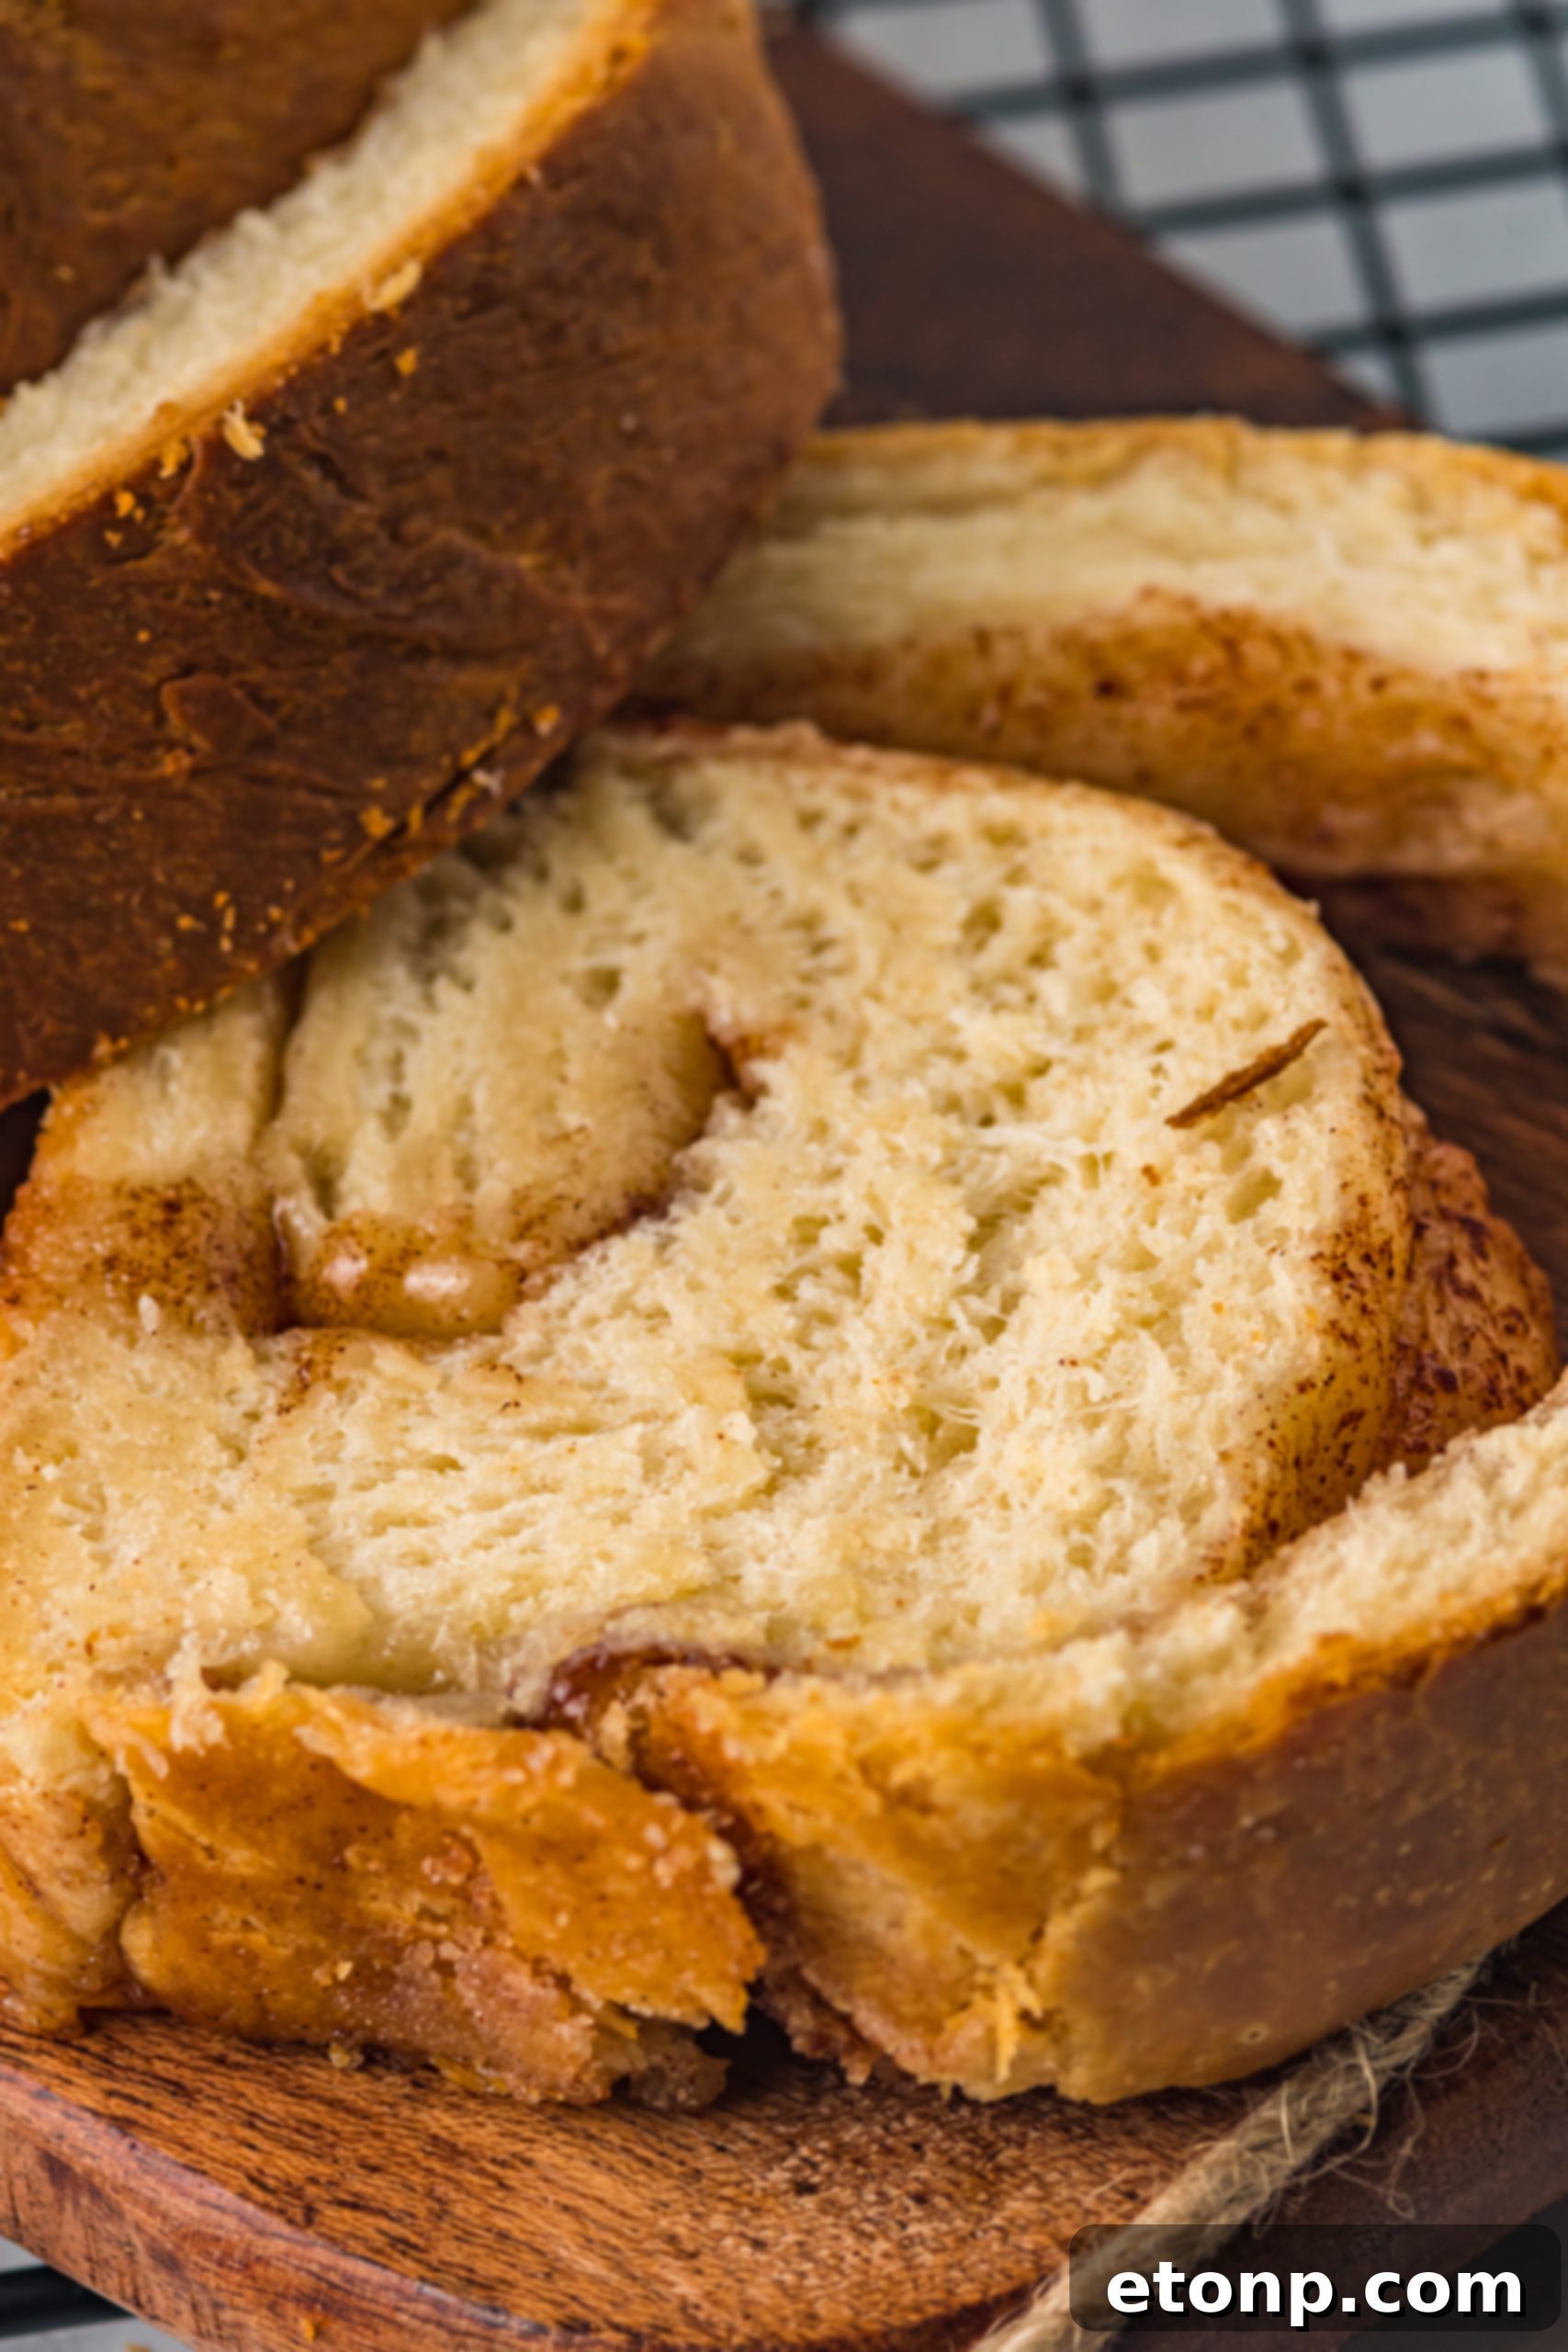
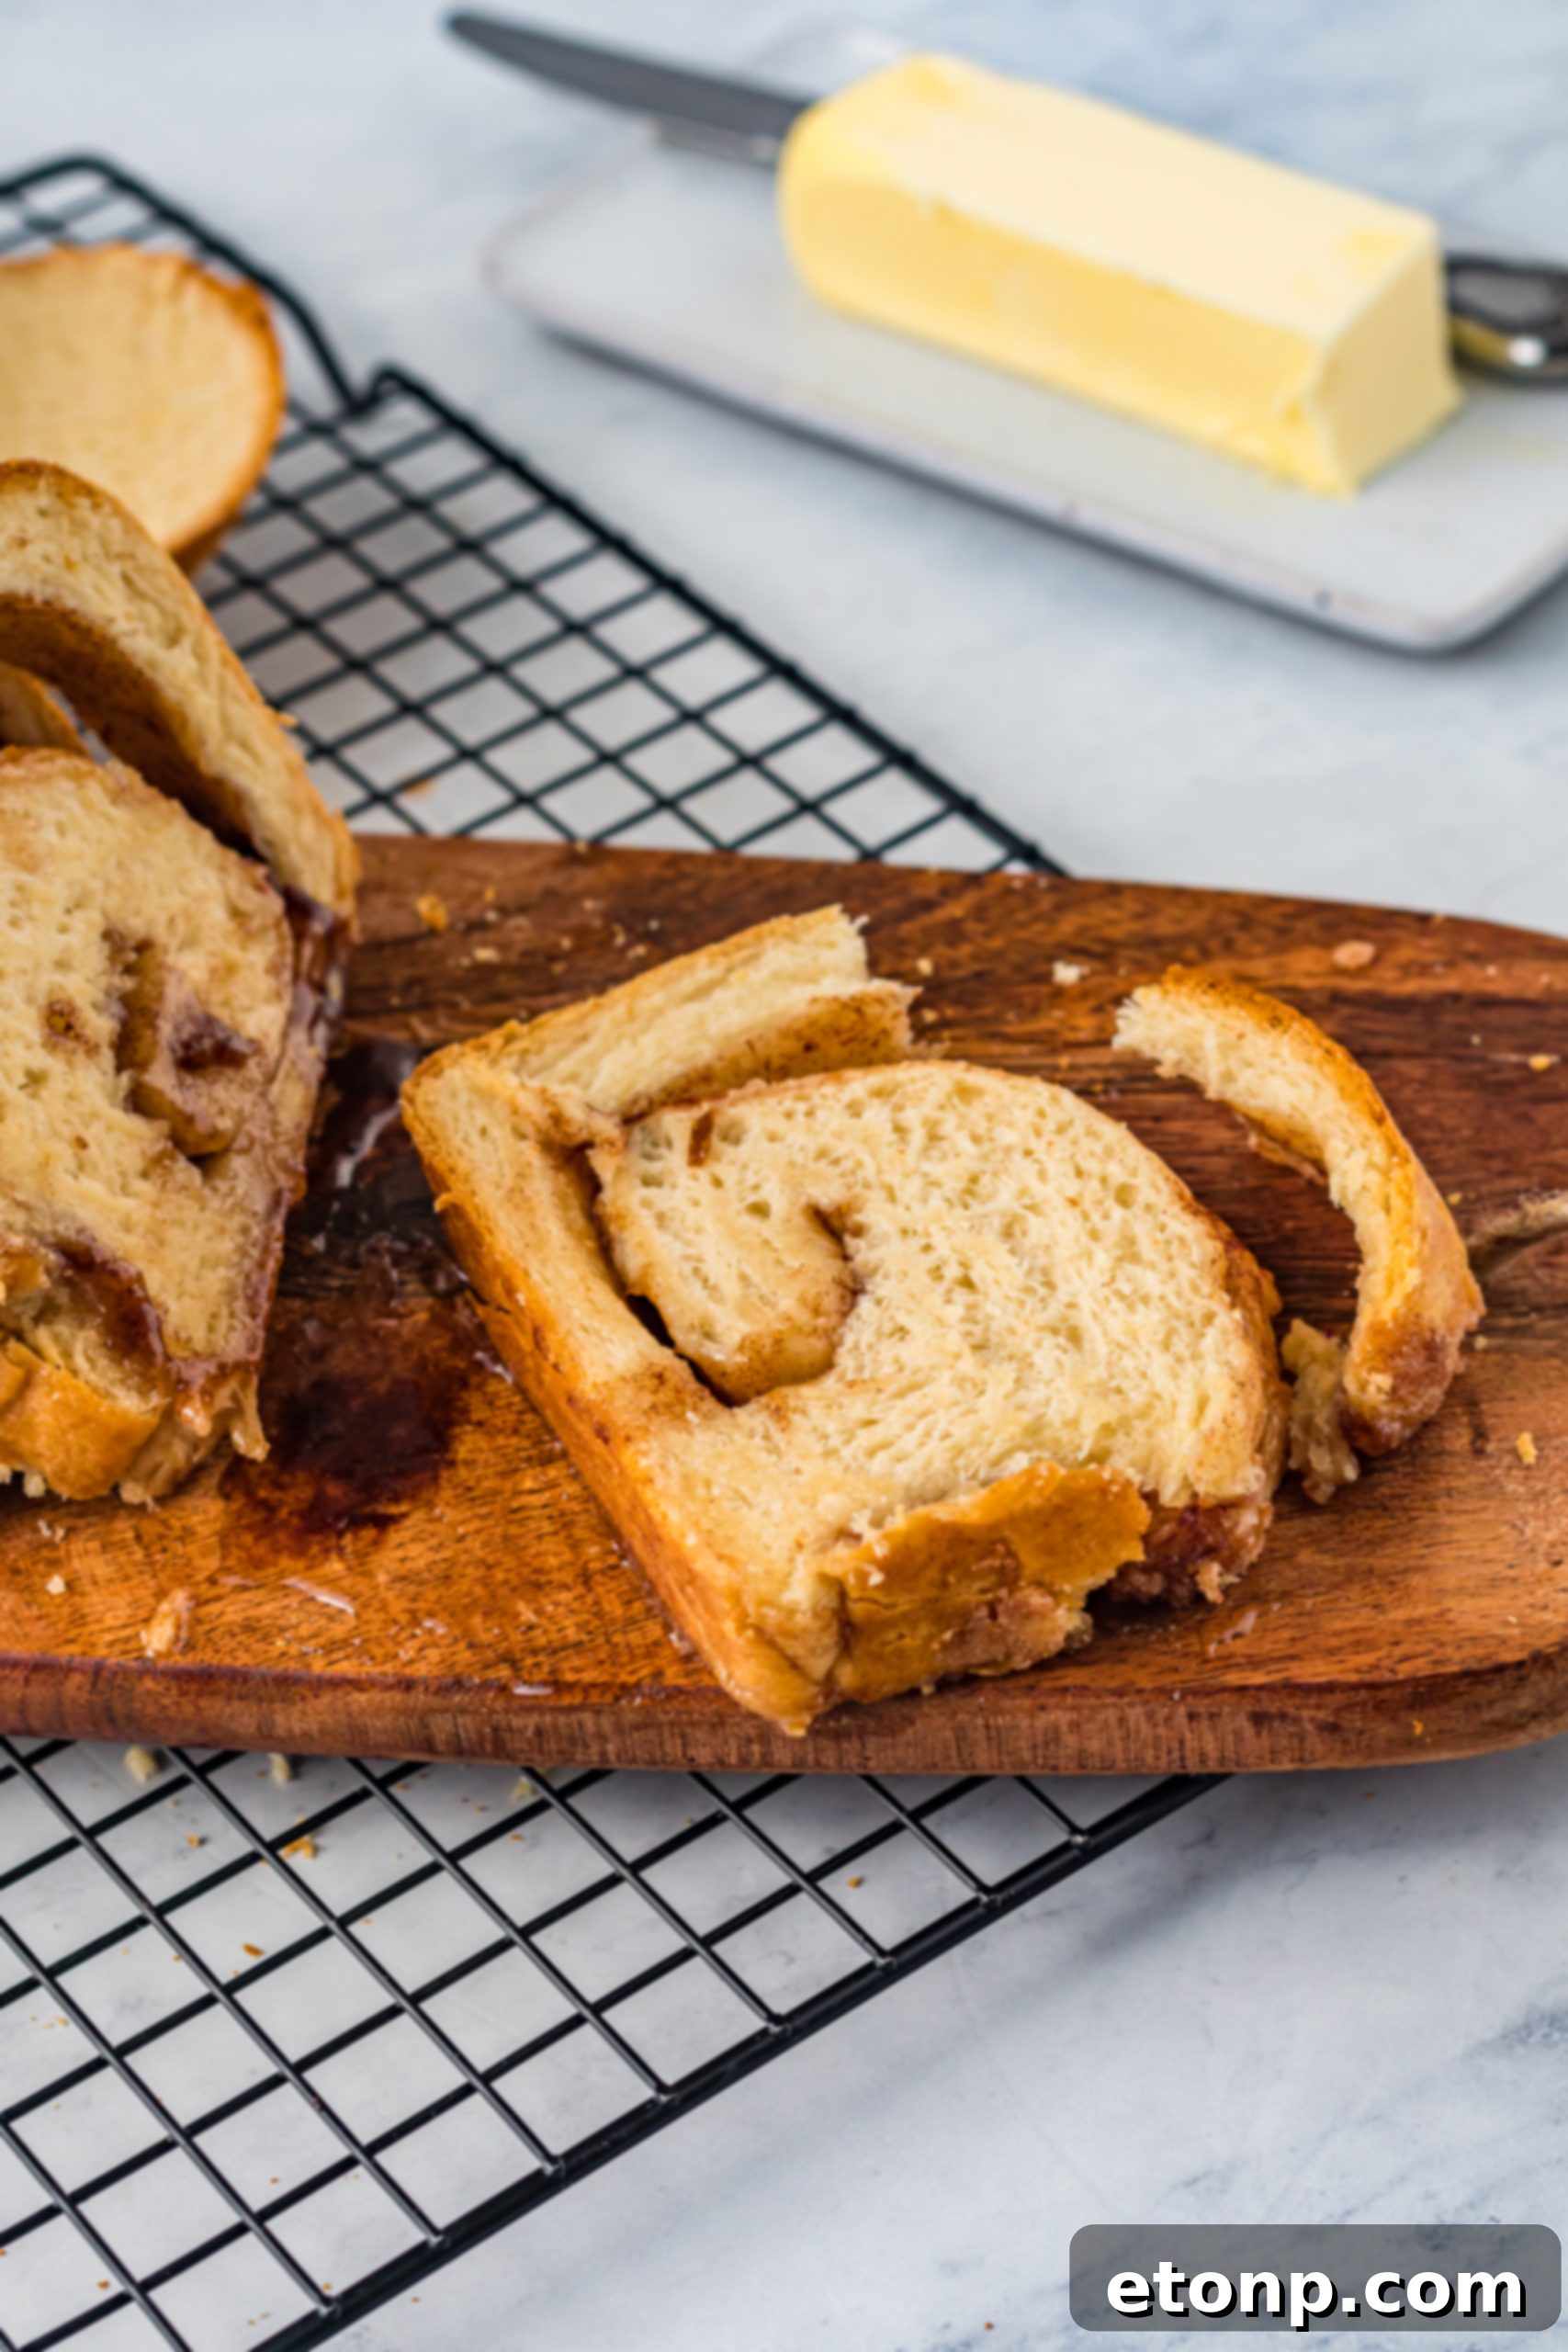 These are all images of the cinnamon sugar version! It’s so delicious!
The Irresistible Cinnamon Swirl Variation: A Sweet Twist
As many of the mouth-watering images proudly showcase, the cinnamon swirl version of this Amish White Bread is an absolute triumph of flavor! It introduces an extra layer of comforting warmth and delightful sweetness, making it an ideal choice for a special breakfast, a leisurely brunch, or a satisfying afternoon treat with a cup of tea or coffee. The process for creating this sweet masterpiece is incredibly straightforward: after the first rise, you’ll roll out half of the versatile dough into a large rectangle. This surface is then generously brushed with melted butter and abundantly sprinkled with a harmonious mixture of granulated sugar and fragrant cinnamon. The dough is then tightly rolled up, creating a beautiful spiral pattern. Once baked, the result is a stunningly marbled loaf, revealing alluring bursts of spicy-sweet flavor with every tender slice. It’s so delicious, it might just become your new preferred way to enjoy this already fantastic homemade bread!
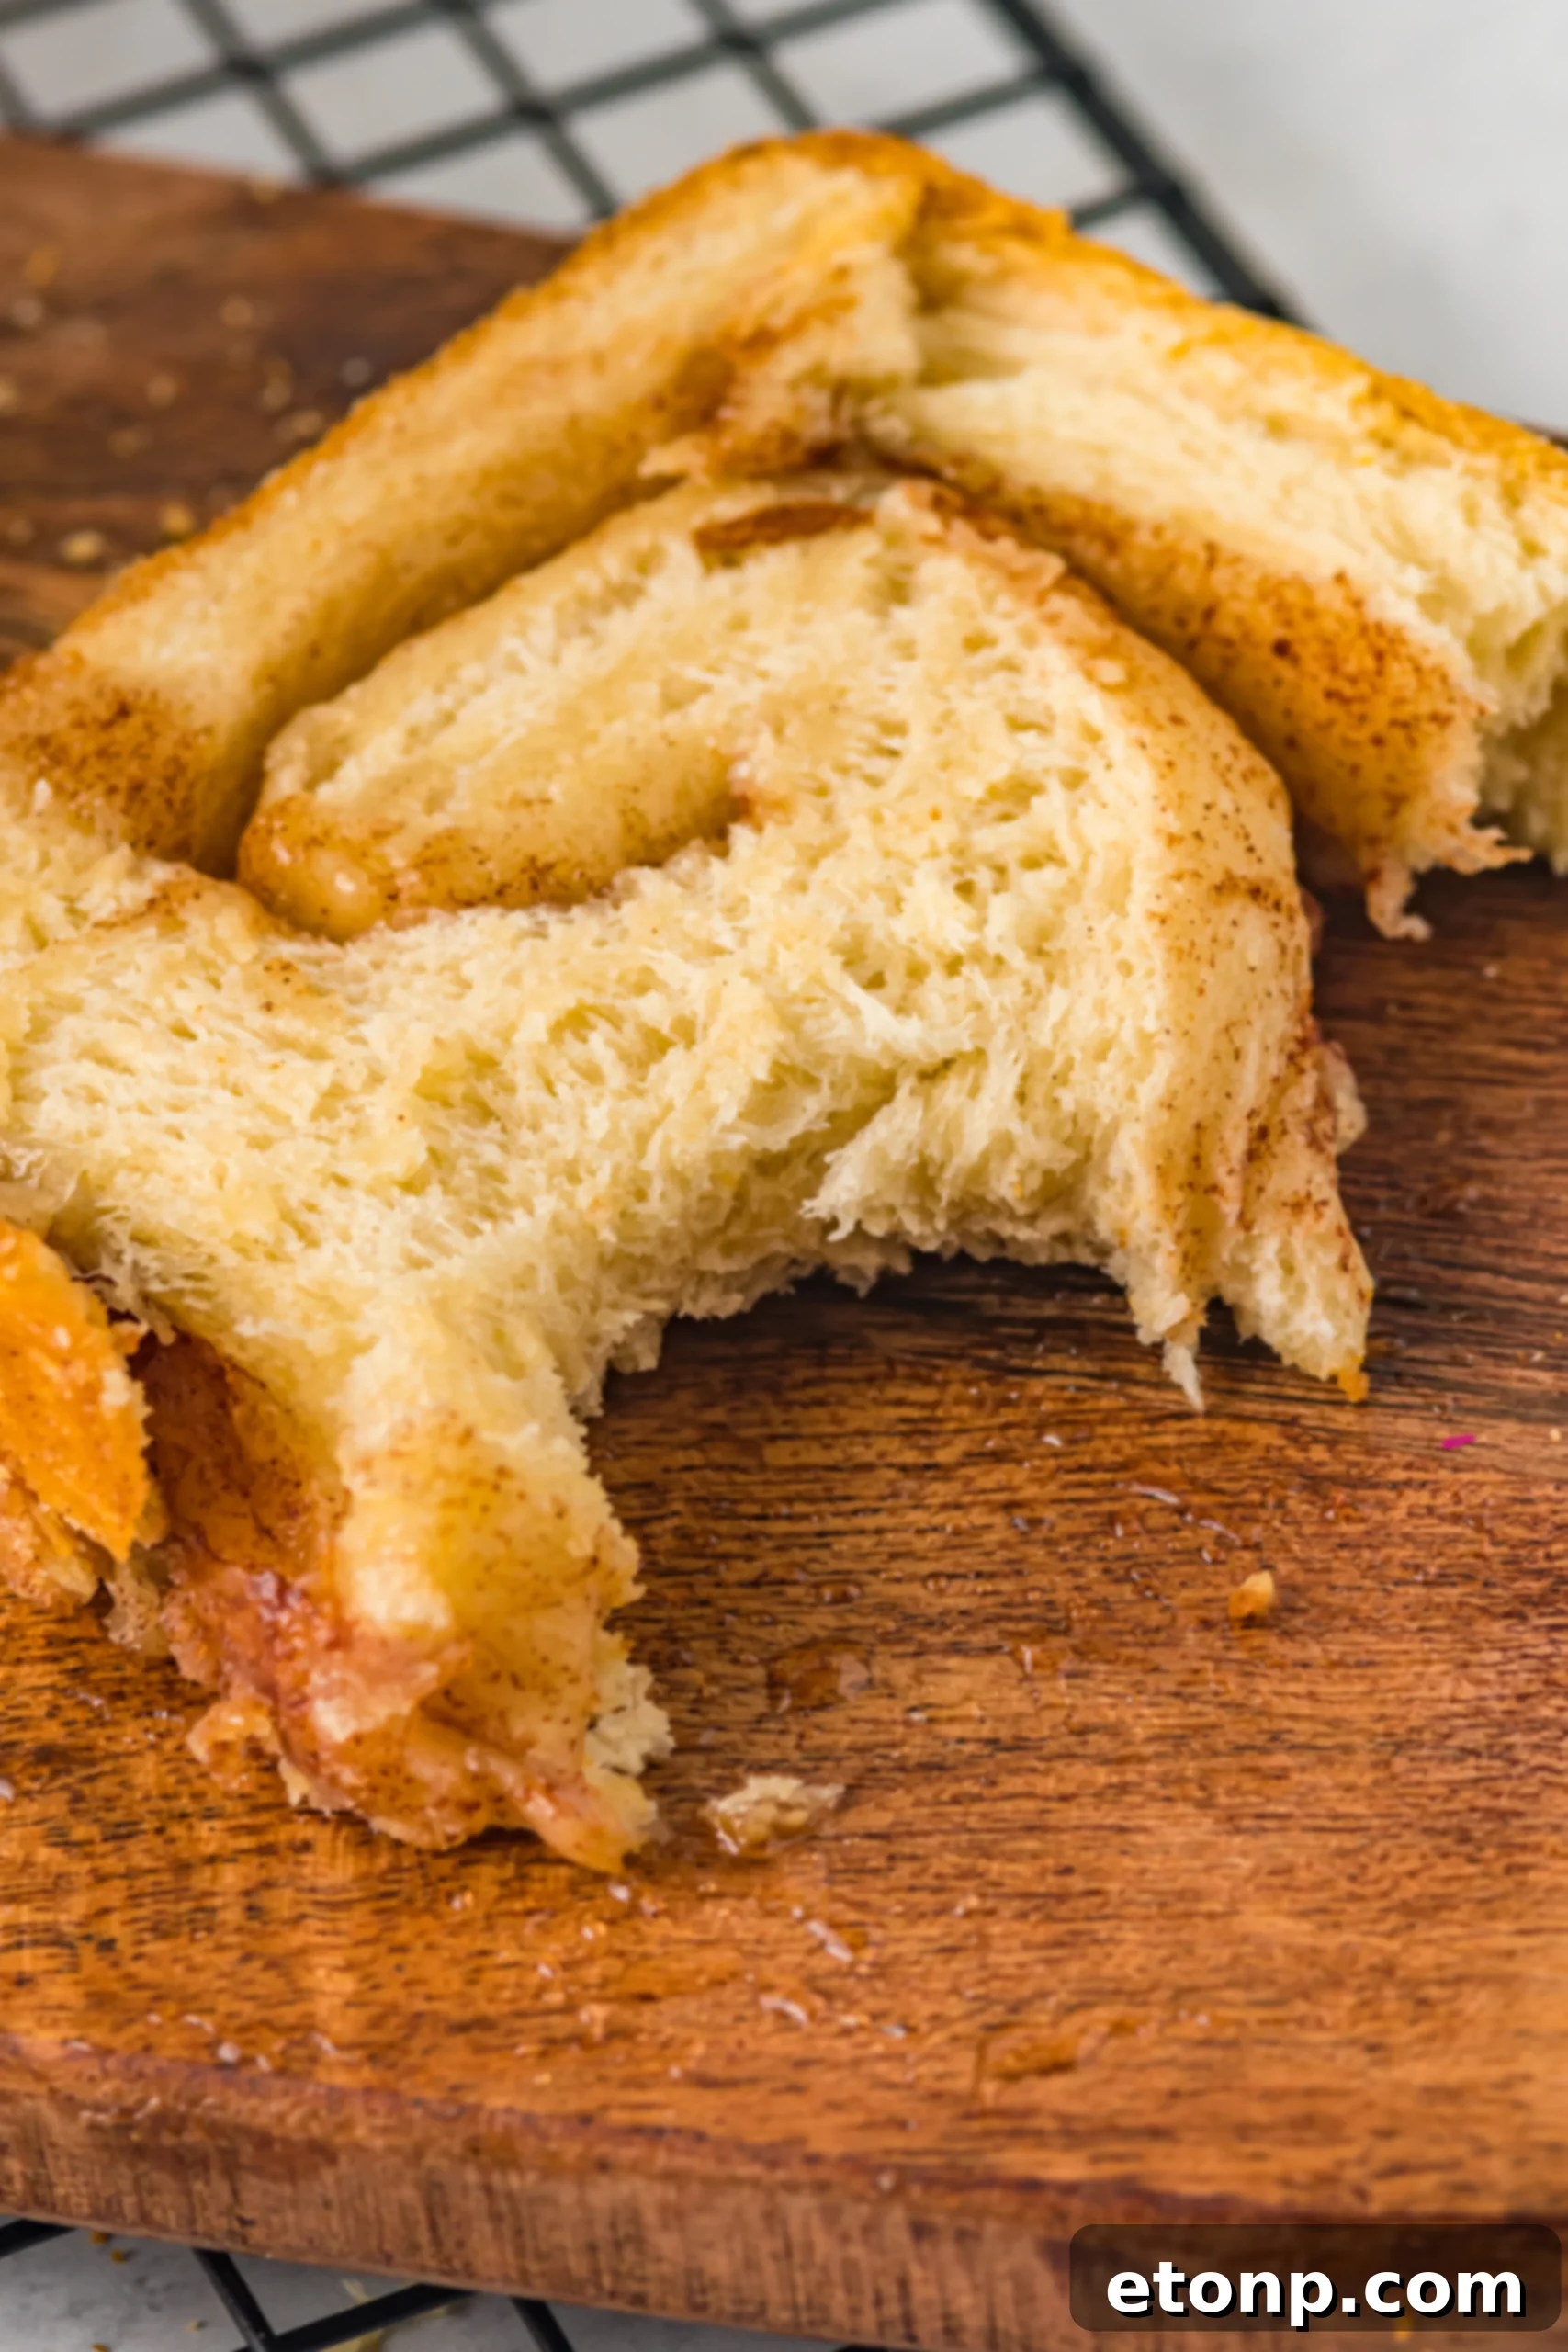
The Easy Amish White Bread Recipe Card
Ready to bake your own perfect loaves? Here’s the full, step-by-step recipe to guide you through making this incredible homemade Amish White Bread, including the option for a delicious cinnamon swirl!
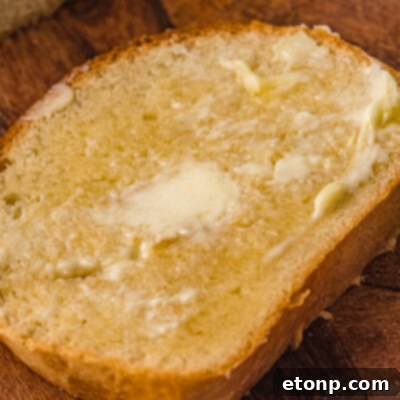
Amish White Bread
Prep Time: 20 minutes
Rise Time: 1 hour 30 minutes
Bake Time: 30 minutes
Yields: 2 loaves
Ingredients
For the Bread:
- 1/3 cup granulated sugar
- 1/2 cup warm water (110° to 120°F)
- 3 tablespoons honey
- 1 1/2 tablespoons active dry yeast
- 1 1/2 cups warm milk
- 8 Tablespoons unsalted butter, divided (Use 5 tablespoons melted in the dough; remaining 3 tablespoons for cinnamon variation)
- 1 tablespoon salt
- 4-6 cups bread flour (Start with 4 cups, add more a little at a time until dough is soft, stretchy, and no longer sticky)
For Cinnamon Swirl Bread:
- 3 tablespoons unsalted butter (melted)
- 1/4 cup granulated sugar
- 1 tablespoon cinnamon
Instructions
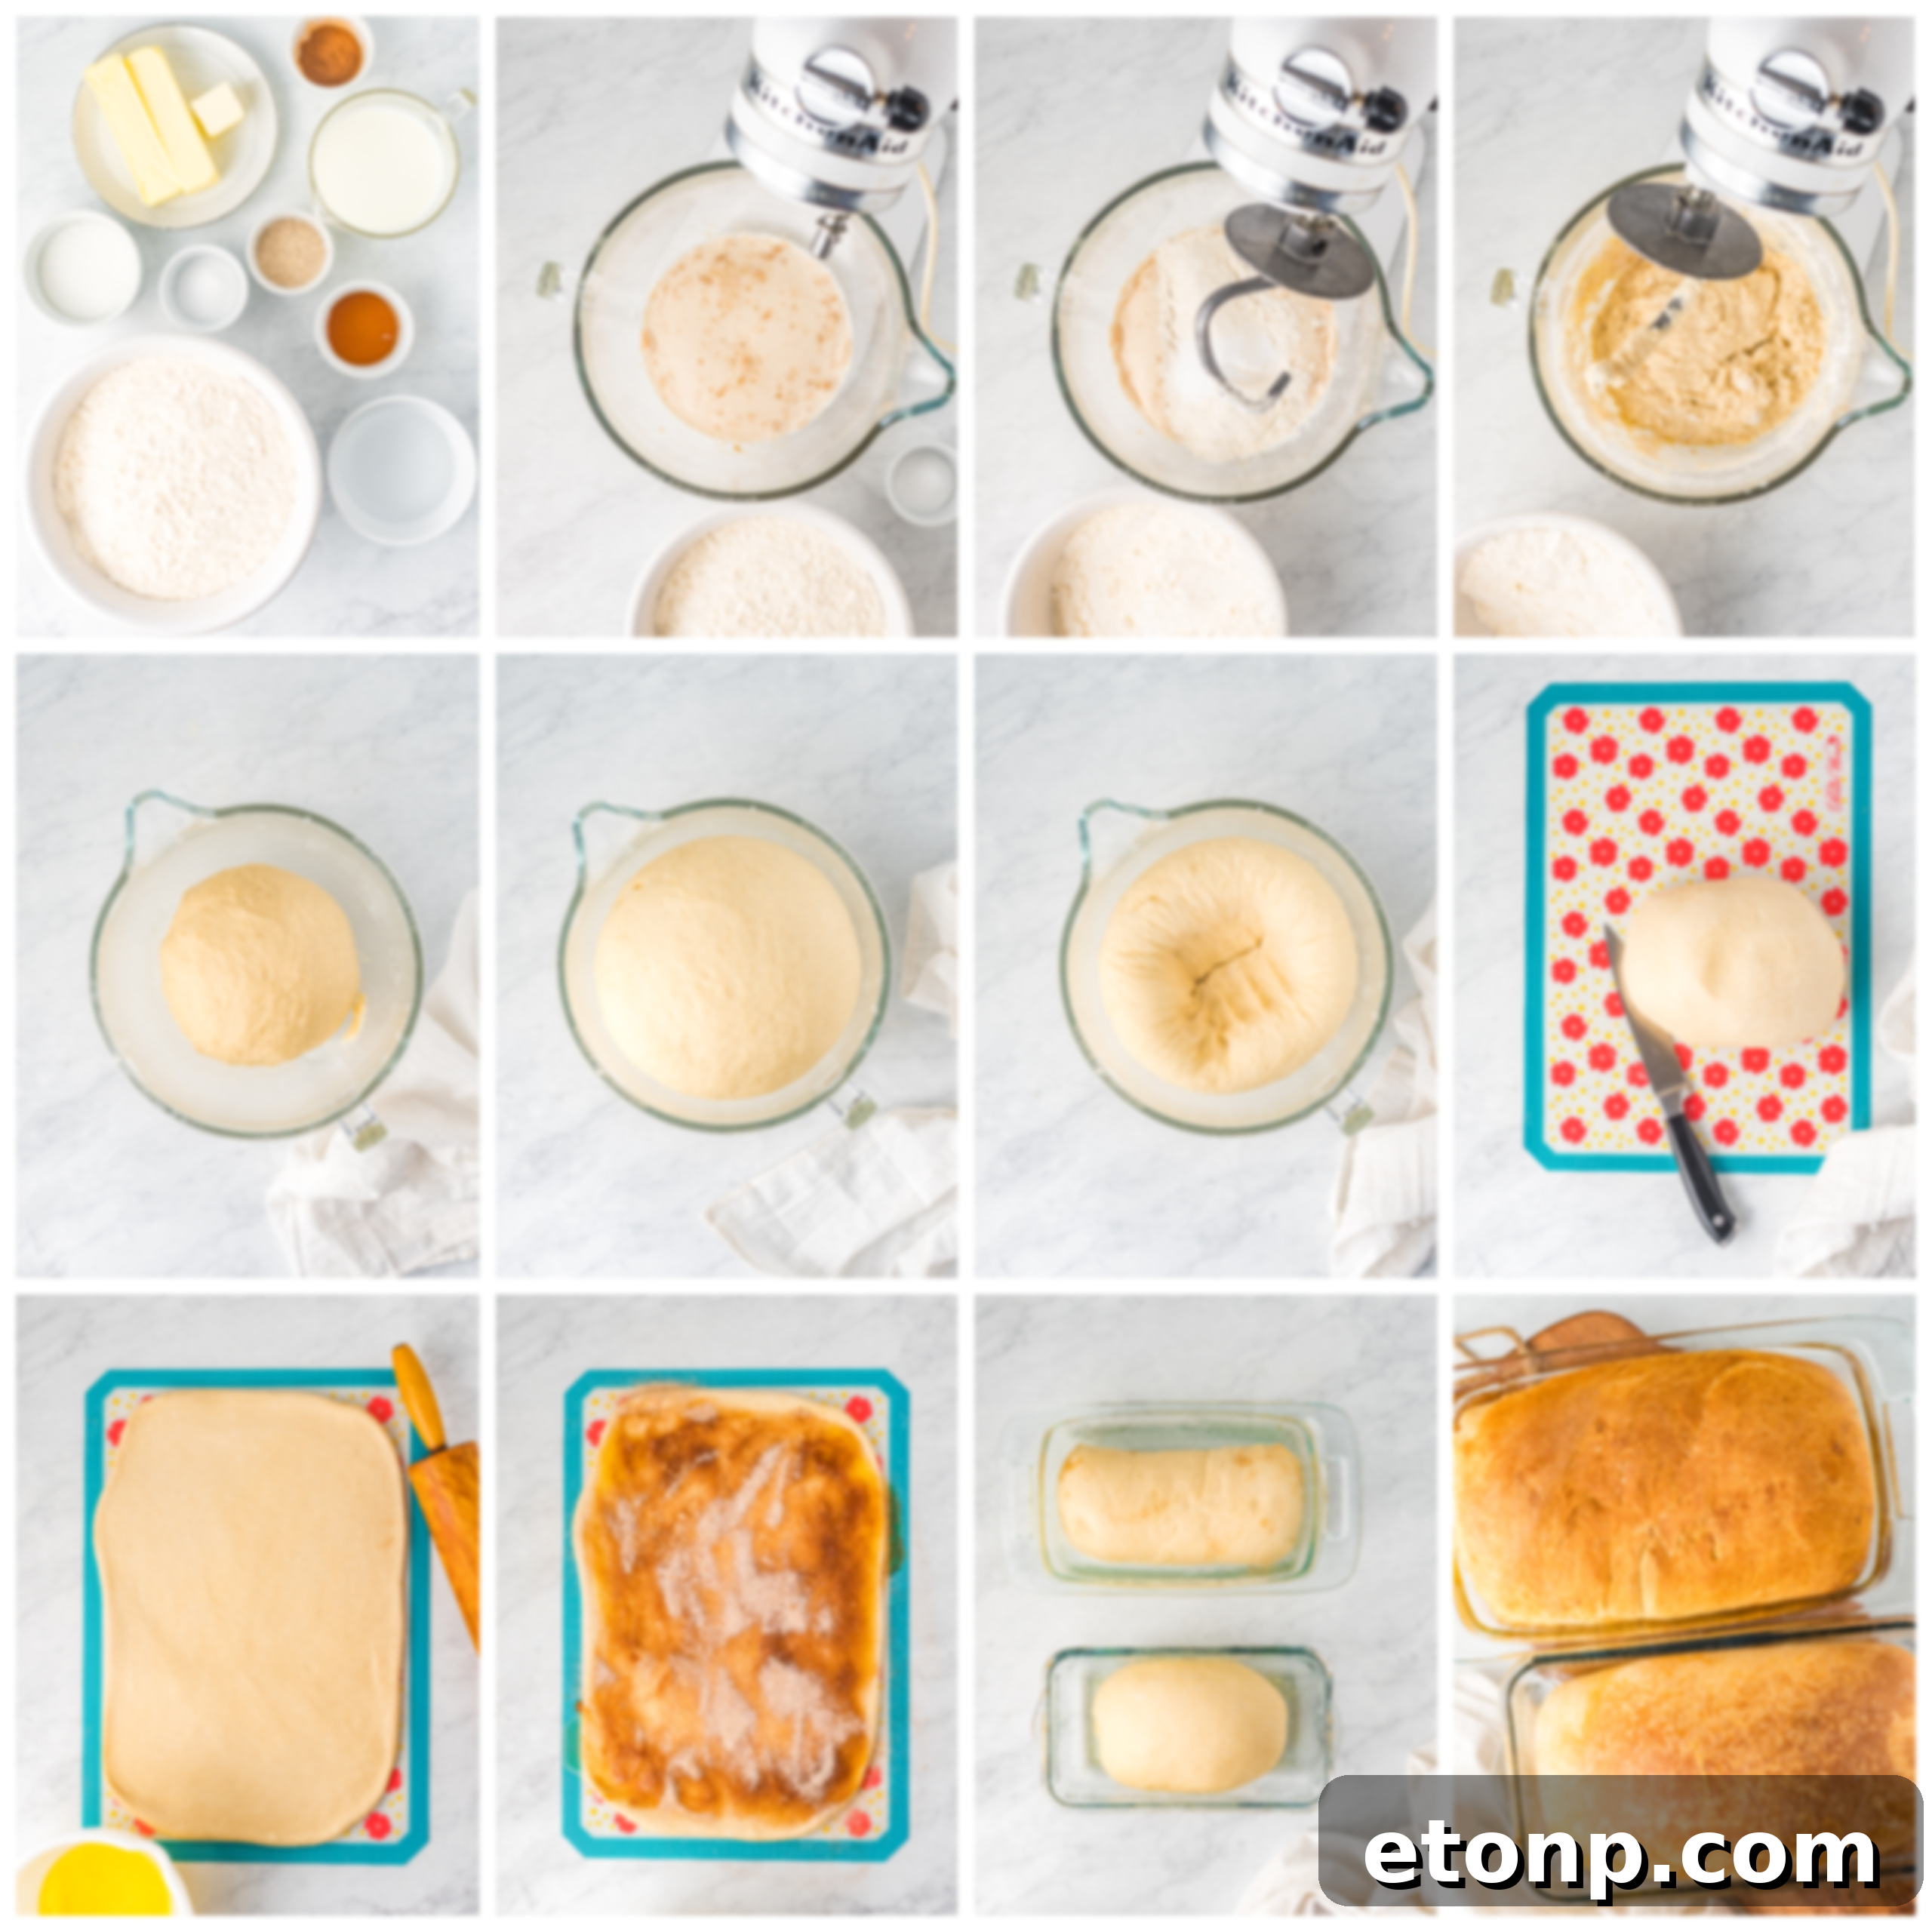
- In the mixing bowl of a stand mixer, combine the 1/3 cup granulated sugar, 1/2 cup warm water, honey, and active dry yeast. Mix gently and let it stand for 5 minutes until the mixture becomes bubbly and foamy, indicating the yeast is active.
- Add the 1 1/2 cups warm milk to the yeast mixture and stir to combine.
- Melt 5 tablespoons of the unsalted butter in the microwave.
- To the mixer, add 2 cups of the bread flour. Using the dough hook attachment, begin mixing on low speed.
- Pour in the melted butter and add the salt, followed by 2 more cups of bread flour.
- Continue mixing and kneading with the dough hook for 7 to 10 minutes. During this time, the dough should come together and become smooth and elastic.
- Adjusting Dough Consistency: If the dough is too sticky after 7-10 minutes of kneading, add the remaining bread flour a little at a time (up to a total of 6 cups) until it forms a soft, stretchy ball that is no longer overly sticky to the touch. Avoid adding too much flour, as this can make the bread dry.
- Once the dough is properly kneaded, remove it from the bowl and gently form it into a smooth ball. Place the dough ball back into the cleaned mixing bowl.
- Cover the bowl with a clean kitchen towel and place it in a warm, draft-free spot. Allow the dough to rise until it has doubled in size, which typically takes about 1 hour to 1 hour 30 minutes.
- When the dough has doubled, gently punch it down to release the air. Remove it from the bowl and divide it in half to make two loaves.
- Lightly grease or spray two standard bread pans with cooking spray.
- For Plain White Bread: Take one half of the dough, gently stretch and shape it into a loaf, tucking the ends underneath to create a smooth top. Place it into one of the prepared bread pans. Repeat with the second half of the dough if making two plain loaves.
- To Make Cinnamon Swirl Bread:
- Take one half of the dough and roll it out on a lightly floured surface into a large, thin rectangle, aiming for square ends as much as possible.
- Melt the remaining 3 tablespoons of unsalted butter and brush it evenly over the surface of the rolled-out dough.
- In a small bowl, combine the 1/4 cup granulated sugar and 1 tablespoon cinnamon. Sprinkle this mixture evenly over the buttered dough.
- Starting from one of the long sides, tightly roll up the dough into a log.
- Pinch the ends of the rolled dough securely to seal and gently fold them under slightly.
- Place the cinnamon swirl dough log into a prepared bread pan.
- Cover the bread pans with a clean towel and let the loaves rise again in a warm spot for another 30 minutes, or until noticeably puffy.
- Preheat your oven to 350°F (175°C).
- Place the bread pans in the preheated oven and bake for 30 minutes.
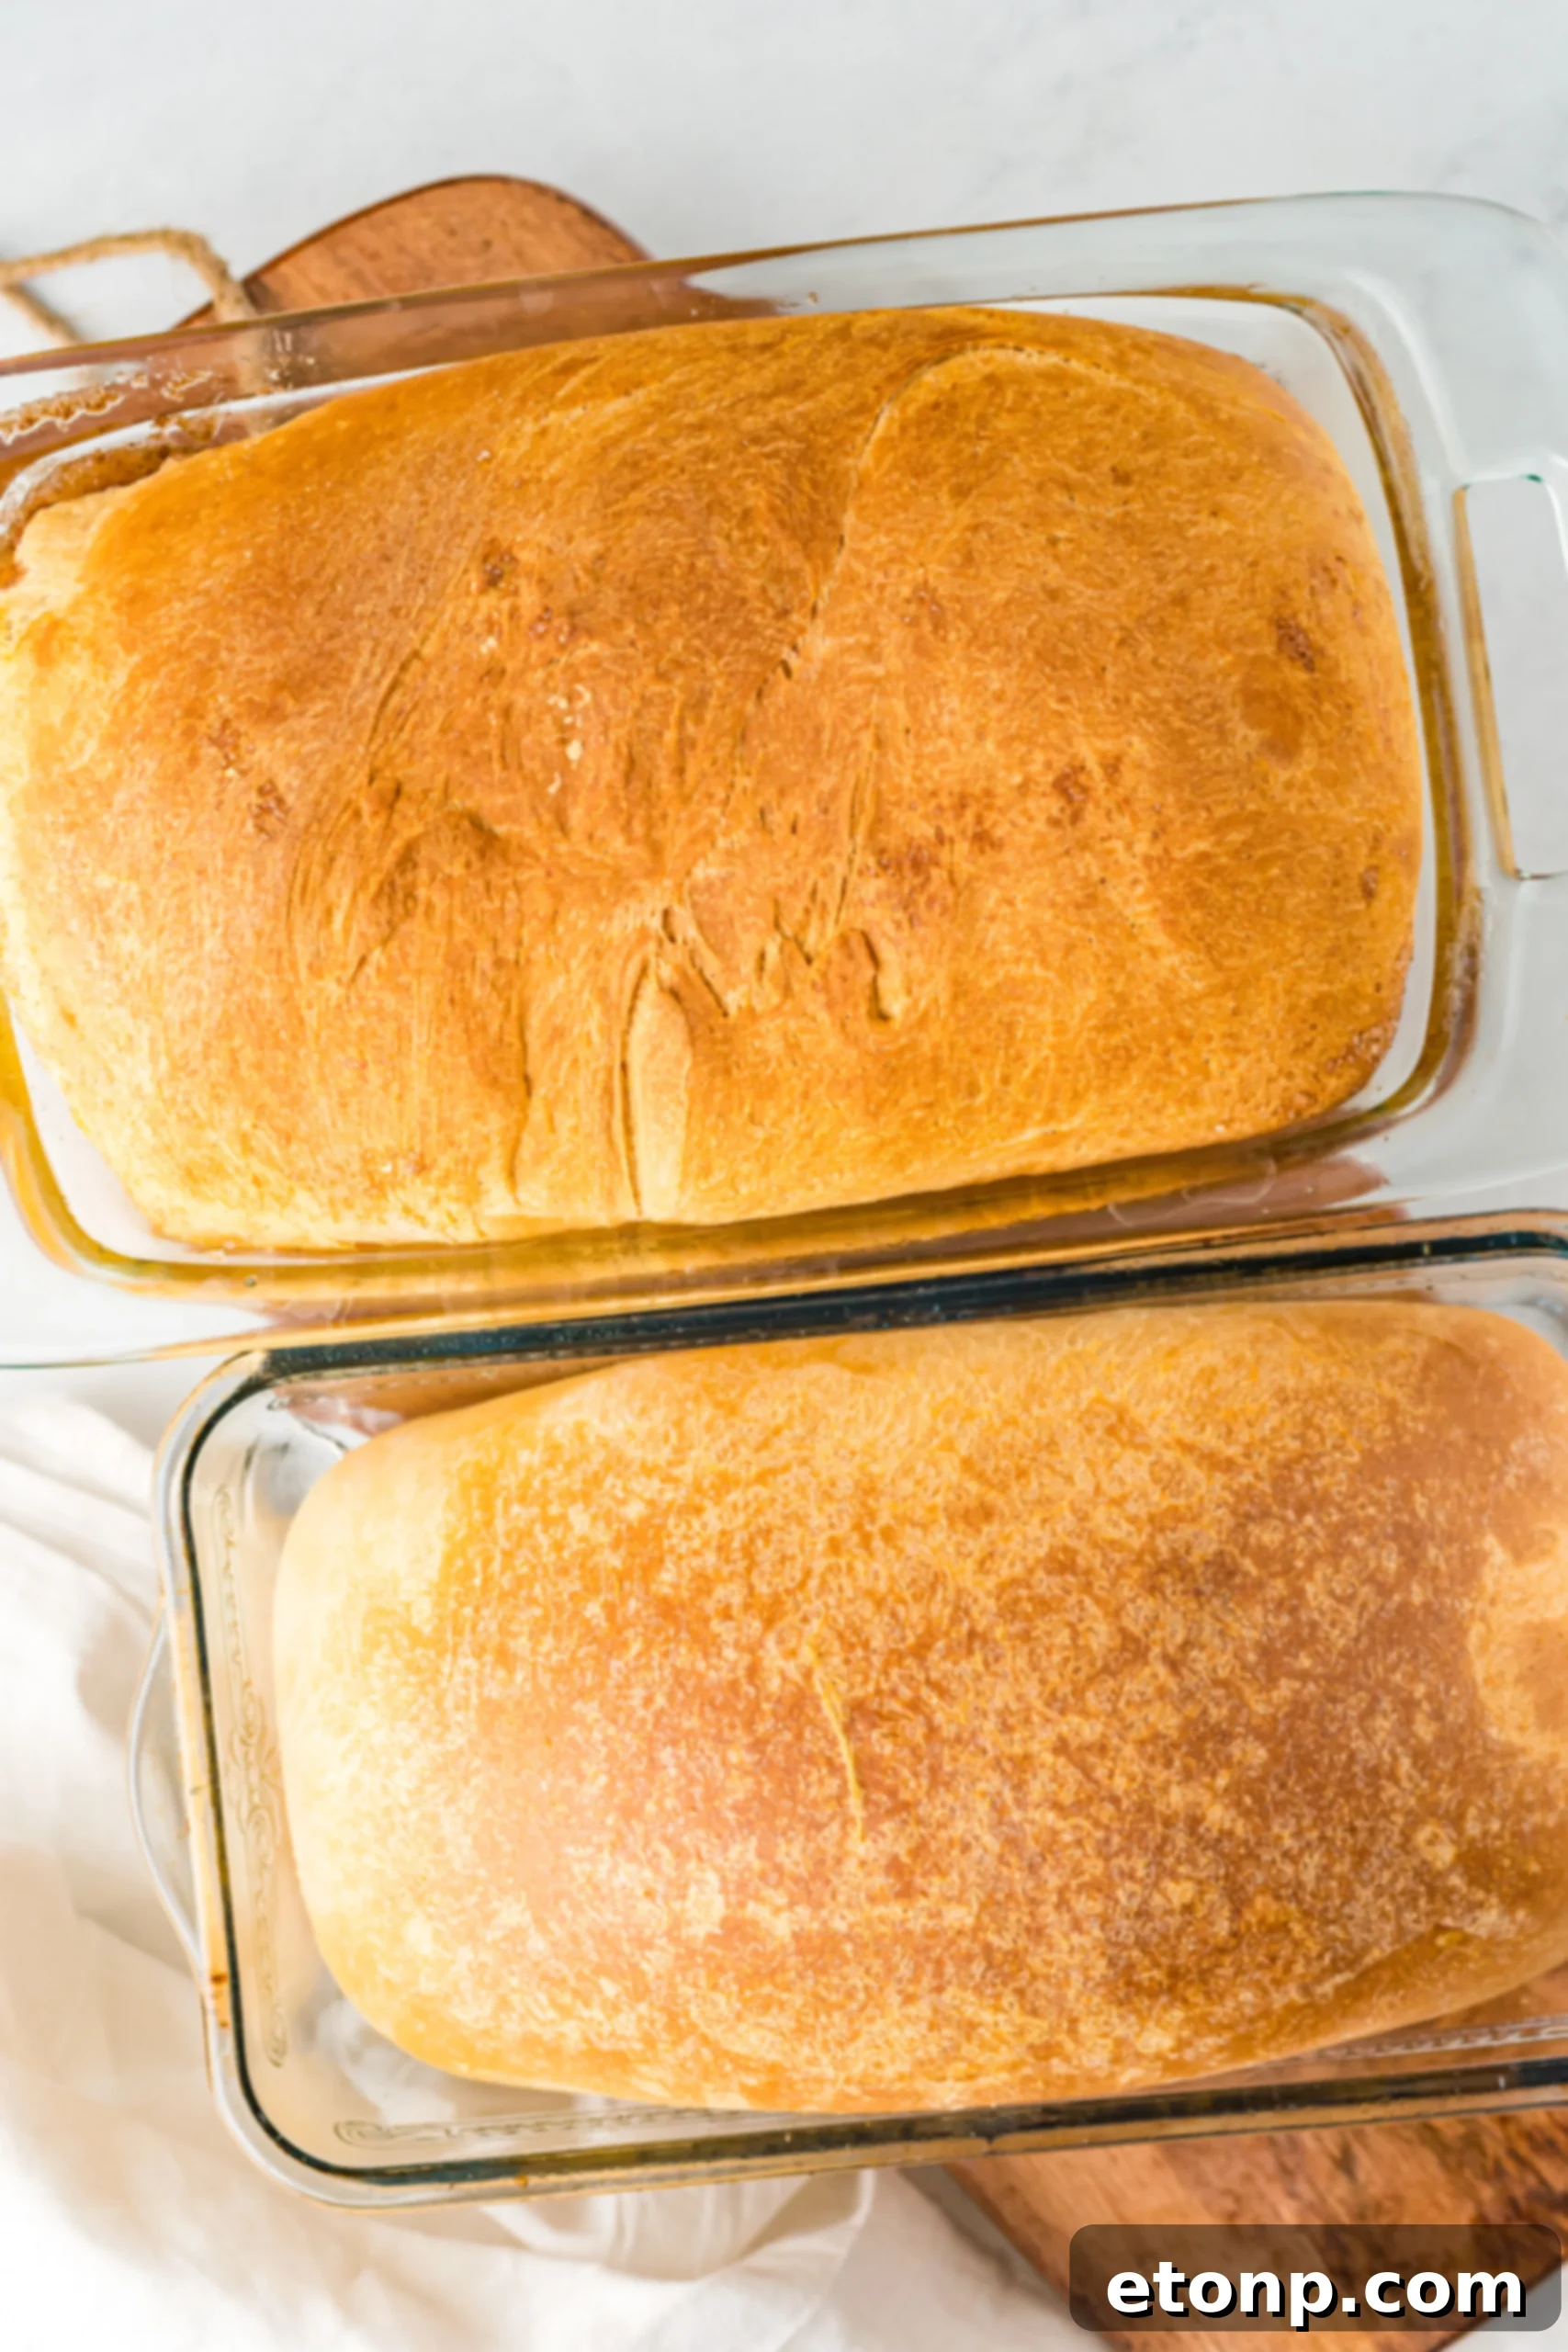
- The bread is done when the tops are golden brown, and the internal temperature reaches 190°F (88°C) when measured with an instant-read thermometer. If you don’t have a thermometer, tap the top of the loaf; it should sound hollow.
- Remove the loaves from the oven and carefully turn them out onto a wire rack to cool completely before slicing. This helps prevent a gummy texture inside.
- ENJOY your homemade Amish White Bread!
Join Our Baking Community!
Loved this recipe? Don’t miss out on more incredible baking adventures! Connect with us and share your creations:
Please remember to SHARE on Facebook and PIN IT on Pinterest!
For endless recipe inspiration, FOLLOW US ON PINTEREST BY CLICKING HERE!