
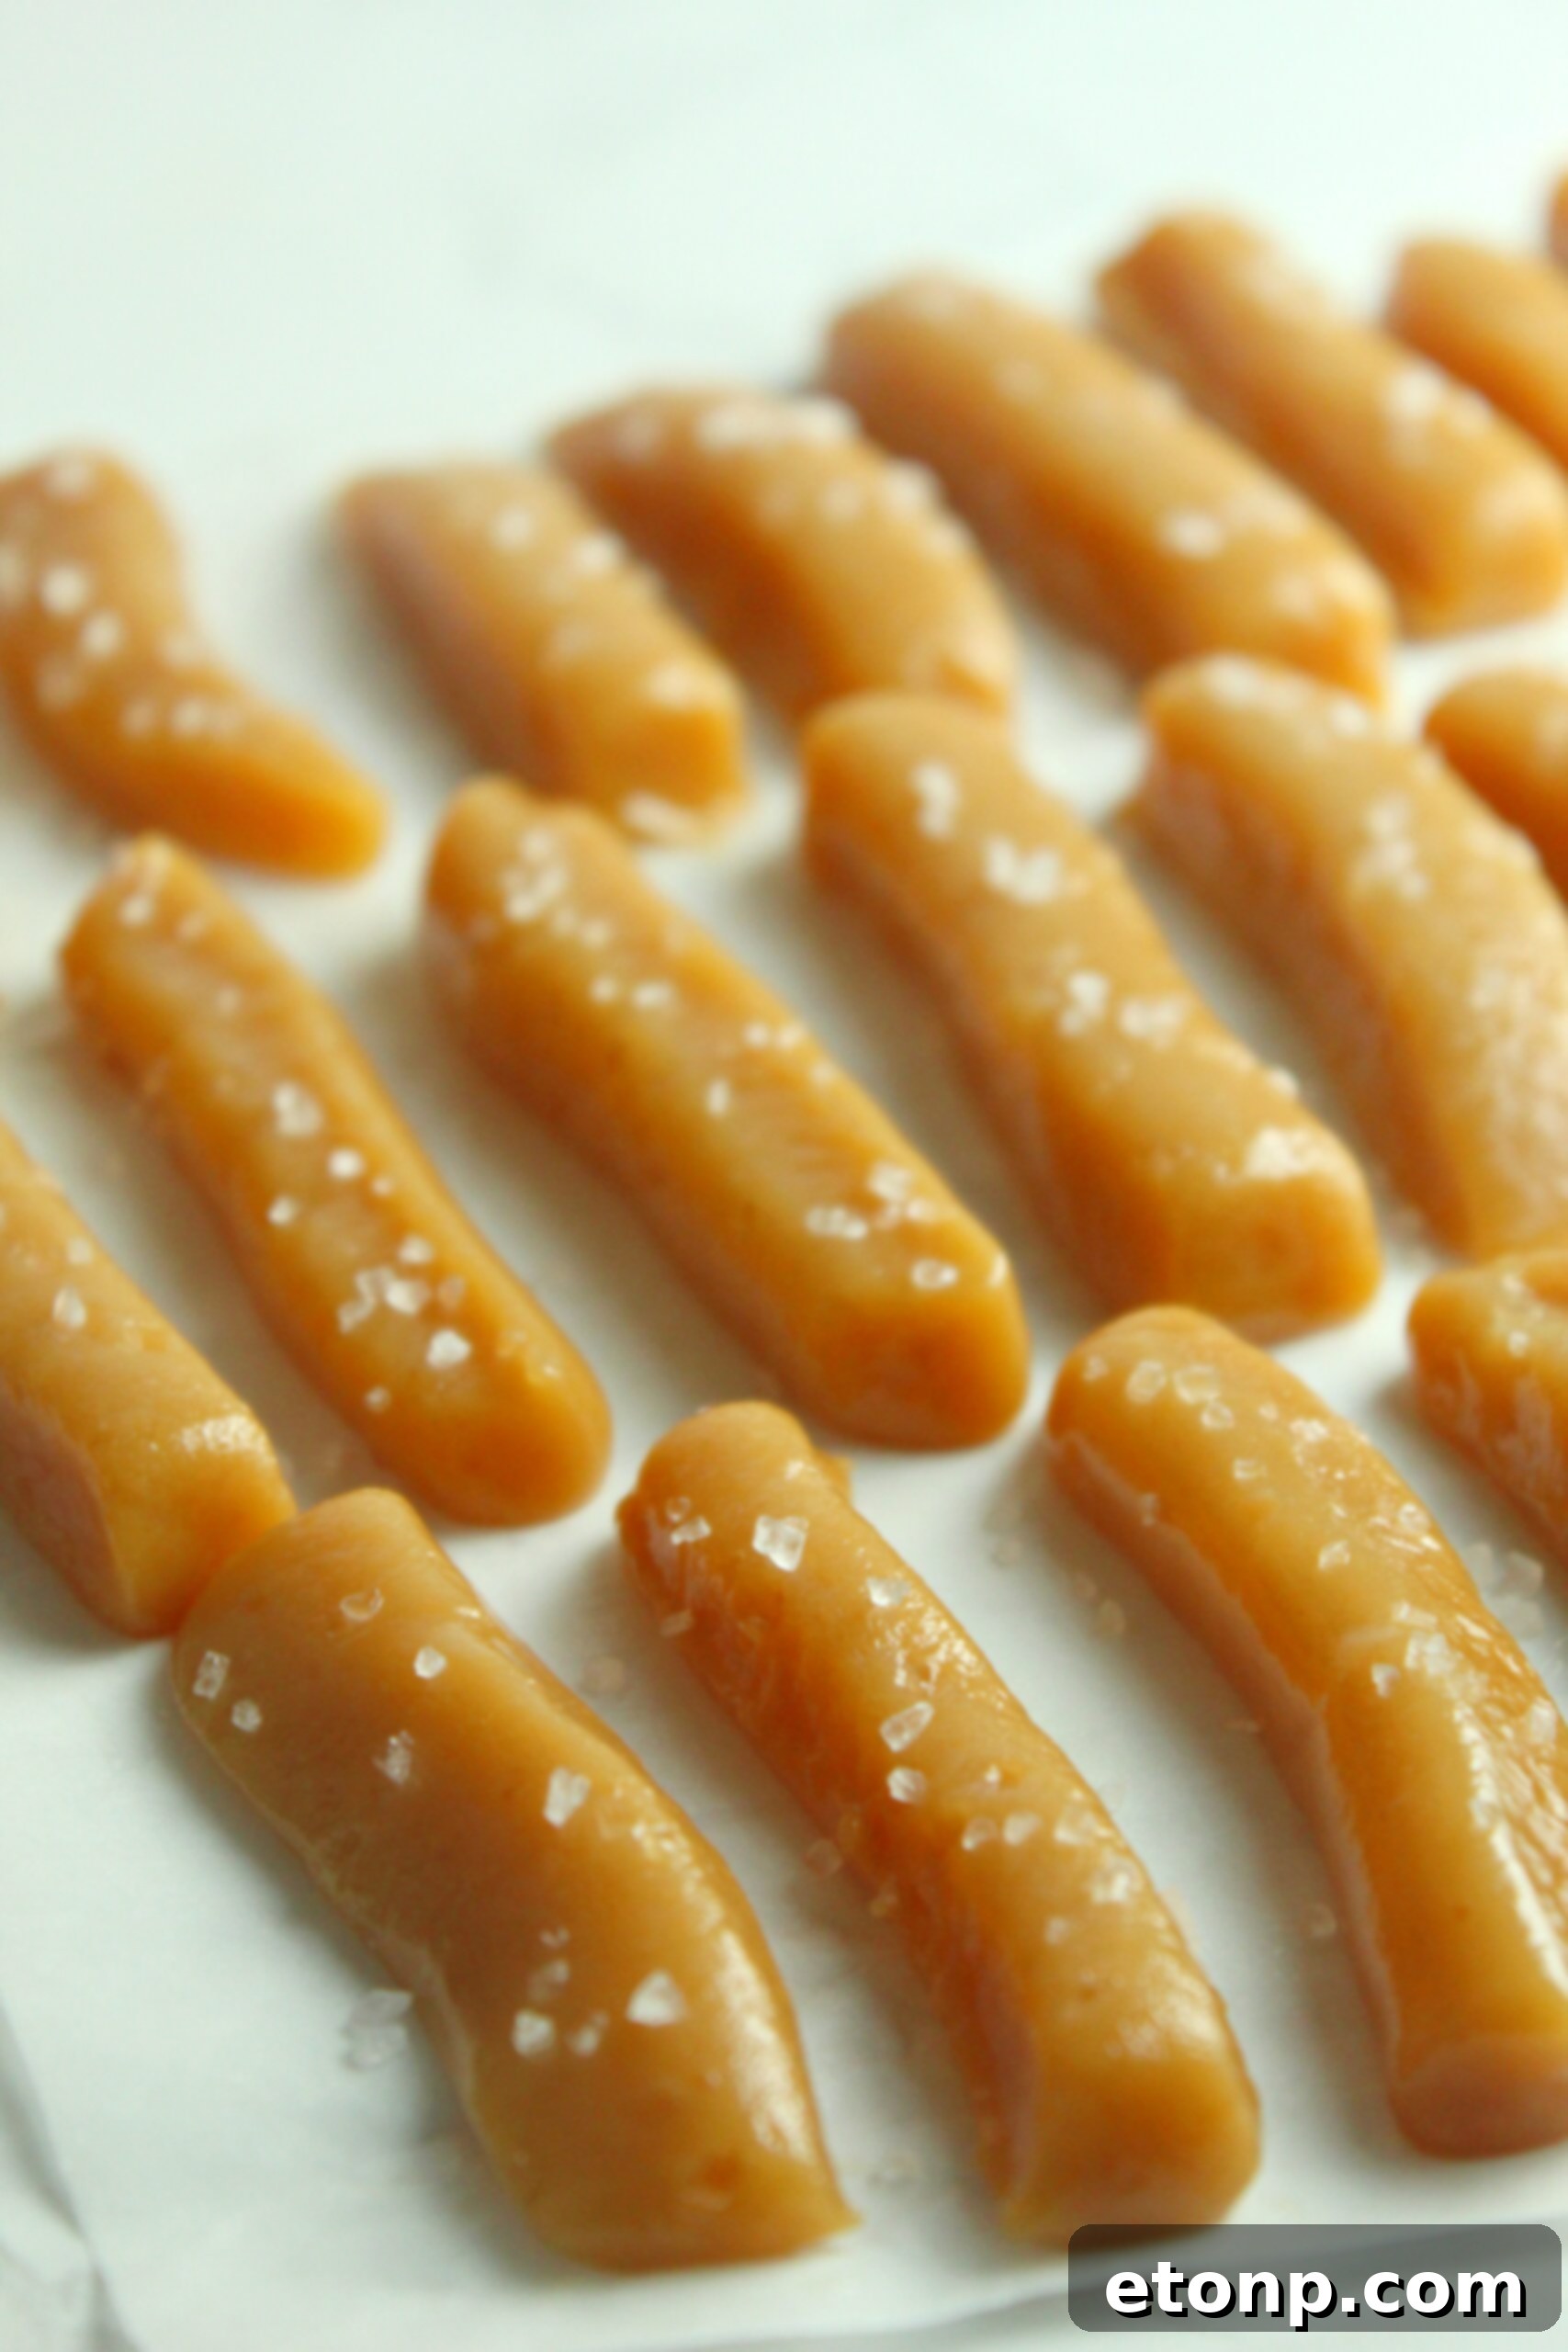
The Ultimate Guide to Making Irresistibly Soft & Chewy Homemade Salted Caramels

There’s a certain magic that happens when you bite into a truly exceptional salted caramel. That perfect balance of sweet and savory, the rich, buttery flavor, and the wonderfully soft, chewy texture – it’s an experience unlike any other. While store-bought caramels can be good, nothing quite compares to the depth of flavor and customizability of homemade versions. Many people shy away from making candy at home, intimidated by the process, but I’m here to tell you that these homemade salted caramels are not only incredibly easy to make but will also become your ultimate sweet indulgence. Prepare to be pleasantly surprised by how simple it is to create these gourmet treats in your own kitchen.
Discover the Simple Secret to Homemade Caramel Perfection
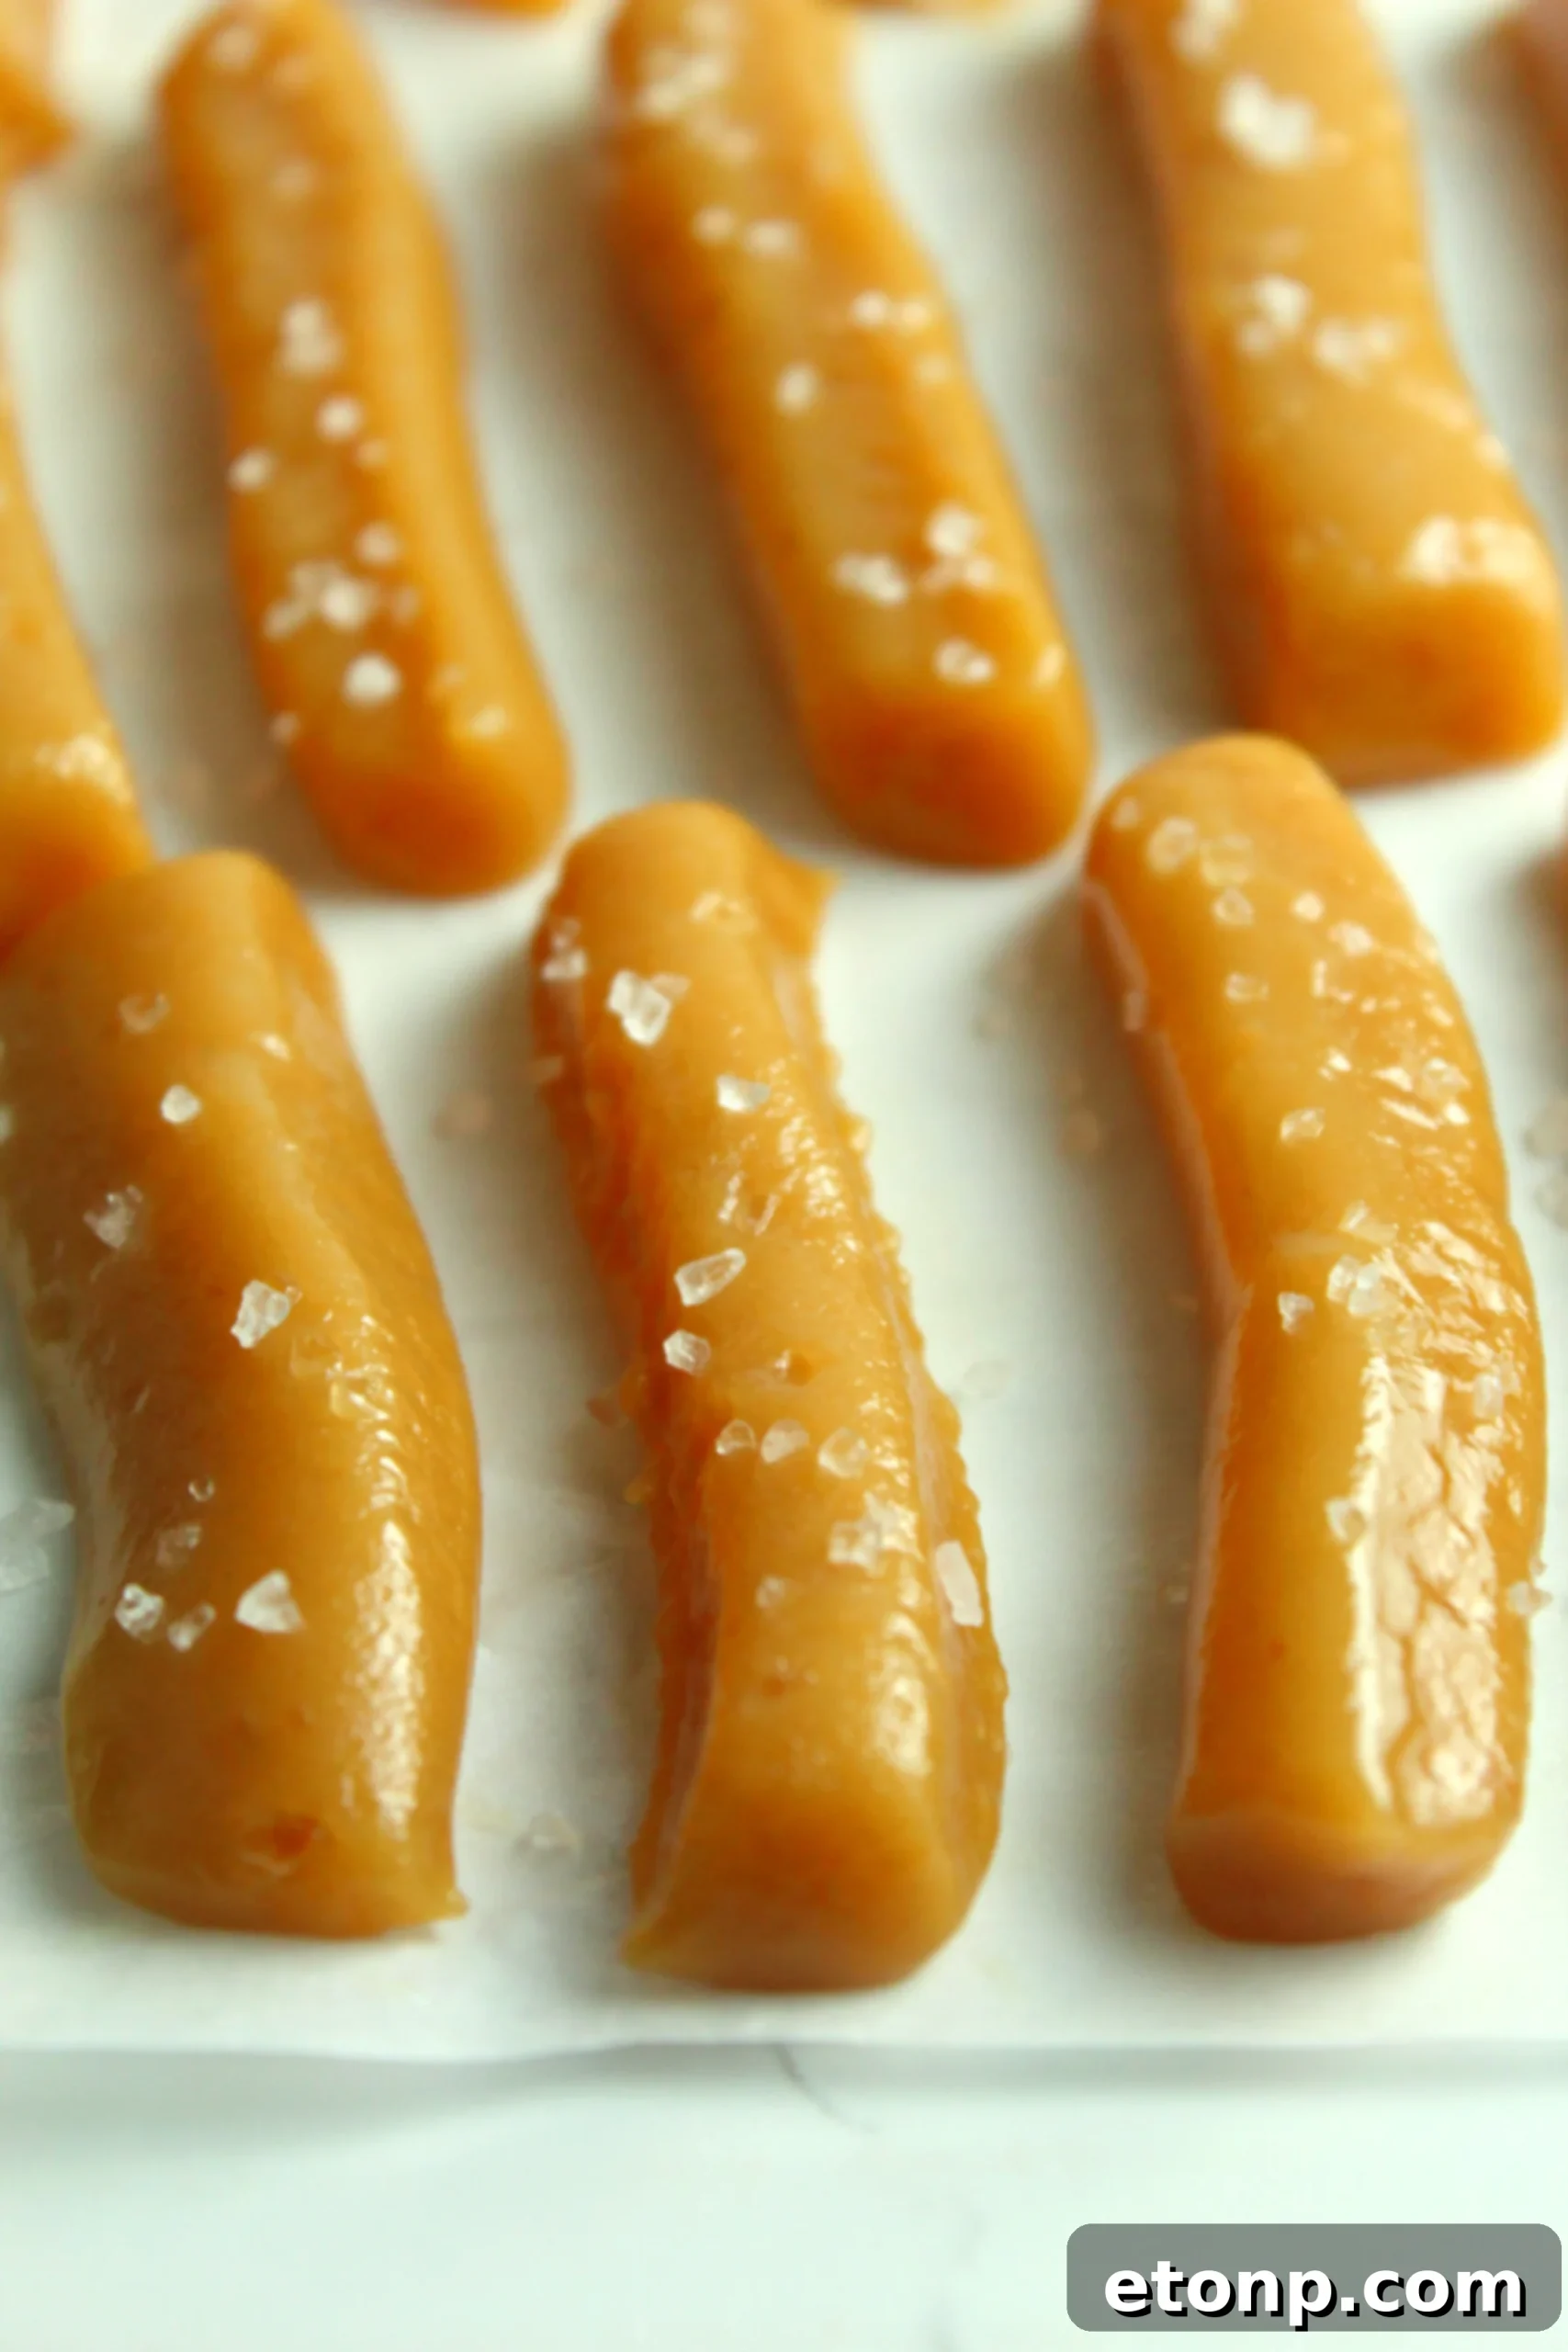
If you’ve ever dreamed of crafting your own caramel candy but felt daunted by the prospect, you’re not alone. Candy making can seem like a mysterious art, requiring precision and patience. However, this recipe for homemade salted caramels demystifies the process, proving that anyone can achieve delicious, professional-quality results with just a few key ingredients and some basic guidance. The joy of pulling apart a freshly made, warm caramel is truly unparalleled, and the sense of accomplishment you’ll feel after creating these delectable treats is just as sweet as the candy itself. You’ll learn the straightforward steps to transform basic kitchen staples into luxurious, melt-in-your-mouth caramels that are far superior to anything you can buy.
Mastering the Art of Caramel: Essential Tips for Success
The key to perfect caramels lies in understanding the science behind them, particularly temperature control. Don’t worry, it’s not as complicated as it sounds! My top tip for ensuring flawless caramels every single time is to employ a two-pronged approach: using a reliable candy thermometer and performing the classic “soft ball test” in cold water. While a thermometer provides precise temperature readings, the soft ball test offers a tactile confirmation of your caramel’s consistency. To perform the soft ball test, simply drop a small spoonful of hot caramel into a bowl of very cold water. If it forms a soft, pliable ball that can be easily flattened between your fingers, you’ve hit the sweet spot for a perfectly chewy caramel. Combining these methods guarantees that your caramels will set up perfectly, resulting in that wonderfully soft and chewy texture we all crave, without being too hard or too sticky. Pay close attention to the temperatures specified in the recipe for the best results, as this is crucial for achieving that signature caramel consistency.
An Irresistible Indulgence: Prepare for Addiction!
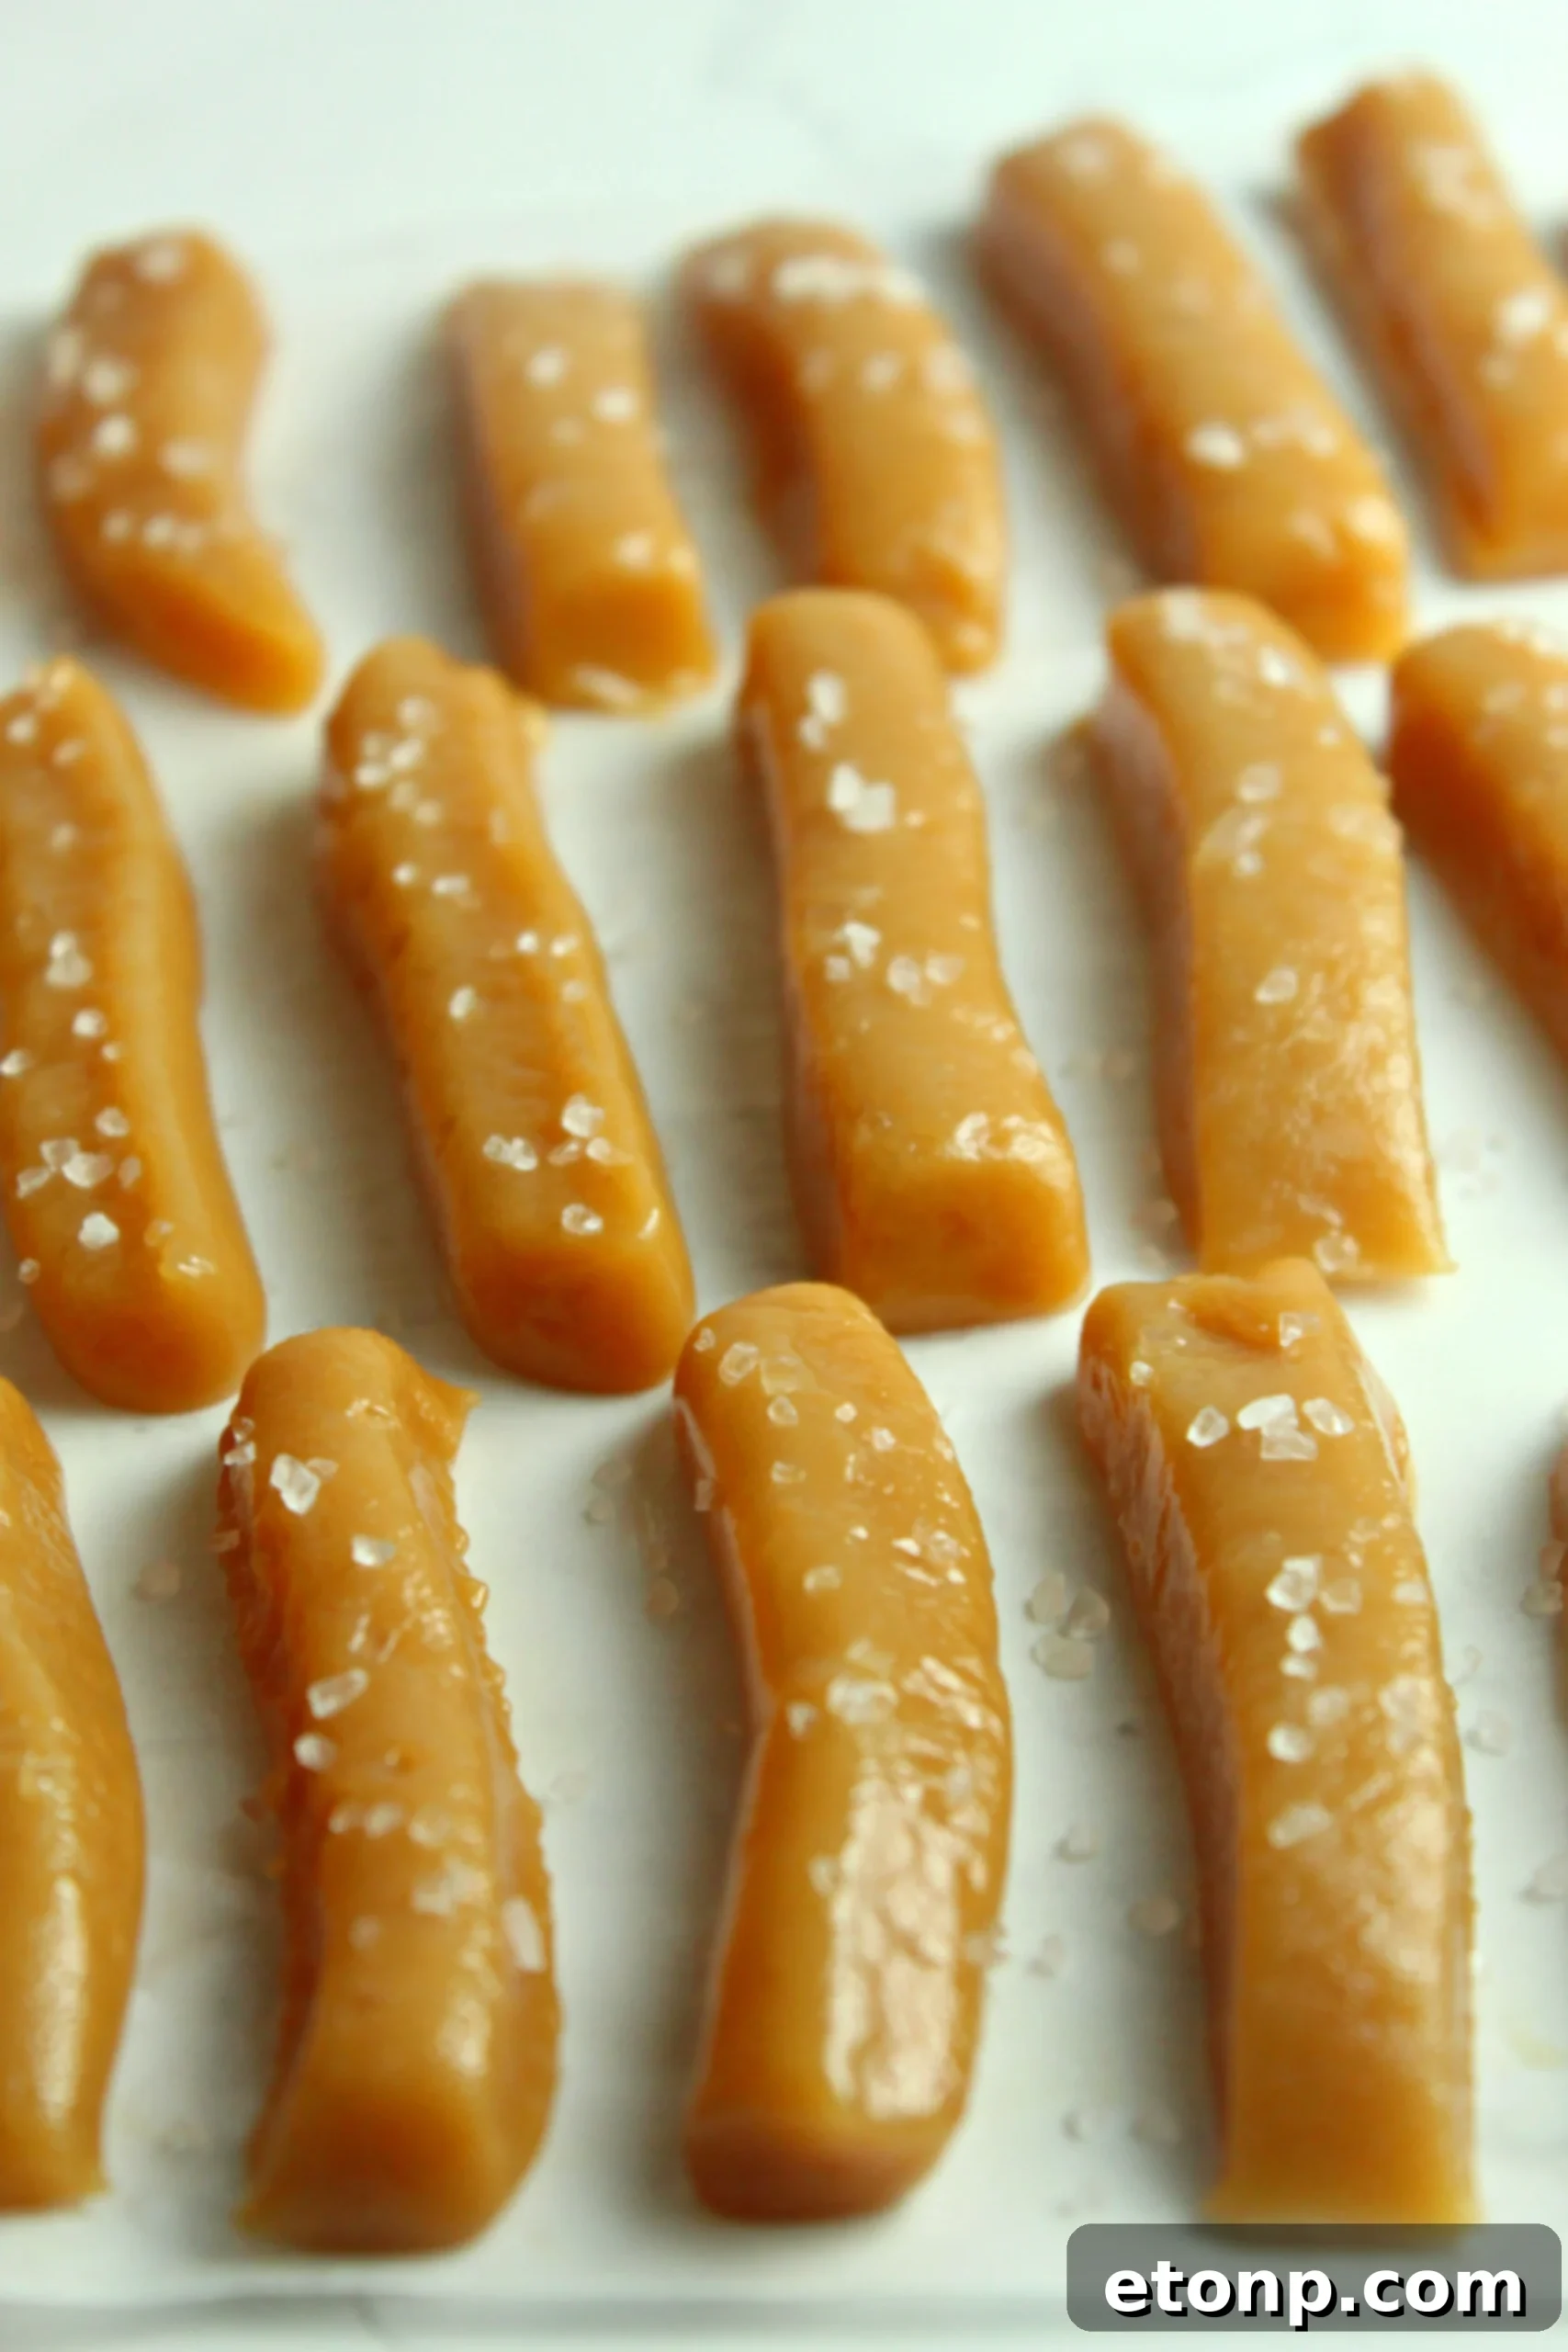
Let me issue a friendly warning: these salted caramels are seriously good. So good, in fact, that they might just become your new favorite obsession. Their allure is incredibly powerful. I’ve personally made eight batches this week alone, and each one disappears faster than the last! There’s something undeniably captivating about the way the sweet, buttery caramel melts in your mouth, followed by that delightful hint of coarse sea salt that perfectly cuts through the richness. The salt enhances the caramel’s deep flavor, creating a symphony of taste that is both comforting and exciting. They are incredibly addictive, and once you start, it’s genuinely hard to stop at just one. This isn’t just a recipe; it’s a gateway to a world of caramel bliss that you’ll want to revisit again and again, whether for a personal treat or to impress guests.
Homemade Caramels: The Perfect Gift for Any Occasion
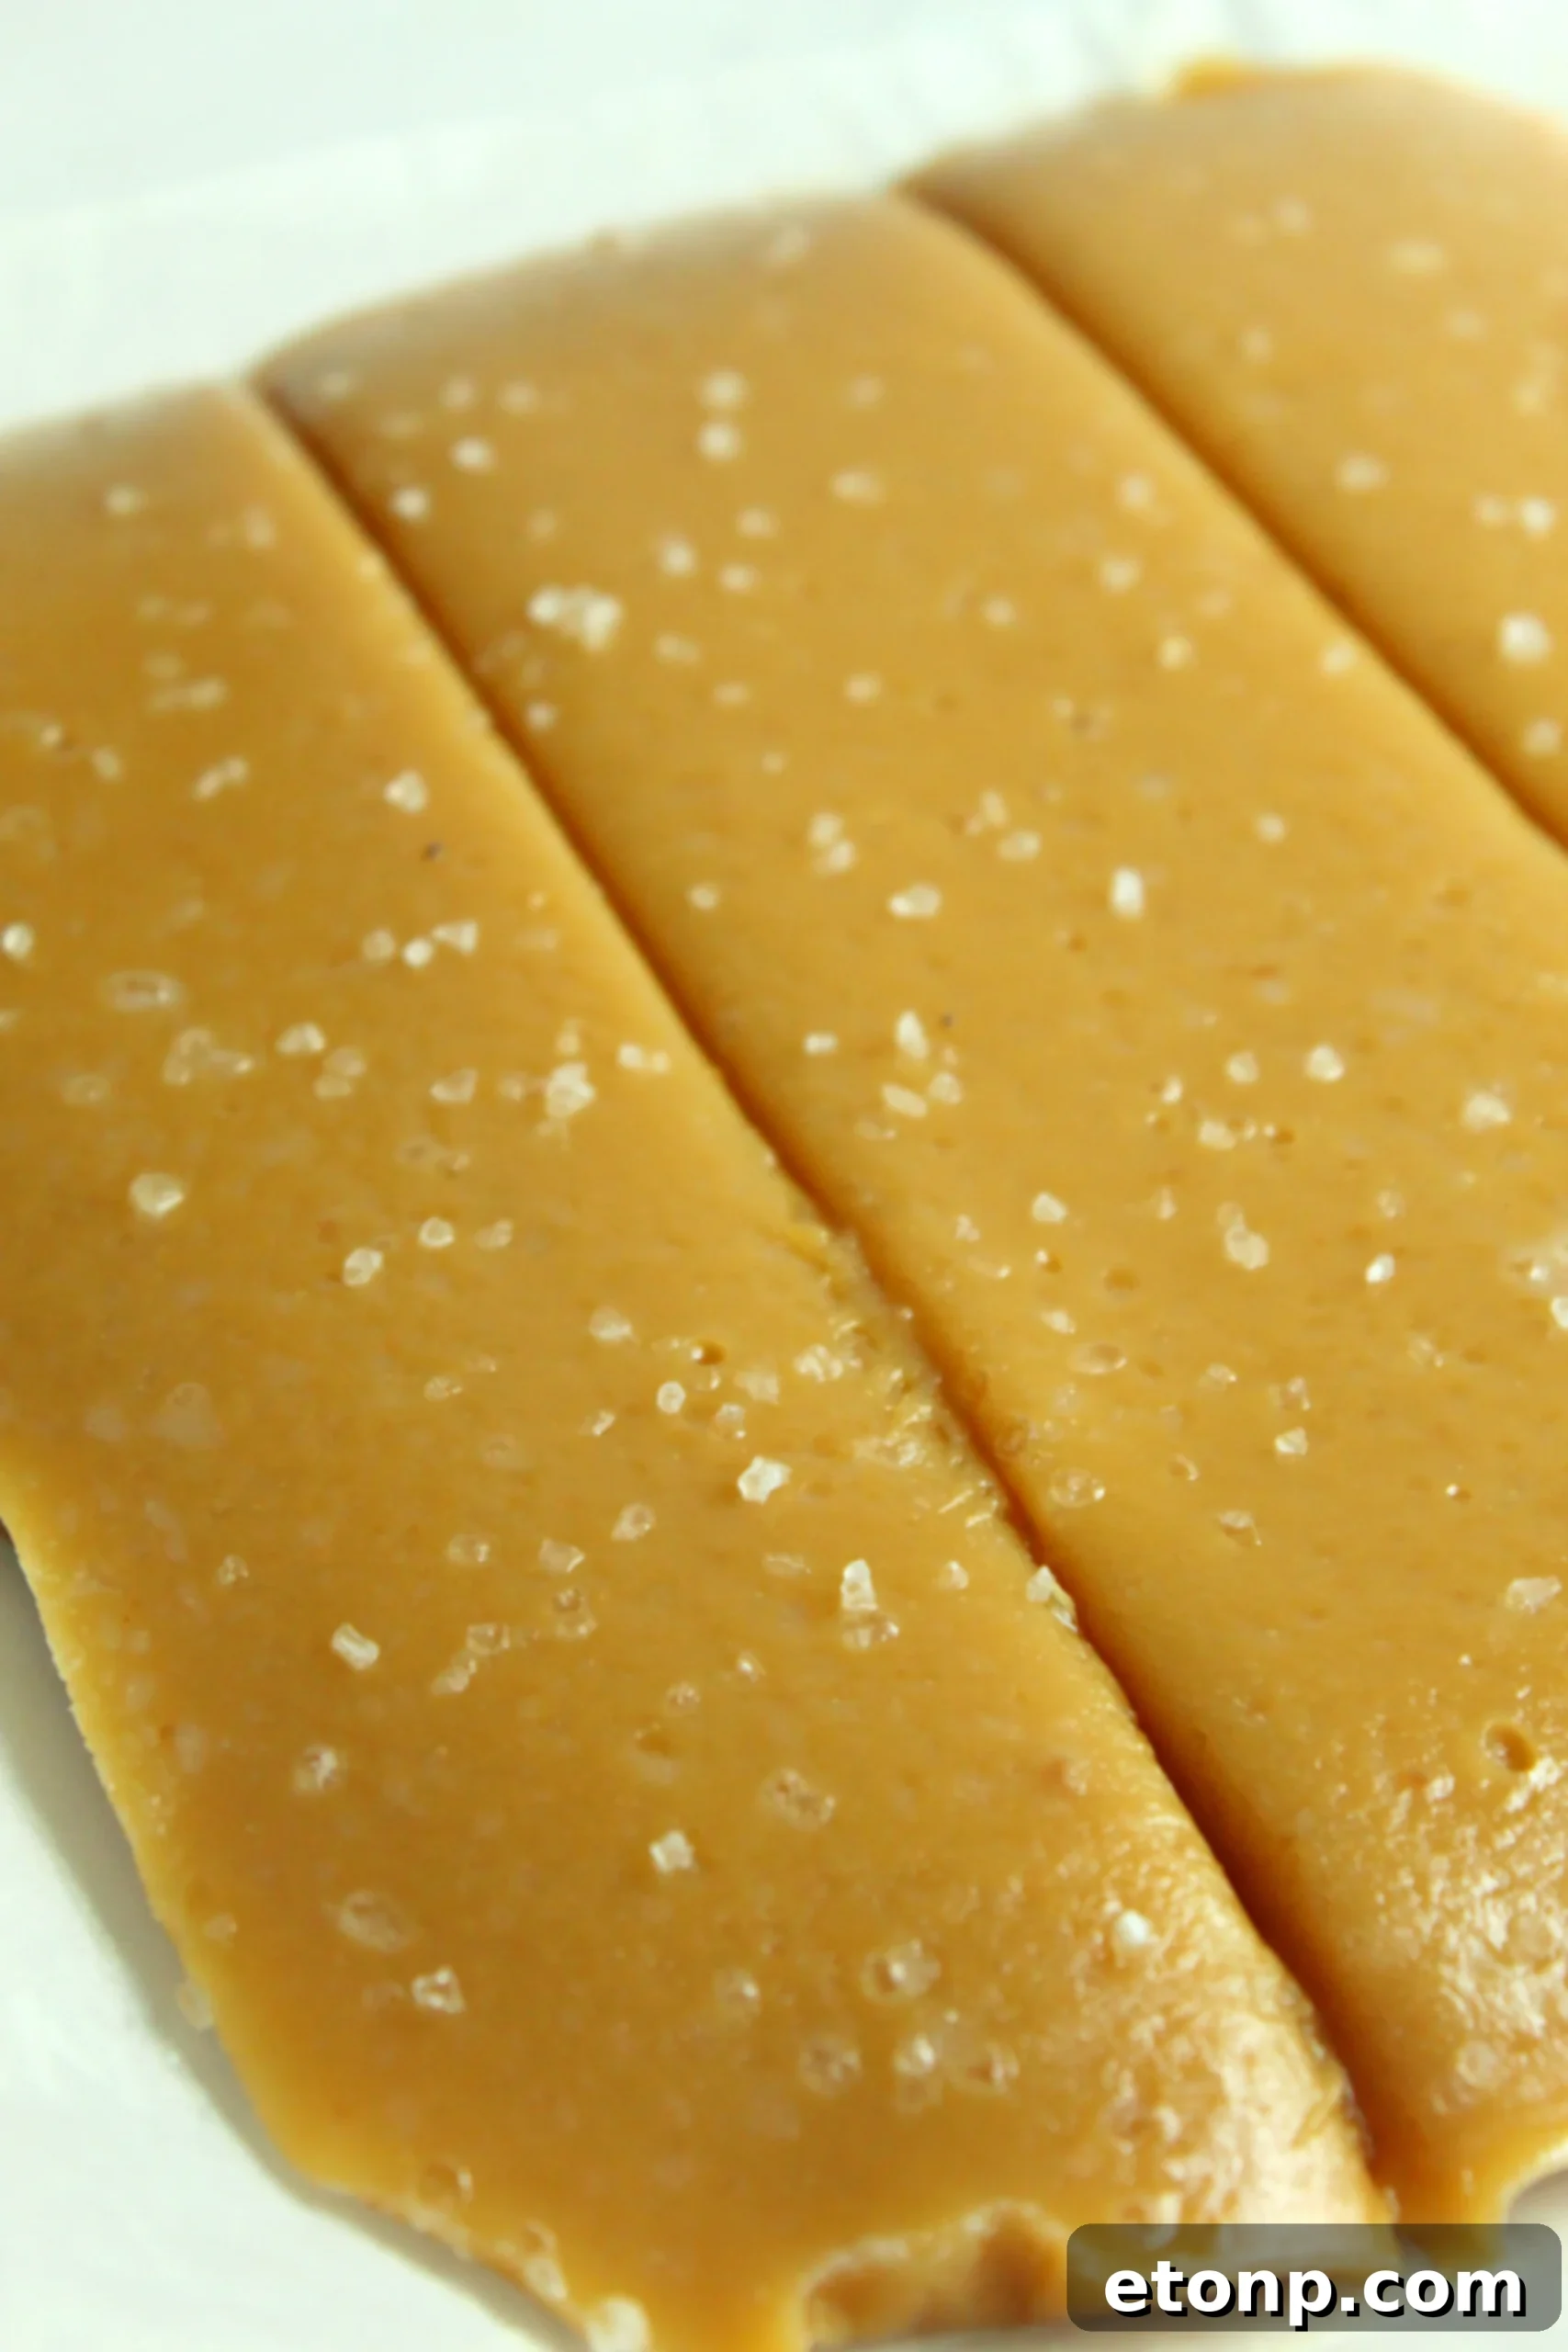
Beyond being a fantastic treat for yourself, these homemade salted caramels make truly exceptional and thoughtful gifts. This past holiday season, I lovingly wrapped batches of them in charming little gift boxes, and the response was overwhelmingly positive. Everyone who received them raved about their exquisite flavor and perfect texture. There’s something incredibly personal and heartfelt about a homemade gift; it conveys warmth, care, and a personal touch that store-bought items simply can’t replicate. Whether for Christmas, birthdays, hostess gifts, teacher appreciation, or just a thoughtful gesture to brighten someone’s day, these easy-to-make caramels are a surefire way to spread sweetness and joy. They show you put effort and love into your present, making them feel extra special. This recipe is definitely a keeper, destined to become a staple in your culinary repertoire for years to come.
The Irresistible Allure of Soft, Chewy Salted Caramels
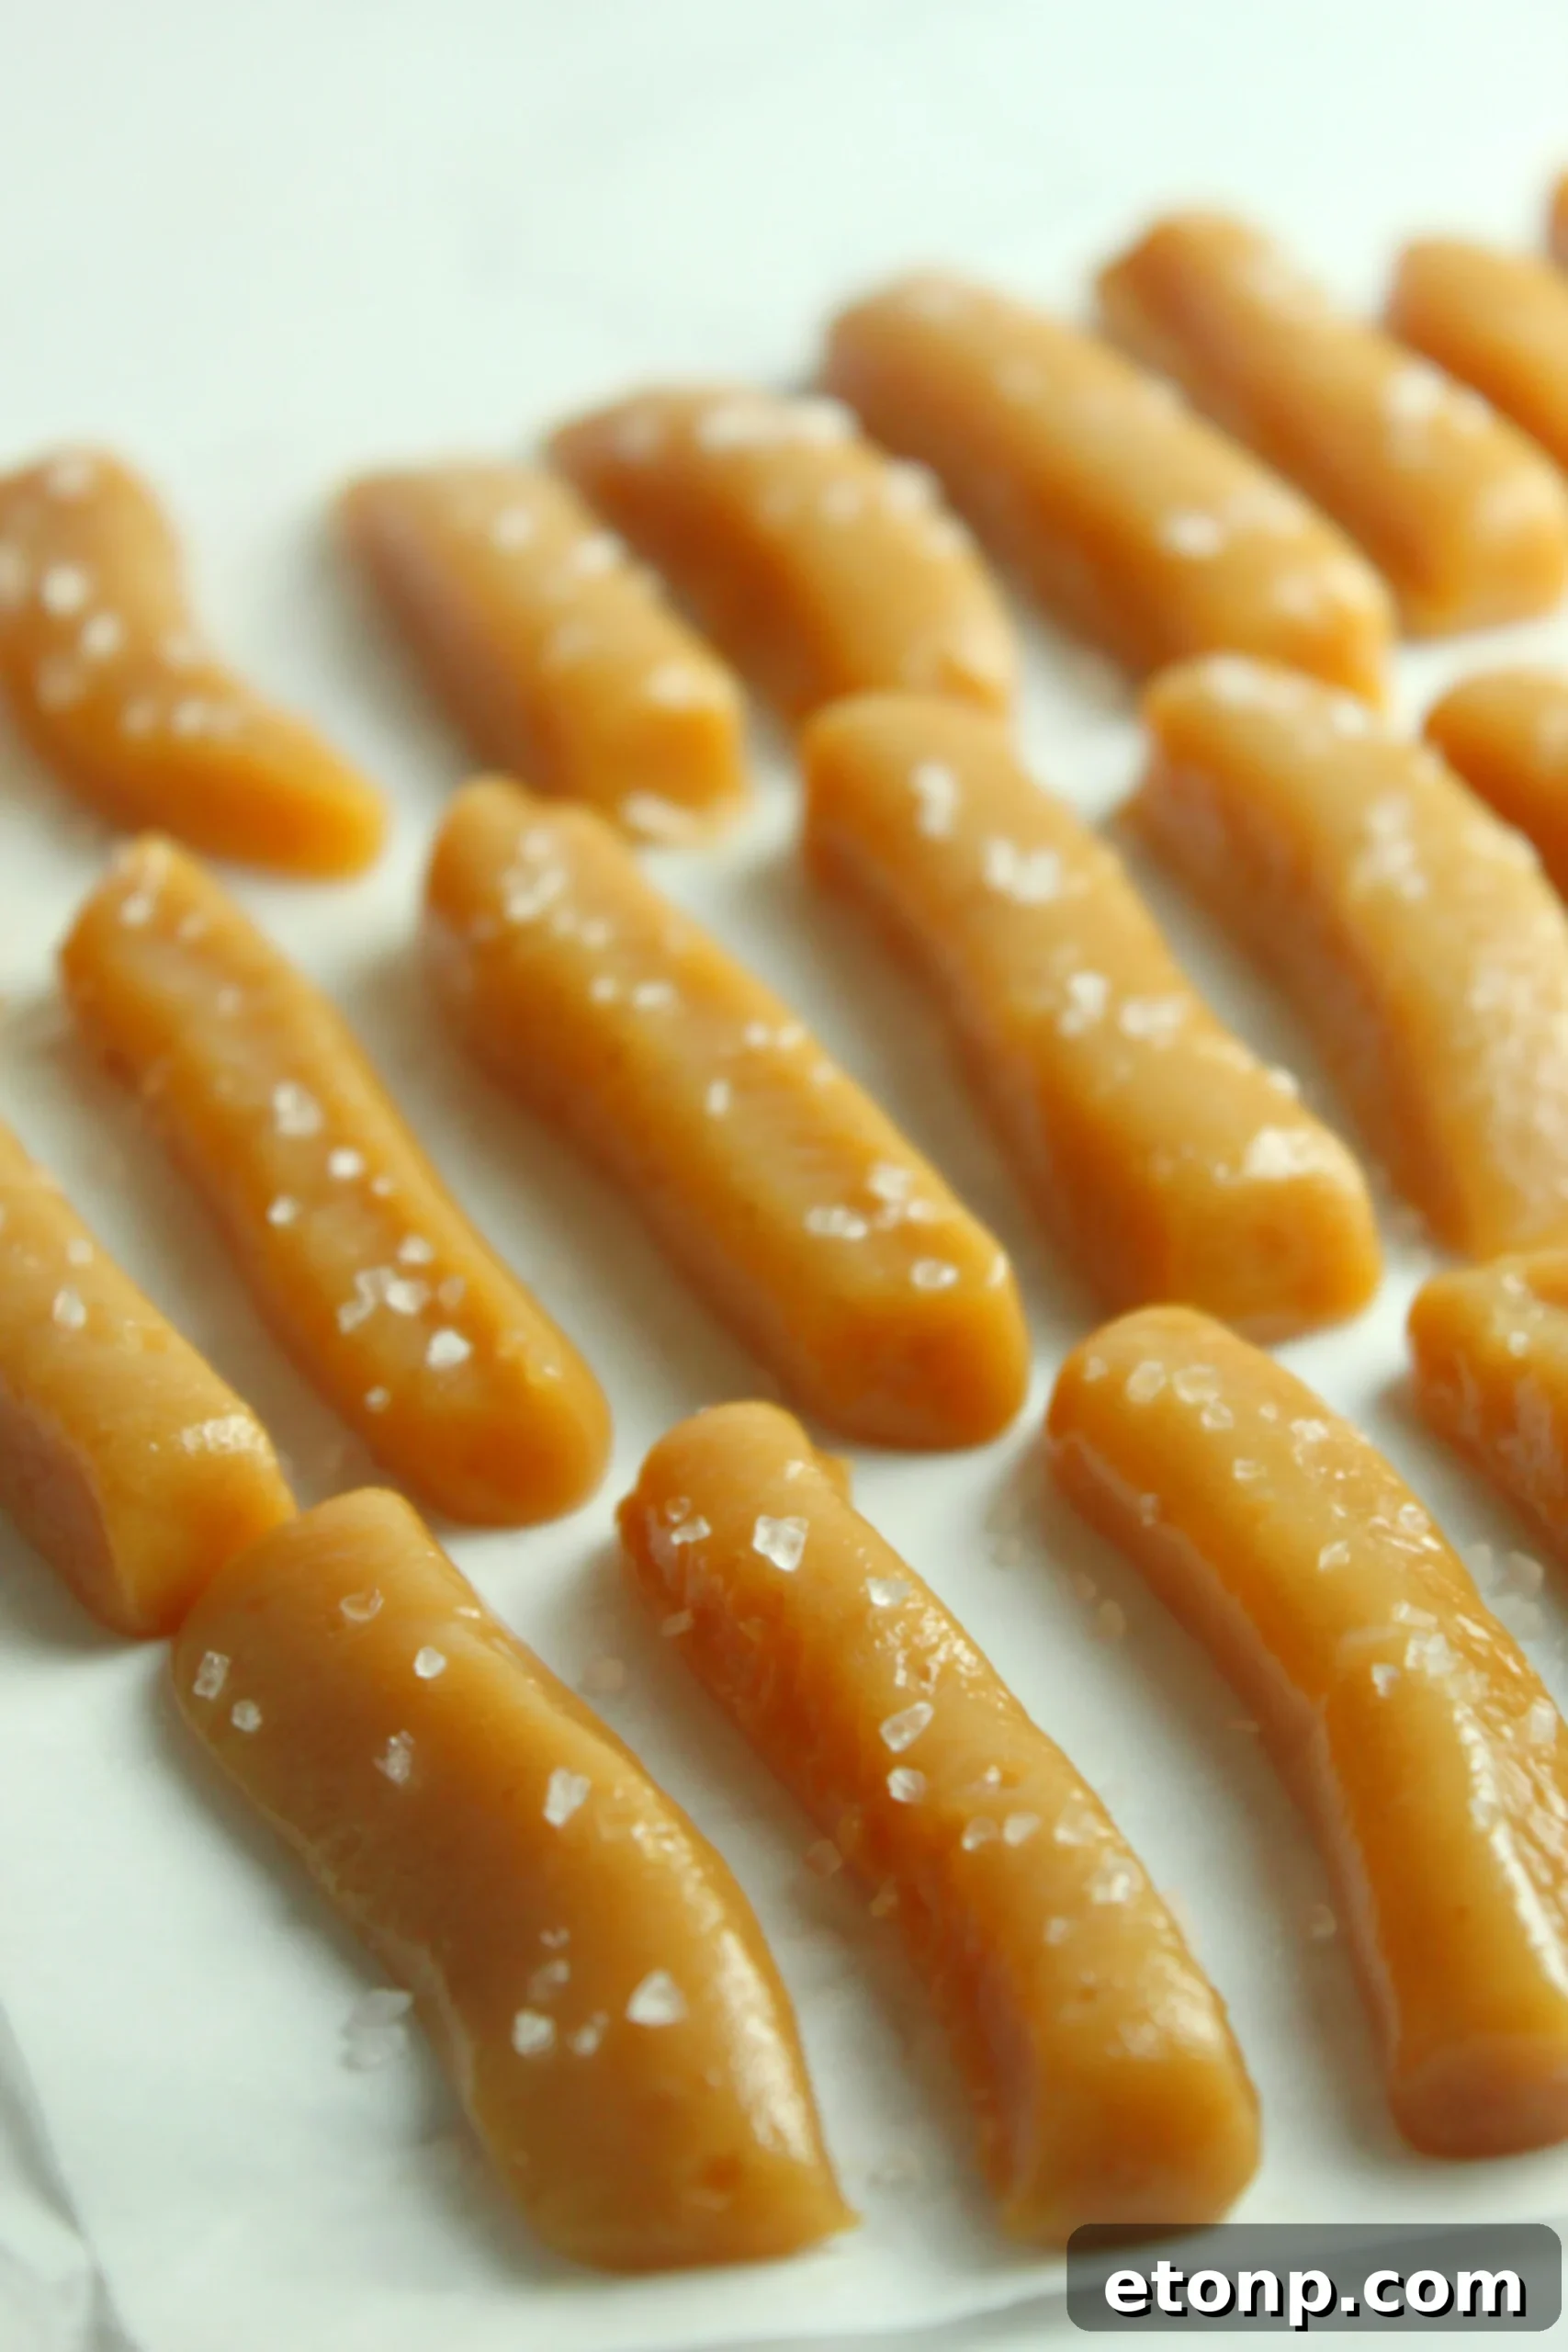
I cannot stress enough how insanely addictive these caramels are. Their rich, buttery foundation combined with the delicate crunch and burst of flavor from the sea salt creates an unparalleled sensory experience. If you’ve never ventured into the world of candy making before, please don’t let that deter you. I promise you, this recipe is not as difficult as you might imagine. The steps are straightforward, requiring only attention to detail rather than complex techniques, and the reward is immense. Imagine creating a confection so luxurious, so perfectly balanced in flavor and texture, that it rivals anything you could buy from a high-end candy shop. That’s exactly what you’ll achieve with these homemade salted caramels. Their melt-in-your-mouth deliciousness and delightful chewiness make them a phenomenal treat that can sweeten any occasion, from a quiet evening at home to a festive gathering with friends and family.
Even Non-Sweets Lovers Fall for These Caramels!
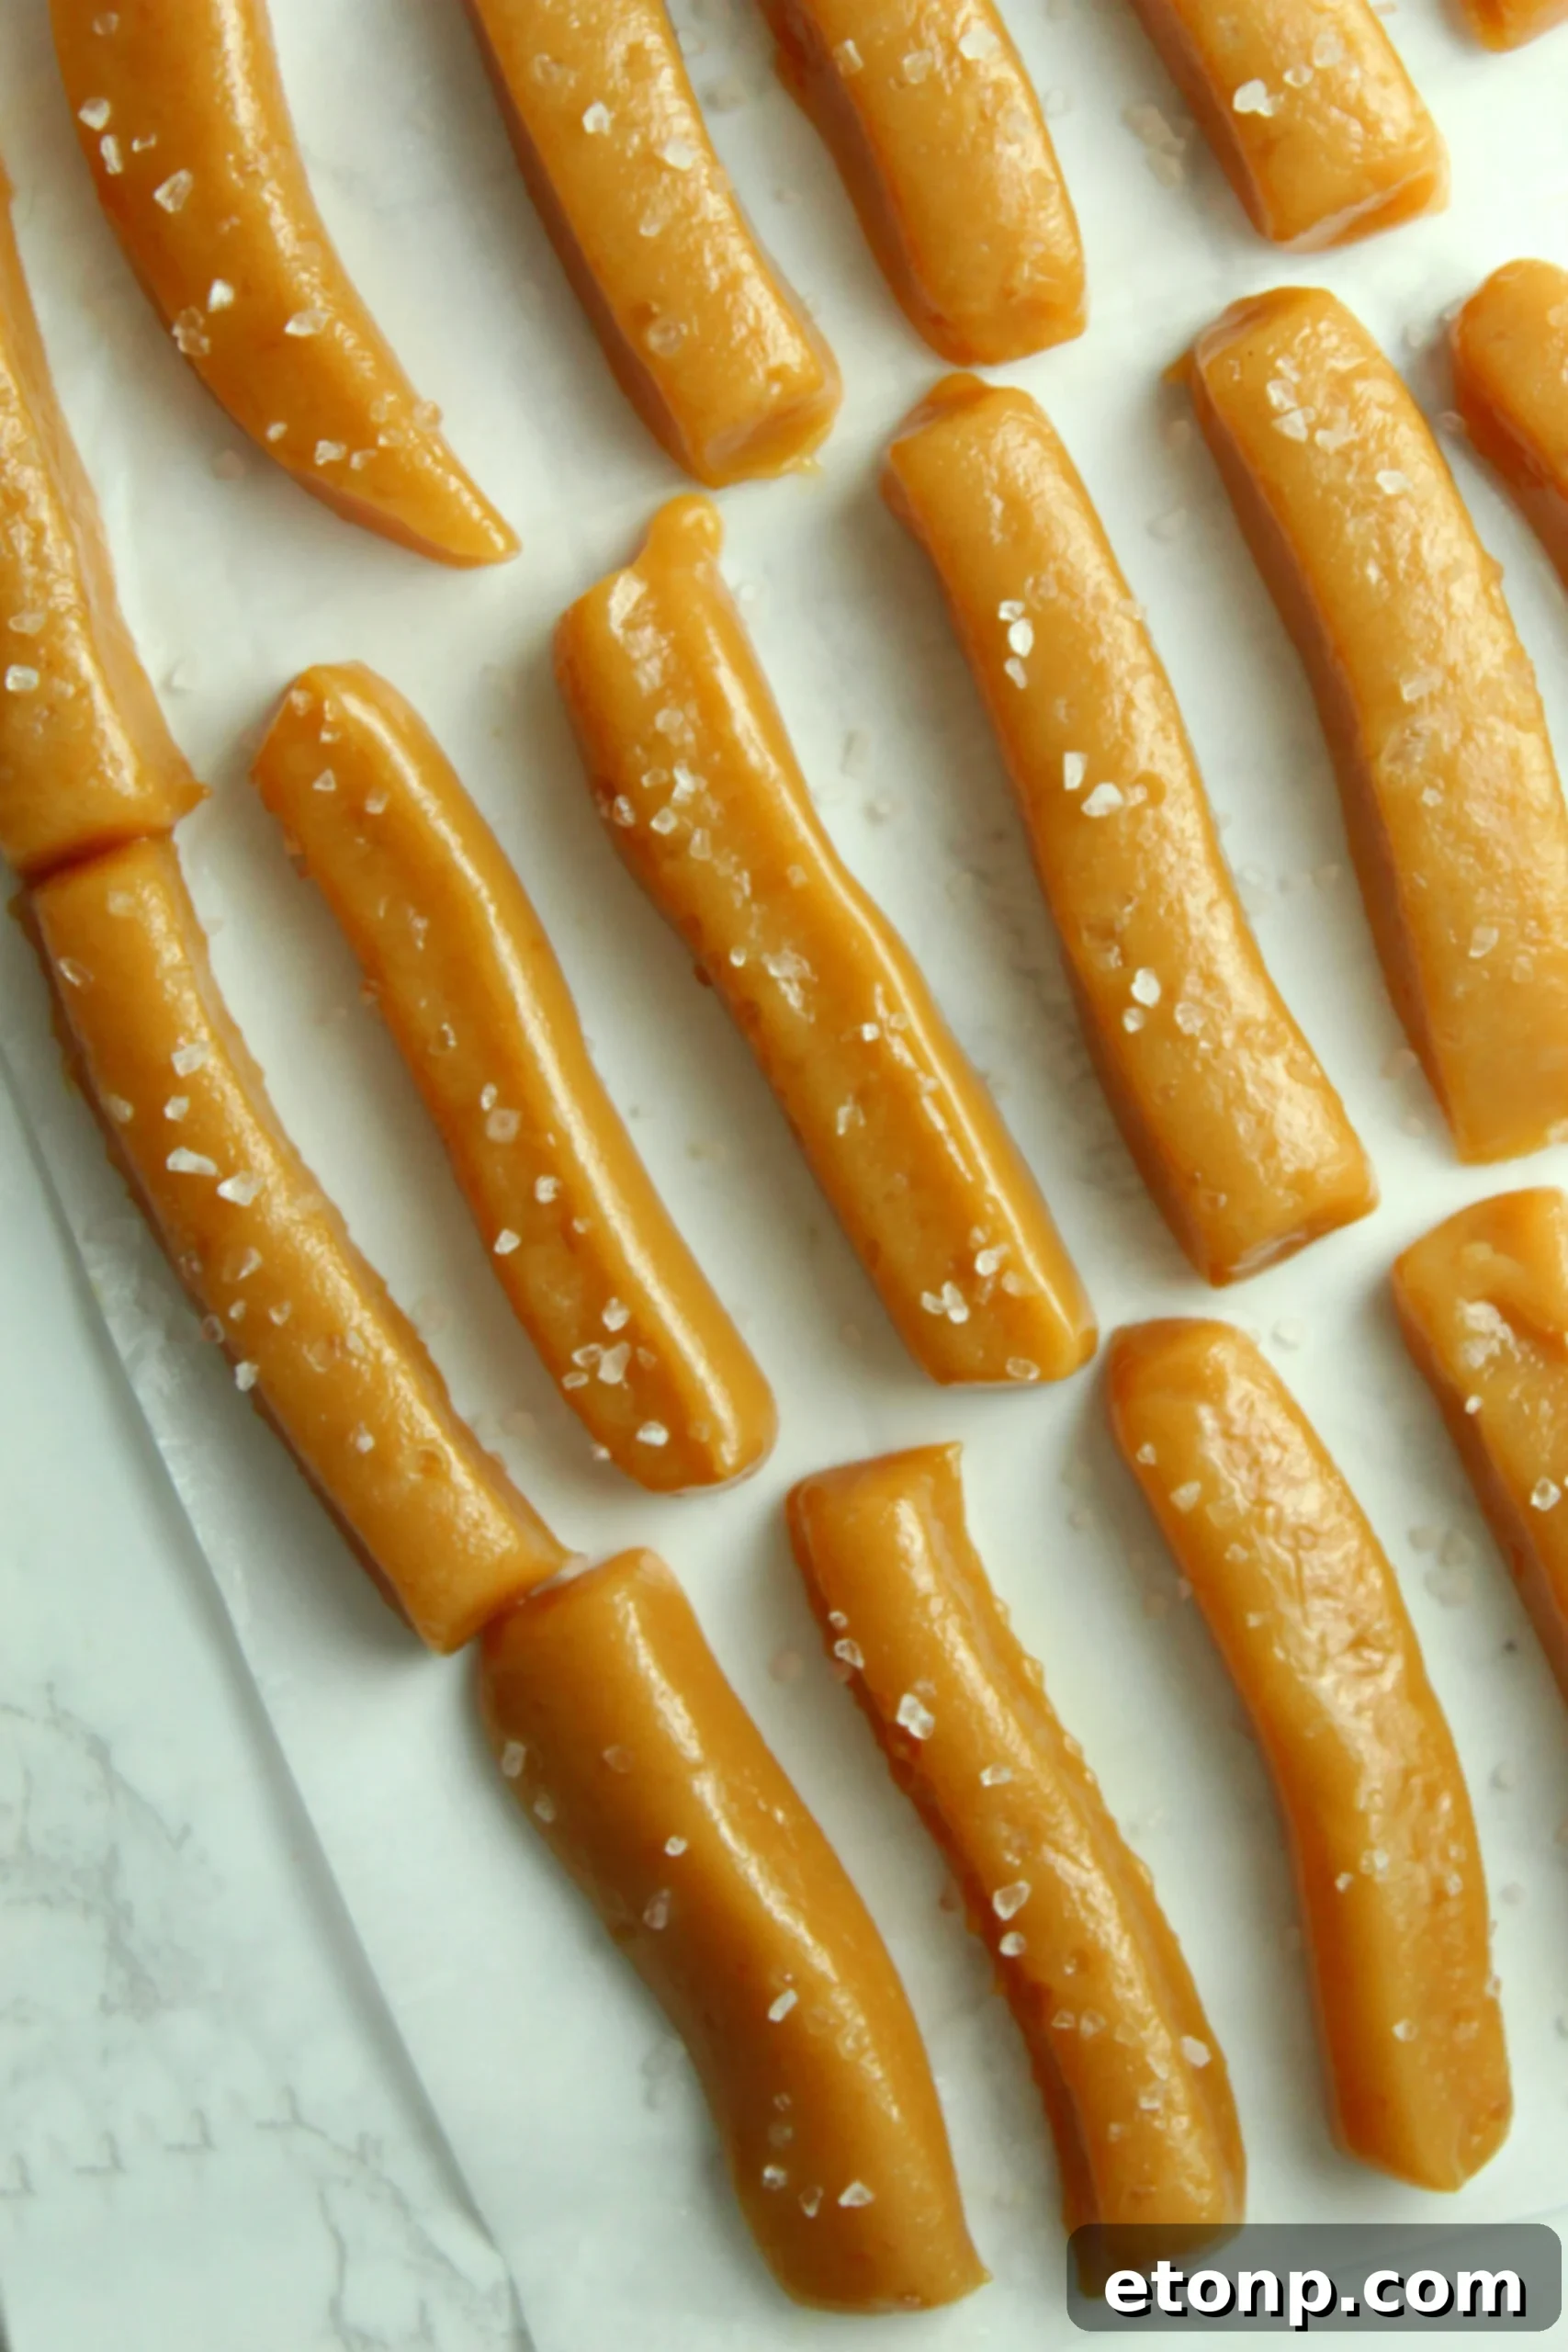
The true testament to how extraordinary these caramels are came from an unexpected source: my husband, who is decidedly *not* a sweets fan. He rarely indulges in desserts, preferring savory snacks. So, after I made my first batch, his reaction was truly remarkable. He approached me with a serious look and said, “You *need* to take those out of the fridge.” My immediate thought was that he needed space for some obscure item he wanted to store, perhaps a new type of cheese or a craft beer. But no, that wasn’t it at all. He then confessed, with a sheepish grin, “Because I just ate five pieces!” His astonishment at his own indulgence was priceless, especially coming from someone who typically avoids sugary treats. This anecdote perfectly illustrates the universal appeal of these homemade salted caramels; they’re so delicious, they convert even the most skeptical palates. Prepare for similar astonished reactions from your own friends and family!
Crafting Sweet Memories: Why Homemade Caramels Are a Must-Try
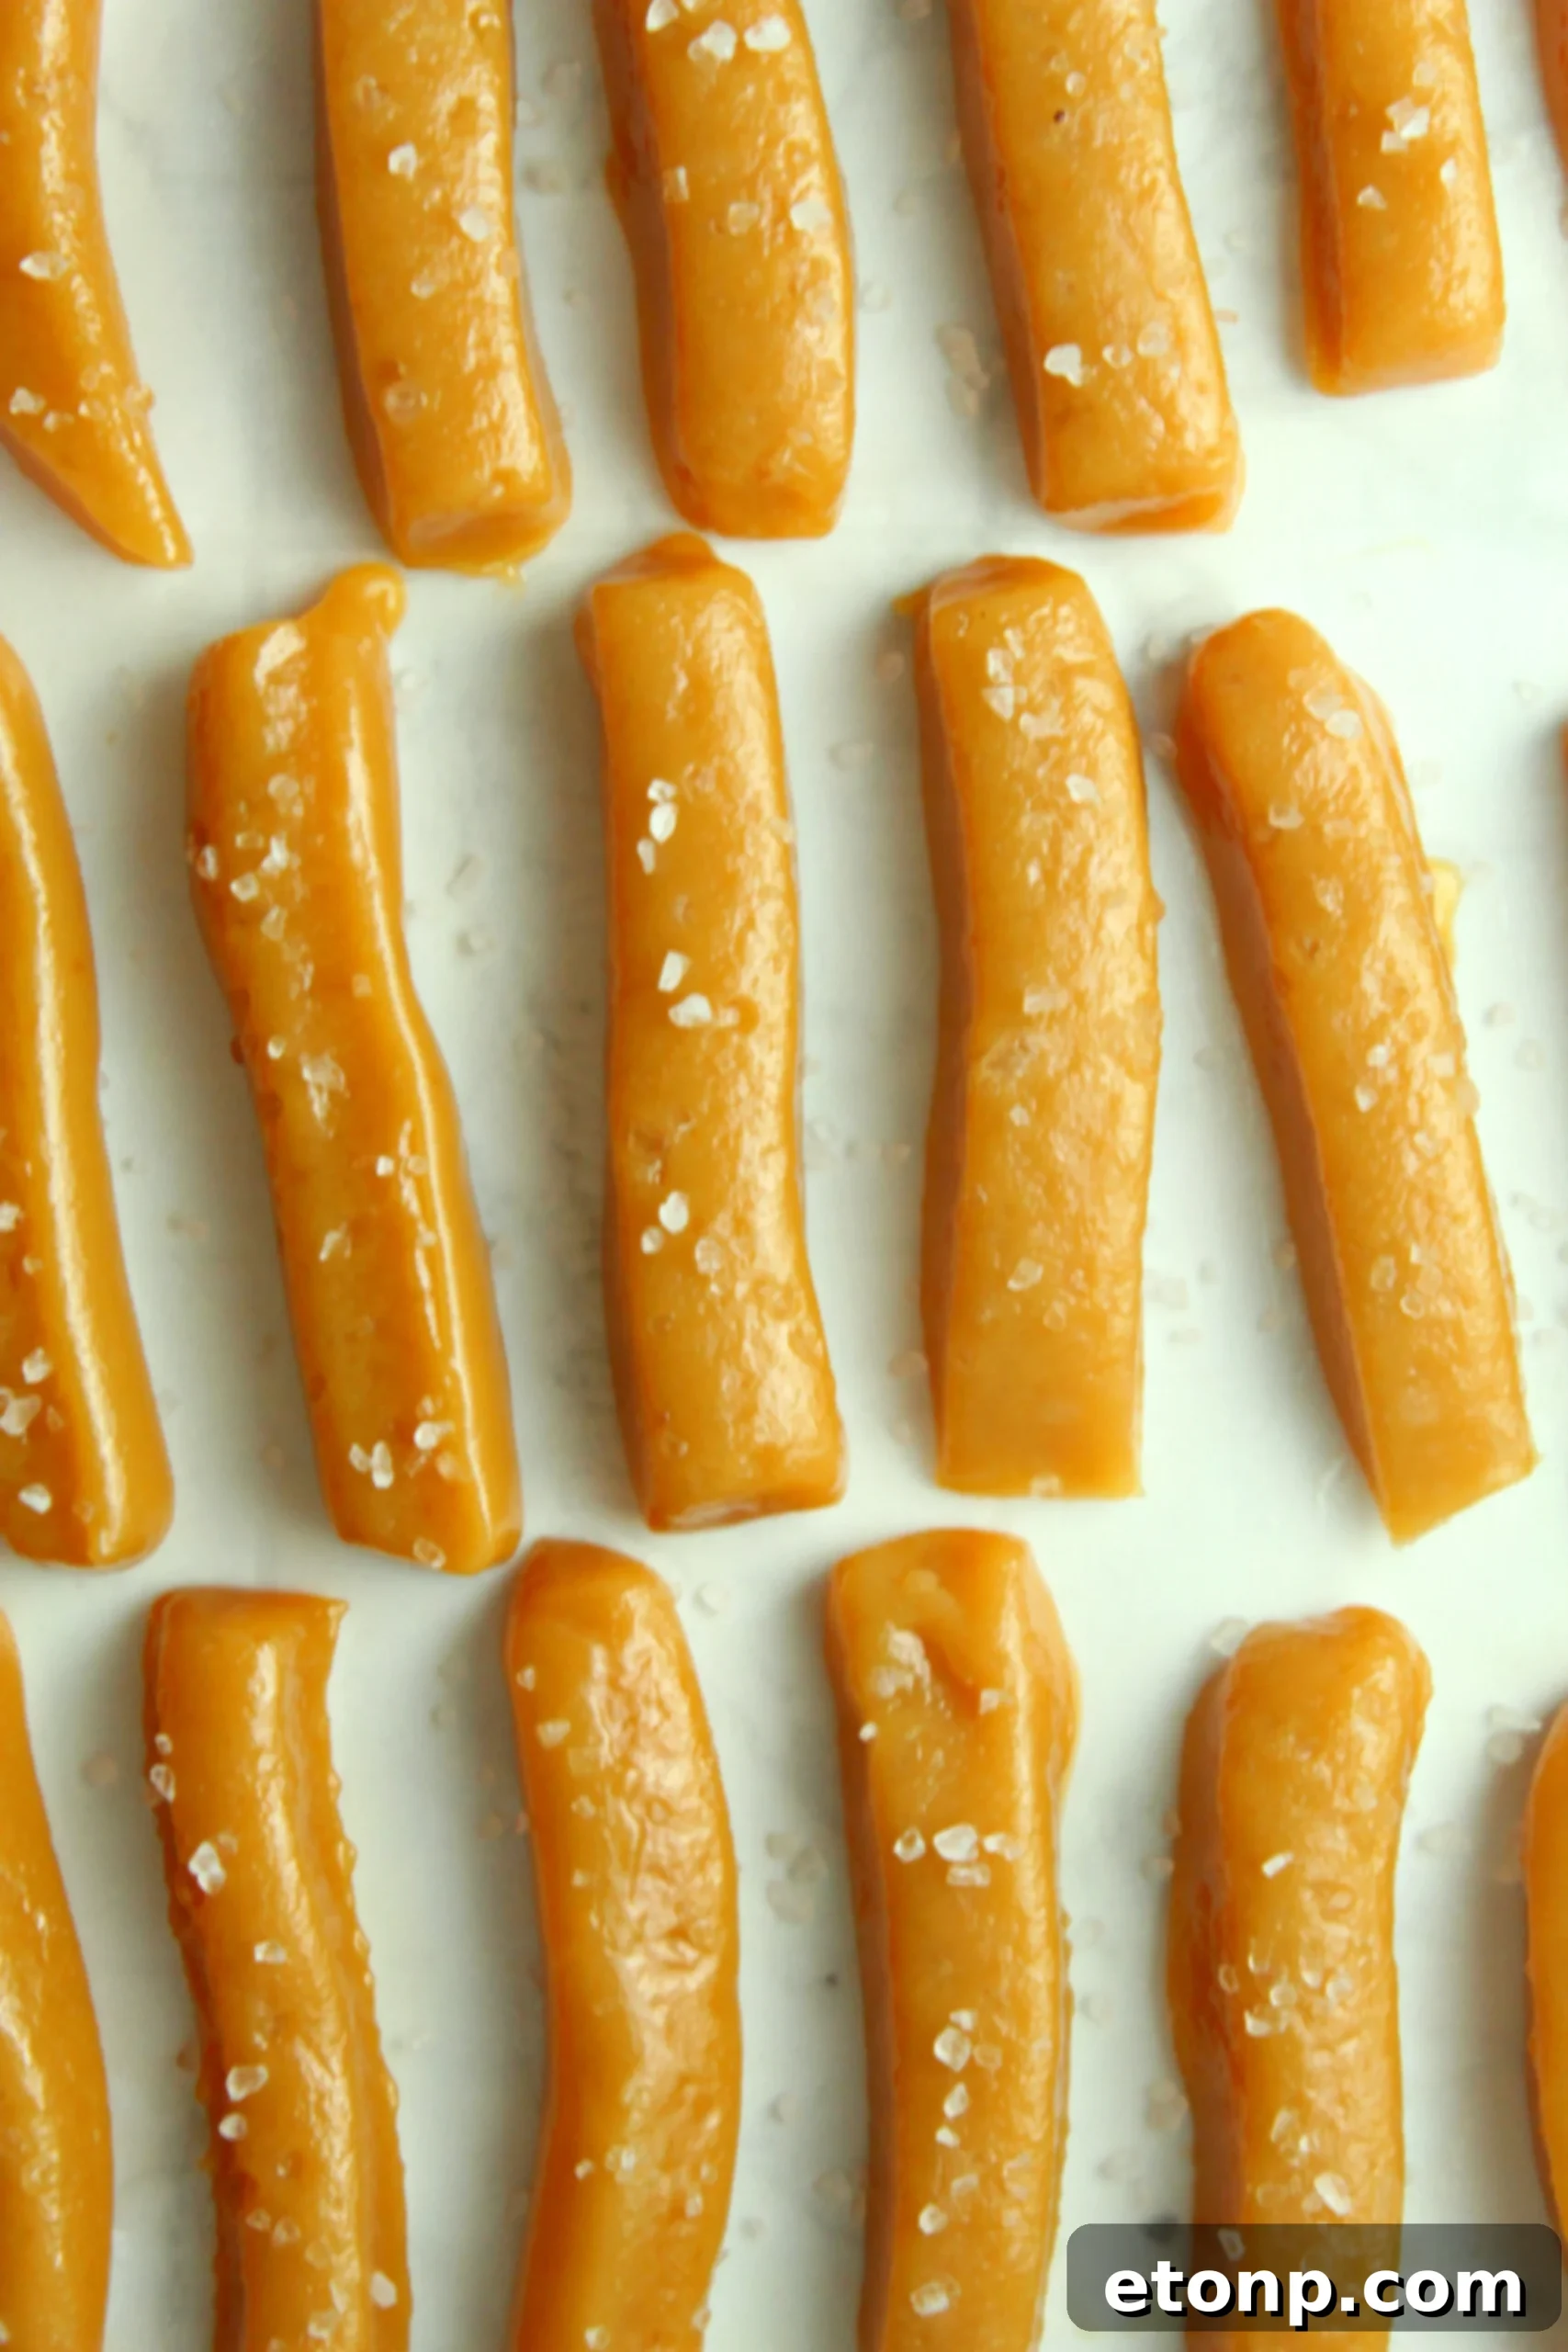
Giving the gift of homemade caramels to your loved ones isn’t just about sharing a sweet treat; it’s about sharing a piece of your heart and creating lasting memories. These aren’t just candies; they’re little bites of happiness, crafted with care and intention. Imagine the smiles they’ll bring, the delight in each chew, and the cozy feeling of enjoying something truly special that was made just for them. Their exquisite flavor profile makes them an instant favorite, ensuring that whoever receives them will appreciate the effort and love you poured into making them. They are truly melt-in-your-mouth delicious and possess the power to sweeten any occasion, whether it’s a grand celebration or a simple moment of connection. Make these caramels, share them, and watch the joy unfold, knowing you’ve created something truly memorable.
Loved this recipe and can’t wait to make it? Be sure to SHARE it with your friends and family on Facebook and PIN it for later inspiration! Don’t miss out on more incredible, easy-to-make recipes – FOLLOW ME ON PINTEREST BY CLICKING HERE!
Homemade Salted Caramels
Share Recipe on Facebook
Ingredients
- 1/2 cup unsalted butter (sliced into 8 pieces)
- 1/2 cup heavy whipping cream
- 3 tbsp. water
- 1/4 cup light corn syrup
- 1 cup granulated sugar
- 1/2 tsp. coarse sea salt (plus extra for sprinkling)
Instructions
- Grease a 9×5″ bread pan with nonstick cooking spray and line with parchment paper, leaving enough overhang on the sides to easily lift the caramels out later.
- Spray the parchment paper with nonstick cooking spray and set aside.
- In a medium glass bowl, combine the unsalted butter and heavy whipping cream. Microwave for approximately 1 minute and 30 seconds, or until the butter is mostly melted.
- Stir the mixture gently to fully melt any remaining butter and ensure it’s well combined.
- In a heavy-bottomed medium saucepan, combine water and light corn syrup over medium heat. Add the granulated sugar and stir thoroughly until everything is well incorporated.
- Bring the sugar mixture to a rolling boil. Once boiling, cover the saucepan with a lid for 1 minute. This helps to wash down any sugar crystals from the sides of the pan.
- Remove the lid and carefully insert a candy thermometer. Continue to cook the mixture without stirring.
- Cook for 5-10 minutes, or until the candy mixture reaches a temperature of 320°F (160°C).
- Once 320°F is reached, remove the saucepan from the heat. Carefully pour a small amount of the warm butter and cream mixture into the hot candy and stir gently until combined.
- Continue adding the remaining butter and cream mixture a little bit at a time, stirring after each addition until smooth. Be very careful as the mixture will bubble vigorously.
- Return the saucepan to medium heat and continue to cook, stirring occasionally, until the candy reaches 240°F (115°C). This typically takes another 5-10 minutes and is known as the “soft ball” stage.
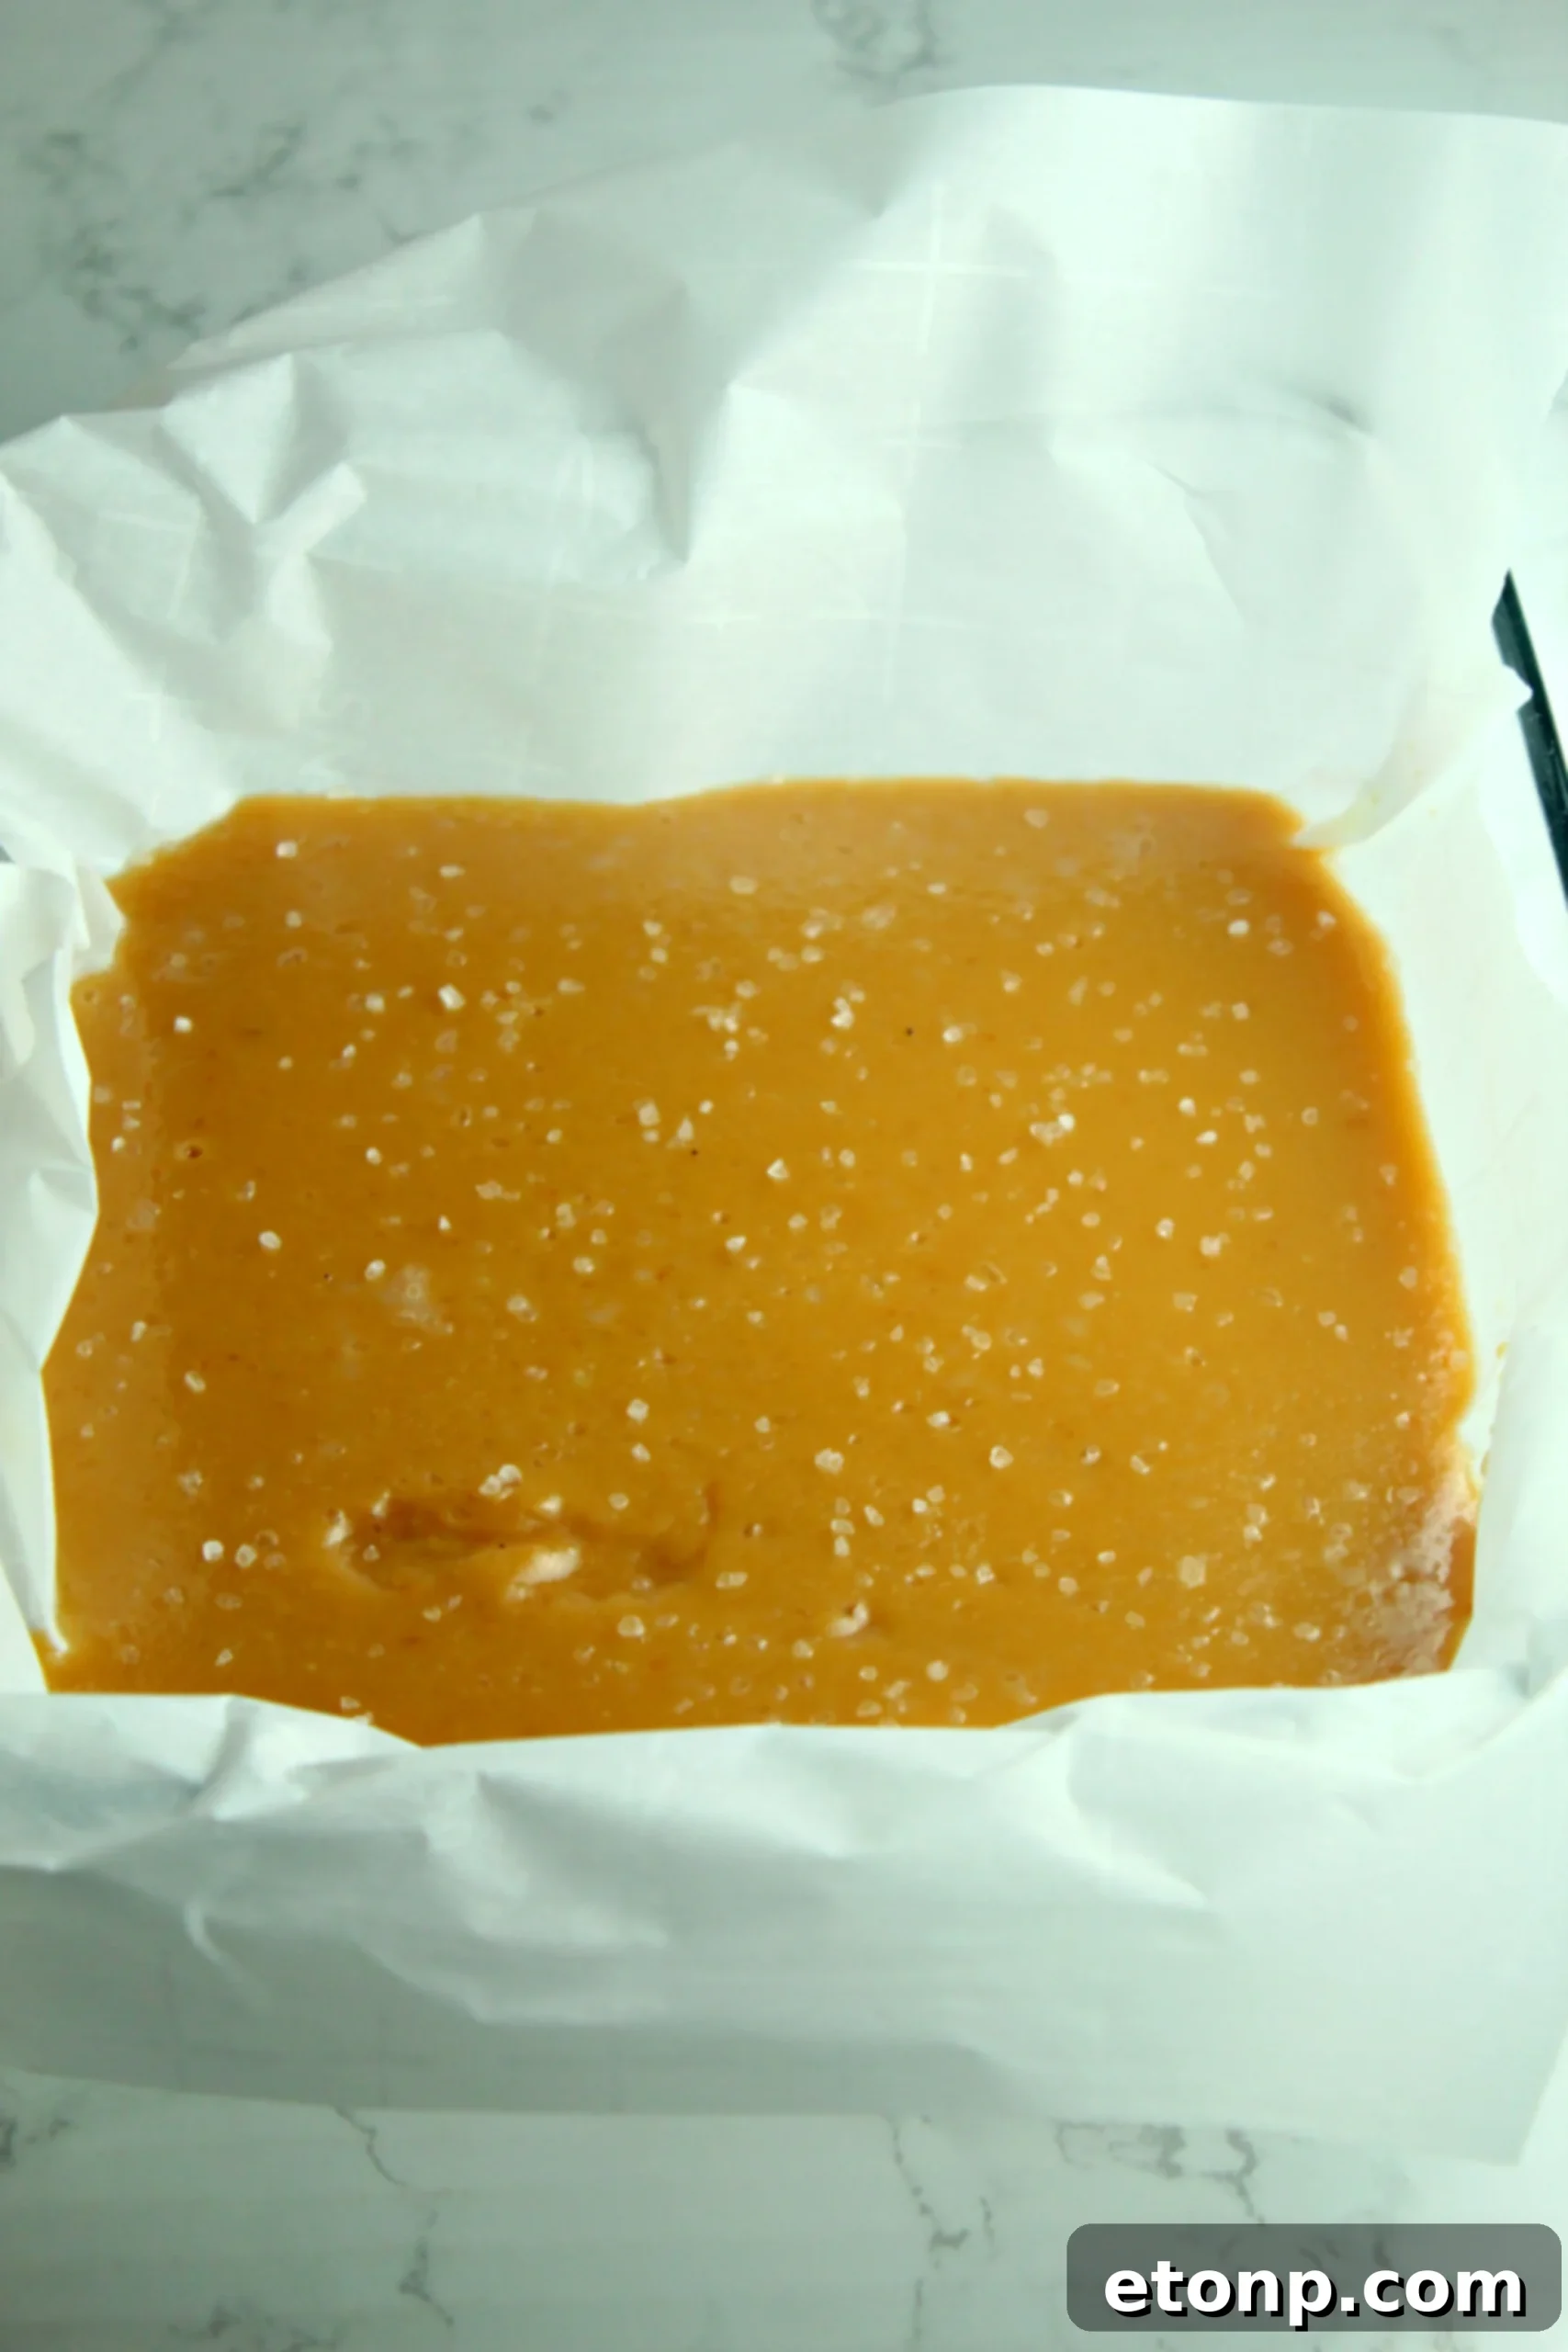
- Once 240°F is achieved, immediately remove the pan from the heat. Quickly pour the caramel mixture into the prepared pan. Let it cool undisturbed for about 30 minutes.
- Evenly sprinkle the top of the partially cooled caramel with additional coarse sea salt. Allow the caramel to cool completely at room temperature for another 3-4 hours, or until fully set.
- To serve, use the overhanging parchment paper to lift the entire block of caramel out of the pan. Place it on a cutting board and slice into 1-inch pieces using a sharp, lightly oiled knife for easier cutting.
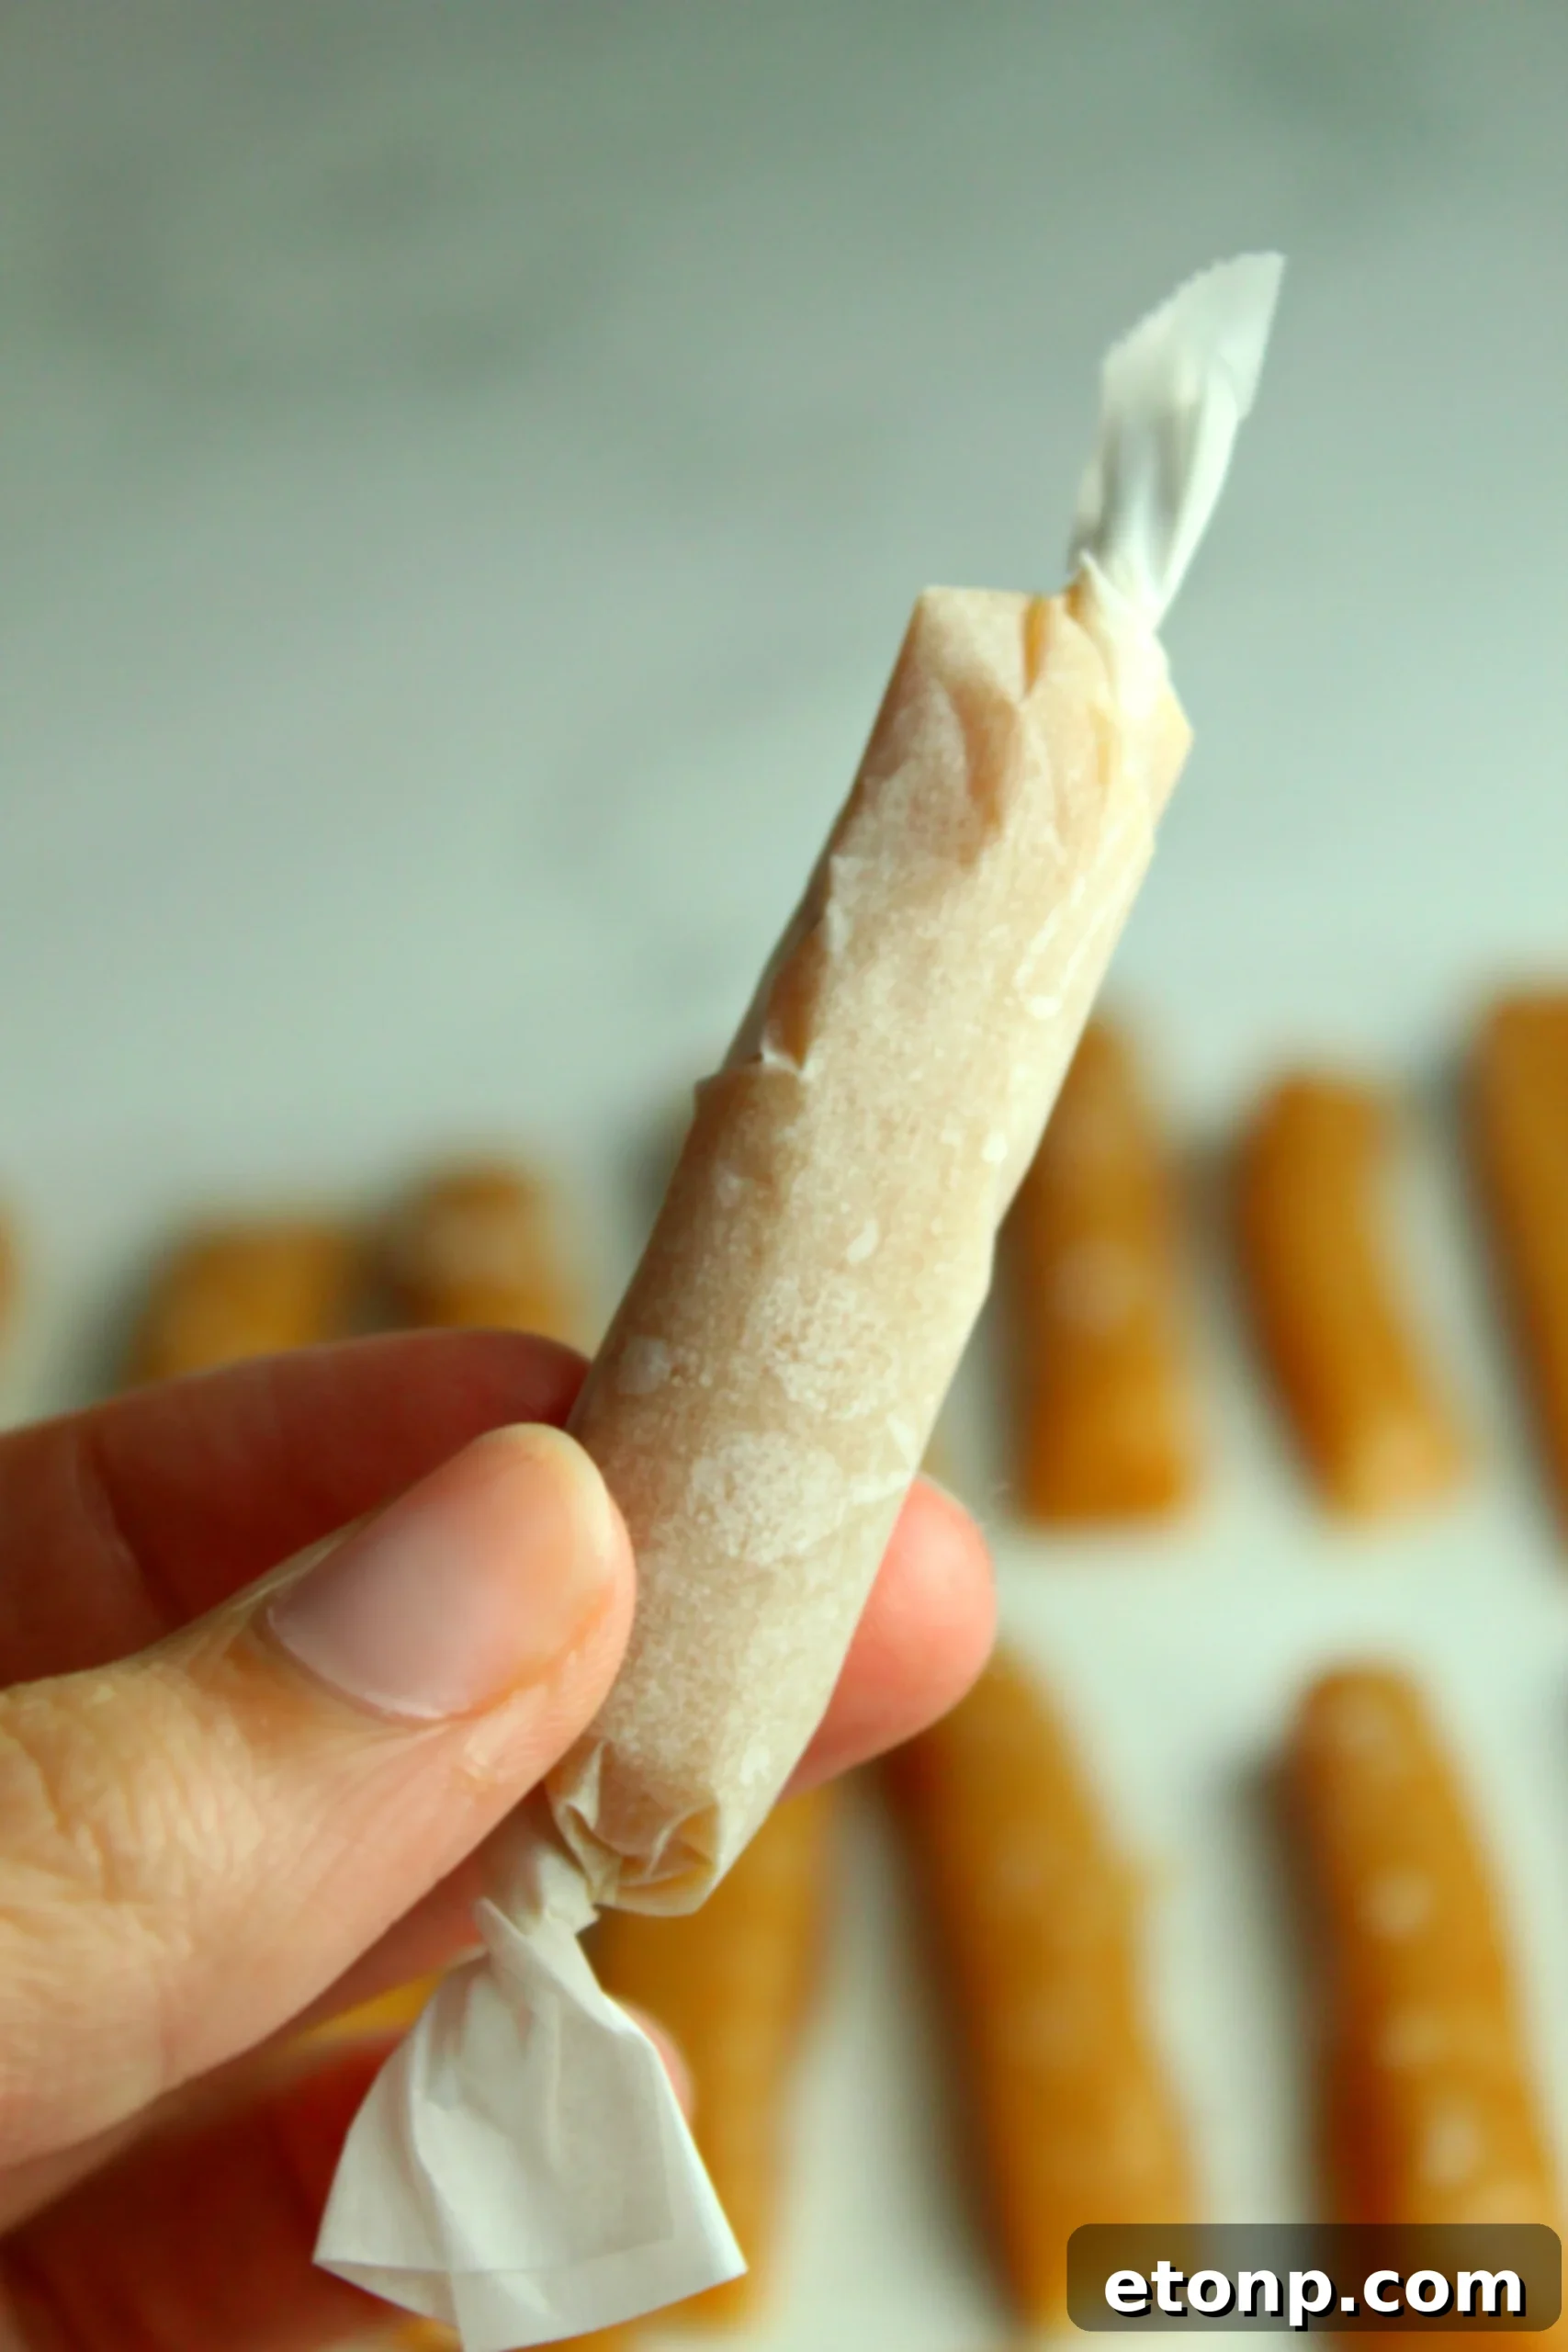
- Enjoy your delightful homemade salted caramels immediately, or wrap them individually in wax paper or parchment paper for elegant gifting or future enjoyment!
Did you make this incredible recipe?
We’d love to hear about it! Make sure to follow us on Pinterest for more mouth-watering recipes and inspiration. Don’t forget to share your creations!
Share on Facebook