

There’s an undeniable joy that comes with a perfectly cooked cheeseburger. That classic combination of juicy beef, melted cheese, and a soft bun is pure comfort. However, the idea of grilling individual patties while juggling guests can quickly turn a fun gathering into a stressful chore. This is precisely where our Classic Cheeseburger Sliders become your culinary superhero. Imagine all the mouthwatering appeal of a traditional cheeseburger, but effortlessly baked in one glorious, buttery, cheesy, pull-apart tray of golden deliciousness. These aren’t just easy; they’re incredibly satisfying and have a magical way of vanishing from the party table at lightning speed.
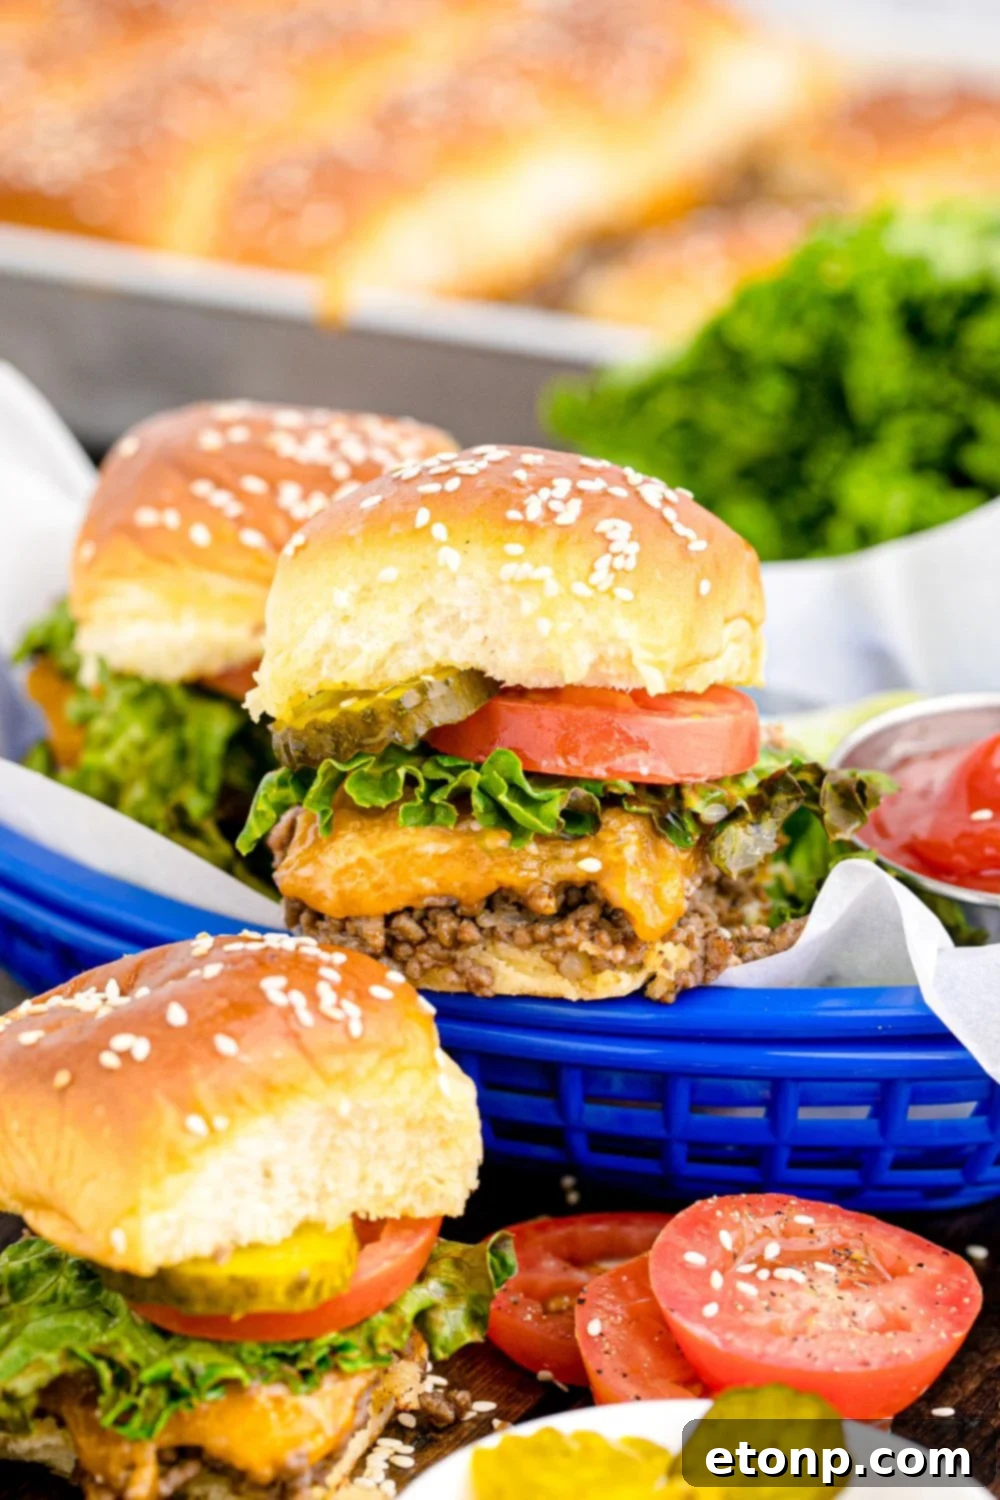
My journey with these irresistible sliders began out of necessity. Weeknights often demand quick yet substantial meals, and these cheeseburger sliders perfectly fit the bill. Their convenience and hearty nature quickly elevated them from a simple dinner solution to a beloved staple at every celebration, from spirited birthday parties to intense game day gatherings and relaxed backyard cookouts. My husband, a self-proclaimed burger aficionado, can easily enjoy two at a time, and even my notoriously picky child enthusiastically devours an entire slider without a single question about its contents. That endorsement alone speaks volumes about their universal appeal.
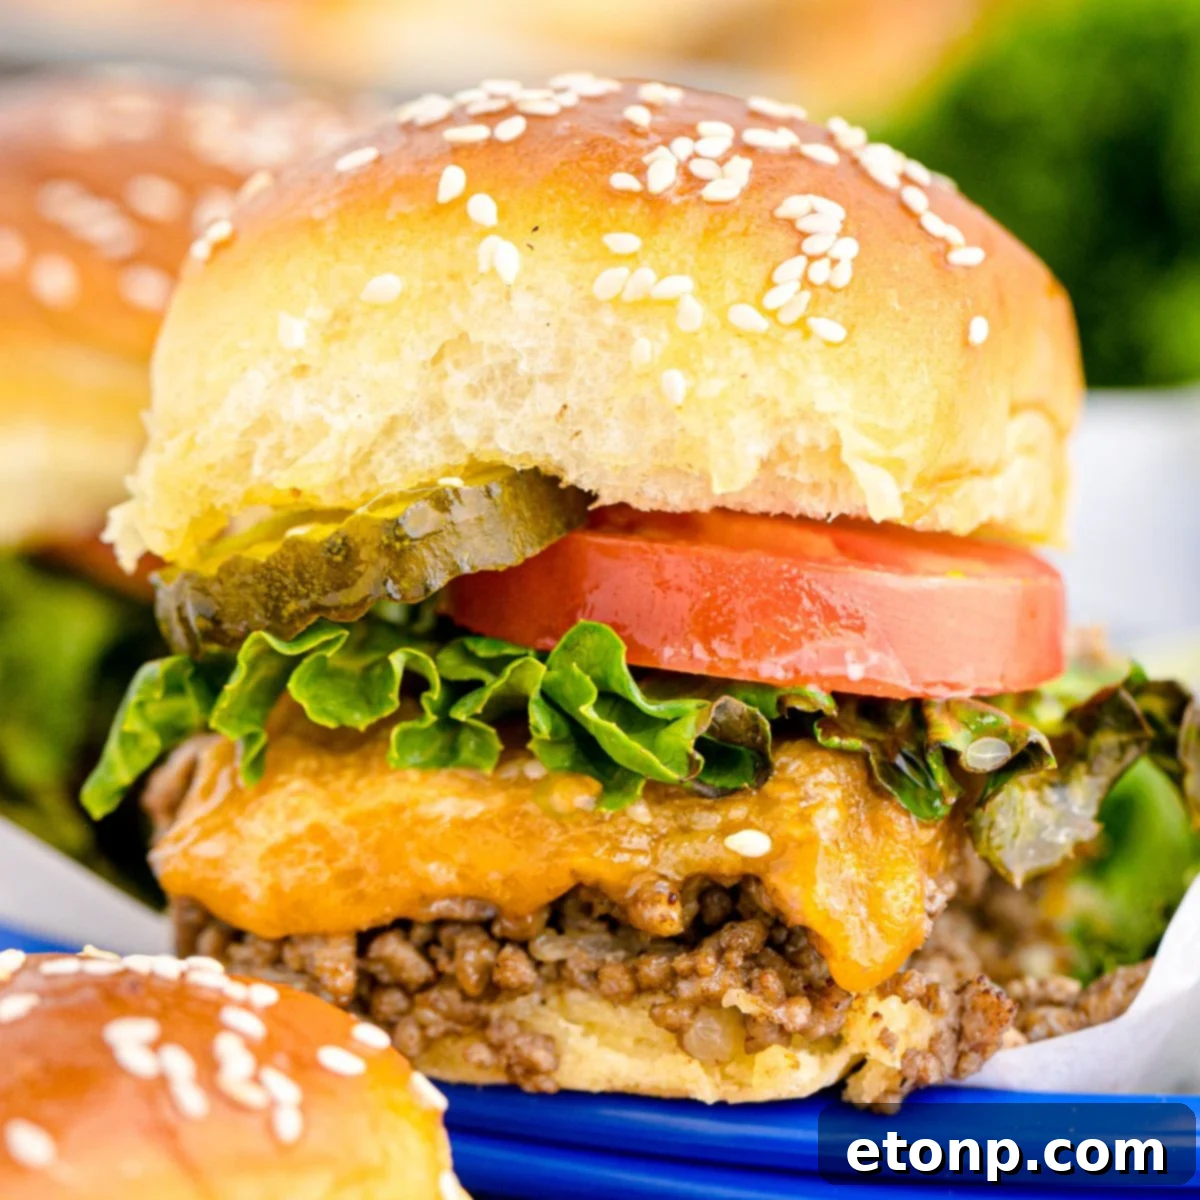
Unpacking the Perfect Pan-Baked Cheeseburger Slider
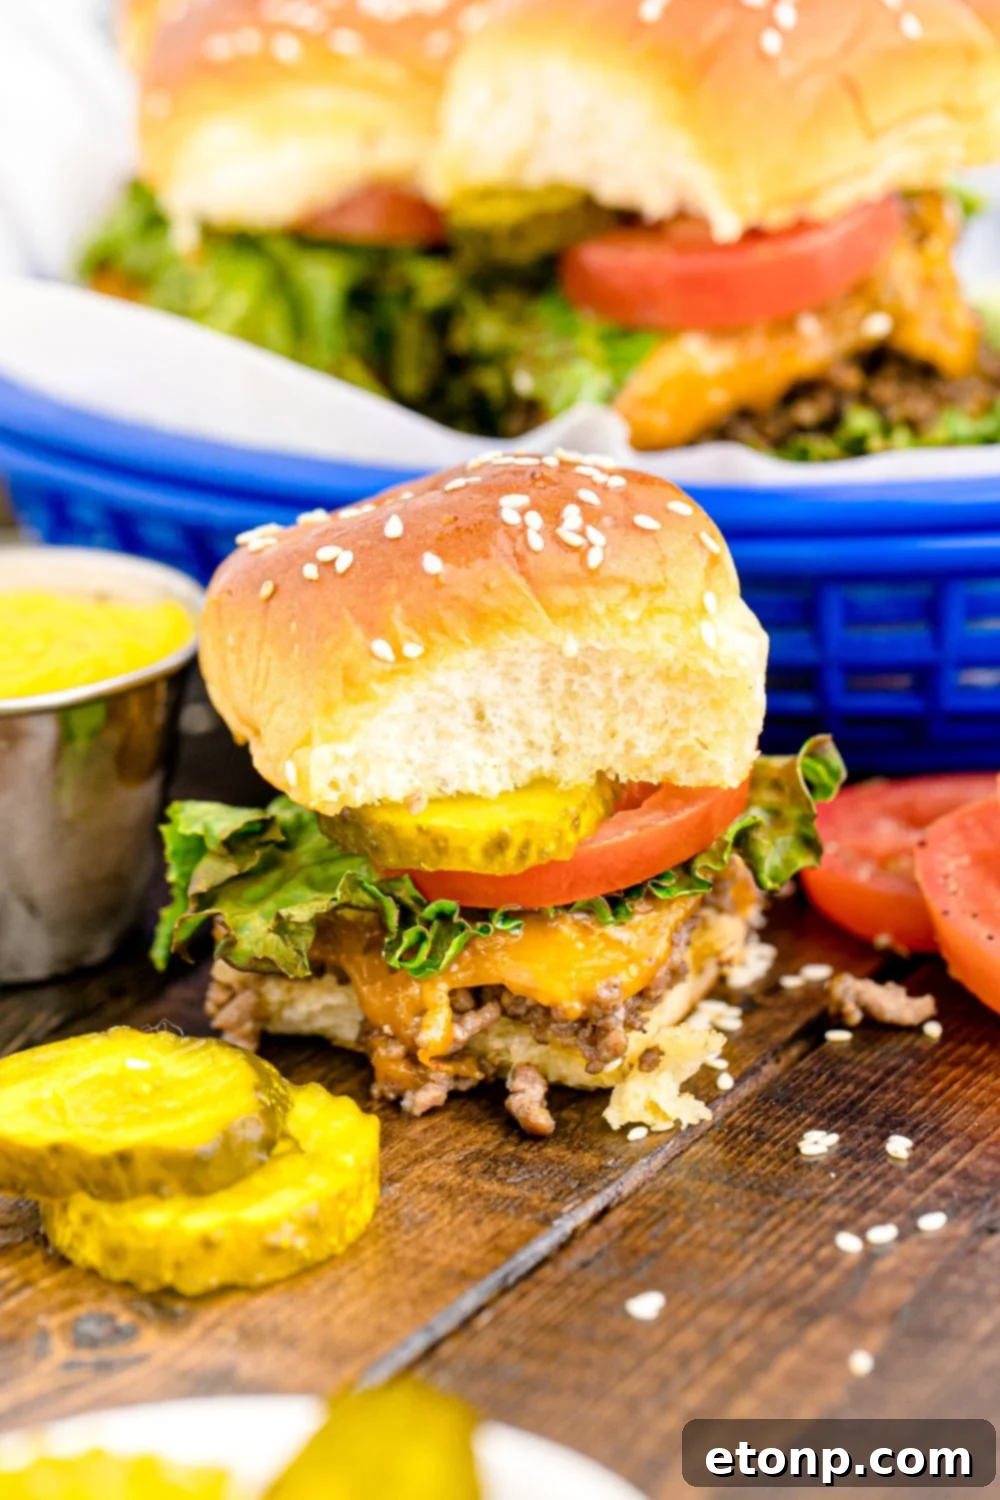
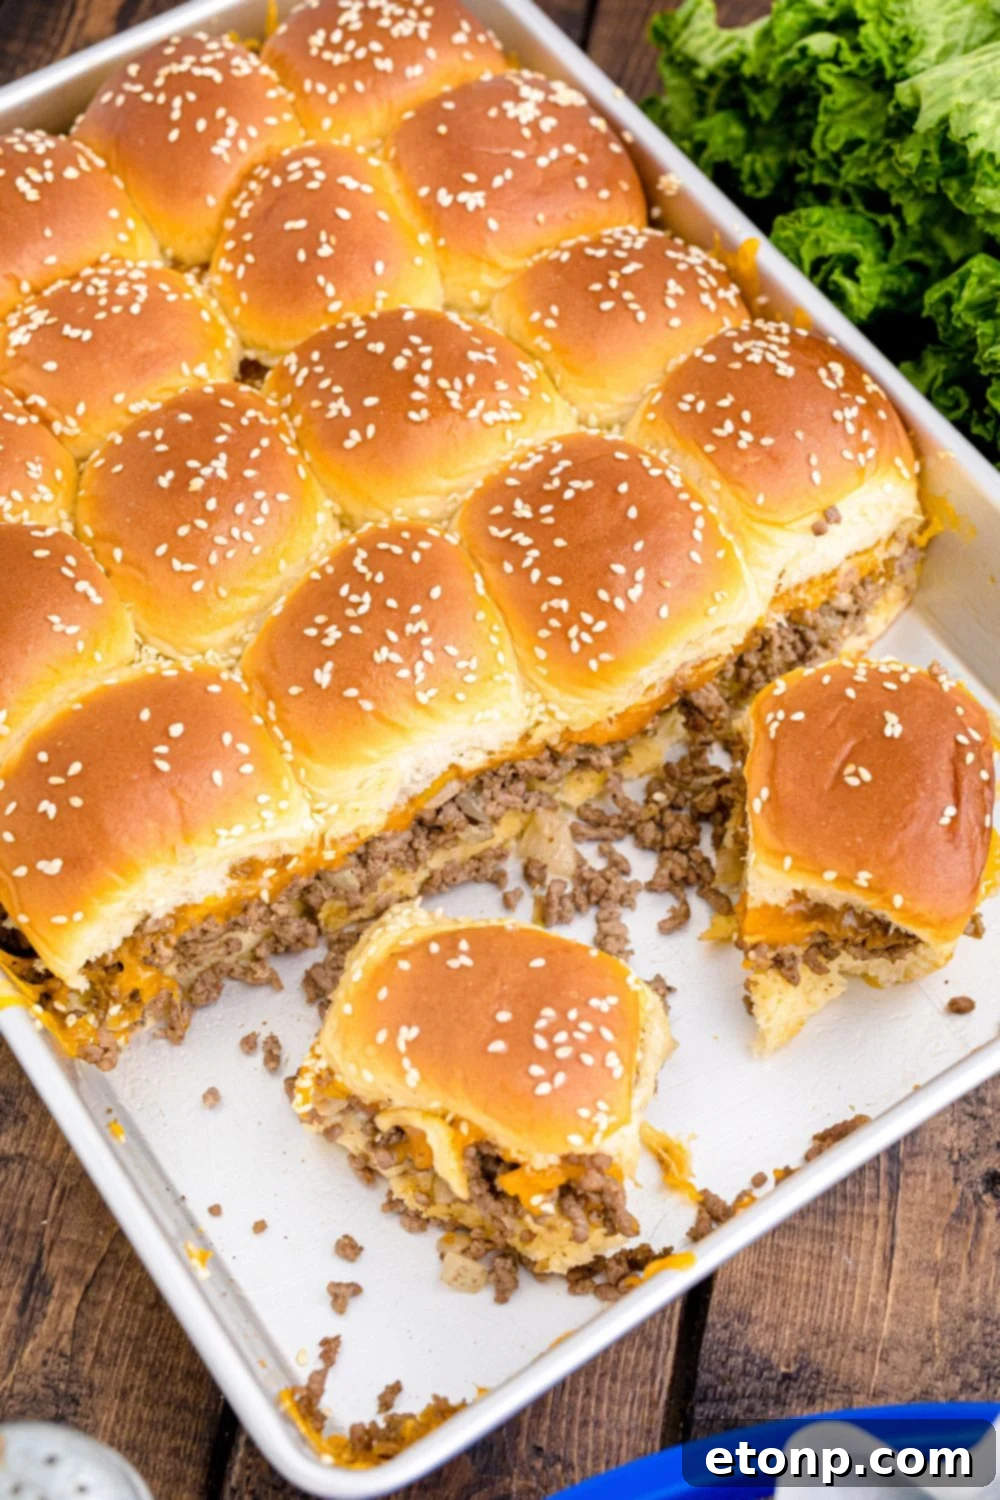
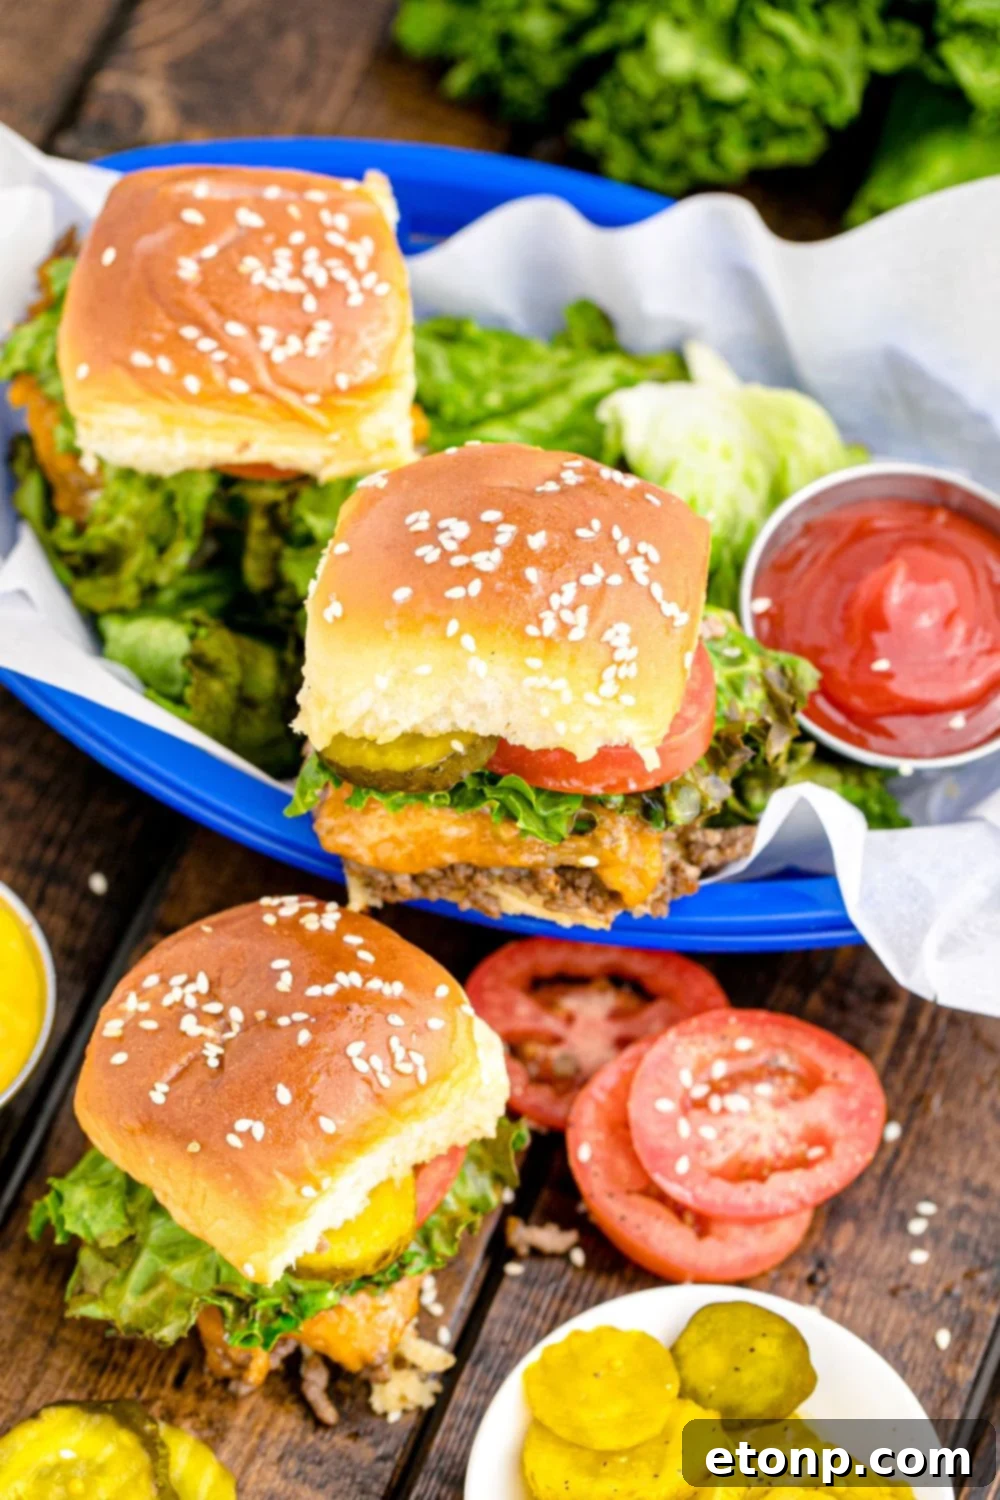
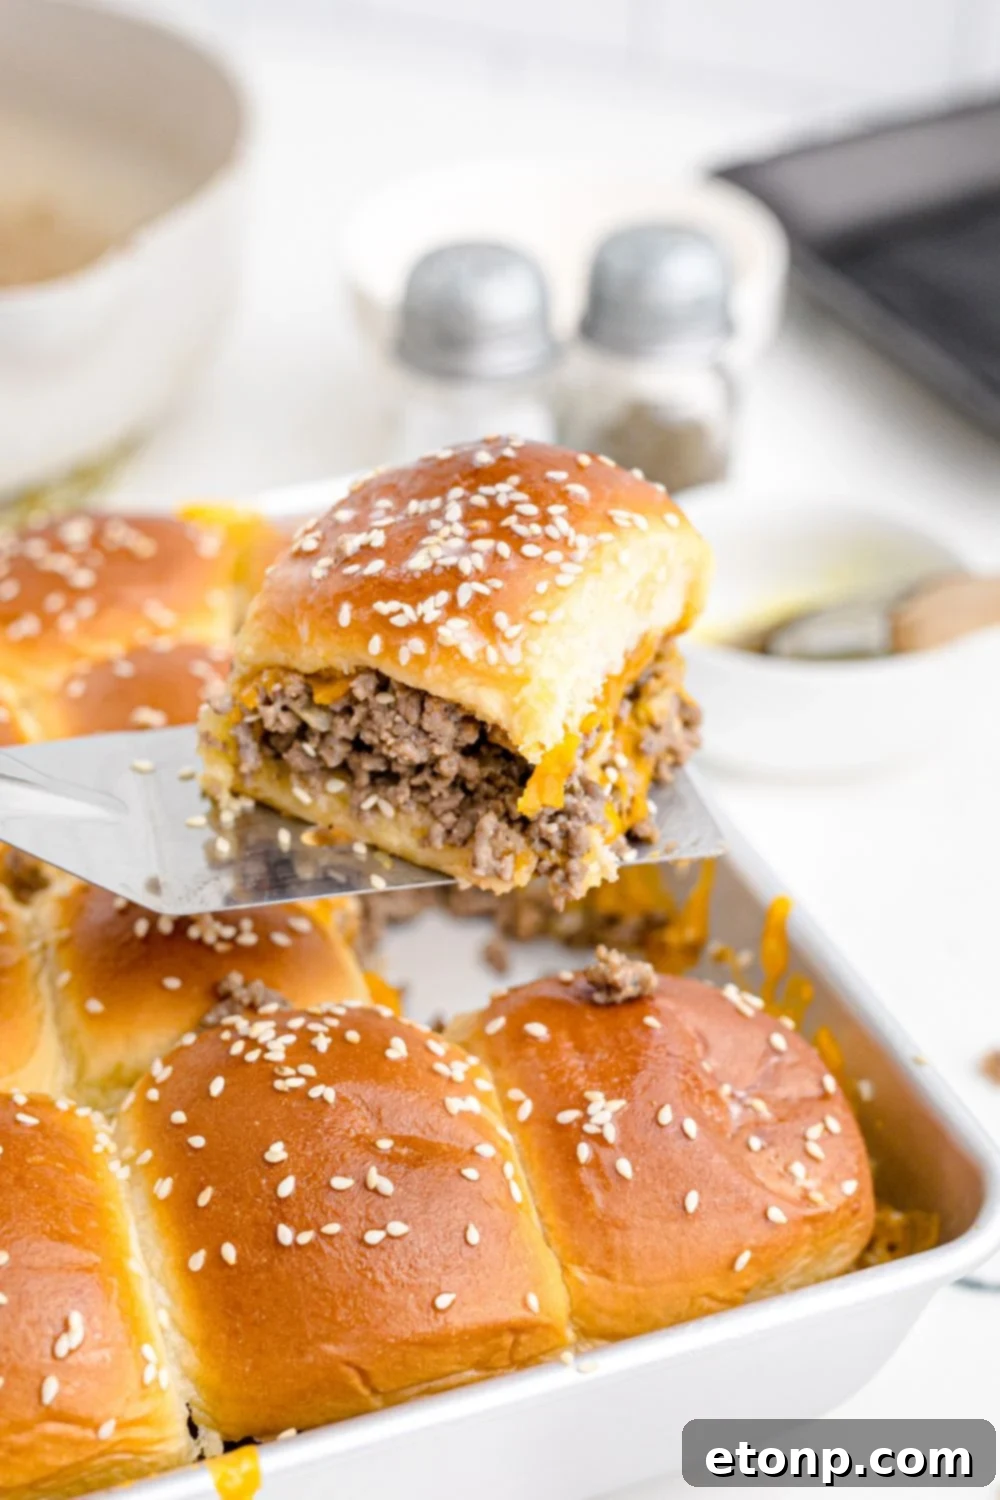
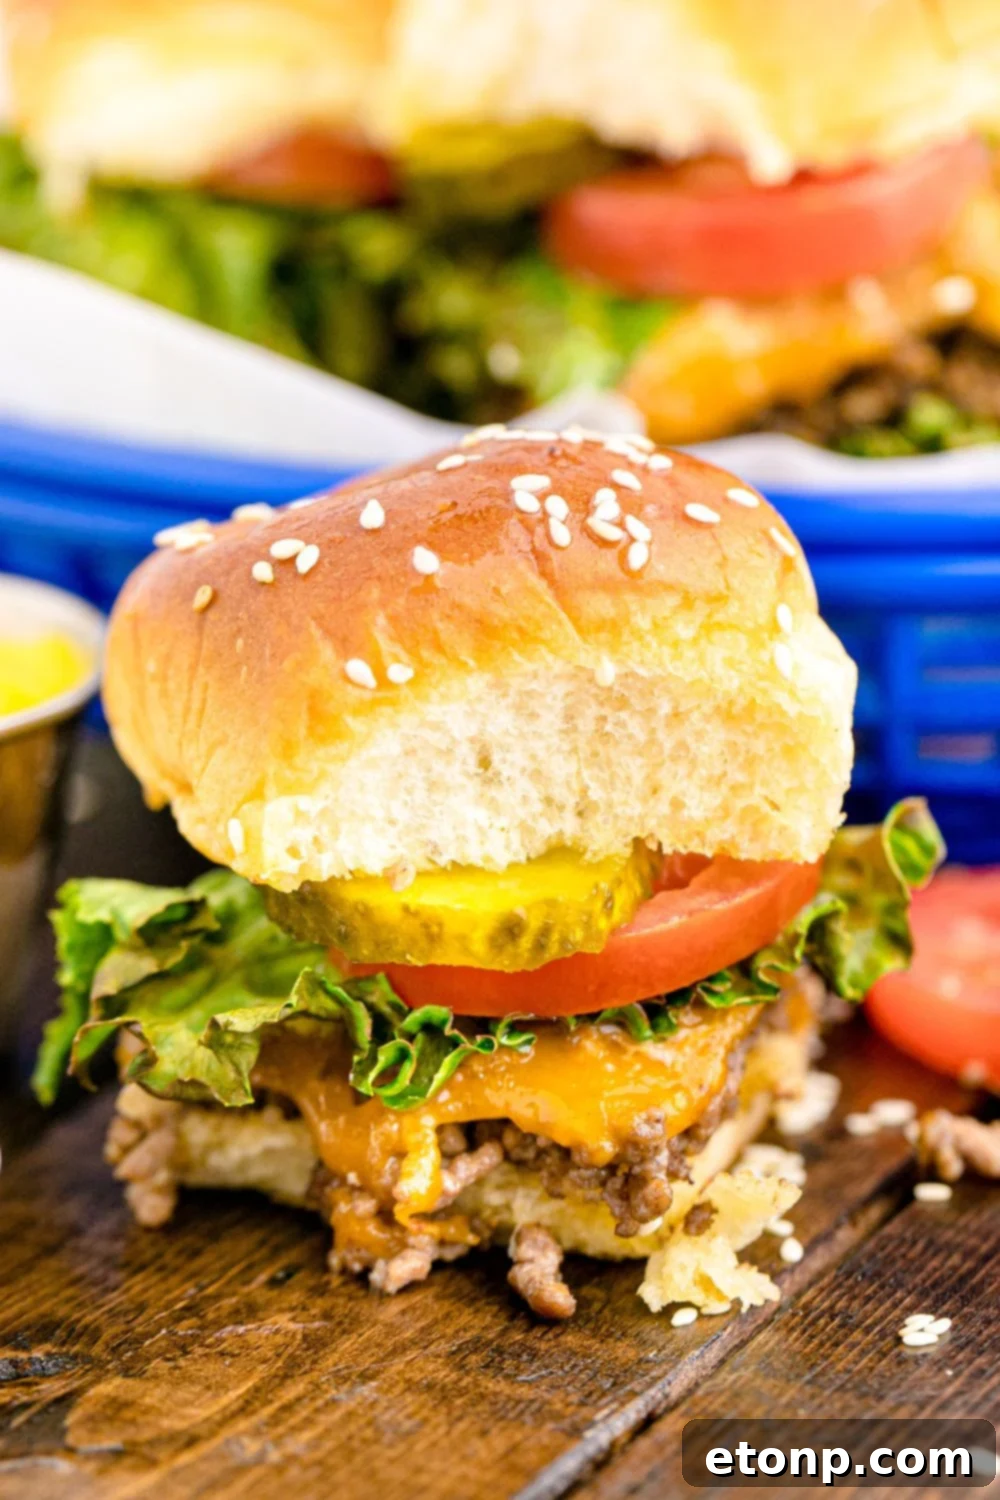
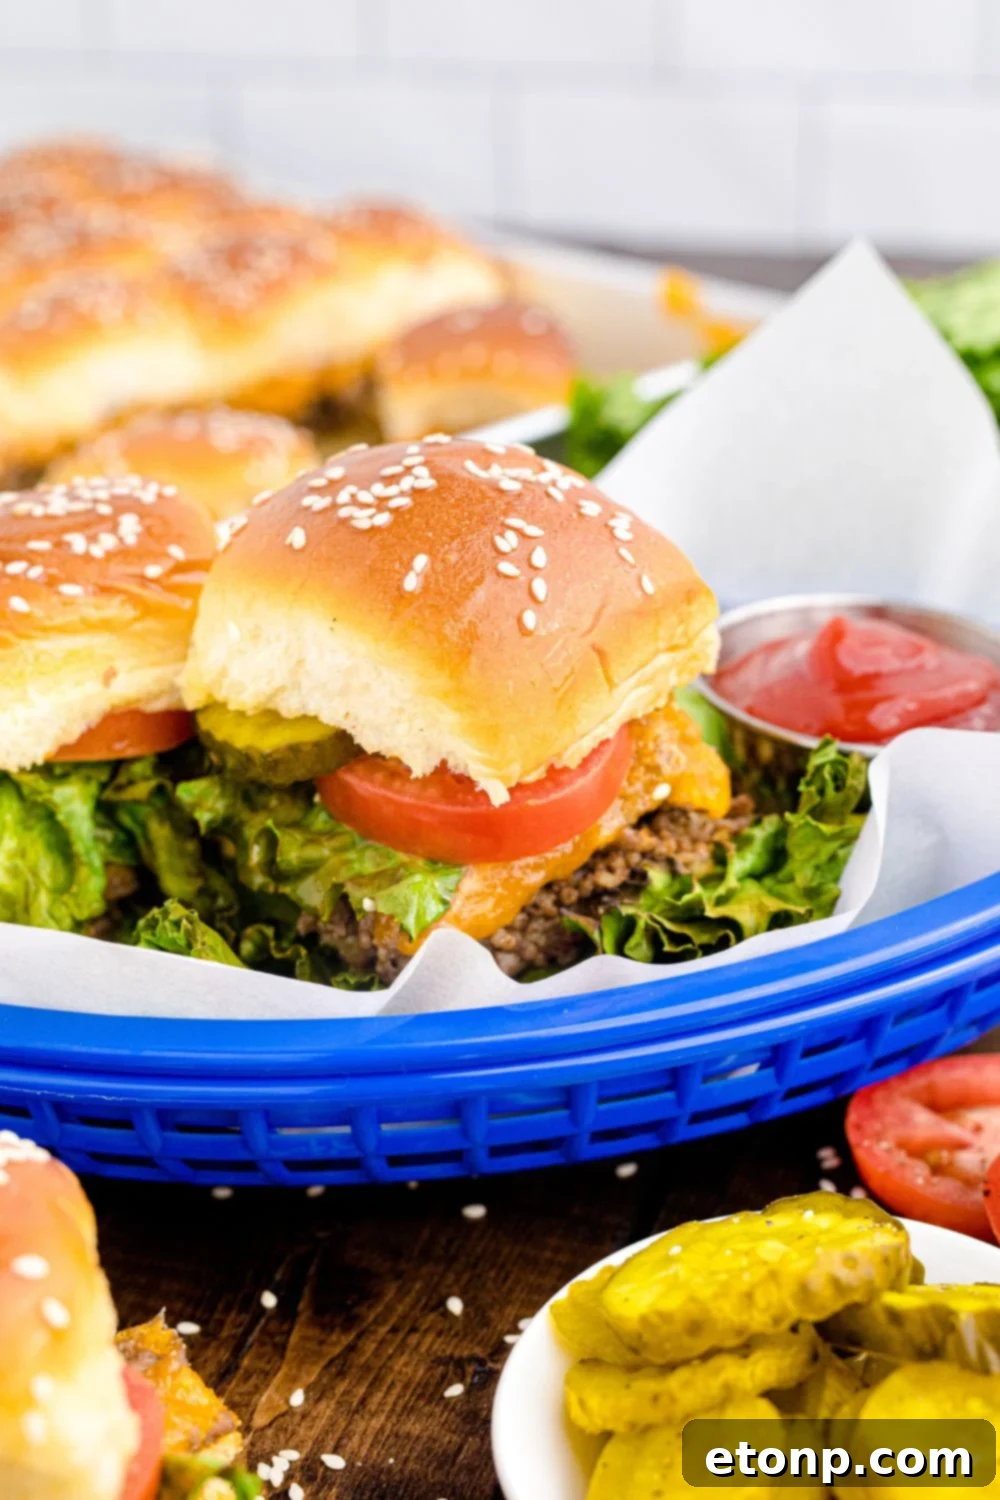
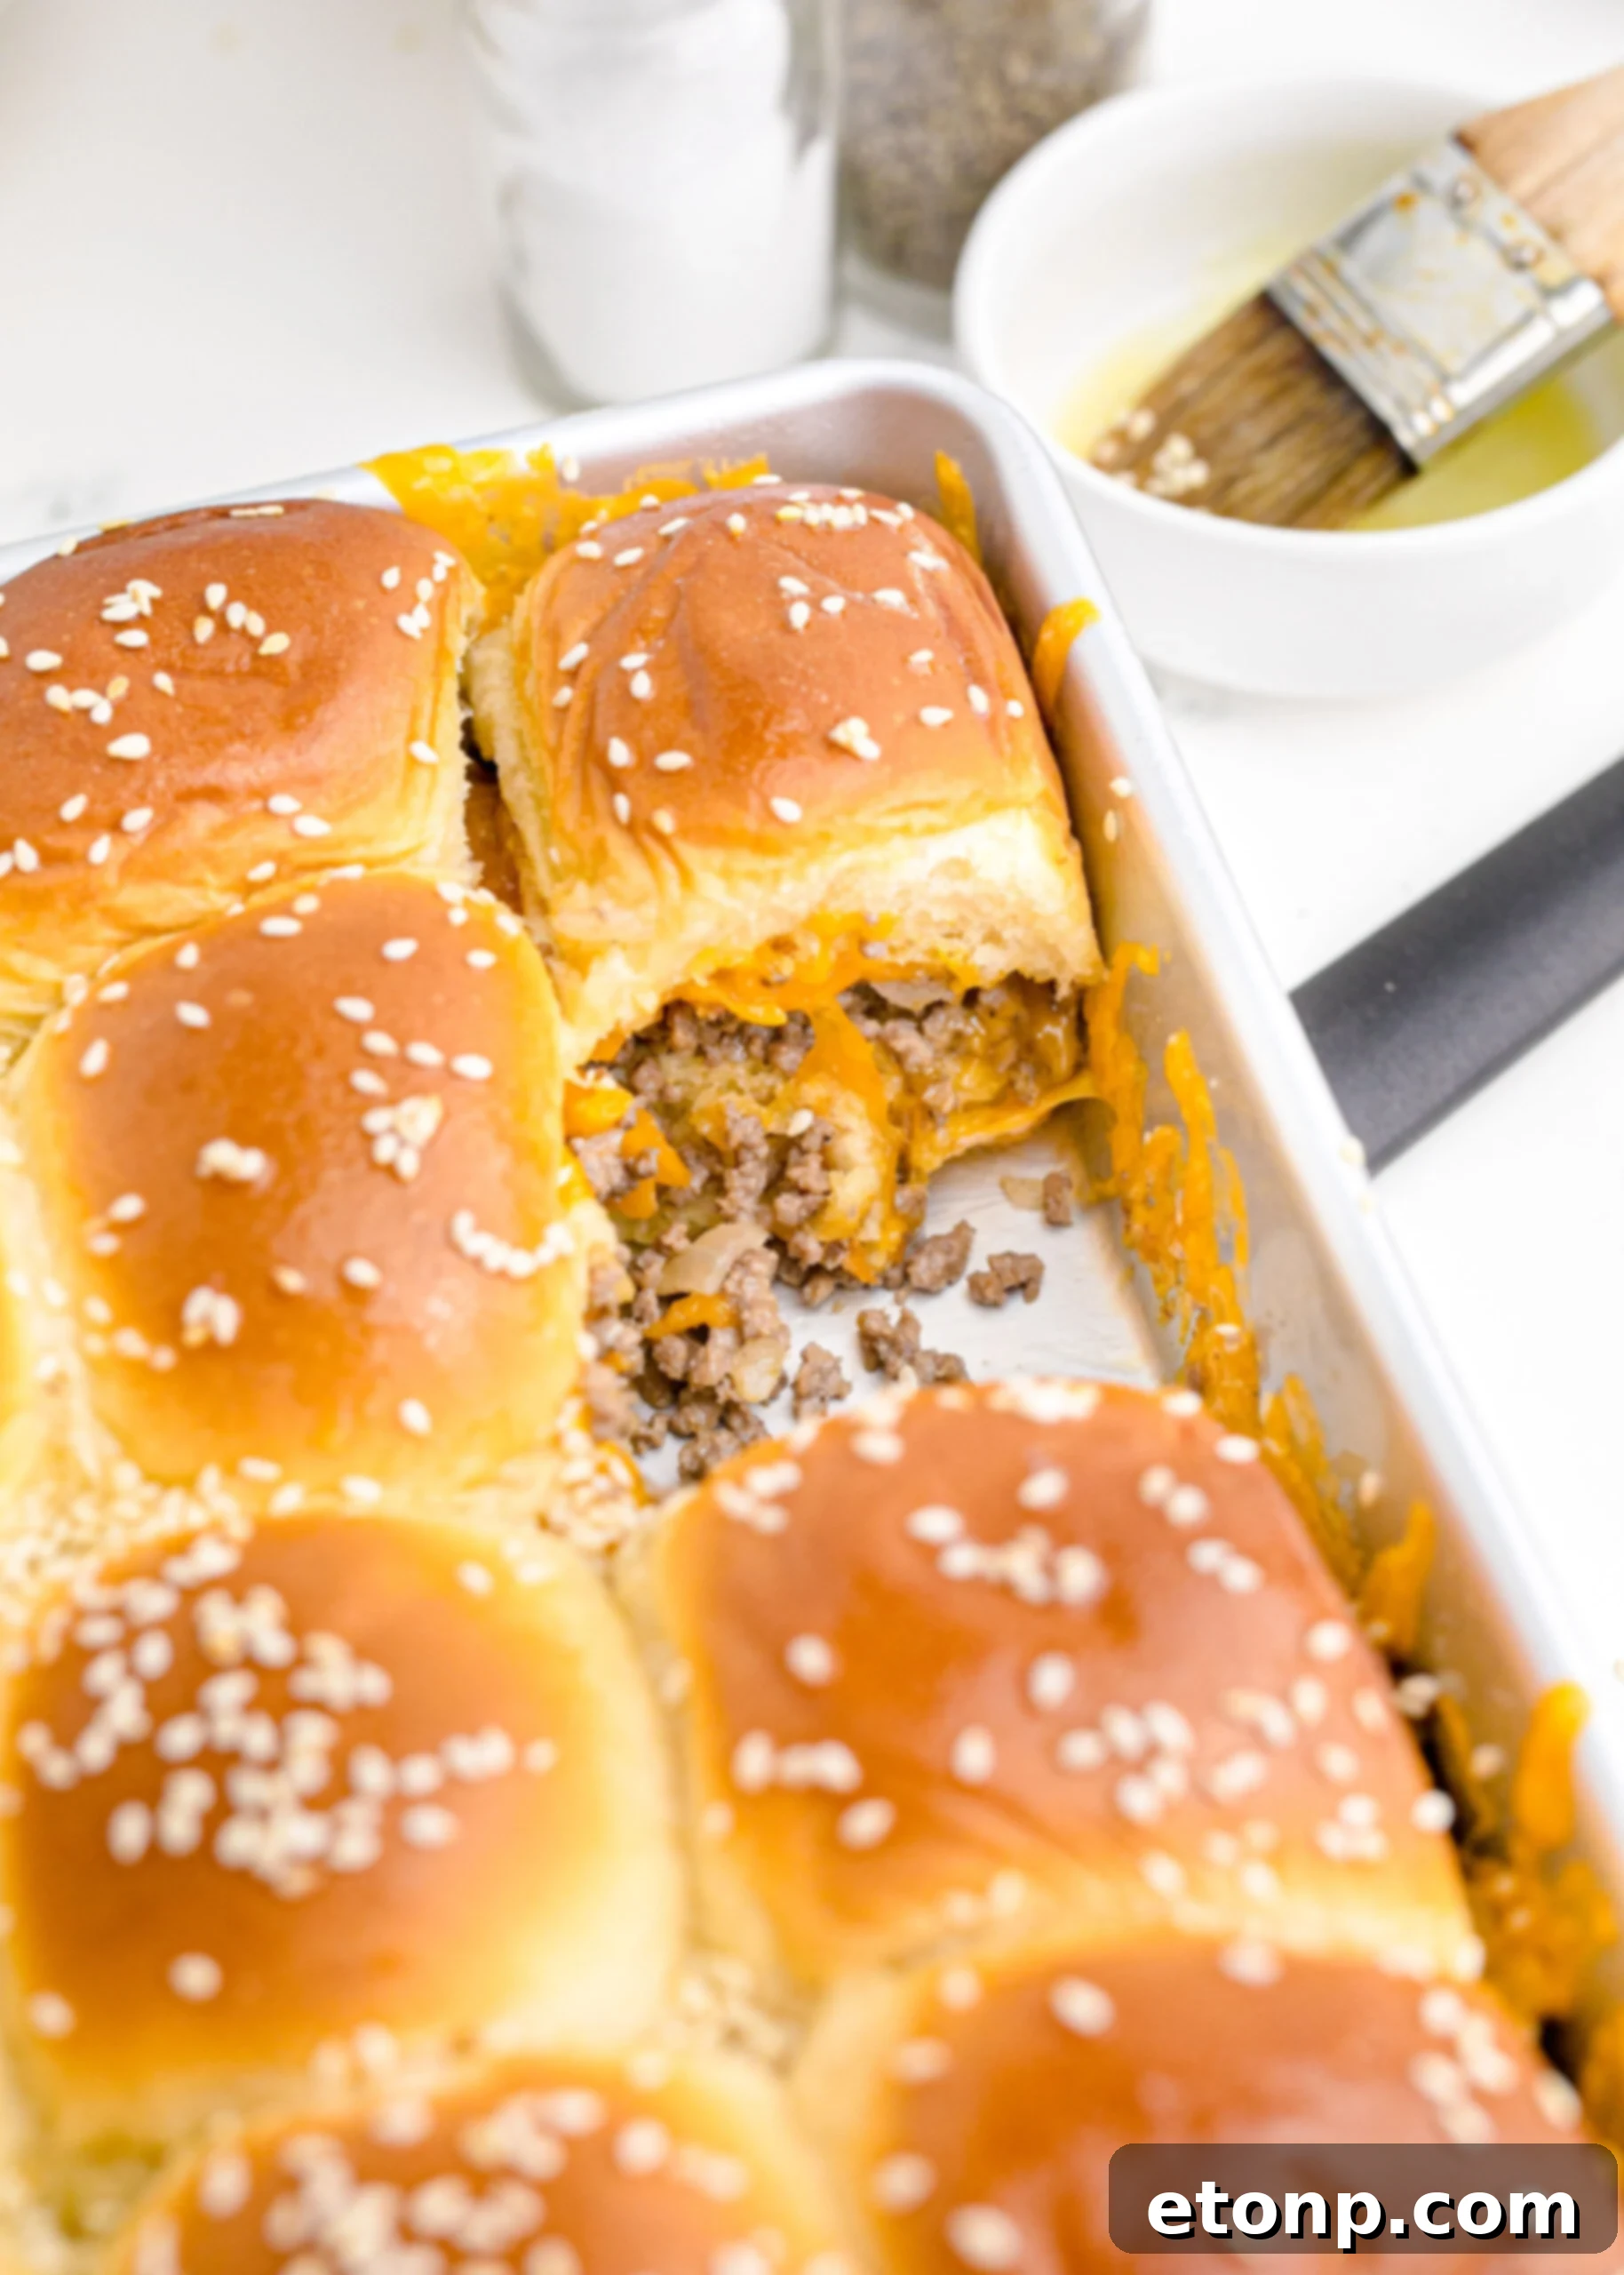
So, what exactly makes these Classic Cheeseburger Sliders a must-try? At their heart, they are miniature sandwiches, crafted with perfectly seasoned ground beef and generously layered with rich, melted cheddar cheese, all nestled within soft slider buns. The true genius lies in their preparation: they’re baked all at once in a single pan, offering unparalleled convenience. The ground beef isn’t just plain; it’s meticulously flavored with aromatic onion, a splash of Worcestershire sauce for depth, a touch of garlic powder for zest, and a secret ingredient – mayonnaise – which ensures the beef remains incredibly moist and bursts with savory flavor. Once assembled, the slider buns are brushed with melted butter and sprinkled with sesame seeds, then baked until the cheese achieves gooey perfection and the tops are beautifully golden brown and lightly crisp. Each bite delivers a harmonious blend of soft, savory, and wonderfully cheesy textures, making them incredibly addictive. Beyond their inherent deliciousness, these sliders are a blank canvas for customization. After they emerge from the oven, guests can adorn them with crisp lettuce, tangy pickles, classic ketchup, or any other beloved burger topping, making each slider a personalized delight.
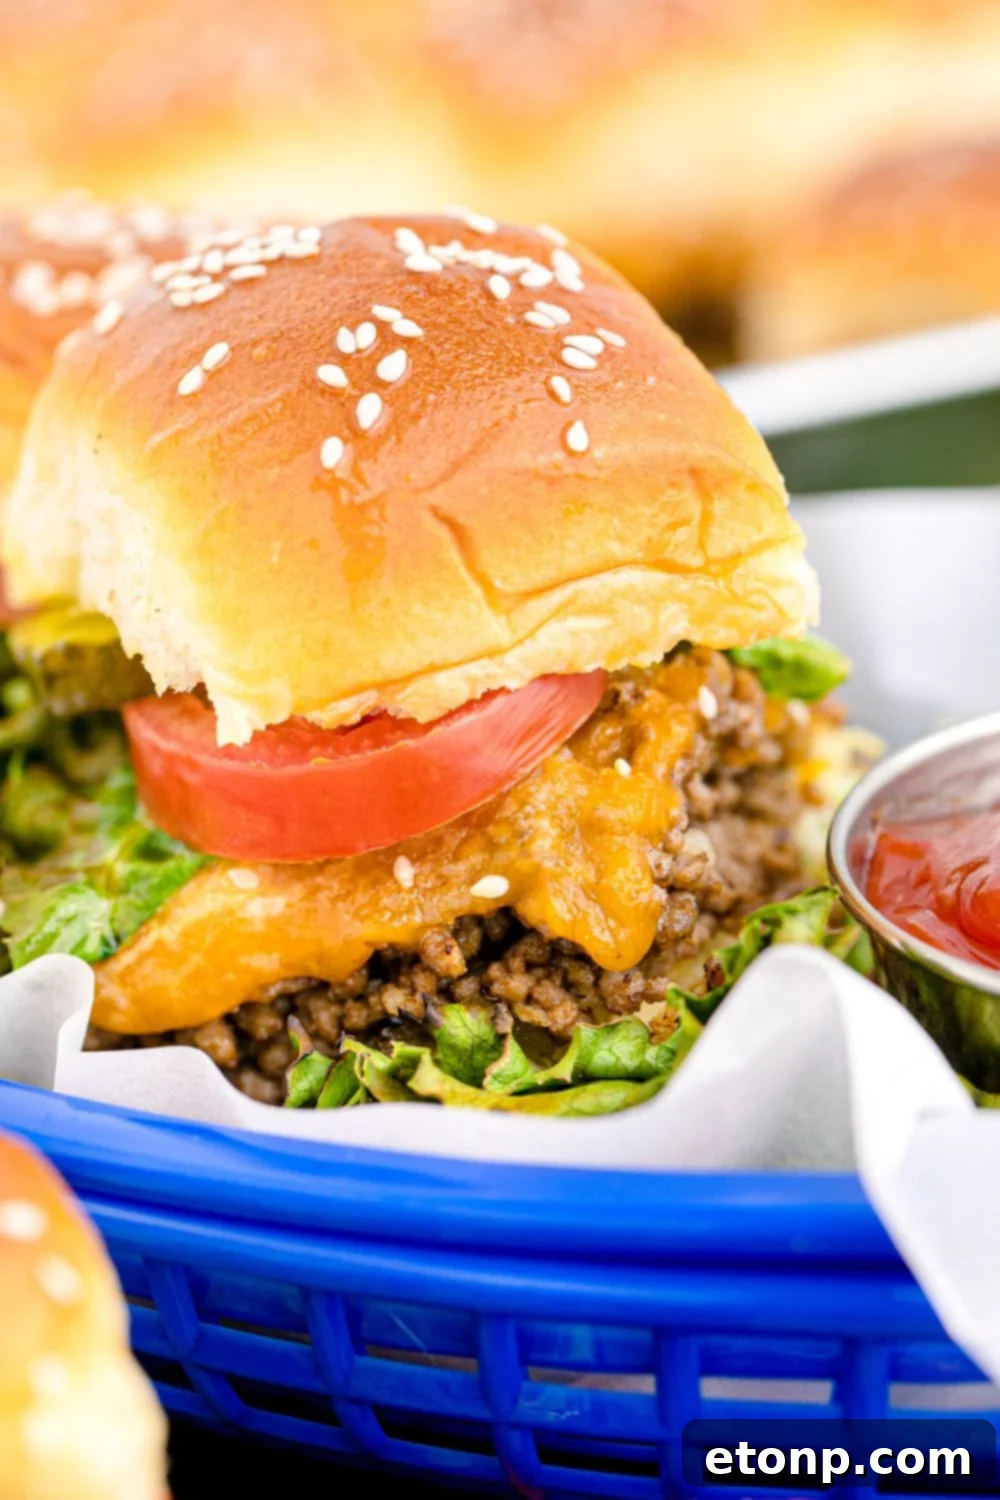
When to Unleash These Crowd-Pleasing Sliders
The beauty of these baked cheeseburger sliders lies in their incredible versatility. They are perfectly suited for a myriad of occasions, making them a go-to recipe for any host:
- Game Day or Super Bowl Parties: Forget flipping individual burgers during commercials. These sliders are ready for a hungry crowd, allowing you to enjoy the game without kitchen interruptions. Their grab-and-go nature makes them ideal for spirited cheering.
- Potlucks or Tailgates: Easy to transport and serve, they’re a guaranteed hit at any communal meal. They stay warm well and are designed for sharing, making you the most popular contributor.
- Family Movie Nights: A fun and interactive twist on dinner, perfect for cozying up on the couch. Kids and adults alike will enjoy this elevated, yet effortless, meal.
- Birthday Parties (Especially for Teens or Kids!): Small hands love small food! These mini burgers are less messy and more manageable for younger guests, and teenagers can load them up with their favorite toppings.
- Busy Weeknight Dinners: When time is short but hunger is high, these sliders offer a quick, satisfying, and flavorful solution that comes together in one pan.
- Fourth of July or Summer BBQs: Get that classic BBQ flavor without the grill. They’re perfect for feeding a large gathering during summer celebrations, offering a stress-free option.
Because they are prepared and baked all at once, these sliders are the quintessential solution for feeding a hungry crowd with minimal fuss. And for added convenience, they reheat exceptionally well, making them an excellent candidate for making ahead of time, ensuring you’re always prepared for guests or busy schedules.
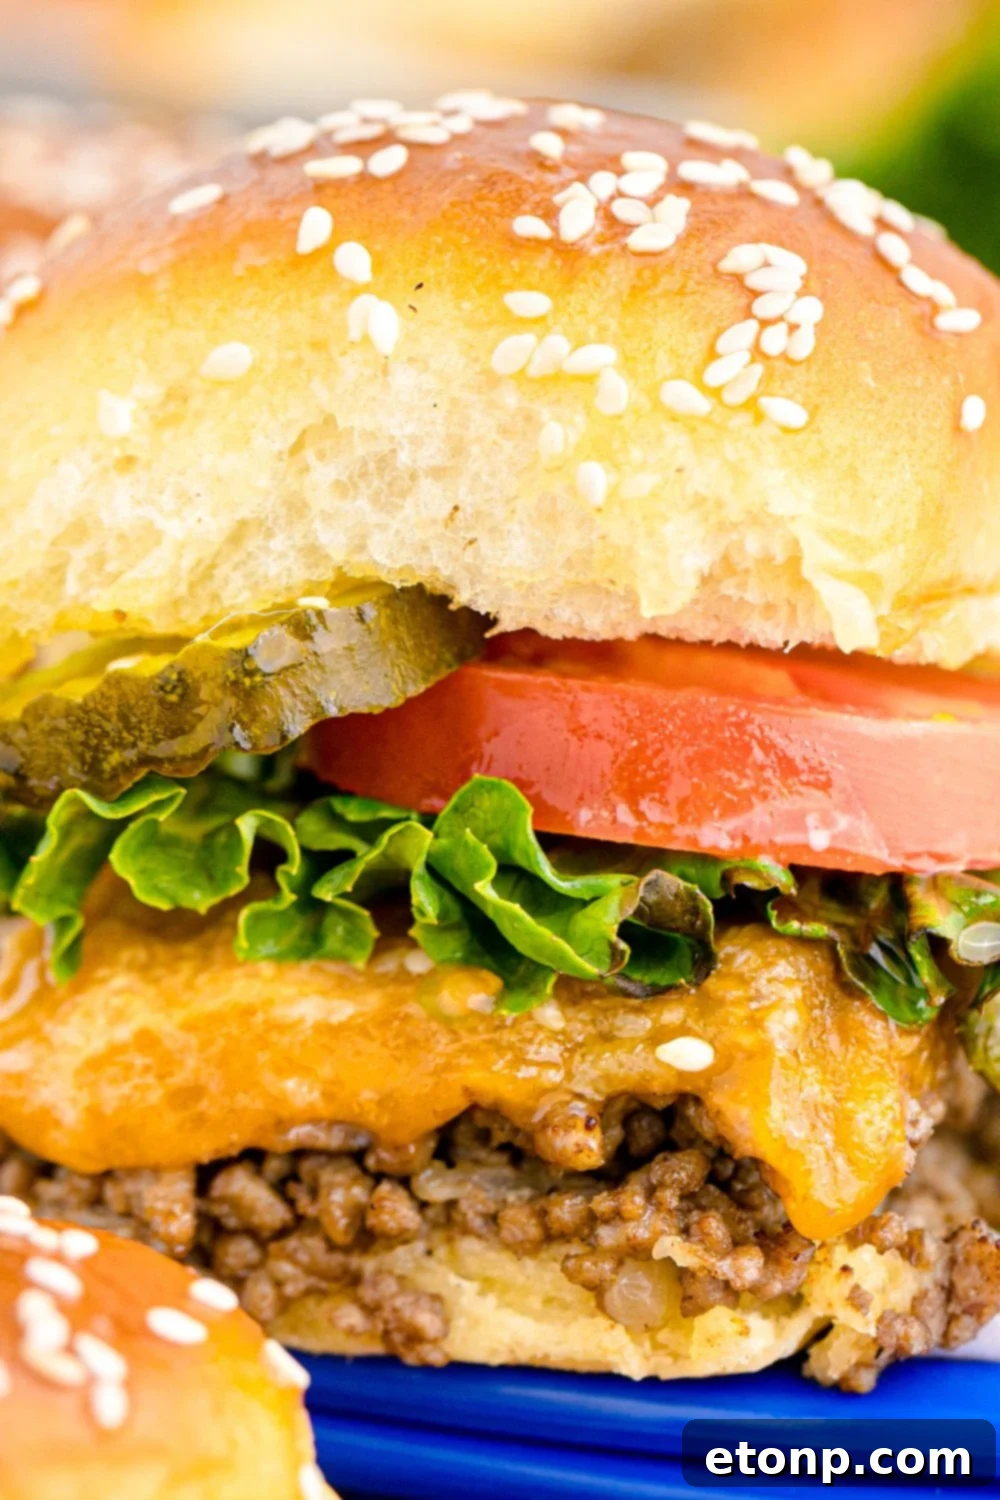
Craft Your Own Culinary Adventure: The Build-Your-Own Slider Bar
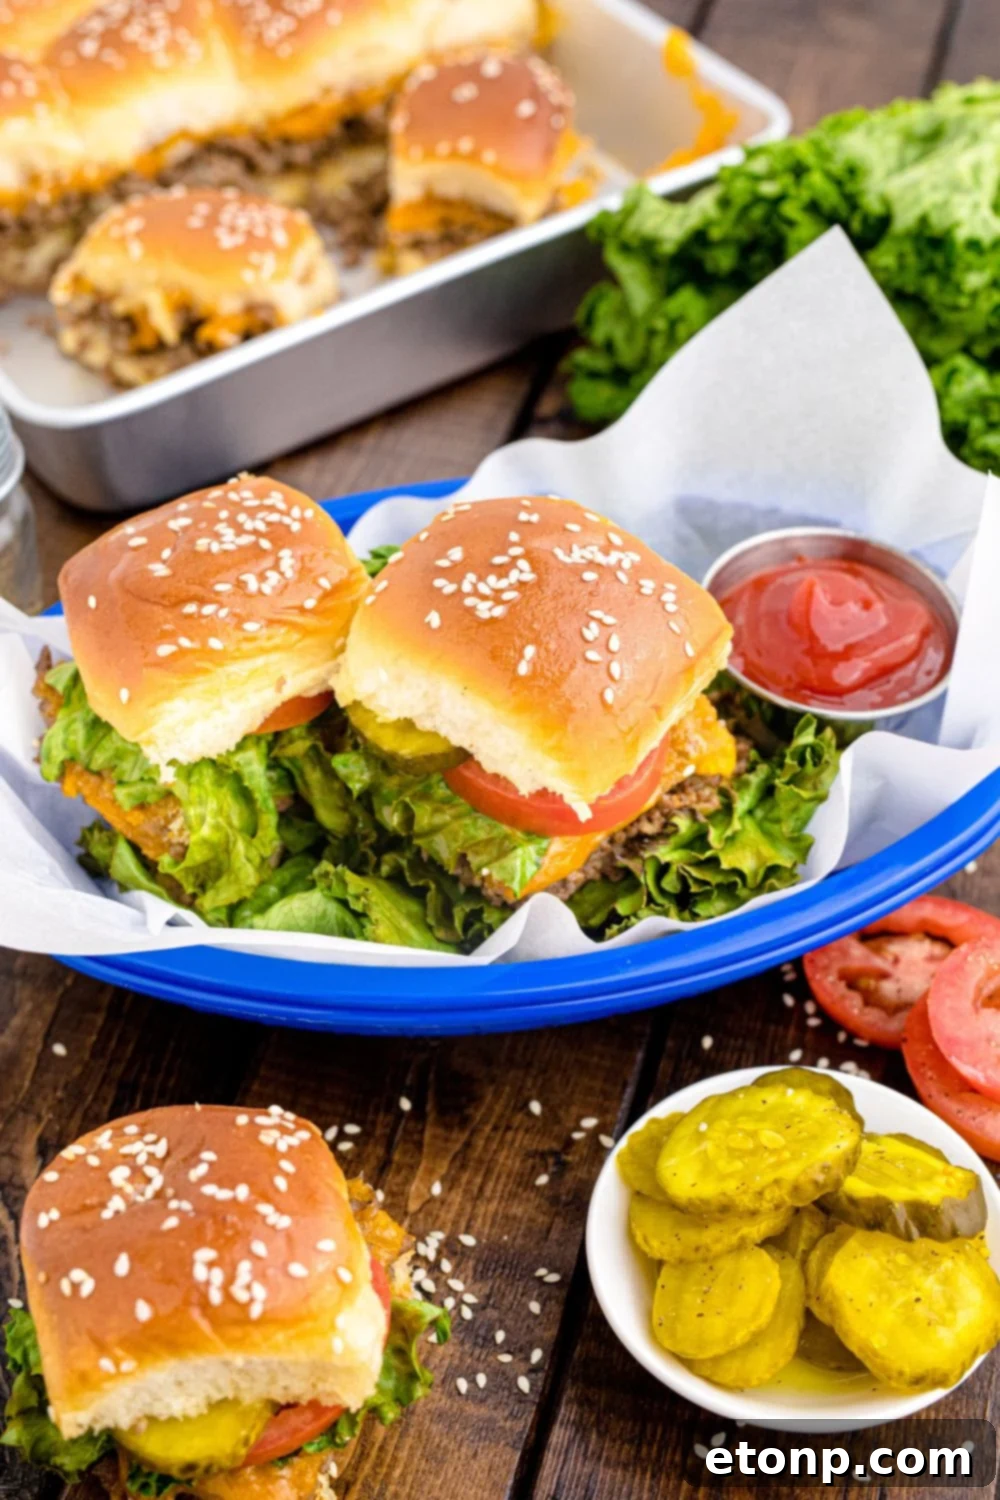
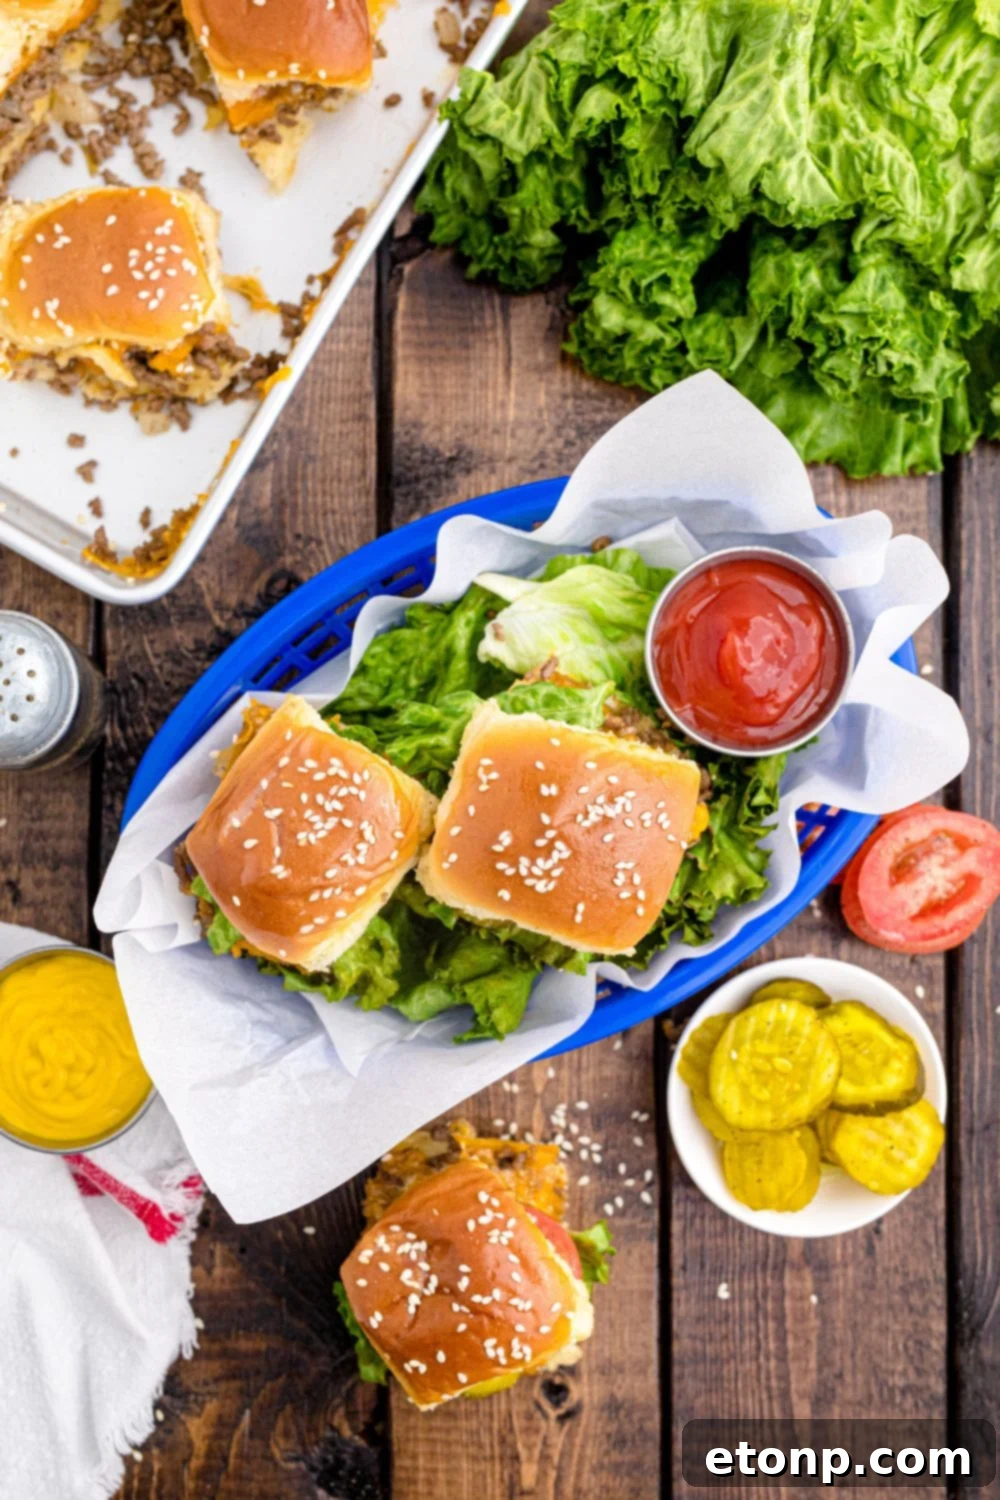
Want to elevate your classic cheeseburger sliders from simply delicious to absolutely unforgettable? Transform them into a interactive and exciting build-your-own slider bar! This clever party trick allows your guests to unleash their creativity and customize their sliders exactly to their liking. The process is simple: bake your sliders as usual, then arrange them attractively on a large serving tray. Surround the sliders with an array of tempting toppings, neatly presented in small bowls, ramekins, or mini mason jars. This interactive setup not only adds an element of fun to your gathering but also guarantees that everyone finds something they love.
Here are some fantastic topping ideas to inspire your ultimate slider bar:
- Pickles: Offer both tangy sliced dill pickles and sweeter bread and butter pickles for variety.
- Crispy Bacon: Crumbled or thinly sliced crispy bacon adds a beloved salty crunch.
- Caramelized Onions: Sweet, slow-cooked onions bring a depth of flavor that’s hard to resist.
- Fresh Veggies: Provide classic burger accompaniments like crisp lettuce leaves, thinly sliced ripe tomatoes, and finely chopped red onion for a refreshing bite.
- Jalapeños: For those who love a bit of heat, sliced fresh or pickled jalapeños are a great addition.
- Classic Condiments: A selection of ketchup, mustard (Dijon, yellow, or even honey mustard), and mayonnaise are essential.
- Gourmet Sauces: Elevate the experience with sriracha for spice, tangy BBQ sauce, creamy ranch dressing, smoky chipotle aioli, or a homemade special burger sauce.
This “build-your-own” concept is always a resounding success at parties because it empowers every guest to craft their perfect burger without you needing to play short-order cook. It’s also a fantastic solution for picky eaters or children, who can opt for simple toppings if they prefer. A well-stocked slider bar is not only effortlessly prepped but also highly interactive, creating a memorable dining experience and ensuring a guaranteed party win every single time. It encourages conversation, caters to diverse tastes, and minimizes waste, making it a smart and enjoyable choice for any social event.
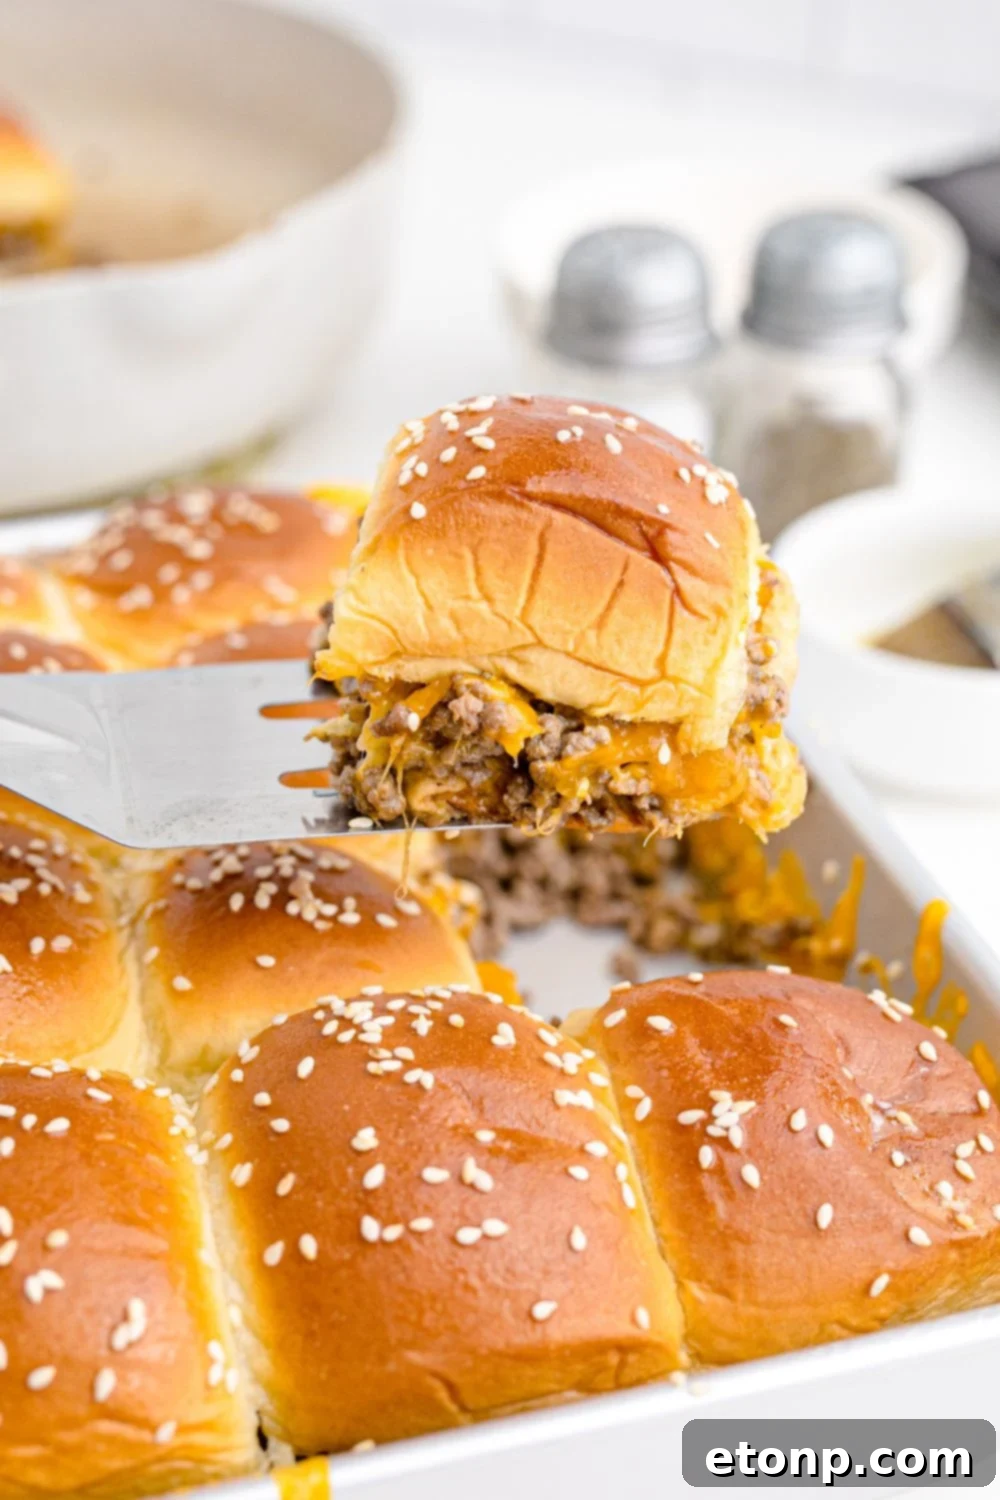
Why These Sliders Will Become Your New Favorite
These Classic Cheeseburger Sliders aren’t just another recipe; they’re a game-changer for anyone who loves delicious food without the fuss. Here’s why you’ll fall in love with them:
- Effortless One-Pan Baking: Say goodbye to standing over a hot grill or frying pan, flipping patty after patty. These sliders bake beautifully in a single pan, requiring no individual attention. Just assemble, bake, and enjoy!
- Quick & Abundant: In under 30 minutes, you can produce a generous batch of 24 delicious sliders, making them perfect for feeding a crowd quickly or stocking up for the week.
- Explosion of Flavor: Each slider is a miniature marvel, packed with savory, cheesy, and buttery notes, delivering that comforting, nostalgic cheeseburger taste we all crave. The carefully seasoned beef ensures maximum deliciousness.
- Customization at Your Fingertips: They are incredibly easy to adapt, whether you’re catering to picky eaters who prefer simplicity or adventurous palates eager for bold, diverse toppings. The “build-your-own” option is a huge hit.
- Freezer-Friendly & Reheats Beautifully: Planning ahead? These sliders freeze and reheat like a dream, making them an excellent choice for meal prep or getting a head start on party preparations.
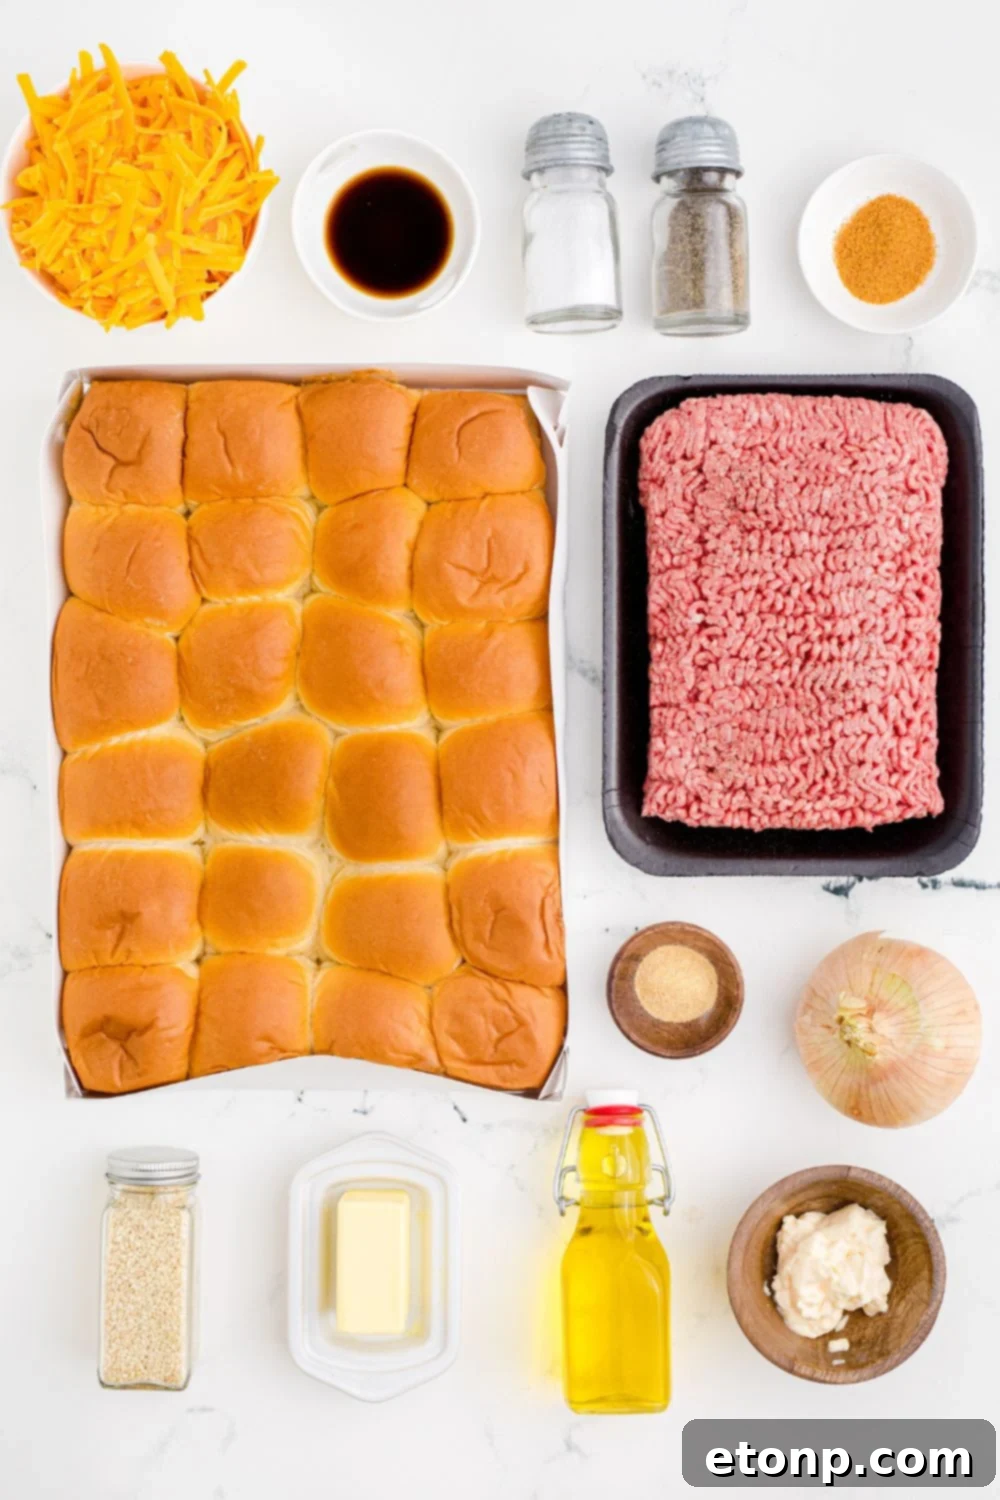
Essential Ingredient Breakdown for Perfect Sliders
Crafting the perfect Classic Cheeseburger Sliders starts with understanding the role each ingredient plays:
- Olive Oil & Onion: The dynamic duo that forms the aromatic and savory foundation of our beef mixture. Sautéed onion adds sweetness and depth, while olive oil ensures even cooking.
- Ground Beef: The star of the show! I highly recommend using lean ground beef, specifically 80/20 or 85/15, as this ratio provides the ideal balance of rich flavor and essential moisture without being overly greasy.
- Worcestershire Sauce & Mayo: These two work in tandem to inject incredible richness and a subtle umami depth into the beef, ensuring it remains incredibly tender and flavorful without feeling heavy. The mayonnaise also contributes to the moist texture.
- Seasoned Salt, Salt, Pepper, Garlic Powder: A simple yet powerfully effective seasoning blend that enhances the natural taste of the beef, bringing out its best qualities with balanced savory notes.
- Cheddar Cheese: For that iconic cheeseburger melt! Shredded cheddar works exceptionally well for an even, consistent melt across all the sliders, creating a gooey, irresistible layer. However, slices of cheese can also be used with great results.
- Slider Buns: The vehicle for all this deliciousness. Soft, slightly sweet, pull-apart Hawaiian-style buns are absolutely perfect as they absorb the flavors beautifully and create that desirable communal feel. Potato buns are another excellent option for their soft texture.
- Butter & Sesame Seeds: The finishing touches! Melted butter brushed over the tops creates a glossy, golden-brown crust, while sesame seeds add that classic, quintessential burger bun aesthetic and a subtle nutty flavor.
Creative Variations to Spice Up Your Sliders
While the classic recipe is a guaranteed winner, these cheeseburger sliders are wonderfully adaptable. Don’t hesitate to experiment with these exciting variations to keep things fresh and cater to different tastes:
- Leaner Protein Alternatives: For a lighter option, easily swap out the ground beef for lean ground turkey or ground chicken. Just ensure you season them well to maintain maximum flavor, as these proteins can be milder.
- Cheese Explorations: While cheddar is classic, feel free to try other melting cheeses. Colby Jack offers a mild, creamy blend; Pepper Jack adds a delightful spicy kick; and American cheese provides that iconic, perfectly gooey diner-style melt.
- BBQ Bliss: For a smoky and tangy twist, substitute the mayonnaise with your favorite barbecue sauce in the beef mixture. You could even add a dash of liquid smoke for an authentic BBQ flavor.
- Infused Inner Toppings: Integrate small, complementary toppings directly into the sliders before baking. Thinly sliced dill pickles or finely sautéed mushrooms can bake up beautifully within the sandwich, adding texture and flavor from the inside out.
- Turn Up the Heat: If you love a spicy kick, finely chop some jalapeños and mix them directly into the ground beef. Alternatively, brush the slider tops with a melted hot honey butter for a sweet and spicy glaze that crisps up wonderfully.
Expert Troubleshooting Tips for Flawless Sliders
Even the simplest recipes can sometimes present small challenges. Here are some quick fixes to ensure your Classic Cheeseburger Sliders turn out perfectly every time:
Beef too greasy?
This is a common issue with ground beef. To prevent soggy buns and an overly rich taste, always drain the cooked beef thoroughly after browning. Using leaner beef (80/20 or 85/15) also significantly helps reduce excess fat.
Buns getting soggy?
Soggy bottoms are no fun! Ensure your cooked beef mixture has cooled down slightly before you layer it onto the buns. This prevents the heat and steam from the beef from turning the bread mushy. You can also lightly toast the bottom halves of the buns in the oven for a few minutes before assembling to create a protective barrier.
Cheese not melting well?
If your cheese isn’t reaching that perfectly gooey consistency, try covering the baking tray loosely with aluminum foil for the first 5-7 minutes of baking. This traps the heat, encouraging the cheese to melt faster and more evenly. Then, remove the foil to allow the tops to brown beautifully.
Bottom layer sticking?
Nobody wants torn buns! To prevent the bottom buns from sticking to the baking dish, lightly spray your baking dish with non-stick cooking spray before placing the bottom halves of the rolls. Gently pressing the buns into place can also help create a slight seal, reducing movement and potential sticking.
Storage & Serving Tips for Maximum Enjoyment
These Classic Cheeseburger Sliders are fantastic fresh out of the oven, but they also store and reheat beautifully, making them perfect for future meals or parties.
Storing Leftovers:
- Once your sliders have cooled completely, transfer them to an airtight container. They will keep perfectly in the refrigerator for up to 3 days, maintaining their flavor and texture.
- To reheat, you have a few excellent options:
- Microwave: For a quick reheat, warm individual sliders for 30–45 seconds. Be careful not to overcook, as this can make the buns tough.
- Air Fryer: For the best texture, reheat in an air fryer at 350°F (175°C) for about 3 minutes, or until warmed through and slightly crisp on the outside.
- Oven: If reheating a larger batch, place them back in a baking dish, cover loosely with foil, and bake at 300°F (150°C) for 10-15 minutes.
Serving:
Serve your sliders fresh from the oven for the ultimate experience. Arrange them invitingly on a large platter or keep them warm in a chafing dish for a buffet-style presentation. Don’t forget to set out a variety of condiments and fresh toppings on the side for your guests to customize their perfect slider:
- Classic condiments like ketchup, mustard (yellow, Dijon, or spicy brown), and creamy mayonnaise.
- Freshly sliced pickles (dill or sweet), crisp lettuce, and juicy tomato slices.
- A selection of sauces such as hot sauce, ranch dressing, or a special burger sauce.
For a complete meal: Pair these savory sliders with classic American sides like crispy French fries, crunchy potato chips, a comforting bowl of mac & cheese, or a light and refreshing green salad to balance the richness.
The Ultimate Get-Together Food: Effortless Entertaining
These baked cheeseburger sliders are inherently designed for joyous get-togethers. Whether you’re orchestrating a laid-back backyard hangout, hosting an energetic game day bash, or celebrating a family birthday party, these diminutive yet mighty sandwiches are always met with enthusiastic acclaim. Their appeal lies in their incredible ease: they’re simple to prepare in generous batches, quick to reheat to perfection, and remarkably straightforward to serve. No need for cumbersome forks, elaborate place settings, or the stress of individual plating—just pure, unadulterated enjoyment.
Simply line a serving tray with these warm, golden sliders, arrange a selection of tempting dipping sauces or crunchy chips on the side, and you’ve instantly created an impressive and inviting party spread. They embody that rare culinary magic, feeling both deeply comforting and playfully fun all at once. Each bite is a nostalgic journey, often prompting guests to exclaim, “Oh, I forgot how much I adore a classic cheeseburger!” Their robust construction means they hold together exceptionally well, making them ideal for serving on paper plates or passing around informally. They truly require no fancy setup, embodying the spirit of relaxed, delicious entertaining. These sliders are perfect for birthday parties, tailgates, potlucks, or any occasion where you desire a warm, cheesy, and utterly shareable dish that brings smiles to every face.
Make-Ahead & Freezing Tips for Ultimate Convenience
Planning is key to stress-free entertaining and efficient weeknight meals. These Classic Cheeseburger Sliders are fantastic because they can be prepared in advance and even frozen for later, offering ultimate flexibility.
Make-Ahead Instructions:
- You can fully assemble the sliders, layering the beef and cheese onto the buns, and then refrigerate them in your baking dish for up to 24 hours before baking. This is a huge time-saver for party day or busy evenings. Just remember to cover the dish tightly with plastic wrap or aluminum foil to keep the buns fresh. When you’re ready to bake, simply remove from the fridge, brush with the melted butter and sprinkle with sesame seeds, then bake as directed, adding a few extra minutes to the baking time if they are still very cold.
Freezing Instructions:
- For long-term storage, allow the baked sliders to cool completely. Wrap individual sliders tightly in aluminum foil, then place the foil-wrapped sliders into a heavy-duty freezer-safe bag or container. They will retain their quality in the freezer for up to 3 months.
- To reheat from frozen, thaw the sliders overnight in the refrigerator. Then, reheat in the oven (covered loosely with foil) at 300°F (150°C) for 15-20 minutes, or in an air fryer at 350°F (175°C) for 5-7 minutes, until thoroughly warmed through and the buns are softened, for the best texture. This method is perfect for stocking your freezer with ready-to-go meals.
Frequently Asked Questions About Classic Cheeseburger Sliders
Here are answers to some common questions to help you master these delicious sliders:
Can I cut the recipe in half?
Absolutely! This recipe scales down beautifully. Simply use half a package of slider rolls (typically 12 rolls) and 1 pound of ground beef. Bake them in a smaller 8×8 or 9×9 inch baking dish, adjusting the baking time slightly if needed, though it should remain similar.
Can I use cheese slices instead of shredded cheese?
Definitely! While shredded cheese melts very evenly, cheese slices work just as well. Simply arrange the slices evenly over the cooked beef mixture before adding the top buns. They will melt beautifully into a gooey layer.
How do I keep the bottoms from getting soggy?
The key to preventing soggy bottoms is to ensure the ground beef is well-drained after cooking and allowed to cool slightly before assembling the sliders. An extra trick is to lightly toast the bottom halves of the buns in the oven for a few minutes before adding the filling; this creates a barrier against moisture.
Can I make these ahead and serve them later?
Yes, these sliders are excellent for making ahead. You can fully bake them, let them cool, and then store them in the refrigerator. When you’re ready to serve, simply reheat them in the oven, air fryer, or microwave. They hold up remarkably well and taste great reheated.
Do I have to use sesame seeds?
Not at all! Sesame seeds are completely optional and primarily add a classic burger bun look and a subtle nutty flavor. You can skip them entirely, or get creative by swapping them with poppy seeds for a different aesthetic, or even everything bagel seasoning for an extra flavor boost.
Can I add toppings inside the sliders before baking?
Yes, you can! Some toppings bake well inside. Sautéed mushrooms, finely chopped pickles, or caramelized onions can be mixed directly with the beef or layered over the cheese. Just remember to keep these internal additions light so the sliders remain easy to handle and cook evenly.
Can I make these in a toaster oven or smaller oven?
For sure! If you have a smaller oven or a toaster oven, you can make a smaller batch. Just ensure your baking sheet or dish fits comfortably inside. You might want to rotate the tray halfway through baking to ensure even browning, especially if your oven has hotspots.
What kind of buns are best?
Soft, slightly sweet buns like Hawaiian-style slider rolls or brioche buns are highly recommended. They hold up well to the filling and provide a delicious contrast. Look for the pull-apart style in a connected sheet; this makes assembly incredibly quick and easy.
Are they kid-friendly?
Absolutely! The seasoning blend is mild and appealing to younger palates. Plus, their mini size makes them perfect for little hands to hold and eat without much mess. They also make fantastic additions to school lunchboxes as leftovers.
Make-Ahead Magic: Cheeseburger Sliders for Effortless Meal Prep
Beyond being the life of the party, these classic cheeseburger sliders are a total game-changer for your weekly meal prep. Imagine the convenience: bake a large batch on Sunday, and you’ll have an array of flavorful, ready-to-heat lunches or incredibly easy weeknight dinners waiting for you throughout the busiest days. Their ability to reheat beautifully in both the microwave and the air fryer makes them an ideal candidate for packed meals. Portion them into meal prep containers alongside a handful of crisp baby carrots, a side of your favorite chips, or a refreshing small salad for a balanced, grab-and-go lunch that satisfies both adults and children alike. What’s more, they freeze like a dream, allowing you to easily stock your freezer for those unpredictable busy nights when cooking feels like a monumental task. Make a full batch, keep half in the refrigerator for immediate enjoyment, and individually freeze the rest. Your future self will undoubtedly thank you for this smart, delicious, and time-saving strategy.
Experience Backyard BBQ Vibes, Any Day, Any Time
Longing for that quintessential backyard BBQ feeling but the weather isn’t cooperating, or you simply don’t want the hassle of firing up the grill? These baked sliders are your perfect solution! They effortlessly bring all those beloved, nostalgic char-grilled flavors right to your table, no outdoor equipment required. The act of baking these cheeseburger sliders fills your kitchen with the most mouthwatering aromas, instantly transporting you to a summer cookout. Each slider delivers all the juicy, savory satisfaction of a burger hot off the grill, complete with perfectly melted cheese and golden, toasted buns. They are an absolute lifesaver for those moments when you crave that authentic backyard flavor without any of the outdoor fuss. Whether it’s a rainy Tuesday or a chilly winter evening, these sliders ensure you can enjoy delicious BBQ vibes anytime you please.
Final Thoughts: Your New Go-To Recipe
These Classic Cheeseburger Sliders are one of those truly effortless culinary wins that consistently deliver outstanding results. They never fail to impress, whether you’re whipping them up for a simple, comforting weeknight dinner or elegantly arranging them on a platter for an impressive party spread. Each slider is a perfect symphony of flavors and textures: buttery, beefy, cheesy, and baked to a glorious golden perfection, all conveniently in a single pan. Their inherent adaptability means you can easily dress them up with an exciting array of your favorite toppings, freeze any extras for future cravings, or generously bring them to any potluck, instantly cementing your status as everyone’s favorite guest. Trust me, from the very first bite, these irresistible sliders will undoubtedly earn a permanent, cherished spot in your regular recipe rotation. They are more than just food; they are an experience of comfort, convenience, and pure deliciousness.
Explore More Delicious Slider Recipes
- Pastrami Sliders
- Italian Sliders
- Pizza Sliders
- Monte Cristo Sliders
Classic Cheeseburger Sliders Recipe
Course: Appetizer
Prep Time: 15 mins
Cook Time: 10 mins
Total Time: 25 mins
Servings: 24 servings
These Classic Cheeseburger Sliders are the ultimate crowd-pleaser! These ground beef sliders are perfect for game day, parties, or a fun weeknight dinner. Quick, easy, and packed with flavor, these mini burgers are always a hit.
Ingredients
- 1 Tablespoon olive oil
- 1 medium onion, diced
- 2 pounds lean ground beef
- 1 Tablespoon Worcestershire sauce
- 3 Tablespoons mayonnaise
- 1 teaspoon seasoned salt
- 1 teaspoon salt
- 1 teaspoon pepper
- 1 teaspoon garlic powder
- 2 cups cheddar cheese, shredded
- 24 slider buns (Hawaiian-style pull-apart rolls are recommended)
- 2 Tablespoons salted butter, melted
- 1 Tablespoon sesame seeds
Instructions
- Preheat your oven to 350 degrees F (175°C). Lightly spray a rimmed baking sheet or 9×13 inch casserole dish with non-stick cooking spray.
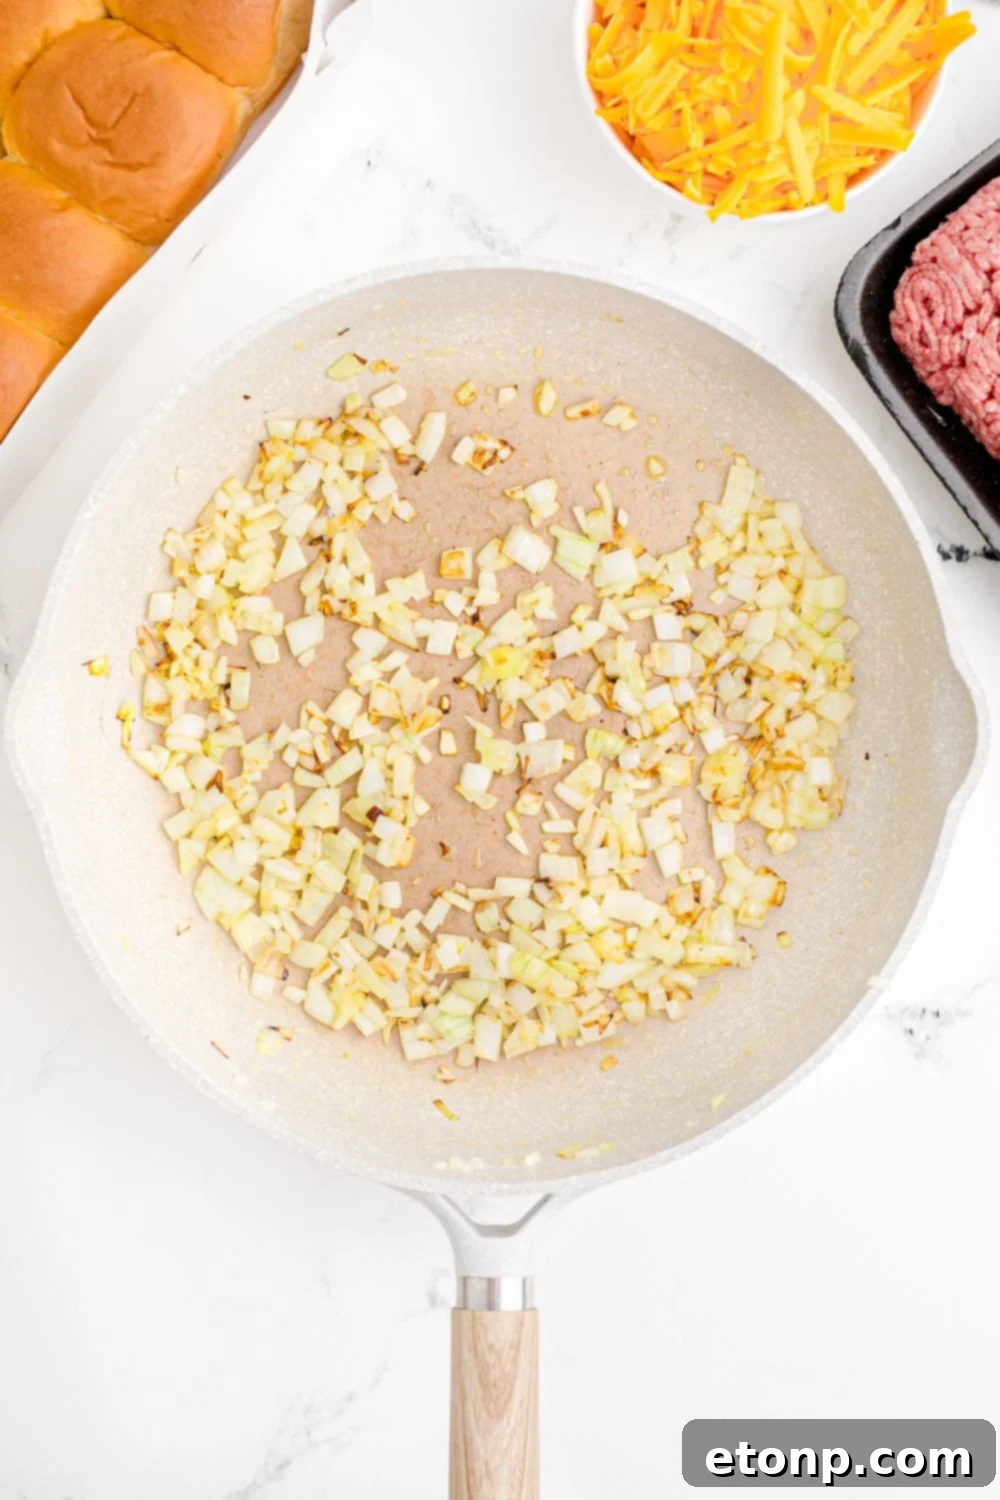
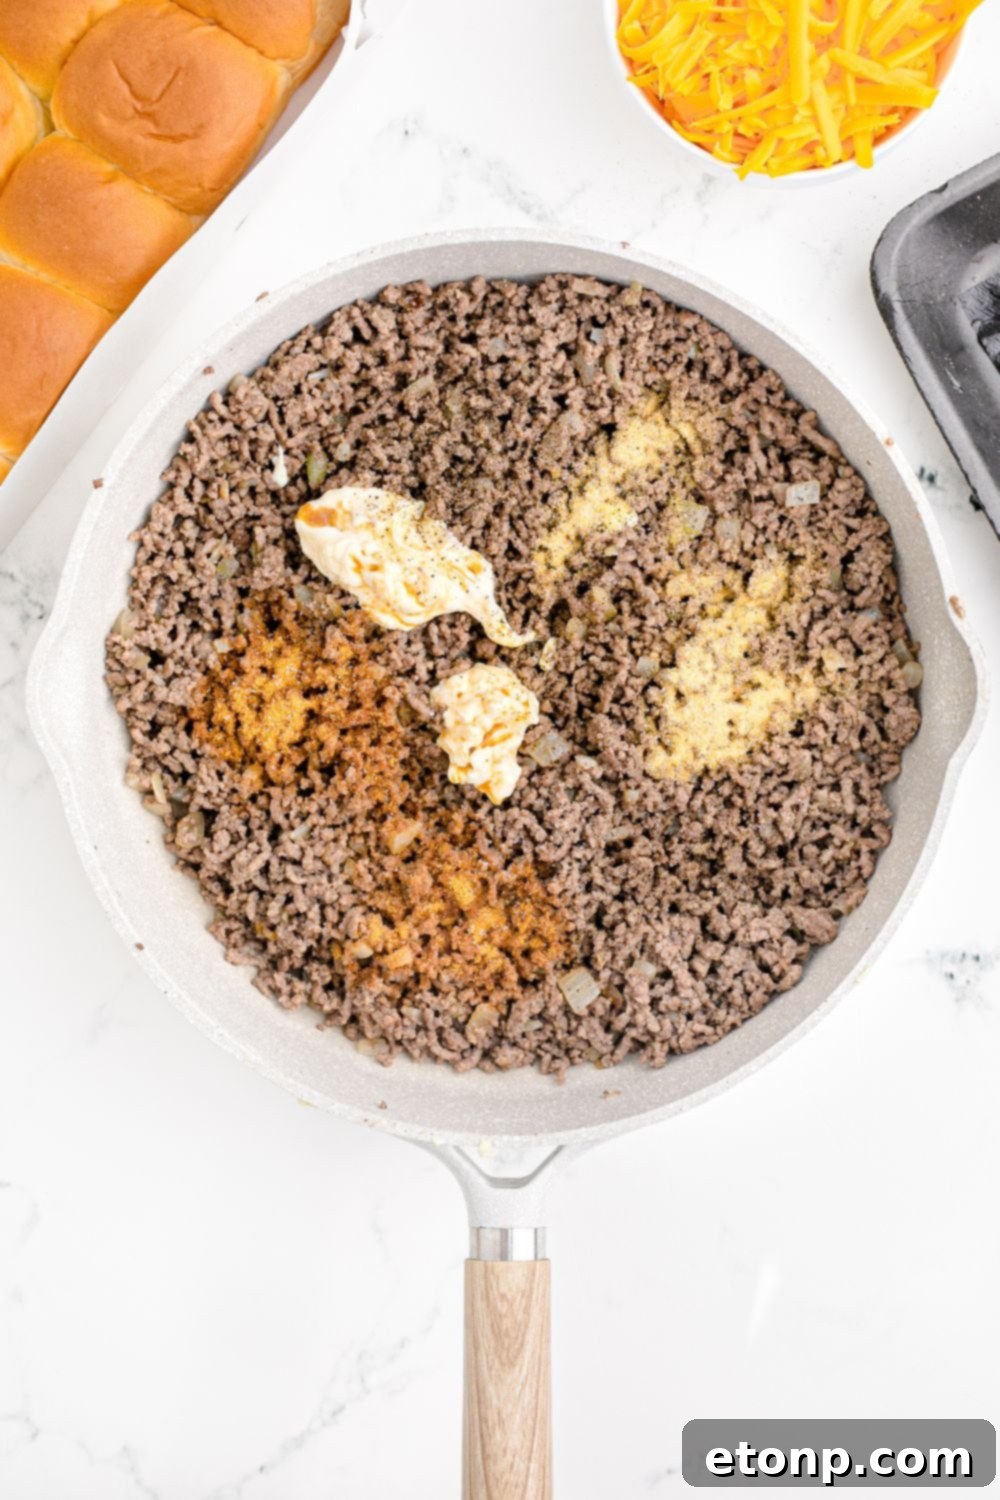
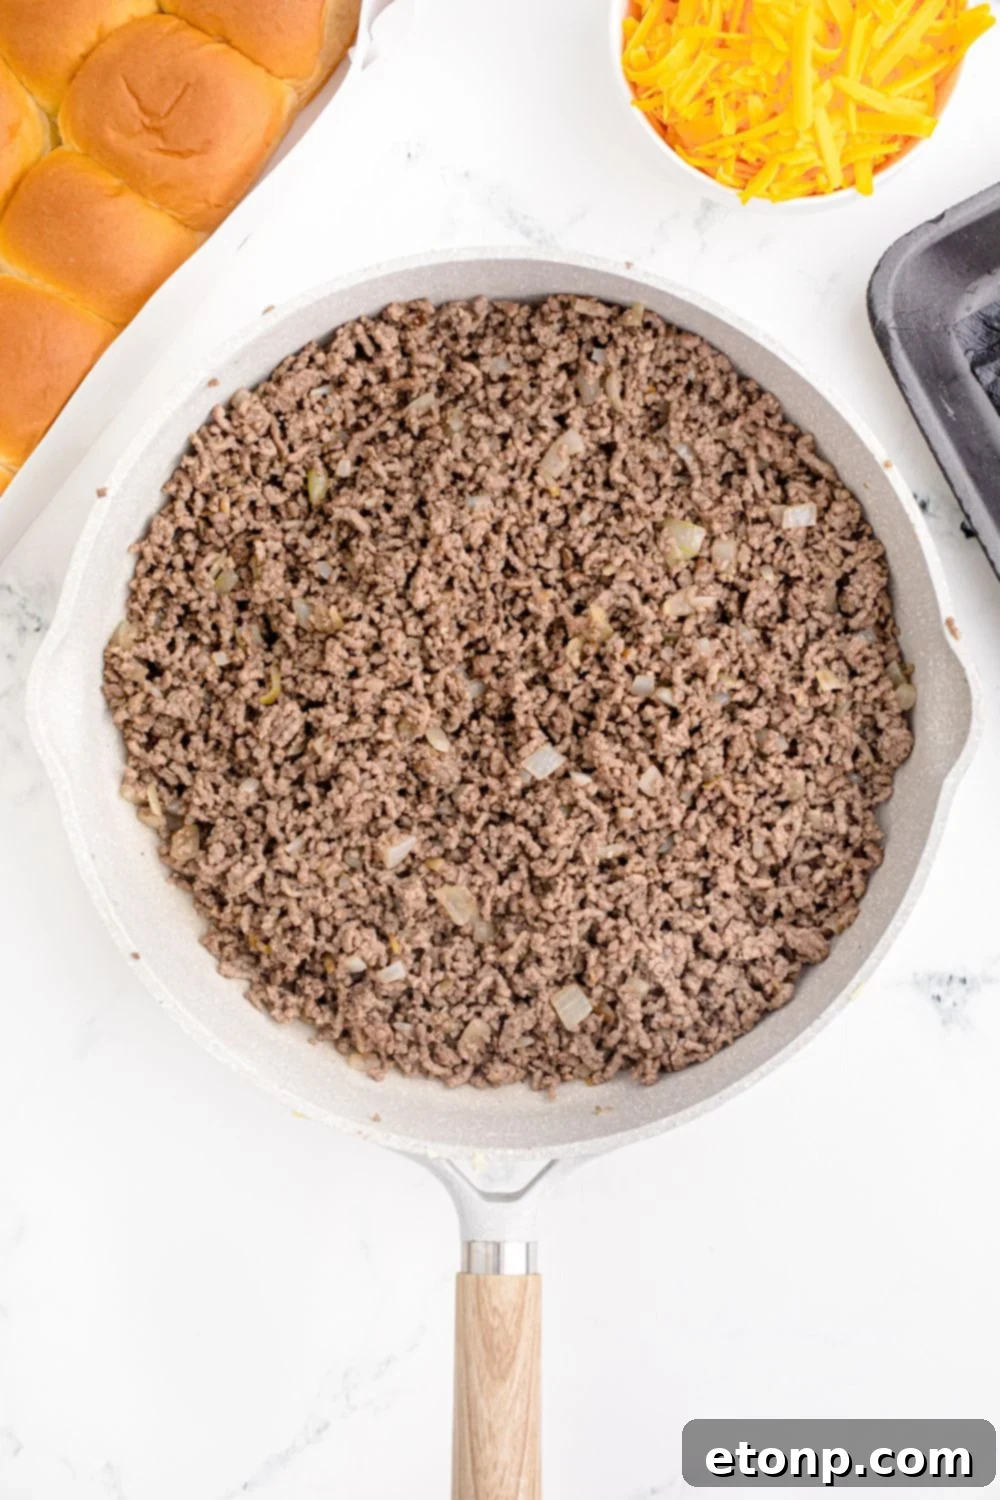
- Place the olive oil in a large skillet over medium heat. Add the diced onion and sauté, stirring occasionally, until the onion softens and becomes translucent, about 5-7 minutes. Add the lean ground beef to the skillet and scramble-fry, breaking it apart with a spoon, until no pink remains. Drain off any excess fat thoroughly. Stir in the Worcestershire sauce, mayonnaise, seasoned salt, salt, pepper, and garlic powder until well combined. Remove the skillet from the heat.
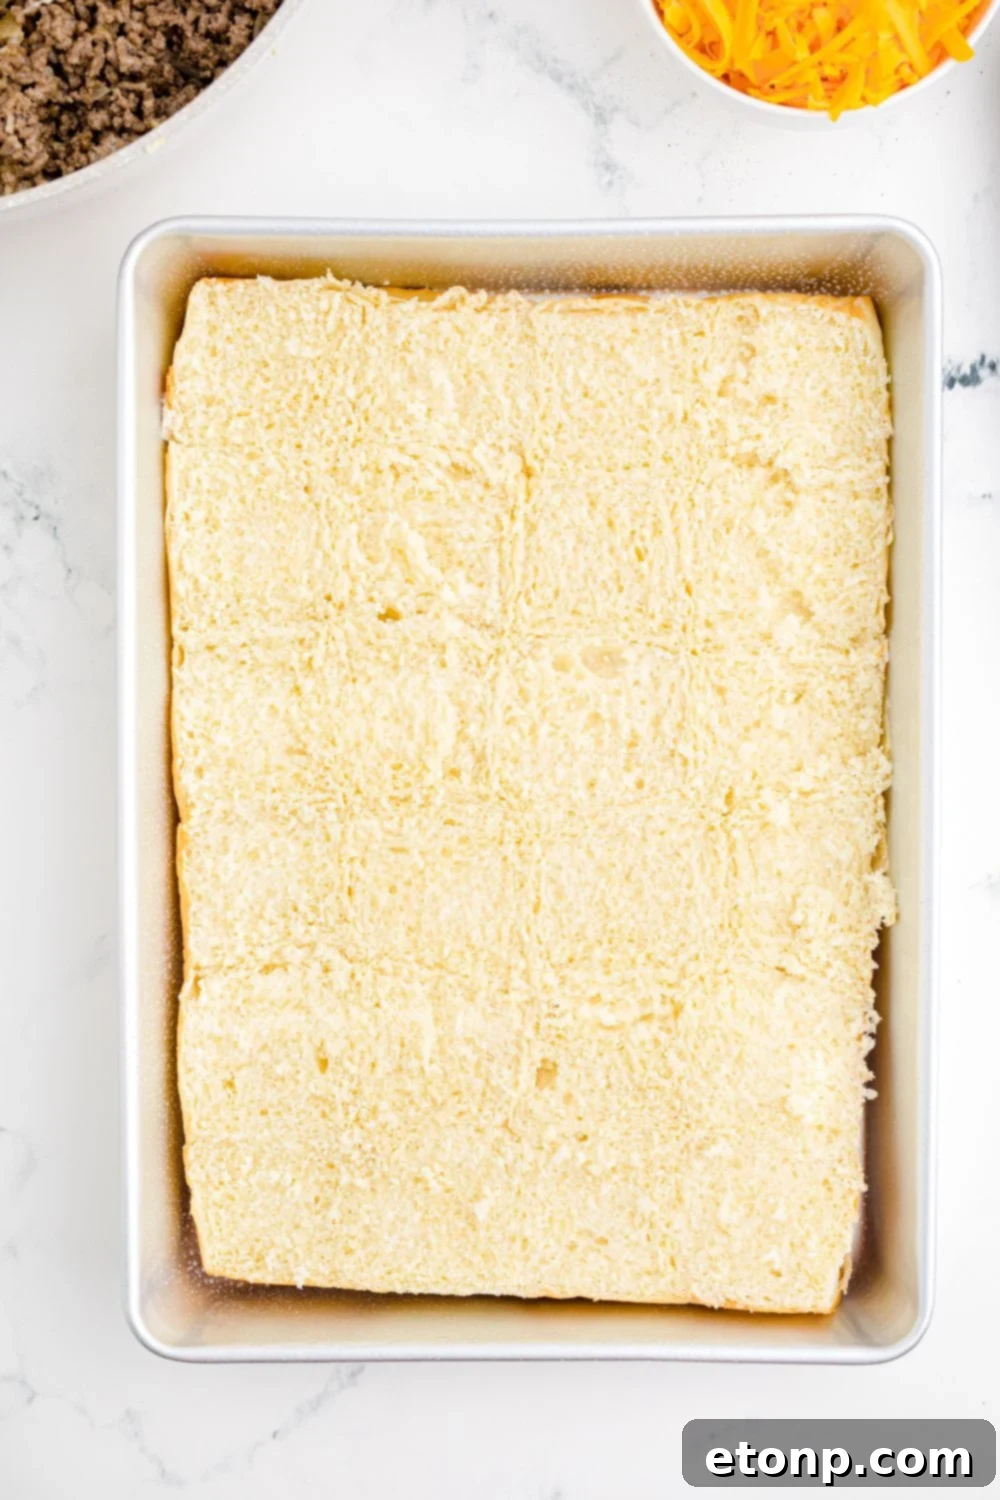
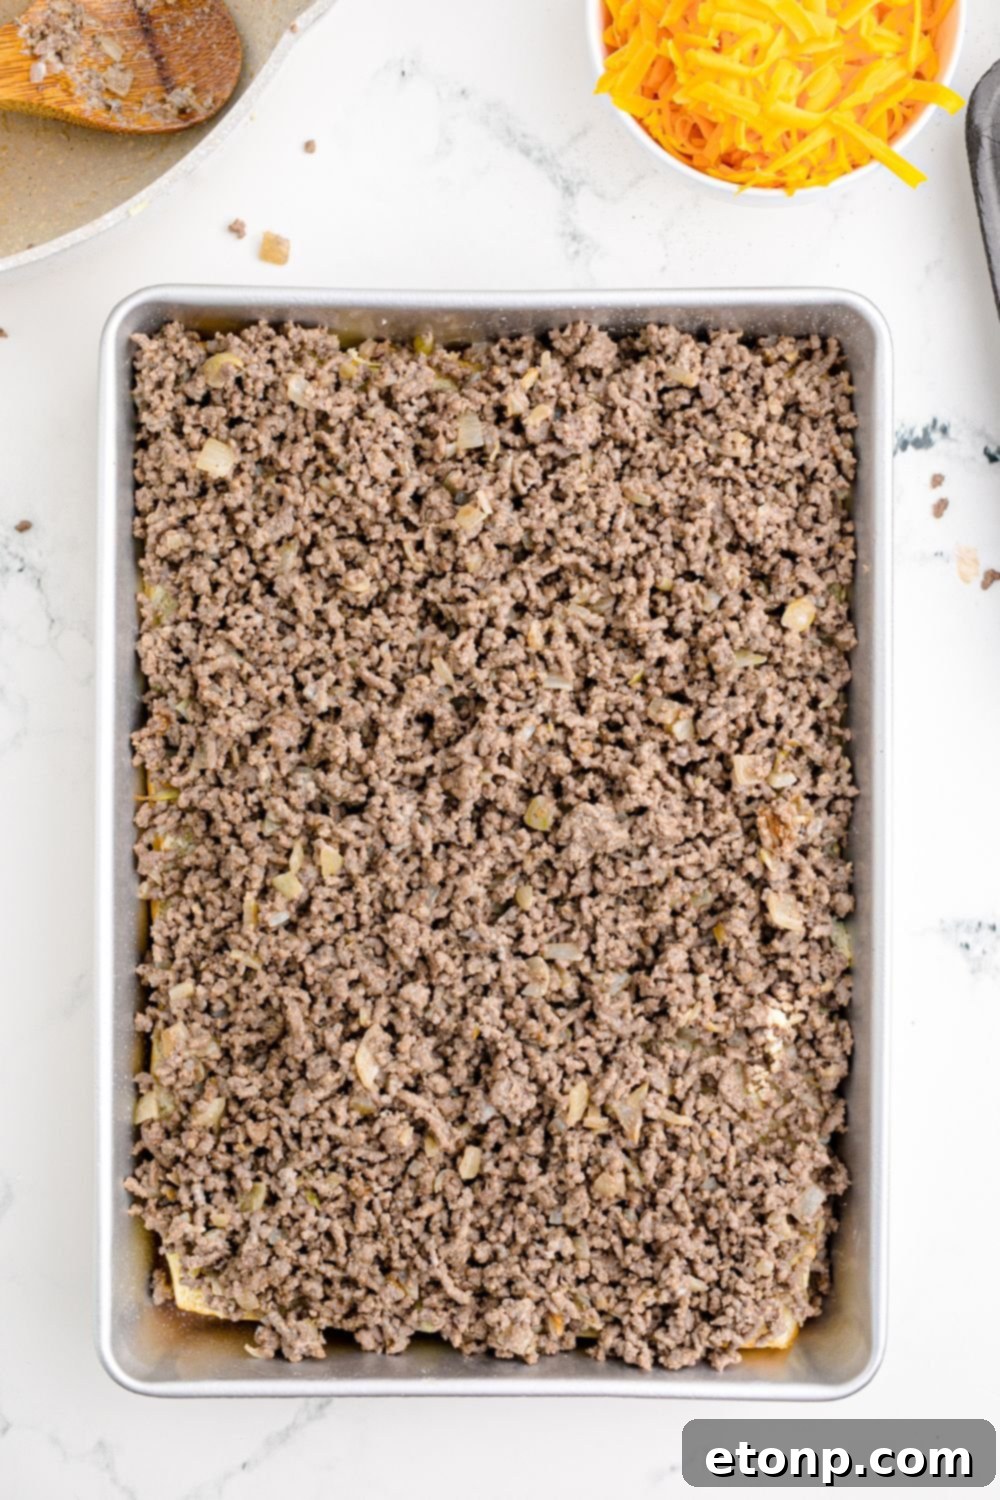
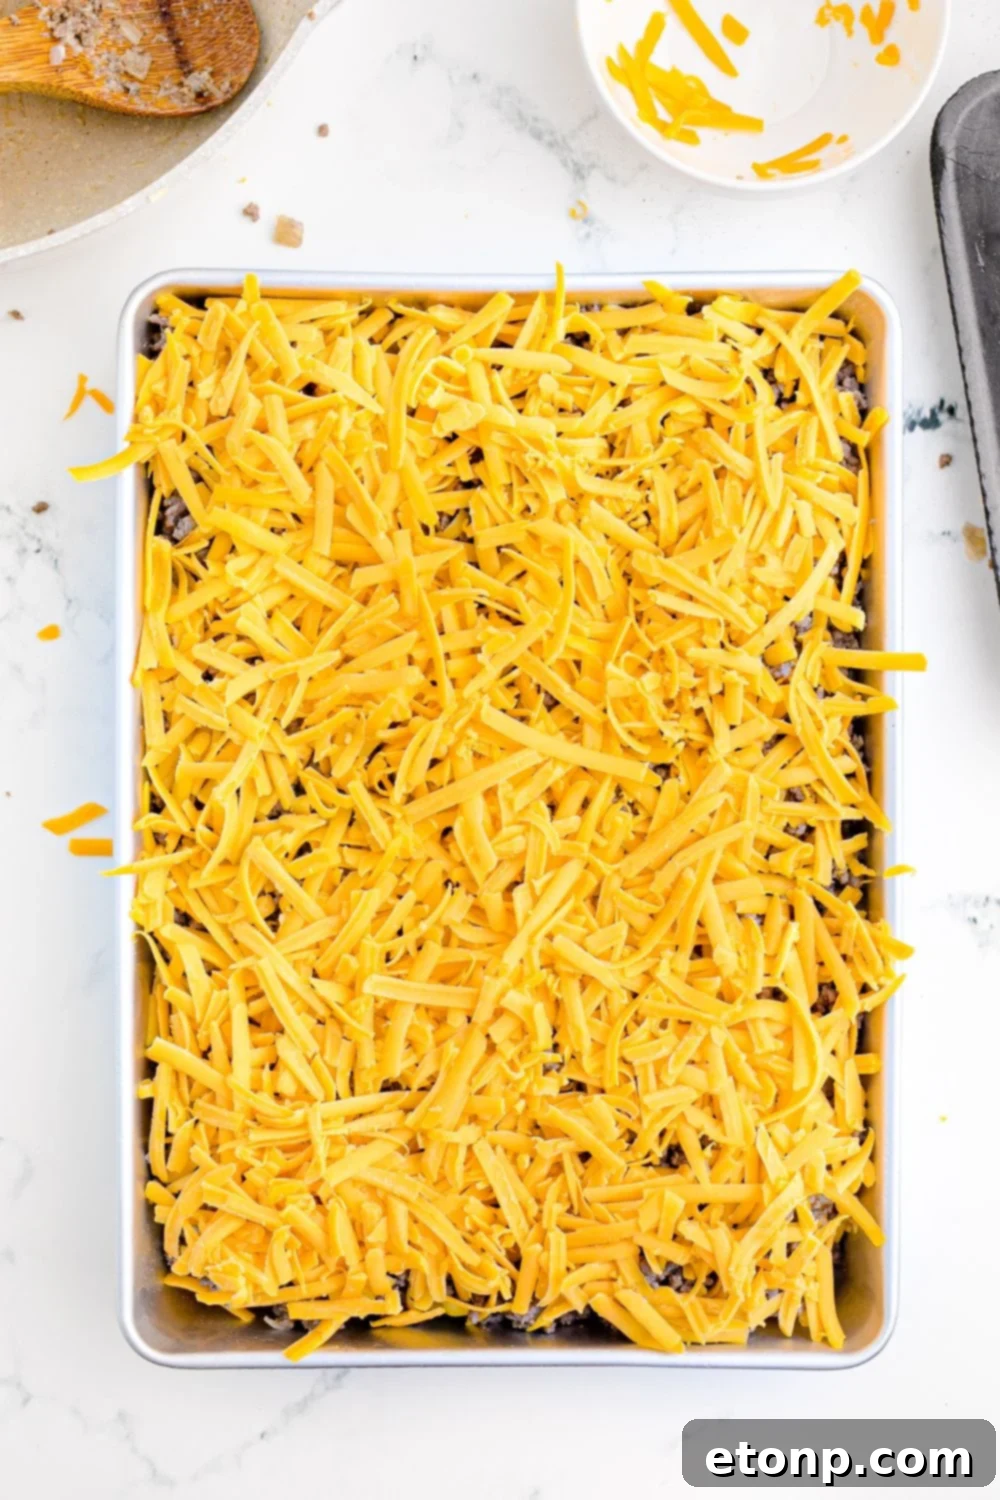
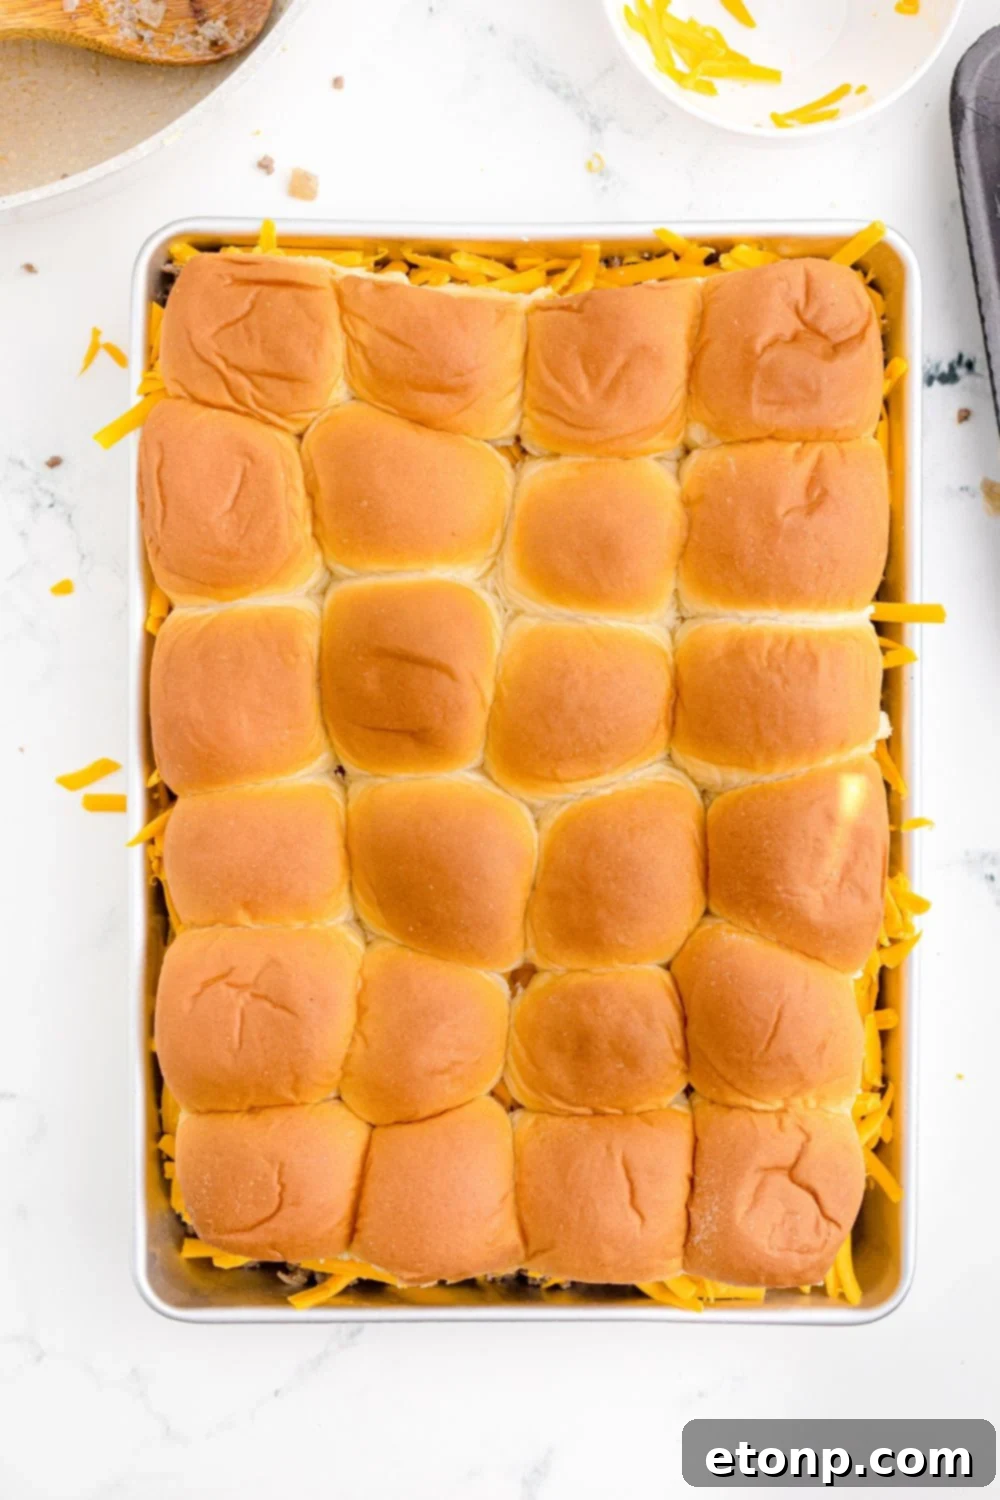
- Carefully cut the entire block of slider rolls in half horizontally, separating the tops from the bottoms but keeping them connected in sheets. Place the bottom halves of the slider buns into your prepared baking dish, ensuring they fit snugly. Evenly spread the seasoned ground beef mixture over the entire bottom layer of buns. Generously sprinkle the 2 cups of shredded cheddar cheese over the beef. Gently place the top halves of the buns over the cheese layer.
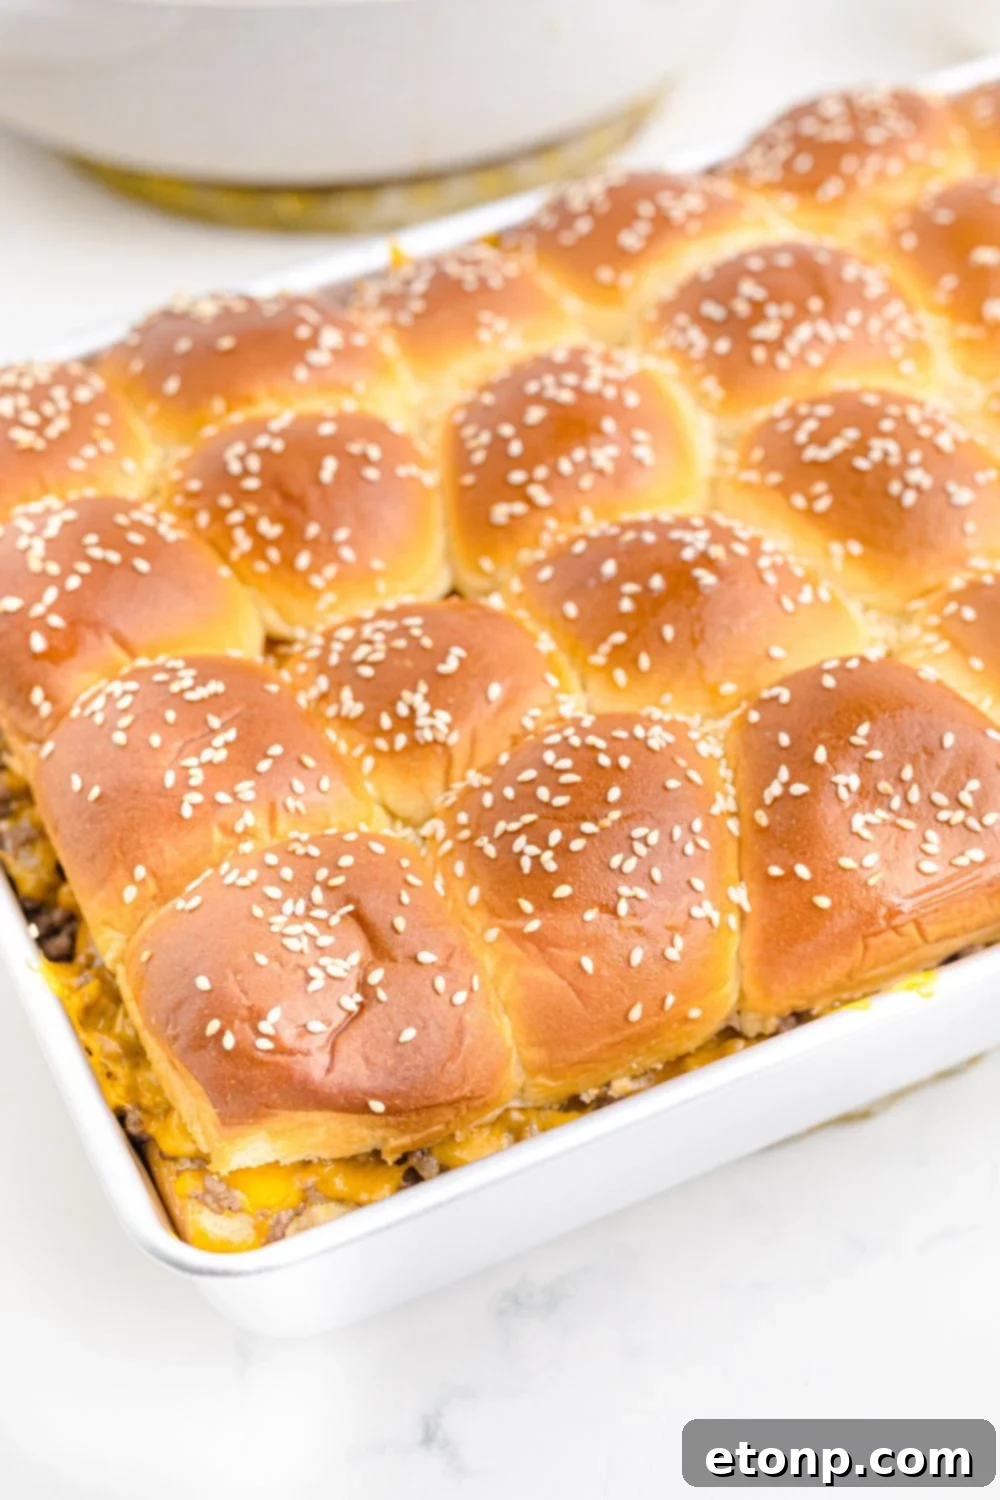
- In a small bowl, melt the 2 tablespoons of salted butter. Using a pastry brush, evenly brush the melted butter over the tops of all the slider buns. Sprinkle the sesame seeds generously over the buttered tops for that classic cheeseburger look and a touch of nutty flavor.
- Bake for 10-12 minutes, or until the cheese is beautifully melted and gooey, and the tops of the buns are golden brown and slightly crisp. If desired, you can cover with foil for the first 5 minutes to ensure even melting, then remove for browning.
Did you make this recipe?
Make sure to follow on Pinterest for more recipes and inspiration!