

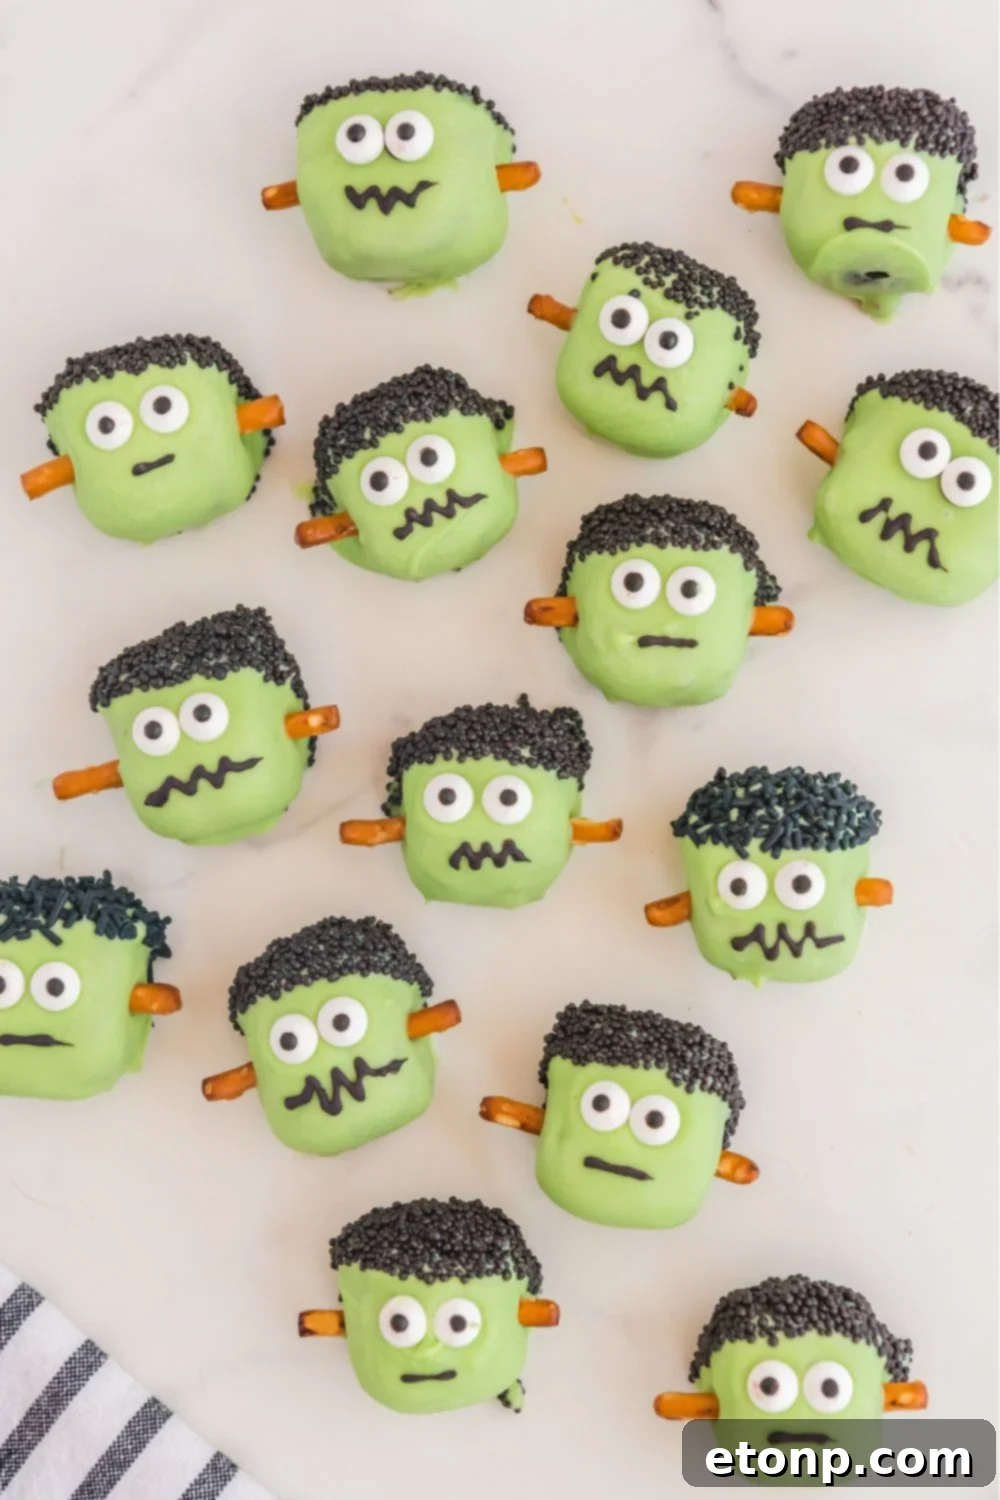
Get ready to amaze your friends and family with these absolutely adorable **Frankenstein Oreo Balls**! This recipe transforms the classic, irresistible Oreo truffle into a festive Halloween masterpiece that will be the talk of any dessert platter. Imagine rich, velvety Oreo crumbs mixed with creamy cheese, then perfectly dipped in vibrant green melting chocolate and artfully decorated to resemble everyone’s favorite lovable monster. It’s a truly spook-tacular, yet delightfully non-scary, Halloween treat that’s perfect for all ages.
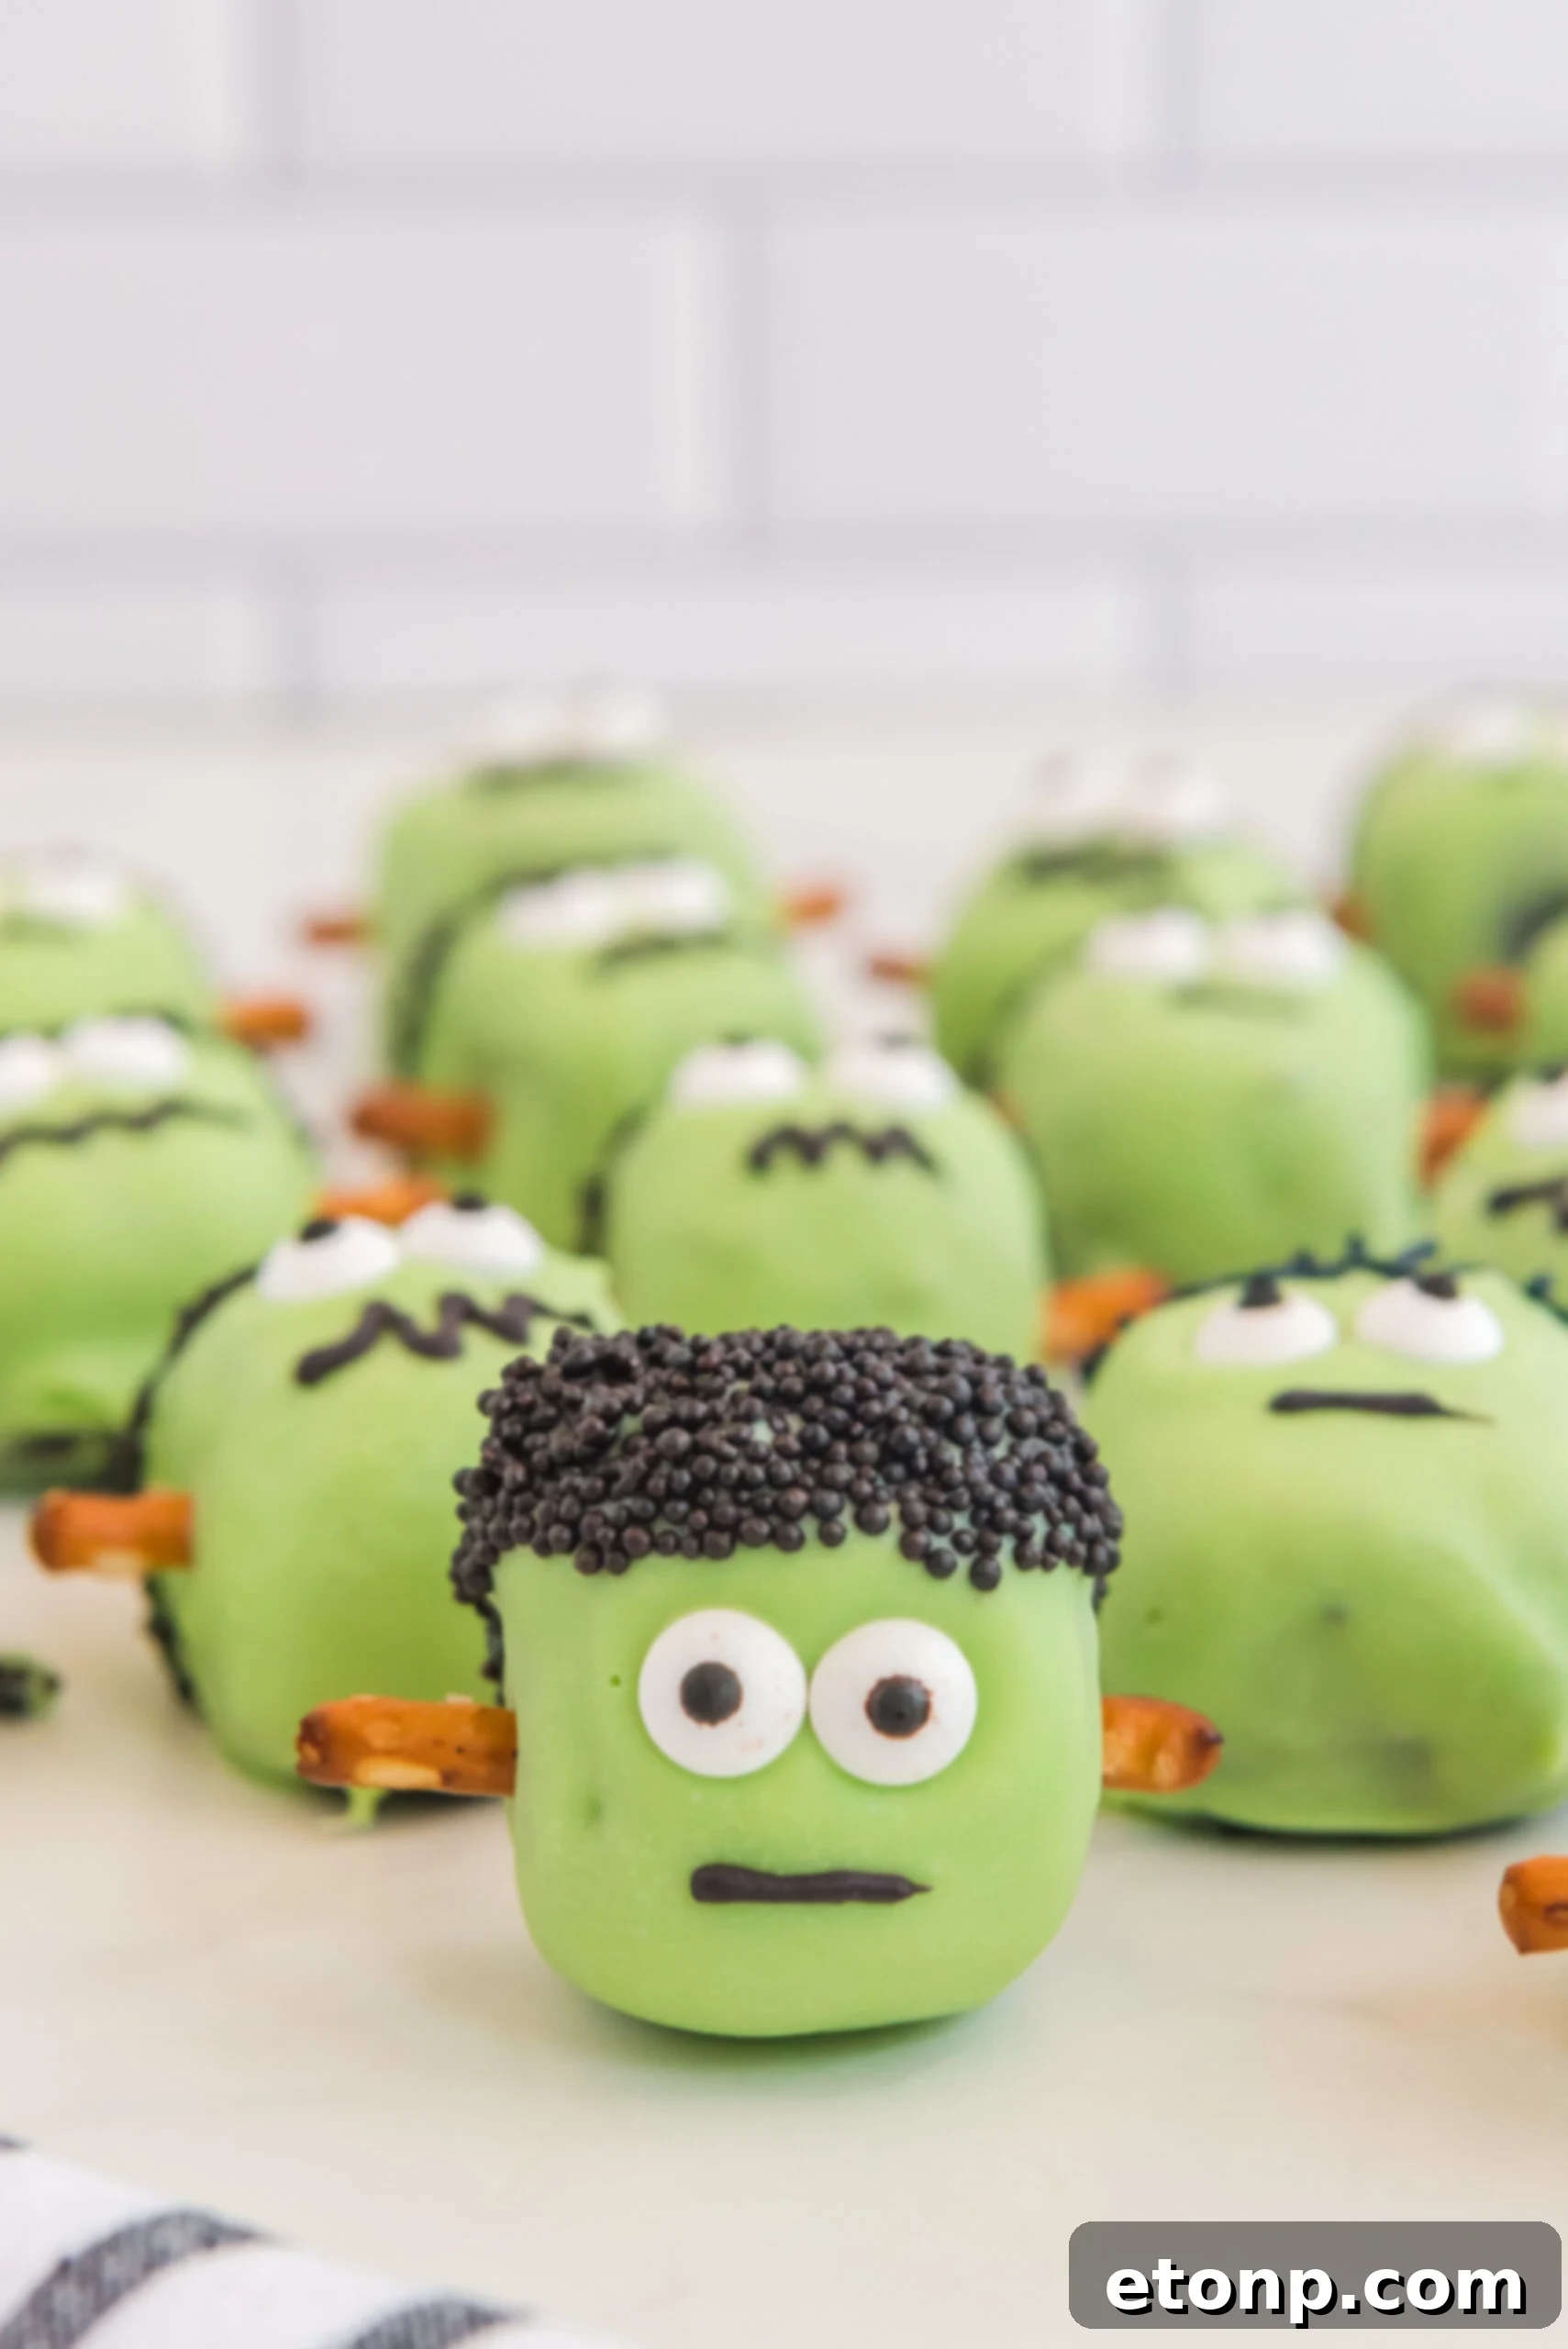
The Halloween season simply demands festive themed desserts, and these **Frankenstein Oreo Balls** are an absolute must-have. Unlike many overtly spooky confections, these charming green monsters offer a fun and friendly vibe, making them ideal for both kids’ parties and adult gatherings. If you’re planning a full spread of Halloween goodies, consider pairing these with other delightful treats like ghost truffles, peanut butter spider cookies, or even a batch of shimmering Halloween candy apples.
While Oreo balls often grace holiday tables during Thanksgiving and Christmas, there’s no reason to exclude them from your Halloween celebrations. With a simple switch of colors and creative decoration, you can transform these beloved no-bake treats into a ghoulishly good snack for the trick-or-treat season. This recipe offers a fantastic canvas for your Halloween creativity, allowing you to personalize each Frankenstein monster to your heart’s content.
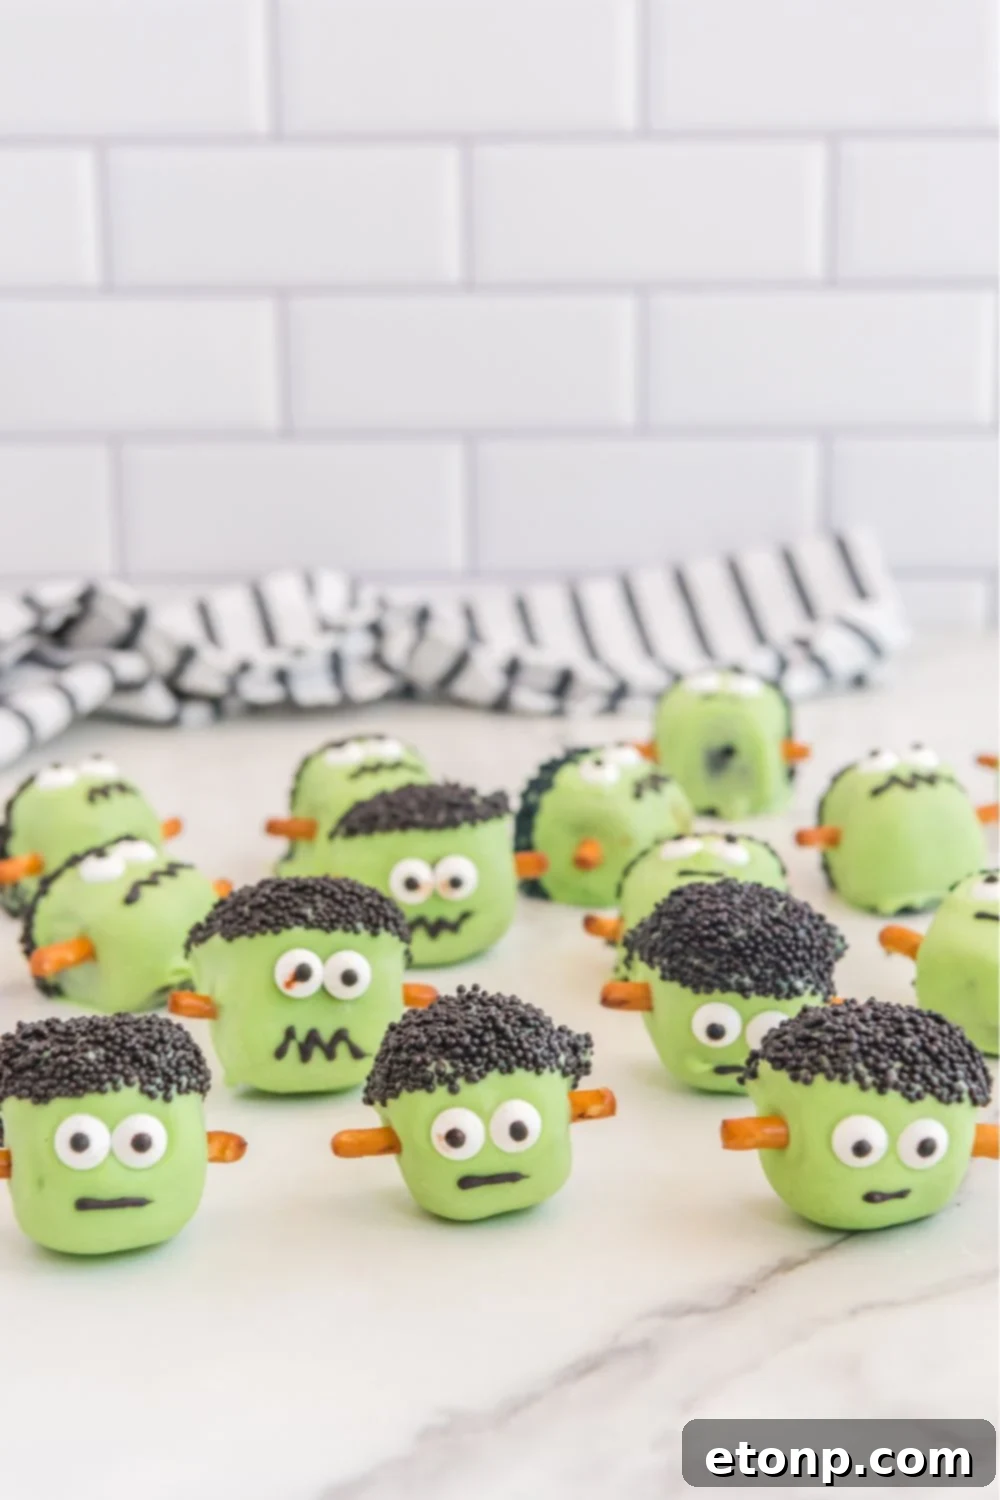
Why These Frankenstein Oreo Balls Are a Must-Make
You’ll fall in love with this recipe for so many reasons. These **easy no-bake Halloween desserts** combine simplicity with incredible visual appeal and delicious flavor. Here’s why they’ll become your new favorite spooky season tradition:
- **Festive and Fun Halloween Treat:** These Oreo balls are designed to resemble the iconic Frankenstein monster, making them a perfectly themed dessert for any Halloween celebration. Their bright green color and whimsical features are sure to bring smiles to faces.
- **Perfect for Parties and Crowds:** Planning a Halloween bash? These truffles are an excellent choice for feeding a crowd. They are bite-sized, easy to pick up, and can be made in large batches or scaled down for smaller gatherings.
- **Effortless No-Bake Recipe:** Forget about heating up your oven! This entire recipe is delightfully no-bake, simplifying the process and making it accessible even for novice bakers. It’s a quick and easy way to create impressive desserts.
- **Kid-Friendly & Engaging:** Making these Frankenstein treats is a fantastic activity to do with children. Kids will love helping to crush the Oreos, roll the balls, and especially decorate their own little monsters. It’s a fun, hands-on cooking experience.
- **Customizable Decorations:** While we provide a guide for creating the classic Frankenstein look, this recipe offers endless possibilities for customization. Feel free to experiment with different sprinkles, candy decorations, or even create other monster faces.
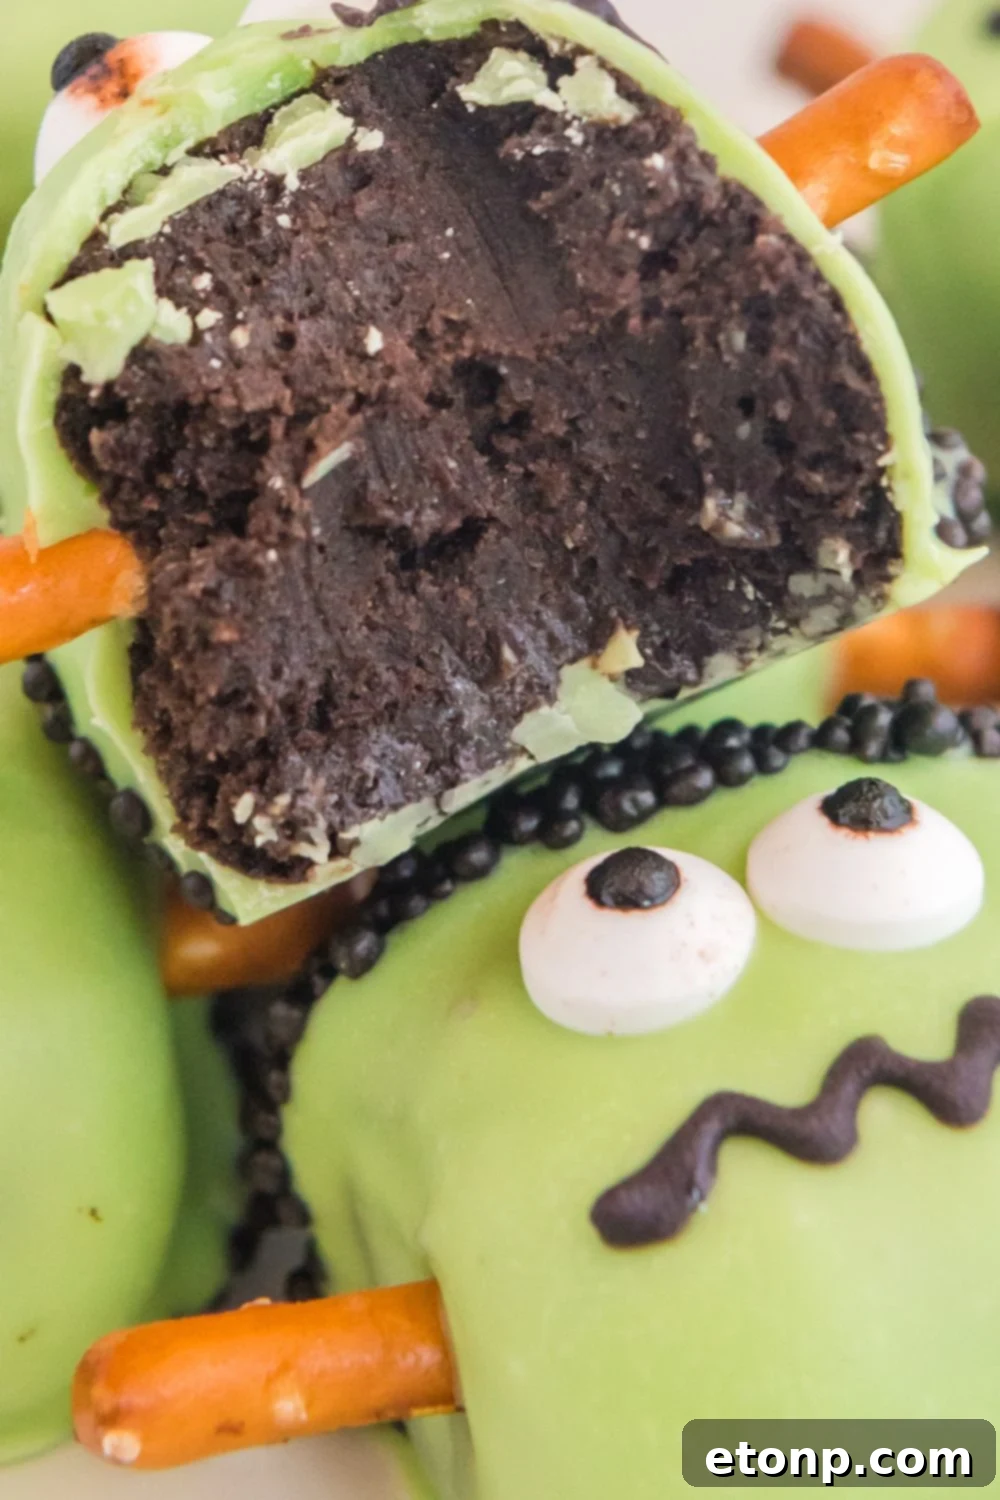
- **Deliciously Creamy Texture:** The combination of finely crushed Oreos and softened cream cheese creates an incredibly smooth, rich, and decadent truffle interior that melts in your mouth with every bite.
Essential Ingredients for Your Green Monsters
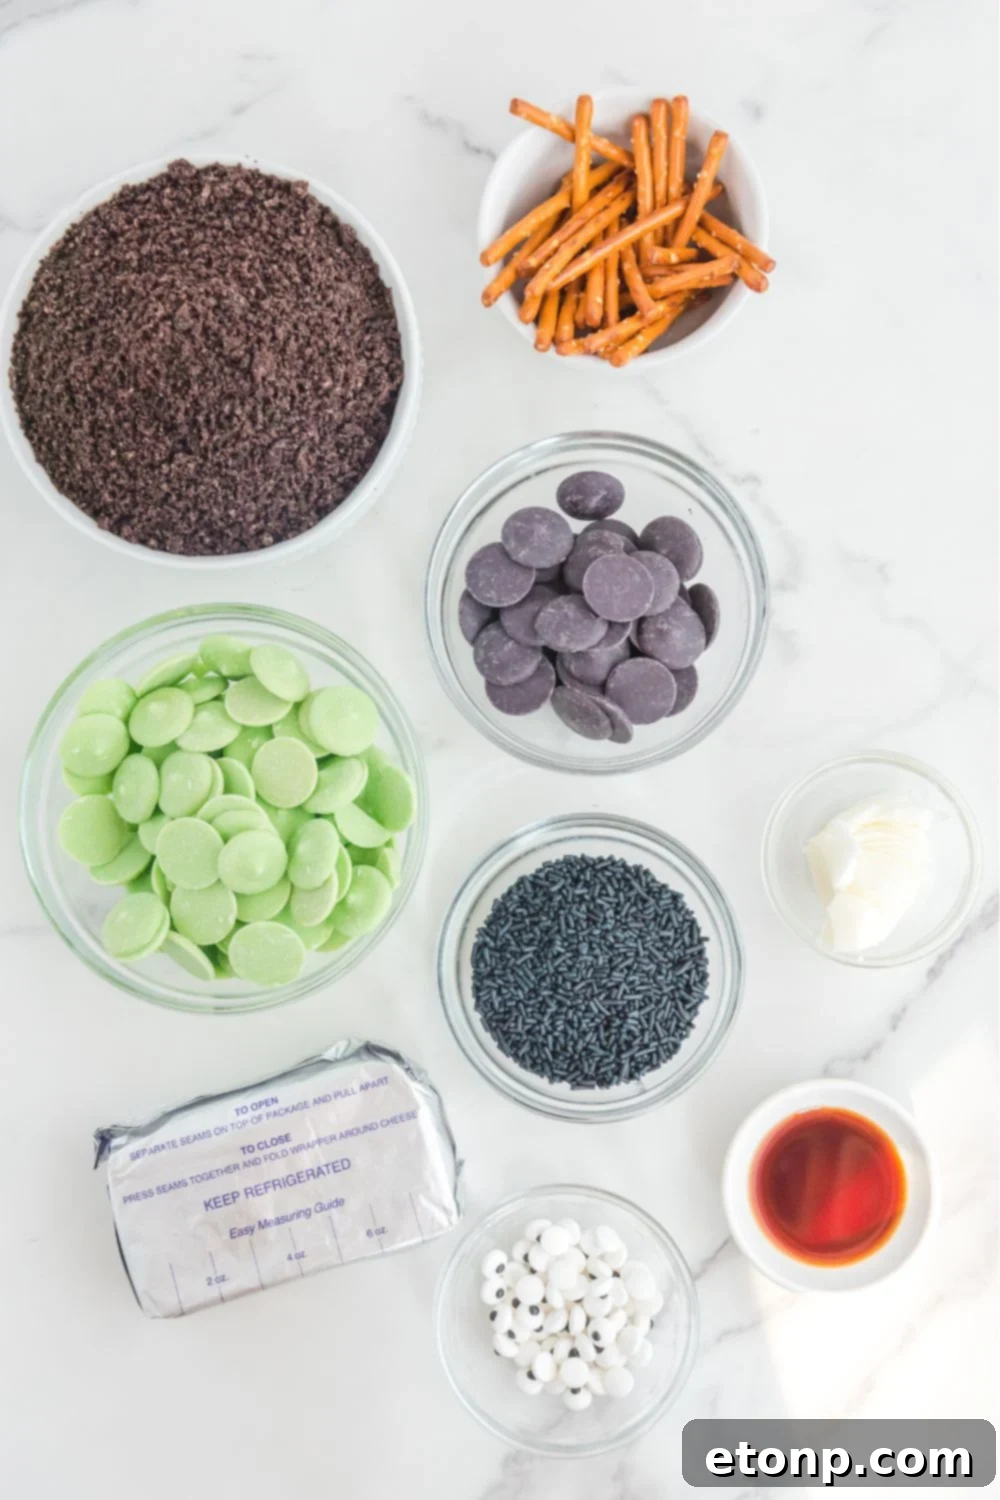
Crafting these delightful **Halloween Oreo truffles** requires just a few key ingredients, most of which you likely already have in your pantry or can easily find at any grocery store. The magic truly happens when these simple components come together to form something extraordinary.
- Oreo Cookies: The star of the show! You’ll need classic Oreos, finely crushed, to form the delicious base of these truffles. The chocolatey cookie provides both flavor and structure.
- Cream Cheese: Softened cream cheese is absolutely crucial. It acts as the binder, transforming the crushed Oreos into a rich, pliable dough and contributing to the creamy, irresistible texture of the finished ball. Ensure it’s at room temperature for smooth mixing.
- Vanilla Extract: A touch of vanilla extract enhances the sweetness and depth of flavor in the Oreo and cream cheese mixture, bringing all the ingredients into perfect harmony.
- Melting Chocolate (Green & Black):
- **Light Green Melting Wafers:** These are essential for giving your monsters their iconic Frankenstein-green skin. Candy melts or confectionery wafers are designed to melt smoothly and set quickly, providing a professional finish.
- **Black or Dark Chocolate Melting Wafers:** Used for drawing on the monster’s face – the eyes, mouth, and scar details. Dark chocolate chips or regular melting chocolate can also work, but wafers are often easier to pipe.
- Crisco Shortening (Optional but Recommended): A small amount of Crisco shortening added to your melting chocolate helps create a beautifully glossy finish and ensures the chocolate melts smoothly, making it easier to dip the truffles and preventing it from hardening too quickly.
- Black Sprinkles: Long, black sprinkles are perfect for replicating Frankenstein’s iconic hair. Avoid round sprinkles for this specific detail, as the longer ones provide a more authentic textured look.
- Pretzel Sticks: These are ingeniously used to create the bolts or “ears” on the sides of Frankenstein’s head, adding a fun, edible, and textural element to your monster treats.
- Candy Eyes: Small, edible candy eyes are an incredibly easy and effective way to give your Frankenstein monsters a friendly or spooky gaze, instantly bringing them to life.
Creative Variations for Your Monster Truffles
One of the best aspects of these **Frankenstein Oreo balls** is their versatility. While the green monster look is classic, you can easily adapt this recipe to create a variety of fun and spooky **Halloween treats**. Don’t be afraid to experiment and let your imagination run wild!
- **Flavorful Oreo Options:** Don’t limit yourself to classic Oreos. Explore other delicious flavors like peanut butter Oreos, mint Oreos for a “minty monster” truffle, or even seasonal varieties like pumpkin spice for a unique twist. Any crunchy cookie can also be substituted.
- **Extract Enhancements:** Boost the flavor profile by adding a few drops of different extracts to your Oreo mixture. Mint extract, almond extract, or even a hint of orange extract can create delightful new taste sensations.
- **Color Play with Melting Chocolate:** While green is traditional for Frankenstein, you can totally change the aesthetic by using other colors of melting chocolate. Orange, purple, white, or even black chocolate melts can turn these into ghosts, vampires, or generic “monster balls.”
- **Diverse Decorations:** Get creative with your monster’s features! Instead of just sprinkles for hair, consider crushed chocolate cookies, shredded coconut (tinted green or black), or even small chocolate curls. For the eyes, if you don’t have candy eyes, use mini chocolate chips, piped white frosting with a dot of black, or even edible googly eyes.
- **Make Them Cake Pops:** For an even more party-friendly presentation, insert lollipop sticks into the chilled Oreo balls before dipping them in chocolate. This transforms them into “Frankenstein Oreo pops” that are easy for guests to grab and enjoy.
- **Add a Crunchy Twist:** Incorporate texture into your truffles by mixing in finely chopped nuts (like almonds or walnuts) or seeds (such as pumpkin seeds for a fall touch) into the Oreo and cream cheese mixture.
- **Fruity Surprises:** For a hint of fruitiness, finely chop dried fruit like cranberries or cherries and mix them into the truffle base. This adds a chewy element and a different flavor dimension.
Expert Tips for Perfect Frankenstein Oreo Balls
Achieving perfectly shaped and decorated **Halloween truffles** is easier than you think with these helpful tips. Follow these guidelines to ensure your Frankenstein creations are a howling success!
Crushing Your Oreos to Perfection
The key to a smooth truffle base is finely crushed Oreos. For the quickest and most consistent results, use a food processor. Pulse the cookies until they resemble fine crumbs with no large chunks remaining. If you don’t have a food processor, a heavy-duty Ziploc bag and a rolling pin work wonderfully. Place the Oreos in the bag, seal it, and roll the rolling pin over them repeatedly until they are reduced to fine crumbs. This step ensures a uniform texture in your Oreo balls.
Achieving Uniform Truffle Sizes with a Cookie Scoop
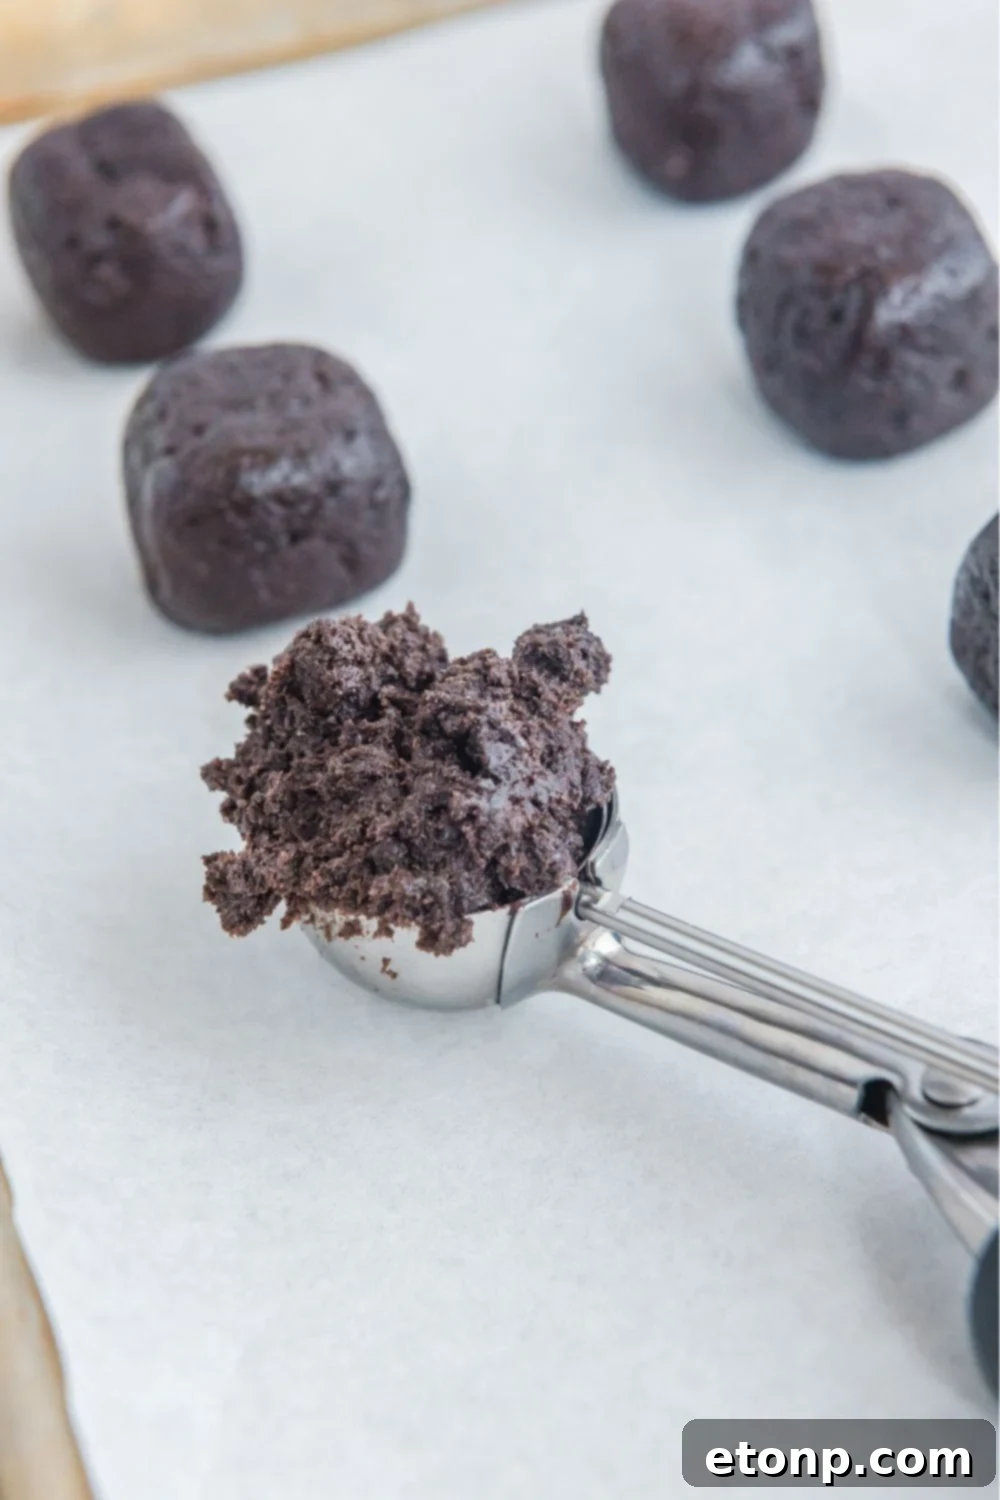
For professional-looking results and consistent cooking (or in this case, chilling) and dipping, use a cookie scoop to portion out the Oreo mixture. A 2-tablespoon cookie scoop is ideal for creating even-sized truffles. This helps ensure that all your Frankenstein monsters are uniform in size, making them visually appealing and easier to handle during the dipping and decorating stages.
Mastering the Melting Chocolate
Melting chocolate can be a delicate process. Always melt your candy wafers or chocolate in small heat increments. Use a microwave-safe bowl and heat on 50% power or defrost mode for short bursts (e.g., 30-60 seconds). Stir thoroughly between each heating cycle, even if the chocolate doesn’t look fully melted. This prevents the chocolate from burning, seizing (becoming thick and unworkable), or overheating. If your chocolate starts to harden while you’re dipping, simply reheat it in short bursts until it reaches a smooth, dippable consistency again.
Decorating One Truffle at a Time
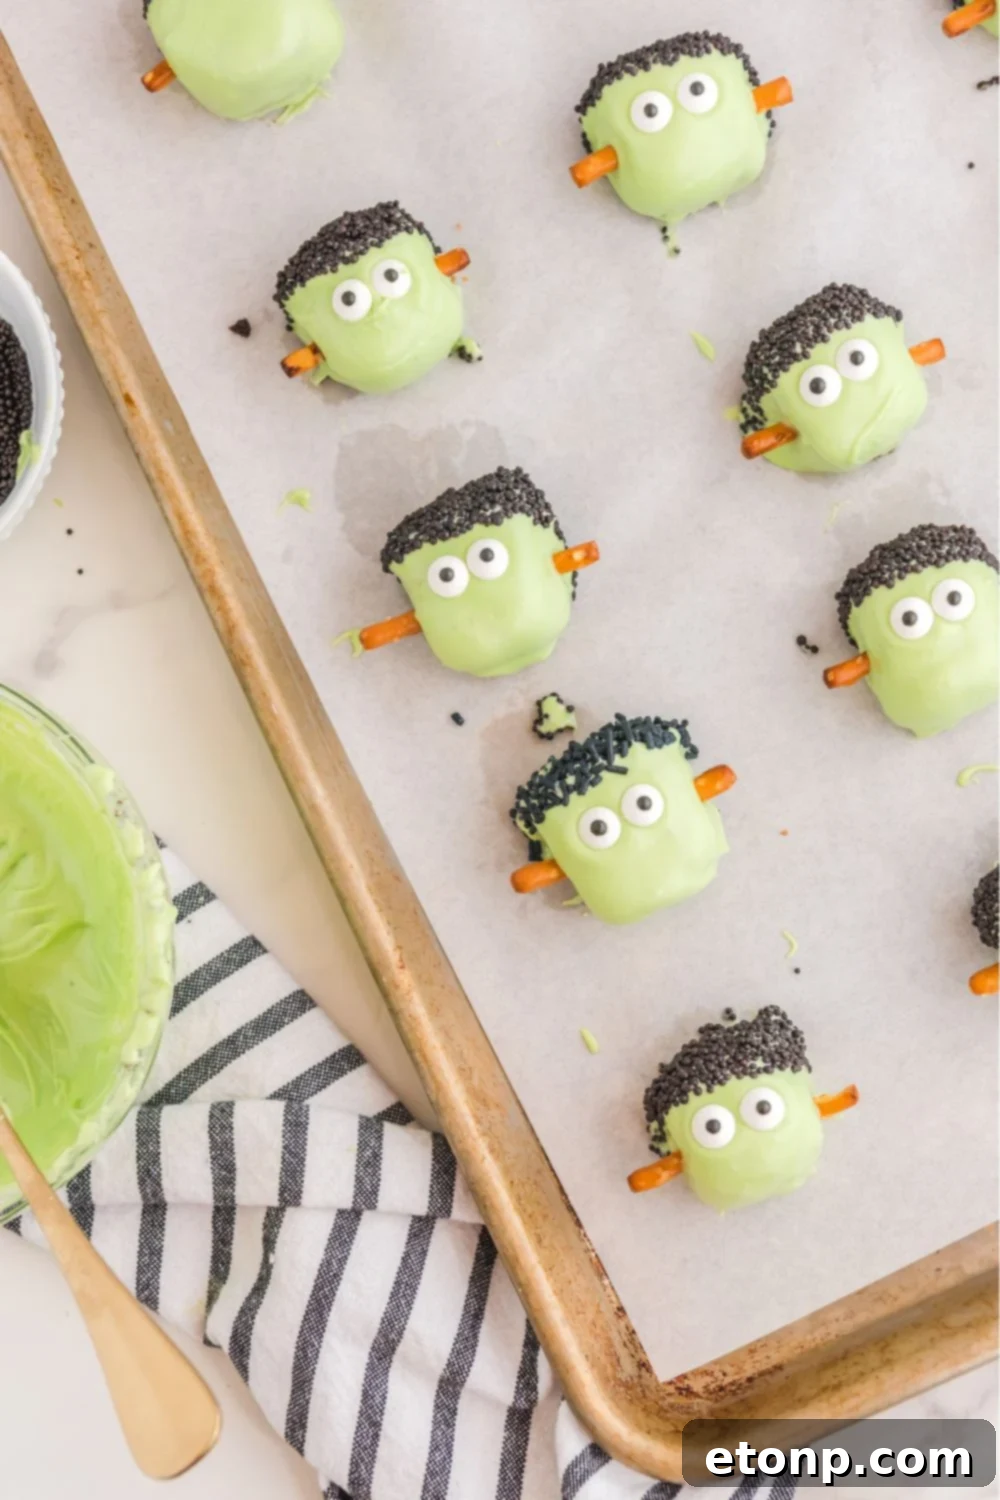
Once you’ve dipped your Oreo ball in the green chocolate, it’s crucial to decorate it immediately, one truffle at a time. The candy melt will begin to set quickly, especially if your truffles are well-chilled. If you wait too long, the chocolate will harden, and your sprinkles won’t adhere, nor will your pretzel “bolts” stay in place. Work efficiently, adding the hair, eyes, and pretzel sticks before moving on to the next one.
Removing Excess Chocolate for a Smooth Finish
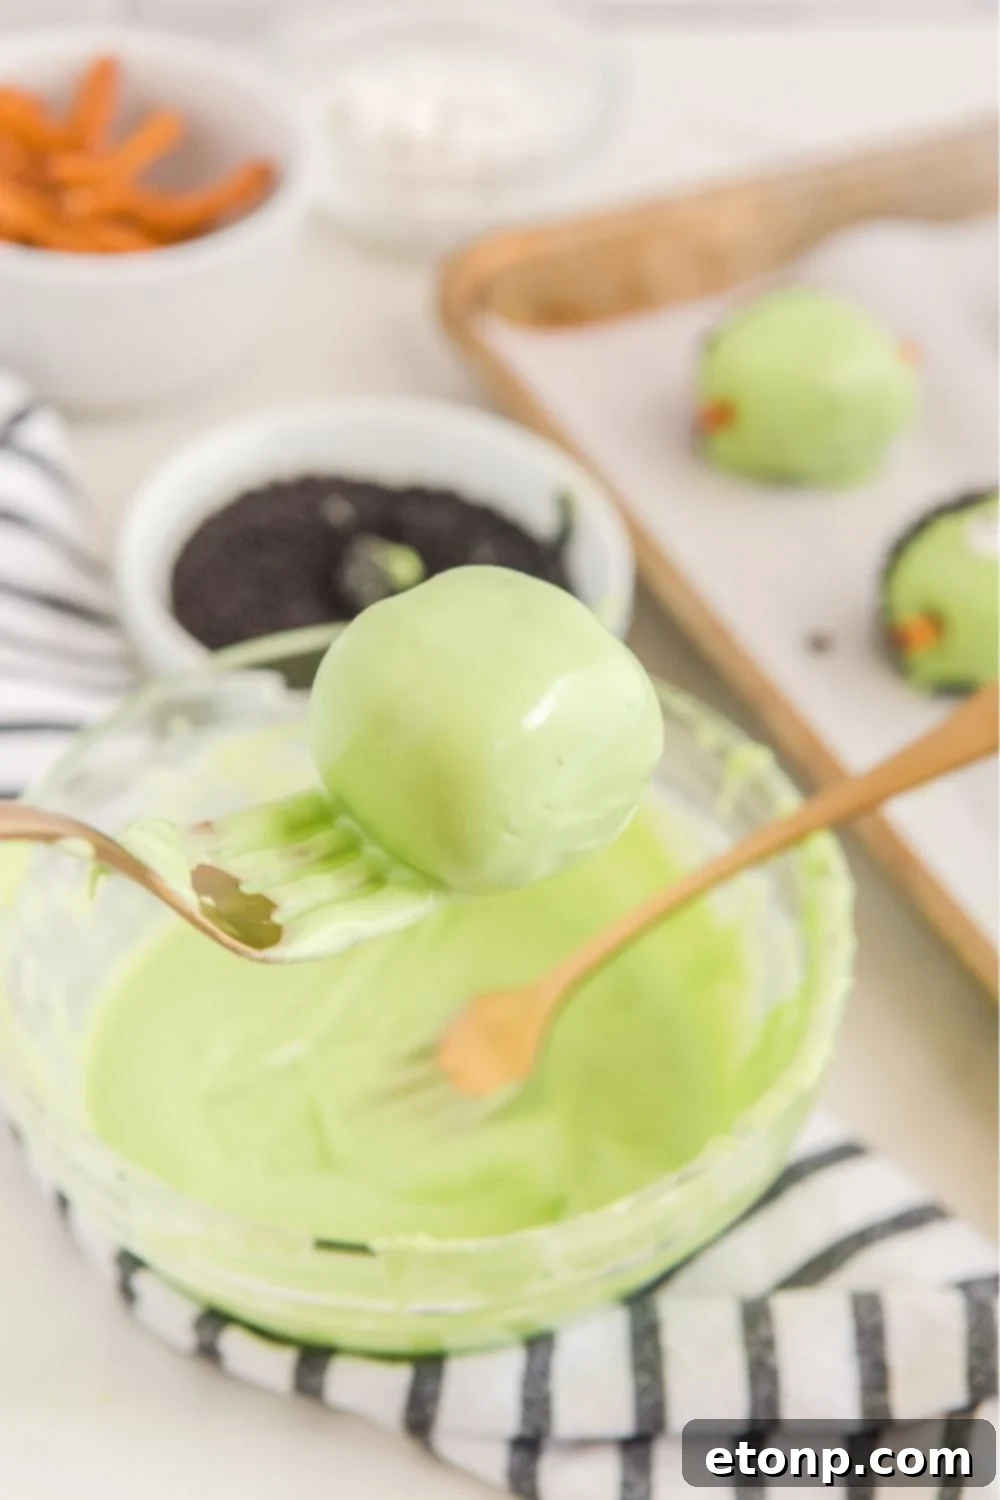
After dipping each Oreo truffle, gently tap off any excess chocolate. You can do this by lightly tapping the fork or dipping tool against the side of the bowl. Alternatively, gently sling the truffle from side to side. This prevents unsightly pools of hardened chocolate from forming at the bottom of your truffles when they set on the parchment paper. A clean dip means a cleaner, more professional-looking **Frankenstein Oreo ball**.

These delightful **no-bake Oreo balls** are the perfect addition to any Halloween party dessert table or a cozy family movie night. They’re simple enough for beginners but impressive enough to wow your guests!
Shaping Your Monsters
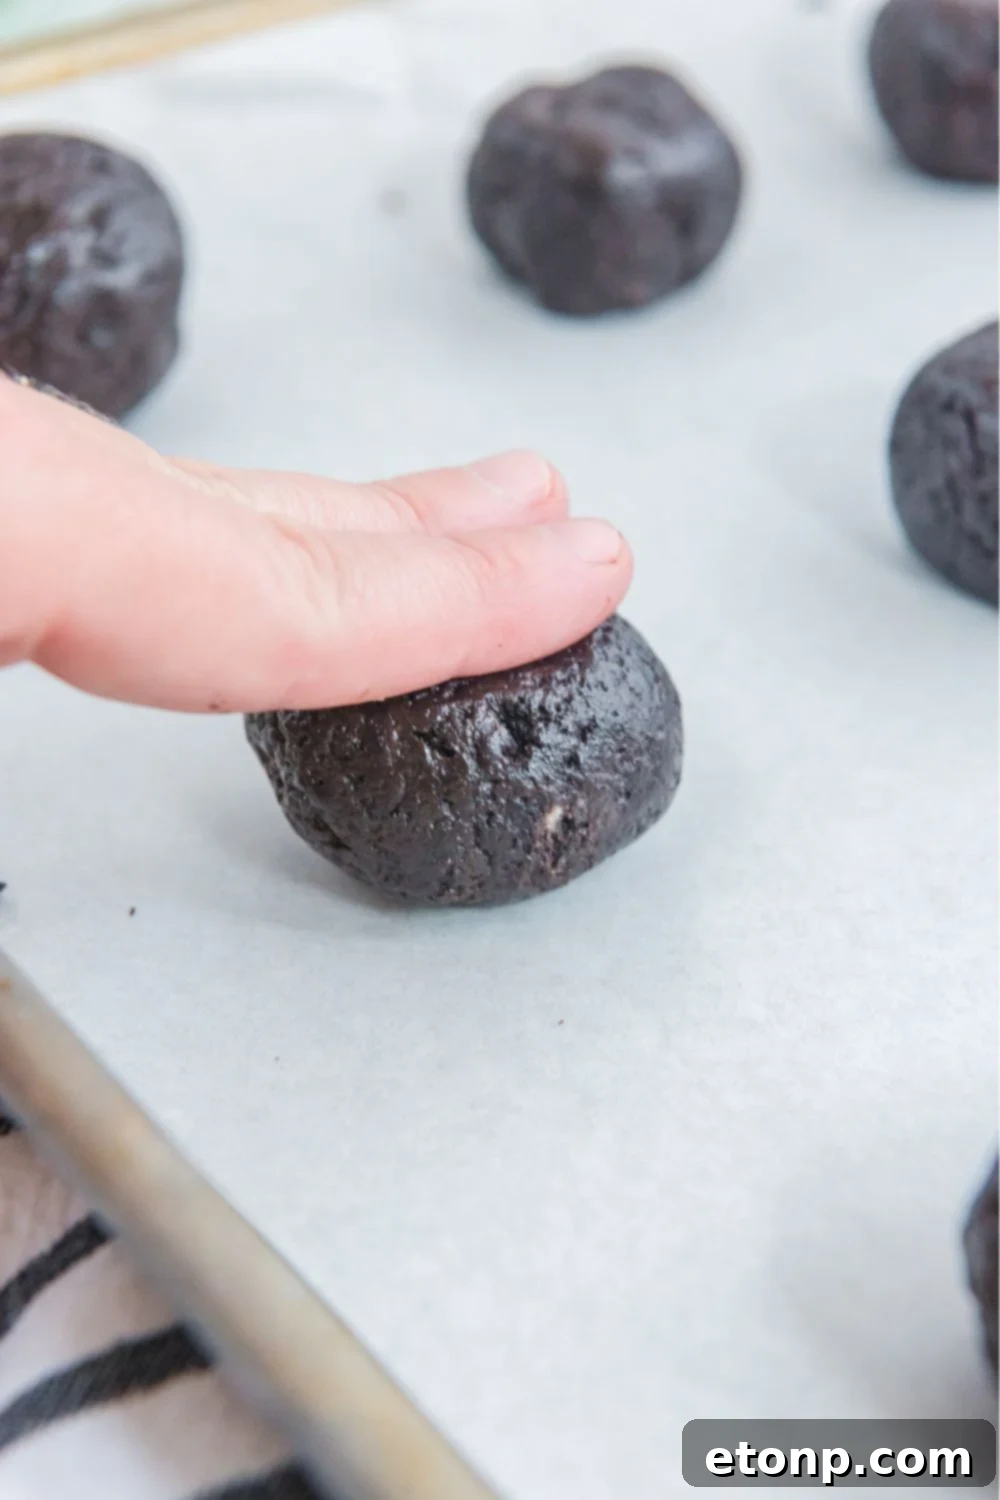
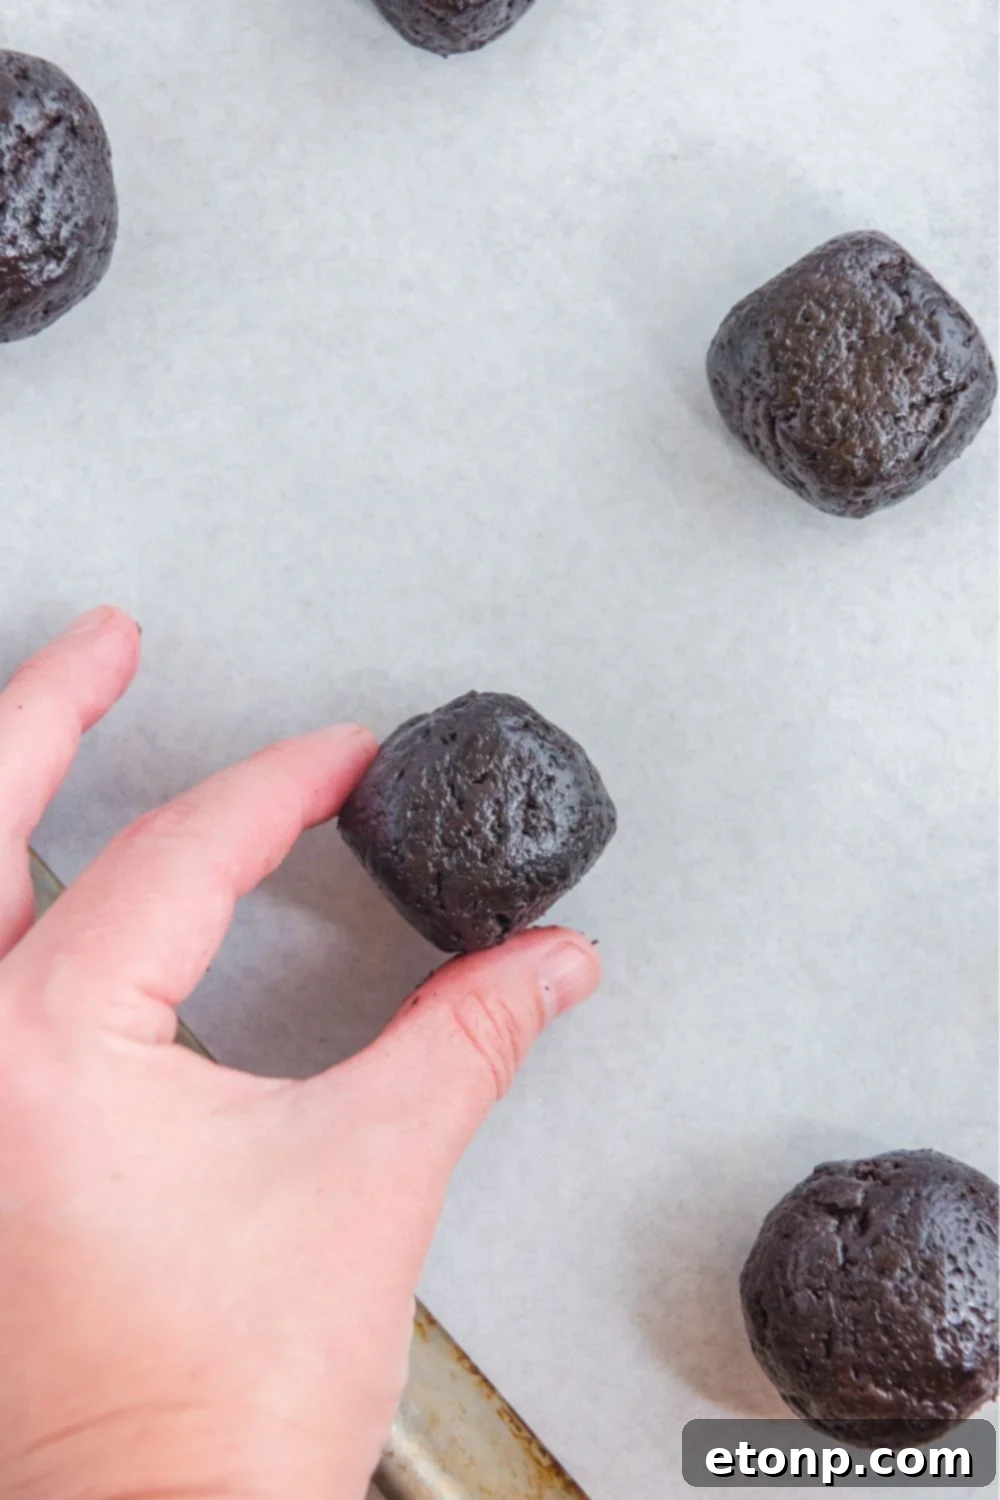
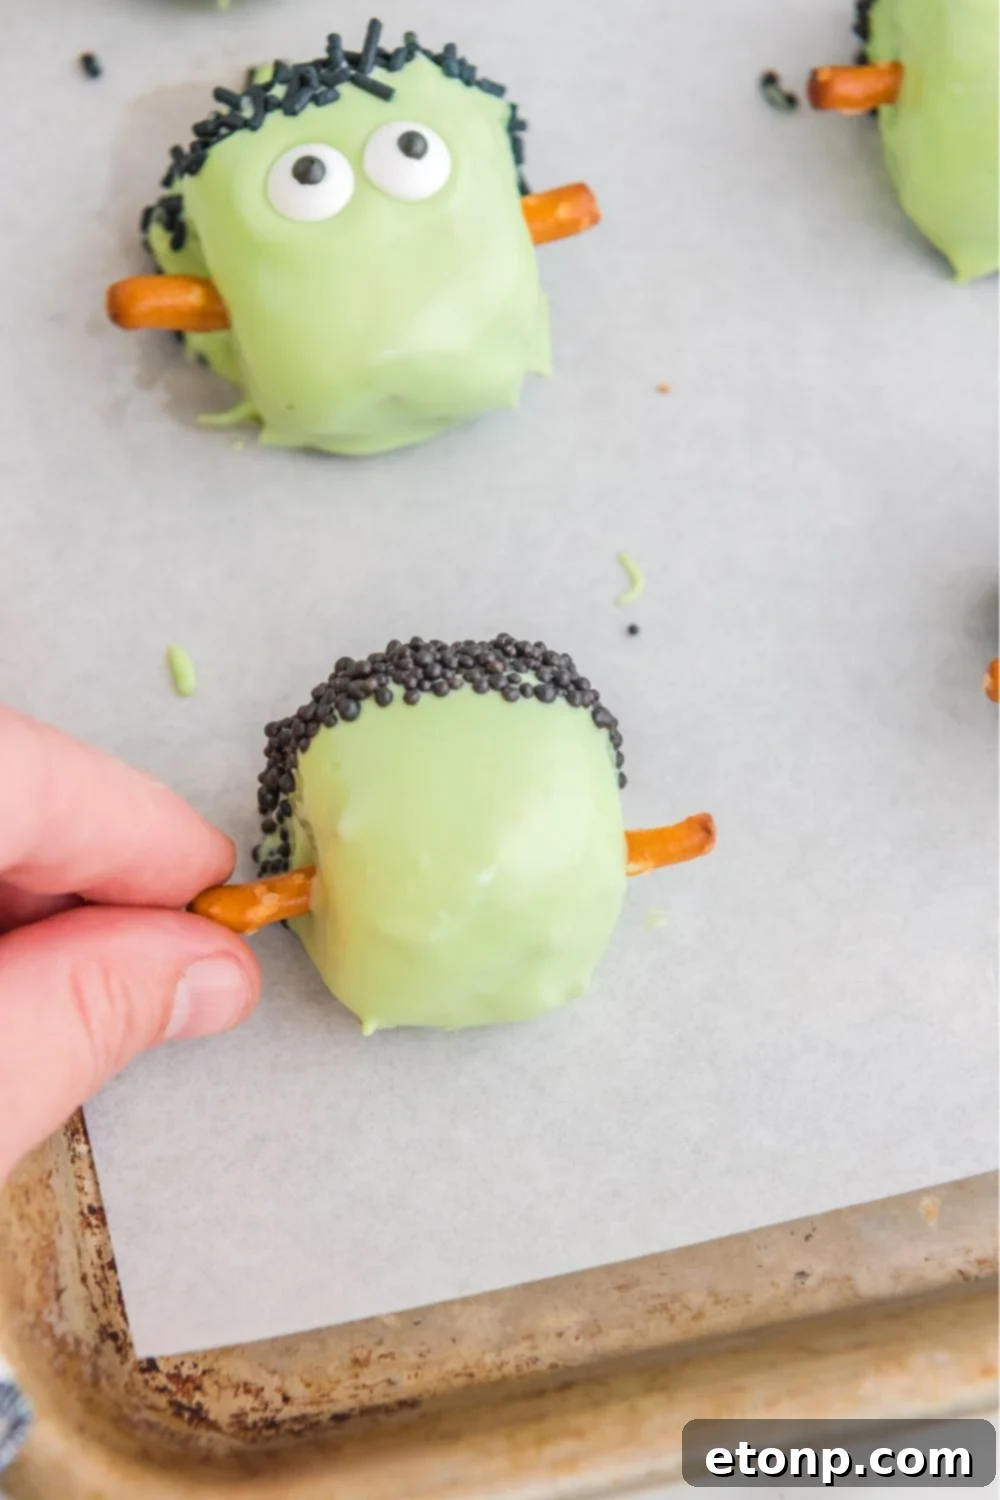
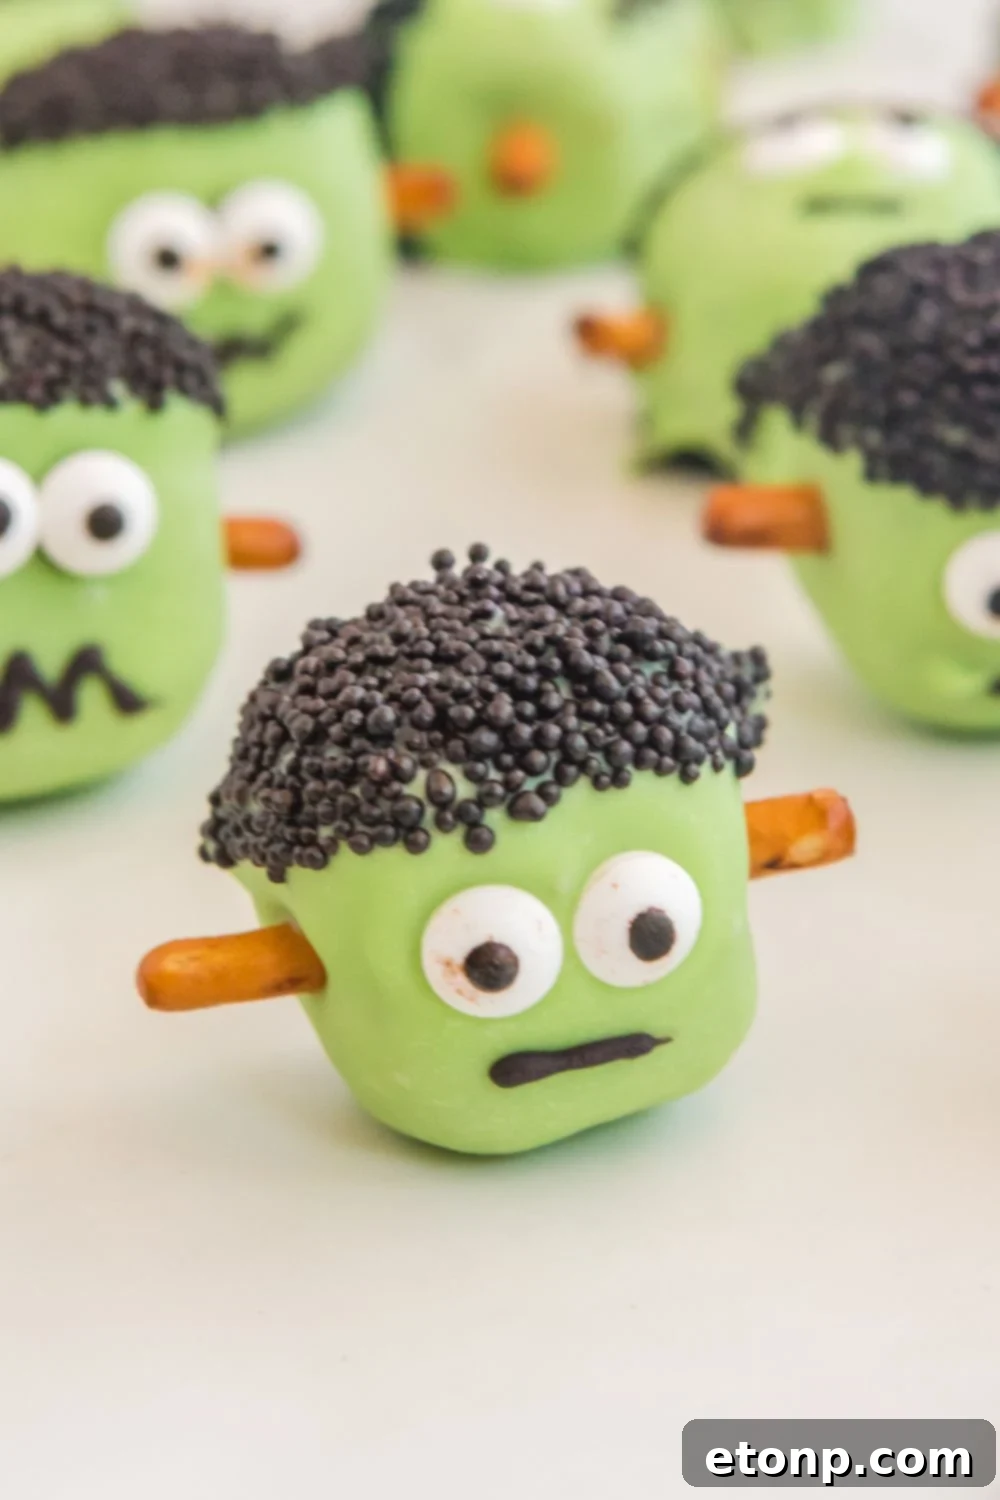
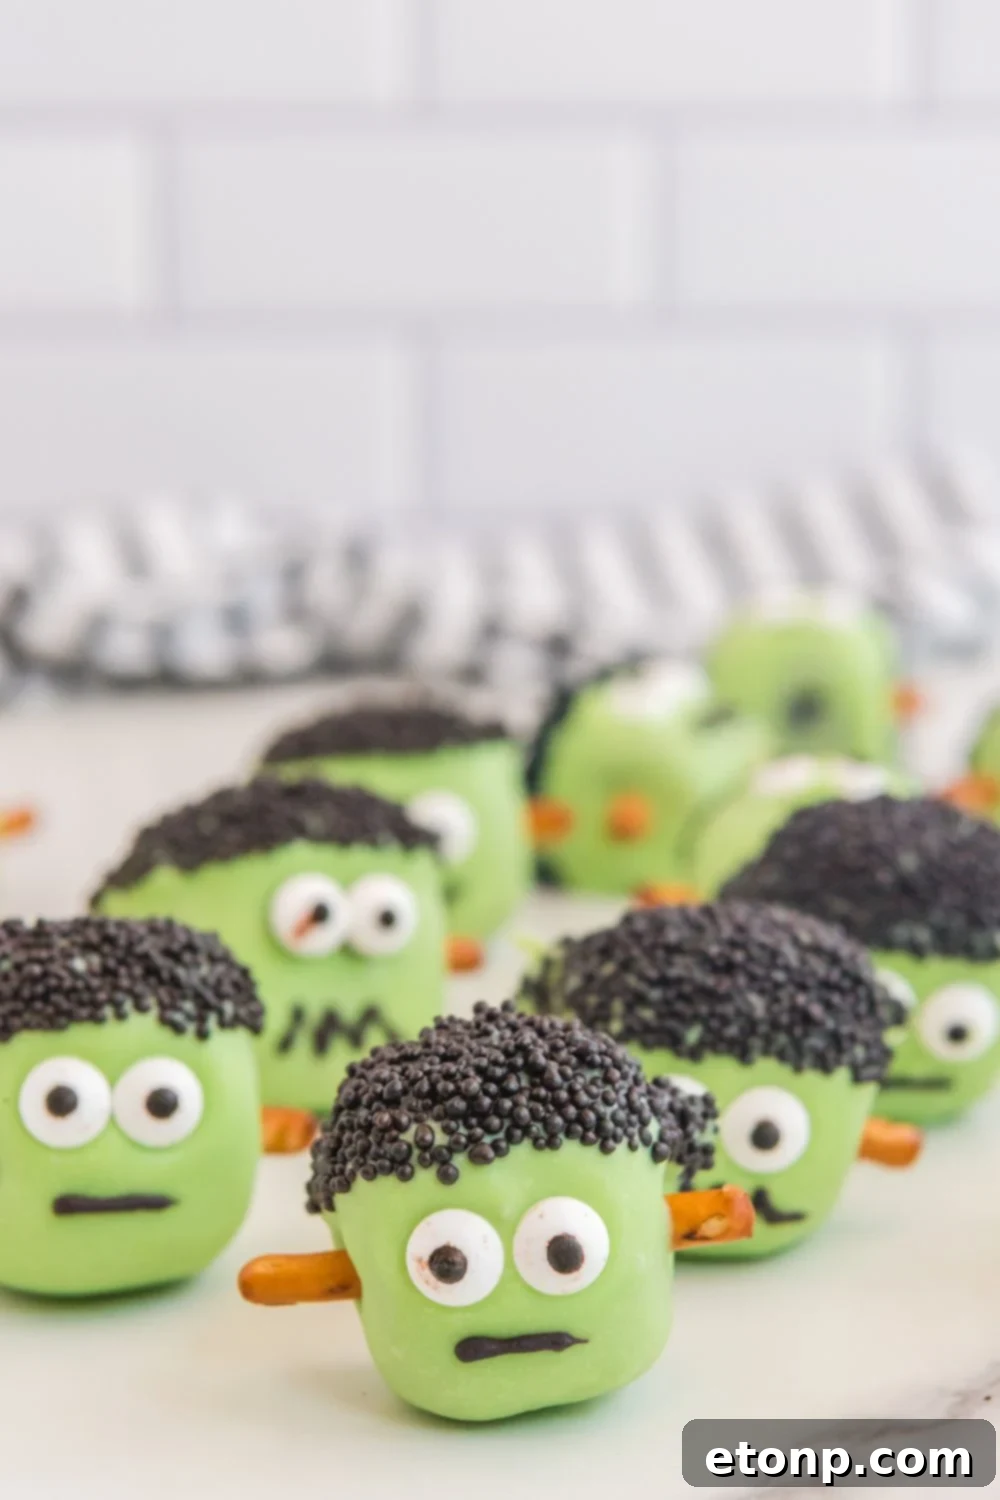
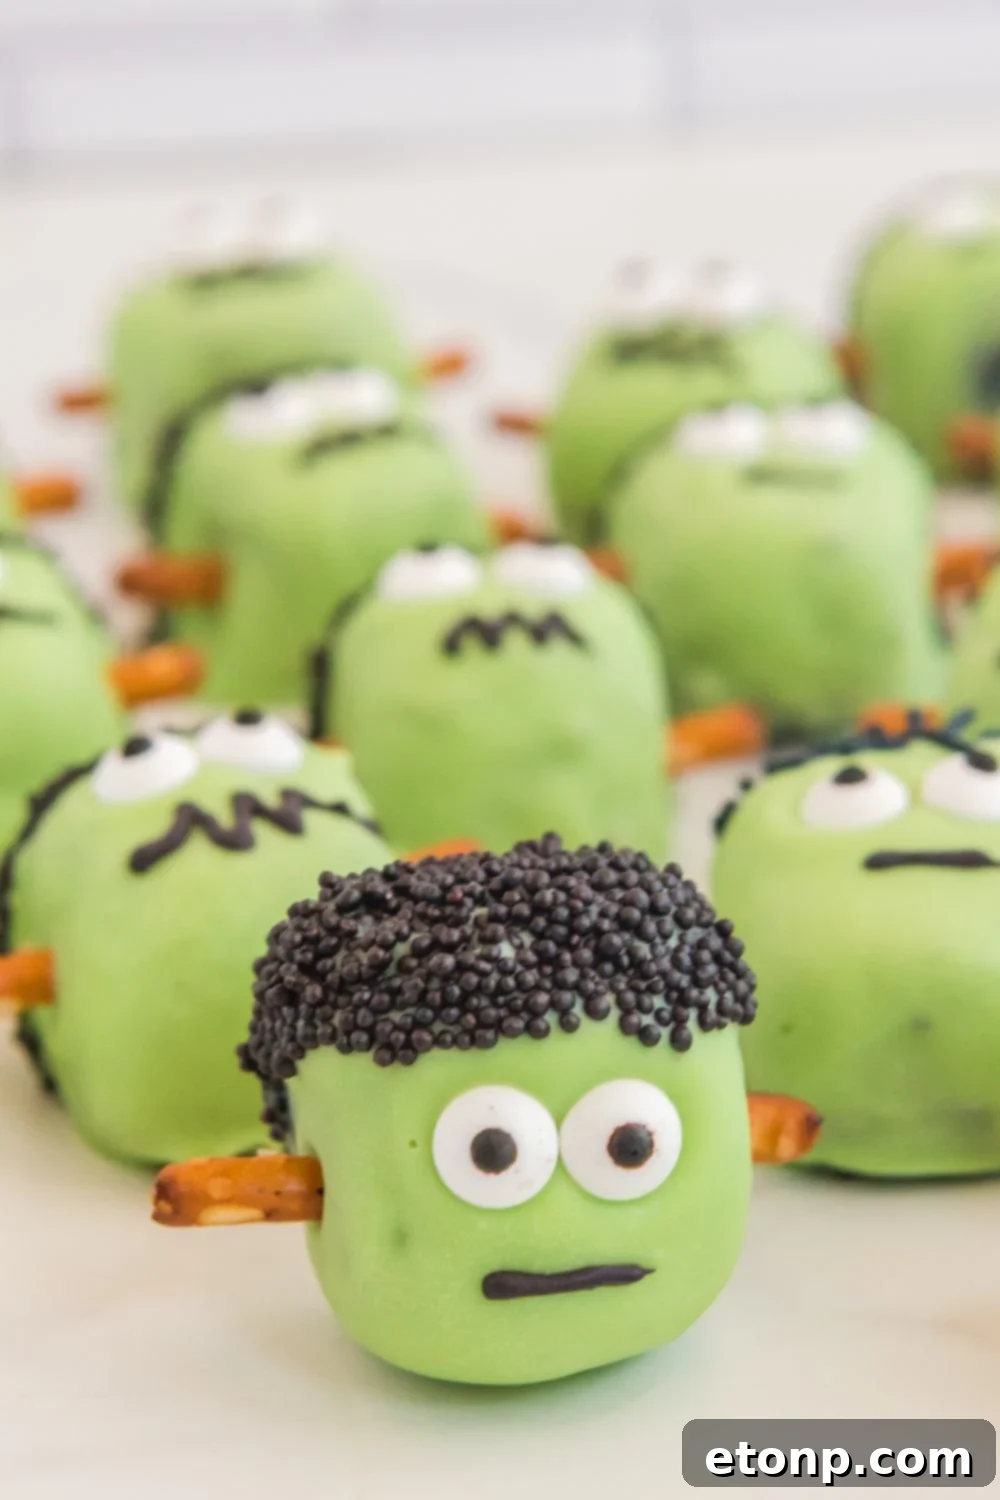
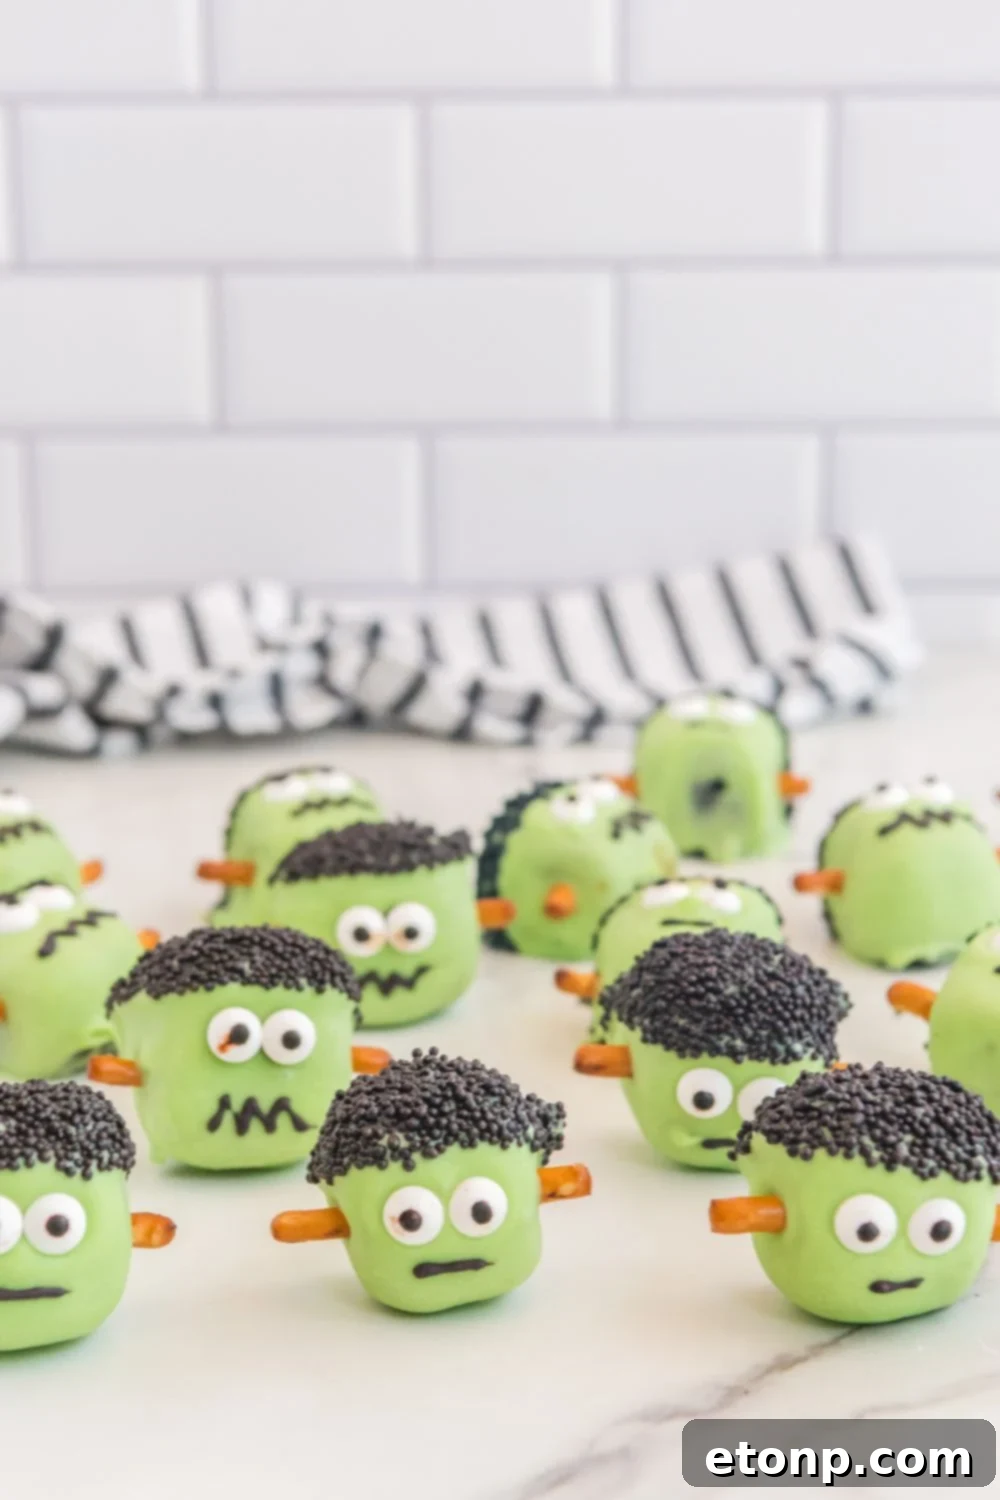
While classic Oreo balls are round, our Frankenstein monsters need a distinct square-ish head. After scooping, use the palms of your hands to form a round ball, then gently press each side with your fingers or palm to flatten it, creating a more angular, square shape. This slight modification makes them instantly recognizable as Frankenstein’s head, adding to their charm.
Allowing Proper Setting Time
Patience is a virtue, especially when working with melted chocolate. After decorating, allow your **Frankenstein Oreo bites** to chill in the refrigerator for at least 30 minutes, or until the chocolate is completely firm. Trying to move or store them before they are fully set can lead to smudges, drips, and a general mess. A perfectly set chocolate coating means your monsters are sturdy and ready for their debut.
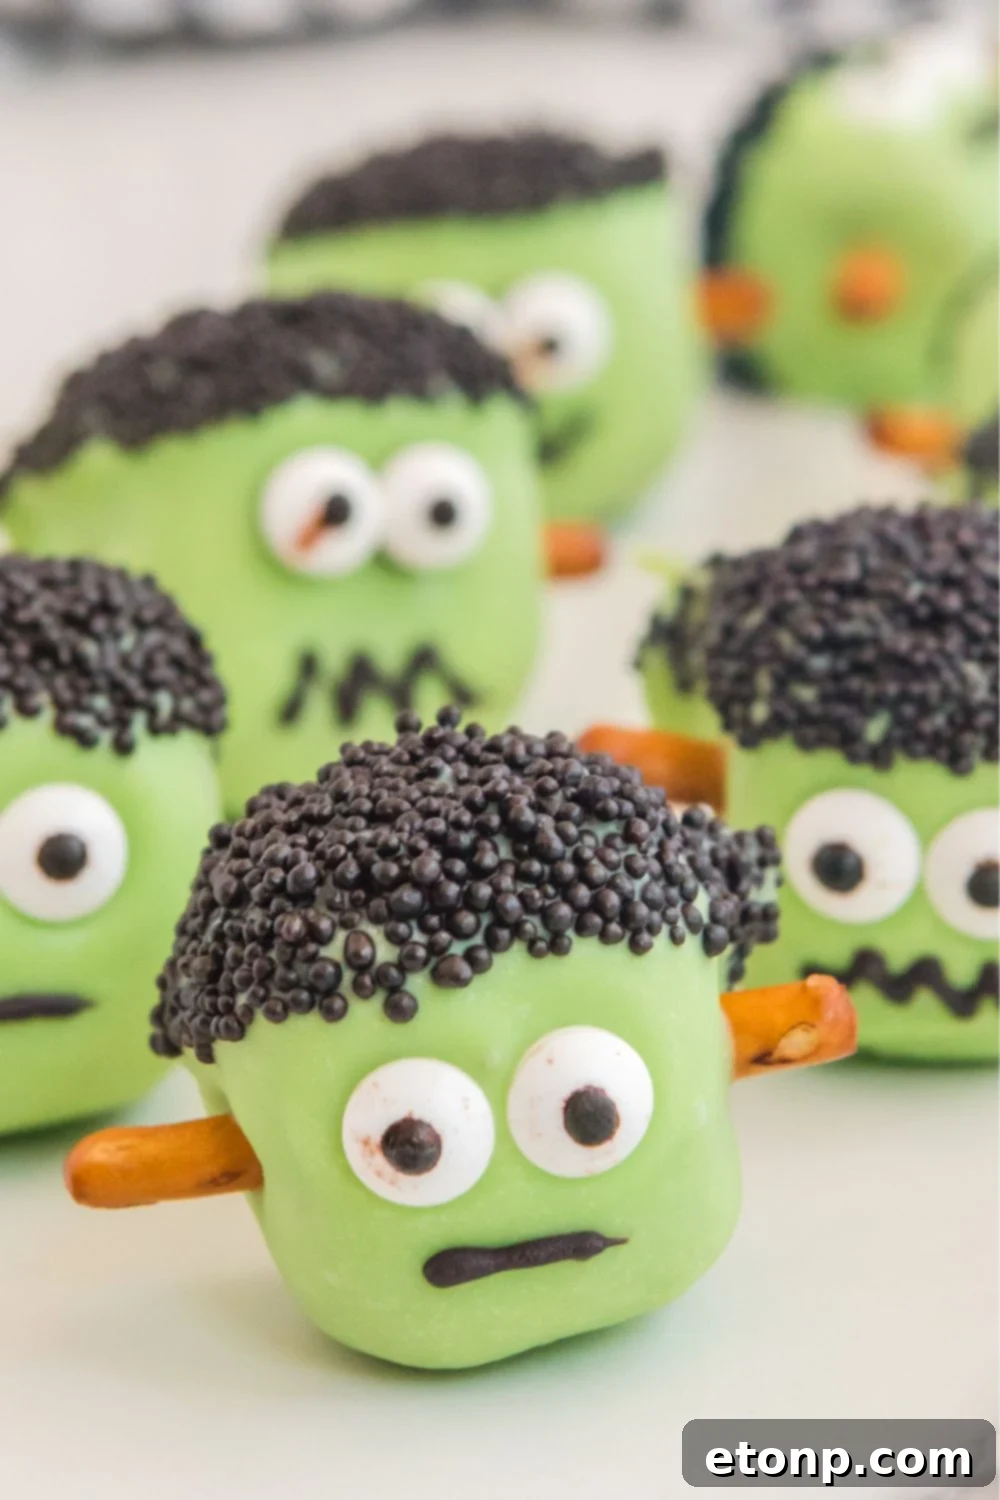
With Halloween right around the corner, there’s no better time to dive into making all sorts of fun and yummy treats! I absolutely love concocting charmingly spooky and festive confections to share during the exciting Halloween season. These **Frankenstein Oreo Balls** truly capture the spirit of playful Halloween fun.

Aren’t these little guys just incredibly cute? While Halloween is often associated with all things creepy and eerie, I simply couldn’t resist making a dessert that combines the spooky theme with an undeniable sense of charm. They prove that Halloween treats can be both festive and utterly adorable!
Storing Your Frankenstein Oreo Balls
Proper storage is essential to keep your **Frankenstein Oreo truffles** fresh and delicious, ready for snacking or serving. Thanks to the cream cheese, these treats require refrigeration.
- Refrigeration: Store your Frankenstein Oreo balls in an airtight container in the refrigerator. To prevent them from sticking together or damaging their delicate decorations, arrange them in a single layer. If you need to stack them, place a sheet of parchment paper or wax paper between each layer. When properly stored in the fridge, these delightful treats will remain fresh for up to one week.
- Freezing: For longer storage, you can absolutely freeze these Oreo bites! Place the fully set truffles in an airtight freezer-safe container. They will keep well in the freezer for 3 to 5 months. When you’re ready to enjoy them, simply transfer them to the refrigerator to thaw for a few hours or overnight.
Frequently Asked Questions About Frankenstein Oreo Balls
Do Oreo balls need to be refrigerated?
Yes, due to the presence of cream cheese, **Oreo balls** do require refrigeration. Cream cheese is a dairy product that needs to be kept cold to prevent spoilage and maintain its texture. Storing them in the fridge ensures they stay fresh and safe to eat. For even longer shelf life, you can also freeze them.
Can I use flavored cream cheese?
Absolutely! Using flavored cream cheese is a fantastic way to introduce new flavor dimensions to your **Frankenstein Oreo balls**. Strawberry cream cheese could add a fruity sweetness, while a hint of blueberry or even a chocolate-flavored cream cheese could create an interesting twist. Just be mindful that flavored cream cheeses might alter the color of your truffle base slightly, but this can often be covered by the green chocolate coating.
Can I use other cookies instead of Oreos?
Indeed! While Oreos are classic, this recipe is adaptable to other types of cookies. Chocolate chip cookies, graham crackers, Biscoff cookies, or any other crunchy, crumbly cookie can be used as a substitute. Simply use the same amount (by weight or approximate cookie count) to replace the Oreos, ensuring you have enough finely crushed crumbs to mix with the cream cheese.
How do I dip Oreo balls without making a mess?
Dipping can be the trickiest part, but with the right technique, it’s manageable. Use two forks or specialized dipping tools. Gently place an Oreo ball into the melted green chocolate, ensuring it’s fully coated. Lift it out, then tap the fork gently against the side of the bowl to allow excess chocolate to drip off. This helps create a smooth, even coating and prevents thick “feet” of chocolate from forming at the bottom of your truffles when they set on the parchment paper. Work quickly and calmly!
Are Oreo balls suitable for kids to make?
These **no-bake Halloween treats** are absolutely perfect for making with kids! Children often love the hands-on aspects of crushing Oreos, rolling the balls, and especially decorating their unique Frankenstein monsters. For younger children, adult supervision is recommended for steps involving melting chocolate, but the decorating phase offers a wonderful opportunity for creative expression and family fun. It’s a fantastic way to get them involved in the kitchen during the Halloween season.
More Spook-tacular Halloween Ideas
If you’re looking for even more inspiration to make your Halloween celebrations unforgettable, check out these other festive recipes:
- Enchanting Halloween Cake
- Bewitching Hocus Pocus Margarita
- Creepy-Crawly Spider Web Pretzels
Frankenstein Oreo Balls
Ingredients
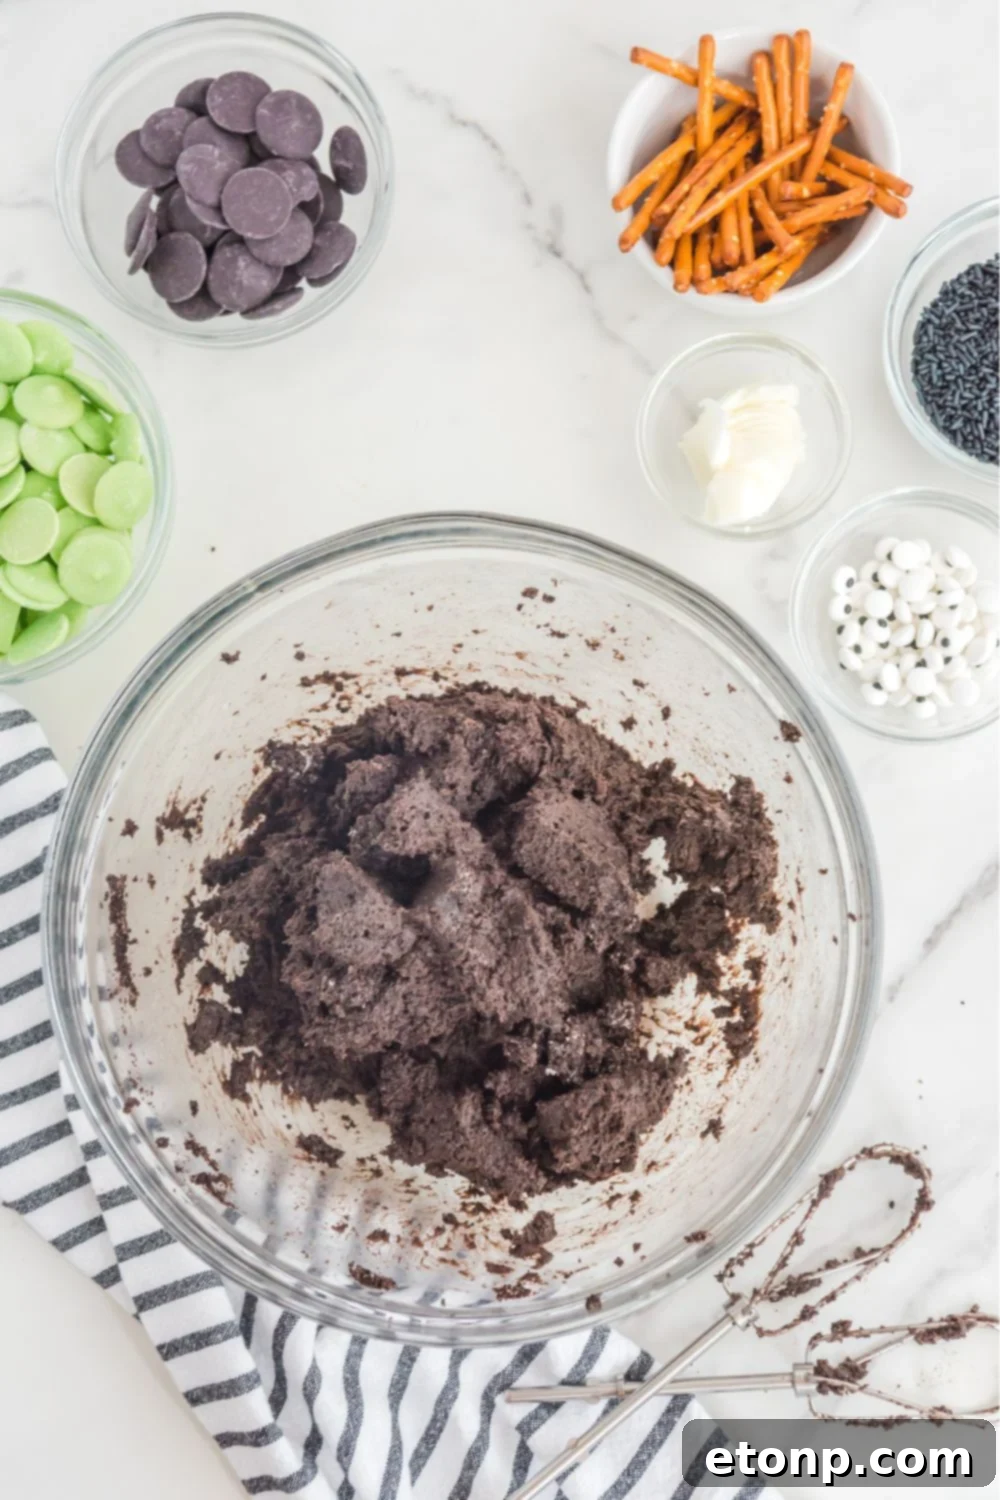
- 36 Oreos finely crushed
- 8 oz cream cheese softened at room temperature
- 1 teaspoon vanilla extract
- 2 cups light green melting wafers
- ½ cup black or dark chocolate melting wafers
- 1-½ tablespoons crisco shortening
- Black sprinkles long not round
- Pretzel sticks
- Small candy eyes
Instructions
-
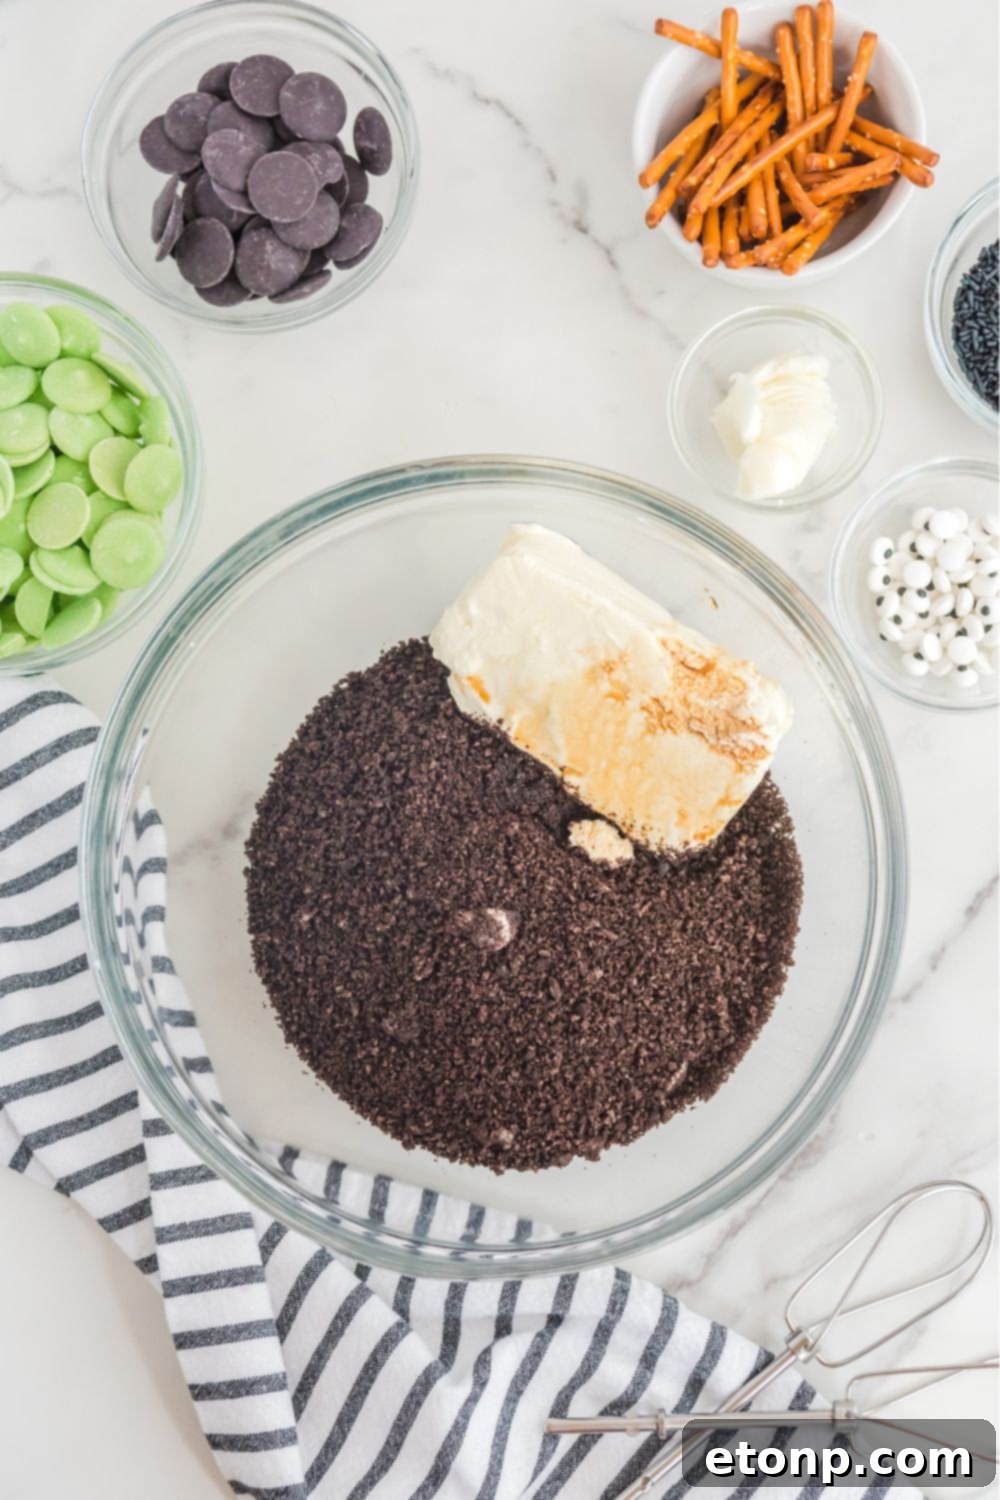
In a large mixing bowl, combine the finely crushed Oreos, softened cream cheese, and vanilla extract. Use an electric hand mixer or stand mixer to mix for 1-2 minutes until all ingredients are thoroughly combined and a uniform, dough-like mixture is formed. The mixture should be thick enough to hold its shape.
-
Prepare a large baking sheet with parchment paper. Using a 2-tablespoon cookie scoop, portion out the Oreo mixture. Roll each scoop into an even, smooth, round ball using the palms of your hands. Place each ball on the prepared cookie sheet. Next, gently use your fingers or palm to press down on the top of each Oreo ball to create a flat surface. Flip the ball and repeat this flattening process on all four sides until you achieve a distinct square shape, reminiscent of Frankenstein’s head.
-
Transfer the cookie sheet with the shaped Oreo balls into the refrigerator. Allow them to chill for at least 2 hours. This chilling time is essential for the balls to firm up, making them easier to dip and ensuring they hold their shape during the coating process.
-
Towards the end of the chilling period, begin preparing your light green melting wafers. Place the wafers in a microwave-safe bowl and heat on 50% power or defrost mode for 1 minute. Remove and stir well with a fork. Add 1 tablespoon of Crisco shortening at this stage (it helps create a smoother, glossier coating). Return to the microwave for additional 30-second bursts, stirring thoroughly after each interval, until the chocolate is completely smooth, silky, and has the consistency of a pourable dressing.
-
Once the green chocolate is ready and the Oreo balls are firm, begin dipping. Using two forks or specialized dipping tools, carefully submerge each chilled Oreo ball into the melted green chocolate, ensuring it’s completely coated. Gently lift the ball out, tapping the forks against the side of the bowl or lightly shaking it from side to side to remove any excess chocolate. This prevents pooling and ensures a clean finish. Place the dipped ball back onto the parchment-lined cookie sheet.
-
Immediately after dipping each ball, while the chocolate is still wet, begin decorating. Dip one side of the square-shaped truffle into the black sprinkles to create Frankenstein’s “hair.” Then, add two candy eyes to the front face of each monster. Break off the rounded ends of your pretzel sticks into approximately 1-inch lengths and carefully press one into each side of Frankenstein’s head to form the bolts. Repeat this process for all Oreo bites. Once decorated, return the baking sheet to the refrigerator to allow the green chocolate to set completely.
-
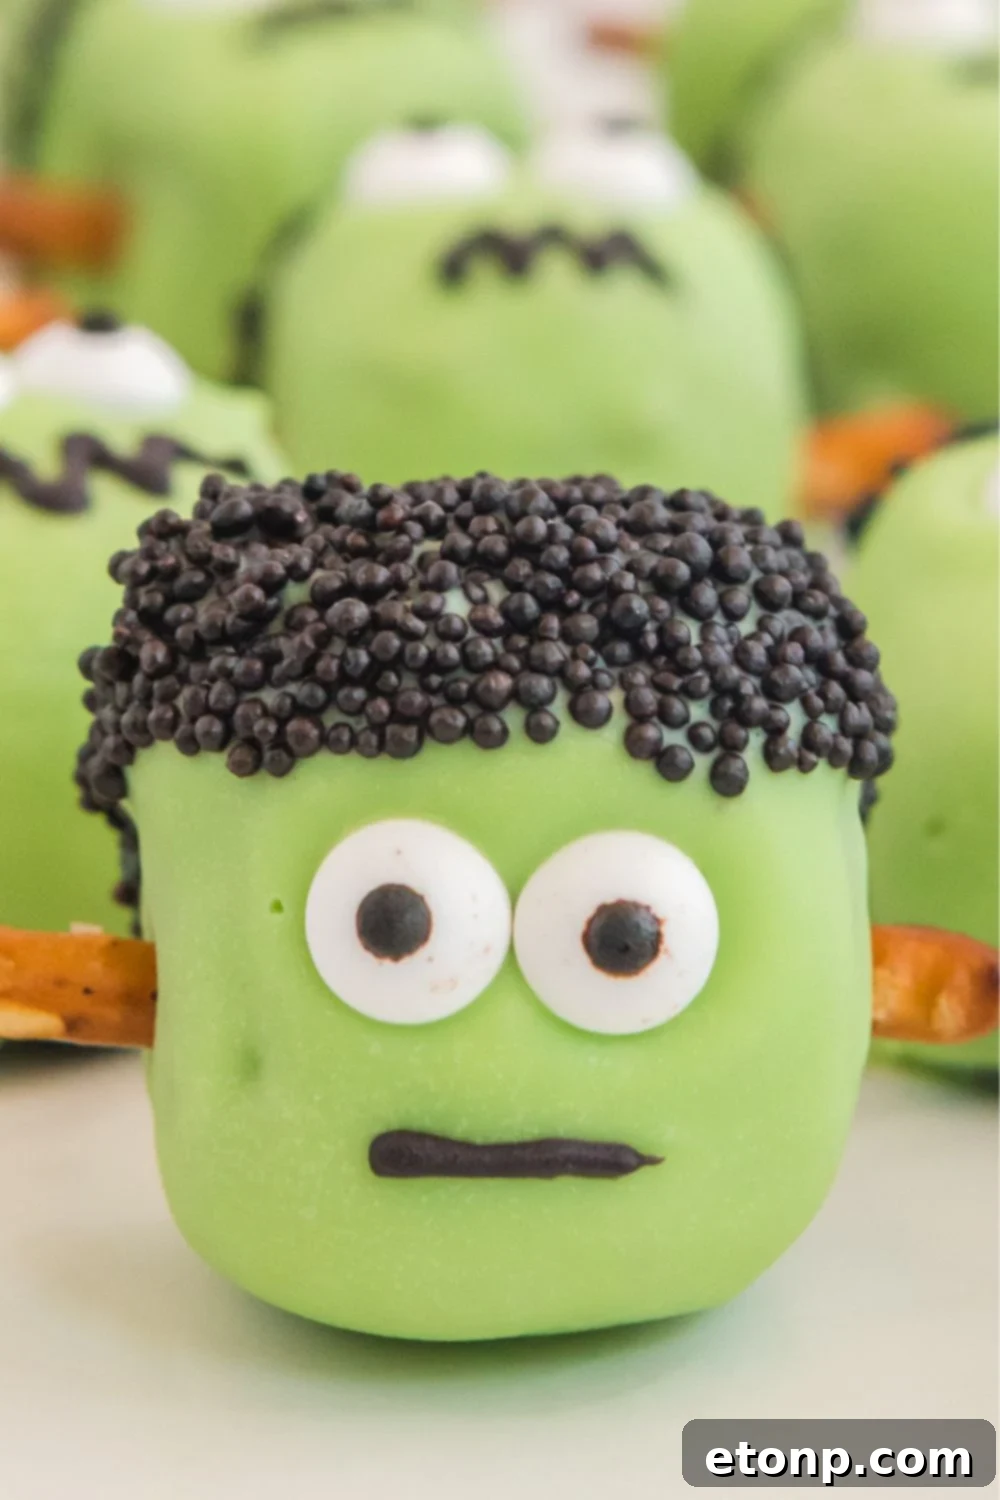
Once the green chocolate has set, prepare the black or dark chocolate melting wafers for detailing. Repeat step 4: place wafers in a microwave-safe bowl, heat in 30-second bursts (with the remaining ½ tablespoon of Crisco, if using), stirring between each, until smooth and melted. Transfer the melted chocolate into a small sandwich-size Ziploc bag. Press out any air before sealing the bag. Using scissors, snip the tiniest possible hole in one corner of the bag; this will create a makeshift piping bag for precise detailing.
-
Remove the baking sheet from the refrigerator. With your homemade piping bag, begin to pipe Frankenstein’s facial expressions onto each bite. You can create a classic straight mouth, a zig-zag scar, or even a spooky frown – let your creativity guide you!
-
Allow the finished Frankenstein bites to chill in the refrigerator for another 30 minutes to ensure the piped details set firmly before serving or storing.
Did you make this recipe?
Make sure to follow on Pinterest for more recipes!
Pin Recipe
Share on Facebook