
Irresistibly Easy: The Ultimate No-Bake Chocolate Oatmeal Bars Recipe
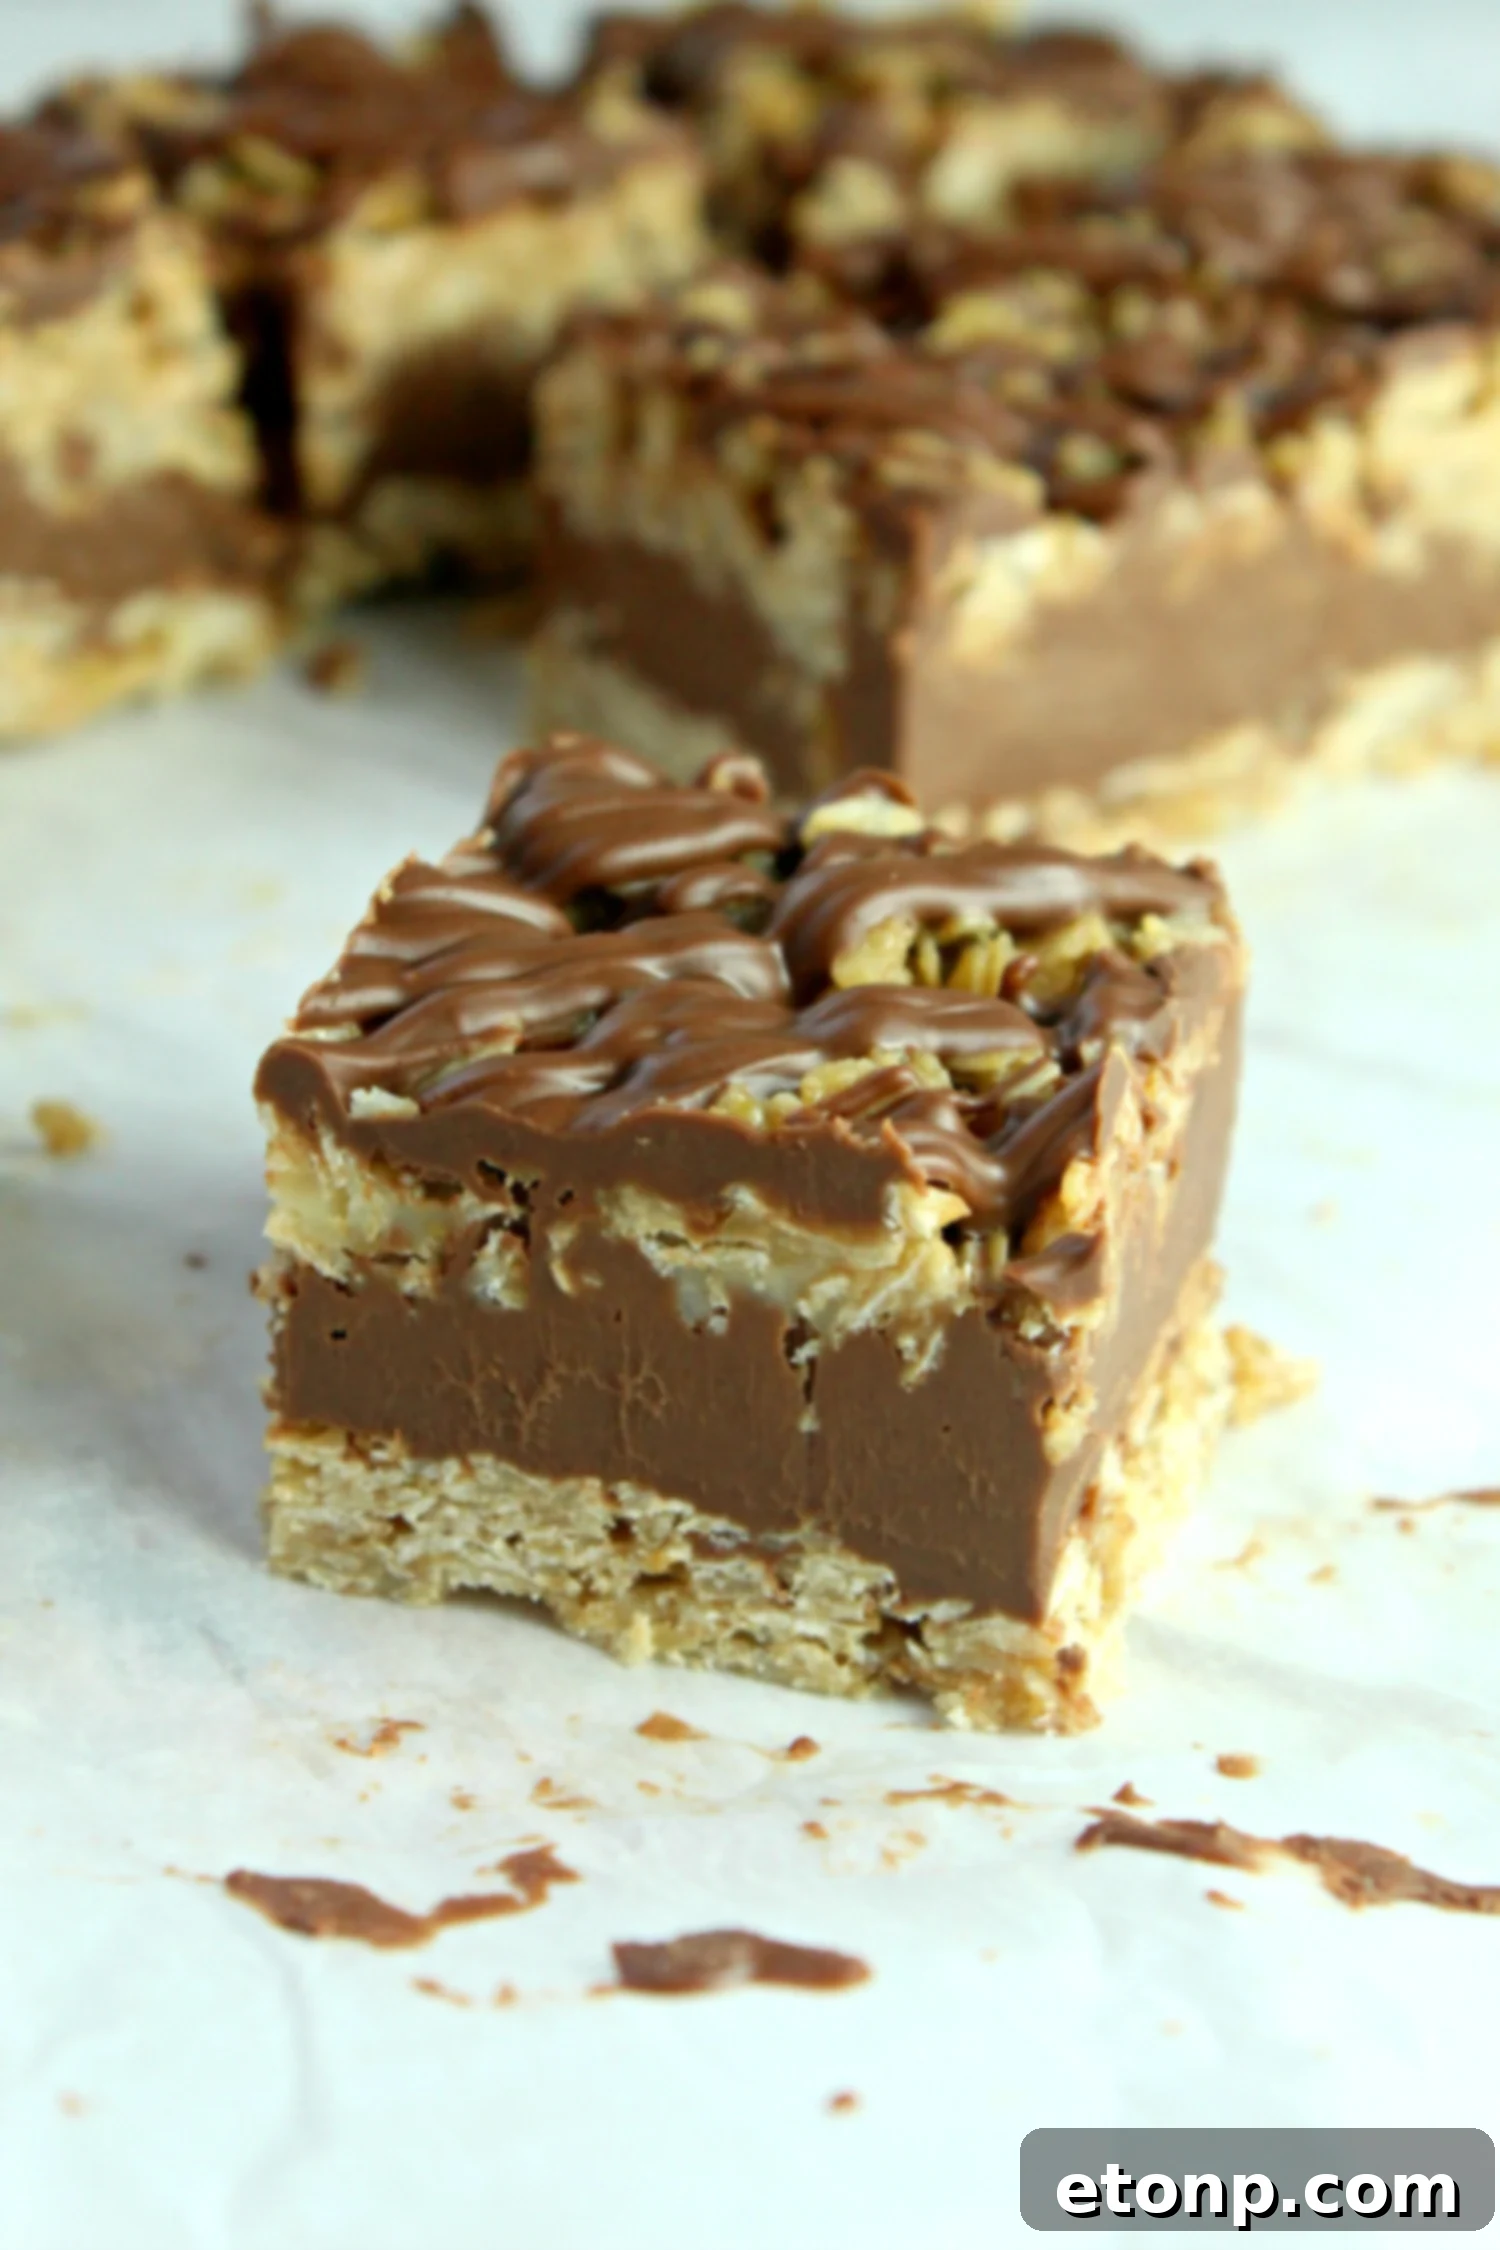
Prepare to be amazed by these No-Bake Chocolate Oatmeal Bars – a true kitchen marvel that is unbelievably easy to make and promises a melt-in-your-mouth delicious experience. If you’re searching for a dessert that delivers on flavor without demanding hours in the kitchen or oven space, your quest ends here. These bars are a perfect blend of convenience and indulgence, making them an instant favorite for any occasion.
Why You’ll Fall in Love with These No-Bake Oatmeal Bars
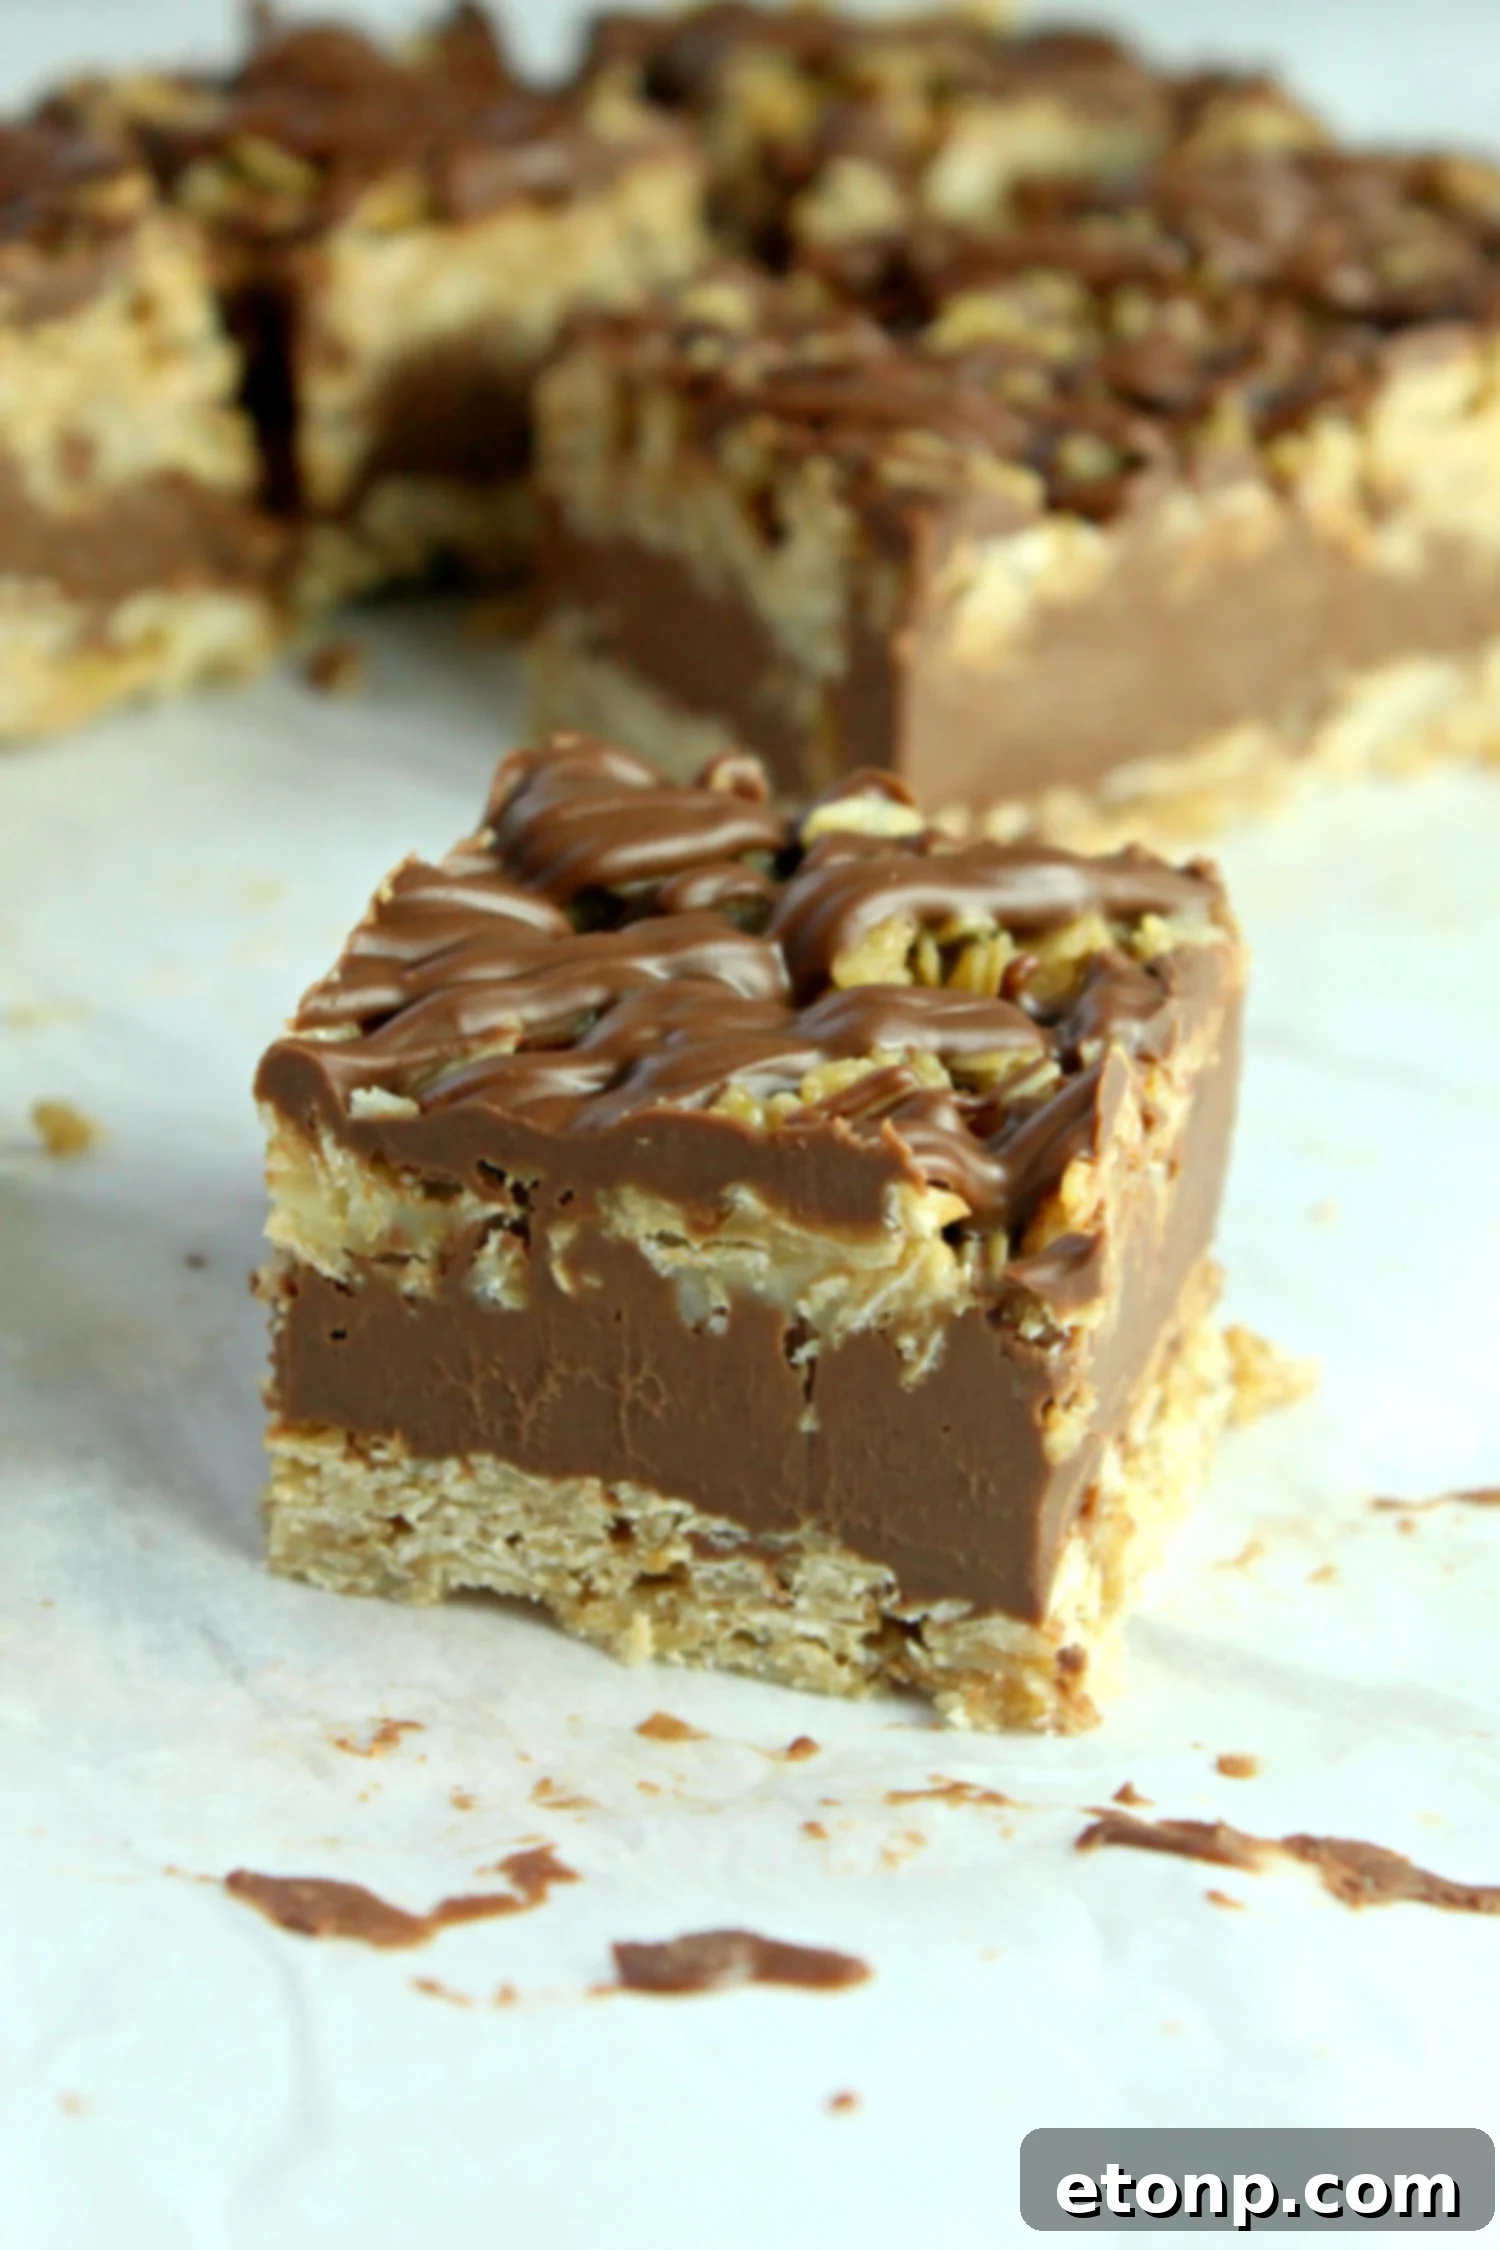
Beyond their effortless preparation, these bars are a sensory delight. They’re wonderfully thick, satisfyingly chewy, and boast a rich, dense perfection that makes every bite truly irresistible. Imagine a dessert that seamlessly blends the wholesome texture of oats with the luxurious taste of chocolate and creamy peanut butter – that’s precisely what these no-bake bars offer. They strike the perfect balance between a hearty treat and a decadent indulgence, creating a flavor profile that appeals to all ages.
The Ultimate Treat for Holidays, Potlucks, and Gifting
Whether you’re hosting a festive holiday gathering, contributing to a potluck, or looking for the ideal party snack, these no-bake chocolate oatmeal bars are a stellar choice. Their robust structure makes them easy to transport and serve, while their crowd-pleasing flavor ensures they’ll be devoured in no time. For those who love to share homemade goodness, these bars are my ultimate go-to for cookie trays and thoughtful gift-giving. Pack them in decorative boxes or arrange them on platters, and watch as they become the star of any spread. Plus, their impressive shelf life and ability to freeze well mean you can prepare them in advance, taking the stress out of last-minute preparations.
Dessert Made Easy: The Magic of No-Bake
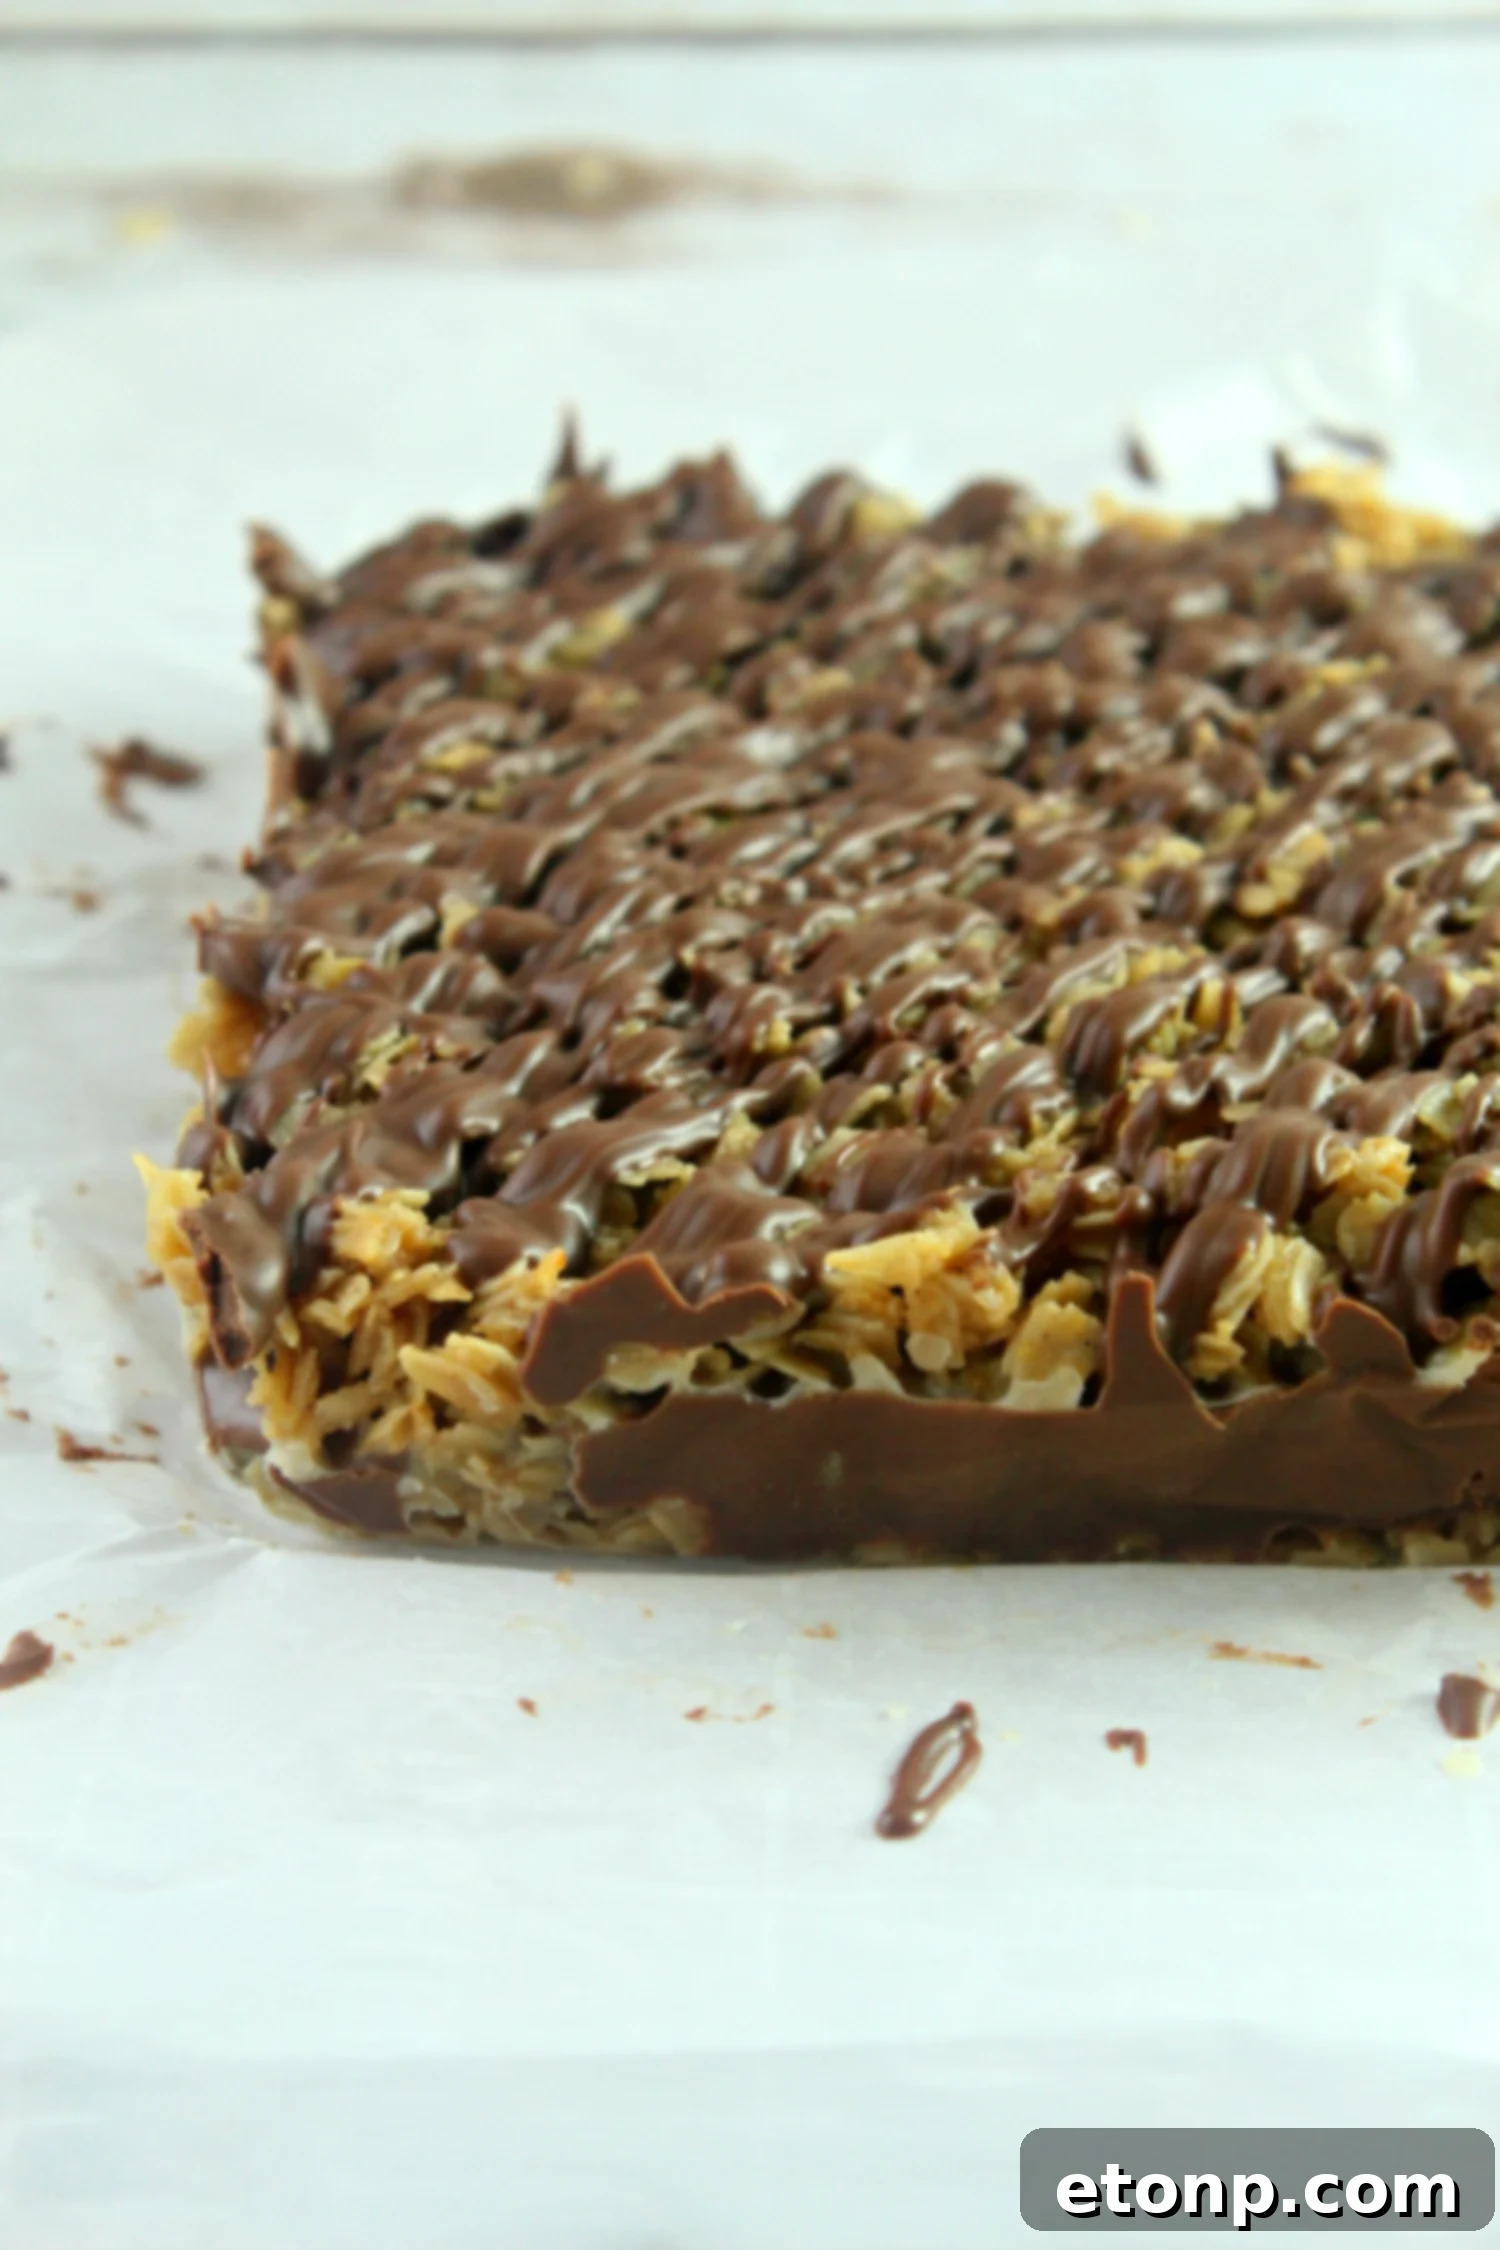
Who says dessert has to be difficult or monopolize your oven? These rich and dense bars redefine convenience. They’re a testament to the fact that incredibly delicious treats can come together with minimal fuss and no baking whatsoever. Opting for no-bake dessert bars is always the way to go when you want impressive results without the heat and hassle. This recipe is perfect for warm weather when turning on the oven is unthinkable, or during busy holiday seasons when oven space is a precious commodity. It’s a lifesaver for amateur bakers and seasoned pros alike, offering a foolproof path to dessert perfection.
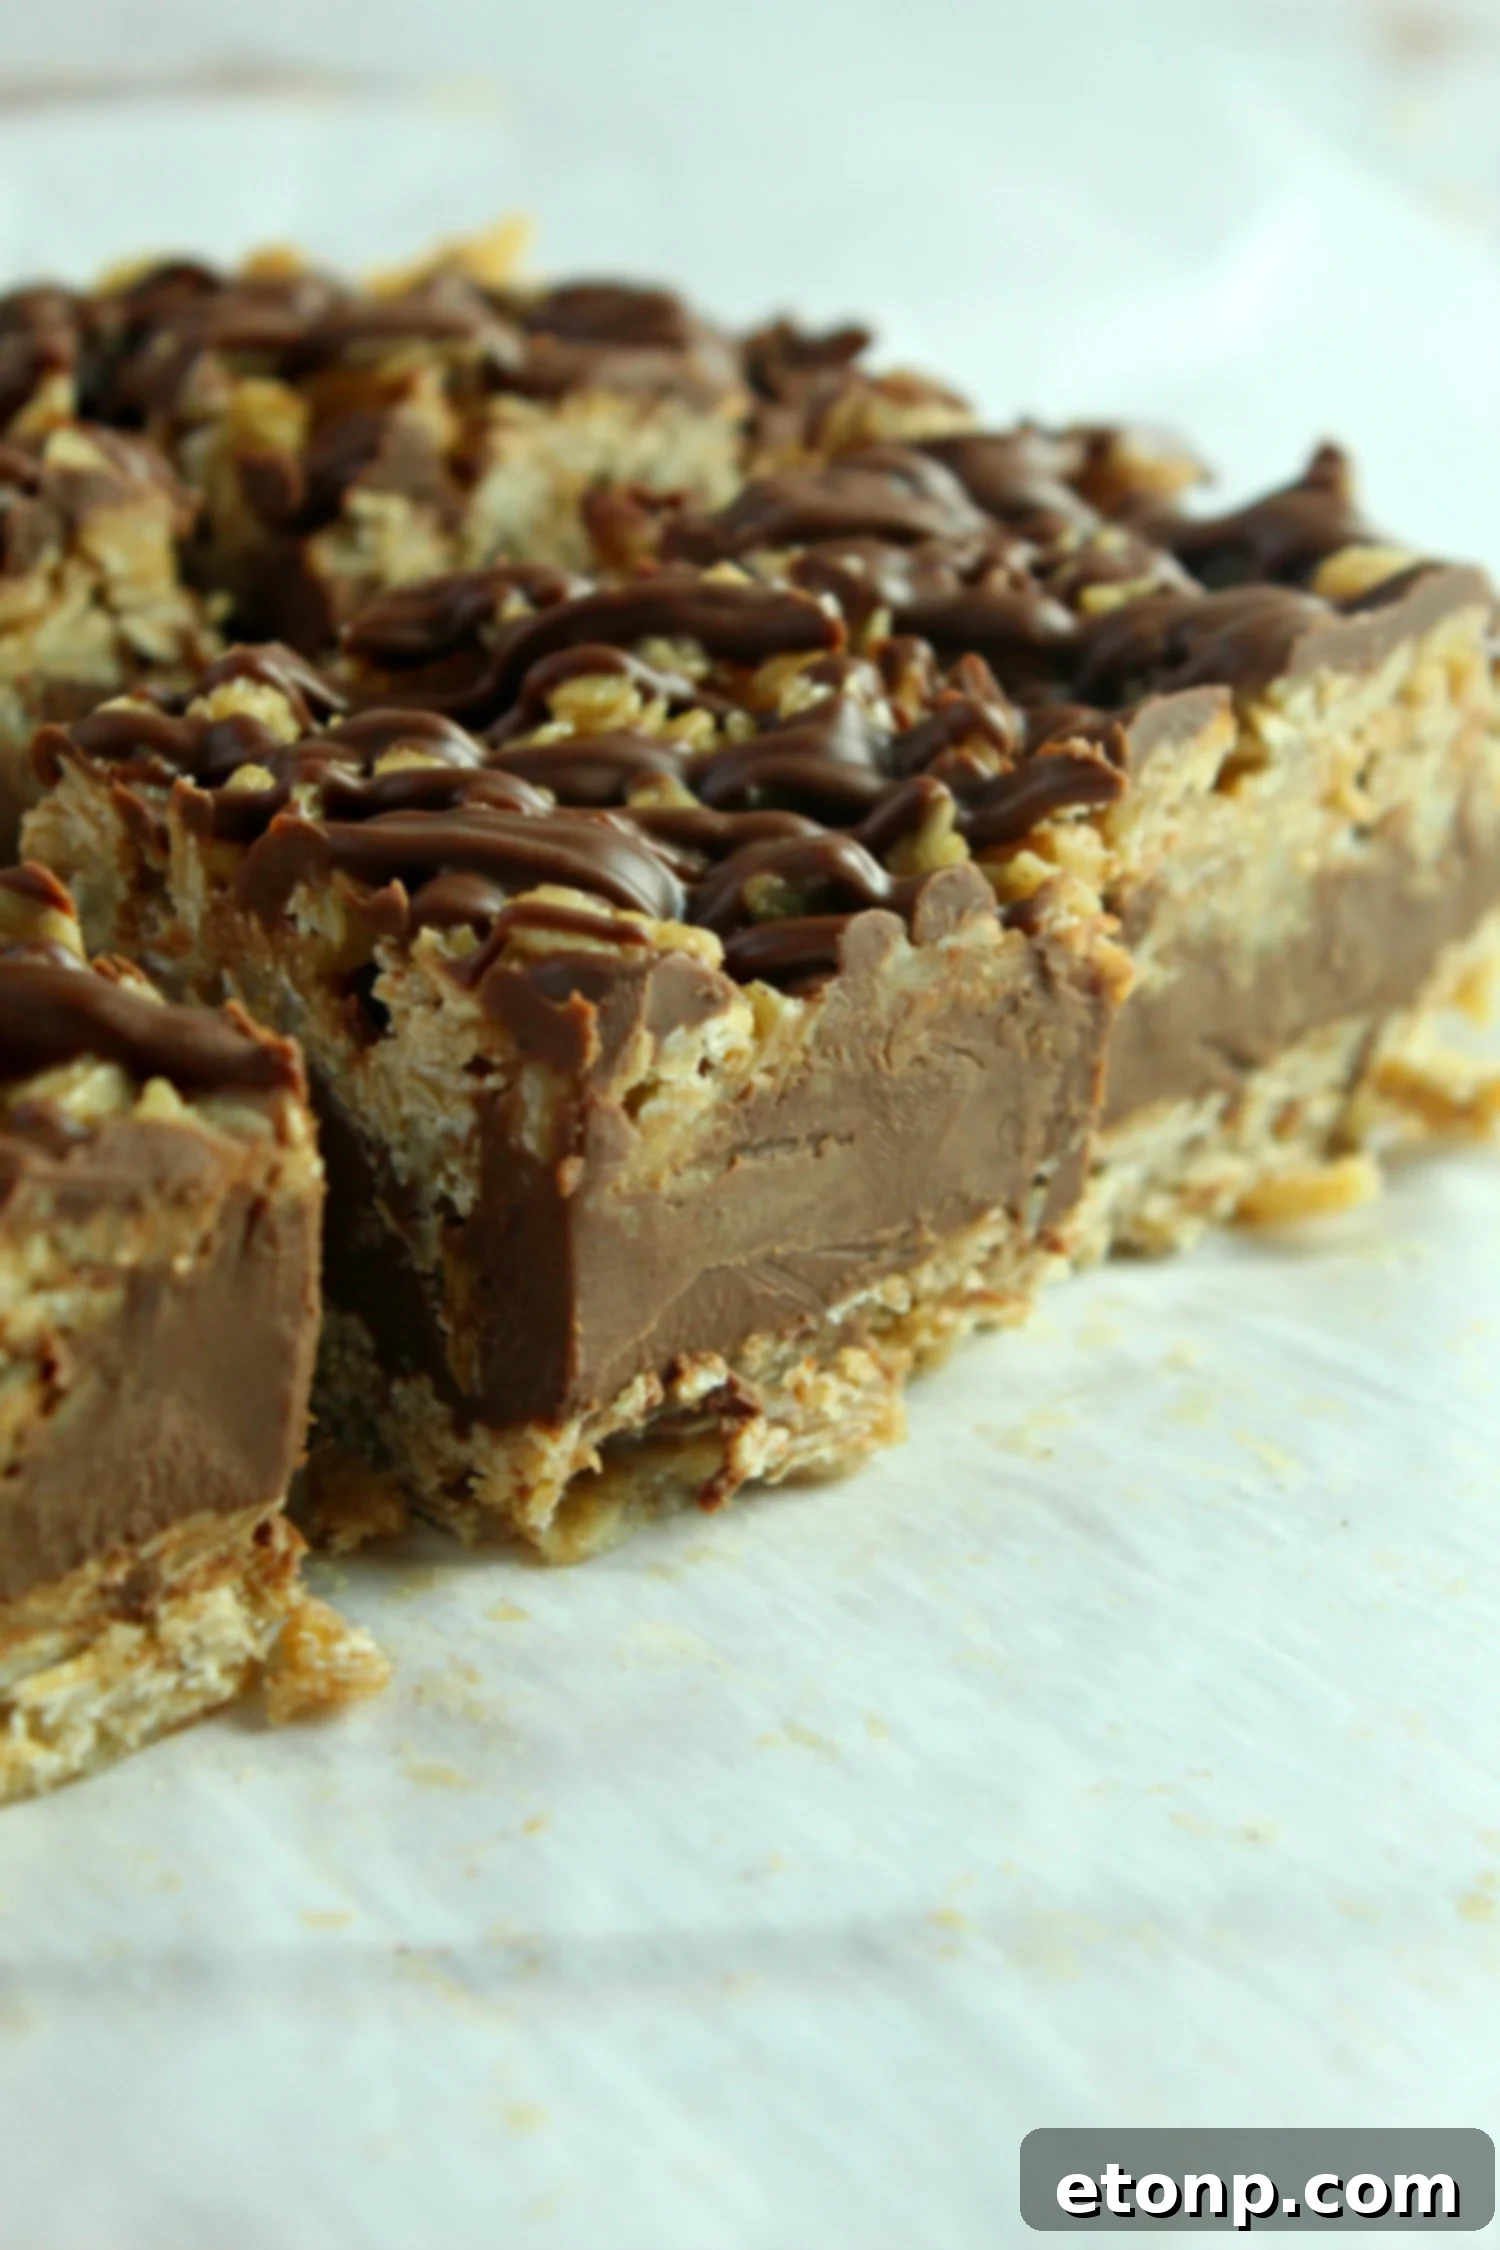
A Recipe Everyone Raves About
I can confidently say that everyone asks for this recipe and raves over them as they bite into one! They’re that good! The combination of creamy chocolate, nutty peanut butter, and hearty oats creates an addictive texture and flavor that keeps people coming back for more. These bars have a way of disappearing quickly from any platter they grace, proving their undeniable appeal. Their universal popularity stems from their familiar, comforting flavors, elevated by the satisfying chewiness of the oats and the decadent sweetness of the chocolate. Be warned, it’s going to be hard to eat just one!
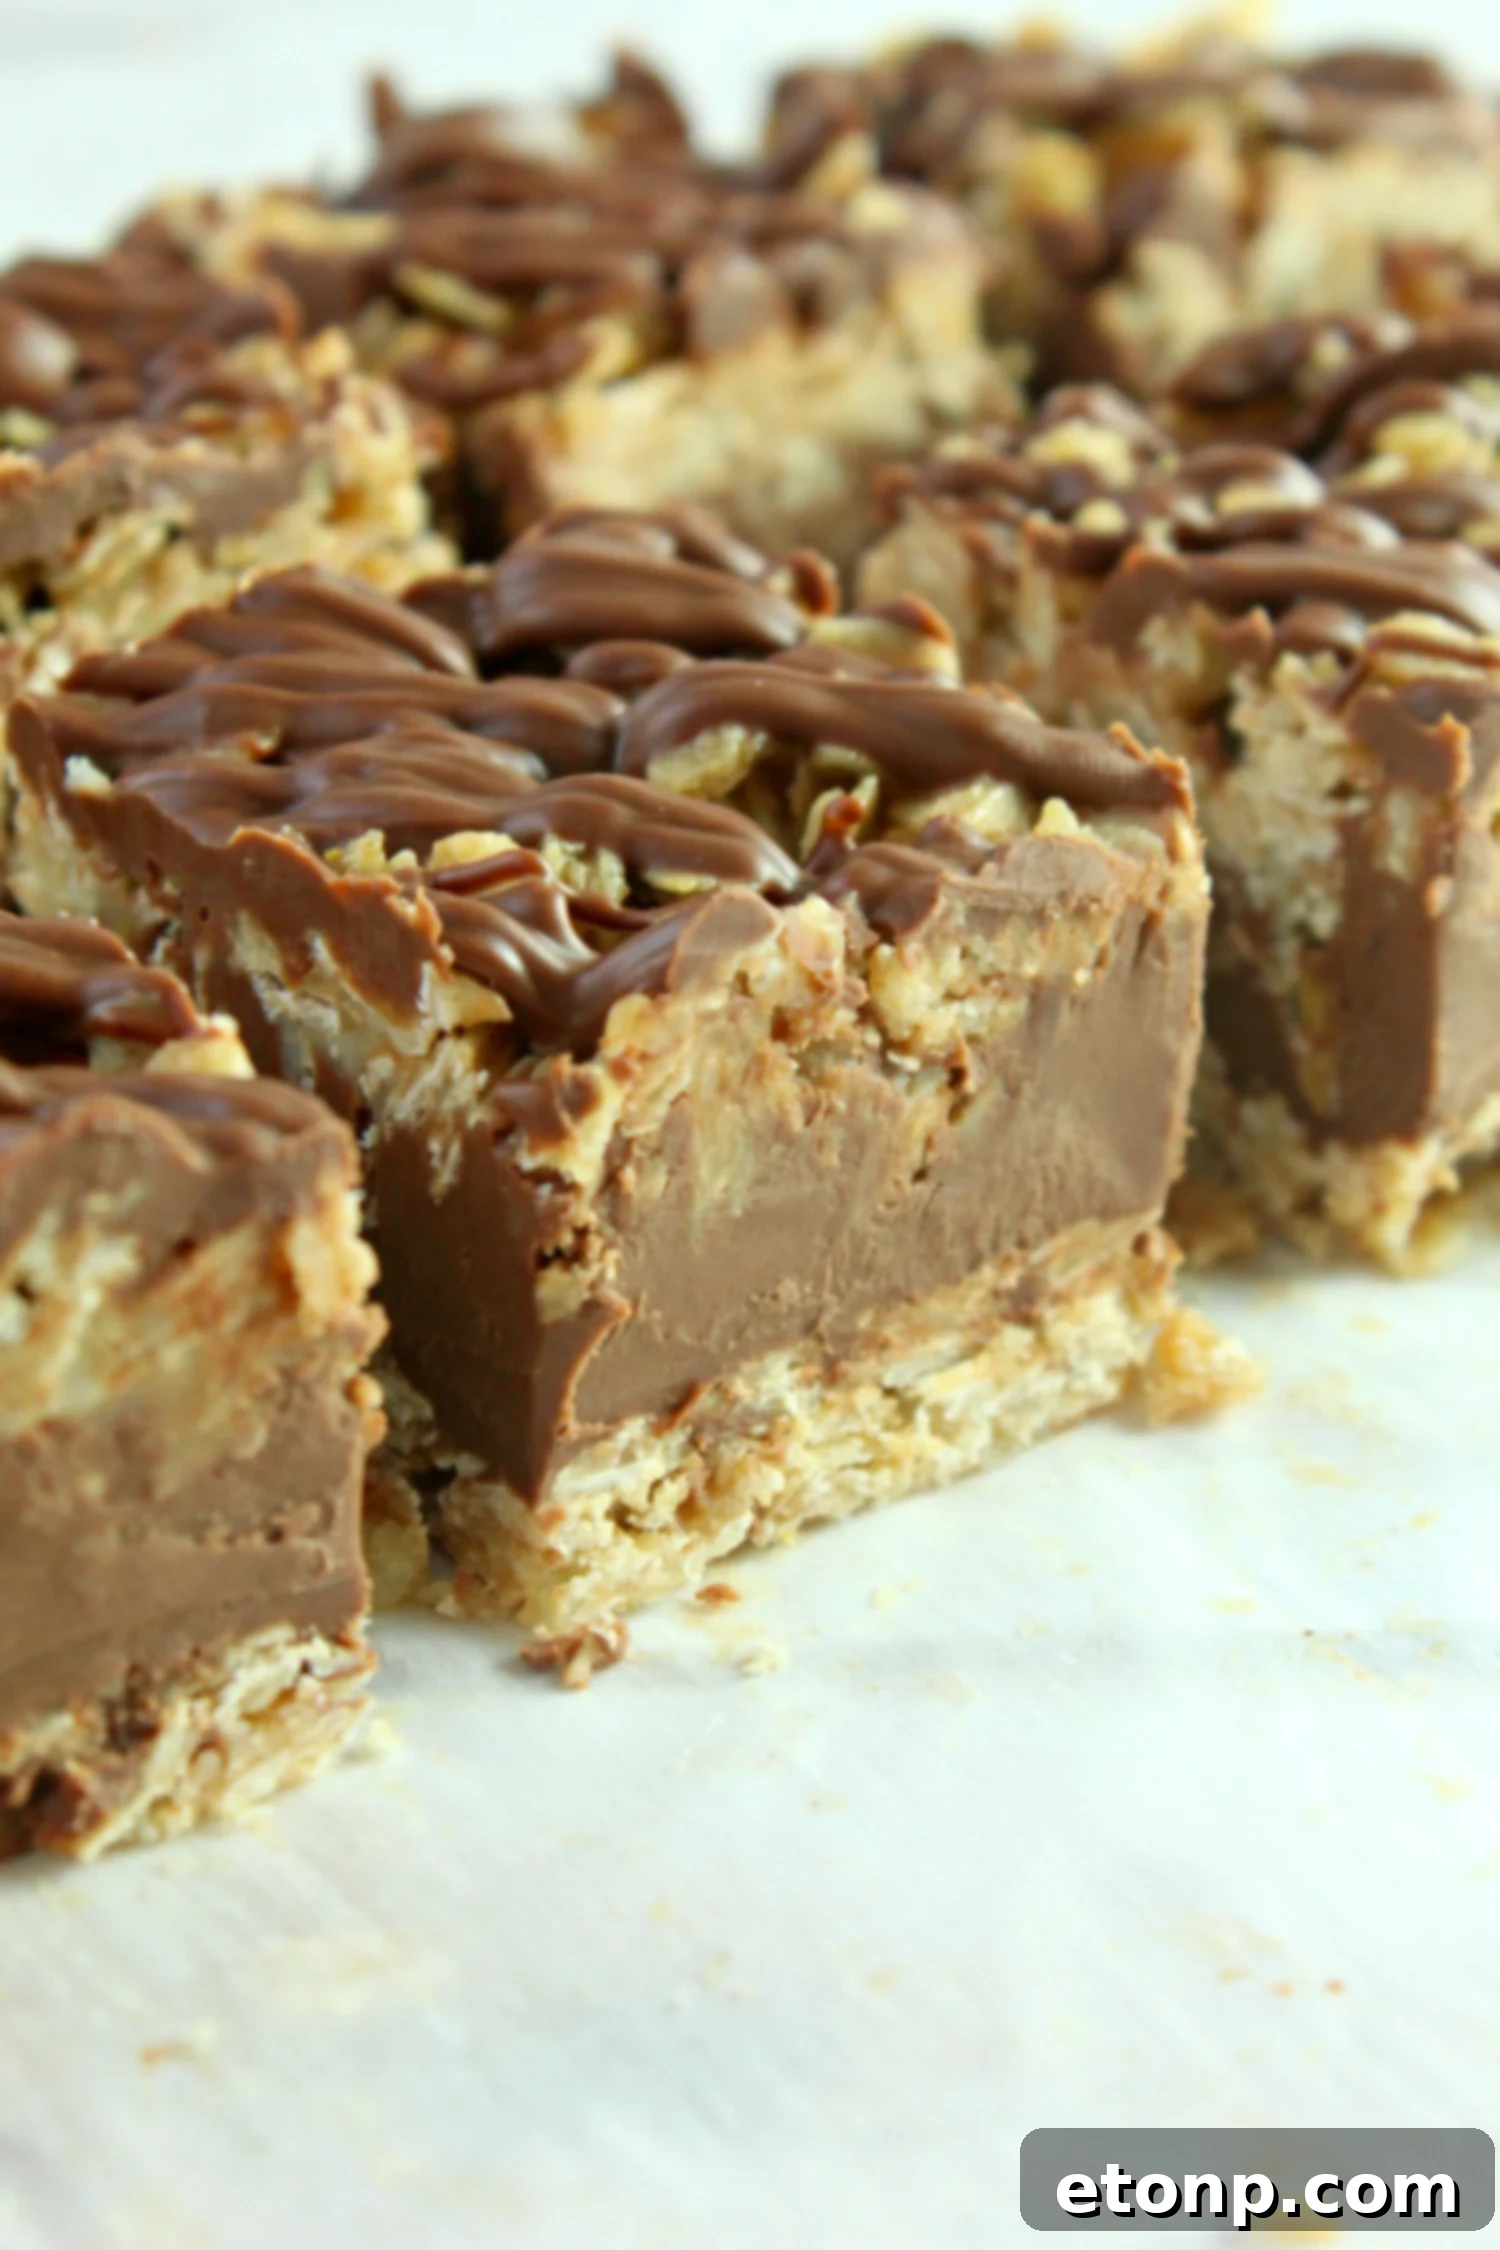
My Go-To Sweet Treat, Season After Season
These bars hold a special place in my heart – I’ve been craving them since the first time I made them. It brings me immense joy to prepare them again for this beautiful holiday season, or any time of year! Their versatility means they’re perfect for summer picnics, fall gatherings, winter celebrations, or a simple spring treat. Each batch is a reminder of how simple ingredients can come together to create something truly magical. They embody comfort, nostalgia, and pure indulgence, making them a recurring favorite in my kitchen and amongst my friends and family. Get ready to experience pure dessert bliss!
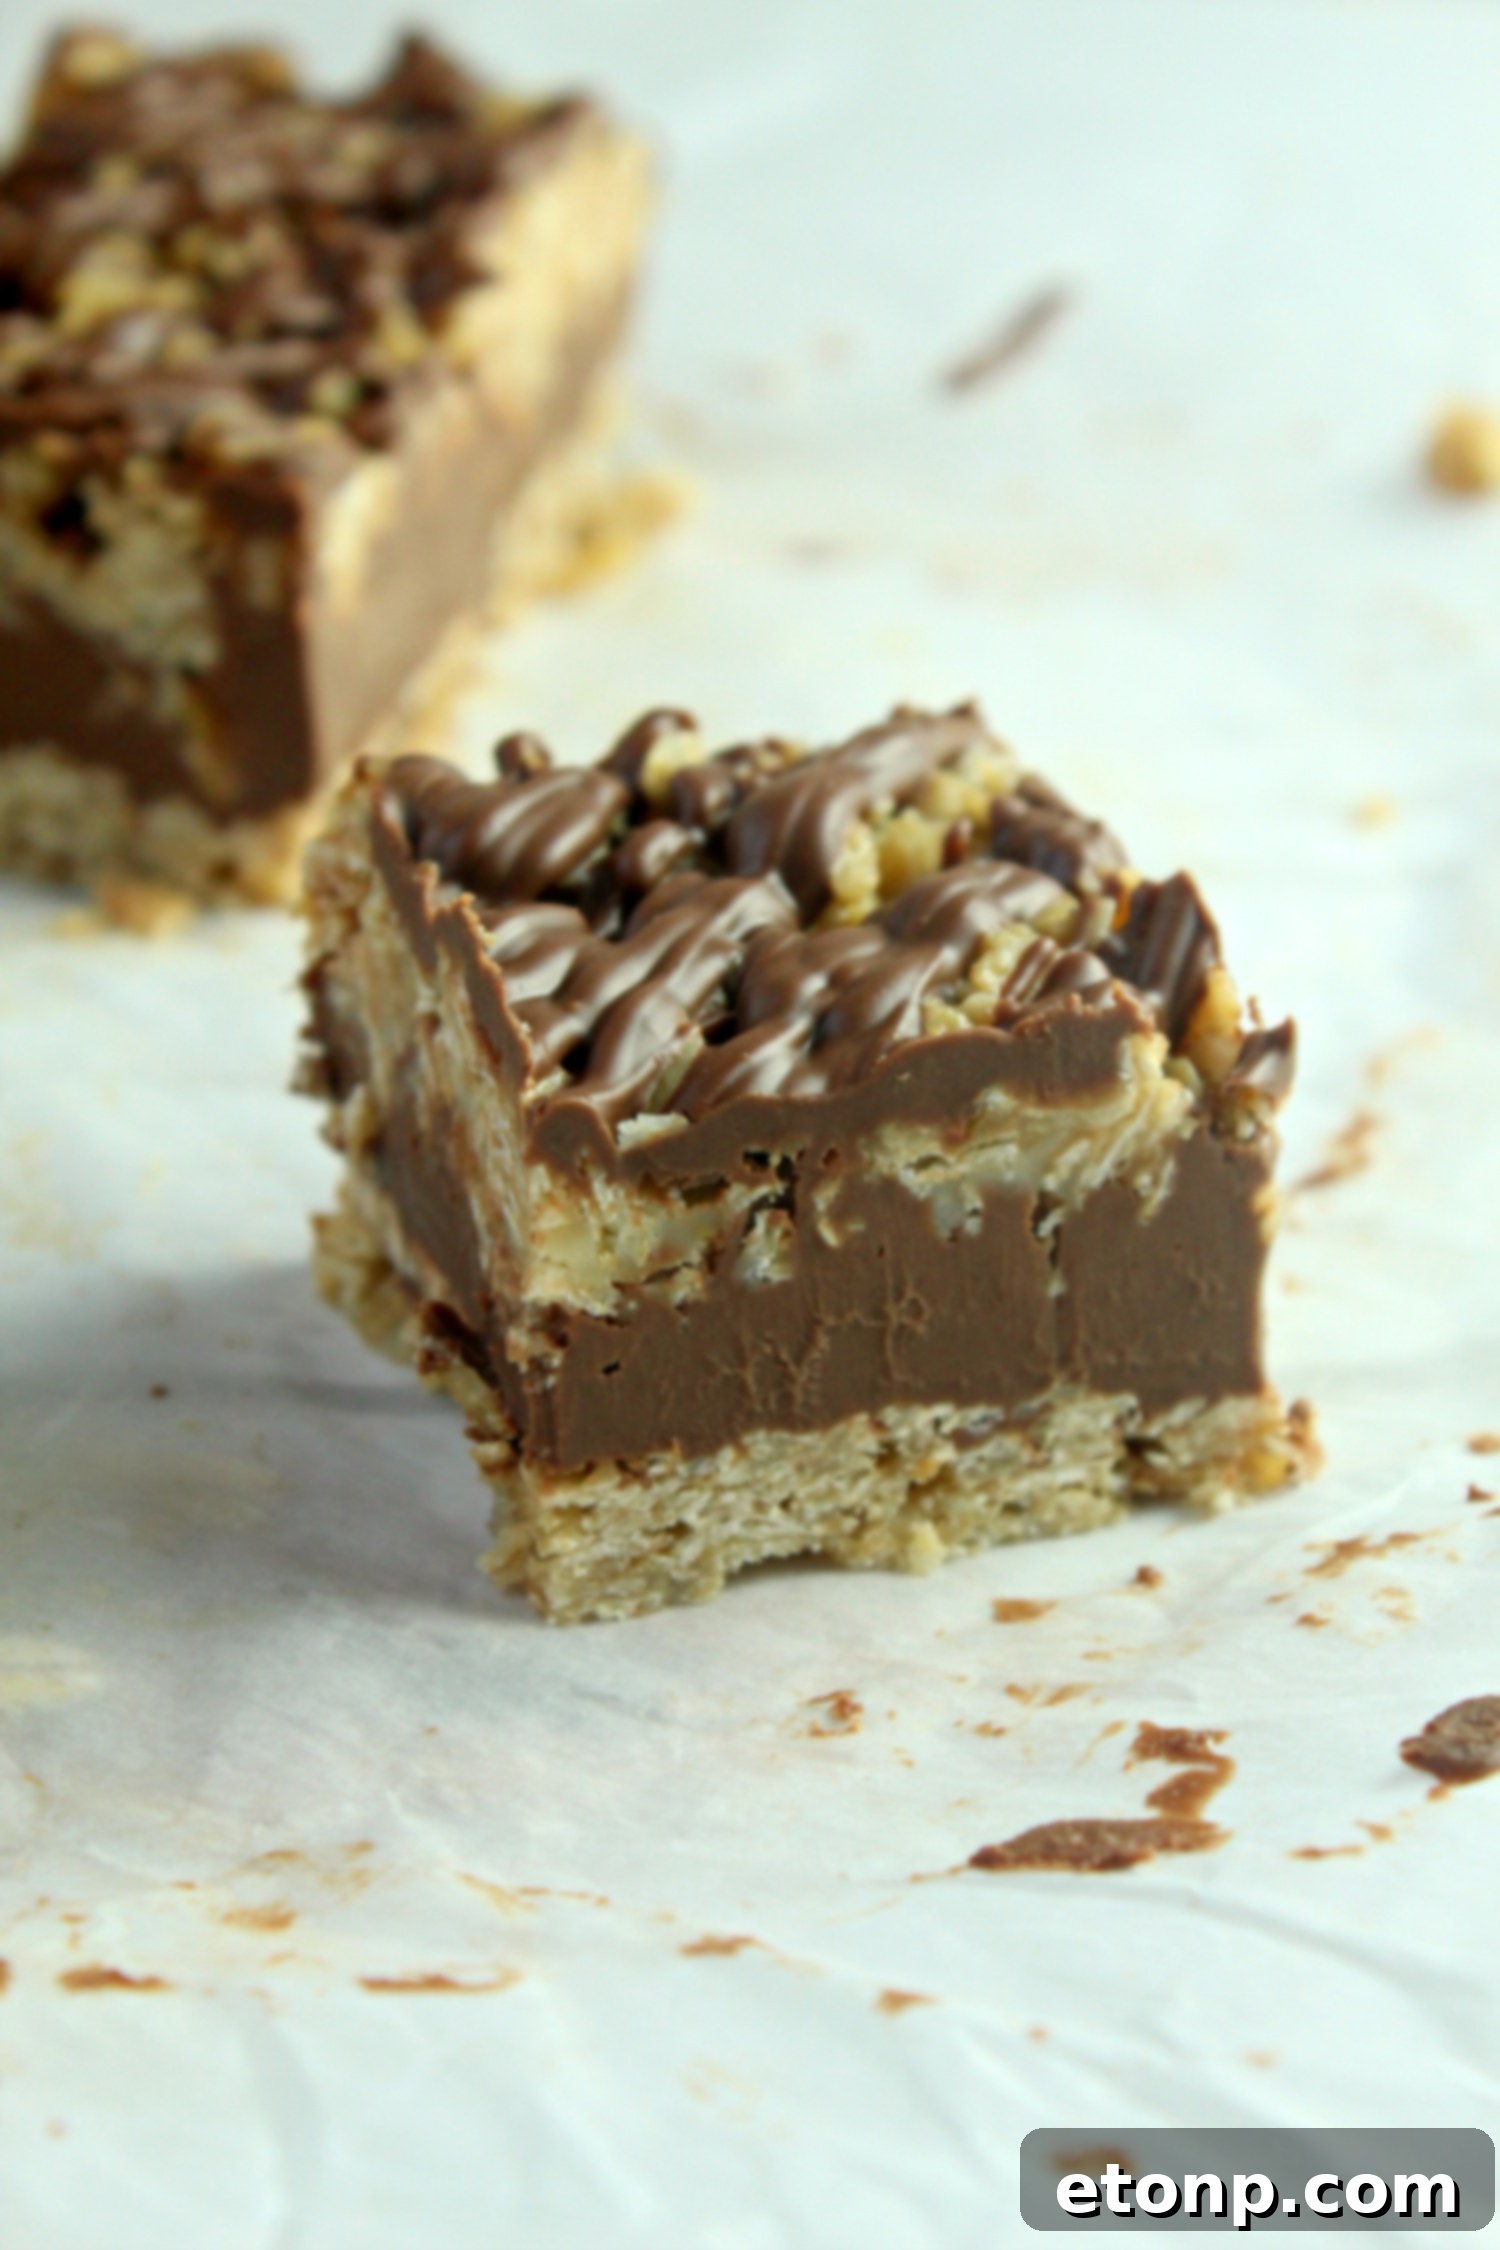
Get the Recipe: Easy No-Bake Chocolate Oatmeal Bars
Don’t forget to SHARE on Facebook and PIN IT to save this incredible recipe! And for more delightful creations, be sure to FOLLOW ME ONPINTERESTBY CLICKING HERE <——
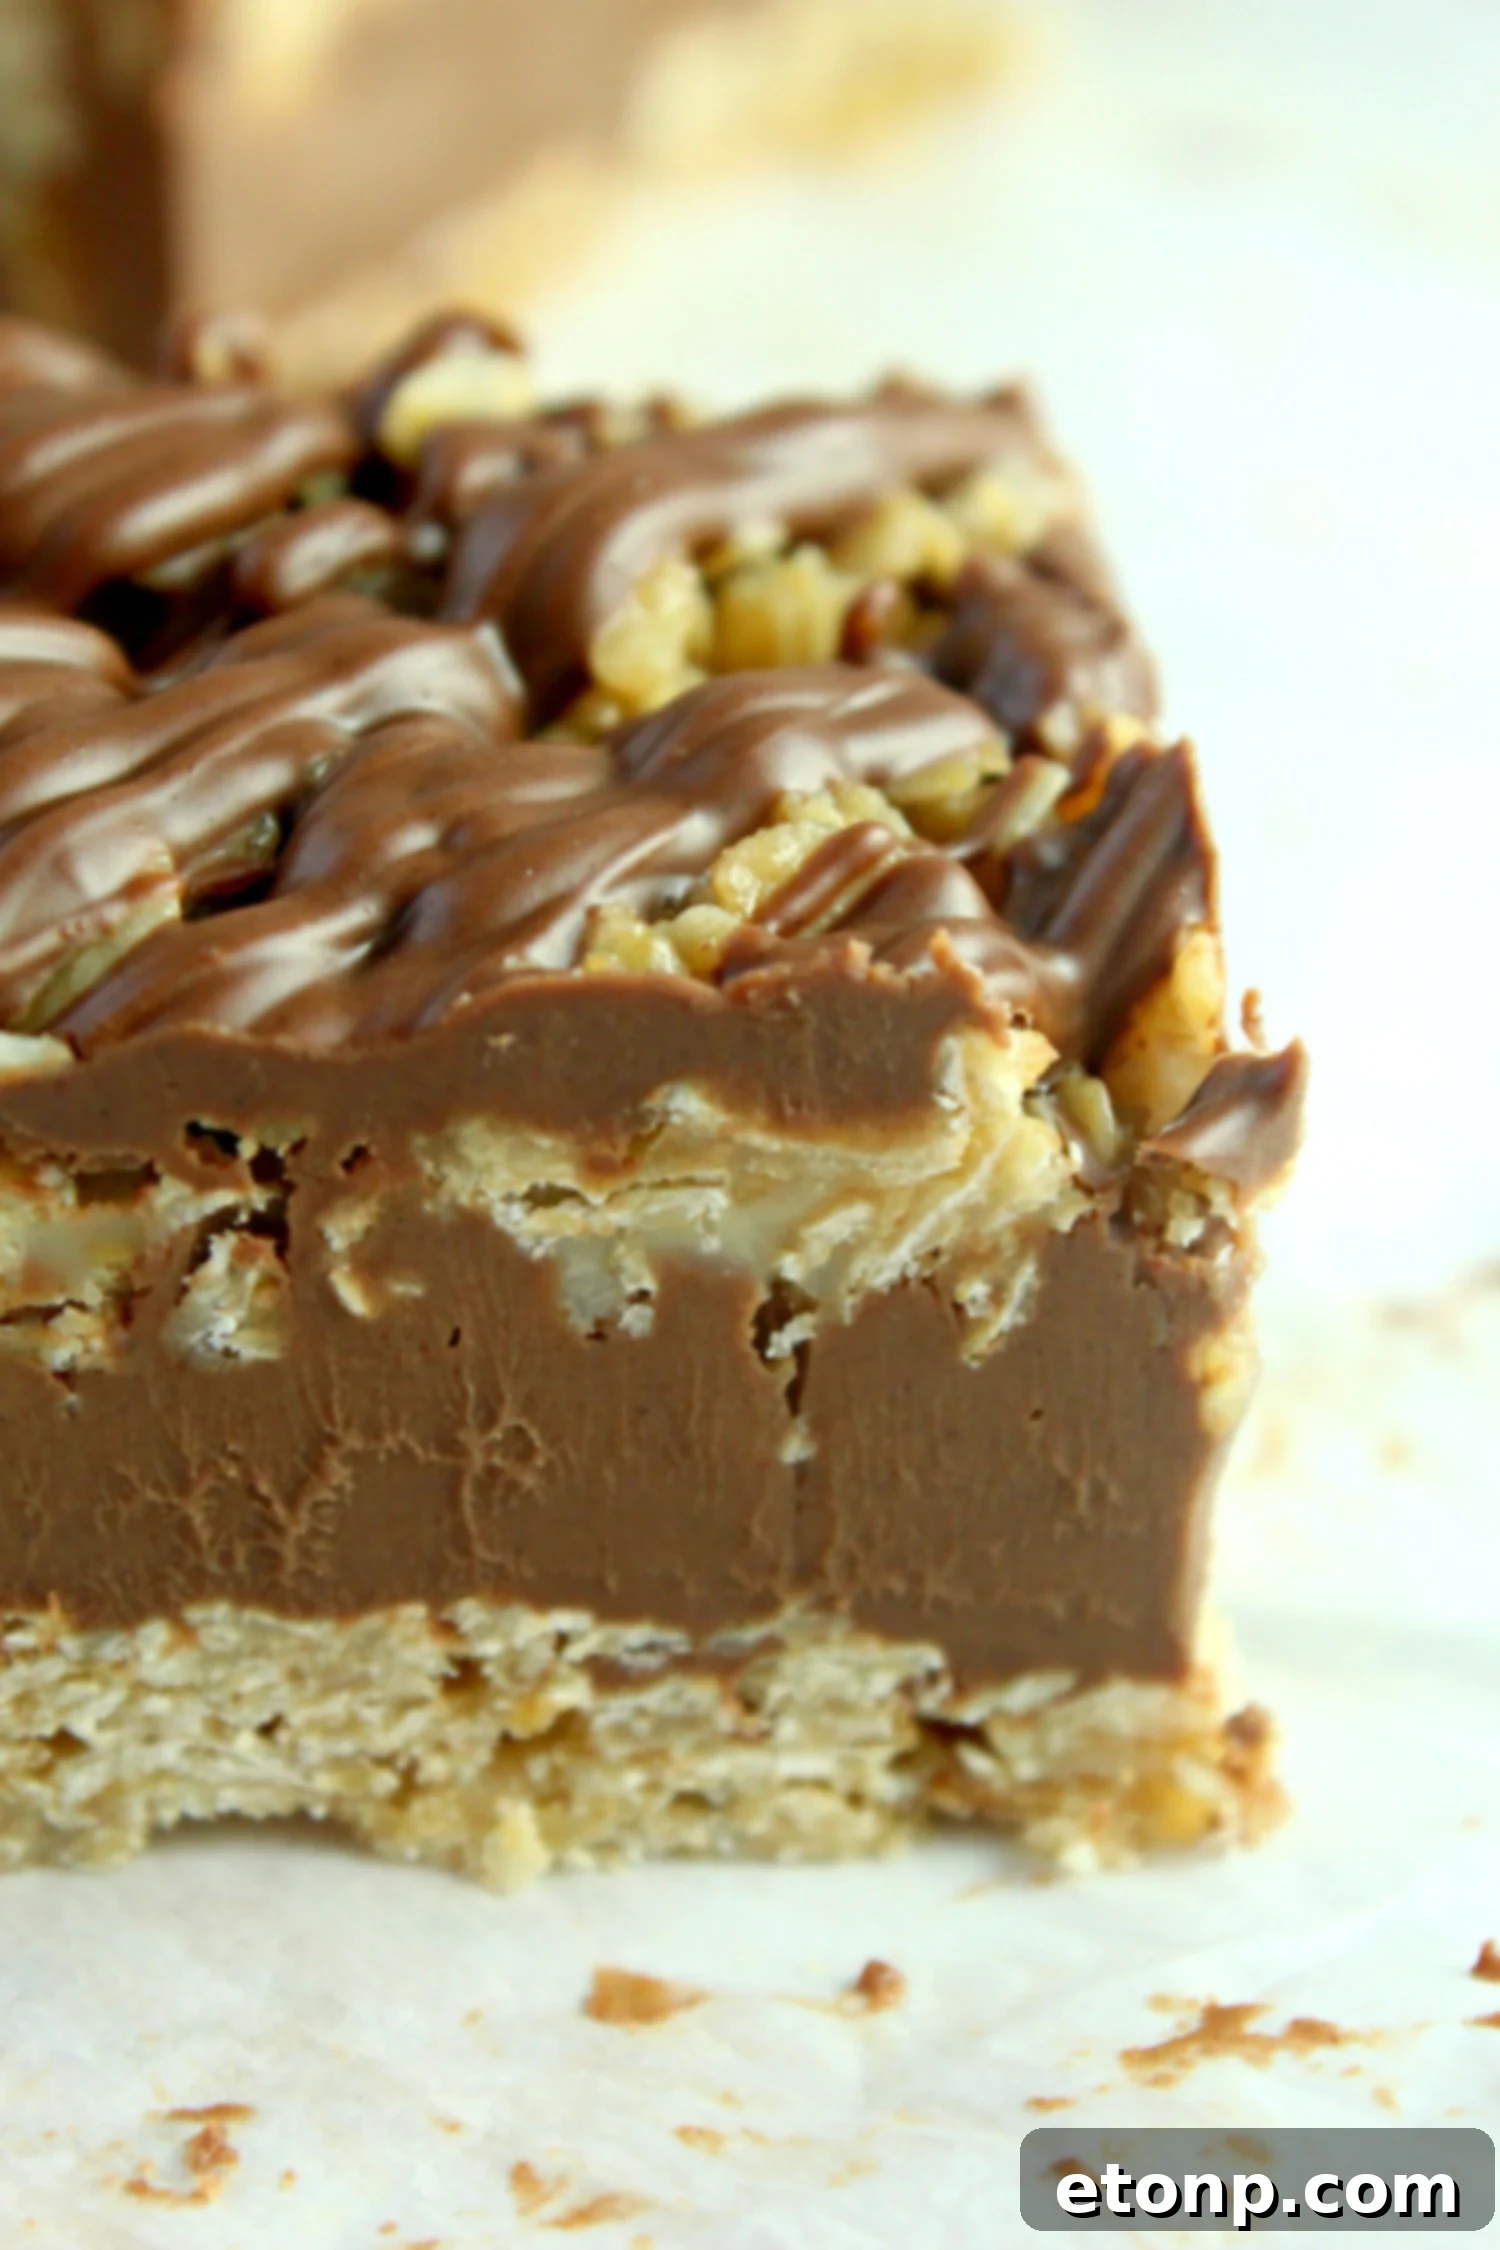
Easy No-Bake Chocolate Oatmeal Bars
Ingredients
- 1 cup 2 sticks salted butter
- 1/2 cup light brown sugar packed
- 1 tsp. pure vanilla extract
- 3 cups rolled oats
- 1/2 tsp. ground cinnamon
- 1/4 tsp. sea salt
- 1 cup milk chocolate chips
- 3/4 cup smooth peanut butter
Instructions
-
Line an 8×8″ baking dish with parchment paper, allowing some overhang on the sides for easy lifting later.
-
In a medium saucepan, combine the butter, light brown sugar, and pure vanilla extract. Heat this mixture over medium-low heat, stirring constantly, until the butter is completely melted and the ingredients are well combined.
-
Remove from heat and add the rolled oats, ground cinnamon, and sea salt to the saucepan. Stir thoroughly until the oats are evenly coated with the buttery sugar mixture.
-
Pour approximately half of the oat mixture into the prepared 8×8″ baking pan.
-
Using the back of a spoon or a spatula, spread the mixture evenly and pack it down firmly into the bottom of the pan. This creates a solid, delicious base for your bars.
-
In a microwave-safe liquid measuring cup or bowl, combine the milk chocolate chips and smooth peanut butter. Microwave in 30-second increments, stirring well after each interval, until the mixture is fully melted and smooth. Be careful not to overheat.
-
Pour the melted chocolate-peanut butter mixture over the oat base in the pan, spreading it evenly. Reserve a small amount of the chocolate mixture for drizzling later. Immediately top with the remaining oat mixture, spreading it out and packing it down firmly once again to create the top layer.
-
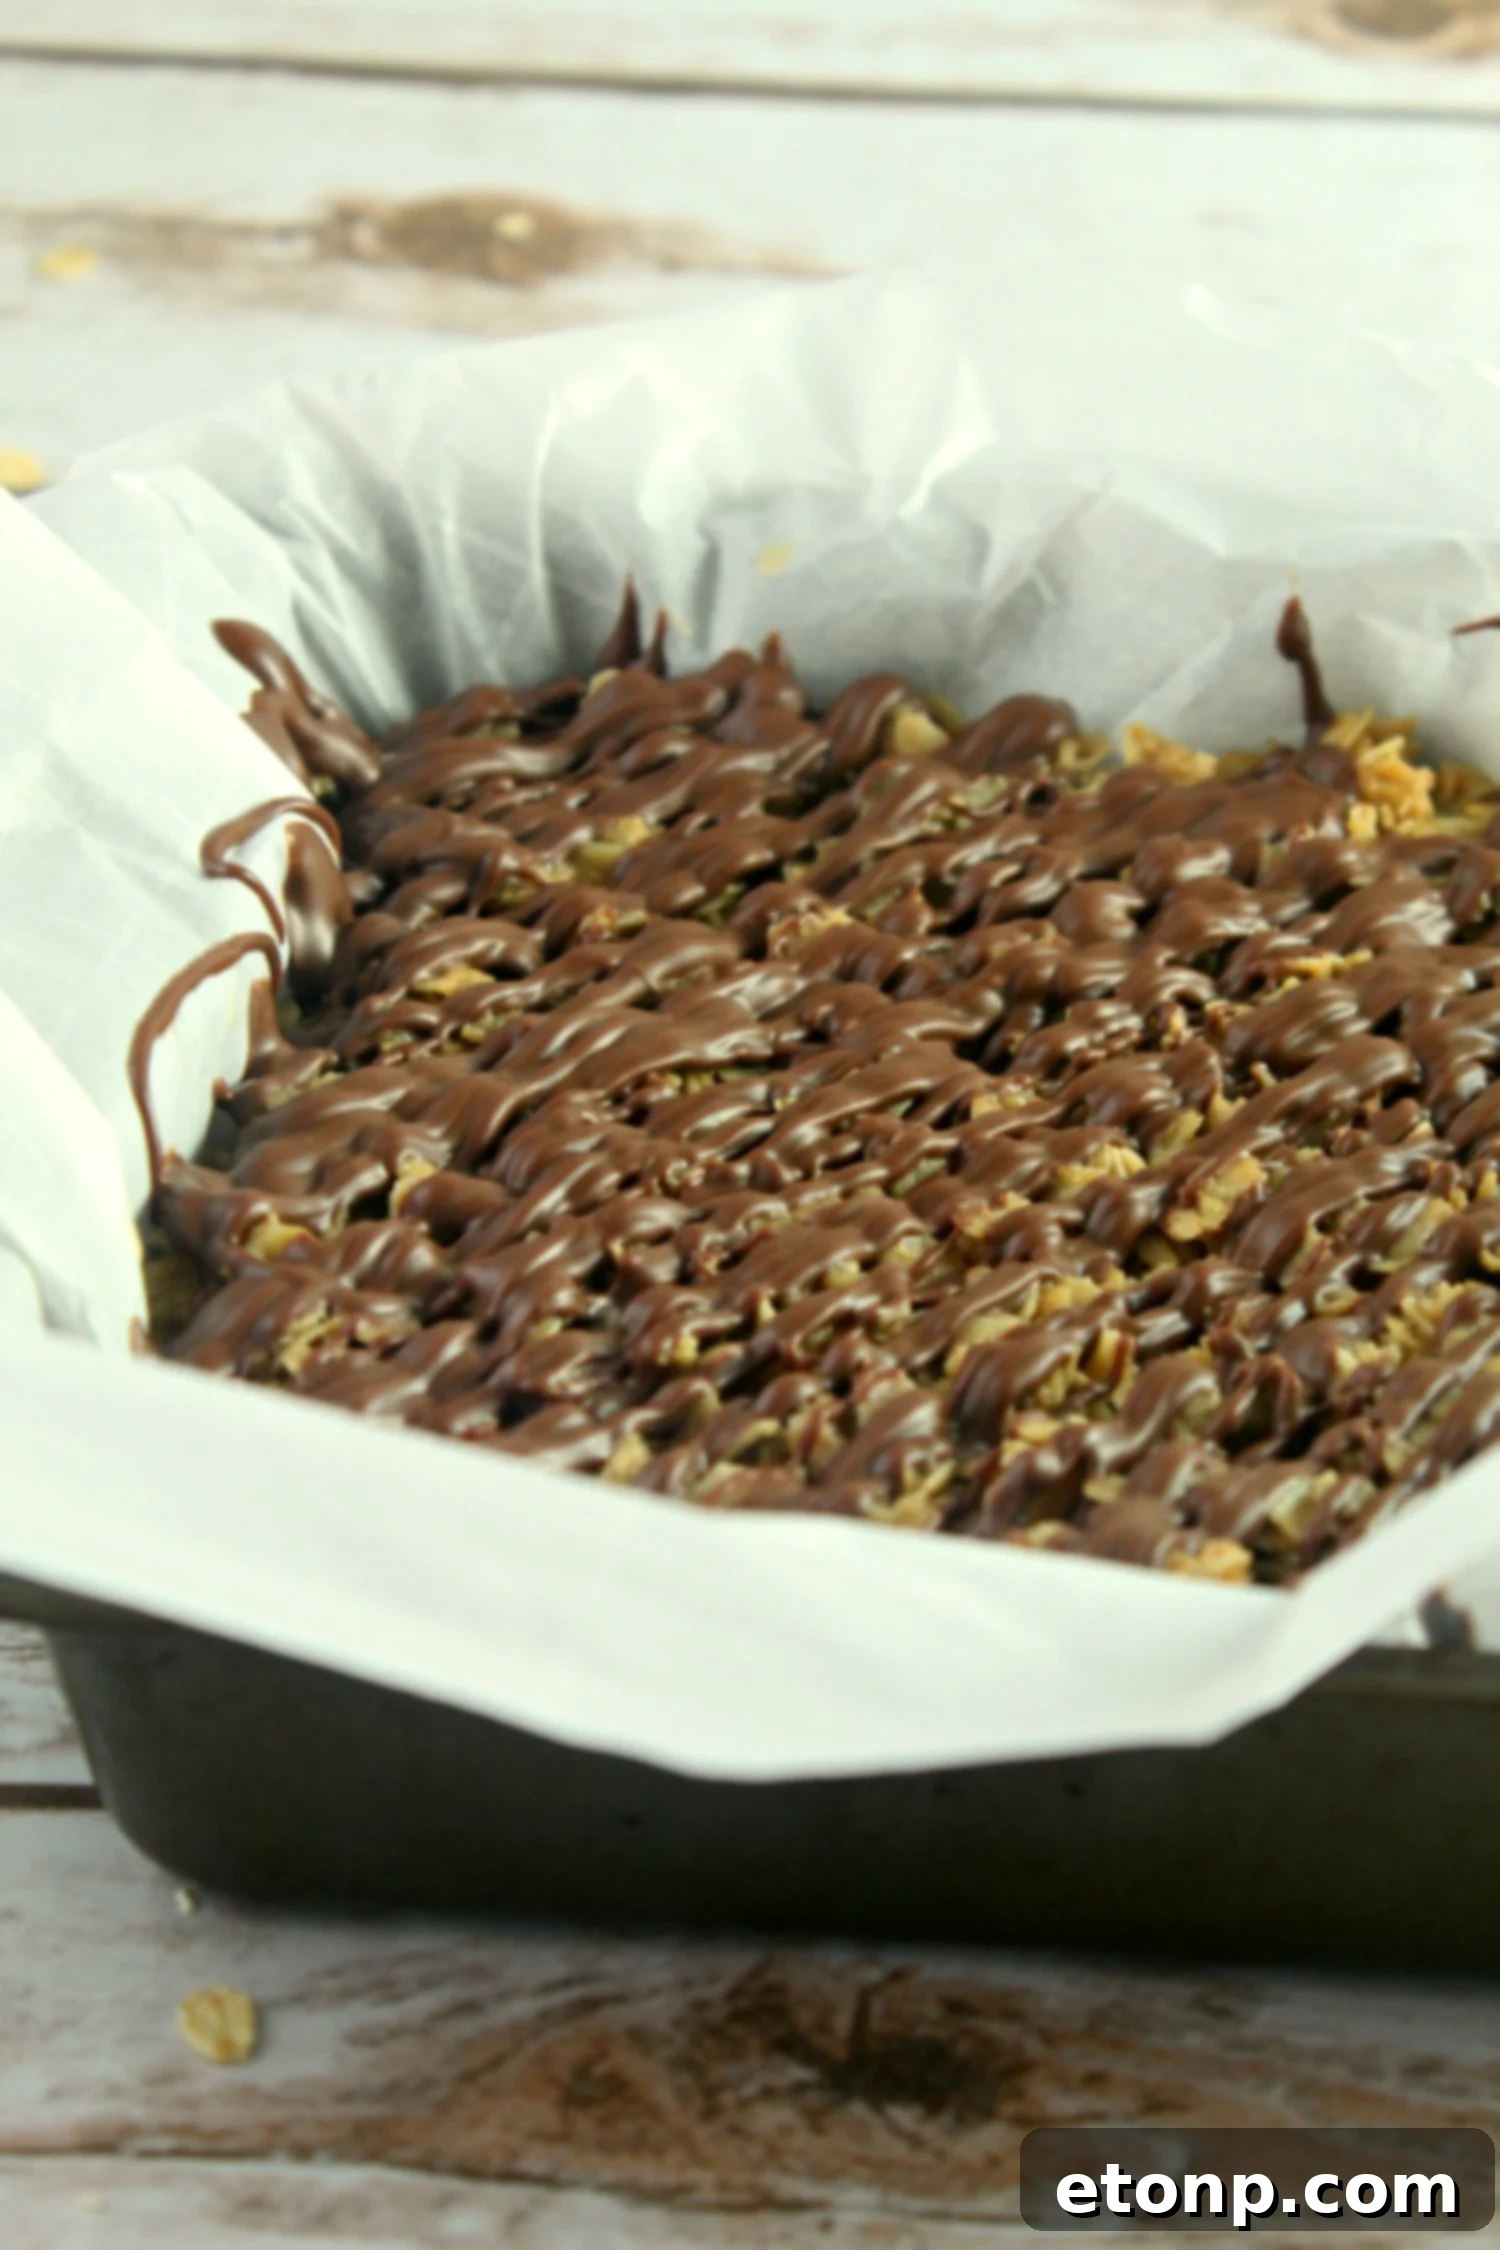
Take the reserved chocolate mixture and drizzle it artistically over the entire pan. This adds an extra touch of decadence and visual appeal.
-
Place the pan in the refrigerator and chill for at least four hours. This crucial step allows the bars to set completely, ensuring they slice cleanly and have that perfect chewy texture.
-
Once thoroughly chilled, lift the bars out of the pan using the parchment paper overhang. Cut into squares, serve, and ENJOY!
Tips for Perfect No-Bake Chocolate Oatmeal Bars
Achieving the perfect no-bake bar is all about a few simple techniques:
- Pack it Down Firmly: When pressing the oat mixture into the pan, really put some pressure on it. This is key to preventing crumbly bars and ensuring a dense, chewy texture.
- Quality Ingredients: While simple, the quality of your ingredients matters. Good salted butter, rich chocolate chips, and creamy peanut butter will elevate the flavor profile significantly.
- Don’t Rush the Chill Time: Four hours is the minimum, but overnight chilling is even better. This allows all the flavors to meld and the bars to firm up completely, making them easier to cut and enjoy.
- Even Spreading: Ensure the chocolate-peanut butter layer is spread evenly to get a consistent taste and texture throughout each bar.
- Parchment Paper is Your Friend: The parchment paper not only prevents sticking but also makes lifting the entire slab of bars out of the pan incredibly easy for cutting.
Exciting Variations to Try
While the classic recipe is divine, feel free to get creative! These bars are highly adaptable:
- Nutty Additions: Stir in chopped nuts like walnuts, pecans, or almonds into the oat mixture for added crunch and flavor.
- Different Chocolates: Experiment with dark chocolate chips, semi-sweet, or even white chocolate for a different twist. A mix of chocolates can also be delightful.
- Coconut Love: Add shredded coconut to the oat mixture for a tropical hint and extra chewiness.
- Spiced Up: A pinch of nutmeg or a dash of chili powder (for a Mexican hot chocolate vibe) can add an unexpected depth of flavor.
- Toppings Galore: Before chilling, sprinkle with flaky sea salt, colorful sprinkles, more chocolate chips, or even mini marshmallows.
- Butterscotch Bliss: Swap out some of the chocolate chips for butterscotch chips for a different sweet note.
Storage and Freezing Instructions
One of the best features of these no-bake bars is how well they store, making them ideal for meal prepping desserts or making ahead for events.
- Countertop: If kept in an airtight container, these bars can last for 2-3 days at room temperature, though they might become slightly softer.
- Refrigerator: For optimal freshness and firmness, store them in an airtight container in the refrigerator for up to 1 week. This is my preferred method.
- Freezer: Yes, they freeze wonderfully! Once the bars are completely set and cut into individual portions, wrap each bar tightly in plastic wrap, then place them in an airtight freezer-safe container or bag. They can be frozen for up to 3 months. Thaw at room temperature for about 15-30 minutes, or enjoy them slightly frozen for a firmer treat.
Frequently Asked Questions (FAQ)
Here are answers to some common questions you might have about making these delightful bars:
- Can I use quick oats instead of rolled oats? While rolled oats provide the best chewy texture and heartiness, quick oats can be used in a pinch. However, the texture of the bars will be softer and less substantial.
- What if I don’t have salted butter? You can use unsalted butter and add a pinch more salt (about 1/4 teaspoon) to the mixture to balance the sweetness.
- Can I use a different nut butter? Absolutely! While peanut butter is classic, almond butter or cashew butter would also work beautifully, offering a slightly different flavor profile. Just ensure it’s a smooth, creamy variety for the best texture.
- My chocolate mixture seized, what happened? This usually happens if moisture gets into the melting chocolate or if it’s overheated. To prevent this, ensure all your utensils are dry and microwave in short intervals, stirring well each time. If it seizes, sometimes adding a teaspoon of vegetable oil or shortening can help smooth it out.
- How do I get clean cuts? For the cleanest cuts, make sure the bars are thoroughly chilled. Use a large, sharp knife, and wipe it clean with a warm, damp cloth between each cut to prevent sticking.
- Are these bars gluten-free? Yes, if you use certified gluten-free rolled oats, these bars can be an excellent gluten-free dessert option.
Did you make this recipe?
We’d love to see your creations! Make sure to follow on Pinterest for more recipes and tag us in your photos!
Share on Facebook