
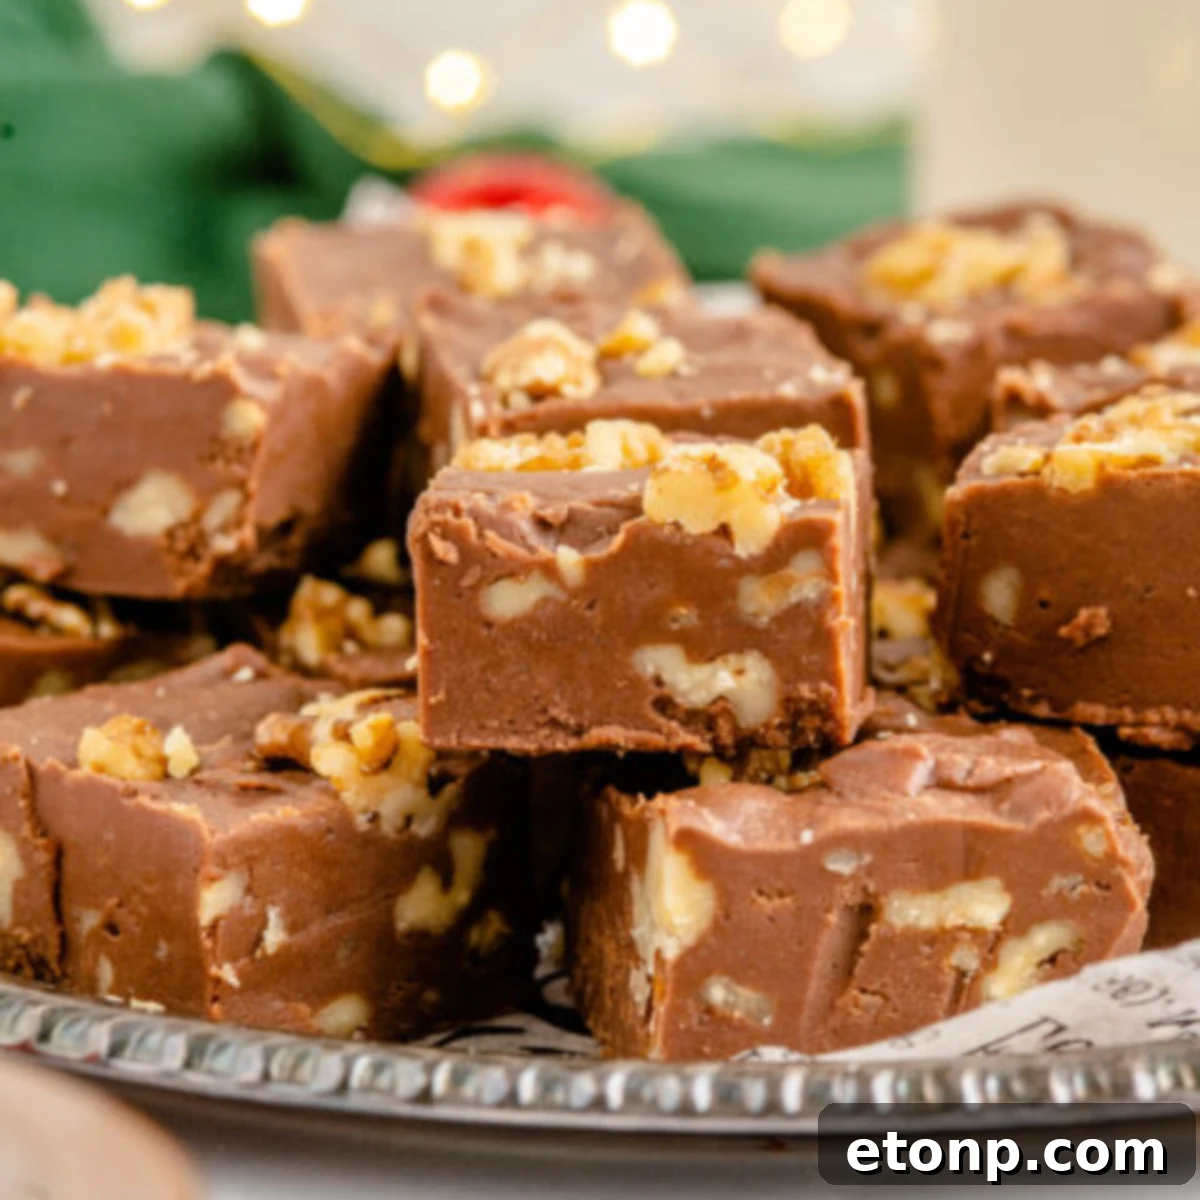
Embarking on your first attempt at crafting the legendary Fantasy Fudge is a journey far simpler and more rewarding than you might initially imagine. This iconic confection promises pure, unadulterated creamy bliss, meticulously crafted from essential ingredients like sugar, rich butter, velvety marshmallow crème, and a carefully selected blend of other complementary components. It’s a timeless classic that brings joy to every palate and adds a touch of homemade warmth to any occasion, especially during festive seasons.
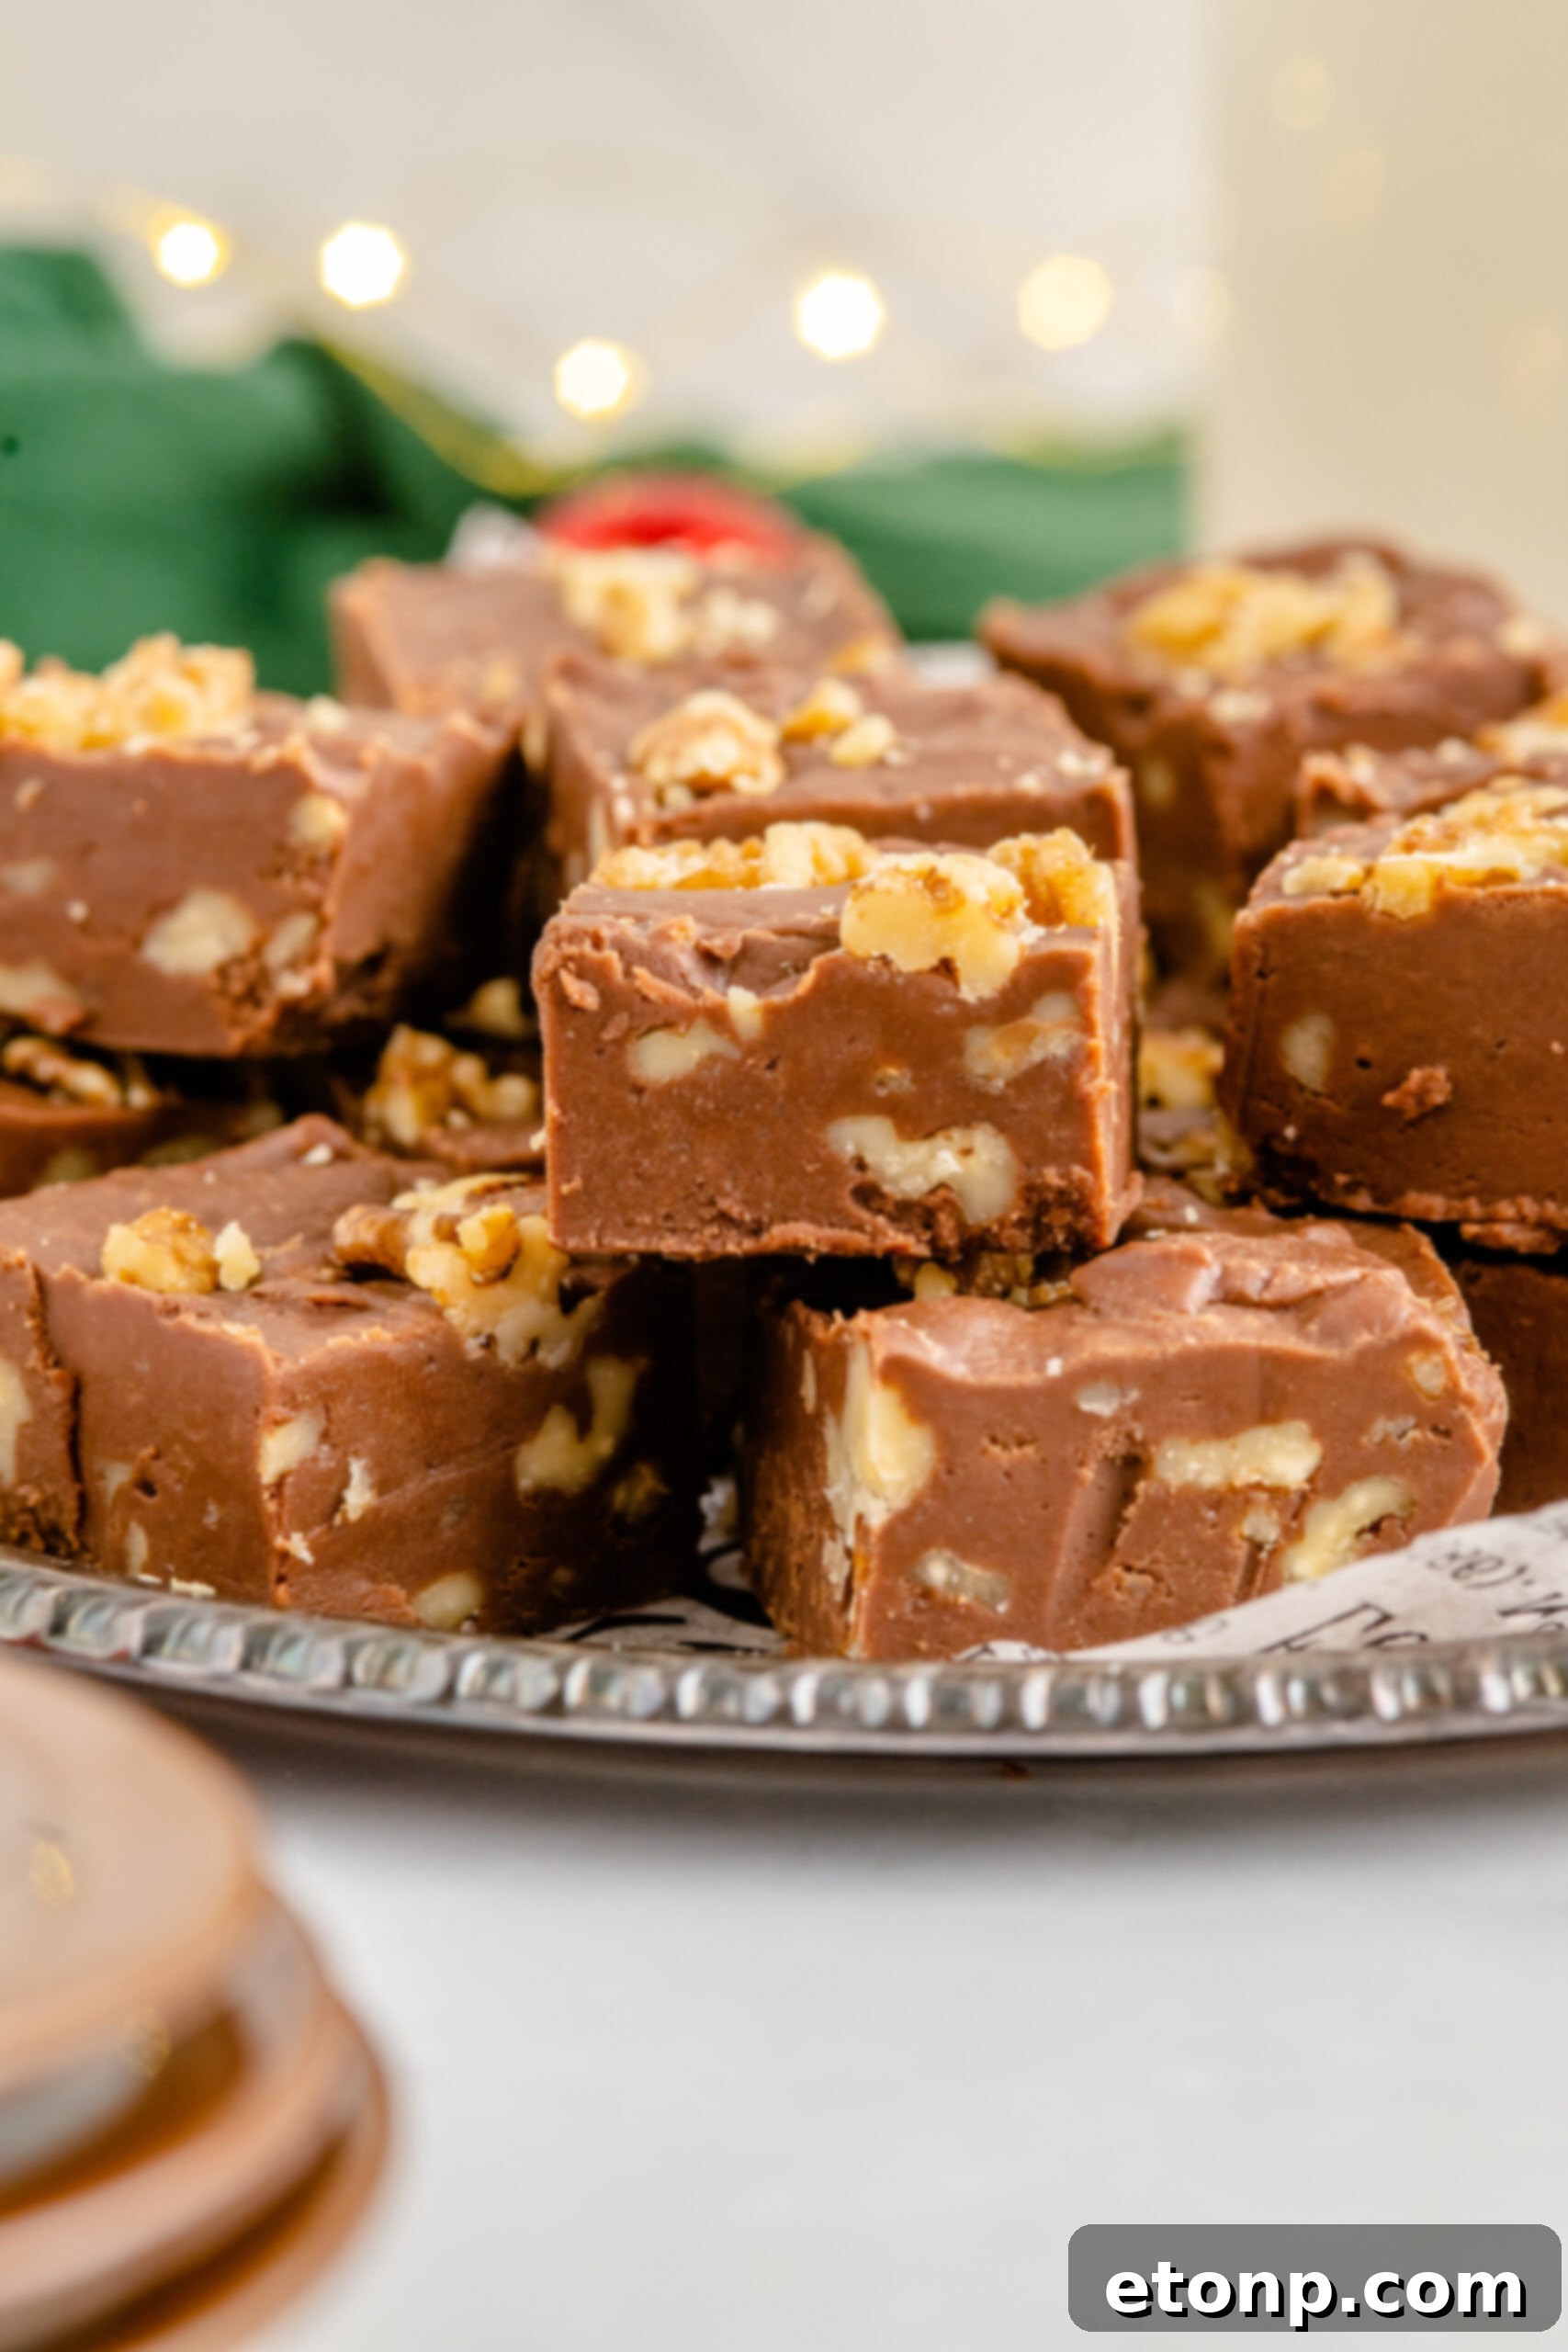
The act of making your very own batch of Fantasy Fudge is not just a cooking endeavor; it’s a delightful and straightforward path to savoring one of America’s most cherished and delicious treats. This particular recipe is renowned for its ease of execution, guiding you through a few simple steps to produce a generous amount of creamy, intensely chocolatey goodness. Each bite is designed to thoroughly satisfy even the most demanding sweet tooth. What makes this recipe truly special is its inherent flexibility, allowing you to easily customize ingredients. This means you can experiment with various nuts, different types of chocolate, or even flavor extracts, empowering you to create unique flavor combinations that perfectly align with your personal preferences and culinary vision.
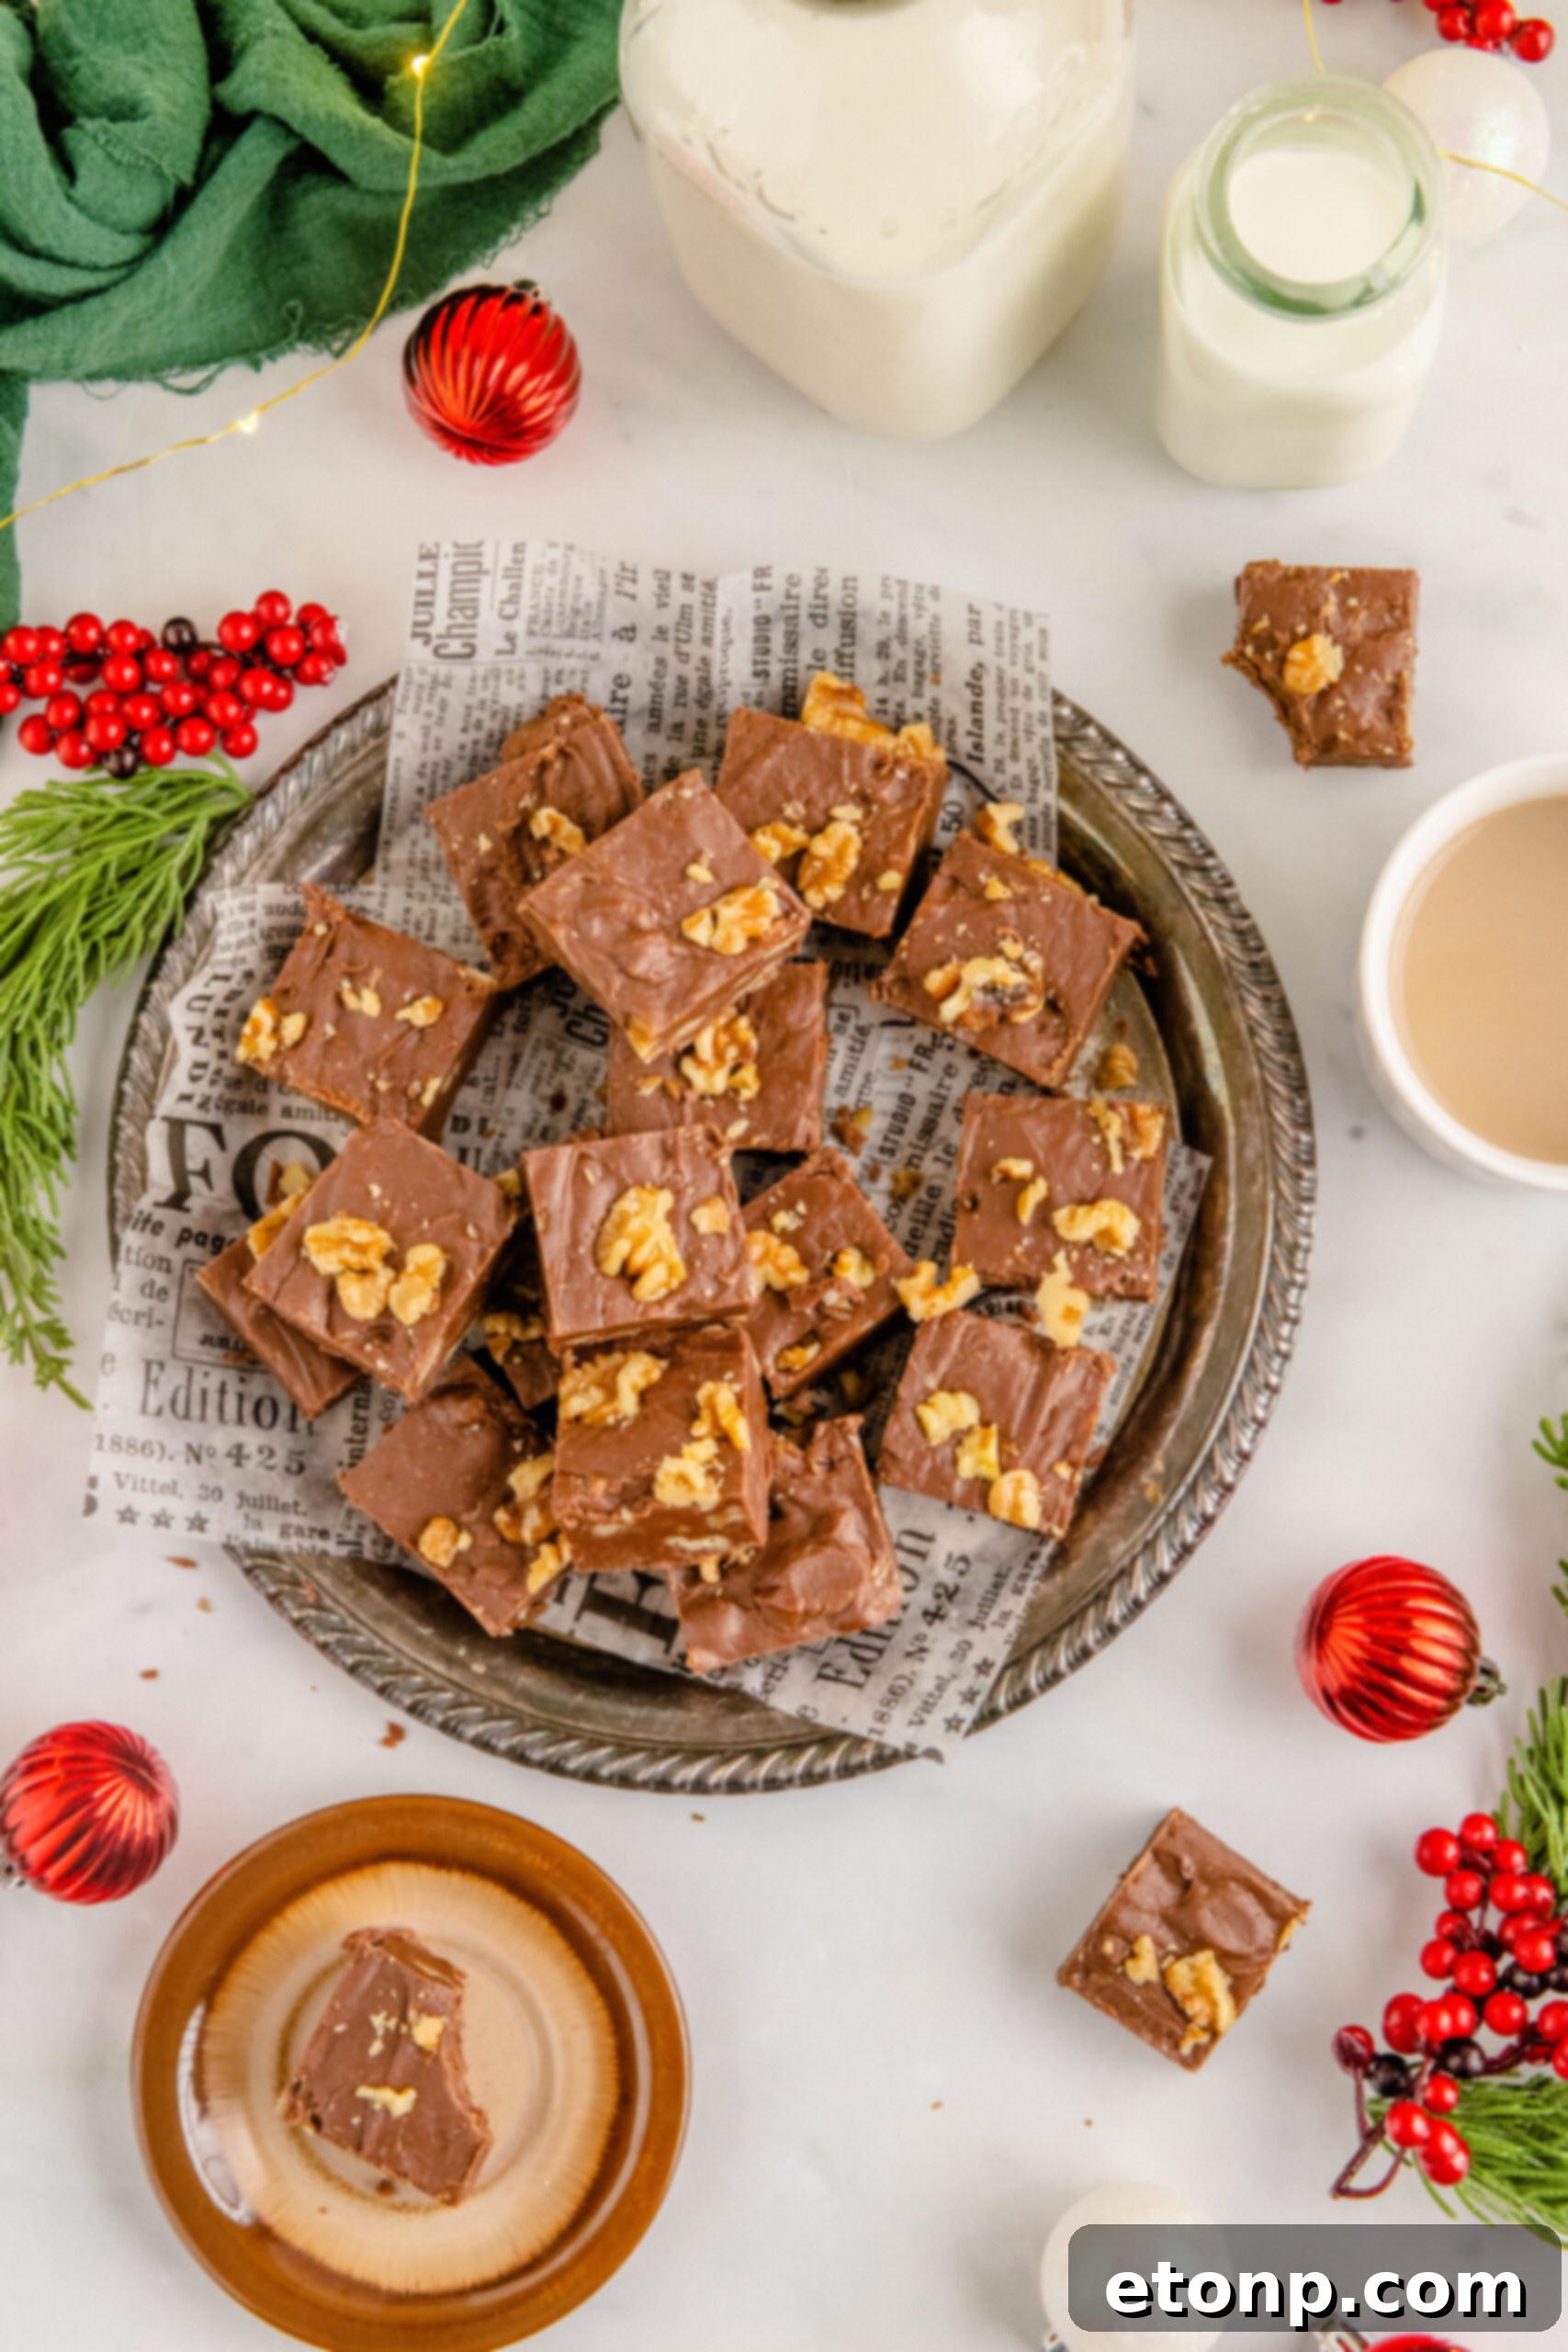
The Enduring Appeal of Fantasy Fudge
When we talk about recipes that earn a permanent spot on everyone’s “must-make” list, simplicity and sensational flavor are often the deciding factors. This Fantasy Fudge recipe epitomizes both. It’s a culinary gem that requires minimal effort and time to prepare, yet consistently delivers an exquisite outcome that delights everyone who tries it. Its reputation precedes it – this is truly the ideal recipe for achieving dreamy, velvety-smooth fudge every single time. Its no-fail nature makes it a favorite among seasoned bakers and beginners alike, ensuring a delicious result that’s perfect for gifting, holiday gatherings, or simply treating yourself and your loved ones to an exceptional homemade dessert.
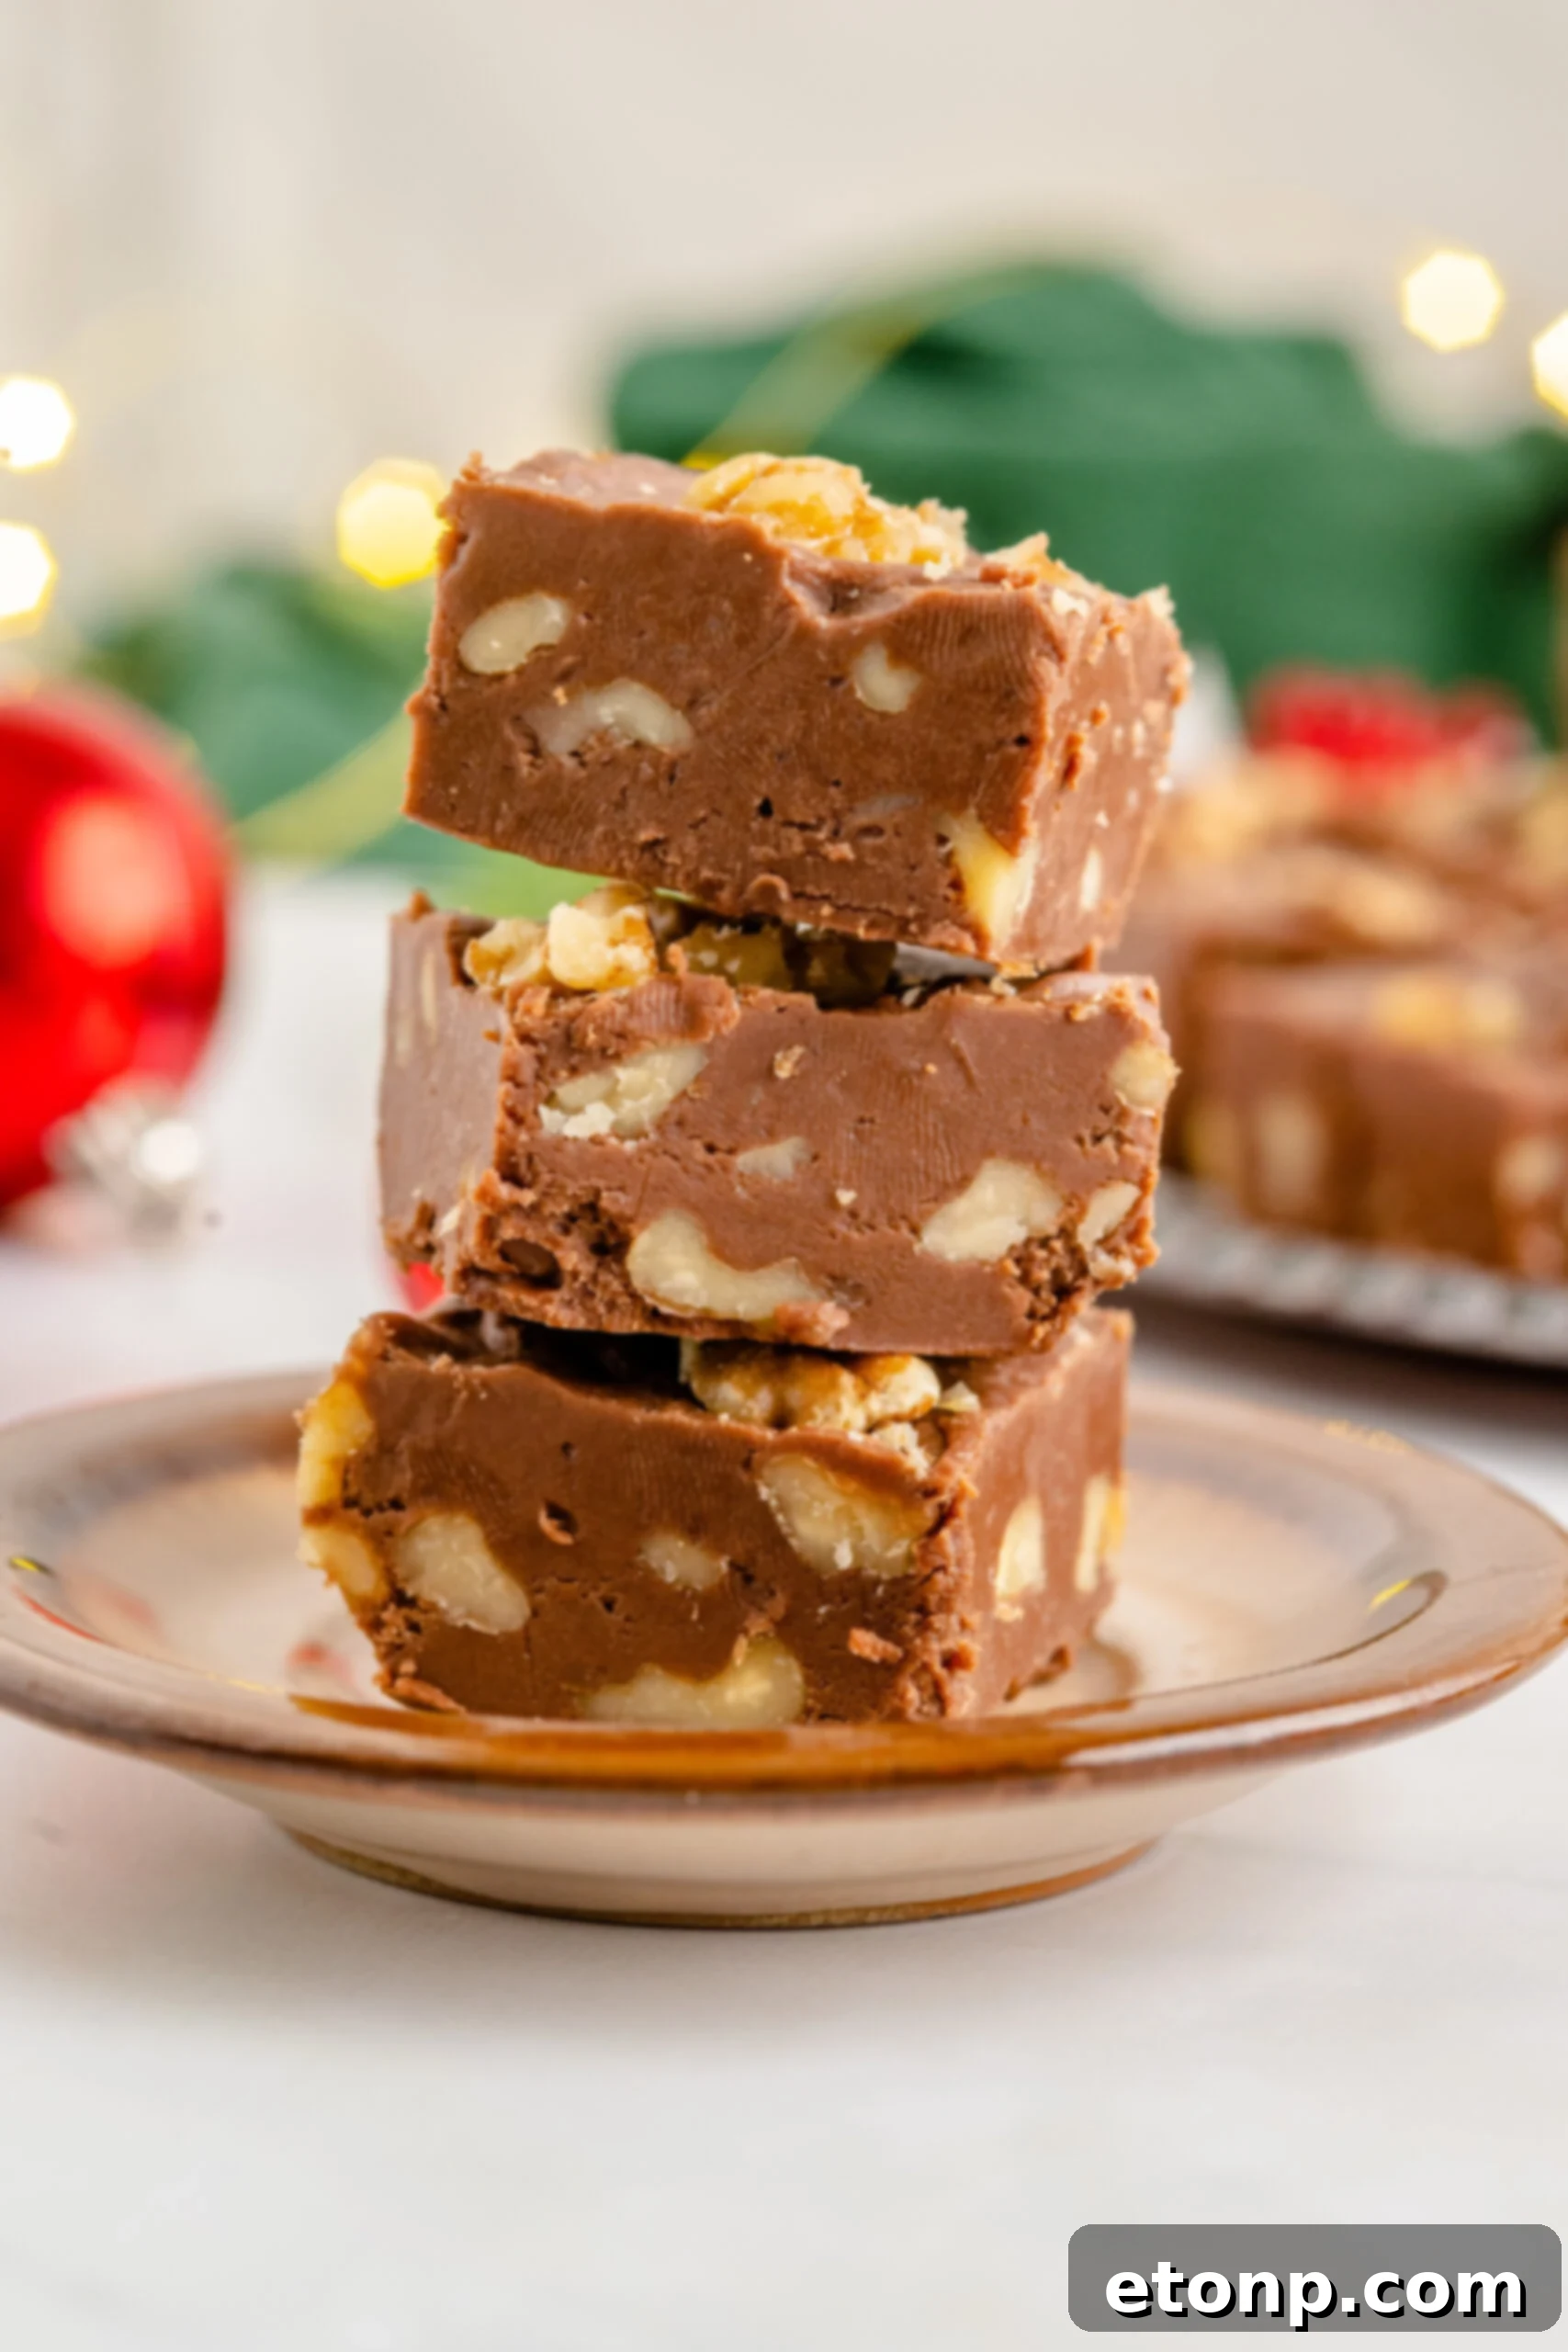
Why This Fantasy Fudge Recipe Will Become Your Favorite
Discover why this particular Fantasy Fudge recipe isn’t just another dessert but a beloved staple in countless kitchens. Its popularity stems from several key attributes that make it incredibly appealing and highly successful for home cooks.
- **Effortless Preparation:** This Fantasy Fudge is remarkably easy to make, eliminating complex techniques or extensive ingredient lists. It’s designed for convenience, ensuring a smooth process from start to finish, perfect for busy schedules or impromptu sweet cravings. You won’t find yourself spending hours in the kitchen, yet the results will taste like you did.
- **Accessible Pantry Staples:** Forget about searching for obscure or expensive components. This recipe exclusively uses simple, readily available pantry staples that you likely already have stocked in your kitchen. This not only makes it incredibly convenient but also cost-effective, allowing you to whip up a delicious batch without a special trip to the grocery store.
- **Unbelievably Quick:** Unlike many traditional fudge recipes that demand precise timing and extended cooking, this version is streamlined for speed. With just a few straightforward steps, you can have this decadent treat ready in under 15 minutes of active preparation time, making it an ideal choice when you need a quick dessert that truly impresses.
- **Reliably Creamy Texture:** The inclusion of marshmallow fluff is a secret weapon, ensuring that your fudge turns out perfectly creamy and smooth every time, without the graininess often associated with homemade fudge. This results in a melt-in-your-mouth experience that is consistently satisfying.
- **Versatile and Customizable:** While the classic recipe is fantastic, it also serves as an excellent base for experimentation. Easily adapt the flavor profile with different nuts, chocolate varieties, or extracts to match any preference or occasion, truly making it your own.
Essential Ingredients for Perfect Fantasy Fudge
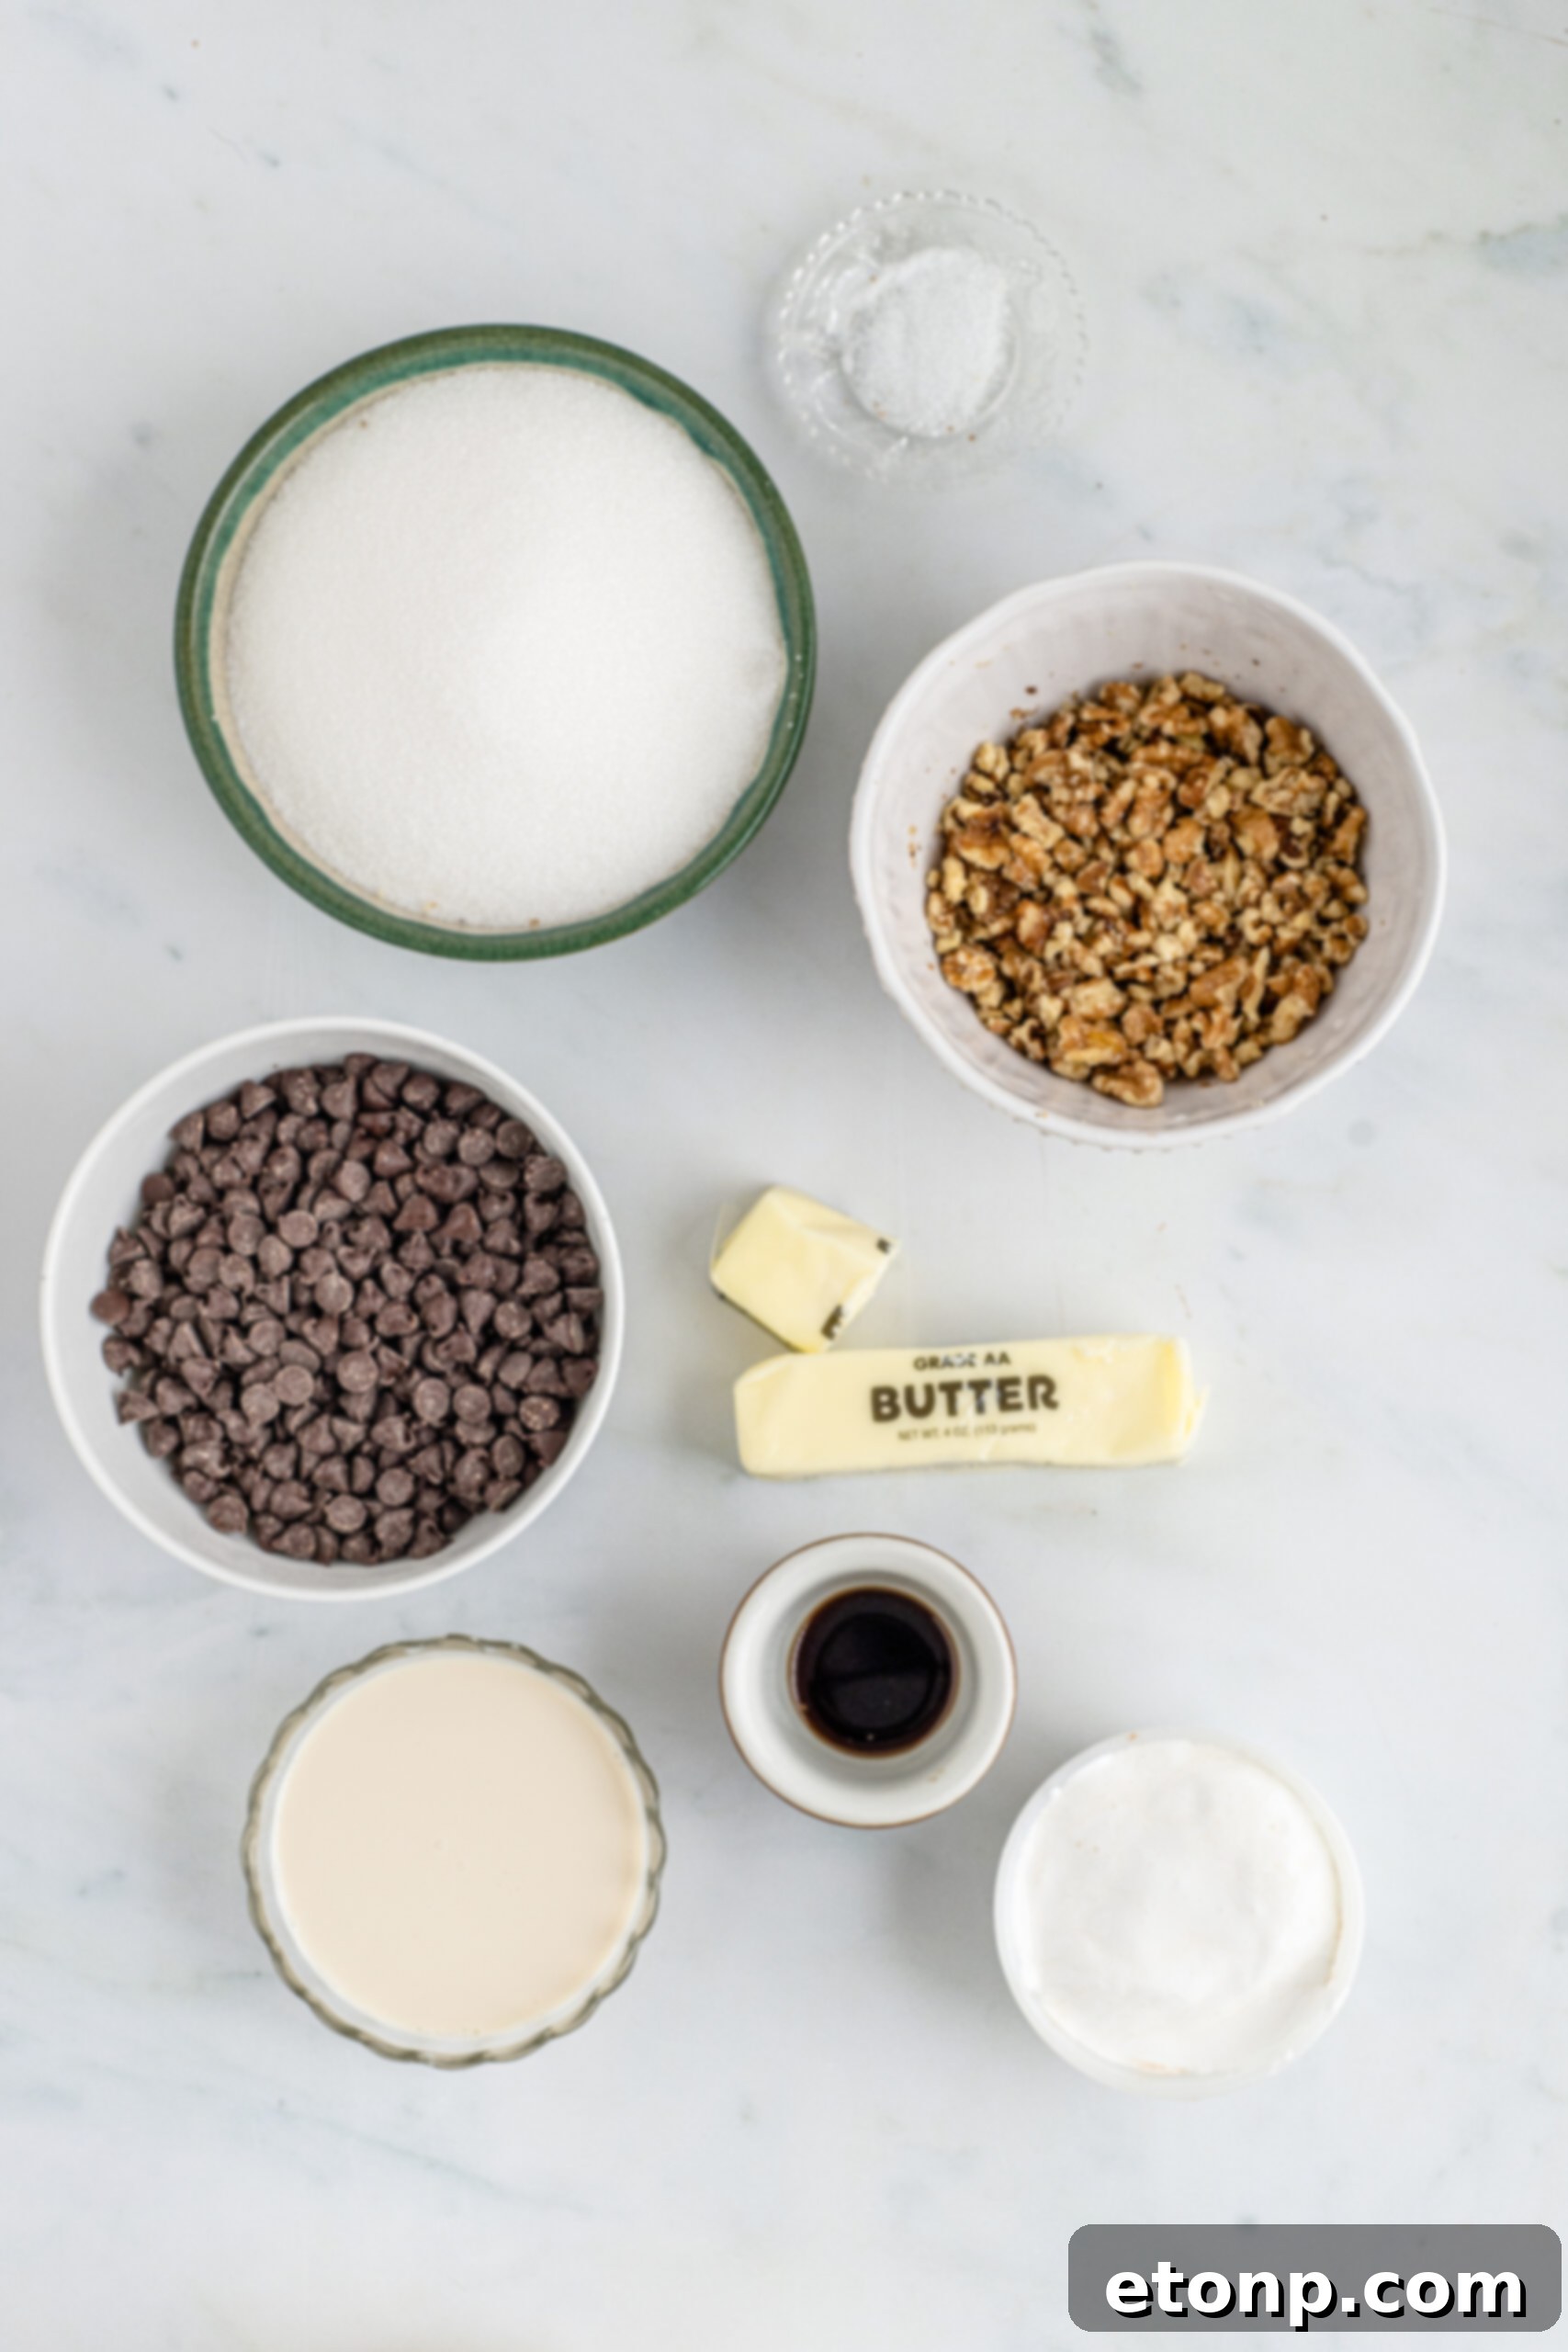
Crafting exceptional Fantasy Fudge relies on a carefully selected list of ingredients, each playing a crucial role in achieving its signature creamy texture and rich flavor. Here’s a breakdown of what you’ll need and why each component is essential:
- Granulated Sugar – As the primary sweetener, sugar is fundamental not only for taste but also for the fudge’s crystalline structure, which contributes to its firmness and overall texture. Accurate measurement is key for the perfect balance.
- Butter – Essential for richness and flavor, butter also aids in preventing crystallization and contributes to the fudge’s smooth, melt-in-your-mouth consistency. Ensure your butter is at room temperature to facilitate even melting and mixing.
- Evaporated Milk – This is a non-negotiable ingredient for authentic fudge. Evaporated milk, which is concentrated milk with about 60% of its water removed, provides the necessary moisture and richness while also helping to create the fudge’s distinctive creamy body without adding excess liquid that could make it watery.
- Milk Chocolate Chips – The heart of this chocolatey delight. Milk chocolate chips deliver a classic, sweet, and comforting chocolate flavor. For those who prefer a deeper, more intense chocolate experience, dark chocolate chips can be easily substituted to alter the flavor profile to your liking.
- Marshmallow Fluff – Often considered the star ingredient in this particular fudge recipe, marshmallow fluff is the secret to its renowned silky-smooth texture. It helps prevent sugar crystallization, ensuring a consistently creamy, non-grainy finish that sets this fudge apart from more traditional recipes.
- Vanilla Extract – A splash of vanilla is vital for enhancing and rounding out the overall sweetness and chocolate flavor. It adds a warm, aromatic depth that elevates the entire profile of the fudge, moving beyond just chocolate and sugar.
- Salt – Just a small pinch of salt works wonders to balance the intense sweetness of the fudge. It subtly accentuates the chocolate notes and prevents the fudge from tasting overwhelmingly sugary, creating a more complex and enjoyable flavor.
- Chopped Walnuts – For an added layer of texture and a delightful nutty crunch, chopped walnuts are a classic inclusion. They provide a pleasant contrast to the smooth fudge. If walnuts aren’t your preference, chopped pecans make an excellent alternative, offering a slightly different but equally delicious nutty flavor.
Expert Tips for Crafting the Best Fantasy Fudge
Achieving perfect Fantasy Fudge every time is within reach with these crucial tips designed to ensure a smooth, creamy, and utterly delicious result. Pay close attention to these details, and your homemade fudge will be legendary.
- **Choosing the Right Pan:** The standard recipe typically calls for an 8×8-inch baking dish, which yields a thicker, more substantial piece of fudge. However, if you prefer a thinner fudge that offers more pieces, you can easily opt for a 9×13-inch baking dish instead. Remember to line your chosen dish with parchment paper, leaving an overhang on the sides, to make removal and cutting incredibly easy.
- **The Indispensable Candy Thermometer:** When heating the sugar mixture, precision is paramount. I cannot stress enough the importance of using a reliable candy thermometer. Reaching the exact target temperature of 235°F (113°C) is critical for proper setting and texture. Going over this temperature can result in hard, crumbly fudge, while too low will leave it too soft. This small investment ensures consistent success.
- **Patience is a Virtue in Simmering:** As the milk and sugar mixture simmers, it’s tempting to increase the heat to speed up the process. Resist this urge! The temperature will naturally stall once it approaches 225°F (107°C) before slowly climbing to 235°F (113°C). Be patient and allow it to simmer gently over medium heat. Increasing the heat dramatically increases the risk of scalding the milk, which can impart an unpleasant burnt flavor to your fudge, ruining the entire batch. Consistent, gentle stirring during this phase is also key to prevent burning and promote even heating.
- **Stirring for Smoothness:** To prevent the sugars from crystallizing and creating a grainy texture, stir the mixture constantly during the simmering process until it reaches the desired temperature. Once off the heat, continue stirring vigorously after adding the chocolate and marshmallow fluff until everything is thoroughly combined and smooth.
- **Cooling is Crucial:** Once poured into the prepared pan, allow the fudge to cool completely at room temperature, ideally for several hours or even overnight. This slow setting process is vital for achieving the perfect firm yet creamy consistency. Refrigerating it too soon can sometimes lead to a chewier, less desirable texture.
Frequently Asked Questions About Fantasy Fudge
How do I properly freeze Fantasy Fudge for long-term storage?
Fantasy Fudge is an excellent candidate for freezing, allowing you to prepare it in advance or enjoy it over an extended period. To freeze it effectively, first ensure the fudge has completely cooled and set. Then, cut it into individual pieces. Wrap each piece tightly in plastic wrap, then place the wrapped pieces into a freezer-safe bag or an airtight container. This double-layer protection helps prevent freezer burn. Stored this way, the fudge can maintain its quality for up to 3 months. When you’re ready to indulge, simply remove the desired amount of fudge from the freezer and allow it to thaw at room temperature for a few minutes. It doesn’t take long for it to soften back to its original creamy consistency, ready to be enjoyed.
What is the characteristic texture of this Fantasy Fudge?
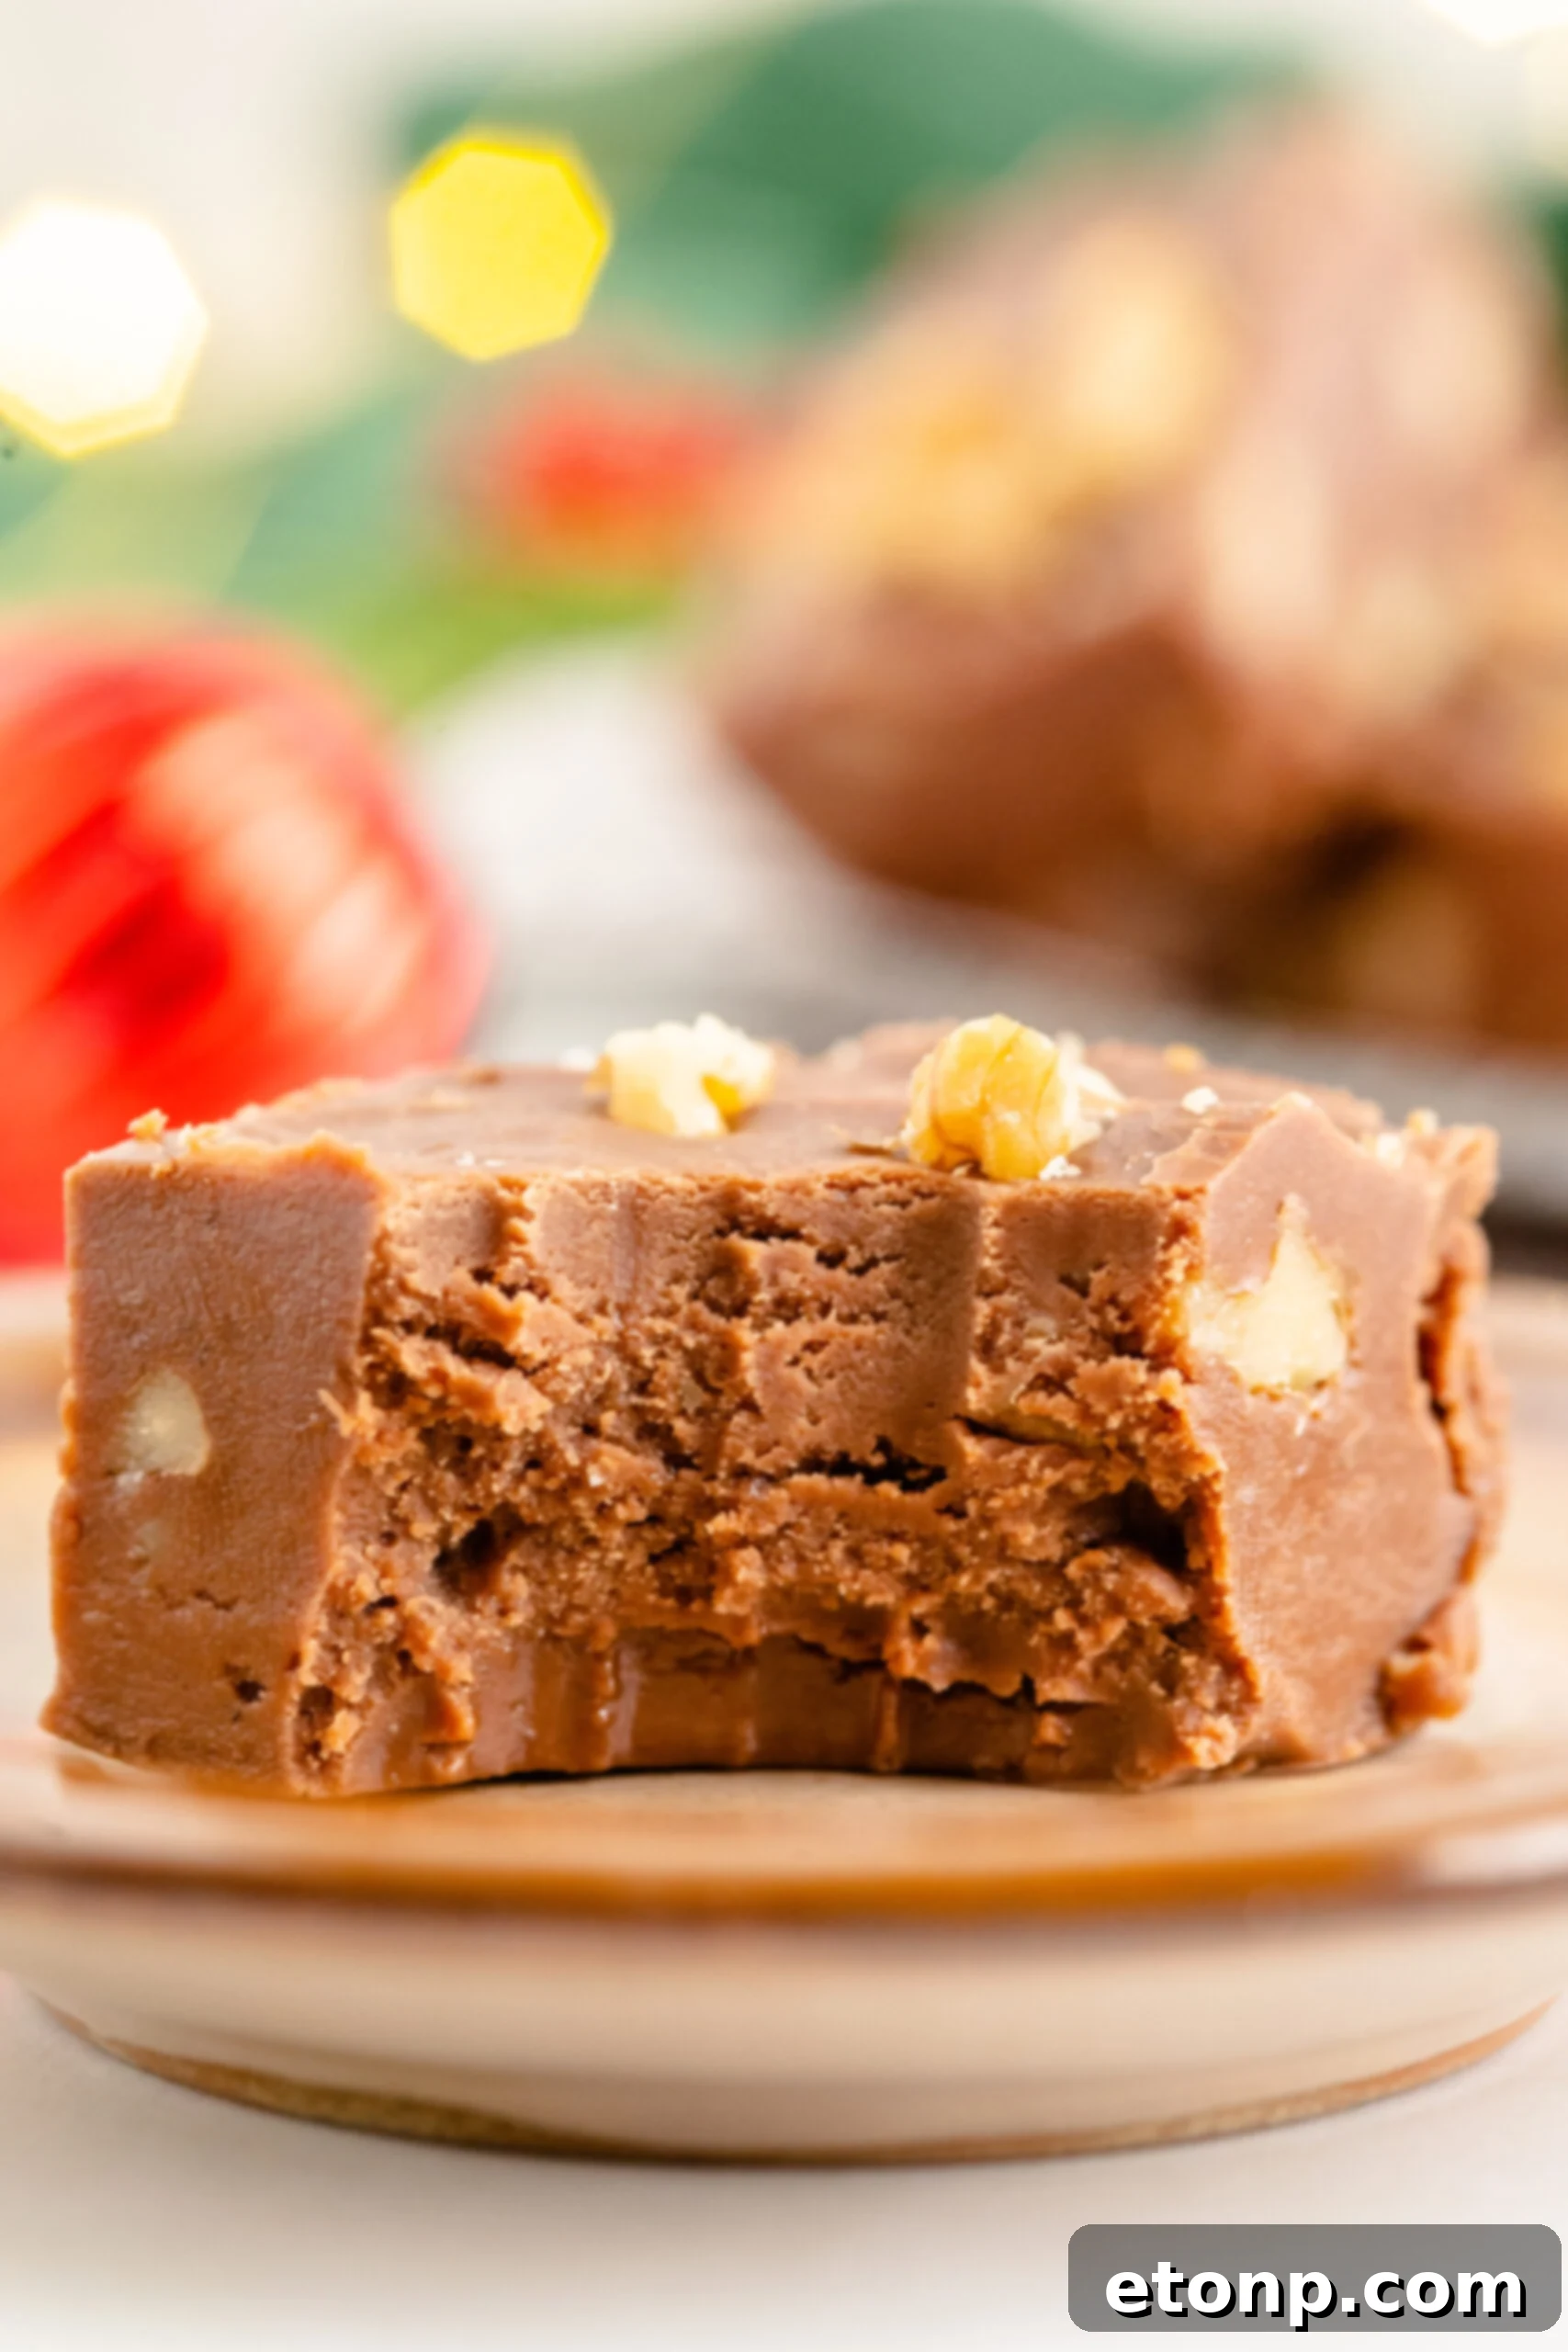
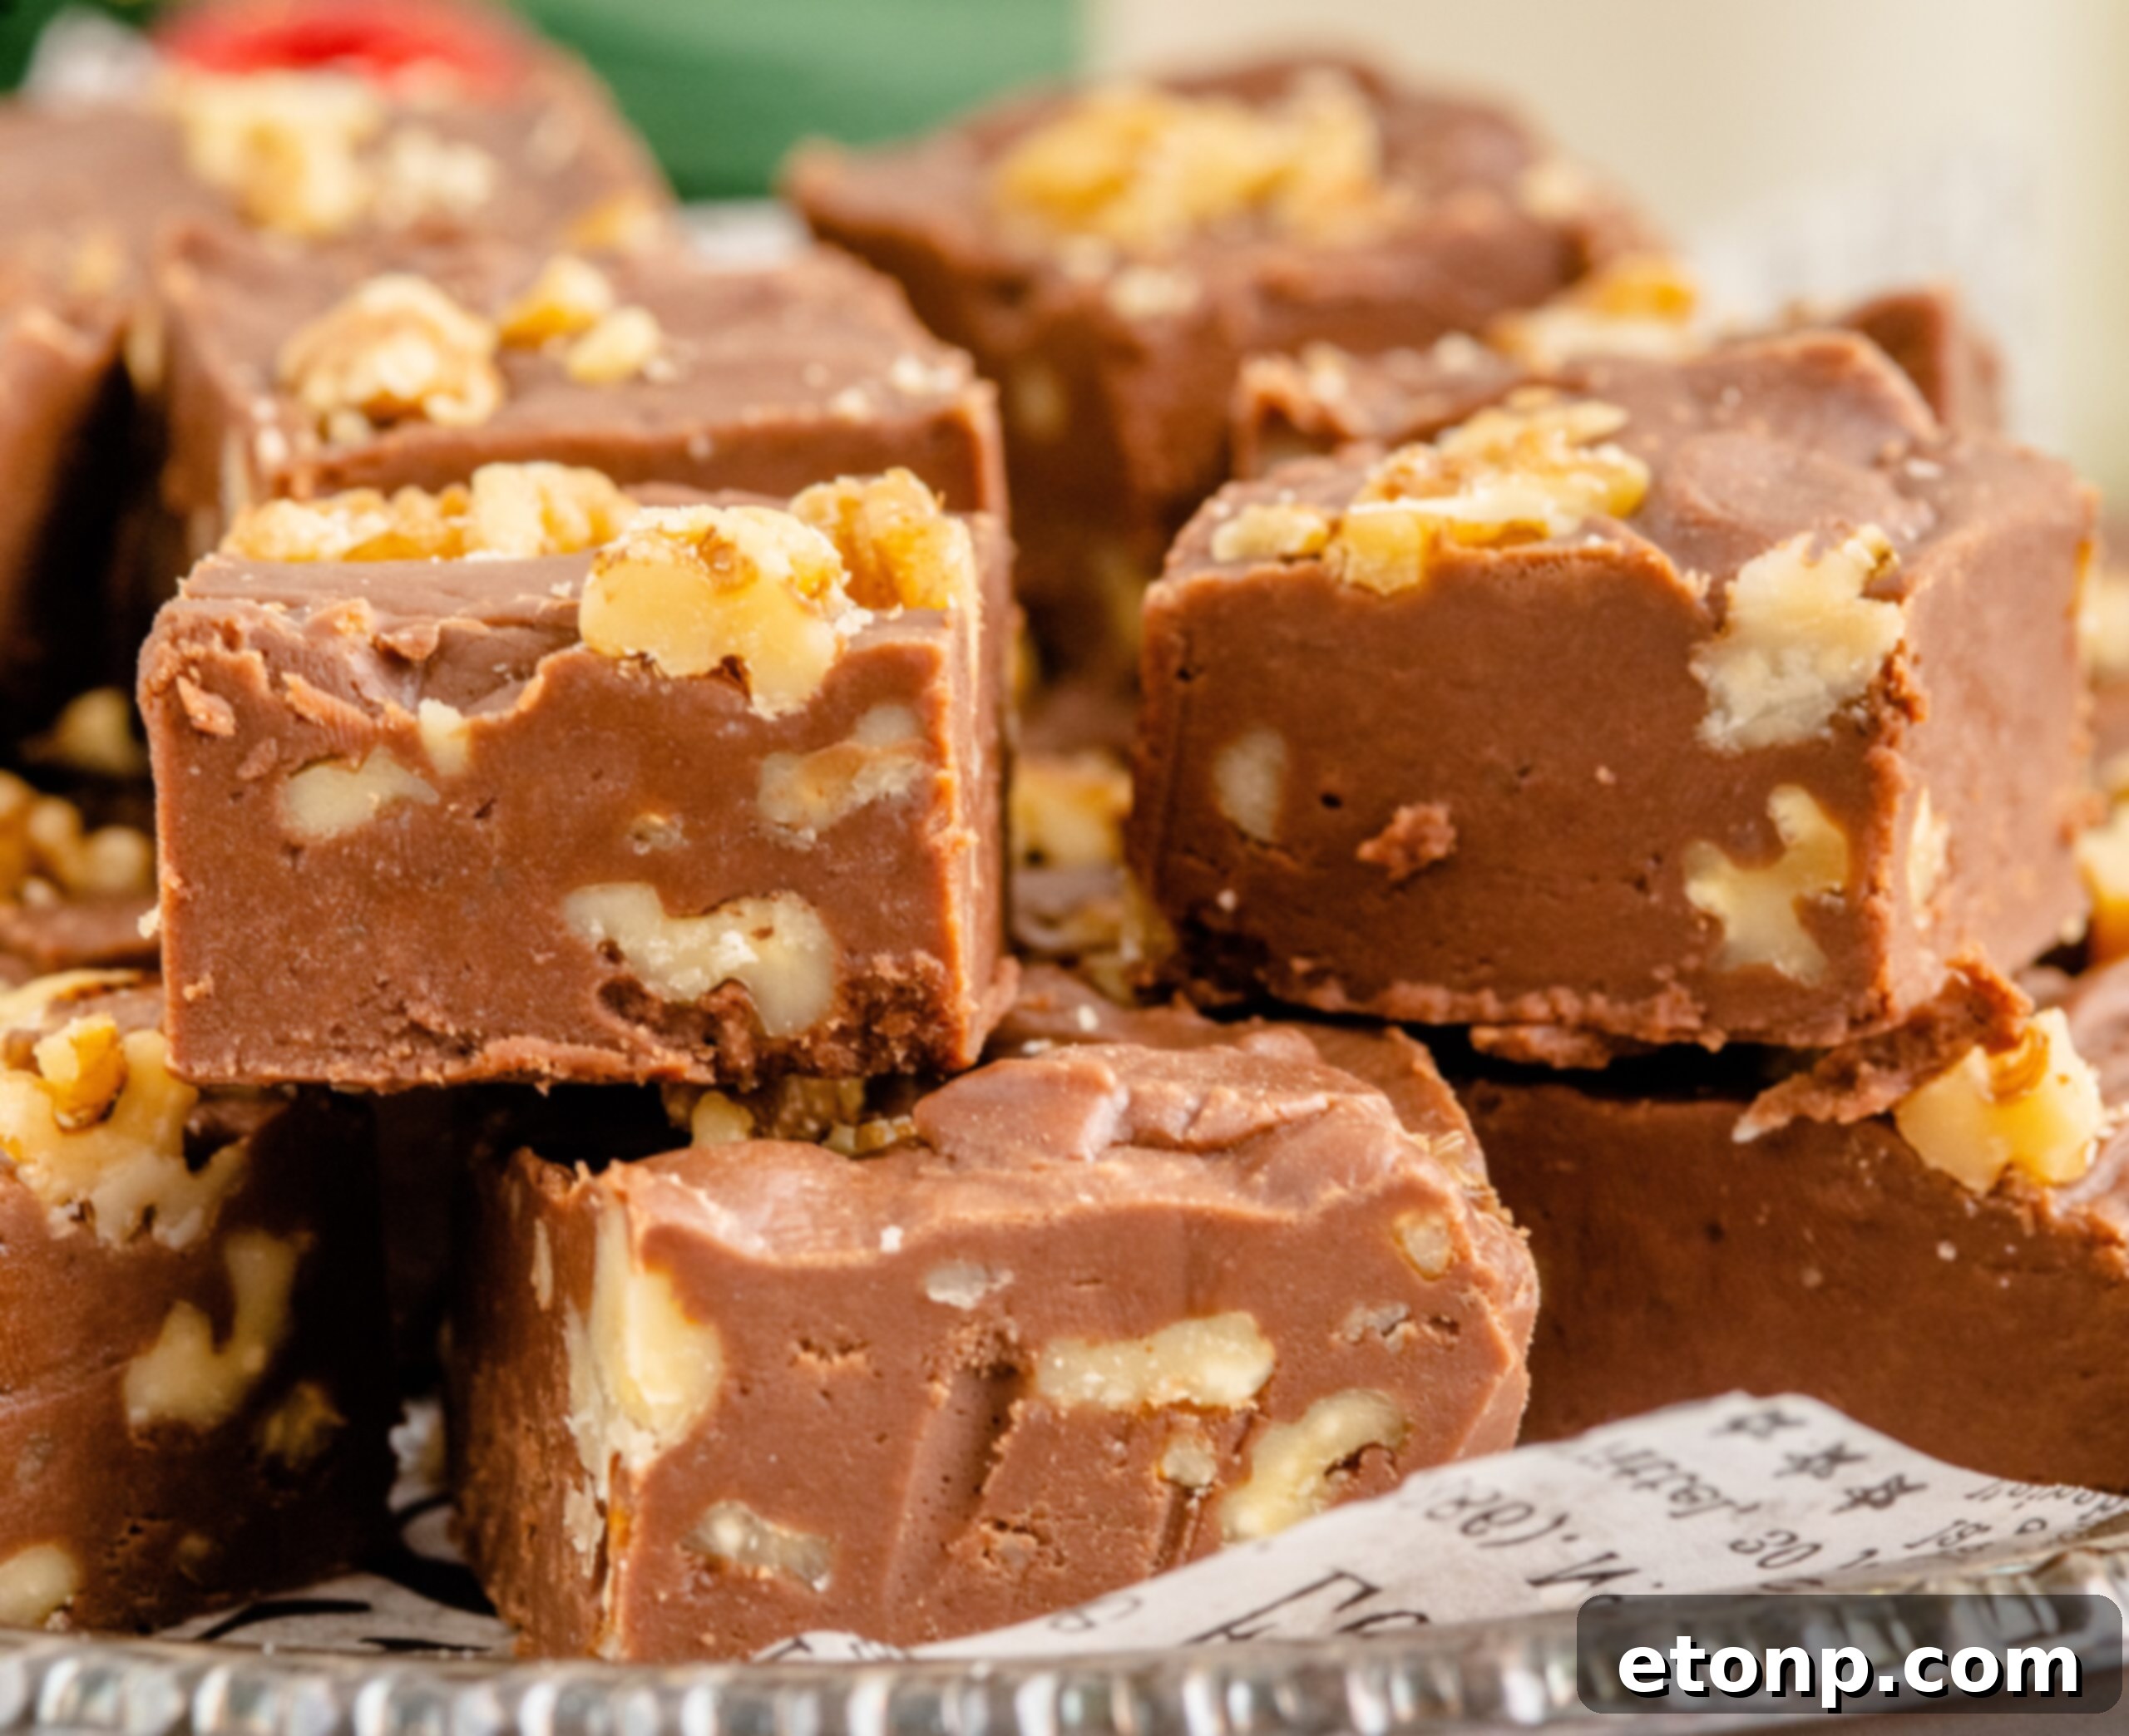
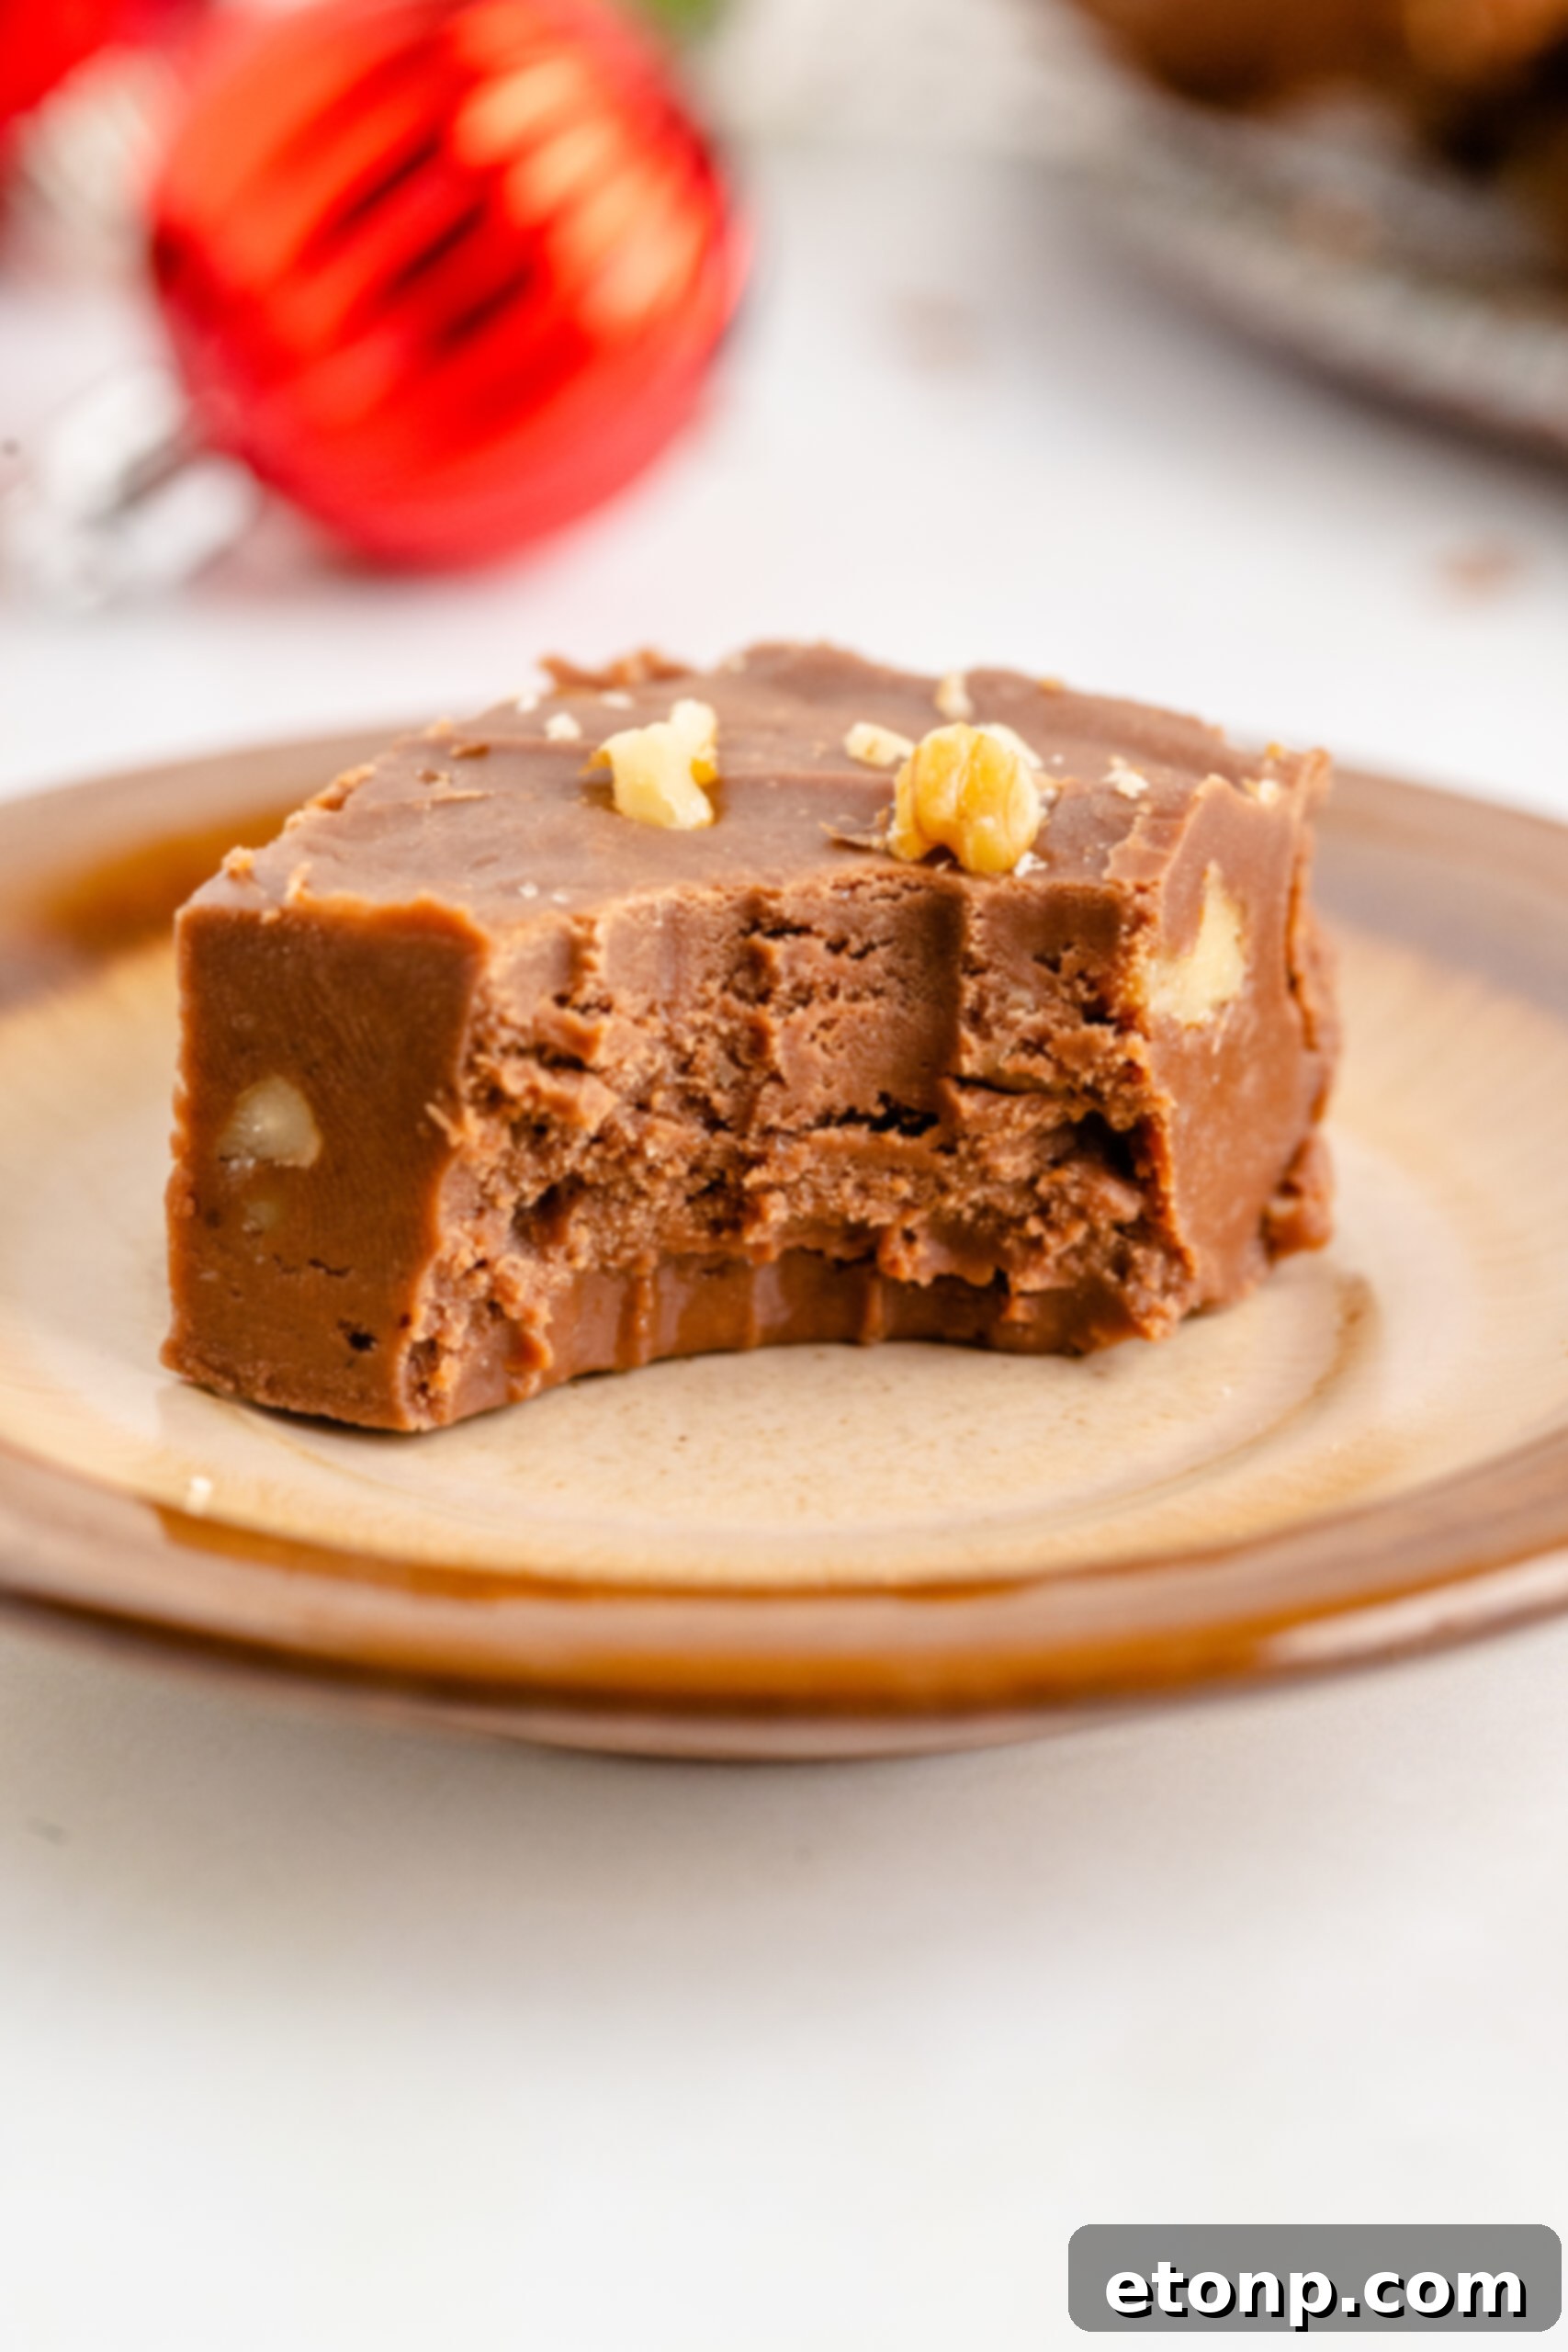
The hallmark of this Fantasy Fudge is its luxuriously thick, intensely sweet, and incredibly rich chocolate profile. It’s designed to melt in your mouth, delivering a profound cocoa experience with every bite. The addition of finely chopped walnuts throughout provides a delightful textural contrast – a subtle crunch that complements the velvety smoothness of the fudge. This combination creates a truly fantastic, classic dessert, making it an ideal treat for the holidays, special occasions, or whenever you crave a comforting, decadent indulgence.
How can I ensure my Fantasy Fudge doesn’t turn out grainy?
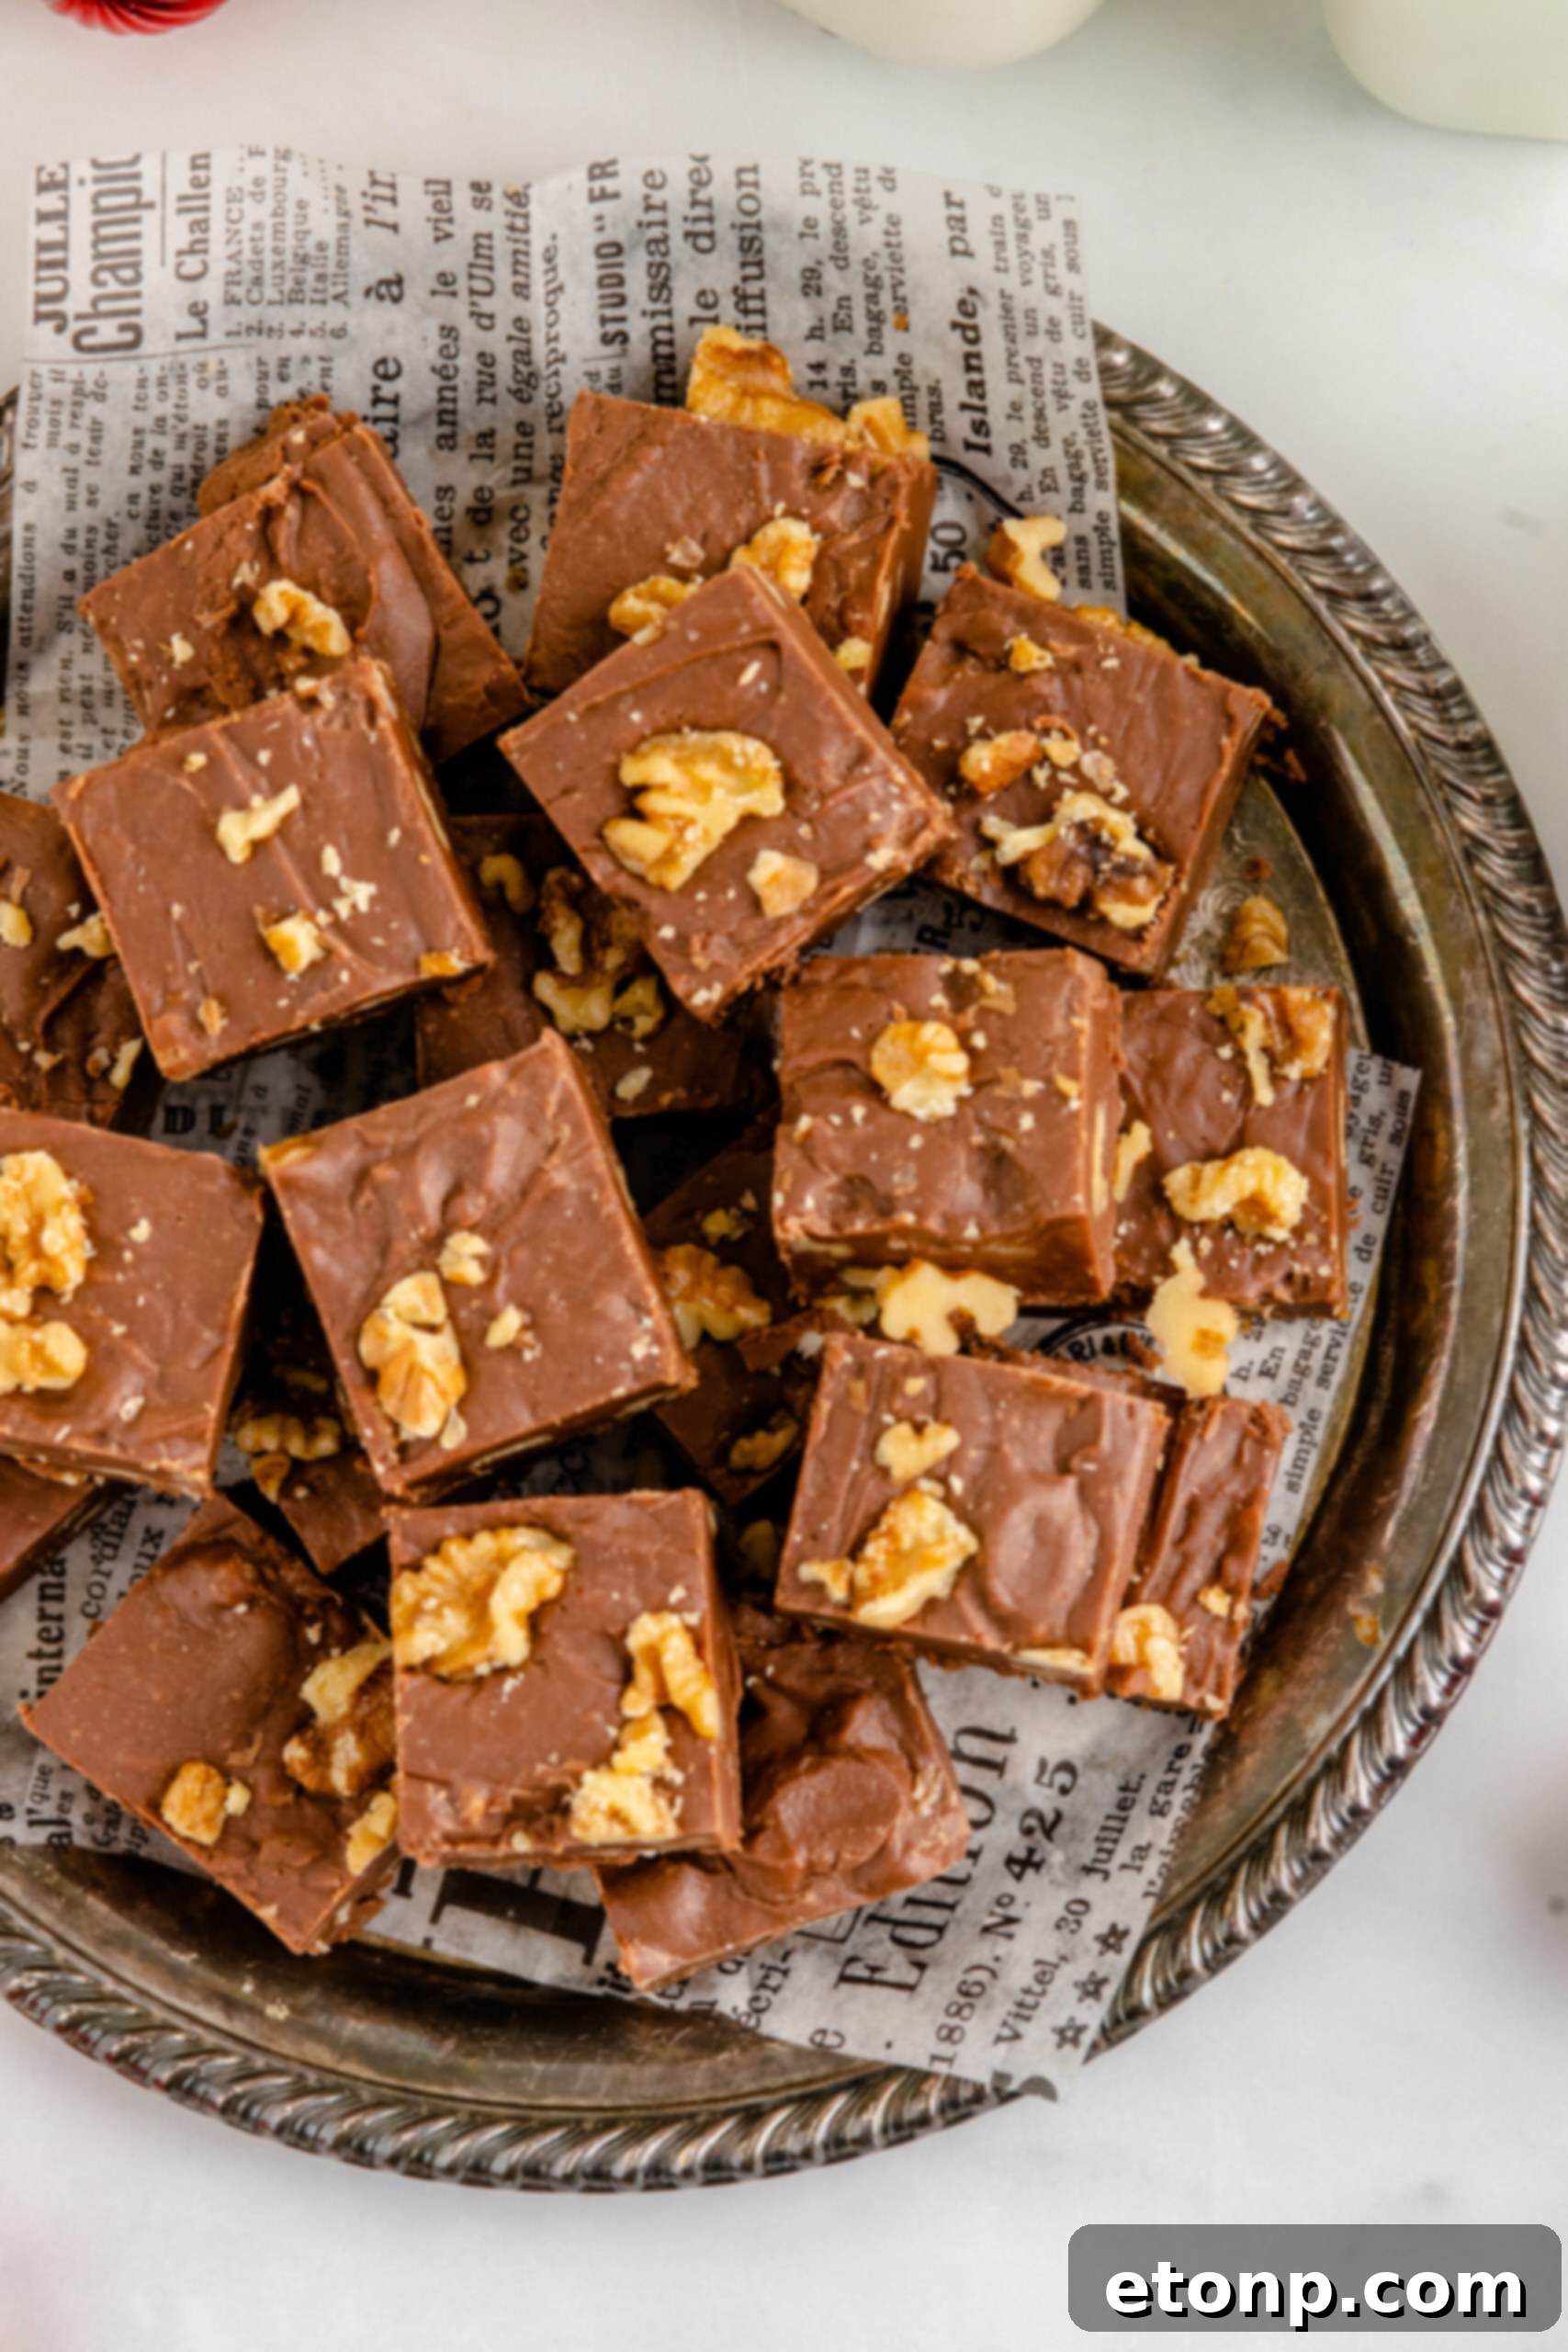
Preventing grainy fudge is a common concern, but it’s easily avoidable with a simple technique. The key lies in consistent stirring. By stirring the sugar mixture constantly while it heats and simmers, you help prevent the sugar crystals from forming and growing too large. This constant agitation keeps the sugar dissolved evenly, leading to a smooth, uniform texture in the final product. Additionally, using marshmallow fluff in this recipe significantly contributes to a non-grainy, creamy fudge, as it helps interfere with sugar crystallization.
Should Fantasy Fudge be refrigerated after making it?
Yes, refrigerating Fantasy Fudge is generally recommended for optimal freshness and texture. Storing it in the fridge will help it maintain its firm structure, preventing it from becoming too soft, sticky, or developing a grainy texture over time, especially in warmer environments. Refrigeration also helps to preserve its fresh flavor for longer periods. To enjoy your fudge at its absolute best, allow it to sit at room temperature for about 10-15 minutes before serving. This brief period allows the fudge to soften slightly, bringing out its full creamy potential and enhancing its melt-in-your-mouth quality.
Discover More Irresistible Fudge Recipes!
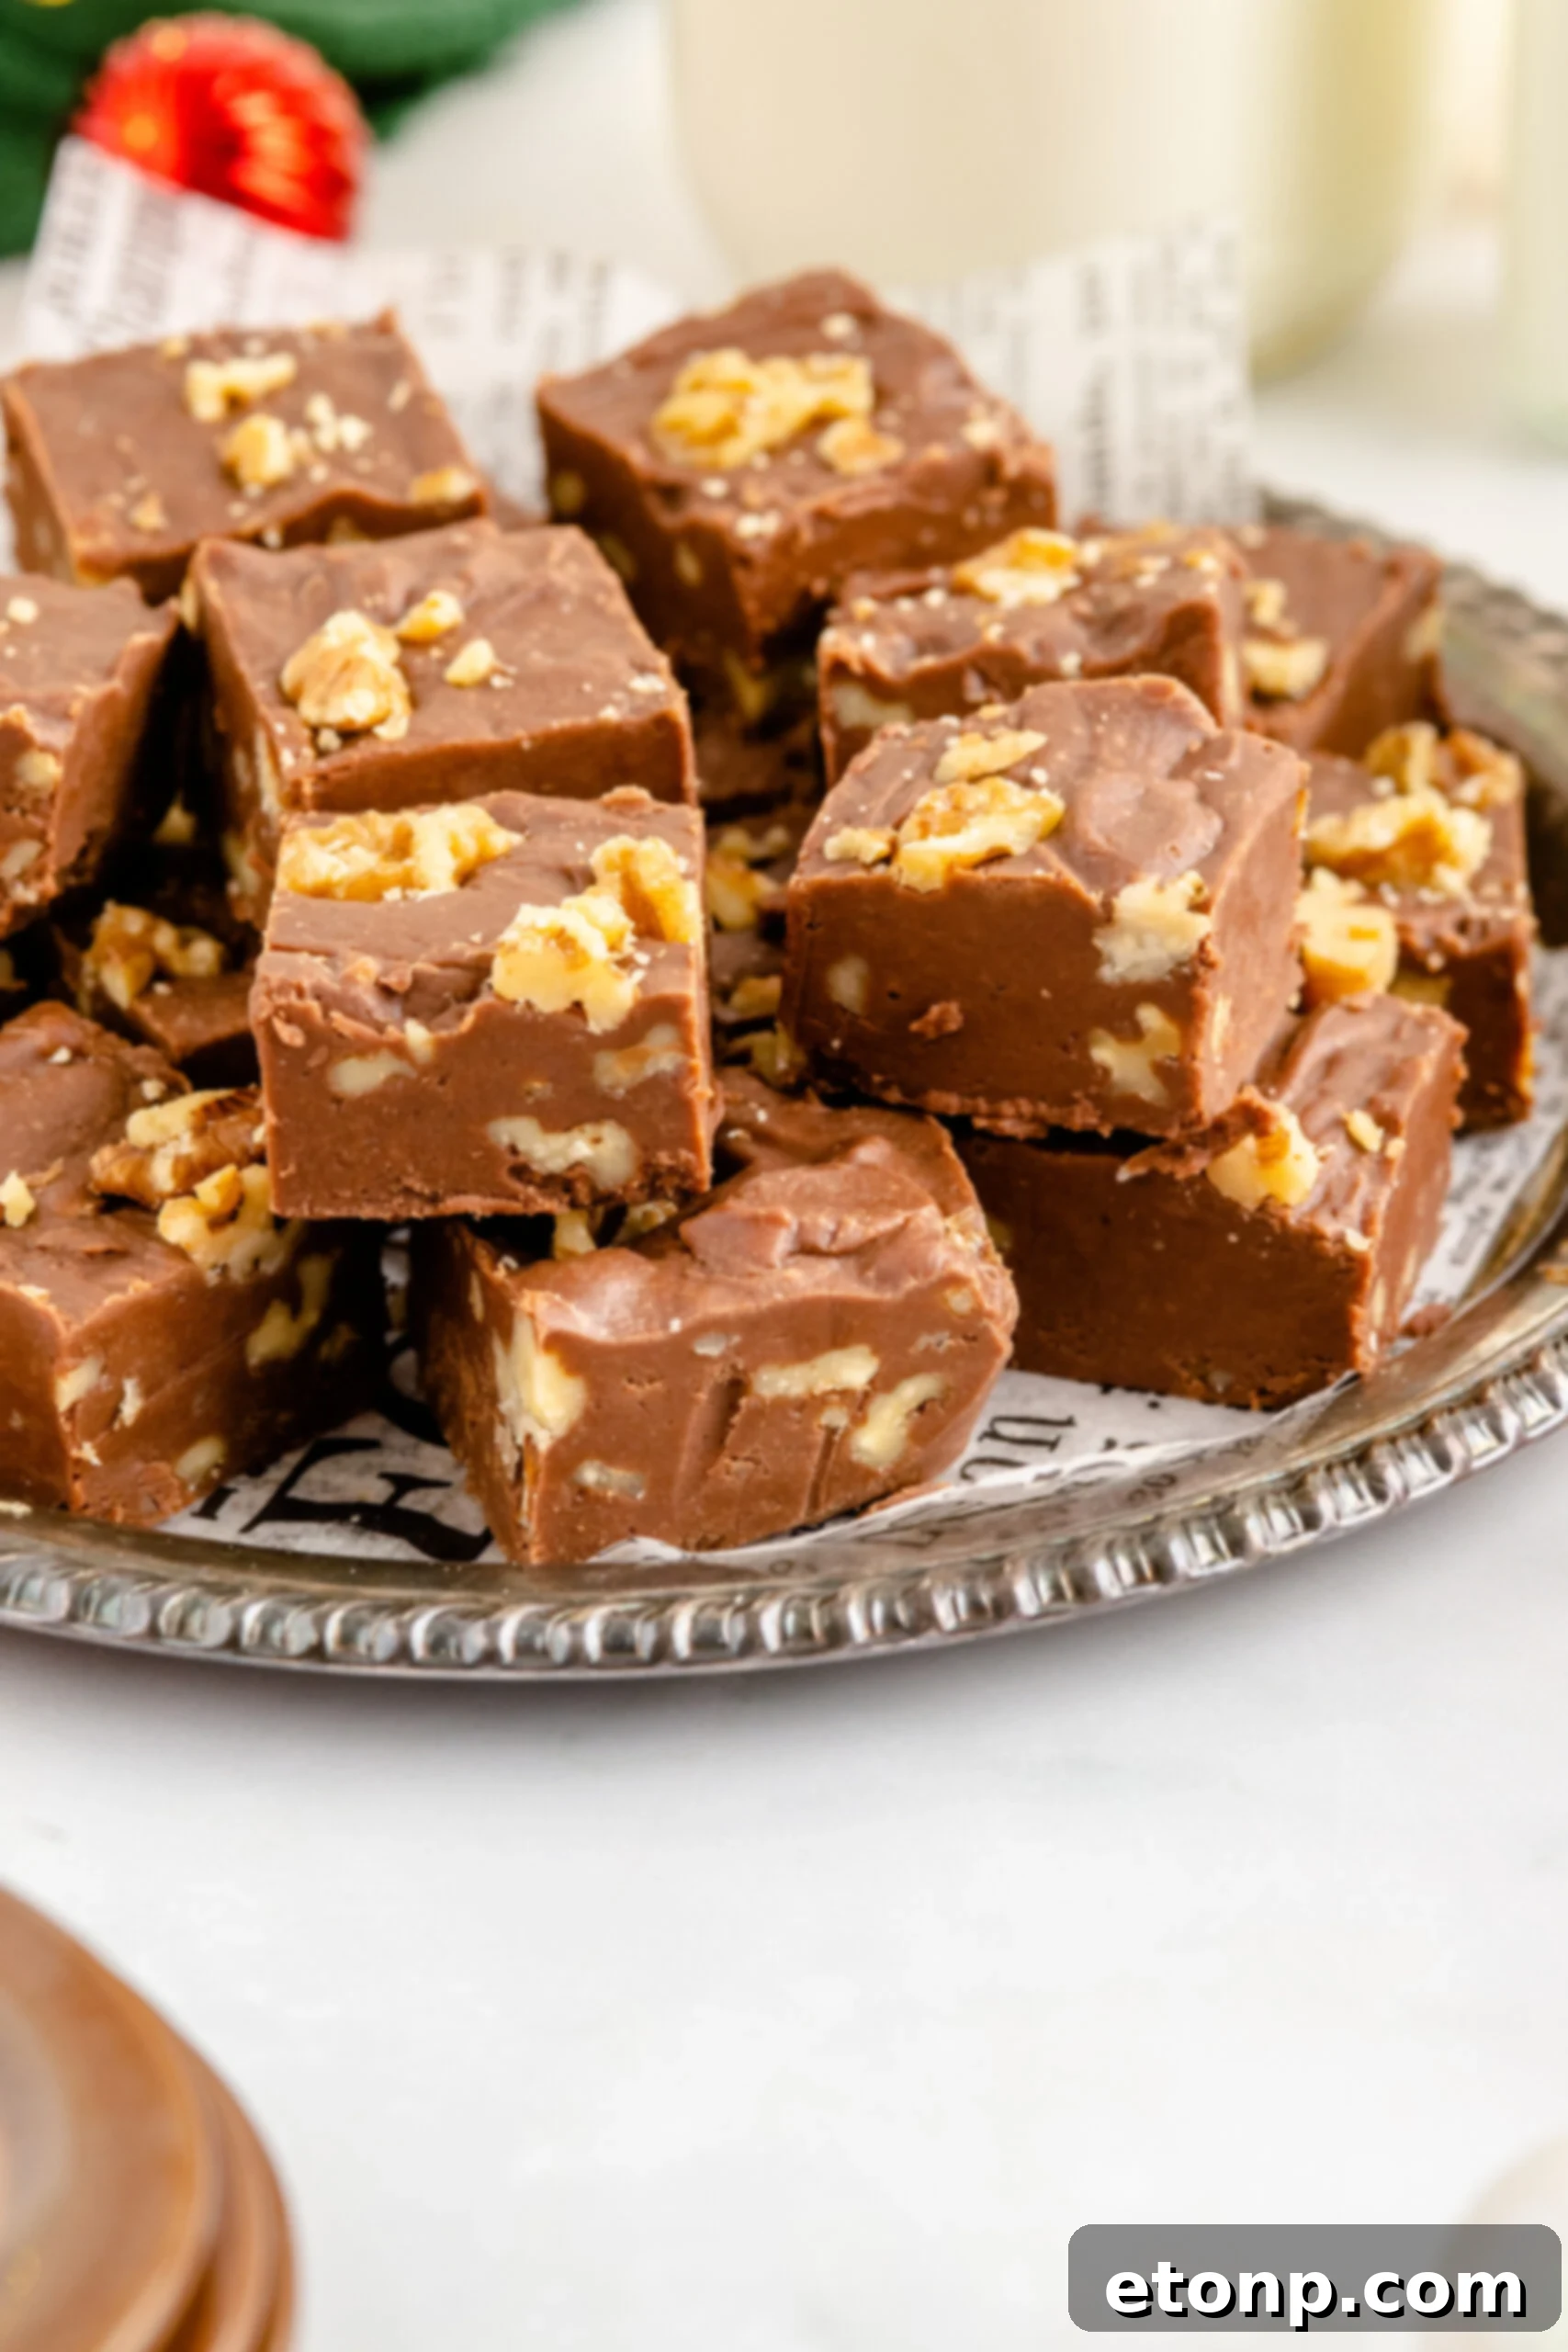
If you’ve fallen in love with the ease and deliciousness of Fantasy Fudge, you’re in for a treat! Explore our other fantastic fudge recipes that are equally simple to make and bursting with flavor, perfect for expanding your dessert repertoire or finding new favorites for gifting.
Creamy Eggnog Fudge
No Bake Candy Cane Oreo Fudge
Creamy Cherry Fudge
Classic Fantasy Fudge
Ingredients
- 2 2/3 c granulated sugar
- 2/3 c unsalted butter at room temperature
- 2/3 c evaporated milk
- 2 c milk chocolate chips (or dark chocolate for a richer flavor)
- 2/3 c marshmallow fluff
- 1 1/2 tsp pure vanilla extract
- 1/2 tsp fine sea salt
- 1 c chopped walnuts (or pecans for an alternative nutty flavor)
Instructions
-
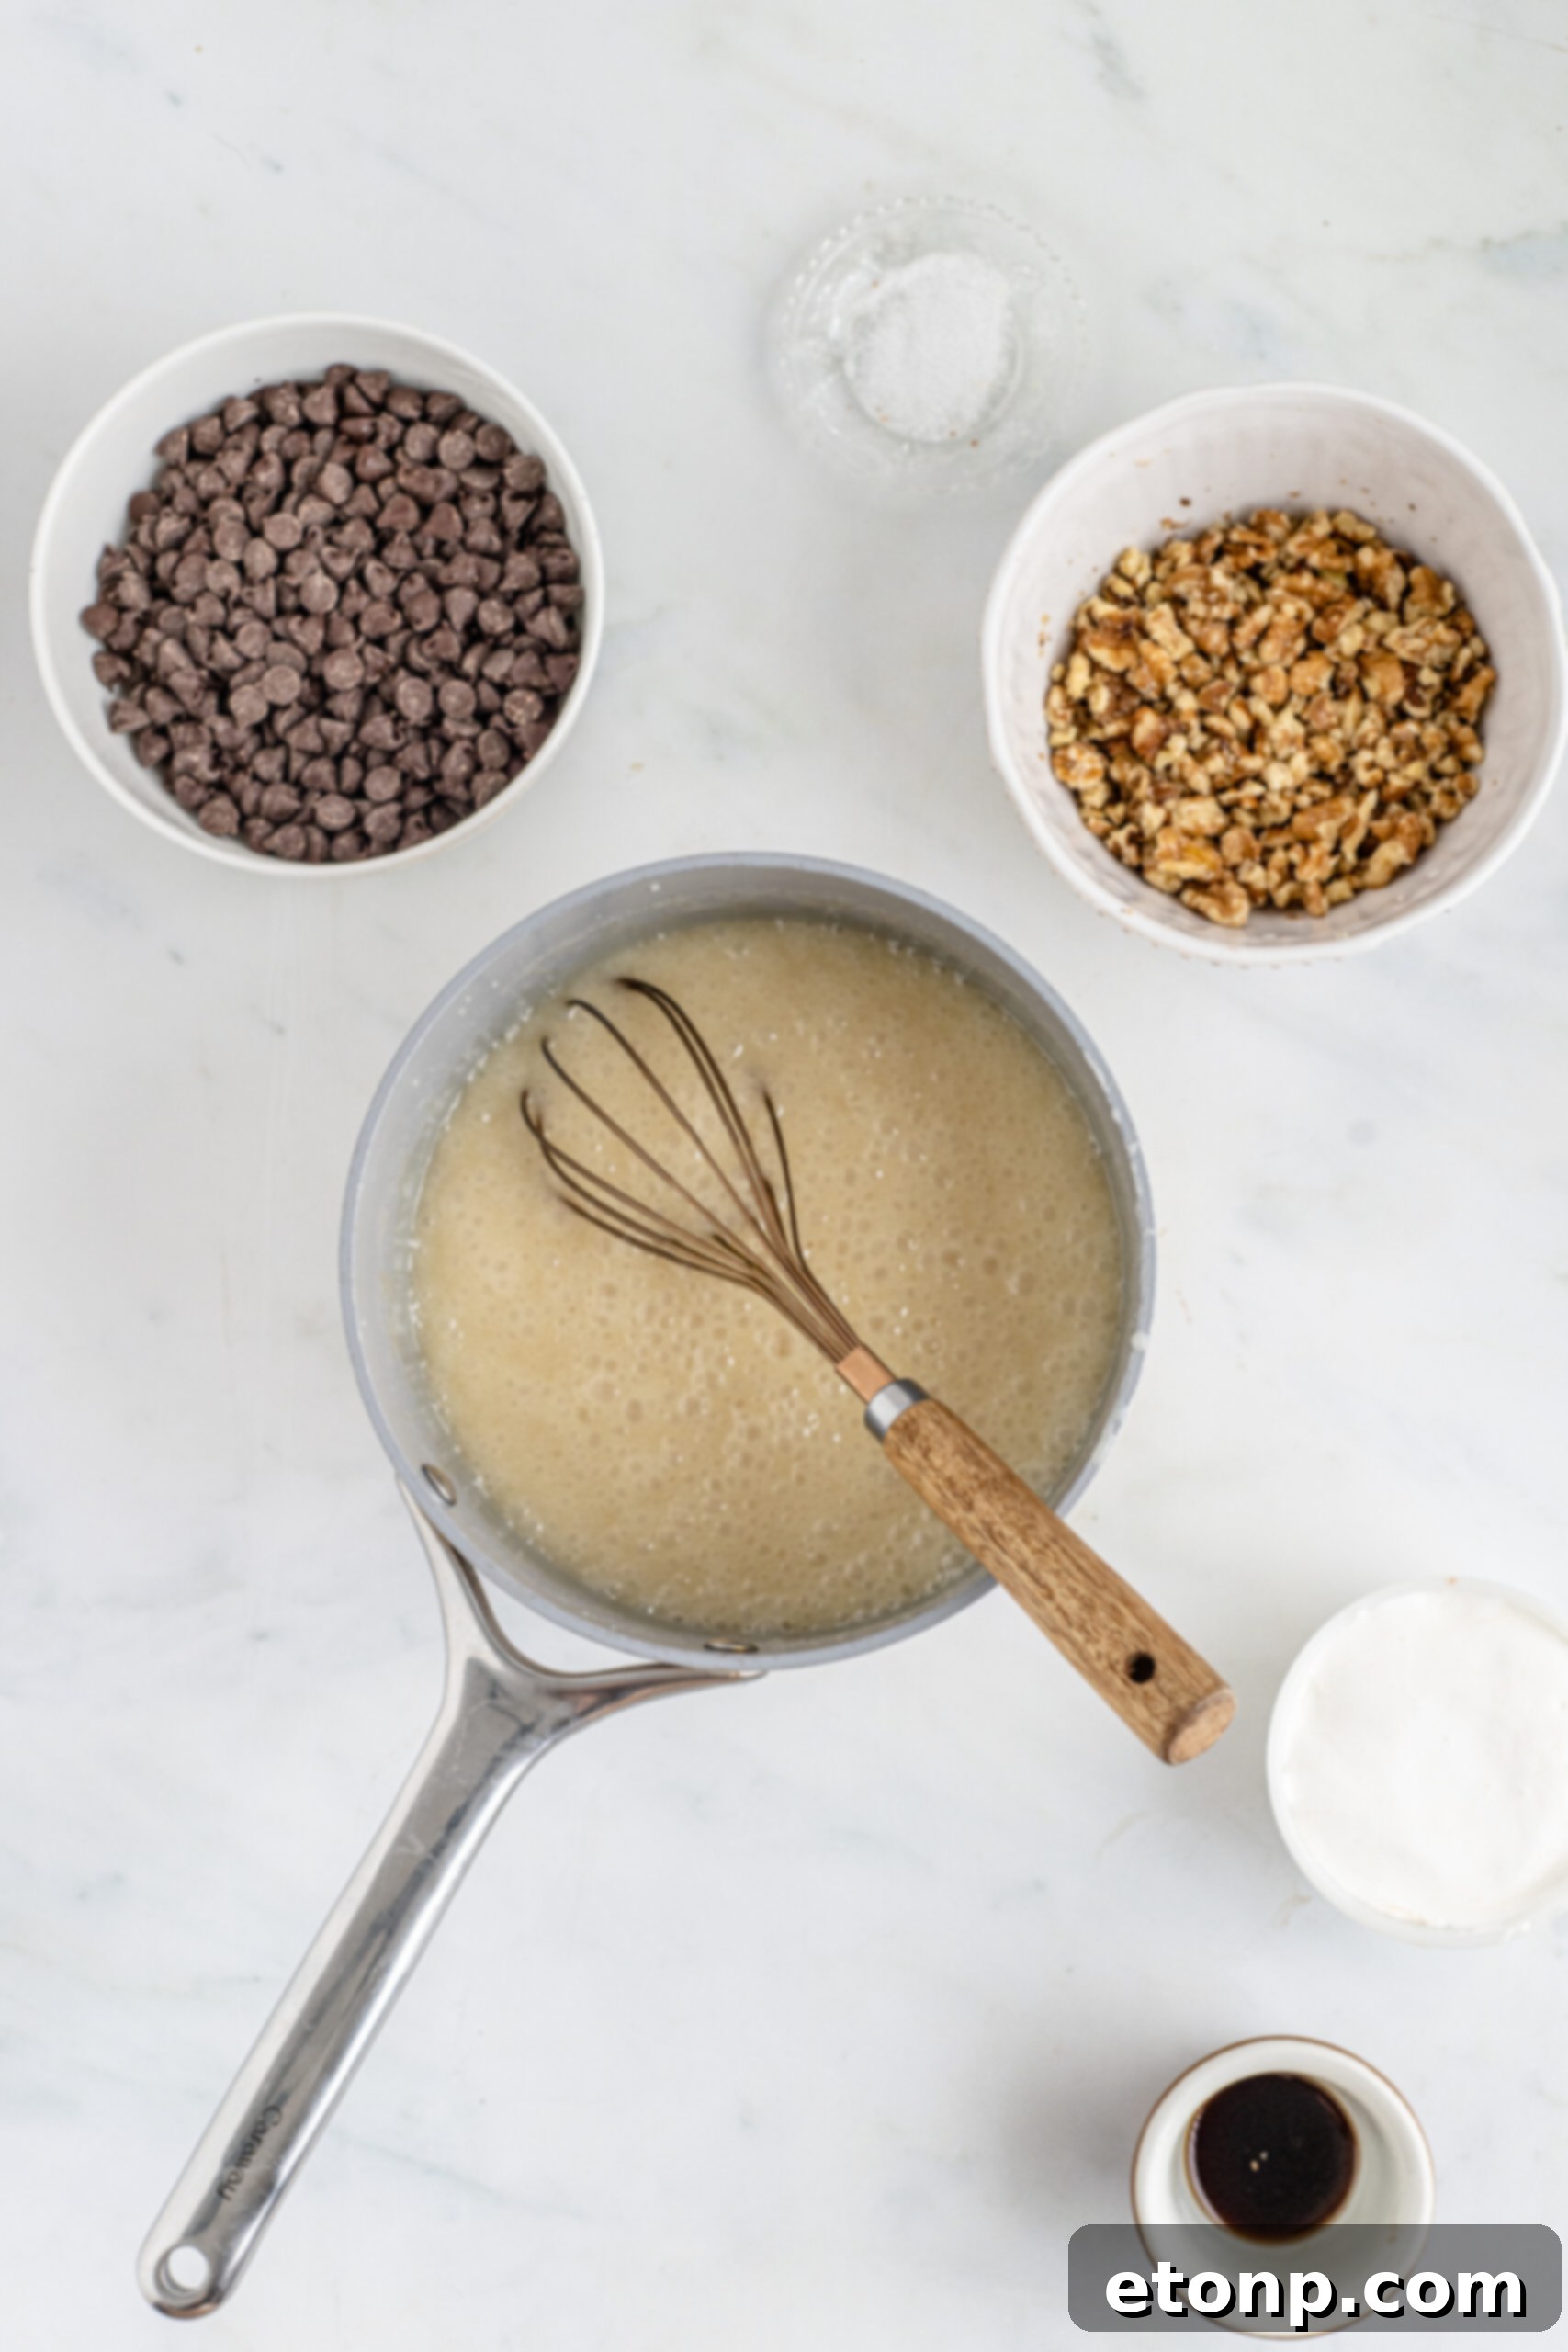
Prepare your baking dish by lining a 9×9-inch pan (or 9×13-inch for thinner fudge) with parchment paper, allowing an overhang on the sides for easy lifting. Set this aside. In a large, heavy-bottomed saucepan, combine the granulated sugar, room temperature butter, and evaporated milk. Place the saucepan over medium heat and bring the mixture to a full boil. Once boiling, reduce the heat to a steady simmer. Stirring constantly to prevent scorching and crystallization, continue to simmer the sugar mixture for approximately 10-12 minutes, or until a candy thermometer accurately reads 235°F (113°C). Immediately remove the saucepan from the heat once the correct temperature is achieved.
-
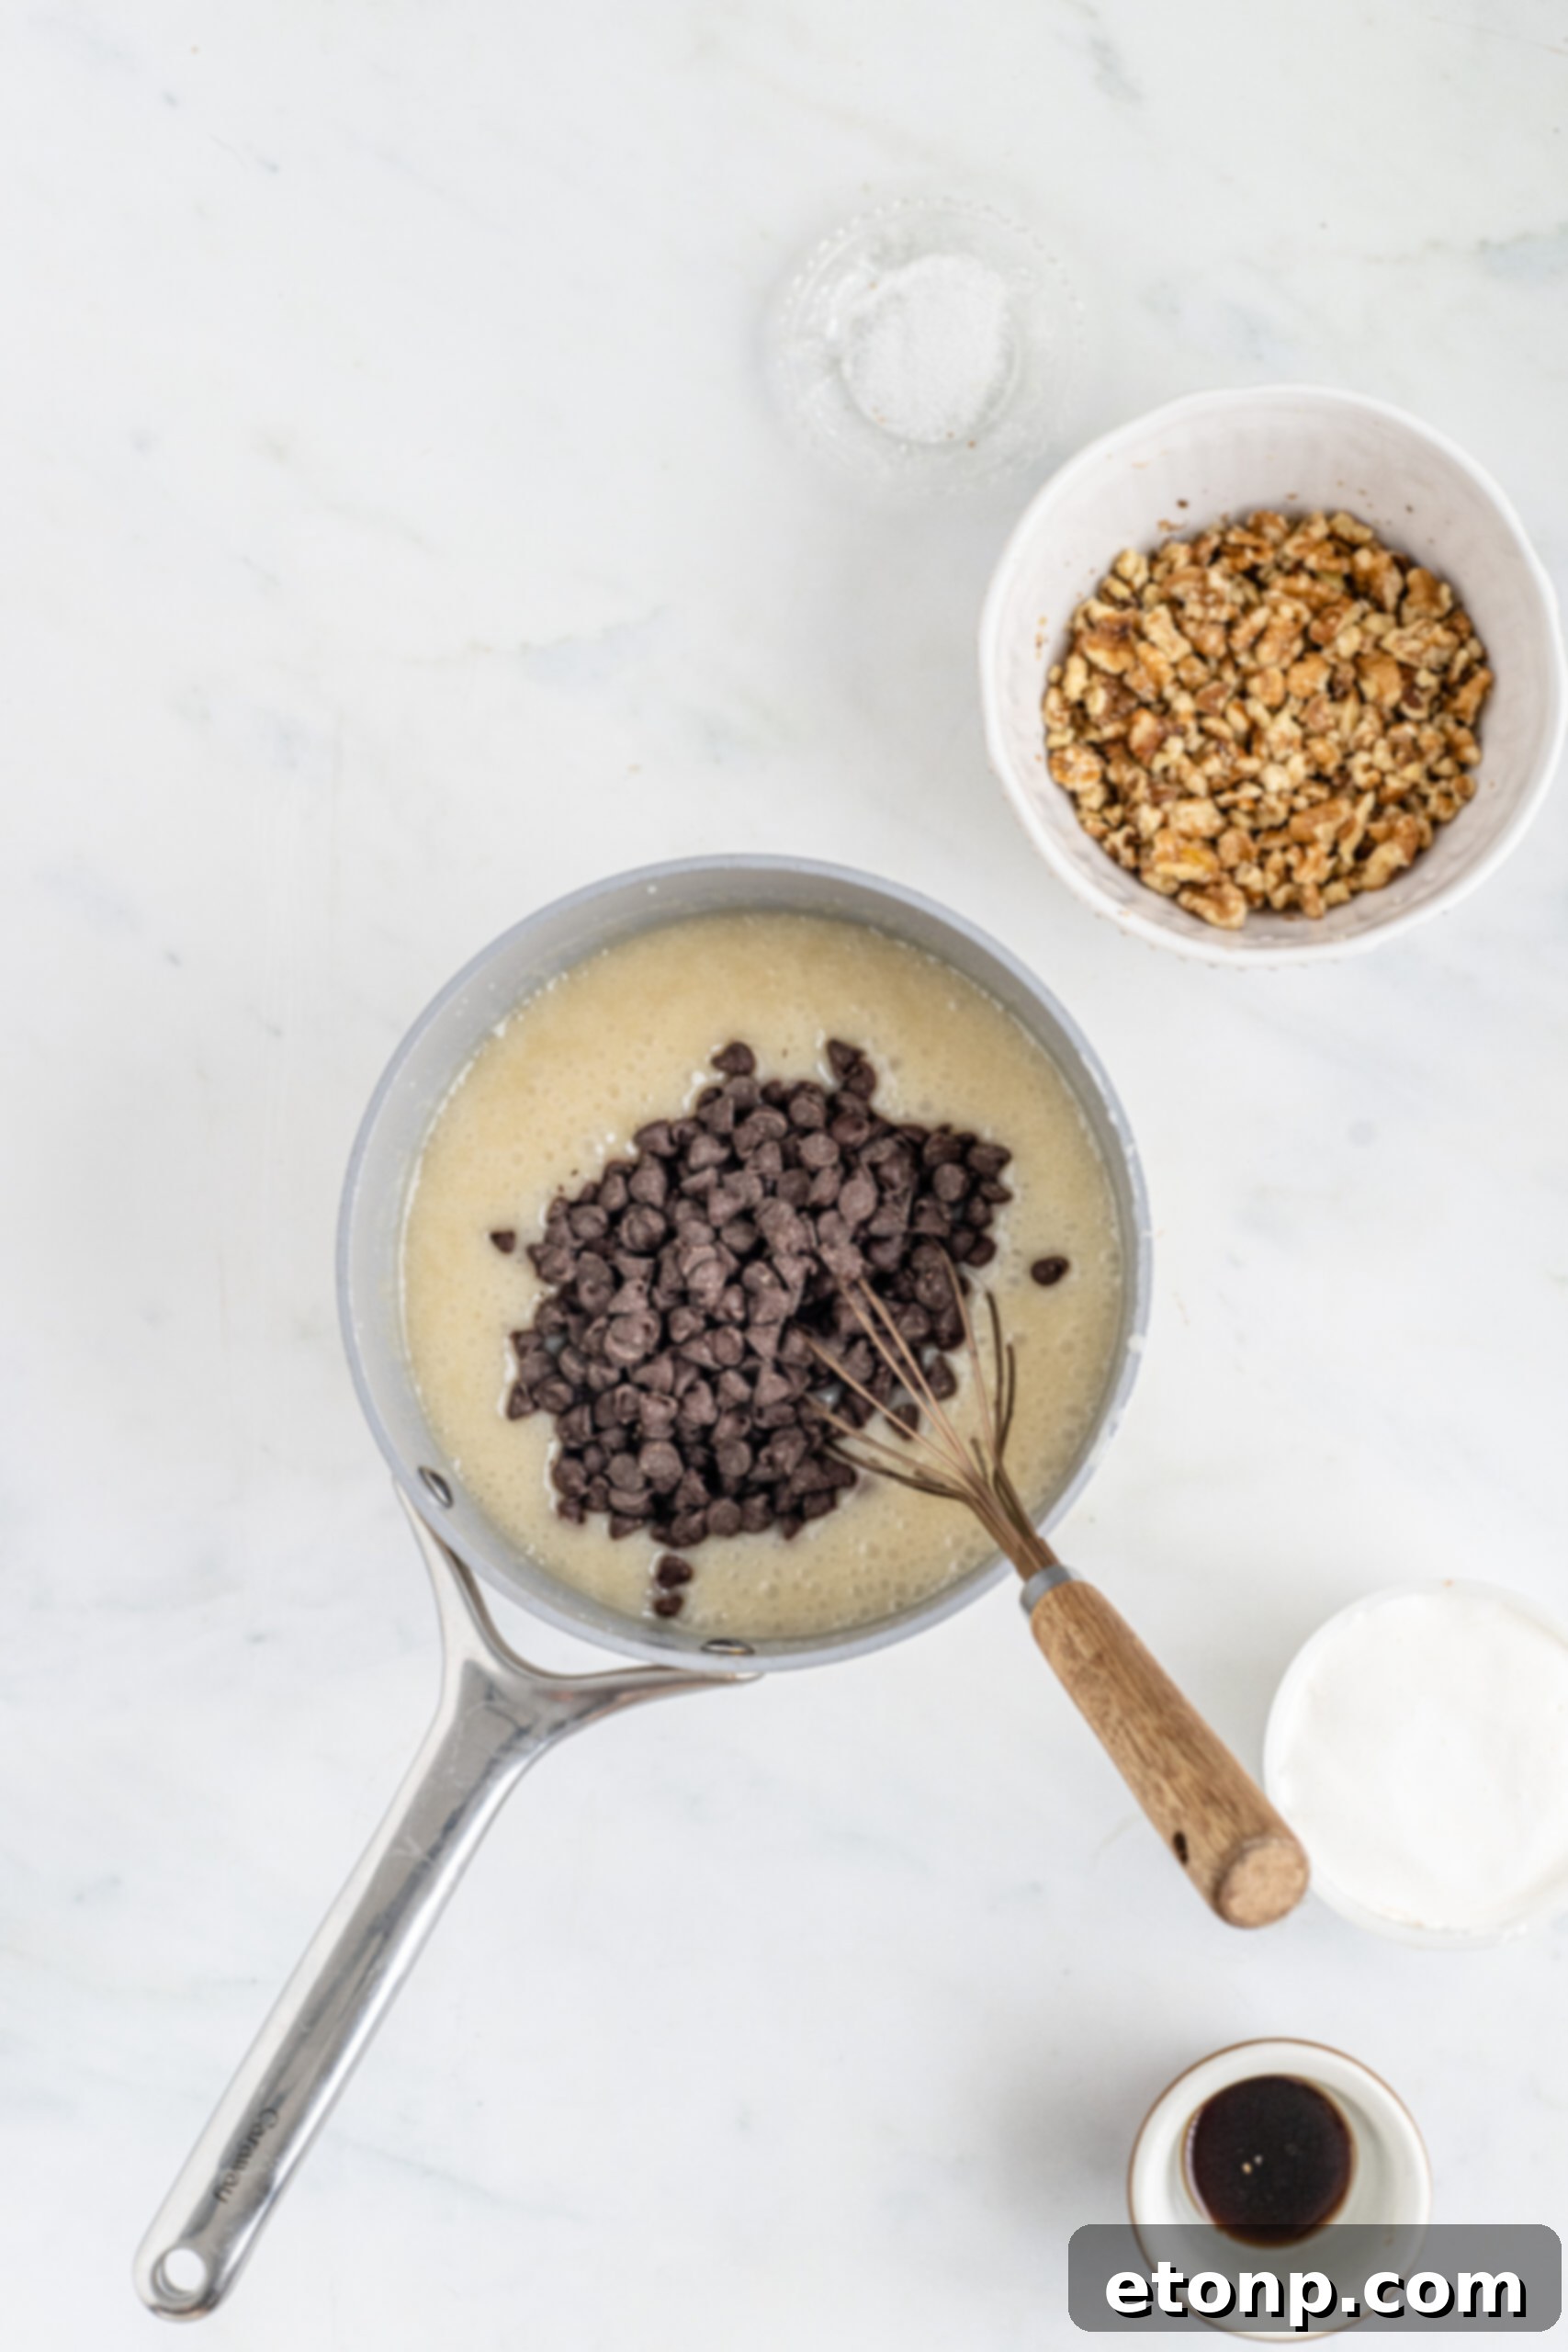
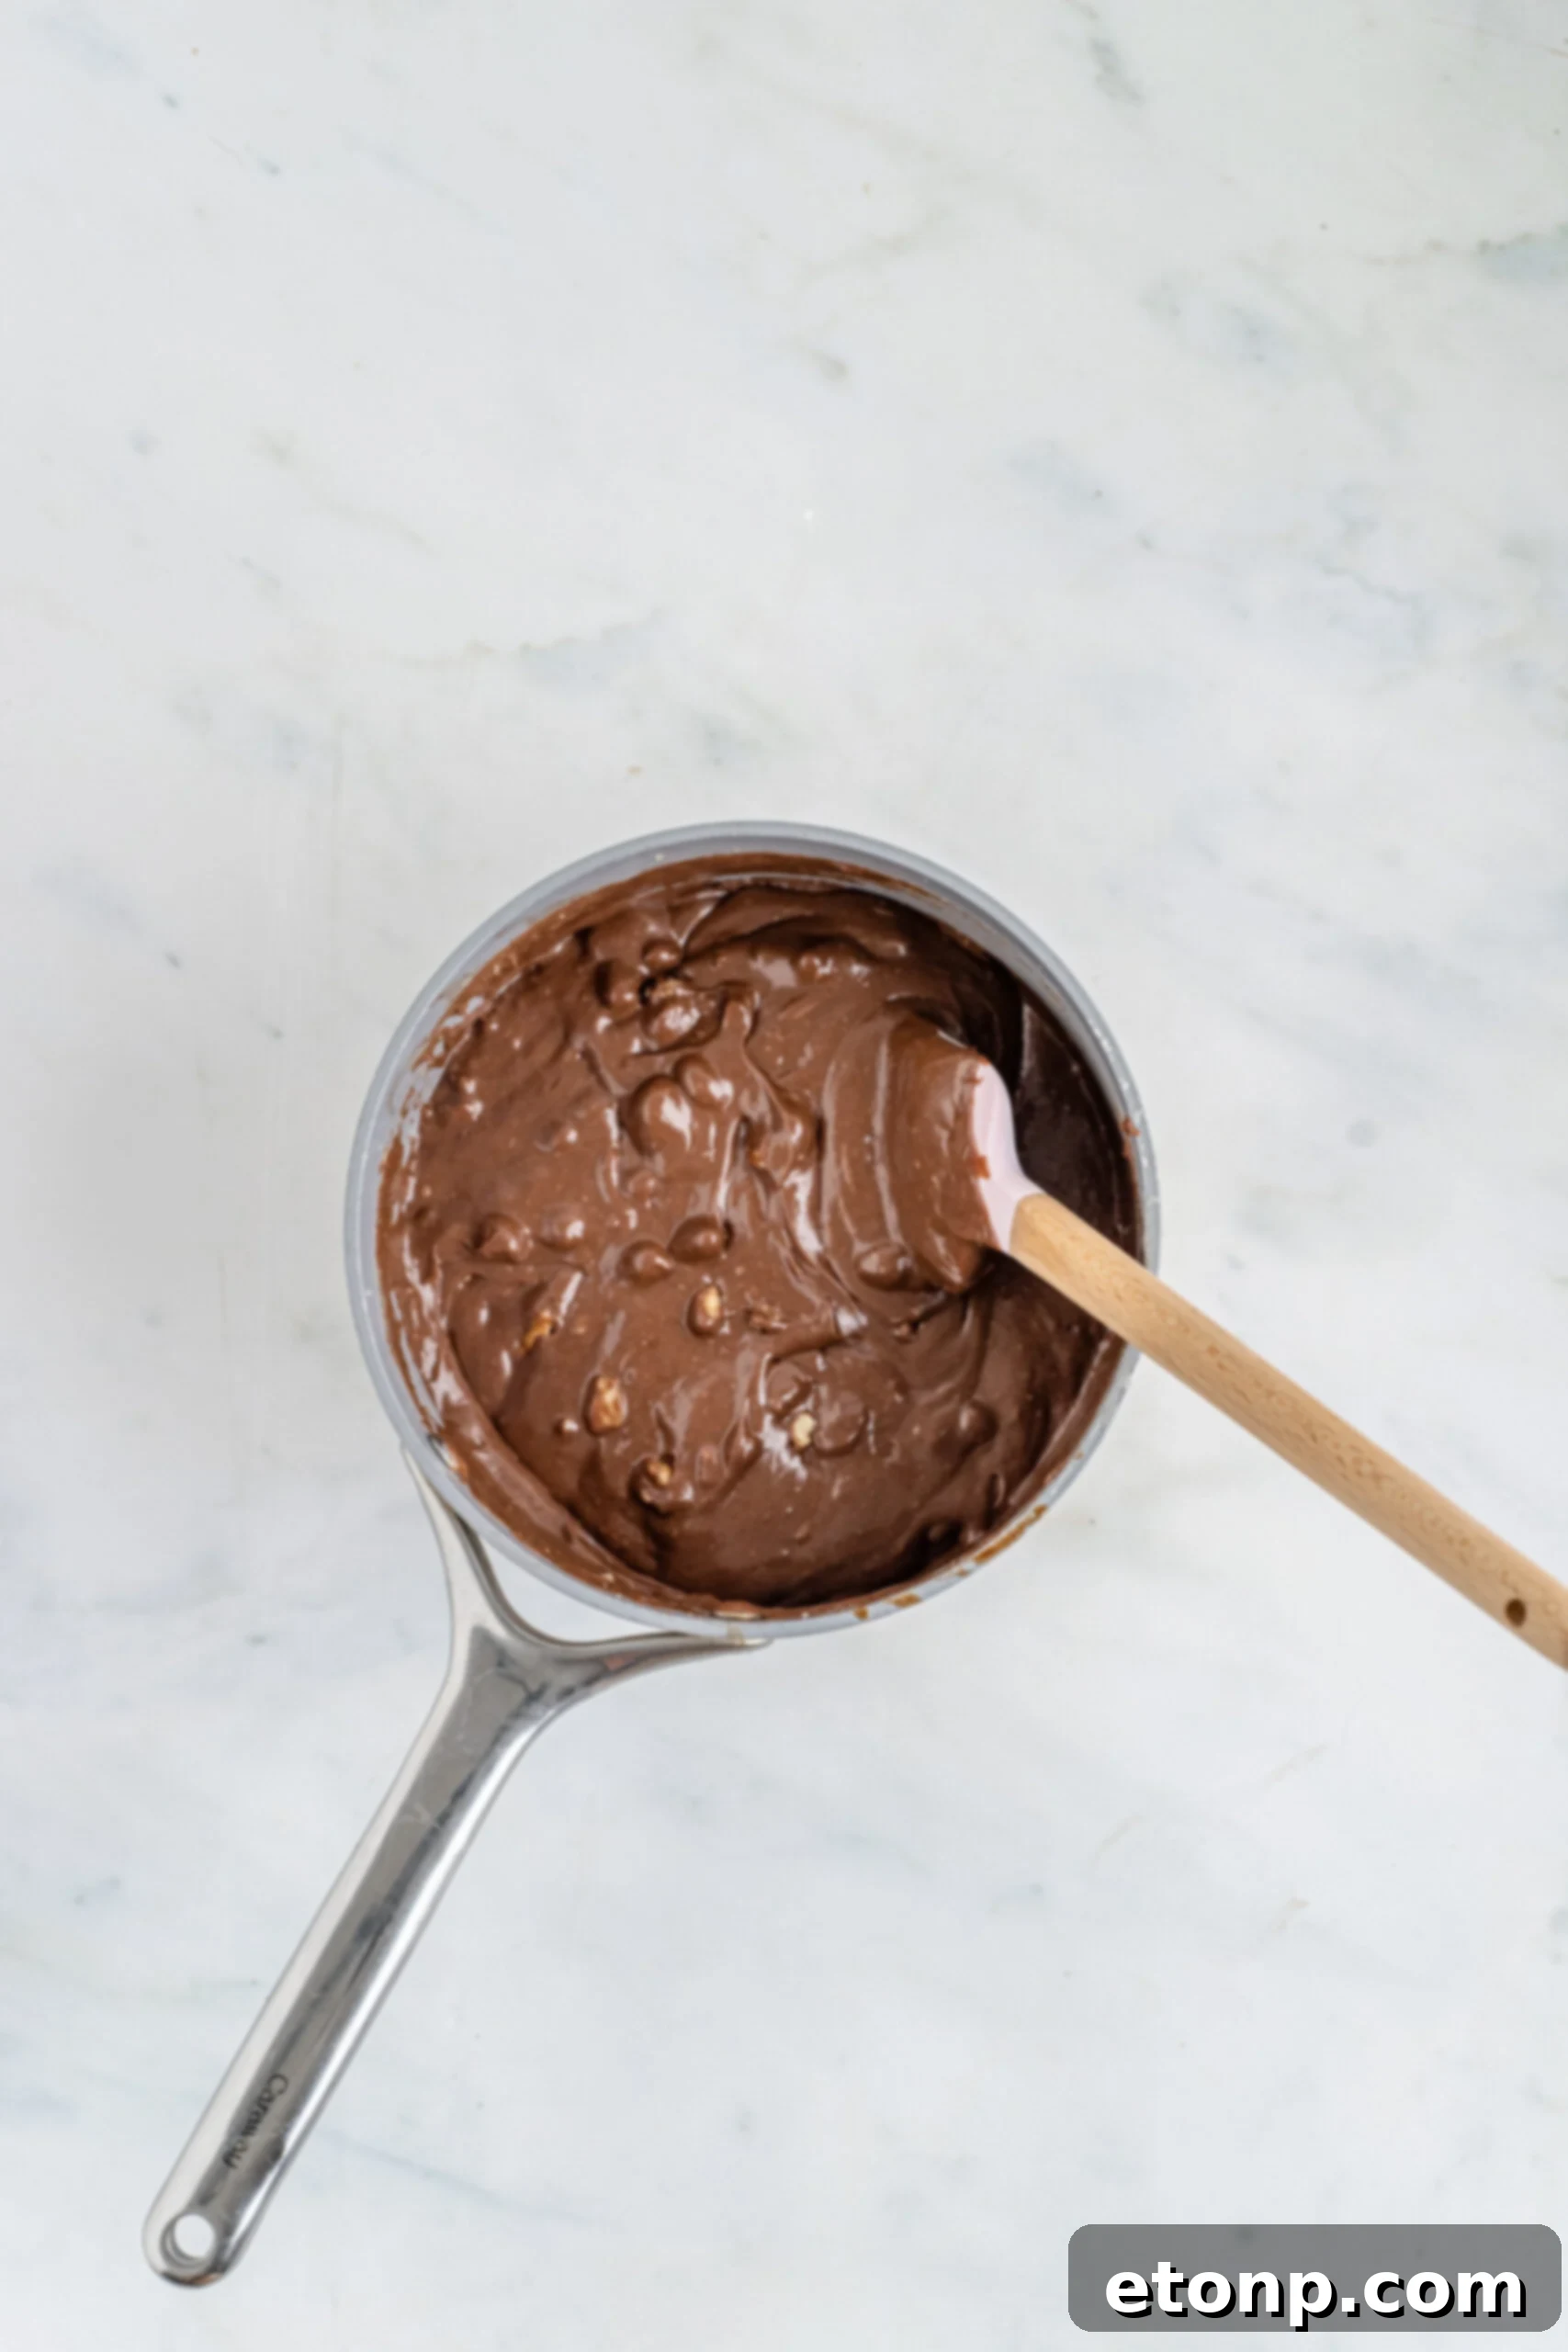
Quickly add the milk chocolate chips (or dark chocolate chips if using) to the hot sugar mixture in the saucepan. Stir continuously with a sturdy spoon or spatula until the chocolate chips have completely melted and are smoothly incorporated into the mixture. At this point, the mixture will be noticeably very thick and glossy. Next, add the marshmallow fluff, vanilla extract, and salt. Mix thoroughly, ensuring all ingredients are well combined and the mixture is uniform in consistency.
-
Gently fold in the chopped walnuts (or pecans) using a rubber spatula until they are evenly distributed throughout the fudge. Be careful not to overmix. Promptly transfer the warm fudge mixture into the bottom of your prepared baking dish. Use the spatula to spread it out evenly across the bottom of the pan. If desired, you can sprinkle additional chopped walnuts or other toppings on top for an extra touch before the fudge sets.
-
Allow the fudge to cool and set completely at room temperature for at least 3-4 hours before attempting to cut and serve. For best results, letting it set overnight is ideal. Once fully set, lift the parchment paper to remove the fudge from the pan, then slice it into desired squares or rectangles.
Did you make this recipe?
Make sure to follow on Pinterest for more recipes!
Pin Recipe
Share on Facebook