
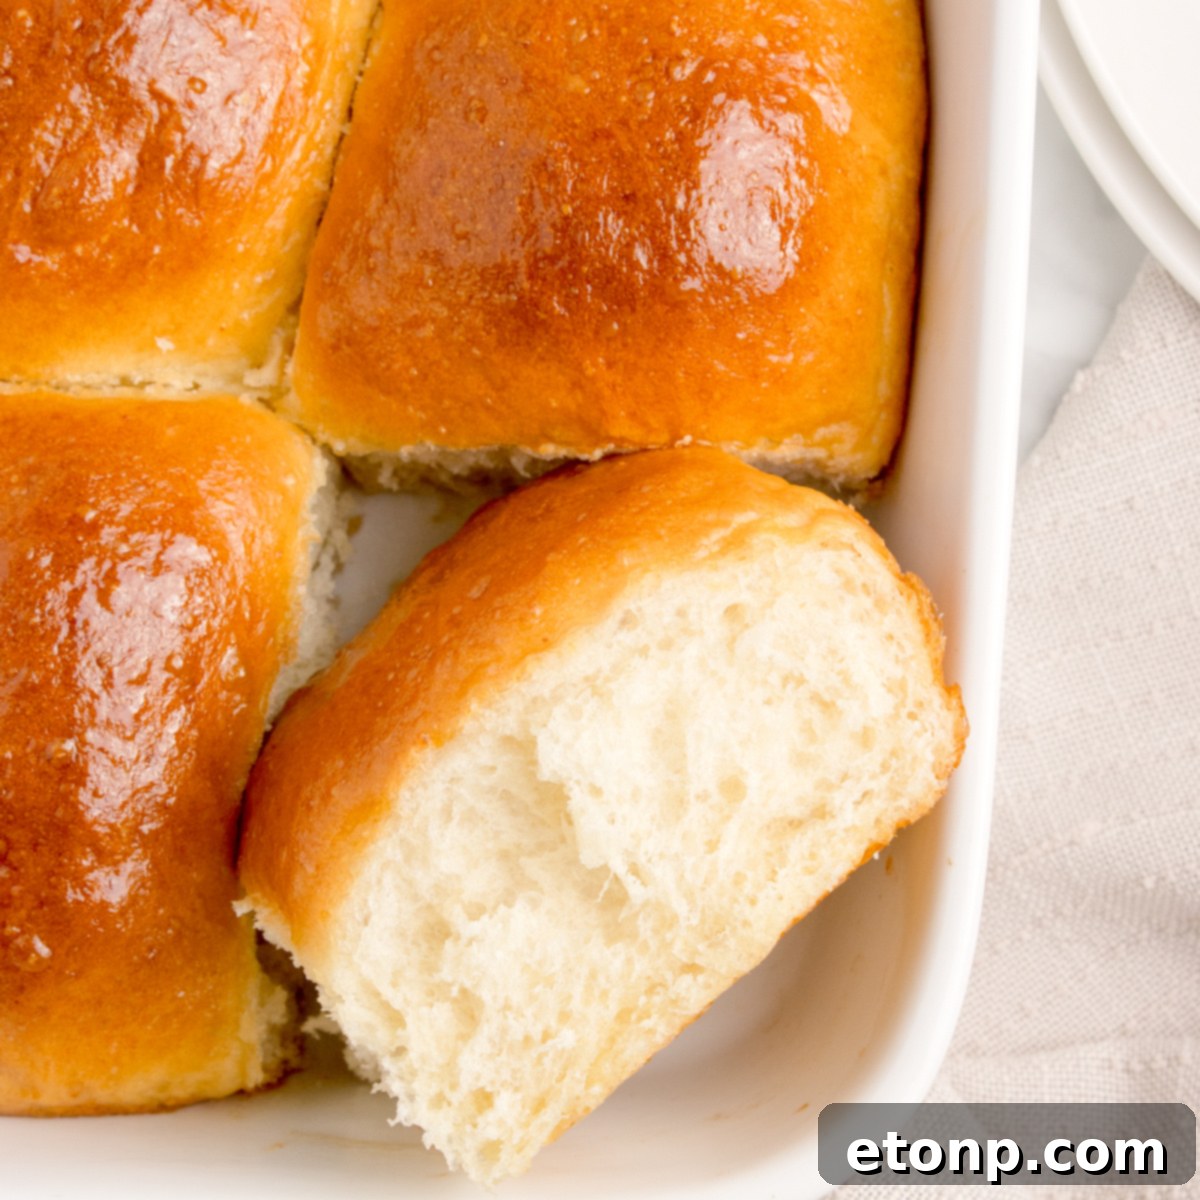
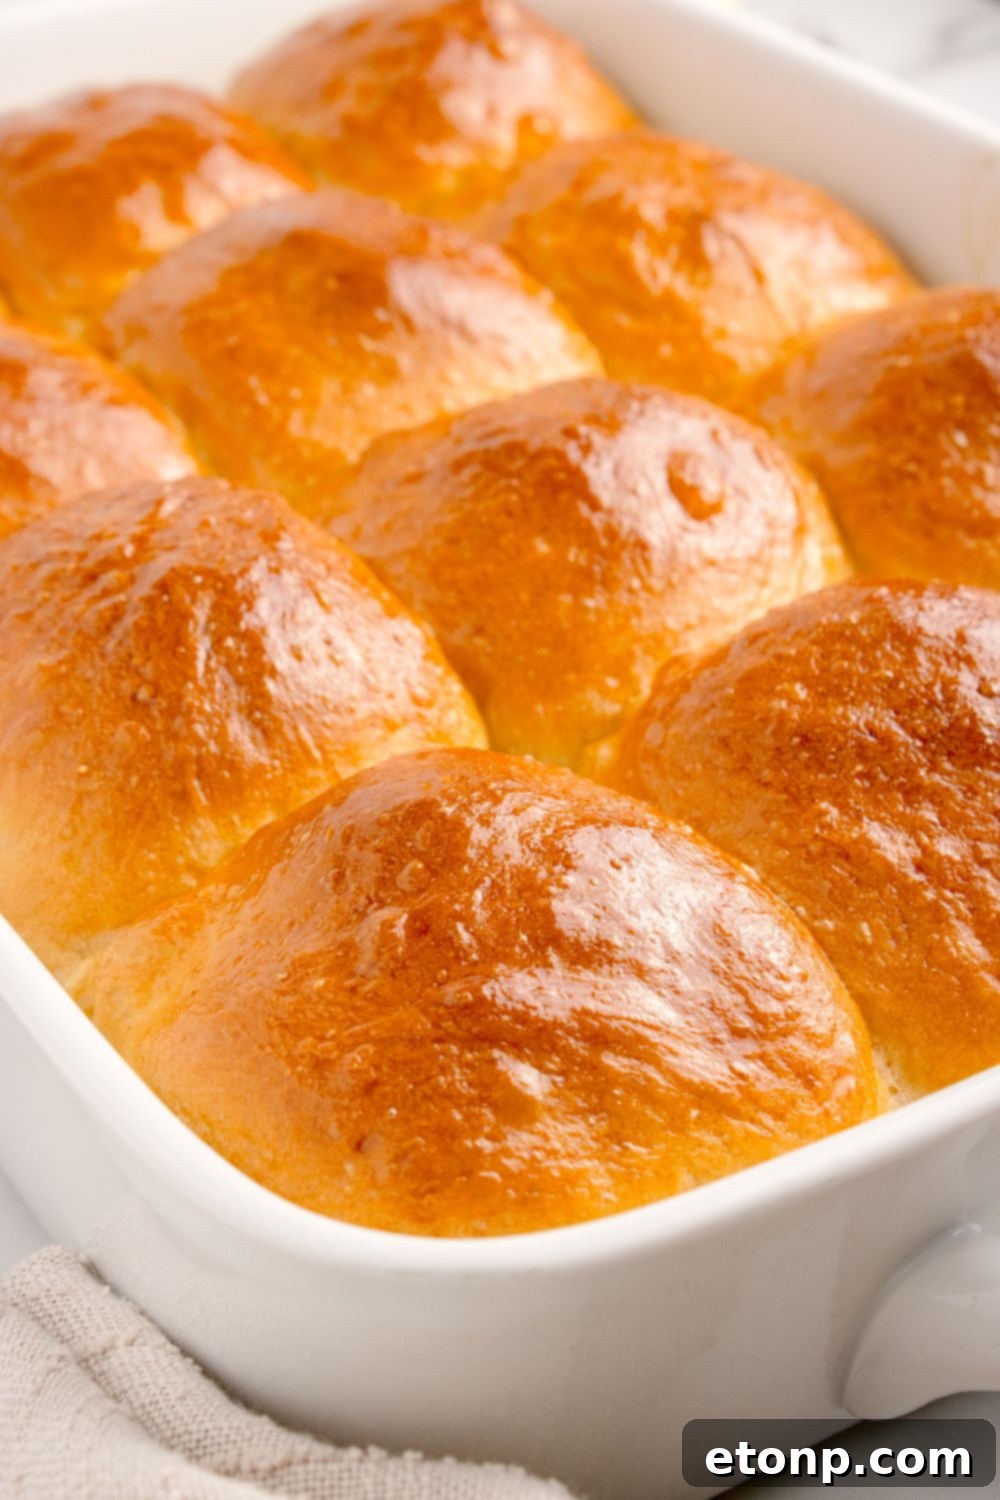
Unlock the secret to baking the most irresistible homemade pull-apart dinner rolls! Imagine sinking your teeth into a roll that’s incredibly soft, perfectly fluffy, and infused with rich buttery flavor. This easy-to-follow recipe uses simple ingredients you likely already have in your pantry, promising to impress your family and guests at any meal. Whether it’s a weeknight dinner or a special holiday feast, these soft and buttery rolls are guaranteed to be a showstopper, elevating any spread from classic meatloaf dinner to a grand occasion featuring holiday ham and all the traditional fixings. Get ready to bake a batch of bread that fills your home with an intoxicating aroma and your table with pure delight.
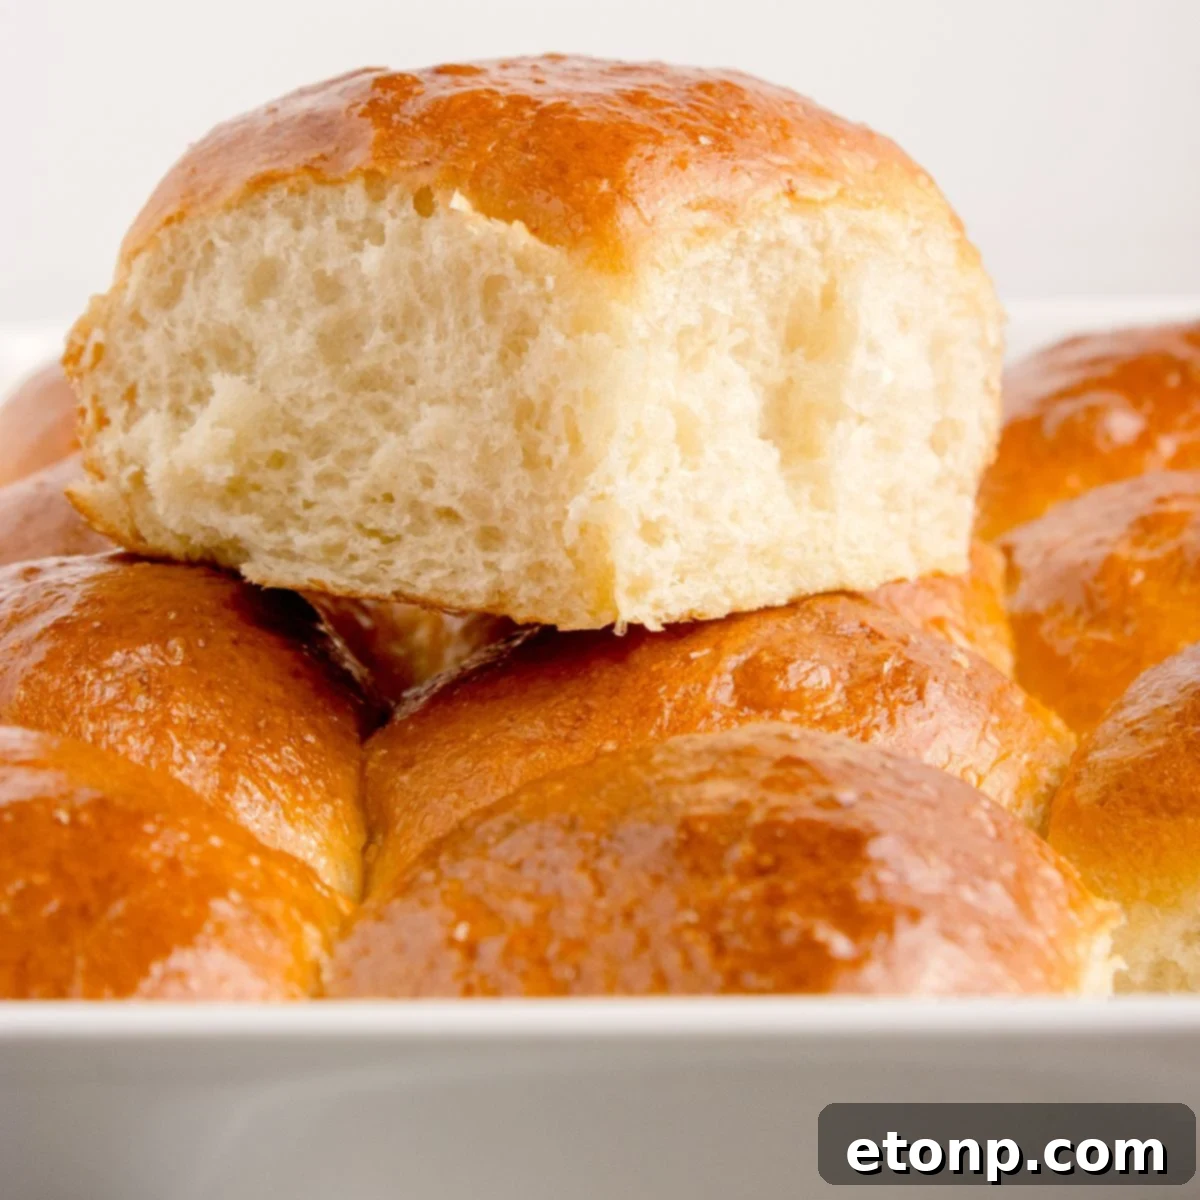
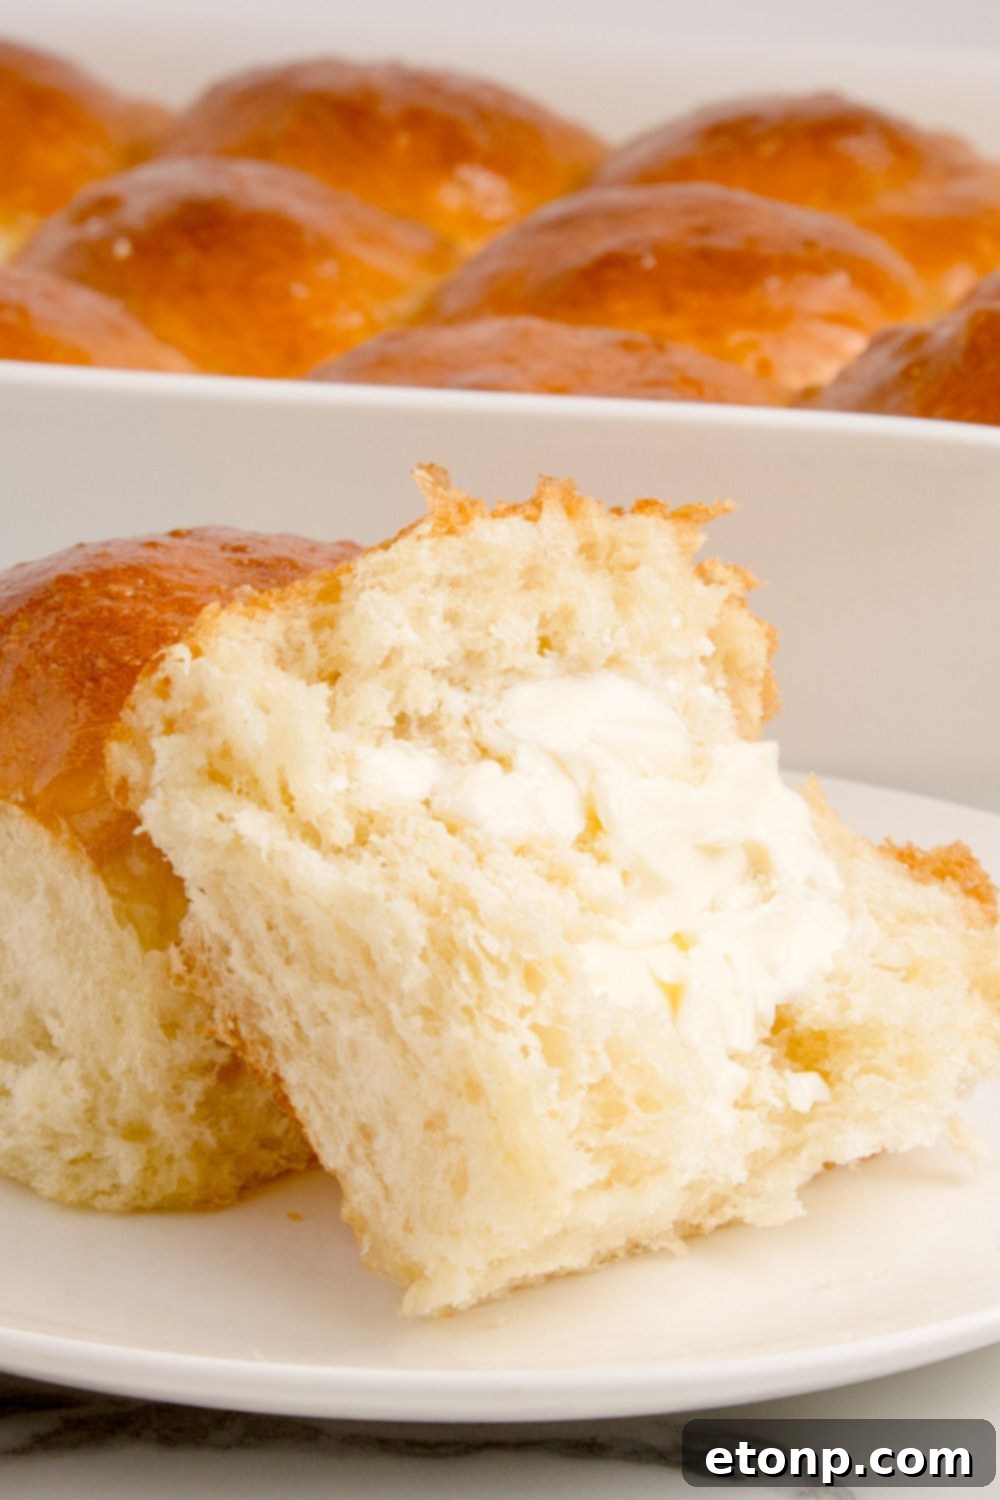
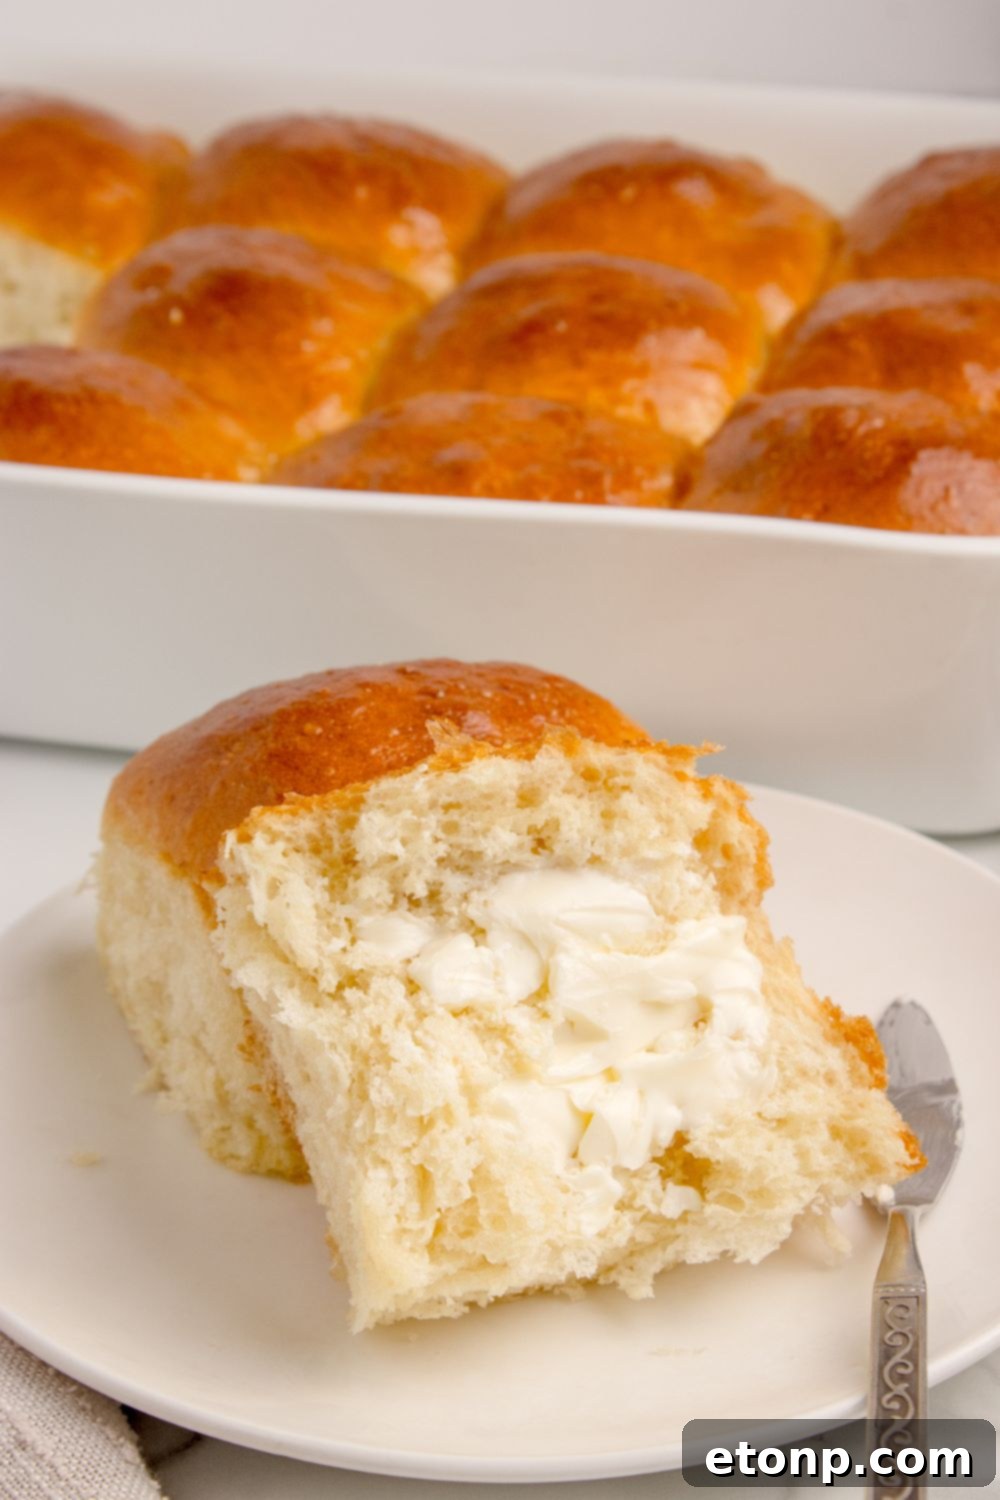
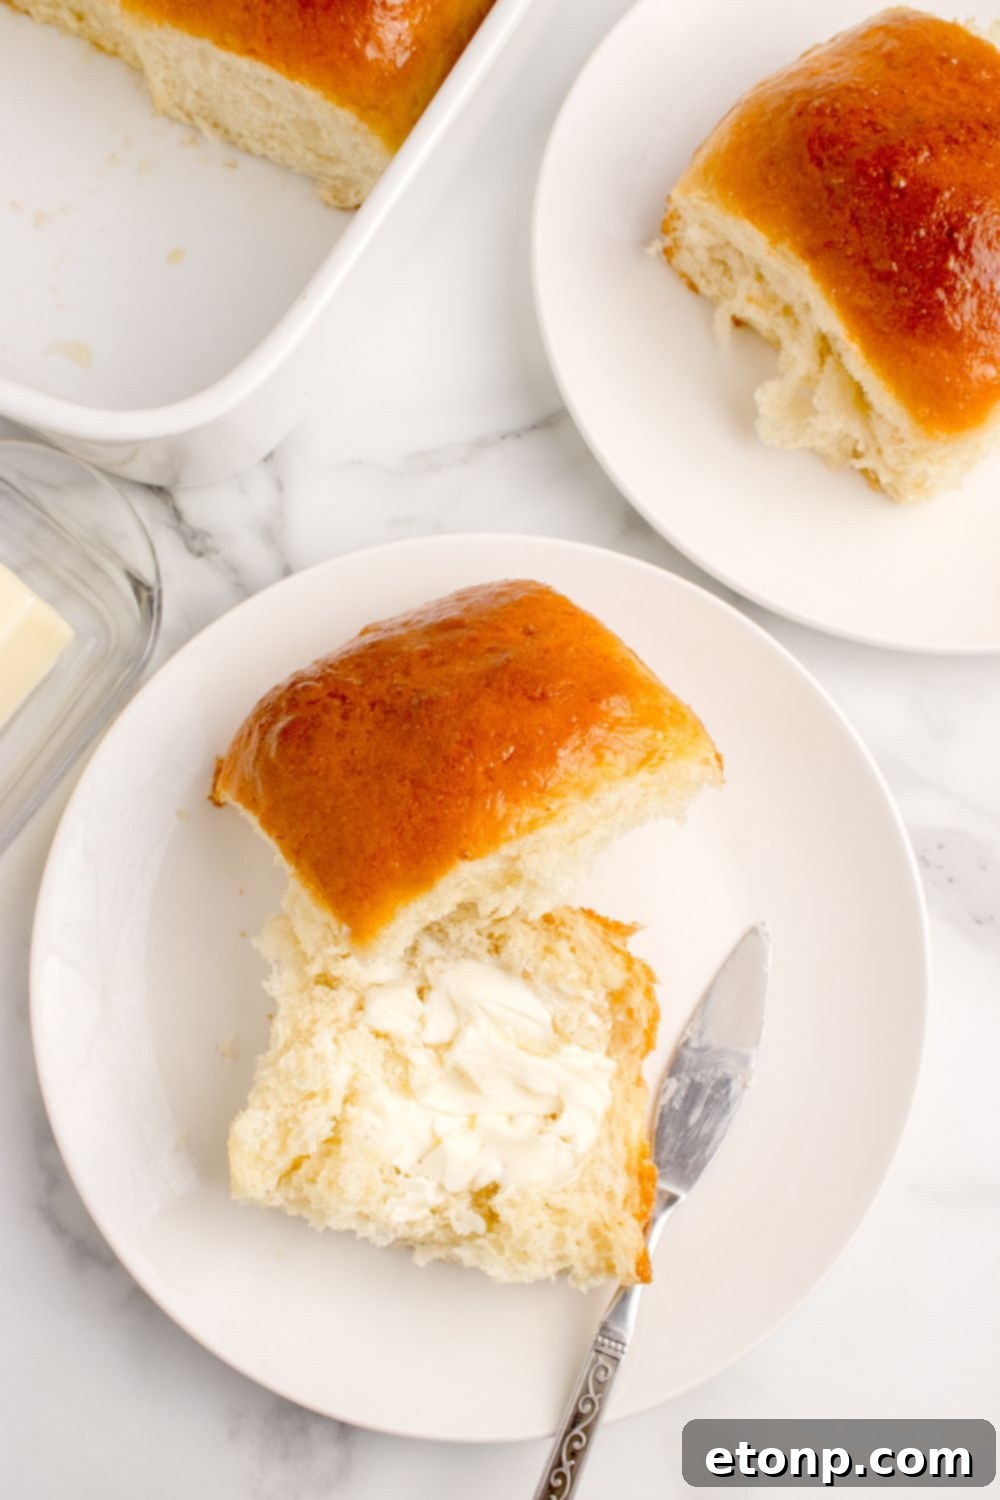
These delightful homemade dinner rolls are not just versatile; they’re a blank canvas for delicious toppings. Serve them warm with a simple pat of butter to let their natural flavor shine, or take them to an entirely new level. Imagine them slathered with luscious honey butter, spiced with cinnamon butter, or even paired with your favorite fruit spread like strawberry jam or a vibrant jelly. Each bite offers a satisfyingly tender crumb that practically melts in your mouth, making them an essential accompaniment to almost any main course or simply enjoyed on their own as a comforting snack.
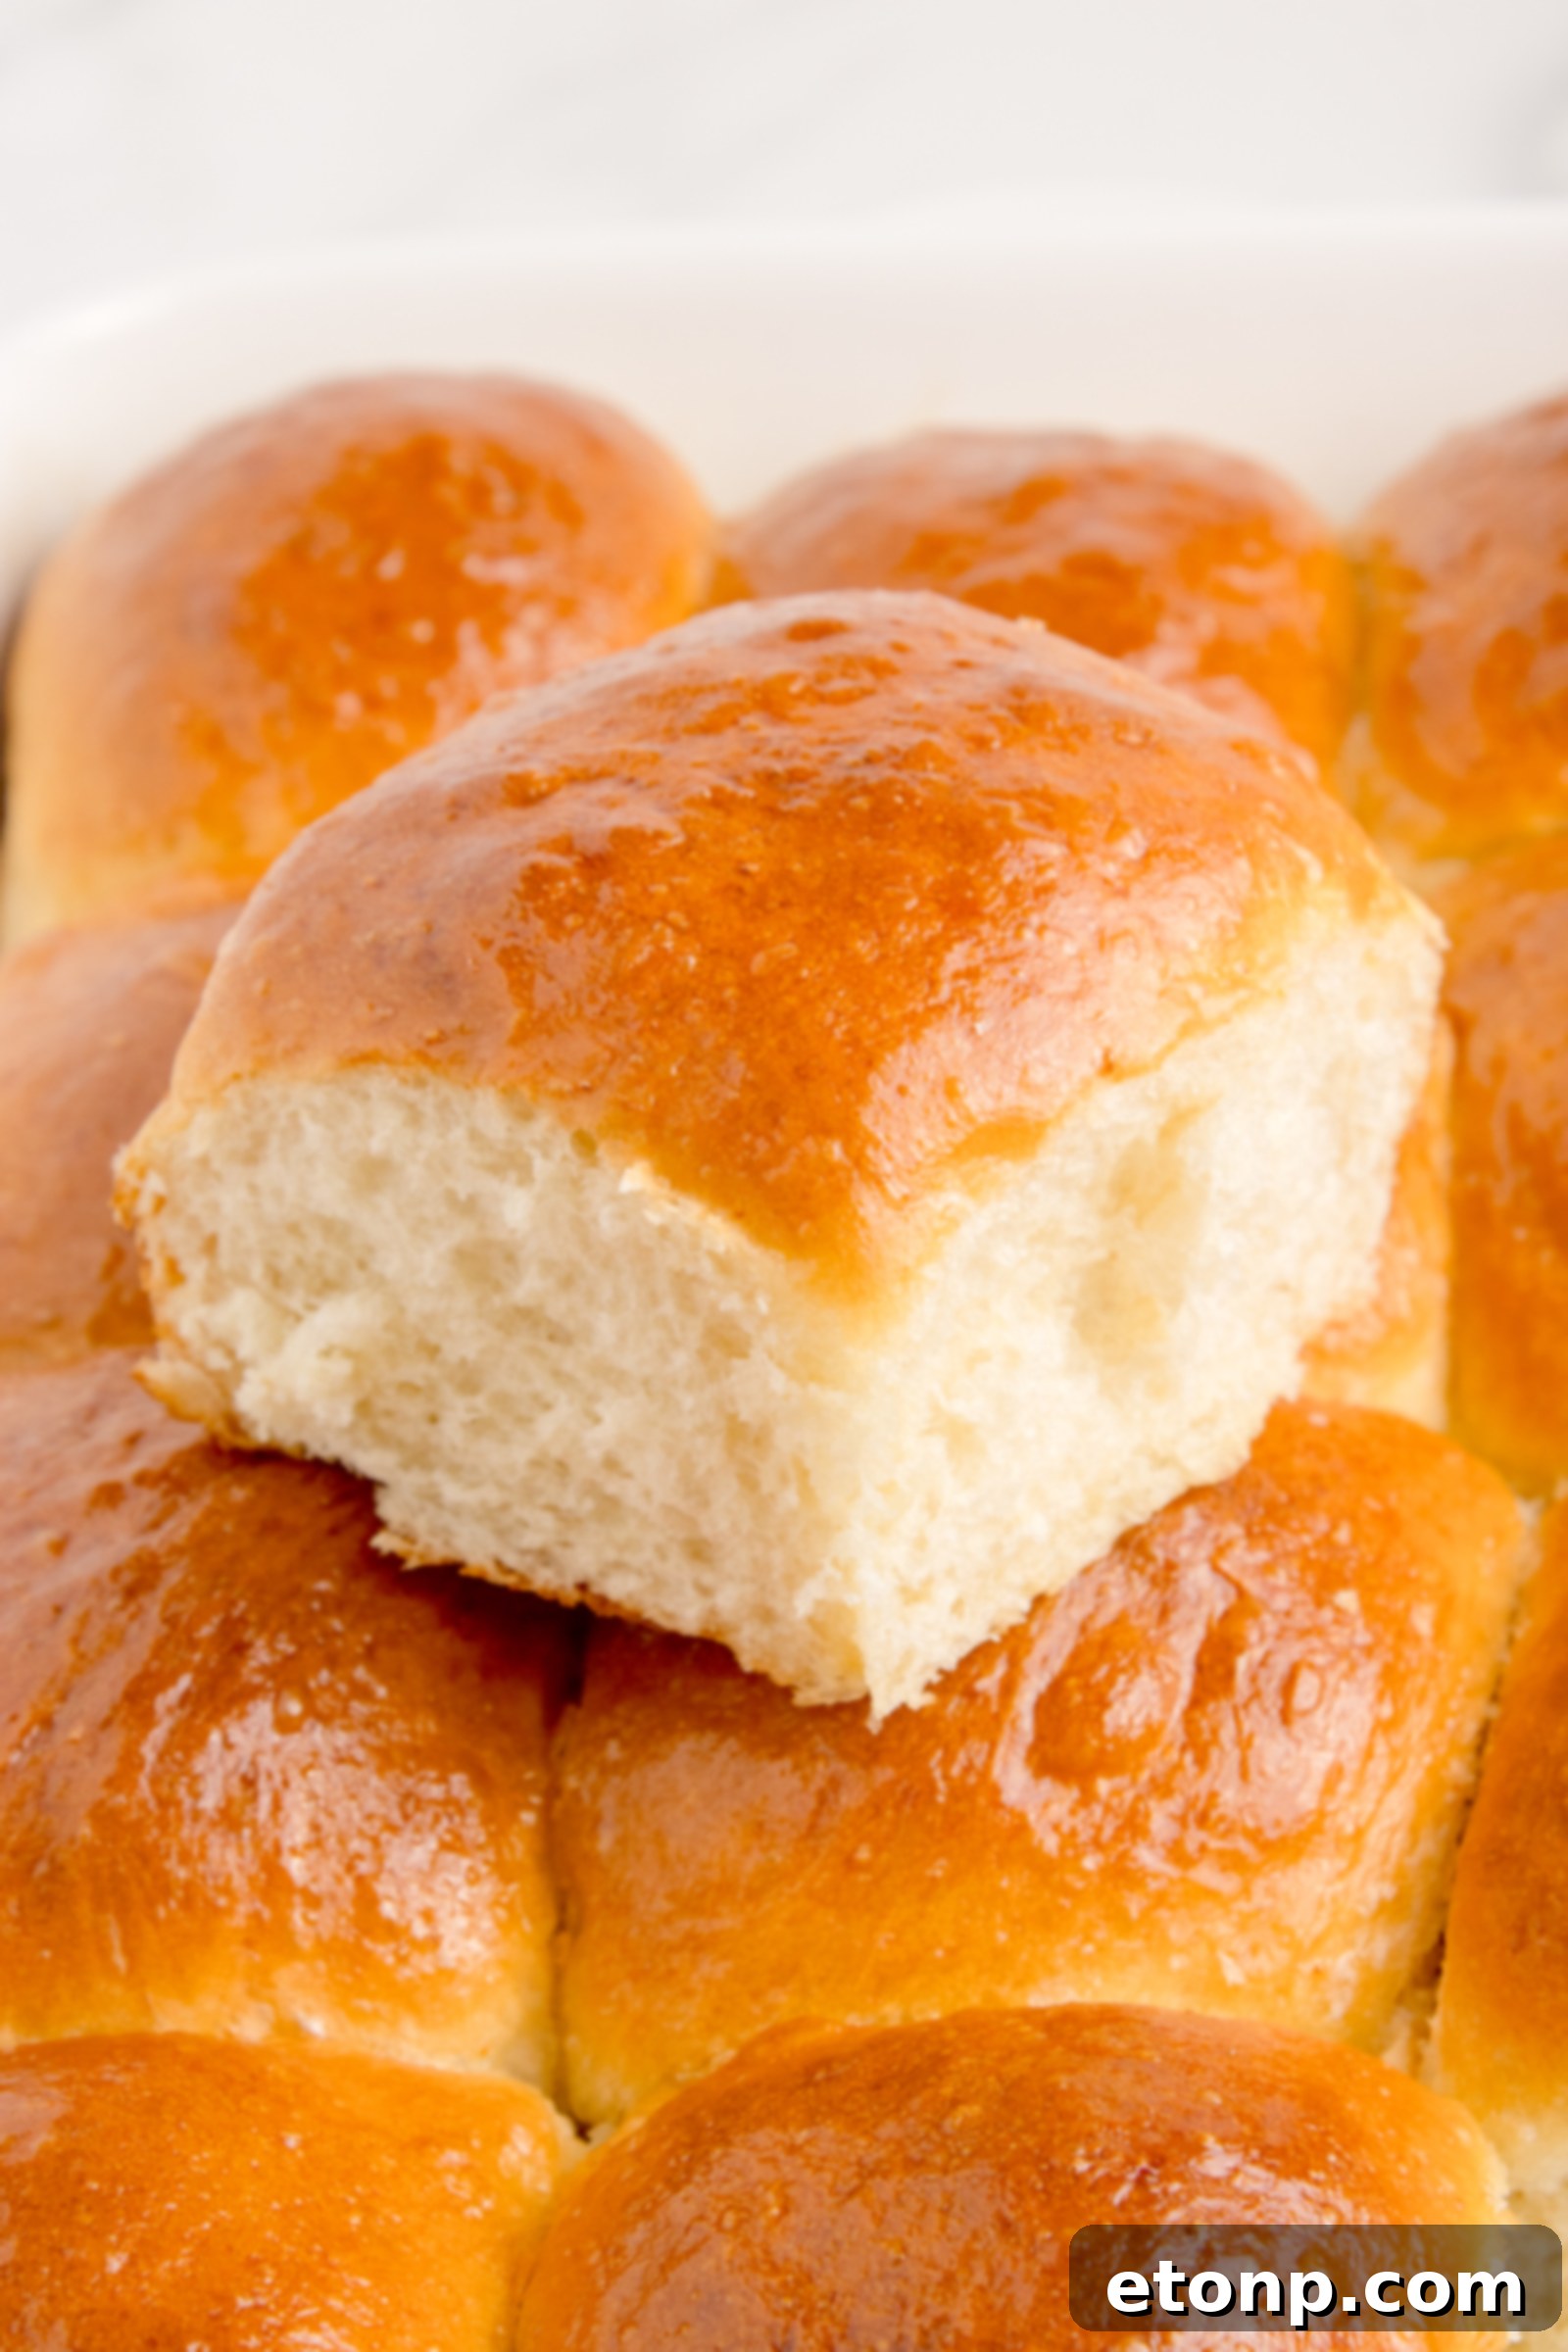
Why You’ll Love This Ultimate Dinner Roll Recipe
This recipe for fluffy pull-apart dinner rolls isn’t just another bread recipe; it’s a gateway to homemade baking success. Here’s why you’ll want to make it your go-to:
- Perfect for Bread Beginners: Don’t be intimidated by yeast! This recipe is crafted to be approachable, making it an excellent starting point for anyone new to baking bread. With clearly defined steps and easily accessible ingredients, you’ll gain confidence and achieve impressive results from your very first batch.
- Effortless Make-Ahead Options: Hosting a holiday dinner or a large family gathering can be stressful. This recipe offers fantastic make-ahead flexibility, allowing you to prepare the dough in advance. This means you can enjoy freshly baked, warm soft dinner rolls without the last-minute rush, making entertaining a breeze.
- Easily Scalable for Any Occasion: Whether you’re feeding a small family or a big crowd, this recipe is incredibly easy to double or even triple. The straightforward ratios and techniques mean you can effortlessly scale up production for larger gatherings without compromising on quality or flavor.
- Irresistible Taste and Texture: These aren’t just any rolls; they’re exceptionally soft, light, and airy, with a rich, buttery taste that’s simply addictive. The pull-apart nature makes them fun to eat and ensures every piece is tender and delightful.
- Fills Your Home with Amazing Aroma: Beyond the taste, the process of baking these homemade pull-apart rolls will fill your kitchen with the comforting, inviting scent of freshly baked bread. It’s an experience for all the senses!
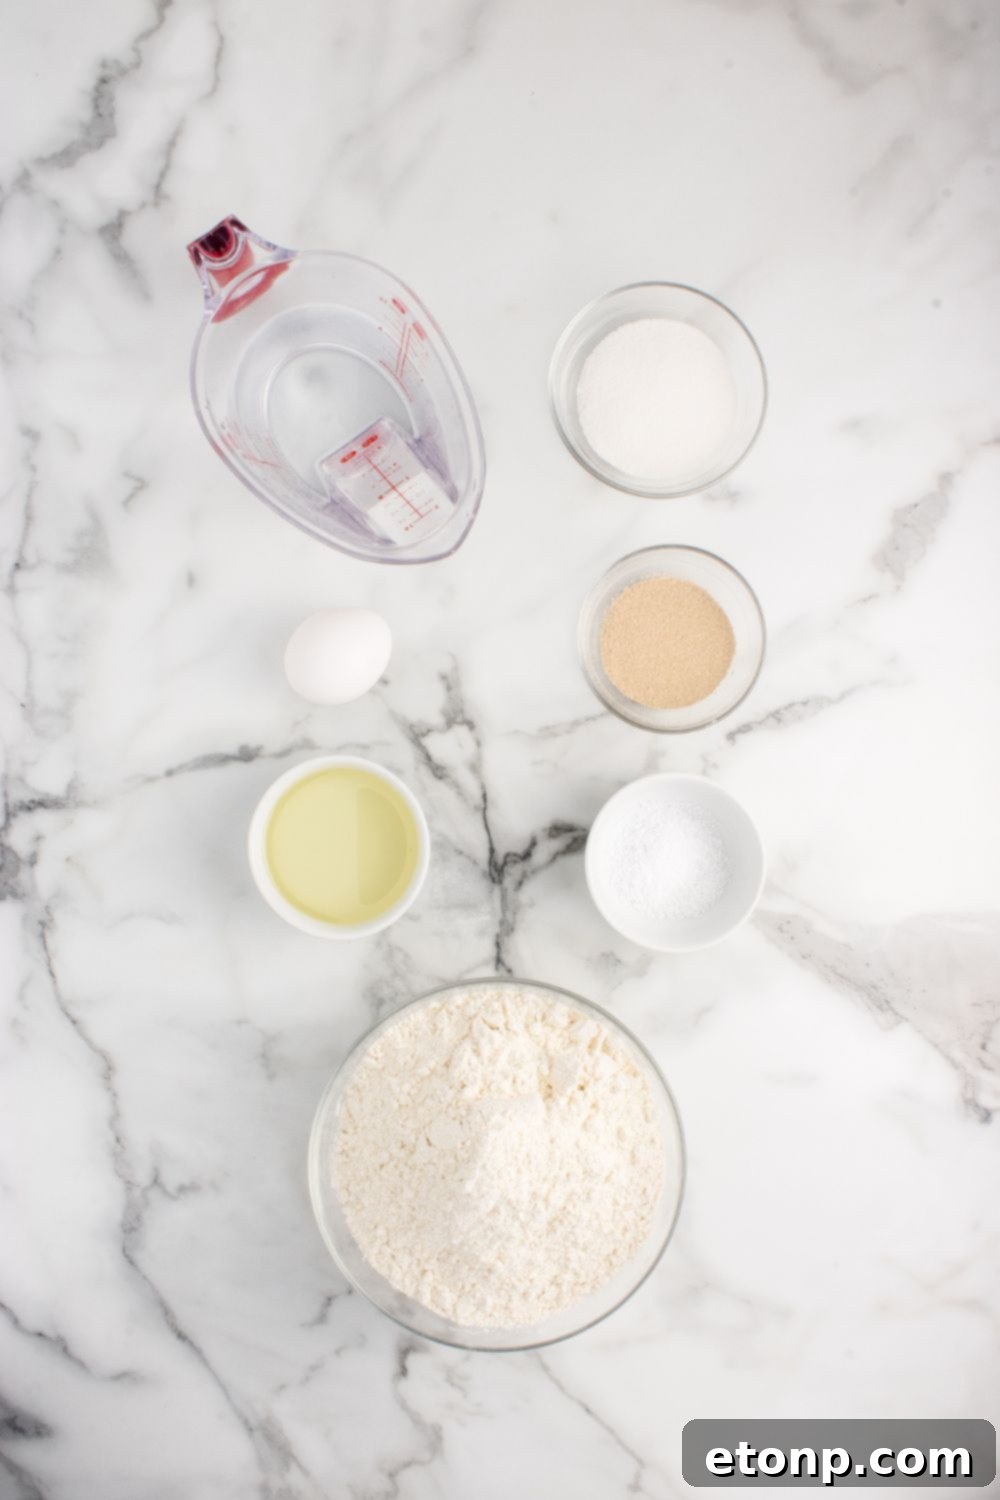
Essential Recipe Ingredients for Fluffy Rolls
Crafting the best dinner rolls starts with quality ingredients. Here’s a deeper dive into what you’ll need and why each component is important:
- All-Purpose Flour: This forms the foundational structure of your rolls. While all-purpose flour works beautifully for a tender crumb, don’t hesitate to experiment. Bread flour can be used for a slightly chewier texture, thanks to its higher protein content. For a heartier, more rustic roll, I sometimes substitute up to 50% of the all-purpose flour with whole wheat flour, which adds a nutty flavor and more fiber.
- Yeast: The magical leavening agent responsible for making your rolls light and fluffy. Both active dry yeast and quick-rise/instant yeast are suitable. Quick-rise yeast is convenient as it can be mixed directly with the dry ingredients without prior activation (proofing). If using active dry yeast, traditionally you would proof it first in warm water with a pinch of sugar, but for this recipe, it’s often not necessary if your yeast is fresh and your water temperature is correct.
- Water: The temperature of the water is absolutely crucial. Yeast is a living organism, and its activity is highly dependent on temperature. Water that is too hot (above 115°F/46°C) will kill the yeast, preventing the dough from rising. Conversely, water that is too cold (below 100°F/38°C) will not activate the yeast efficiently, leading to a slow or stalled rise. Aim for a “bathwater warm” temperature, typically between 105°F and 110°F (40°C-43°C).
- Granulated Sugar: Sugar serves a dual purpose in this recipe. Primarily, it acts as food for the yeast, helping it to activate and multiply, which in turn produces the carbon dioxide needed for rising. Secondly, it adds a delicate sweetness to the bread, enhancing its overall flavor profile and contributing to a beautiful golden-brown crust. Honey or maple syrup can be excellent substitutes, offering a slightly different nuance of sweetness.
- Salt: Essential for enhancing the flavor of the bread and controlling yeast activity. Kosher salt is often preferred by bakers due to its larger crystals and purer taste, but table salt can be used at a slightly reduced amount (typically 25% less, as it’s finer and more concentrated). Salt also plays a role in strengthening the gluten structure, which contributes to the roll’s texture.
- Olive Oil: A wonderful addition that contributes to the rolls’ moistness and tenderness. It also adds a subtle richness to the dough. Any neutral-flavored oil, such as vegetable or canola oil, can be used as a substitute, or you can even opt for melted unsalted butter for an even more decadent flavor.
- Egg: Including an egg enriches the dough, making it softer, more tender, and giving the rolls a beautiful golden hue. Eggs add fat, moisture, and protein, all of which contribute to the desired fluffy and delicate texture of these pull-apart dinner rolls.
Expert Tips for the Best Pull-Apart Dinner Rolls
Achieving bakery-quality homemade dinner rolls is easier than you think with these expert tips:
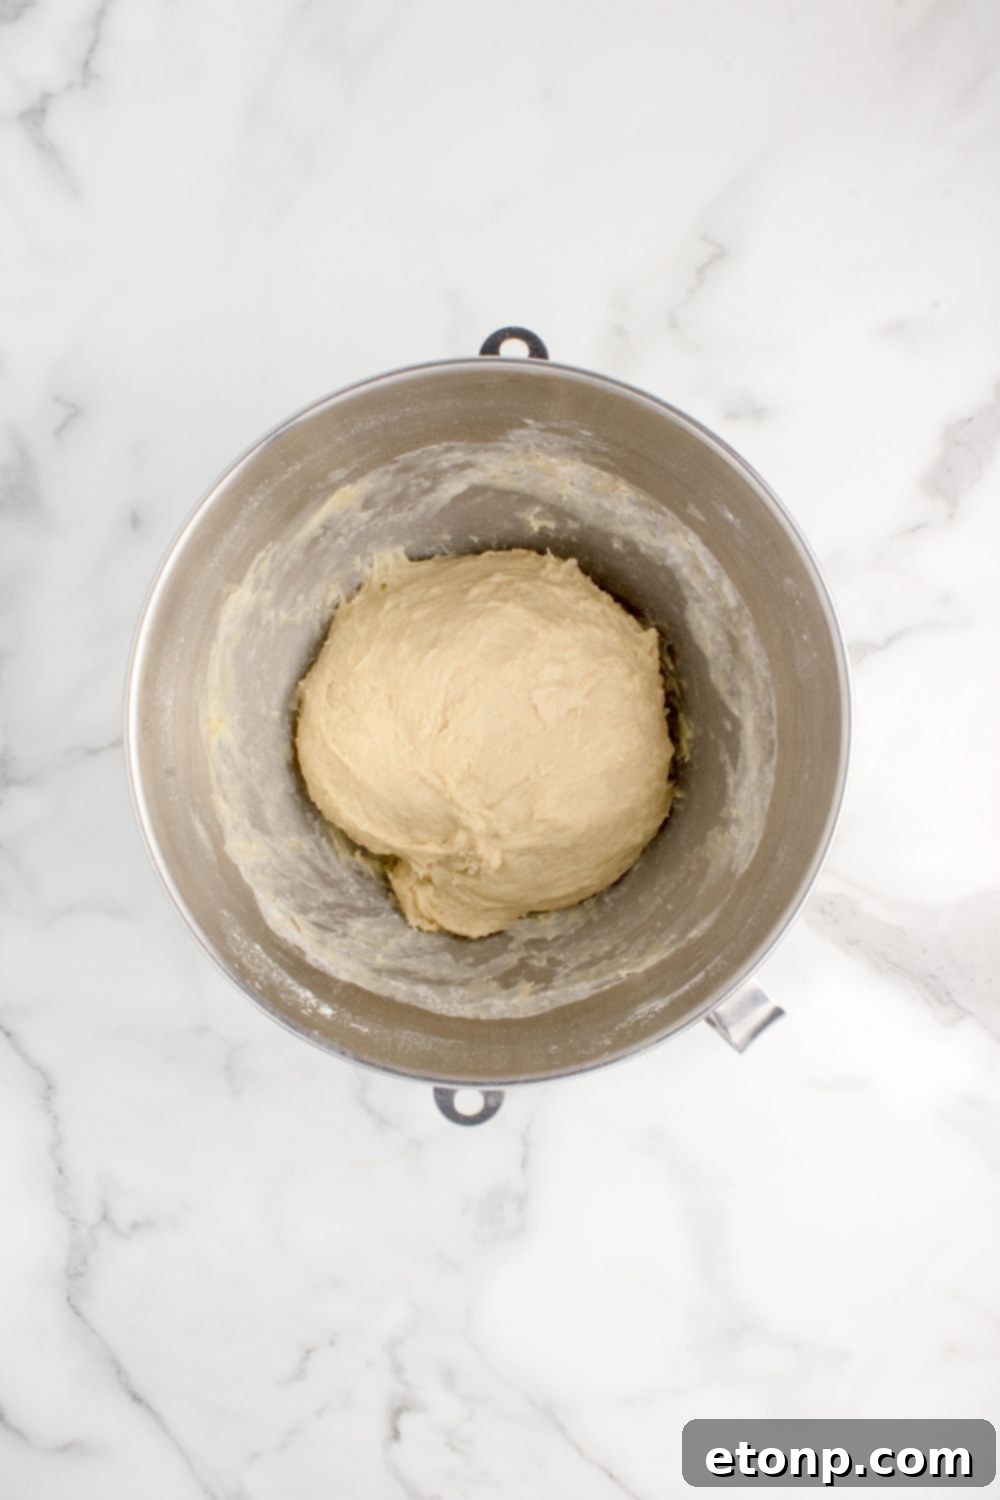
- Mind the Dough Consistency: Resist the urge to add too much flour during mixing or kneading. An overly stiff dough will result in tough, dense rolls rather than the desired soft and fluffy texture. The dough should be slightly sticky but manageable. If it’s too sticky, add flour in small increments (half a tablespoon at a time) until it reaches the right consistency.
- Crucial Water Temperature: As mentioned before, warm water is key. Use a thermometer to ensure your water is between 105°F and 110°F (40°C-43°C). Water that’s too hot will kill the yeast, halting the rising process. Too cold, and the yeast won’t activate effectively, leading to flat rolls.
- Check Your Yeast’s Freshness: Old or inactive yeast is a common culprit for failed bread. If your yeast doesn’t bubble or foam when proofed in warm water (even if this recipe doesn’t strictly require proofing, it’s a good test of freshness), it might be dead, and your rolls won’t rise. Always store yeast properly in an airtight container in the refrigerator or freezer to extend its shelf life.
- The Golden Top Secret: Egg Wash: For beautiful, golden-brown tops and a slightly glossy finish, brush your rolls with an egg wash (one egg whisked with a tablespoon of water or milk) just before baking. This simple step makes a big difference in appearance.
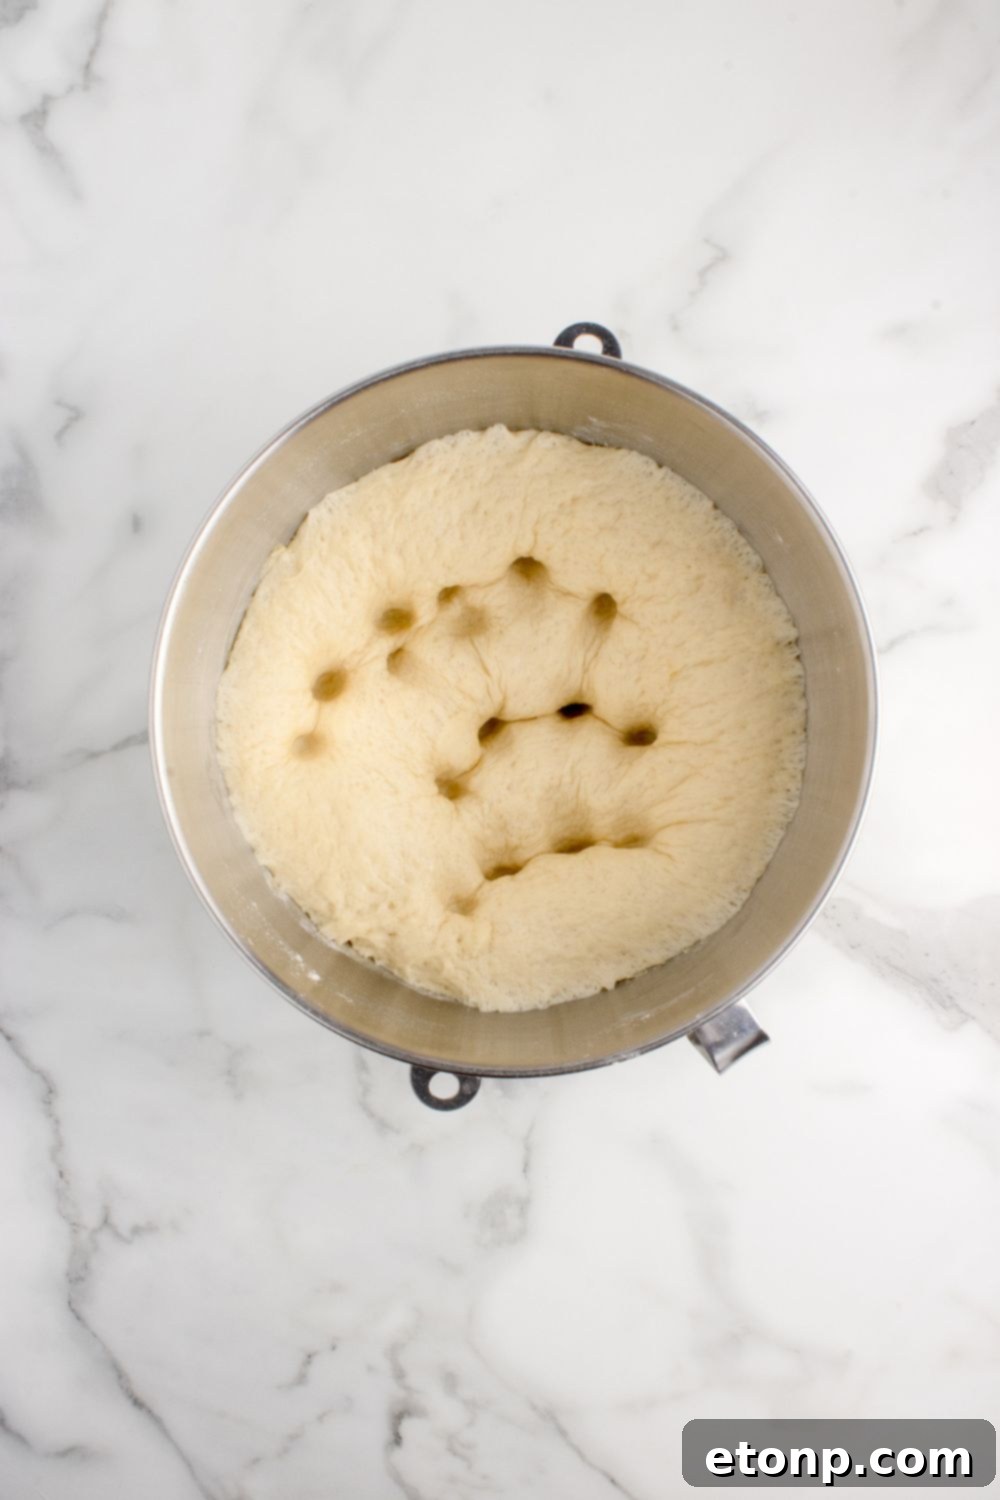
- Allow Ample Rising Time: Patience is a virtue in bread baking. Don’t rush the rising process, also known as proofing. The dough needs sufficient time to double in size, creating air pockets that translate into that wonderfully fluffy and light roll. Find a warm, draft-free spot in your kitchen for optimal rising.
- Ensure Uniform Roll Size: For consistently baked rolls and a professional look, consider weighing each dough ball. Aim for approximately 78 grams per roll as suggested in the recipe. This extra step ensures even baking and a cohesive presentation of your pull-apart dinner rolls.
- Utilize a Bench Scraper: A bench scraper is an invaluable tool for dough handling. It helps in cleanly dividing the dough, scraping it from your work surface without sticking, and even cleaning up flour residue. It makes the shaping process much more efficient and less messy.
- Don’t Overbake: Overbaking can dry out your rolls, making them tough. Keep an eye on them towards the end of the baking time. They should be golden brown and have an internal temperature of 190°F (88°C).
Storage & Reheating for Maximum Freshness
To enjoy your homemade dinner rolls at their best, knowing how to store and reheat them properly is essential.
Storage
- Room Temperature: Once cooled completely, store your soft dinner rolls in an airtight container or a large zip-top bag at room temperature for up to 2 days. This helps to maintain their softness and prevents them from drying out.
- Refrigerator: For slightly longer storage, place the rolls in a freezer bag or airtight container in the refrigerator for up to 5 days. While refrigeration can sometimes alter the texture of bread slightly, these enriched rolls tend to hold up well.
- Freezer: For long-term freshness, freezing is your best bet. I recommend wrapping individual rolls tightly in aluminum foil, then placing them together in a heavy-duty freezer bag. This method protects them from freezer burn and allows you to grab just one or two as needed. They can be stored in the freezer for up to 3 months.
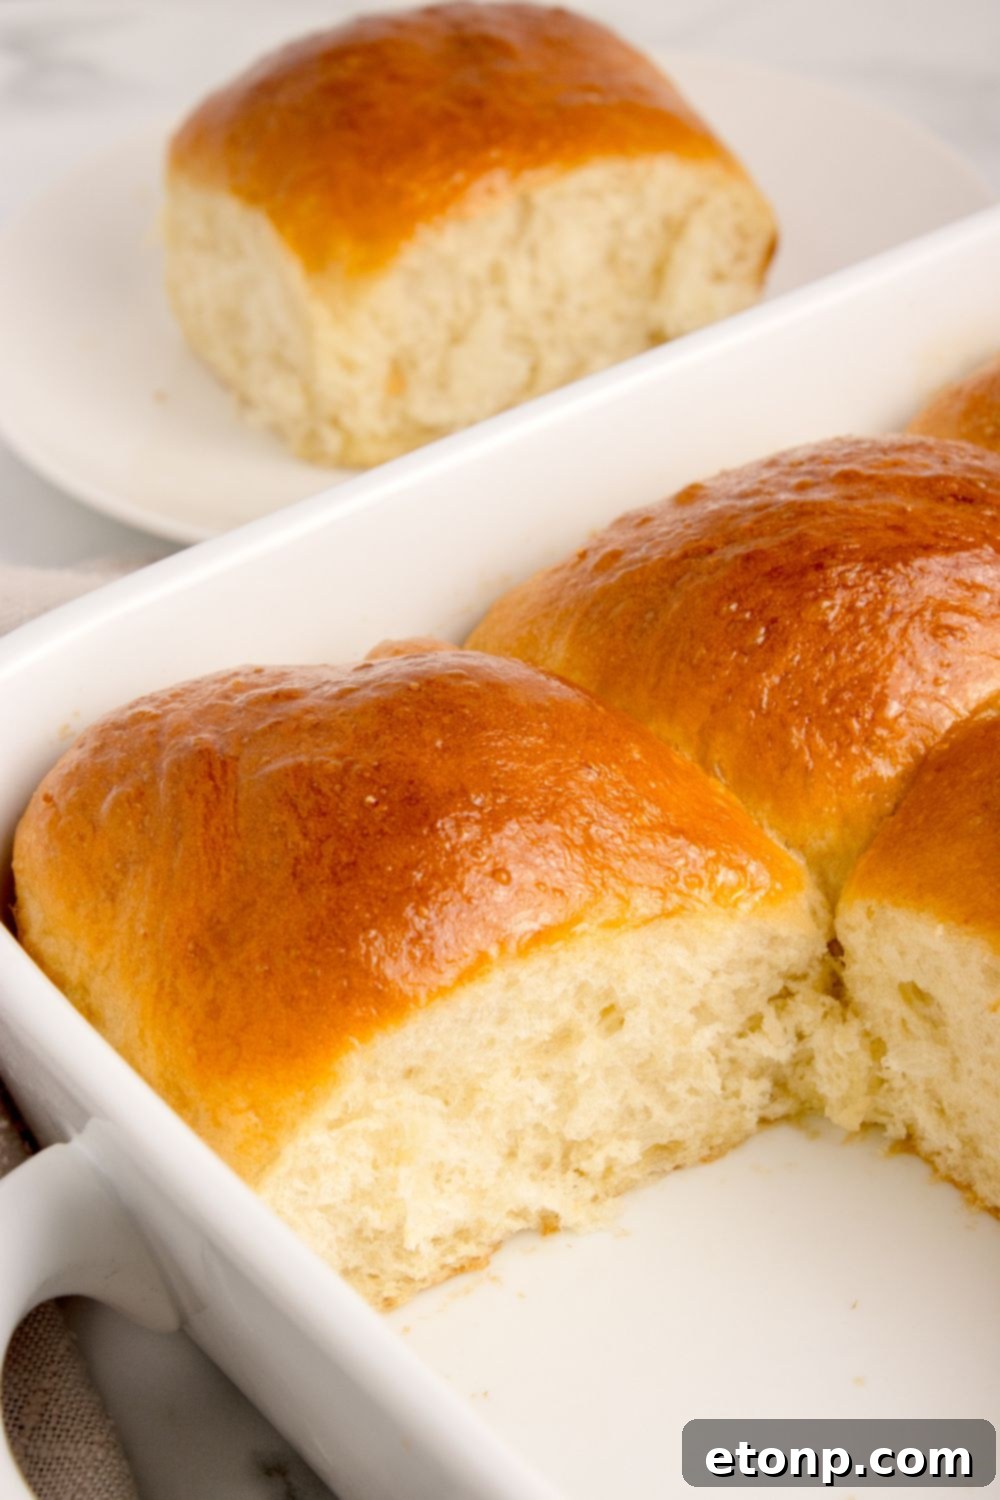
Reheating
- Room Temperature Rolls: To restore their warmth and tender texture, preheat your oven to 350°F (175°C). Place the rolls directly on the oven rack or wrapped loosely in foil and warm for about 5 minutes.
- Refrigerated Rolls: Allow refrigerated rolls to come to room temperature first for about 15-20 minutes. Then, warm them in a 350°F (175°C) oven for 7-8 minutes, or until heated through and soft. Wrapping them in foil can help prevent further drying.
- Frozen Rolls: For the best results, thaw frozen rolls overnight in the refrigerator or at room temperature. Once thawed, warm them in a 350°F (175°C) oven for about 10 minutes. If you’re short on time, you can also reheat frozen rolls directly, wrapped in foil, at 300°F (150°C) for 15-20 minutes, or until soft and warm.
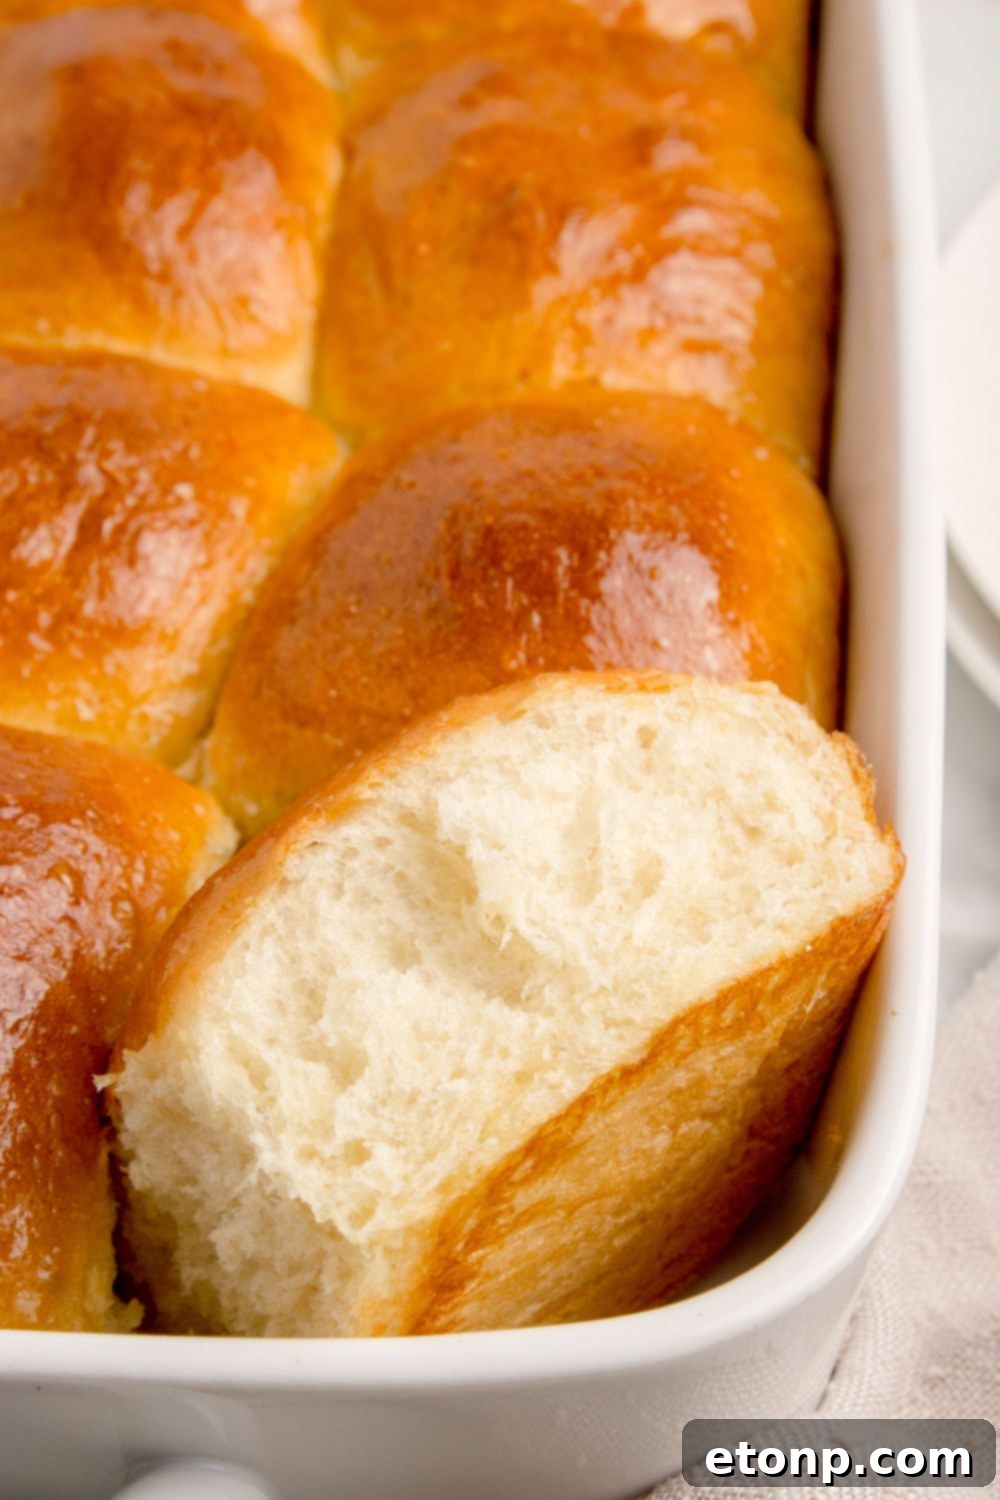
Delicious Substitutions and Creative Variations
This easy dinner roll recipe is wonderfully adaptable, allowing you to customize it to your taste or dietary needs. Here are some ideas to get creative with your homemade pull-apart rolls:
- Flour Alternatives: While all-purpose flour yields fantastic results, feel free to experiment. Use bread flour for a chewier texture due to its higher protein content, or incorporate a mixture of whole wheat and all-purpose flour for a more wholesome and robust flavor. Gluten-free flour blends may work, but often require specific adjustments and binders.
- Liquid Options: Instead of warm water, warm milk (dairy or non-dairy) can be used. Milk will contribute to an even richer, more tender crumb and a slightly sweeter flavor profile, as its fats and sugars interact beautifully with the yeast.
- Oil Choices: Any neutral-flavored oil, such as canola, sunflower, or grapeseed oil, can easily replace olive oil. For an even more indulgent flavor, melted unsalted butter can be used, adding a deeper dairy richness to the rolls.
- Sweetener Swaps: Granulated sugar can be substituted with an equal amount of honey, maple syrup, or agave nectar. These liquid sweeteners will impart a slightly different, often more complex, sweetness and moisture to the dough.
- Yeast Variations: If you’re looking to speed up the process, instant yeast can be used, which typically requires no proofing and can reduce the first rise time by up to 10 minutes. Follow package directions for quantities, as instant yeast is sometimes more potent than active dry.
- Egg-Free Option: For those avoiding eggs, you can replace the large egg with 1/4 cup of unsweetened applesauce or a flax egg (1 tablespoon ground flaxseed mixed with 3 tablespoons water, let sit for 5 minutes). These substitutes will help bind the dough and retain moisture.
- Herb & Spice Infusions: Elevate the savory profile by mixing in your favorite dried herbs like rosemary, thyme, or oregano into the dough. A teaspoon or two of garlic powder or finely minced fresh garlic can transform them into savory garlic rolls, perfect with Italian-inspired meals.
- Cheesy Rolls: Who doesn’t love cheese? For a delightful cheesy roll, add 1/3 to 1/2 cup of shredded cheese to the dough before the first rise. Cheddar, mozzarella, Parmesan, or a blend of Italian cheeses are all fantastic options that melt beautifully into the fluffy dinner rolls.
- Sweet Cinnamon Rolls: Transform these into a sweet treat by adding a swirl of cinnamon sugar before rolling the dough balls, or by brushing with melted butter and sprinkling with cinnamon sugar immediately after baking.
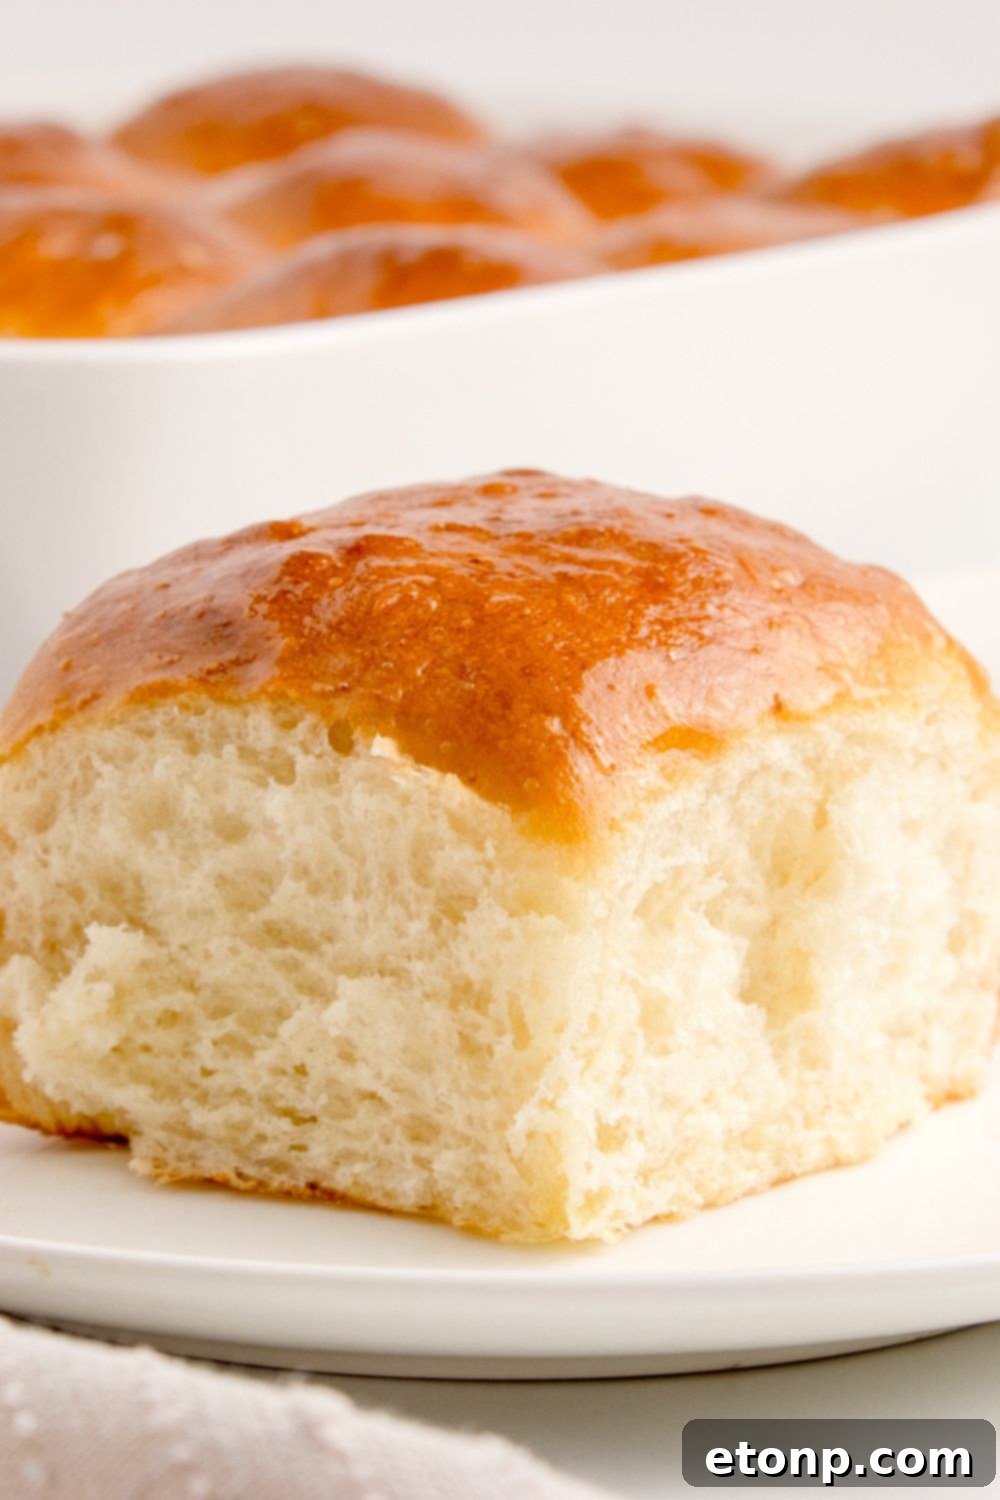
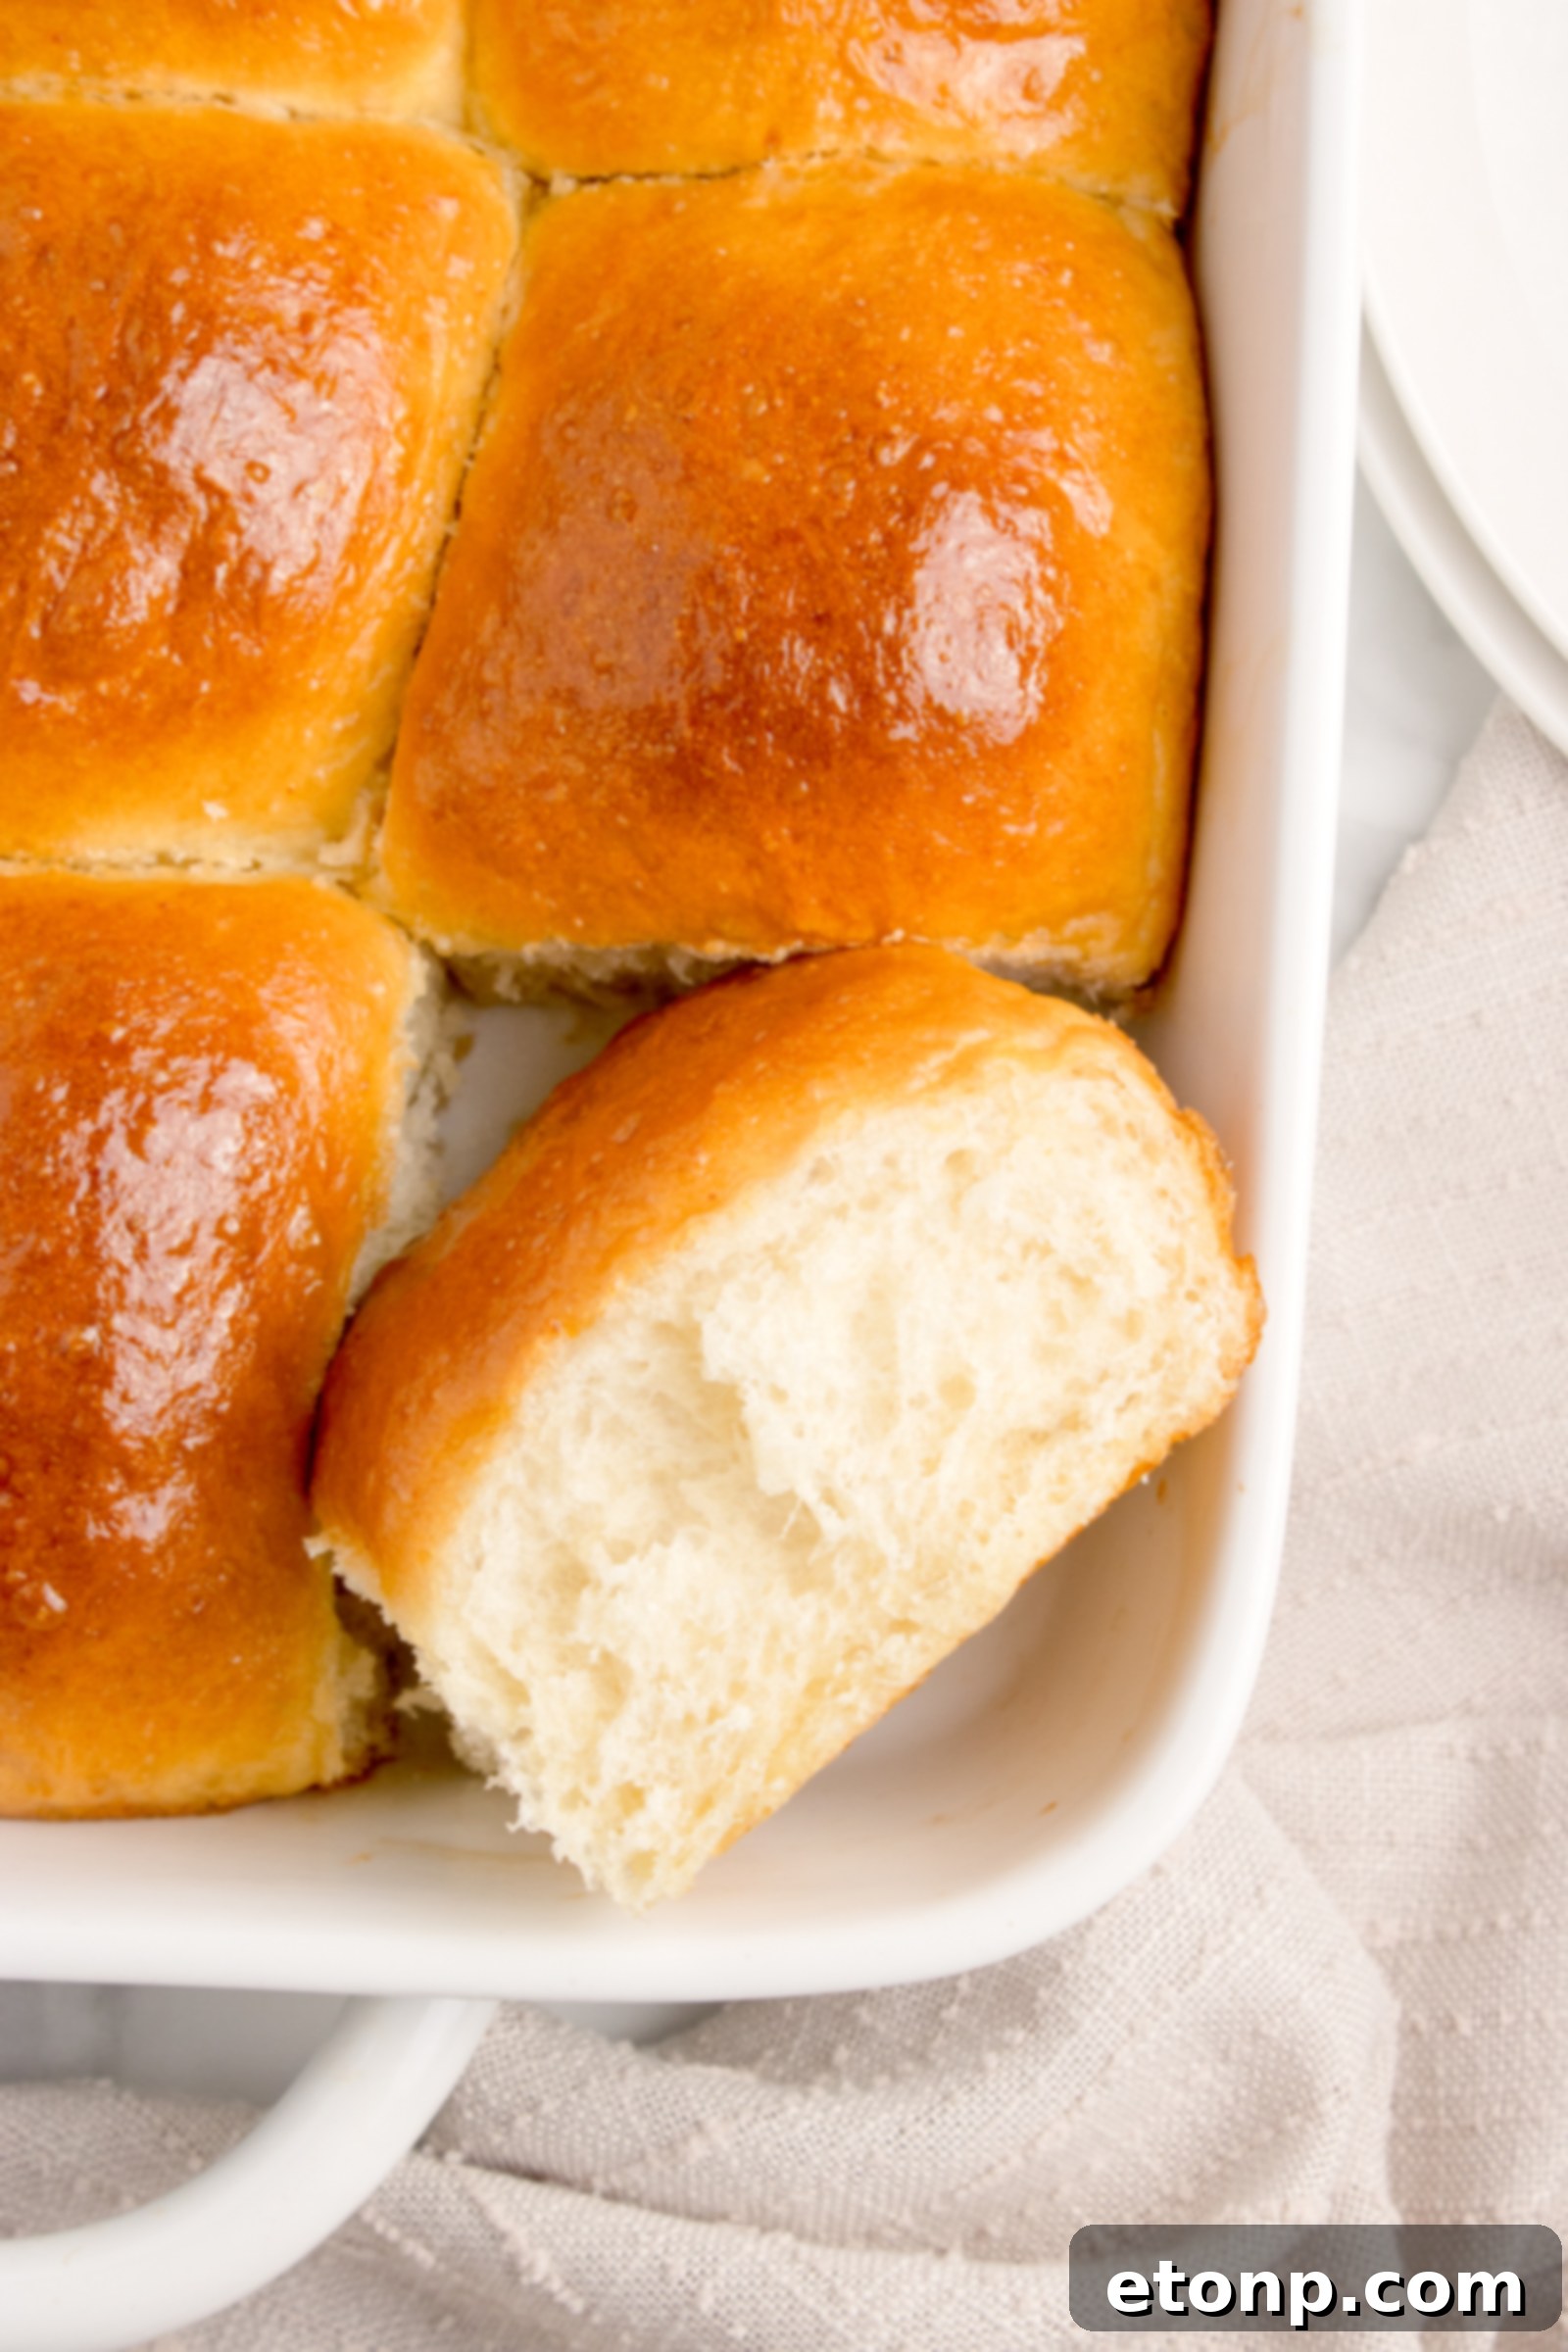
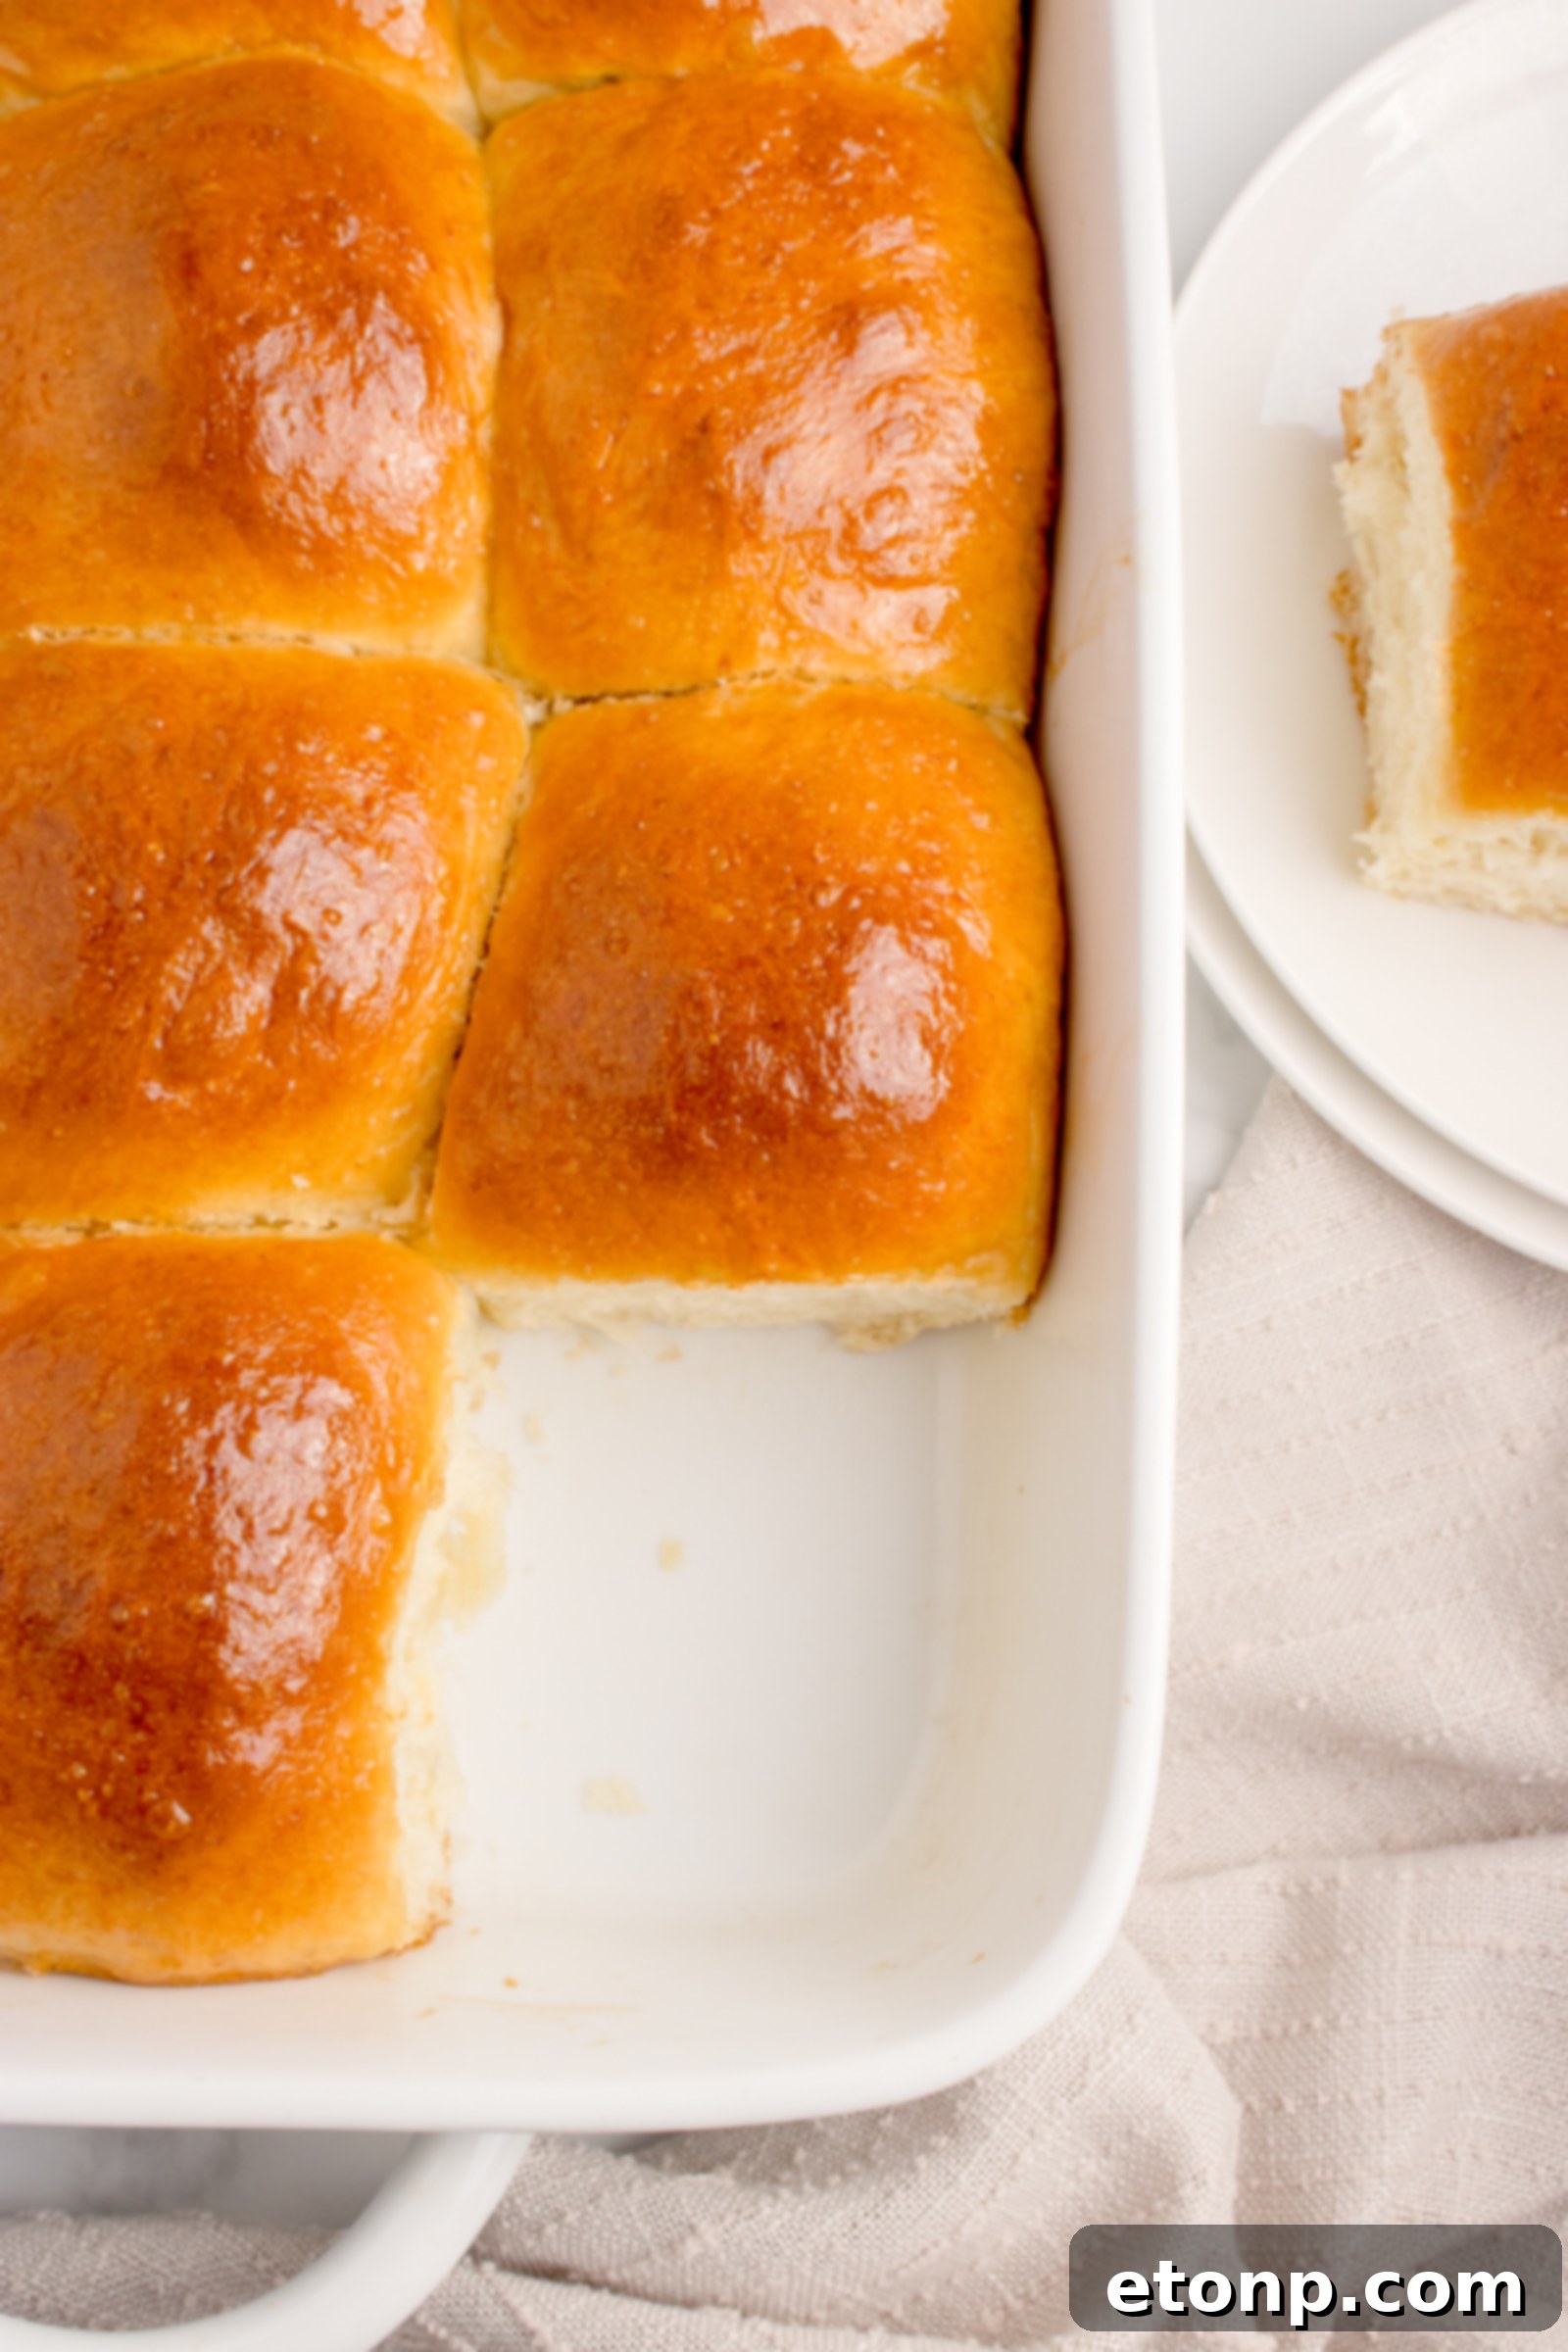
So soft and incredibly buttery, if you’re searching for the ultimate homemade dinner rolls that are sumptuously soft, wonderfully fluffy, and bursting with buttery flavor, this is truly the recipe for you! These pull-apart rolls come together with surprising ease, and the absolute best part? You won’t need any fancy equipment or exotic ingredients—just simple pantry staples are all it takes to create this culinary magic. They’re perfect for any occasion: whether it’s the centerpiece of a festive holiday meal, a comforting addition to everyday family dinners, or simply a delicious treat “just because.” Each roll boasts a golden, buttery top that gives way to the most pillowy, tender texture inside. Plus, the delightful aroma that fills your kitchen while these bake is an experience in itself, promising warmth and comfort even before the first bite!
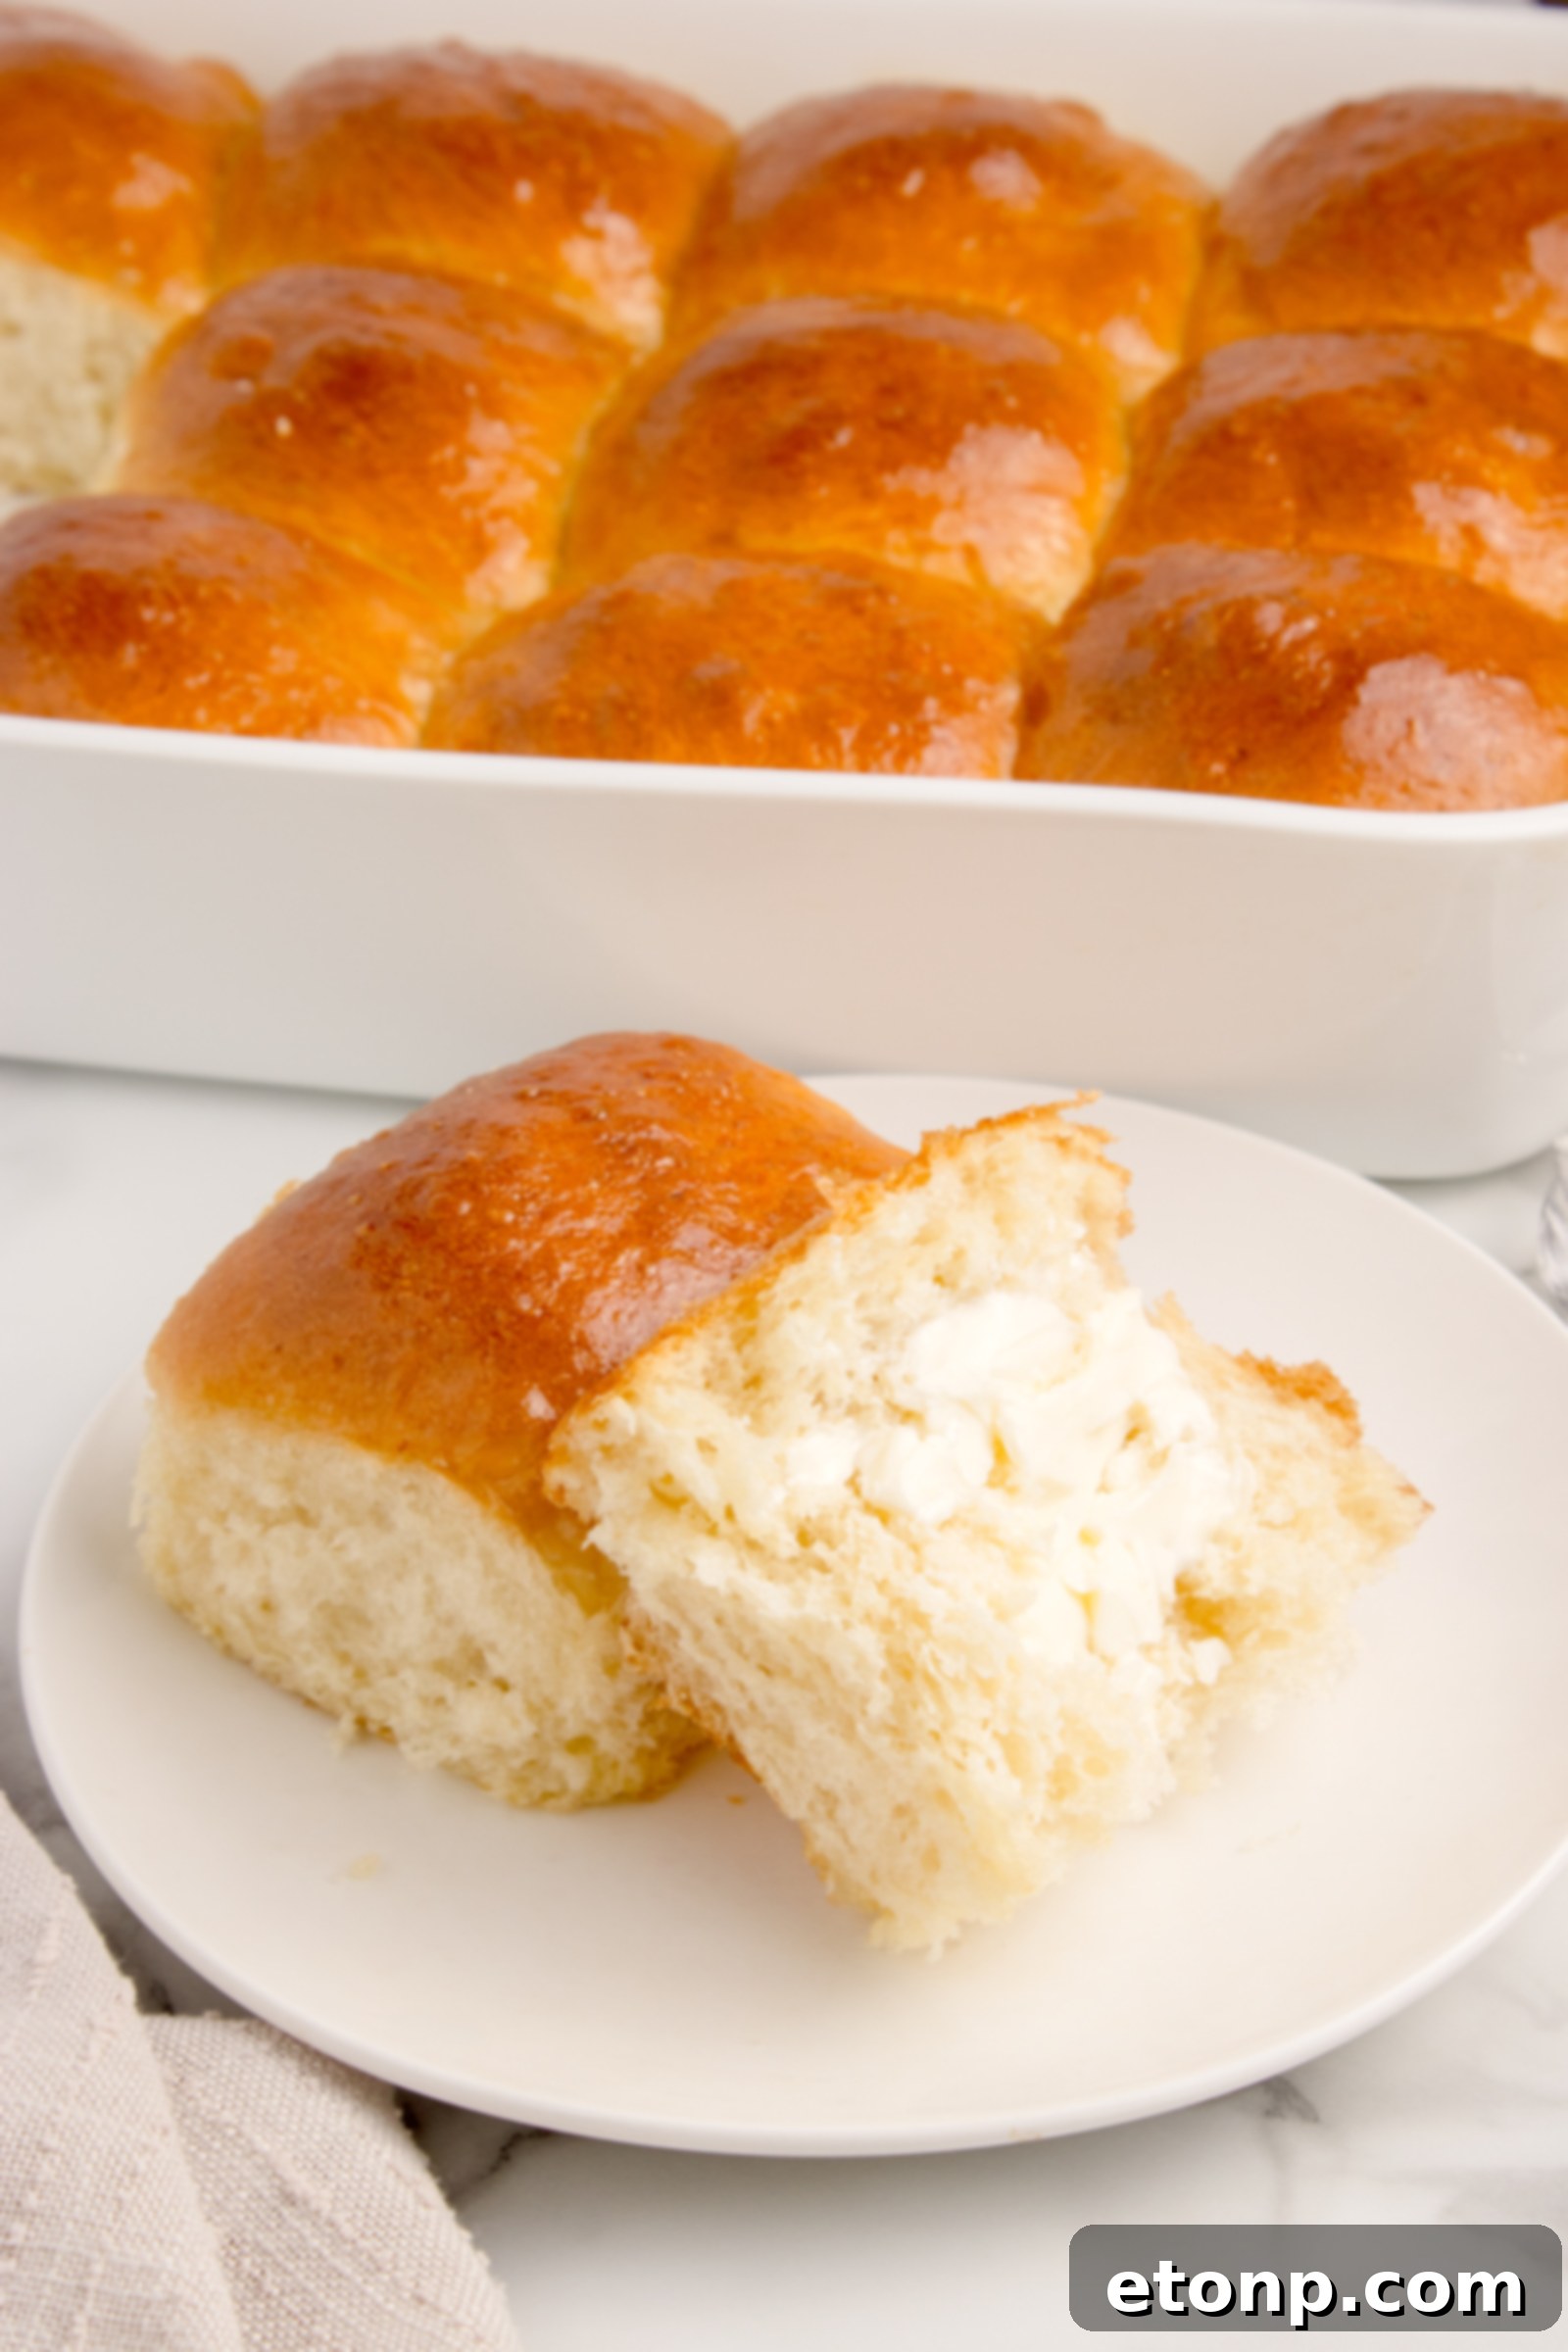
These soft dinner rolls are not only delicious but also incredibly satisfying. They’re a classic comfort food that brings joy to any table. Their versatility means they pair beautifully with virtually any meal, acting as a perfect mop for delicious gravies or simply enjoyed with a generous spread of butter. The process of making them is a rewarding experience, transforming basic ingredients into something truly special. Enjoy the smiles and compliments these best dinner rolls are sure to bring!
Your Questions Answered: Common FAQs About Pull-Apart Rolls
Can I freeze the shaped rolls before baking?
Absolutely! This is a fantastic make-ahead strategy. After you’ve shaped the dough into balls and placed them in your baking pan, cover the pan tightly with plastic wrap and aluminum foil, then freeze them. When you’re ready to bake, transfer the frozen rolls to the refrigerator overnight to thaw. In the morning, or several hours before baking, let them rise in a warm spot until doubled in size, just as you would with fresh dough. Then, bake as directed in the recipe. You might find they need a few extra minutes in the oven to achieve that perfect golden brown and ensure they are fully cooked through, so keep an eye on them.
What’s the best way to make these ahead for a holiday meal?
For a stress-free holiday, prepare the dough completely the day before your meal. After the first rise, gently deflate the dough, cover the bowl tightly, and refrigerate it overnight. The next day, let the dough come to room temperature for about 30-60 minutes, then shape it into balls, arrange in the baking pan, and allow for the second rise. Bake them fresh on the day of your meal for the absolute best taste and texture. If you bake them entirely ahead, wrap the cooled rolls tightly in aluminum foil and warm them up for a few minutes in a 350°F (175°C) oven before serving to replicate that fresh-out-of-the-oven experience.
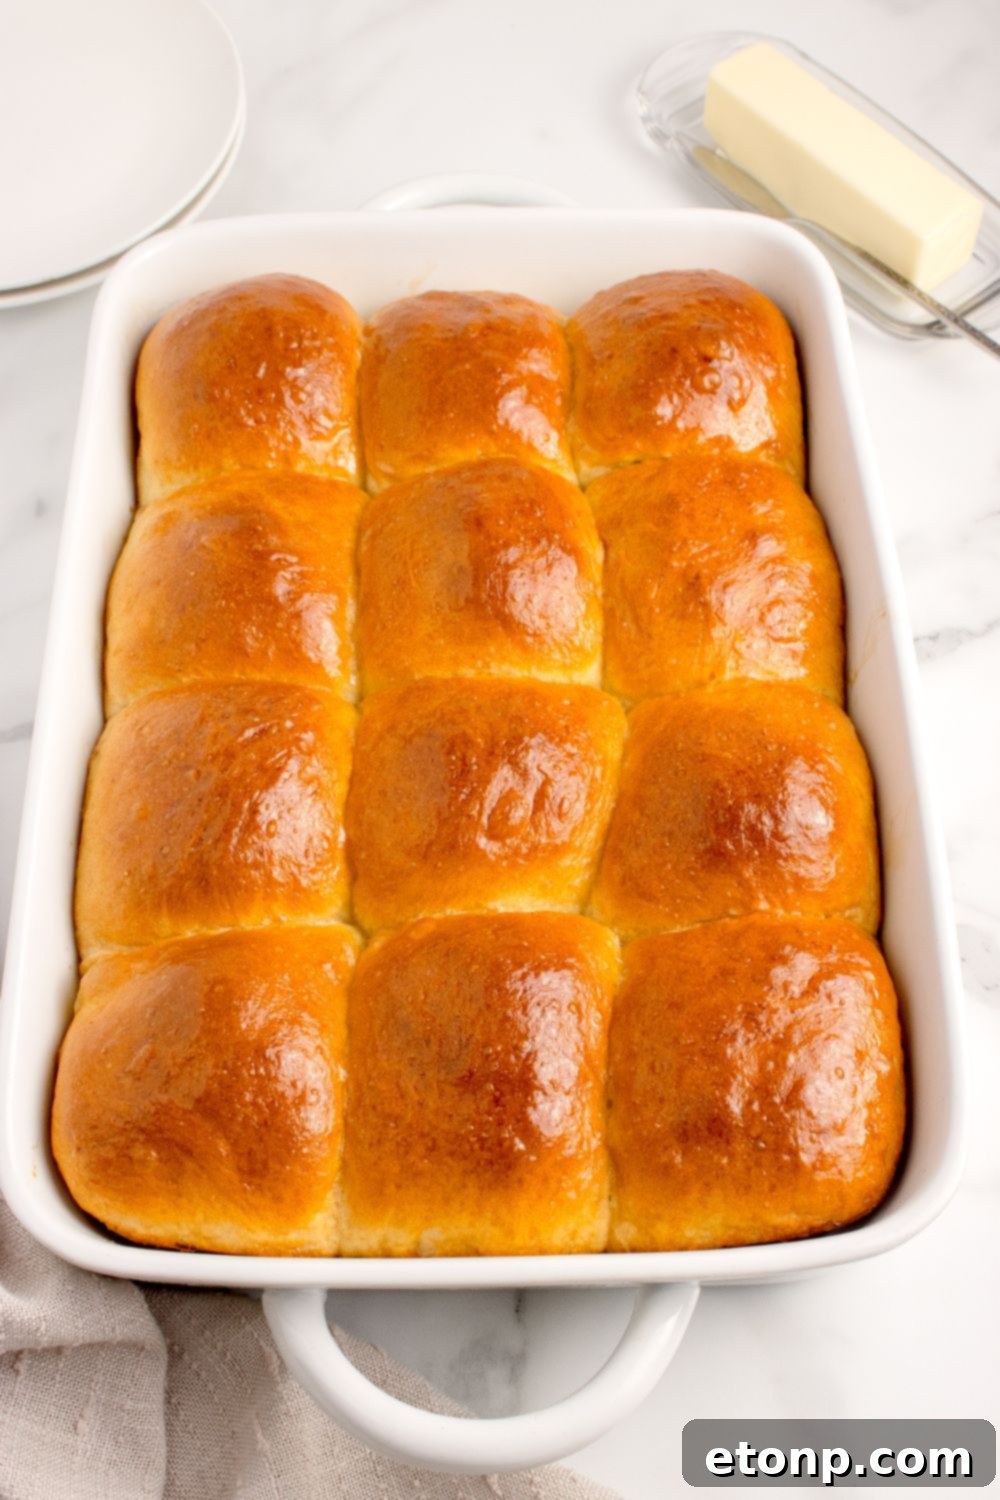
These versatile fluffy dinner rolls are the perfect accompaniment to a wide array of dishes. Pair them with your favorite glazed ham, a refreshing bacon pea salad, comforting funeral potatoes, or any other delicious creations you might be whipping up. Their tender texture and buttery flavor complement both savory and sweet dishes, making them an indispensable part of any menu. No matter the occasion, these homemade pull-apart rolls are sure to be a crowd-pleaser!
What if I don’t have a stand mixer?
No problem at all! While a stand mixer with a dough hook simplifies the kneading process, it’s not essential. You can easily knead the dough by hand in a large bowl or directly on a lightly floured work surface. Expect to knead for 8-10 minutes, or until the dough becomes smooth, elastic, and passes the windowpane test (where a small piece of dough can be stretched thinly enough to see light through it without tearing). It requires a bit more effort, but the results will be just as delicious and satisfying.
How do I know when the rolls are done baking?
There are several indicators to tell when your homemade dinner rolls are perfectly baked. Visually, the tops should be a rich golden brown. For absolute certainty, an instant-read thermometer is your best friend: the internal temperature of the rolls should reach 190°F (88°C). Additionally, when you gently pull one of the rolls apart, the interior should appear light, fluffy, and fully cooked, with no visible raw dough or gumminess. Don’t worry if they sound a bit hollow when tapped on the bottom – that’s another good sign of doneness!
Why are my rolls dense or tough?
Dense or tough rolls are often caused by a few common issues. Over-kneading can overdevelop the gluten, making the rolls chewy and tough. Conversely, under-kneading won’t develop enough gluten, leading to a weak structure and poor rise. Too much flour also results in dry, dense dough. Ensure your yeast is active and your water temperature is correct for a good rise. Finally, not allowing enough time for the dough to rise (proofing) will also lead to dense rolls, as the yeast hasn’t had sufficient time to produce enough carbon dioxide to create that signature fluffy texture.
Can I use milk instead of water for a richer flavor?
Yes, absolutely! Substituting warm milk for water is a fantastic way to achieve an even richer flavor and a more tender crumb for your pull-apart dinner rolls. Milk adds extra fat and sugar, contributing to a softer texture, a finer crumb, and a more golden crust. Just ensure the milk is warmed to the same temperature as you would warm water (105°F-110°F or 40°C-43°C) to properly activate the yeast. Be mindful that milk can sometimes cause the dough to brown a bit faster in the oven, so keep an eye on it.
More Delicious Bread Recipes to Try
- Amish Bread
- Classic Homemade White Bread
- Easy No-Mixer Dinner Rolls
Pull Apart Dinner Rolls Recipe
Pull apart dinner rolls are a delicious, light, and fluffy yeast roll. The dough is mixed and shaped into individual balls, then baked together in a casserole dish. Simply pull them apart and serve this tasty bread as a perfect accompaniment to your dinner or holiday feast.
Course: Side Dish
Prep Time: 20 minutes
Cook Time: 20-25 minutes
Total Time: Approximately 1 hour 40 minutes (including rising time)
Yields: 12 servings
Ingredients
- 4 cups all-purpose flour (plus up to 1/4 cup more as needed)
- 2 tablespoons active dry yeast or rapid rise yeast
- 1 1/2 teaspoons kosher salt
- 1/4 cup granulated sugar
- 1 large egg
- 1 1/2 cups warm water (110°F/45°C)
- 1/4 cup olive oil
- Extra flour for work surface (as needed)
Instructions
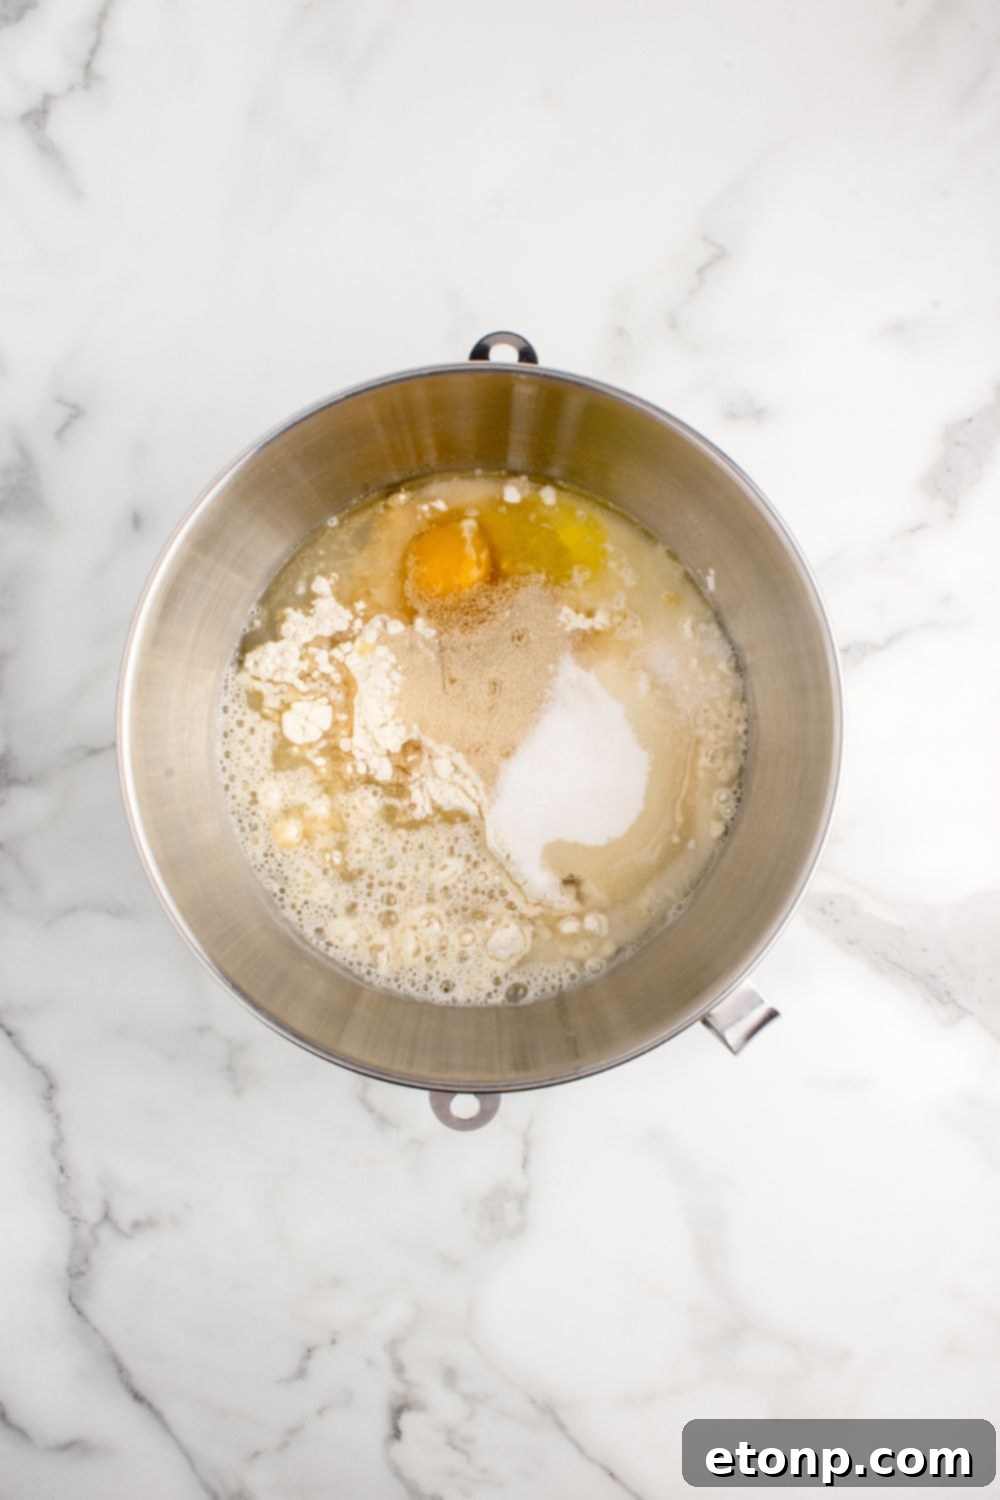
- In a large bowl or the bowl of a stand mixer, combine the flour, yeast, salt, sugar, egg, warm water, and olive oil. Mix using clean hands or a dough hook until a soft dough forms. Scrape down the sides of the bowl as needed to ensure all ingredients are incorporated.
- Cover the bowl with plastic wrap or a clean kitchen towel and place it in a warm, draft-free spot. Allow the dough to rise until it doubles in size, which typically takes about 20 minutes for rapid-rise yeast.
- Once the dough has doubled, gently deflate it by pressing down with your fist. Turn the dough out onto a lightly floured work surface.
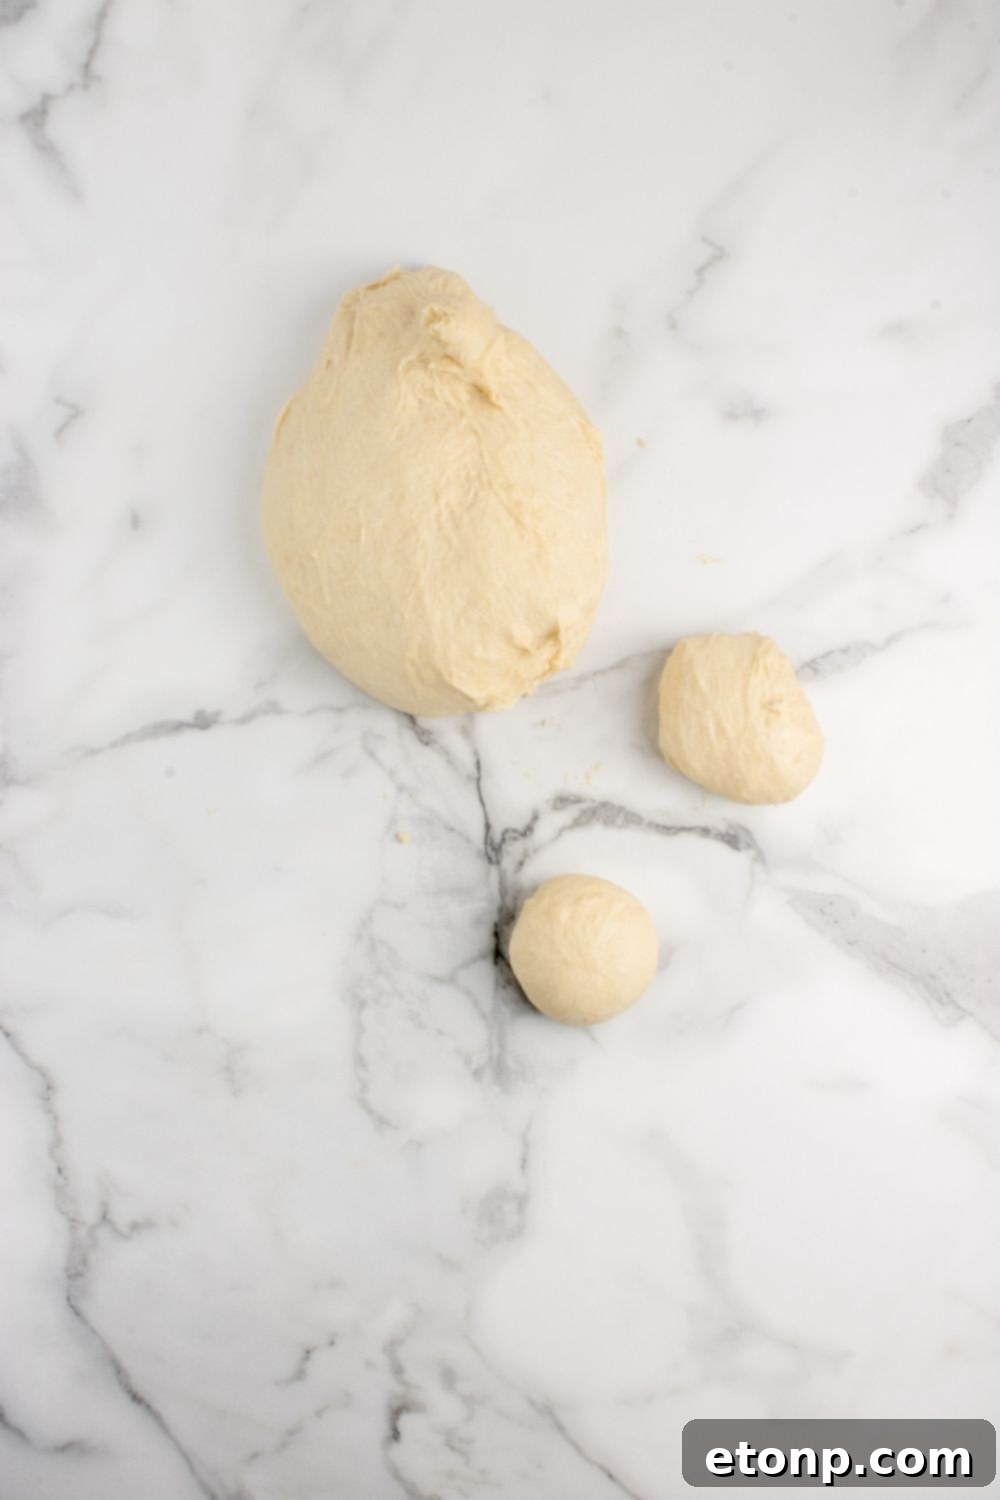
- Using a bench scraper or a sharp knife, divide the dough into 12 equal pieces. For precise and even rolls, each piece should weigh approximately 78 grams. Gently shape each piece into a smooth, round ball.
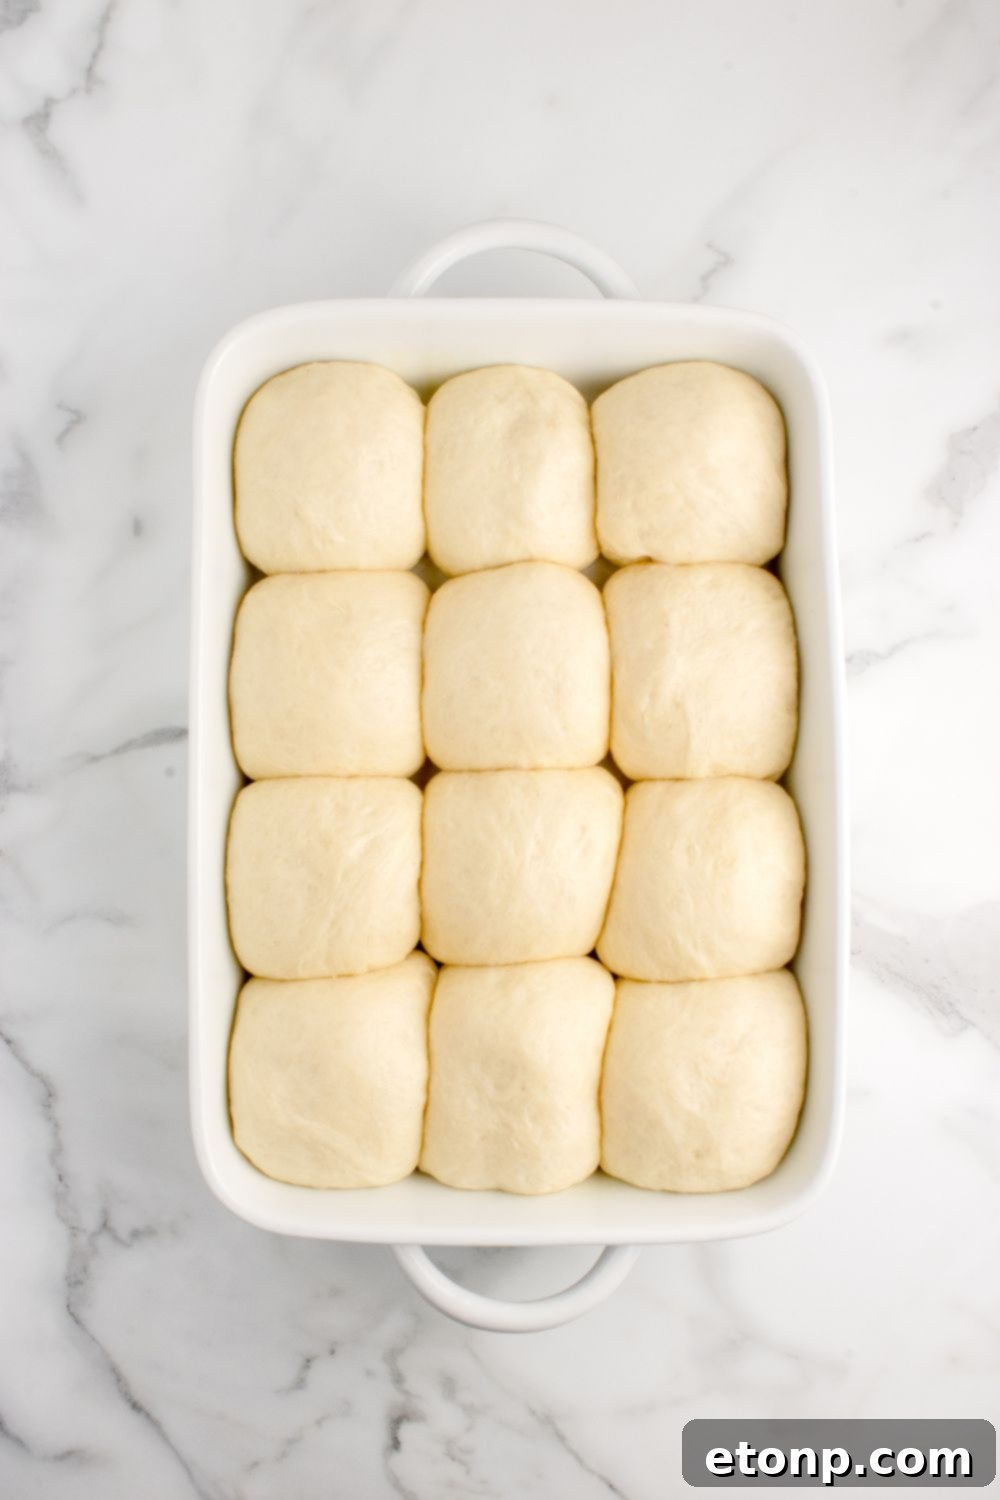
- Arrange the dough balls evenly spaced in a 9×13-inch baking pan. Cover the pan again with plastic wrap or a clean kitchen towel.
- Let the rolls rise in a warm spot for a second time until they have doubled in size, usually about 30 minutes. This second rise contributes significantly to their fluffy texture.
- While the rolls are performing their second rise, preheat your oven to 350°F (175°C). Position an oven rack in the center.
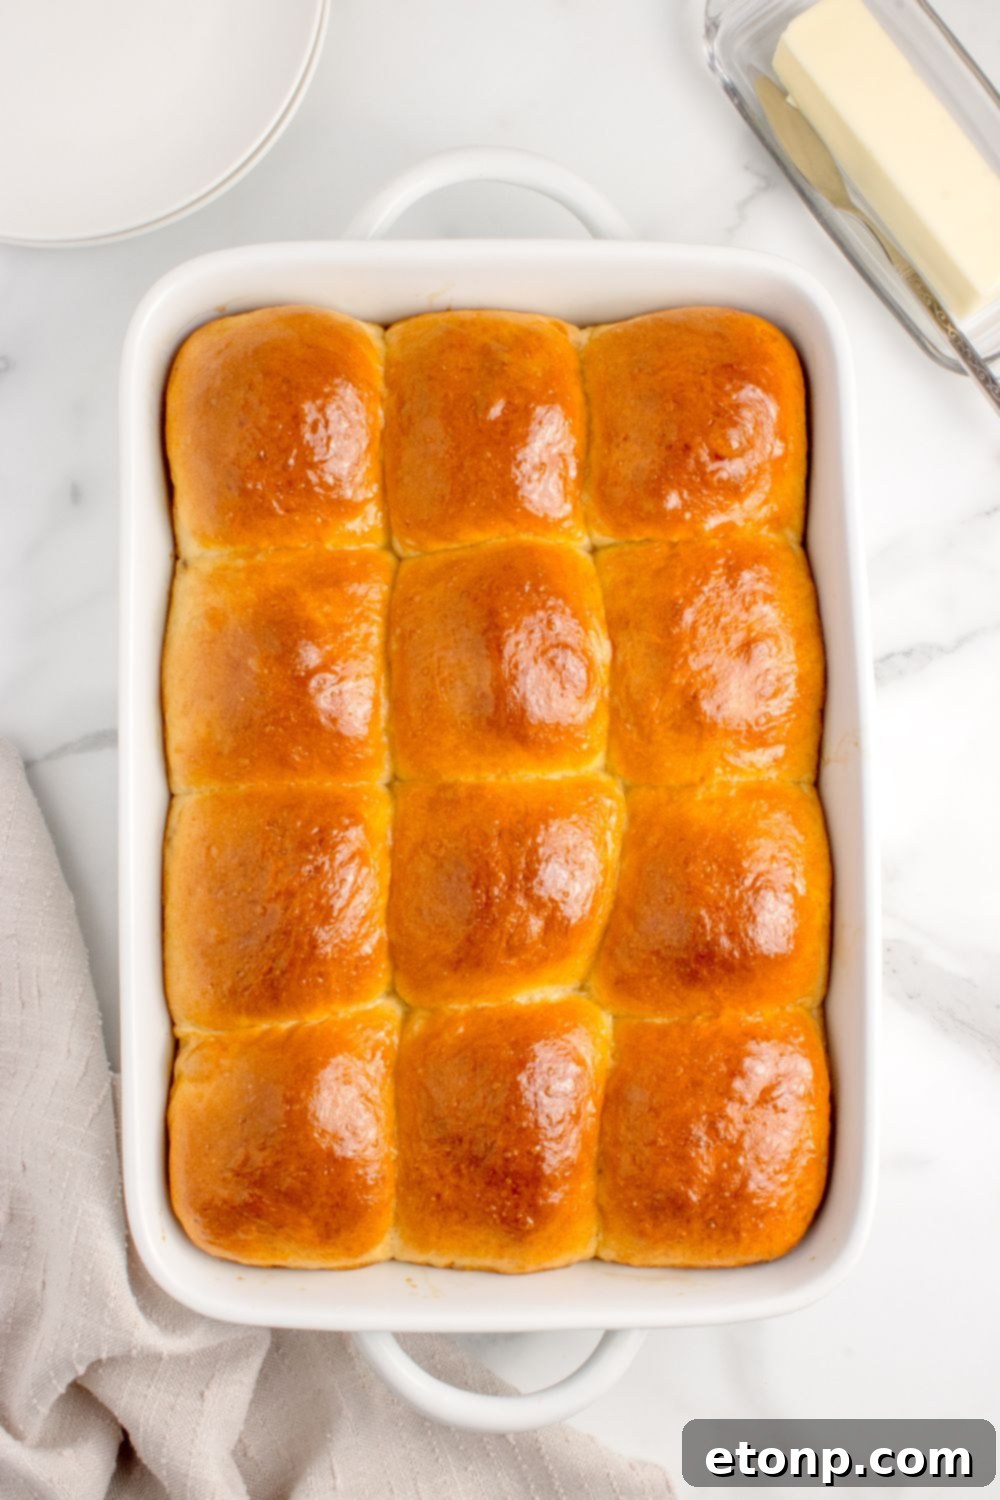
- Bake the rolls in the preheated oven for 20-25 minutes, or until they are beautifully golden brown on top. For perfectly baked rolls, an internal temperature of 190°F (88°C) should be reached. If the tops start browning too quickly, you can loosely cover the pan with aluminum foil.
- Remove the rolls from the oven and let them cool slightly on a wire rack before serving. Enjoy these warm, soft, and buttery pull-apart dinner rolls!
Equipment
- Large bowl or bowl of a stand mixer
- 9×13-inch baking pan
- Plastic wrap or clean kitchen towel
- Bench scraper (optional, but recommended for easy dough handling)
- Pastry brush (for egg wash, optional)
- Wooden Spoon (for mixing if not using a stand mixer)
- Instant-read thermometer (optional, for checking internal temperature)