

Indulge in the Irresistible: S’mores Cookie Cups – Your Favorite Treat, Reimagined!
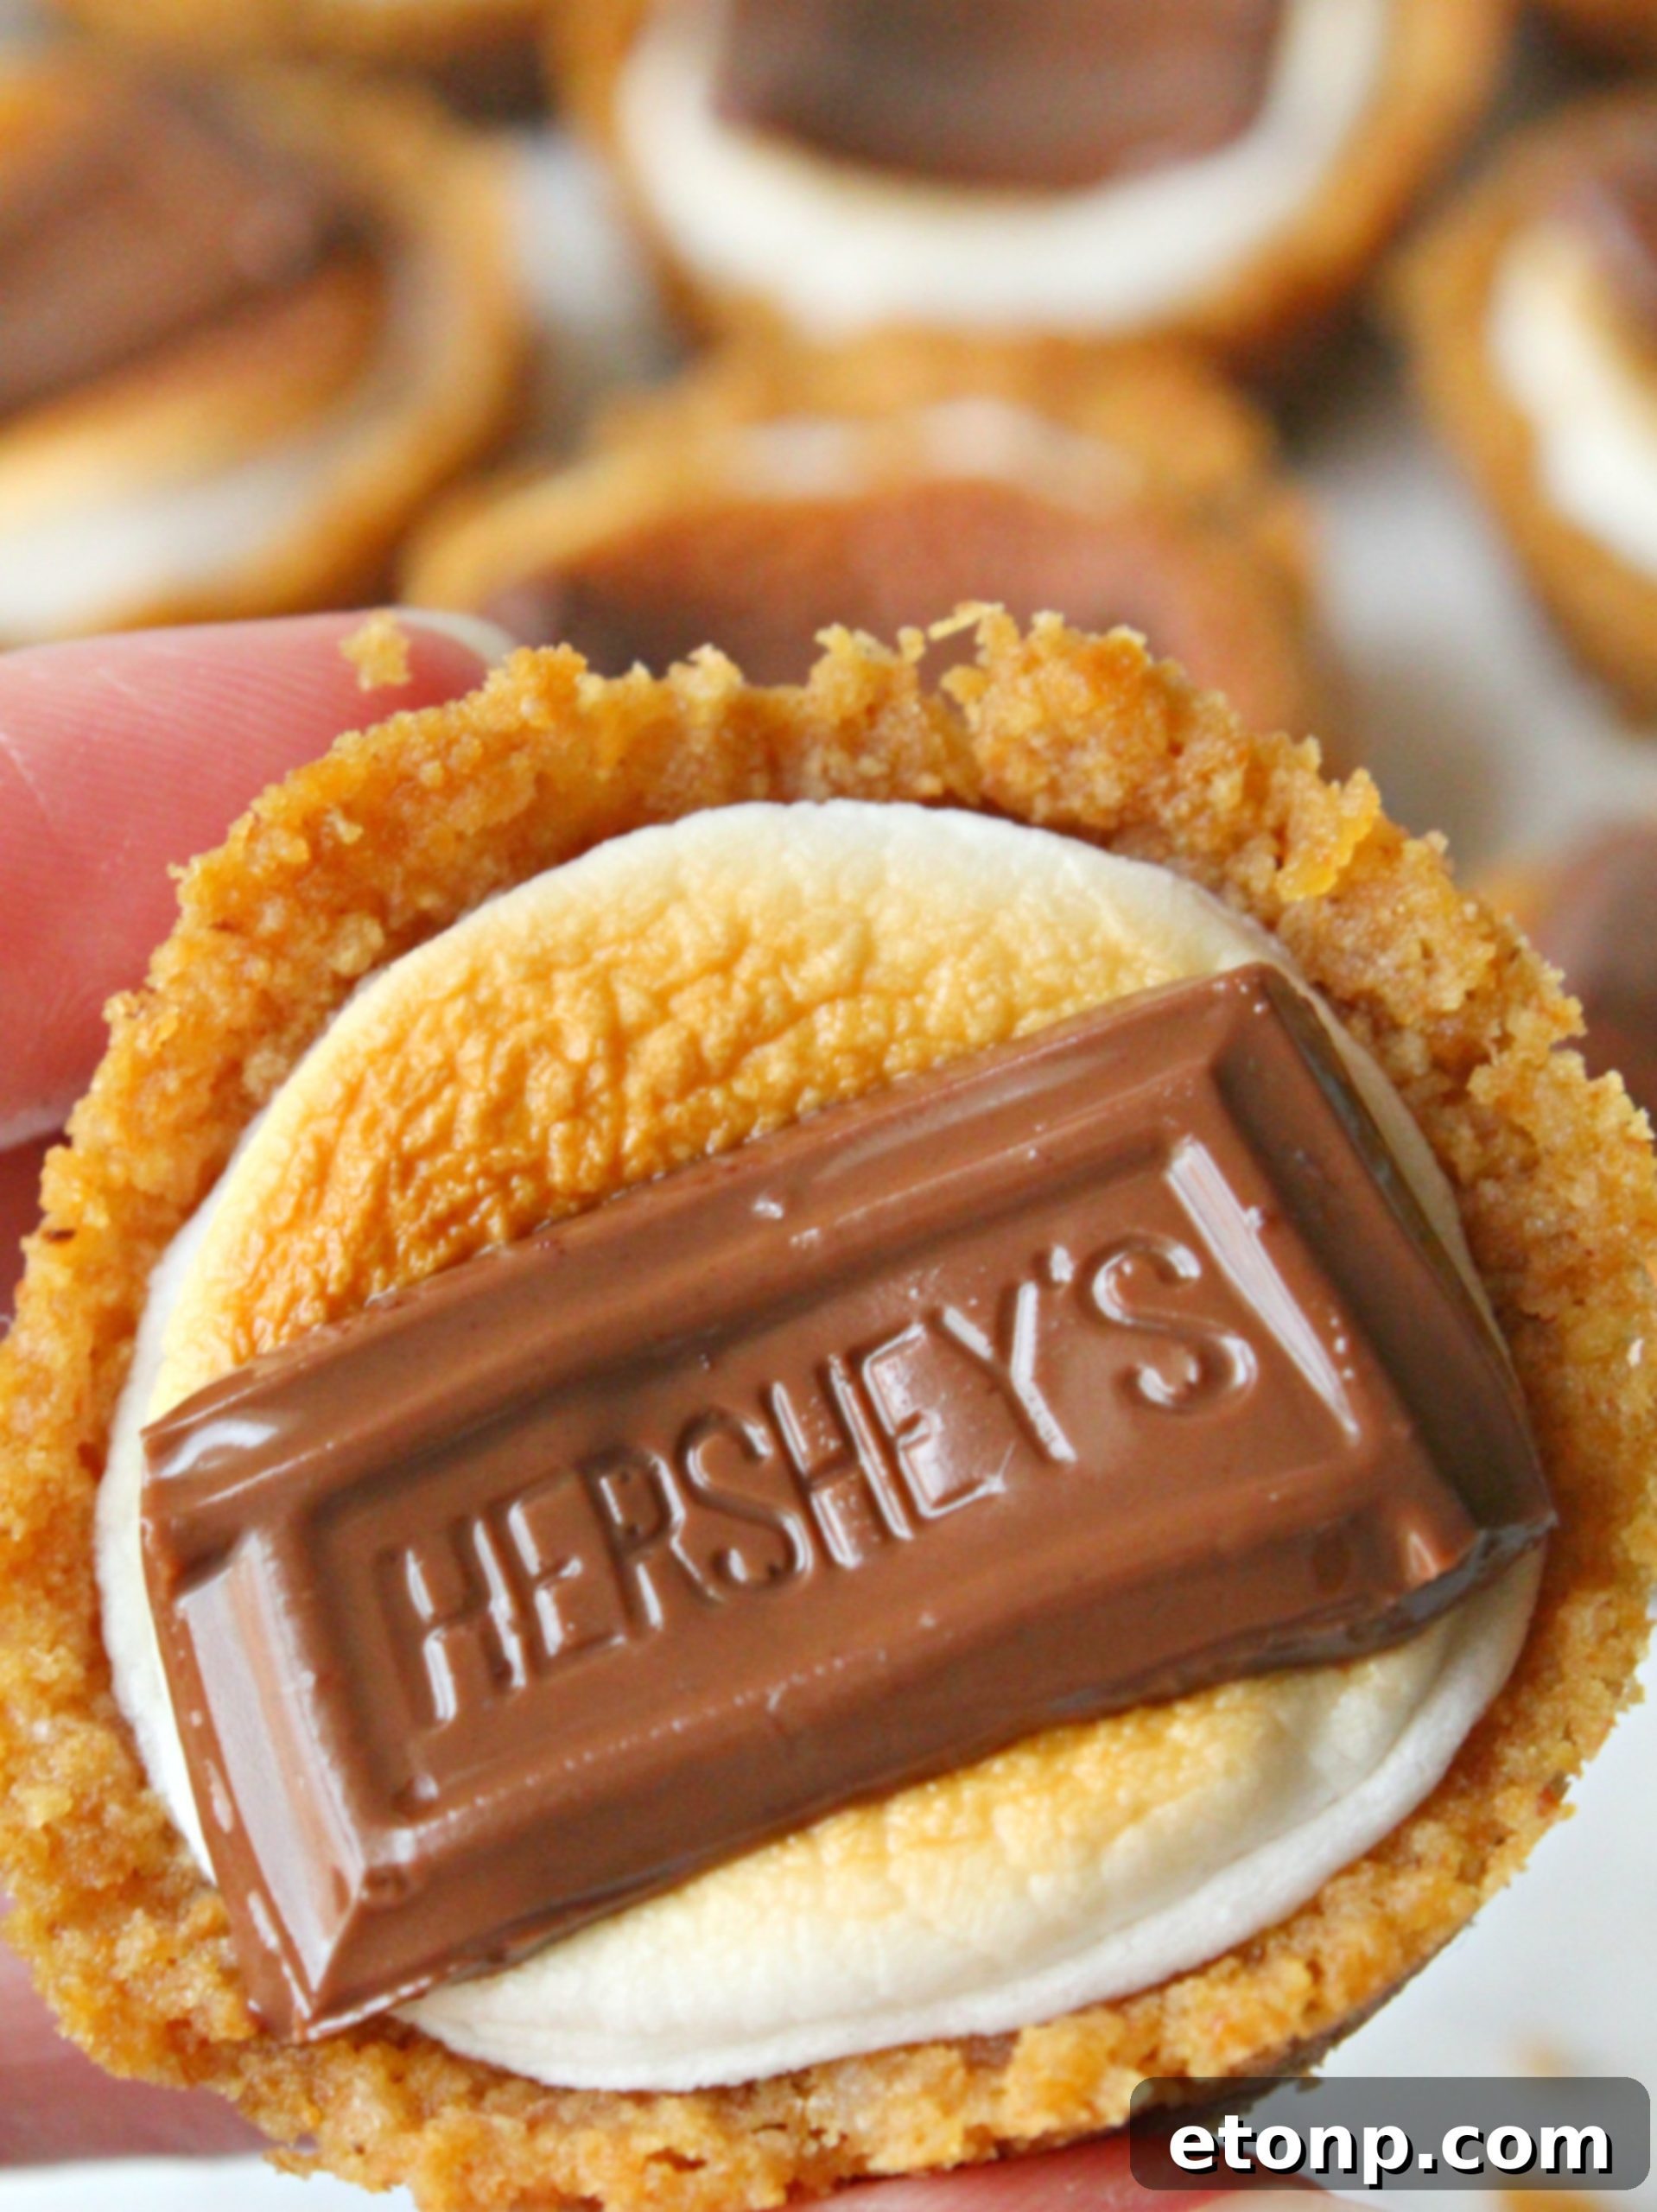
Craving that classic campfire treat but don’t have a bonfire handy? Look no further! These S’mores Cookie Cups offer all the gooey, chocolatey goodness of traditional s’mores in a convenient, bite-sized cookie format. Perfect for parties, quick snacks, or a delightful family dessert, this easy-to-make recipe brings the joy of s’mores into your kitchen any time of year. Get ready to transform simple ingredients into an extraordinary treat that everyone will love.
What Exactly Are S’mores? A Sweet History
S’mores hold a special place in the hearts of many, symbolizing cozy campfires, starry nights, and shared moments. For the uninitiated, a traditional s’more is a beloved American camping treat comprised of a toasted marshmallow and a layer of chocolate sandwiched between two graham crackers. The name “s’more” is believed to be a contraction of “some more,” a testament to how utterly addictive they are! While these delightful dessert sandwiches are traditionally prepared over an open flame, their incredible popularity has led to countless indoor adaptations. Our S’mores Cookie Cups recipe is one such innovation, allowing you to enjoy this nostalgic flavor profile without ever needing to venture outdoors. It’s a fantastic way to satisfy your sweet tooth with minimal effort and maximum deliciousness, making it an ideal treat for any occasion.
Why You Need S’mores Cookie Cups in Your Life
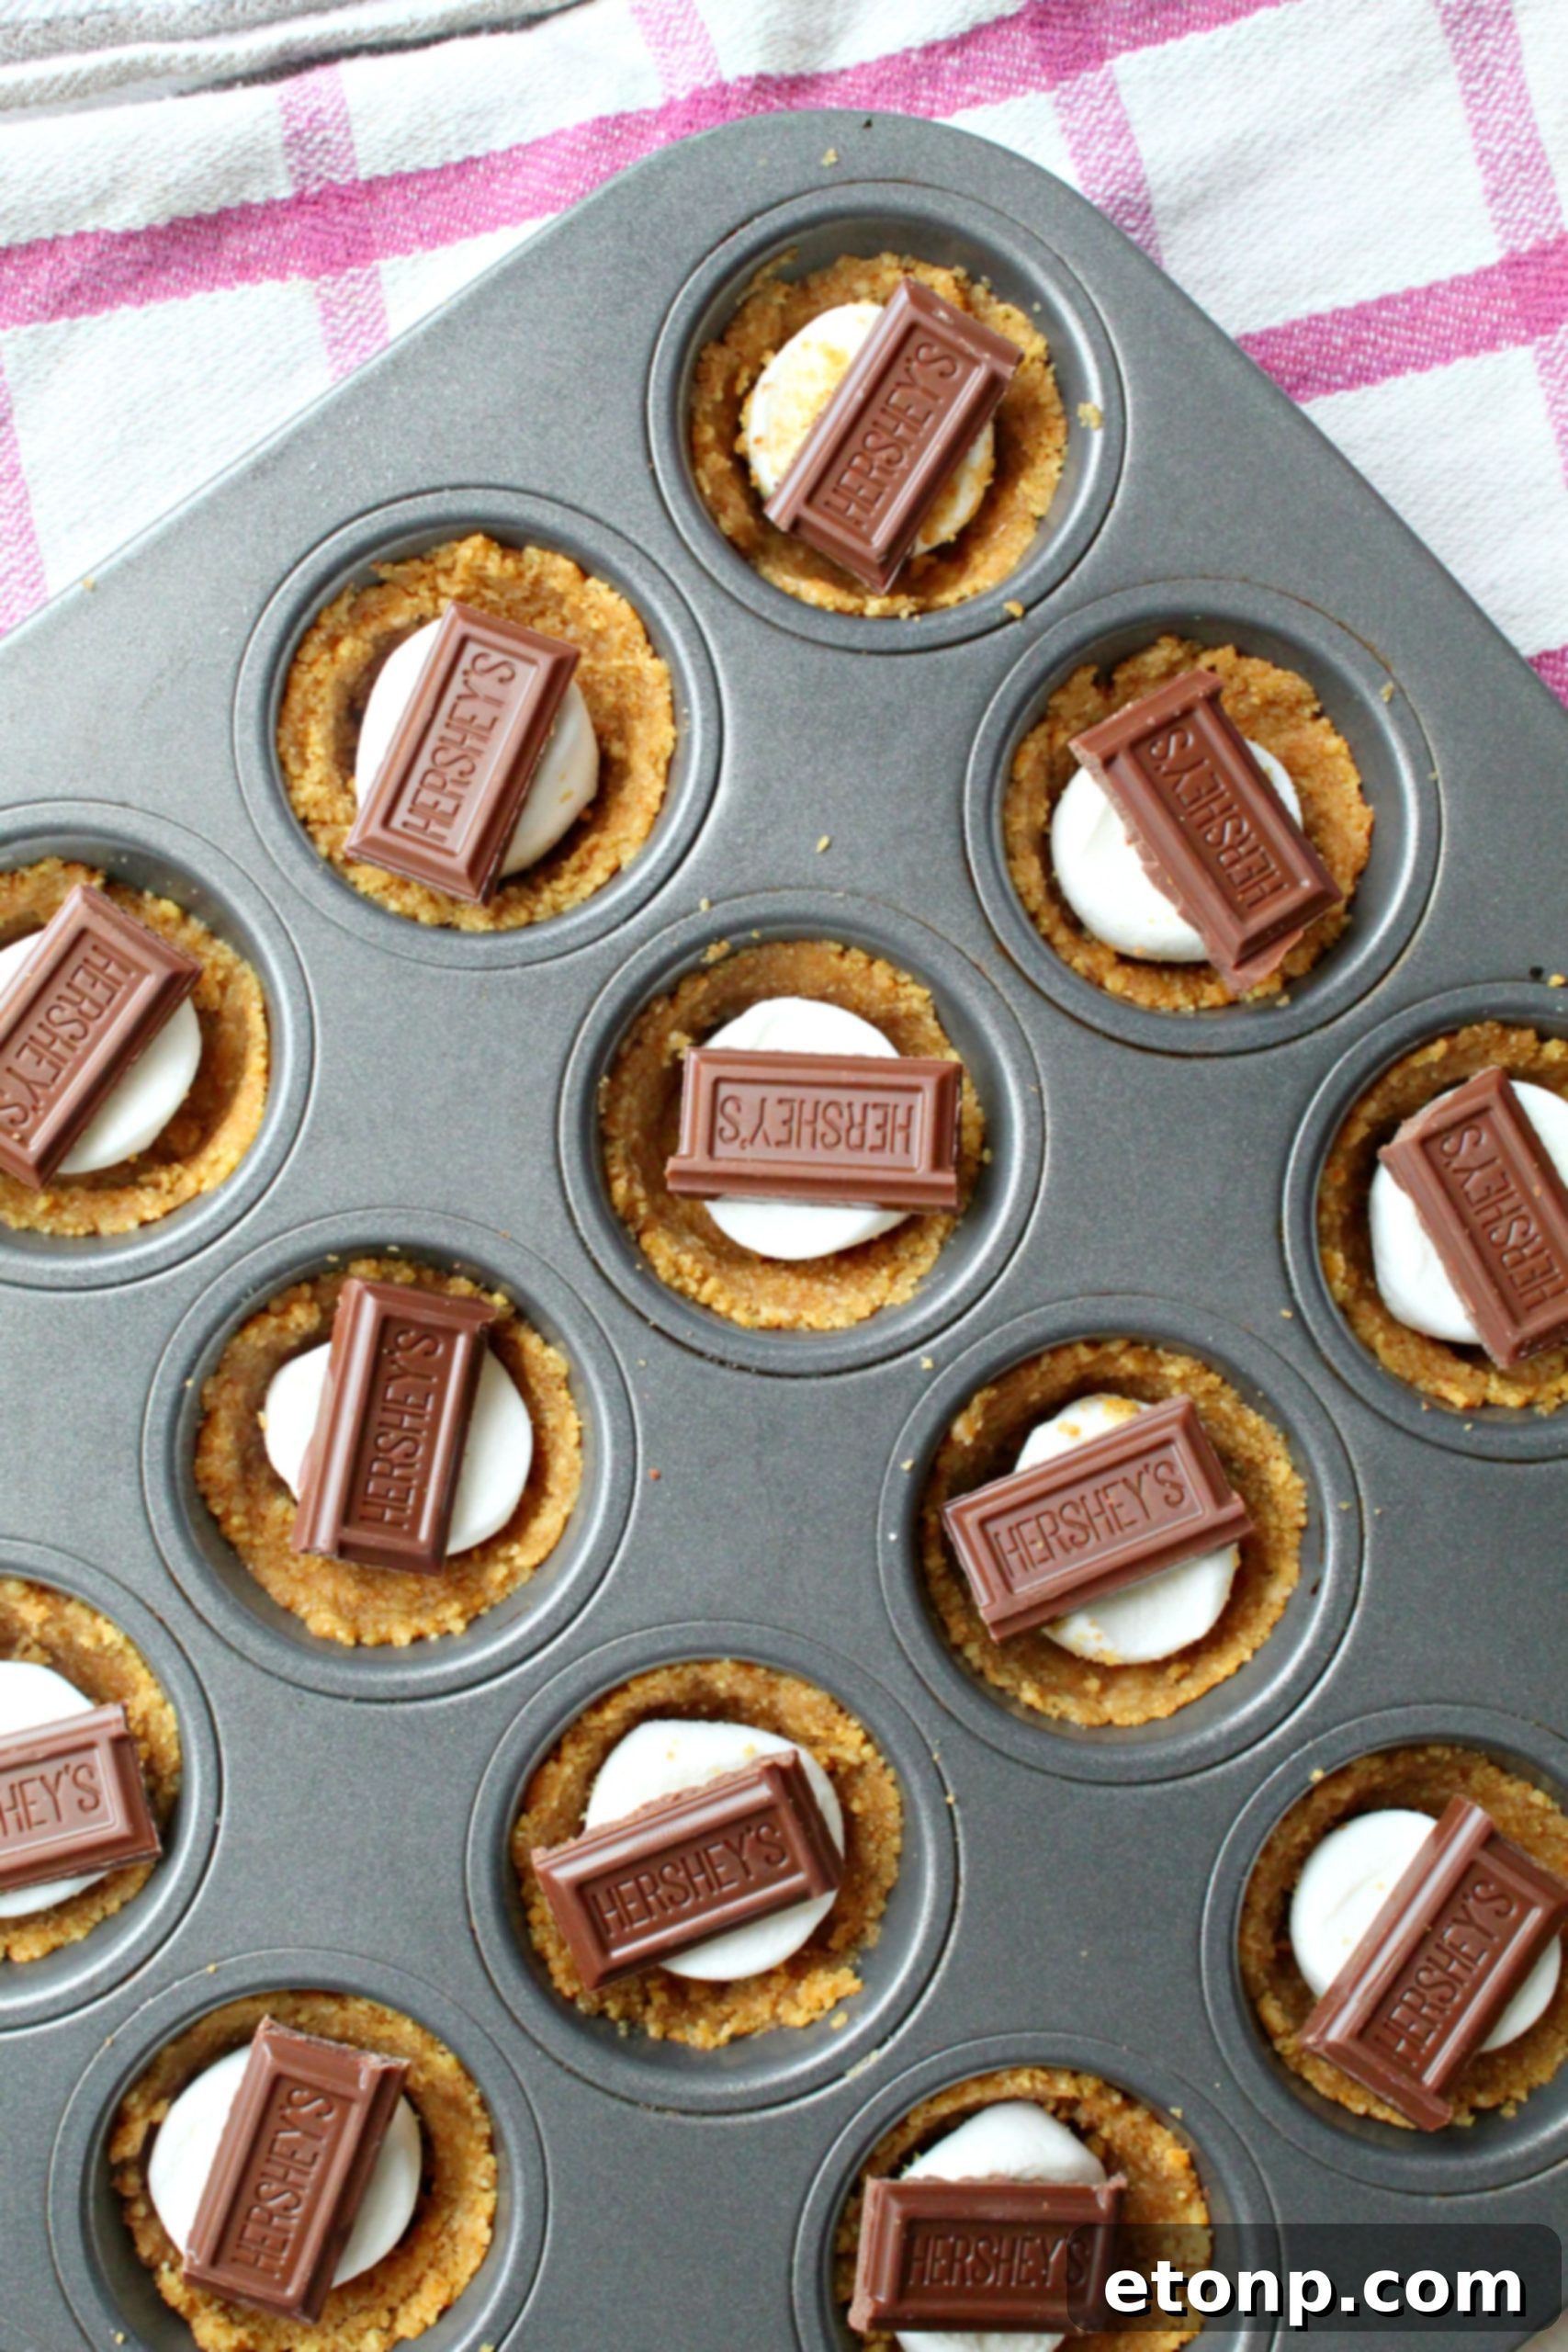
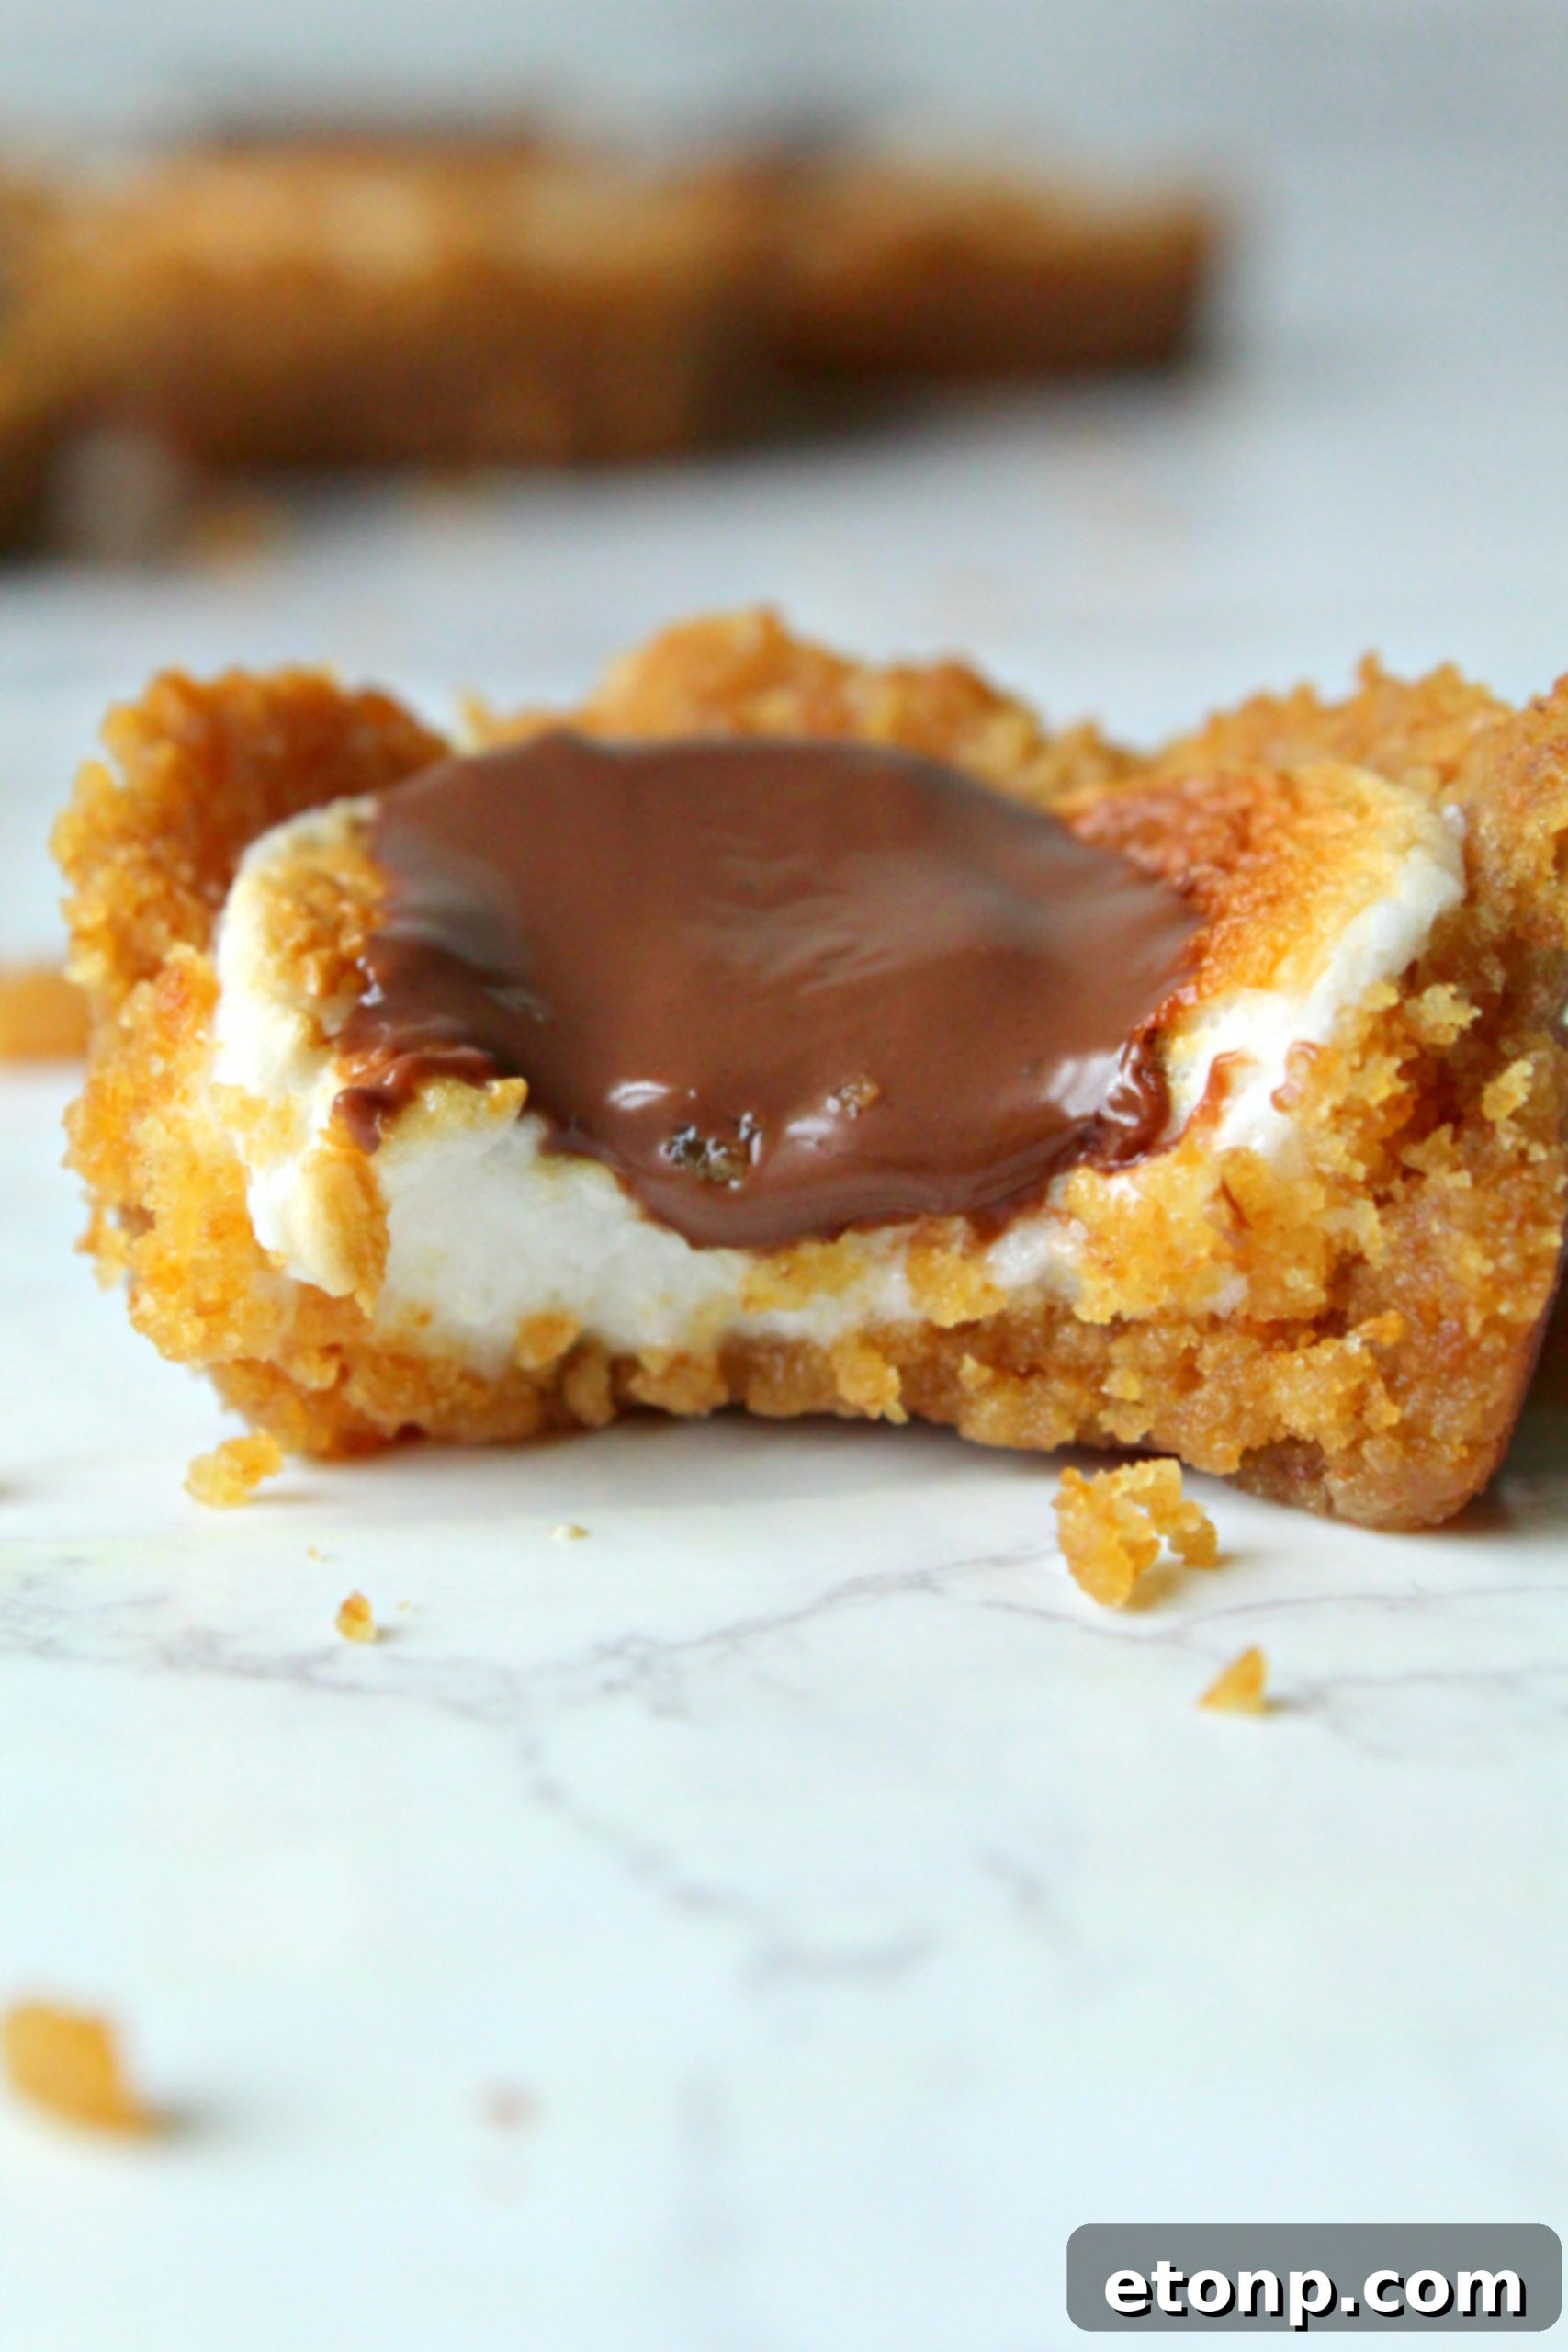
Beyond their undeniable deliciousness, S’mores Cookie Cups offer a host of benefits that make them a go-to dessert. Firstly, they eliminate the need for a campfire, making them accessible to everyone, regardless of season or location. This means you can enjoy the classic s’mores taste during a winter evening or a summer afternoon without any hassle. Secondly, the cookie cup format makes them incredibly neat and portable. No sticky fingers or crumbling graham crackers like with traditional s’mores! They are perfectly portioned, easy to serve, and ideal for on-the-go enjoyment. Whether you’re packing them for a school lunch, bringing them to a potluck, or simply enjoying them as a quick dessert at home, these S’mores Cookie Cups are a mess-free and convenient option. They also provide a fun and creative twist on a classic, elevating the humble s’more into a gourmet-style treat that’s still remarkably simple to prepare.
Essential Ingredients for the Best S’mores Cookie Cups
Crafting the perfect S’mores Cookie Cups requires just a few key ingredients, each playing a crucial role in achieving that signature flavor and texture. With these five simple items, you’re well on your way to creating an unforgettable dessert experience.
-
Graham Cracker Crumbs: The foundation of your cookie cups. These crumbs form the buttery, subtly sweet crust that mimics the graham cracker in a classic s’more. Their fine texture ensures a cohesive and delicious base.
-
Unsalted Butter: Melted butter binds the graham cracker crumbs and powdered sugar together, creating a rich and sturdy crust. Using unsalted butter allows you to control the overall saltiness of your dessert.
-
Powdered Sugar: This fine sugar sweetens the graham cracker crust and helps achieve a perfectly smooth consistency when mixed with the butter and crumbs. It contributes to the overall dessert-like quality of the base.
-
Marshmallows: The star of the show! When toasted, marshmallows become wonderfully gooey and slightly caramelized, providing that essential s’mores experience. Their fluffy texture balances the crunch of the crust and the richness of the chocolate.
-
Hershey’s Chocolate Bars: The quintessential s’mores chocolate. Hershey’s milk chocolate bars melt beautifully over the warm marshmallow, creating a silky, indulgent layer. Their classic flavor is instantly recognizable and pairs perfectly with the other components.
With just these five readily available ingredients, you’ll have everything necessary to whip up a batch of these delightful S’mores Cookie Cups. It’s a testament to how simple ingredients can create something truly spectacular.
Crafting Perfect Graham Cracker Crumbs
The quality of your graham cracker crumbs is paramount to the success of your S’mores Cookie Cups. Achieving a fine, consistent crumb texture ensures your cookie crust is tender yet firm enough to hold its shape. The easiest method for making graham cracker crumbs is using a food processor. Simply break your graham crackers into smaller pieces and pulse them until they reach a fine, sand-like consistency. If you don’t have a food processor, don’t despair! A robust freezer bag and a rolling pin or even a heavy can or hammer will work just as well. Place the graham crackers in the bag, seal it, and then gently but firmly crush them until you achieve your desired crumb size. This method is not only effective but can also be quite therapeutic! Remember, the finer the crumbs, the smoother and more uniform your cookie cup crust will be.
Marshmallow Matters: Can I Use Mini Marshmallows?
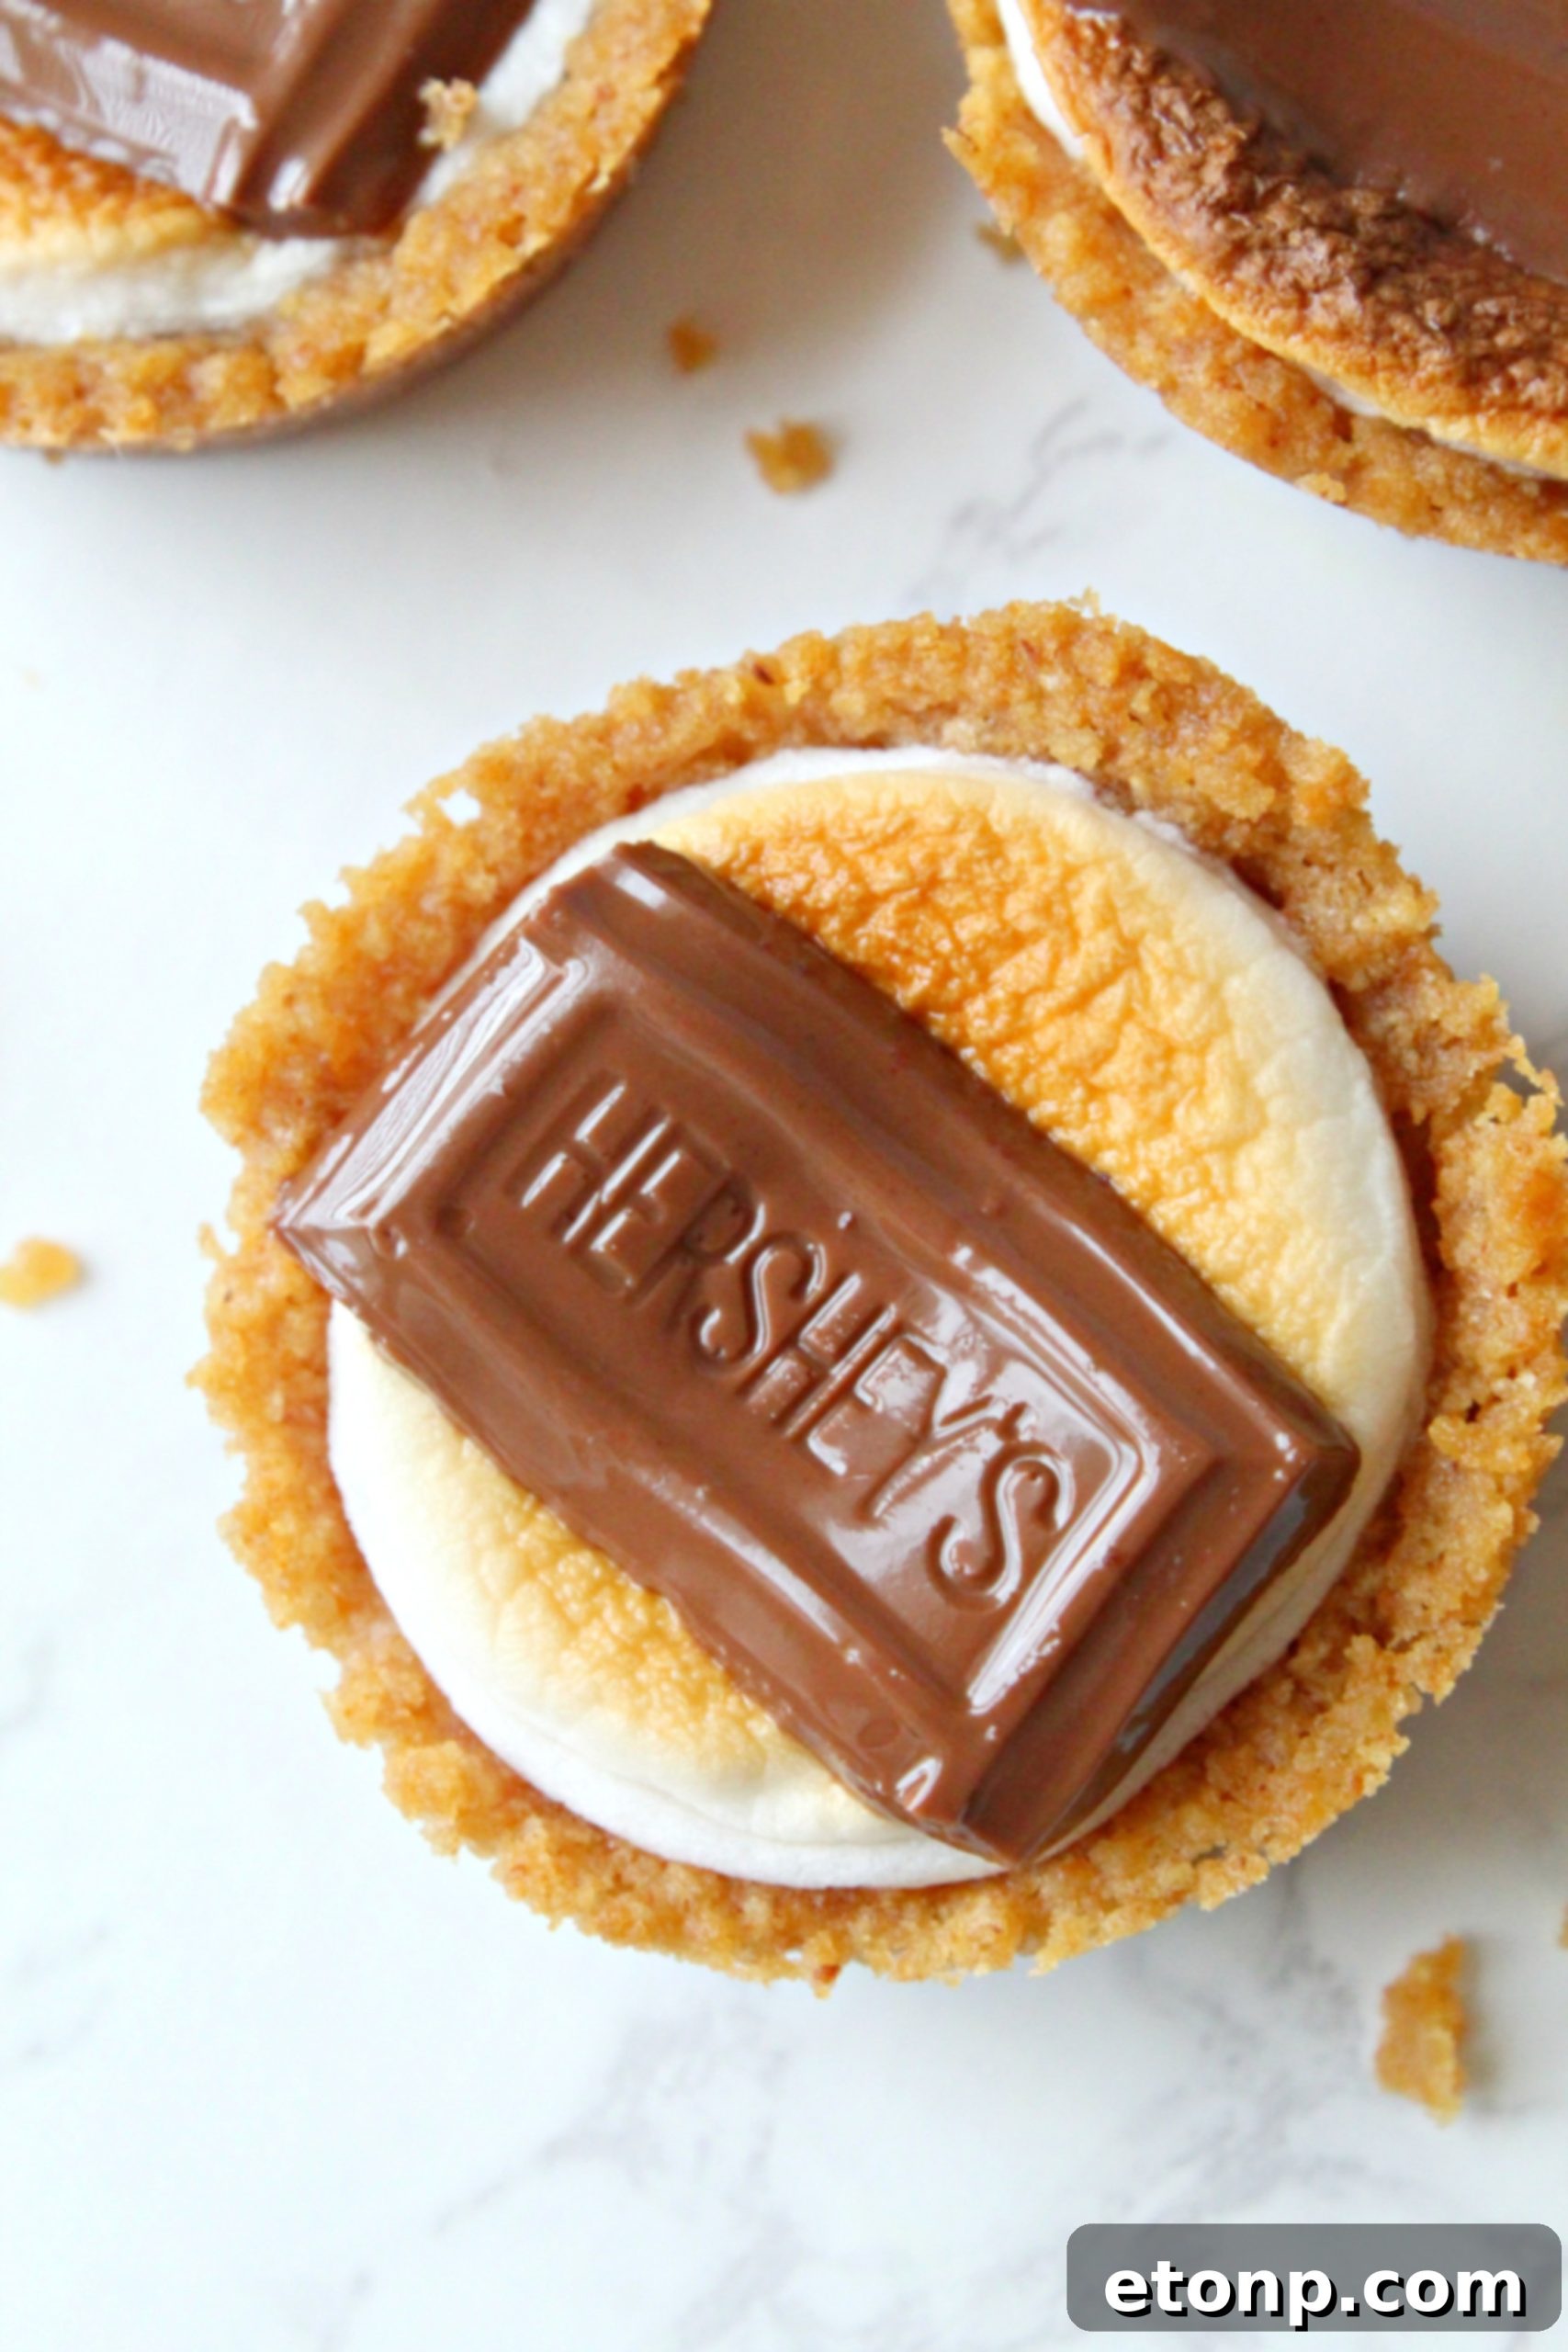
When it comes to the marshmallow component of your S’mores Cookie Cups, size does matter for optimal presentation and an even melt. While mini marshmallows might seem convenient, they often melt too quickly and can become overly crispy under the broiler, losing that signature gooey center. For the best results, it is highly recommended to use regular-sized marshmallows. You’ll need 12 regular marshmallows for a batch of 24 cookie cups. Simply cut each large marshmallow in half to yield two perfectly sized marshmallow pieces for each cup. Placing the cut side down into the graham cracker crust helps create a stable base for toasting. The brand of marshmallows is less important than their size; any standard brand will work wonderfully to achieve that desired fluffy and toasted topping.
Choosing Your Graham Crackers: Flavor Explorations
The classic S’mores experience relies on the distinct, subtly sweet flavor of traditional honey graham crackers. For an authentic taste in your S’mores Cookie Cups, sticking with honey graham crackers is an excellent choice. However, the beauty of homemade treats lies in their adaptability! Feel free to experiment with different graham cracker flavors to customize your cookie cups and add a unique twist. Vanilla graham crackers will lend a sweeter, softer note, while chocolate graham crackers can create a deeply indulgent, double-chocolate s’mores experience. For those who enjoy a hint of spice, cinnamon graham crackers offer a warm, aromatic dimension that can be particularly delightful during cooler months. Don’t be afraid to try different varieties to discover your favorite S’mores Cookie Cup combination!
Chocolate Choices: Beyond Hershey’s
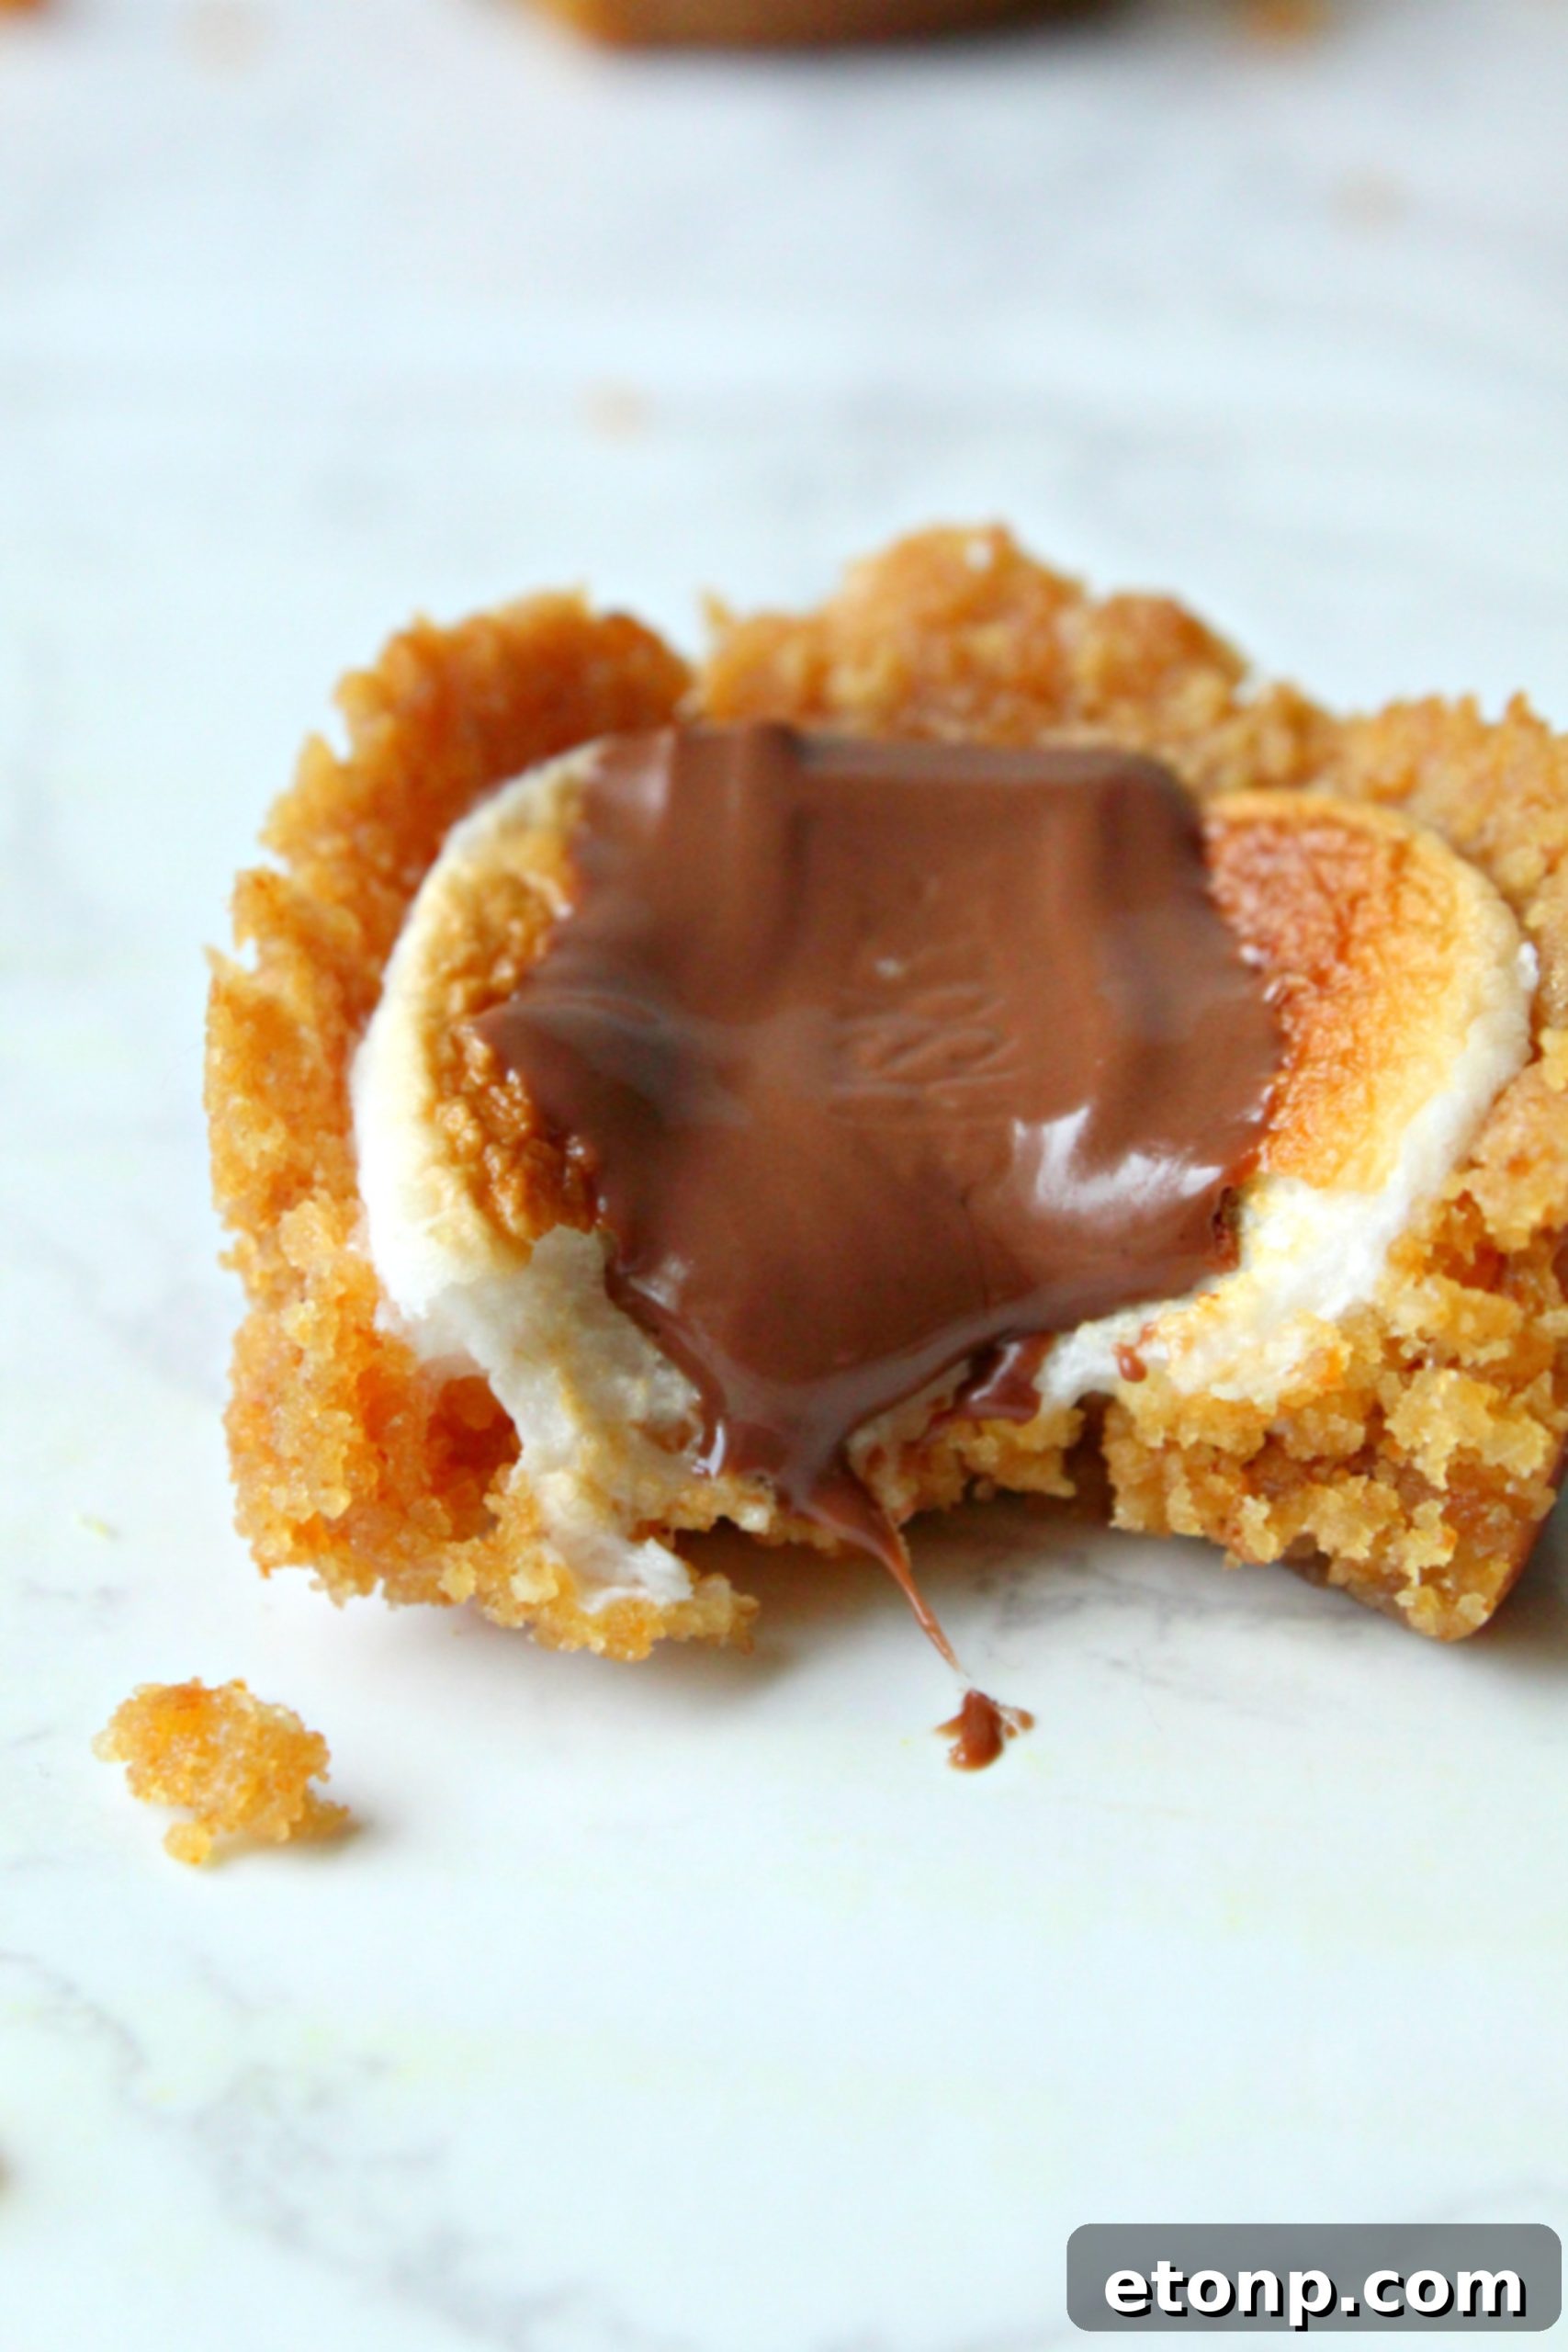
While Hershey’s milk chocolate bars are synonymous with traditional s’mores, known for their perfect melt and creamy sweetness, you absolutely have the freedom to choose your favorite chocolate for these S’mores Cookie Cups. The goal is a decadent, melty chocolate layer, so selecting a chocolate you truly love will only enhance the experience. Consider using dark chocolate for a richer, less sweet profile that beautifully contrasts with the marshmallow. Semi-sweet chocolate chips can also be used, though they might not create the same flat, uniform melt as a bar piece. You could even get creative with flavored chocolate bars, like those with caramel or almond inclusions, for an extra layer of complexity. Whatever your preference, ensure the chocolate is of good quality for the best flavor and melting consistency.
Storing Your S’mores Cookie Cups for Lasting Freshness
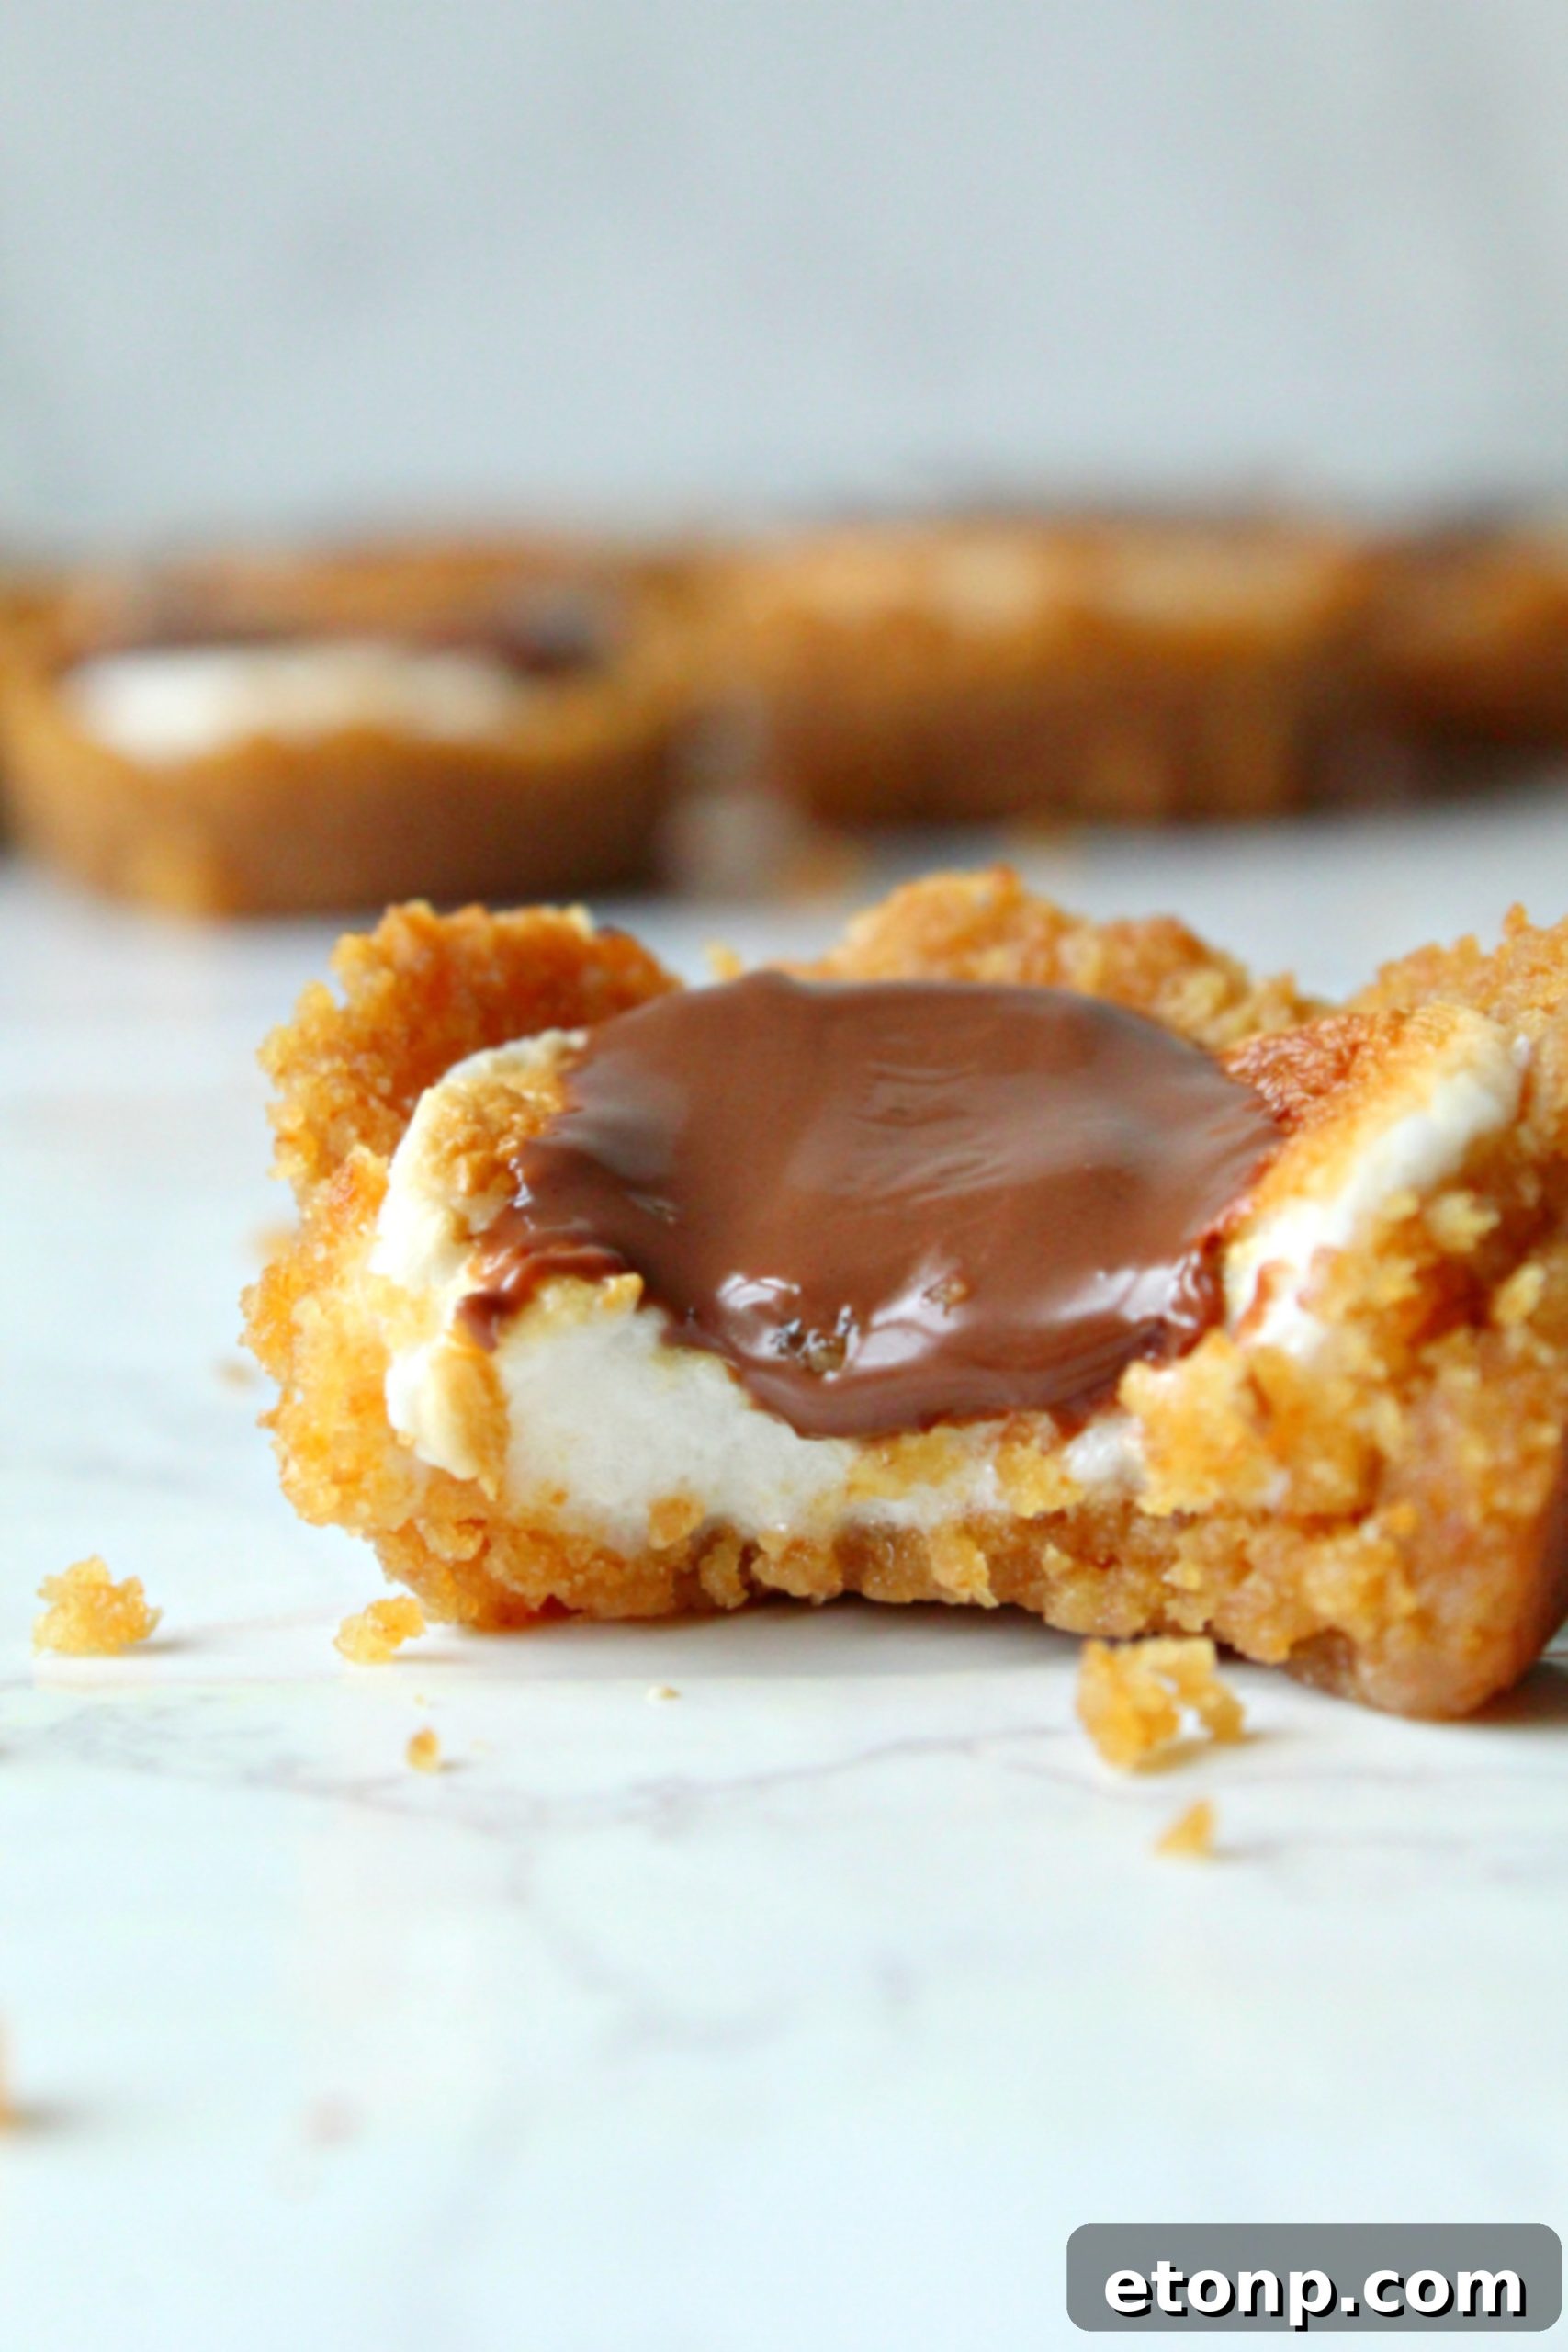
To ensure your delicious S’mores Cookie Cups remain fresh and enjoyable, proper storage is key. Once they have completely cooled, arrange them in a single layer in an airtight food storage container. If you need to stack them, place a piece of parchment paper or wax paper between layers to prevent them from sticking together. Cover the container securely with a lid, plastic wrap, or aluminum foil to protect them from air exposure, which can cause them to go stale. These delightful treats do not require refrigeration for short-term storage. When left on the countertop in an airtight container, they will maintain their freshness and texture for up to three days. For extended freshness, you can store them in the refrigerator, where they will remain delicious for up to five days. Bringing them back to room temperature or a quick 10-second zap in the microwave can refresh their gooey texture.
Reasons to Bake a Batch of S’mores Cookie Cups Today!
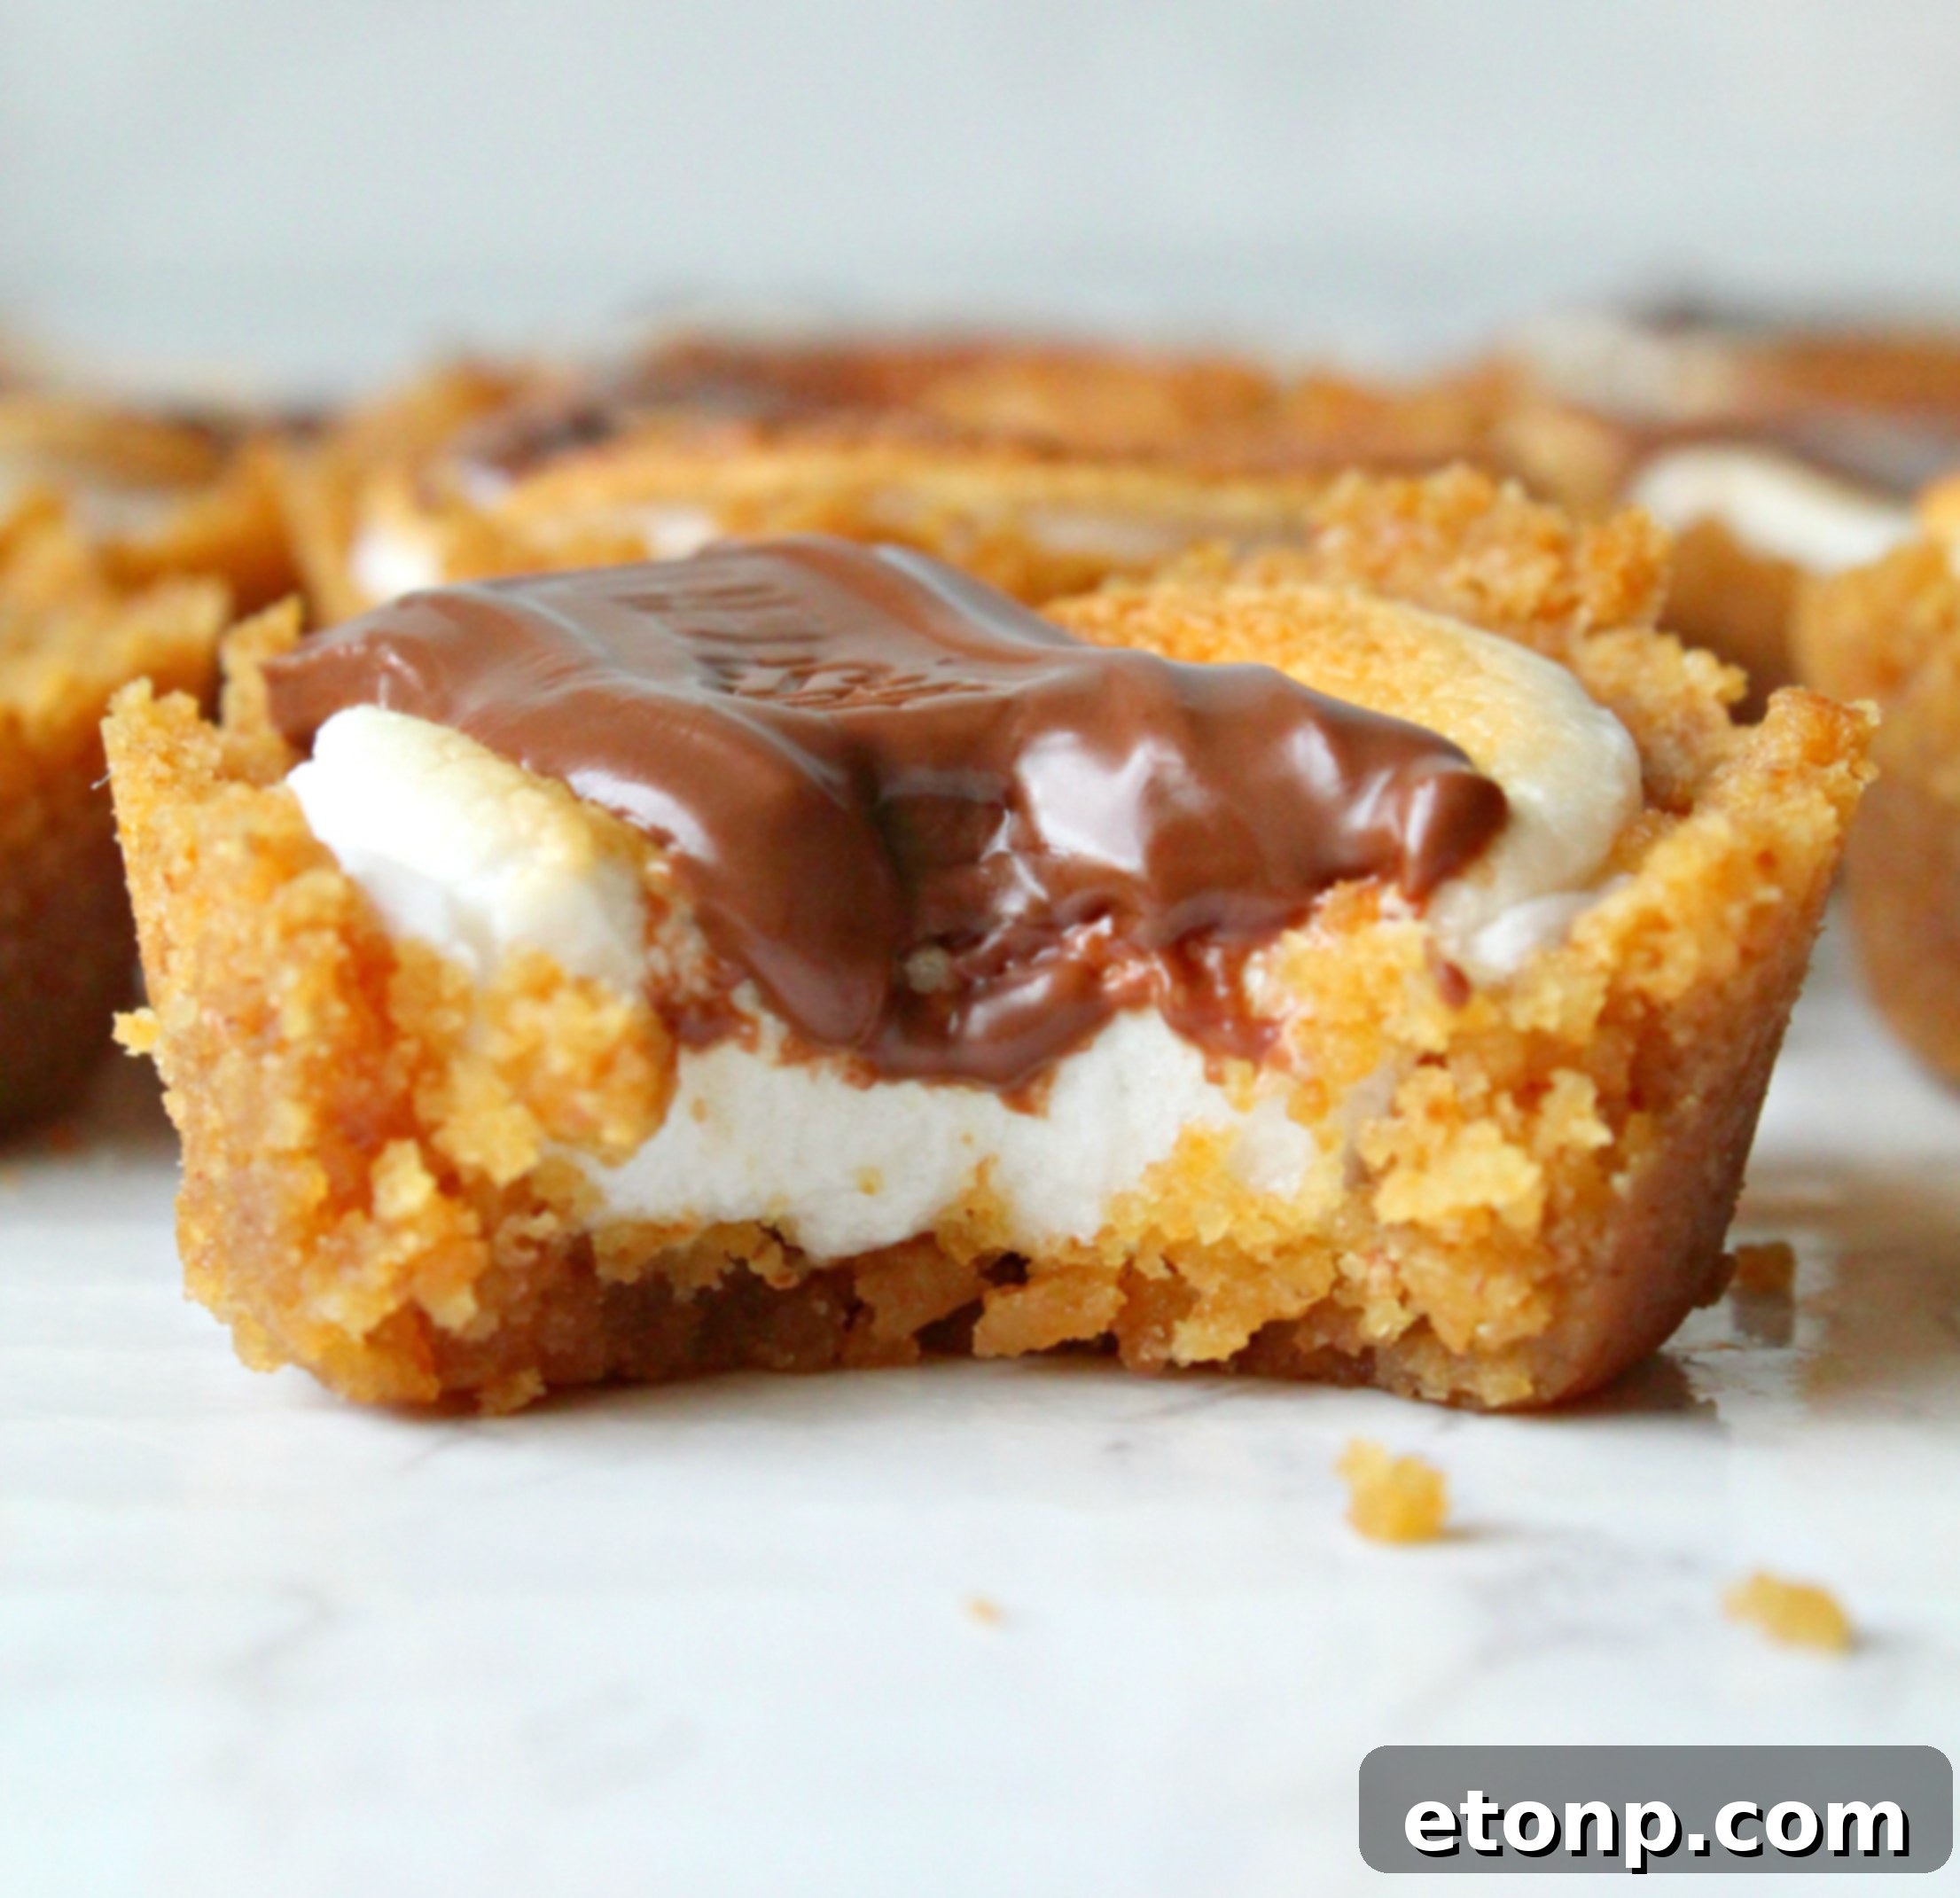
If you’re looking for a dessert that offers comfort, convenience, and a touch of nostalgia, these S’mores Cookie Cups are an absolute must-try. Their preparation is incredibly straightforward, requiring just five simple ingredients and minimal effort, making them a perfect choice for those moments when a chocolate dessert craving strikes but you’re short on time. Unlike many elaborate recipes, you won’t need to make a special trip to the store for obscure items; most ingredients are likely already in your pantry. These S’mores Cookie Cups stand out from traditional cookies or cupcakes, offering a unique textural and flavor experience that combines the best of all worlds: a crisp graham cracker crust, gooey toasted marshmallow, and rich melted chocolate. They’re versatile enough for any occasion – from a casual family treat to a standout offering at a child’s birthday party, a picnic, or a potluck. Their individual portion size makes serving a breeze and reduces mess, ensuring everyone can enjoy a perfect bite of s’mores bliss.
Essential Recipe Tips for Perfect S’mores Cookie Cups
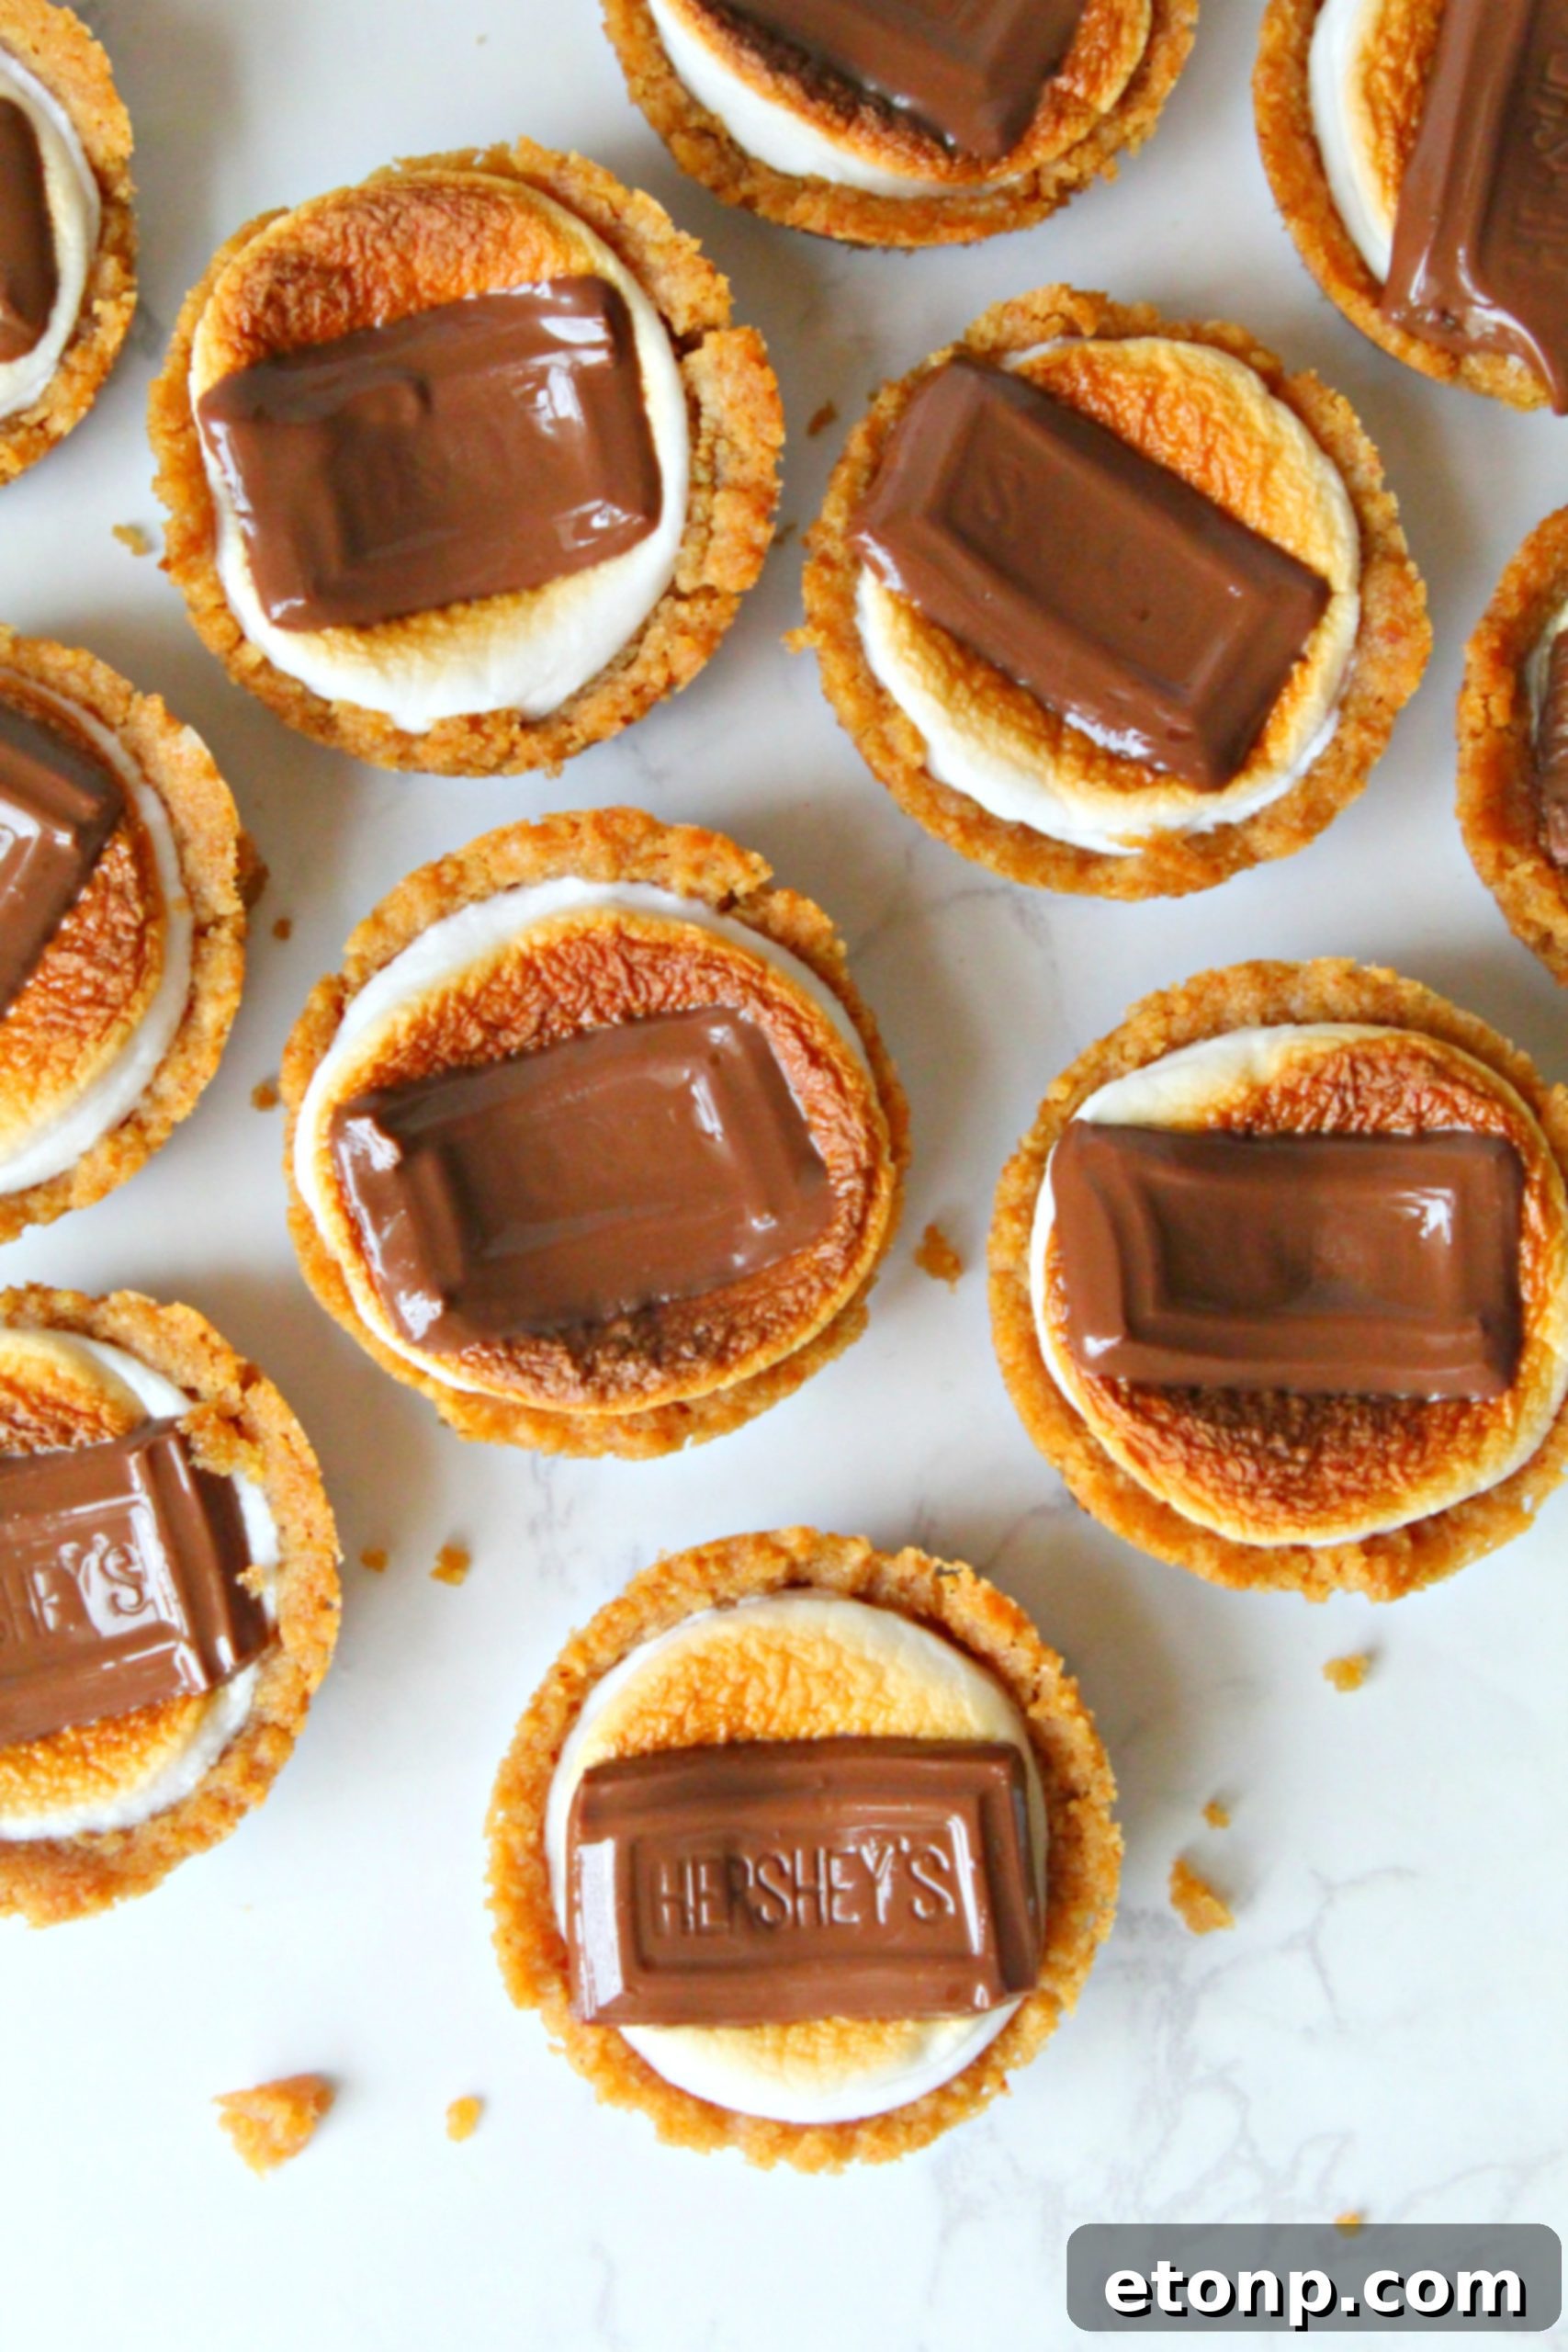
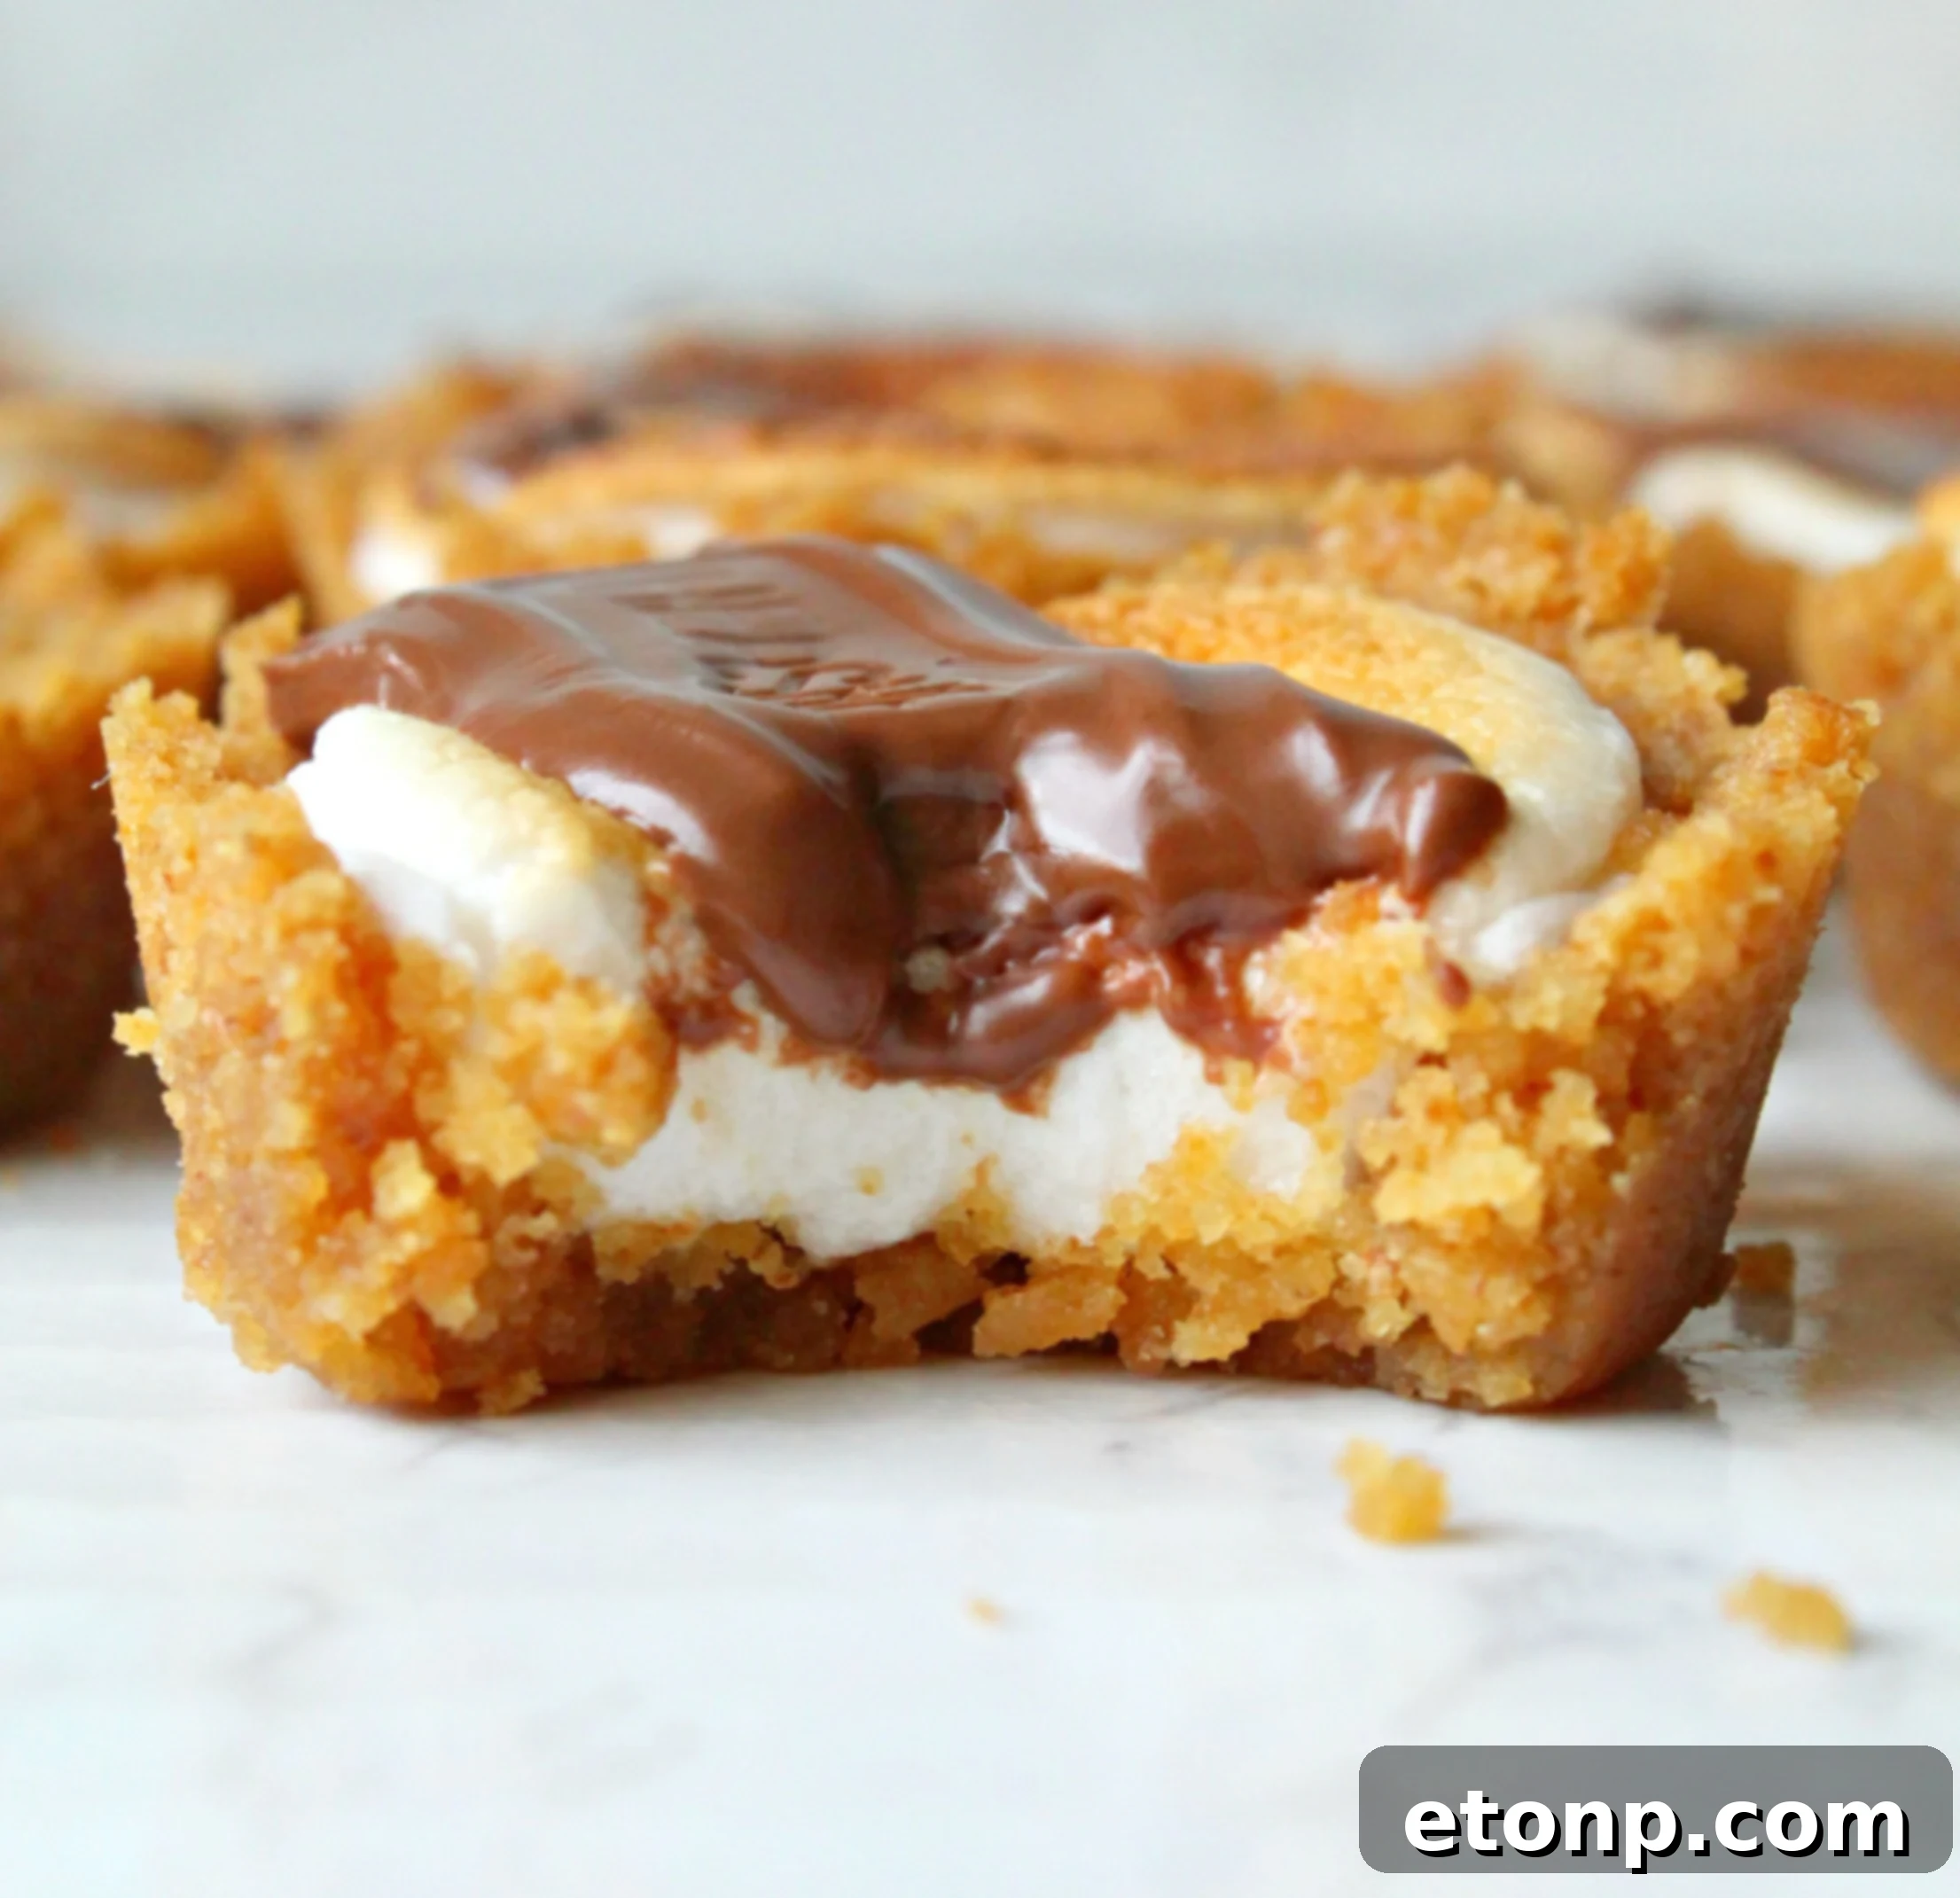
To ensure your S’mores Cookie Cups turn out absolutely perfect, keep these crucial tips in mind, especially when dealing with the delicate toasting of the marshmallows. When your cookie cups are under the broiler, **it is imperative to watch them continuously.** Marshmallows can go from perfectly golden to burnt in a matter of seconds, so do not step away from the oven. The goal is a slightly charred, bubbly exterior, reminiscent of a marshmallow toasted over a campfire, without burning the graham cracker crust. This process usually takes no more than a minute, so vigilance is key. Once removed from the oven and topped with chocolate, the hot marshmallow will help the chocolate melt into a luscious layer. However, the entire treat will be very hot. To avoid burning your tongue or hands, **allow your S’mores Cookie Cups to cool down for at least 15 minutes before attempting to serve or eat them.** This cooling time not only prevents burns but also allows the cookie cup to set slightly, making them easier to handle and enjoy.
Please remember to SHARE on Facebook and PIN IT!
FOLLOW ME ONPINTERESTBY CLICKING HERE <——

S’mores Cookie Cups
The ultimate easy dessert, bringing campfire flavors indoors!
Print Recipe
Pin Recipe
Share Recipe on Facebook
Pin Recipe
Share Recipe on Facebook
Ingredients
- 1 cup finely crushed graham cracker crumbs (about 7 whole graham cracker sheets)
- 1/4 cup powdered sugar
- 6 tablespoons UNSALTED butter (melted)
- 12 marshmallows (regular size, cut in half to make 24 pieces)
- 2 full-size Hershey’s Chocolate Bars (unwrapped and divided into 24 pieces)
Instructions
- Preheat your oven to 350°F (175°C).
- In a small mixing bowl, combine the graham cracker crumbs, powdered sugar, and melted butter. Mix until well combined and crumbly.
- Lightly grease a 24-cup mini muffin tin with non-stick cooking spray.
- Scoop about a tablespoon of the graham cracker crust mixture into each of the 24 muffin cups.
- Gently press the crumbs firmly into the bottom of each cup and slightly up the sides to form a small cup shape. A tart tamper or the back of a spoon works well.
- Bake the mini graham cracker crusts at 350°F (175°C) for 4 minutes, or until they are lightly golden brown and set.
- While the crusts are baking, cut each regular-sized marshmallow in half horizontally to create 24 round marshmallow pieces.
- Once the crusts are out of the oven, place one marshmallow half into each graham cracker cup, with the cut side of the marshmallow facing down.
- Change your oven setting to broil. Place the muffin tin back into the oven under the broiler. Broil for 1-2 minutes, watching them *very carefully*. The marshmallows will toast and become golden brown and gooey rapidly. They can burn quickly!
- Remove the pan from the oven as soon as the marshmallows are toasted to your liking.
- Immediately place one piece of Hershey’s chocolate bar on top of each warm, toasted marshmallow. The residual heat will melt the chocolate beautifully.
- Allow the S’mores Cookie Cups to cool in the muffin tin for at least 15 minutes before attempting to remove them. This cooling time allows the chocolate to set slightly and prevents burns. Use a butter knife or small offset spatula to gently pry them from the pan if needed.
- ENJOY your homemade S’mores Cookie Cups!
Did you make this recipe?
We’d love to see your creations! Make sure to follow on Pinterest for more delicious recipes and inspiration!
Print Recipe
Pin Recipe
Share on Facebook
Pin Recipe
Share on Facebook