
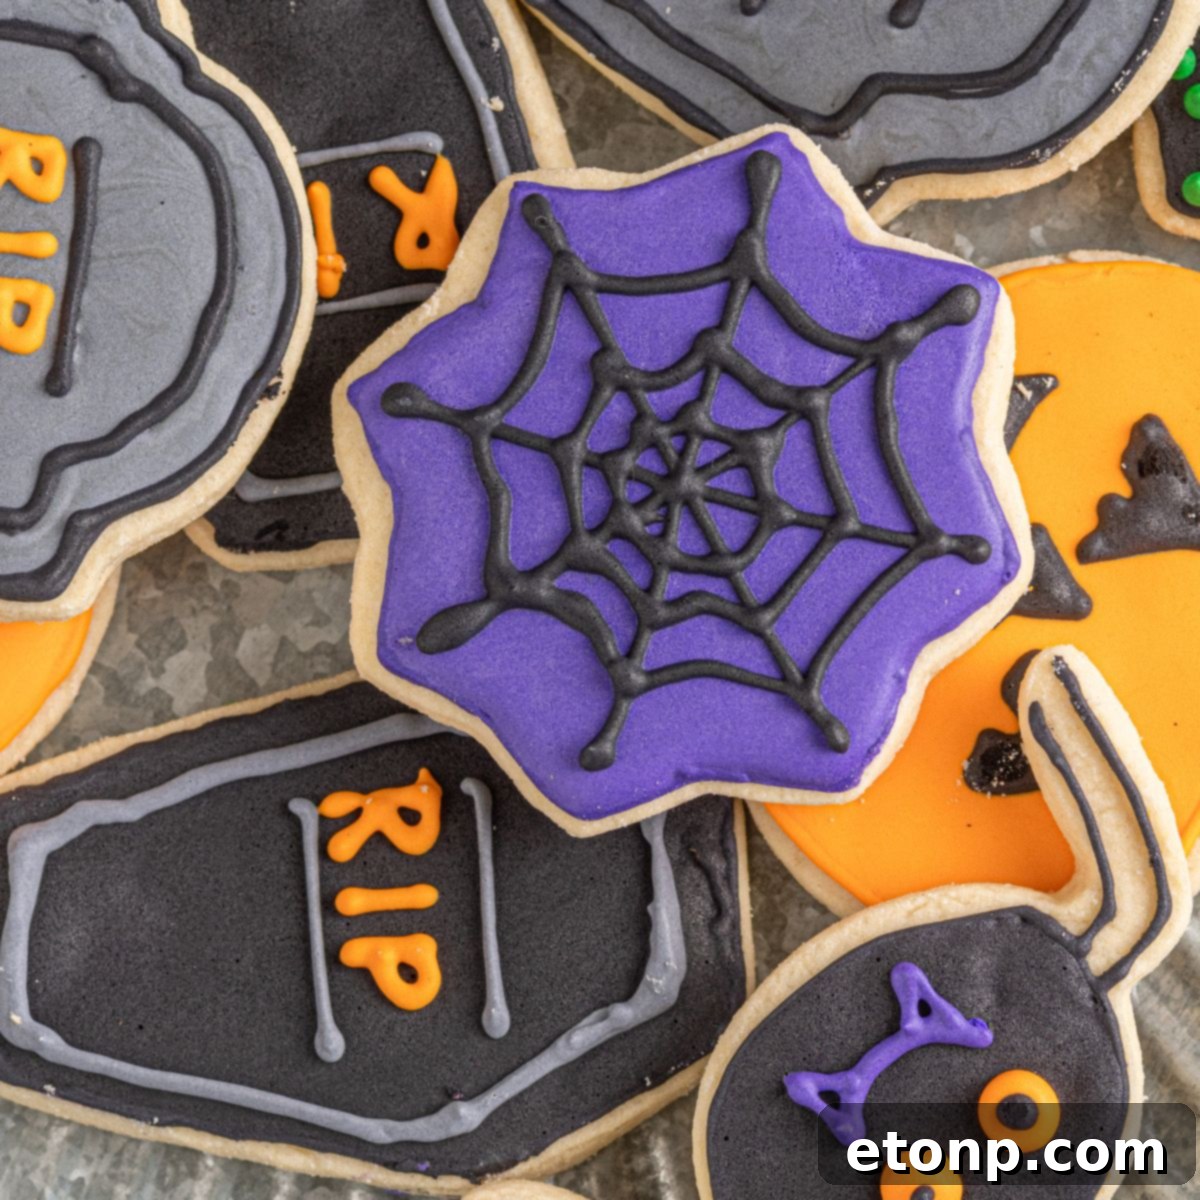
Delicious Halloween Sugar Cookies with Homemade Royal Icing: Your Ultimate Guide
Get ready to enchant your taste buds and impress everyone with these irresistibly sweet and soft Halloween Sugar Cookies! Topped with exquisite homemade royal icing and meticulously decorated for the spooky season, these cookies are more than just a treat – they’re edible works of art. Perfect for any ghoulish gathering, from a child’s school party to a grand Halloween bash, these delightful cookies are sure to be a show-stopper and leave your friends and family delightfully “frightened” by their incredible appearance.

This comprehensive guide will walk you through every step of creating bakery-quality Halloween sugar cookies right in your own kitchen. You’ll master the art of working with royal icing to achieve stunning, intricate designs that are both beautiful and delicious. Whether you’re gifting them to loved ones or showcasing them on your dessert table, these cookies will be a highlight of your Halloween celebrations.
Looking to expand your Halloween dessert spread? These charming cookies pair wonderfully with a deep black Halloween cake, a luscious Halloween lush dessert, or even our adorable ghost truffles. Combine them for a truly unforgettable and gorgeously themed dessert table!
Why These Halloween Sugar Cookies Are a Must-Bake
There are countless reasons why this Halloween sugar cookie recipe will become your new holiday favorite. From the delightful process of making them to the joy of sharing, every aspect is designed for success and satisfaction:
- Truly Homemade Goodness: Both the rich, buttery cookie dough and the vibrant, smooth royal icing are made from scratch, ensuring superior flavor and texture that store-bought versions simply can’t match.
- Flawless Cut-Outs: Our no-fail sugar cookie recipe guarantees cookies that hold their shape beautifully during baking, perfect for intricate Halloween designs. Say goodbye to distorted shapes and hello to perfectly spooky creations!
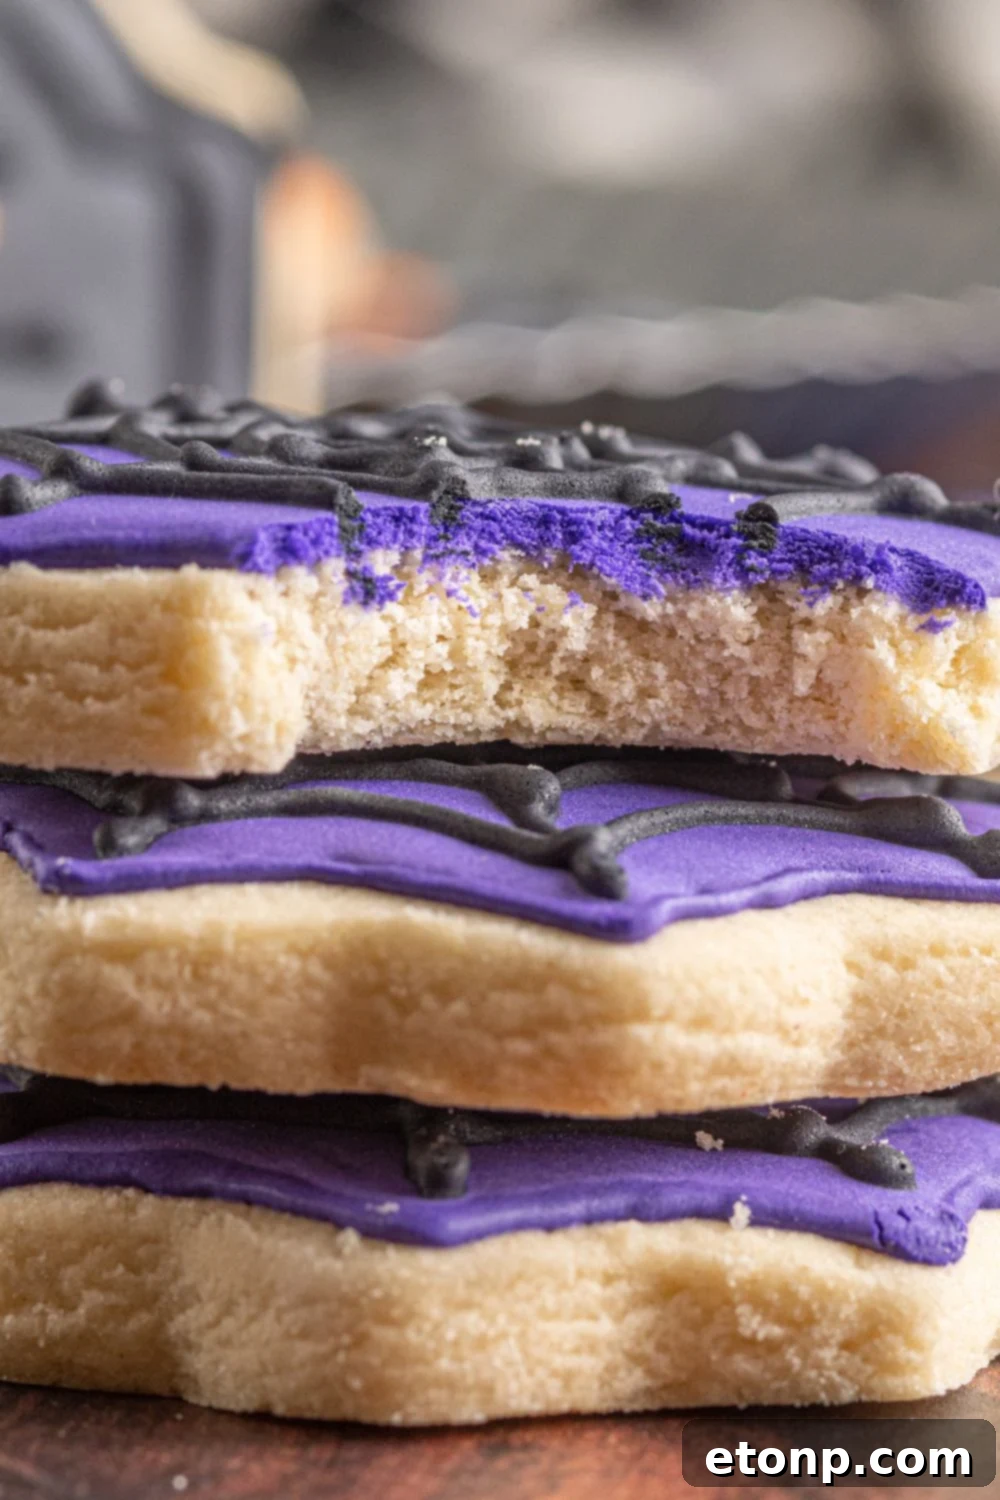
- Melt-in-Your-Mouth Texture: Each bite offers a delightful buttery sweetness that melts on your tongue, making these cookies utterly irresistible. They’re soft, tender, and consistently delicious.
- Stunning Visual Appeal: These are not just cookies; they are edible masterpieces. Decorated with precision and creativity, they are guaranteed to elicit “oohs” and “aahs” from anyone who sees them. They truly are show-stopping Halloween cookies.
- Perfect for Gifting: Beautifully packaged, these cookies make thoughtful and impressive gifts for teachers, neighbors, friends, and family during the Halloween season. They’re a delicious way to spread festive cheer.
- Fun for All Ages: The baking and decorating process is a wonderful activity for families, allowing both kids and adults to unleash their creativity and enjoy quality time together.
Inspiring Halloween Cookie Designs
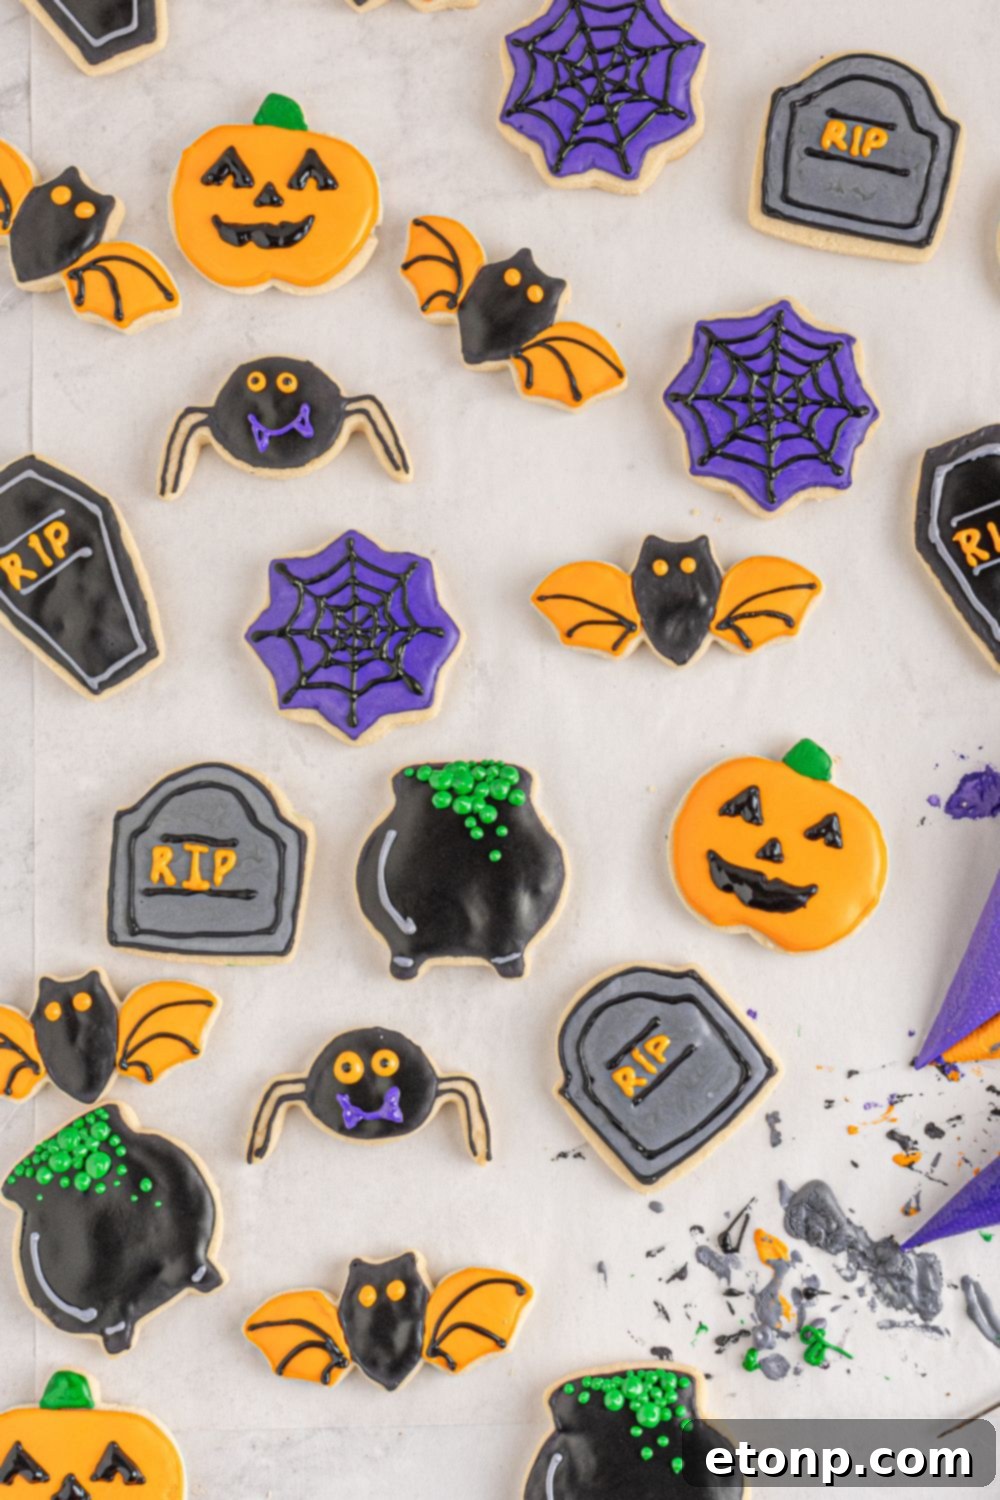
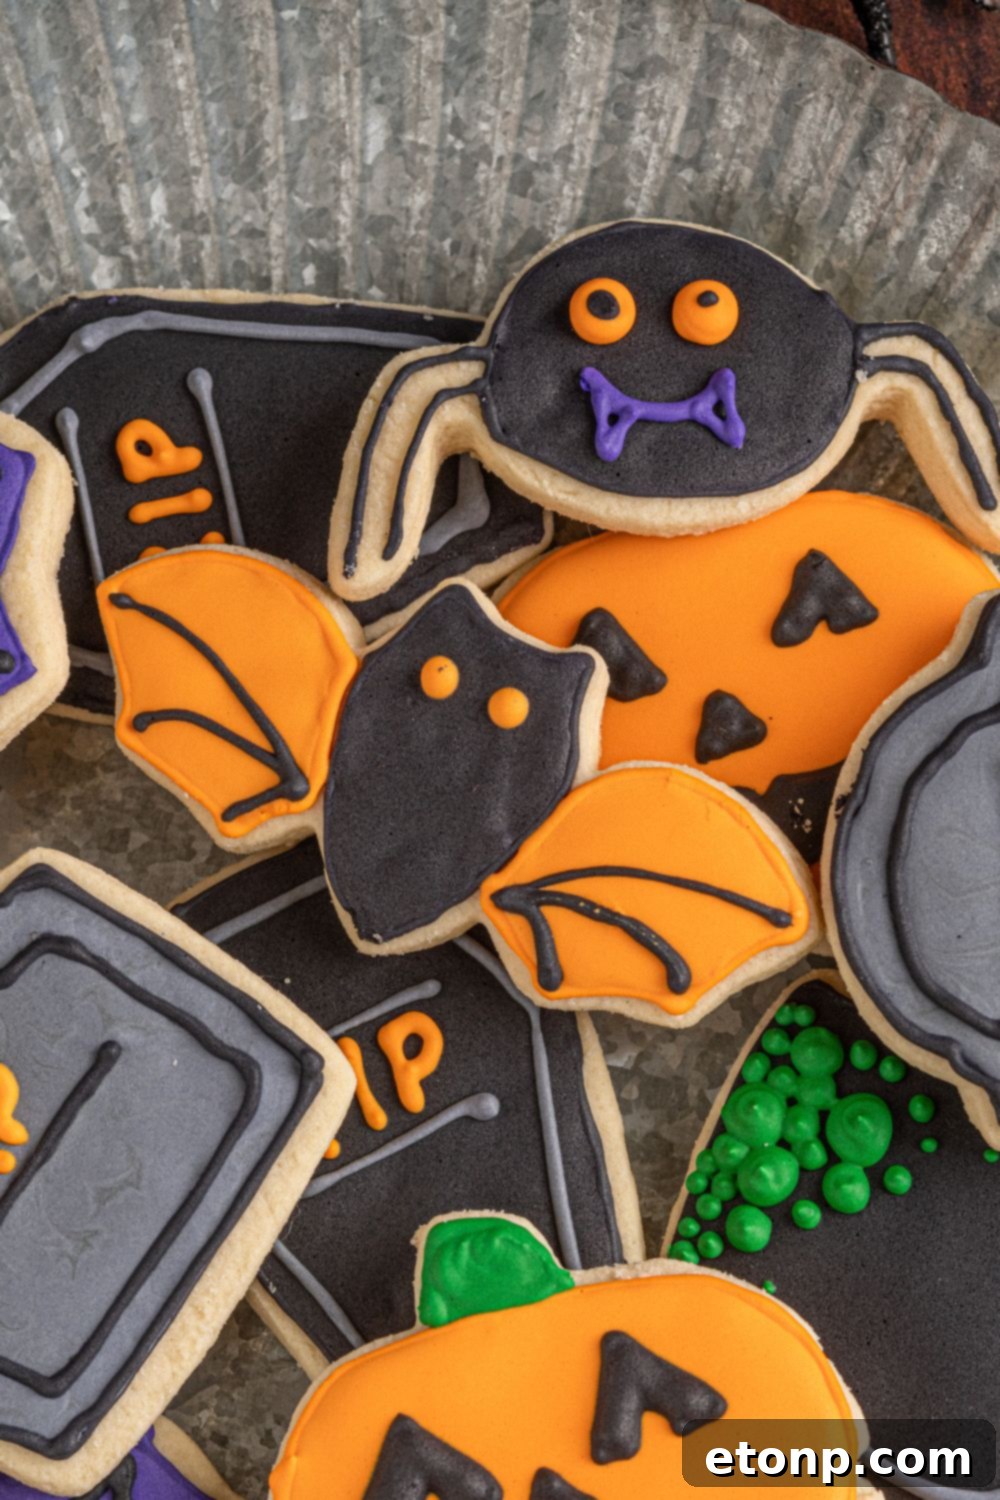
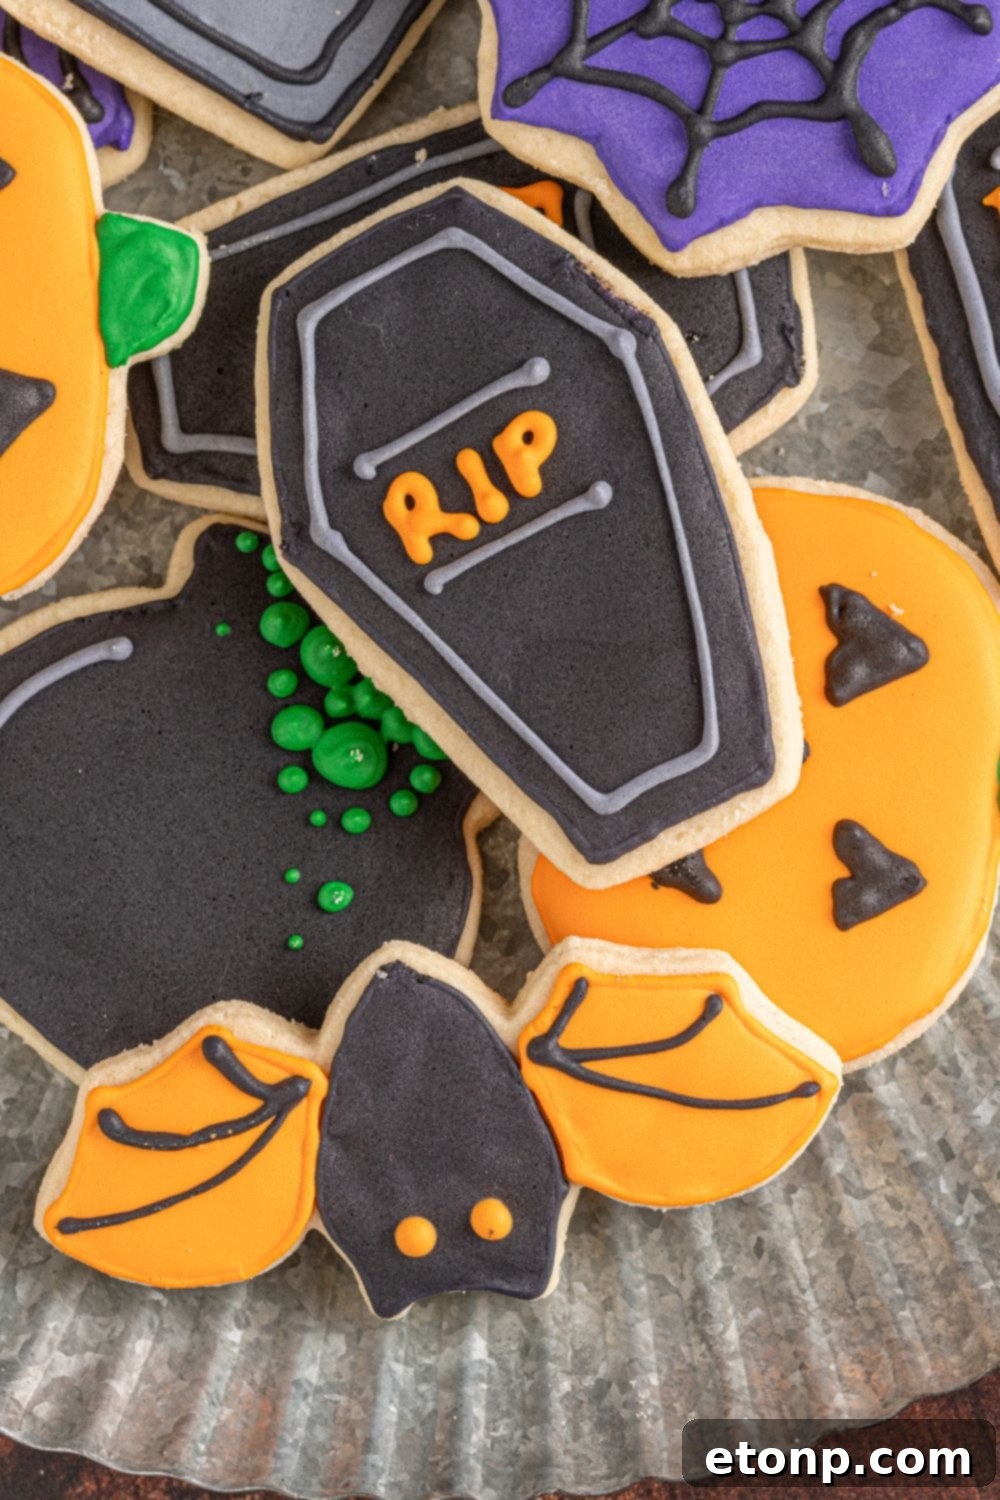
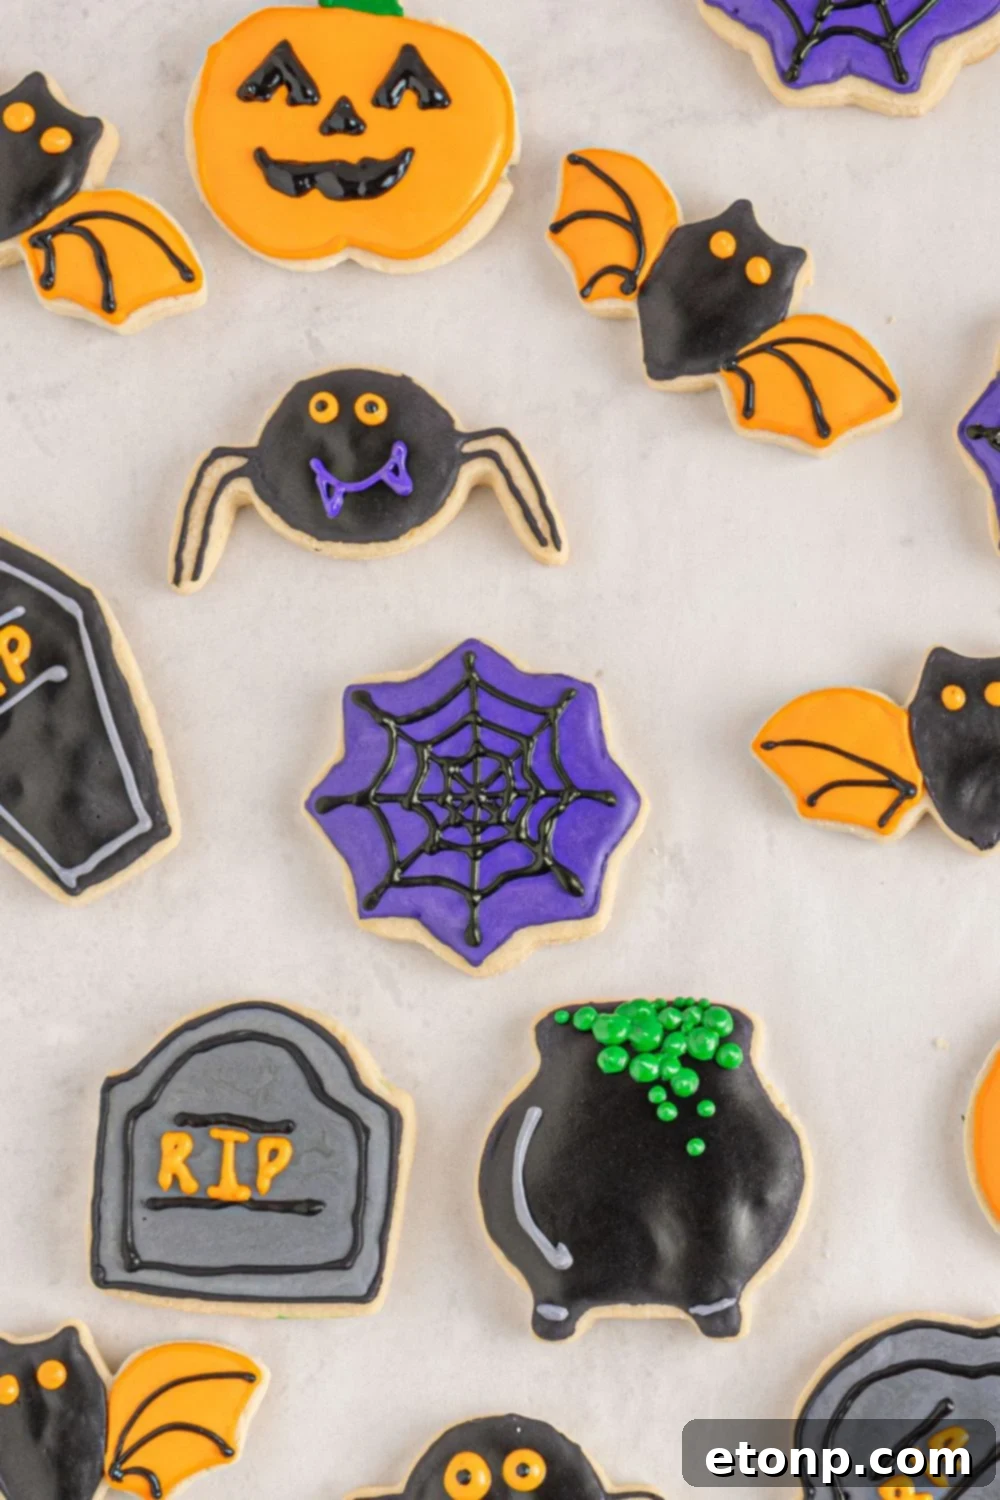
The canvas of a sugar cookie offers endless possibilities for Halloween creativity. Here are some of our favorite spooky and fun designs you can achieve with royal icing, perfect for making your cookies stand out:
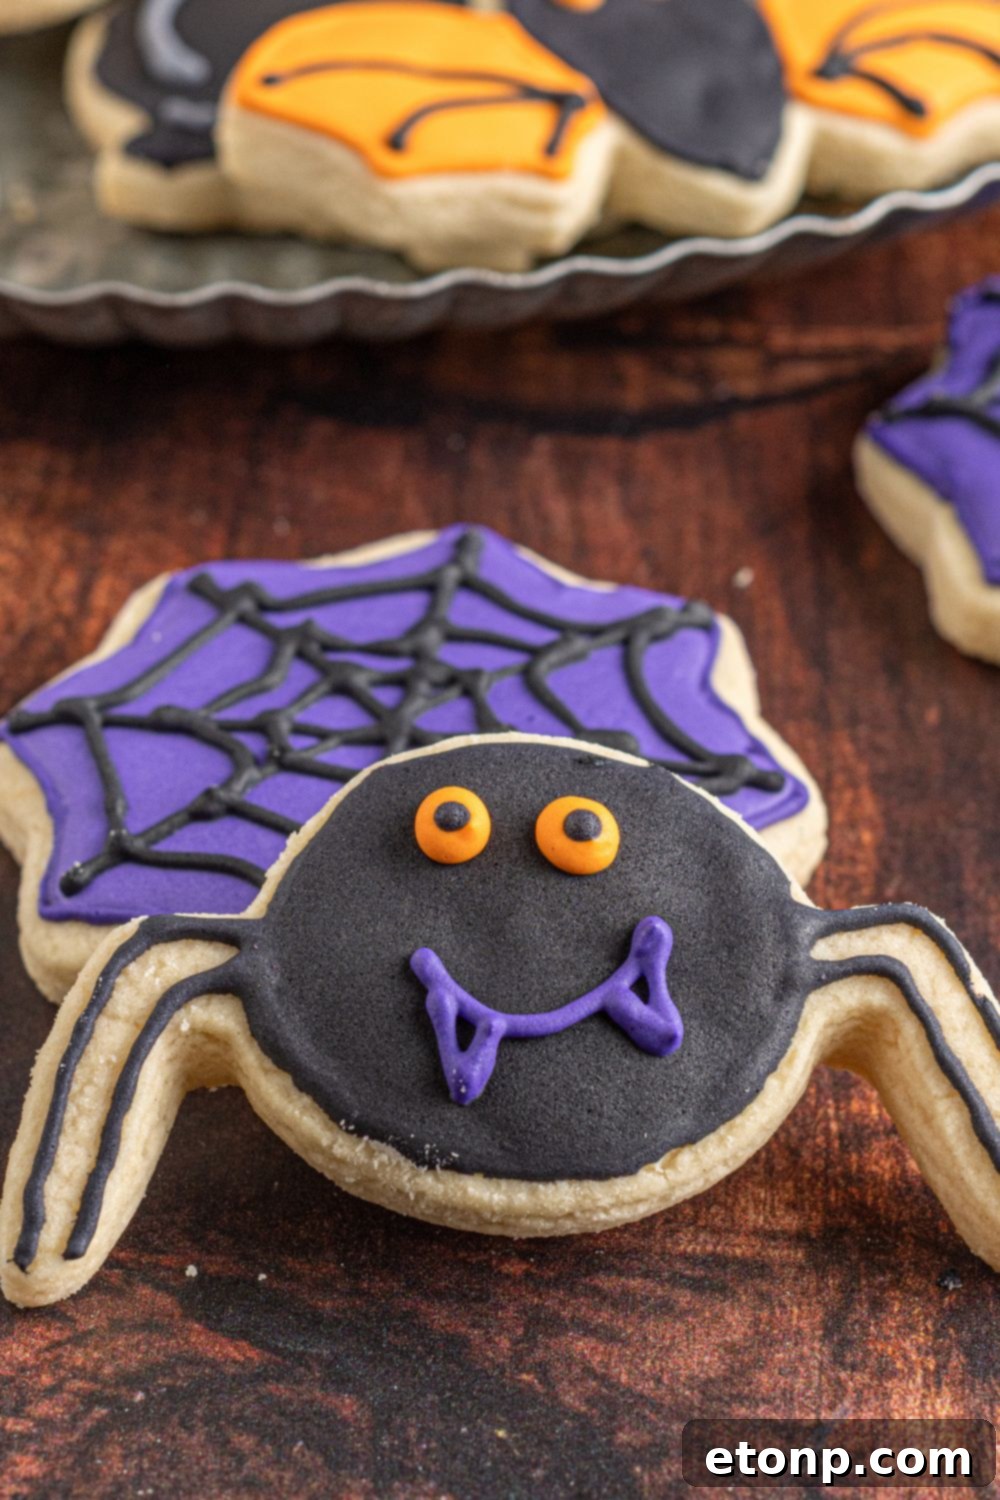
- Spider Cookies: Create whimsical or eerie spiders with bold black icing, perhaps with contrasting colored eyes.
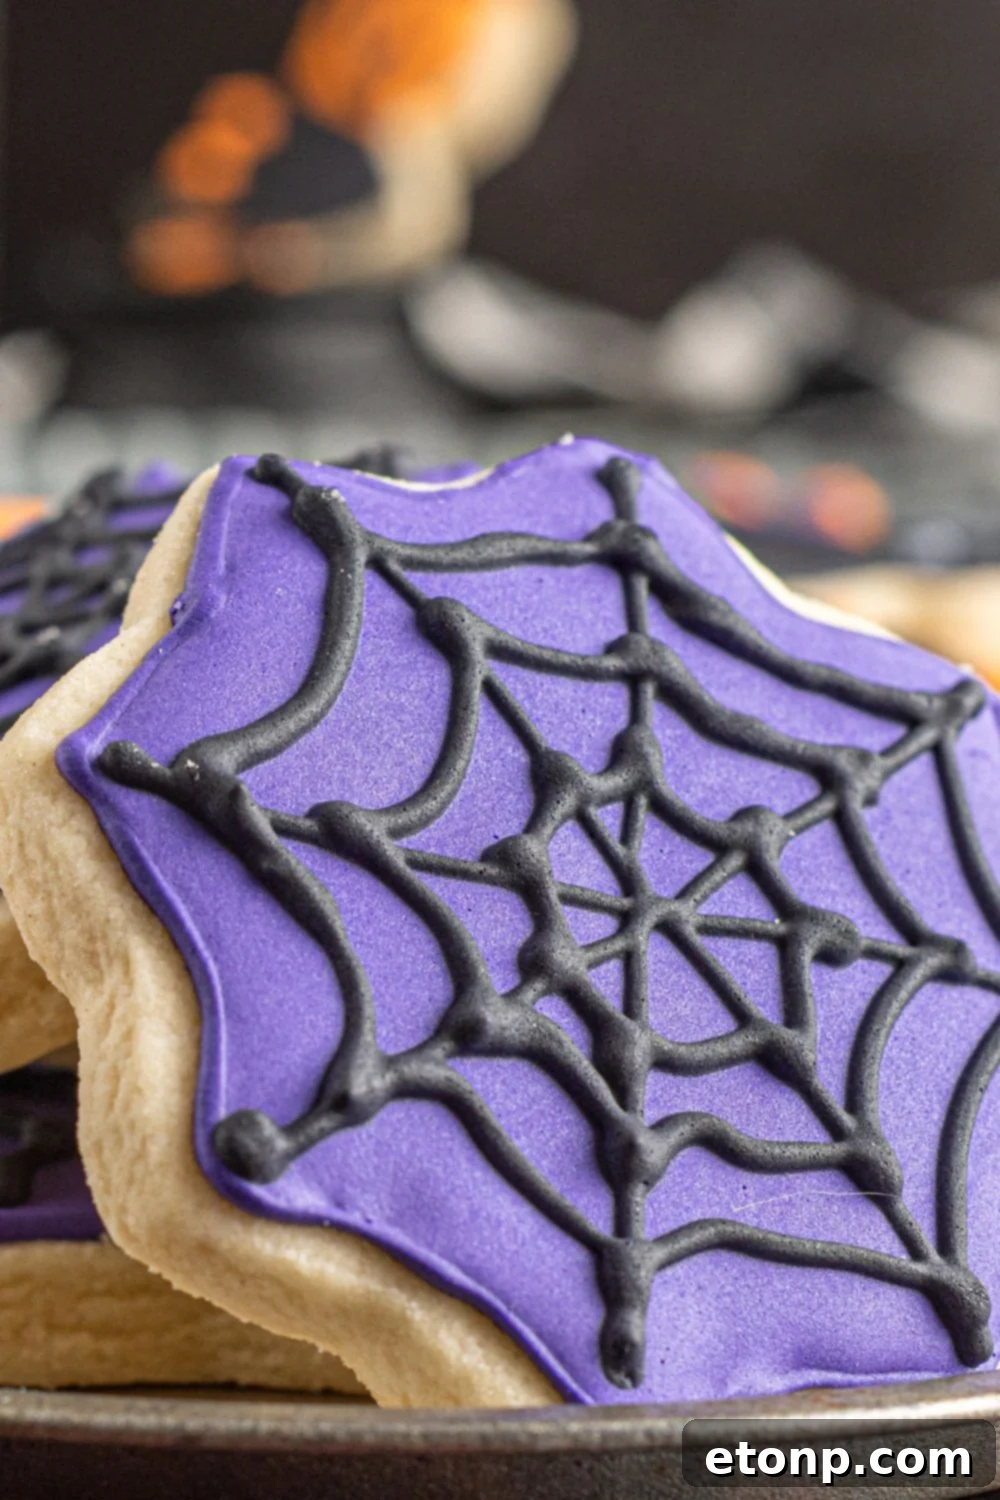
- Spider Web Cookies: A classic Halloween motif! Design intricate webs with fine lines over a flooded background.
- Jack-O-Lantern Cookies: Bright orange pumpkins with classic carved faces, or get creative with silly and scary expressions.
- Bat Cookies: Elegant black bats flying across a moonlit sky (or simply an orange background).
- R.I.P. Tombstone Cookies: Grey tombstones with “R.I.P.” written in eerie fonts, perhaps with a spooky hand reaching out.
- Casket Cookies: Dark, mysterious casket shapes, perfect for a gothic Halloween theme.
- Witch’s Cauldron Cookies: Bubbling cauldrons filled with neon green “brew” and perhaps some spooky silhouettes.
Don’t be afraid to mix and match colors and elements to bring your own unique Halloween visions to life!
Essential Ingredients for Perfect Sugar Cookies and Royal Icing
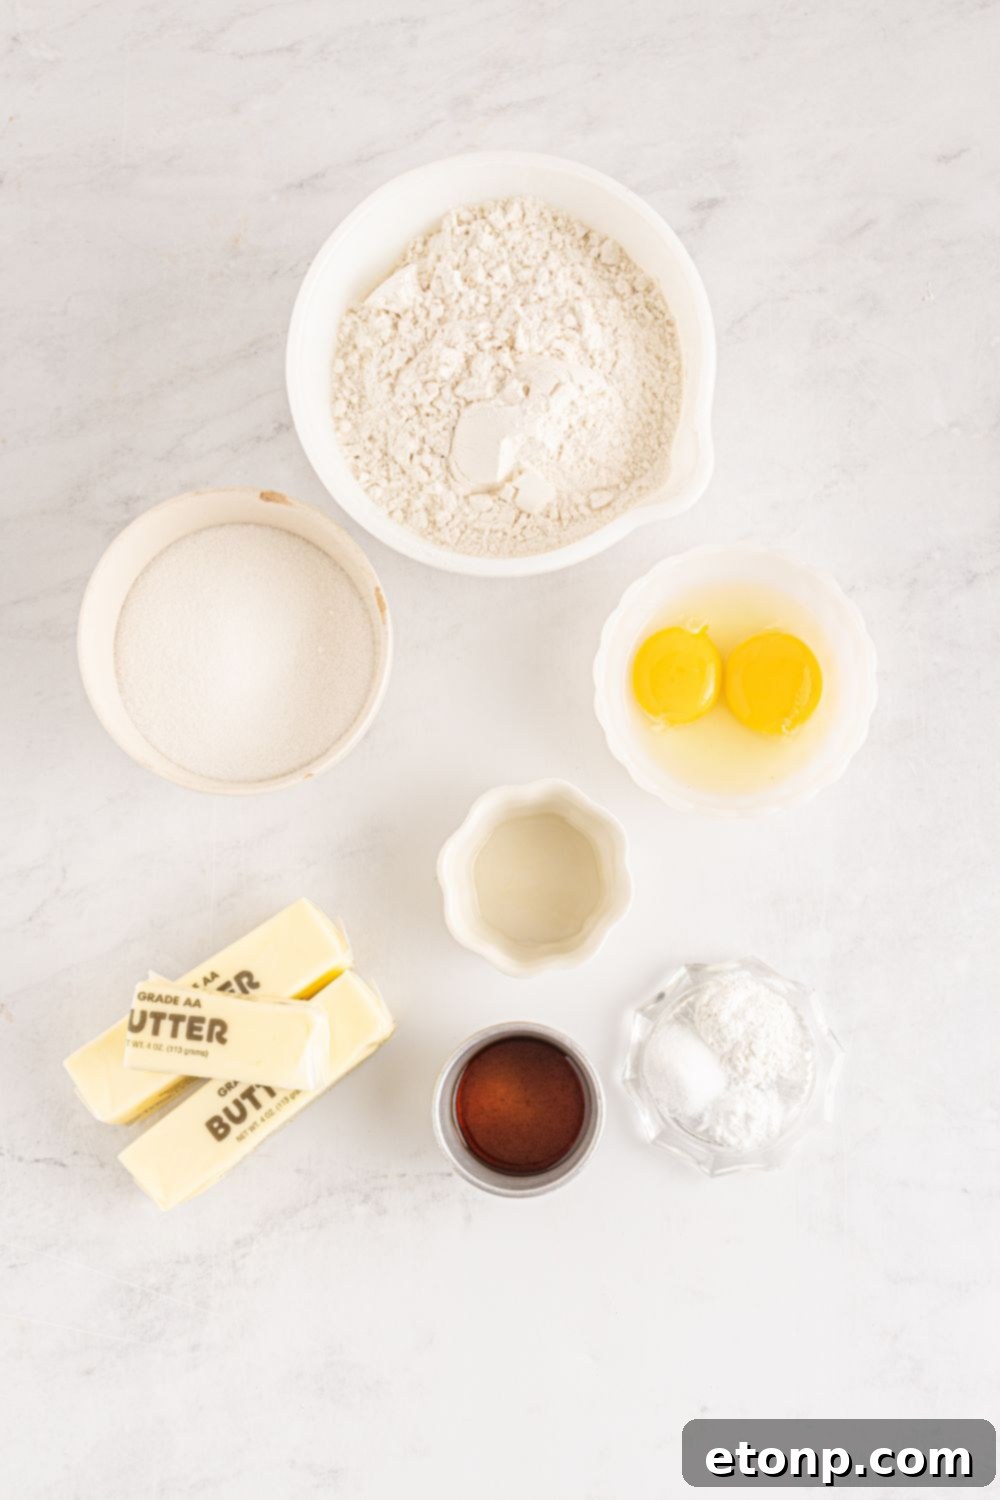
Creating these phenomenal Halloween sugar cookies requires a few key ingredients for both the rich cookie base and the vibrant, sturdy royal icing. Using quality ingredients will elevate your baking experience and the final taste of your treats.
- Butter: Unsalted butter, at room temperature, is crucial for a tender crumb and rich flavor.
- Granulated Sugar: Provides sweetness and helps create that classic sugar cookie texture.
- Vanilla Extract: A staple for enhancing the overall flavor profile of the cookies and icing.
- Butter Emulsion or Extra Vanilla Extract: Adds an extra depth of buttery flavor to the cookies.
- Egg + Egg Yolk: Binds the dough, adds richness, and contributes to the cookie’s tenderness.
- All-Purpose Flour: The structural foundation of your cookies; proper measurement is key.
- Baking Powder & Baking Soda: Leavening agents that give the cookies a slight lift and softness.
- Salt: Balances the sweetness and brings out the other flavors.
- Powdered Sugar: The base for smooth, lump-free royal icing.
- Hot Water: Used to dissolve meringue powder and achieve the right icing consistency.
- Meringue Powder: Essential for royal icing, providing stability, shine, and hardening properties.
- Corn Syrup: Adds a subtle shine and helps prevent the icing from becoming too brittle.
- Food Coloring: High-quality gel food colorings are recommended for vibrant, true Halloween hues without adding excess liquid.
Baking Success: Tips for Making Flawless Homemade Sugar Cookies
Achieving that perfect sugar cookie that holds its shape and tastes incredible is easier than you think with these essential baking tips:
Room Temperature Ingredients are Key
Before you begin, ensure all your cold ingredients, especially butter and eggs, are at room temperature. This is crucial for proper emulsification, allowing the ingredients to blend together seamlessly and evenly. Room temperature butter creams beautifully with sugar, creating a light and fluffy base that contributes to the cookies’ tender texture and prevents dense, unevenly mixed dough.
Measure Dry Ingredients with Precision
Accuracy in measuring dry ingredients, particularly flour, is paramount. If you add too much flour, your cookies can become dense, dry, and crumbly. To measure correctly, lightly spoon the flour into your measuring cup until it overflows, then level it off with a straight edge like a butter knife. Avoid scooping directly with the measuring cup, as this compacts the flour and leads to over-measurement.
Roll Dough Evenly
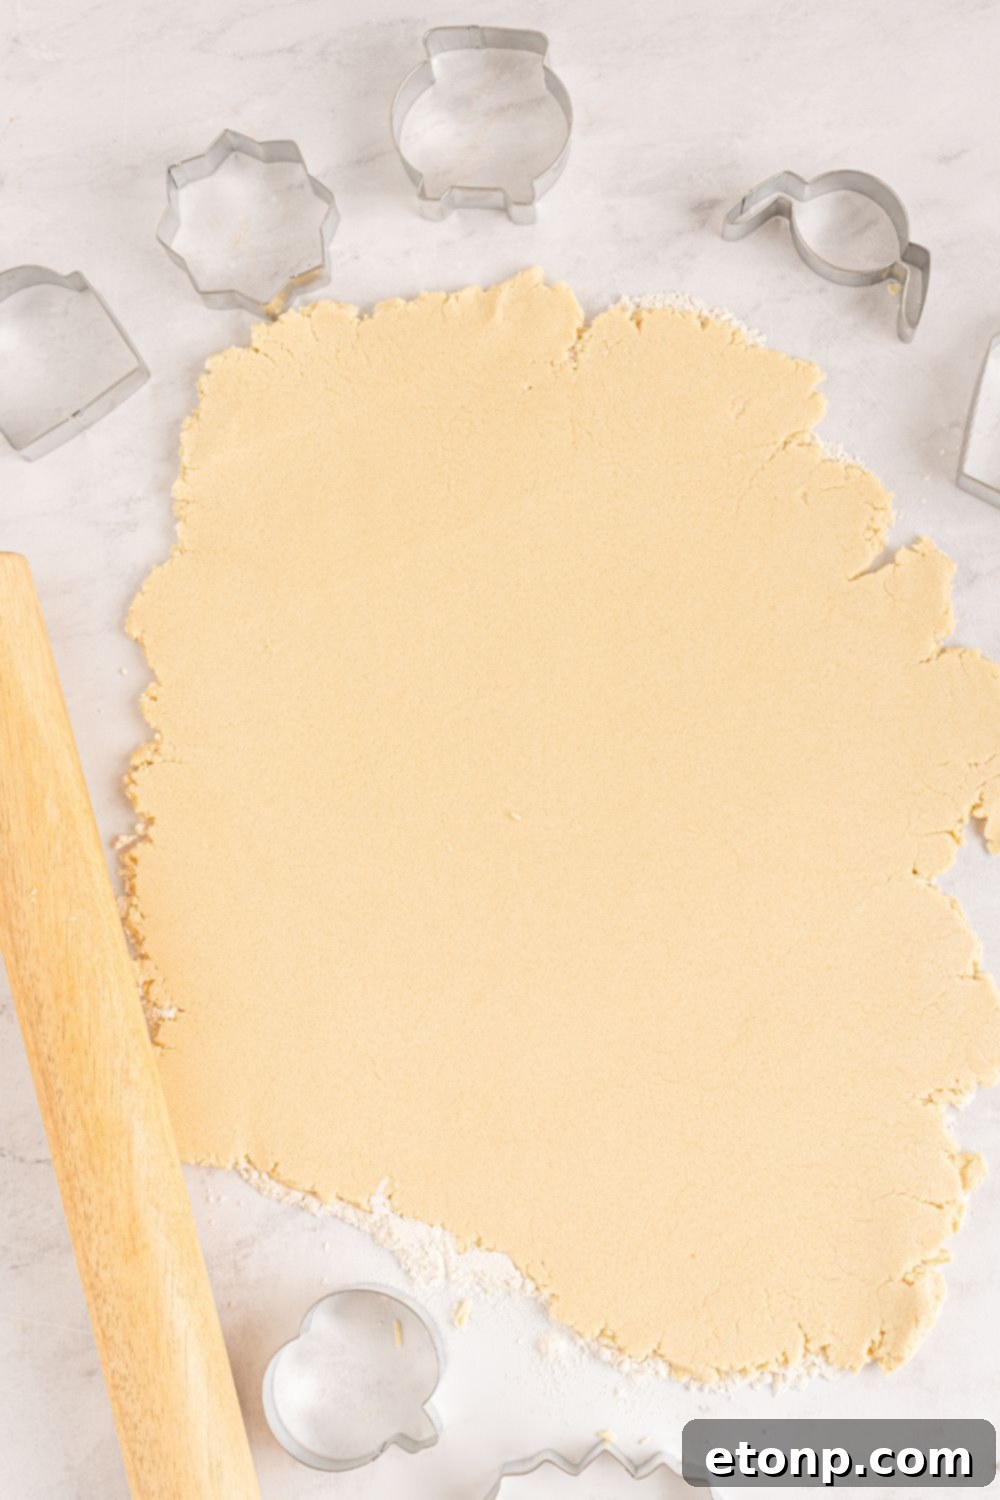
When rolling out your cookie dough, work on a lightly floured surface to prevent sticking. You can also lightly flour your rolling pin. The key is to achieve a thin, consistent thickness – typically 1/4 to 3/8 inch. Uneven dough thickness will result in cookies that bake inconsistently, with some being overcooked and others undercooked. Using rolling pin guides or rulers can help maintain uniform thickness.
Optimize Cookie Cutter Usage
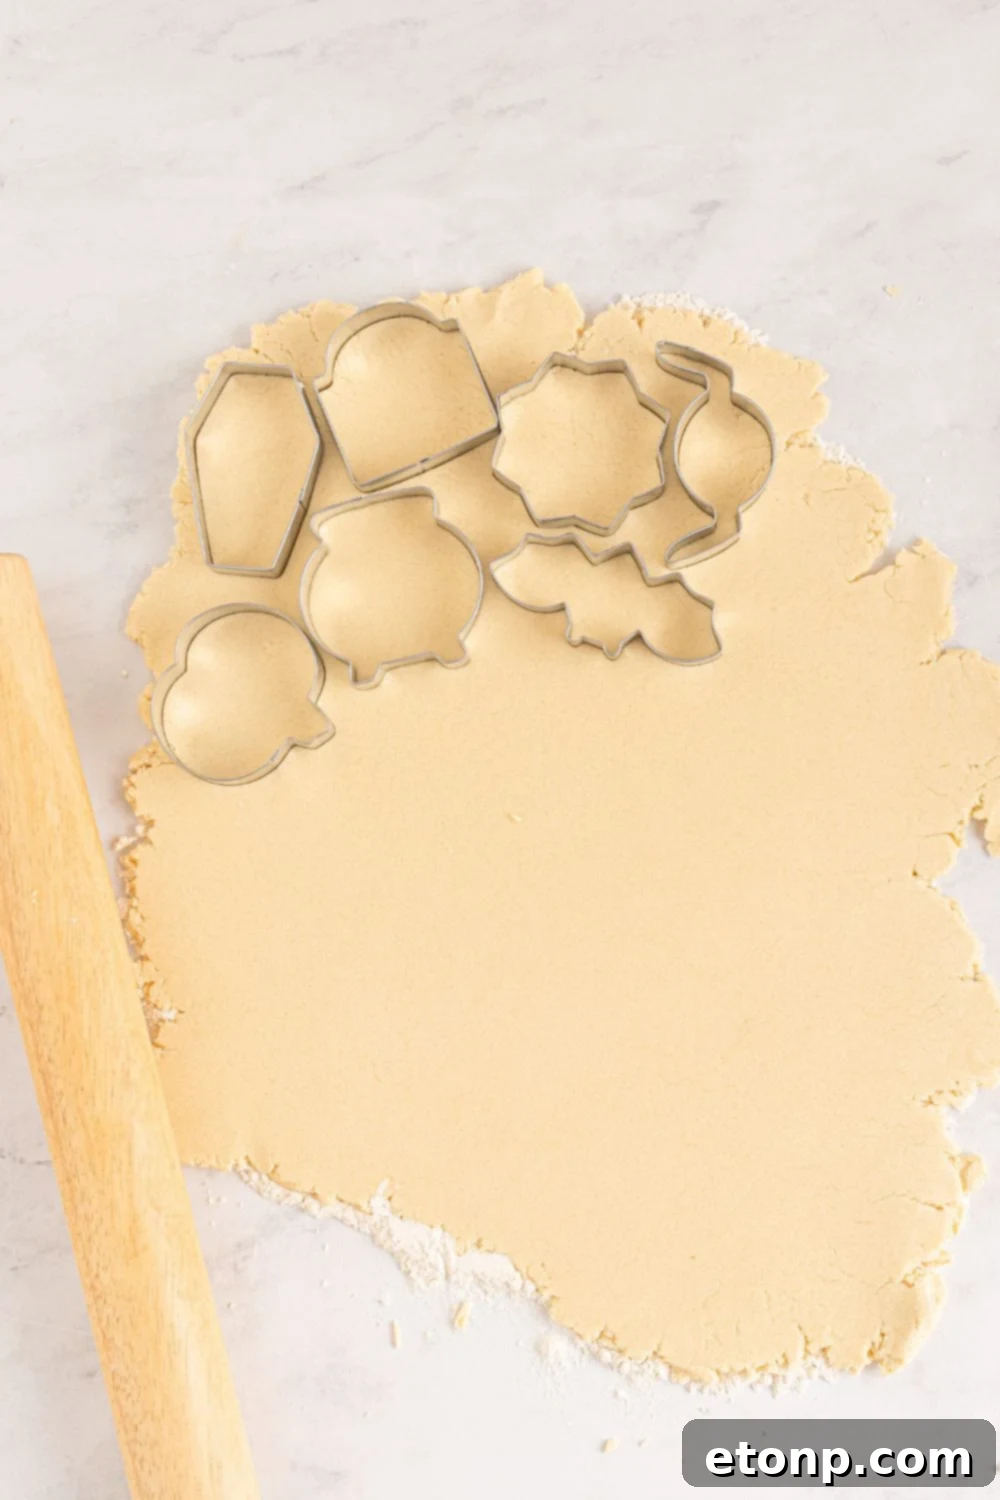
To prevent your cookie cutters from sticking to the dough, dip them in flour before pressing each shape. This ensures clean, crisp edges for your Halloween designs. Also, try to cut your shapes as close together as possible to minimize dough scraps and re-rolling, which can make the dough tougher.
Don’t Skip Chilling the Dough
Chilling the cookie dough, both after mixing and after cutting shapes, is a non-negotiable step for perfect cut-out cookies. Cold dough is stable dough; it prevents the cookies from spreading excessively in the oven and helps them retain their intricate Halloween shapes. If your kitchen is warm, consider working in small batches, keeping the unused portion of the dough refrigerated until you’re ready to roll and cut.
Mastering Royal Icing: Tips for Decorating Stunning Sugar Cookies
Decorating with royal icing can transform simple sugar cookies into edible works of art. Follow these tips to ensure a smooth, professional finish:
Achieve a Consistent Outline
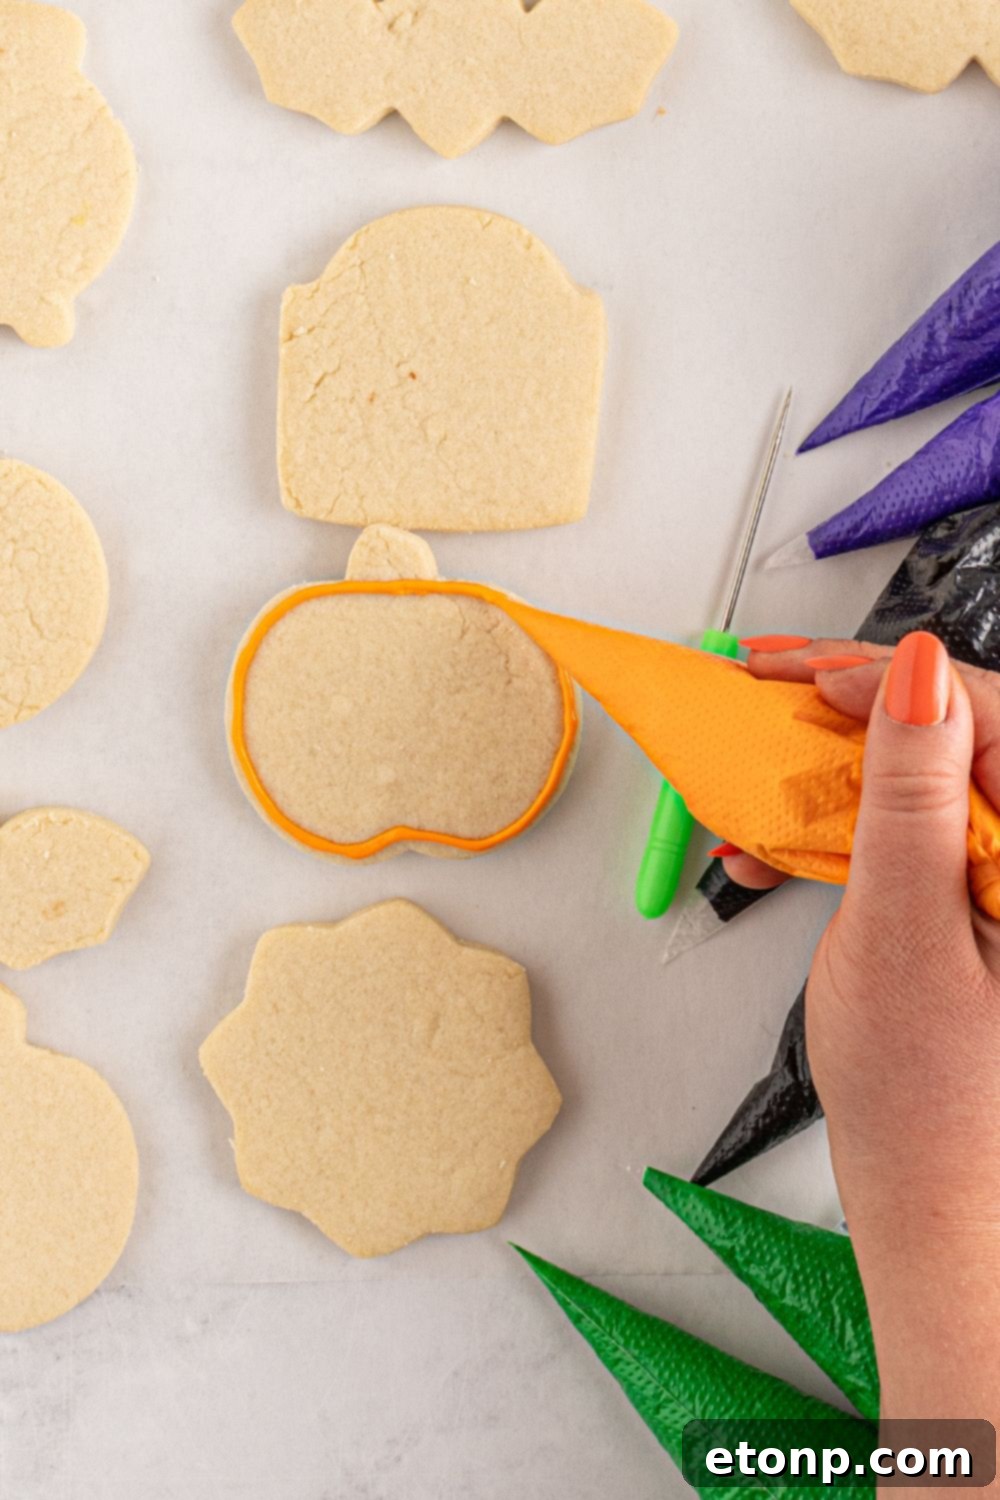
When outlining your cookies, use royal icing that is thick enough to hold its shape and not spread. This consistency is often referred to as “piping consistency” or “20-second icing” (meaning a line drawn on the surface disappears in about 20 seconds). A steady, even outline creates a “dam” that will contain the thinner “flood” icing, preventing it from overflowing the cookie’s edges.
Perfecting the Flood Icing
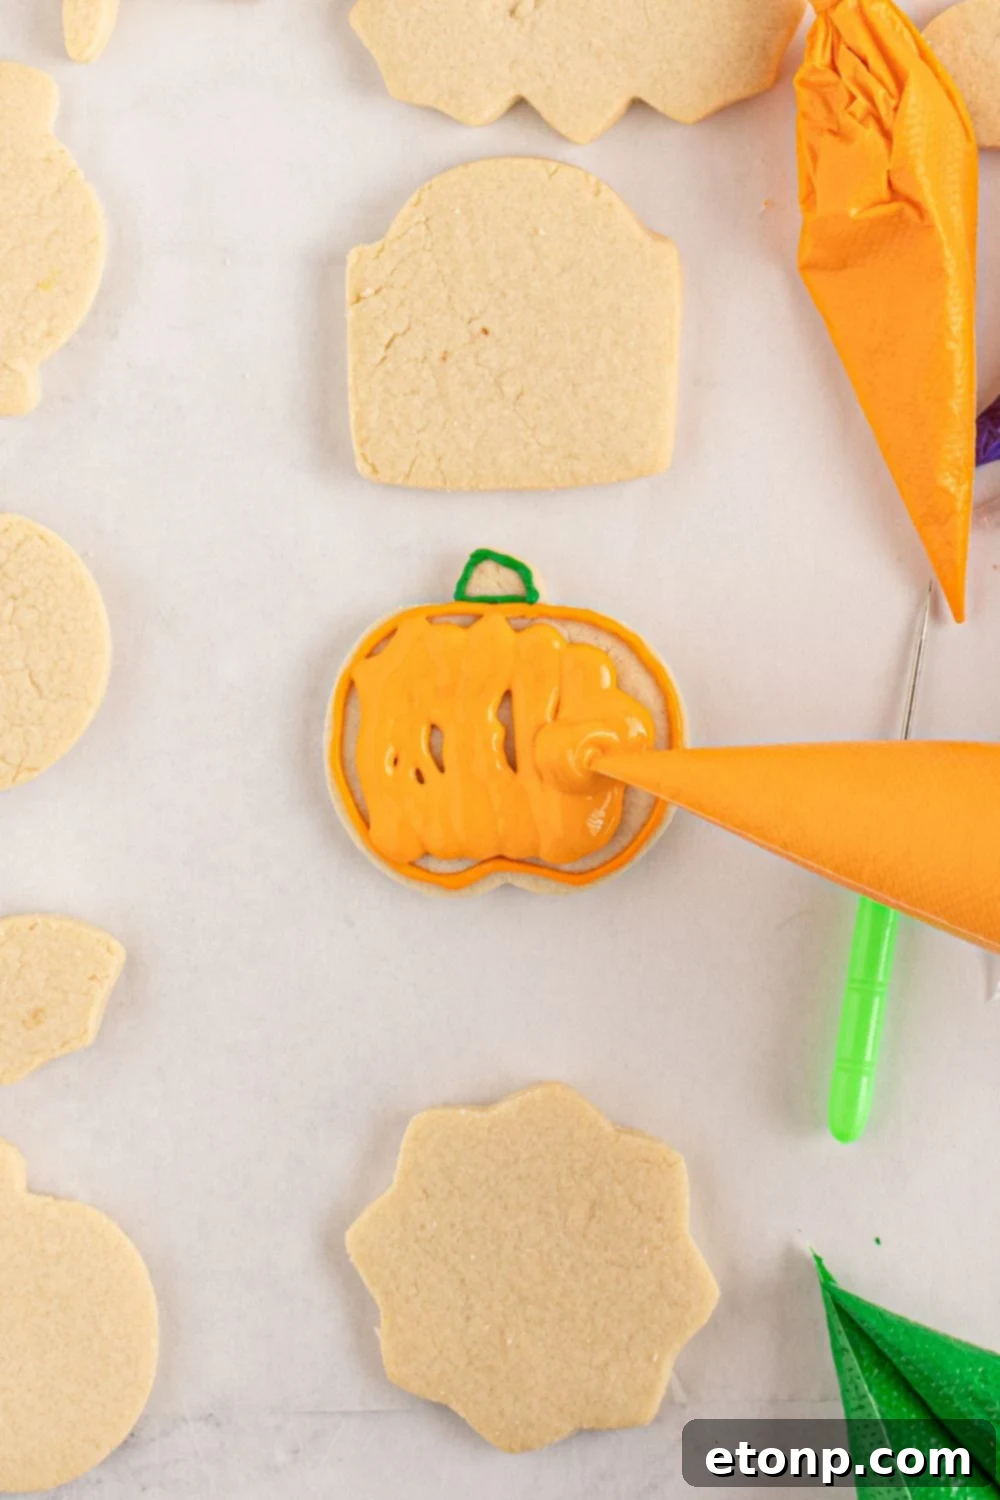
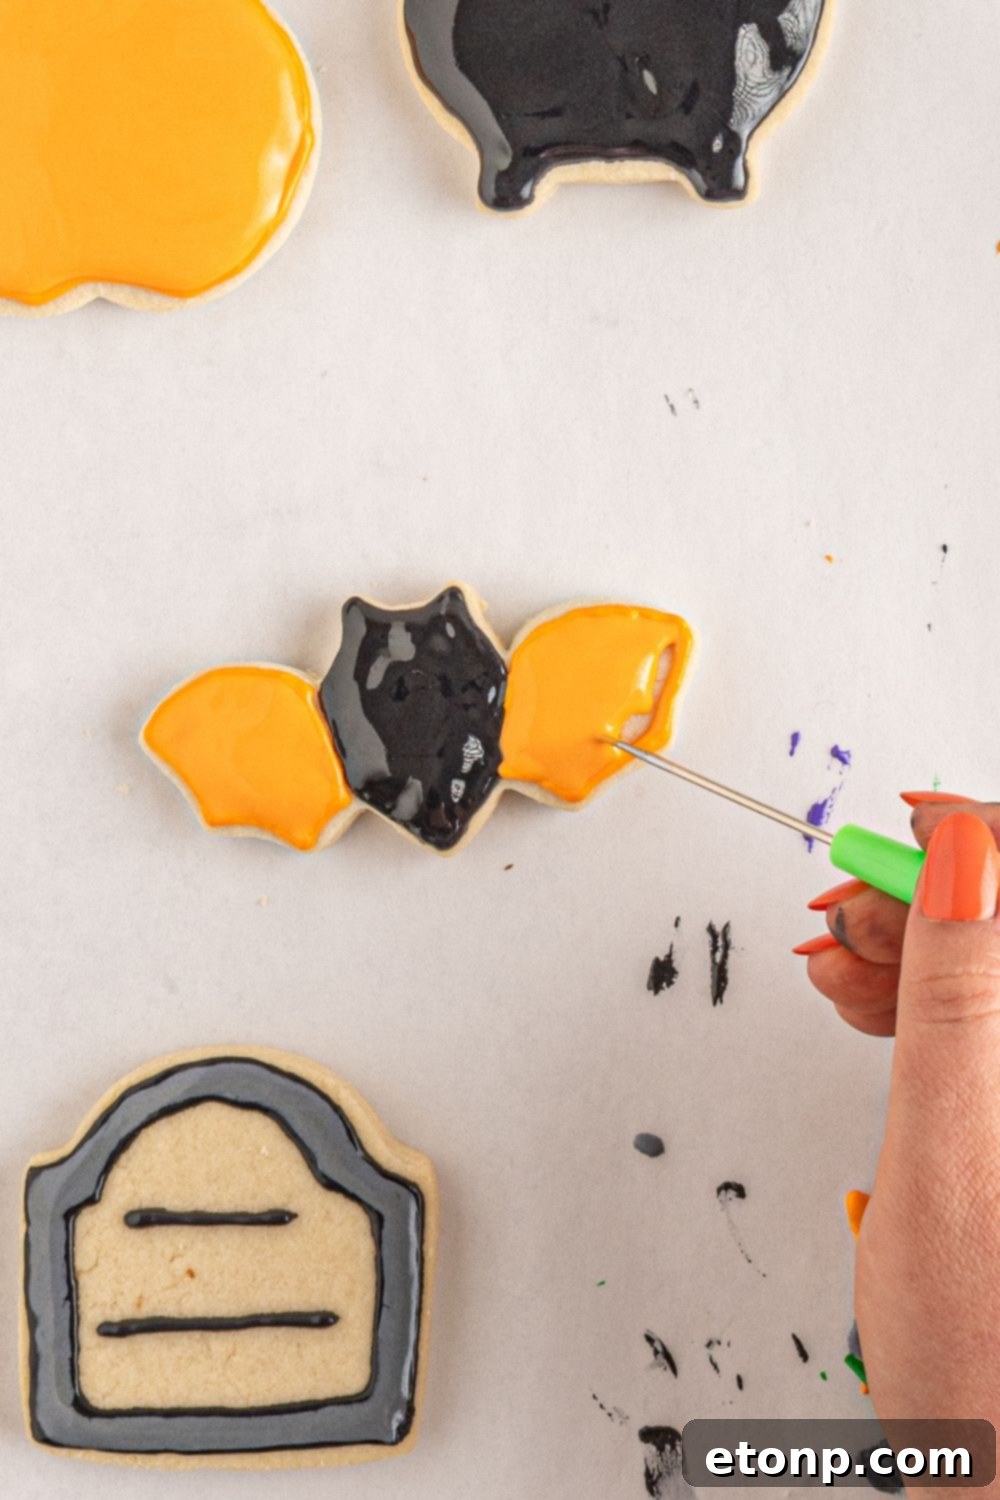
For flooding, you’ll need a thinner consistency of royal icing, often called “10-second icing.” Achieve this by gradually adding small amounts of water to your piping consistency icing until it flows smoothly but isn’t watery. Keep your flood icing in separate piping bags or squeeze bottles for easy application. After applying, use a toothpick or a sugar stir needle to gently spread the icing to all corners and edges, ensuring an even, smooth surface.
Banish Air Bubbles
Air bubbles can sometimes get trapped in flood icing, creating unsightly craters as the icing dries. After flooding a section of your cookie, gently tap the cookie against your work surface a few times. For any stubborn bubbles that rise to the surface, simply pop them with the tip of a toothpick or a clean scribe tool before the icing sets. This simple step ensures a perfectly smooth finish.
Patience: Drying Between Colors
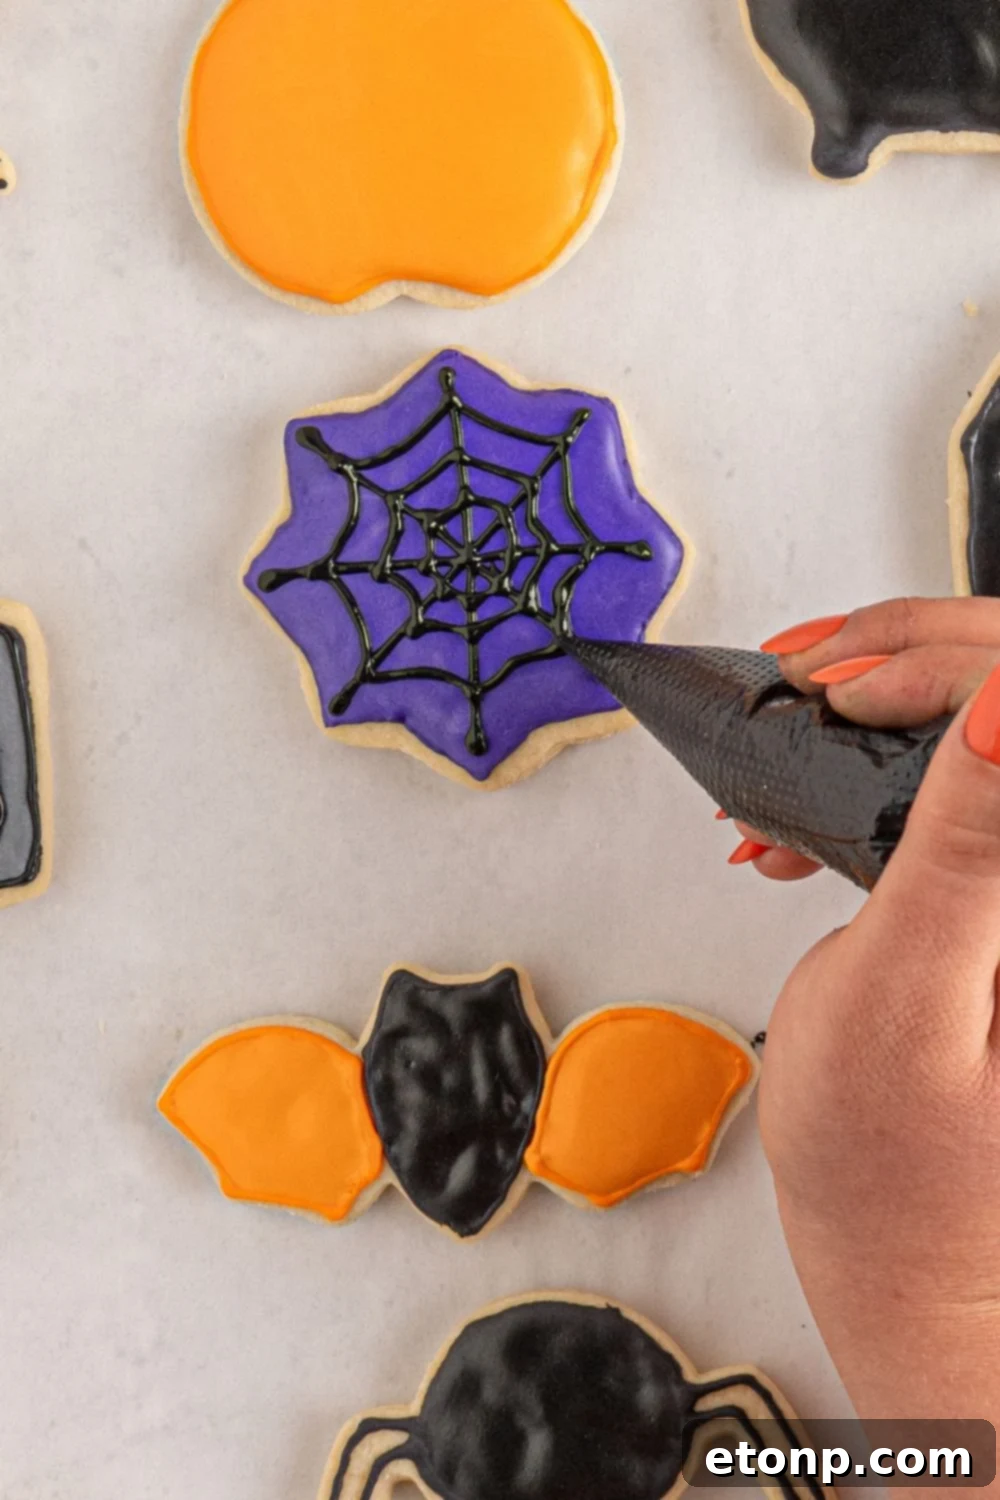
When incorporating multiple colors or layers into your Halloween cookie designs, allowing each color of icing to fully set before applying the next is crucial. This prevents colors from bleeding into one another or mixing, preserving the crisp lines and distinct elements of your design. Depending on humidity, this can take anywhere from 30 minutes to a few hours. A dehydrator can speed up this process if you’re in a hurry.
Keep Icing Covered with a Wet Paper Towel
Royal icing dries quickly when exposed to air, forming a crust. To prevent this from happening to any icing left in bowls, cover the surface of the icing directly with a damp paper towel. This slows down the drying process and keeps your icing smooth and workable for longer periods, saving you from having to remix or discard crusted icing.
Creative Variations to Personalize Your Halloween Sugar Cookies
This recipe provides a fantastic foundation, but don’t hesitate to unleash your creativity! Here are some fun ways to customize your Halloween treats:
Explore Endless Cookie Shapes
The beauty of cut-out sugar cookies lies in the variety of shapes you can create. Beyond the classic Halloween figures, dive into the vast world of cookie cutters! Imagine fun pumpkin shapes, spooky skulls, elegant skeletons, eerie ghosts, or even cute black cats. The options are limitless, allowing you to perfectly match any Halloween theme you dream of.
Play with Icing Colors
While traditional black, orange, and purple are quintessential Halloween colors, feel free to experiment with any hues that inspire you! Go for pastel goth tones, vibrant neon shades, or subtle, muted grays and browns for a rustic look. When adding food coloring, start with just a few drops of gel coloring, stir well, and then add more if a richer color is desired. It’s always easier to intensify a color than to lighten it.
Alternative Frosting Options
If royal icing feels too intimidating or you simply prefer a different flavor profile, don’t shy away from other delicious frosting alternatives! Classic buttercream, tangy cream cheese frosting, or even convenient store-bought canned frosting can be used. Each offers a unique texture and taste, and you can decorate them just as creatively, perhaps with sprinkles, edible glitter, or simple piping.
Time-Saving Cookie Shortcuts
Pressed for time but still want festive Halloween cookies? You can absolutely skip making the sugar cookie dough from scratch! Many grocery stores offer pre-made sugar cookie dough in their refrigerated section. Simply roll it out, cut your shapes, bake according to package directions, and once cooled, proceed with decorating them as you wish.
Halloween is a beloved holiday in our household! In fact, our wedding anniversary falls on Halloween, a testament to how much we adore this spirited season. It’s only natural, then, for us to whip up some adorable and spooky cookies to celebrate!
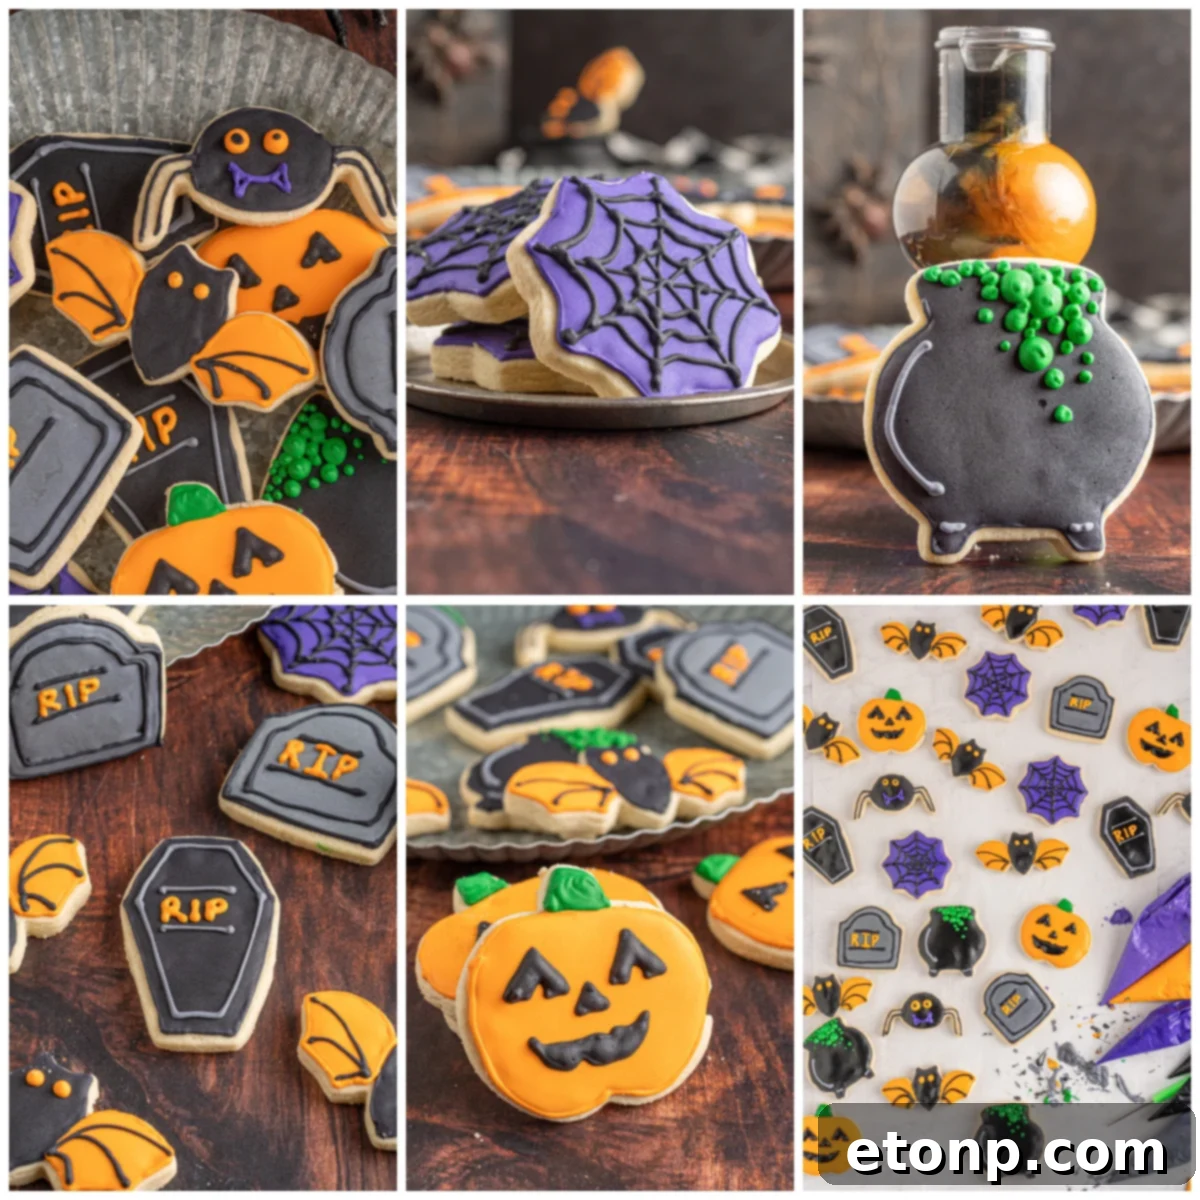
These spooky and adorable Halloween sugar cookies are truly a joy to create! Sugar cookie decorating is a fun, creative, and therapeutic way to express yourself while crafting a delightfully tasty dessert. It’s an engaging activity for both kids and adults, fostering imagination and fine motor skills. With our easy-to-follow, step-by-step instructions, anyone can make these charming cookies, ensuring you’ll have the cutest and most delicious treats to share with your friends and family. They’re absolutely perfect for any Halloween party!
Infuse Flavor with Extracts
Beyond vanilla, consider adding other flavor extracts to your cookie dough for an unexpected twist. Orange, raspberry, almond, or even a hint of maple can dramatically transform the flavor profile of your cookies, offering a delightful surprise with every bite. Just be mindful of the strength of the extract and add sparingly at first.
Brighten with Fruit Zest
For a fresh, citrusy zing, finely grate lemon, orange, or lime zest directly into your cookie batter. The natural oils in the zest will infuse the cookies with a bright, aromatic flavor that perfectly complements their sweetness. This is an excellent way to add a subtle, sophisticated twist to your Halloween treats.
Add Festive Sprinkles
For an extra touch of festivity and a fun “confetti” effect, mix 2 tablespoons of Halloween-themed sprinkles (like jimmies or nonpareils in black, orange, and purple) directly into your cookie batter. These sprinkles will bake into the cookies, adding a pop of color and texture that’s visible even before decorating, making them extra celebratory.
Storing Your Delicious Halloween Sugar Cookies
Once your beautiful Halloween sugar cookies are baked and decorated, proper storage is key to maintaining their freshness and preserving their artistic designs.
Room Temperature Storage
Decorated Halloween sugar cookies can be stored at room temperature in an airtight container for 3-4 days. For best results, ensure the royal icing is completely dry and hardened before stacking. To protect intricate designs, place sheets of wax paper or parchment paper between layers of cookies.
Freezing for Extended Freshness
For longer storage, these sugar cookies freeze wonderfully. Place fully cooled and decorated cookies in an airtight container or a freezer-safe bag, again using wax or parchment paper between layers to prevent designs from smudging. They can be frozen for up to 6 months. When you’re ready to enjoy them, simply thaw them on the counter at room temperature. This is perfect for making cookies ahead of time for parties or enjoying a treat whenever a craving strikes.
Pro Tip: To ensure your meticulously crafted designs remain pristine, always place a layer of wax paper or parchment paper between stacked cookies, whether storing at room temperature or freezing. This creates a protective barrier, preventing any accidental smudges or sticking.
Frequently Asked Questions About Halloween Sugar Cookies
Got questions? We’ve got answers to help you bake and decorate your Halloween sugar cookies with confidence!
Can I make the dough ahead of time?
Absolutely! Preparing the sugar cookie dough in advance is a fantastic time-saver. Simply wrap the dough tightly in plastic wrap and store it in the refrigerator for up to 1 day. When you’re ready to bake, let it soften slightly at room temperature, then roll out, cut your shapes, bake, and decorate. This method breaks up the baking process, making it less overwhelming.
How thick should I roll out the dough?
The ideal thickness for cut-out sugar cookies generally ranges from 1/4 inch to 3/8 inch. Thicker cookies tend to hold their shape better during baking and yield a softer, chewier texture. Thinner cookies will bake up crispier and might be more prone to breaking, but offer a delicate crunch. Choose your preferred thickness based on the desired texture of your final cookie.
Should I chill the cut-out cookies before baking them?
Yes, chilling the cut-out cookie shapes before baking is a critical step for this sugar cookie recipe. Cold dough is less likely to spread on the baking pan, ensuring that your intricate Halloween shapes remain sharp and defined as they bake. Aim for at least 10-15 minutes of chilling time for the best results.
Can I stack cookies once the royal icing is dry?
Once the royal icing is completely dry and has hardened (which can take several hours, or even overnight, depending on humidity), you can carefully stack the cookies. For an extra layer of protection, especially for cookies with delicate or raised designs, it’s always recommended to place a small piece of wax paper or parchment paper between each cookie layer. This prevents designs from sticking or smudging.
Can I add details with a different type of icing?
Absolutely! Feel free to customize your sugar cookies in any way you desire. While royal icing is fantastic for fine details, you can add embellishments using other types of icing, edible glitter, candy eyes, mini chocolate chips, or even small candies. Get creative with different colors, textures, and elements to make your Halloween cookies truly unique and personal.
More Spooky & Sweet Recipes to Explore
Keep the Halloween spirit alive with these other incredible recipes from our collection:
- Spider Web Pretzels
- Witch Hat Cupcakes
- Halloween Monster Cookie Bars
Halloween Sugar Cookies
Prep Time: 4 hrs
Cook Time: 12 mins
Total Time: 4 hrs 12 mins
Servings: 22 servings
Halloween Sugar Cookies are a homemade sugar cookie cut out recipe that is topped with homemade royal icing and decorated for Halloween. A buttery sugar cookie recipe that is a gorgeous decorated cookie, featuring designs like spiders, spider webs, tombstones, pumpkins and more.
Pin Recipe
Share Recipe on Facebook
Ingredients
Cookies:
- 1 ¼ c butter, room temperature
- 1 c sugar
- 1 tsp vanilla extract
- 1 tsp butter emulsion or extract
- 1 egg + 1 yolk
- 3 ½ c flour
- 1 ½ tsp baking powder
- ¾ tsp salt
- ¼ tsp baking soda
Frosting:
- 3 c powdered sugar
- 7 Tbs hot water
- 3 ½ Tbs meringue powder
- 1 Tbs corn syrup
- 1 tsp vanilla extract
Food Coloring (Gel recommended):
- Black
- Gray (achieved with a single drop of black)
- Purple
- Orange
- Green
Instructions
Cookies:
- Preheat the oven to 350 F. Line a cookie sheet with parchment paper and lightly spray with baking spray. Set aside.
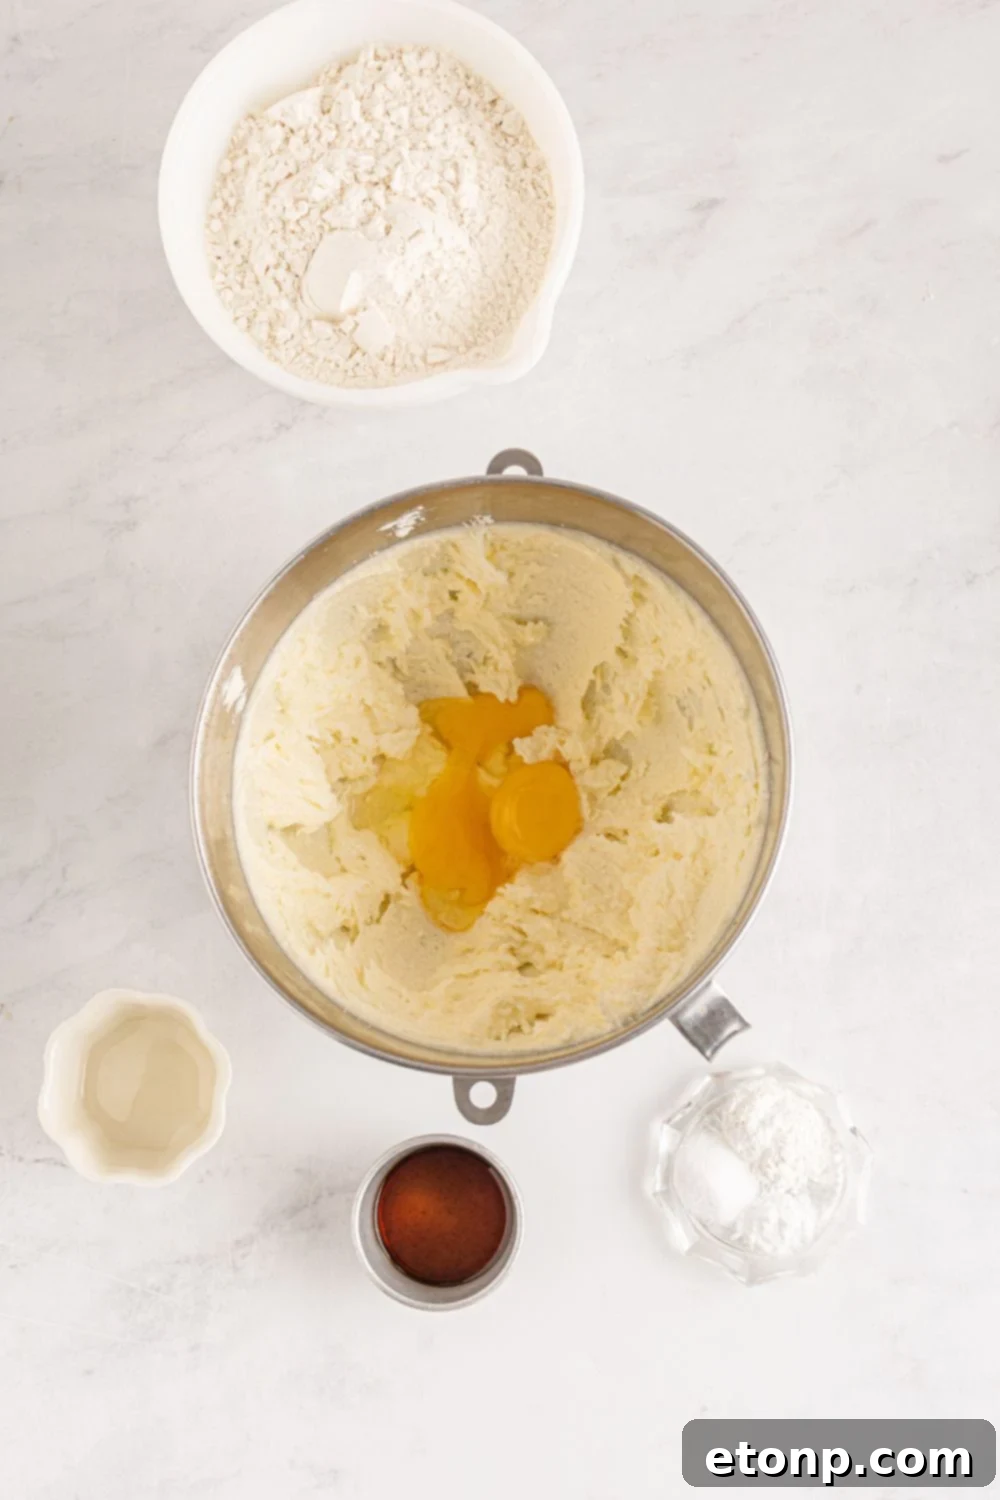
- In the bowl of a stand mixer fitted with a paddle attachment, combine butter and sugar. Beat on a medium-high speed until light and fluffy.
- Add in the egg and egg yolk, mixing until just combined.
- Next, add in vanilla and butter emulsion (or extra vanilla) and mix until fully incorporated.
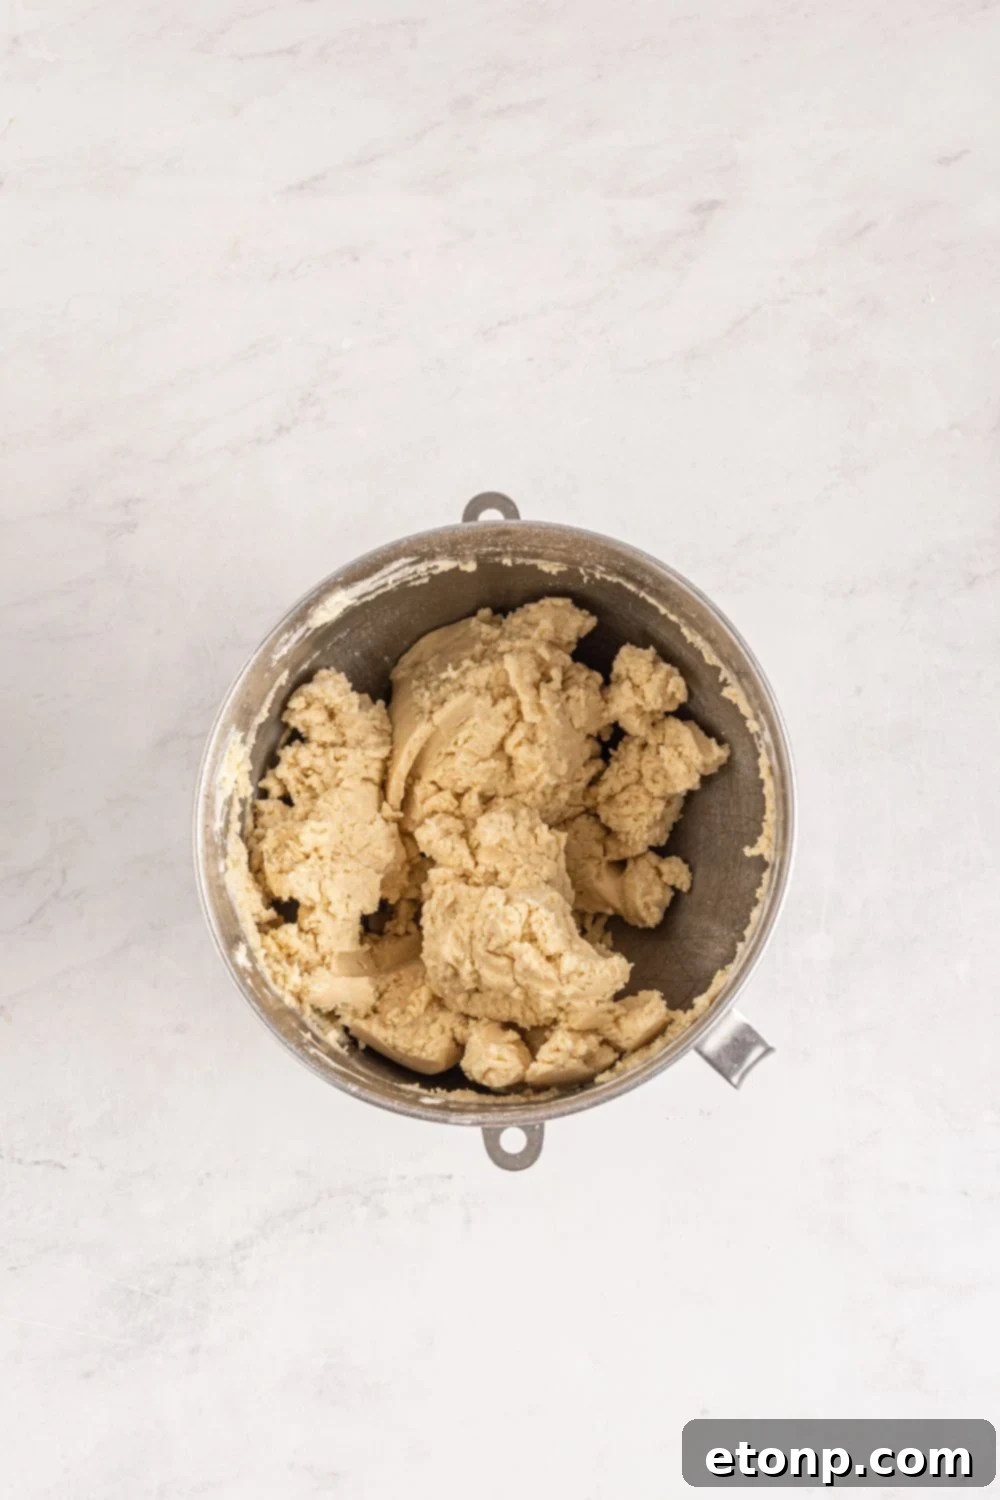
- In a separate bowl, whisk together flour, baking powder, salt, and baking soda. Gradually add the dry ingredients to the wet ingredients, mixing until just combined and a soft dough forms. Do not overmix.
- Turn the dough out onto a clean, lightly floured surface. Roll out to ¼” thickness using a rolling pin. Use your chosen Halloween cookie cutters to cut out as many cookies as you can.
- Gather the scrap dough, gently re-roll it, and cut out the remaining cookies.
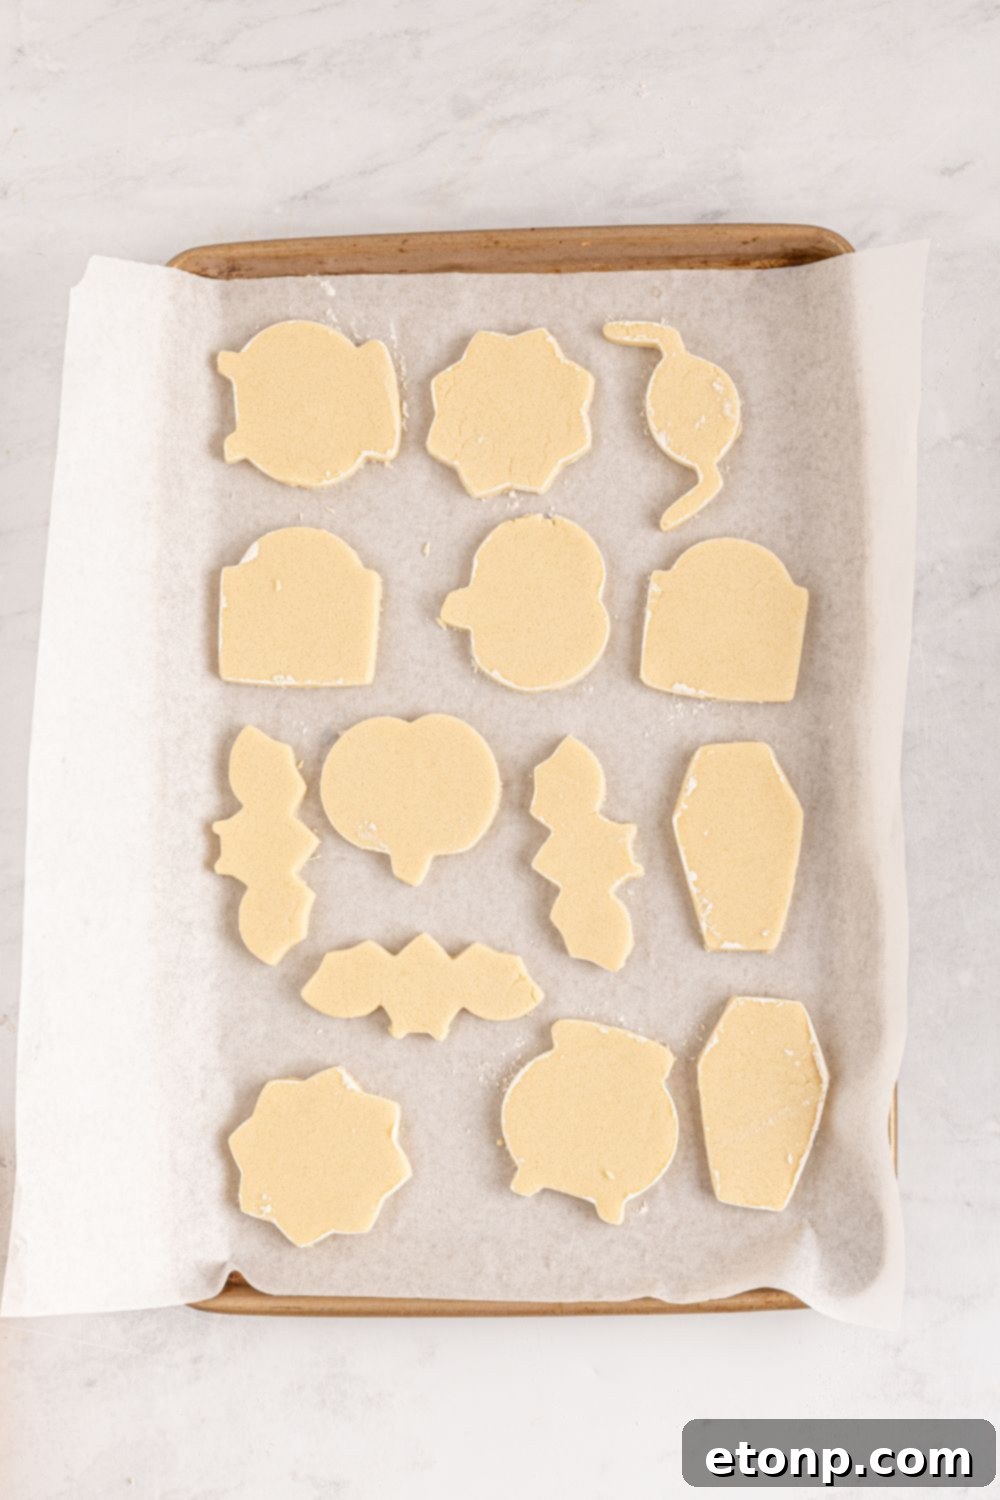
- Place 12-14 cookies on the prepared baking sheet, ensuring about 1” spacing between them.
- Place the baking sheet into the preheated oven on the center rack. Bake for 12 minutes, or until the edges have just started to set and the cookies have gained a very light golden color.
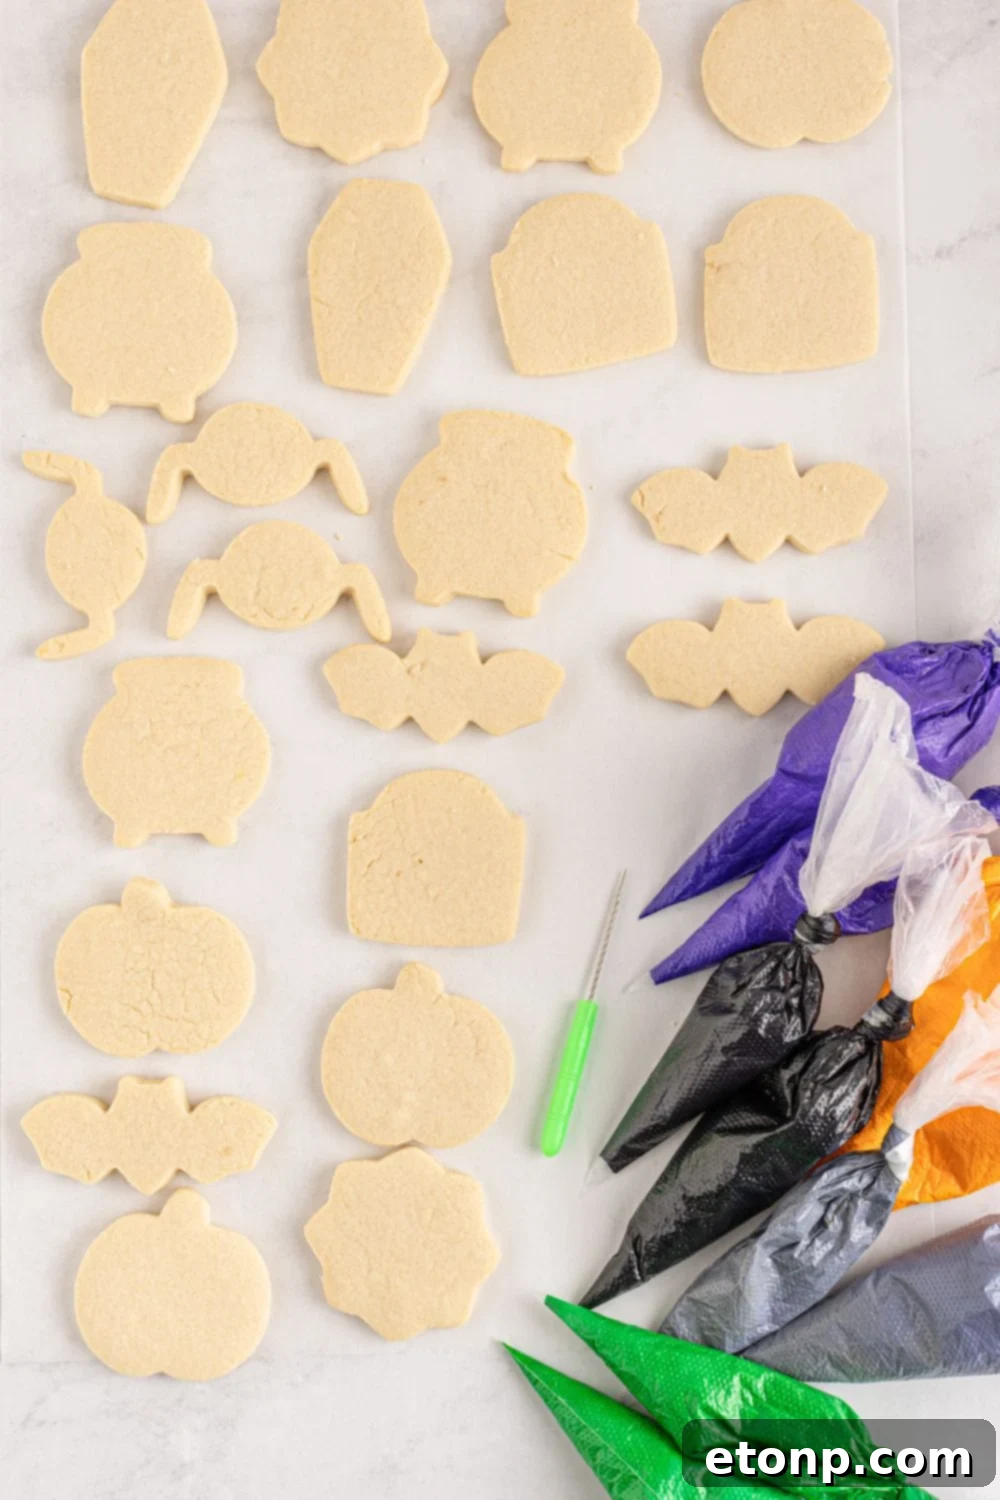
- Once baked, remove from the oven. Let the cookies rest on the cookie sheet for a few minutes to firm up, then carefully transfer them to a wire cooling rack to cool completely before decorating. Repeat the baking process with any remaining cookies.
- Once all of the cookies have been baked and are completely cool, proceed to make the royal icing.
Frosting (Royal Icing):
- In the bowl of a stand mixer fitted with a paddle attachment, combine powdered sugar, hot water, meringue powder, corn syrup, and vanilla extract.
- Mix on a medium speed for 3 minutes, until the icing is well combined and smooth.
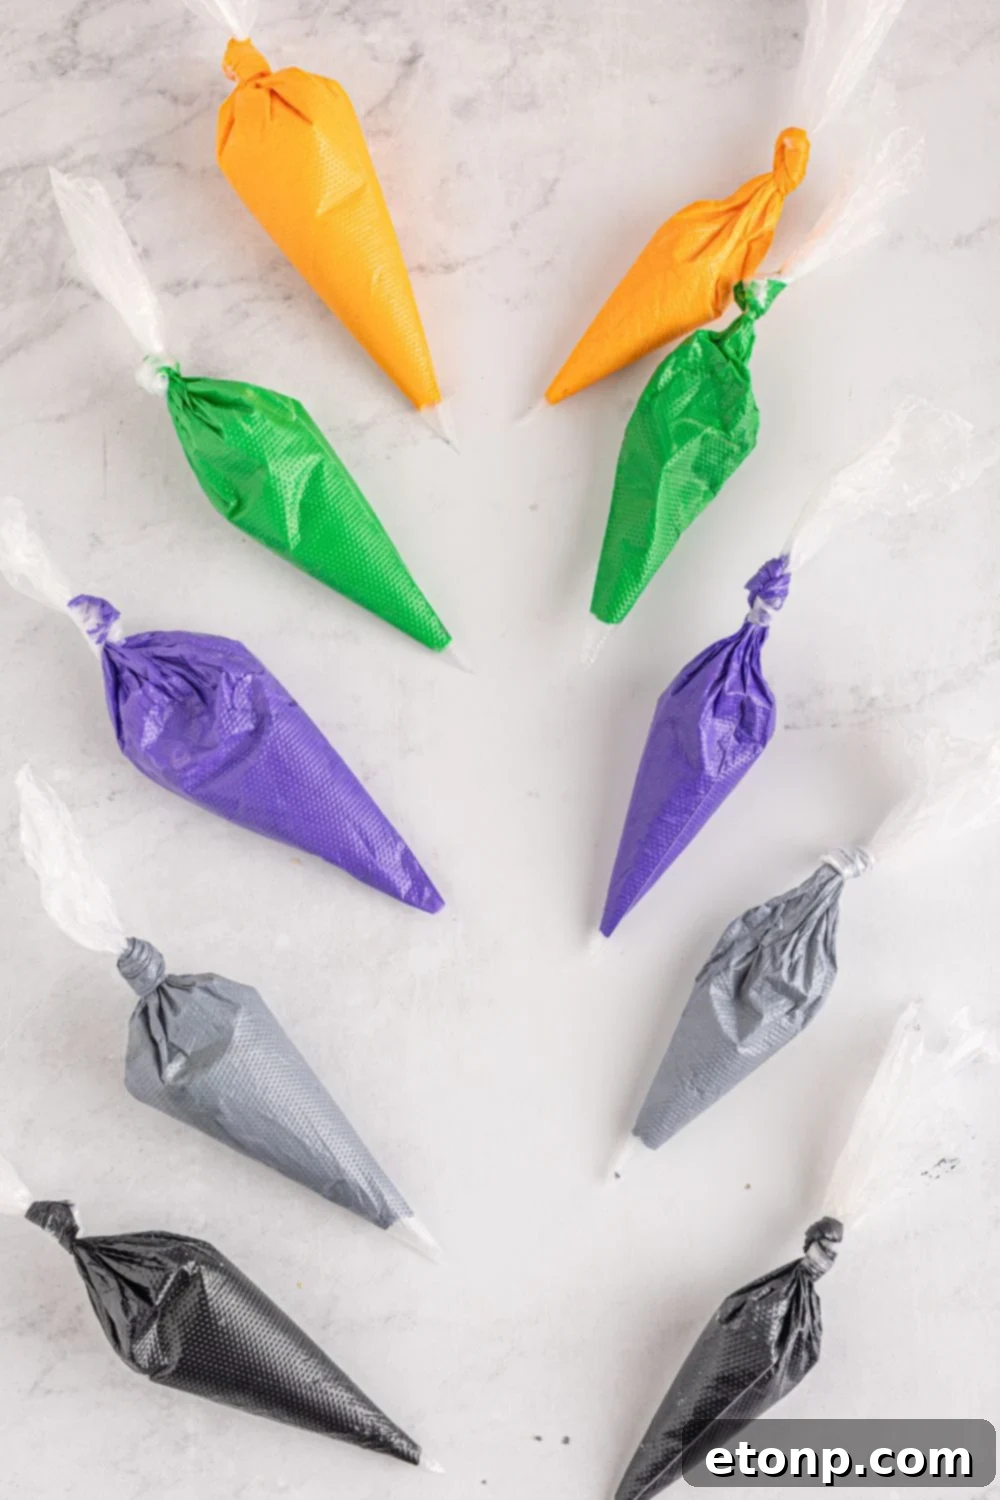
- Prepare a total of 10 small bowls. In the first 5 bowls, spoon ⅓ cup of the thick frosting into each. This will be your “edge” or “piping” consistency icing.
- To the remaining frosting in the mixing bowl, add 1 tablespoon of water and mix to combine. This will create your “flood” consistency icing.
- Divide this thinned-out “flood” frosting evenly between the remaining 5 bowls.
- Now, add food coloring to each of the 10 bowls. Ensure that each “edge” frosting bowl has a corresponding “flood” frosting bowl of the same color. For gray, add just one tiny drop of black food coloring; add more for a darker shade if desired.
- Spoon each color and consistency of frosting into separate piping bags. Tie the tops of each bag securely to prevent frosting from spilling out.
- Using scissors, cut a very small opening into the tip of each piping bag. You can always cut the tip slightly larger if you find it too difficult to pipe the frosting out.
Decorating Instructions (Examples):
Jack O’ Lantern:
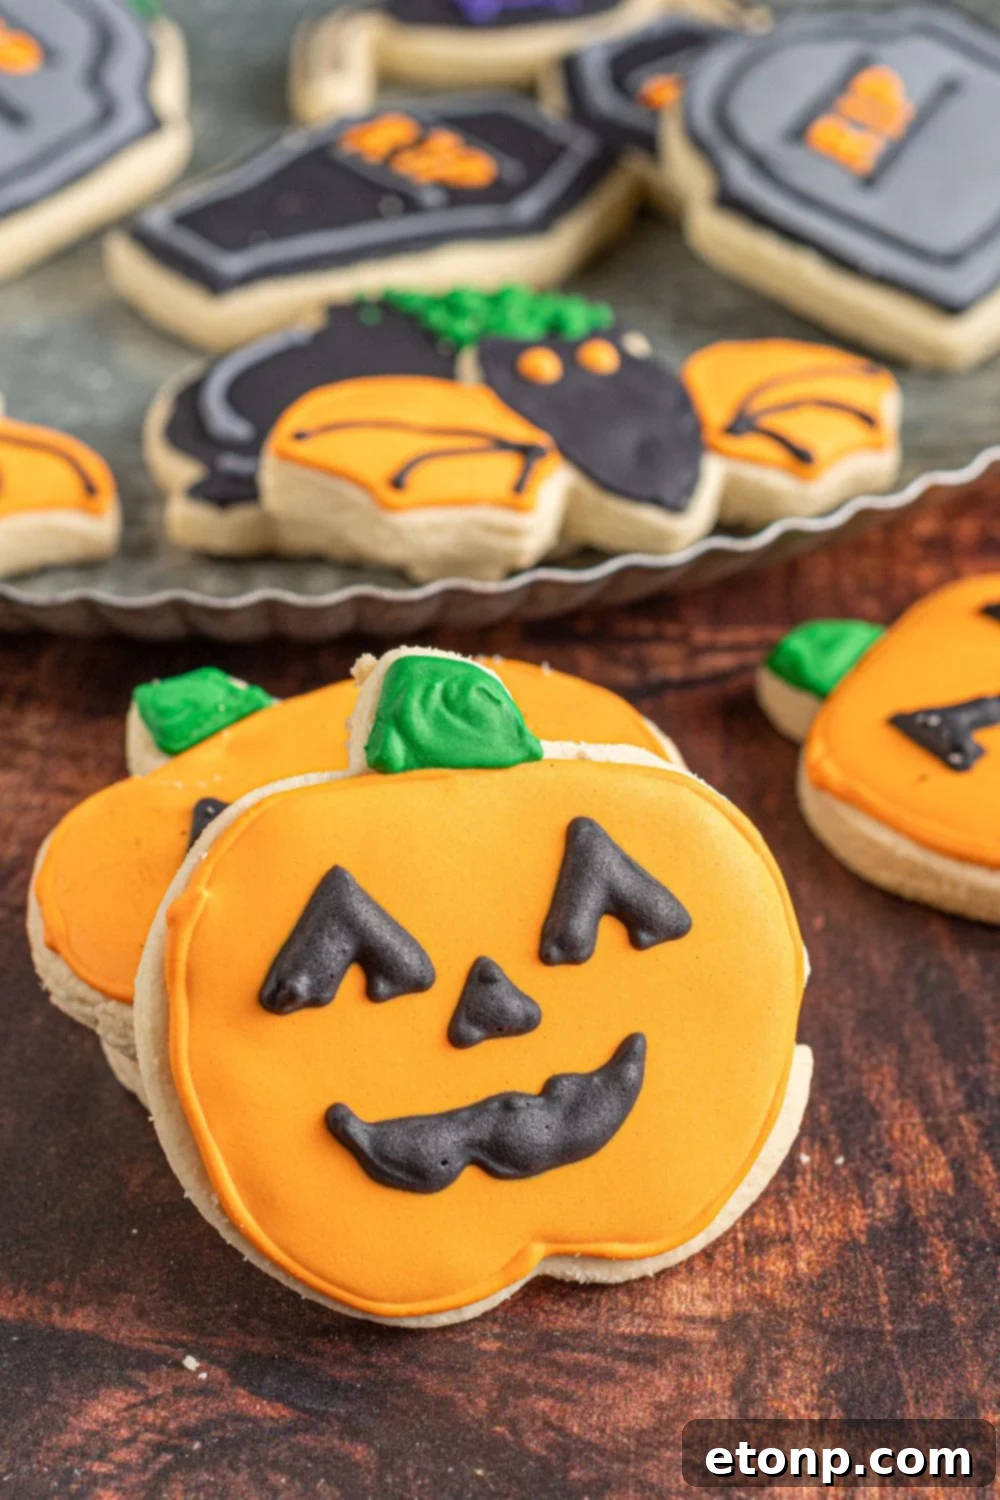
- Use the orange “edge” frosting to outline the base of the pumpkin shape. Then, use the green “edge” frosting to outline the stem.
- Next, use the orange “flood” frosting to fill in the pumpkin base. Gently spread and smooth it out using a sugar stir needle or toothpick, encouraging it to meet the orange outline. If needed, gently shake the cookie to level the icing.
- Fill in the stem with the green “flood” frosting and smooth with the sugar stir needle.
- Repeat this process for all jack-o’-lantern cookies, then set them aside to allow the base layer of frosting to set completely (this can take 30 minutes to an hour, or longer).
- Once the base frosting is set, use the black “edge” frosting to pipe the eyes, nose, and mouth for the jack-o’-lantern face.
- Fill in these outlined face details with the black “flood” frosting, smoothing carefully with the sugar stir needle to avoid disturbing the underlying orange icing. Repeat for remaining cookies.
Gravestone:
- Use the black “edge” frosting to outline the gravestone shape. Add a second, slightly smaller outline inside the first, mimicking the same shape.
- Using the black “edge” frosting, pipe two horizontal lines within the empty middle space of the gravestone.
- Fill the area between the two outlines with the gray “flood” frosting, then smooth with a sugar stir needle.
- Repeat for all gravestone cookies, and set aside to set.
- Once the base frosting has set, use the gray “flood” frosting to fill in the remaining middle space of the cookie. Smooth with a sugar stir needle.
- Use the black “edge” frosting to touch up and define the horizontal lines in the center.
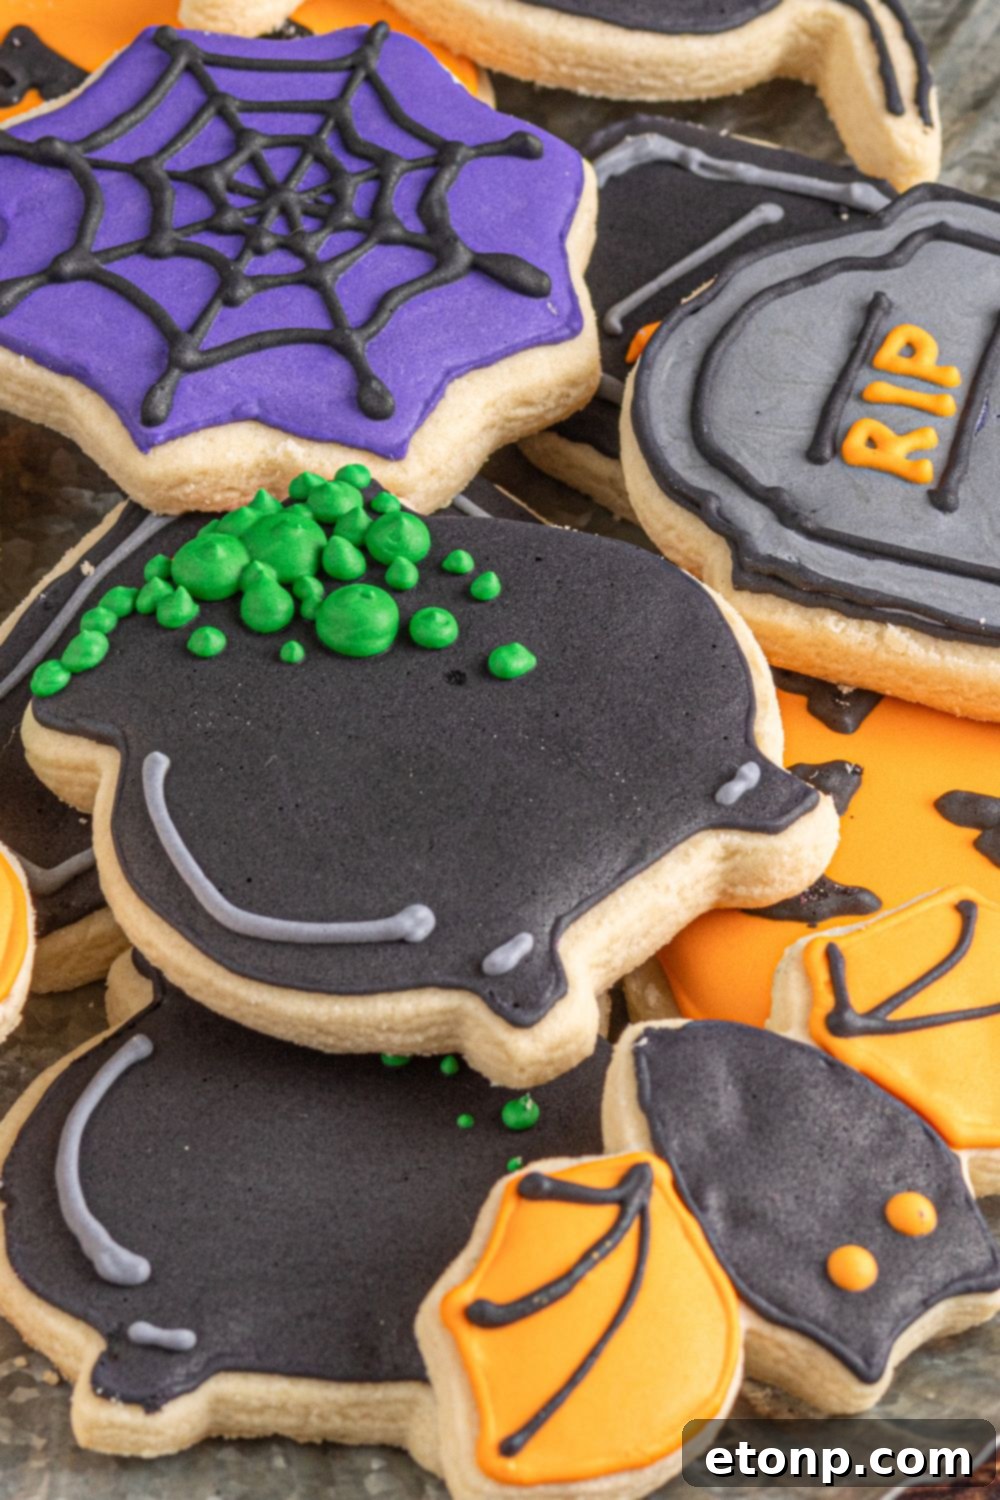
- Next, use the orange “edge” frosting to pipe “R.I.P.” in the middle of the two horizontal lines. Start with the letter “I” to help center the word. Repeat for remaining cookies.
Spiderweb:
- Use the purple “edge” frosting to outline the spiderweb shape.
- Next, use the purple “flood” frosting to fill in the center, then smooth with a sugar stir needle.
- Repeat for all spiderweb cookies, and set aside to set.
- Once the base frosting is set, use the black “edge” frosting to draw four lines, extending from the center outwards to the pointed tips of the cookie.
- Still using the black “edge” frosting, draw slightly curved lines connecting the four original lines to create the concentric web pattern. Repeat for remaining cookies.
Cauldron:
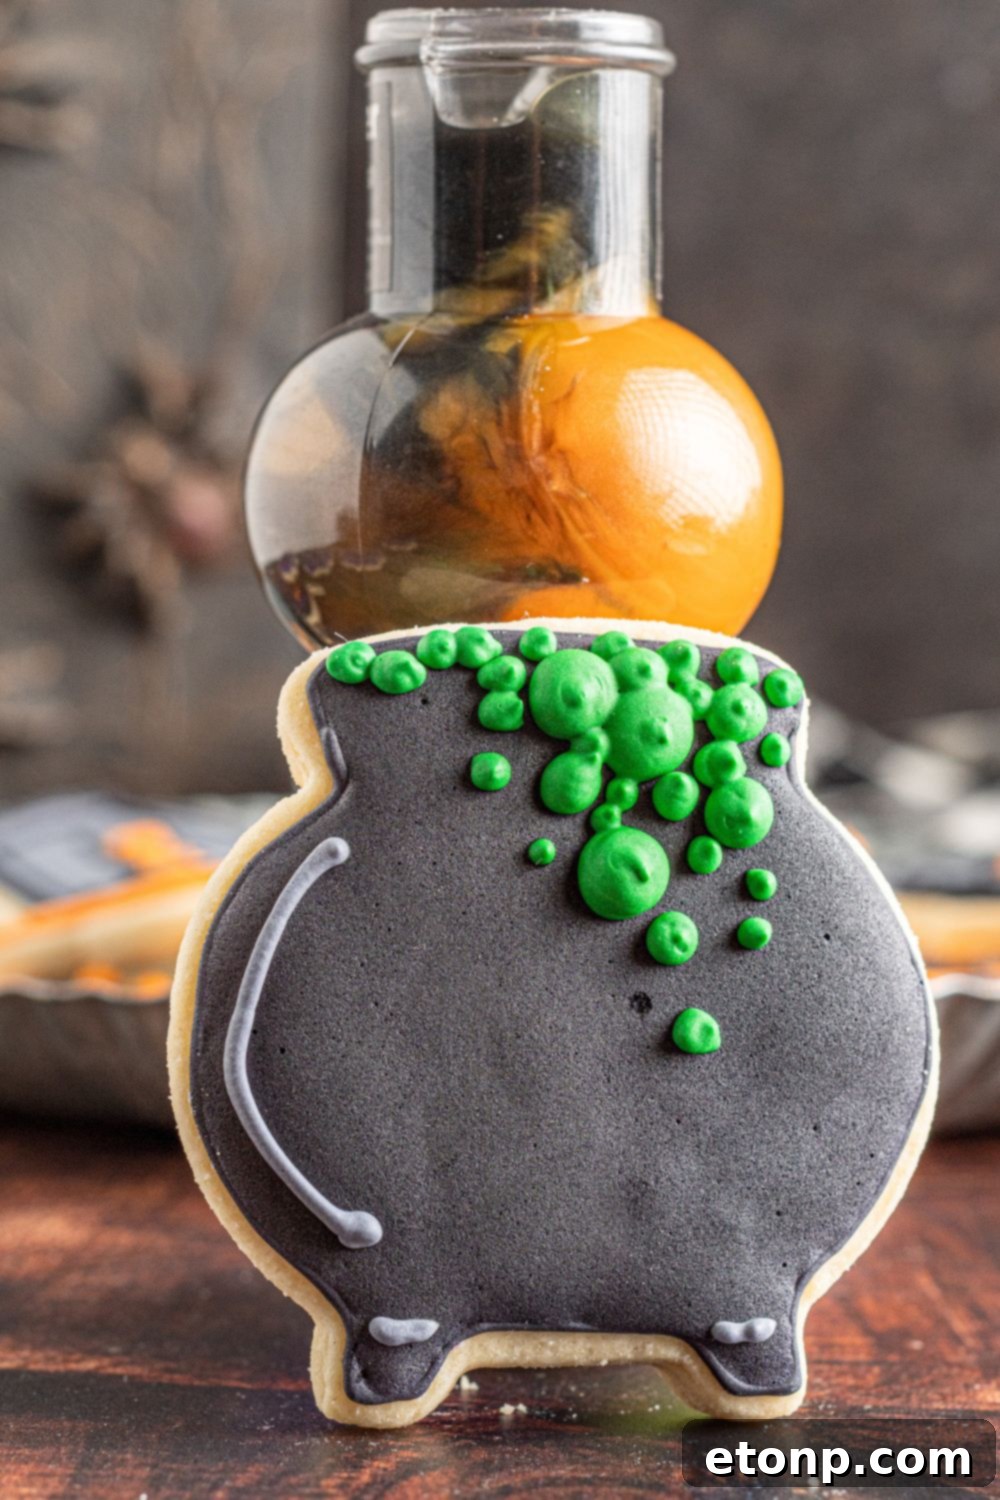
- Use the black “edge” frosting to outline the cauldron shape, then fill in the center using the black “flood” frosting. Smooth with a sugar stir needle.
- Repeat for all cauldron cookies, and set aside to set.
- Once the base frosting is set, use the green “edge” frosting to pipe dots of varying sizes around the top rim of the cauldron, creating the look of bubbling brew.
- Then, use the gray “edge” frosting to pipe a curved line along the edge of the cauldron for added definition. Repeat for remaining cookies.
Bat:
- Use the black “edge” frosting to outline the body of the bat, then use the orange “edge” frosting to outline the wings.
- Apply the black “flood” frosting to the center of the outlined body, then smooth with a sugar stir needle.
- Use the orange “flood” frosting to fill in the center of the outlined wings, then smooth with a sugar stir needle. Repeat for all bat cookies, and set aside to set.
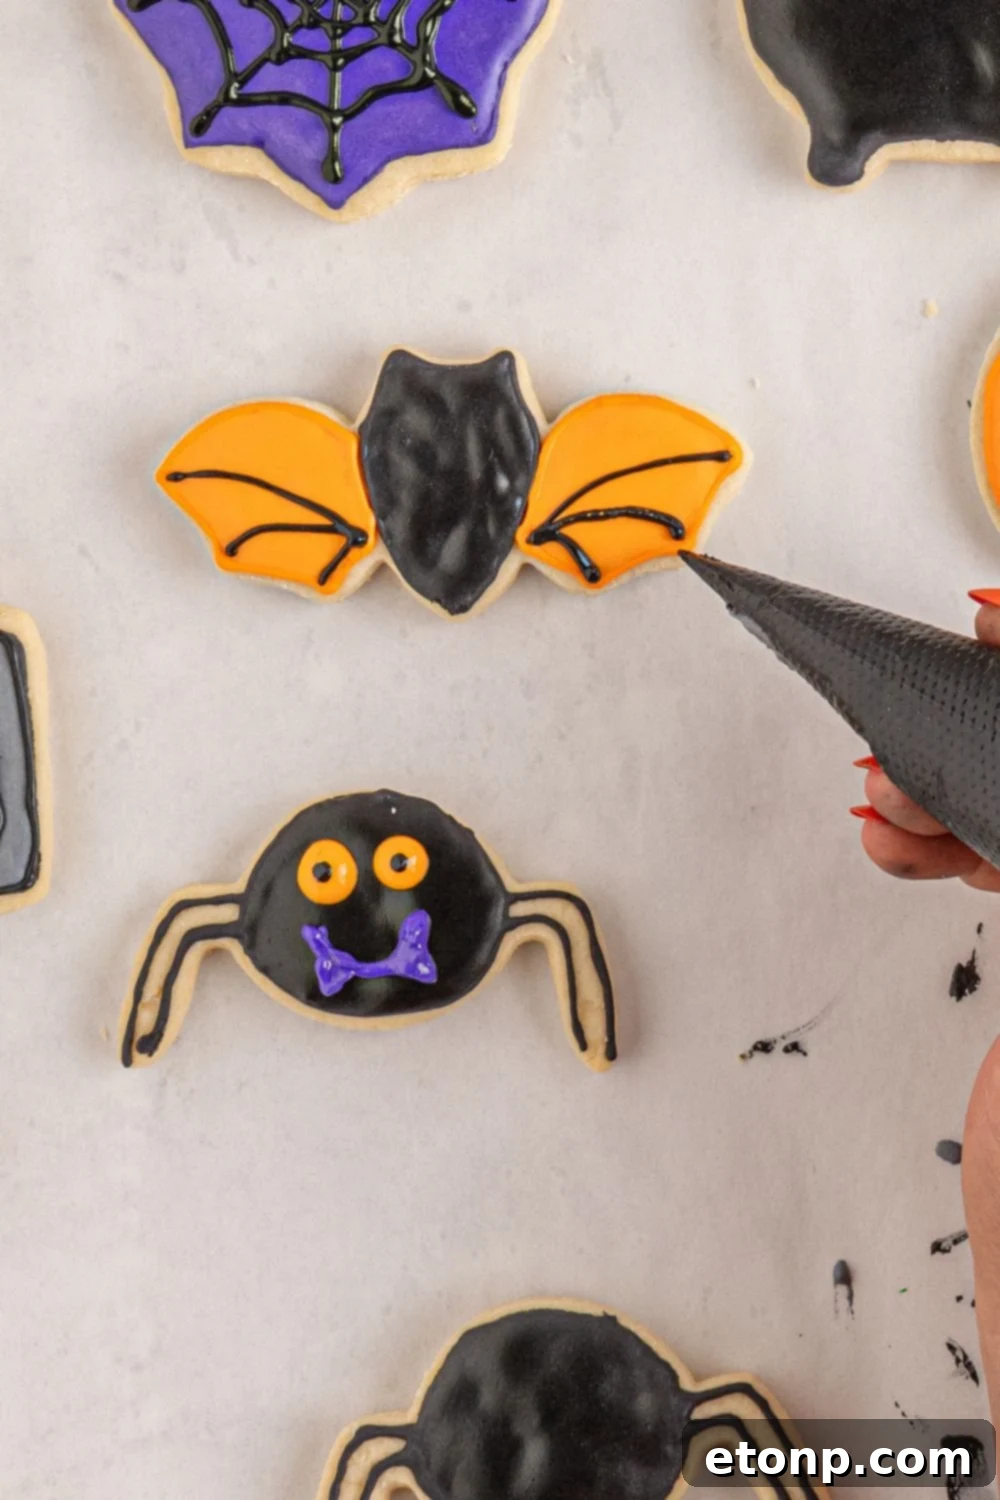
- Once the base frosting is set, use the black “edge” frosting to pipe three curved lines on the lower portion of each wing.
- Use the orange “edge” frosting to pipe two small dots for the eyes on the bat’s body, then add a tiny black dot in the center of each orange eye using the black “edge” frosting. Repeat for remaining cookies.
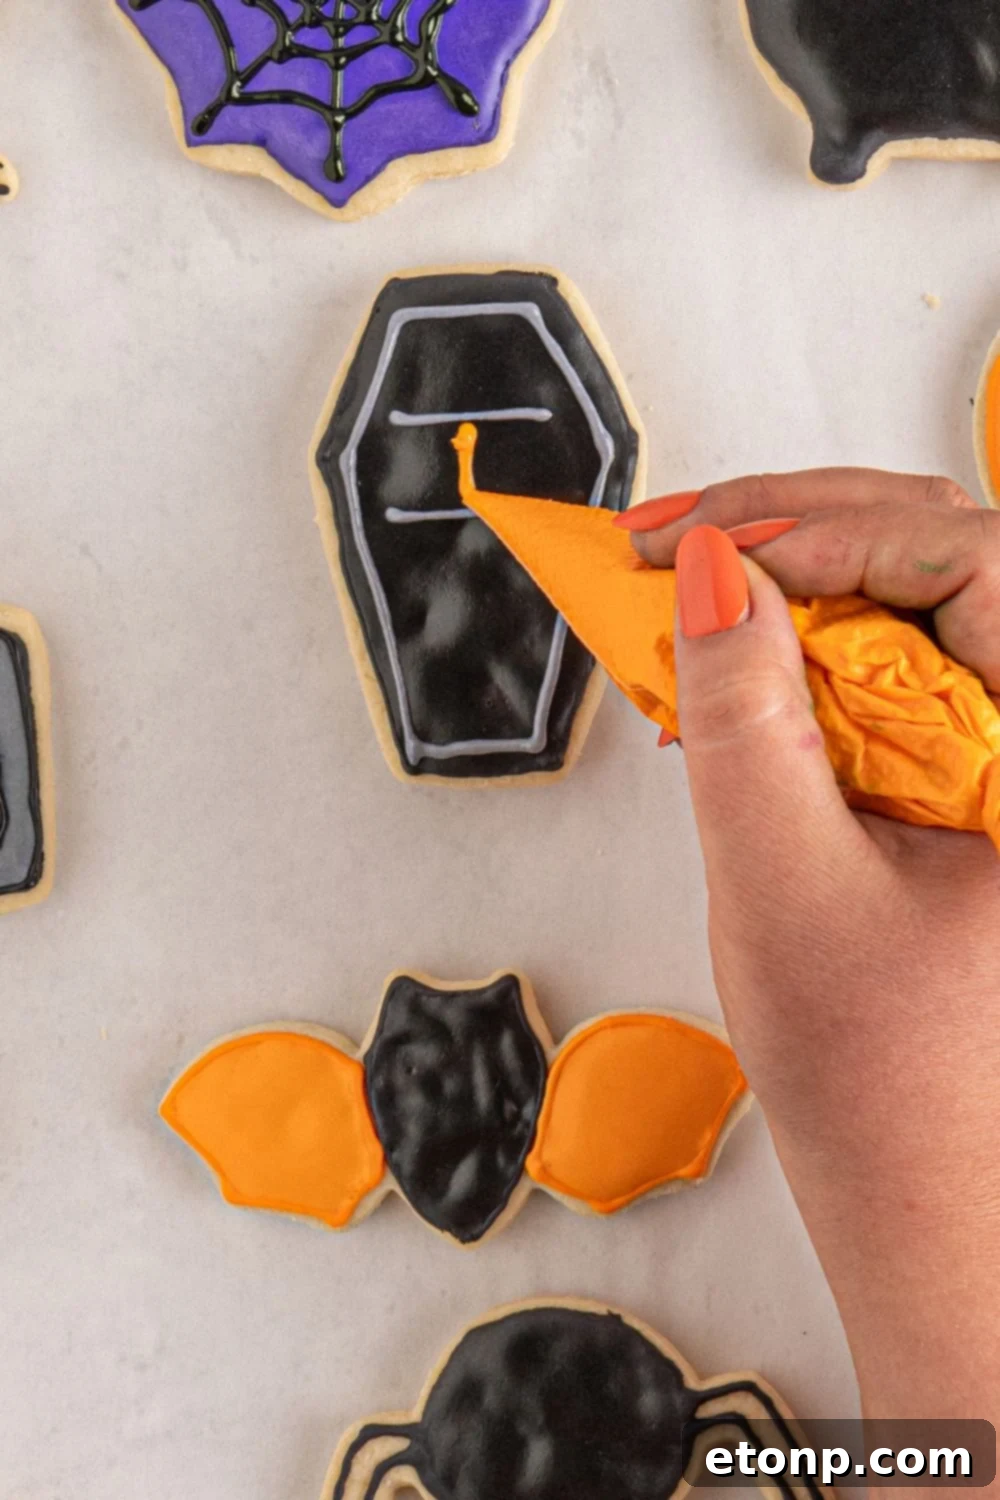
Coffin:
- Use the black “edge” frosting to outline the coffin shape, then fill the center with black “flood” frosting. Smooth with a sugar stir needle.
- Repeat for all coffin cookies, and set aside to set.
- Once the base frosting is set, use the gray “edge” frosting to pipe an outline mimicking the coffin’s shape inside the black flood.
- Using the same gray “edge” frosting, pipe two horizontal lines in the upper middle part of the cookie.
- Use the orange “edge” frosting to pipe “R.I.P.” in the center of the horizontal lines. Repeat for remaining cookies.
Spider:
- Use the black “edge” frosting to outline the body of the spider. Then, pipe two lines on each side of the body to create the legs.
- Fill only the center body part of the spider with black “flood” frosting, then smooth with a sugar stir needle. Repeat for all spider cookies, and set aside to set.
- Once the base frosting is set, use the purple “edge” frosting to pipe a mouth and two pointed teeth on the lower portion of the spider body.
- Use the orange “edge” frosting to pipe two dotted eyes in the upper portion of the spider’s body, then add a small black dot in the center of each eye using the black “edge” frosting. Repeat for remaining cookies.
Did you make this recipe?
We’d love to see your creations! Make sure to follow us on Pinterest for more inspiring recipes and baking ideas!
Pin Recipe
Share on Facebook