
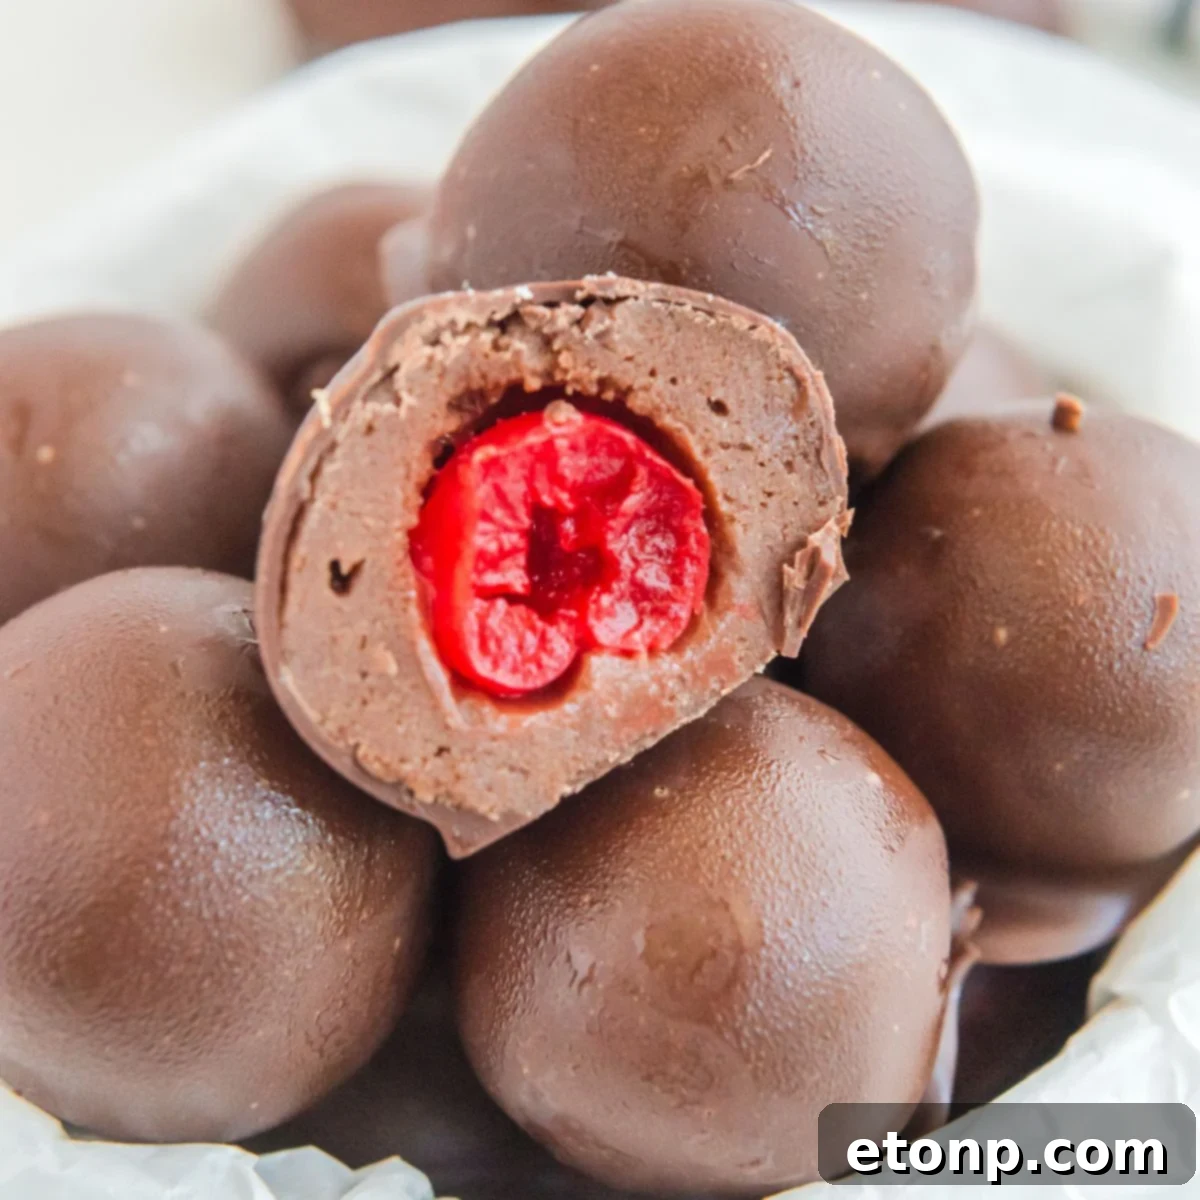
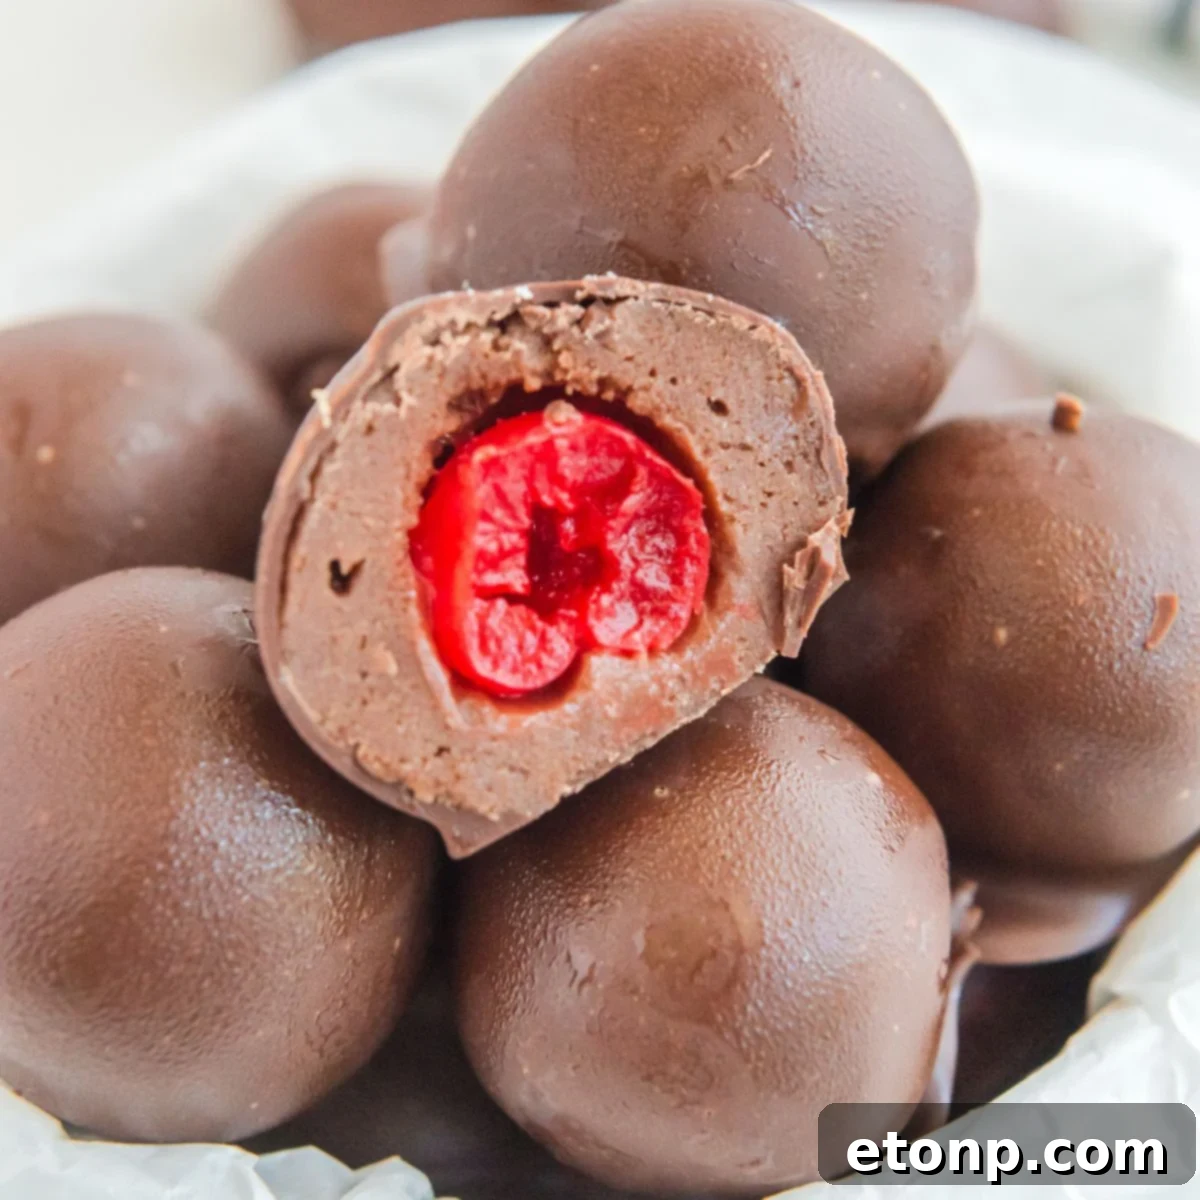
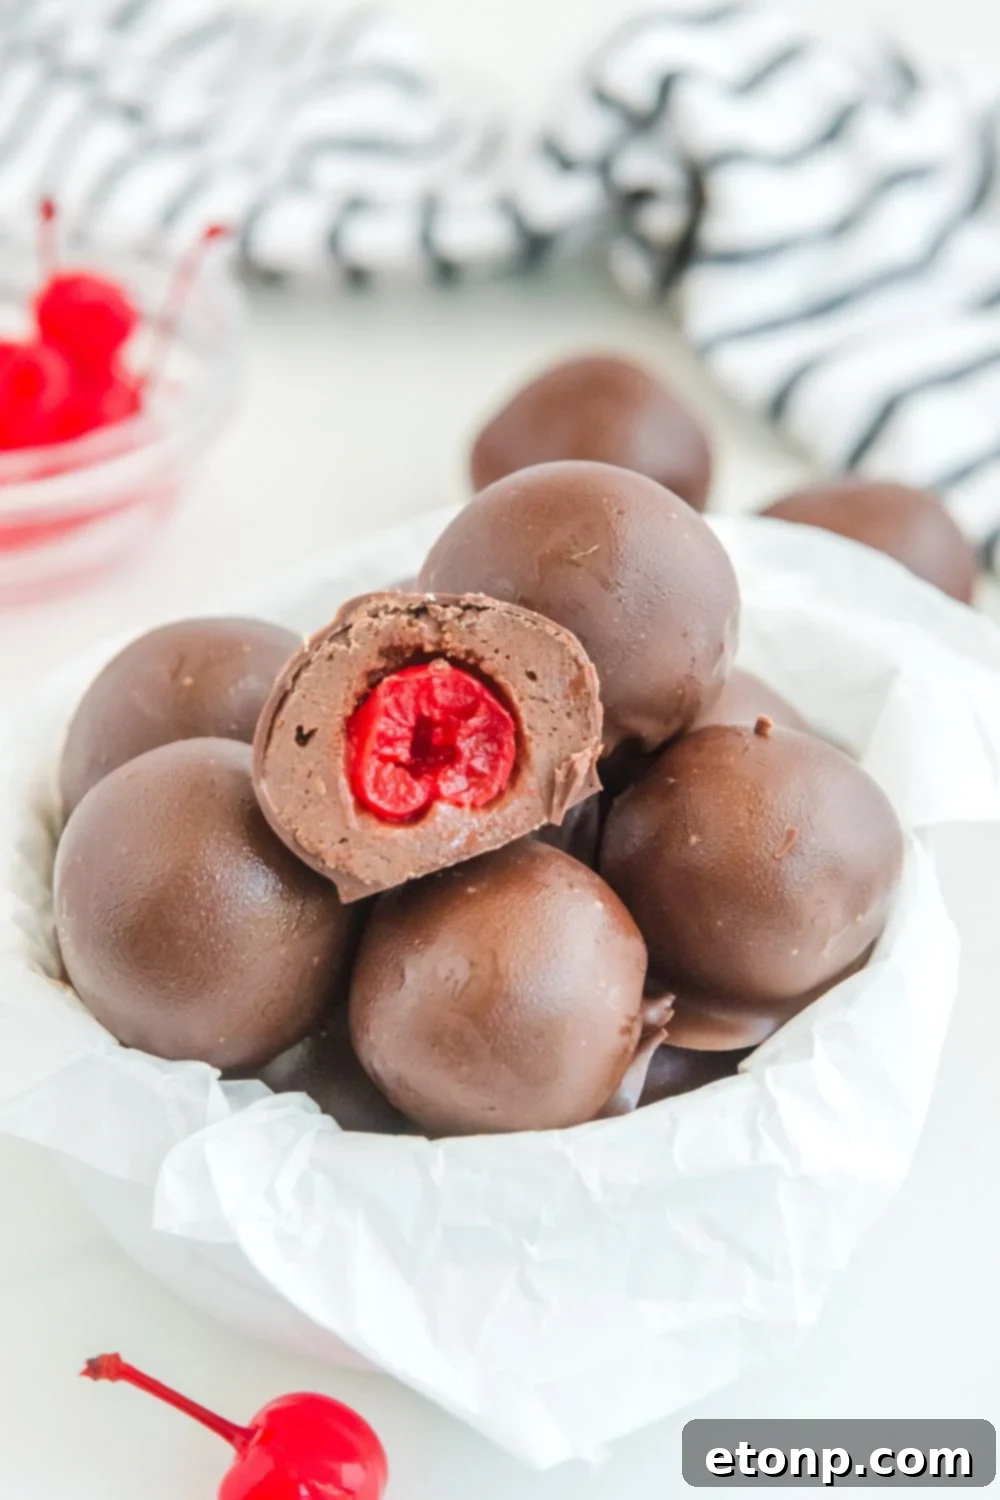
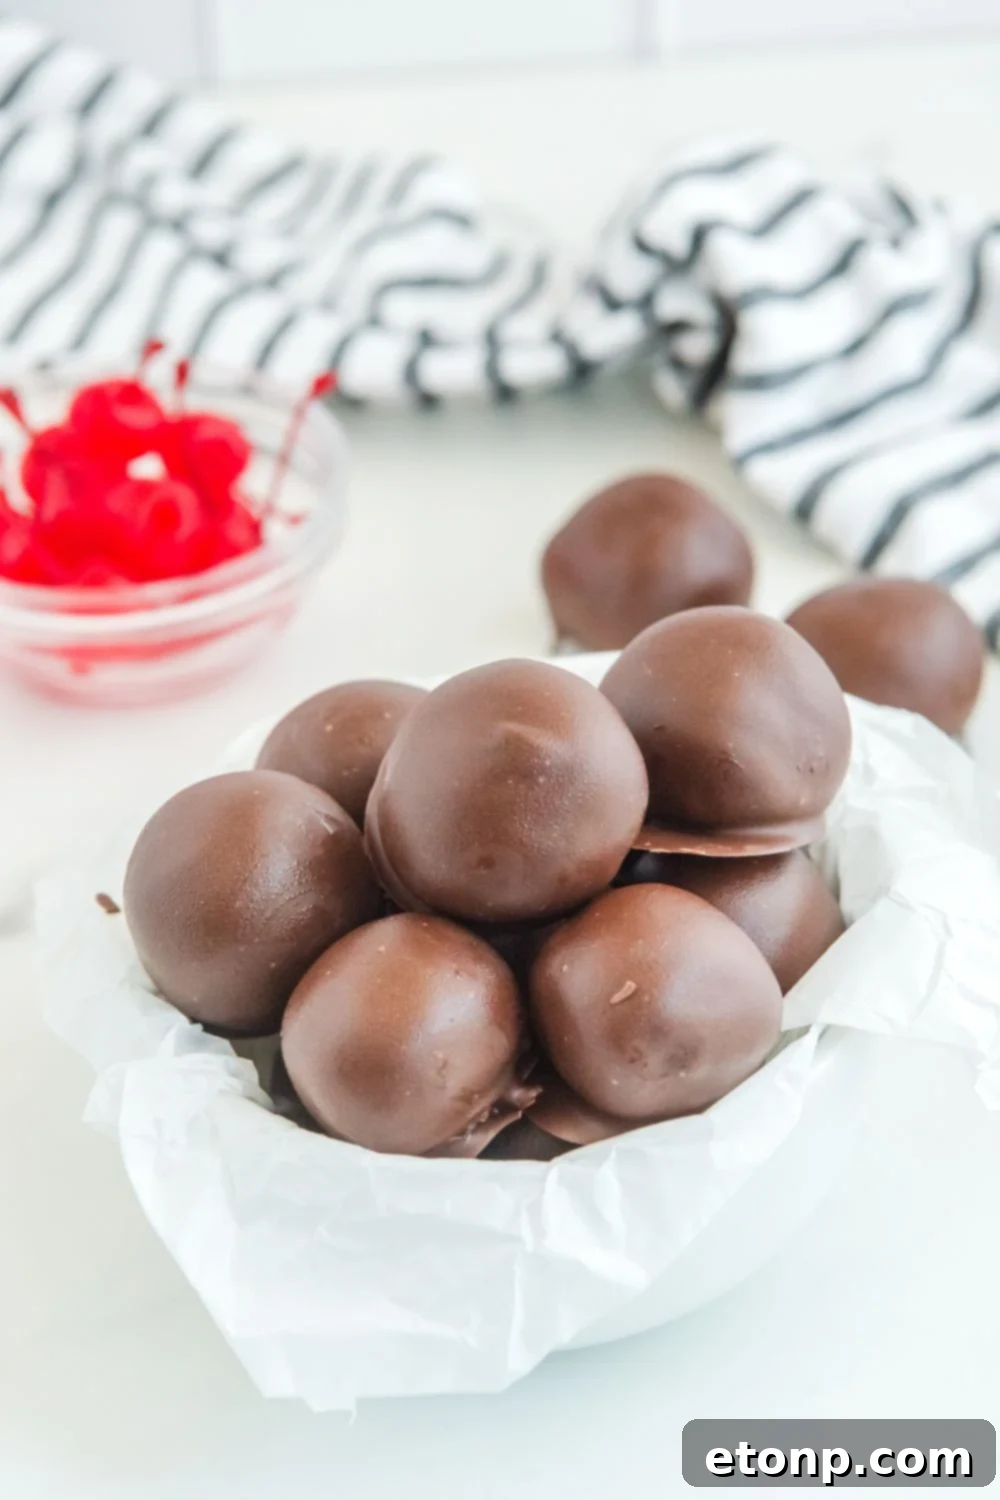
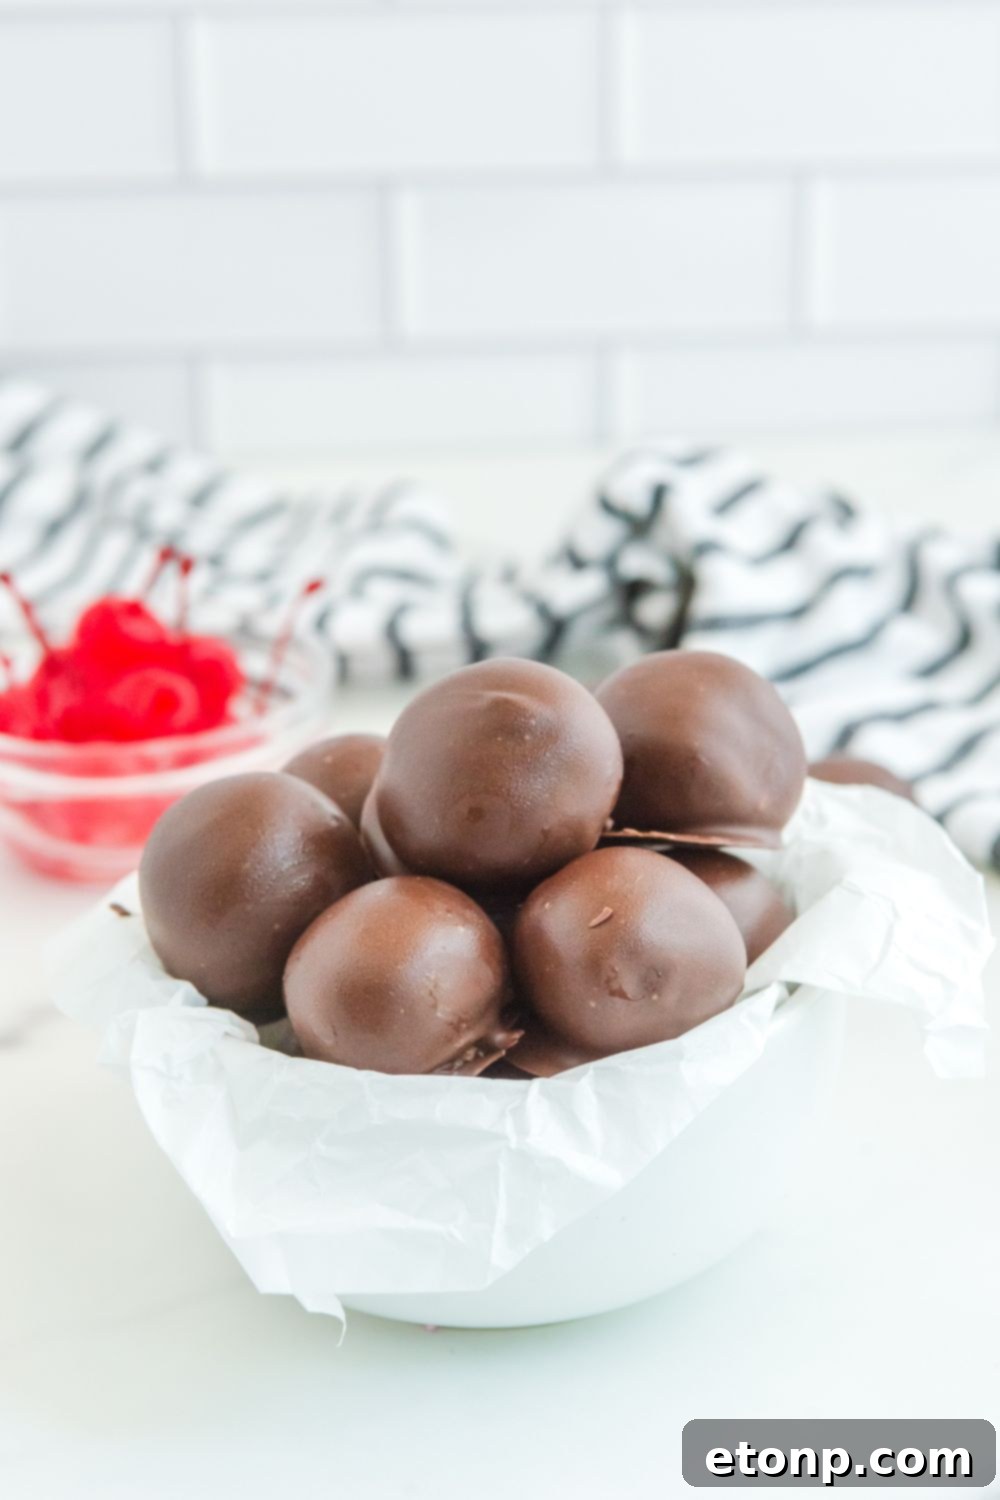
Welcome to the delightful world of **Cherry Brownie Bombs**, a truly irresistible dessert that promises a burst of flavor in every bite. Imagine a rich, fudgy brownie truffle, perfectly rounded and enrobing a sweet, juicy maraschino cherry at its heart. Each exquisite ball is then generously coated in a decadent layer of smooth, melting chocolate, creating a symphony of textures and tastes. These chocolate-covered brownie bites are more than just a treat; they’re a celebration of chocolate and cherry, designed to be a show-stopping hit at any gathering or a delightful indulgence for yourself.

Crafted with a convenient boxed brownie base, skillfully blended with creamy cream cheese, vibrant maraschino cherries, and a luscious chocolate coating that melts effortlessly in your mouth, these bite-sized confections are an absolute flavor explosion. They offer a refreshing twist on classic brownie desserts, combining the familiar comfort of chocolate with the bright, fruity tang of cherry in a truly unique presentation. Whether you’re a seasoned baker or a novice in the kitchen, this recipe is designed for simplicity without compromising on taste or visual appeal. Prepare to impress your friends and family with these delightful, bursting-with-flavor brownie bombs.
If you’re a fan of rich, chocolatey desserts, you might also enjoy exploring other brownie-based delights. Consider trying these brownie truffles for a pure chocolate experience, the rich and complex flavors of German chocolate brownies, or even the irresistible combination found in this buckeye brownie recipe. All these options showcase the incredible versatility of brownies as a dessert foundation, offering something delicious for every chocolate lover.
What Exactly Are Cherry Brownie Bombs?
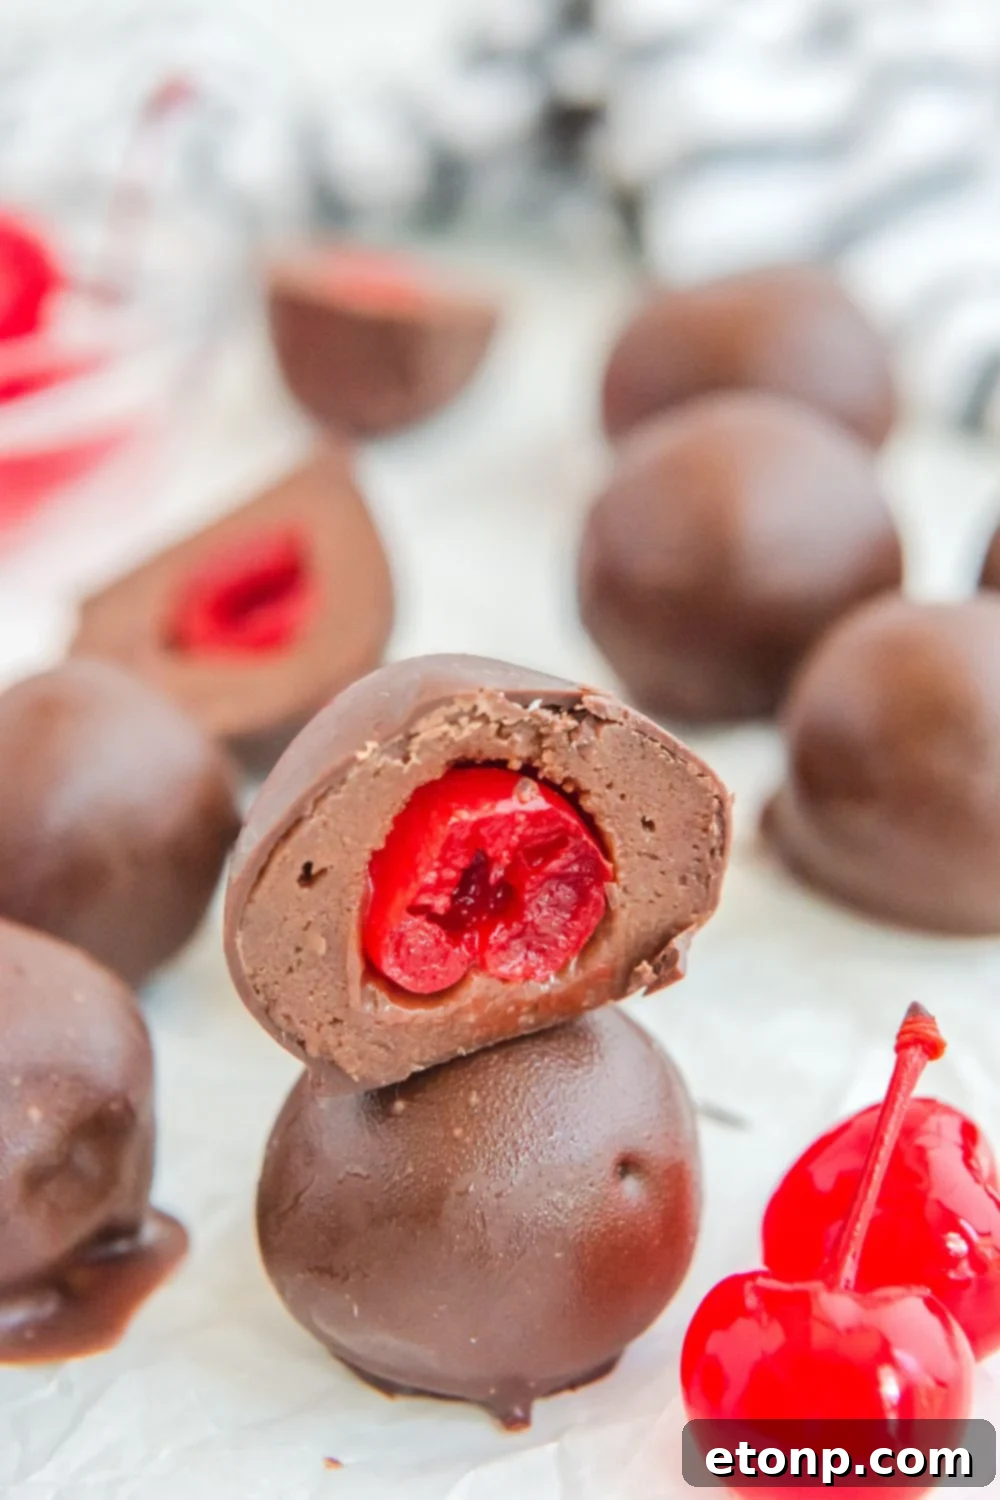
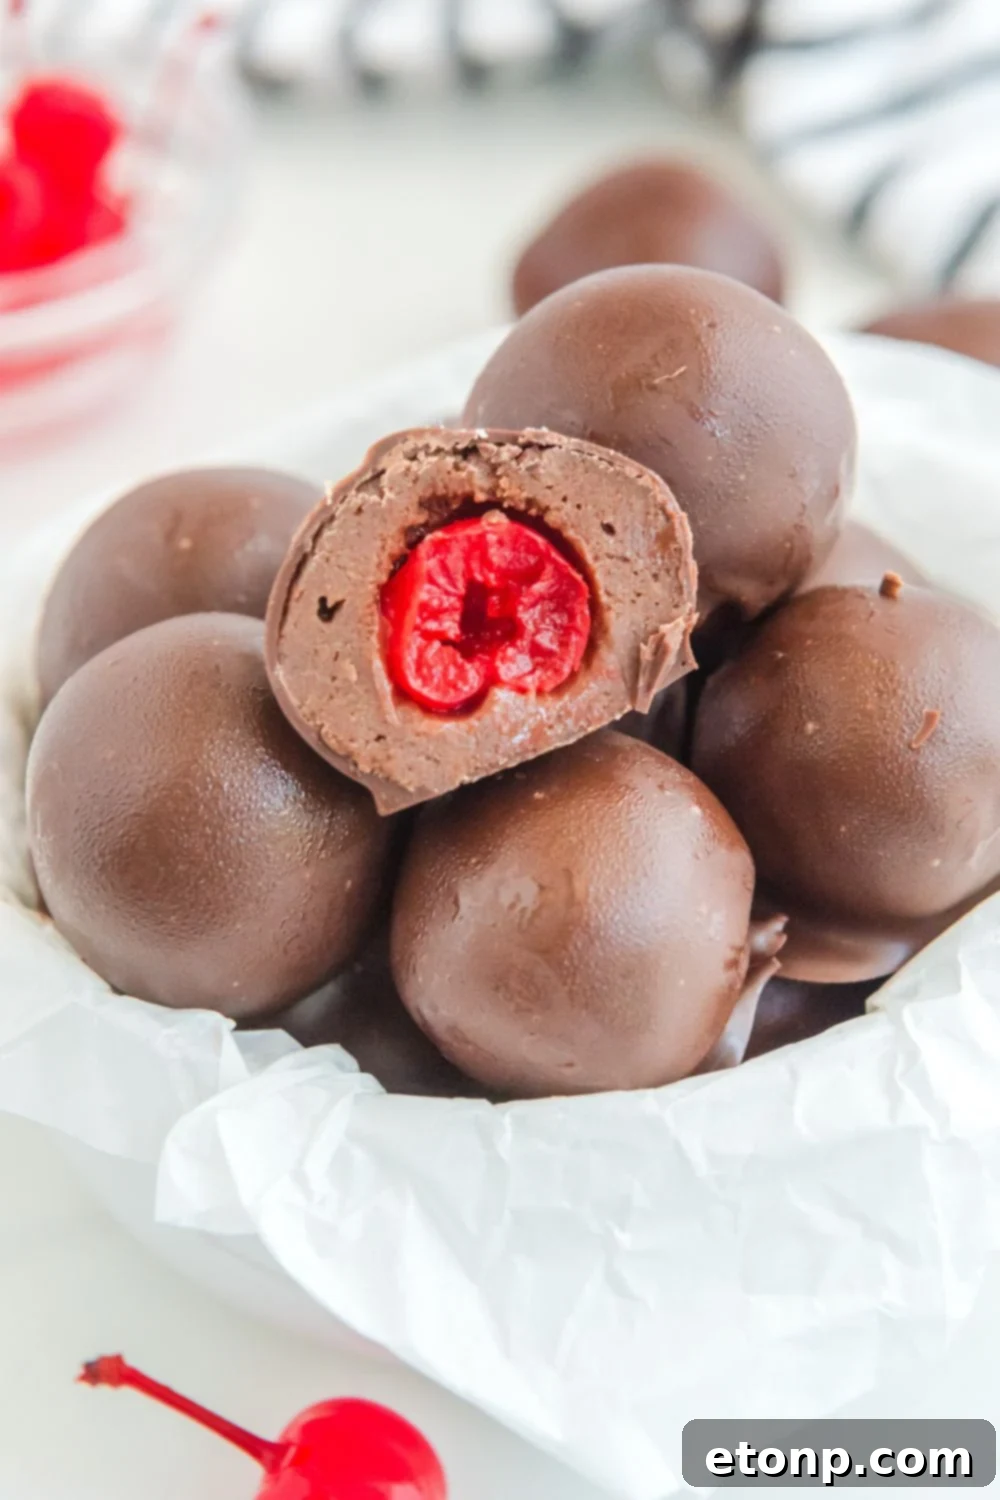
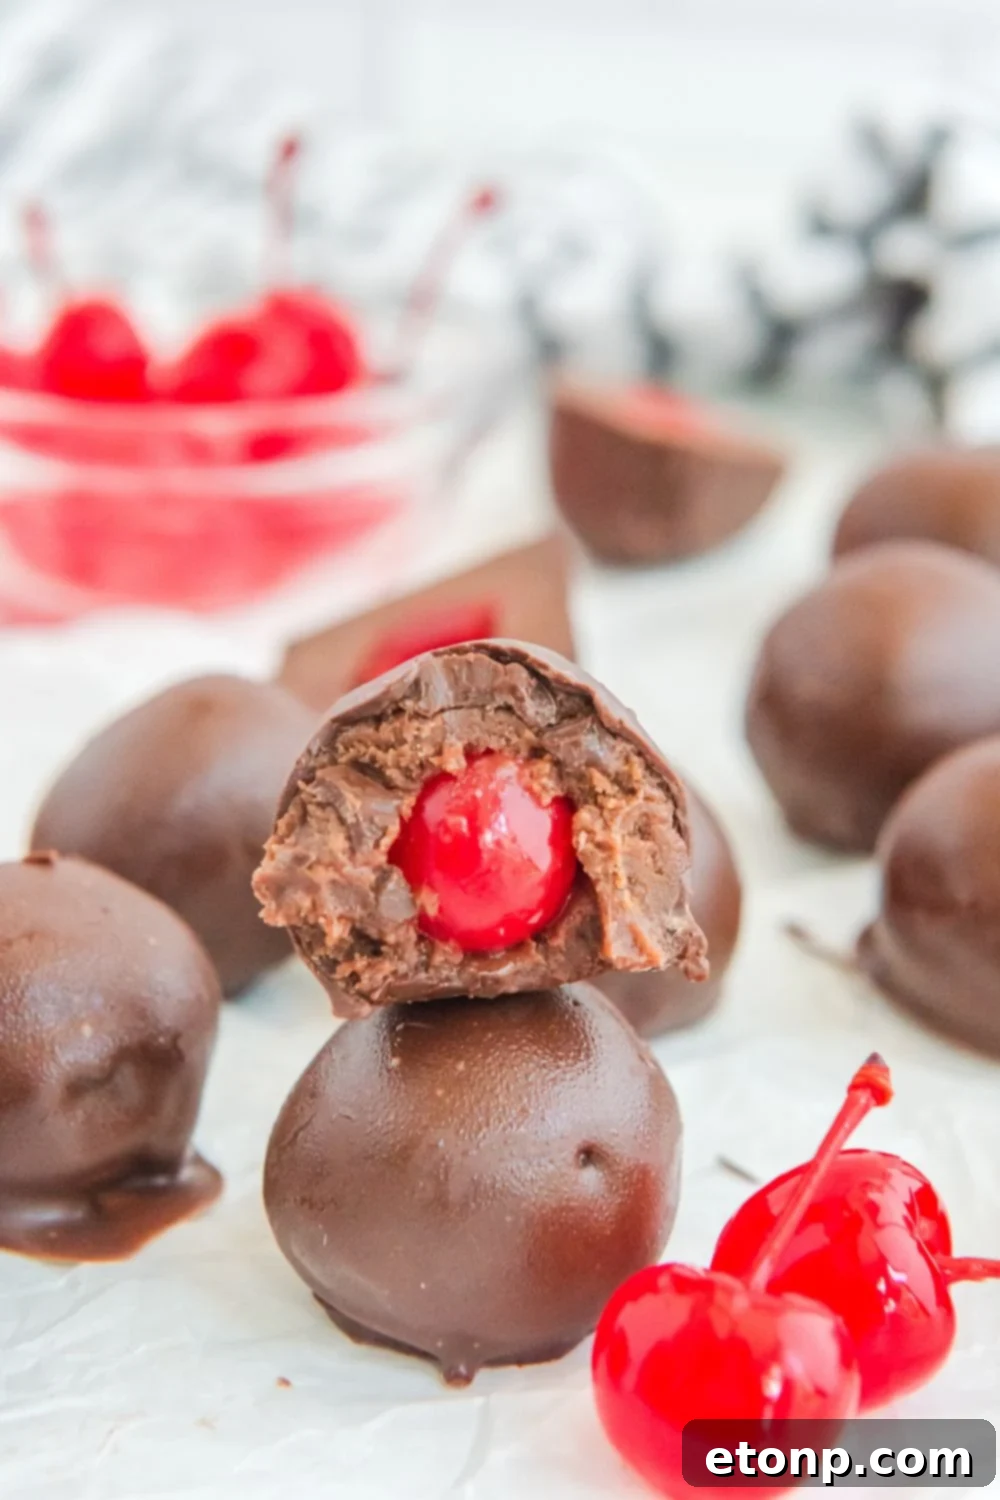
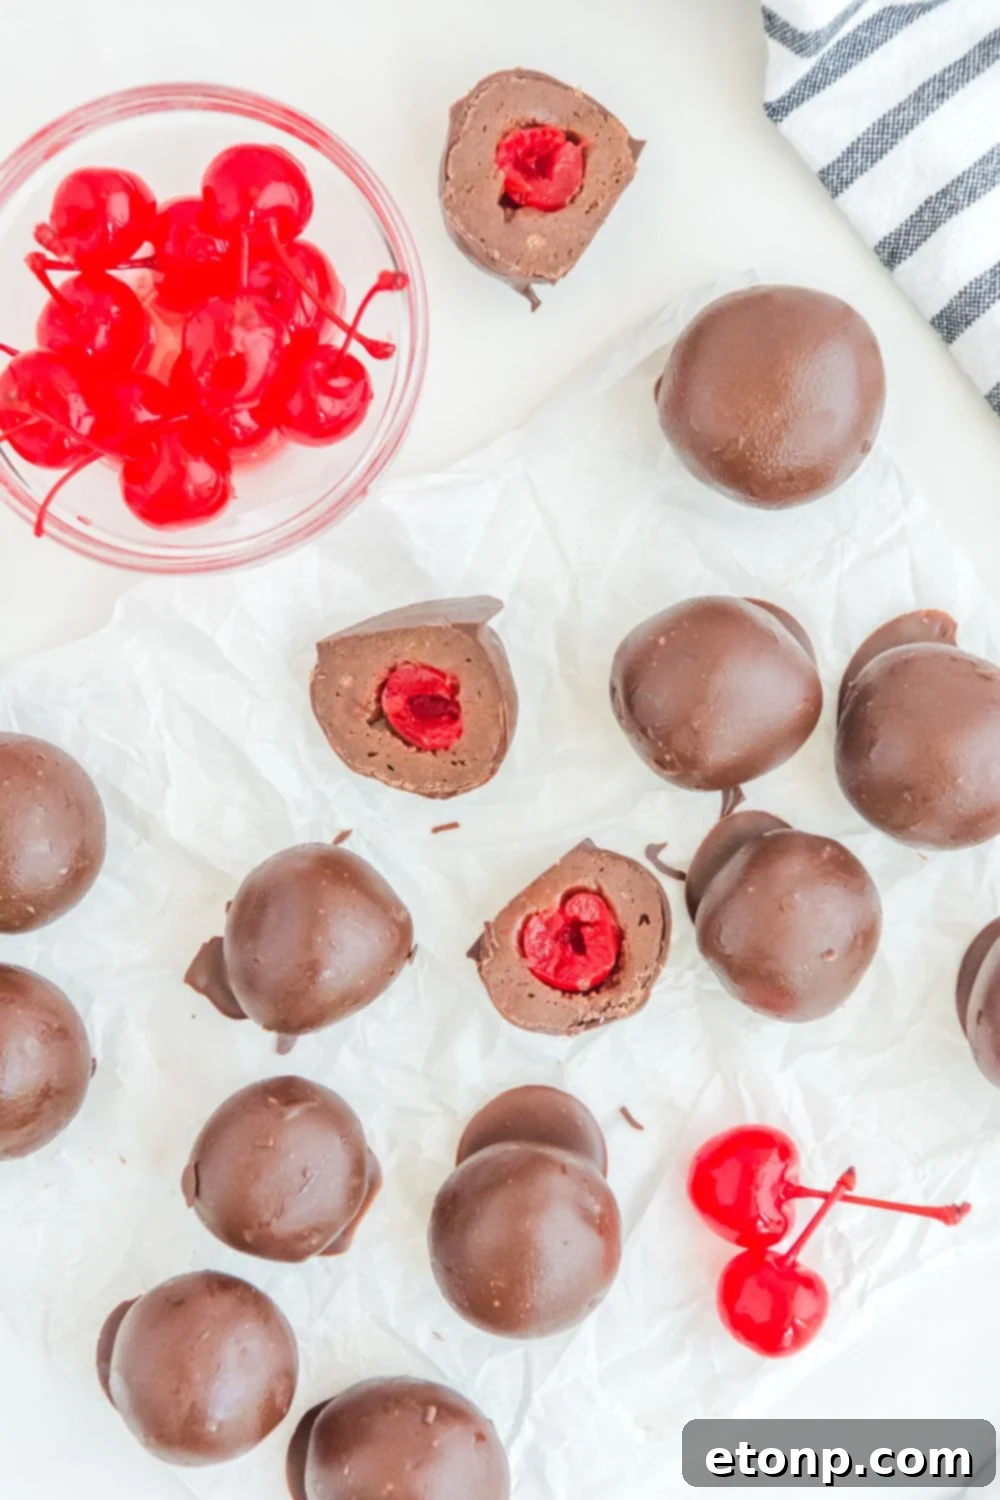
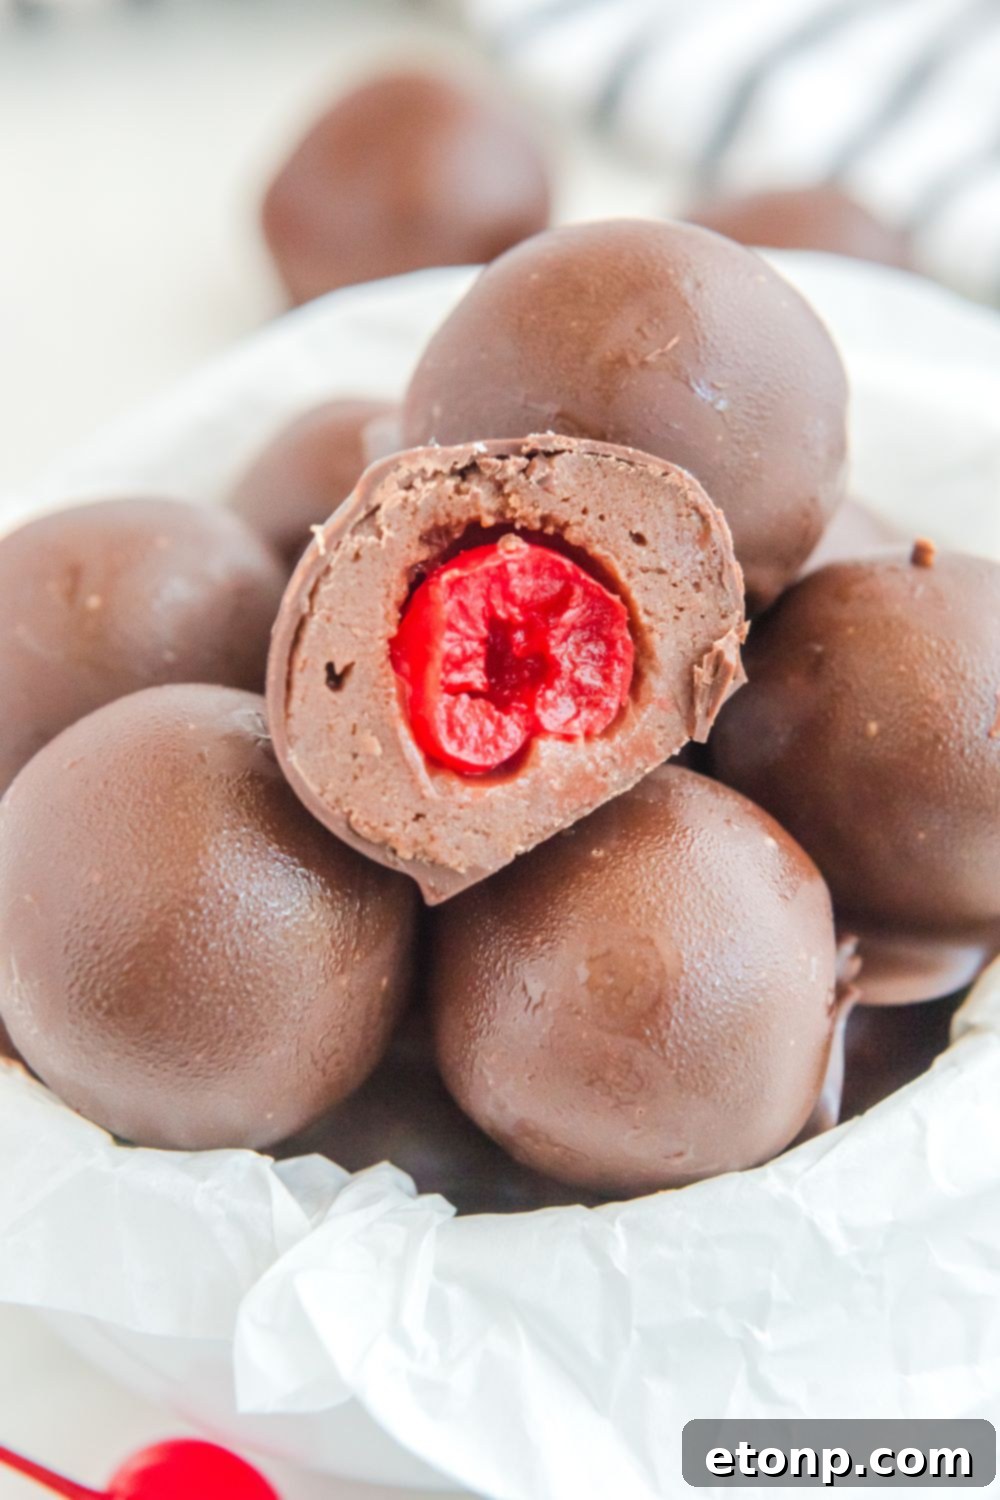
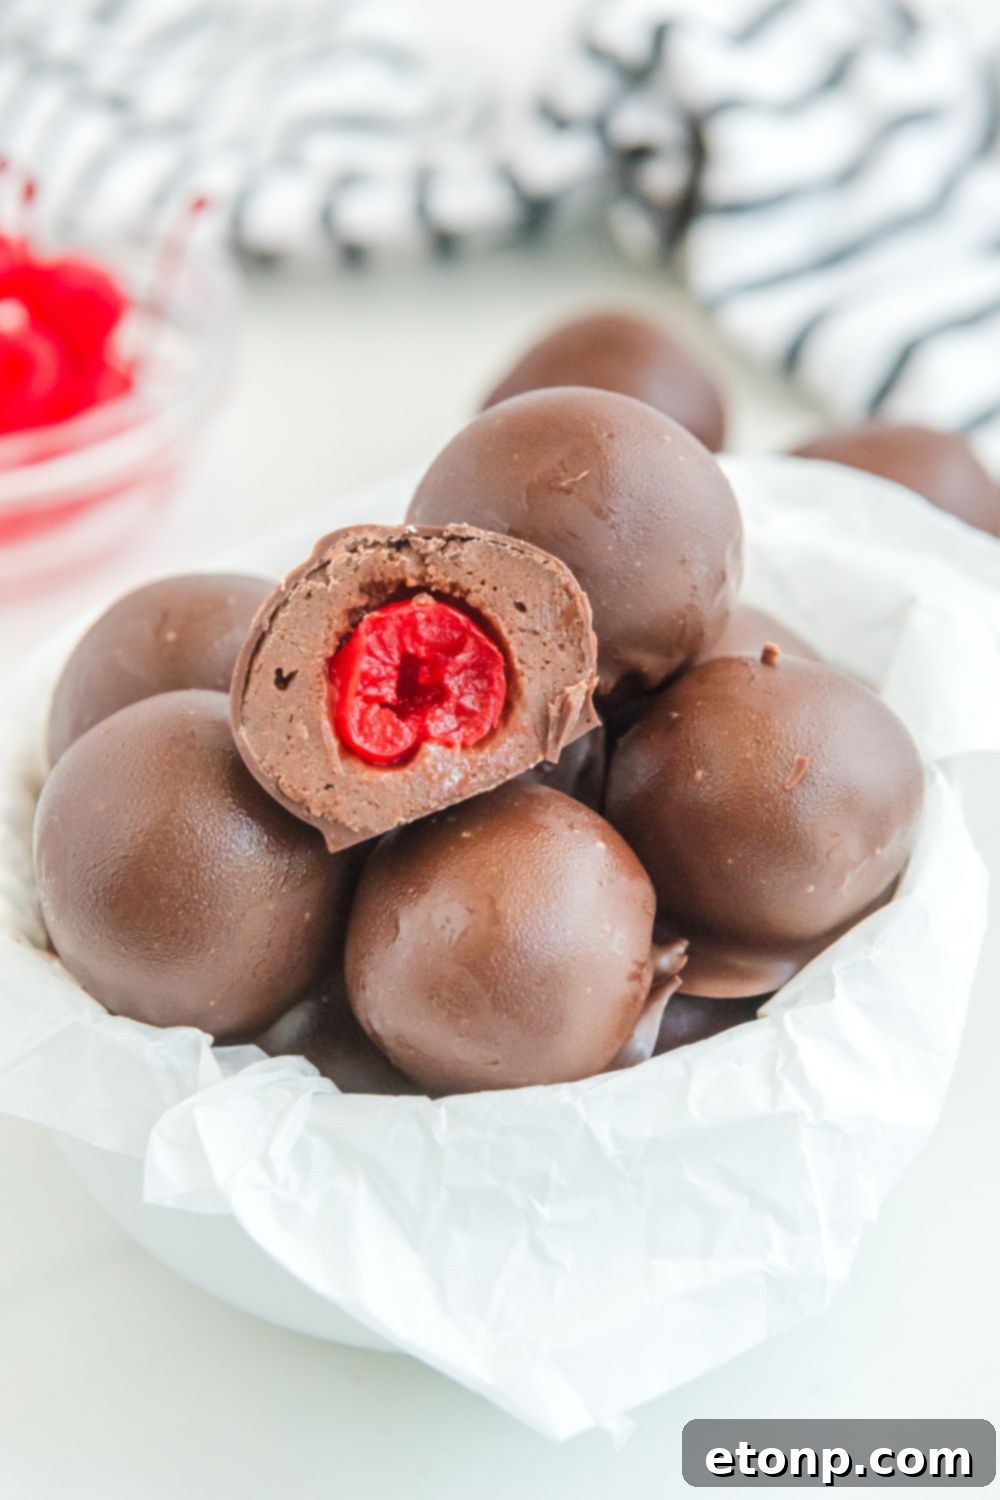
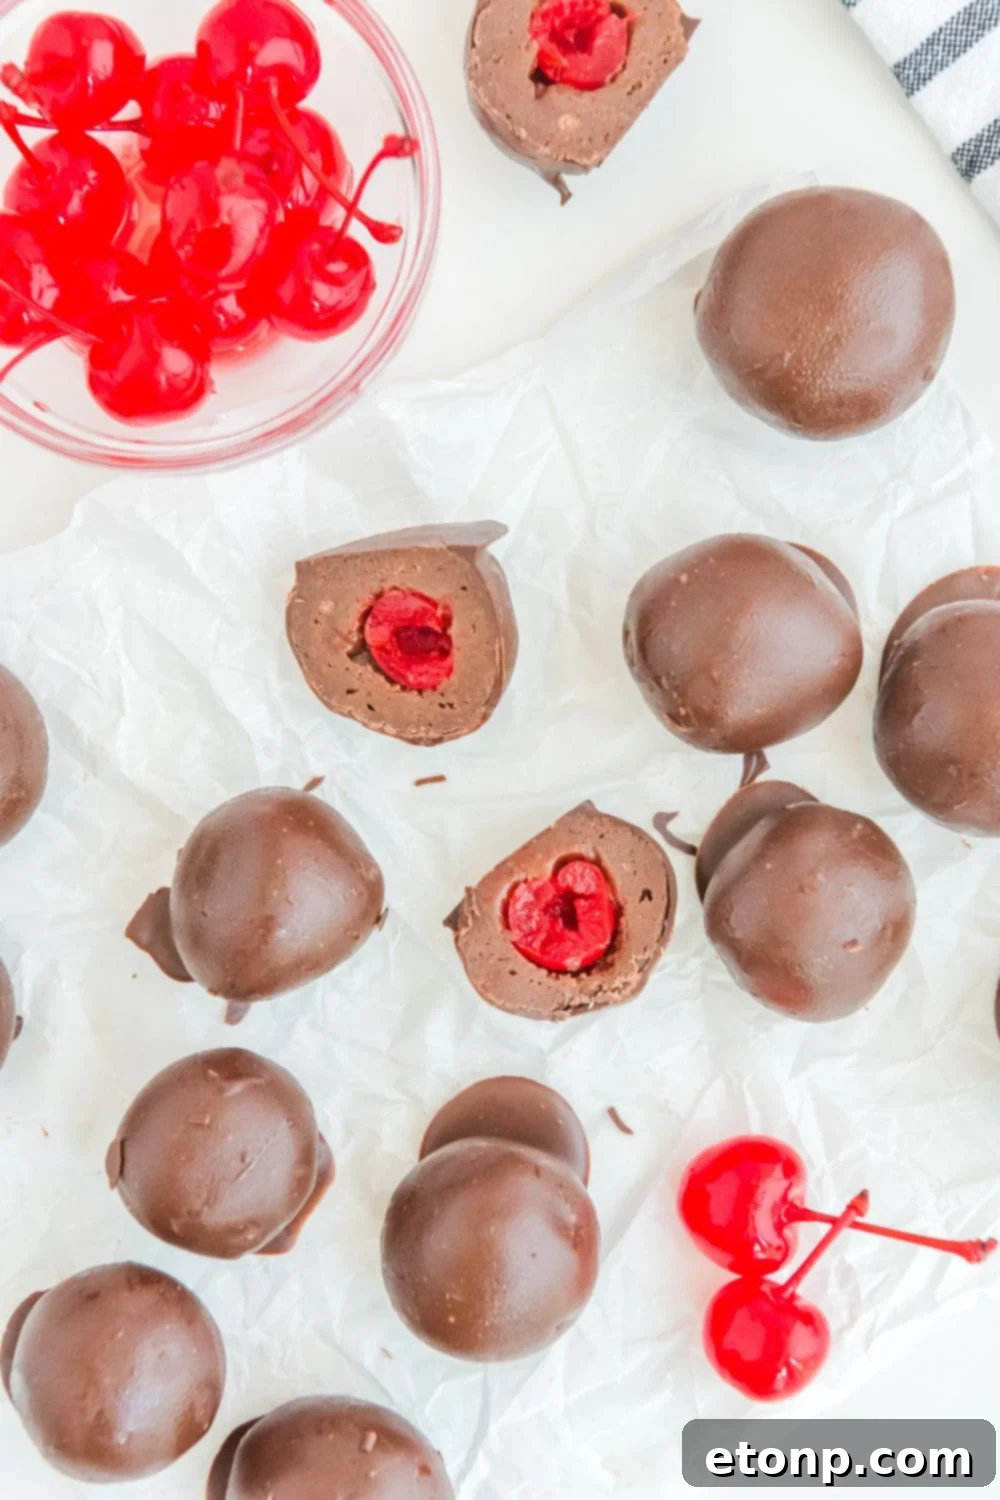
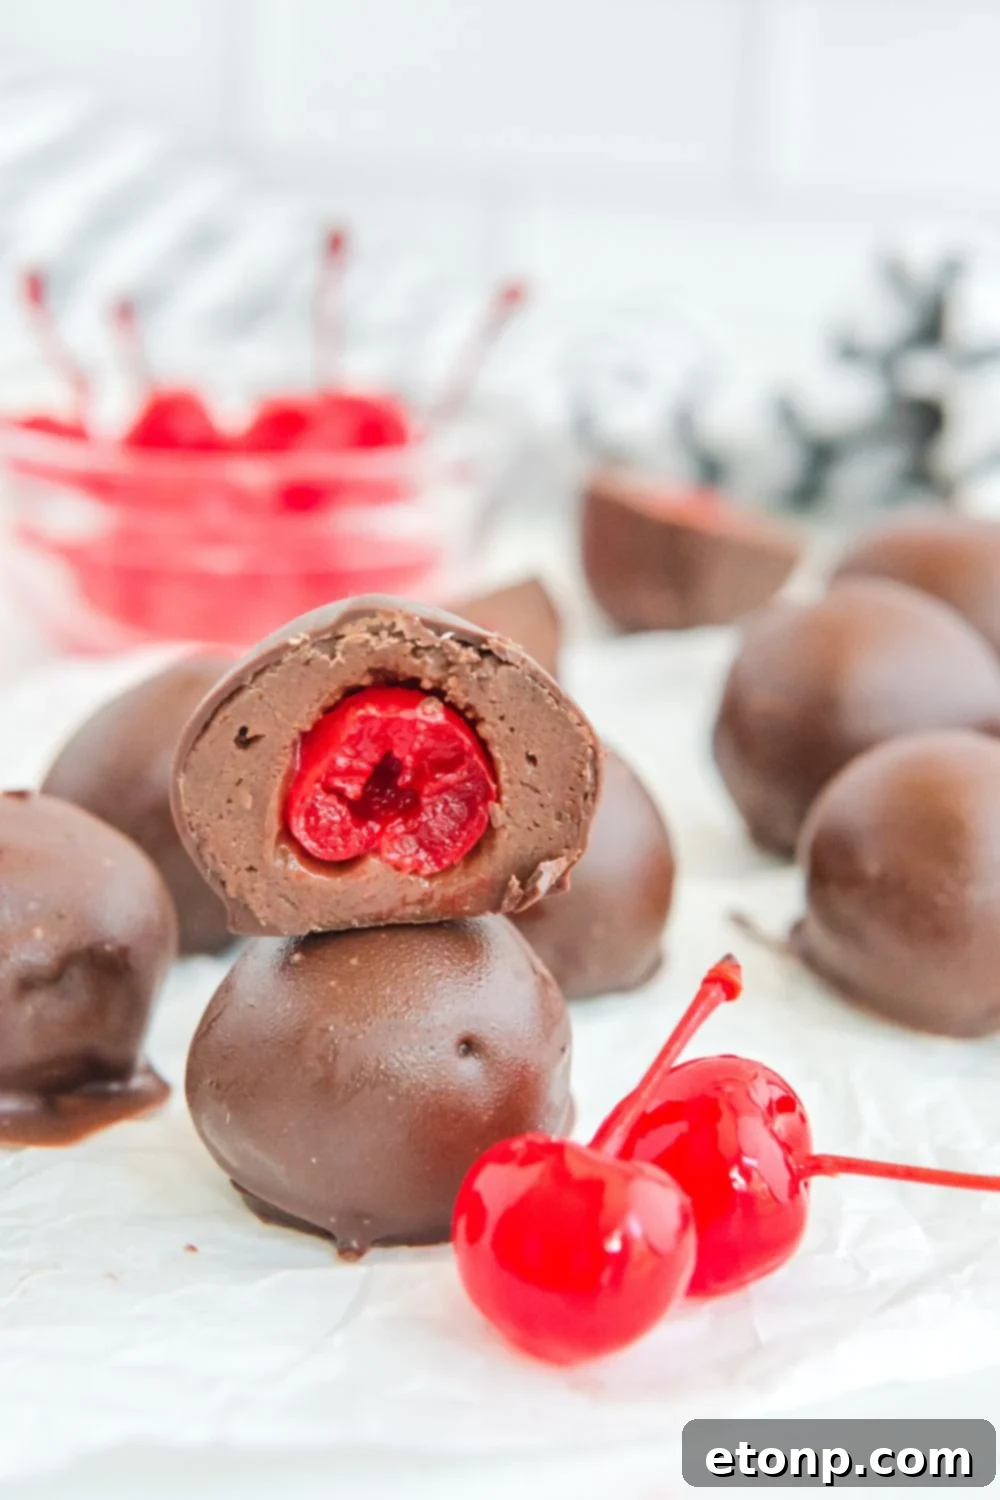
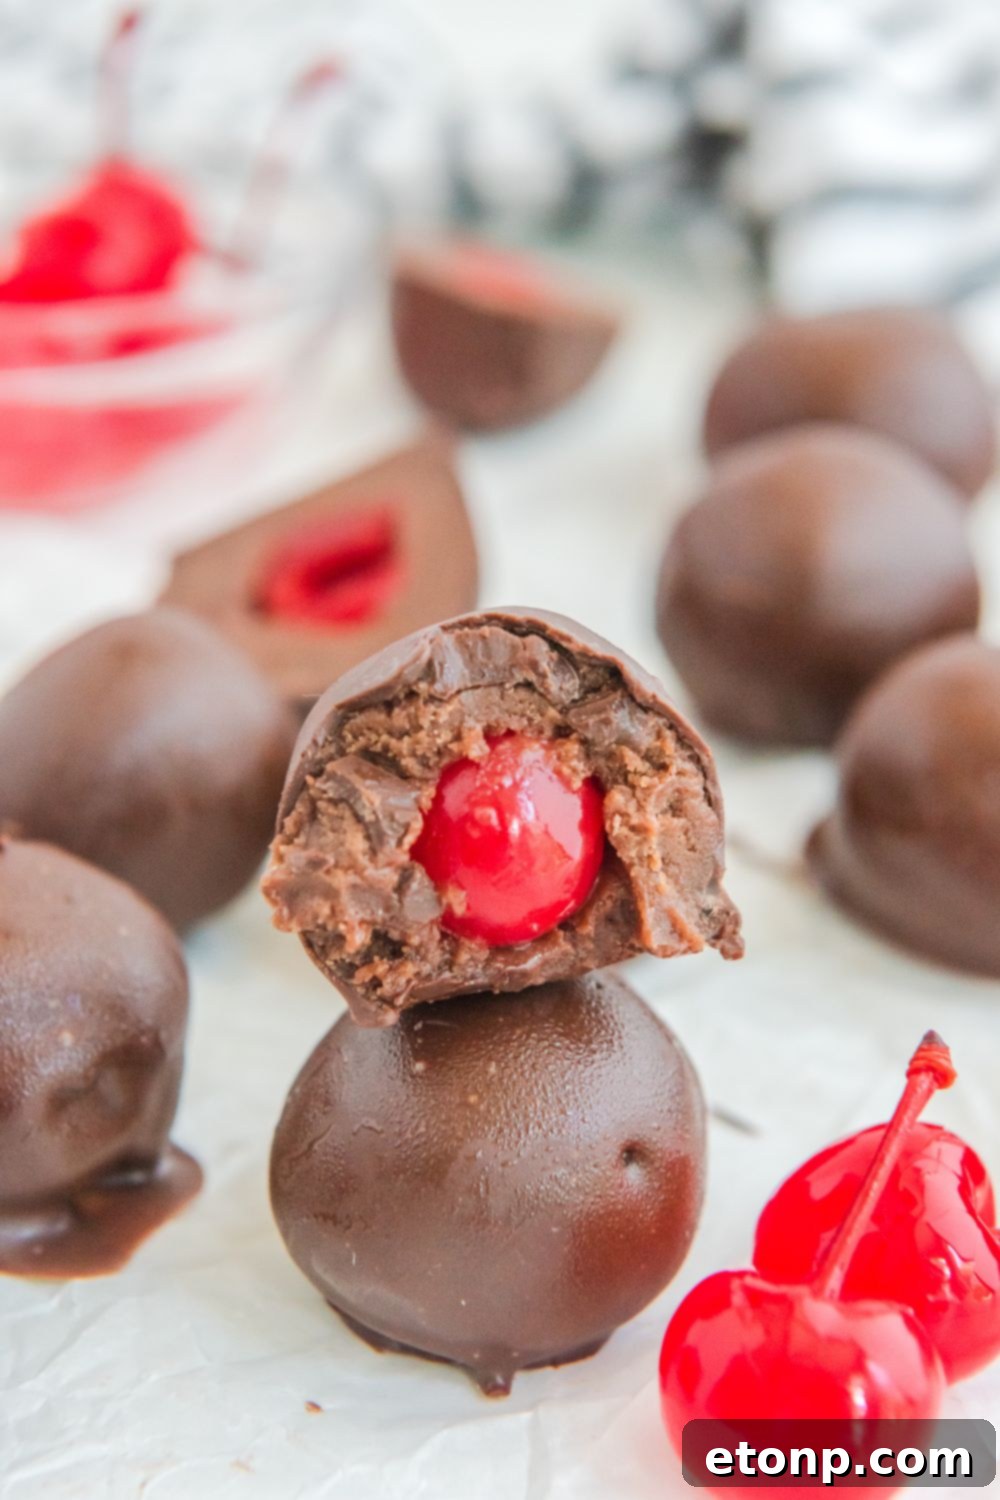
Cherry Brownie Bombs are a delightful confection that takes the concept of classic brownie truffles to an exciting new level. At their core, these treats begin with a rich, fudgy brownie batter—which, in this easy recipe, is based on a convenient boxed brownie mix. This brownie base is then expertly combined with softened cream cheese, transforming it into a truffle-like dough that is wonderfully pliable and full of chocolatey goodness. But the real surprise and distinguishing feature of these “bombs” comes from the hidden jewel nestled within: a sweet, vibrant maraschino cherry. Each portion of the brownie-cream cheese mixture is carefully molded around a cherry, then rolled into a perfect sphere. The final touch is a generous coating of smooth, melted chocolate, which hardens to create a crisp shell around the soft, fudgy interior and the juicy cherry. The result is a bite-sized dessert that’s not only incredibly decadent but also offers a delightful textural contrast and a sweet-tart burst of flavor from the cherry, making it an unforgettable treat.
Top Reasons to Make These Cherry Brownie Bombs
These Cherry Brownie Bombs aren’t just delicious; they offer a host of compelling reasons why they should be your next baking project. From their effortless preparation to their crowd-pleasing appeal, they are a versatile and rewarding dessert to create.
- Effortless Preparation: Starting with a boxed brownie mix makes these brownie bombs incredibly easy to prepare. This shortcut significantly reduces prep time and the number of ingredients needed, allowing you to create a gourmet-tasting dessert without the extensive effort usually associated with homemade brownies. It’s perfect for busy schedules or when you need a quick, impressive treat.
- Common Kitchen Staples: You’ll likely find most of the ingredients already stocked in your pantry and refrigerator. Beyond the brownie mix, cream cheese, vanilla, salt, maraschino cherries, melting chocolate, and a bit of shortening are all straightforward items, making this recipe accessible and budget-friendly.
- Perfect for Any Occasion: These bite-sized delights are a fantastic addition to virtually any event. They are ideal for lively parties, casual summer cookouts, festive holiday gatherings, or as thoughtful, homemade gifts for friends and family. Their individual portions make them easy to serve and enjoy, minimizing mess and maximizing enjoyment.
- Irresistible Bite-Sized Indulgence: Each brownie bomb is a perfectly portioned, single-bite dessert. Coated in a luscious, sweet chocolate shell, they offer a rich, satisfying experience without being overly heavy. This makes them easy to enjoy and hard to resist, allowing guests to sample them without feeling overly full.
- Excellent Make-Ahead Option: One of the greatest advantages of these brownie truffles with cherries is their ability to be prepared a day or two in advance. This flexibility is a lifesaver when entertaining, allowing you to get a head start on your dessert preparations and focus on other tasks closer to your event. Simply store them in the refrigerator until ready to serve.
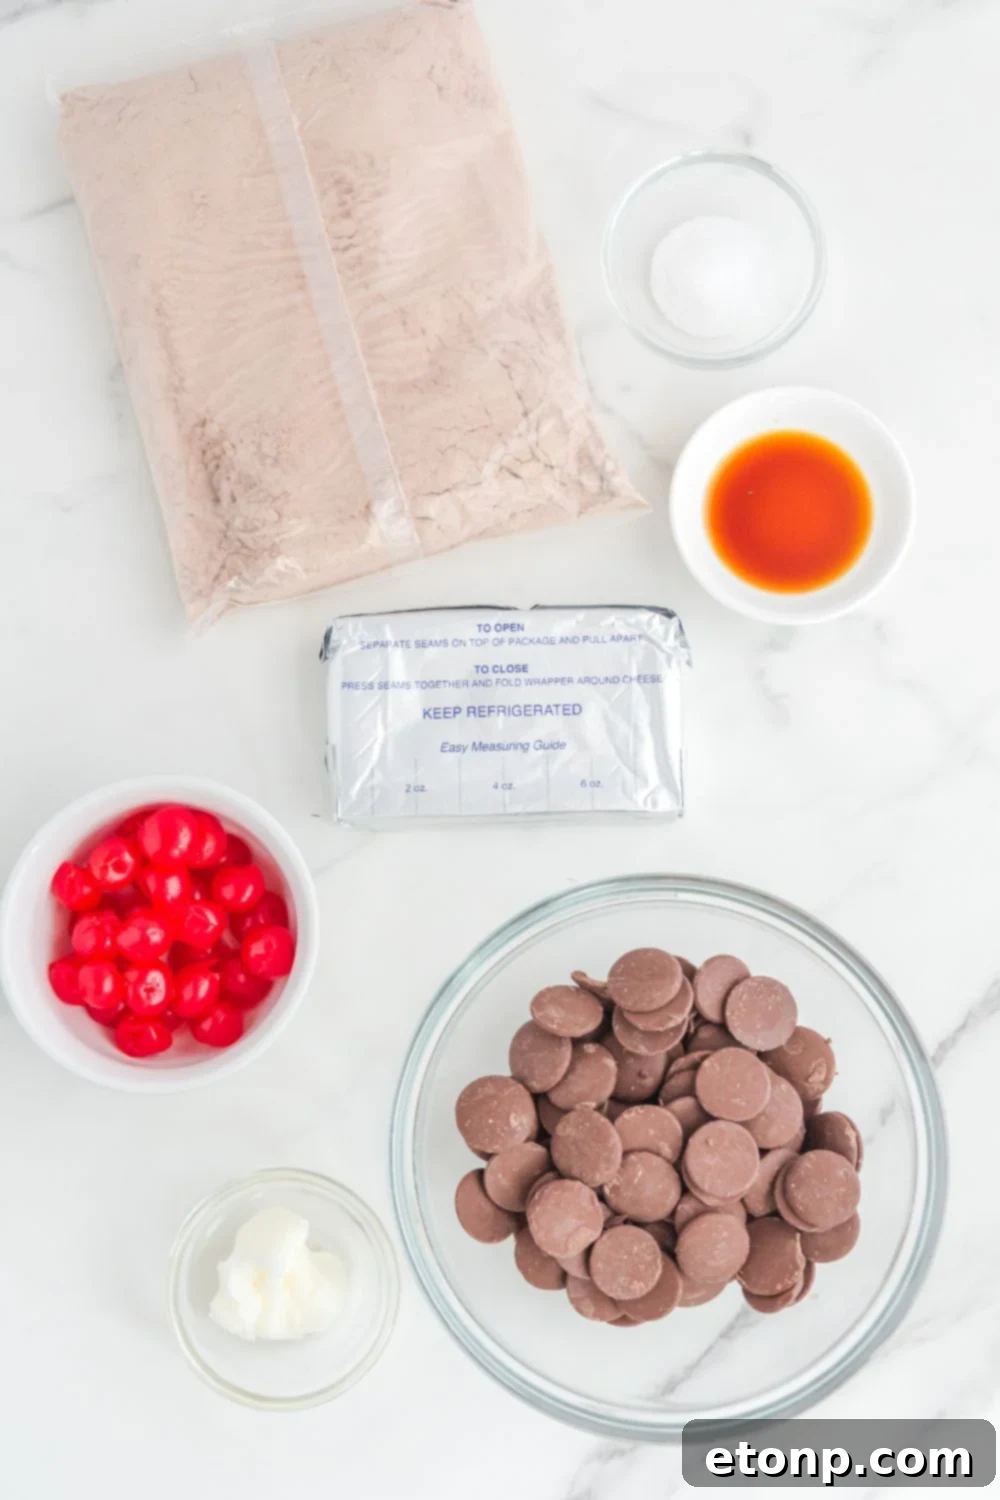
Essential Ingredients You Will Need
Gathering your ingredients is the first step to creating these delightful Cherry Brownie Bombs. Each component plays a crucial role in achieving the perfect texture and flavor profile.
Brownie Mix: The foundation of these delectable brownie truffles is a good quality boxed brownie mix. Opting for a fudge brownie mix will lend a richer, chewier texture to your bombs. Using a pre-made mix is a fantastic shortcut, significantly cutting down on prep time and the need for numerous individual baking ingredients, simplifying the process without sacrificing flavor.
Cream Cheese: A block of full-fat cream cheese is essential for creating that smooth, fudgy, and pliable truffle consistency. It binds the brownie mix together, adds a delightful tang, and ensures the interior is rich and creamy. Make sure your cream cheese is softened to room temperature before mixing; this allows it to blend seamlessly with the brownie mix, preventing lumps and ensuring a uniform dough.
Vanilla Extract: A touch of pure vanilla extract elevates the overall flavor profile. It provides a sweet, aromatic depth that complements both the chocolate and the cherry beautifully, enhancing the dessert’s complexity and adding a hint of warmth.
Salt: Don’t underestimate the power of a pinch of sea salt! Salt acts as a flavor enhancer, expertly balancing the sweetness of the chocolate and the fruitiness of the cherry. It brings out the best in each component, preventing the dessert from tasting overly sweet and adding a subtle depth.
Maraschino Cherries: These bright red, sweet cherries are the signature “bomb” in our recipe. They provide a juicy, sweet-tart surprise in the center of each brownie bite. Remember to drain them thoroughly and remove the stems before use to prevent excess moisture from interfering with the brownie mixture.
Melting Chocolate: For the ultimate decadent finish, choose high-quality dark chocolate melting wafers or candy melts. These are specifically designed to melt smoothly and harden beautifully, providing a crisp, glossy coating without tempering. Dark chocolate pairs wonderfully with the sweetness of the cherry and brownie.
Crisco (or Coconut Oil): A small amount of shortening, such as Crisco, or even refined coconut oil, is your secret weapon for achieving a perfectly glossy and smooth chocolate coating. It helps to thin the melted chocolate slightly, making it easier to dip the brownie balls, and ensures a beautiful, even finish that hardens nicely without becoming brittle.
Exciting Variations to This Recipe
While the classic Cherry Brownie Bomb is undeniably delicious, this recipe is incredibly adaptable, allowing for endless creativity and customization to suit your taste or occasion. Here are some fantastic variations to inspire you:
- Baked Brownie Bomb Alternative: If you prefer a more traditional baked brownie texture, you can certainly go that route. Bake your brownies as directed on the box, allow them to cool completely, then crumble them into fine pieces. Mix these crumbs with the cream cheese mixture to form your truffle base. This will yield a richer, more cake-like texture for your bombs.
- Cherry Swap-Outs: Instead of maraschino cherries, consider using fresh or frozen (and thawed, well-drained) classic Bing cherries or other sweet cherry varieties. Just be sure to meticulously remove the pits before encasing them in the brownie mixture. For a tart contrast, you could even try dried cranberries or tart cherries, rehydrated in a bit of hot water or juice.
- Boozy Brownie Bombs: For an adult-friendly twist, soak your maraschino cherries (or pitted fresh cherries) in your favorite liquor, such as vodka, rum, or even cherry liqueur, for at least an hour before assembling. This infuses the cherries with a delightful alcoholic kick, creating a sophisticated and spirited dessert. Just ensure they are well-drained after soaking.
- Alternative Center Fillings: The possibilities for the hidden center are vast! Instead of a cherry, you could use a mini peanut butter cup for a chocolate-peanut butter dream, a small piece of caramel, a whole roasted almond, a hazelnut, or even a mini marshmallow for a playful surprise.
- Diverse Chocolate Coatings: Don’t limit yourself to dark chocolate! Swap the coating with creamy white chocolate for a striking visual contrast and different flavor profile. Colored candy melts are fantastic for themed parties or holidays, allowing you to match your dessert to your decor. Milk chocolate or even a combination of chocolates would also be delicious.
- Decorative Embellishments: Elevate the presentation of your Cherry Brownie Bombs with simple decorations. Immediately after dipping, sprinkle them with colorful sprinkles for a festive look, or drizzle them with contrasting melted chocolate (white chocolate over dark, for example) once the primary coating has set. Chopped nuts, shredded coconut, or edible glitter can also add a beautiful touch.
- Cream Cheese Frosting Alternative: While cream cheese provides a unique tang, you can swap it with your favorite chocolate or vanilla frosting to bind the brownie crumbs. A whipped-style frosting works particularly well, offering a lighter, airier texture to the brownie mixture. Adjust the amount as needed to achieve a pliable, rollable consistency.
Important: How to Heat Treat Brownie Mix (and Flour)
For recipes like these that use raw flour or brownie mix without baking, it is crucial to heat treat the mix first. Eating raw flour can pose a risk of sickness due to potential bacterial contamination. Heat treating kills any harmful bacteria present in the raw flour, making it safe for consumption in no-bake applications. Please follow one of the methods below before incorporating your brownie mix into the recipe.
- MICROWAVE INSTRUCTIONS for heat treating cake or brownie mix: To heat treat your brownie mix using a microwave, place the desired amount of mix in a microwave-safe bowl. Microwave it on 50% power for two 30-second intervals, making sure to stir thoroughly in between each interval. This helps to distribute the heat evenly. After microwaving, allow the brownie mix to cool completely to room temperature before you proceed with adding other ingredients.
- OVEN INSTRUCTIONS for heat treating cake or brownie mix: For oven heat treatment, spread your brownie mix thinly and evenly across a large baking sheet lined with parchment paper. Ensure the layer is as uniform as possible to allow for even heating. Bake the cake mix in a preheated oven at 350 degrees Fahrenheit (175 degrees Celsius) for exactly 5 minutes. Once baked, remove it from the oven and let it cool completely to room temperature before using it in your recipe.
Expert Tips for Crafting Perfect Cherry Brownie Bombs
Achieving perfectly formed and irresistibly delicious Cherry Brownie Bombs requires a few key techniques. These expert tips will guide you to success, ensuring your treats are not only beautiful but also boast the ideal texture and flavor.
Thoroughly Drain Your Cherries
This step is critical for preventing your brownie bombs from becoming too wet or falling apart. After removing the stems from your maraschino cherries, arrange them on a plate lined with several layers of paper towels. Gently pat them dry with more paper towels. Allow them to sit for a bit to soak up any residual juice. Excess moisture from the cherries can make your brownie mixture difficult to work with and might cause the chocolate coating to seize or not adhere properly.
A Mixer is Highly Recommended
While not strictly mandatory, using a hand mixer or a stand mixer will significantly improve the texture of your brownie-cream cheese mixture. The powerful mixing action ensures that the cream cheese is fully incorporated into the brownie mix, resulting in an ultra-velvety, smooth, and homogenous dough. This makes the mixture much easier to roll and shape around the cherries, contributing to a more refined and consistent final product.
Don’t Skip Refrigerating the Brownie Balls
Refrigeration is an absolute must once you’ve rolled your brownie balls with the cherries inside. Chilling the balls for the recommended time allows the mixture to firm up considerably. This firmness is crucial because it prevents the balls from breaking apart or losing their shape when you dip them into the warm, melted chocolate. Cold, firm balls are much easier to handle, ensuring a clean and efficient dipping process and a beautifully coated finished product.
Perfecting Your Melting Chocolate
The key to a smooth, glossy chocolate coating lies in how you melt your chocolate wafers. You can use either a microwave or a double boiler. If using a microwave, heat the wafers in short bursts (e.g., 30-second intervals at 50% power), stirring well after each. Be cautious not to overheat the chocolate, as it can seize or burn. If using a double boiler, gently heat the chocolate over simmering water, stirring constantly until fully melted and smooth. Always follow the specific melting directions provided on the back of your chocolate or candy melt package for best results.
Shake Off Excess Chocolate
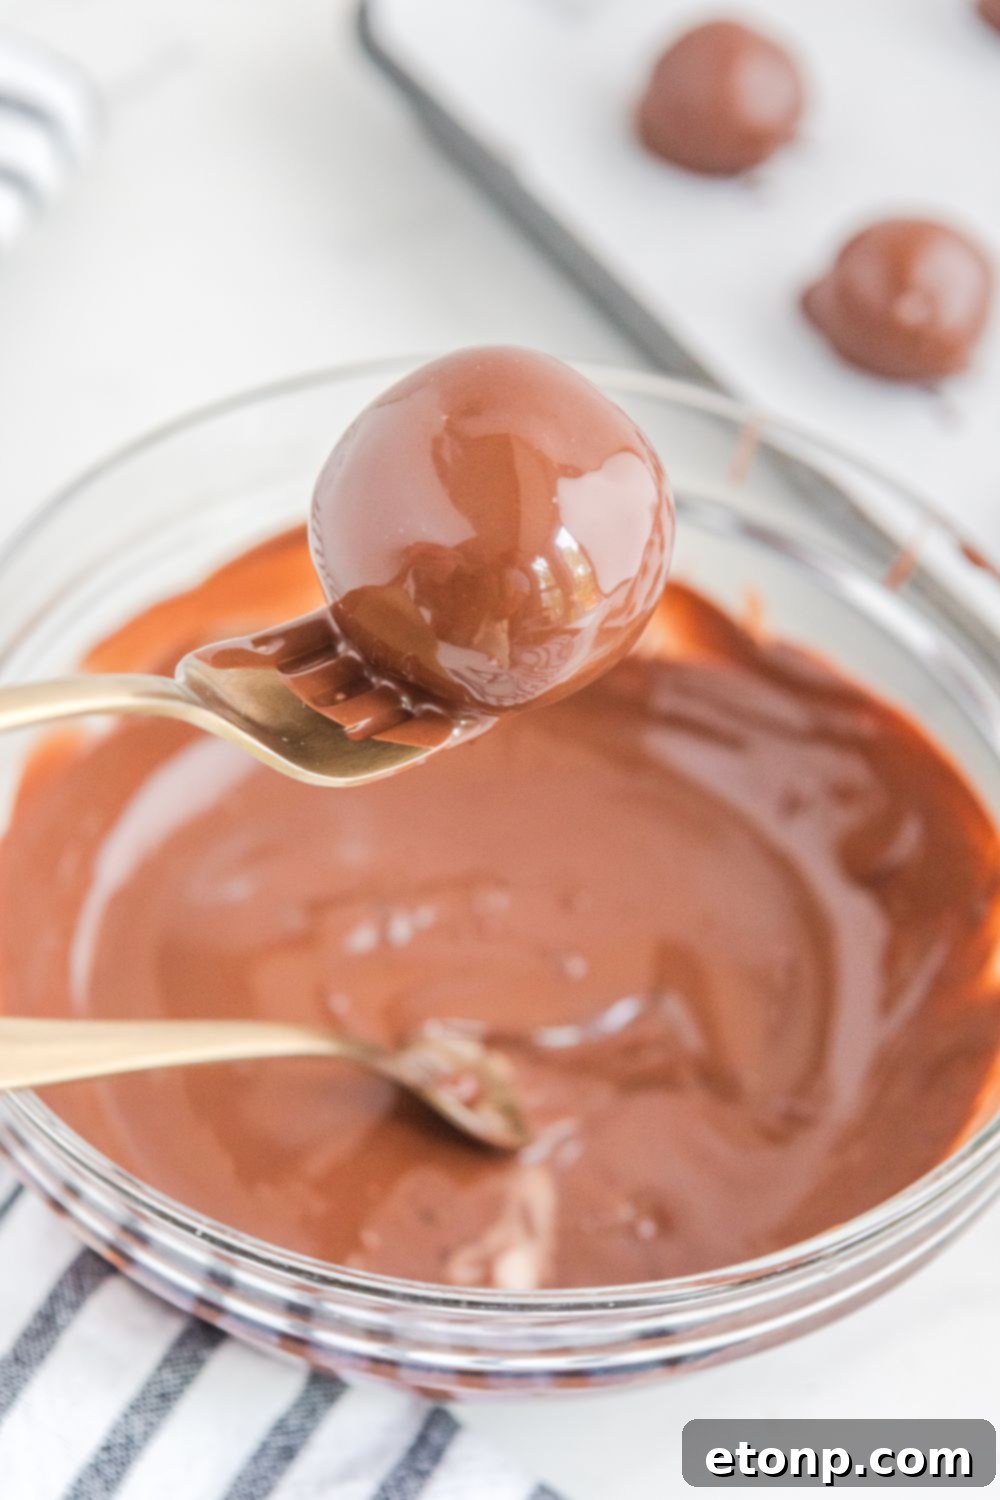
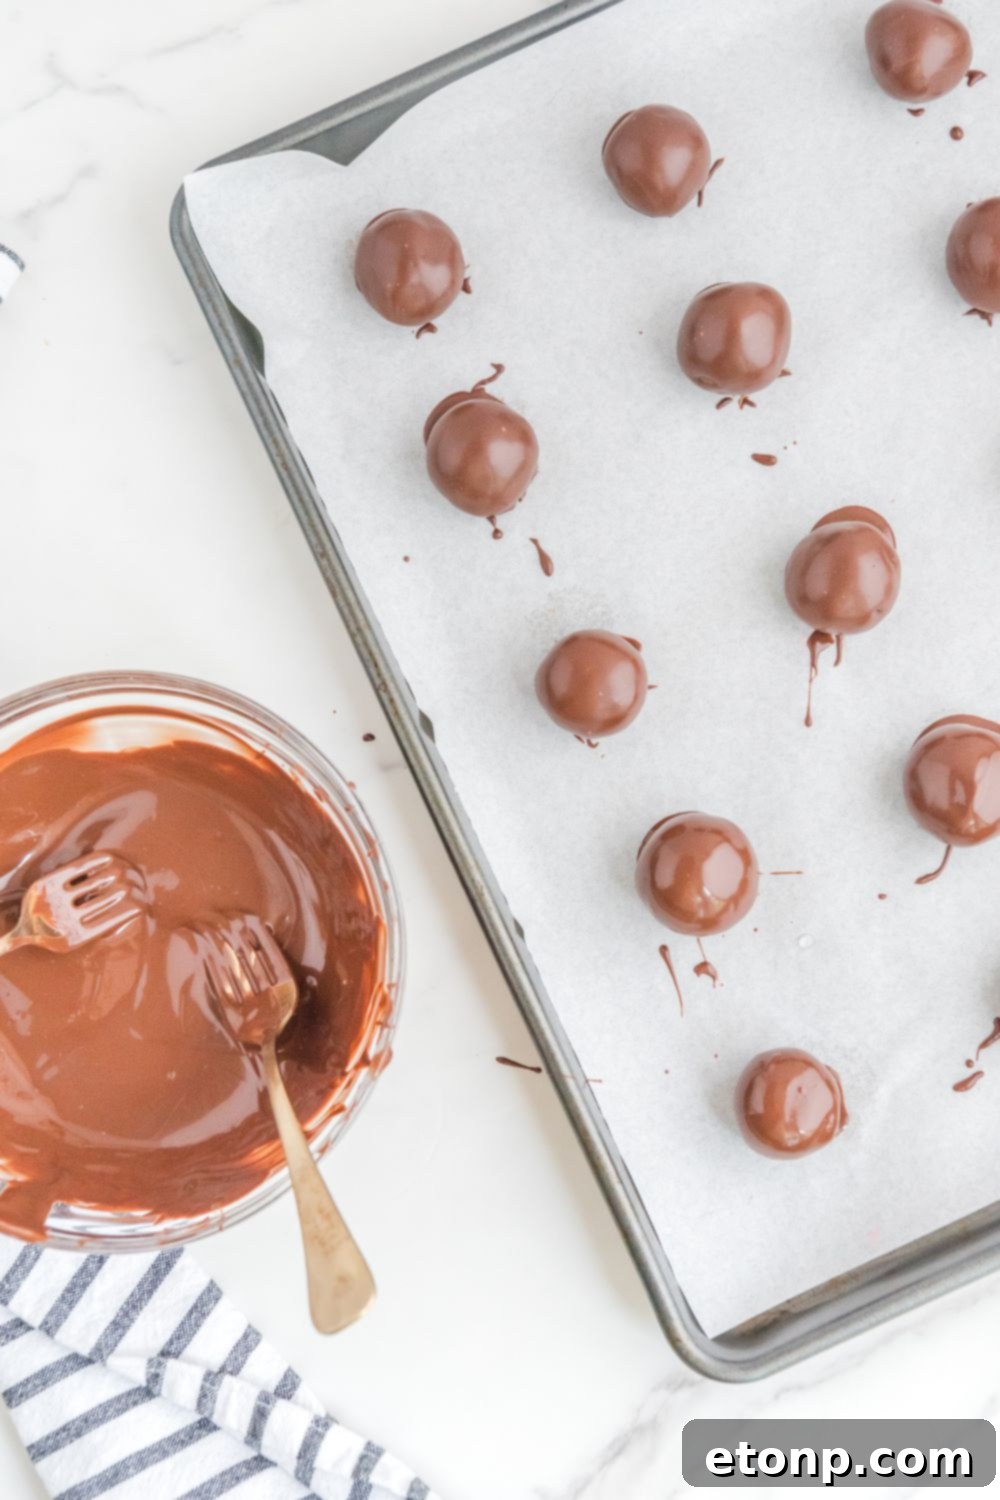
Once you dip each brownie ball into the melted chocolate, it’s essential to allow any excess chocolate to drip off. Gently tap the dipping tool (forks or a specialized dipping tool) against the edge of the bowl to encourage the chocolate to fall away. If you don’t adequately shake off the excess, the chocolate will pool around the base of the brownie bomb when it’s placed on the parchment paper-lined tray. This creates unsightly “feet” or large clumps of chocolate, detracting from the professional finish of your treats. A smooth, even coating is the goal.
Storing Your Cherry Brownie Bombs
Proper storage is key to maintaining the freshness and deliciousness of your bite-sized Cherry Brownie Bombs. Whether you plan to enjoy them in the short term or save them for a future craving, these guidelines will help.
For immediate enjoyment or short-term storage, keep these delightful treats in a sealed, airtight container in the refrigerator. When stored correctly, your cherry brownie bombs will maintain their optimal flavor and texture for approximately 1 to 2 weeks. Be aware that after an extended period in the fridge, the brownie portion may start to dry out slightly, though they will still be enjoyable.
If you’ve made a large batch or simply want to savor them over a longer period, these brownie bombs freeze exceptionally well. Place them in a single layer on a baking sheet to freeze individually until firm (this prevents them from sticking together). Once solid, transfer them to a freezer bag or a freezer-safe airtight container. They can be frozen for up to 2 to 3 months without significant loss of quality. To enjoy, you can either thaw them overnight in the refrigerator for a softer texture or, for a firmer, almost ice-cream-like treat, eat them directly from the freezer.
These versatile brownie bites are a fantastic dessert to have on hand for unexpected guests, a last-minute party contribution, or simply to satisfy that persistent mid-day sweet tooth craving. Their ease of preparation and excellent shelf stability make them a truly convenient and satisfying indulgence.
Recommended Tools for Success
Having the right tools can make the process of creating Cherry Brownie Bombs much smoother and more enjoyable. Here’s a list of recommended equipment:
- Mixing Bowl: A large, sturdy mixing bowl is essential for combining your brownie mix, cream cheese, and other ingredients.
- Cookie Scoop: A 1/2 tablespoon cookie scoop is incredibly helpful for portioning out the brownie mixture evenly, ensuring all your bombs are consistently sized.
- Hand Mixer or Stand Mixer: As mentioned in our tips, a mixer is highly recommended for achieving a smooth, velvety brownie-cream cheese dough that’s easy to work with.
- Parchment Paper: Lining your baking sheets with parchment paper prevents sticking and makes for easy cleanup after dipping.
- Forks or Chocolate Dipping Tool: Two forks, or a specialized chocolate dipping tool, are indispensable for gently dipping and coating your brownie balls in melted chocolate without making a mess.
Frequently Asked Questions (FAQs)
Here are answers to some common questions you might have about making these delicious Cherry Brownie Bombs:
Can I use cherry pie filling instead of maraschino cherries?
Yes, you absolutely can use cherry pie filling as a replacement for maraschino cherries in the center of your brownie bombs. When doing so, try to scoop out just a single cherry from the filling, minimizing the amount of gel that comes with it. Excess gel can make the center a bit too messy and might affect the consistency of the brownie mixture around it. Lightly draining any extra liquid from the cherry before placing it is a good idea.
Will almond bark work for dipping these brownie bites?
Certainly! Chocolate almond bark is an excellent alternative to candy melts for coating these brownie bites. It melts smoothly and hardens beautifully, much like candy melts. Feel free to add the recommended tablespoon of shortening (Crisco or refined coconut oil) to the melted almond bark as well; this will help achieve an even glossier and smoother finish, making the dipping process even easier.
Can I make cherry brownie bombs in advance?
Absolutely! These cherry brownie bombs are a perfect make-ahead dessert. You can comfortably prepare them 1 to 2 days in advance of when you plan to serve them. This is a fantastic time-saving strategy, especially when you’re hosting an event or simply want to maximize your time. Just ensure they are stored properly in an airtight container in the refrigerator until you are ready to present and enjoy them.
How do I achieve a smooth chocolate coating on the brownie bombs?
The secret to a perfectly smooth, glossy chocolate coating lies in the addition of shortening. When you melt your chocolate wafers or almond bark, incorporating a tablespoon of Crisco (or refined coconut oil) will help thin the chocolate to the ideal consistency. Without it, melted chocolate can sometimes be too thick, leading to a clumpy or uneven coating. The shortening ensures a beautifully fluid chocolate that coats the brownie bombs evenly and hardens with a lovely, professional sheen.
Discover More Easy Brownie Recipes
If you’ve fallen in love with these Cherry Brownie Bombs and are craving more chocolatey goodness, be sure to explore these other fantastic and easy brownie recipes. Each offers a unique flavor twist that’s sure to delight any brownie enthusiast.
- French Silk Brownies: Indulge in the luxurious combination of rich brownies topped with a silky smooth, airy chocolate mousse.
- Peanut Butter Brownies: A classic pairing of fudgy chocolate brownies with a creamy, decadent layer of peanut butter for an irresistible treat.
- Snickerdoodle Cheesecake Brownies: Experience the best of both worlds with chewy brownies swirled with tangy cheesecake and a hint of cinnamon-sugar.

Cherry Brownie Bombs
Ingredients
- Box of Fudge brownie mix heat treated (see notes)
- 8 oz block of cream cheese softened to room temperature
- 1 teaspoon vanilla extract
- Pinch of sea salt
- 18-24 maraschino cherries stems removed
- 2 cups dark chocolate melting wafers
- 1 tablespoon crisco
Instructions
-
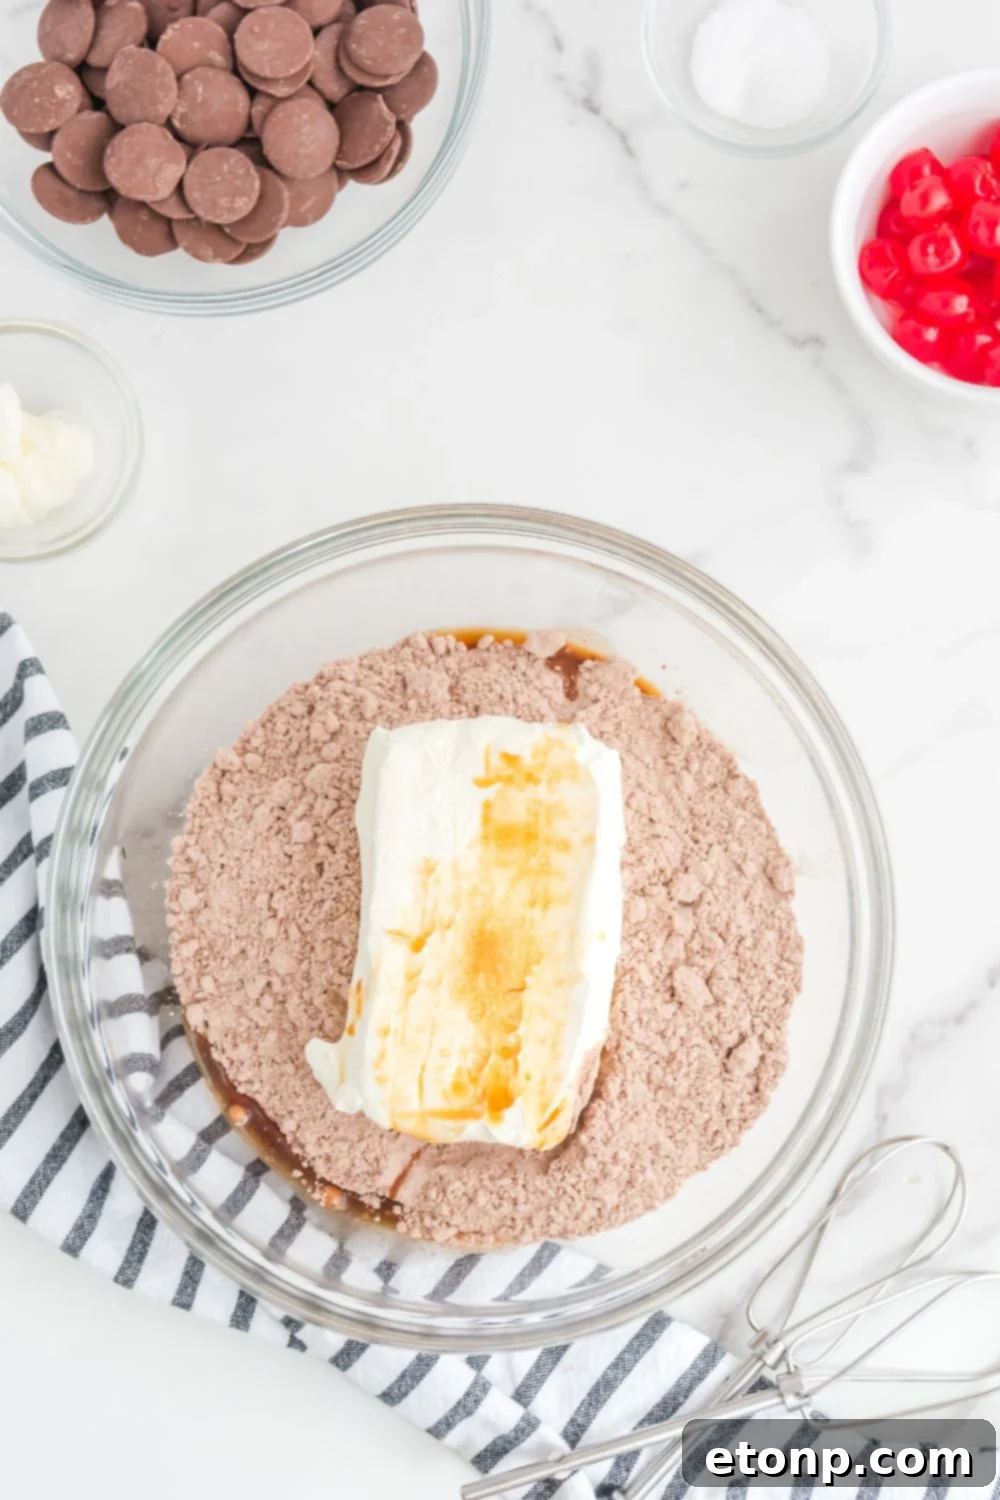
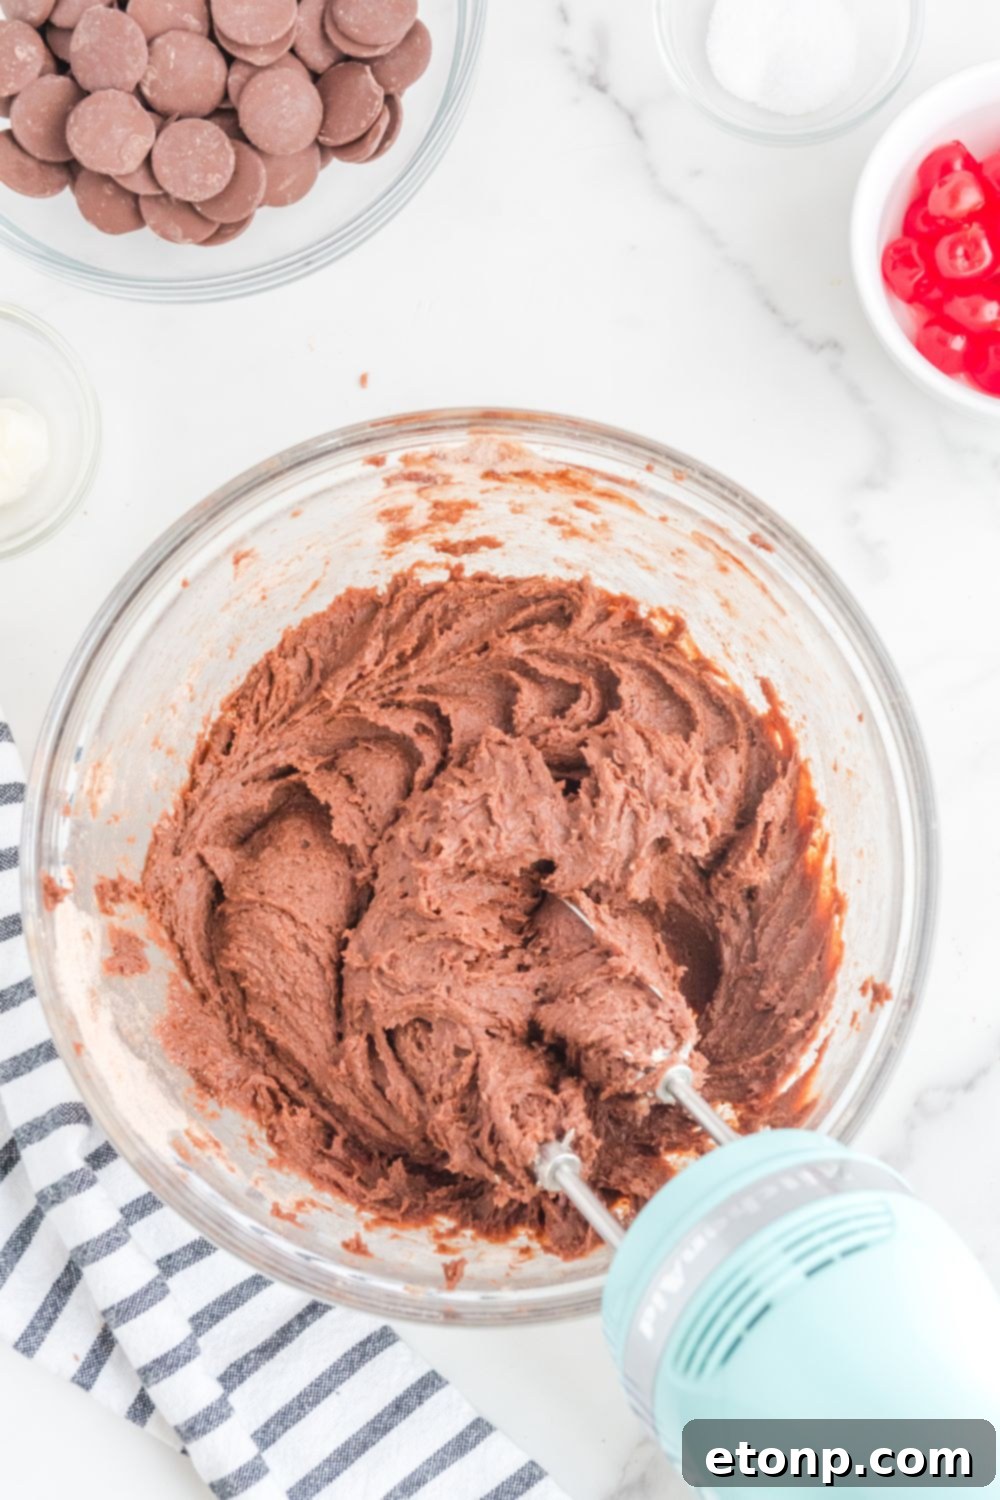
In a large mixing bowl, combine the heat-treated brownie mix, softened cream cheese, vanilla extract, and sea salt. Mix for 3-4 minutes using a hand or stand mixer until the ingredients are fully combined and form a dough-like consistency. The mixture will be very sticky.
-
Cover the bowl and place the brownie mixture inside the refrigerator to chill for 1 hour. This step is crucial for making the mixture easier to handle.
-
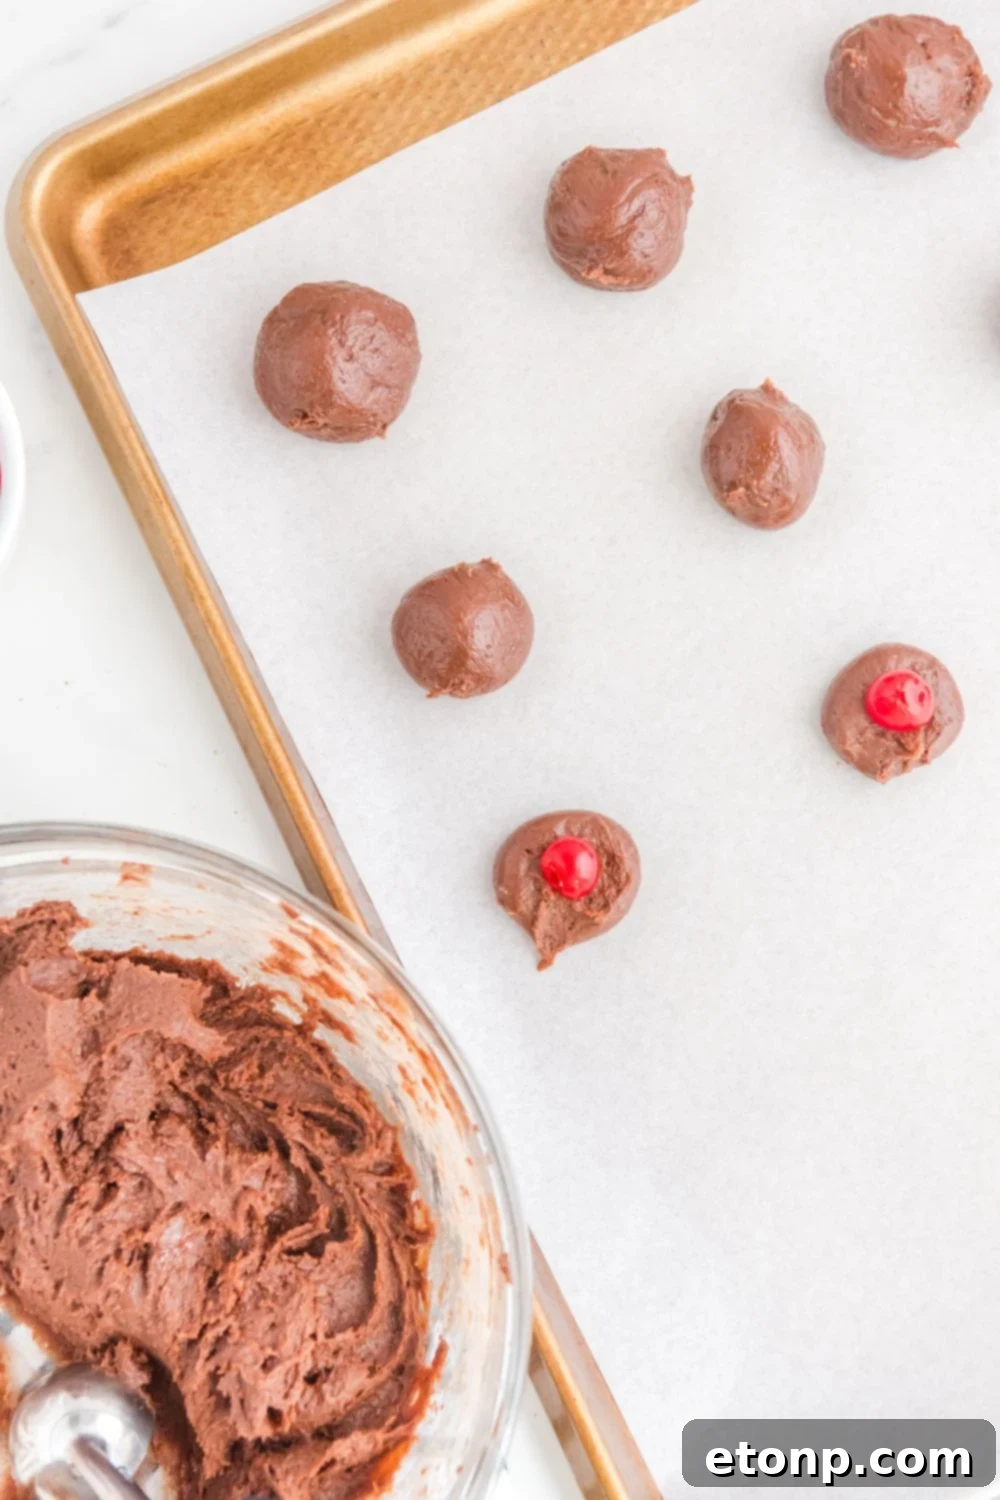
After the chilling period, prepare a large baking sheet by lining it with parchment paper. Scoop out approximately ½ tablespoon of the chilled brownie mixture. Roll it into a small ball between your palms, then gently flatten it with your fingers to create a disc. Place this disc on the parchment paper. Repeat this process until you have formed 15-18 flattened discs on your baking sheet. You may need to wash your hands periodically as the mixture can be quite sticky.
-
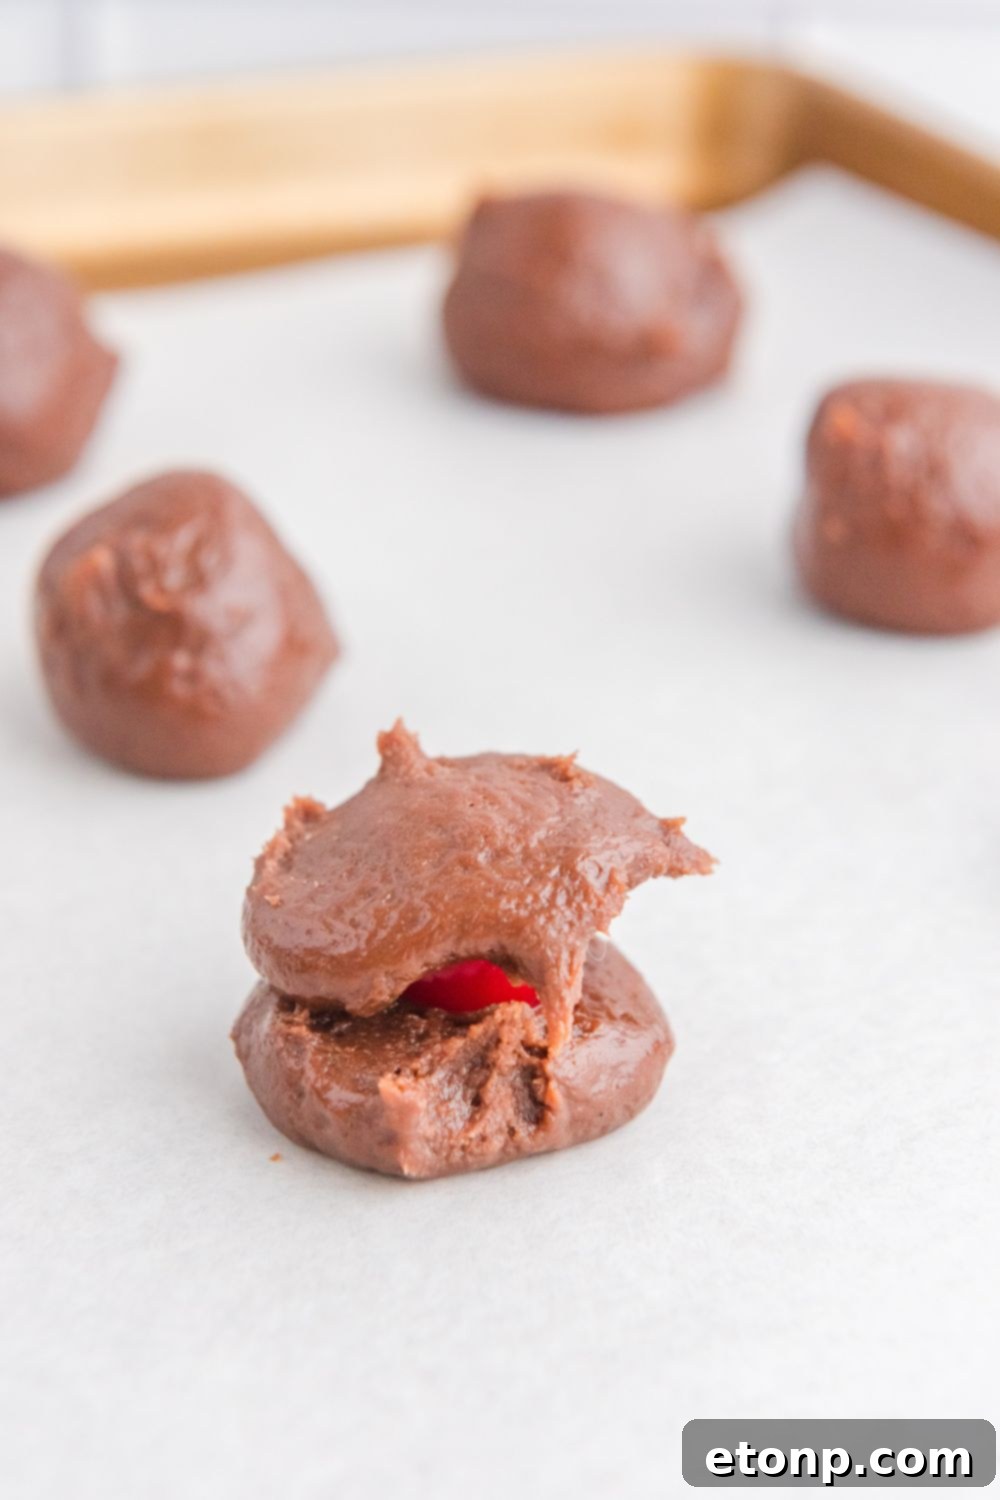
Take your well-drained maraschino cherries (ensuring no residual juice) and place one cherry in the center of each flattened brownie disc on the baking sheet.
-
Scoop another ½ tablespoon of the brownie mixture, roll it into a ball, and flatten it into a disc. Carefully place this second brownie disc on top of each cherry, effectively sandwiching the cherry between two layers of brownie mixture.
-
Using your hands, gently pinch together the edges of the top and bottom brownie discs around the cherry, then roll the entire unit between your palms to form a smooth, seamless ball. Ensure the cherry is completely enclosed within the brownie mixture. Repeat this for all the balls.
-
Place the baking sheet with the rolled brownie balls back into the refrigerator to chill for an additional 2 hours. This extended chill time is crucial for the balls to firm up, making them easy to dip without falling apart.
-
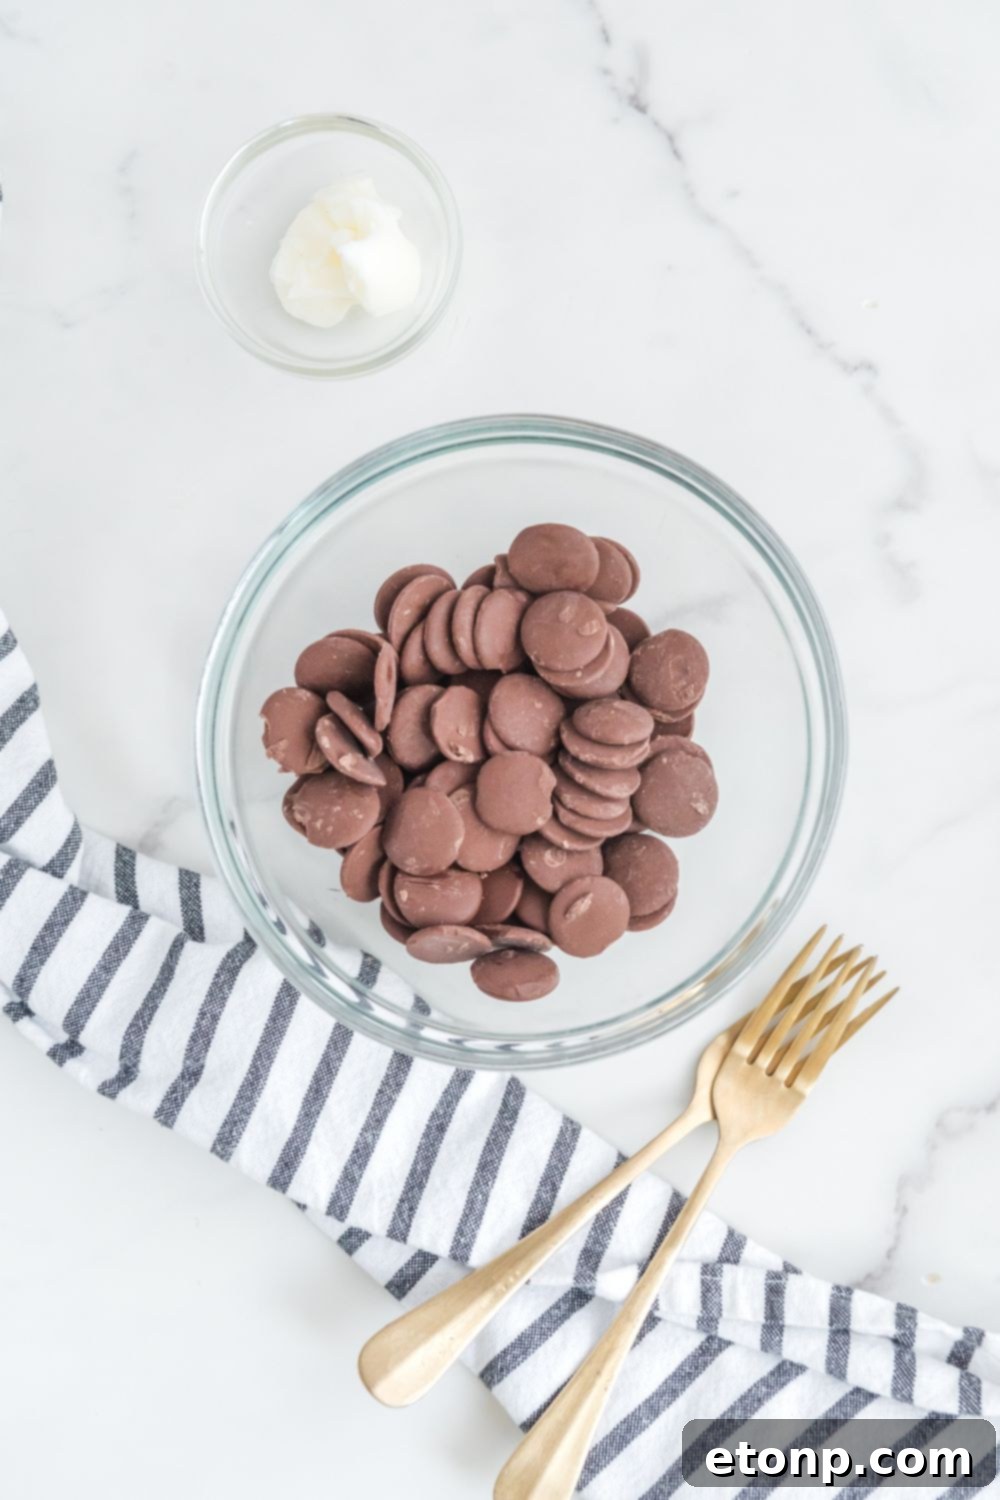
Towards the end of the chilling time for the brownie balls, begin preparing your chocolate coating. Add the dark chocolate melting wafers to a microwave-safe bowl. Heat for 1 minute at 50% power, then stir well. Add in the Crisco and return to the microwave. Continue heating in 30-second bursts, stirring thoroughly after each, until the chocolate is silky smooth and fully melted. Alternatively, use a double boiler method.
-
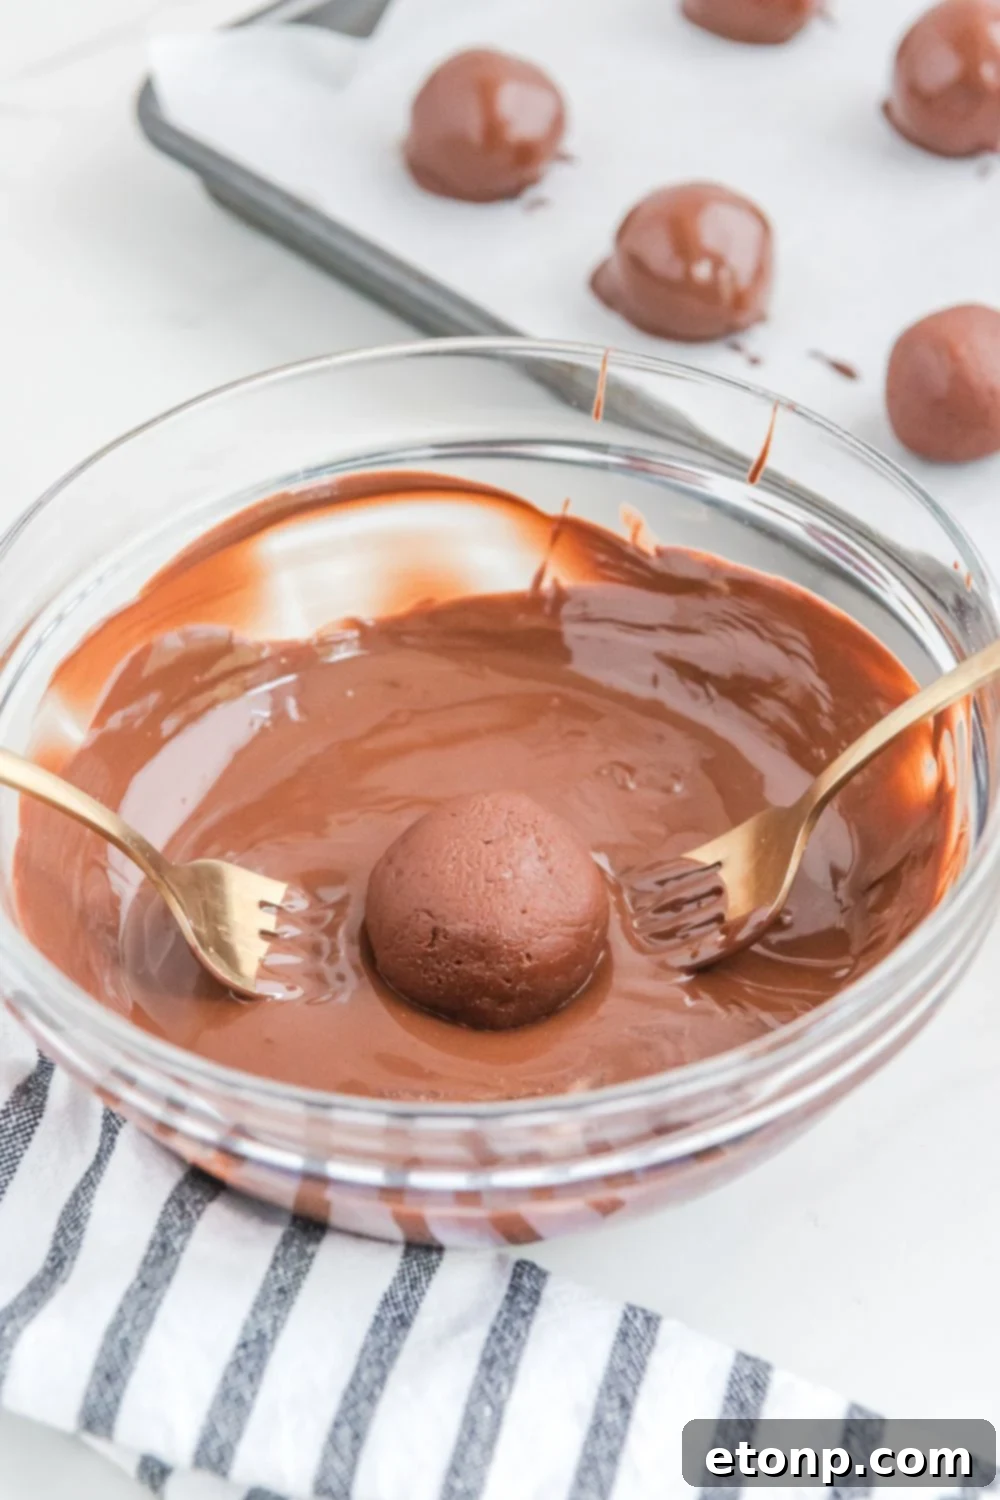
Remove the chilled brownie balls from the refrigerator. Using two forks or a specialized chocolate dipping tool, gently dip each ball into the melted chocolate, ensuring it’s completely covered. Allow any excess chocolate to drip off the ball (you can lightly tap the fork/tool against the edge of the bowl and scrape the bottom to remove extra chocolate) before carefully placing the chocolate-covered ball back onto the parchment paper-lined baking sheet. Repeat this dipping process for every brownie bomb.
-
Once all the balls are dipped, return the baking sheet to the refrigerator for a final chill of at least 30 minutes. This allows the chocolate coating to fully set before serving.
Did you make this recipe?
Make sure to follow on Pinterest for more recipes!
Pin Recipe
Share on Facebook