Homemade Andes Mints
Jump to the recipe Print version
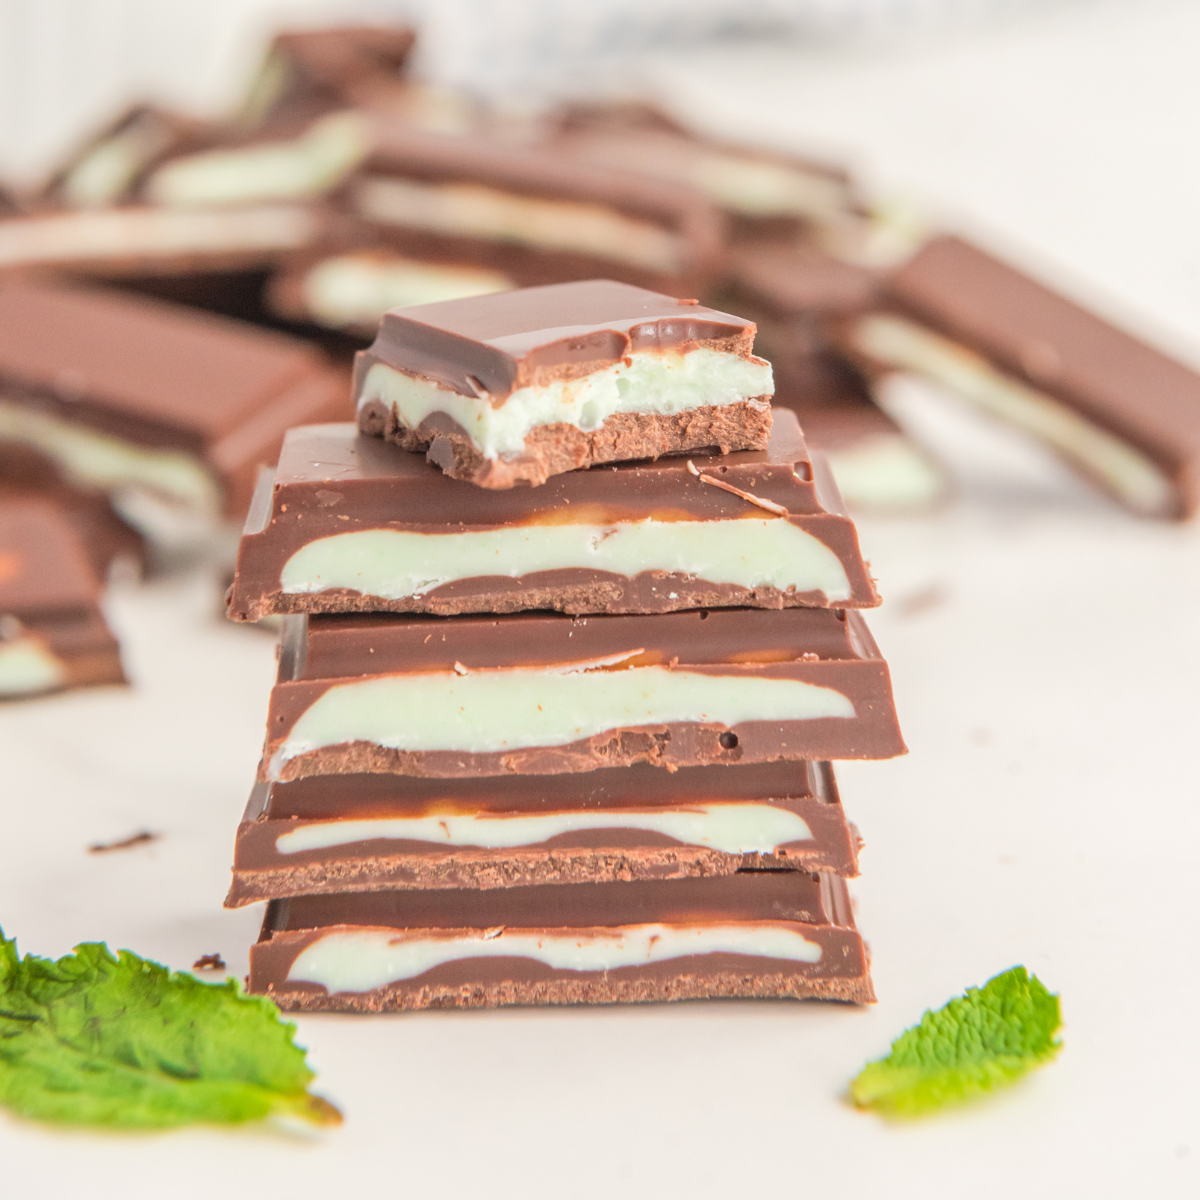
Homemade Andes Mints are just like the real thing, if not better. Go ahead and whip these up, so you can experience the deliciousness! No need to go out and buy some when you can make them right at home!
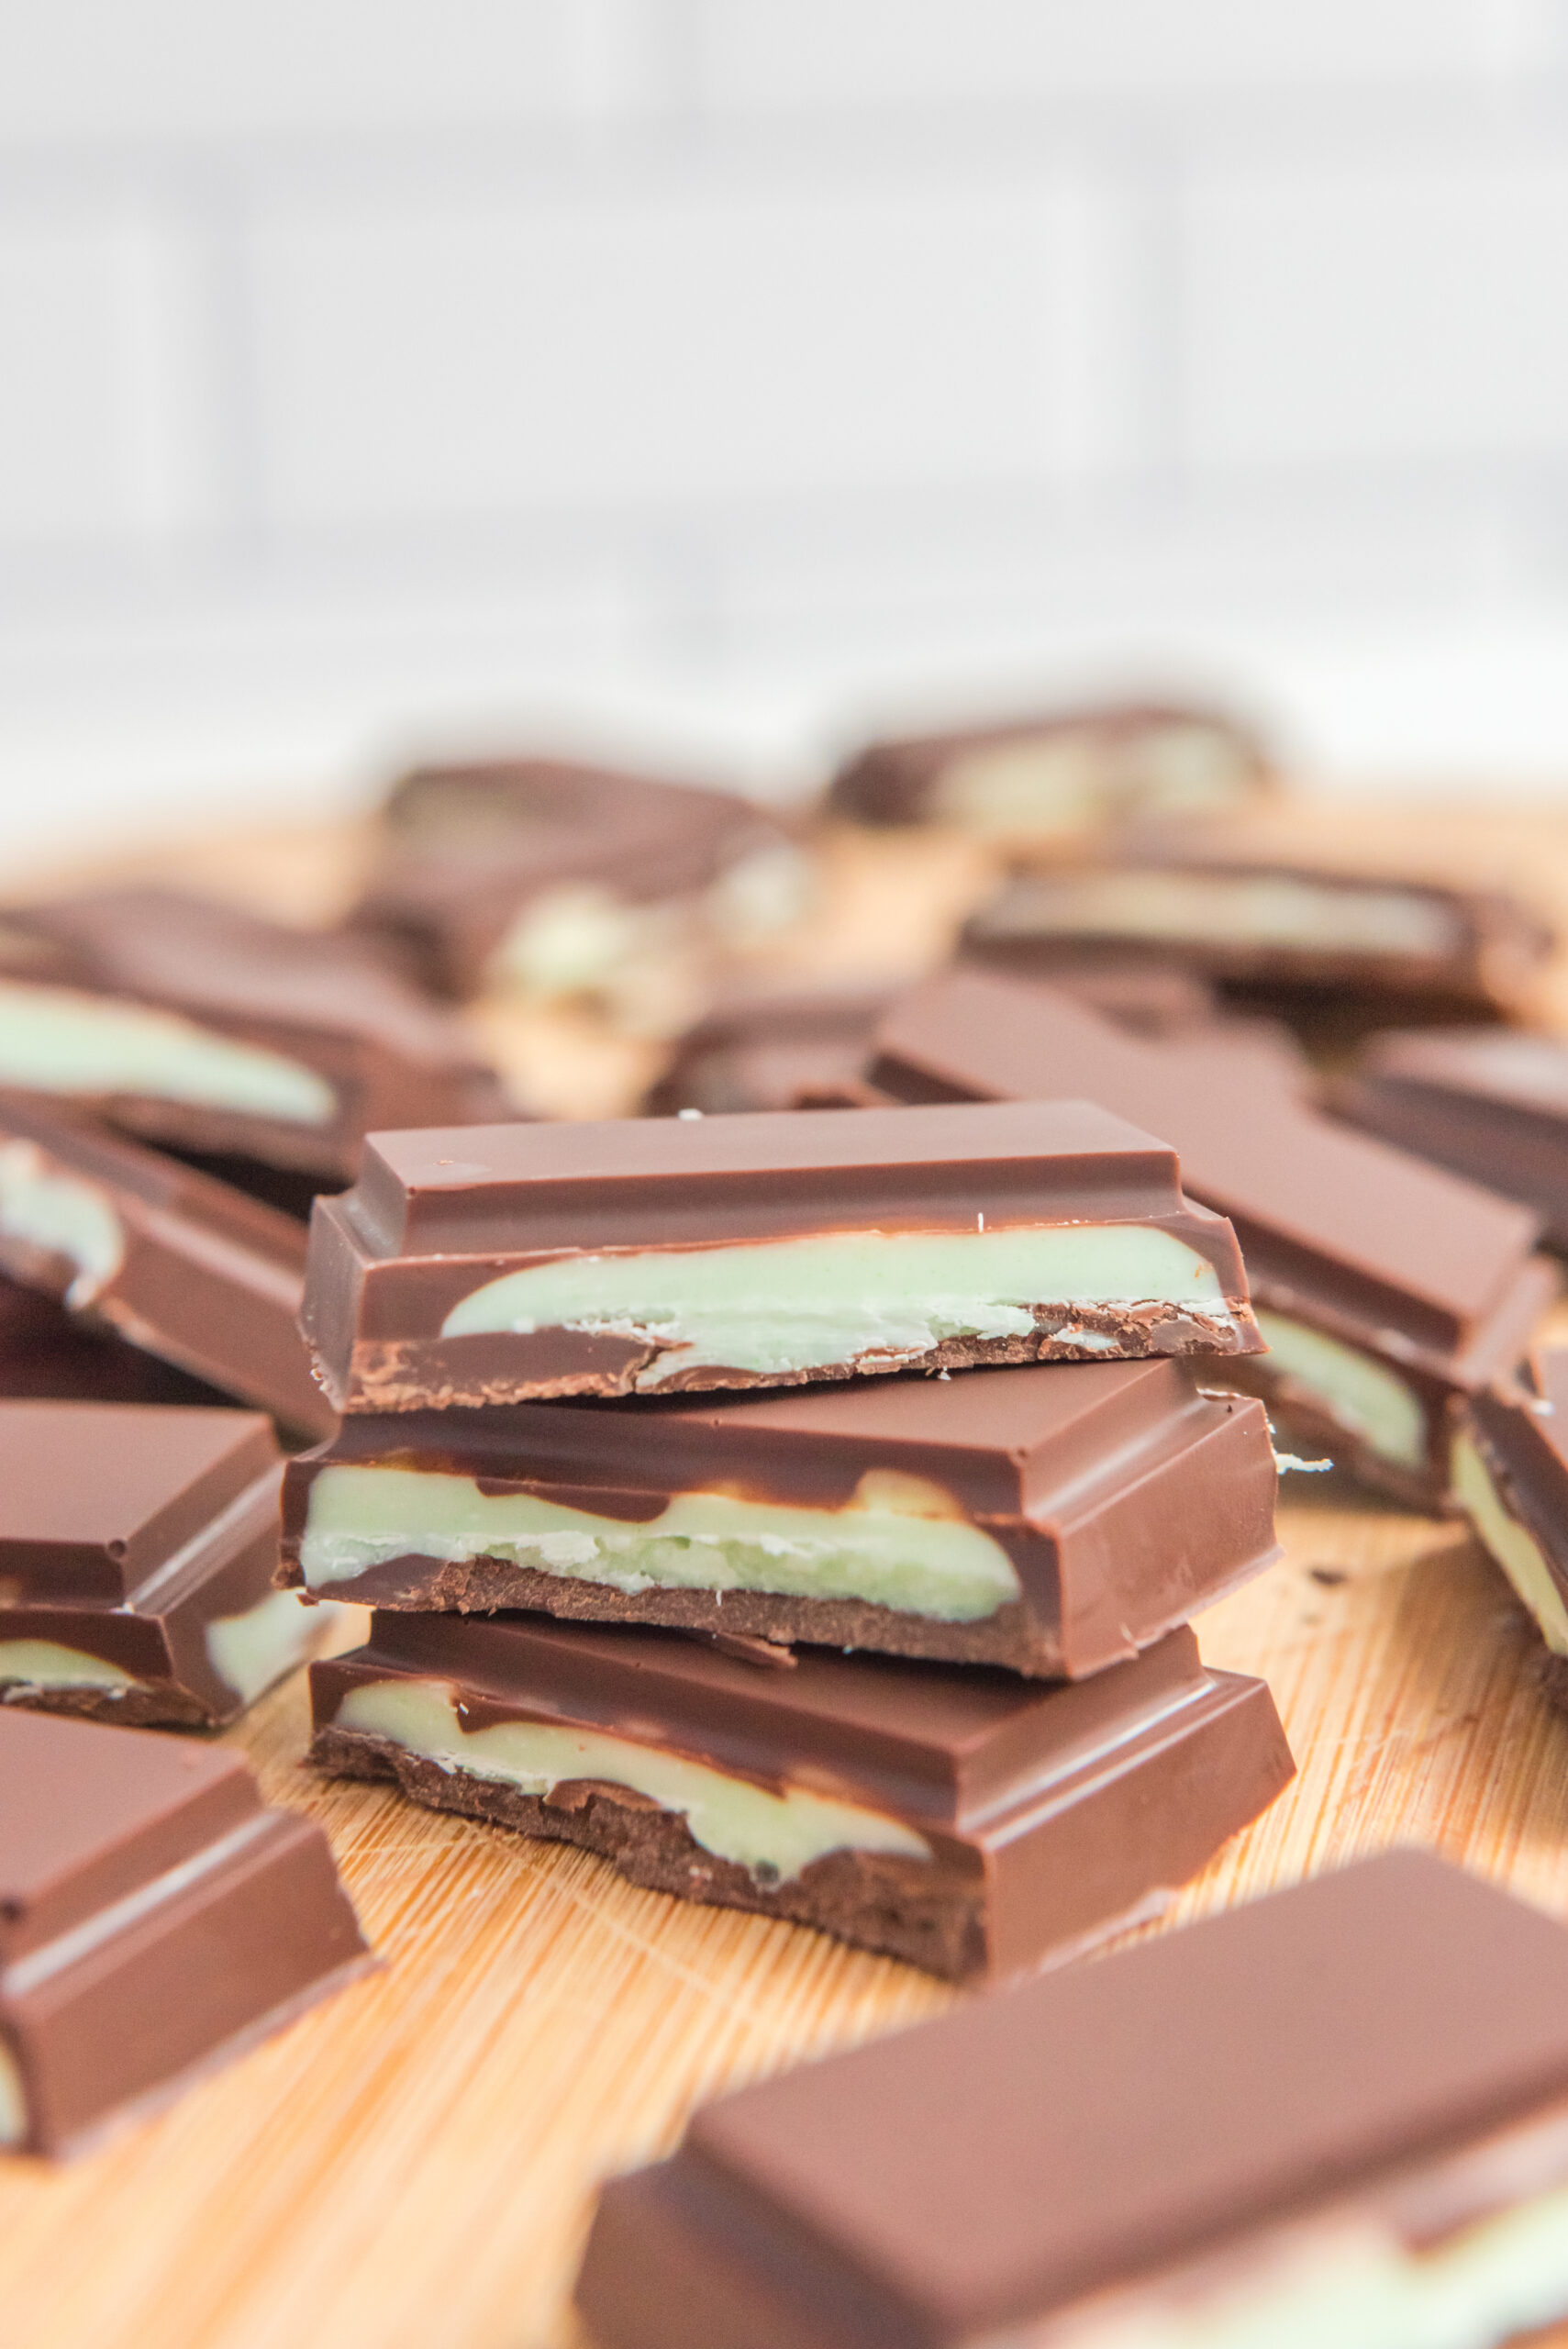
Looking for a creative and delicious way to satisfy your sweet tooth? Look no further than homemade Andes mints! These delightful treats are perfect for any occasion, whether you’re hosting a party or just looking for a simple yet satisfying dessert.
With their rich, chocolatey flavor, smooth texture, and refreshing minty finish, homemade Andes mints are sure to become a favorite among friends and family. Whether you’re an experienced baker or a novice in the kitchen, this recipe is easy to follow, and the results are simply delectable.
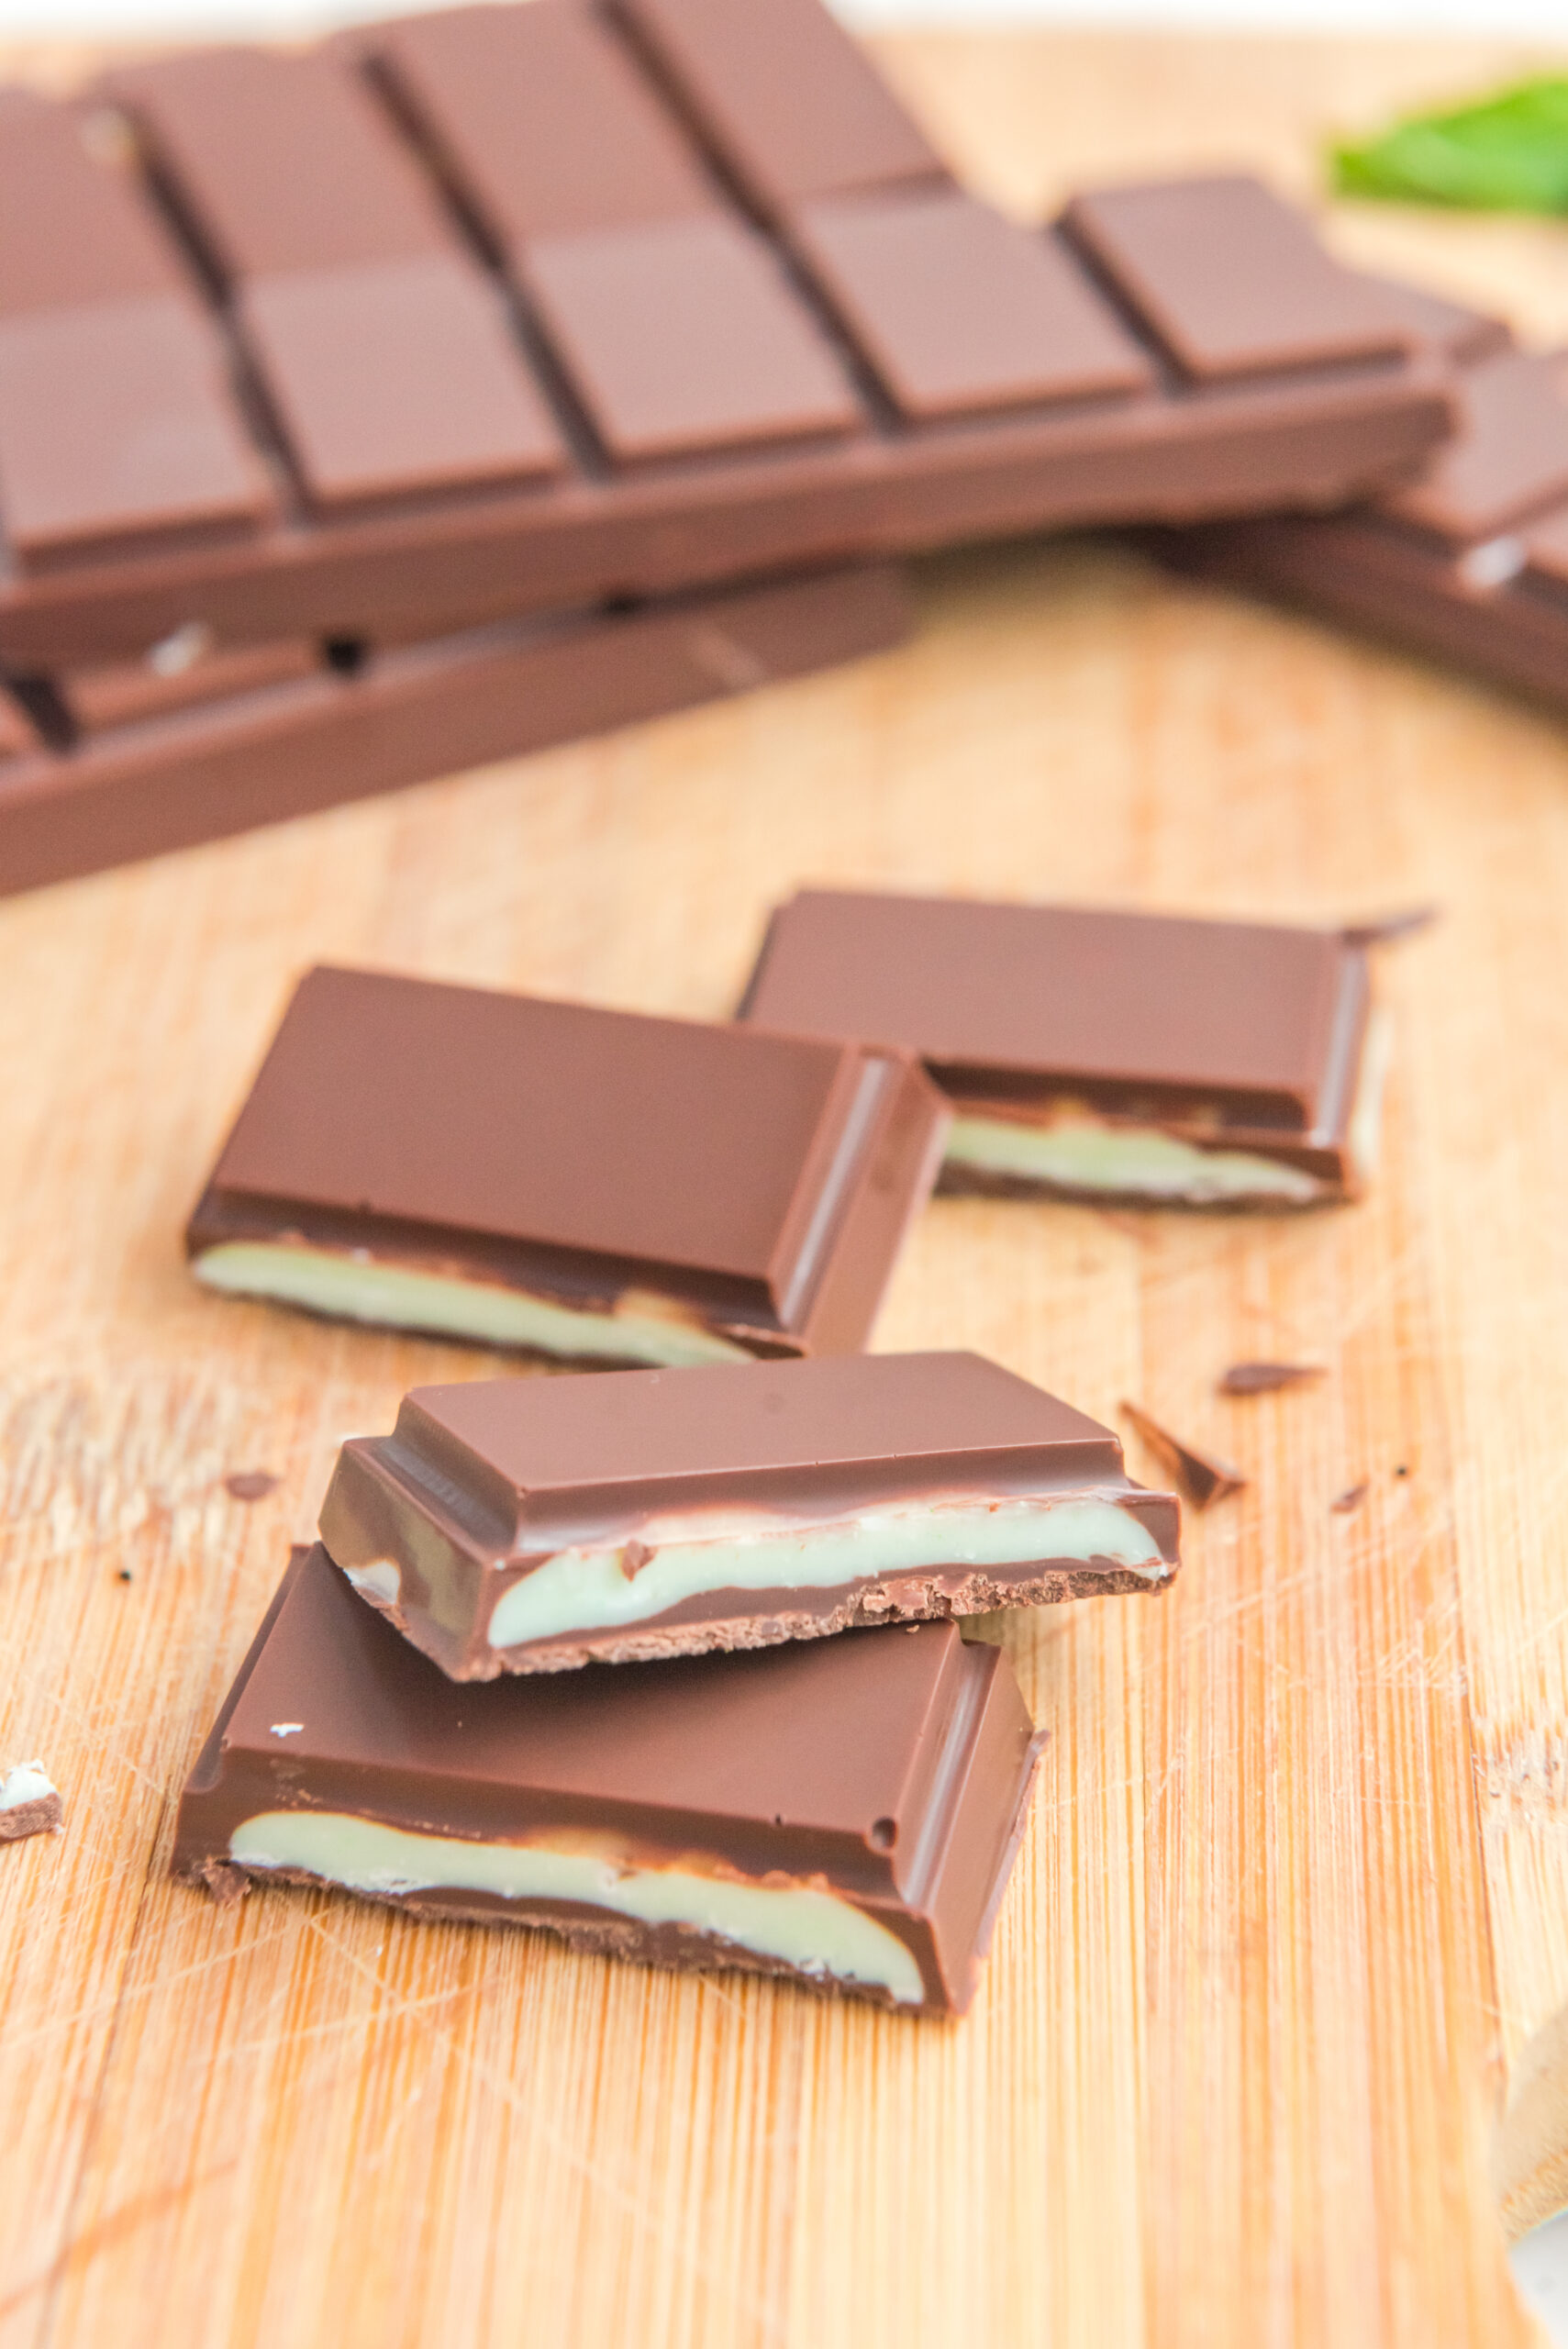
Why You’ll Love This Andes Mints Recipe
- Easy to customize: When making homemade Andes mints, you have the freedom to customize the flavors and textures to your liking. You can experiment with different types of chocolate or adjust the amount of mint extract added to create a unique and personalized treat.
- Perfect for gift-giving: Homemade Andes mints are a thoughtful and delicious gift for friends and family. You can package them in a decorative box or bag for a homemade touch that’s sure to impress.
- Fun to make: Making homemade Andes mints is a fun and interactive activity you can enjoy with friends or family. From melting the chocolate to molding the mints, each step in the process is simple and enjoyable. Plus, you’ll have a batch of fresh, homemade treats to enjoy at the end of the day.
Andes Mint Ingredients
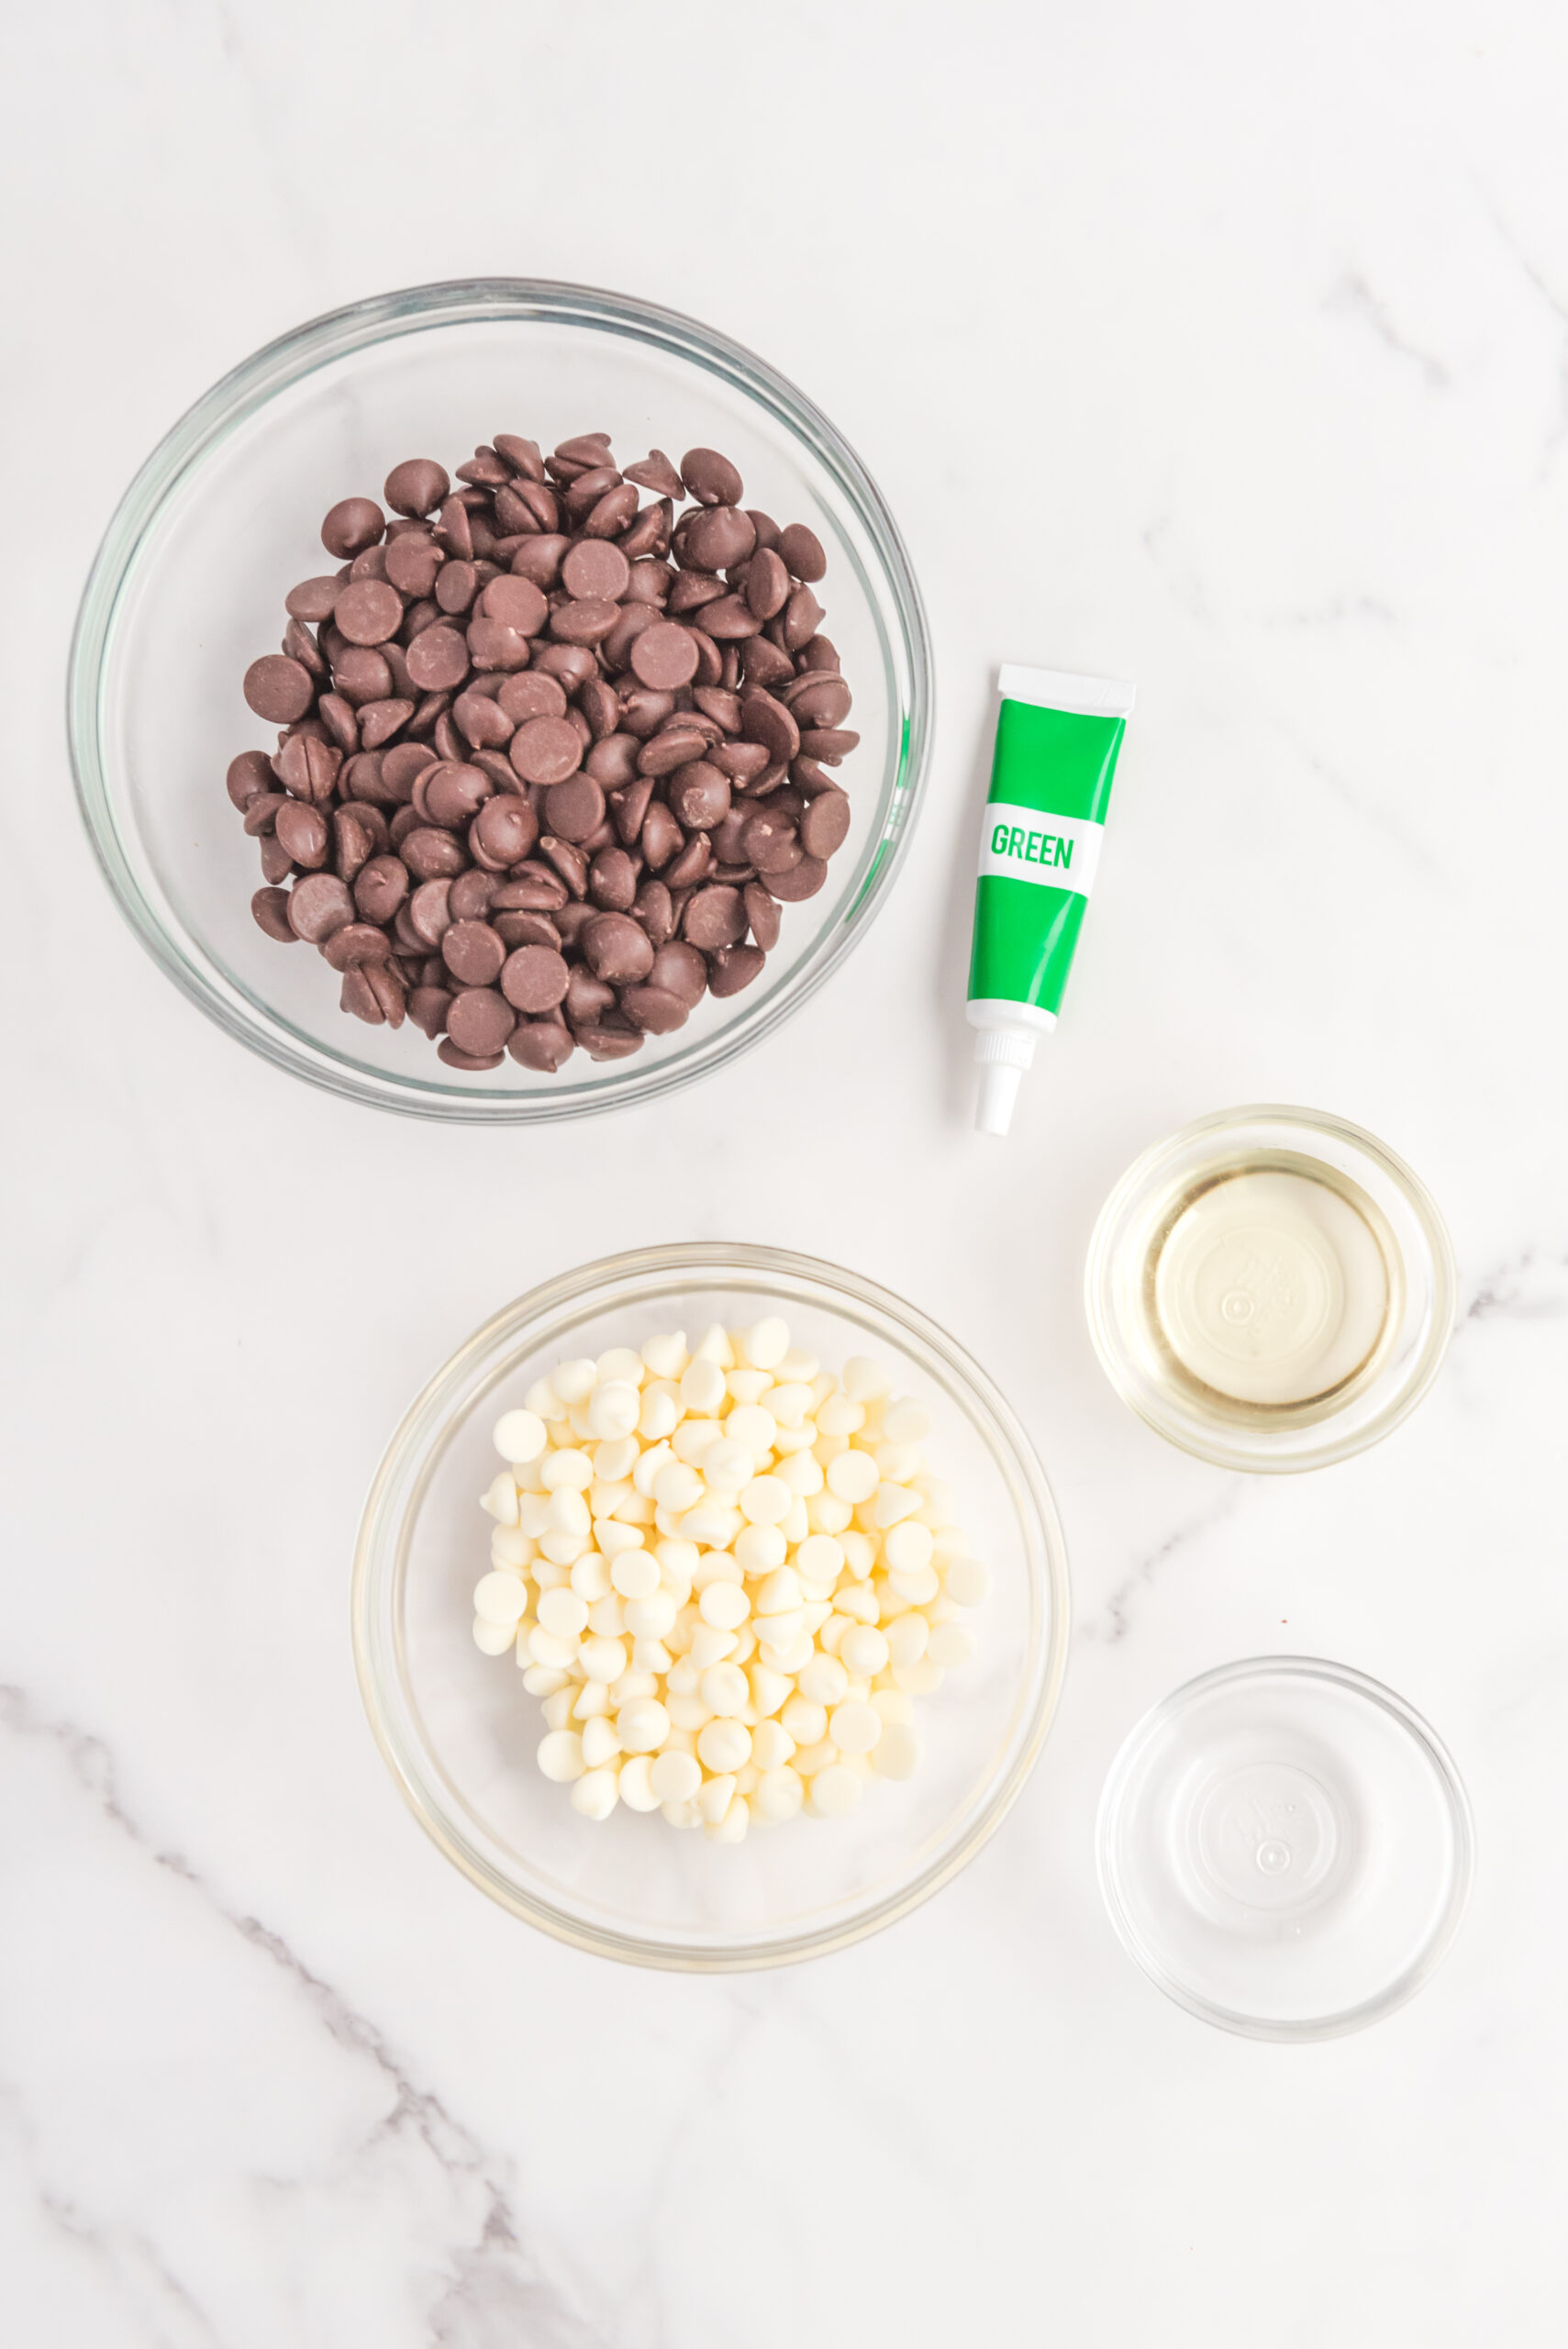
- Dark chocolate chips – This ingredient is a staple in most dessert recipes and gives Andes mints their signature rich chocolate taste. Dark chocolate chips are made with cocoa solids, sugar, and cocoa butter and are perfect for melting and molding into the classic rectangular shape.
- White chocolate chips – These sweet and creamy chips perfectly complement the dark chocolate chips in Andes mint recipes. Made with cocoa butter, milk solids, and sugar, white chocolate chips melt into a smooth and luscious texture that pairs perfectly with peppermint extract.
- Vegetable oil – This ingredient is added to the melted chocolate chips to create a smooth and shiny texture. Vegetable oil helps create the perfect consistency for Andes mints by releasing natural fats in the chocolate chips.
- Peppermint extract: This versatile ingredient is key to achieving the refreshing minty finish that Andes mints are known for.
- Green gel food coloring – This optional ingredient can be used to add a festive touch to Andes mints. The green color mimics the classic Andes mint colors and can be added in small amounts to the white chocolate mixture to create a vibrant and eye-catching finish.
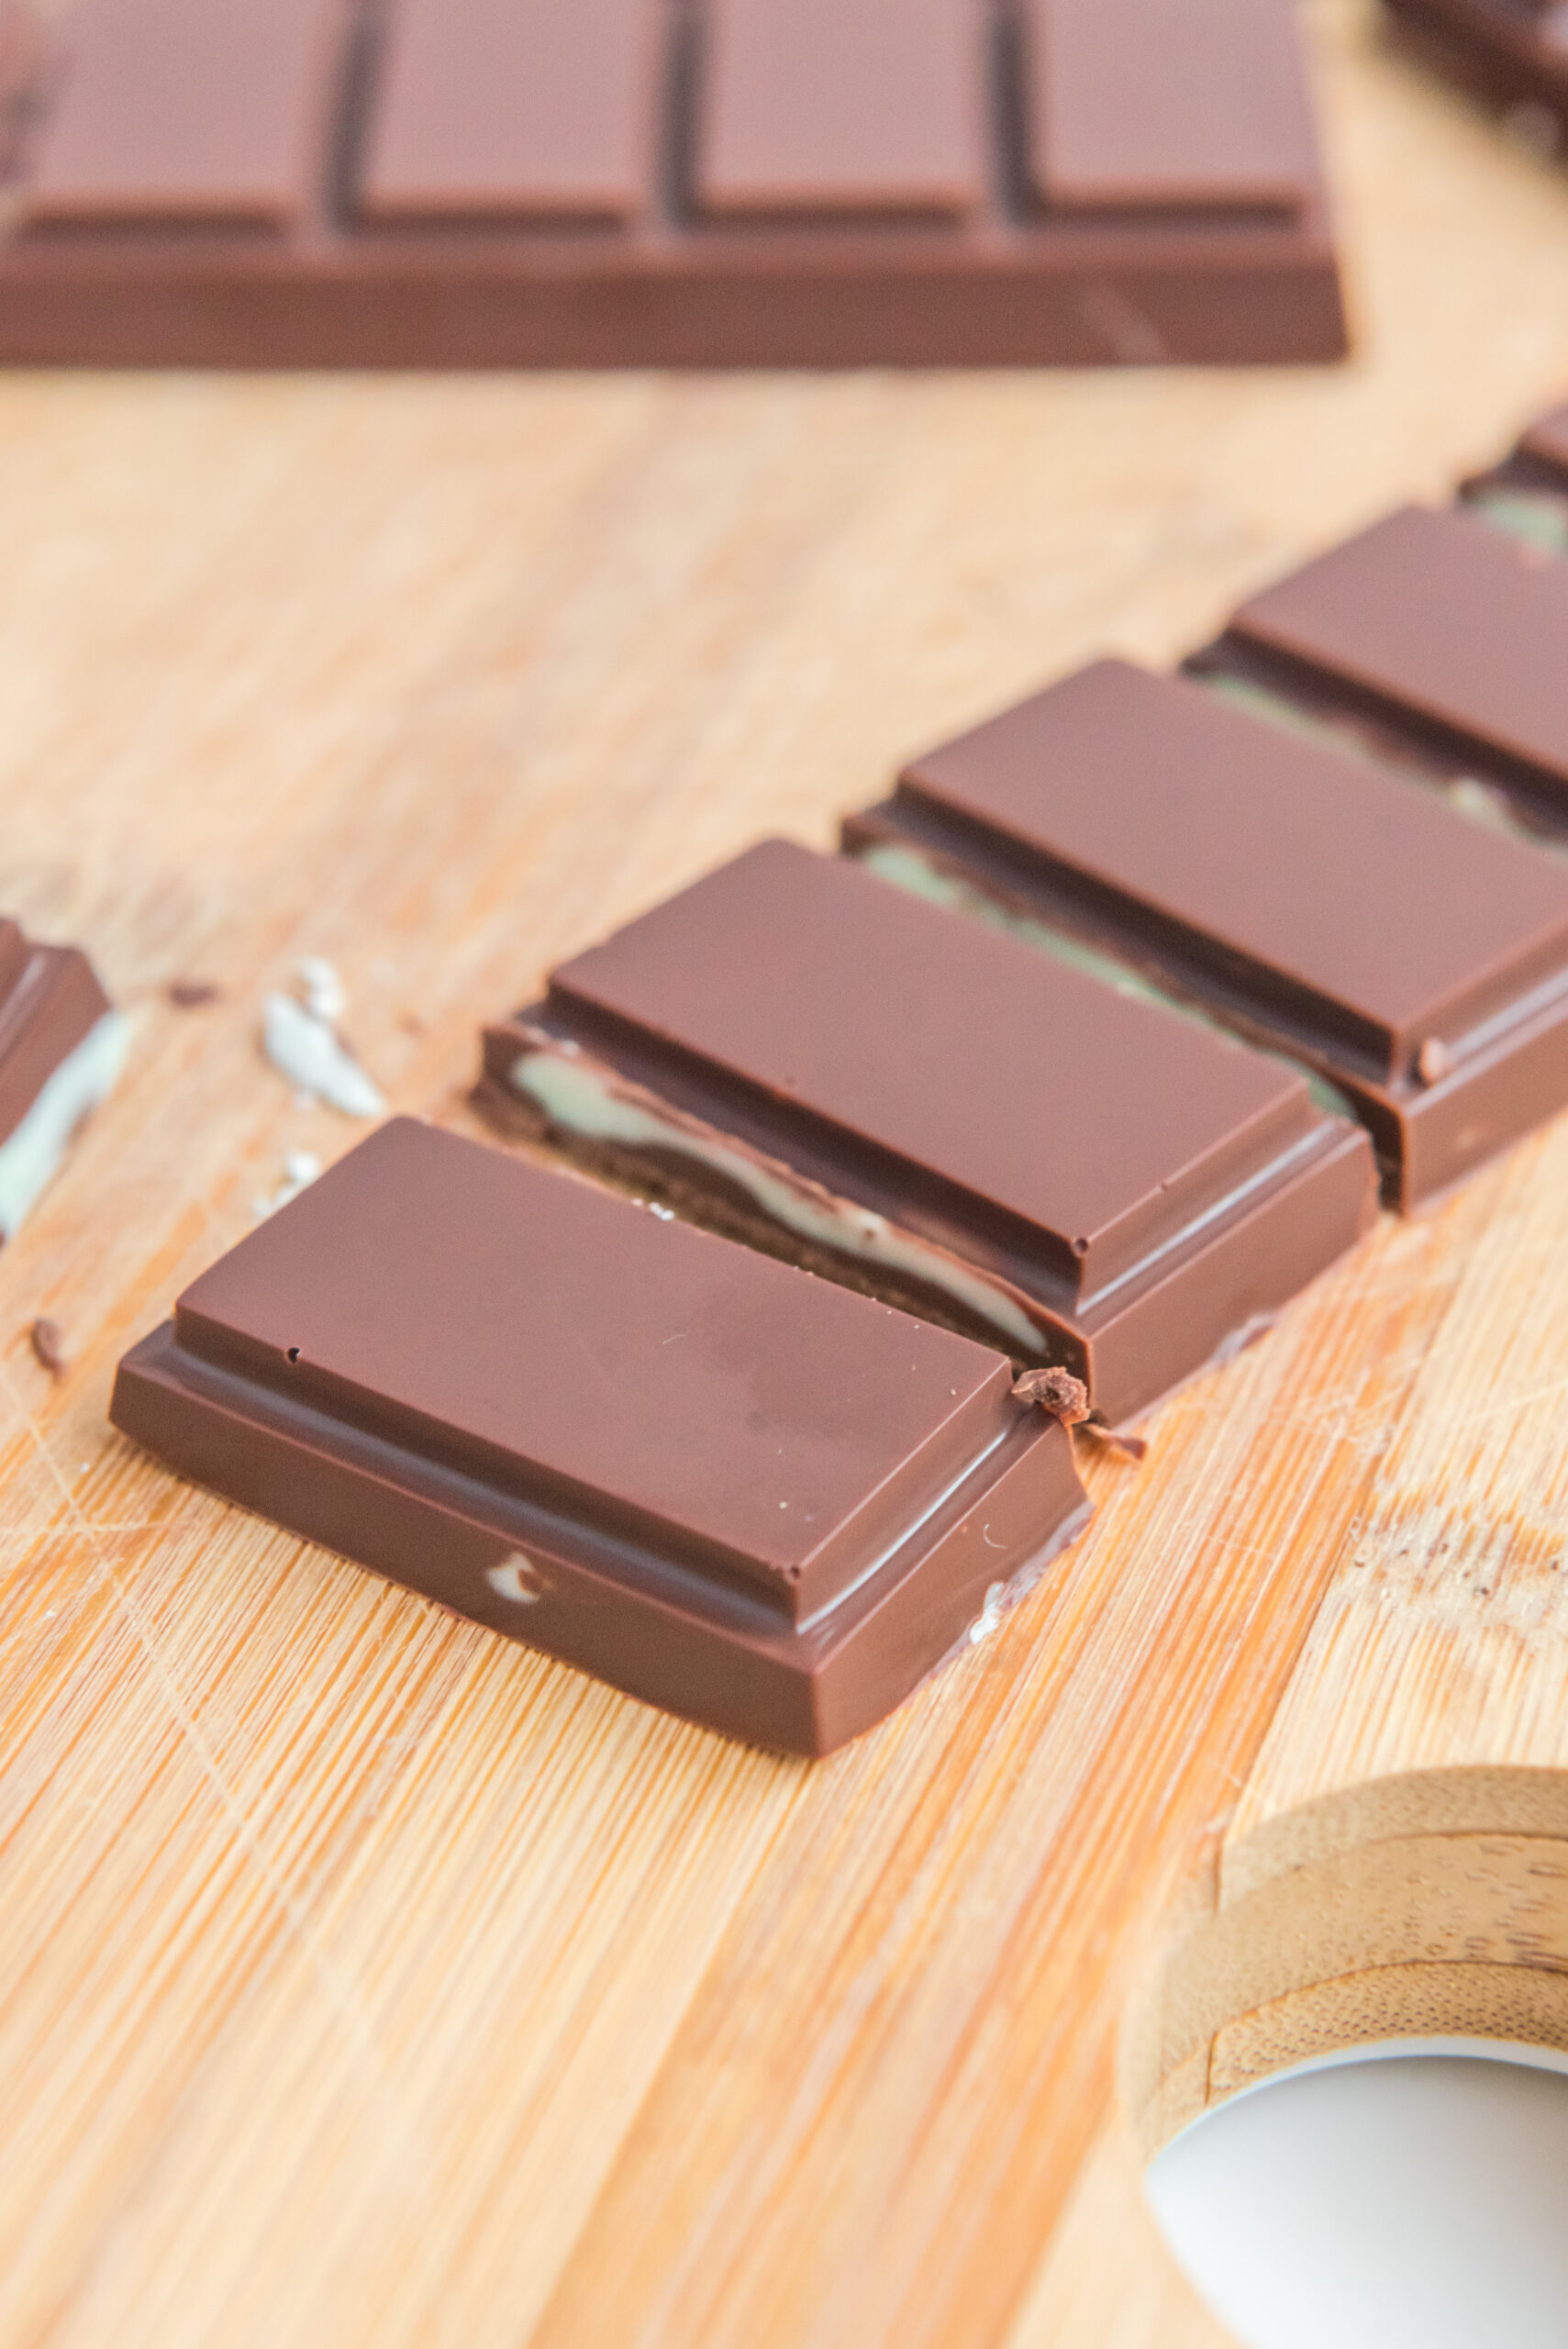
How to Make Chocolate Mints
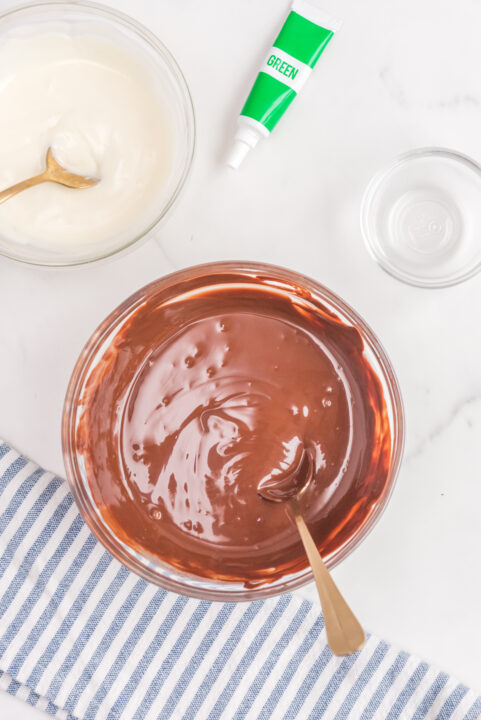
- Add dark chocolate chips to a large microwave-safe bowl. Microwave on 50% power for 1 minute. When done, stir and add 1 tablespoon of vegetable oil. Return to the microwave and heat on 50% power for 30-second bursts, stirring in between, until the chocolate is silky smooth. Set aside.
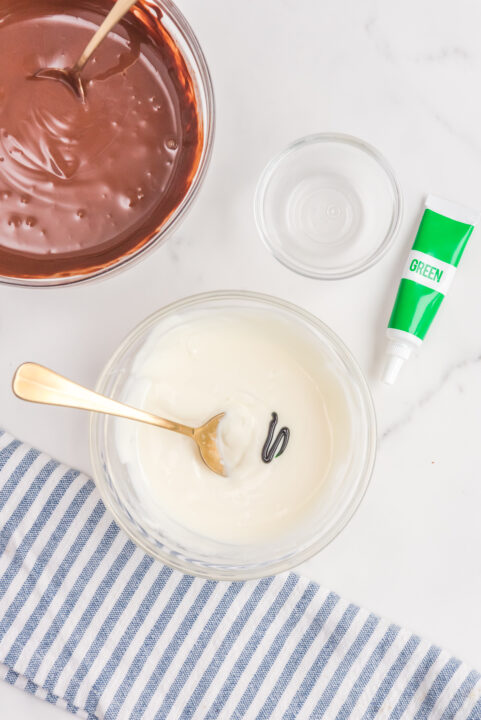
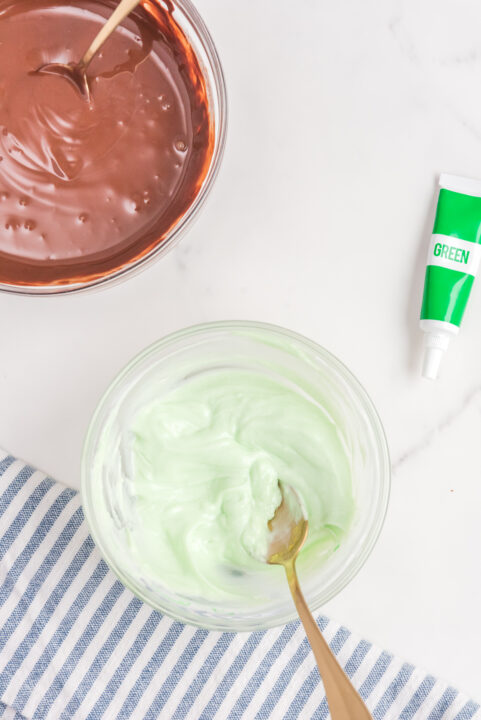
- Repeat step one for the white chocolate using the remaining vegetable oil. Add peppermint extract and 2 inches of green food gel when the chocolate is silky smooth. Mix until smooth, adding more coloring gel until you’ve reached your desired shade of mint green.
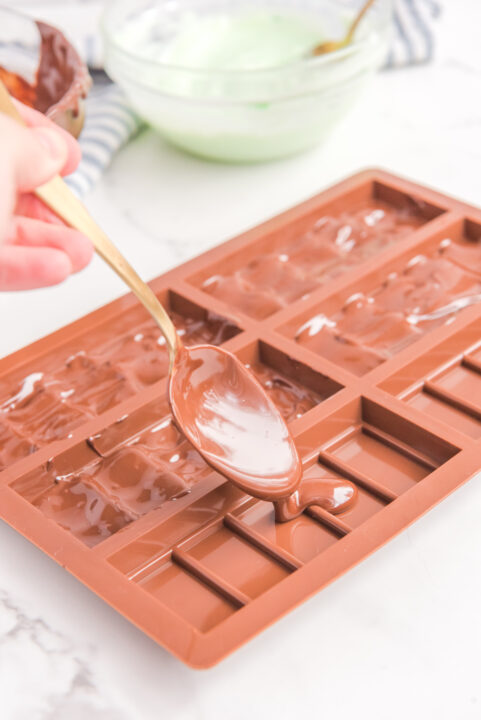
- Lay your silicone mold out flat on the table. Using a spoon, gently spoon in the melted dark chocolate into the bottom of the mold, filling it up about ⅓ of the way.
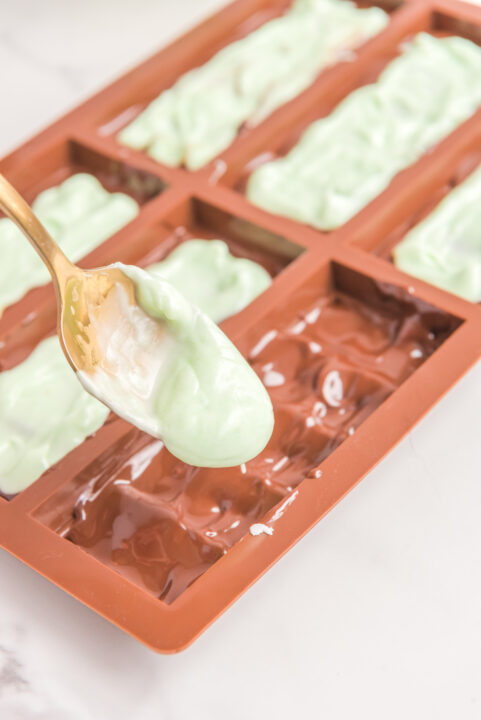
- Using a separate spoon, spoon out the green chocolate into an even, flat layer over the dark chocolate. Cover the dark chocolate to the best of your abilities, creating a smooth layer filling the mold ⅔ of the way.
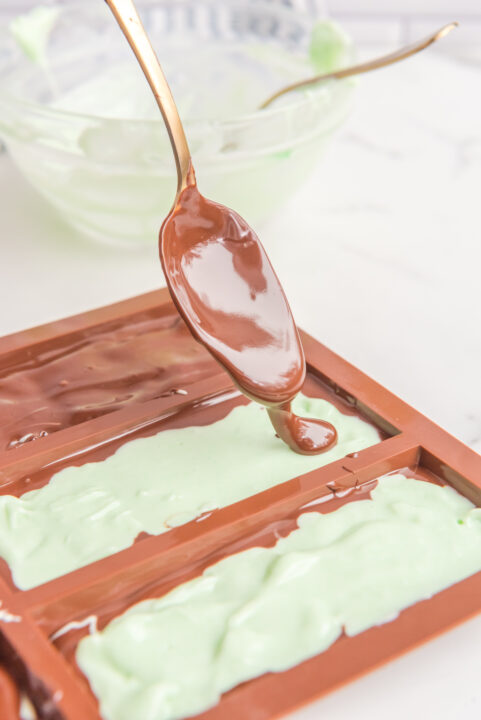
- Top the green layer with the remaining dark chocolate, covering the second layer entirely. Be sure to smooth and flatten the dark chocolate.
- Place mold onto a baking sheet for balance and into the freezer to chill for 4 hours or overnight.
- When the chocolate has completed cooling, remove it from the silicone mold. This should be an easy process where the chocolate can simply pop out.
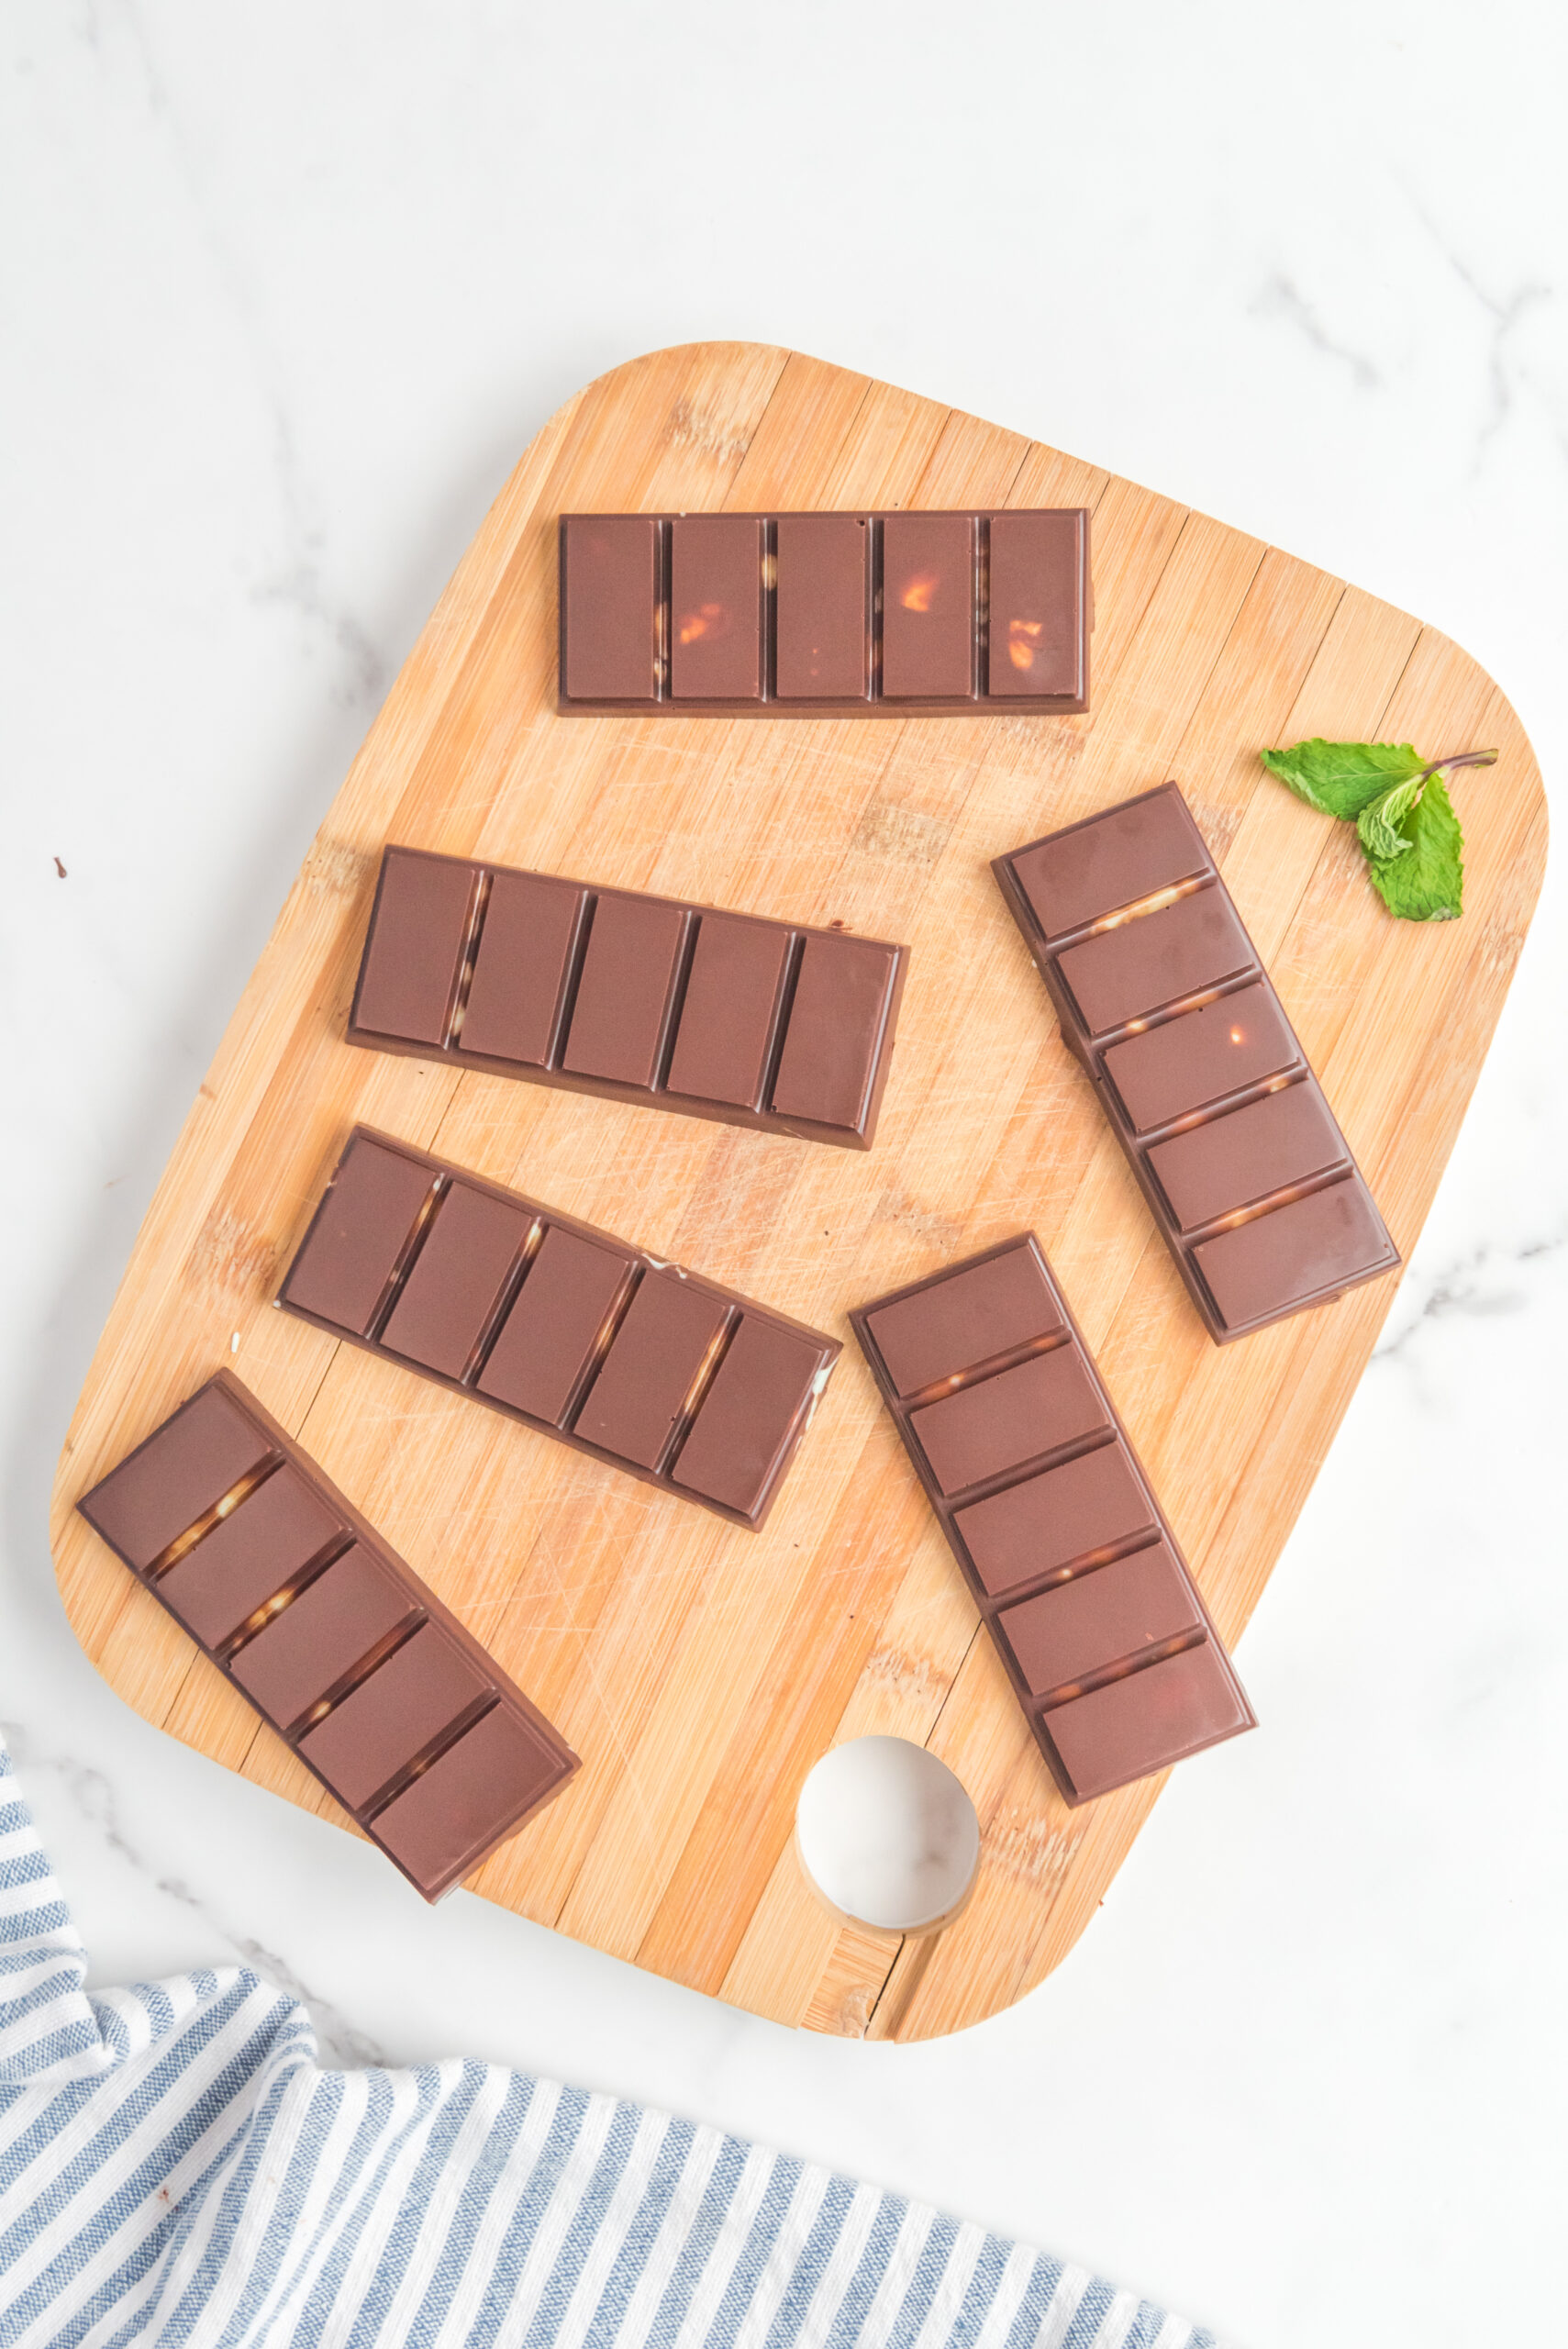
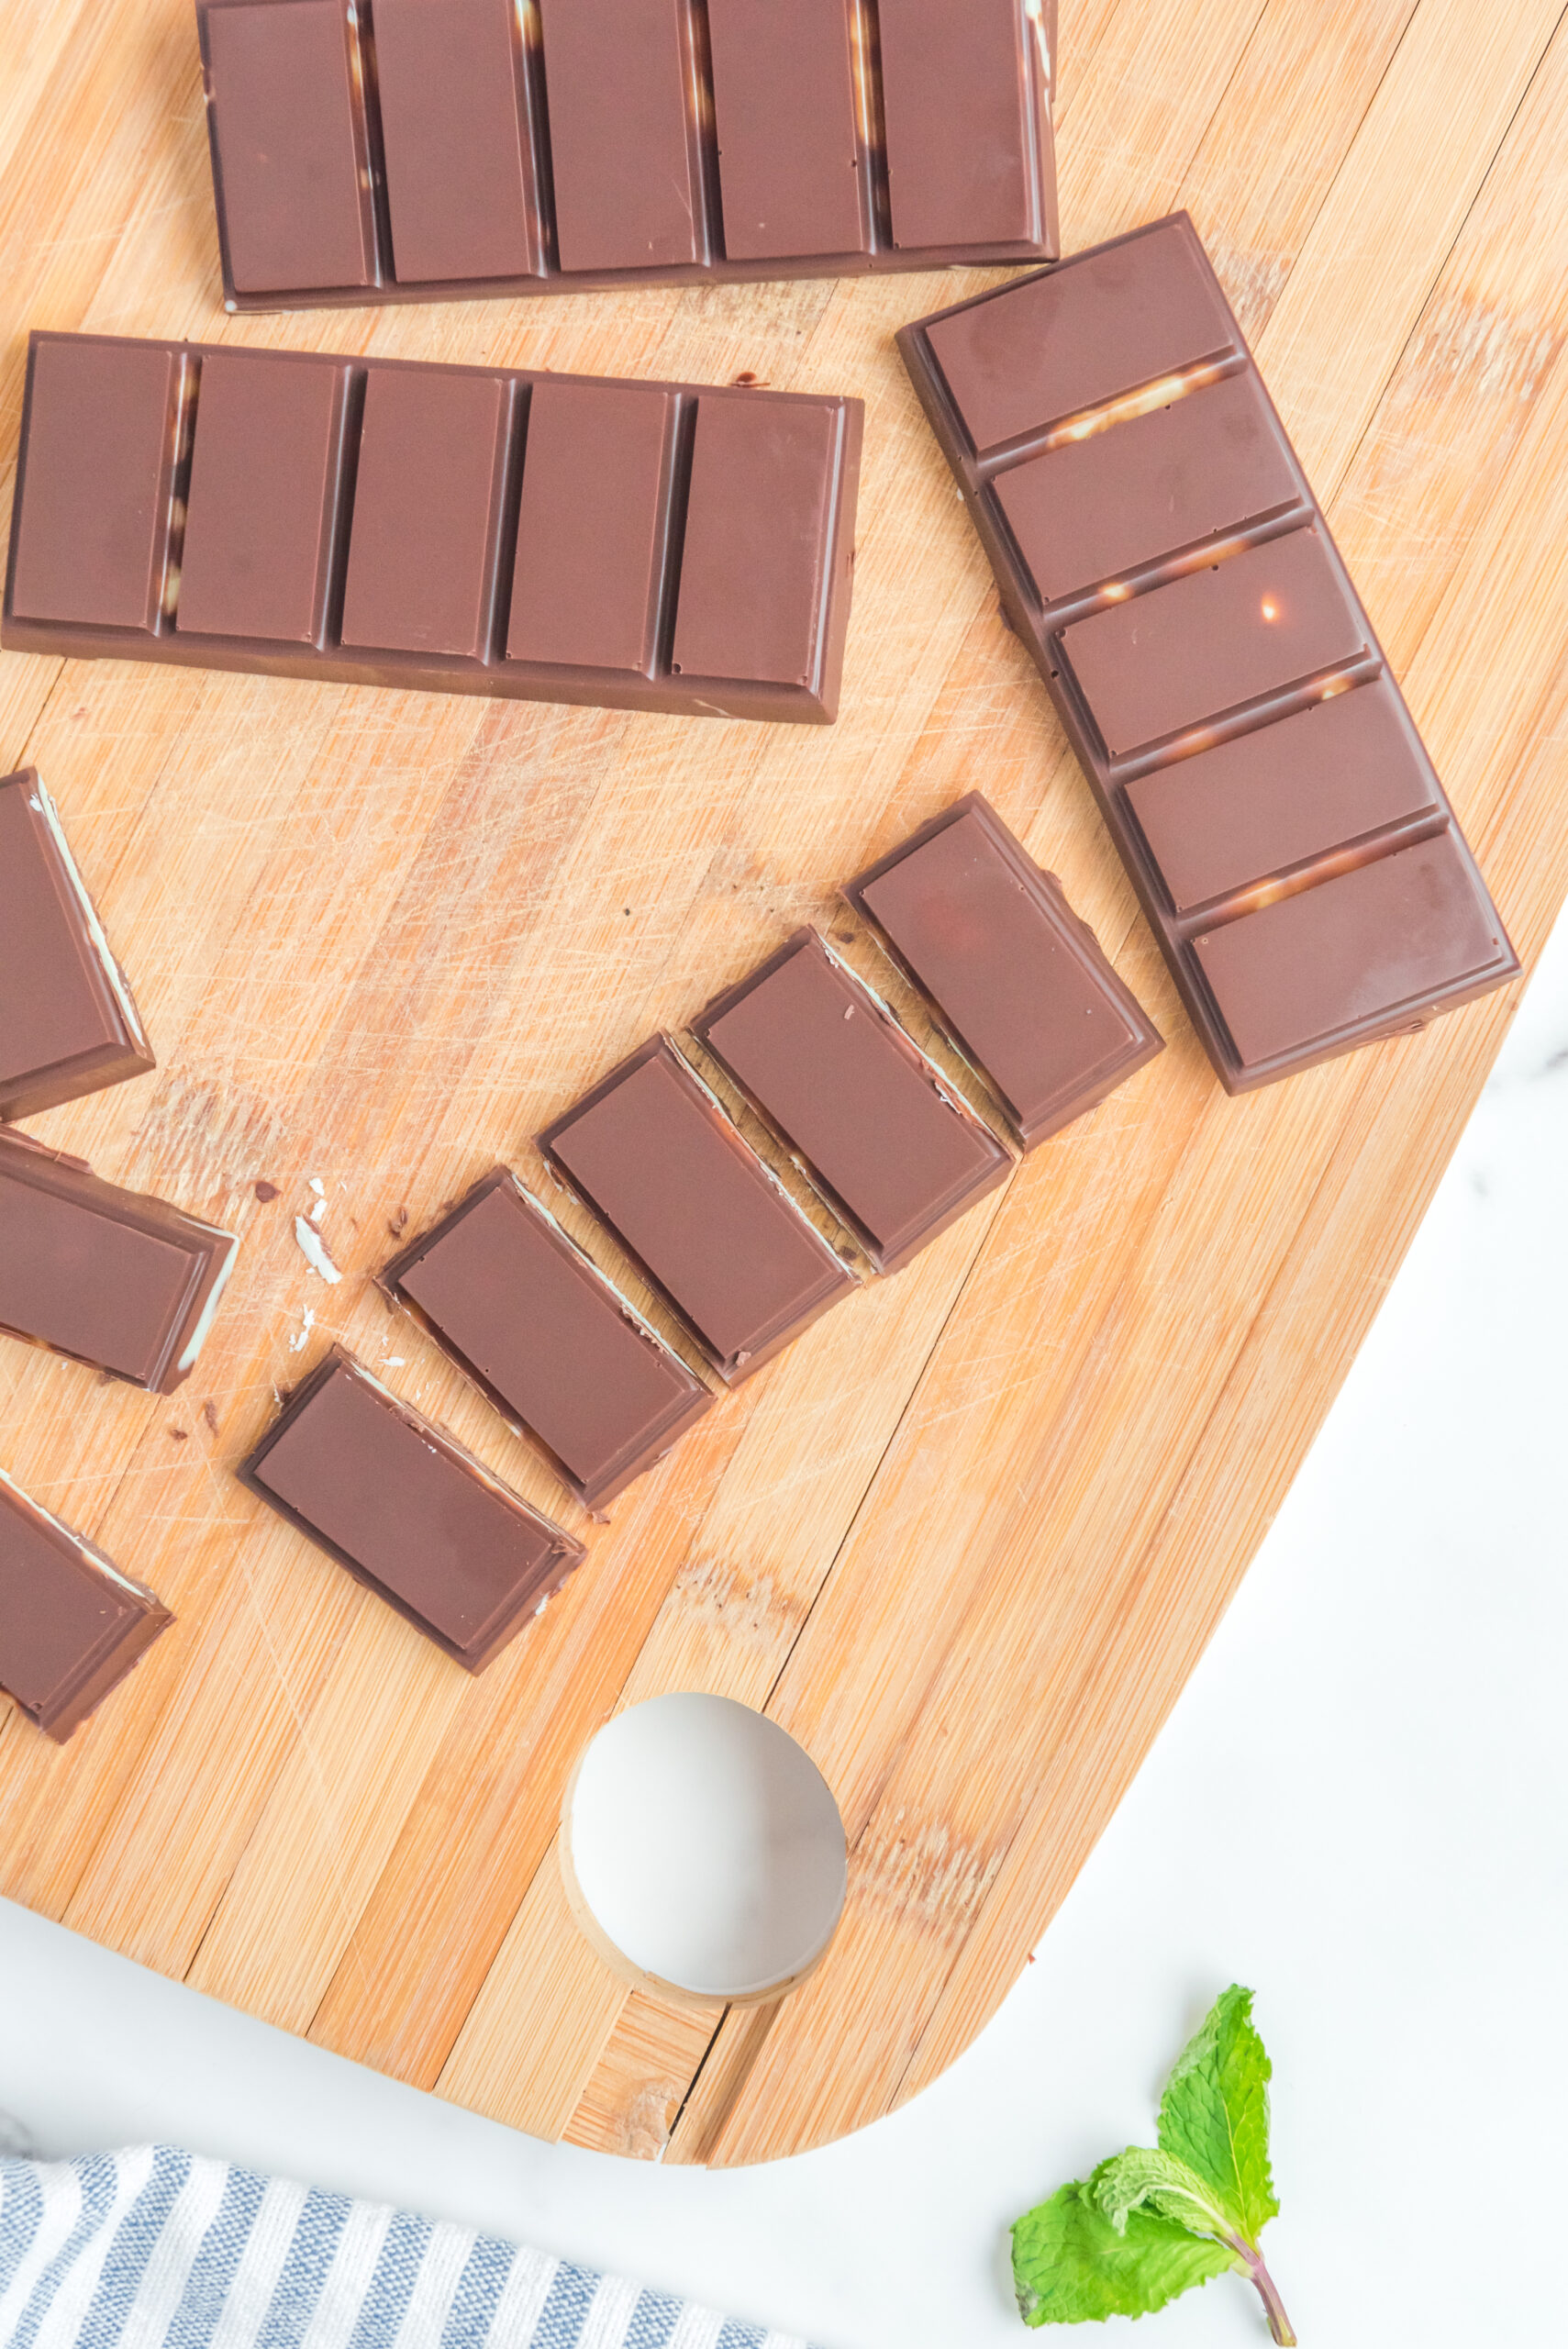
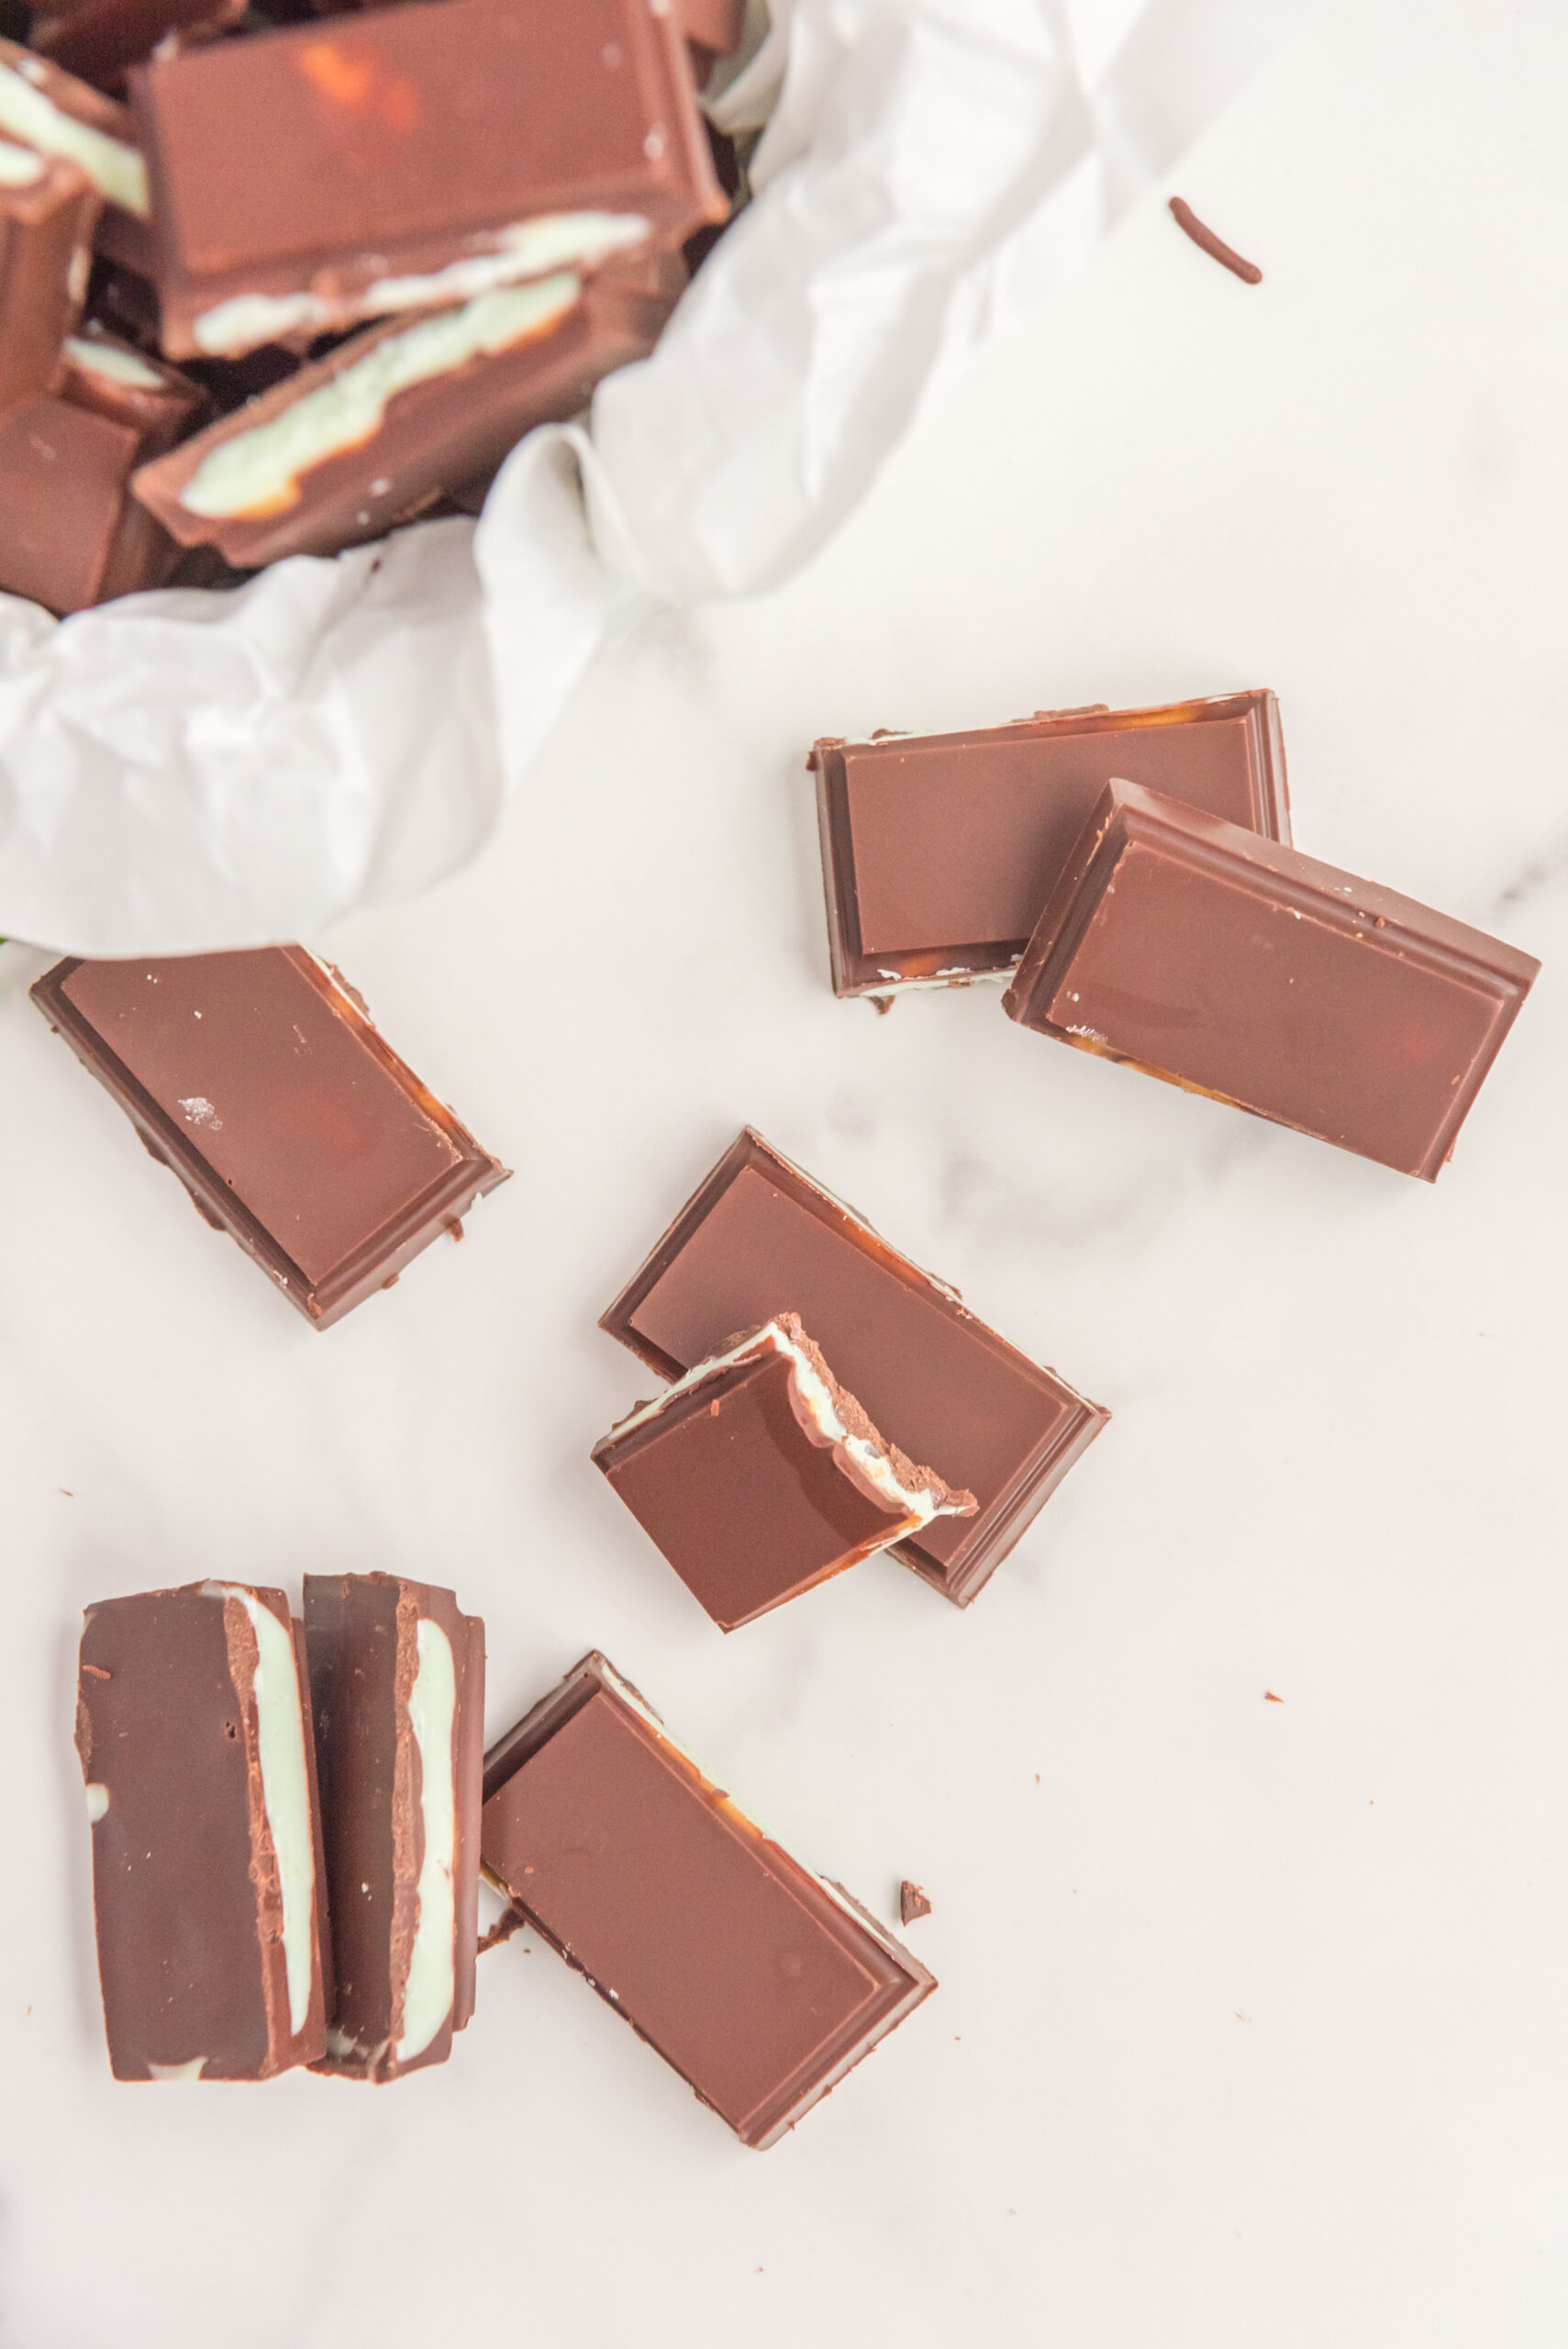
- Place all chocolate on a cutting board and cut along the pre-grooved edges from the mold. Create (5) 1×2 pieces of candy per bar. Serve immediately and store it inside the refrigerator.
FAQs for Chocolate Mints Recipe
How many Andes mints does one batch make?
One batch of homemade Andes mints typically yields around 24-30 mints, depending on the size of the mold used.
How long do homemade Andes mints last?
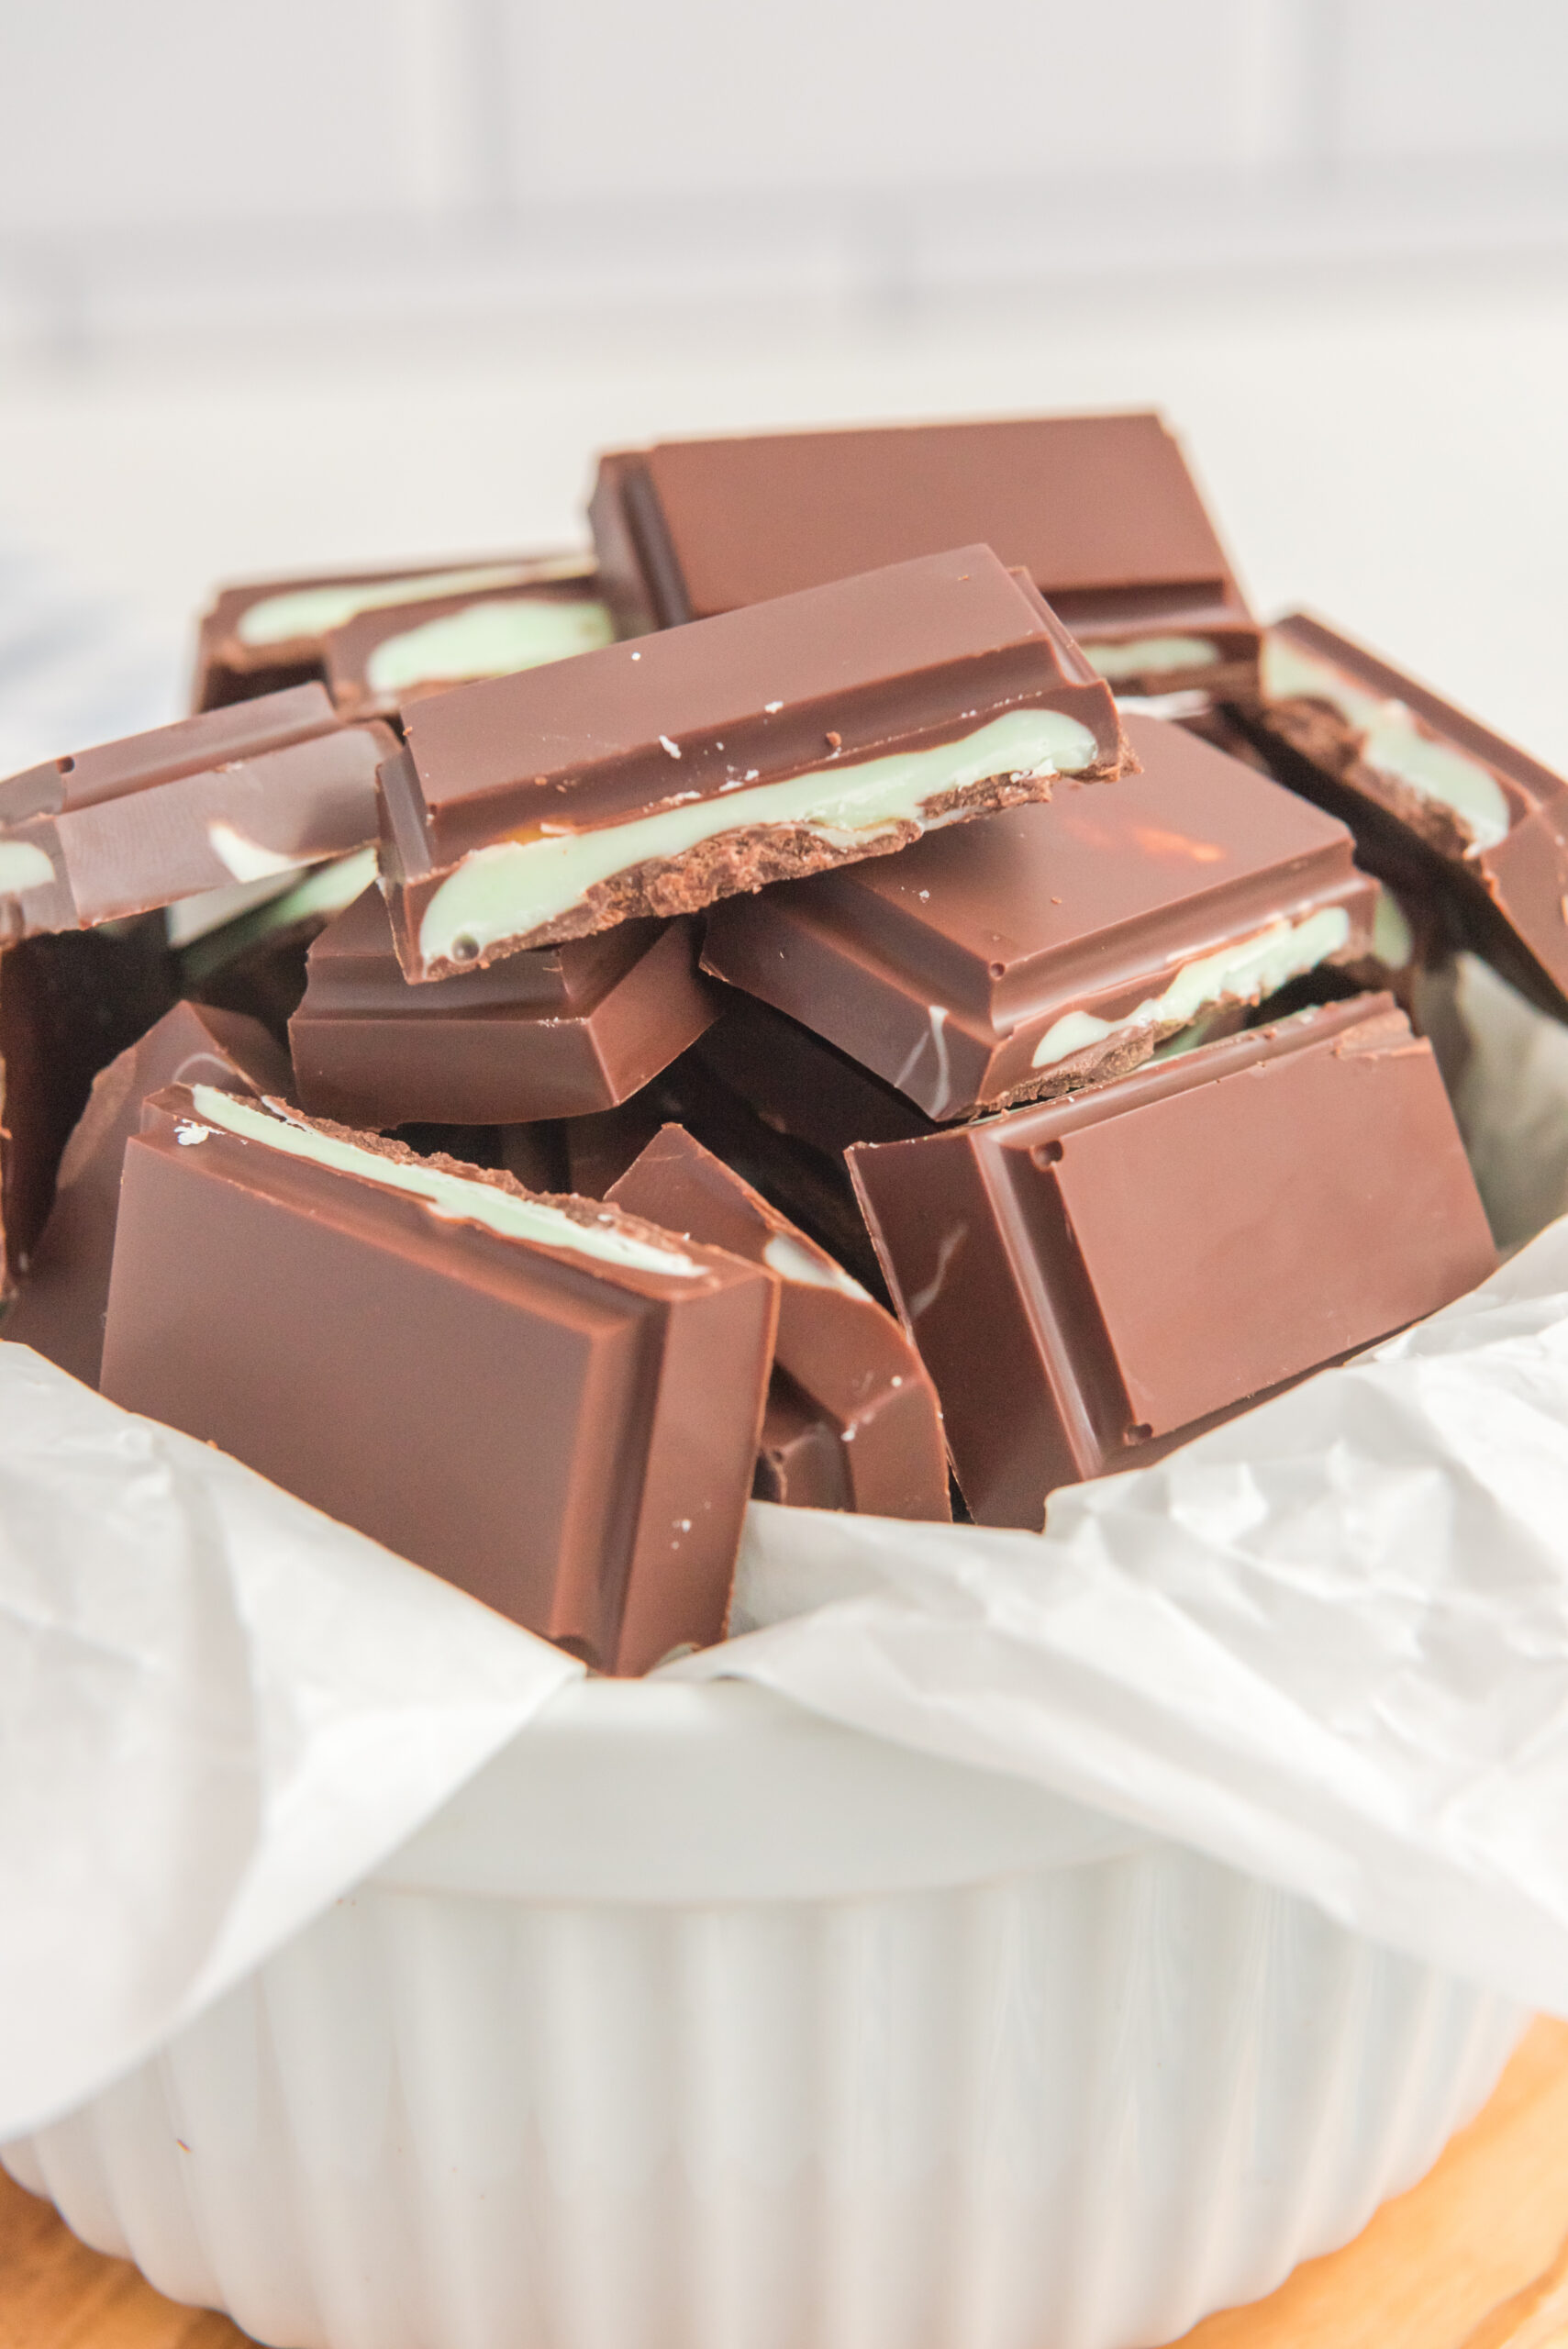
Homemade Andes mints can be stored in an airtight container for up to two weeks in the refrigerator. However, for optimal freshness and flavor, consuming them within the first week is recommended.
Can I use a different type of chocolate instead of dark chocolate?
Yes, you can experiment with different types of chocolate to customize the flavor of your homemade Andes mints. However, remember that using milk or white chocolate may result in a slightly different texture and flavor.
Can I skip the green food coloring?
Yes, the green food coloring is optional and does not affect the flavor of the Andes mints. If you prefer, you can skip the food coloring altogether or use a different color to customize the appearance of the mints.
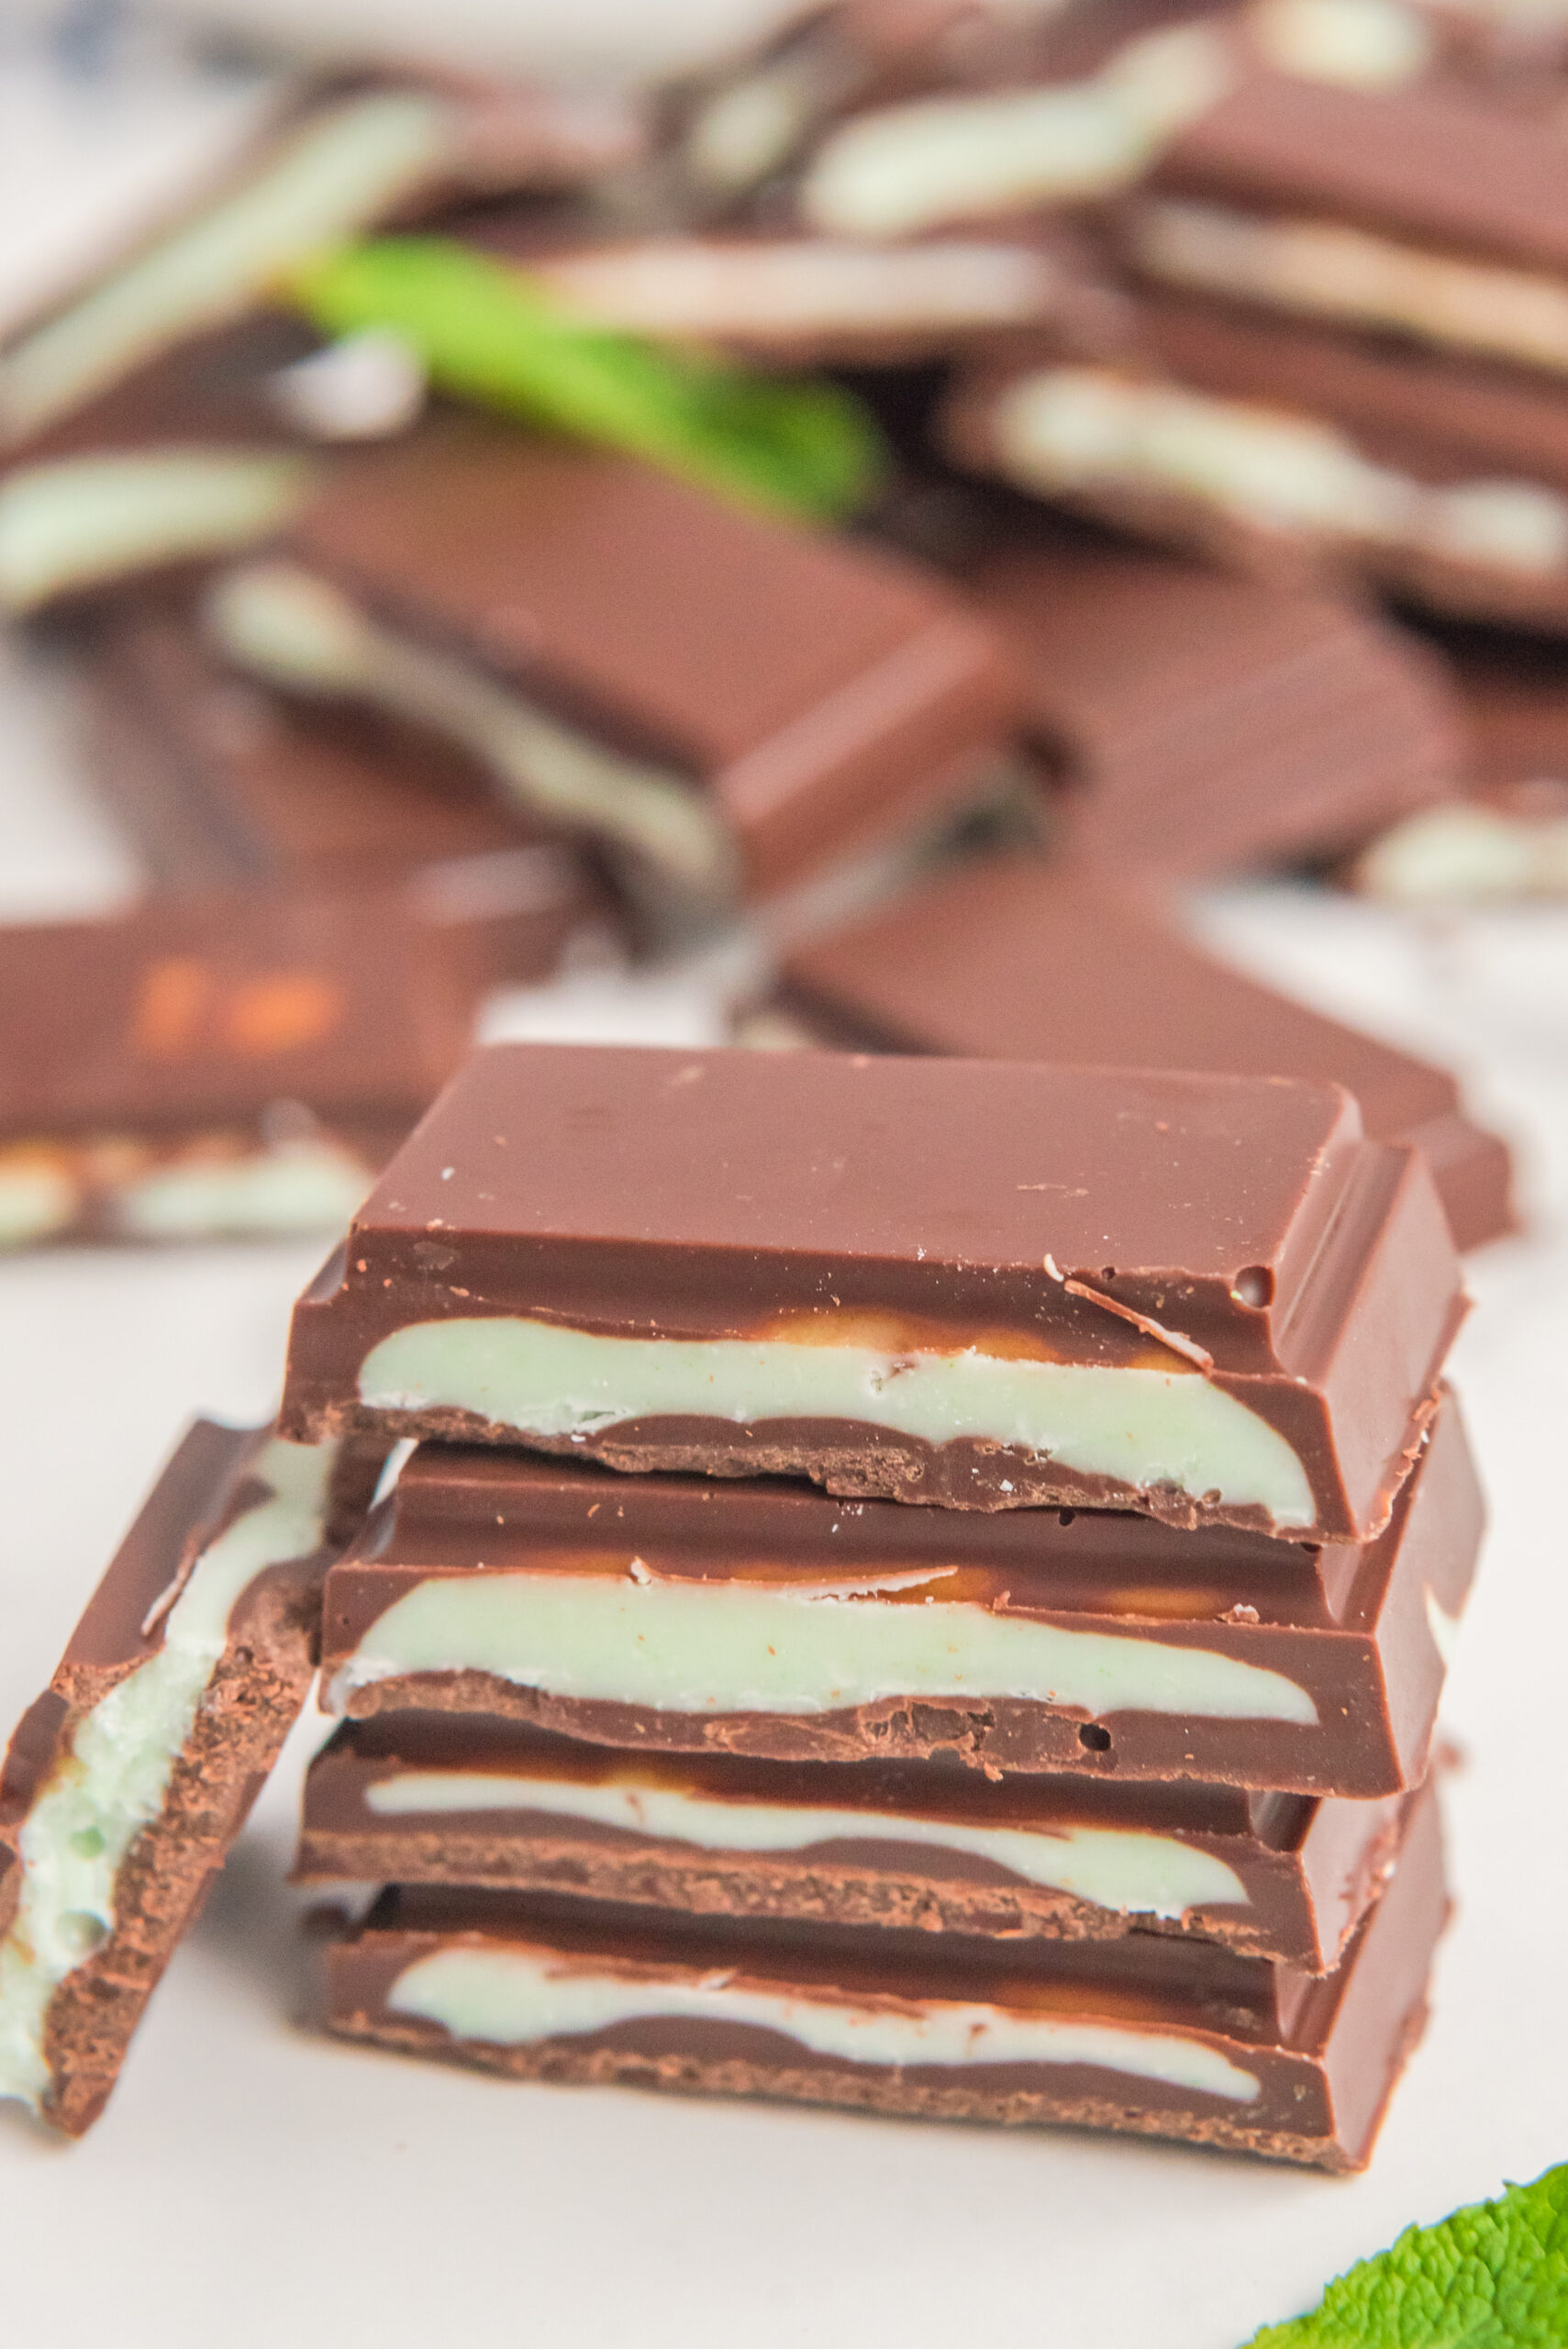
Can I make Andes mints without a mold?
While using a mold is the traditional way to make Andes mints, you can spoon the melted chocolate mixture onto a baking sheet lined with parchment paper and then cut them into squares once hardened.
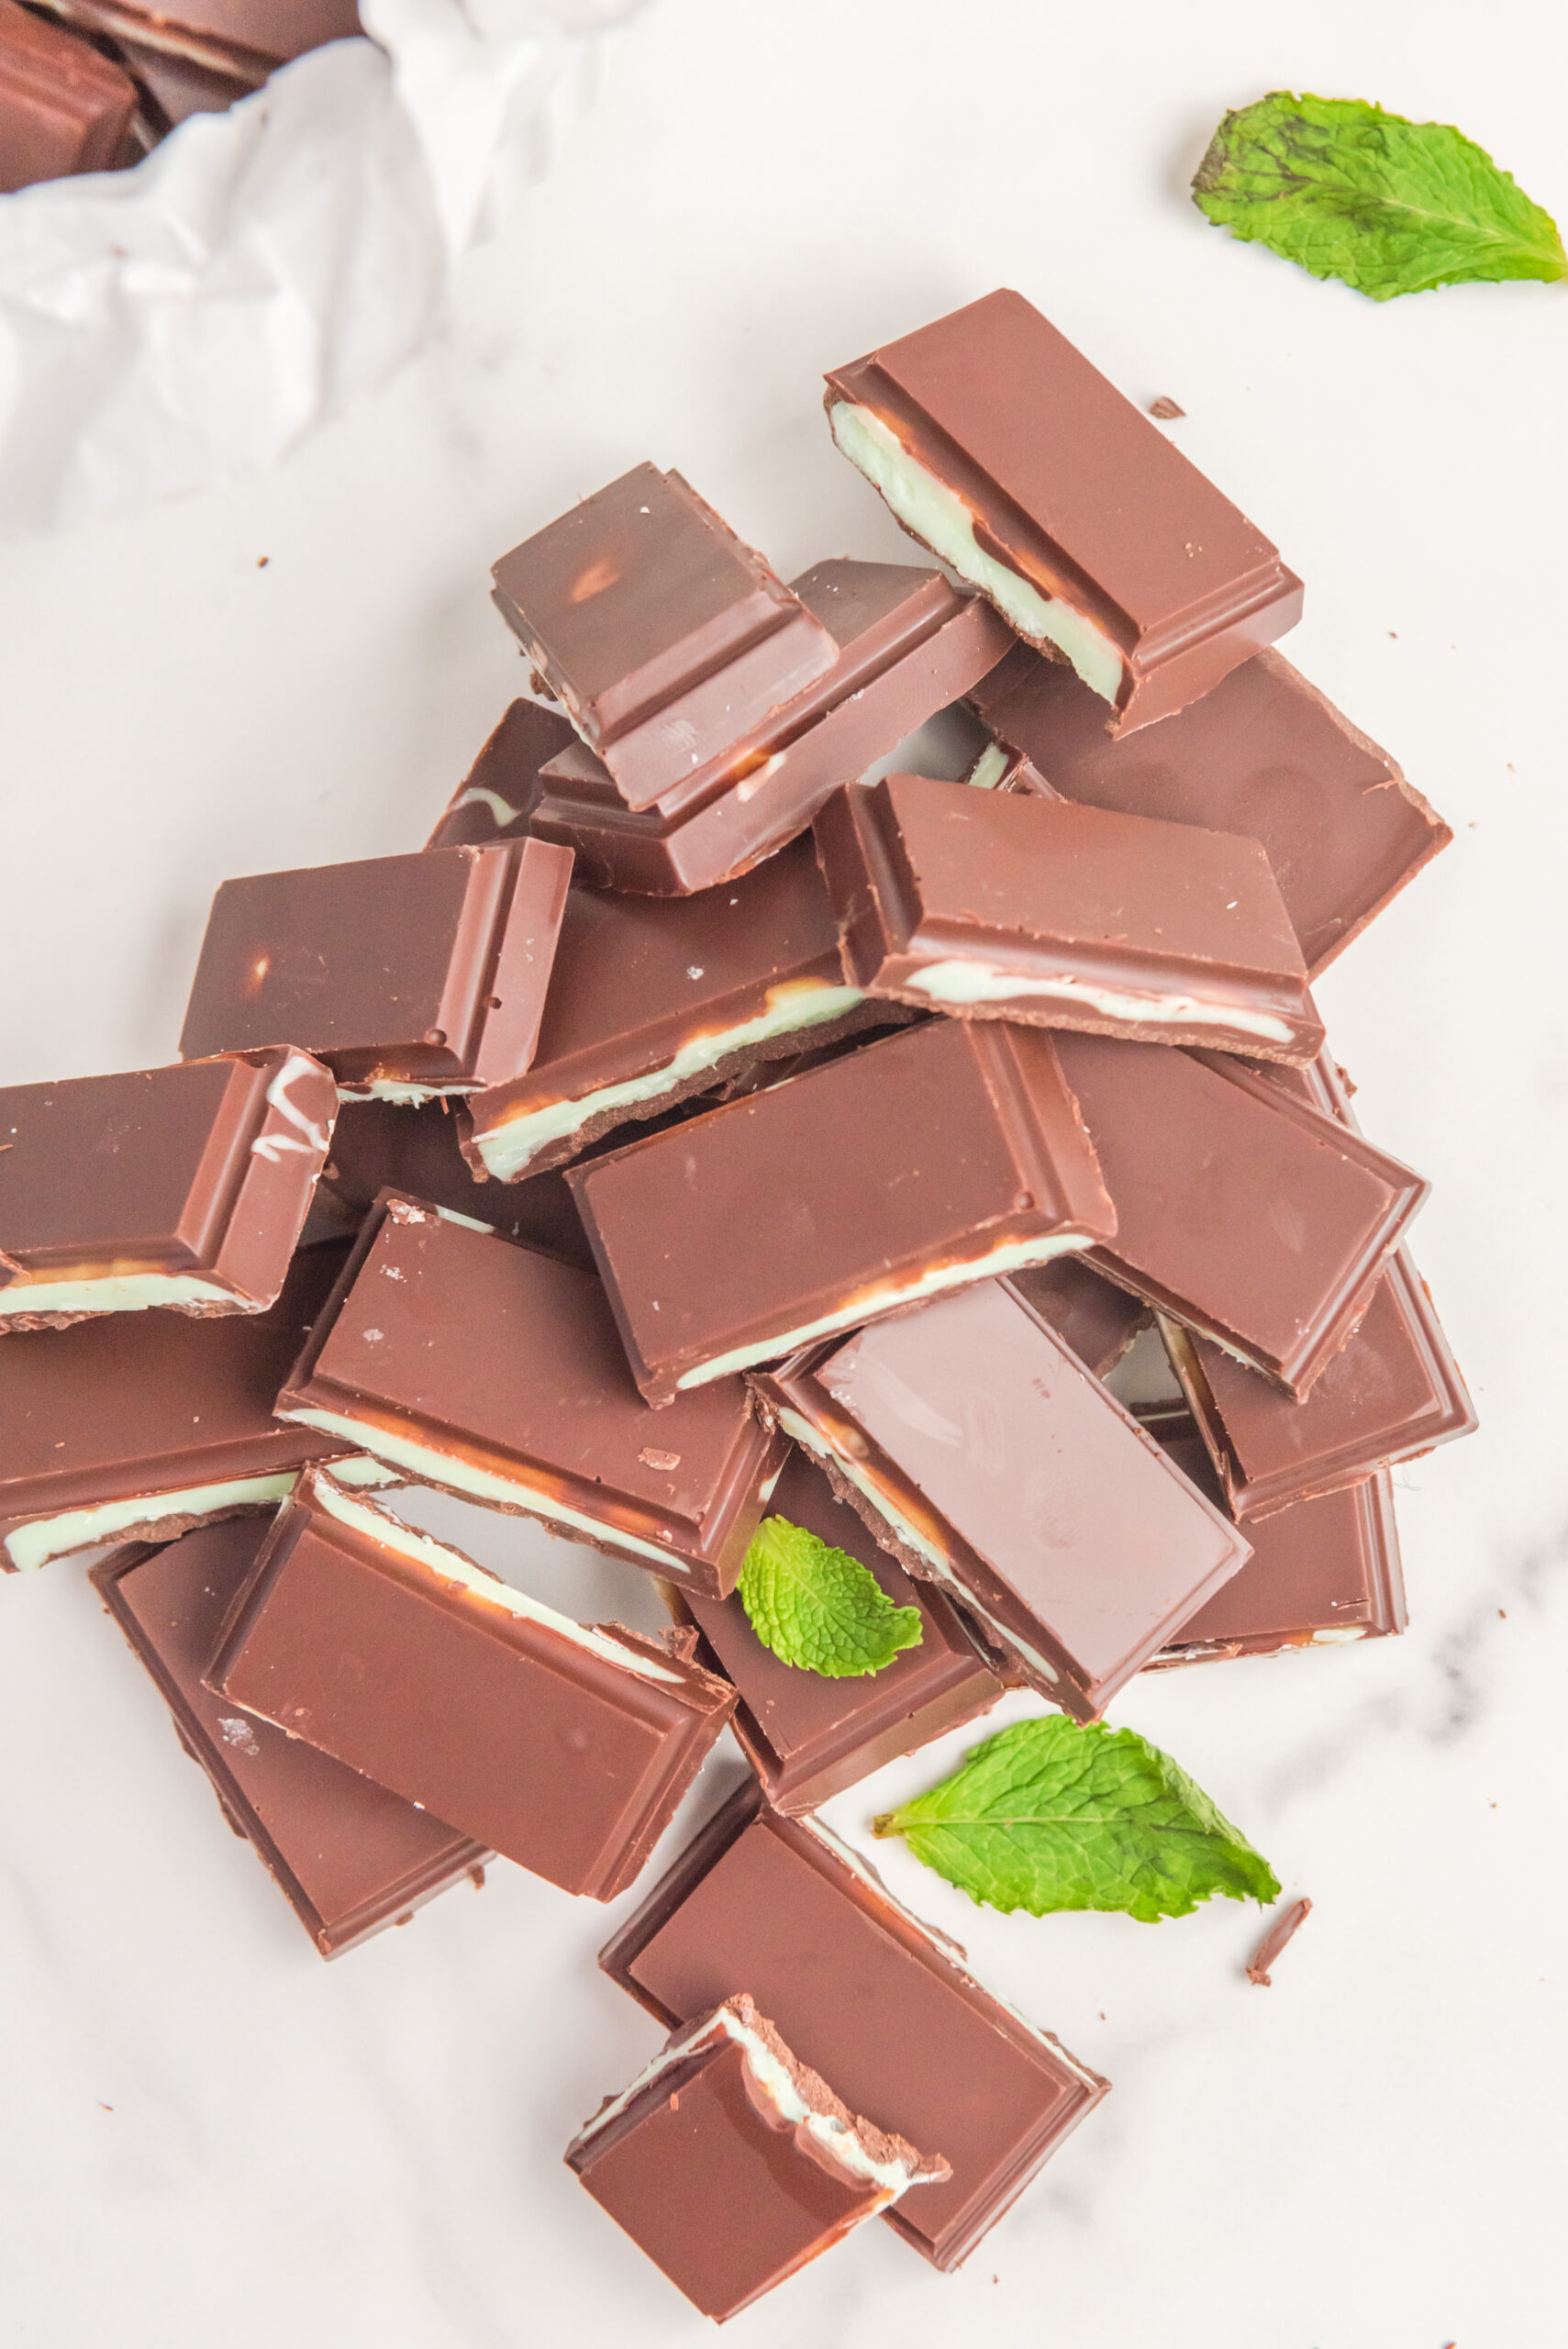
The next time you are craving Andes mints and don’t feel like running to the store, you can simply whip up these Homemade Andes Mints!
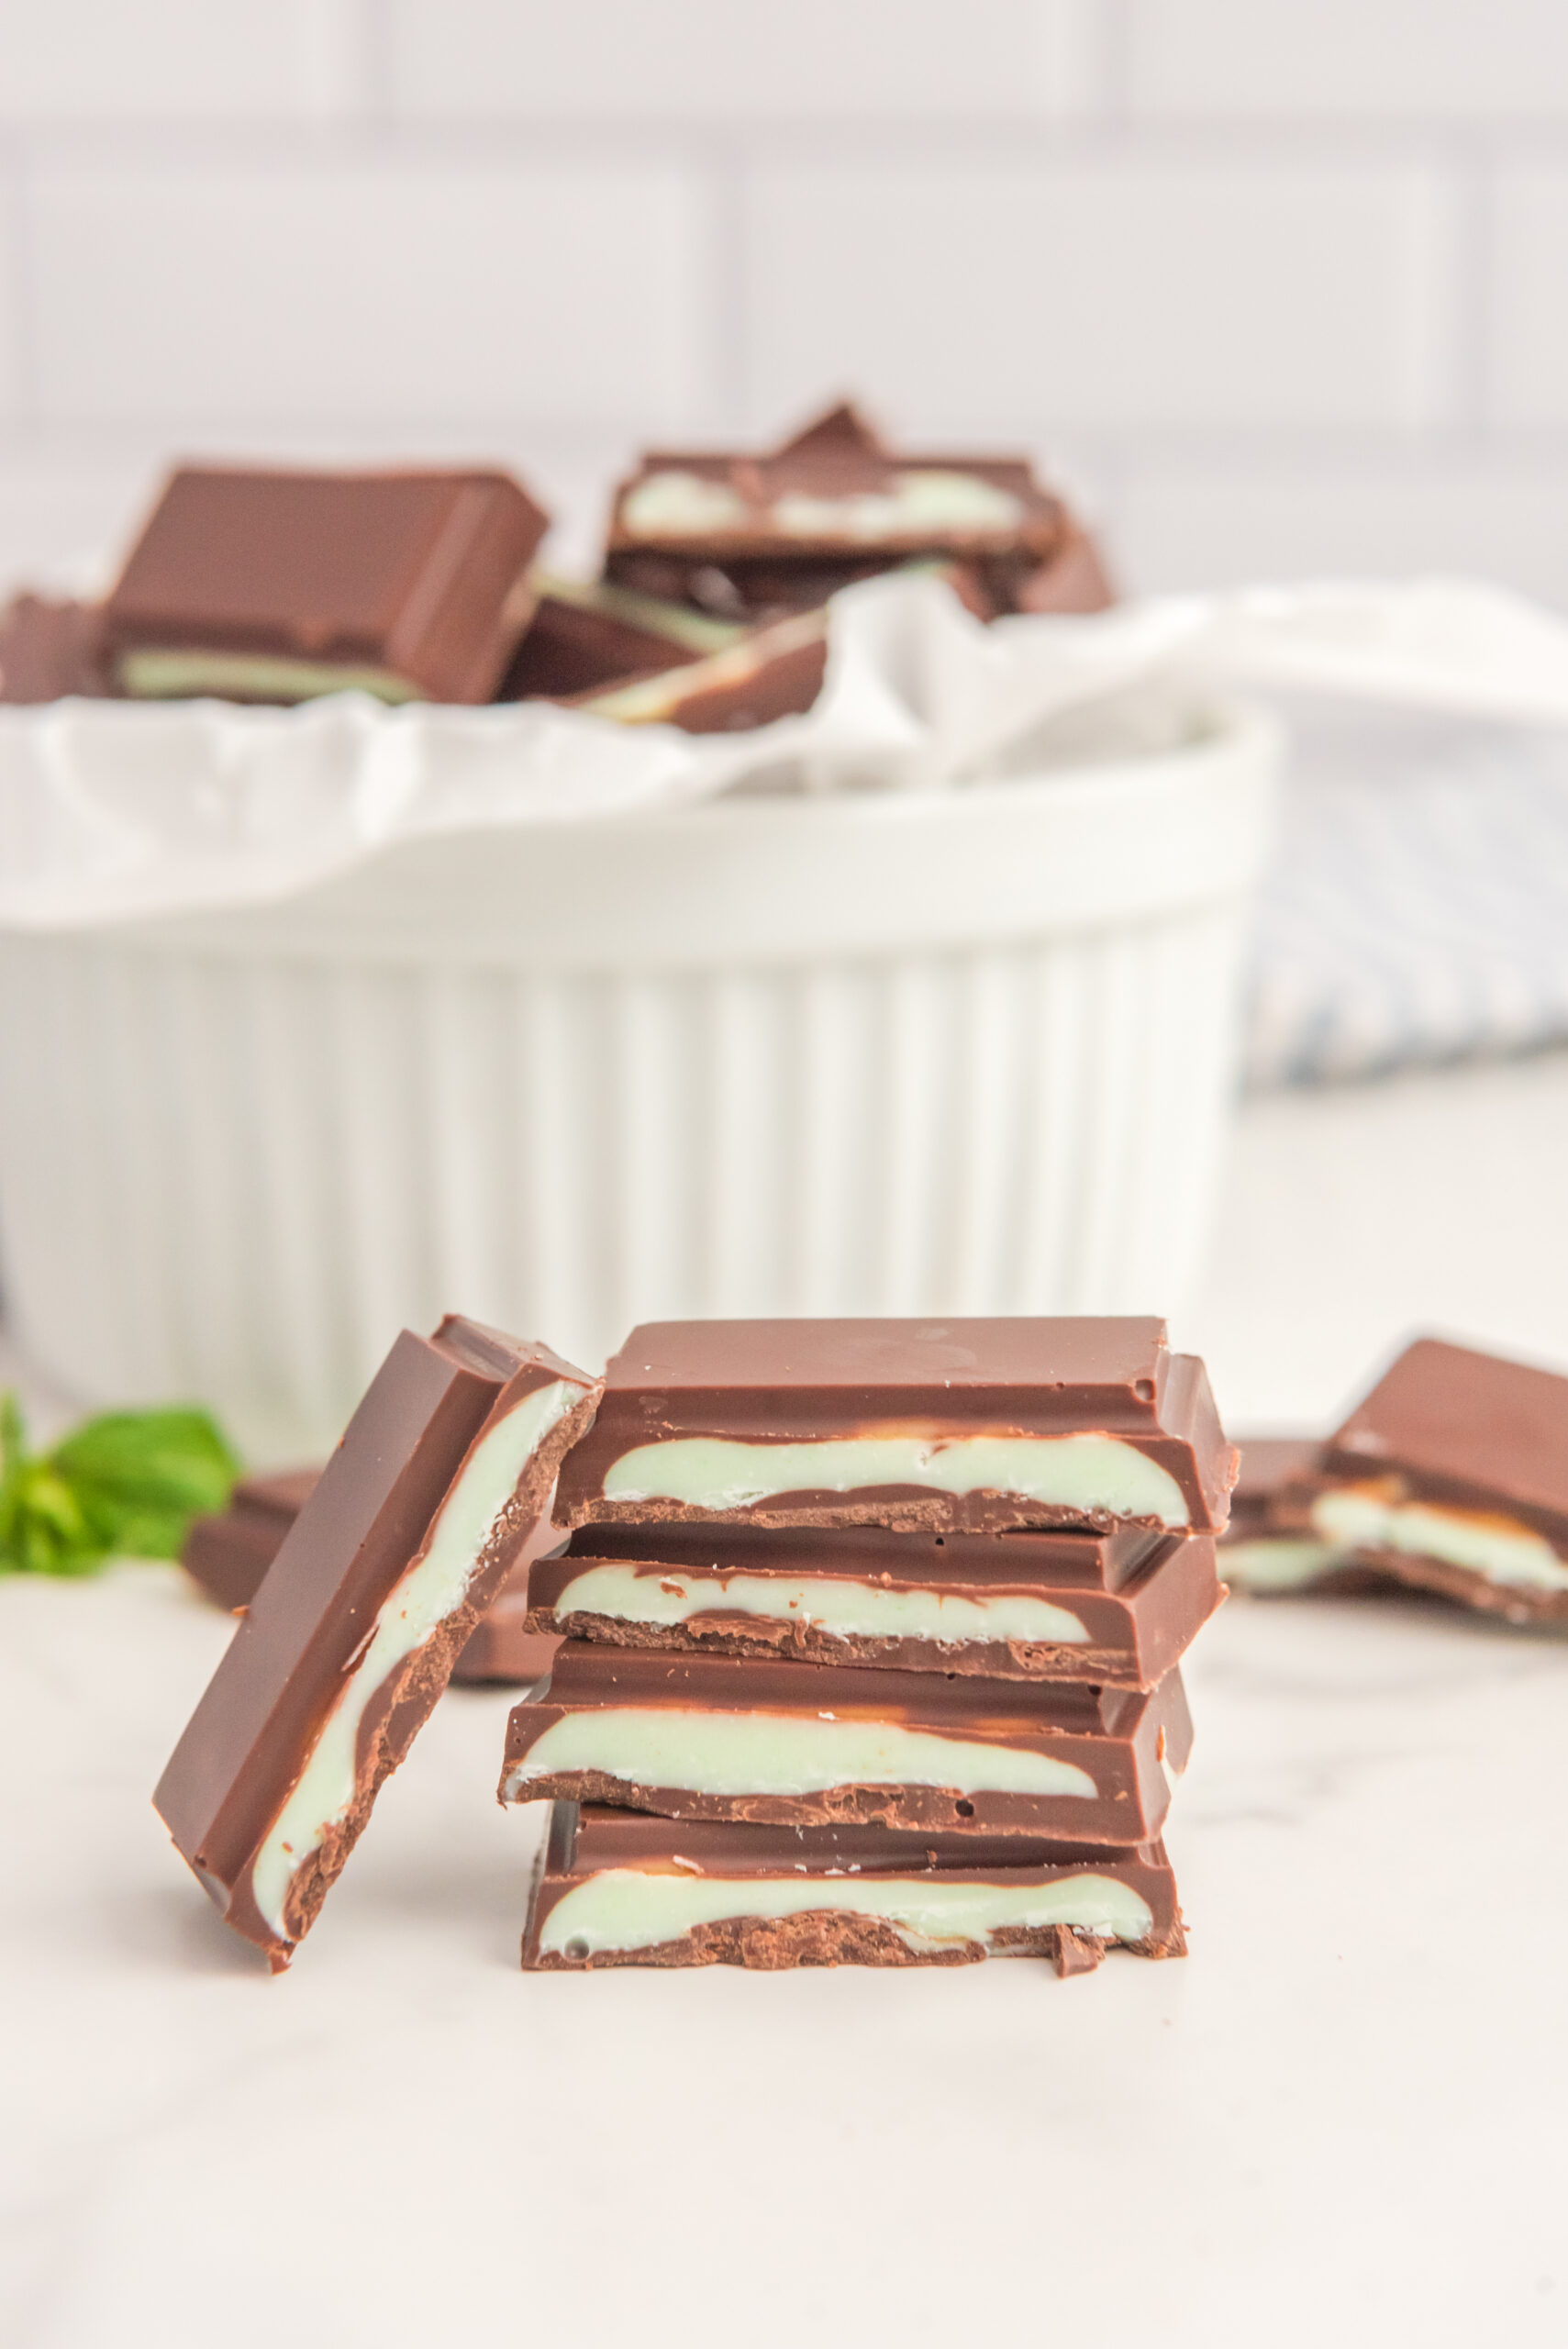
More Recipes You Will Love!
The recipe
Homemade Andes Mints
- Prep30 minutes
- Total30 minutes
- Servings30
Ingredients
- 1 11 oz bag dark chocolate chips
- 1/2 11 oz bag white chocolate chips
- 2 tablespoons vegetable oil divided
- 1 teaspoon peppermint extract
- Green gel food coloring
Instructions
- Add dark chocolate chips to a large microwave safe bowl. Microwave on 50% power for 1 minute. When done, stir and add 1 tablespoon of vegetable oil. Return to the microwave and heat on 50% power for 30-second bursts, stirring in between, until the chocolate is silky smooth. Set aside.
- Repeat step one for the white chocolate using the remaining vegetable oil. When the chocolate is silky smooth, add peppermint extract and 2 inches of green food gel. Mix until smooth, adding more coloring gel until you’ve reached your desired shade of mint green.
- Lay your silicone mold out flat on the table. Using a spoon, gently spoon in the melted dark chocolate into the bottom of the mold, filling it up about ⅓ of the way.
- Using a separate spoon, spoon out the green chocolate into an even, flat layer over the dark chocolate. Cover the dark chocolate to the best of your abilities, creating a smooth layer filling the mold ⅔ of the way.
- Top the green layer with the remaining dark chocolate, covering the second layer entirely. Be sure to smooth and flatten the dark chocolate.
- Place mold onto a baking sheet for balance and into the freezer to chill for 4 hours or overnight.
- When the chocolate has completed cooling, remove from the silicone mold. This should be an easy process where the chocolate cna simply pop out.
- Place all chocolate on a cutting board and cut along the pre-grooved edges from the mold, create (5) 1×2 pieces of candy per bar. Serve immediately and store inside the refrigerator.