

Craving that iconic sweet and salty combination of chocolate and peanut butter? Look no further! This recipe for homemade Reese’s Peanut Butter Cups allows you to create decadent, melt-in-your-mouth chocolate peanut butter treats right in your own kitchen. Not only are they incredibly easy to prepare, requiring minimal ingredients and fuss, but they are also exceptionally addicting – you might just find yourself reaching for another before you even realize it!
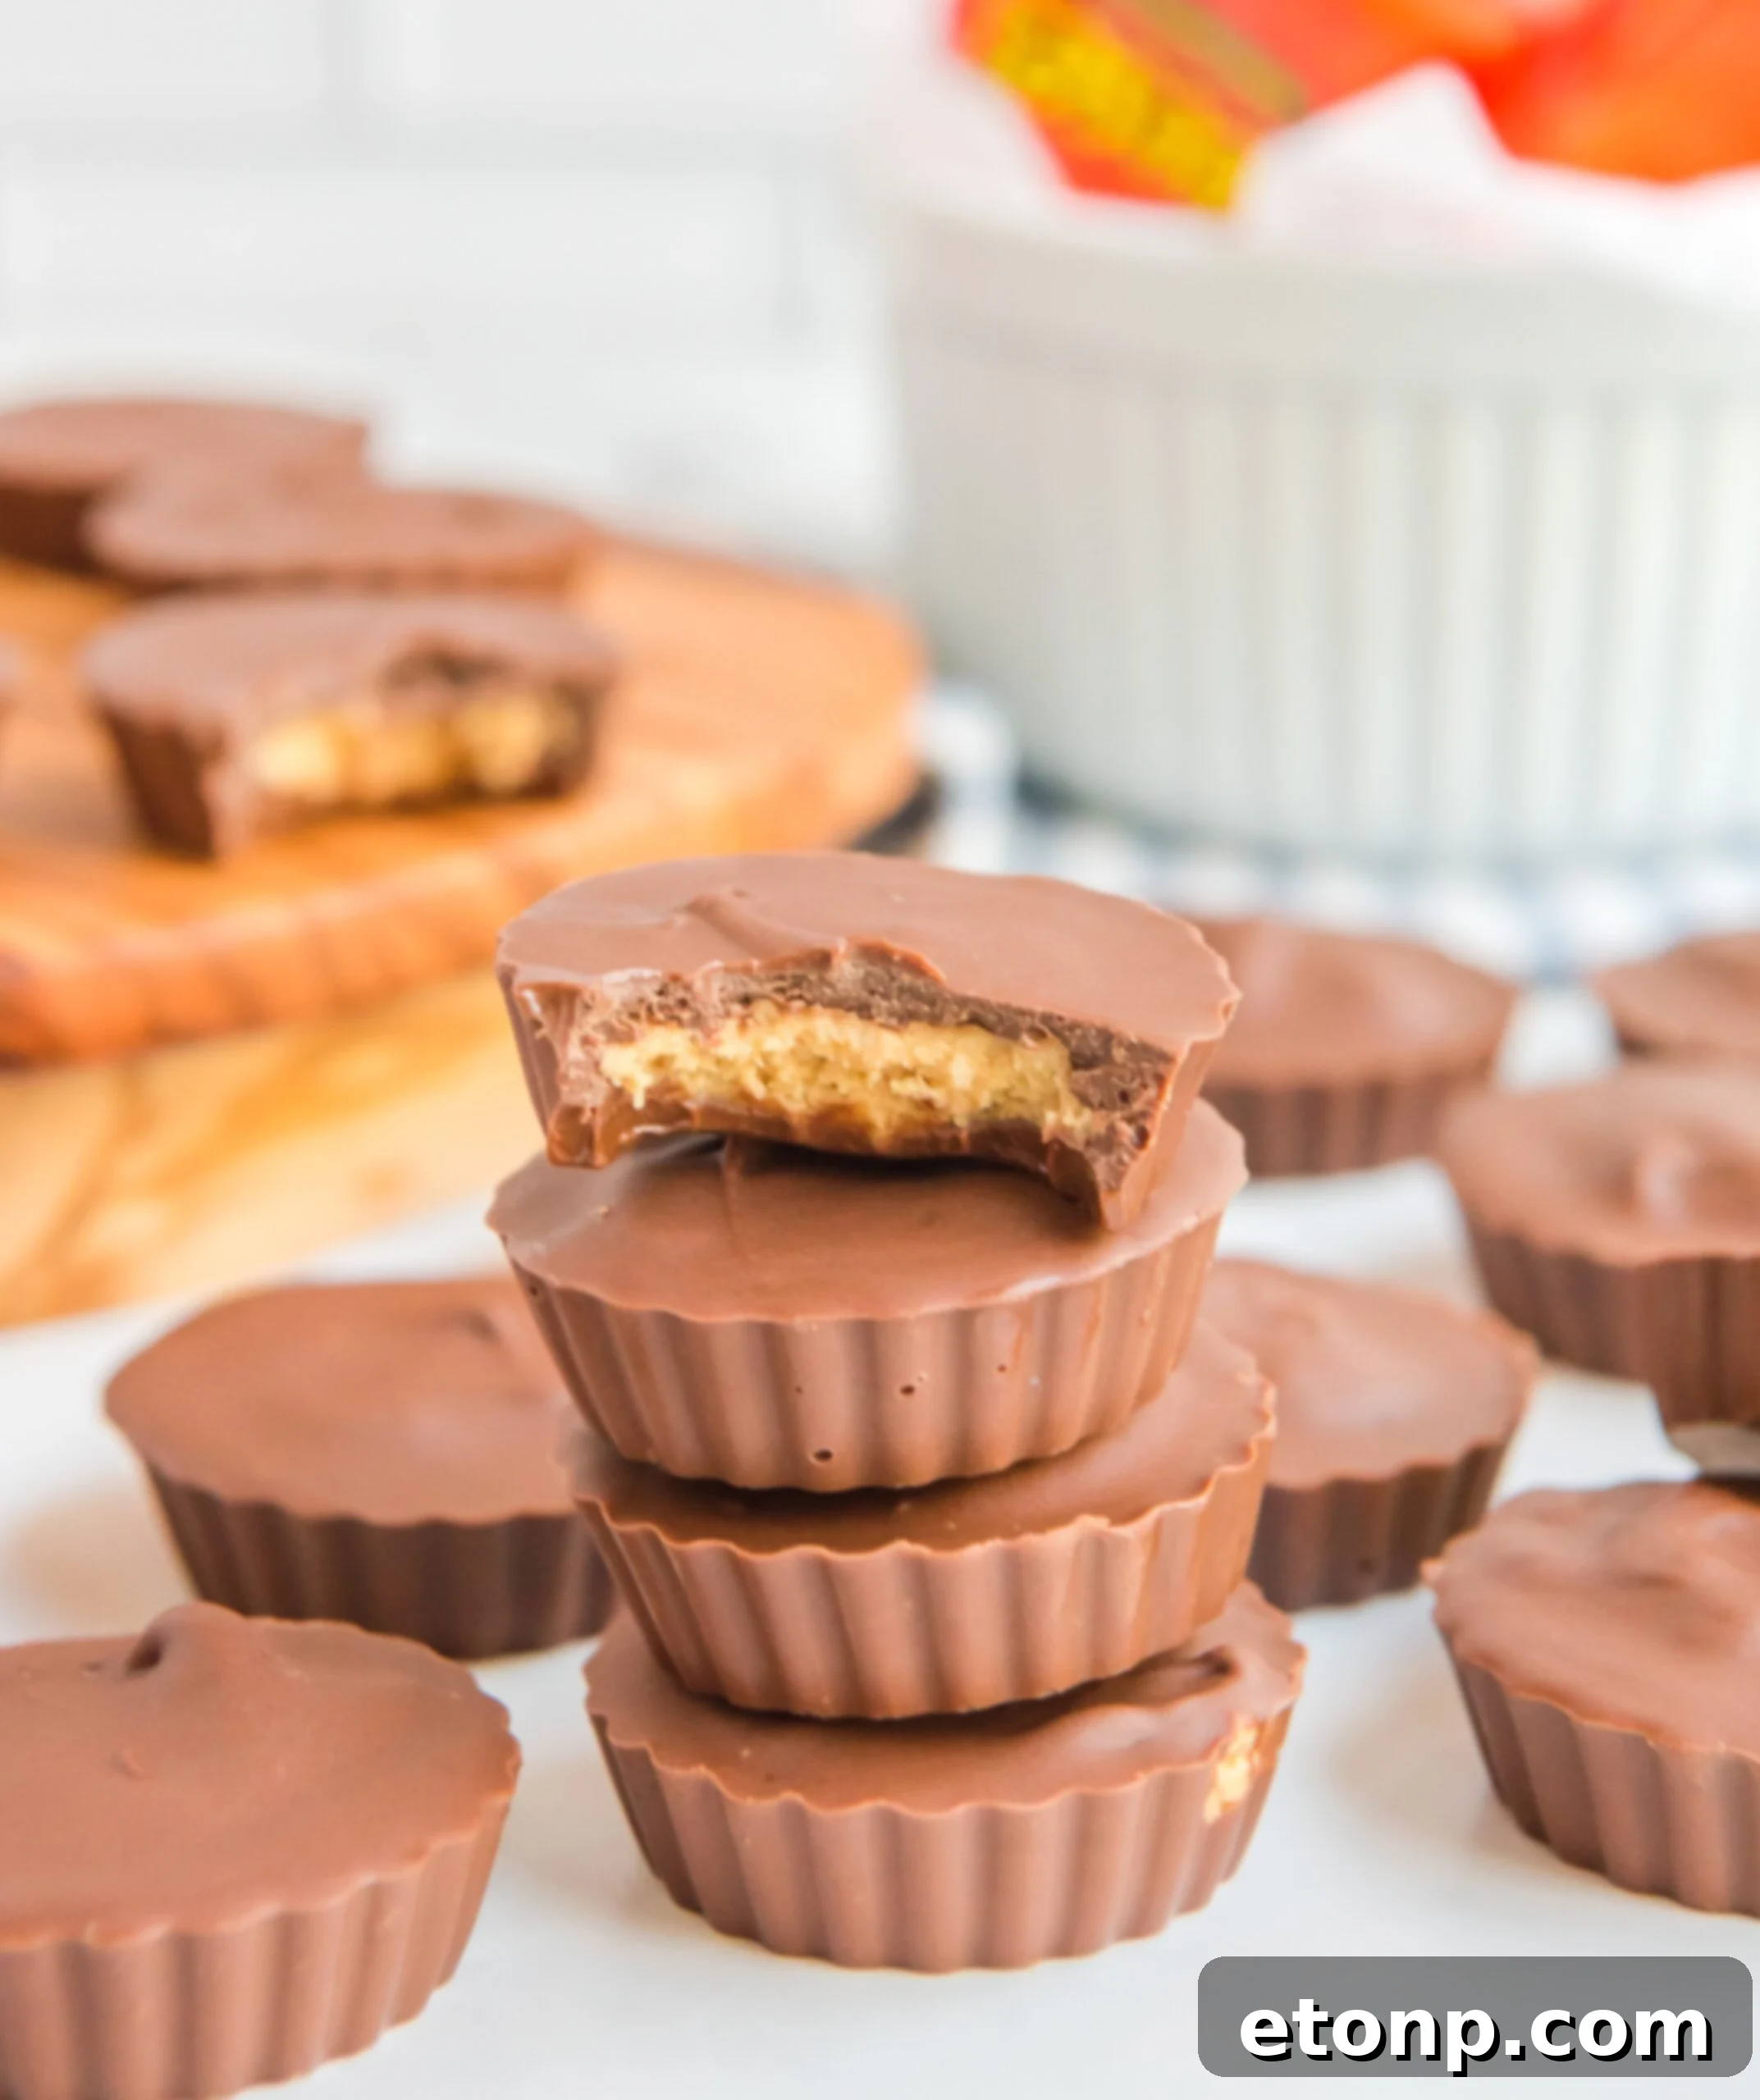
Homemade Peanut Butter Cups: Your Guide to a Delectable DIY Treat
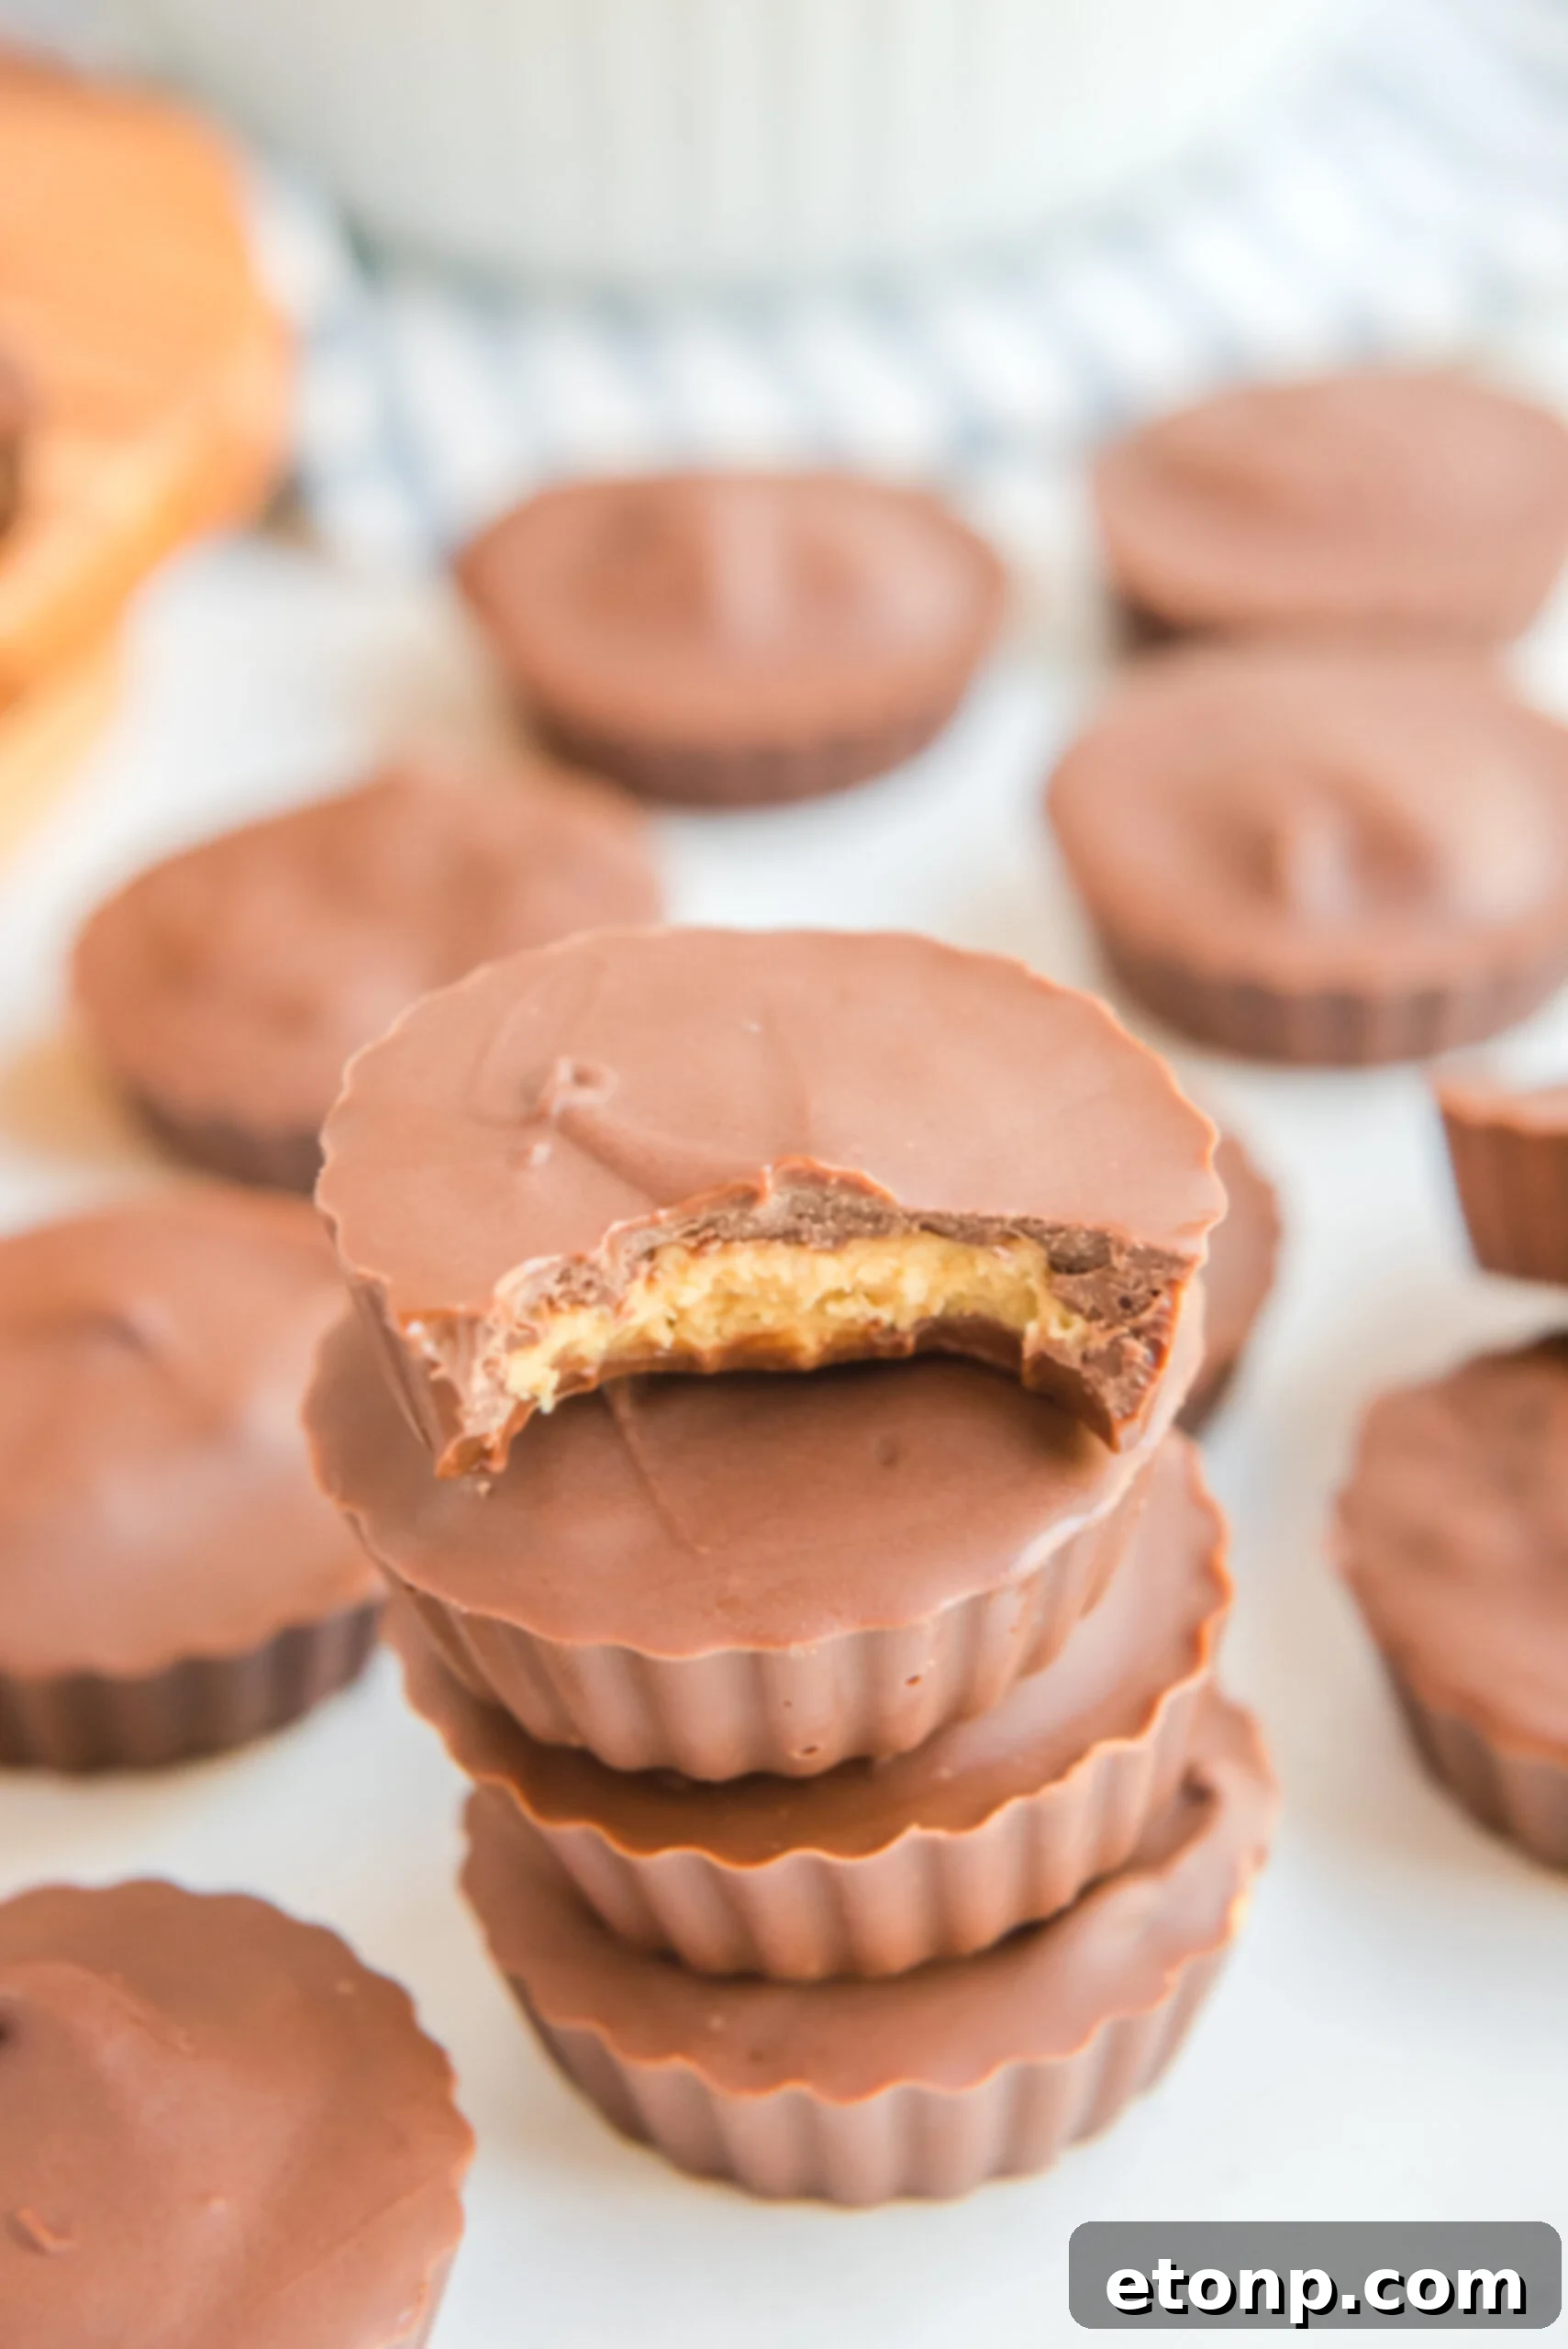
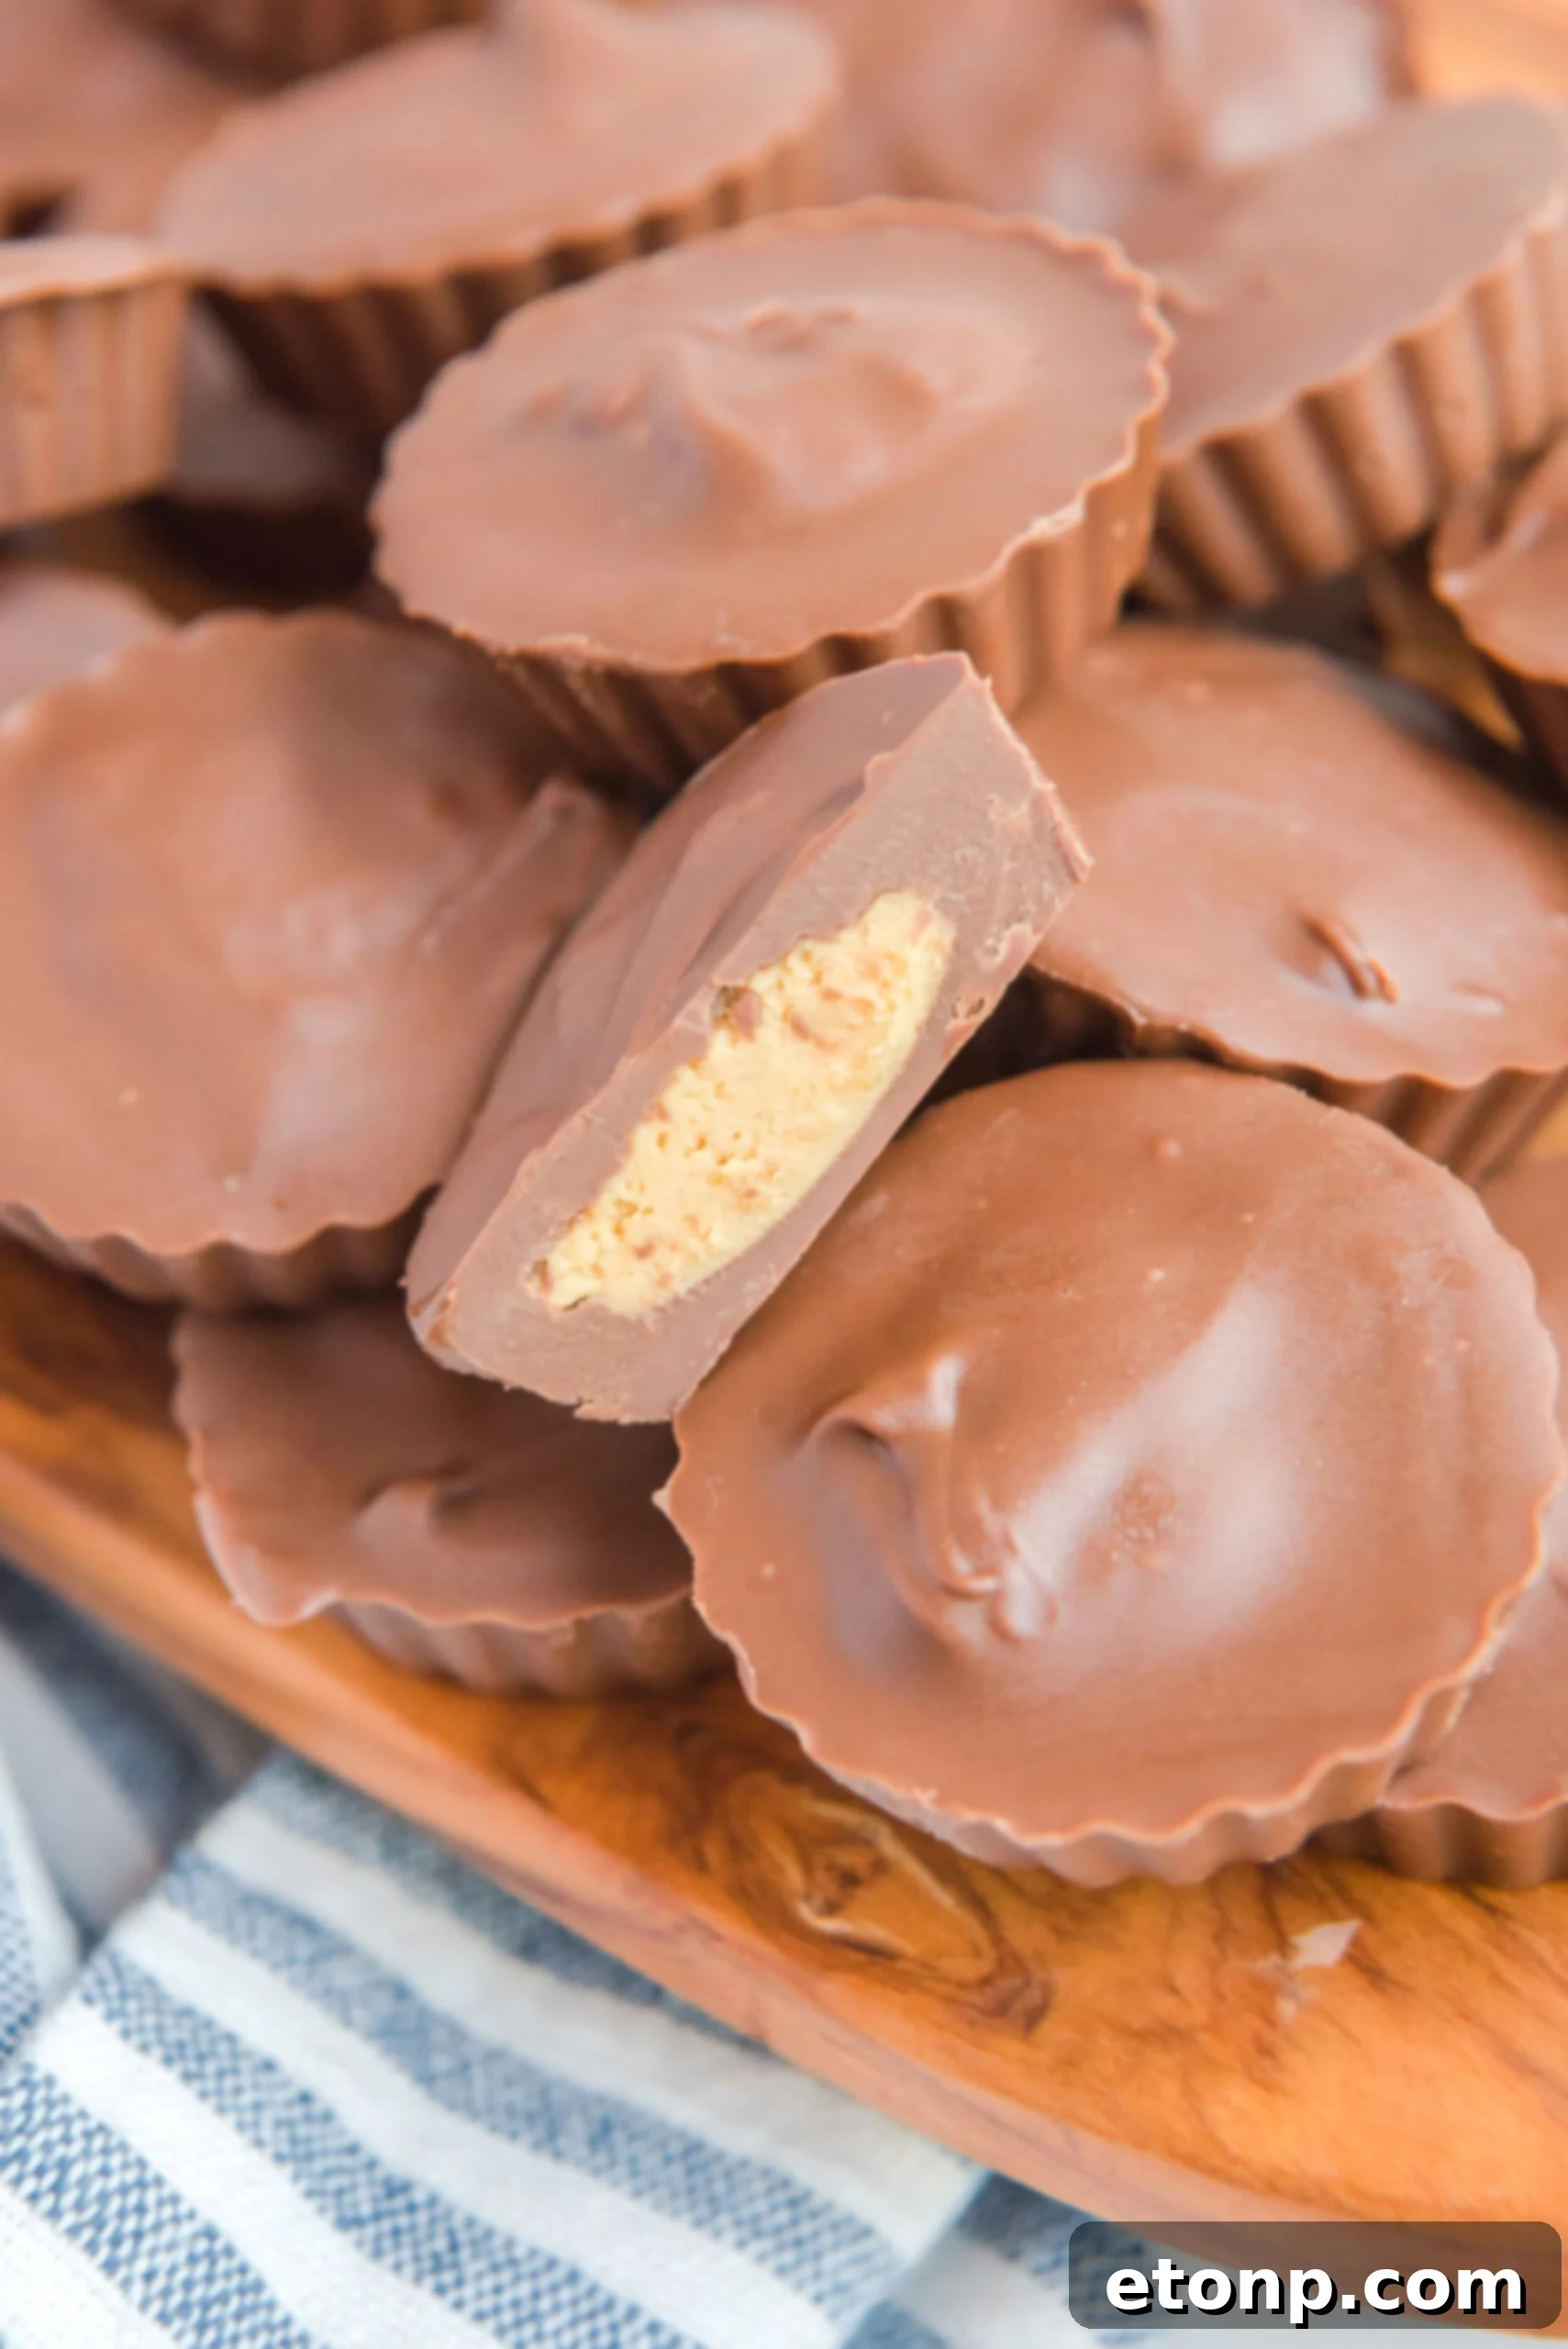
Are you a devoted fan of Reese’s Peanut Butter Cups? The beloved confection, with its perfect harmony of rich chocolate and smooth, savory peanut butter, is a timeless favorite for countless reasons. If the irresistible allure of this classic treat calls to you, then you are absolutely going to adore this simplified yet utterly delicious recipe for Homemade Reese’s Peanut Butter Cups. Forget the store-bought versions; these homemade wonders don’t just mimic the original, they often surpass it in fresh flavor and luxurious texture. Imagine a chocolate shell that shatters perfectly to reveal a luscious, creamy peanut butter center that literally melts on your tongue. That’s the magic you’re about to create!
Making your own peanut butter cups is an incredibly rewarding experience. It gives you complete control over the quality of ingredients, allowing you to choose your favorite chocolate and peanut butter brands, and even adjust the sweetness and saltiness to your personal preference. Plus, there’s a unique sense of satisfaction that comes from crafting such a popular candy from scratch. This recipe is designed to be straightforward and accessible for home cooks of all skill levels, making it a fantastic weekend project or a quick solution for an unexpected craving. Dive into the delightful process and discover why homemade truly is better.
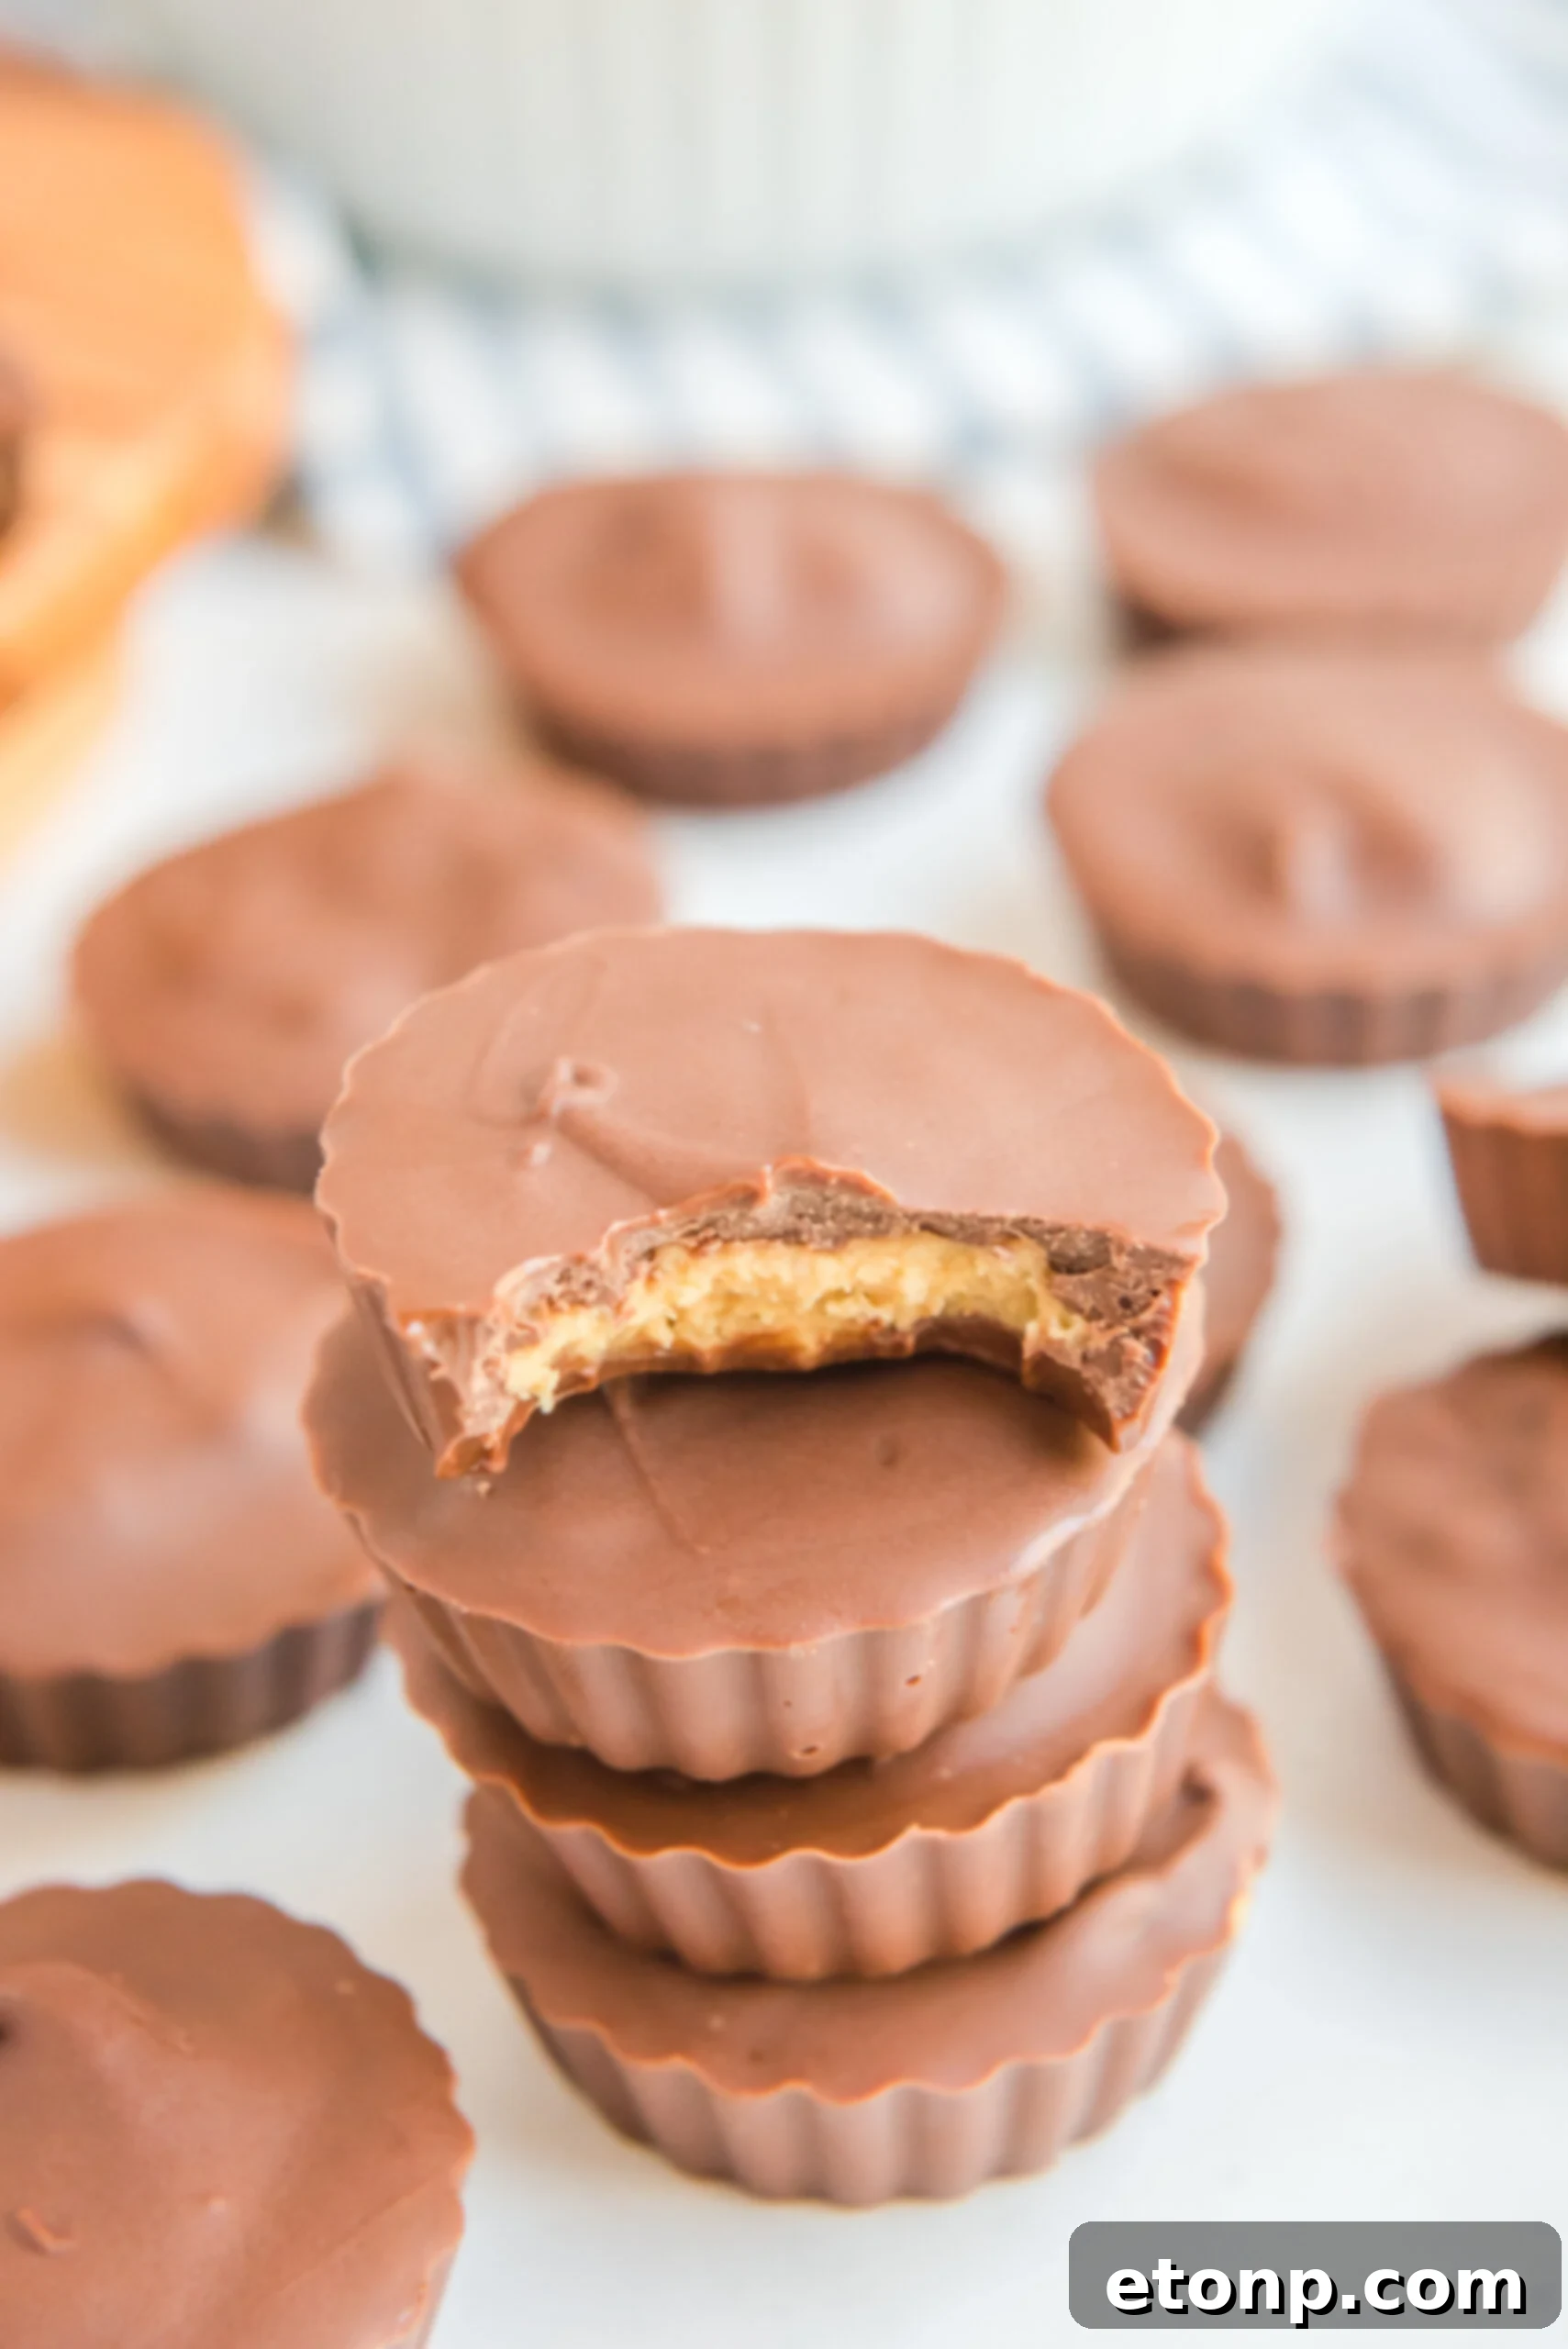
Why You’ll Fall in Love with This Easy Homemade Peanut Butter Cup Recipe
This isn’t just another recipe; it’s an invitation to elevate your dessert game and indulge in pure bliss. Here’s a closer look at why these homemade peanut butter cups will quickly become a cherished favorite and a staple in your treat repertoire:
- Effortless and Quick Preparation: You might be surprised to learn how little active time it takes to bring these delightful treats to life. The hands-on assembly time for these Homemade Peanut Butter Cups is surprisingly short, often requiring no more than 25 minutes. The majority of the process involves waiting patiently for them to chill and set, which means less intensive kitchen work and more time anticipating a sweet reward. This makes them an ideal choice for last-minute party contributions, a thoughtful edible gift, or a spontaneous weekend project when a craving hits.
- Minimal, Everyday Ingredients: Forget specialty store trips or hunting for obscure items! You can whip up these exquisite chocolate candies with just a handful of common pantry staples that you likely already have on hand. We’re talking about foundational ingredients like good quality milk chocolate chips, your favorite creamy peanut butter, powdered sugar, and a few other essential items. The simplicity of the ingredient list not only makes this recipe incredibly budget-friendly but also wonderfully convenient, ensuring you can make them whenever the craving strikes without extensive planning. It’s a testament to how incredible flavor can come from simple components.
- Unbeatable Flavor and Superior Texture: Prepare for a revelation. These homemade peanut butter cups are SO incredibly good, boasting a richer, fresher flavor and a more luxurious texture than their mass-produced counterparts. The quality and freshness of homemade ingredients truly shine through, offering a delightful contrast between the satisfying snap of the chocolate shell and the silky, melt-in-your-mouth peanut butter filling. Each bite is a harmonious blend of sweet chocolate and perfectly balanced salty peanut butter. Once you taste these, you seriously won’t want to go back to eating the Reese’s ones from the store!
- Endless Customization Options: This recipe provides a fantastic base for culinary creativity. While milk chocolate is specified for that classic taste, you have the freedom to experiment with dark chocolate, semi-sweet chocolate, white chocolate, or even a blend to suit your personal preference. You can also play with different types of nut butters (almond, cashew), add a sprinkle of flaky sea salt to the peanut butter filling for an extra flavor pop, or even incorporate finely chopped nuts, mini pretzels, or a dash of chili powder for a unique twist. The possibilities are only limited by your imagination!
- Perfect for Gifting and Sharing: Homemade treats always carry a special charm and are deeply appreciated. These peanut butter cups make for wonderful edible gifts during holidays, birthdays, or as a thoughtful gesture for friends, family, teachers, or neighbors. Arrange them neatly in a decorative box, a cute cellophane bag, or on a festive platter, and you have a personalized present that’s sure to impress and delight anyone lucky enough to receive them.
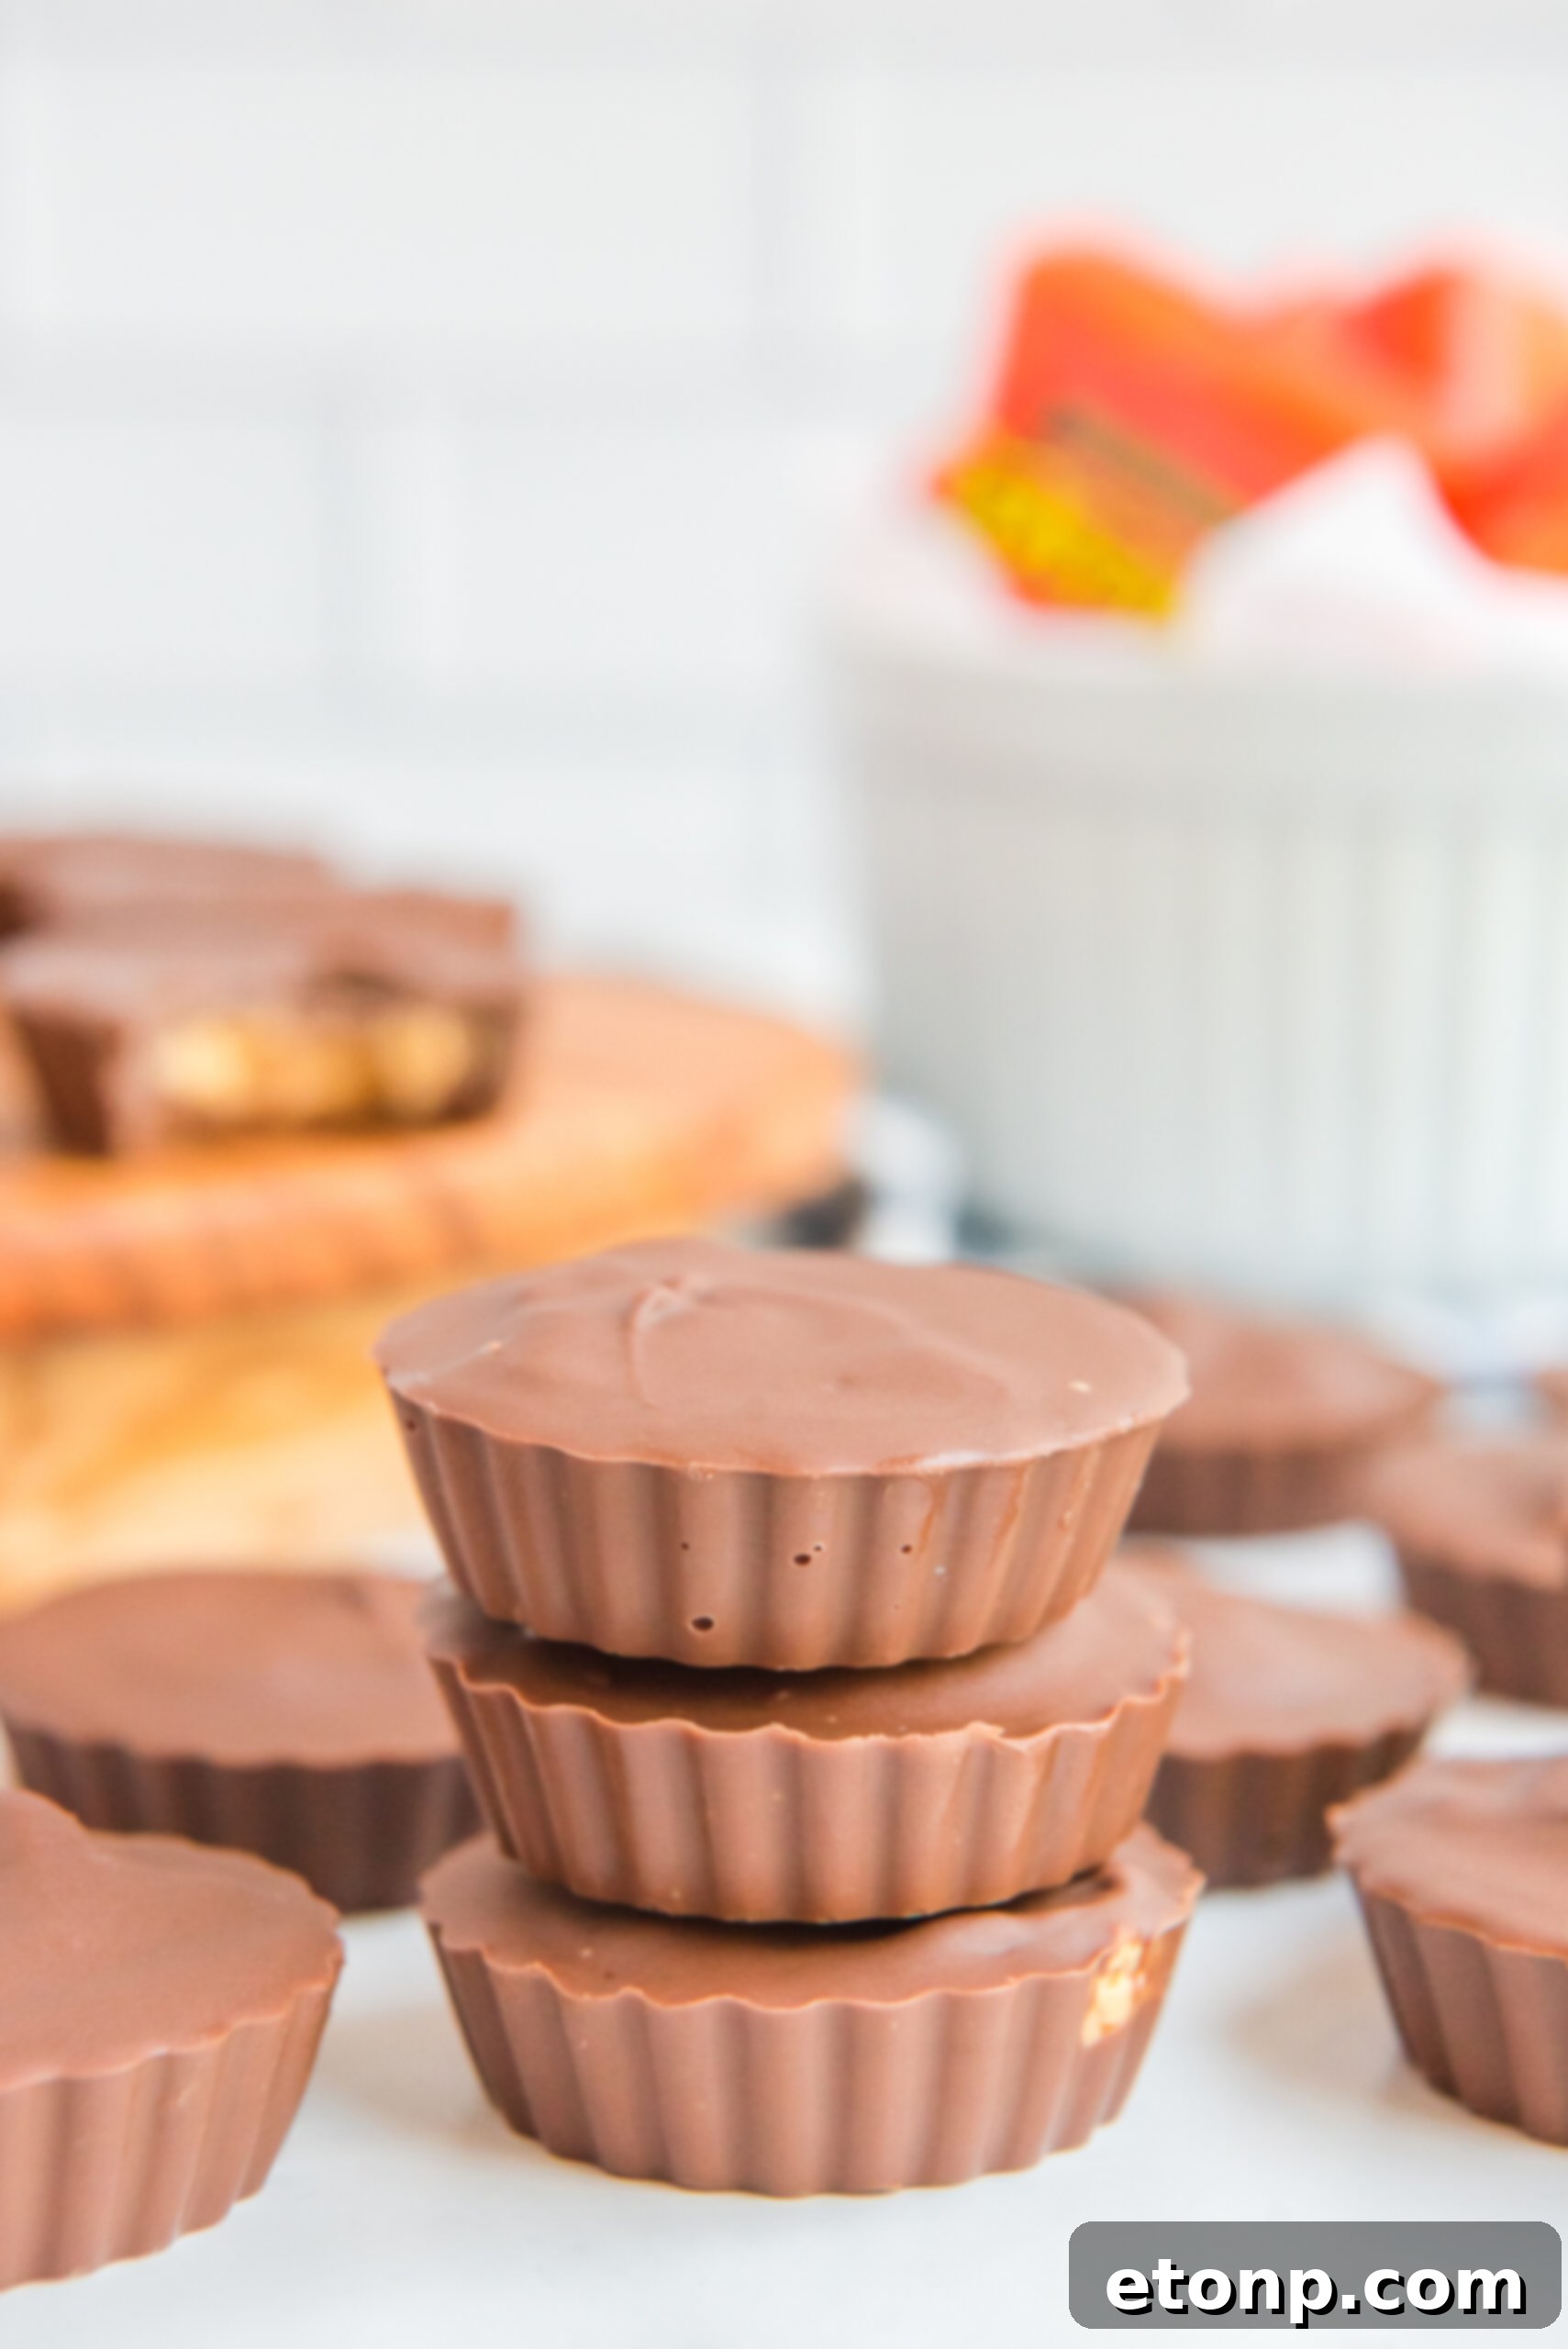
Essential Ingredients for Your Homemade Peanut Butter Cups
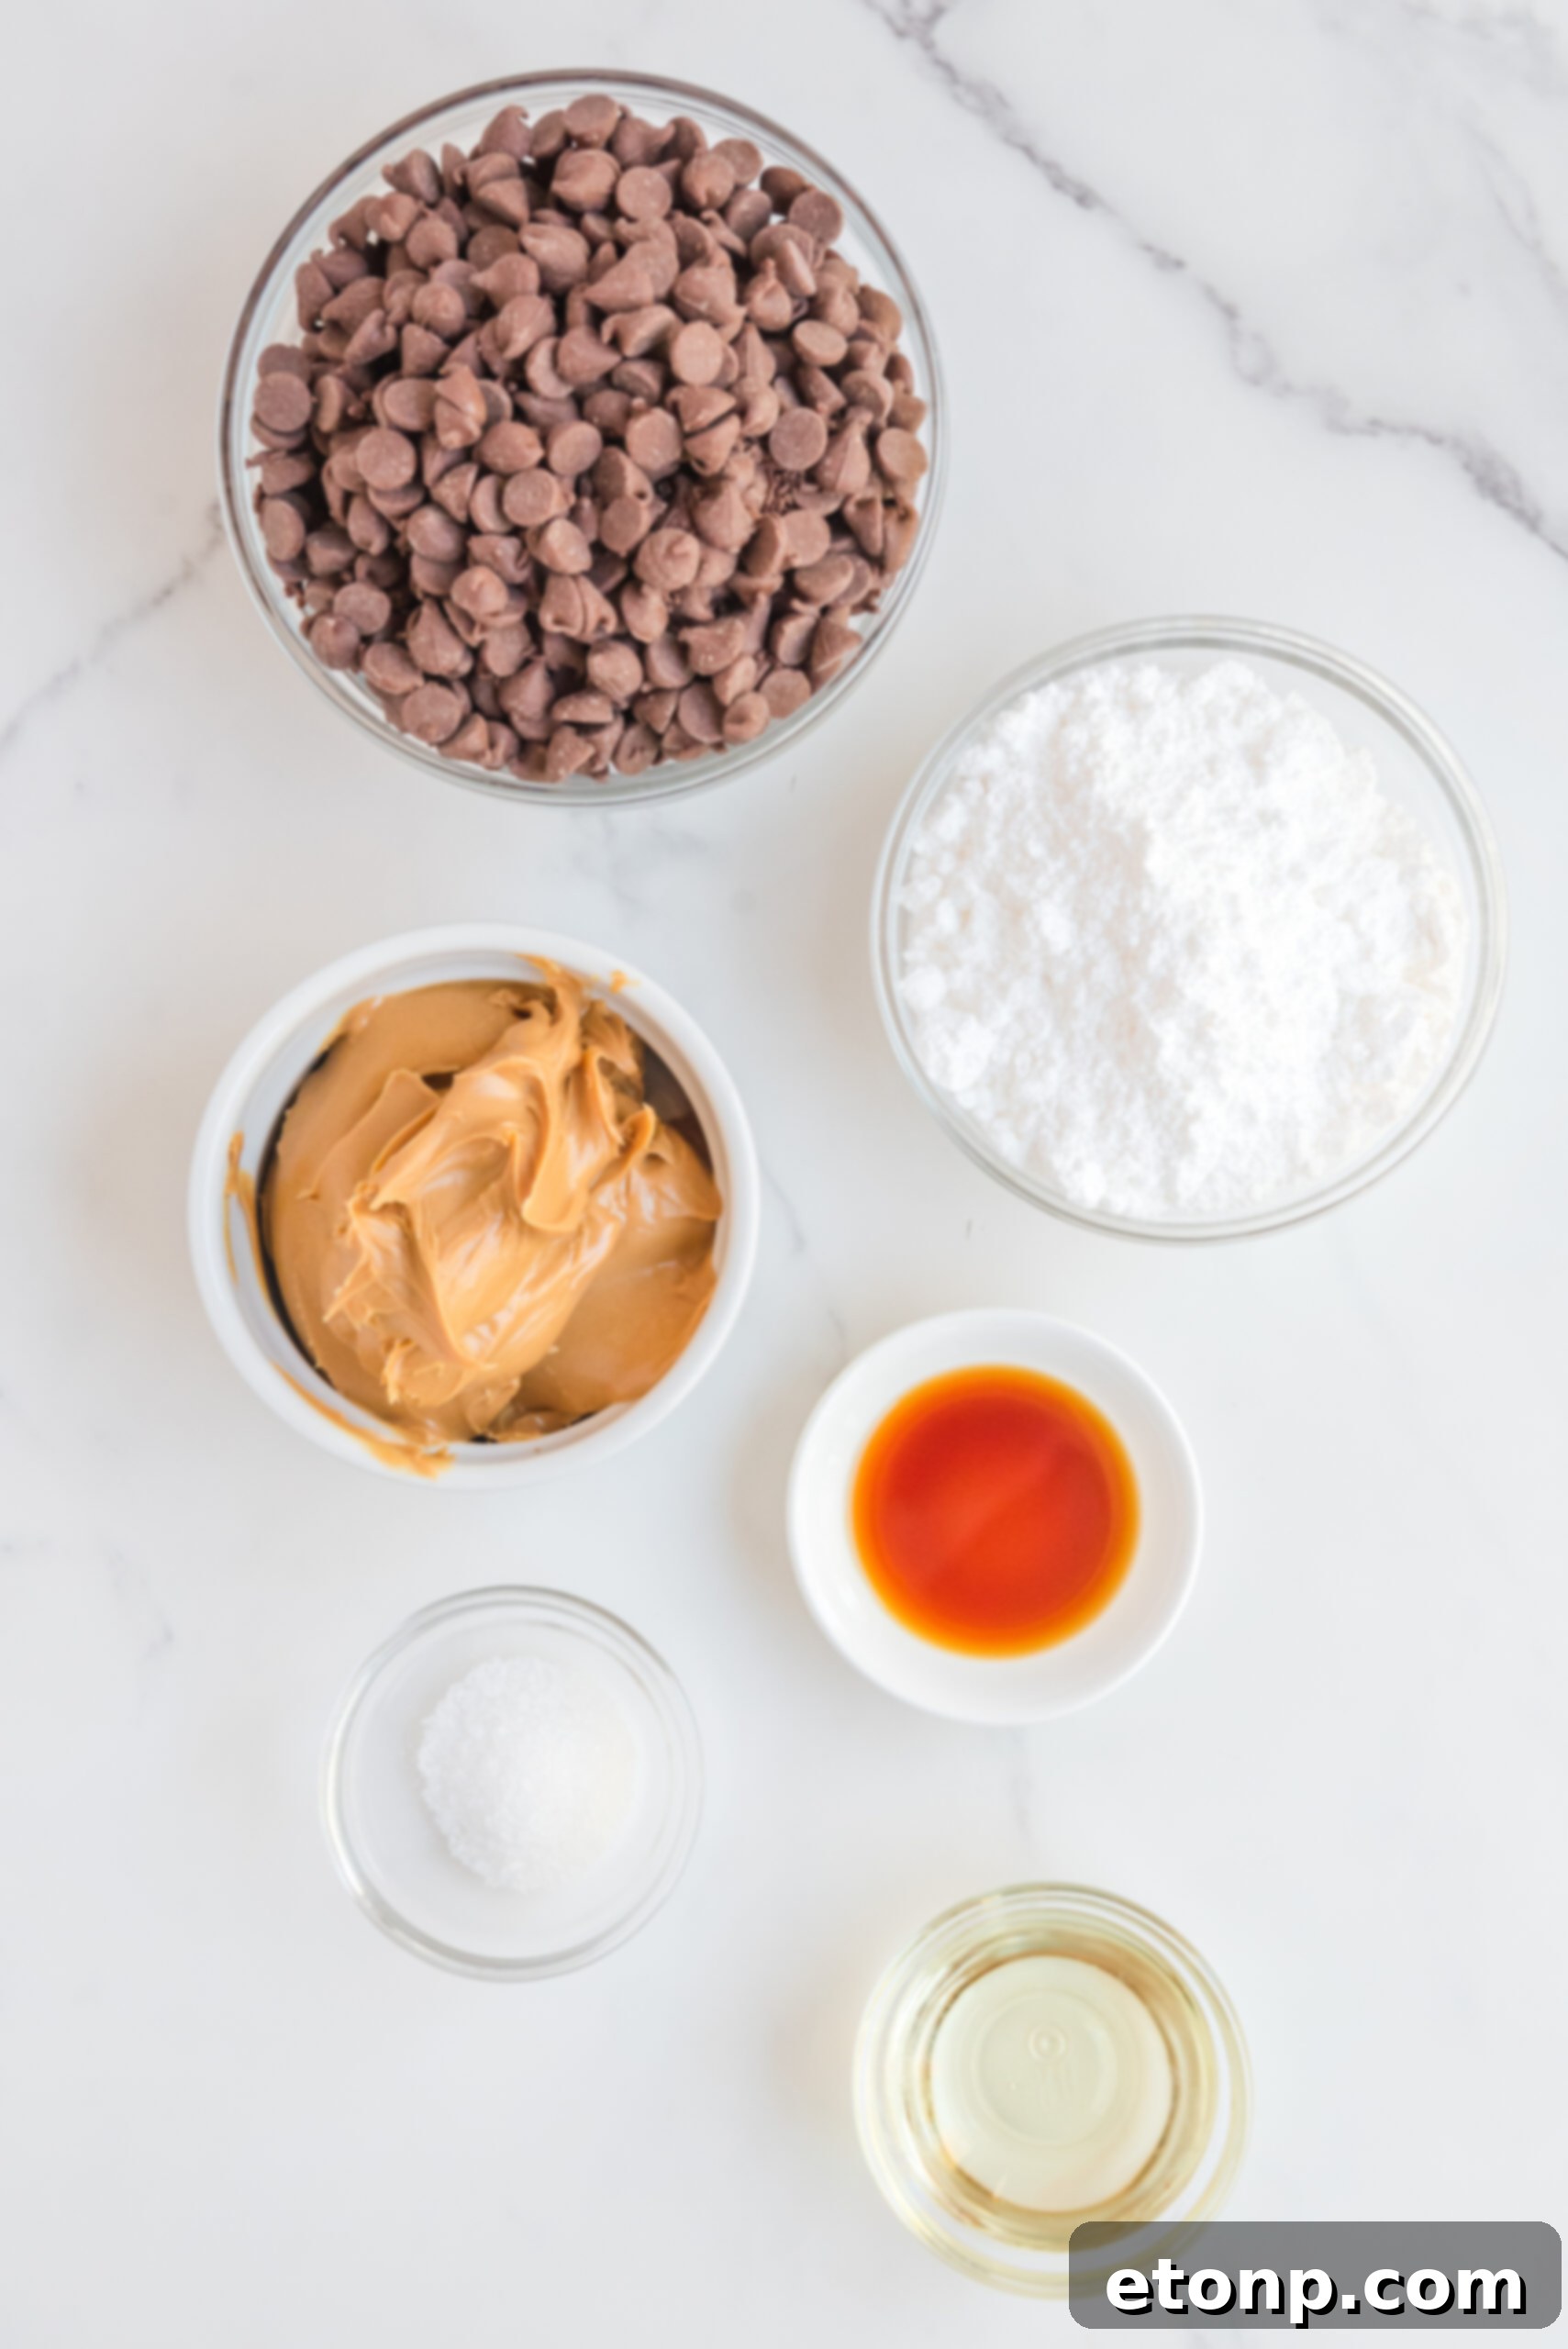
Crafting the most incredible Homemade Peanut Butter Cups begins with selecting quality ingredients. Each component plays a vital role in achieving that perfect balance of flavor and texture. Here’s a detailed look at what you’ll need and why each element is crucial for your success:
- Milk Chocolate Chips (11-ounce bag): These form the luscious, crackable chocolate exterior of your peanut butter cups. Milk chocolate provides that classic sweet, creamy, and familiar flavor that pairs so perfectly with peanut butter, creating a nostalgic taste experience. When melting, milk chocolate tends to be quite forgiving, making it ideal for beginners. You can also opt for high-quality milk chocolate bars, finely chopped, for an even smoother melt and potentially a richer flavor. For those who prefer a less sweet or more intense chocolate flavor, feel free to substitute with semi-sweet or dark chocolate chips. White chocolate can also be used for a unique variation!
- Vegetable Oil (1 tablespoon): A small but mighty amount of vegetable oil is added to the melted chocolate to achieve a perfectly smooth, fluid consistency. This liquid gold helps the chocolate spread easily and thinly in the molds, ensuring a beautiful, glossy finish once set. It also aids in preventing the chocolate from seizing and makes for a more tempered, stable coating. Coconut oil is an excellent alternative if you prefer a subtle tropical undertone, and it works just as effectively for achieving a smooth melt.
- Creamy Peanut Butter (1 cup): This is undeniably the heart and soul of your peanut butter cups! Using creamy peanut butter is absolutely essential for achieving that iconic smooth, velvety, and irresistible filling that Reese’s is famous for. While any brand you love will work (popular choices include Jif, Skippy, Peter Pan, or even a natural creamy variety), ensure it’s well-stirred if it’s a natural brand that tends to separate, as excess oil can alter the filling’s texture. Avoid crunchy peanut butter for this recipe unless you specifically desire a chunky texture, as it won’t yield the classic smooth center.
- Powdered Sugar (1 ½ cups): Also widely known as confectioners’ sugar or icing sugar, this ingredient is vital for creating a perfectly smooth, sweet, and firm peanut butter filling. Unlike granulated sugar, powdered sugar dissolves instantly, preventing a grainy texture in your finished treats. It also acts as a binder, giving the peanut butter a firmer, more moldable consistency that holds its shape beautifully within the chocolate shell, preventing it from oozing out.
- Unsalted Butter (2 tablespoons): Adding unsalted butter to the peanut butter mixture contributes significantly to its richness and helps achieve that wonderfully soft, yet firm, texture that defines a truly great peanut butter cup filling. It also enhances the overall flavor, making the filling even more decadent and luxurious. It’s crucial that your butter is softened to room temperature for easier and more uniform mixing with the other ingredients.
- Vanilla Extract (1 teaspoon): A touch of pure vanilla extract elevates the flavor profile of the peanut butter filling, adding a warm, aromatic, and complex note that beautifully complements both the chocolate and the rich peanut butter. Using a high-quality vanilla extract can make a noticeable difference in the overall taste of your homemade treats.
- Pinch of Sea Salt: Don’t underestimate the power of salt in sweet treats! A small pinch of fine sea salt added to the peanut butter mixture is absolutely crucial for balancing the sweetness and enhancing the deep, nutty flavor of the peanut butter. It truly makes the flavors pop, creating that irresistible sweet-and-salty dynamic and preventing the cups from tasting overly sweet or one-dimensional.
With just these readily available and simple ingredients, you’re well on your way to crafting the most irresistible chocolate peanut butter treats you’ve ever tasted. The combination of simple components yields results that are anything but ordinary, promising a truly memorable homemade experience.
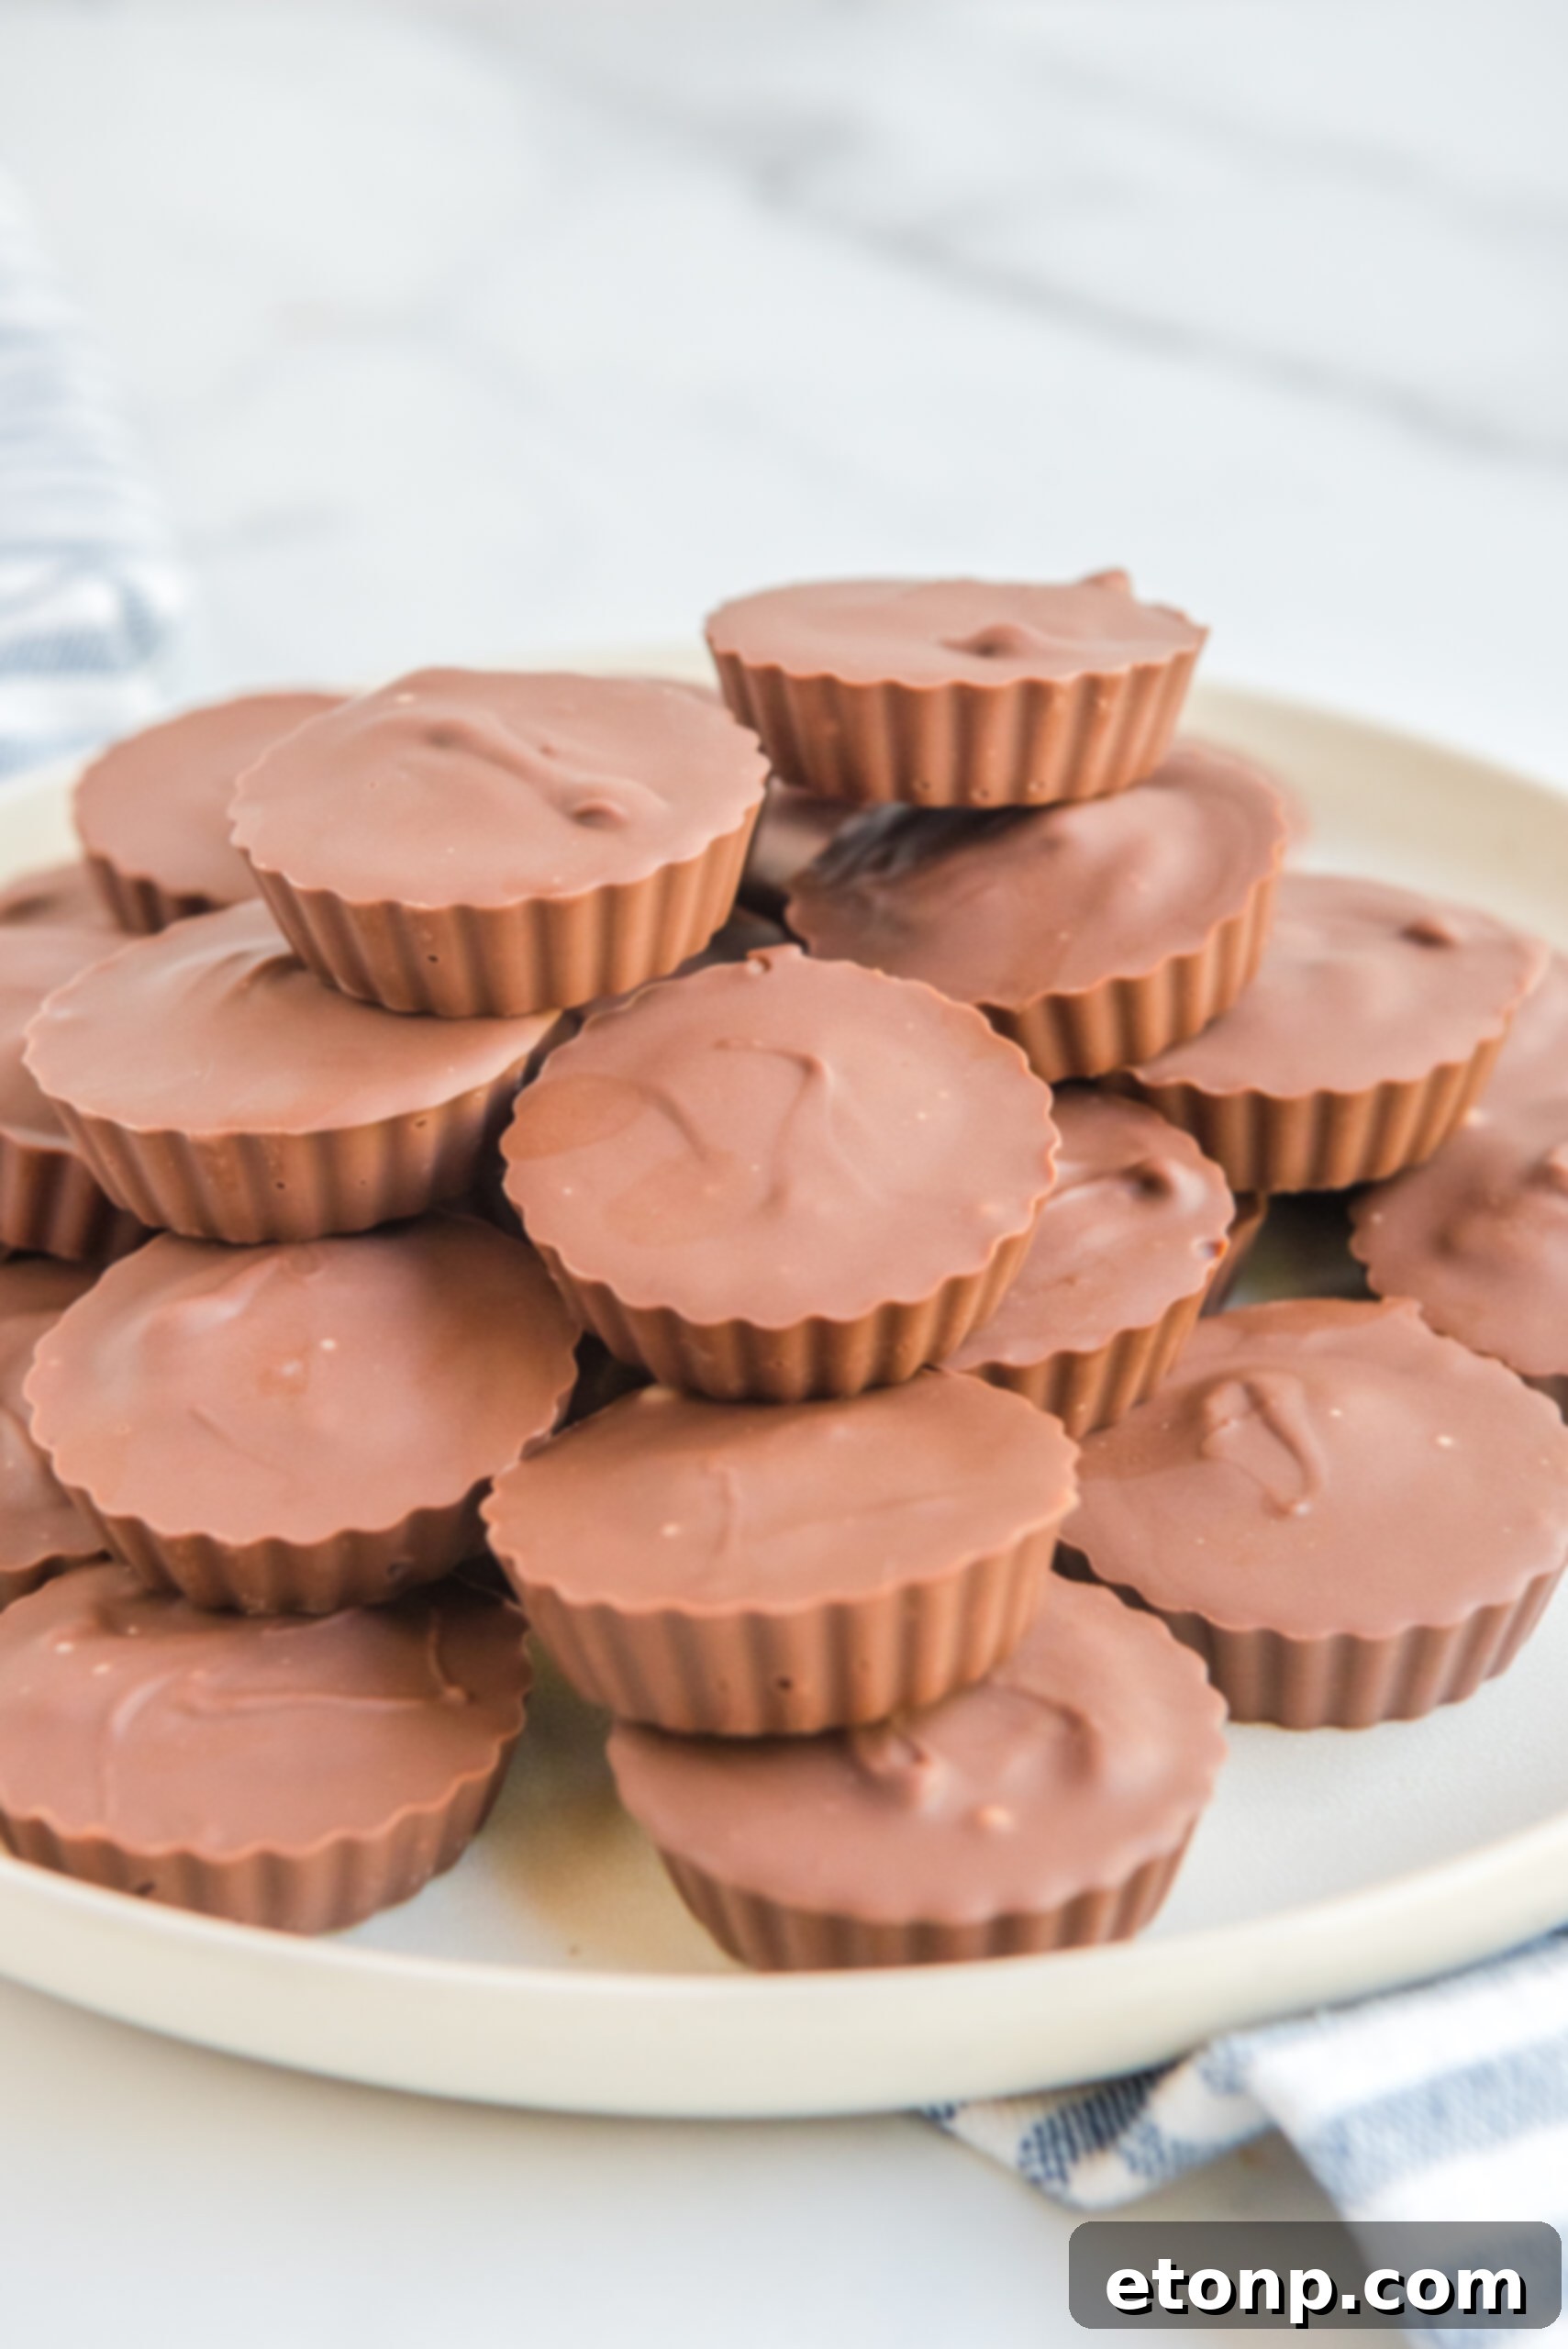
Step-by-Step Guide: How to Make Irresistible Peanut Butter Cups
Now that you’ve gathered all your high-quality ingredients, it’s time to bring these heavenly treats to life! Follow these straightforward and stress-free instructions to assemble and enjoy your very own Homemade Peanut Butter Cups. Precision and a little patience are key to achieving perfect results that look and taste professionally made.
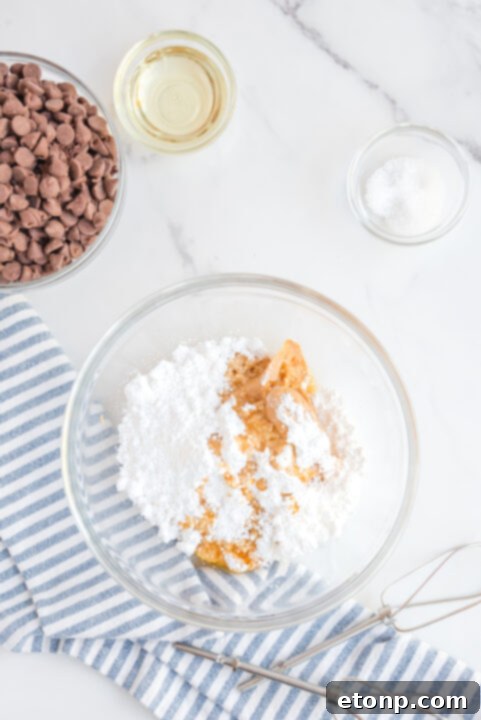
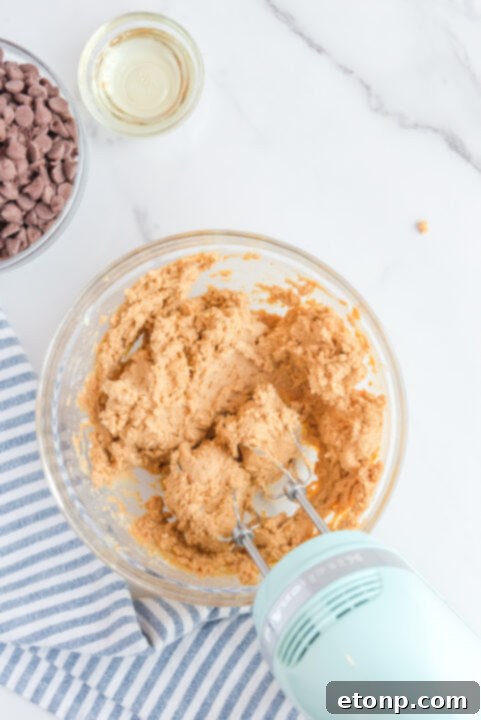
- Prepare the Peanut Butter Filling: Begin by taking a medium-sized mixing bowl. To it, add your creamy peanut butter, powdered sugar, softened unsalted butter, vanilla extract, and sea salt. Using an electric hand mixer or a stand mixer fitted with the paddle attachment, mix these ingredients together on medium speed until the mixture is completely smooth, thick, and uniformly combined. The resulting consistency should be firm enough to handle and shape with your fingers, but still soft and pliable. Once achieved, set this delectable peanut butter mixture aside.
- Melt the Chocolate (Initial Phase): Grab a small, microwave-safe bowl and add your milk chocolate chips. Place the bowl in the microwave and heat at 50% power for 1 minute. This gentle heating method is crucial for preventing the chocolate from scorching, which can ruin its texture. After the minute, remove the bowl and stir the chocolate thoroughly with a rubber spatula. Even if the chocolate doesn’t appear fully melted, stir vigorously, as residual heat will continue the melting process.
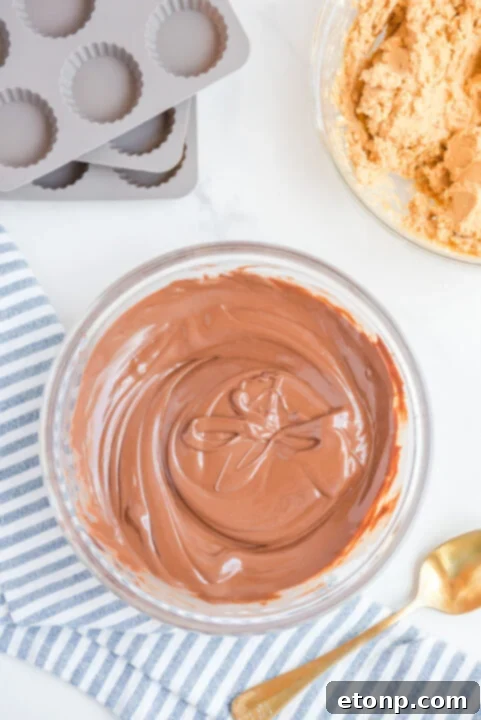
- Achieve Silky Smooth Chocolate: Now, add the tablespoon of vegetable oil to your partially melted chocolate. Return the bowl to the microwave and heat for an additional 30 seconds at 50% power. Remove and stir again. Continue this process of heating in short 30-second bursts and stirring in between each burst until your chocolate is completely lump-free and has a wonderfully smooth, glossy, and fluid consistency. The added oil is crucial here for achieving that perfect flow, ease of spreading, and a beautiful sheen. Alternatively, for a more controlled melt, you can use a double boiler method to avoid any risk of scorching.
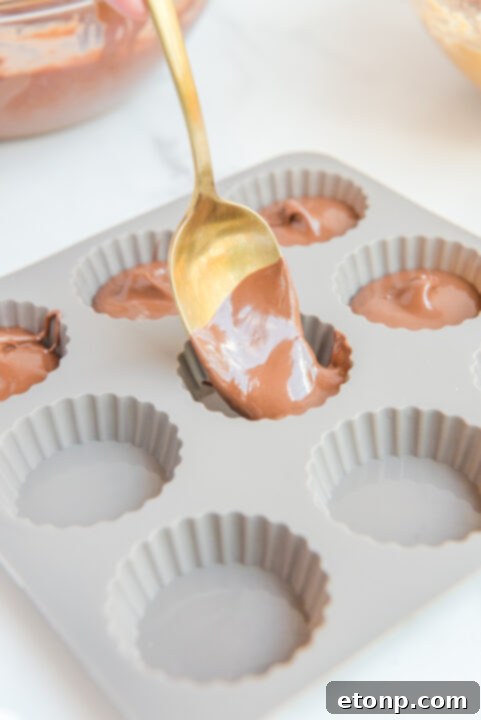
- First Chocolate Layer in Molds: Prepare your silicone molds. Using a small spoon or a mini cookie scoop, add approximately 1 teaspoon of the melted chocolate into the bottom of each mold cavity. This amount should cover about one-third of the mold’s depth. Gently tap the molds on your countertop a few times; this action helps to spread the chocolate evenly across the base and releases any trapped air bubbles, ensuring a smooth finish.
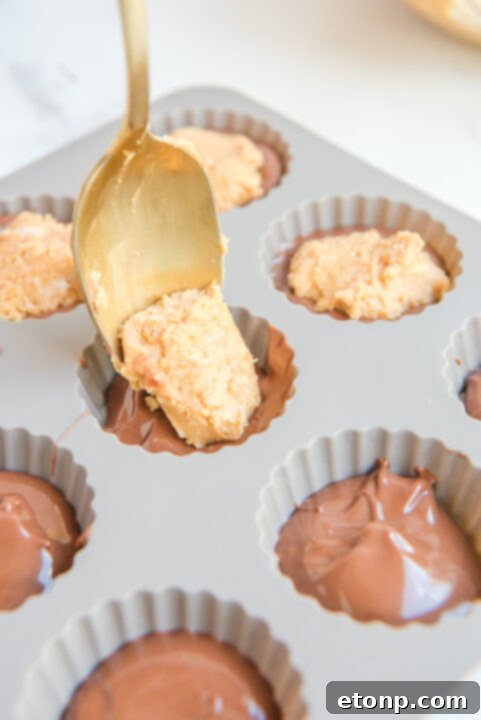
- Add the Peanut Butter Center: Take a small amount of the prepared peanut butter mixture (roughly the same size or slightly less than your chocolate layer) and carefully place it on top of the chocolate in the center of each mold. Since the peanut butter mixture will be quite firm, you’ll find it easiest to use your clean fingers to gently press and shape it into a flat, even disk that fits neatly within the mold. Ensure you leave a small, visible gap around the edges for the final chocolate layer to adhere to, creating a neat seal. Refer to the “Expert Tips” section below for more guidance on shaping the peanut butter.
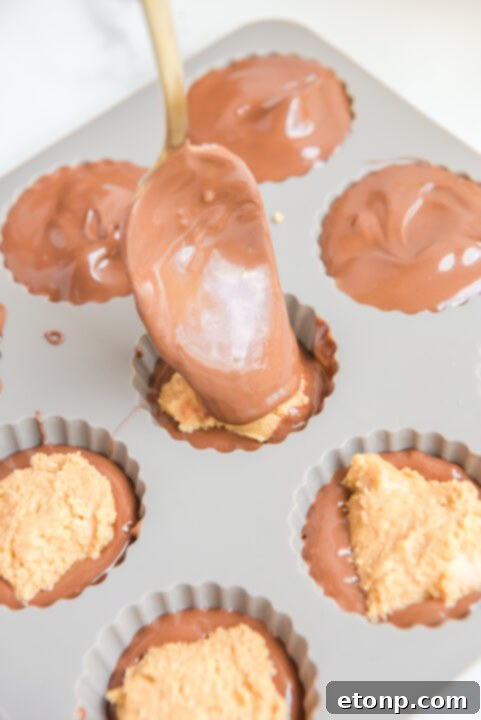
- Final Chocolate Layer: Spoon out an additional layer of melted chocolate over the peanut butter filling. Ensure this chocolate layer completely covers the peanut butter and fills the mold precisely to the top edge. Use the back of your spoon or a small offset spatula to gently smooth out the top surface of the chocolate. Aim for a flat, even finish to ensure a professional and polished appearance, just like the store-bought versions.
- Chill to Perfection: Carefully transfer your filled silicone molds to the refrigerator. It’s absolutely essential to keep them there for a minimum of four hours to allow the chocolate to fully set and the peanut butter filling to firm up properly. Rushing this step will result in soft, messy cups that do not hold their shape well. For the best results, the easiest demolding, and the firmest, most delectable texture, an overnight chill in the refrigerator is highly recommended. Patience here will be greatly rewarded with perfectly formed and utterly delightful peanut butter cups.
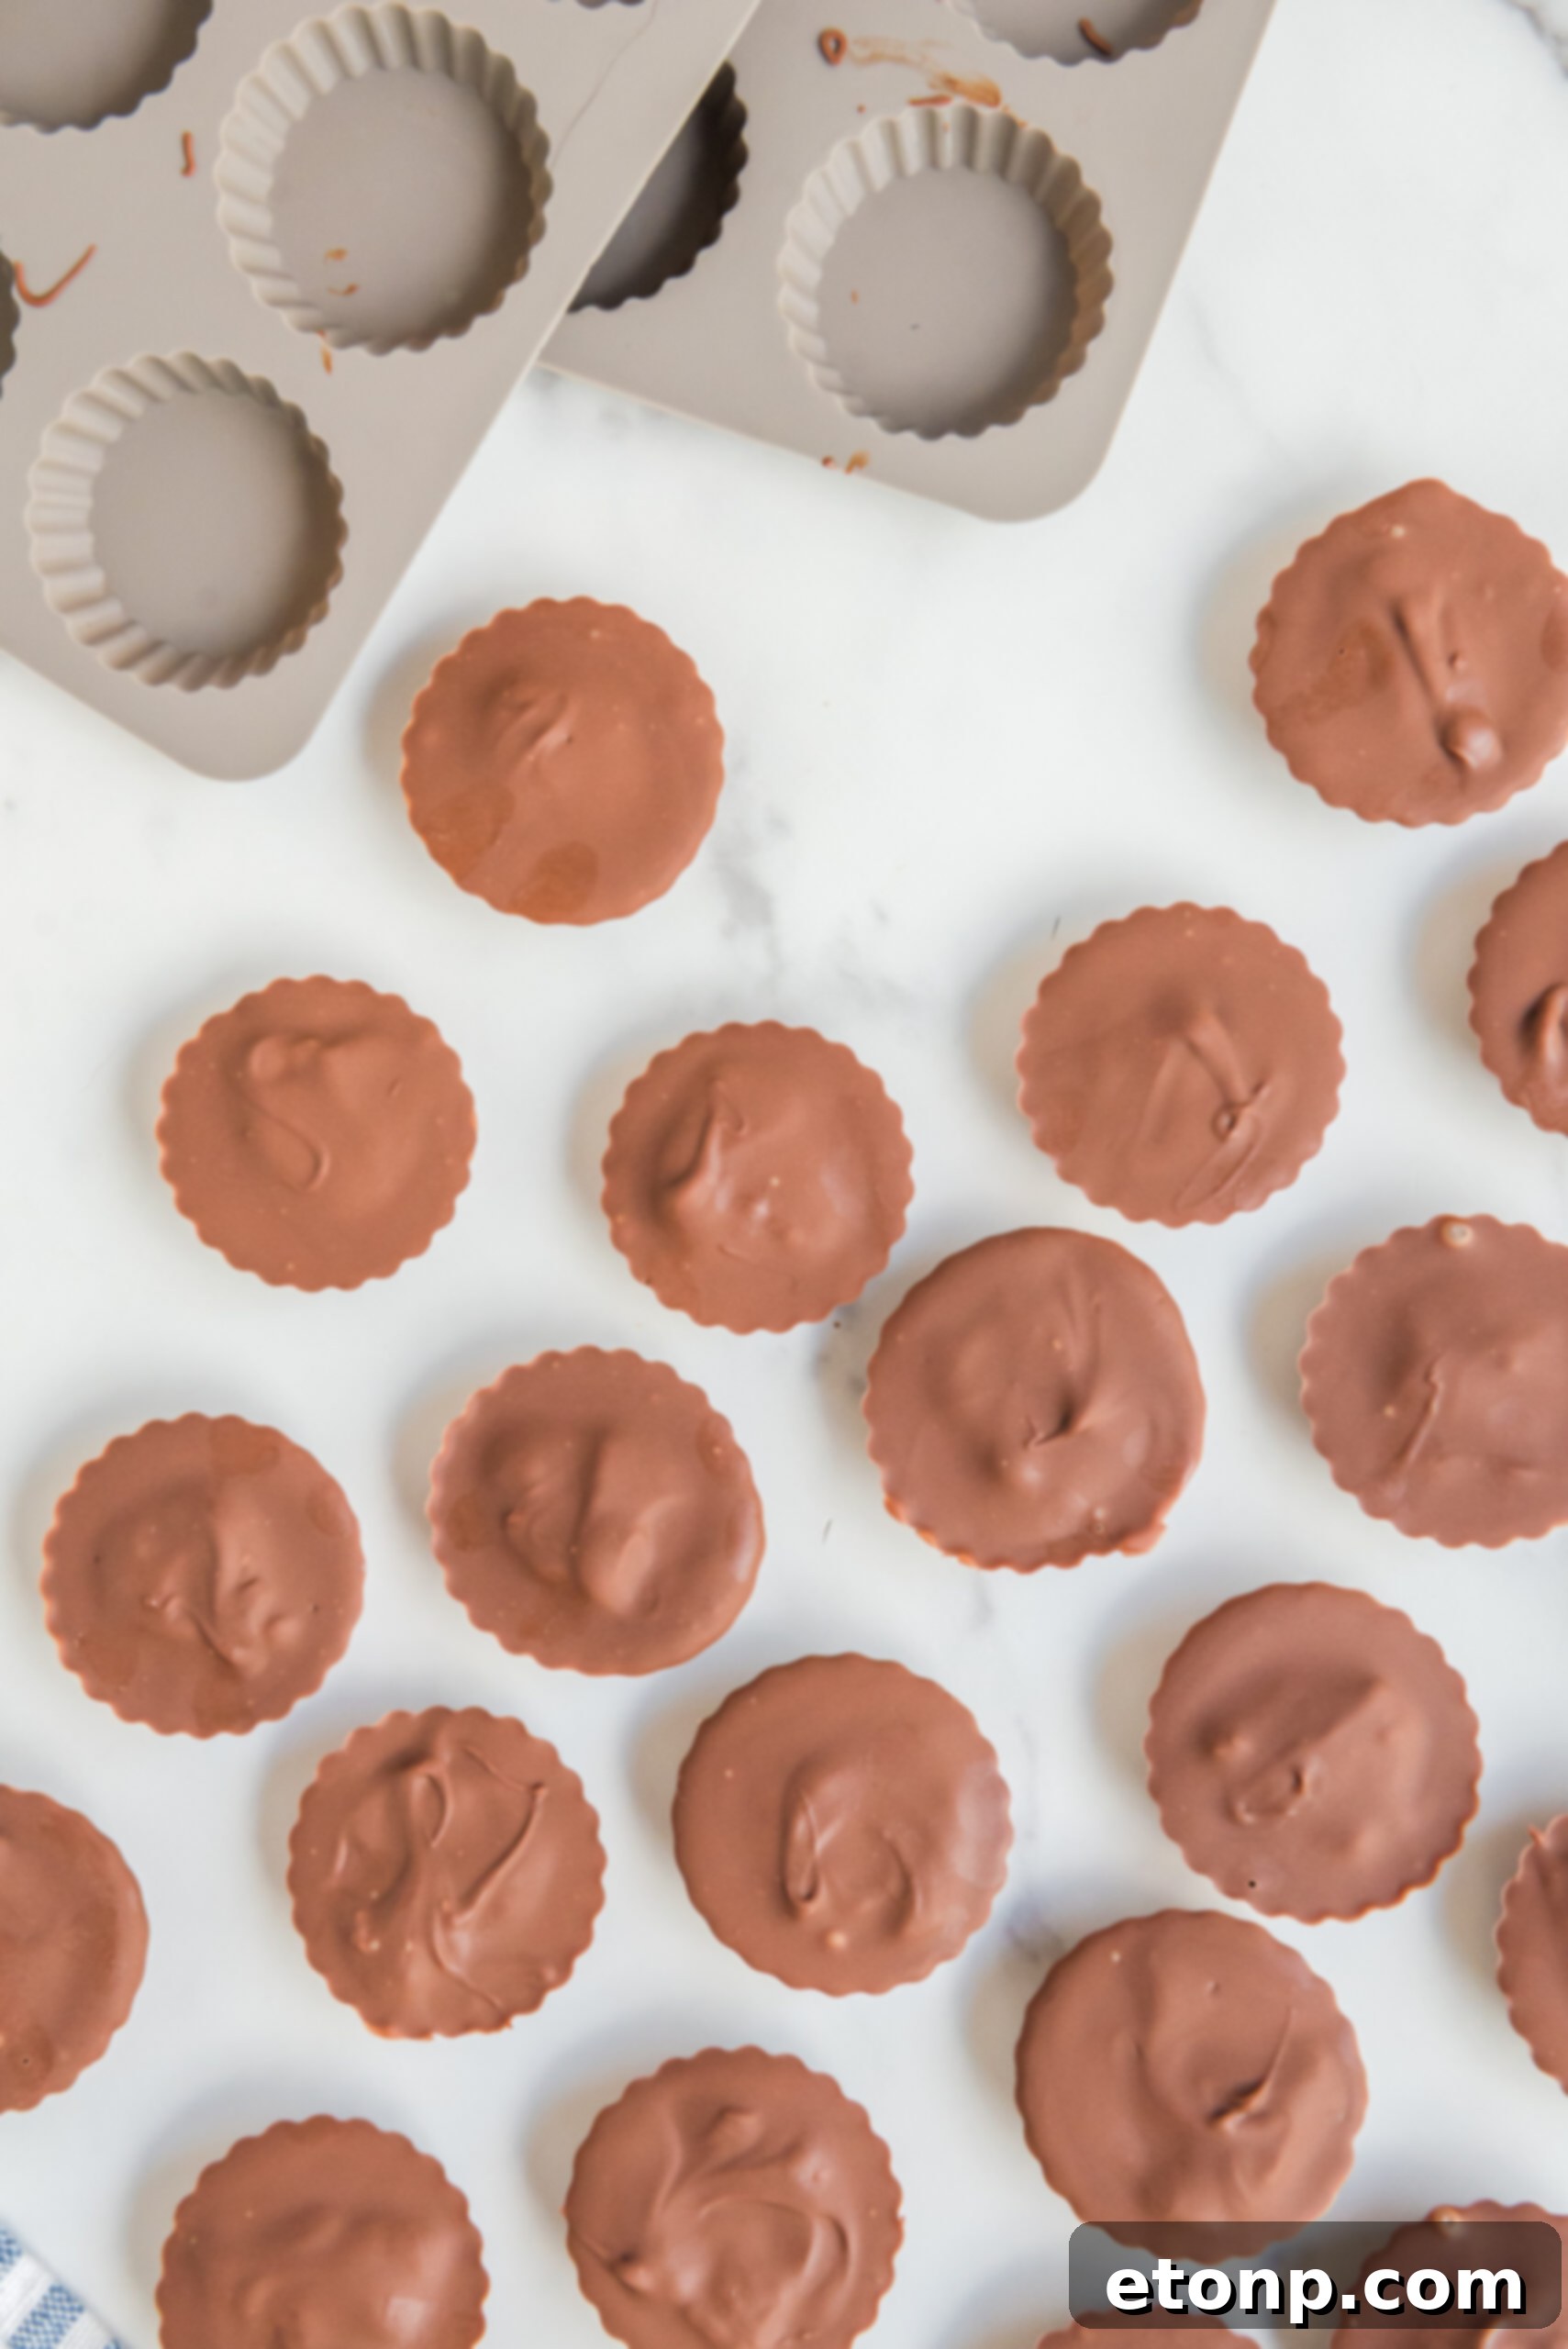
- Enjoy Your Creation: Once thoroughly chilled and firm, simply pop the homemade peanut butter cups out of their silicone molds. They should release effortlessly with a gentle push from the bottom. Store any leftover peanut butter cups in an airtight container in the refrigerator to maintain their freshness, texture, and delicious flavor.
Expert Tips for Crafting the Perfect Homemade Peanut Butter Cups
Achieving bakery-quality homemade peanut butter cups that are not only delicious but also visually stunning and easy to handle is simpler than you might think with a few insider tricks. These expert tips will help ensure your treats are nothing short of perfect:
- Shaping the Peanut Butter Filling with Ease: When adding the peanut butter mixture into the molds, you’ll discover it’s significantly easier and more effective to use your clean fingers to gently press and shape it into a flat, even disk. A spoon can be tricky and may accidentally push the chocolate base out of place or create uneven layers. Your fingers allow for much better control and help you create a neat, uniform layer of peanut butter. Ensure there’s a small border of chocolate exposed around the peanut butter disc; this gap is important for the top chocolate layer to adhere properly, creating a full seal and preventing the peanut butter from leaking.
- The Art of the Smooth Top Layer: For a professional, polished look that rivals store-bought confections, it’s crucial to make the second layer of melted chocolate as smooth and flat as possible. After spooning the chocolate over the peanut butter filling, gently tap the molds on your countertop a few times. This action helps the chocolate settle evenly and self-level, releasing any air bubbles. For an even more refined finish, a small offset spatula can be an incredibly useful tool for meticulously spreading the chocolate to the edges and creating a perfectly flat, glossy surface. This step ensures your homemade chocolates truly look like the real deal – or even better!
- The Magic of Silicone Molds: Investing in good quality silicone molds specifically designed for peanut butter cups (or even mini muffin molds) will make your life significantly easier. With silicone molds, you absolutely won’t need paper cups for these treats. Silicone offers incredible flexibility, allowing you to effortlessly pop out the finished candies without any sticking, tearing, or mess. If you don’t have silicone molds, paper liners in a mini muffin tin can work in a pinch, but you’ll need to be extra careful during demolding to avoid damaging your beautiful creations.
- Proper Chilling is Paramount for Success: This cannot be stressed enough – do not rush the chilling process! The minimum four hours in the refrigerator are absolutely crucial for the chocolate to fully set and for the peanut butter filling to firm up properly. Attempting to demold or eat them too soon will result in soft, messy cups that don’t hold their shape and are difficult to handle. For the best possible results, including the firmest texture and easiest demolding, letting them chill overnight (8 hours or more) is ideal. Patience here will be rewarded with perfectly formed and truly delectable peanut butter cups.
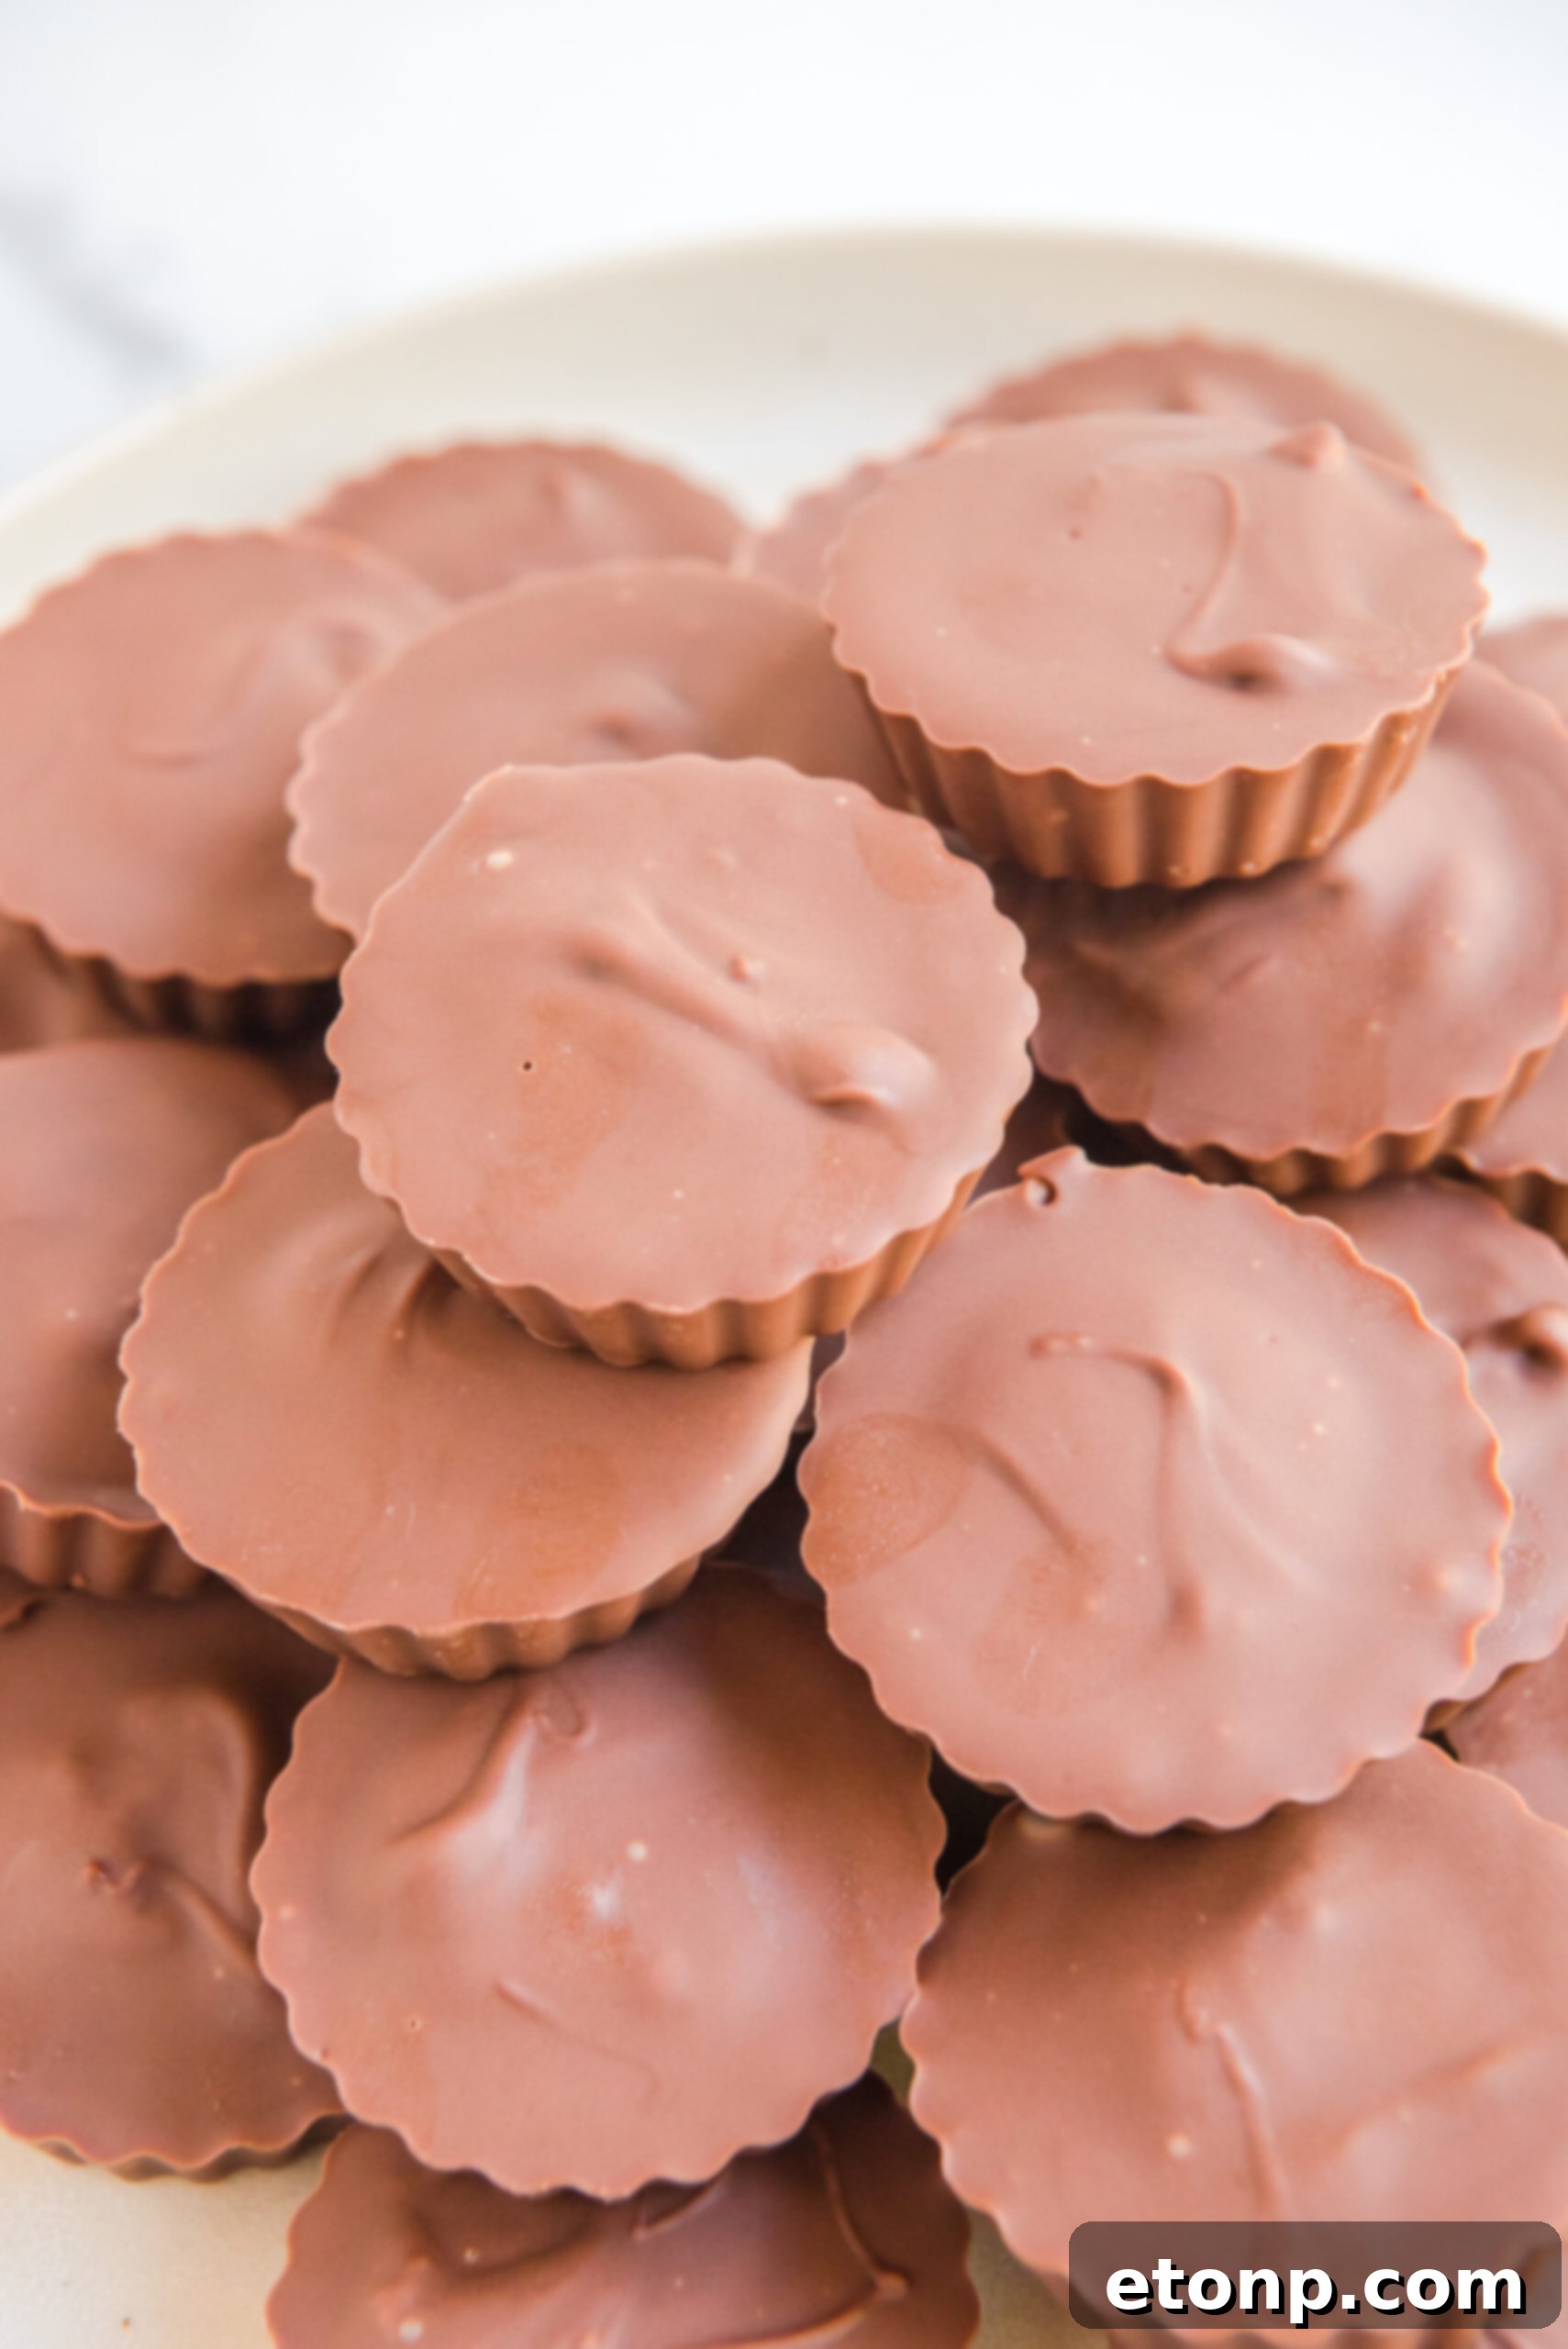
- Smart Storage Solutions for Freshness: Once you’ve removed your homemade peanut butter cups from their molds, store them in an airtight container in the refrigerator. This method will help them maintain their freshness, perfect texture, and delicious flavor for up to two weeks. For longer-term storage, you can easily place them in a freezer-safe bag or container and freeze them for up to 3 months. Just be sure to thaw them slightly at room temperature or in the refrigerator before eating if frozen, so the chocolate and peanut butter can return to their optimal, melt-in-your-mouth texture.
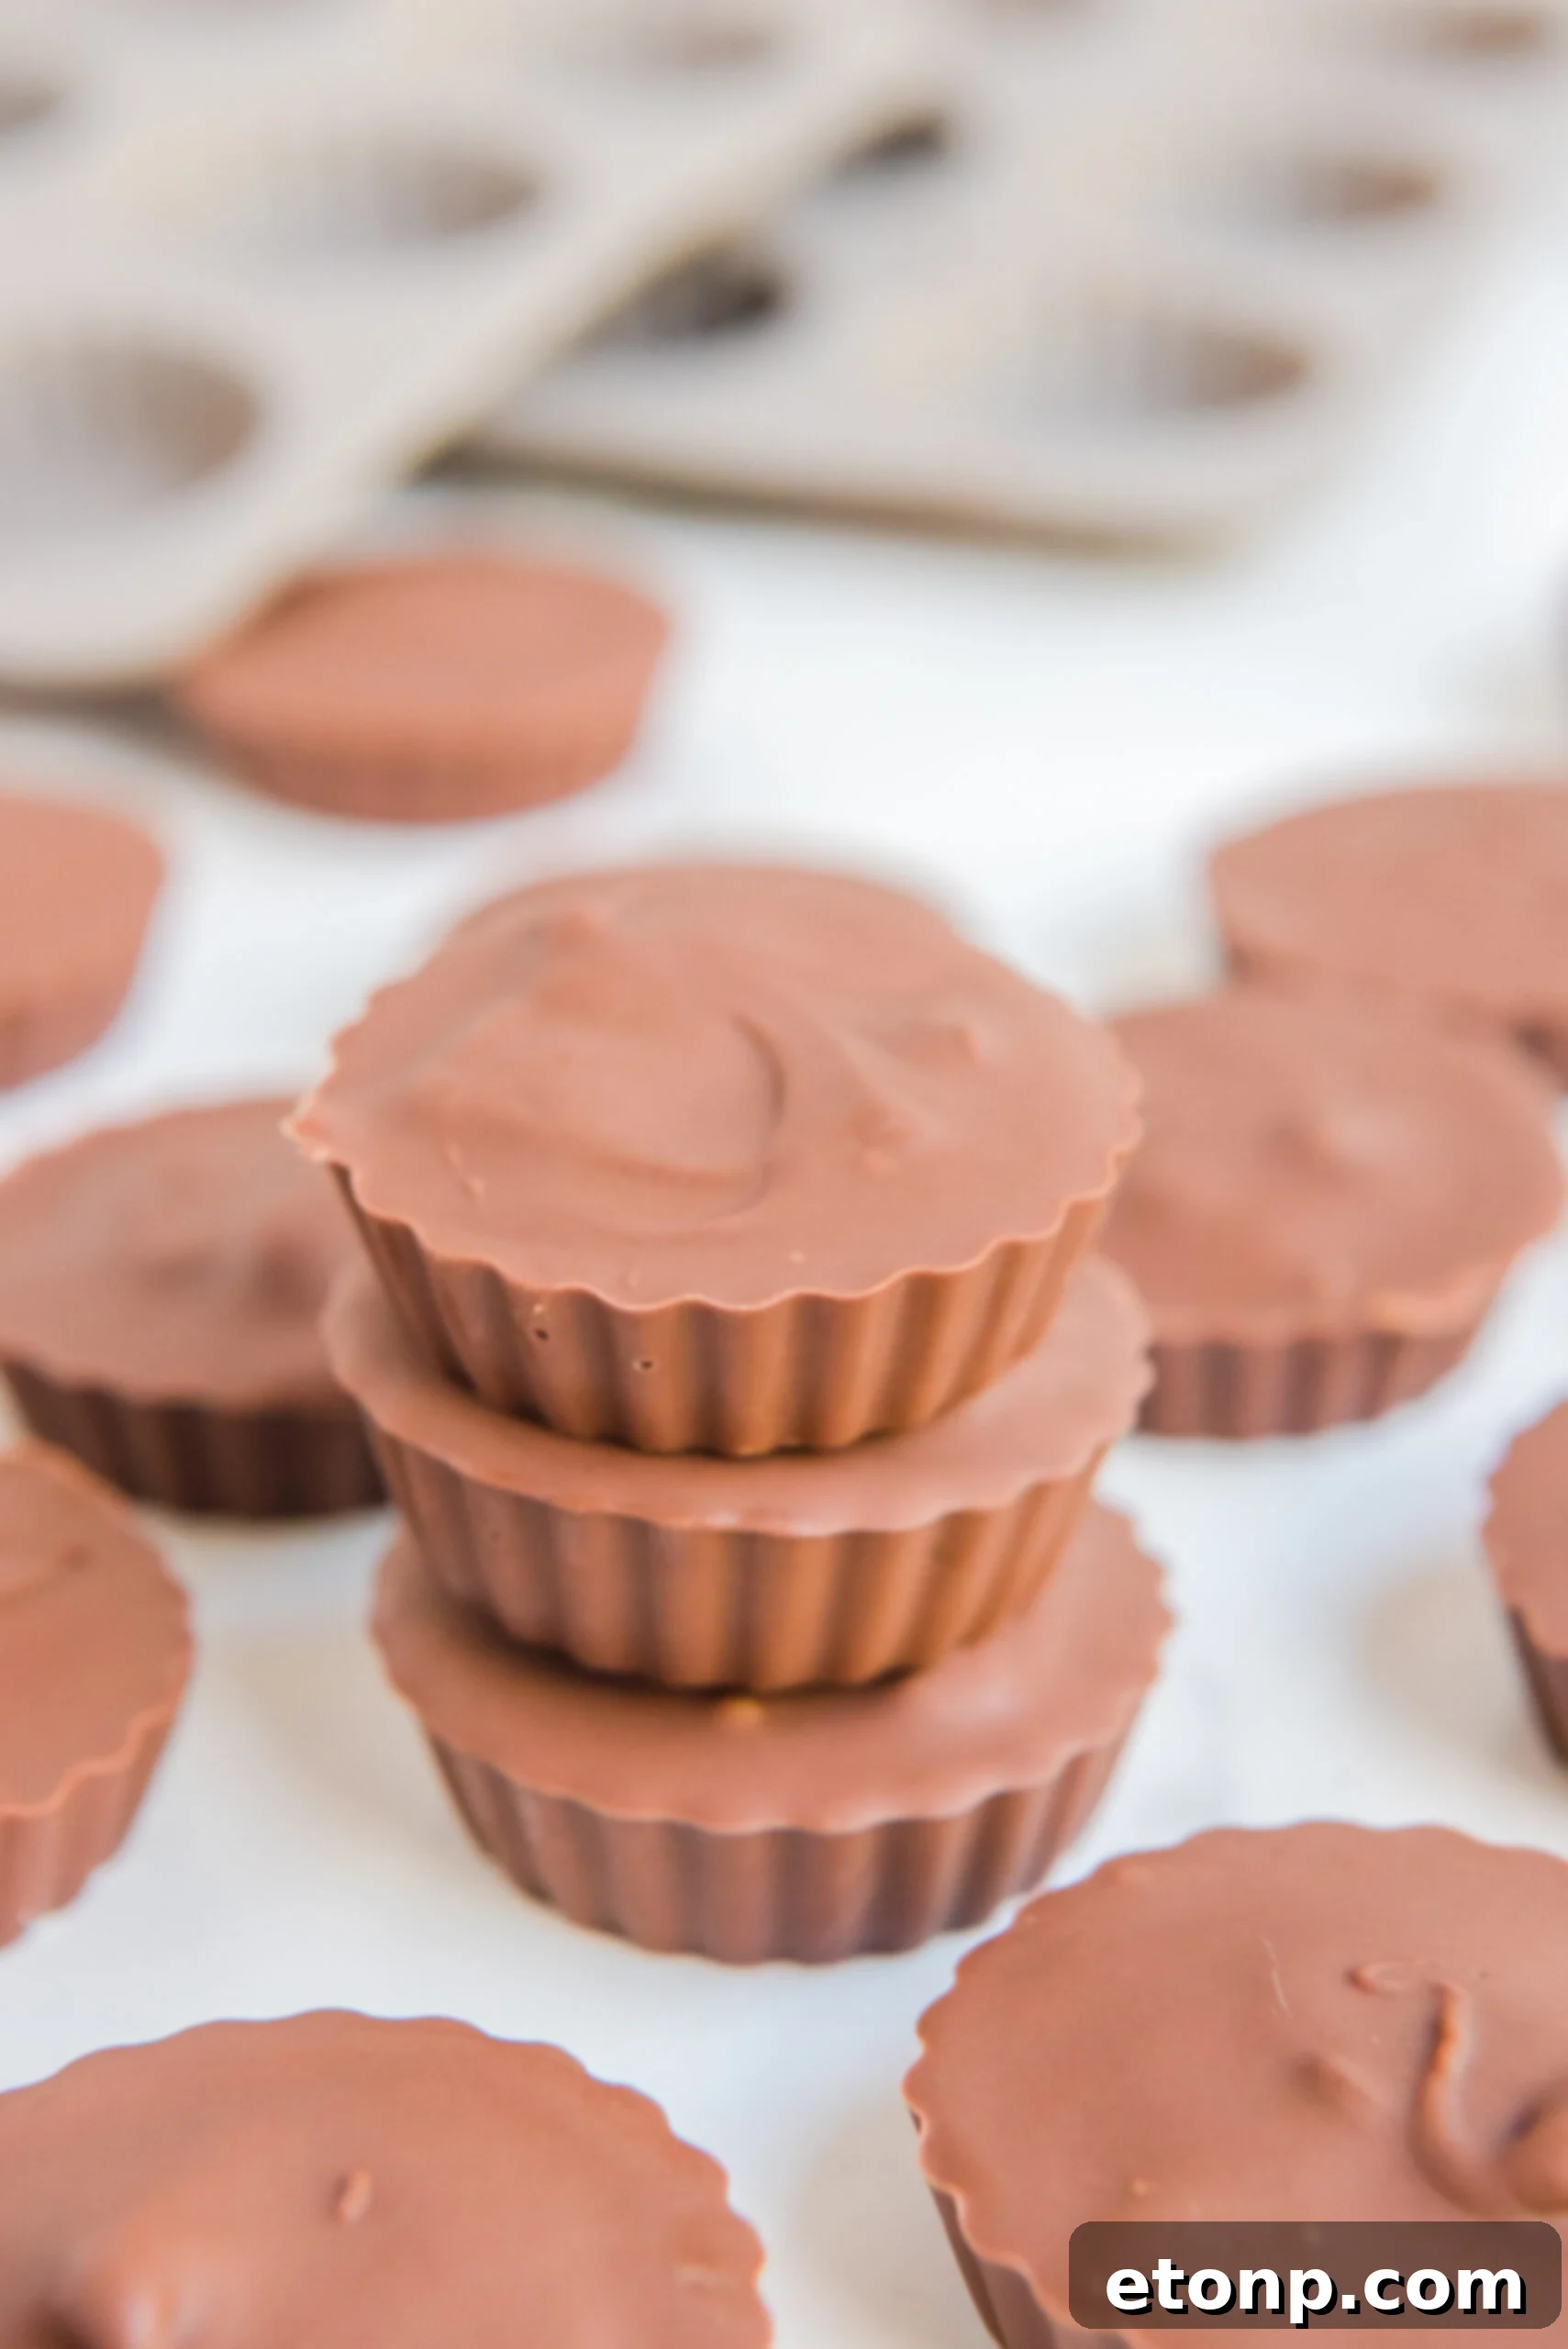
These homemade delights are genuinely simple to create, and the payoff in flavor and satisfaction is immense. They honestly taste far superior to the store-bought version, offering a fresh, rich, and utterly outstanding flavor that is undeniably addictive. The satisfaction of crafting such a beloved treat at home, knowing exactly what ingredients went into it, is an added bonus!
Frequently Asked Questions About Homemade Peanut Butter Cups
Have questions about perfecting your homemade peanut butter cups or curious about variations? We’ve got answers to some of the most common queries to help you on your sweet journey:
What kind of peanut butter should I use for these Homemade Peanut Butter Cups?
For that signature smooth, luxurious filling, creamy peanut butter is absolutely essential. You have the freedom to use any brand of creamy peanut butter that you personally prefer. Popular choices include classic brands like Reese’s, Jif, Skippy, or even a natural creamy peanut butter. If you opt for a natural variety, just ensure it’s very well-stirred to incorporate any separated oils, as excess oil can make the filling too loose. The key is to use the peanut butter whose flavor you enjoy most! Unless you specifically desire a chunky texture, avoid crunchy peanut butter, as it will alter the traditional smooth feel of the center.
Can I use dark chocolate melts instead of milk chocolate chips?
Absolutely, and it’s a wonderful variation! Much like Reese’s offers various chocolate versions of their classic, you can certainly make a rich dark chocolate rendition of these peanut butter cups. Dark chocolate adds a delightful depth of flavor and a slightly less sweet, more intense profile, which many find incredibly appealing. For an even more unique treat, you can also use white chocolate for a completely different but equally delicious experience, or even a combination of chocolates for a beautiful marbled effect. Feel free to experiment with your favorite chocolate types!
Can I eat these peanut butter cups right away after assembling?
Unfortunately, no, immediate gratification isn’t possible here, but the wait is well worth it! You won’t be able to properly enjoy these peanut butter cups right after assembling them because both the chocolate and the peanut butter filling need ample time to firm up and meld together. It’s absolutely essential to leave the molds with the chocolate and peanut butter in the fridge for a minimum of four hours. For optimal texture, the easiest removal from molds, and the most satisfying bite, an overnight chill is highly recommended. While waiting can be tough, the perfect, firm, and non-messy result is a delicious reward for your patience!
How long do homemade peanut butter cups last and how should I store them?
When stored in an airtight container in the refrigerator, your homemade peanut butter cups will stay fresh, firm, and deliciously flavorful for up to 2 weeks. For longer storage, you can easily place them in a freezer-safe bag or container, separated by parchment paper, and freeze them for up to 3 months. Just remember to let them come to a slightly warmer temperature before serving if frozen, so the chocolate and peanut butter are at their best, creamy texture.
Can I make these peanut butter cups vegan or gluten-free?
Yes, with a few slight modifications, this recipe can be adapted to be vegan or gluten-free! To make them vegan, ensure you use dairy-free chocolate chips (many reputable brands now offer excellent options) and a plant-based butter alternative for the peanut butter filling (like a vegan butter stick). For a gluten-free version, the recipe is inherently gluten-free as long as all your individual ingredients (chocolate chips, peanut butter, powdered sugar, vanilla extract, etc.) are certified or labeled as gluten-free. Always double-check ingredient labels carefully to ensure there are no hidden gluten-containing additives.
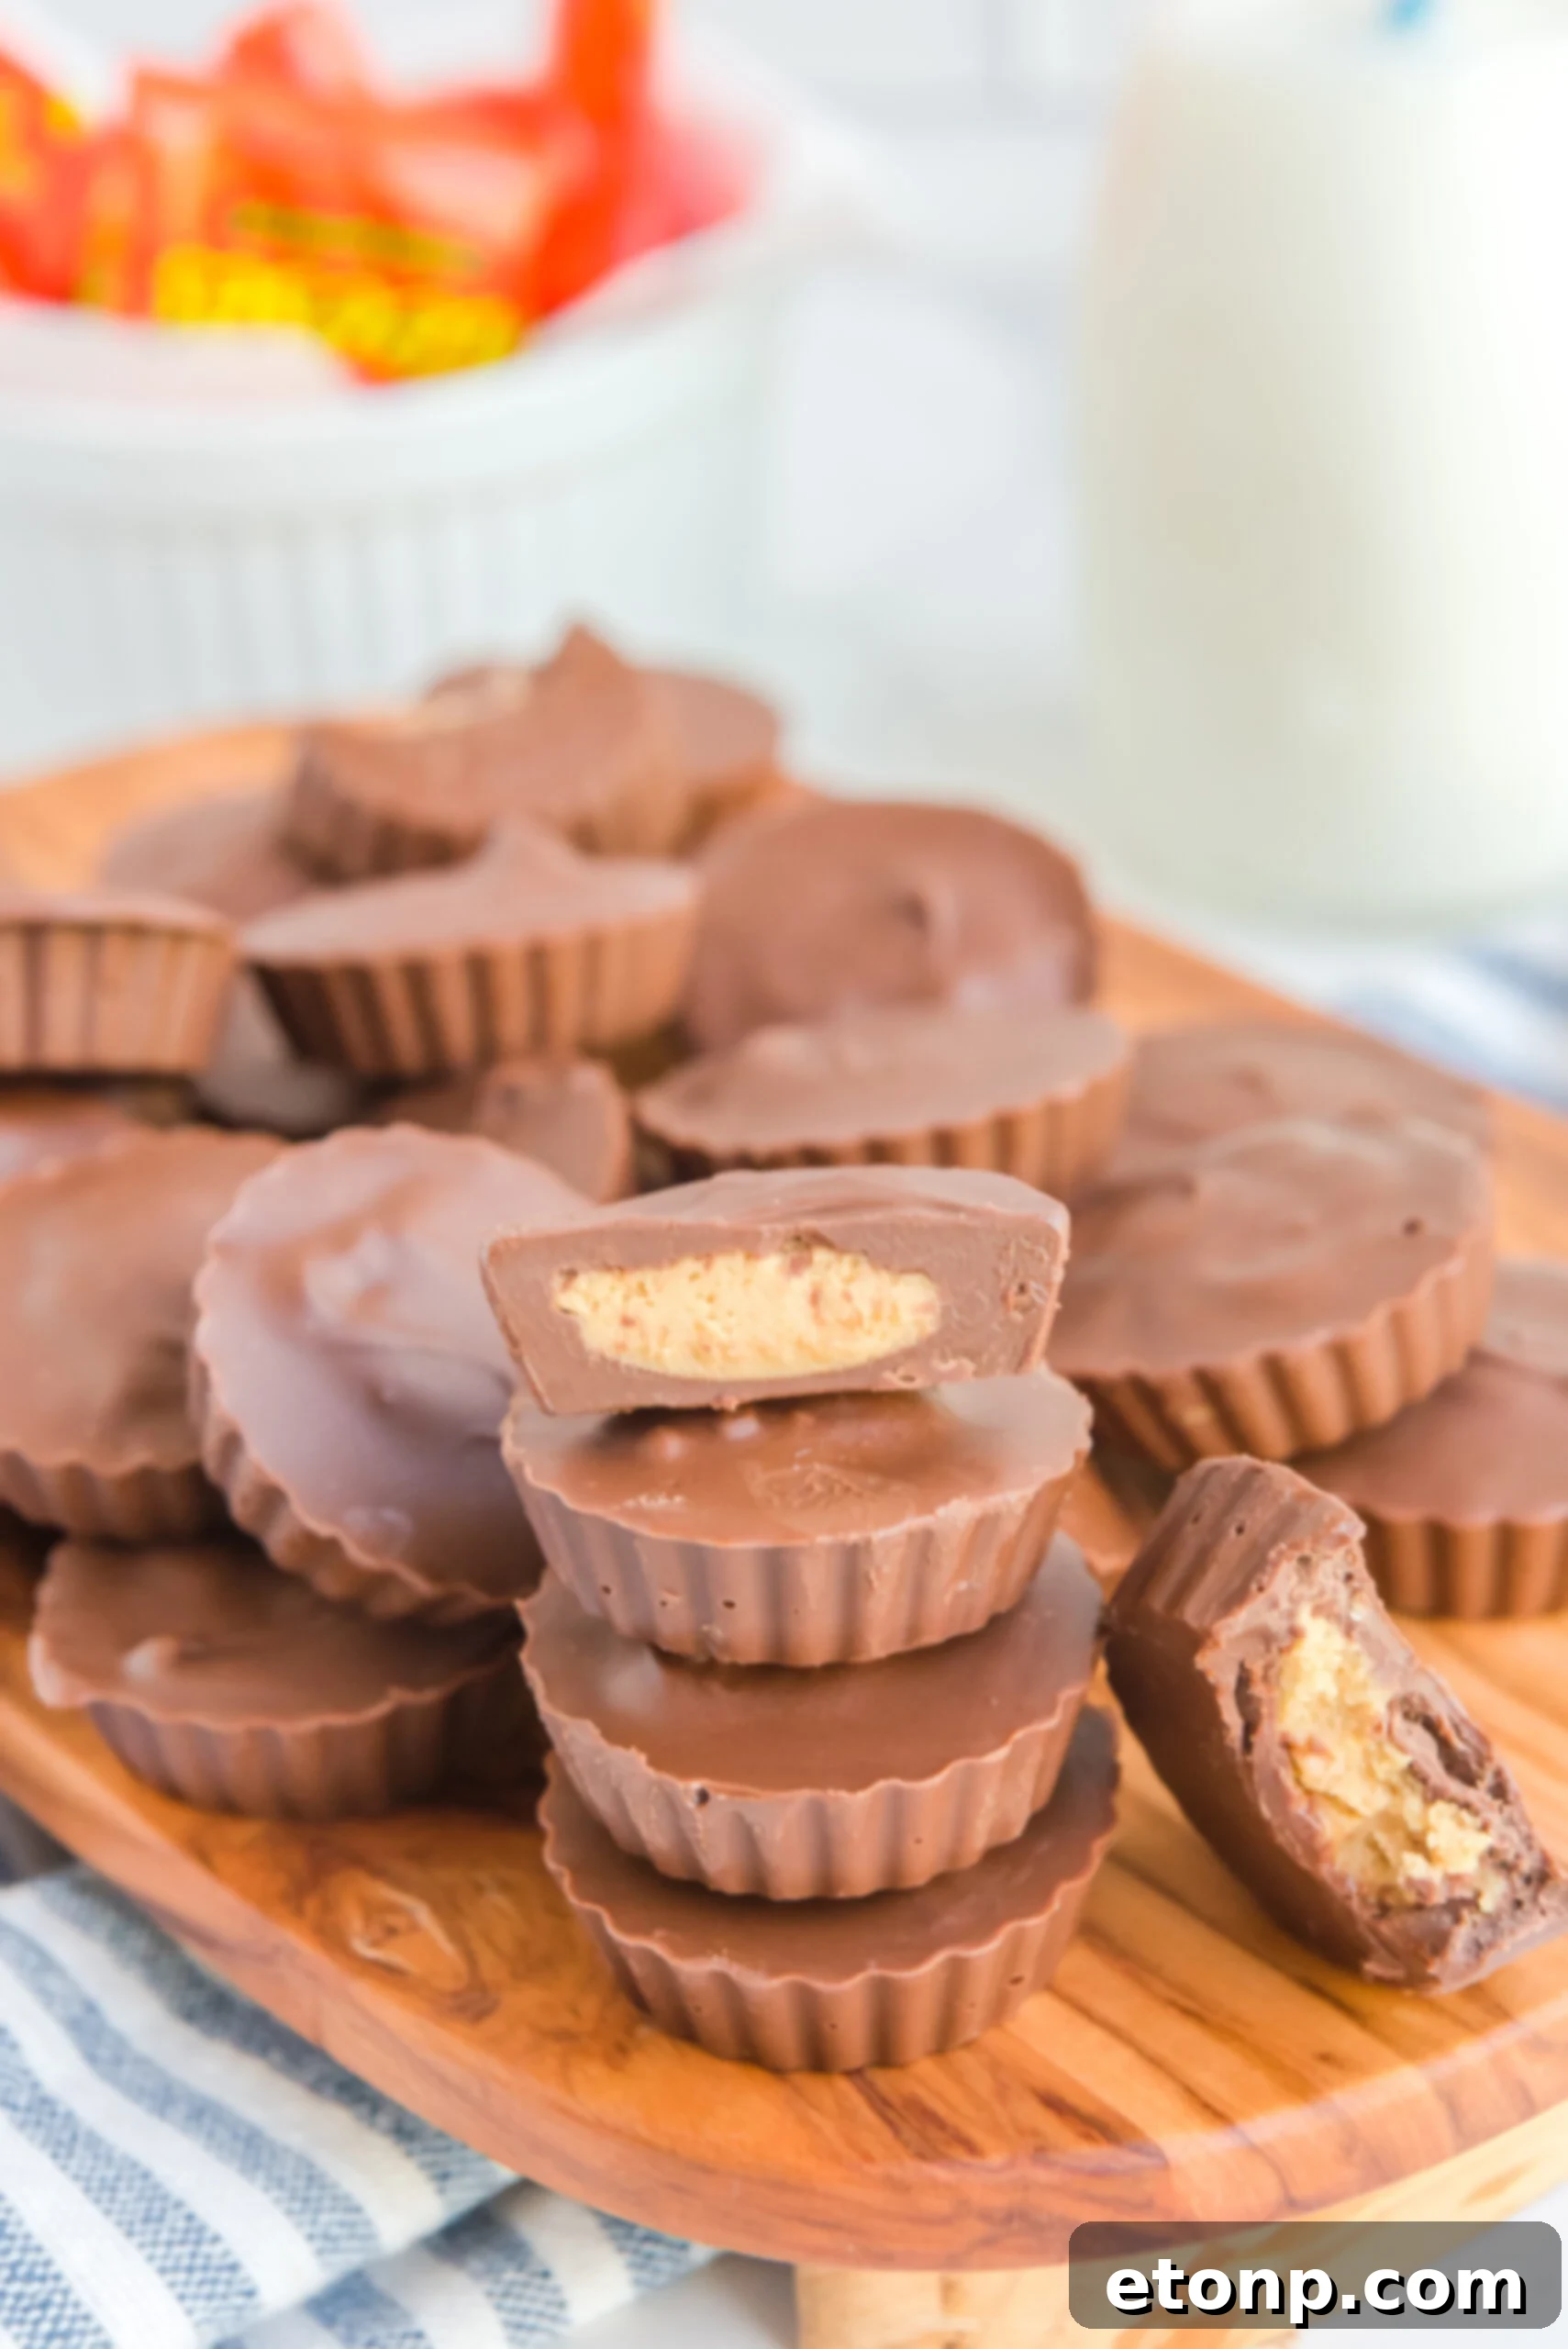
Next time you’re hit with a craving for that quintessential chocolate peanut butter combination, there’s no need to rush to the store. Instead, embrace the joy and satisfaction of homemade confectionery. Save your money, enjoy the simple and rewarding process, and prepare these incredibly delicious chocolate peanut butter treats right at home with minimal effort and common ingredients. The result is a truly remarkable treat that tastes infinitely better than anything you can buy, bringing a touch of gourmet delight to your everyday!
More Irresistible Peanut Butter & Chocolate Recipes You Will Love!
If you’re an undeniable fan of the glorious combination of peanut butter and chocolate, you absolutely must try these other incredible recipes that masterfully feature this dynamic duo. Prepare to expand your repertoire of favorite sweet treats!
- Reese’s Peanut Butter Cup Cookies: Imagine your favorite soft, chewy peanut butter cookies, but with a whole miniature Reese’s Peanut Butter Cup baked right into the gooey center! These cookies are a delightful surprise with every bite, packed with irresistible peanut butter flavor and a hidden chocolate treasure.
- Homemade Reese’s Peanut Butter Cup Brownies: Take classic fudgy, intensely rich brownies and elevate them to a whole new level of decadence by studding them generously with chopped Reese’s Peanut Butter Cups. This recipe promises an explosion of chocolate and peanut butter in every chewy square, making it a true showstopper.
- No Bake Peanut Butter Cup Bars: For those times when you crave all the magnificent flavor of peanut butter cups without even turning on the oven, these no-bake bars are an absolute dream come true. Featuring layers of crunchy peanut butter goodness topped with a smooth, rich chocolate coating, they are quick, easy, and utterly delightful – perfect for a fuss-free dessert!
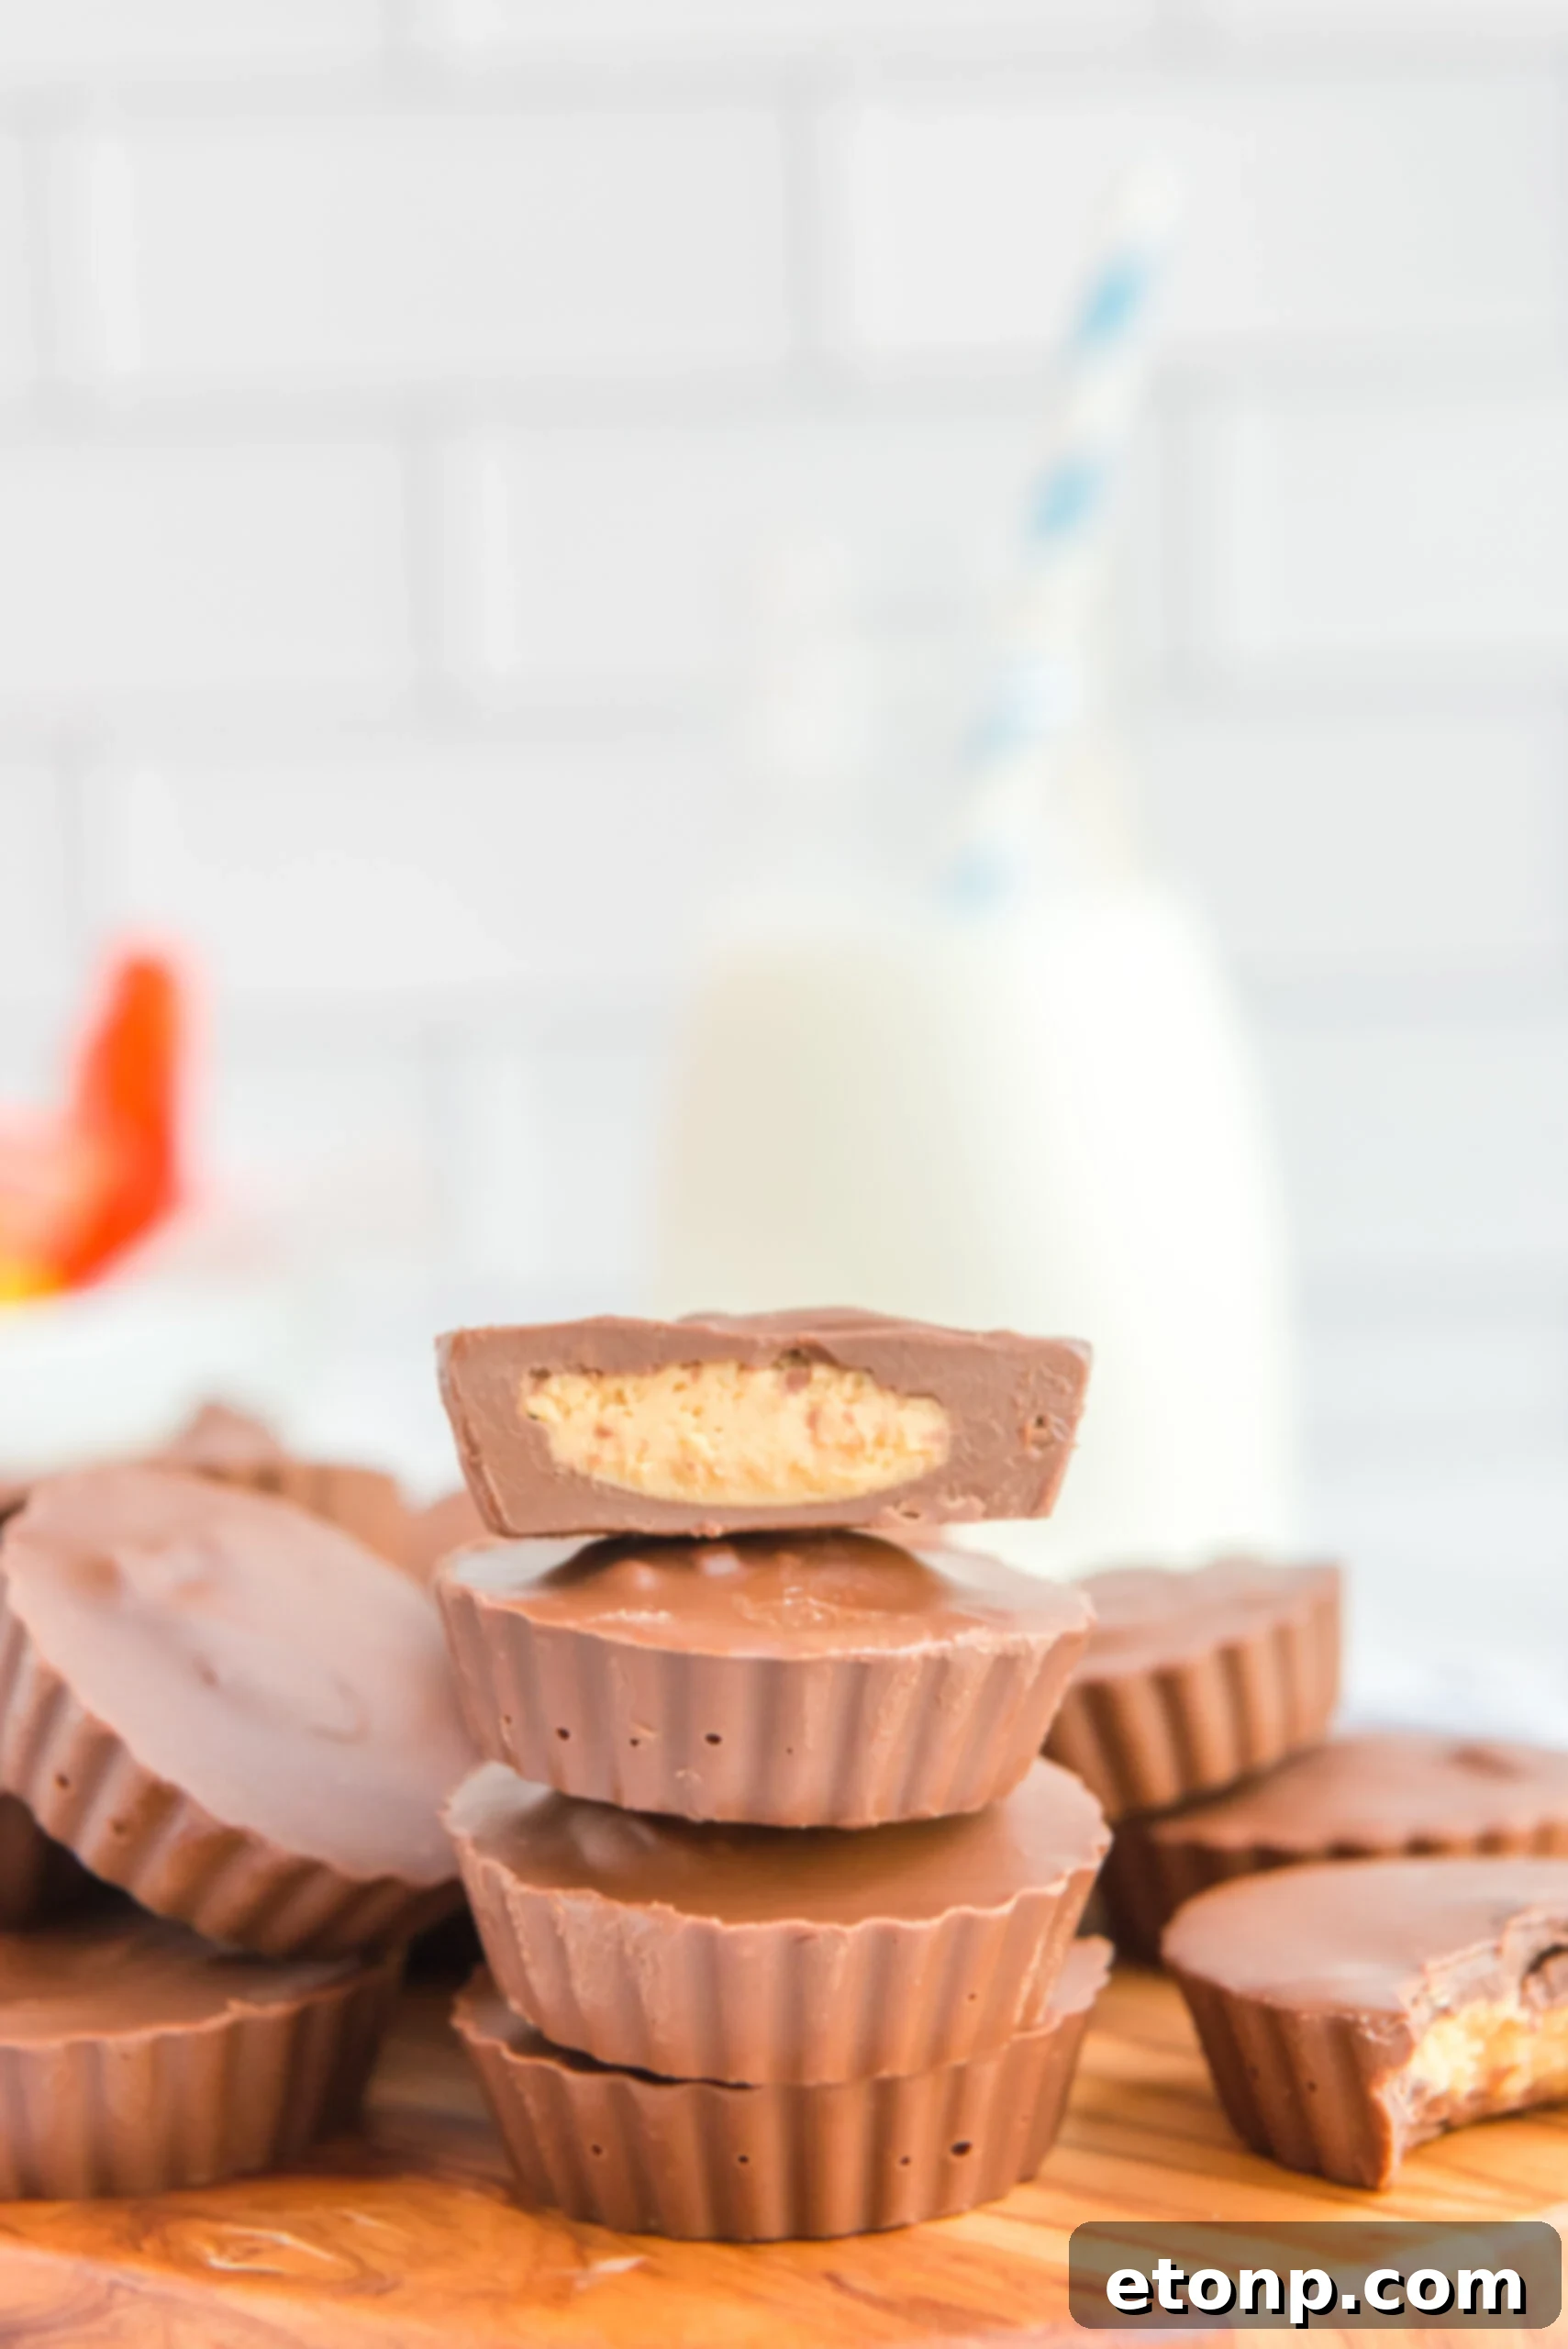
Homemade Reese’s Peanut Butter Cups
Ingredients
- 11 oz bag milk chocolate chips
- 1 tablespoon vegetable oil
- 1 cup creamy peanut butter
- 1-½ cup powdered sugar
- 2 tablespoons unsalted butter
- 1 teaspoon vanilla extract
- Pinch of sea salt
Instructions
-
In a medium mixing bowl, combine peanut butter, powdered sugar, butter, vanilla and sea salt. Mix using an electric hand or stand mixer until smooth and thick. Set aside.
-
In a separate microwave safe bowl, add chocolate chips. Place inside the microwave and heat on 50% power for 1 minute. When done, add the vegetable oil and return to the microwave on 50% power for 30 seconds. Repeat the 30 second bursts, stirring in between, until the chocolate is silky smooth.
-
Using the silicone molds, spoon out about 1 teaspoon of chocolate (or about ⅓ full) into the bottom of each mold.
-
Top with a similar amount of the peanut butter mixture. This mixture won’t fall off the spoon like the chocolate, so use your fingers to guide it into place. See notes for additional tips.
-
Spoon out a second chocolate layer over the peanut butter mixture, covering it completely and filling the mold to the exact top.
-
Place molds inside the refrigerator for at least 4 hours or overnight.
-
When done, you will be able to easily remove the Reese Cups from the molds without mess.
Did you make this recipe?
Make sure to follow on Pinterest for more recipes!
Pin Recipe
Share on Facebook