
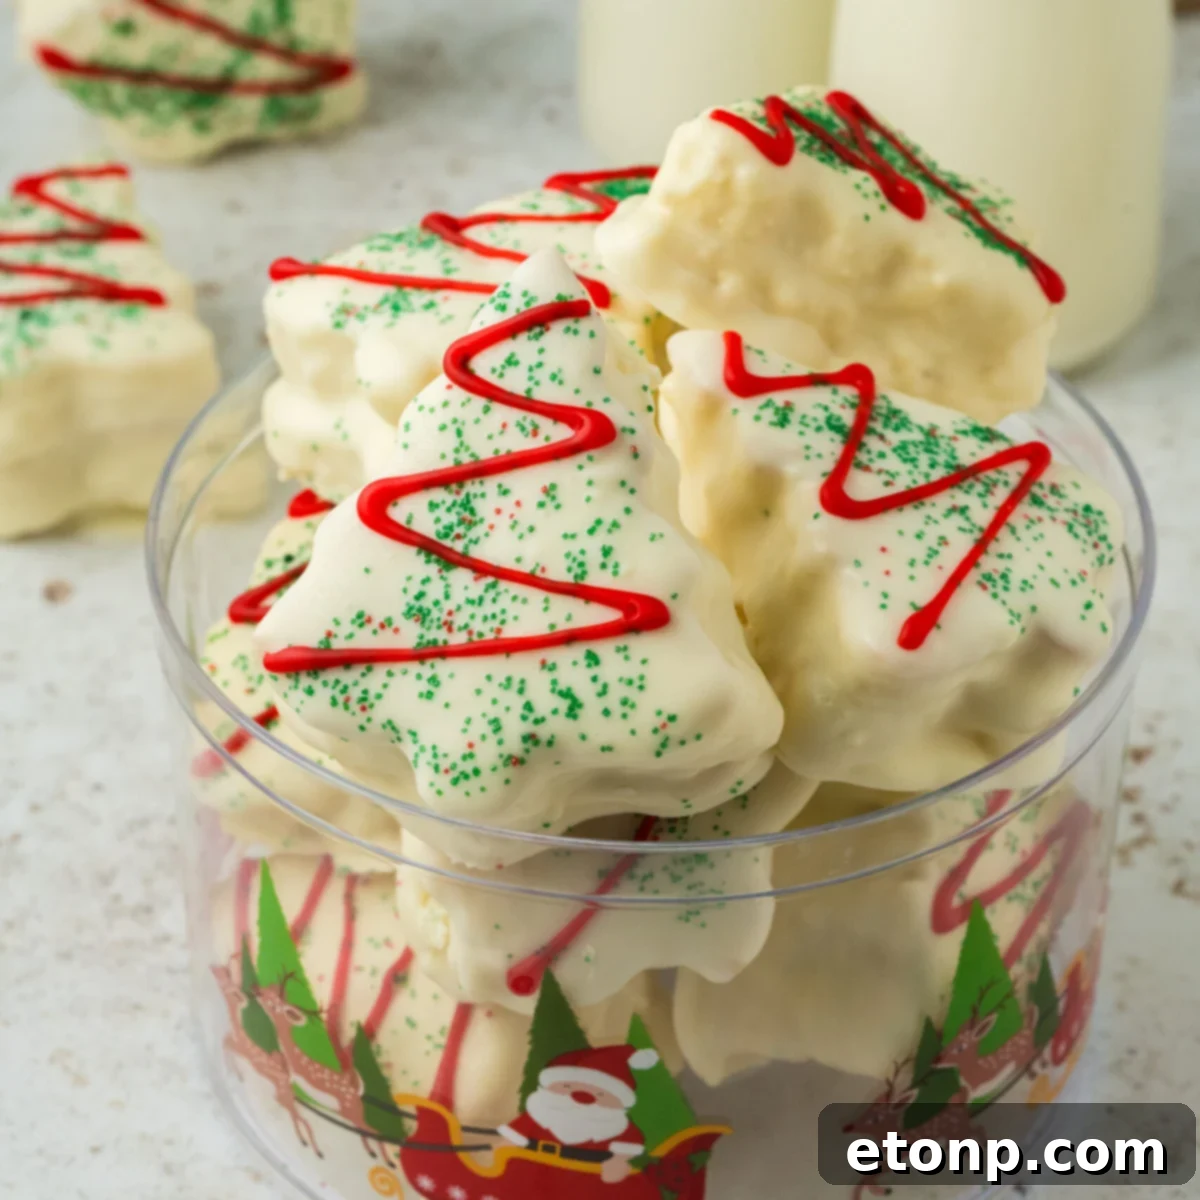
Homemade Little Debbie Christmas Tree Cakes: Your Ultimate Copycat Recipe
There’s an undeniable magic to the holidays, and for many, that magic is encapsulated in the delightful taste of a Little Debbie Christmas Tree Cake. That signature soft-baked cake, the creamy filling, the decadent chocolate coating, and the festive green sprinkles – it’s a nostalgic treat that instantly transports you back to childhood Christmases. What if you could capture that beloved flavor and recreate it in your own kitchen, any time of year? Now you can! This ultimate copycat recipe guides you through making perfect homemade Little Debbie Christmas Tree Cakes that taste just like the originals, if not even better.
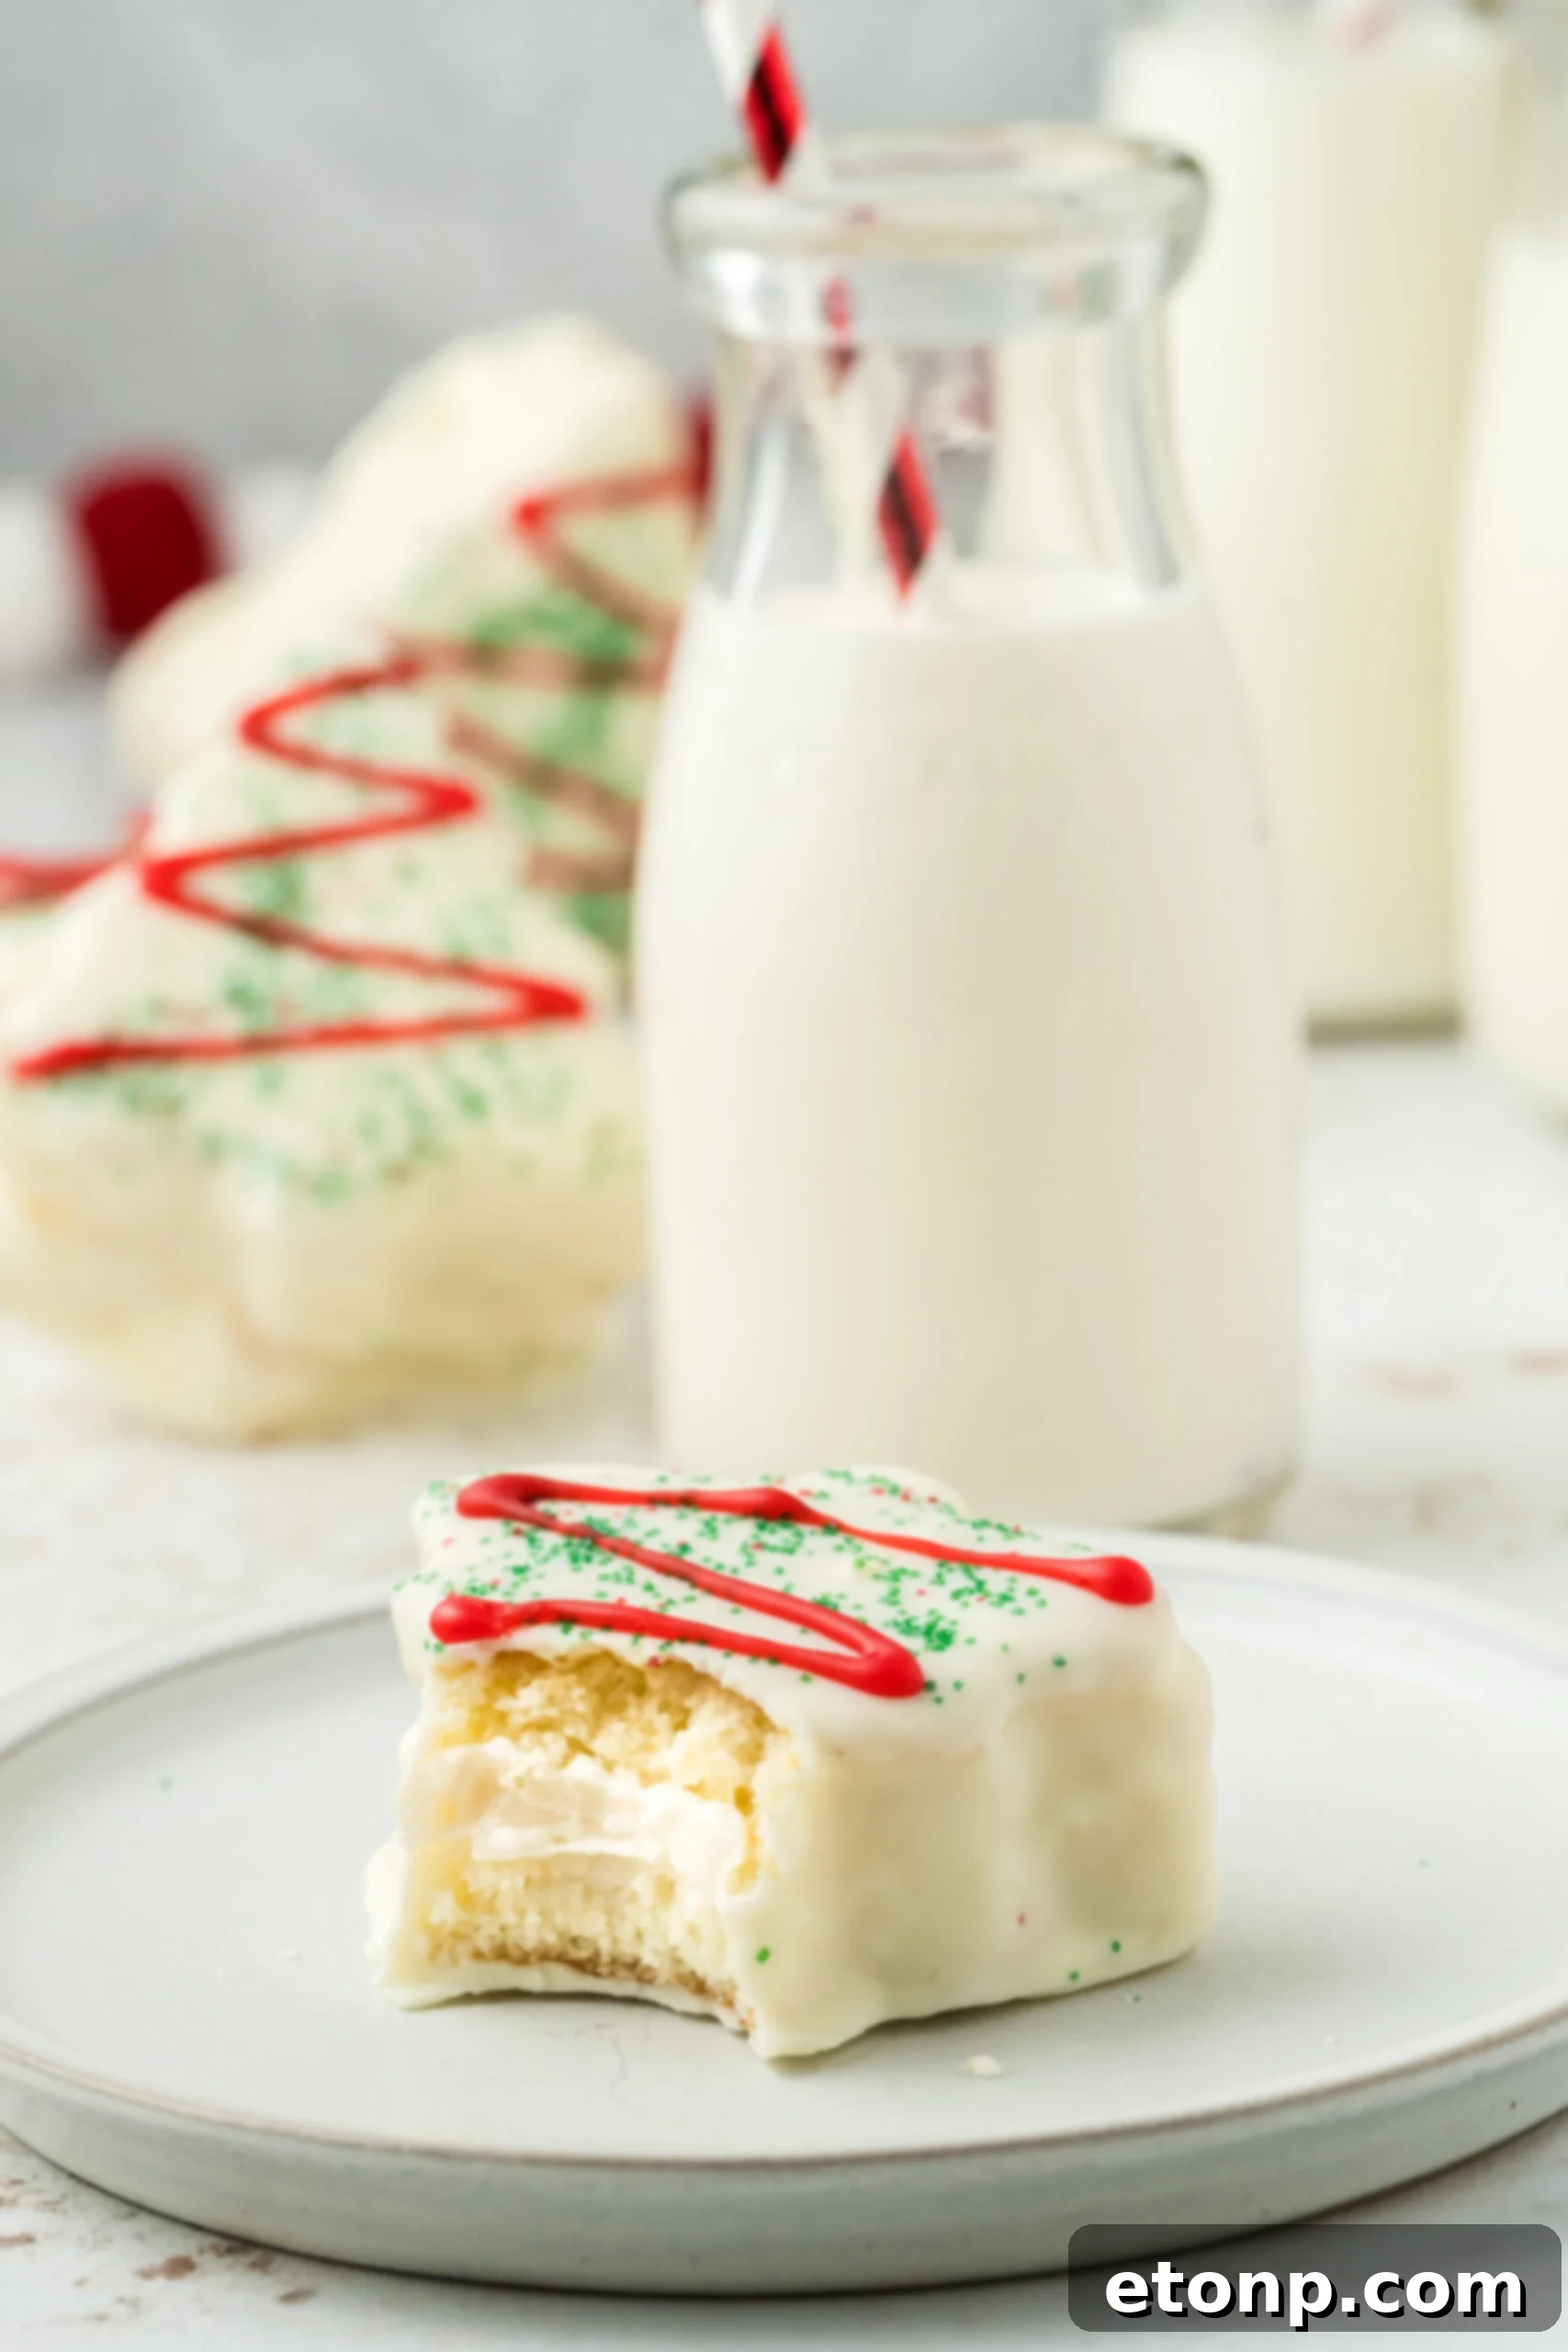
Imagine biting into a perfectly shaped Christmas tree cake, baked to golden perfection, with a light and fluffy cream filling that melts in your mouth. Each cake is then lovingly dipped in smooth white chocolate and adorned with vibrant green sanding sugar and iconic red icing lines. The best part? This incredibly satisfying recipe starts with a simple boxed cake mix, making the process approachable for bakers of all skill levels. Get ready to impress your family and friends with these charming, festive treats that celebrate the spirit of the season with every bite.
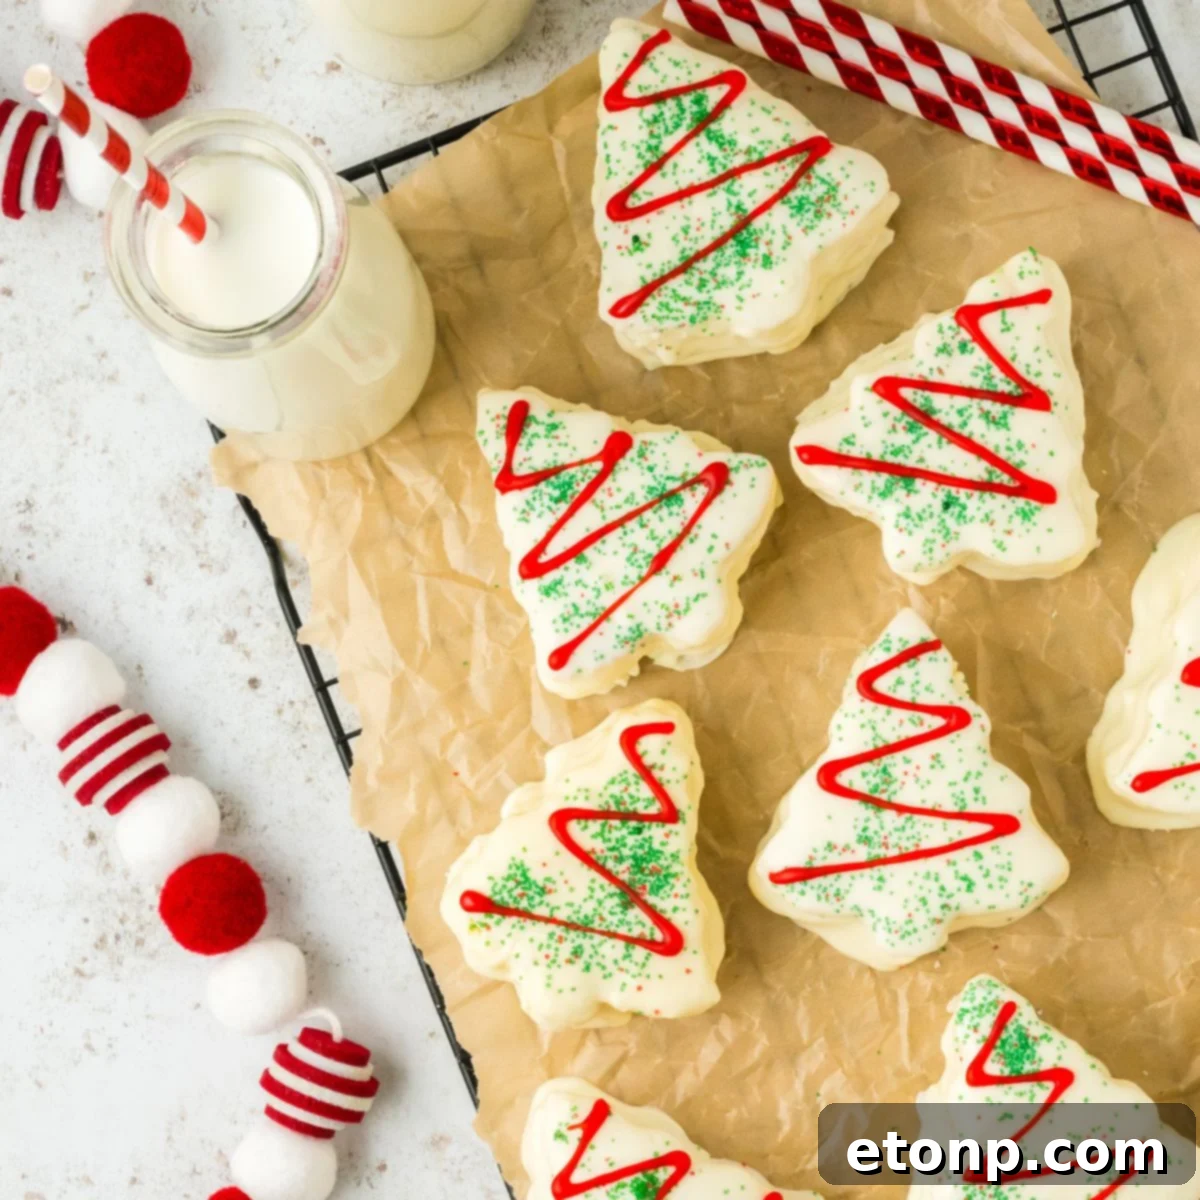
Why You’ll Love Making These Homemade Christmas Tree Cakes
Beyond the sheer joy of recreating a classic, there are countless reasons why this copycat Little Debbie Christmas Tree Cakes recipe will become a cherished part of your holiday baking tradition. It’s an opportunity to infuse your kitchen with the irresistible aroma of freshly baked goods and create lasting memories with loved ones.
- Taste Authenticity: This recipe meticulously replicates the iconic flavor and texture of the store-bought Little Debbie Christmas Tree Cakes, delivering that familiar, comforting taste you adore.
- Batch Baking Brilliance: Designed to produce a generous quantity of cakes, this recipe is ideal for holiday gatherings, school parties, or simply ensuring you have plenty of treats to share (or savor yourself!).
- Budget-Friendly & Convenient: By starting with a readily available boxed cake mix, this recipe keeps costs down without compromising on flavor, making festive baking accessible to everyone.
- Surprisingly Simple: Despite their intricate appearance, these cakes are remarkably easy to assemble, proving that gourmet-looking treats don’t require advanced baking skills.
- Versatile for Any Occasion: Perfect for Christmas school events, festive family dinners, gifting on dessert trays, or as a delightful surprise in lunchboxes, these cakes are a crowd-pleaser for all ages.
- Year-Round Enjoyment: Why wait for December? This recipe empowers you to enjoy the magic of Christmas Tree Cakes whenever a craving strikes, bringing a touch of holiday cheer to any time of year.
The convenience of a boxed cake mix means less time measuring and more time enjoying the creative process. You’ll be amazed at how easily these stunning and delicious cakes come together, making them a fantastic project for a cozy afternoon of baking.
More Festive Christmas Dessert Inspirations
If you’re brimming with holiday spirit and eager to explore more delightful Christmas-themed treats, I have several fantastic recipes that complement these Little Debbie Christmas Tree Cakes beautifully. Each one is designed to bring joy and festive cheer to your dessert table:
- Discover the charm of my Christmas Sugar Cookie Bites, perfect for snacking and sharing.
- Indulge in the delicate beauty of Spritz Cookies, a classic holiday staple.
- For a grander centerpiece, try my impressive Christmas Tree Layered Cake.
These recipes are not only delicious but also visually stunning, adding a touch of elegance and whimsy to your holiday celebrations.
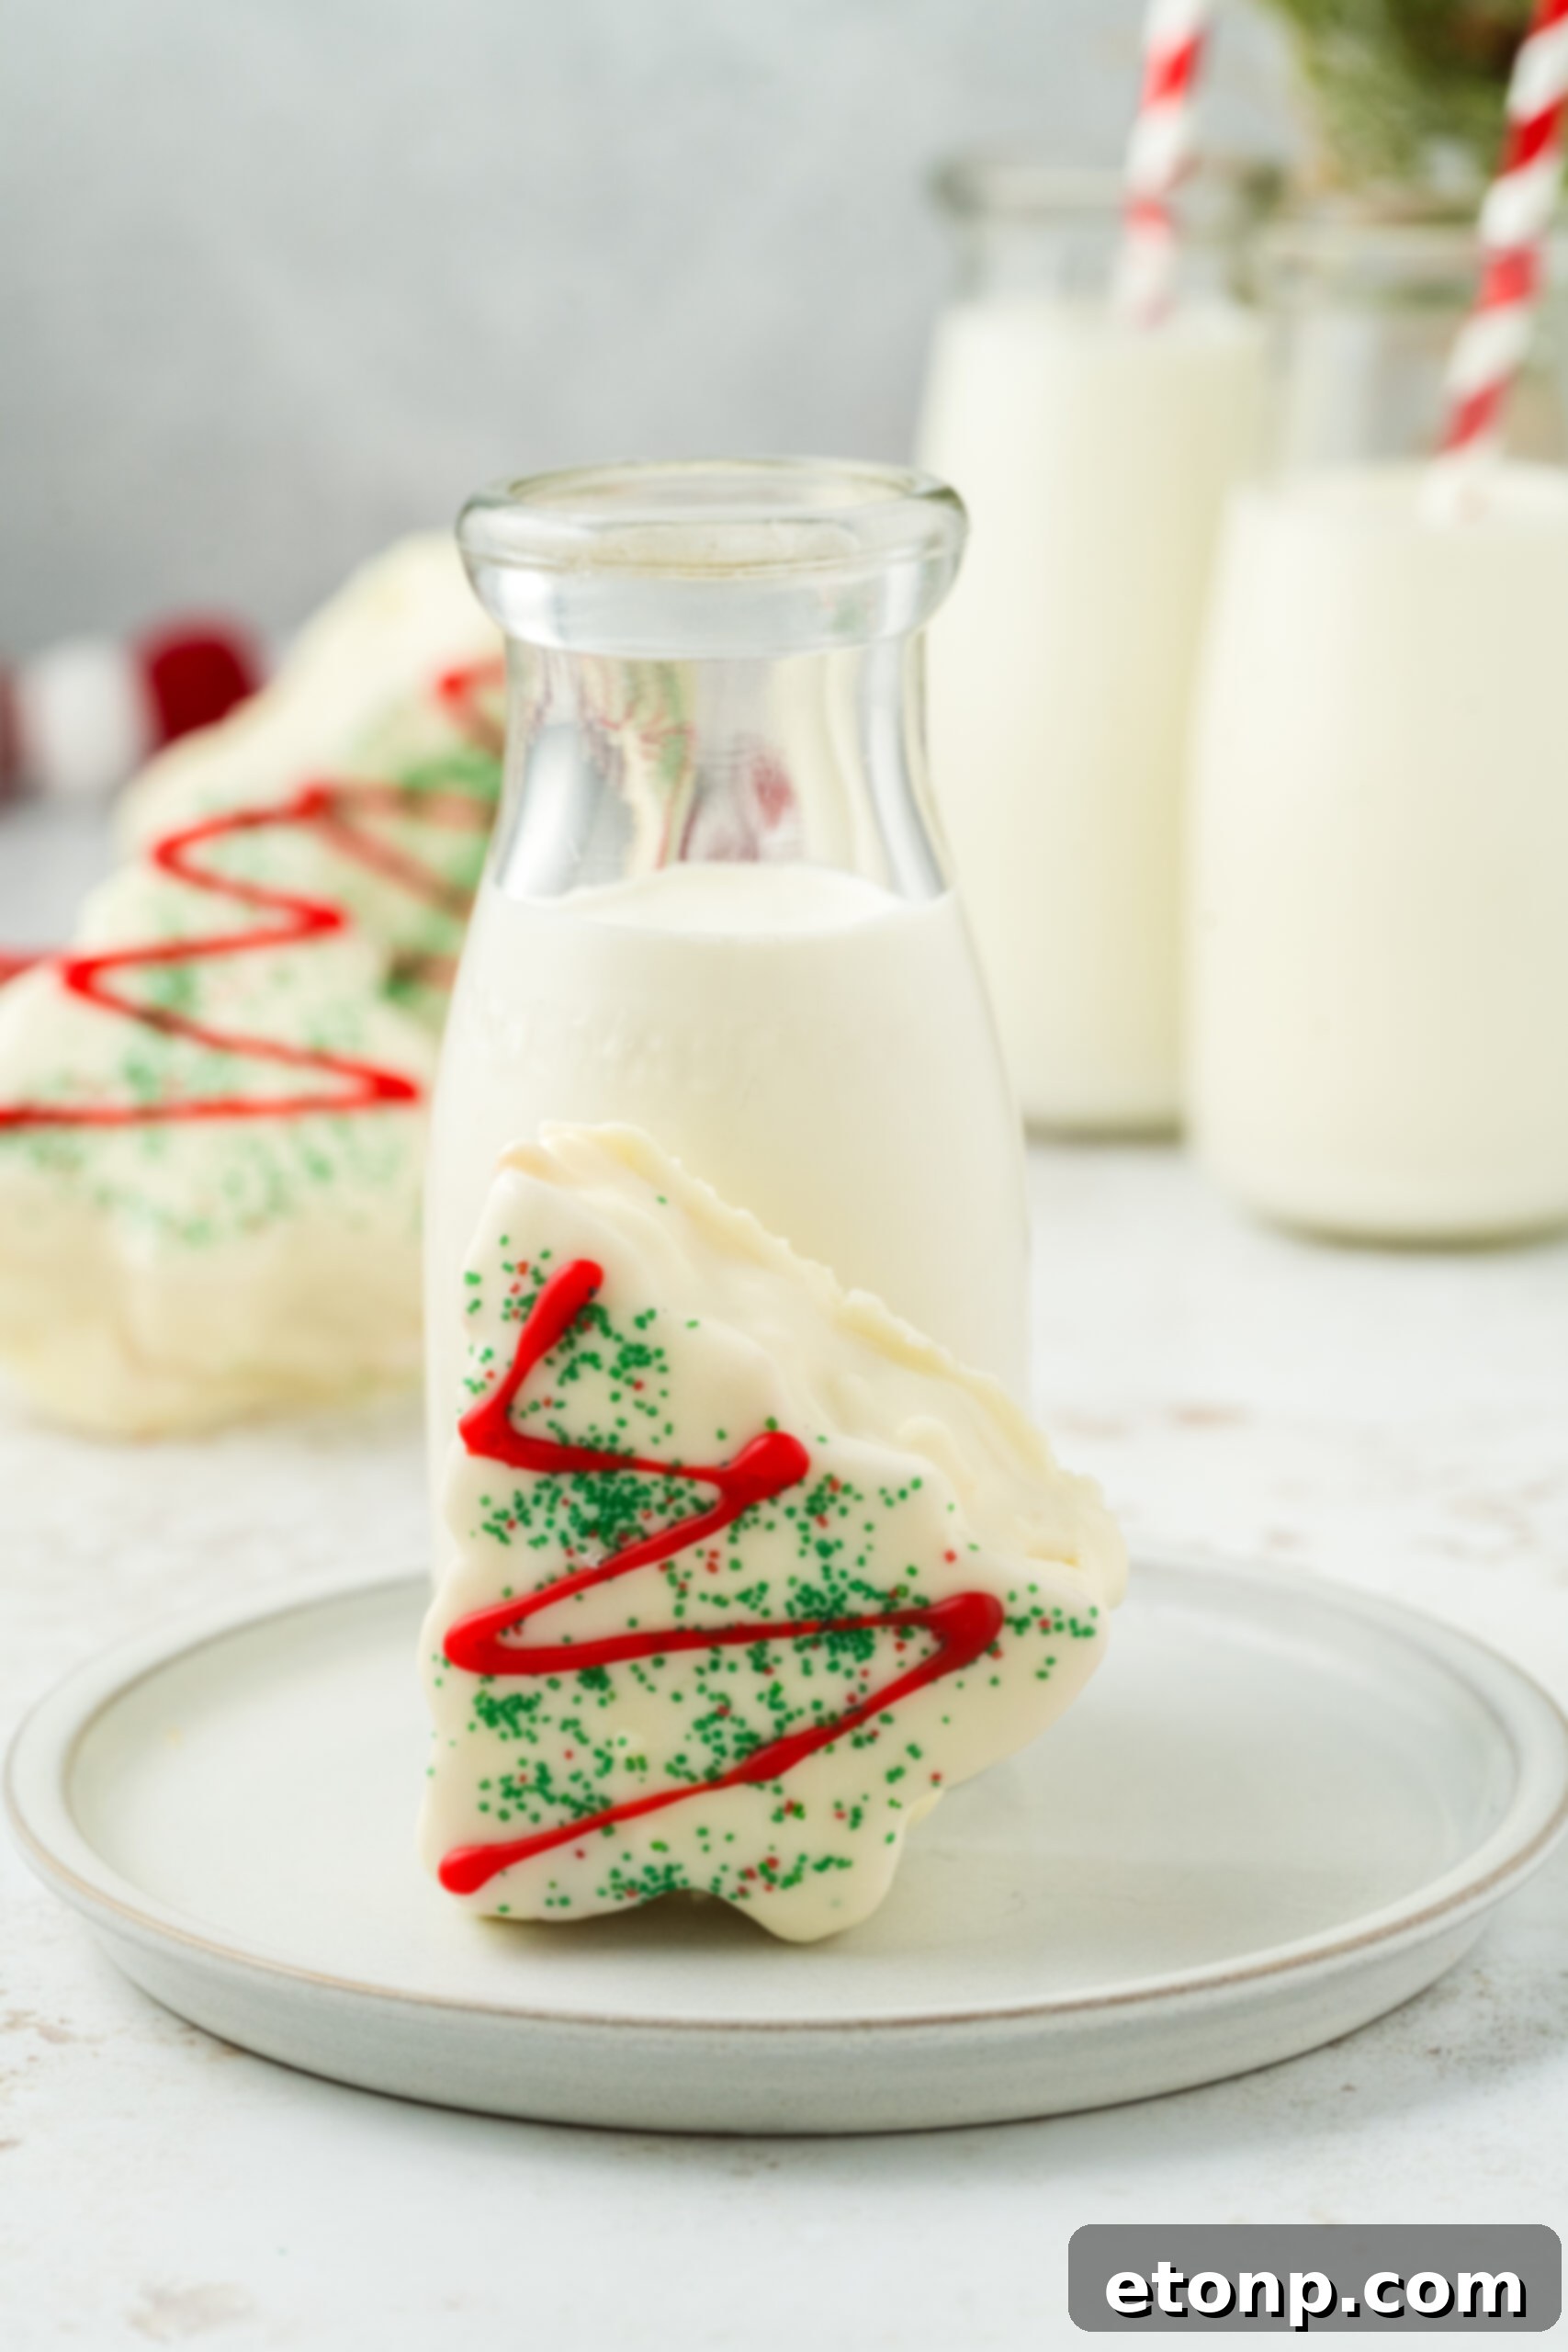
Creative Little Debbie Inspired Dessert Twists
Beyond the classic Christmas Tree Cakes, the beloved Little Debbie treats can inspire even more innovative and decadent desserts. If you’re looking to expand your holiday repertoire with a fun, unexpected twist on these familiar flavors, consider these incredibly delicious options:
- Whip up a batch of my delightful Christmas Tree Cake Truffles, perfect for bite-sized indulgence and gifting.
- For the ultimate Little Debbie fan, don’t miss this truly decadent Christmas Tree Cheesecake, generously studded with pieces of the original cakes!
Both of these recipes are fantastic ways to celebrate the festive season with a nod to everyone’s favorite snack cakes, turning simple ingredients into extraordinary holiday delights.
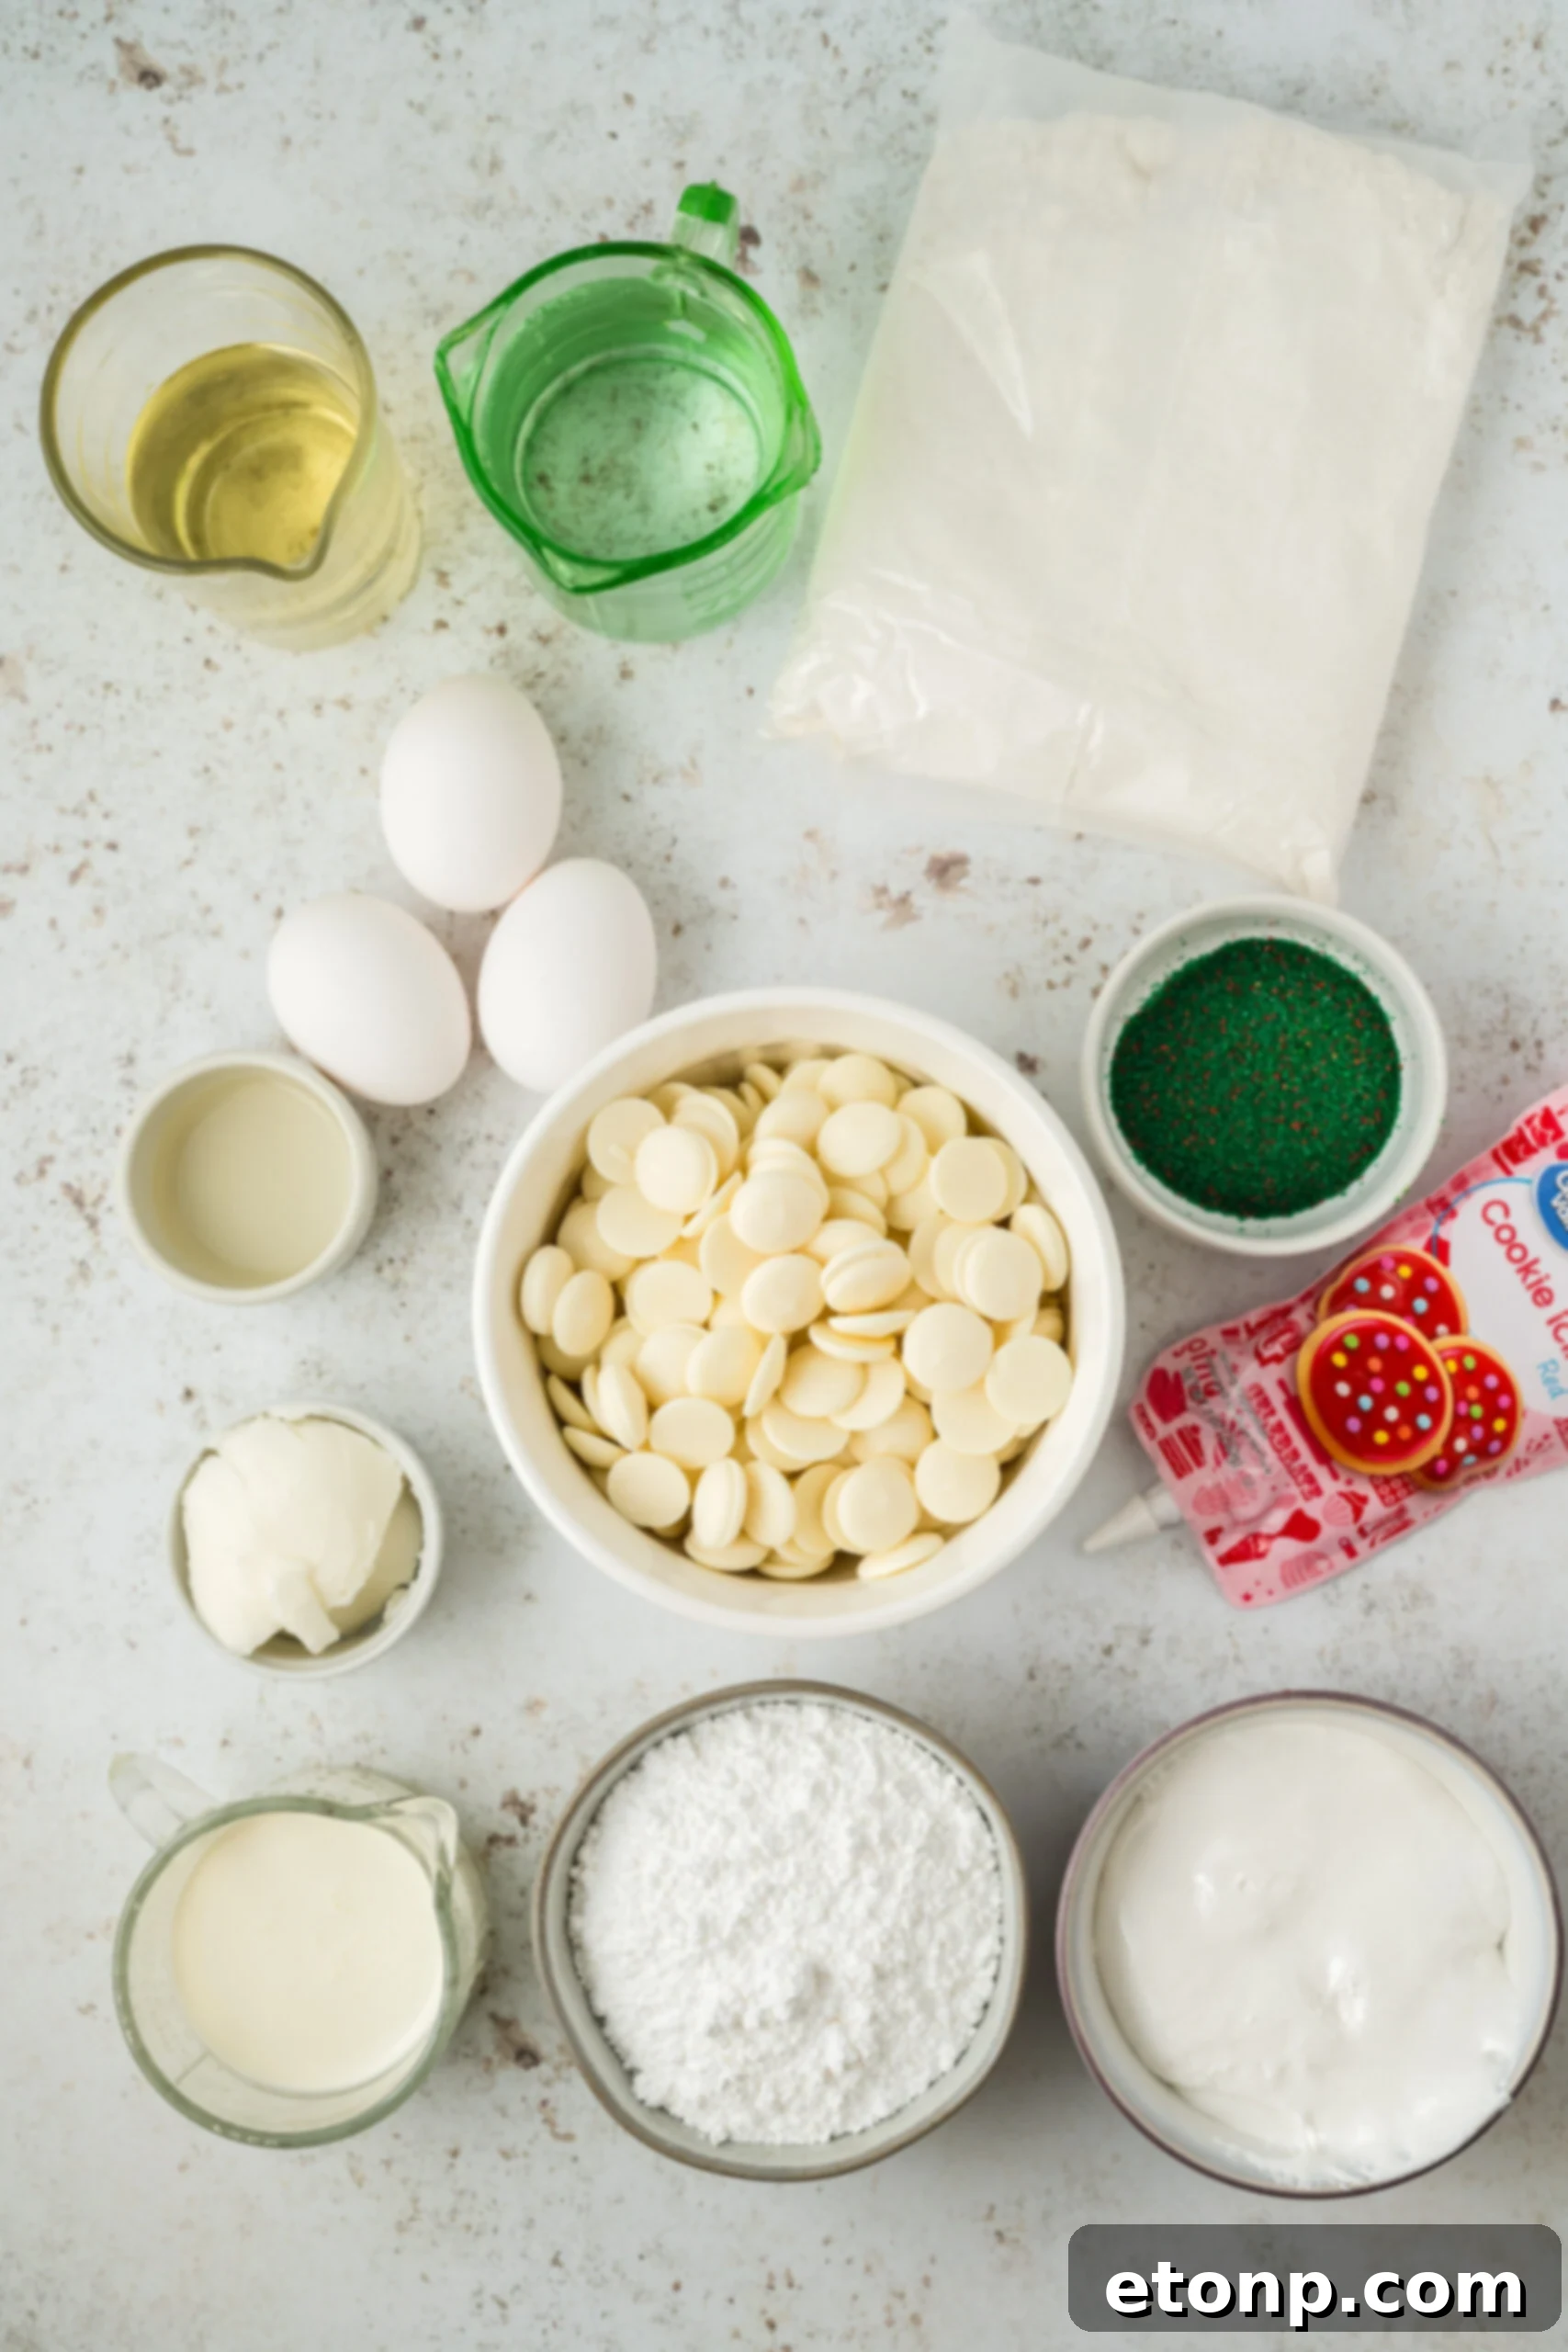
Essential Ingredients for Your Perfect Christmas Tree Cakes
Crafting these iconic Little Debbie Christmas Tree Cakes at home requires a few key ingredients, each playing a vital role in achieving that authentic flavor and texture. Here’s a detailed look at what you’ll need and why each component is important:
- White Cake Mix: This is your foundational ingredient, offering a convenient and consistent base. A good quality white cake mix ensures a soft, tender crumb, mirroring the texture of the original cakes. You’ll also need the additional ingredients specified on the cake mix box (typically eggs, oil, and water or milk) to prepare the batter. Any reputable brand will work beautifully.
- Heavy Cream: Essential for the luscious, airy filling, heavy whipping cream provides the rich fat content needed to whip up into a stable, fluffy consistency. It gives the filling its signature creamy texture and indulgent mouthfeel.
- Vanilla Extract: A touch of pure vanilla extract is crucial for enhancing the overall sweetness and adding a warm, aromatic depth to the cream filling. Good quality vanilla makes a noticeable difference in the final flavor profile.
- Powdered Sugar: Also known as confectioners’ sugar, this fine sugar is key to achieving a smooth, velvety texture in your filling. Sifting the powdered sugar before adding it can help prevent lumps and ensure an even, uniform consistency, contributing to that melt-in-your-mouth experience.
- Marshmallow Cream: This is truly the “secret ingredient” that elevates the filling to copycat perfection. Marshmallow cream provides that unique, slightly sticky, sweet, and incredibly fluffy texture found in the original Little Debbie cakes. Look for it in the baking aisle of your grocery store, usually near other marshmallows or baking syrups.
- Candy Melting Wafers: To achieve that distinctive hard, smooth coating, white candy coating wafers are the ideal choice. Unlike regular chocolate, these wafers are formulated to melt smoothly and set quickly with a beautiful, glossy finish, creating a perfect shell for your cakes.
- Shortening (Optional): While not strictly necessary, adding a small amount of shortening to your melted candy wafers can help thin out the coating slightly. This makes dipping easier, ensures a smoother application, and prevents the chocolate from becoming too thick or difficult to work with.
- Red Cookie Icing Pouch: For those classic red lines that adorn the Christmas trees, a pre-made pouch of red cookie icing is incredibly convenient. It provides the perfect consistency for piping fine, festive details onto your dipped cakes.
- Green Sanding Sugar: This is the traditional and most recognizable topping for Little Debbie Christmas Tree Cakes. The coarse texture and sparkling green color add both visual appeal and a delightful crunch. If you prefer, you can substitute with other green sprinkles or edible glitter for a personalized touch.
Gathering these high-quality ingredients will set you up for success in creating delicious and authentic homemade Christmas Tree Cakes that will be the star of your holiday dessert spread.
Creative Variations & Customizations for Your Holiday Cakes
While the classic Little Debbie Christmas Tree Cake is perfect as is, this homemade recipe offers fantastic flexibility for you to personalize your festive treats. Don’t be afraid to experiment and unleash your culinary creativity!
-
Explore Different Cake Mix Flavors:
While a white cake mix provides the quintessential Little Debbie base, feel free to use your favorite boxed cake mix to infuse new flavors. Imagine a chocolate Christmas tree cake with white filling, or a festive red velvet cake with a cream cheese-marshmallow swirl! Funfetti, lemon, or even spice cake mixes could offer delightful seasonal twists.
-
Inventive Filling Flavor Twists:
The marshmallow cream filling is wonderfully versatile. Elevate it with a dash of almond extract for a nutty undertone, or a hint of peppermint extract for a cool, refreshing sensation perfect for winter. A touch of orange or lemon zest, or even a citrus extract, can add a bright, unexpected zing to contrast the sweetness.
-
Unleash Your Inner Decorator:
Beyond green sanding sugar and red icing lines, the decorating possibilities are endless! Use different colored sprinkles, edible glitter, mini chocolate chips, or even tiny edible pearls to make each cake unique. You can use various piping tips to create intricate designs or simply get creative with contrasting icing colors. This is a fantastic opportunity for kids to get involved in the baking process!
-
Alternative Chocolate Dipping Options:
If white chocolate isn’t your preference, or you simply want to offer variety, consider dipping your cakes in other types of chocolate. Milk chocolate provides a classic, rich flavor, while semi-sweet chocolate offers a more intense cocoa experience. Dark chocolate could add a sophisticated touch. You can also use colored candy melts (red, blue, gold) to create a vibrant, multi-colored assortment of Christmas tree cakes.
These variations allow you to tailor the cakes to your taste, dietary preferences, or specific holiday themes, ensuring your homemade Christmas Tree Cakes are truly one-of-a-kind.
Storing Your Delicious Homemade Christmas Tree Cakes
Proper storage is key to maintaining the freshness and deliciousness of your homemade Little Debbie Christmas Tree Cakes. While they might not contain the same preservatives as their store-bought counterparts, you can still enjoy them for an extended period with the right techniques.
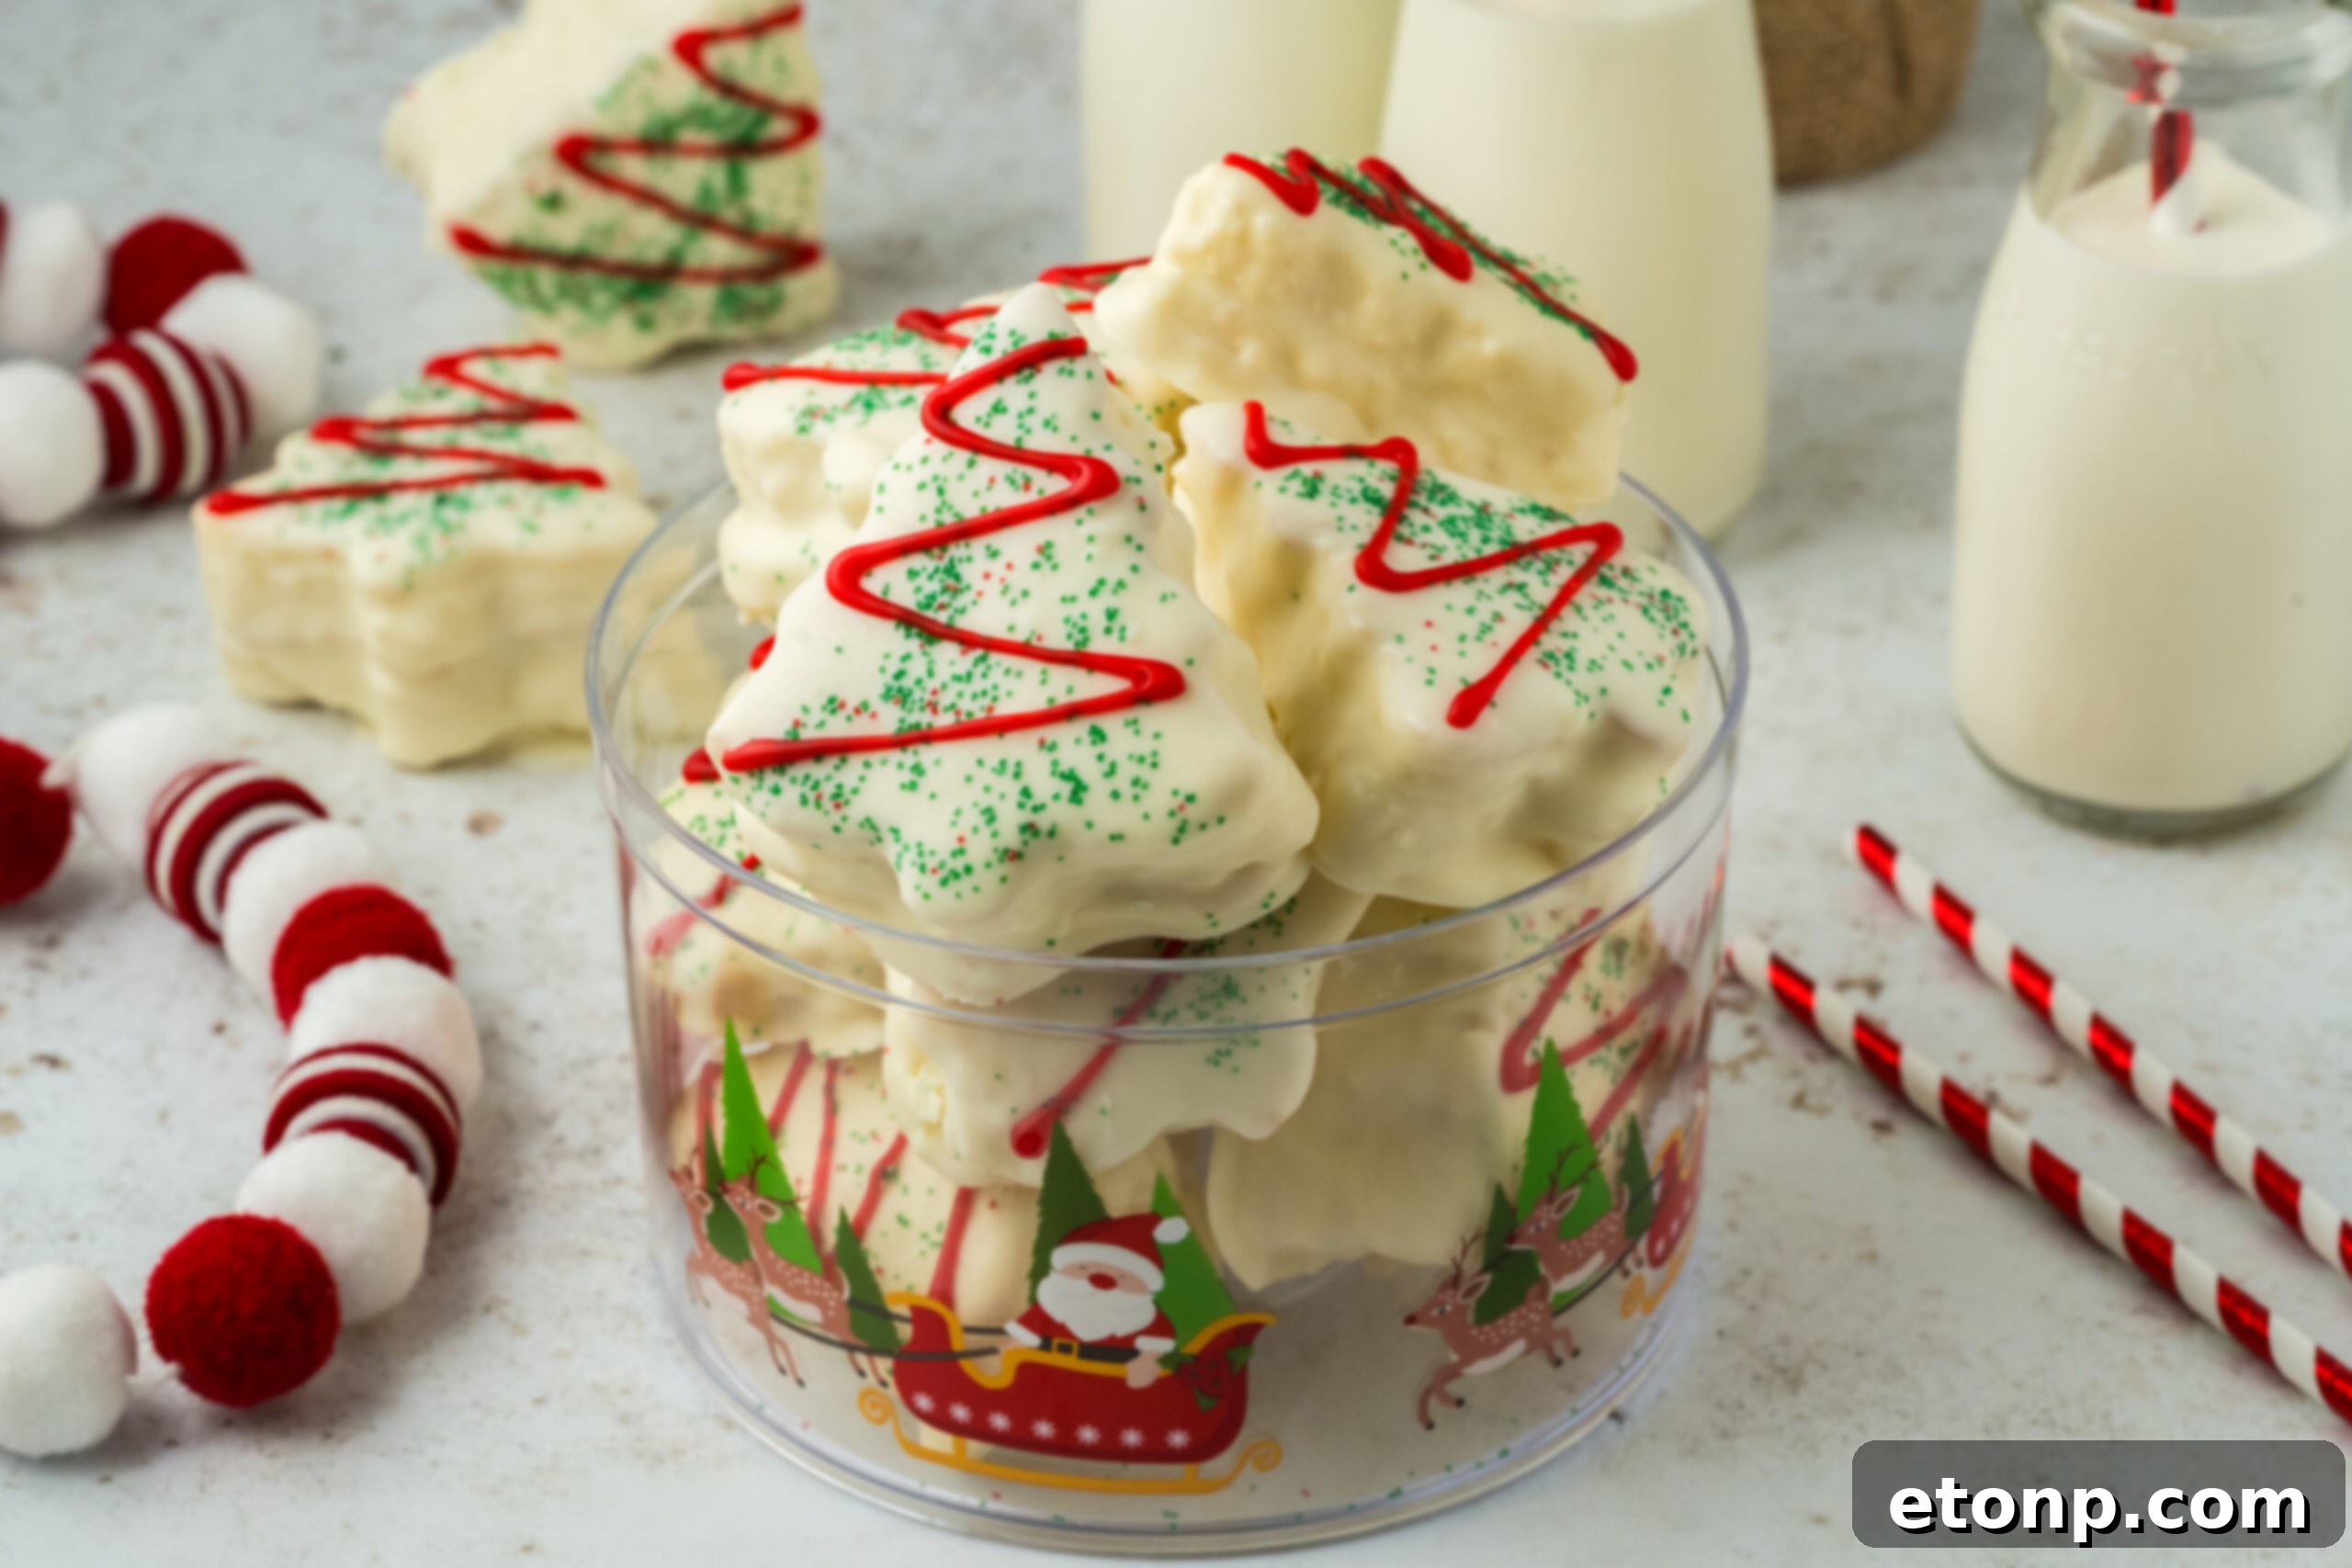
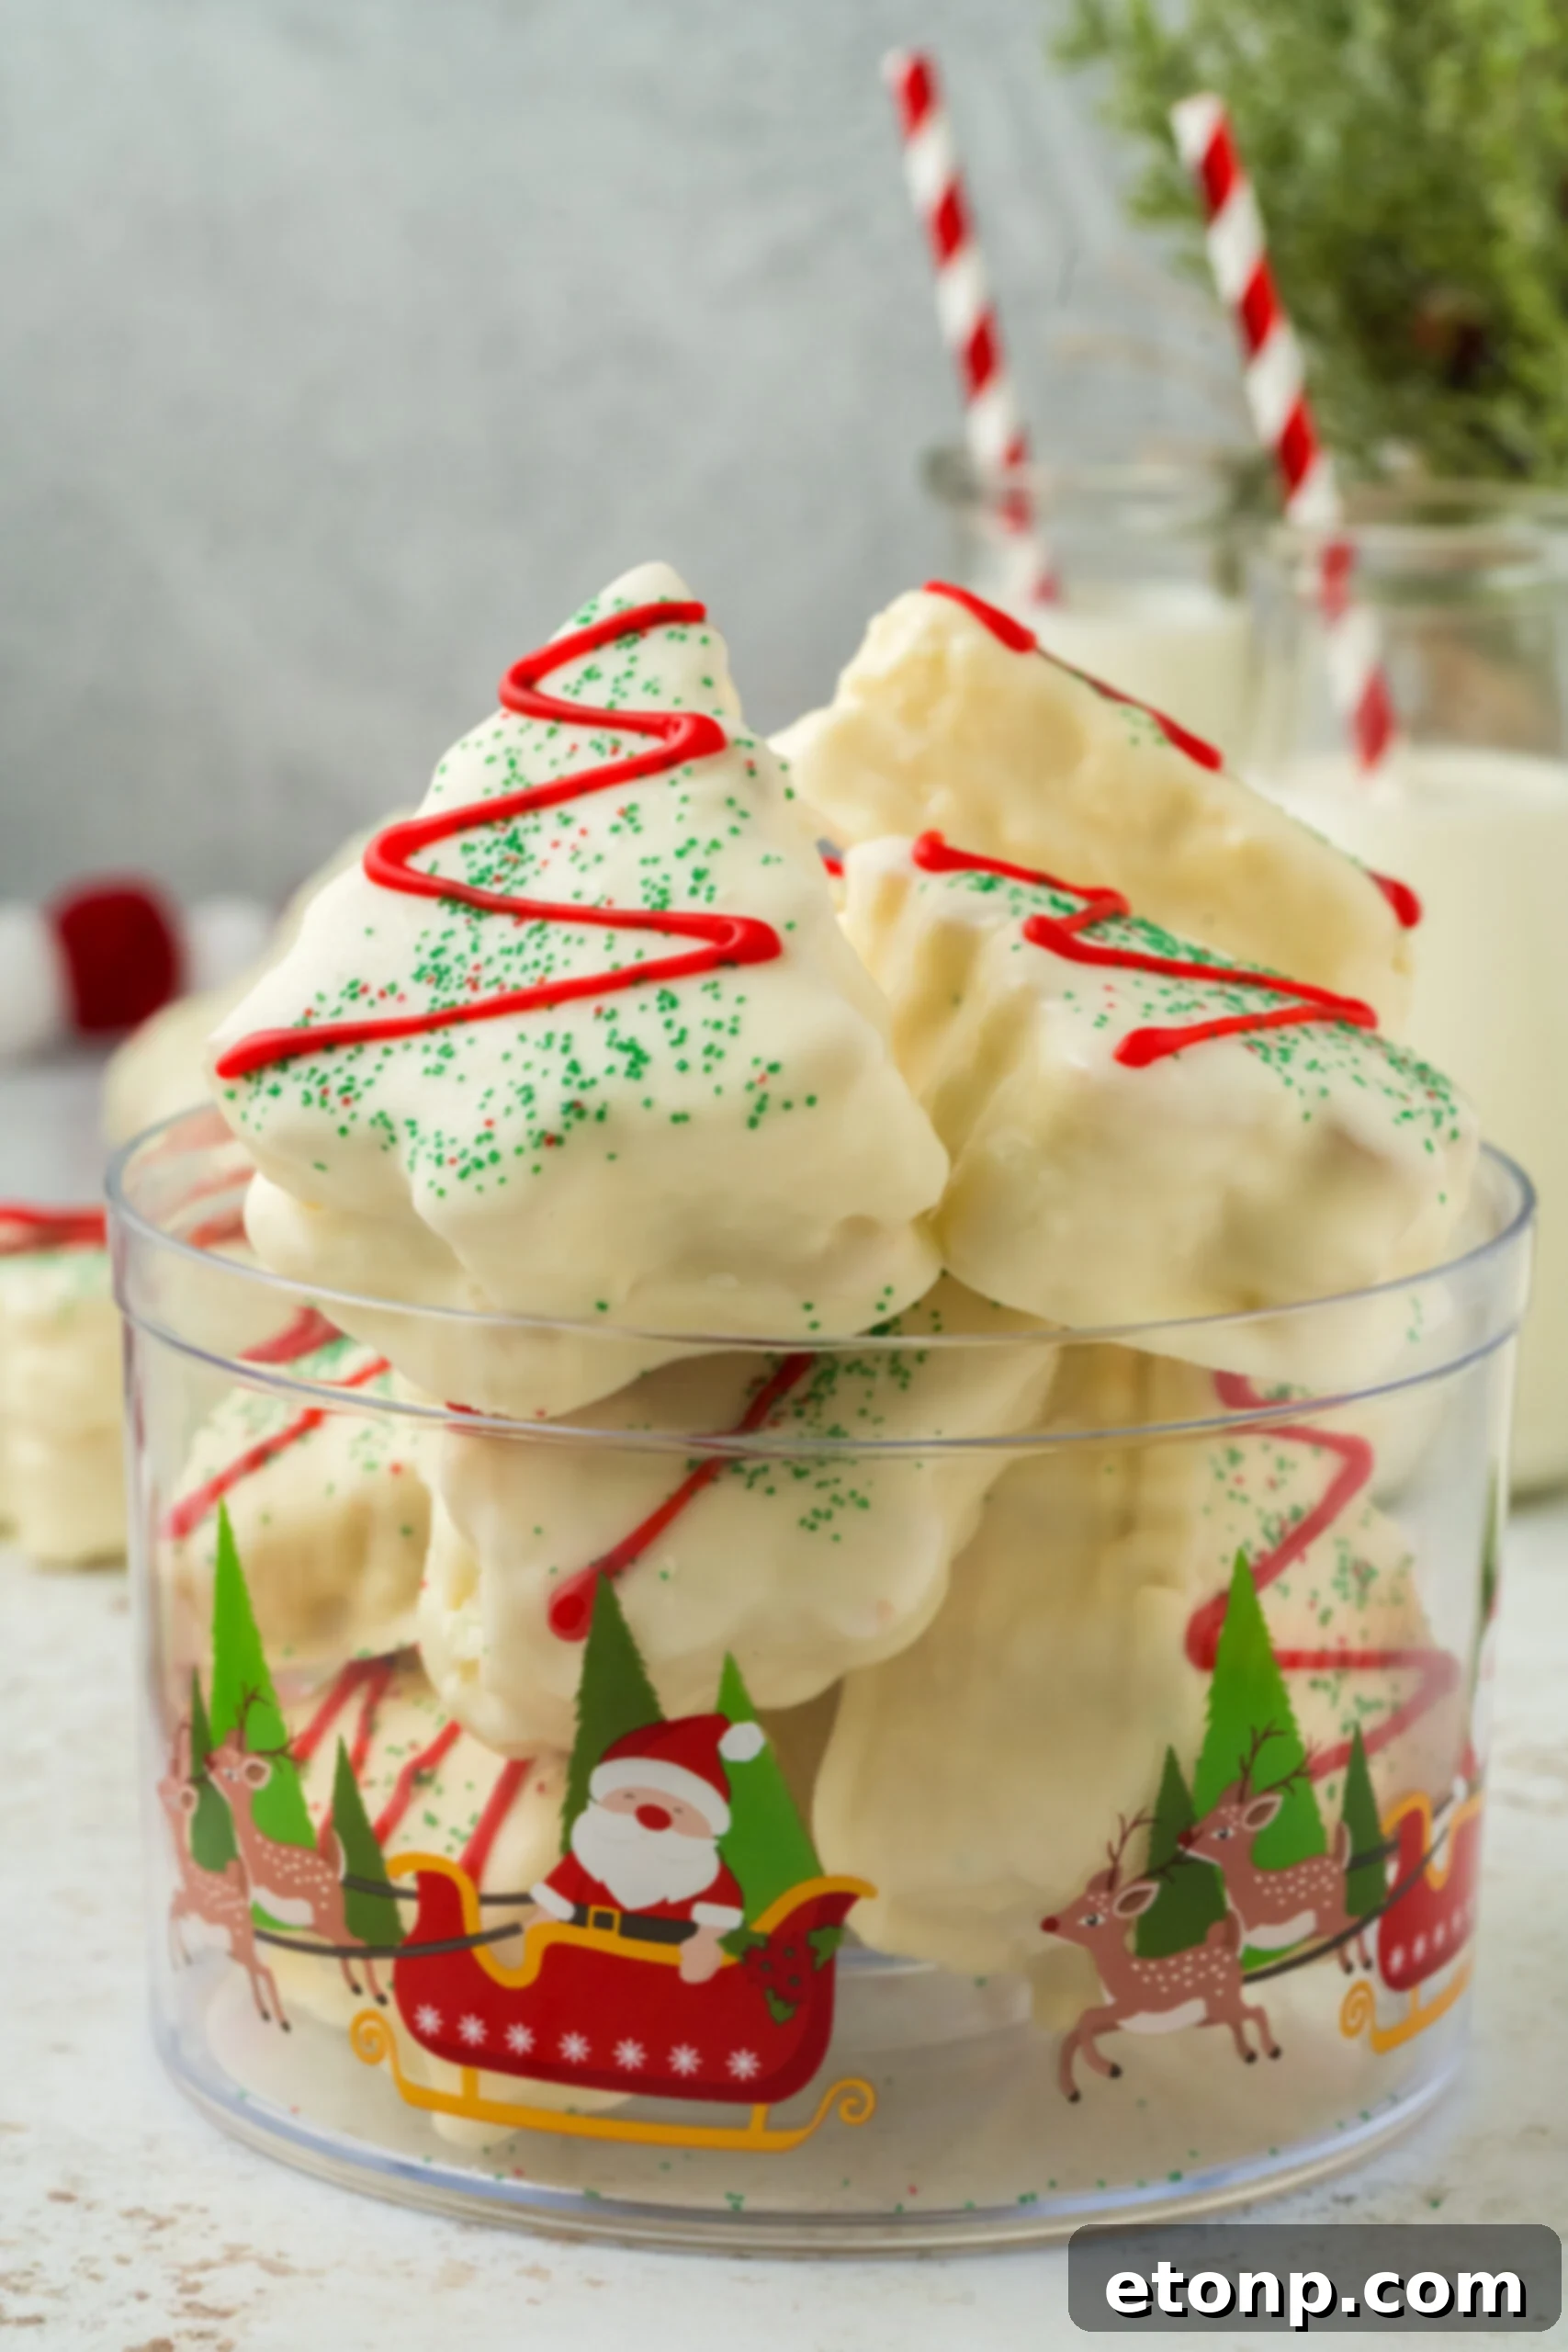
For short-term enjoyment, these delightful cakes can be stored in a sealed, airtight container at room temperature for approximately one week. It’s important to note that as the days pass, you might notice a slight change in texture as the cakes will naturally begin to dry out a bit. To best preserve their moisture and tender crumb, aim to consume them within 3-4 days for optimal freshness.
If you’ve made a large batch or wish to enjoy these festive treats long after the holidays, freezing is an excellent option. To freeze, individually wrap each cake tightly in plastic wrap, then place them in a freezer-safe bag or an airtight container. They can be stored in the freezer for up to 4-5 months without significant loss of quality. When you’re ready to enjoy a frozen treat, simply remove the desired number of cakes from the freezer and let them thaw on your kitchen counter for an hour or two until they reach room temperature. This makes them a perfect make-ahead dessert for future celebrations or unexpected cravings.
Expert Tips for Christmas Tree Cake Success
Achieving bakery-quality results with your homemade Little Debbie Christmas Tree Cakes is easier than you think, especially with a few professional tips and tricks. These suggestions will help ensure your cakes are perfectly formed, moist, and beautifully decorated, making your baking experience both enjoyable and successful.
Line Your Pans with Parchment Paper for Easy Release
One of the most crucial steps for effortlessly removing your baked cake from the pan is to line it generously with parchment paper. This creates a non-stick barrier that prevents the cake from adhering to the pan. For best results, allow the parchment paper to extend up and over the edges of the pan. This ingenious little trick provides convenient “handles” that let you easily lift the entire cooled cake out, minimizing breakage and ensuring your precious tree shapes remain perfectly intact for cutting.
Selecting the Ideal Cookie Cutter Size
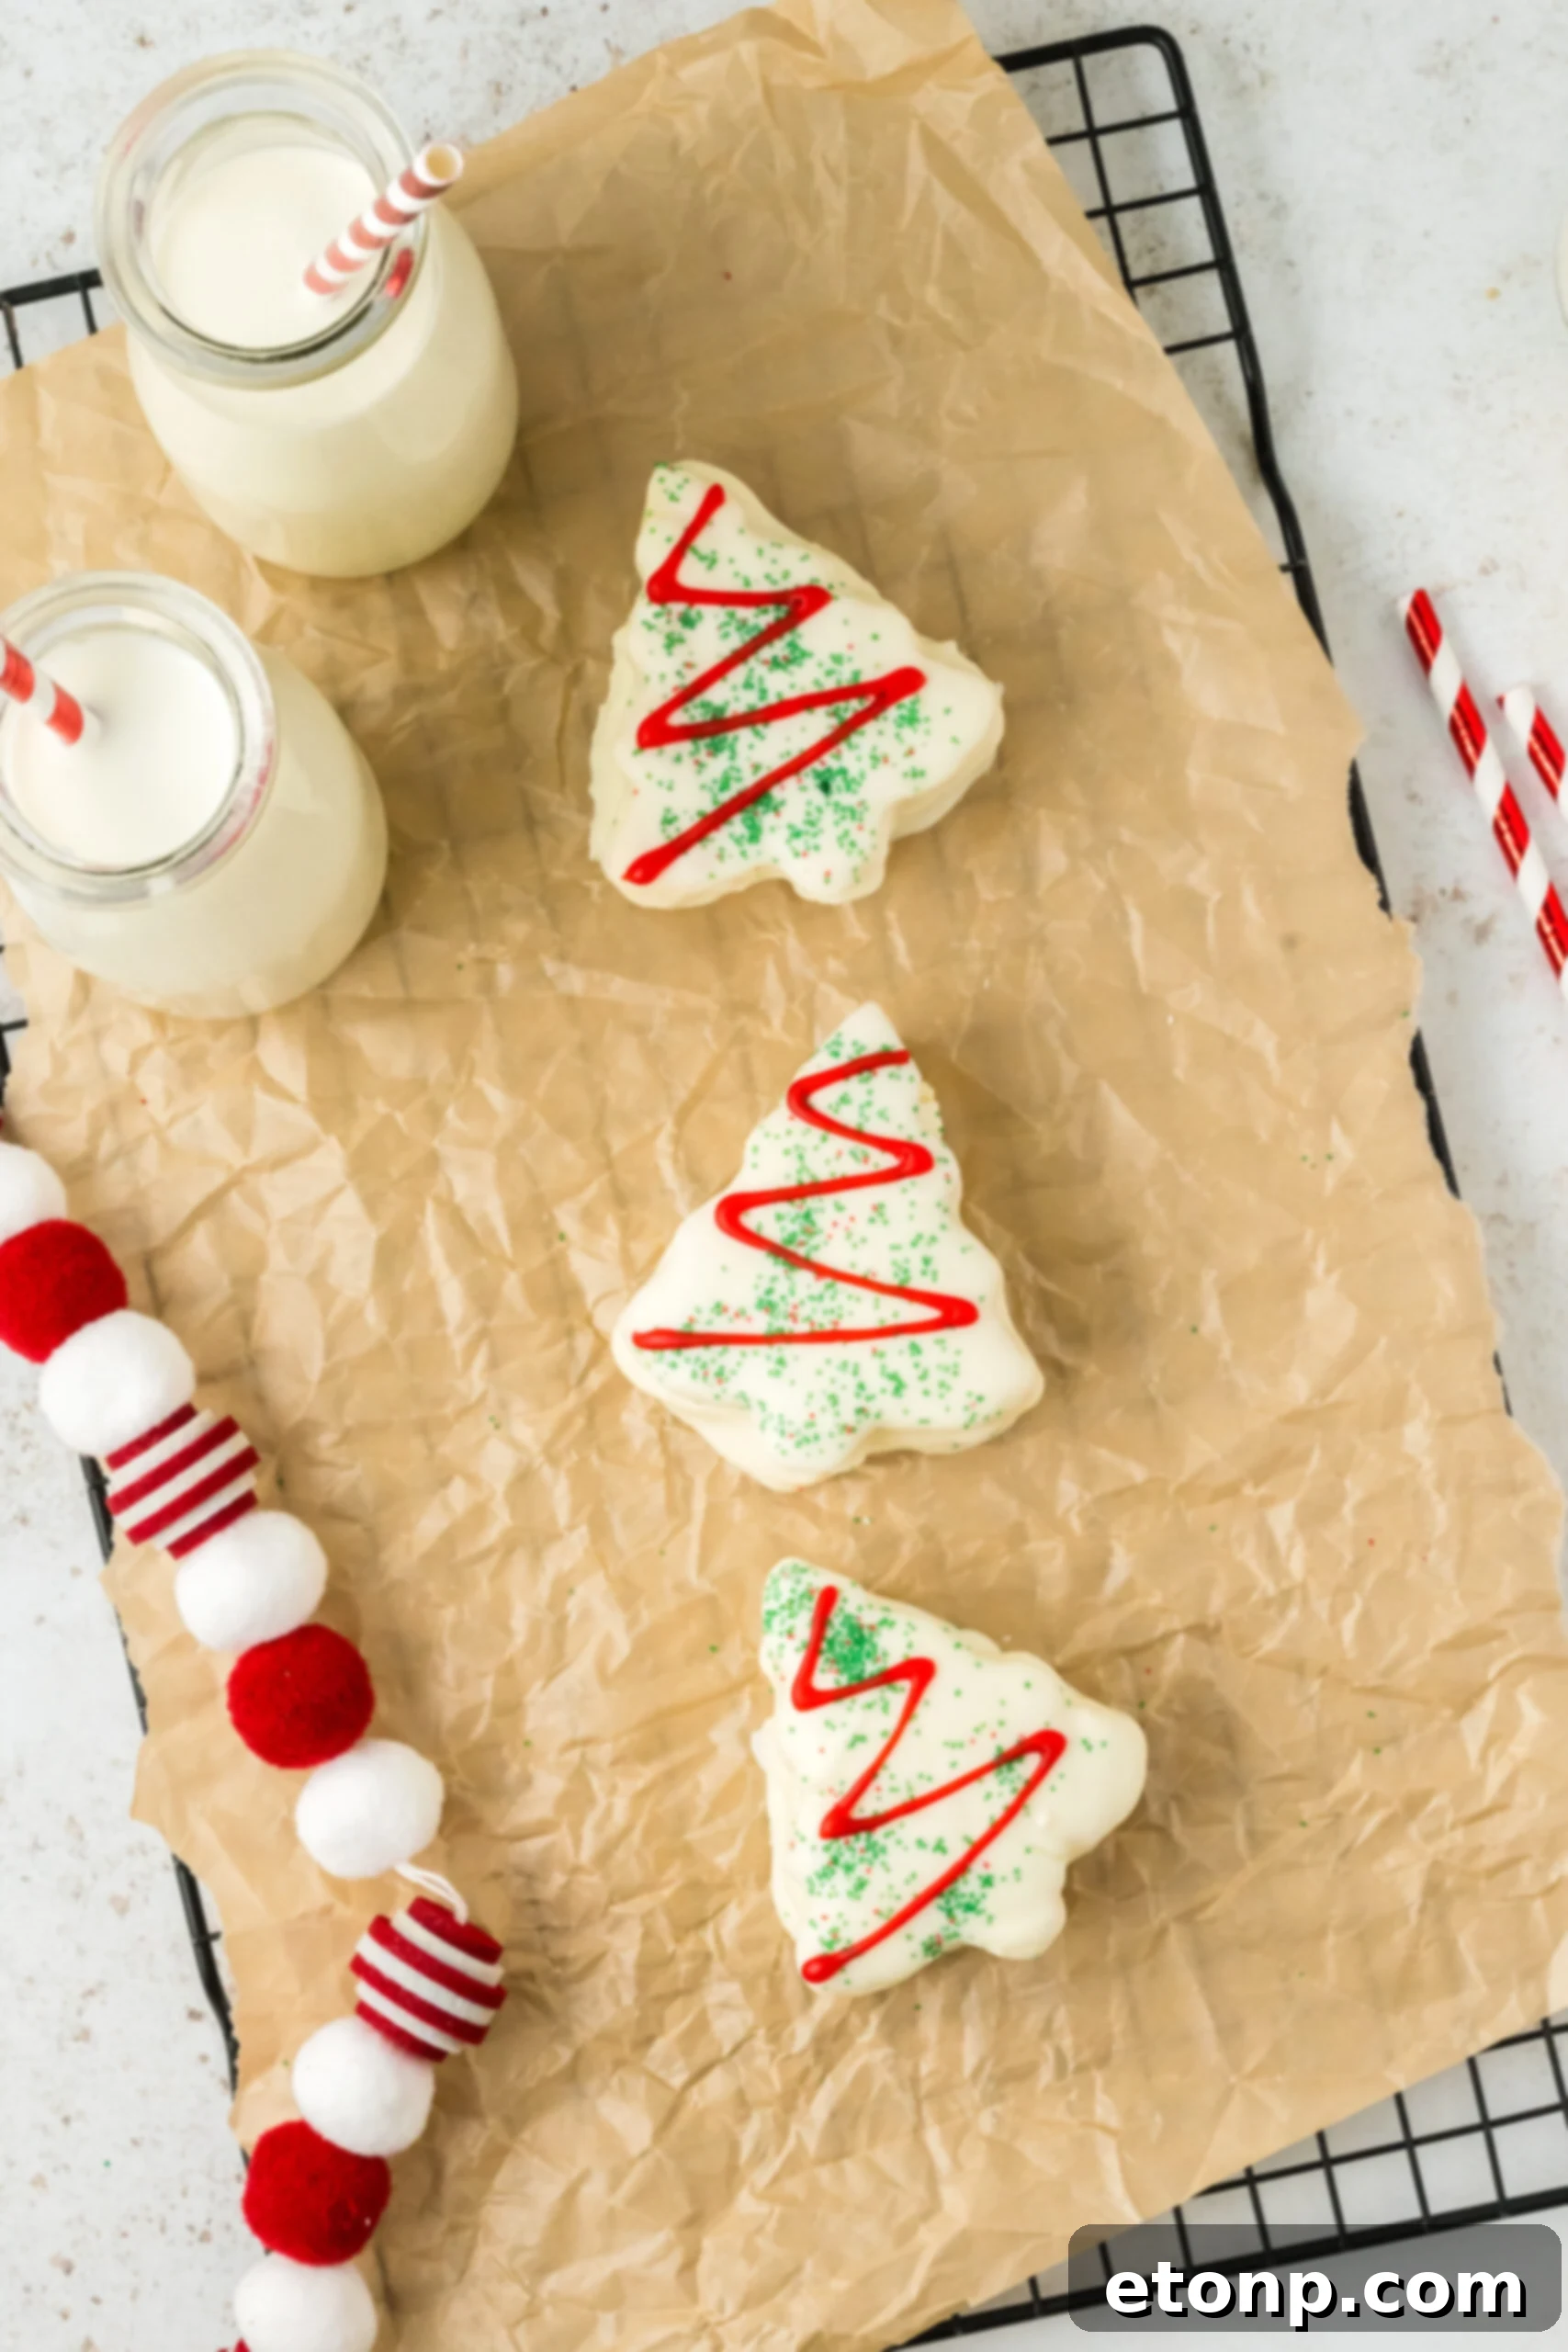
When it comes to cutting out your festive tree shapes, the size of your cookie cutter matters. Since these are designed to be single-serve desserts, I highly recommend using a small to medium-sized Christmas tree cookie cutter. This ensures each cake is a perfect individual portion, making them easy to handle, serve, and enjoy. Consider how many cakes you want to yield from your baked sheets when choosing your cutter.
Achieving a Velvety Smooth Filling with a Mixer
For that signature light, fluffy, and smooth marshmallow cream filling, a hand mixer or stand mixer is an indispensable tool. Vigorously whipping the heavy cream, vanilla, powdered sugar, and marshmallow cream together ensures all ingredients are thoroughly combined and aerated. This process eliminates any potential lumps from the powdered sugar and creates a consistently smooth, velvety texture that perfectly complements the soft cake. Don’t skip this step if you want that authentic creamy center!
Mastering the Art of Melting Candy Coating
Melting your candy coating wafers correctly is paramount for a flawless dip. You can use either a microwave or a double boiler on the stovetop. If using a microwave, heat the wafers in short bursts (e.g., 30 seconds), stirring well between each interval, until smooth. For a double boiler, gently heat over simmering water, stirring constantly. The most critical aspect is to avoid overheating the candy melts. Excessive heat can cause them to burn, seize up (become thick and clumpy), or lose their smooth consistency, making them impossible to work with. Always follow the package directions for best results.
Perfecting Your Dipping Technique
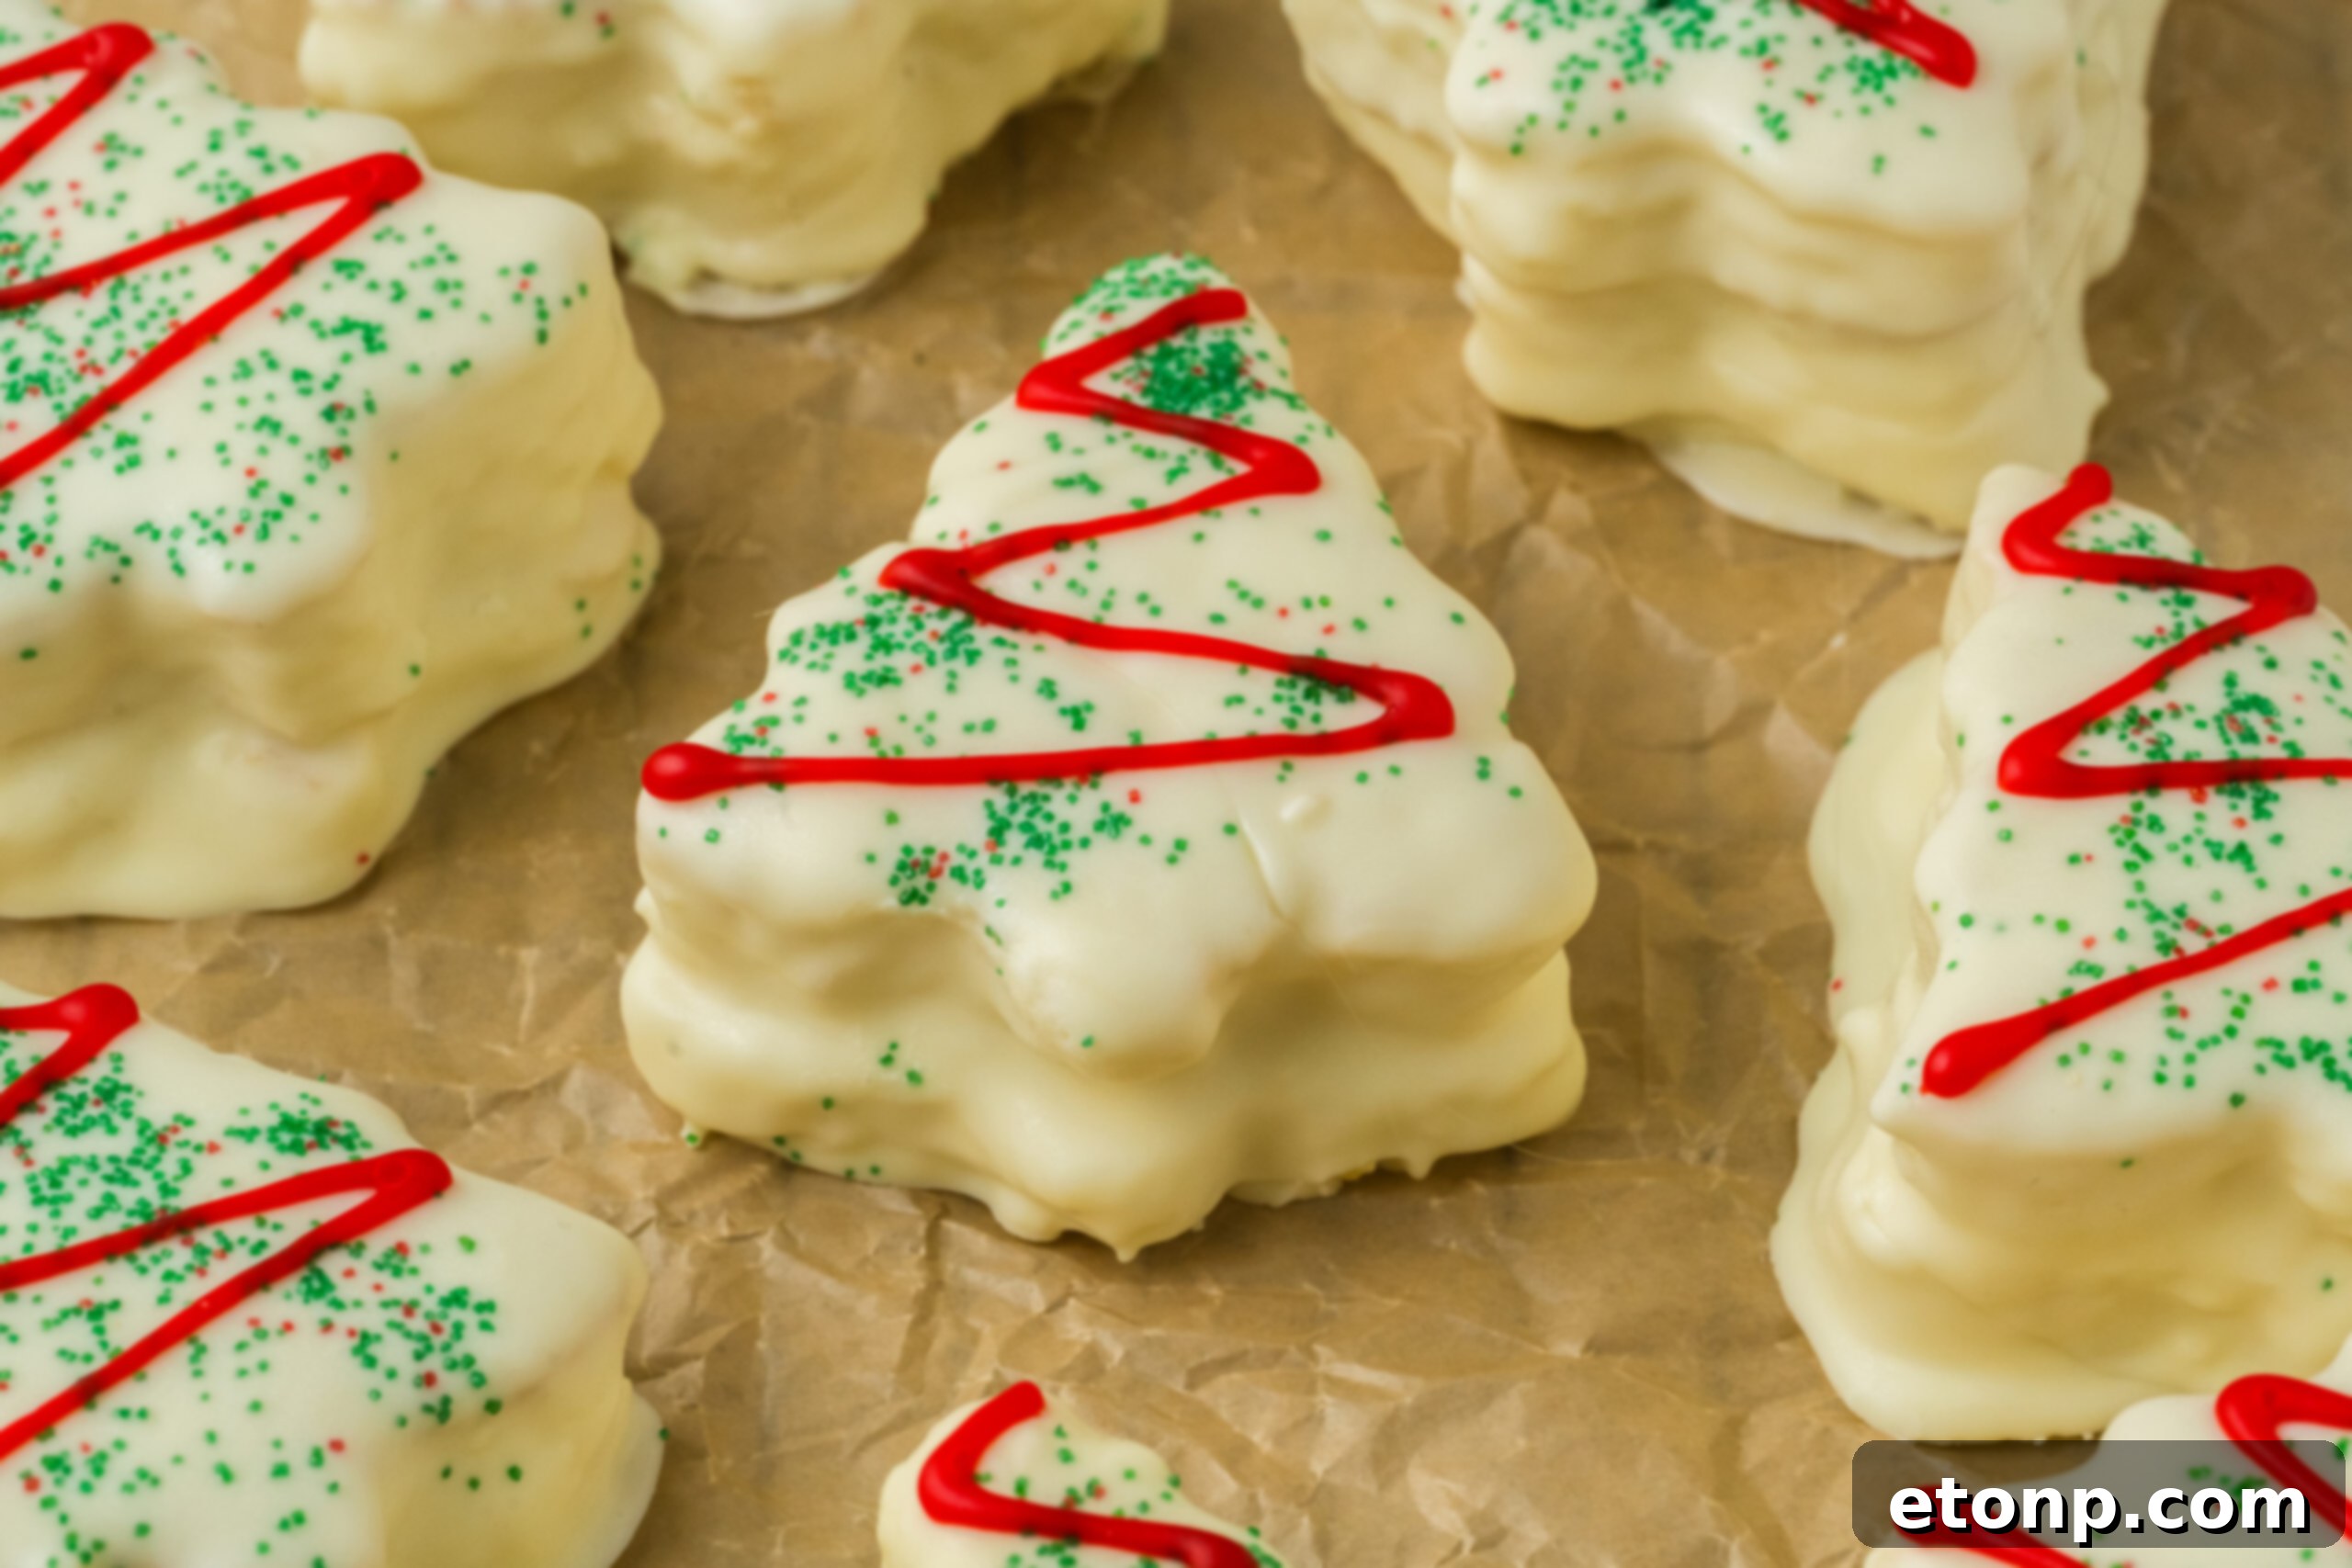
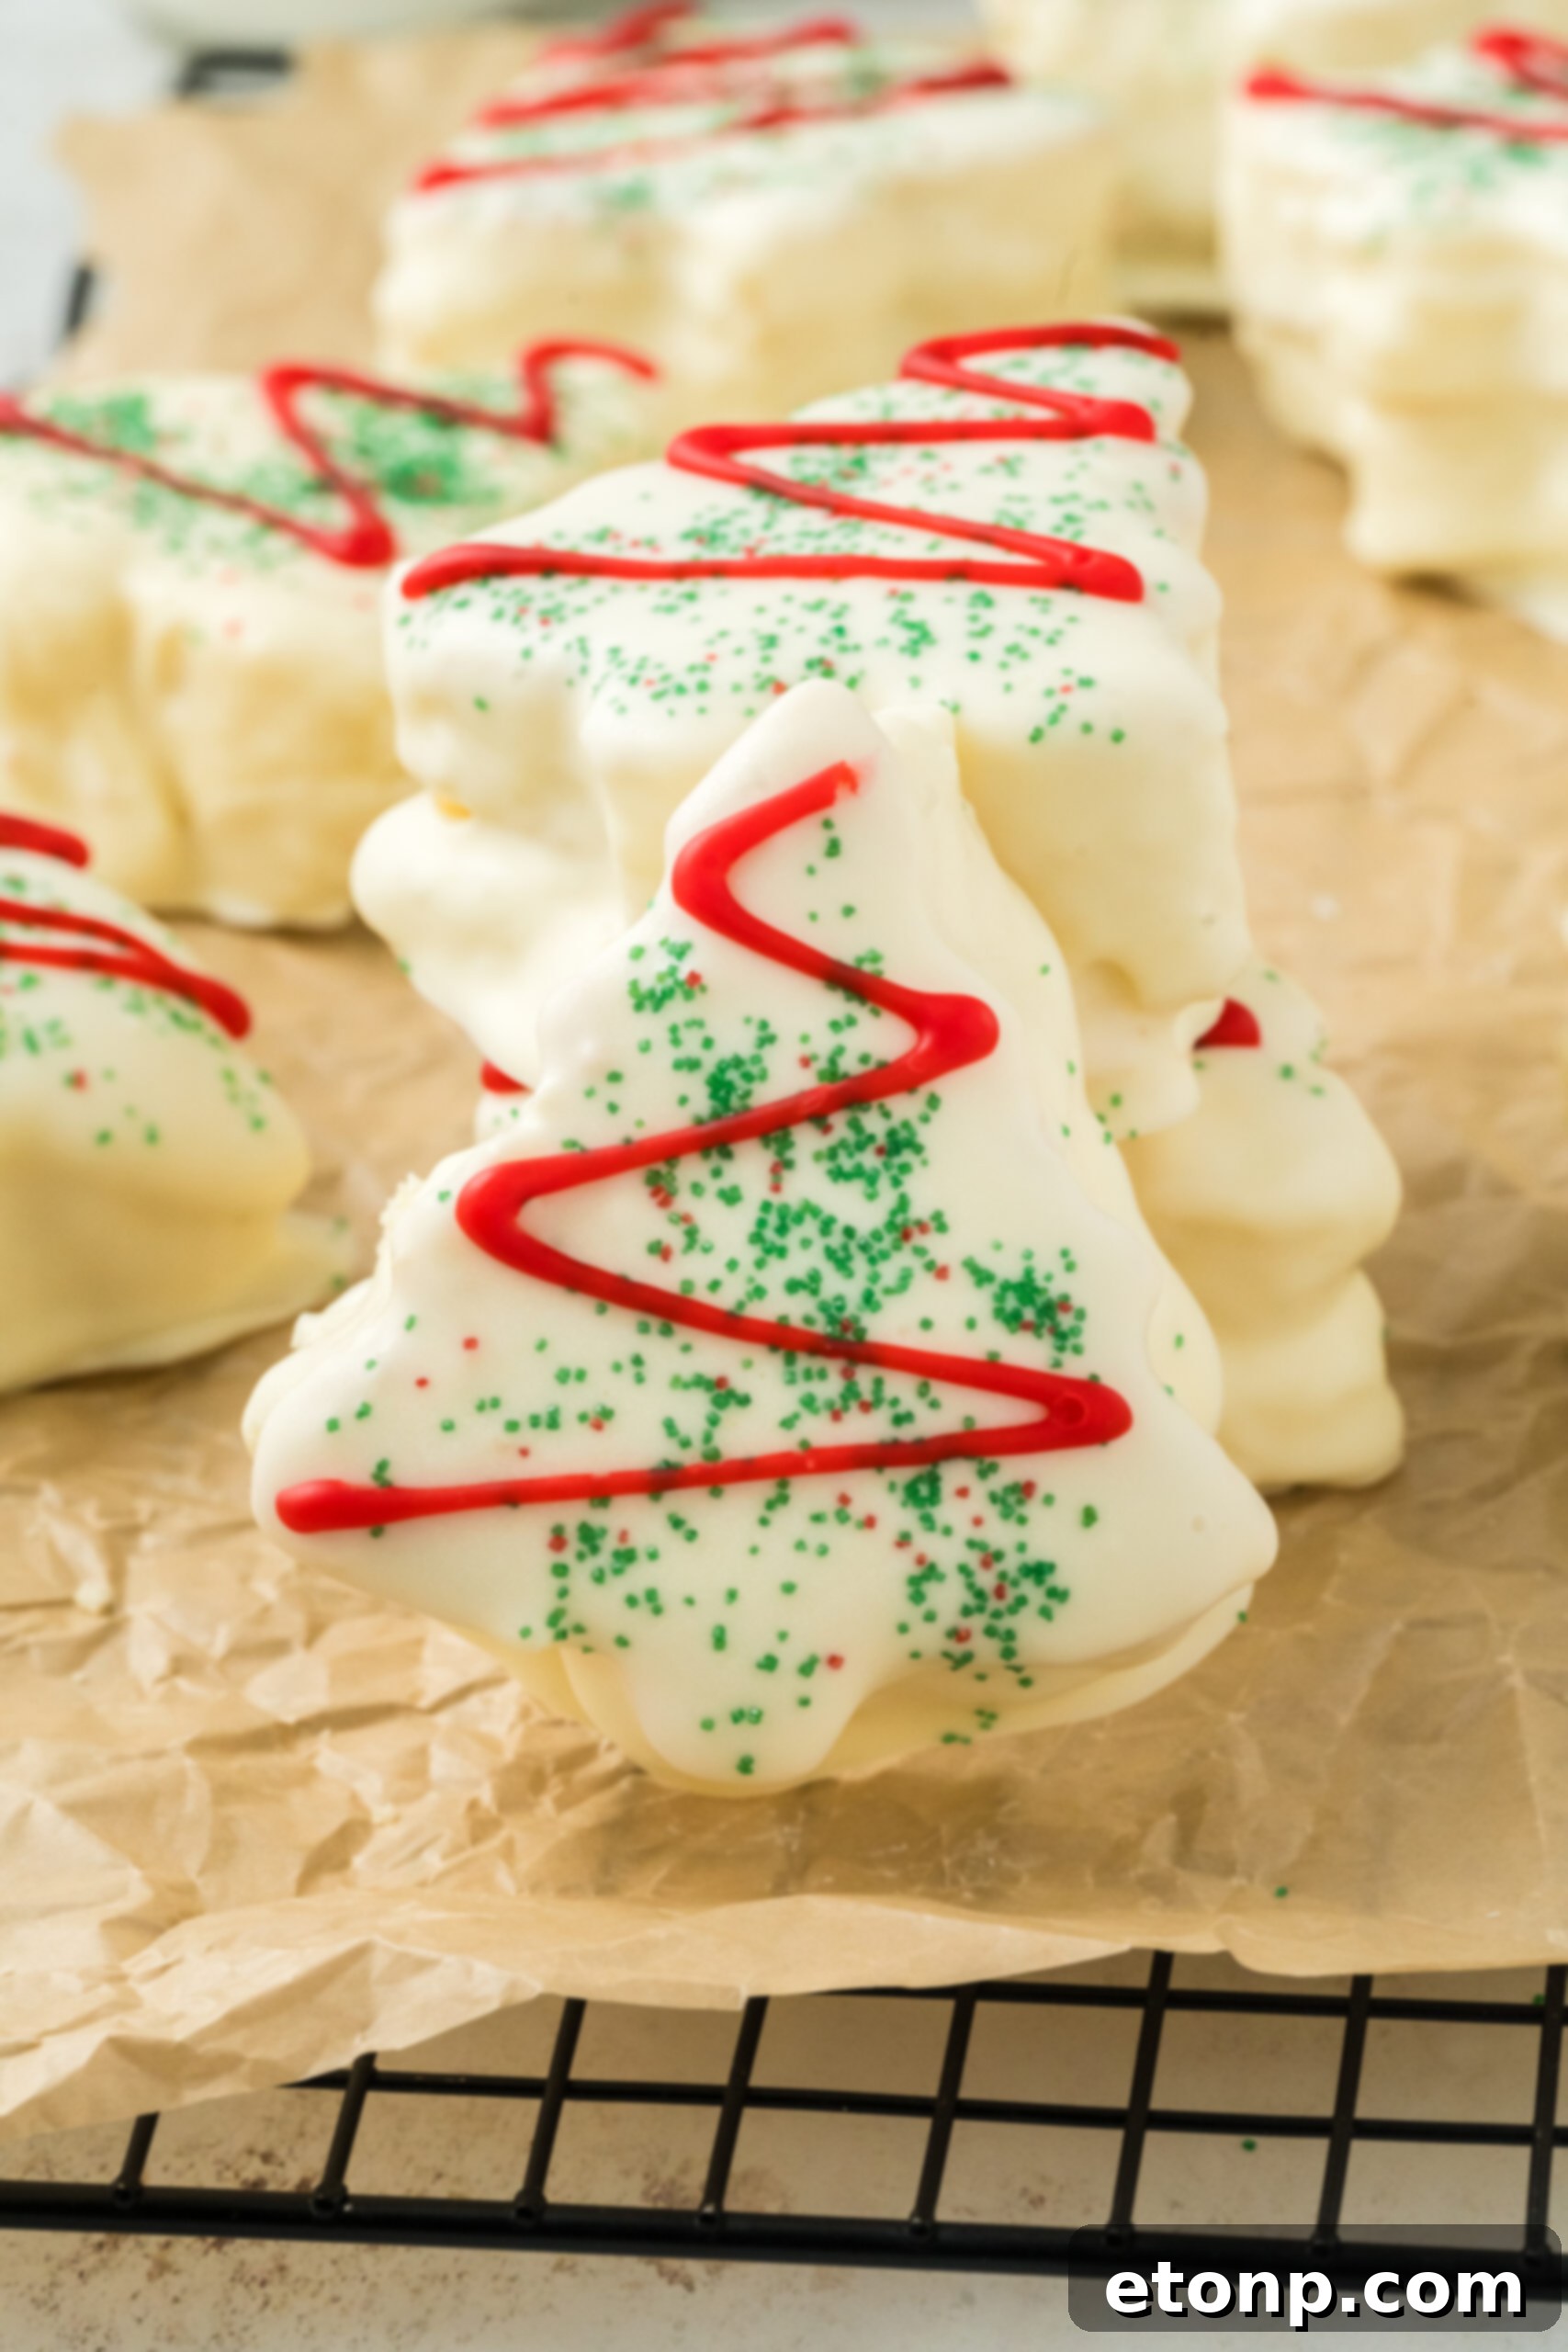
After dipping each cake into the melted candy coating, it’s essential to gently tap off any excess chocolate. Hold the dipped cake over the bowl of melted coating and lightly tap your wrist or the fork against the edge of the bowl. This helps remove drips and prevents a thick pool of chocolate from forming around the base of the cake when you place it on your parchment-lined tray to set. A thin, even coating not only looks professional but also allows the cake’s delicate flavor to shine through.
Frequently Asked Questions About Homemade Christmas Tree Cakes
Can I make the cakes from scratch instead of using a cake mix?
Absolutely! While the boxed cake mix simplifies the process and ensures a consistent result, if you have a favorite white cake recipe from scratch, or prefer to bake from basic ingredients, feel free to use it. Just ensure your homemade cake recipe yields enough batter to fill two 9×13 inch pans. Using a homemade cake base will add an extra layer of personal touch to your delicious Little Debbie copycats.
Can I make these cakes in advance for a party or event?
Yes, these homemade Christmas Tree Cakes are excellent for making ahead of time. You can prepare them a day or two before you plan to serve them. Store them in an airtight container at room temperature to maintain their freshness. However, I wouldn’t recommend making them much further in advance, as homemade cakes, without the preservatives of store-bought versions, can start to dry out after a few days. For longer storage, consider freezing them as outlined in the “Storing Cakes” section.
How can I make these cakes gluten-free to accommodate dietary needs?
Making these delightful Christmas Tree Cakes gluten-free is quite simple. The easiest method is to swap the regular white cake mix for a high-quality gluten-free white cake mix. Many brands now offer excellent gluten-free options that bake up beautifully. Alternatively, if you prefer to bake from scratch, use your favorite gluten-free white cake recipe, ensuring all other ingredients in the recipe (like extracts and candy melts) are also certified gluten-free.
More Festive Christmas Recipes to Explore
As you dive into the wonderful world of holiday baking, these Little Debbie Christmas Tree Cakes are just the beginning! The festive season offers countless opportunities to create delicious memories in the kitchen. If you’re looking for more inspiration, be sure to explore a variety of other Christmas-themed recipes that are sure to delight your friends and family.
Little Debbie Christmas Tree Cakes
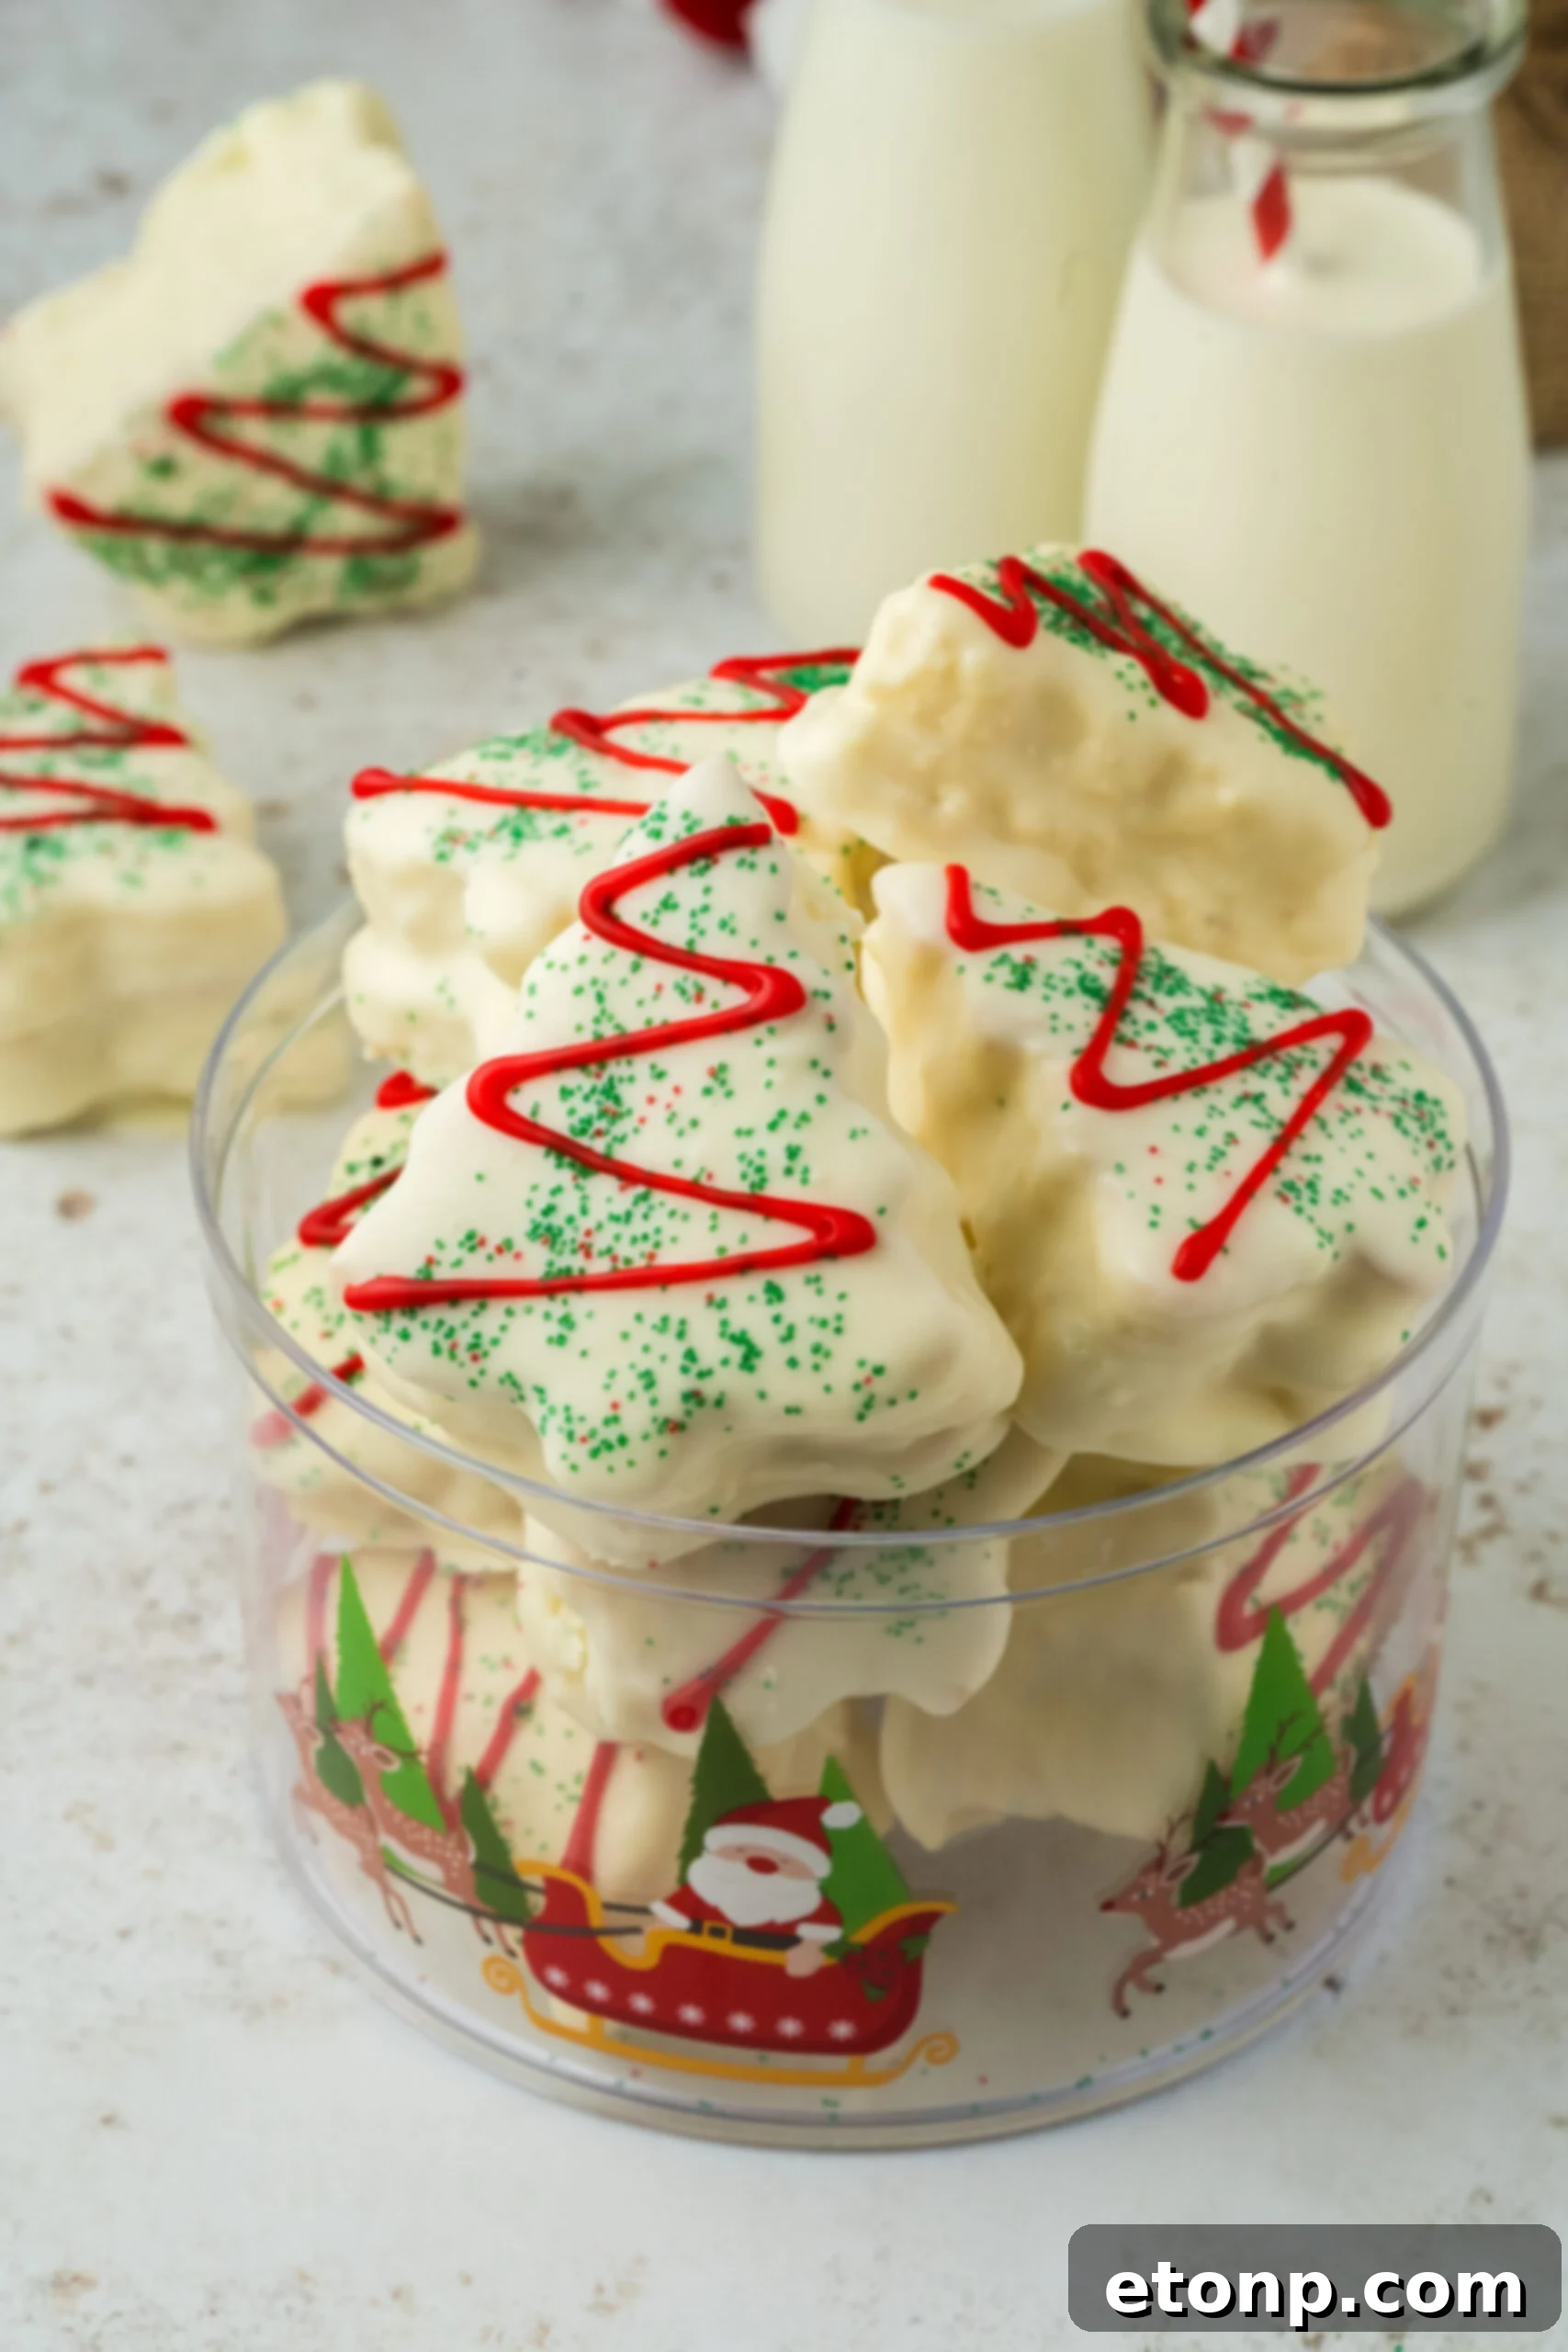
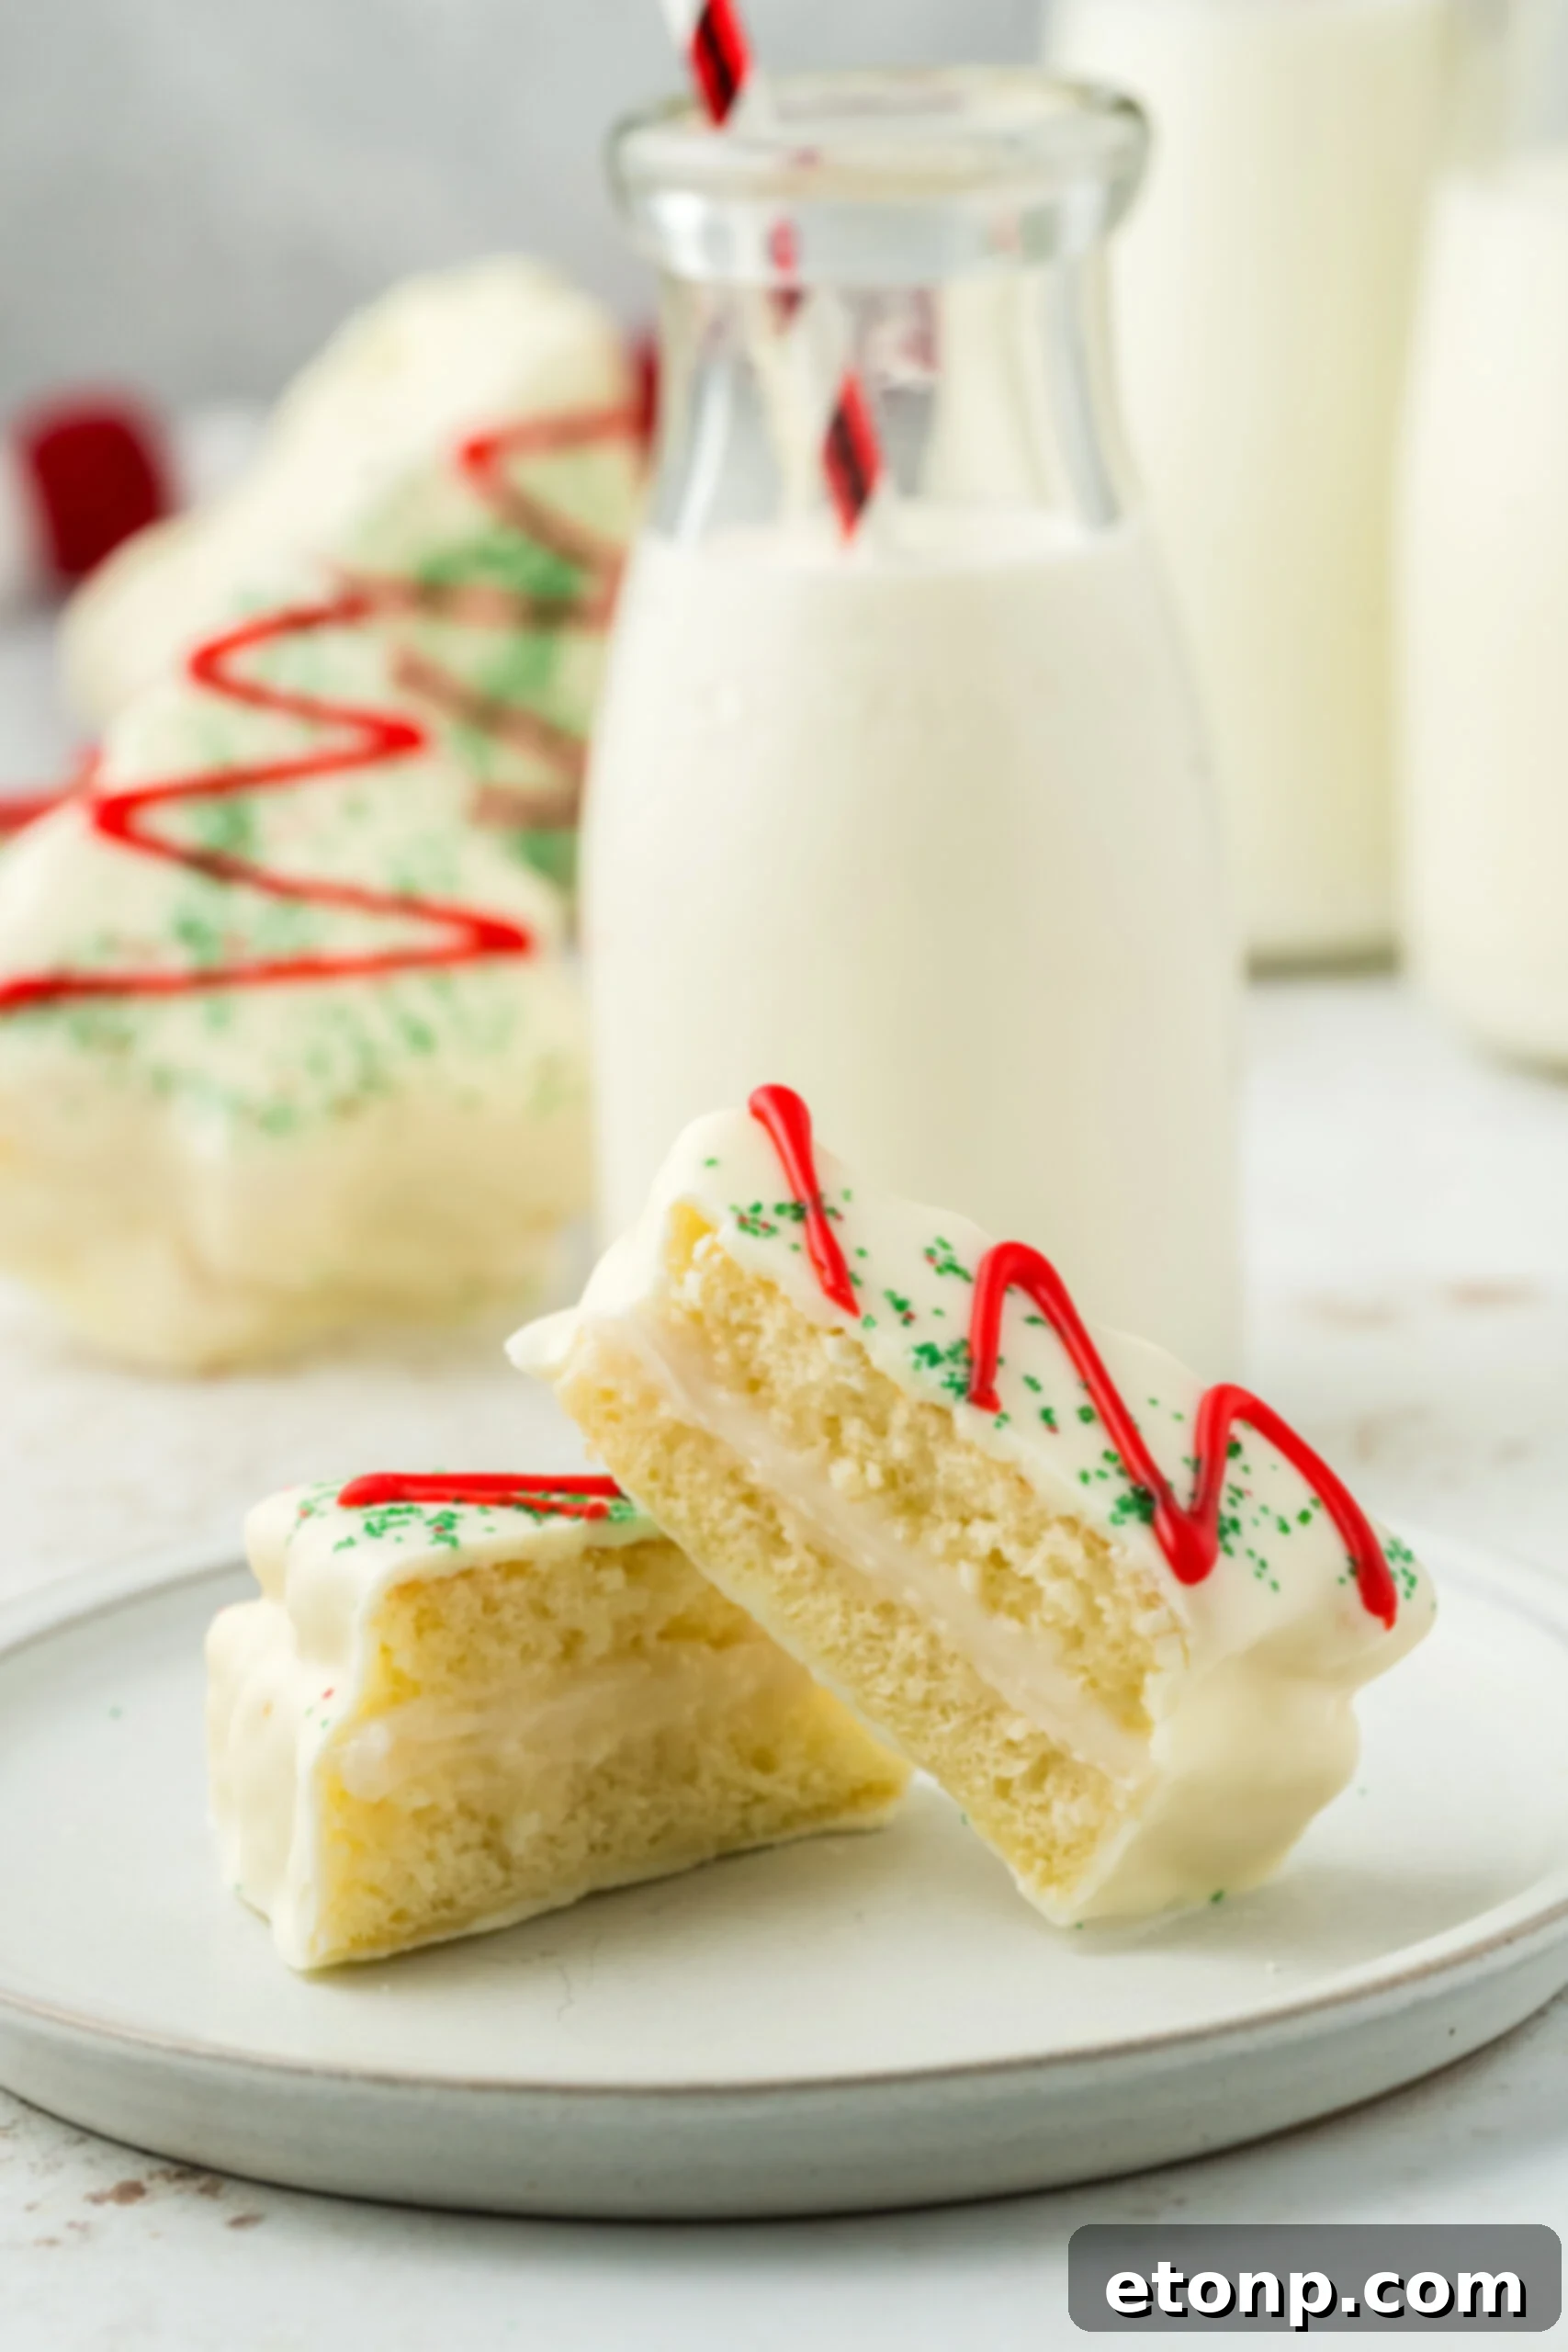
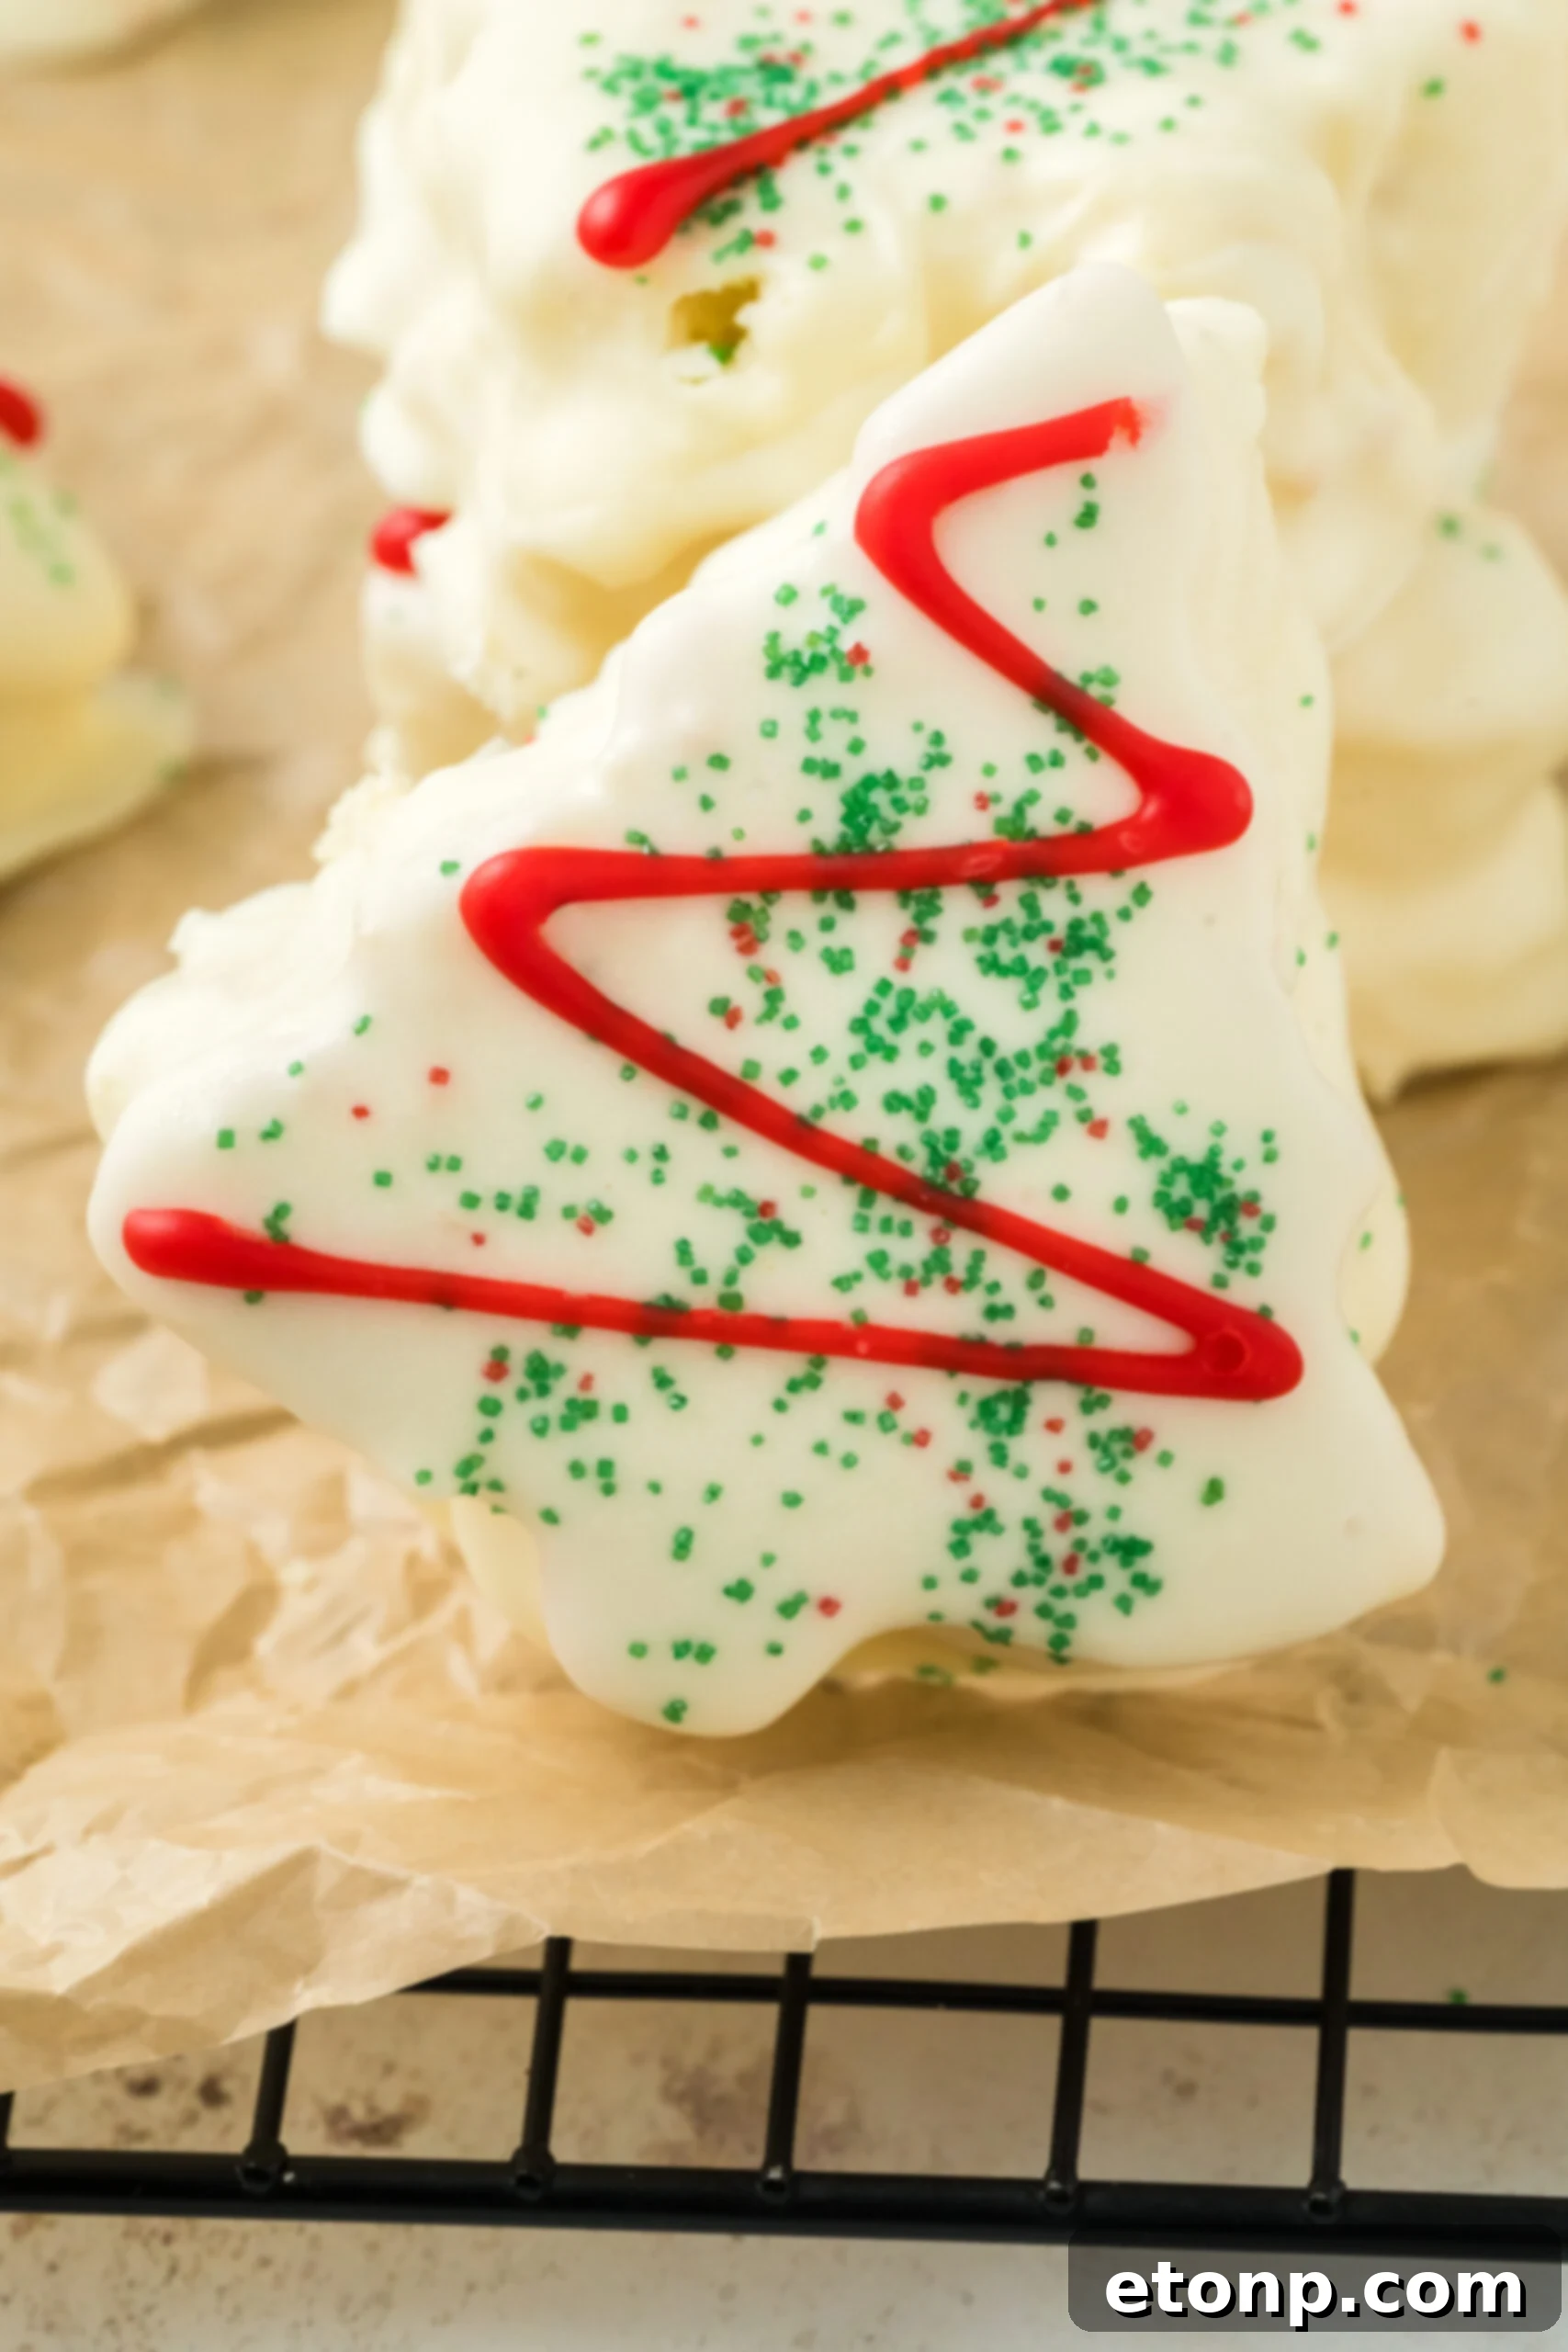
This copycat recipe for Little Debbie Christmas Tree Cakes brings your favorite tree-shaped treats to life at home. Enjoy soft mini cakes filled with a fluffy marshmallow cream, dipped in smooth white chocolate, and decorated with festive sanding sugar and classic red icing lines.
Ingredients
Cake
- 1 box white cake mix
- Ingredients listed on box (eggs, oil, water/milk)
Filling:
- 1/2 cup heavy whipping cream
- 2 teaspoons vanilla extract
- 1 cup powdered sugar (sifted for best results)
- 1/2 cup marshmallow cream
Decoration:
- 3 cups white candy coating wafers
- 2 tablespoons shortening (optional, for smoother dipping)
- Green sanding sugar or other candy decoration
- 1 pouch red cookie icing
Instructions
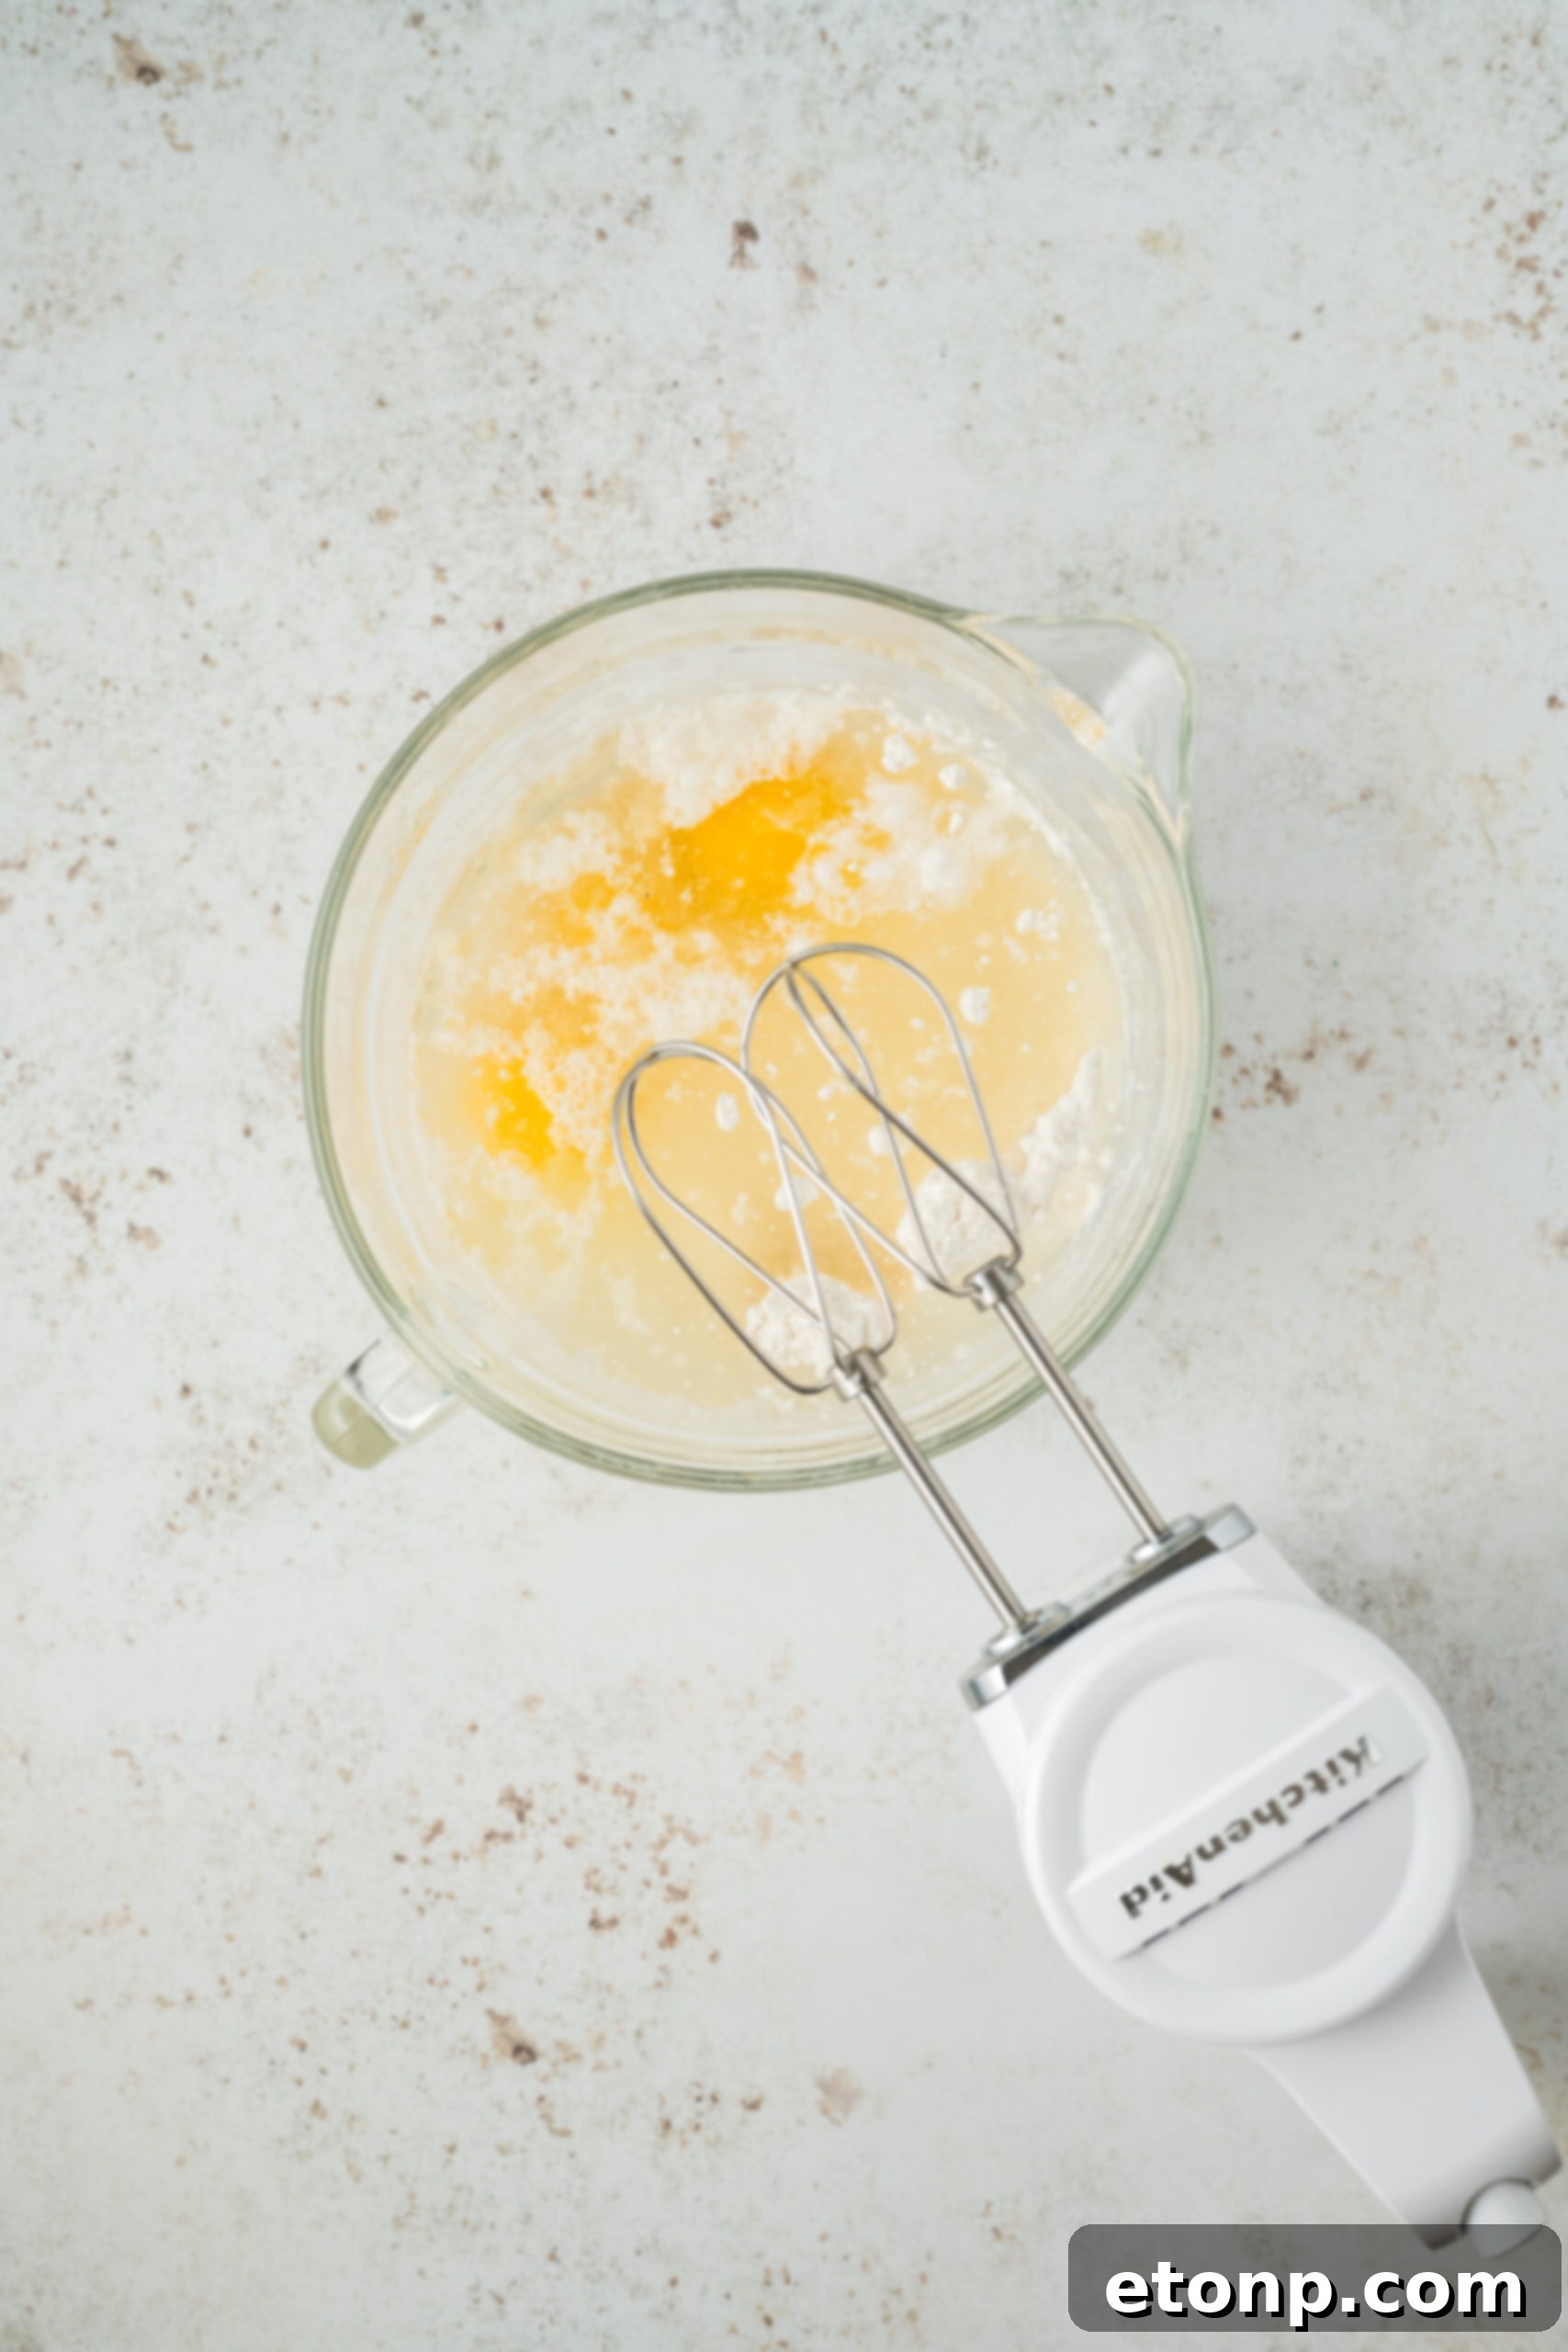
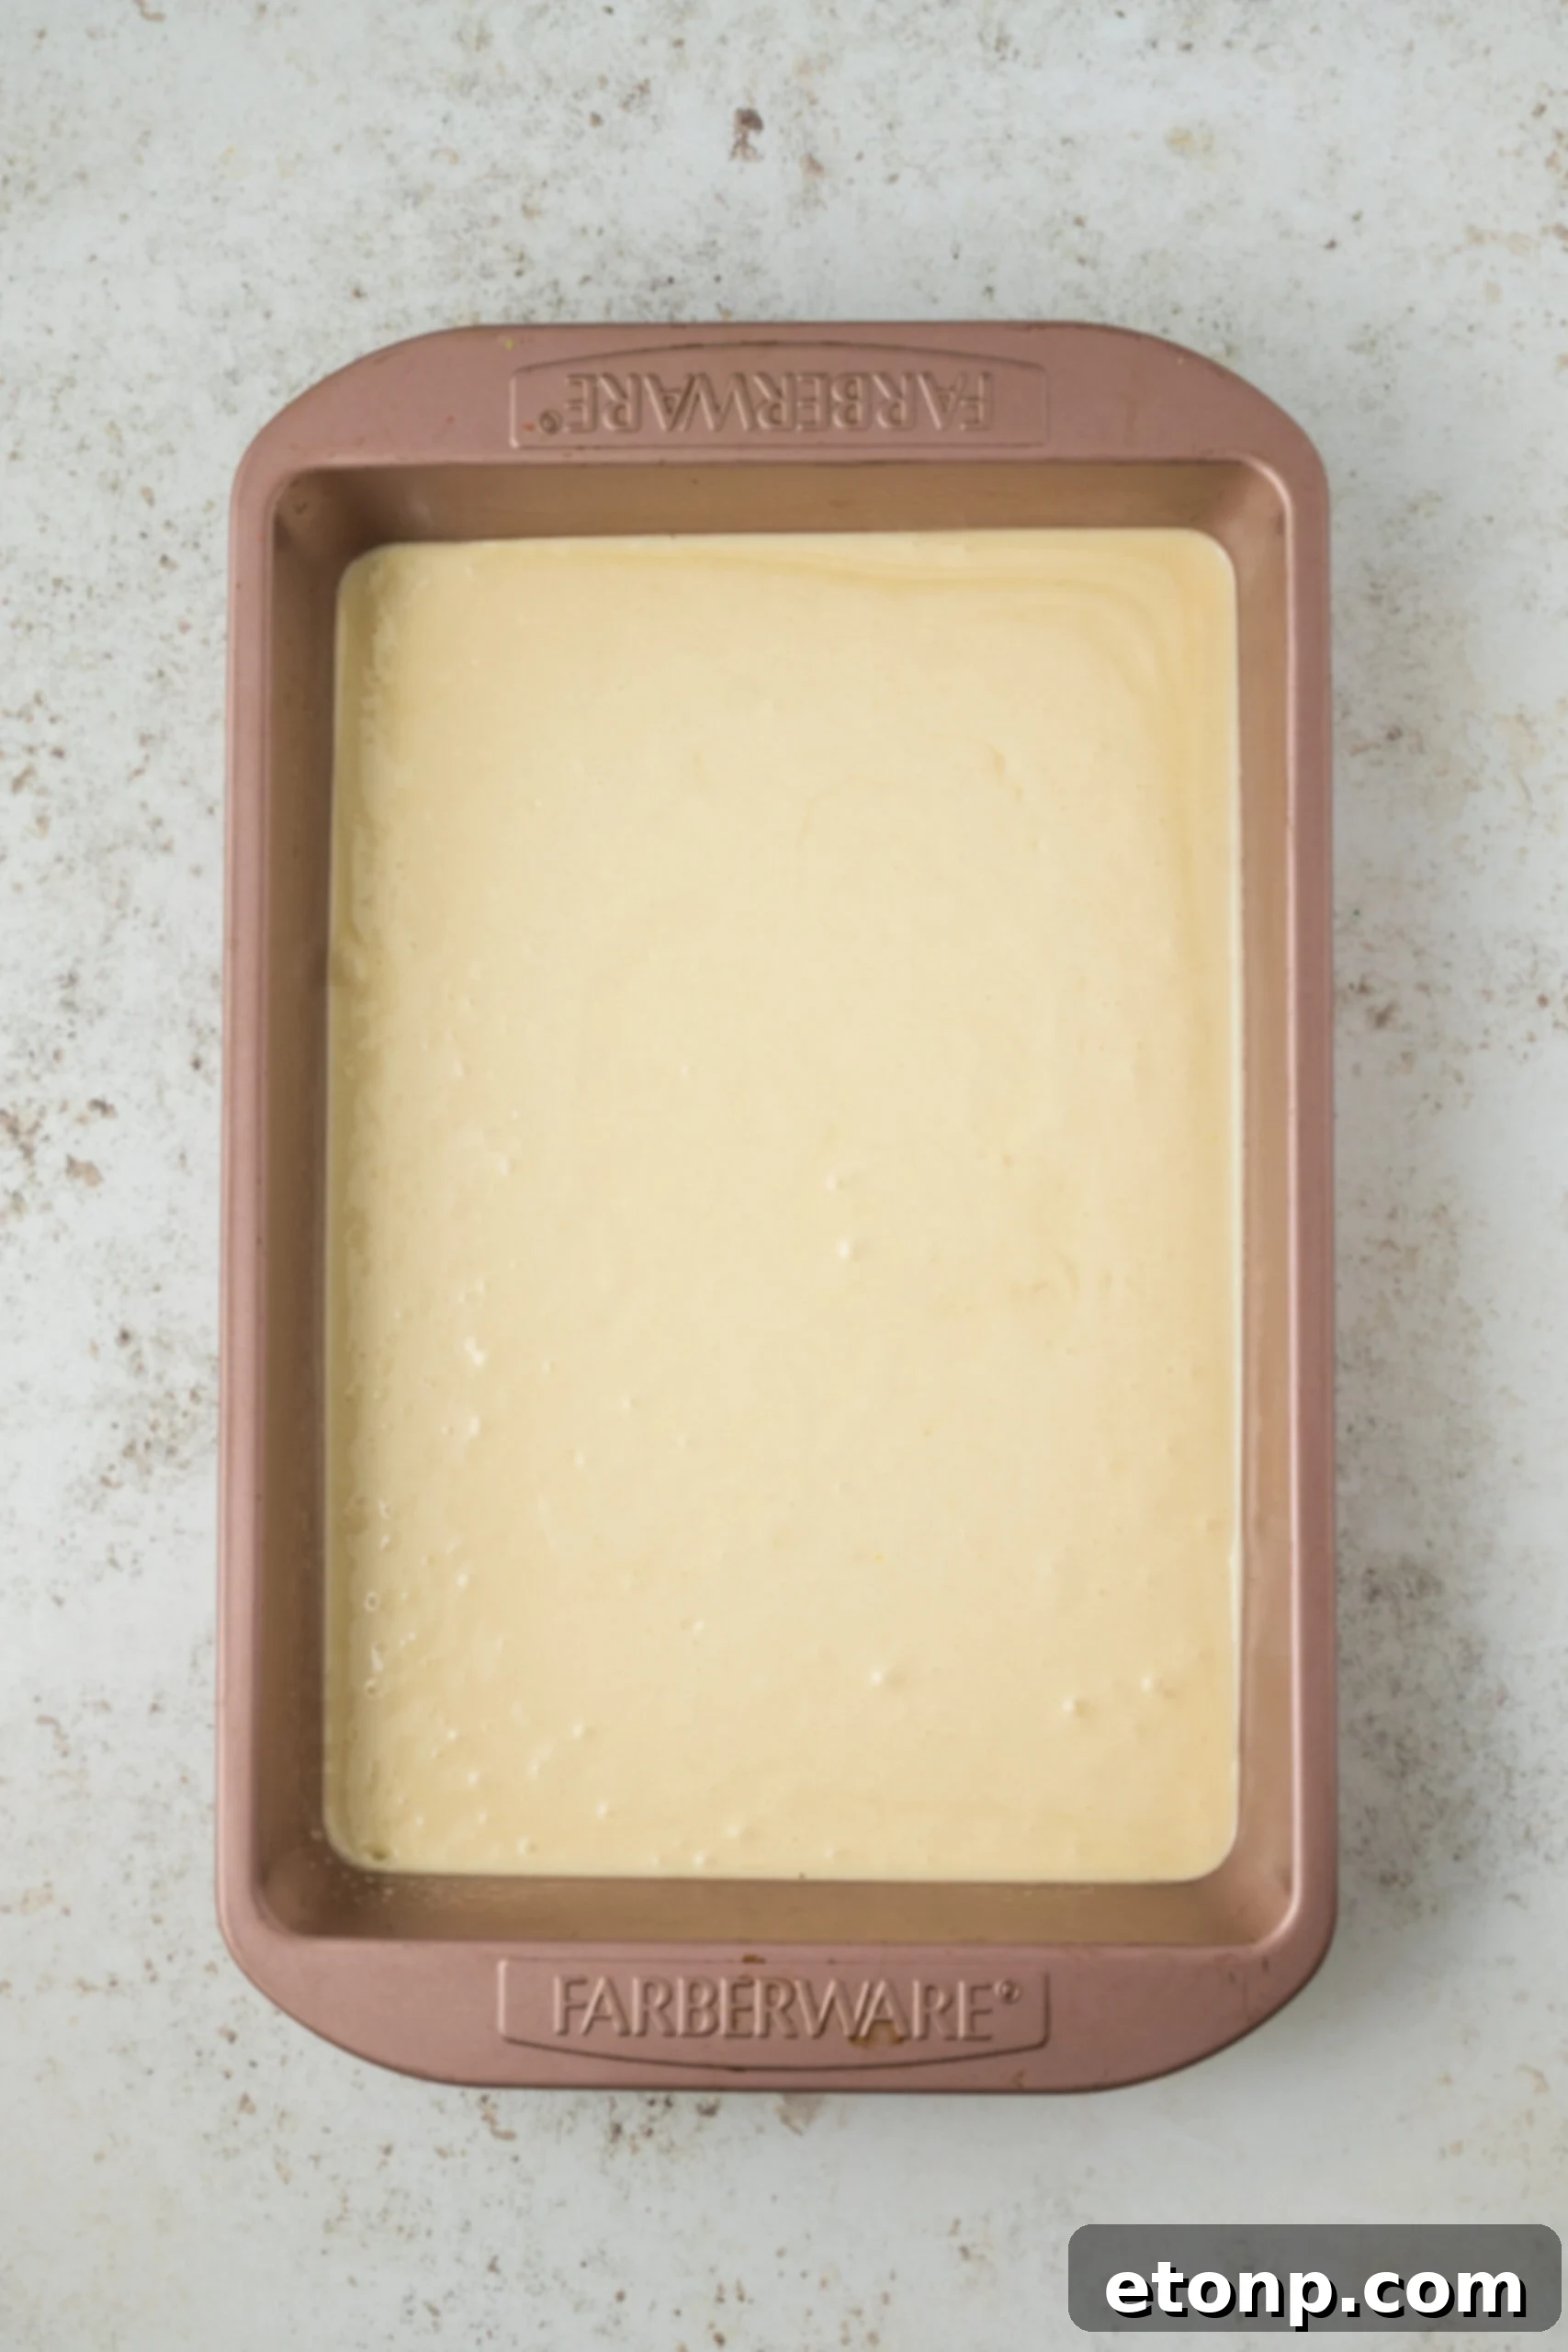
- Preheat your oven to 350°F (175°C). Line two 9×13-inch baking pans with parchment paper, allowing the paper to extend over the edges for easy lifting. Lightly spray the parchment paper and exposed pan edges with cooking spray.
- Prepare the white cake mix according to the package directions. Pour the batter evenly into the two prepared pans. Bake for approximately 15 minutes, or until a toothpick inserted into the center of the cake comes out clean.
- Once baked, remove the cakes from the oven and allow them to cool completely on a wire rack. Cooling is crucial before cutting.
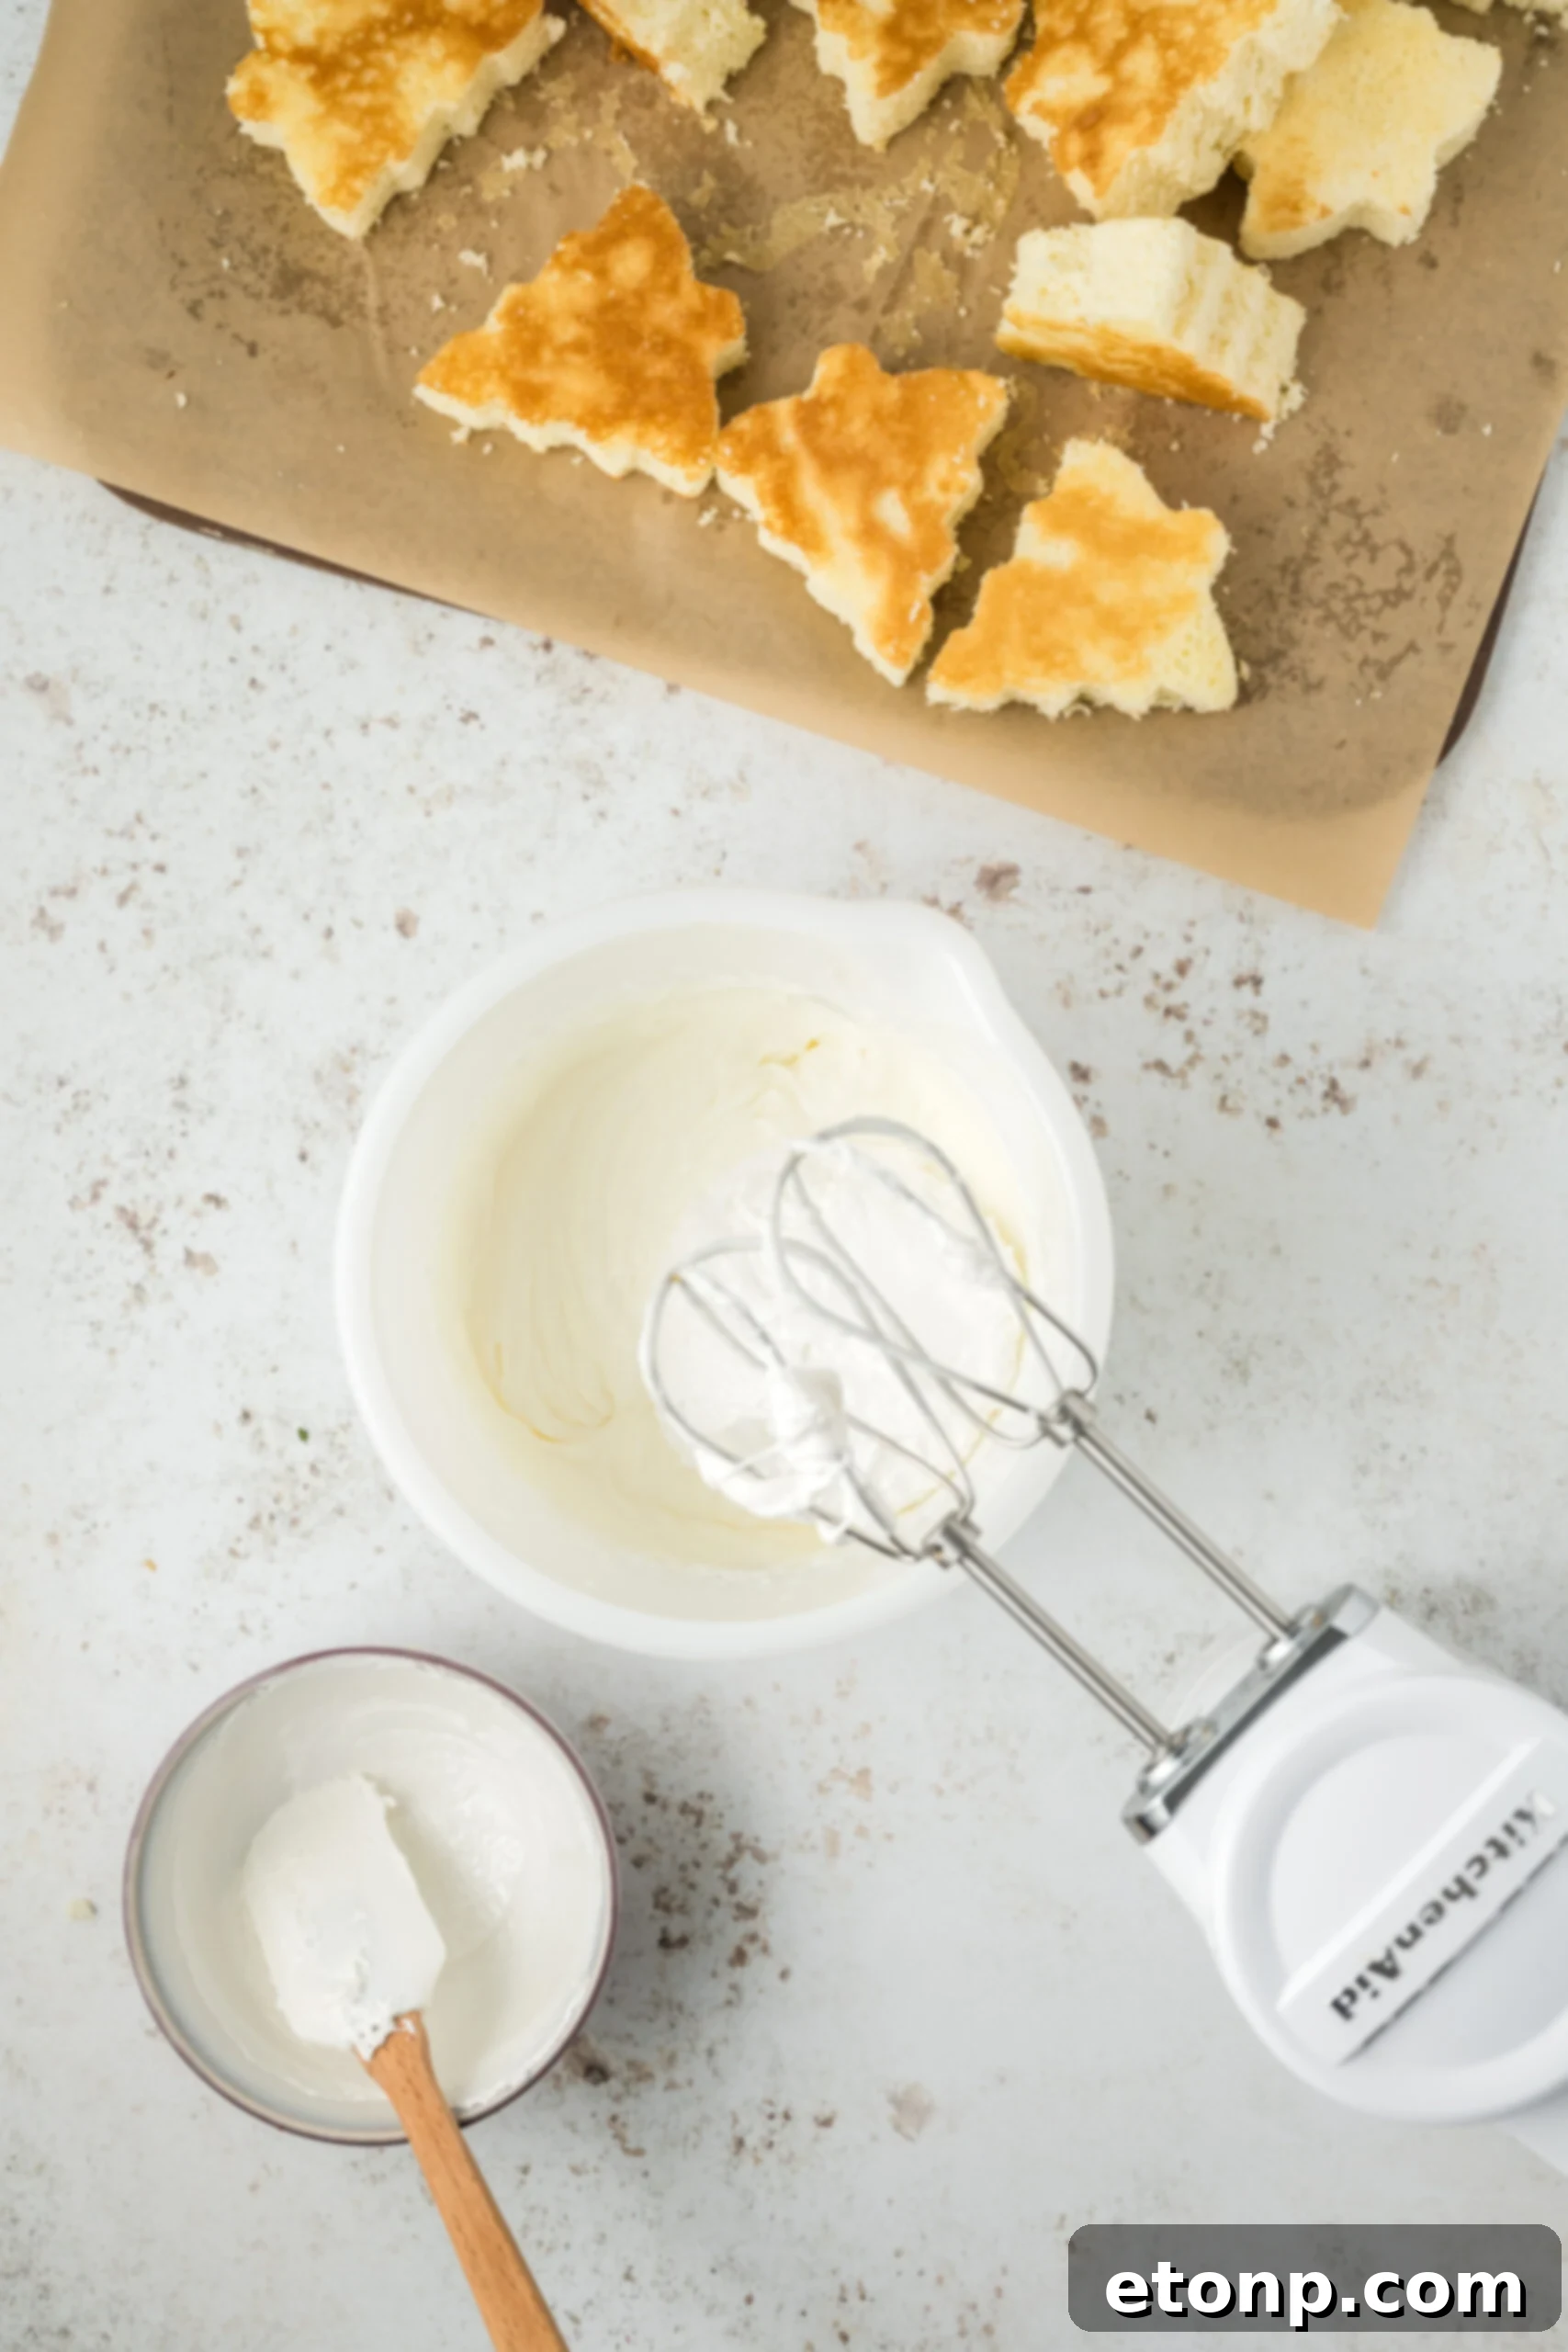
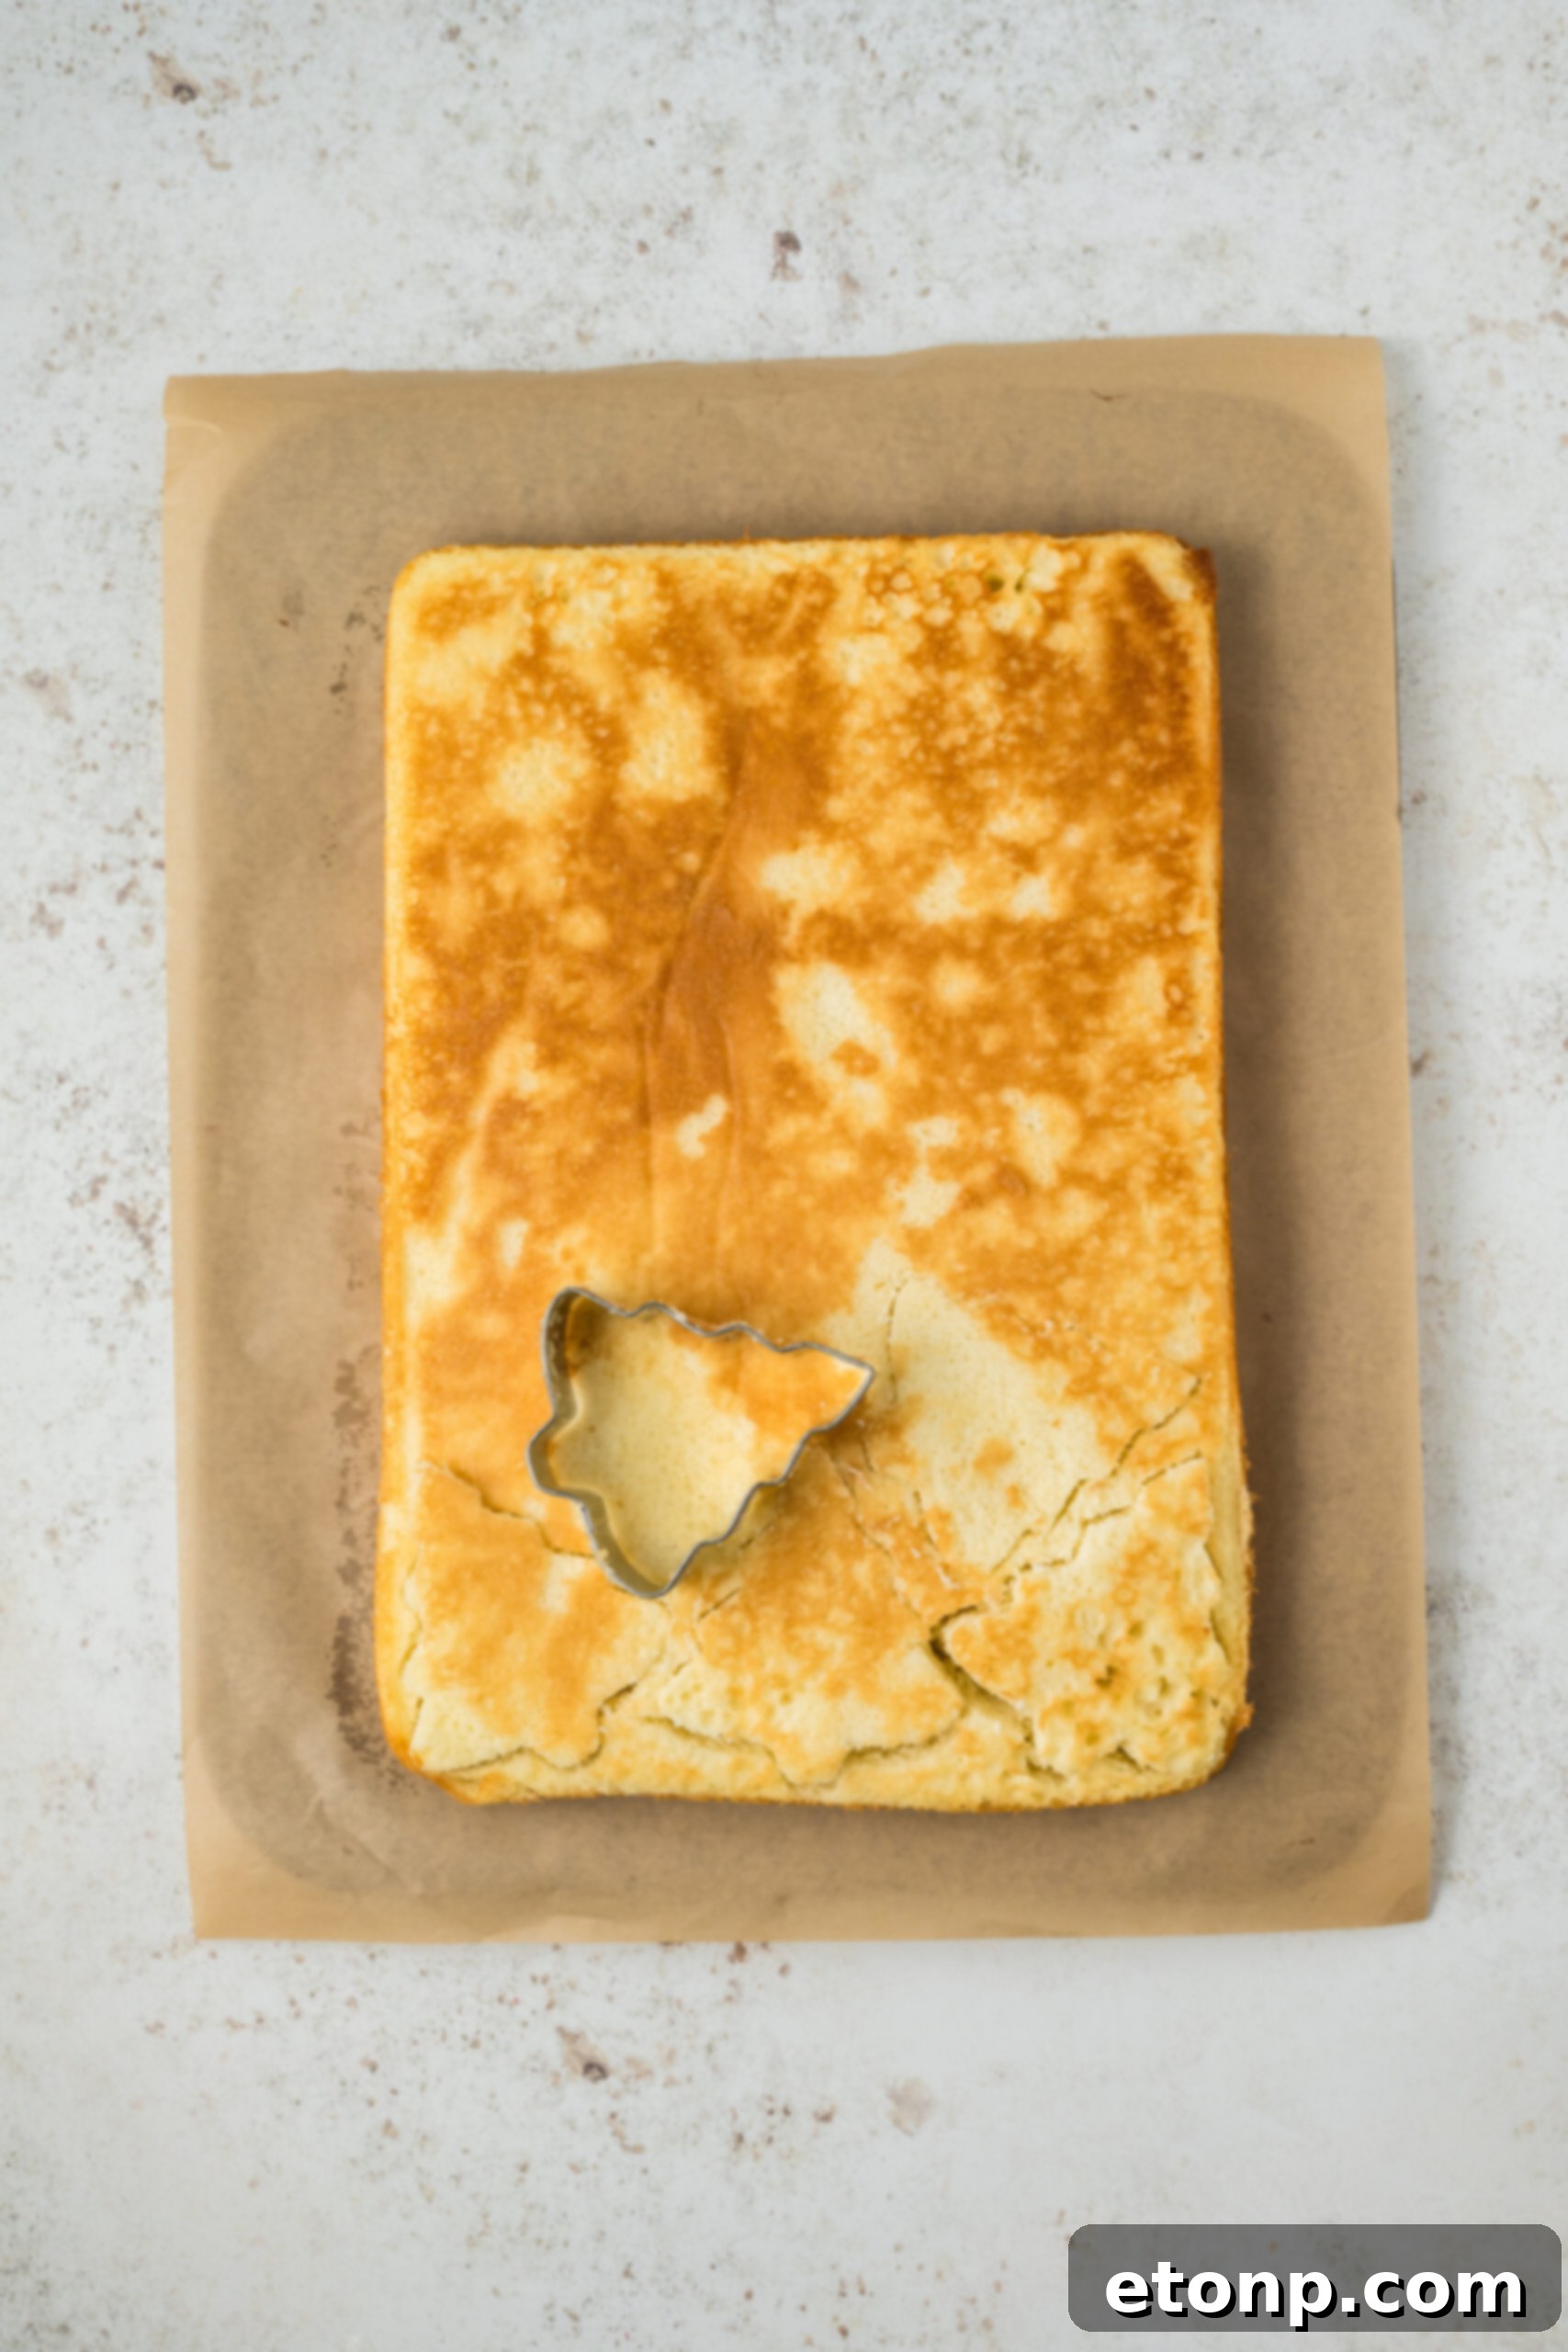
- Using a Christmas tree-shaped cookie cutter, cut out as many tree shapes as possible from both cooled cakes. If your cakes are quite thick, carefully slice each tree cake horizontally to create two thinner layers. If your cakes are thinner, you will use two cake cutouts to form one finished cake (one for the bottom, one for the top).
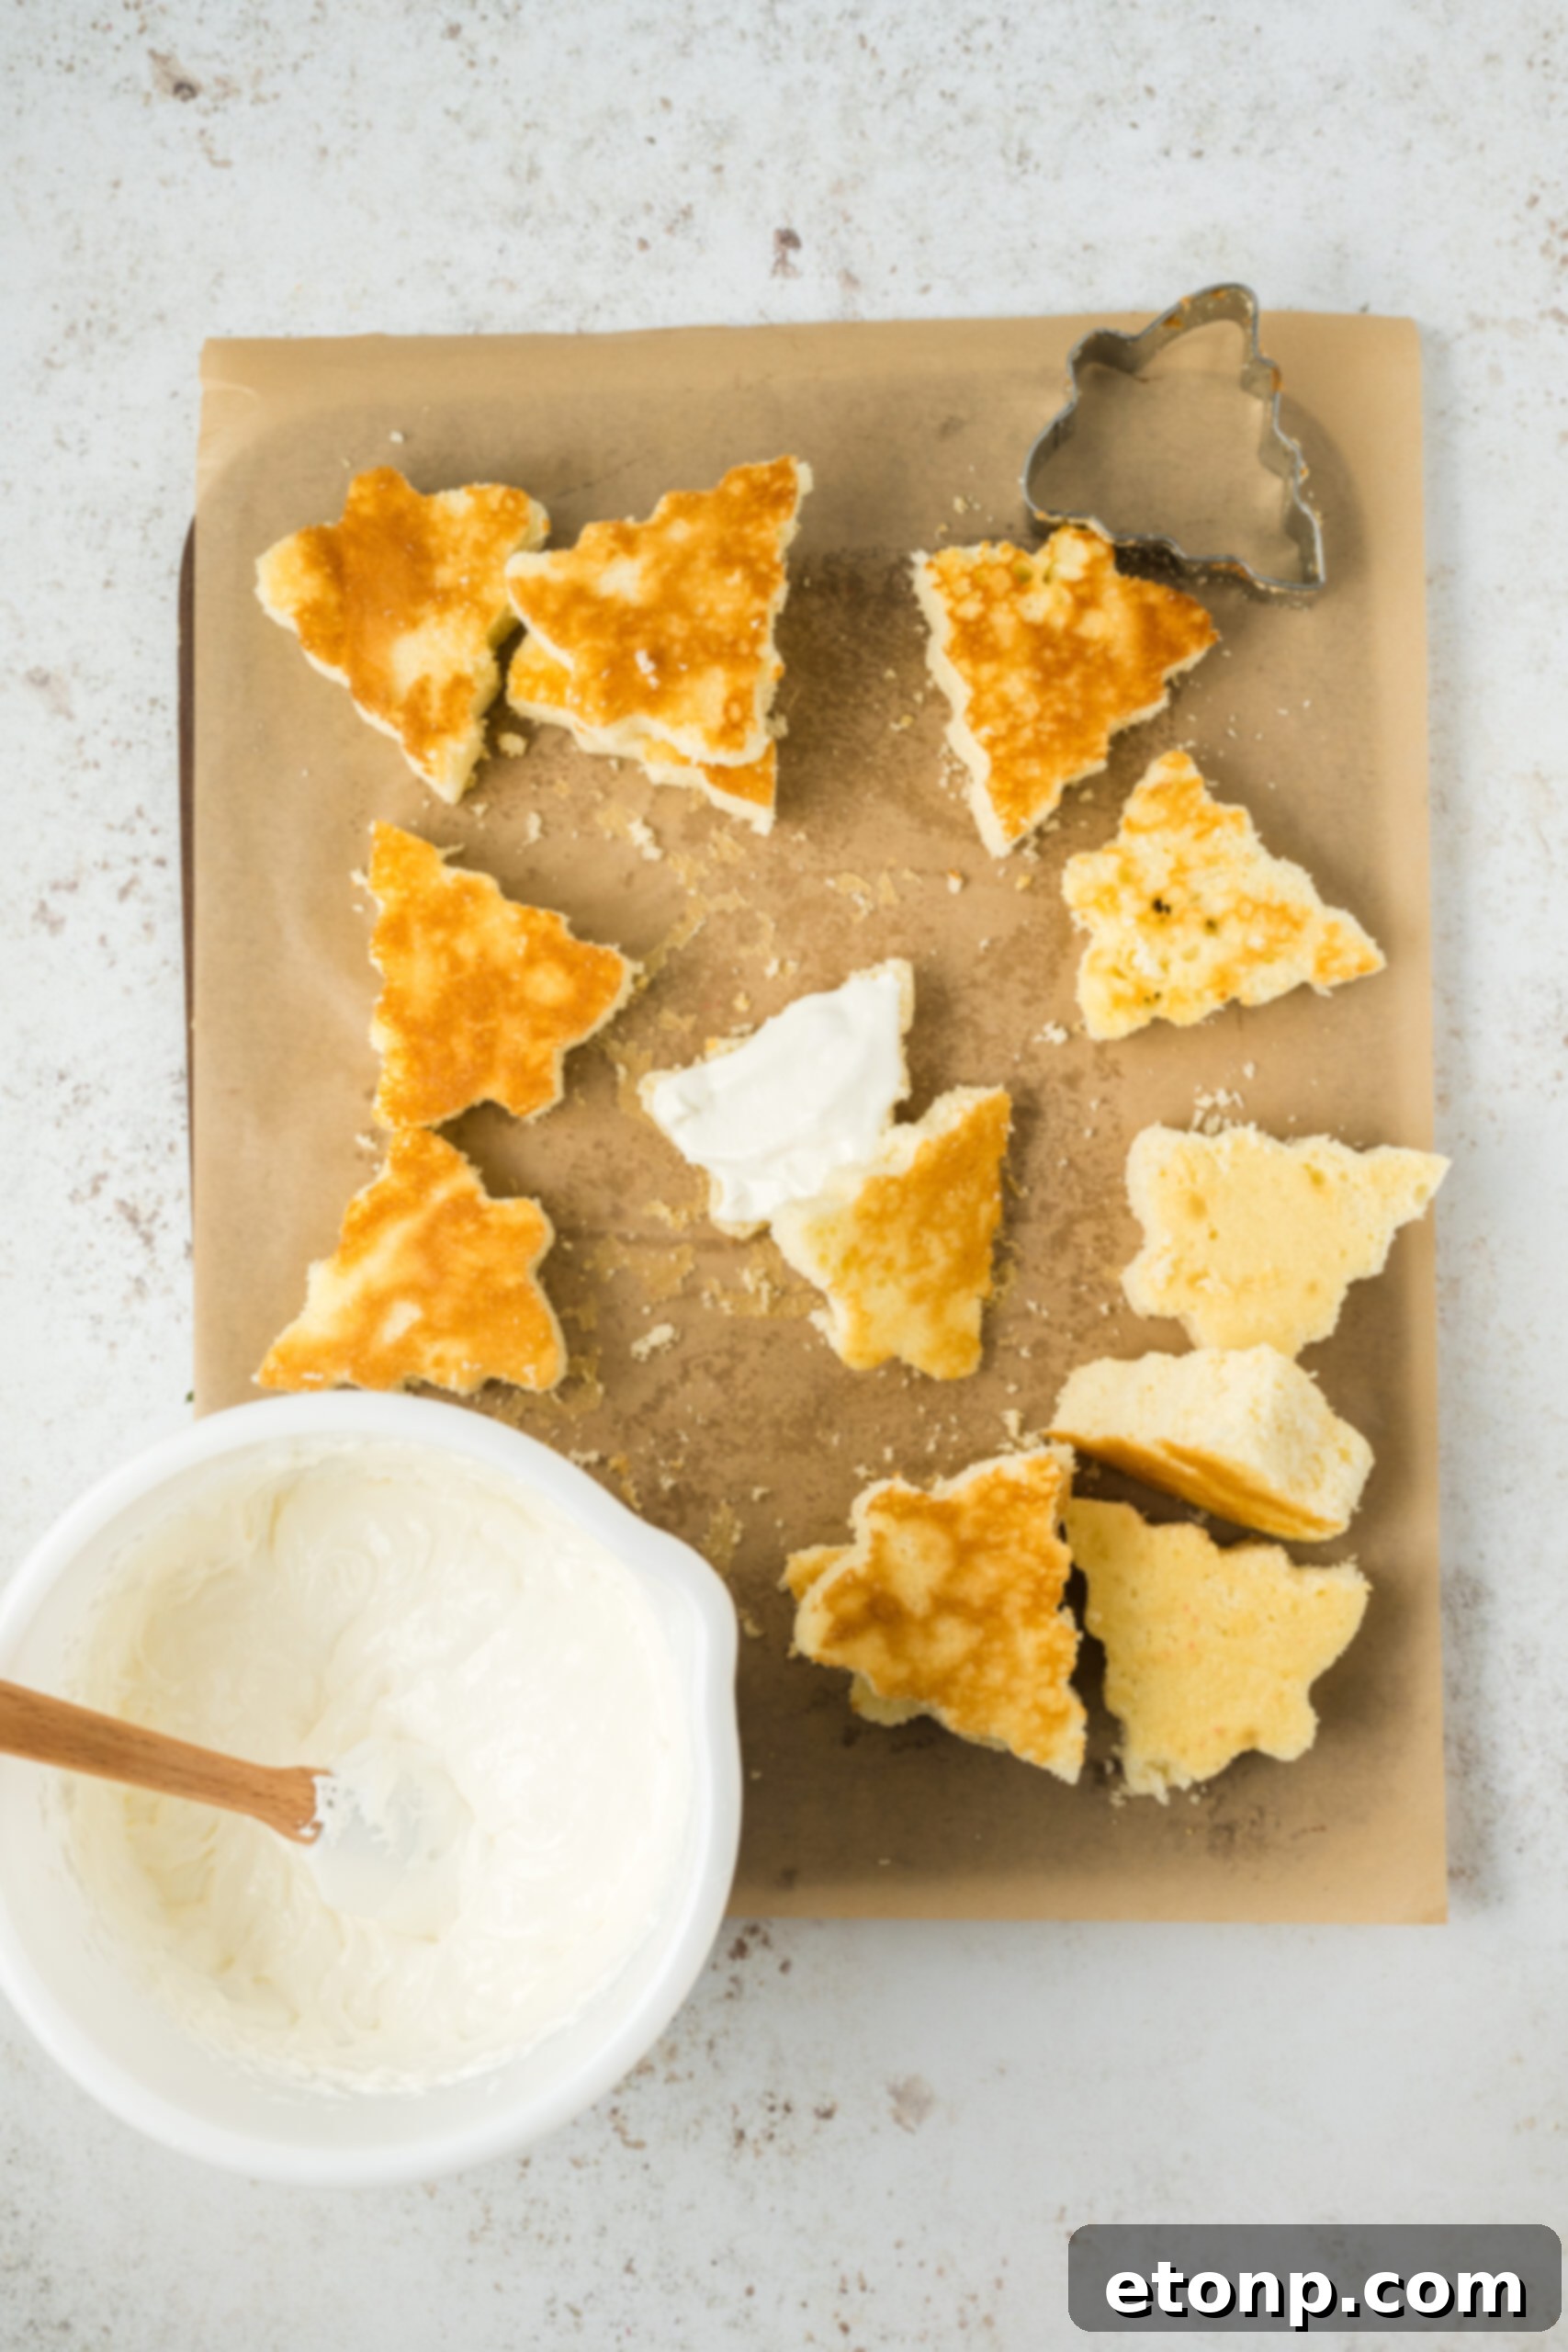
- To prepare the filling, in a medium bowl, beat the heavy whipping cream and vanilla extract together with a hand or stand mixer until thick and stiff peaks form. Gradually add the sifted powdered sugar and continue beating until well combined and smooth. Finally, fold in the marshmallow cream until evenly incorporated, creating a fluffy, velvety filling.
- Spread a generous spoonful of the marshmallow cream filling over one side of a cake cutout. Place another cake cutout directly on top to create a filled sandwich. Repeat this process for all the tree-shaped cakes. Once assembled, place the filled cakes on a parchment-lined baking sheet and freeze for at least 2 hours. This step helps the cakes firm up, making them much easier to dip.
- Once the cakes are frozen, melt the white candy coating wafers according to package directions. If using, stir in the shortening to thin the coating slightly for easier dipping. You can do this in the microwave (in 30-second intervals, stirring) or using a double boiler. Be careful not to overheat.
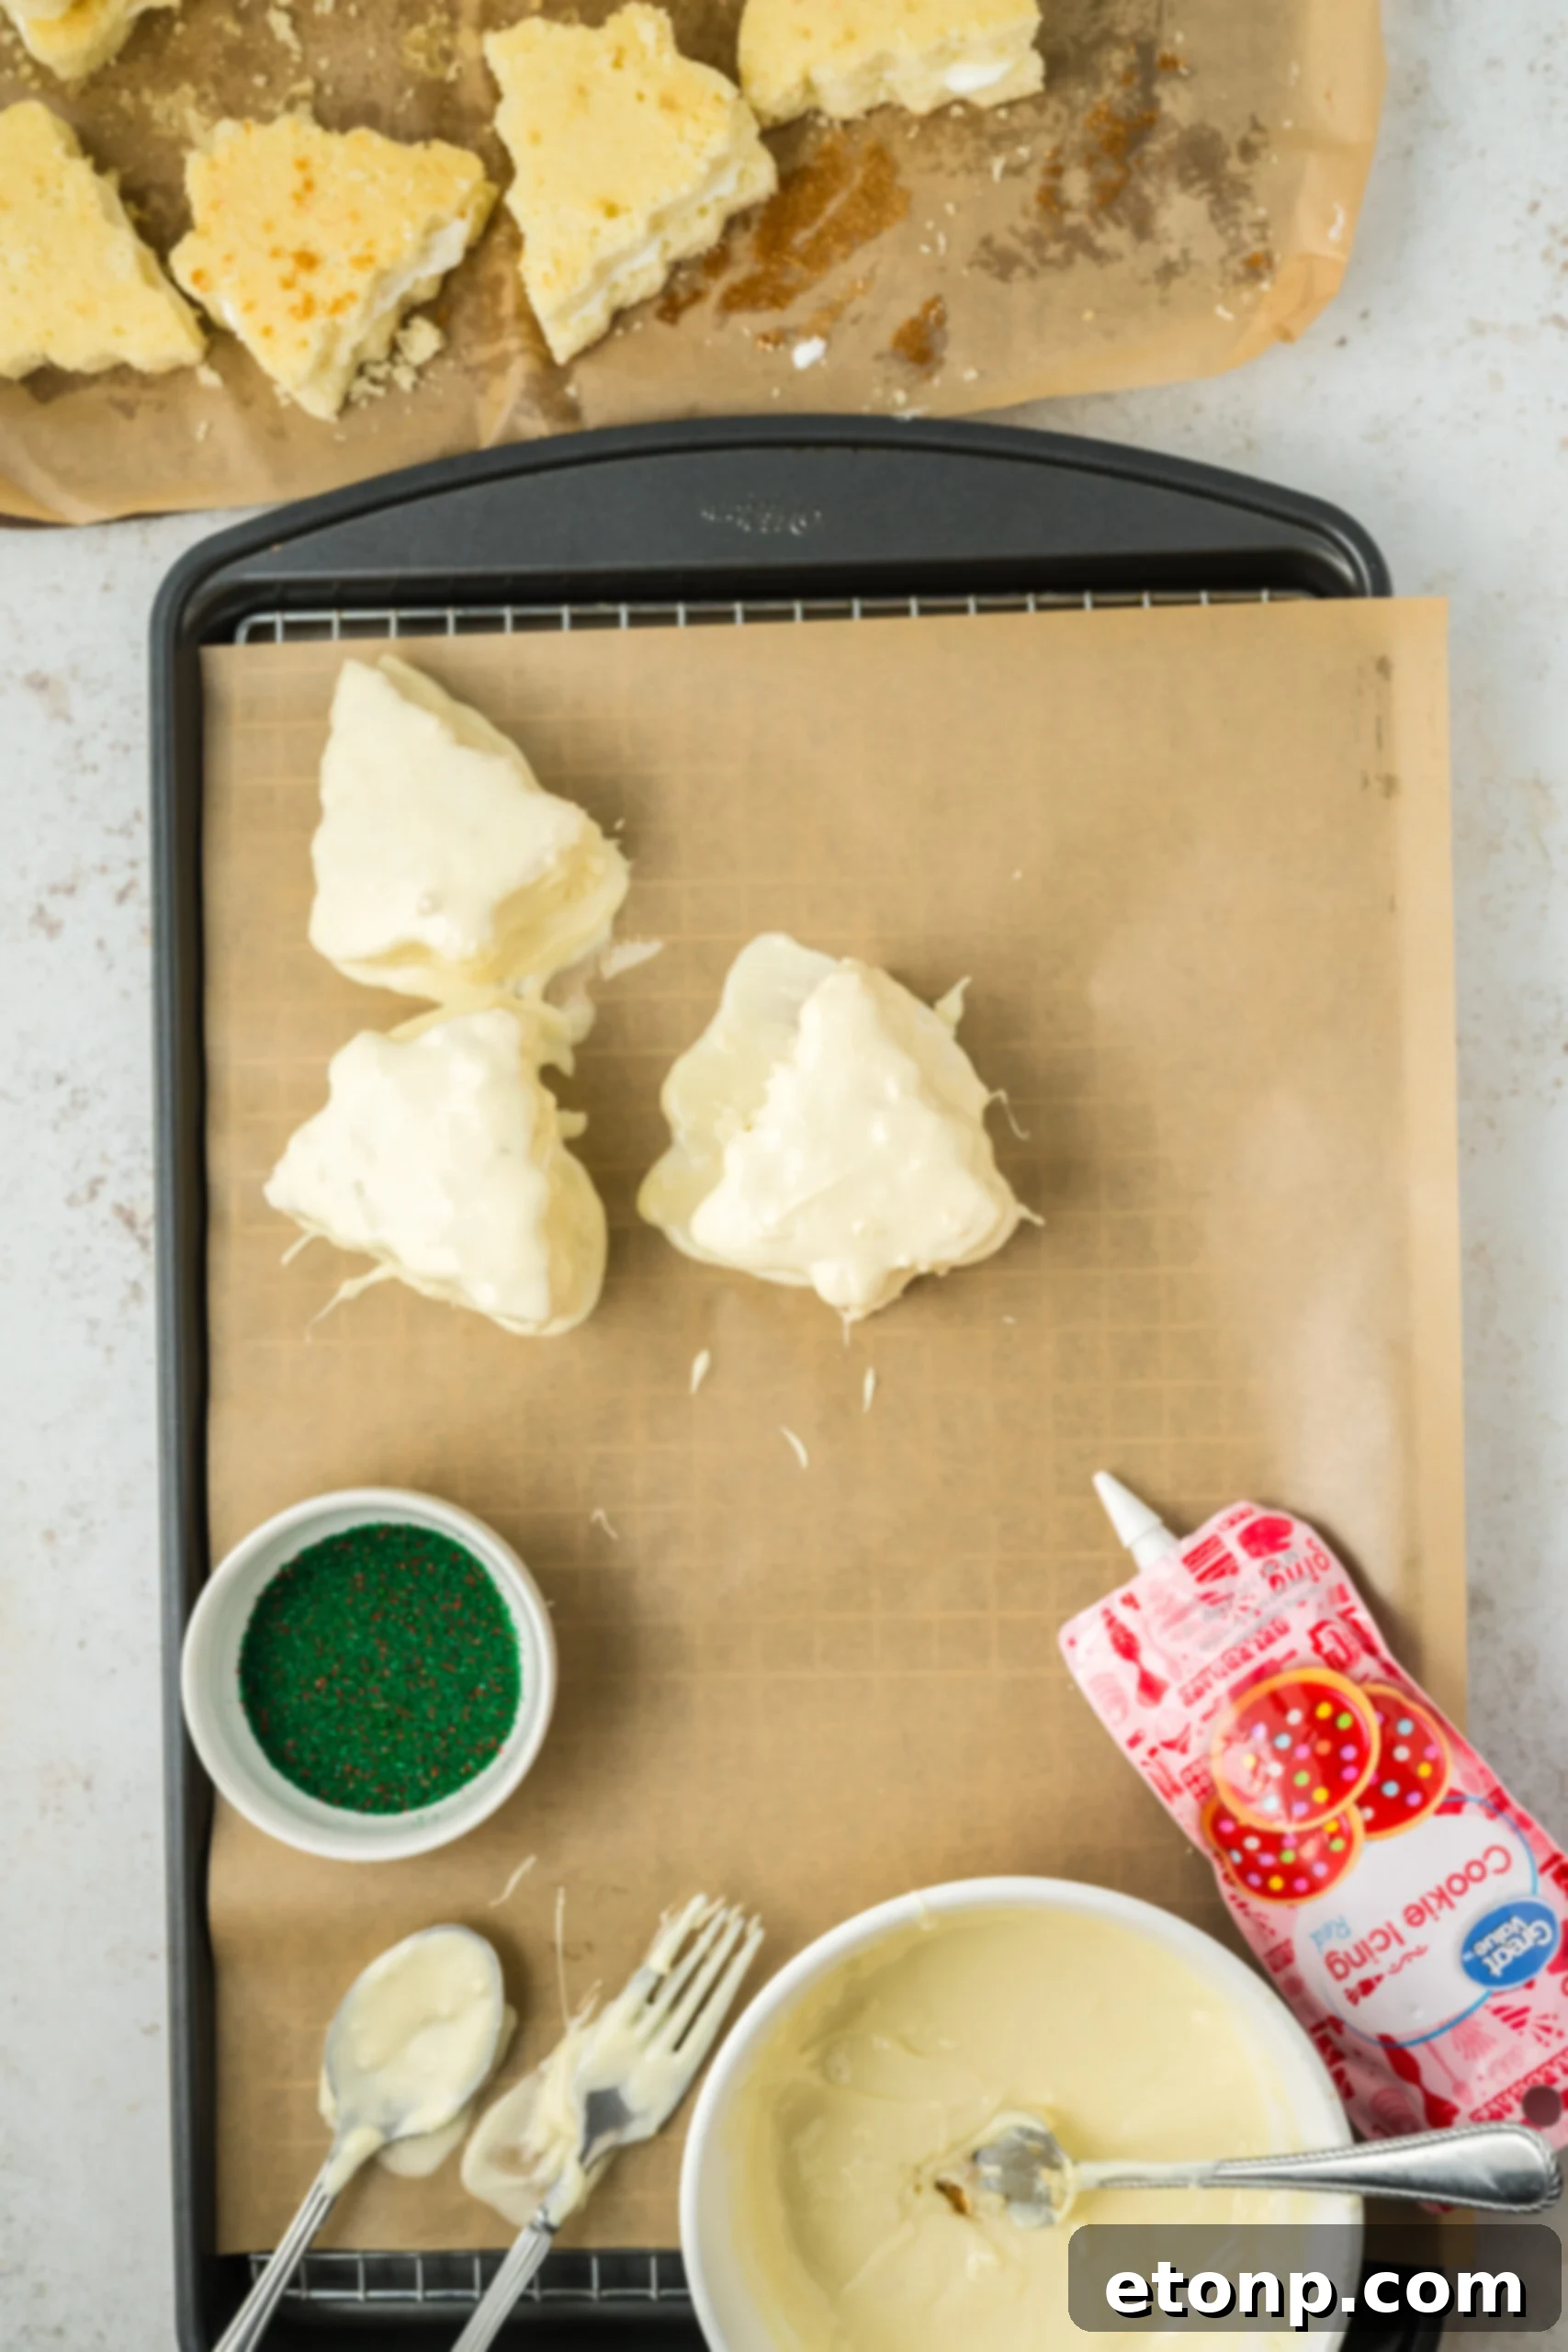
- Using a fork, carefully dip each frozen Christmas tree cake into the melted candy coating, ensuring all sides are completely covered. Gently tap the fork against the side of the bowl to remove any excess coating, allowing it to drip back into the bowl.
- Immediately after dipping, while the coating is still wet and soft, sprinkle the top and sides of each cake generously with green sanding sugar. Place the decorated cakes back onto the parchment-lined baking sheet to allow the coating to set completely.
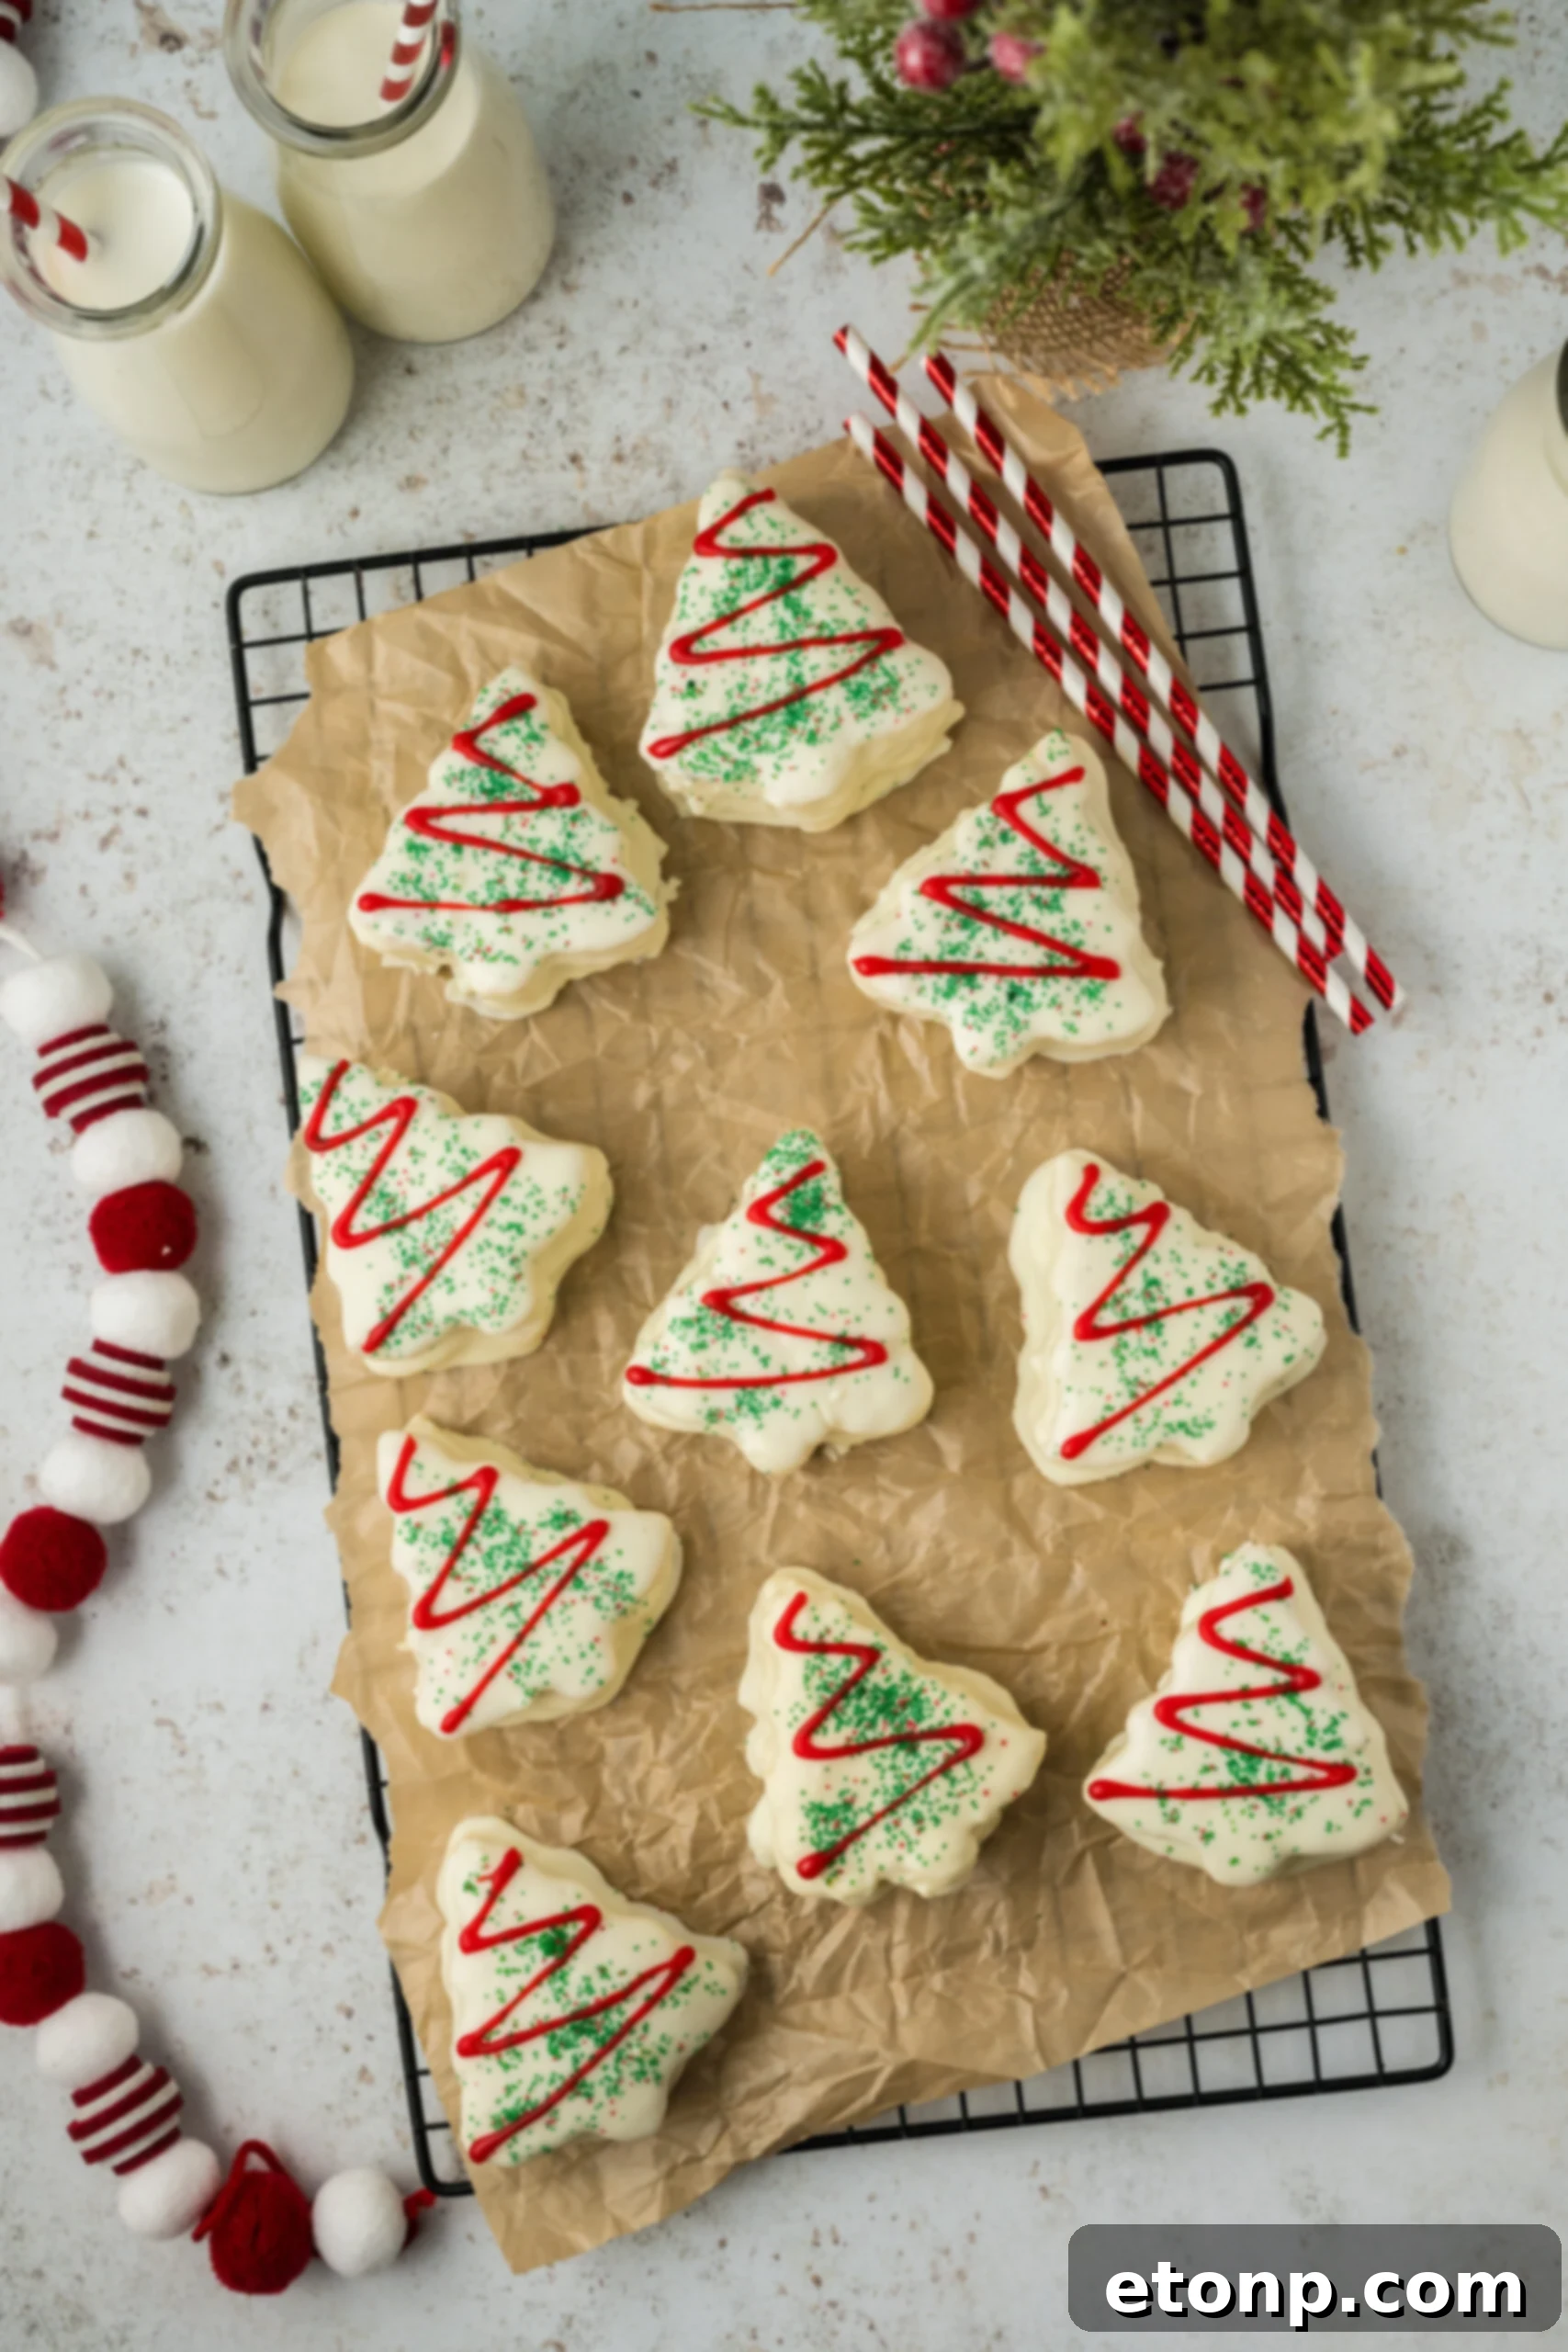
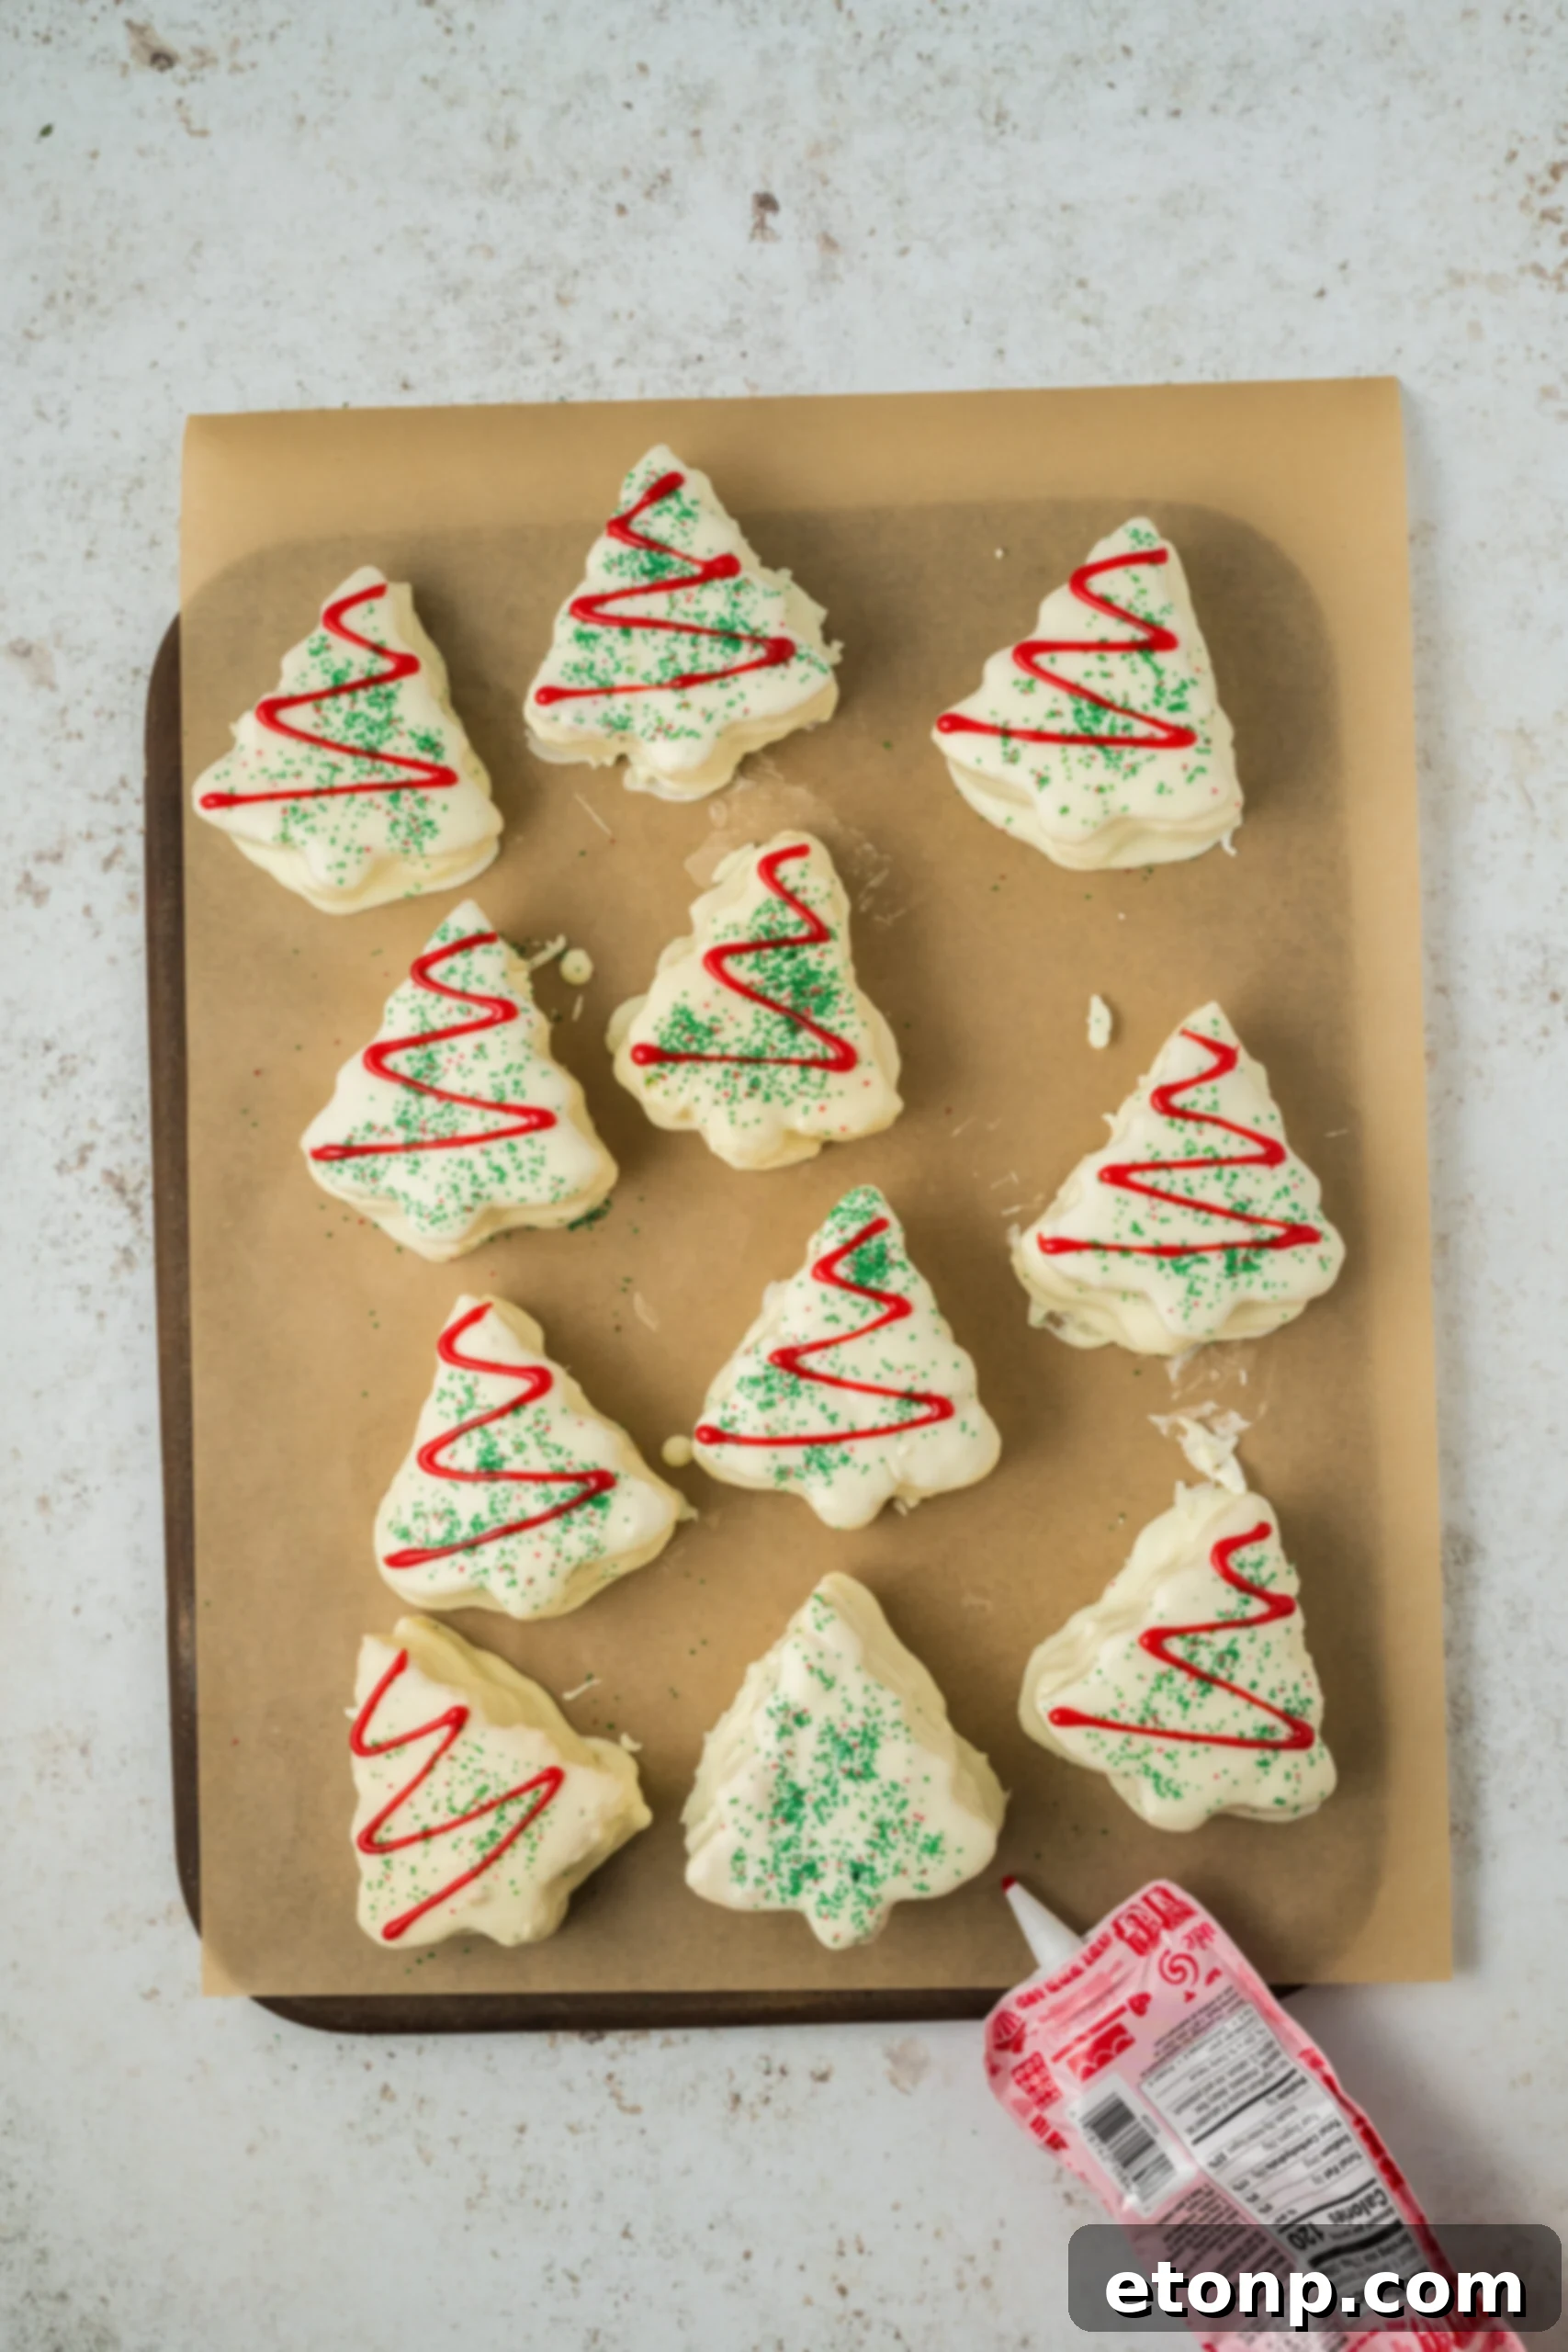
- Once all the cakes are coated, sprinkled, and the white candy coating has fully hardened, take your red cookie icing pouch. Carefully pipe the classic zigzag lines across the top of each Christmas tree cake to complete the iconic Little Debbie look.
Did you make this recipe?
Make sure to follow on Pinterest for more recipes and share your creations!
Pin Recipe
Share on Facebook