

Indulge in Pure Bliss: The Ultimate 3-Ingredient No-Bake Reese’s Fudge Recipe
Prepare yourself for a dessert experience that is not only incredibly decadent but also astonishingly easy to create. This sensational No-Bake Reese’s Fudge recipe requires just three simple ingredients, making it the perfect sweet treat for any occasion. Forget complicated baking steps; this foolproof recipe delivers rich, creamy, peanut butter-infused chocolate fudge with minimal effort and no oven required!
Your Go-To Easy Dessert: Decadent, Quick, and Unforgettable
This recipe isn’t just easy; it’s a game-changer for anyone craving a truly satisfying dessert without the fuss. Imagine biting into a silky smooth fudge studded with chunks of your favorite Reese’s Peanut Butter Cups – a flavor match made in heaven. Its simplicity belies its incredible taste, making it a standout option for busy weeknights, last-minute gatherings, or when you simply need a quick indulgence. The magic lies in the perfect blend of chocolate, sweetened condensed milk, and the irresistible peanut butter goodness of Reese’s.

Why This No-Bake Reese’s Fudge Recipe is a Must-Try
Beyond its minimal ingredient list, there are countless reasons to fall in love with this No-Bake Reese’s Fudge. We strategically layer the peanut butter cups throughout the fudge mixture to ensure that every single bite delivers an explosion of classic chocolate and peanut butter flavor. This isn’t just fudge; it’s an experience, guaranteeing a delightful surprise in every square.
Perfect for Gifting and Gatherings
This homemade Reese’s fudge is more than just a treat for yourself; it’s an ideal candidate for thoughtful gifts. Package a few squares in a decorative box or bag, and you have a personal, delicious present that friends, family, and colleagues will adore. Its universal appeal makes it a fantastic dessert that both kids and adults will enthusiastically reach for, making it a staple for holiday parties, potlucks, or simply as a special family dessert.

Effortless Storage and Future Enjoyment
One of the many benefits of this amazing fudge is its excellent freezer-friendly nature. Make a big batch and store it for later, ensuring you always have a delicious dessert on hand. This makes it particularly great for preparing in advance for the upcoming baking and holiday season, saving you time and stress when entertaining. Simply thaw and enjoy!
Join Our Sweet Community!
Loved this recipe? Don’t forget to share your sweet creations on social media! Tag us and inspire others to whip up this incredible 3-ingredient no-bake fudge.
Please remember to SHARE on Facebook and PIN IT!
FOLLOW ME ON PINTEREST BY CLICKING HERE <——
The Ultimate No-Bake 3-Ingredient Reese’s Fudge Recipe!
This easy fudge recipe is your ticket to a quick, delightful dessert. Perfect for satisfying chocolate and peanut butter cravings!
Ingredients
- 20 Regular Size Reese’s Peanut Butter Cups
- 3 cups Chocolate Chips (semi-sweet or milk chocolate work best)
- 14 oz Sweetened Condensed Milk (not evaporated milk)
Instructions
- Prepare Your Pan: Line a 9×9 inch baking pan with parchment paper, leaving an overhang on the sides for easy removal. Lightly spray the parchment paper with cooking spray to ensure the fudge doesn’t stick.
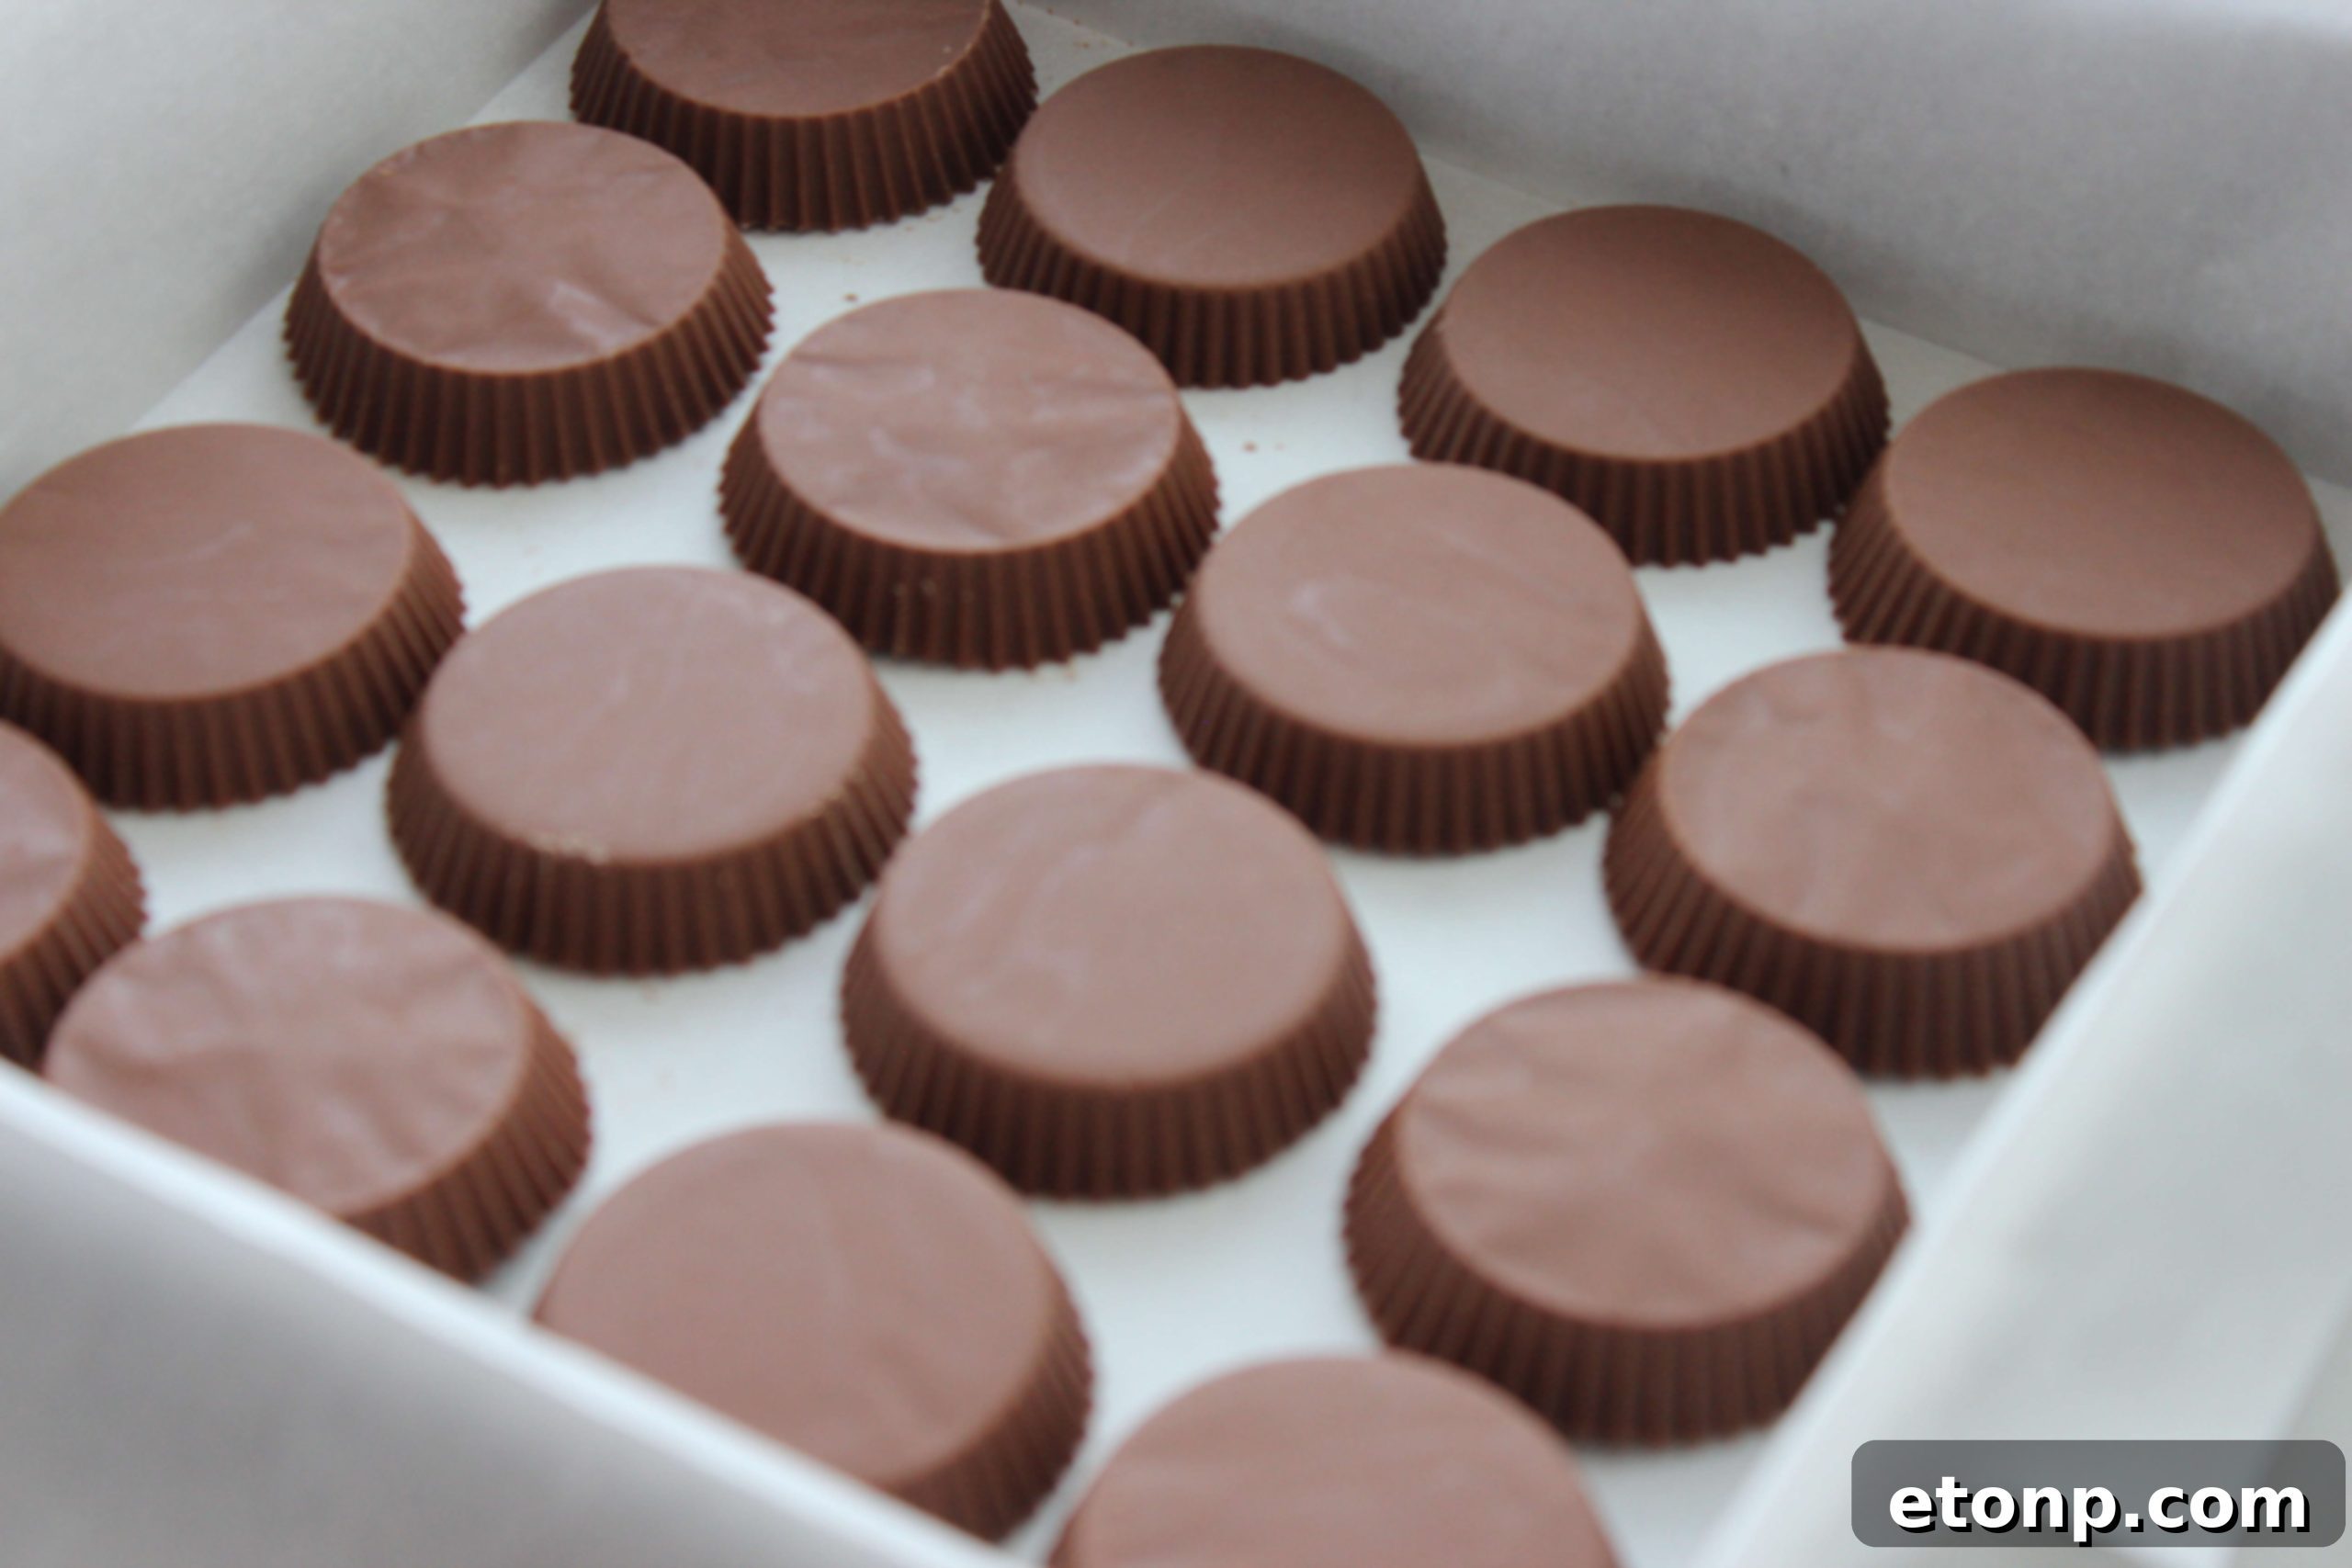
- Arrange Reese’s Cups: Unwrap and evenly space 16 of the regular size Reese’s Peanut Butter Cups across the bottom of the prepared pan. This creates a delicious foundation for your fudge.
- Melt Chocolate Mixture: In a microwave-safe bowl, combine the chocolate chips and sweetened condensed milk. Microwave on high for 1 minute. Stir well. Continue microwaving in 30-second intervals, stirring thoroughly after each, until the mixture is completely smooth and creamy. This usually takes 3-5 minutes, depending on your microwave’s power. Be careful not to overheat.
- Pour and Spread: Carefully pour the melted chocolate mixture evenly over the arranged peanut butter cups in the pan. Use an offset spatula or the back of a spoon to gently spread the fudge right to the edges, ensuring it covers all the Reese’s cups.
- Add Topping: Take the remaining 4 Reese’s Peanut Butter Cups. You can either chop them roughly or break them into small pieces. Sprinkle these pieces evenly over the top of the warm fudge. Gently press them into the fudge a little to ensure they adhere.
- Chill to Set: Transfer the pan to the refrigerator and chill for at least 2-3 hours, or until the fudge is completely firm and set.
- Cut and Serve: Once set, use the parchment paper overhangs to lift the fudge out of the pan. Place it on a cutting board and cut it into desired squares (e.g., 25 squares for a 9×9 inch pan).
- ENJOY! Serve immediately and savor every delicious bite of your homemade Reese’s fudge.
Expert Tips for Flawless No-Bake Fudge
- Quality Ingredients Matter: While simple, using good quality chocolate chips will elevate the flavor of your fudge significantly.
- Don’t Overheat: When melting the chocolate and condensed milk, stir frequently and heat in short bursts to prevent the chocolate from seizing or burning. Smoothness is key!
- Patience is a Virtue: Allow ample chilling time. Rushing the setting process can result in soft, crumbly fudge. A firm set ensures perfect, clean squares.
- Clean Cuts: For neat squares, use a large, sharp knife. You can warm the knife under hot water and wipe it clean between cuts for extra precision.
Creative Variations for Your No-Bake Fudge
- Chocolate Choices: Experiment with different types of chocolate chips – dark chocolate for a richer flavor, white chocolate for a sweeter, creamier profile, or even a mix!
- Candy Crush: Instead of or in addition to Reese’s, try adding chopped Snickers, Butterfingers, M&M’s, or even Oreos for a different candy bar fudge experience.
- Nutty Additions: Fold in chopped peanuts, walnuts, or pecans for added crunch and flavor.
- Gourmet Toppings: Sprinkle a touch of flaky sea salt over the top before chilling to enhance the chocolate and peanut butter notes. Drizzle with melted caramel or peanut butter for an extra touch of decadence.
- Seasonal Sprinkles: Add festive sprinkles for holidays or special occasions.
Storage Information for Your Homemade Fudge
- Room Temperature: If stored in an airtight container at room temperature, this fudge will stay fresh for up to 3-4 days. However, due to the nature of the ingredients, refrigeration is often preferred to maintain its firm texture, especially in warmer climates.
- Refrigeration: For longer freshness and a firmer consistency, store the fudge in an airtight container in the refrigerator for up to 2 weeks. Allow it to come to room temperature for 15-20 minutes before serving for optimal texture.
- Freezing: This fudge freezes wonderfully! Wrap individual squares tightly in plastic wrap, then place them in an airtight freezer-safe container or bag. It can be frozen for up to 3 months. Thaw in the refrigerator overnight or at room temperature for a few hours before enjoying.

Did you make this amazing 3-Ingredient No-Bake Reese’s Fudge recipe?
We’d love to see your creations! Make sure to follow us on Pinterest for even more delicious and easy recipes!
Share on Facebook