
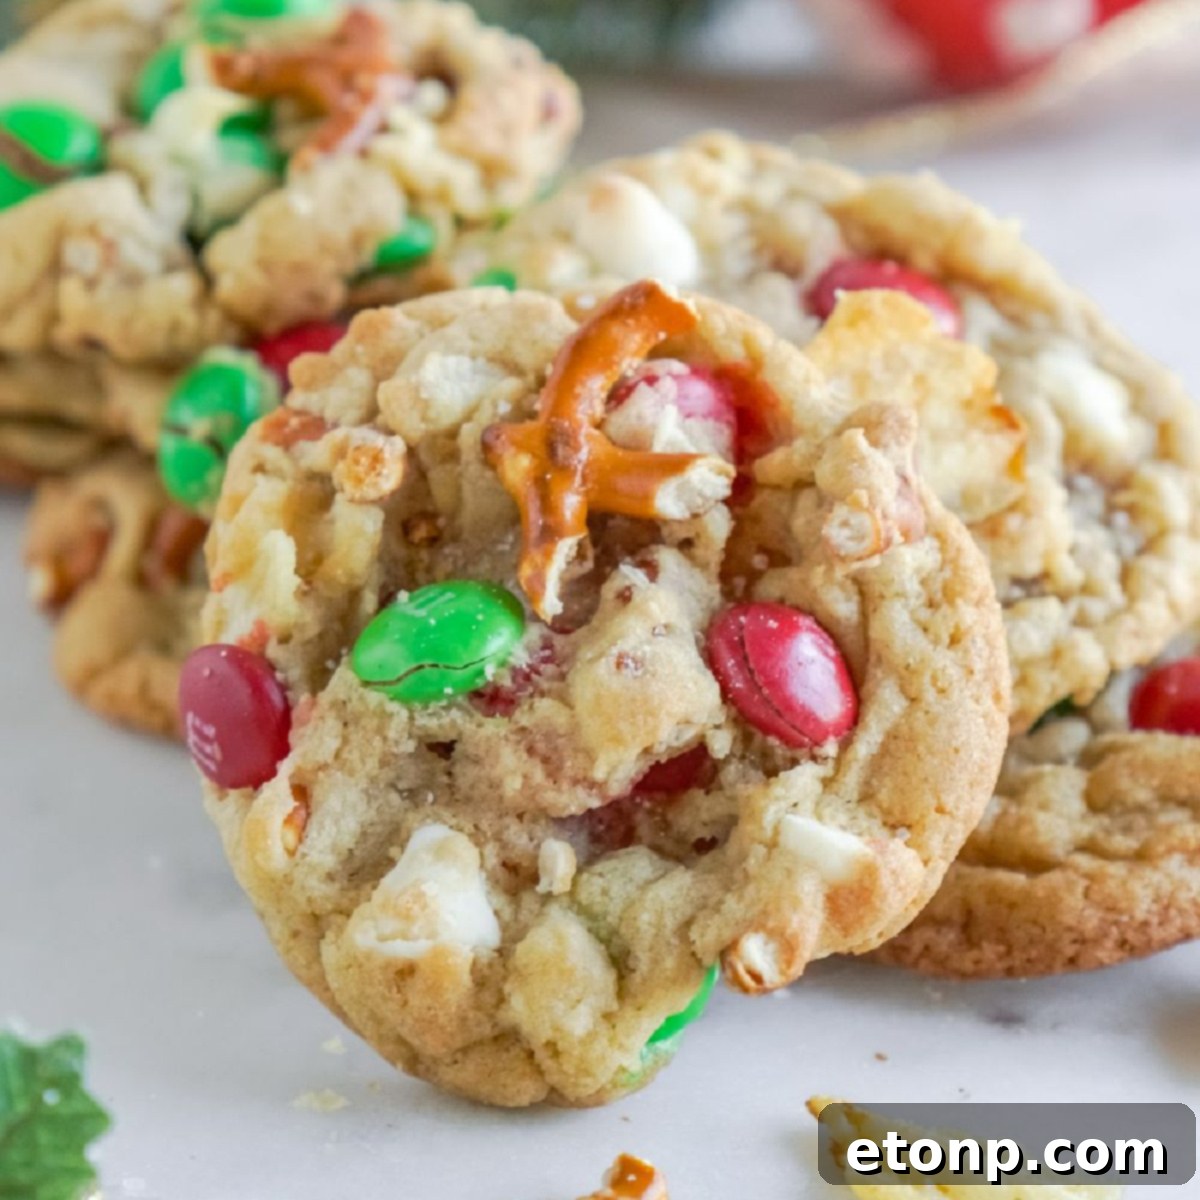
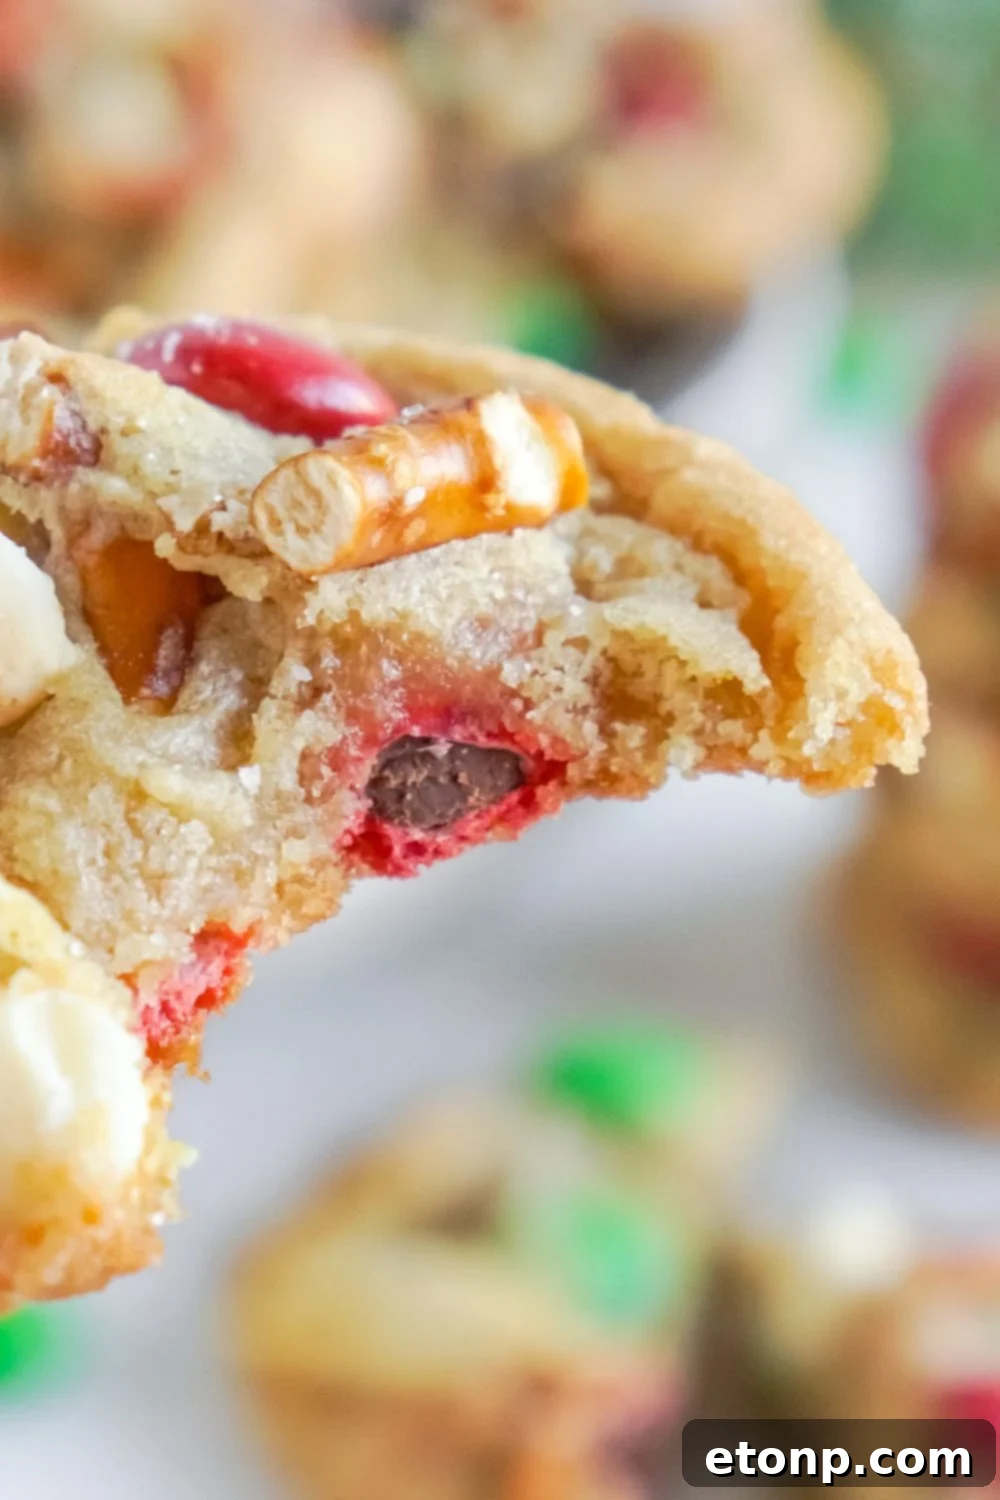
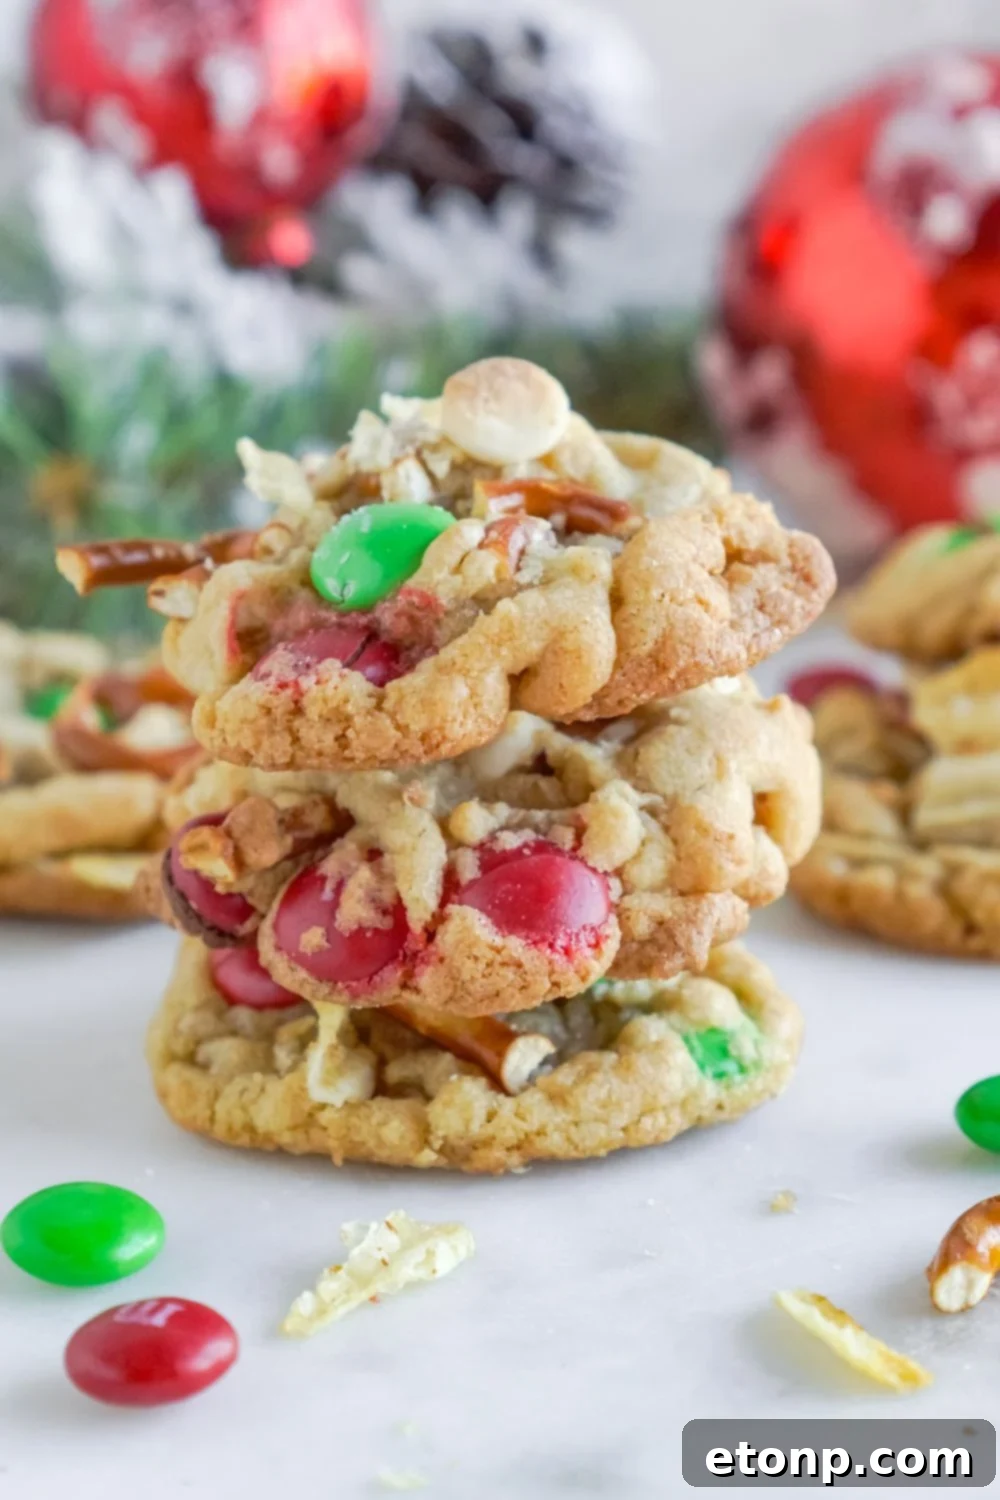
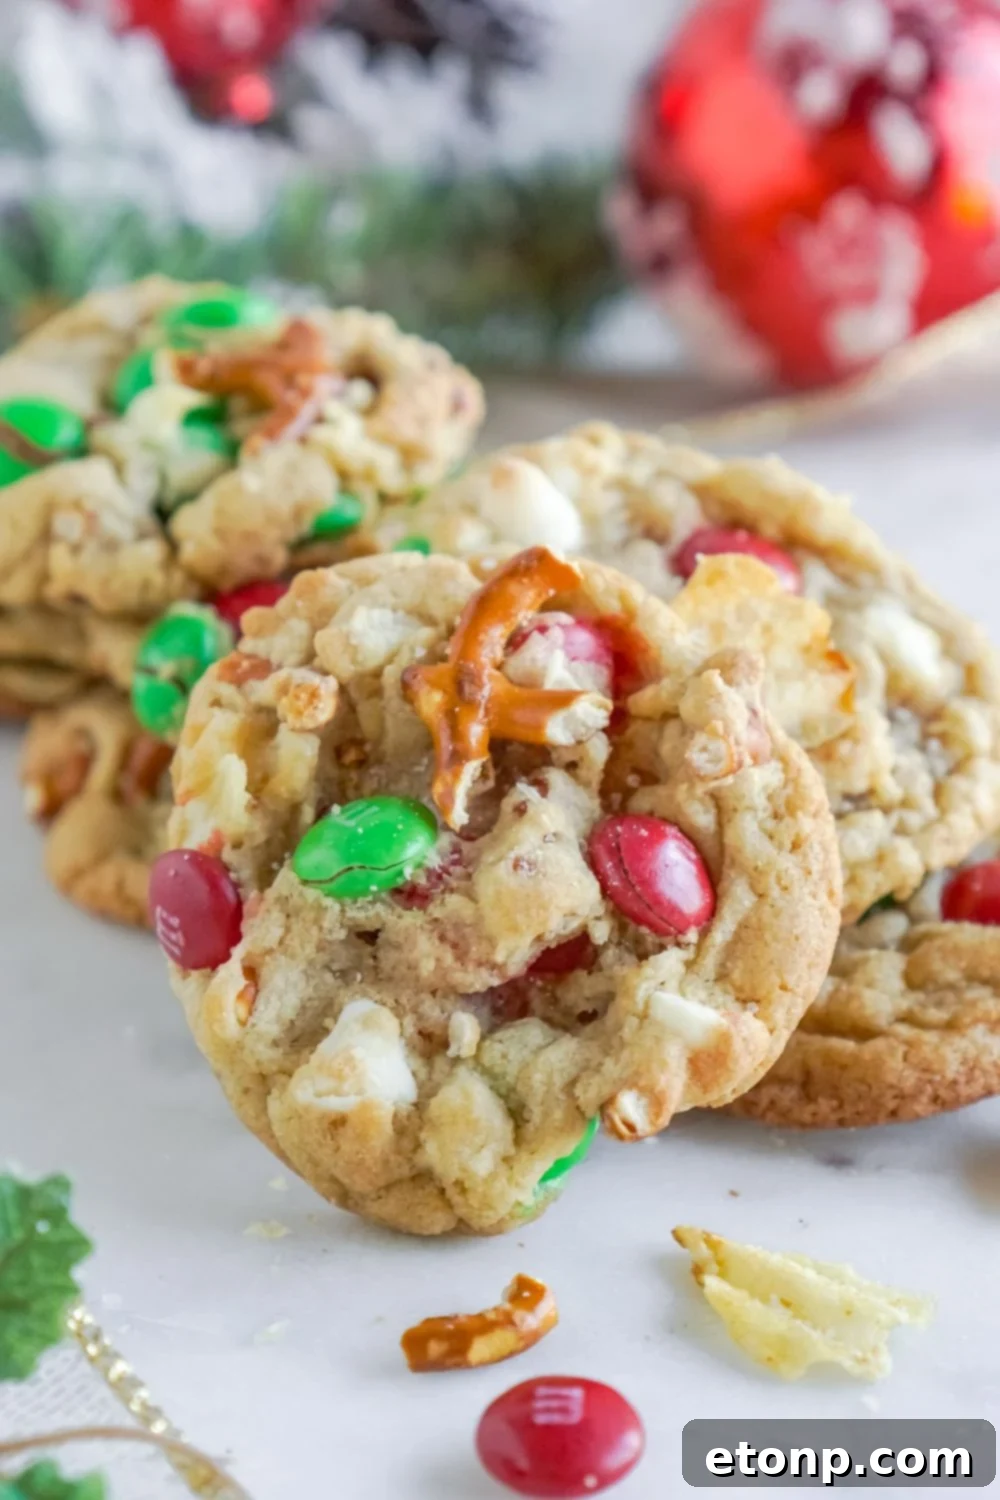
The holiday season calls for magical treats, and what could be more enchanting than a cookie that holds a delightful surprise in every bite? Introducing the sensational **Kitchen Sink Christmas Cookies** – a homemade masterpiece that perfectly balances sweet and salty, delivering an explosion of festive flavors. Imagine a classic chocolate chip cookie dough base generously studded with crunchy potato chips, savory pretzels, vibrant M&M’s, luscious chocolate chips, and so much more. These aren’t just cookies; they’re an experience, a joyous celebration of diverse textures and tastes all wrapped up in one magnificent holiday package.

These fully loaded Christmas cookies are designed to be the star of any festive platter. Their vibrant colors and unique combination of ingredients instantly evoke the cheerful spirit of Christmas. Whether you’re hosting a holiday party, looking for the perfect edible gift, or simply want to treat your family to something extraordinary, these cookies are guaranteed to impress. They offer a delightful conversation starter, with guests eager to discover the medley of treats tucked inside. Don’t forget to explore my other cherished easy Christmas cookie recipes for more dessert inspiration. My Christmas pudding cookies are renowned for their moist texture and rich flavor. Kids absolutely adore my playful bear paw cookies! And for a touch of elegance, my sophisticated eggnog thumbprint cookies are always a requested favorite, bringing a cozy warmth to any holiday gathering.

What Exactly Are Kitchen Sink Cookies?
The whimsical name “Kitchen Sink Cookies” perfectly captures the essence of these magnificent treats: they contain “everything but the kitchen sink!” This charming, old-fashioned term refers to a cookie that is generously packed with an eclectic assortment of ingredients, typically blending sweet and savory elements. The result is a truly unique flavor profile and a captivating textural experience that keeps your taste buds guessing and delighted with every bite.
Unlike traditional cookies that stick to a single flavor profile, kitchen sink cookies are a celebration of variety. They offer a delightful fusion of tastes and textures – from the creamy melt of chocolate and the sweet crunch of candy-coated gems to the satisfying crisp of potato chips and the salty snap of pretzels. Each batch can be a unique adventure, depending on the mix-ins you choose to incorporate. This versatility is precisely what makes “everything but the kitchen sink” cookies such an enduring and widely beloved choice, continually surprising and satisfying anyone lucky enough to try them.

Irresistible Reasons to Bake These Loaded Christmas Cookies This Season
- **A Symphony of Sweet and Salty Flavors:** These aren’t your average cookies. They offer an incredible balance of sweetness from the chocolate and M&M’s, perfectly complemented by the savory crunch of potato chips and pretzels. Each cookie is a homemade sensation, meticulously crafted from scratch to deliver a complex and satisfying taste that will leave everyone craving more.
- **The Ultimate Decision-Proof Dessert:** Are you torn between making a crunchy cookie, a chewy one, or something rich and chocolatey? Why limit yourself? The beauty of Kitchen Sink Christmas Cookies lies in their ability to combine all your favorite textures and flavors into a single, cohesive, and utterly delicious recipe. It’s the perfect solution when you want a cookie that truly has it all.
- **A Fun and Engaging Culinary Mystery:** These cookies are a joy to share, not just for their taste, but for the playful curiosity they inspire. Each bite invites a guessing game as friends and family try to identify the diverse array of ingredients hidden within these heavenly treats. It’s an interactive dessert that adds an extra layer of fun to any holiday gathering.
- **A Wonderful Family Baking Project:** Get the little ones involved! Kitchen Sink Christmas Cookies are incredibly kid-friendly, making them an ideal activity for creating lasting holiday memories. Children will love helping to mix up the colorful dough, adding their favorite mix-ins, and scooping out the cookie portions. It’s a hands-on experience that’s as enjoyable as eating the finished product.
- **The Epitome of Holiday Festivity:** With their vibrant M&M’s and an abundance of exciting ingredients, these cookies are inherently festive and fun. They are a visual and culinary representation of the holiday spirit, making them a perfect addition to your Christmas dessert table, cookie exchanges, or as heartfelt homemade gifts. Their unique character ensures they stand out as a truly special holiday treat.
- **Perfect for Gifting and Sharing:** Because of their impressive appearance and delightful complexity, Kitchen Sink Christmas Cookies make exceptional homemade gifts. Package them in decorative tins or festive bags, and you have a thoughtful present that truly shows you care. They’re also a fantastic contribution to potlucks and holiday parties, guaranteed to be a crowd-pleaser.
- **A Creative Outlet for Bakers:** For those who love to experiment in the kitchen, these cookies offer boundless possibilities. They encourage creativity, allowing you to tailor the mix-ins to your personal preferences or what you have on hand. It’s an opportunity to create a signature holiday cookie that reflects your unique baking style.

Essential Ingredients for Your Kitchen Sink Christmas Cookies
Crafting the perfect batch of Kitchen Sink Christmas Cookies begins with a selection of quality ingredients. Each component plays a vital role in achieving that sought-after balance of flavor and texture that makes these cookies so exceptional. Using fresh, high-quality ingredients will elevate your baking and ensure a truly remarkable result.
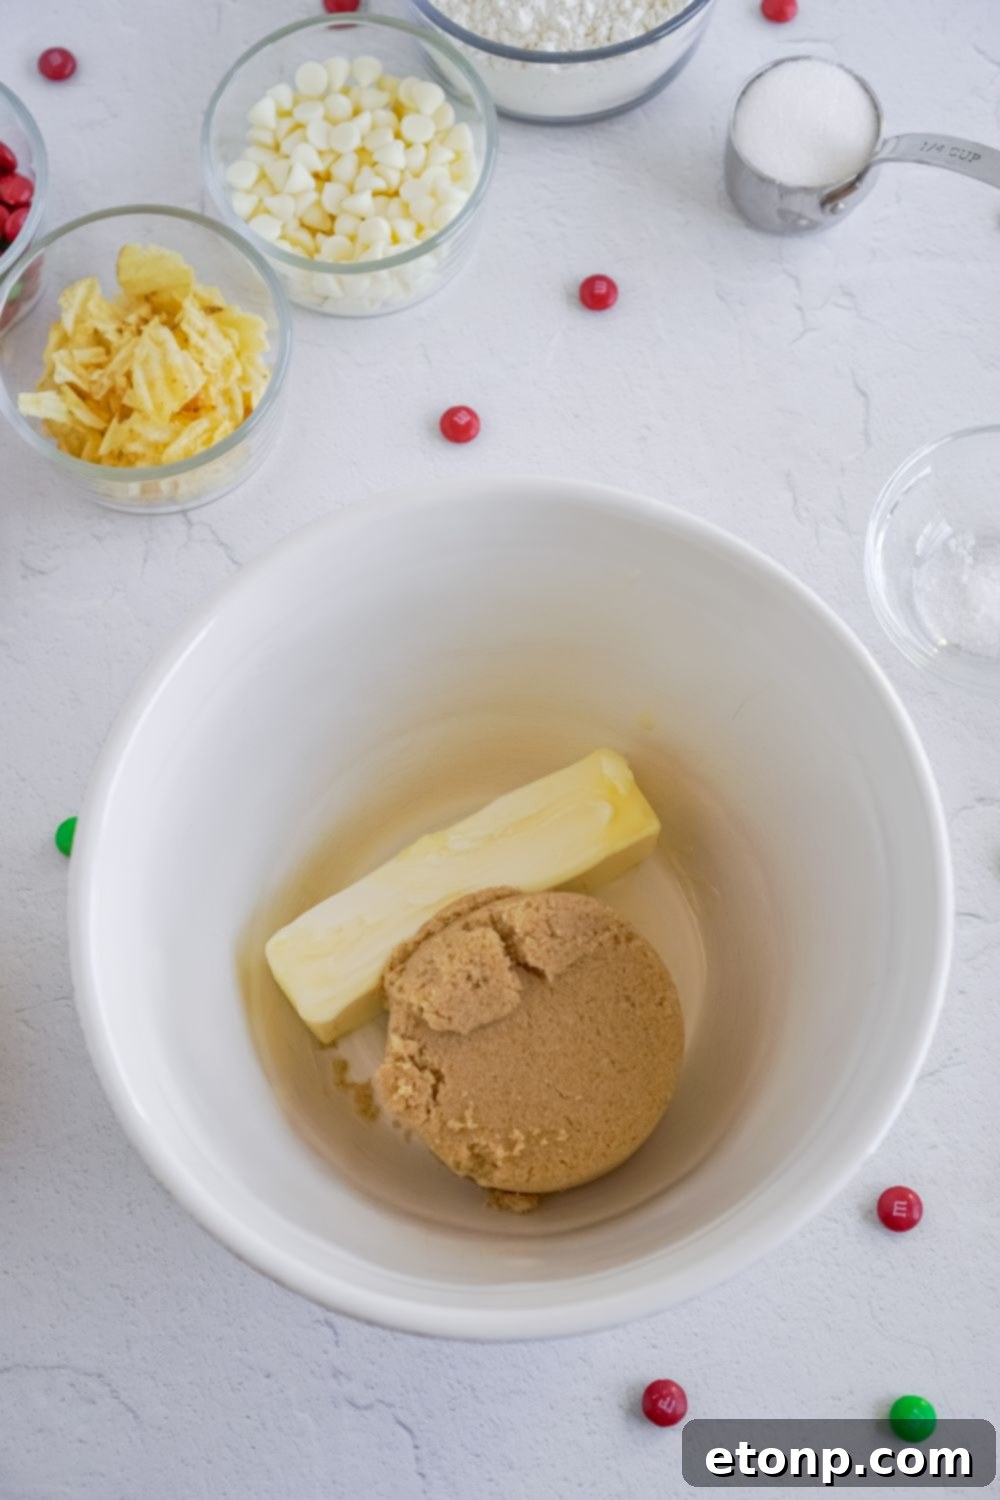
Butter – The foundation of any great cookie, butter is paramount for both flavor and texture. It contributes to the rich, tender crumb and the overall depth of taste. For the best results, I highly recommend using unsalted butter, as this allows you to control the total salt content in your recipe. Ensure it’s softened to room temperature for optimal creaming with the sugars.
Brown Sugar and Granulated Sugar – This dynamic duo creates the perfect sweetness and chewiness for these soft-baked cookies. Brown sugar adds moisture and a subtle caramel note, contributing to a chewier texture, while granulated sugar ensures crisp edges and a pleasant sweetness. The combination is key to achieving that ideal cookie consistency.
Egg – The indispensable binder in cookie dough, the egg holds all the diverse ingredients together, creating a cohesive structure. It also adds richness and helps with the overall texture, ensuring your cookies don’t crumble apart. Use a large, fresh egg for the best results.
Flour – Unbleached all-purpose flour is my choice for this recipe, providing the necessary structure without making the cookies tough. Accurate measurement of flour is critical; too much can lead to dry, dense cookies, while too little might cause them to spread excessively. Use the spoon-and-level method to ensure precision.
Salt and Baking Soda – These seemingly small additions are mighty in their impact. Baking soda is the leavening agent, creating a tender crumb and helping the cookies spread just right. Salt is a flavor enhancer, not only balancing the sweetness but also bringing out the individual tastes of all the mix-ins. Both are absolutely essential for the ideal flavor and texture.
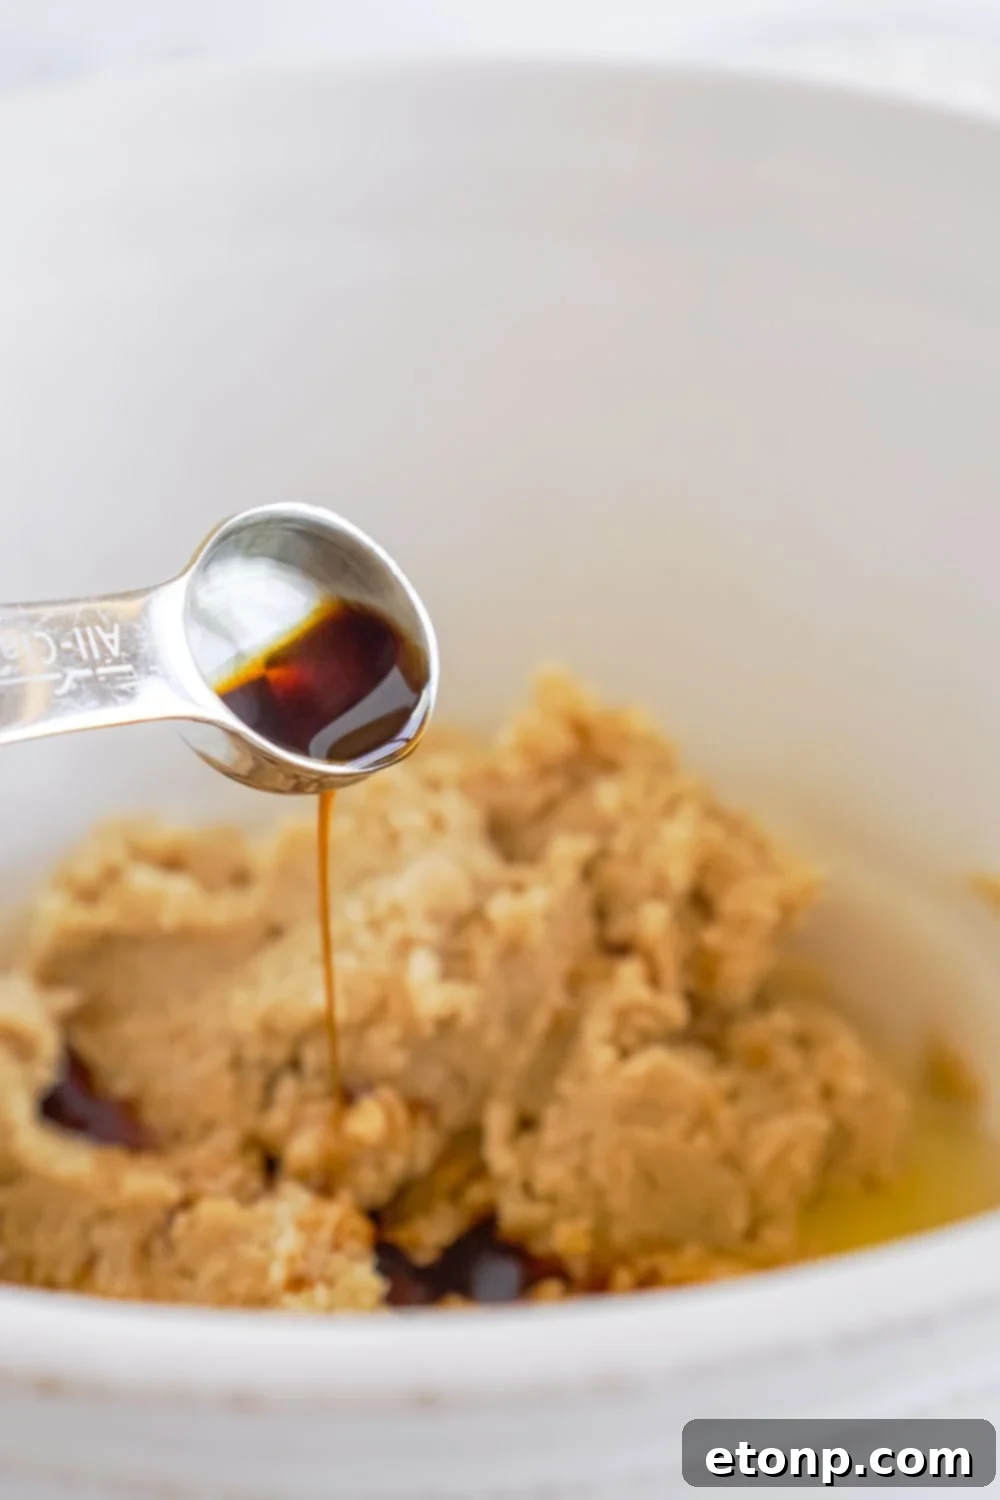
Pure Vanilla Extract – While not listed explicitly in the initial ingredient breakdown, vanilla extract is a common and crucial flavor enhancer in most cookie recipes. It deepens the overall flavor profile, adding a warm, aromatic note that complements both the sweet and savory elements of the kitchen sink mix-ins. Always opt for pure vanilla extract for the best taste.
Mix-ins – This is where the “kitchen sink” magic truly happens! For our Christmas version, we’re using a festive blend of white chocolate chips for creamy sweetness, crushed potato chips for a delightful salty crunch, holiday-colored M&M’s for vibrant color and chocolatey goodness, and crushed pretzels for that irresistible savory, salty bite. A sprinkle of coarse sea salt on top before baking is entirely optional but highly recommended to amplify the sweet and salty contrast. Feel free to adjust quantities or add other favorites to personalize your batch!
Expert Tip: Beyond perfecting your ingredient ratios, understanding how to manage your dough is vital for flawless cookies. Learn my popular expert tips on how to prevent cookies from spreading too much as they bake in the oven! This is a great read for all home bakers looking to achieve perfectly shaped cookies every time.

Delicious Variations to Your Kitchen Sink Cookie Recipe
One of the most exciting aspects of Kitchen Sink Cookies is their incredible adaptability. The very nature of “everything but the kitchen sink” encourages boundless creativity. Don’t be afraid to experiment with different mix-ins to discover your perfect flavor combination or to tailor them for specific occasions beyond Christmas. Here’s an expanded list of diverse items you can add or swap, inspiring you to create truly one-of-a-kind cookies!
- **Textural Enhancers:**
- **Rolled Oats:** Adds a chewy texture and a wholesome, hearty element.
- **Crushed Graham Crackers:** Introduces a subtle honey flavor and a pleasant crispness, reminiscent of s’mores.
- **Mini Marshmallows:** Creates delightful pockets of gooey sweetness when baked.
- **Toasted Coconut Flakes:** For a tropical twist and added chewiness.
- **Crispy Rice Cereal:** Offers an extra light and airy crunch.
- **Chocolate and Candy Delights:**
- **Milk, Dark, or Semi-Sweet Chocolate Chips:** Vary the intensity of chocolate flavor.
- **Chopped Chocolate Candy Bars:** Think Snickers, Twix, or Reese’s for an indulgent touch.
- **Peanut Butter Chips:** A classic pairing with chocolate for a nutty, sweet flavor.
- **Butterscotch Chips:** For a rich, buttery, and caramel-like sweetness.
- **White Chocolate Chunks or Shavings:** Adds a luxurious, creamy melt.
- **Seasonal M&M’s or other Candy-Coated Chocolates:** Easily customize for any holiday or theme.
- **Nutty & Savory Additions:**
- **Chopped Nuts:** Walnuts, pecans, peanuts, or almonds add a rich, earthy crunch.
- **Pumpkin or Sunflower Seeds:** Provides a healthy crunch and a slightly earthy flavor.
- **Crushed Pretzels:** Essential for that signature salty contrast and crunch.
- **Crushed Potato Chips:** Another key component for sweet and salty bliss, adding a unique crispness.
- **Caramel & Toffee Goodness:**
- **Caramel Bits or Diced Caramels:** Creates chewy, sweet pockets that melt deliciously.
- **Heath Toffee Bits:** Offers a delightful buttery, crunchy toffee flavor.
- **Fruity & Zesty Twists:**
- **Dried Fruit:** Cranberries, raisins, chopped apricots, or cherries add chewiness and a burst of fruity flavor.
- **Orange or Lemon Zest:** Introduces a bright, fresh, and aromatic note to cut through the sweetness.
- **Flavor Boosters:**
- **Espresso Powder or Instant Coffee Granules:** Enhances chocolate flavor and adds a subtle depth.
- **Cinnamon or Nutmeg:** Perfect for a warm, spiced holiday feel.
Essentially, you can stuff these cookies with almost anything that sounds appealing! The key is to balance textures and flavors – a mix of sweet, salty, crunchy, and chewy elements will always yield the most exciting results. Have fun and create your truly unique, signature Kitchen Sink Christmas Cookies that perfectly match your palate!

Expert Tips for Baking Perfectly Loaded Cookies
Achieving bakery-quality Kitchen Sink Christmas Cookies at home is simpler than you might think with a few key techniques. These tips will help ensure your cookies are perfectly baked, hold their shape, and deliver on that incredible sweet and salty promise every time.
Proper Baking Sheet Preparation is Key
For cookies that don’t stick and bake evenly, always prepare your baking sheet properly. Lining your baking sheet with either parchment paper or a silicone baking mat creates a non-stick surface, which is essential for easy removal and prevents the bottoms of your cookies from browning too quickly. This simple step saves you frustration and ensures beautiful results.
Allow Cookies to Cool on the Baking Sheet Briefly
Patience is a virtue in baking, especially when it comes to cooling cookies. A crucial tip I’ve learned over the years is to allow your freshly baked cookies to cool on the baking sheet for 3-5 minutes *before* attempting to transfer them to a cooling rack. This brief cooling period allows the cookies to set up and firm slightly after coming out of the hot oven, preventing them from falling apart or losing their shape when moved. If you try to remove them too soon, they’ll be extra soft and prone to breaking.

Incorporate Mix-ins at the Right Time
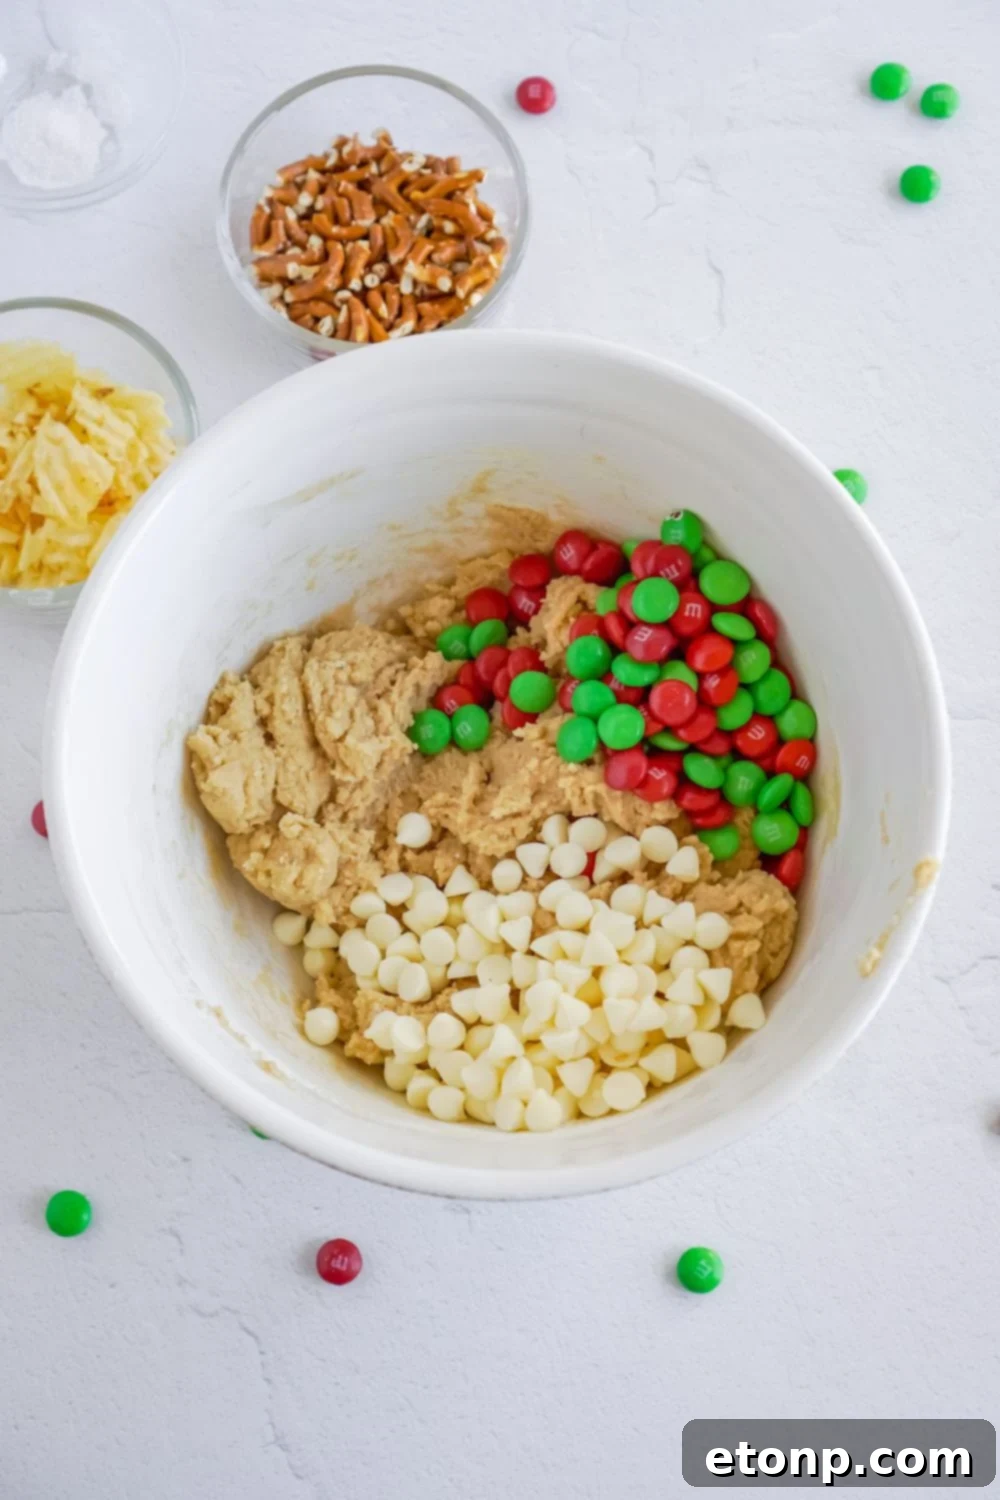
The timing of adding your chips, pretzels, and other crunchy mix-ins is vital for maintaining their integrity and texture. These elements should be folded into the cookie dough only at the very end of the mixing process. If you add them too early or overmix them into the wet batter, they are likely to break down, become soggy, or even dissolve, diminishing their desirable crunch and visual appeal. Gently fold them in until just combined.
Utilize a Cookie Scoop for Uniformity
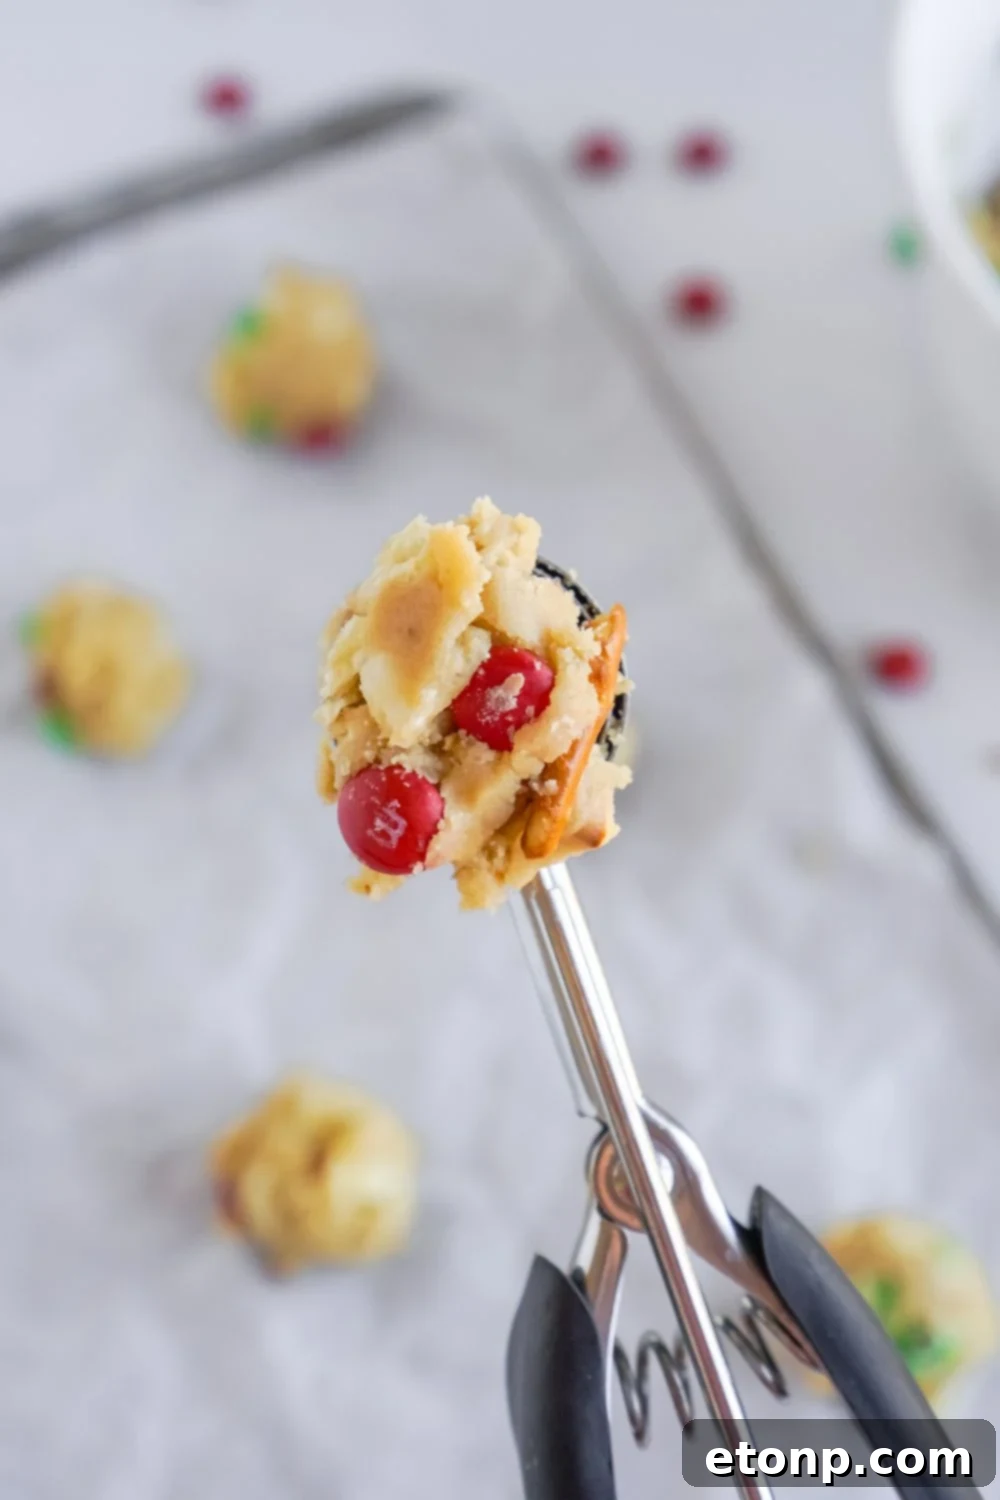
I cannot overstate the importance of using a cookie scoop for consistent results. A cookie scoop ensures that each portion of dough is the same size, which is absolutely critical for even baking. When all cookies are uniform in size, they will bake at the same rate and finish at the same time, preventing some from being undercooked while others are overbaked. This simple tool guarantees a professional-looking and perfectly baked batch every time.

Avoid Overmixing the Cookie Dough
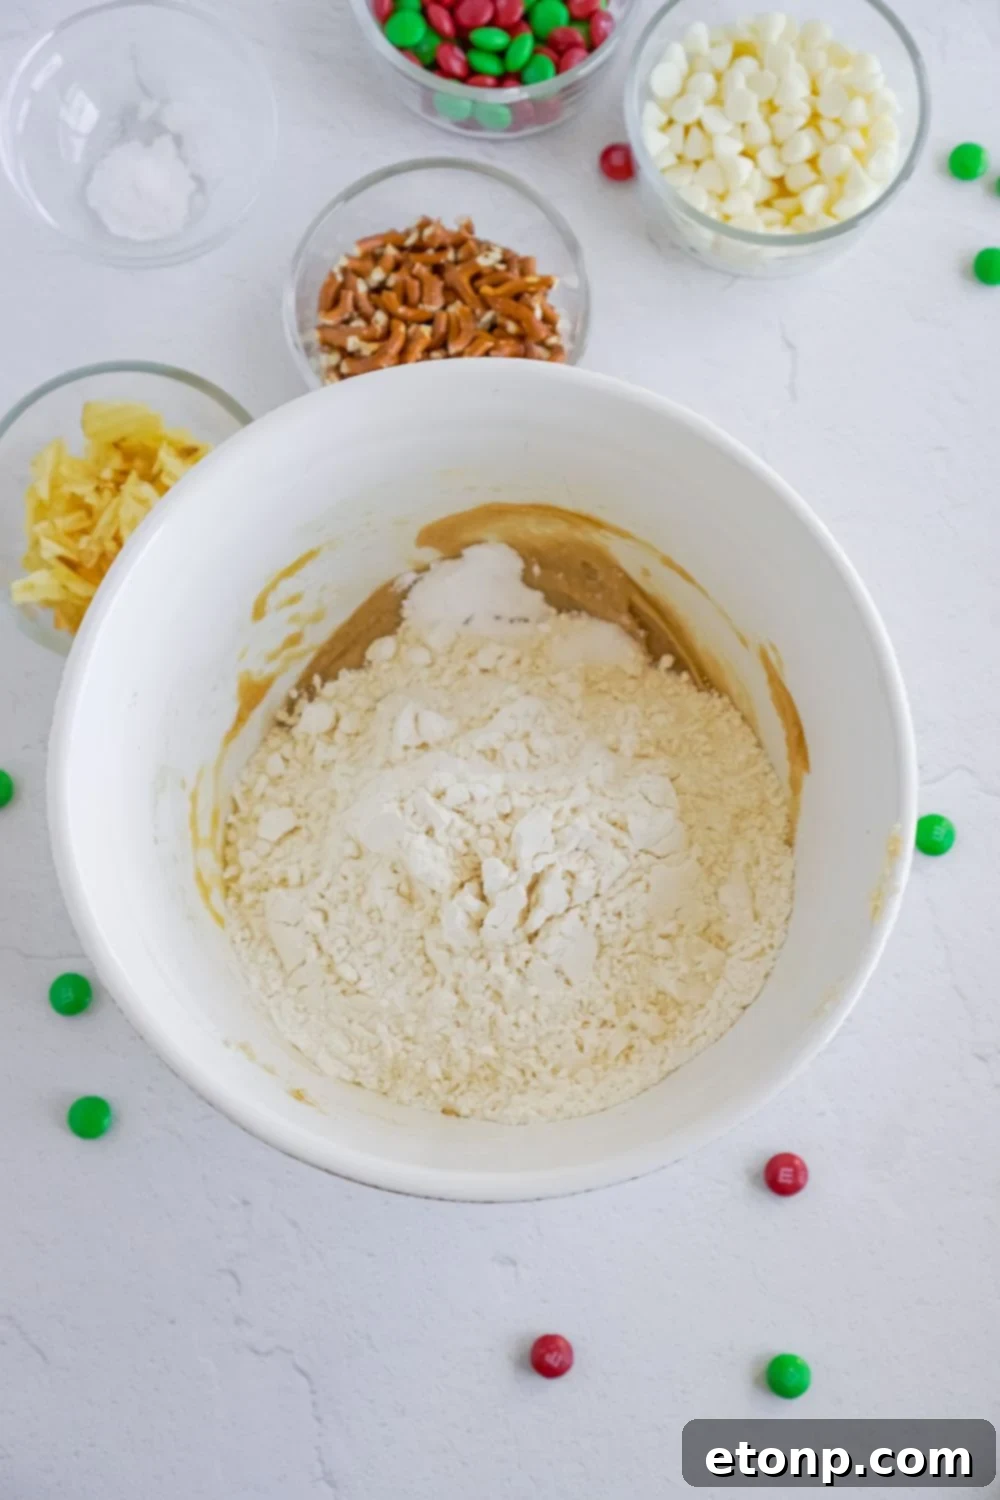
Once you’ve added the dry ingredients (flour, baking soda, salt) to your wet batter, it’s crucial to mix until *just* combined. Overmixing at this stage develops the gluten in the flour too much, which can lead to tough, dense, or hard cookies. Mix only until no streaks of dry flour remain, then gently fold in your mix-ins. A light hand here makes all the difference in achieving tender, soft-baked cookies.
Ensure Ingredients are at Room Temperature
Using softened butter and a room-temperature egg is fundamental for a smooth, cohesive cookie dough. Cold ingredients don’t emulsify properly, leading to a lumpy dough and potentially affecting the cookie’s texture. Plan ahead and take your butter and egg out of the refrigerator about 30-60 minutes before you start baking.
Chill Your Dough (If Cookies Spread)
If you find your cookies are spreading too much in the oven, a brief chill can work wonders. Placing the scooped cookie dough balls in the refrigerator for 15-30 minutes before baking helps solidify the butter, which in turn reduces spreading and helps the cookies hold their shape better. This is especially useful in warmer kitchens.
Storing Your Kitchen Sink Christmas Cookies for Maximum Freshness
Once your delectable Kitchen Sink Christmas Cookies have cooled, proper storage is essential to maintain their delightful texture and flavor. These cookies are at their best when enjoyed fresh, but with the right care, they can certainly be savored for several days or even months.
For short-term storage, keep your baked cookies in an airtight container at room temperature. This method will keep them fresh and delicious for about 3-4 days. Beyond that, the crunchy mix-ins might start to lose their crispness, and the cookies themselves will gradually begin to dry out. To help preserve the texture of the potato chips and pretzels, you can add a slice of plain bread to the container; the cookies will absorb moisture from the bread, keeping them softer.
If you’re looking to extend their shelf life, these cookies freeze beautifully for 3-4 months. To freeze, arrange the cooled cookies in a single layer on a baking sheet and flash freeze them for about an hour until solid. Then, transfer them to a freezer-safe bag or an airtight freezer container, layering them with parchment paper to prevent sticking. When a craving strikes, simply remove a few cookies from the freezer and let them thaw at room temperature. While the potato chips and pretzels might soften just a bit after thawing, the cookies will still be wonderfully flavorful and a delightful treat.

Frequently Asked Questions About Kitchen Sink Christmas Cookies
Here are some common questions and helpful answers to ensure your Kitchen Sink Christmas Cookies turn out perfectly every time.
Can I make the dough ahead of time and chill it?
Absolutely! Preparing the cookie dough in advance is a fantastic way to streamline your holiday baking. You can mix the cookie dough, excluding the mix-ins, and chill it for up to 2-3 days in the refrigerator. Store it in a sealed container, or wrap it tightly in plastic wrap before placing it in the container, to prevent it from drying out or absorbing refrigerator odors. When you’re ready to bake, scoop the dough, then gently press the pretzels, chips, and other mix-ins onto the tops of the cookie balls right before baking. It’s crucial not to store the dough with the mix-ins already incorporated, as this will cause them to soften and lose their desired crunch.
What is the key to making truly exceptional kitchen sink cookies?
The ultimate secret to extraordinary Kitchen Sink Cookies lies in achieving a harmonious balance between the sweet and salty elements. It’s not just about throwing a bunch of ingredients together; it’s about carefully selecting components that complement each other and provide a dynamic contrast. You want each bite to deliver a delightful medley of flavors – the rich sweetness of chocolate, the savory crunch of pretzels, and the subtle tang of a potato chip. Experiment with your mix-ins to find the perfect equilibrium that tantalizes your taste buds.
How do I prevent my kitchen sink cookies from spreading too much?
If you’re noticing your cookies spreading more than desired as they bake, there are a few tried-and-true solutions. First, I highly recommend chilling your cookie dough for at least 30 minutes in the refrigerator before baking. This solidifies the butter, helping the cookies hold their shape better. Second, always ensure you place your cookie dough balls on a cool baking sheet. If you’re using a hot pan from a previous batch, the residual heat will cause the butter to melt too quickly, leading to excessive spreading. Swap out pans or let them cool completely between batches.
Can I use a stand mixer for this recipe?
Yes, a stand mixer is perfect for making this cookie dough! Use the paddle attachment to cream the butter and sugars, then mix in the egg and vanilla. Once you add the dry ingredients, switch to a lower speed and mix only until just combined. For the mix-ins, it’s often best to fold them in by hand with a spatula to prevent overmixing and to ensure they remain intact.
What if my cookies are too flat or too puffy?
If your cookies are too flat, your butter might have been too soft, or the dough wasn’t chilled enough. Try chilling the dough longer or adding a tablespoon or two more of flour. If they are too puffy, you might have added too much flour, or your baking soda might be too old (it loses potency). Ensure your measurements are accurate and your leavening agents are fresh.

More Delightful Holiday Recipes to Explore
The holiday season is a wonderful time for baking and sharing! If you’ve enjoyed making these unique Kitchen Sink Christmas Cookies, you might also love these other festive treats:
- Homemade Little Debbie Christmas Tree Cakes: A nostalgic treat reimagined for your holiday table.
- Classic Christmas Sugar Cookies: Perfect for decorating and a timeless holiday favorite.
- Fudgy Brownie Christmas Trees: A rich and festive chocolate dessert that’s fun to make.

Kitchen Sink Christmas Cookies
Course: Dessert
Prep Time: 12 mins
Cook Time: 9 mins
Total Time: 26 mins
Servings: 34 servings
Kitchen Sink Christmas Cookies are a holiday cookie loaded with chips, pretzels, chocolate chips, M&M’s, and more. A sweet and salty cookie that is full of Christmas spirit.
Share this recipe:
Print Recipe
Pin Recipe
Share Recipe on Facebook
Ingredients
- 1/2 cup unsalted butter (1 stick, softened)
- 1 cup brown sugar
- 1/4 cup white sugar
- 1 egg
- 1 teaspoon pure vanilla extract
- 1 1/2 cup unbleached flour
- 1/2 teaspoon baking soda
- 1/4 teaspoon salt
- 1/2 cup white chocolate chips
- 1/2 cup crushed potato chips
- 1/2 cup holiday M&Ms
- 1/4 cup crushed pretzels
- 1/2 teaspoon coarse sea salt (optional, for sprinkling)
Instructions
- Preheat the oven to 350 degrees F (175 degrees C).
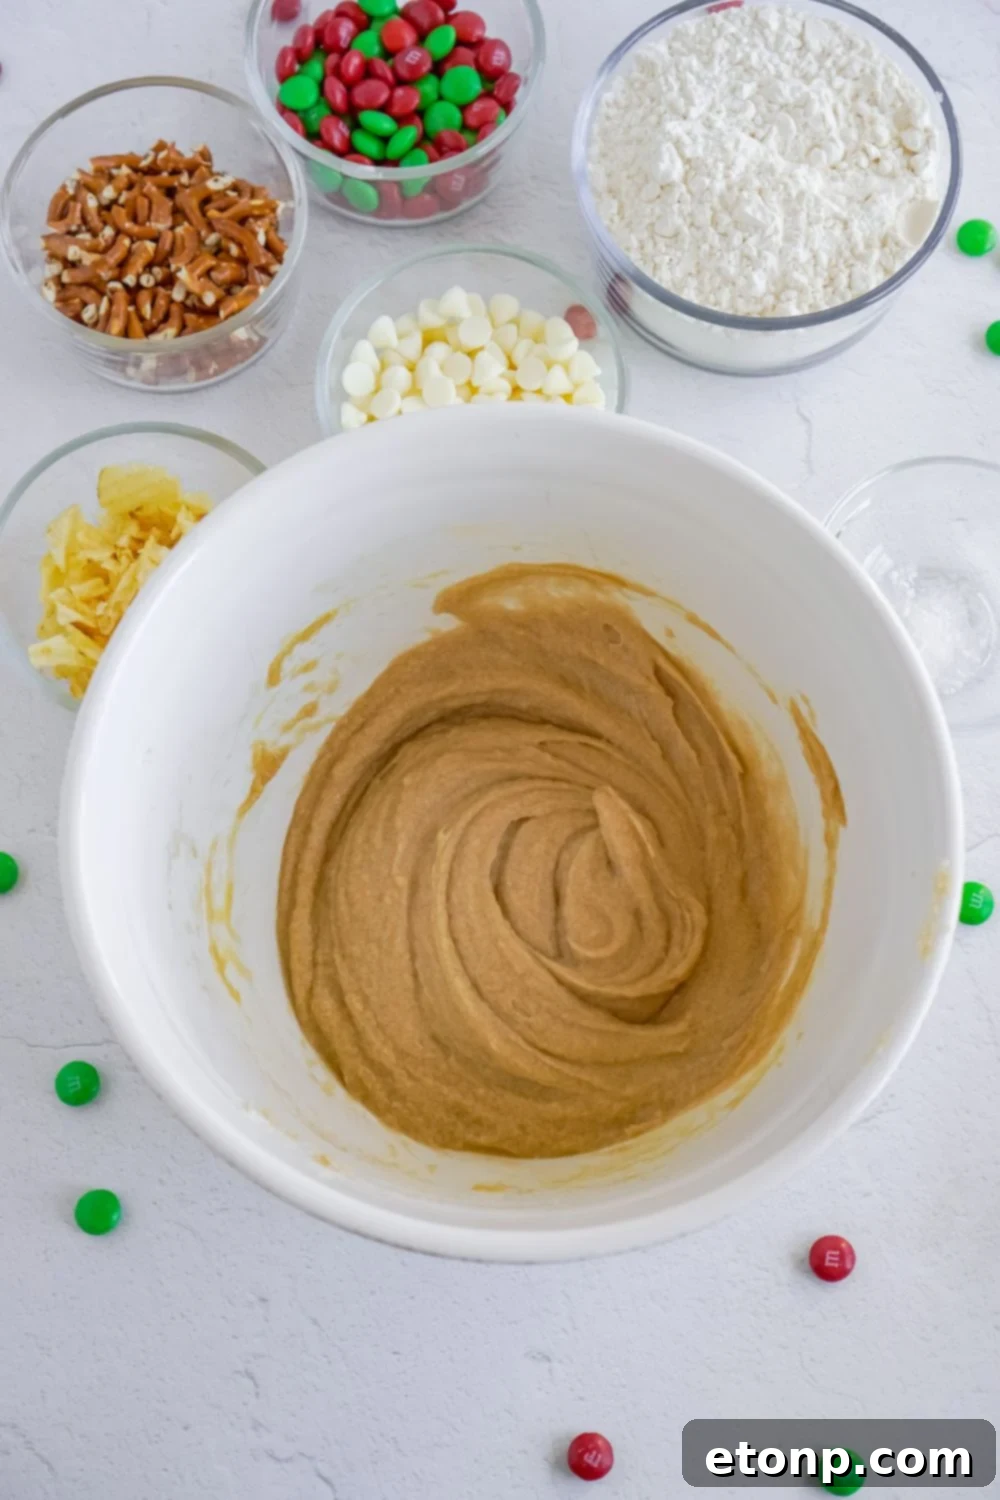
- In a medium-sized mixing bowl, cream together the softened butter, brown sugar, and white sugar with a fork or an electric mixer until light and fluffy.
- Add the egg and pure vanilla extract, mixing well until fully incorporated.
- In a separate bowl, whisk together the flour, baking soda, and salt. Gradually add the dry ingredients to the wet ingredients, mixing until just combined. Be careful not to overmix.
- Finally, gently fold in the white chocolate chips, crushed potato chips, M&M’s, and crushed pretzels until evenly distributed.
- Using a 1 tablespoon cookie scoop, form cookie dough balls and place them about 2 inches apart on a baking sheet lined with parchment paper.
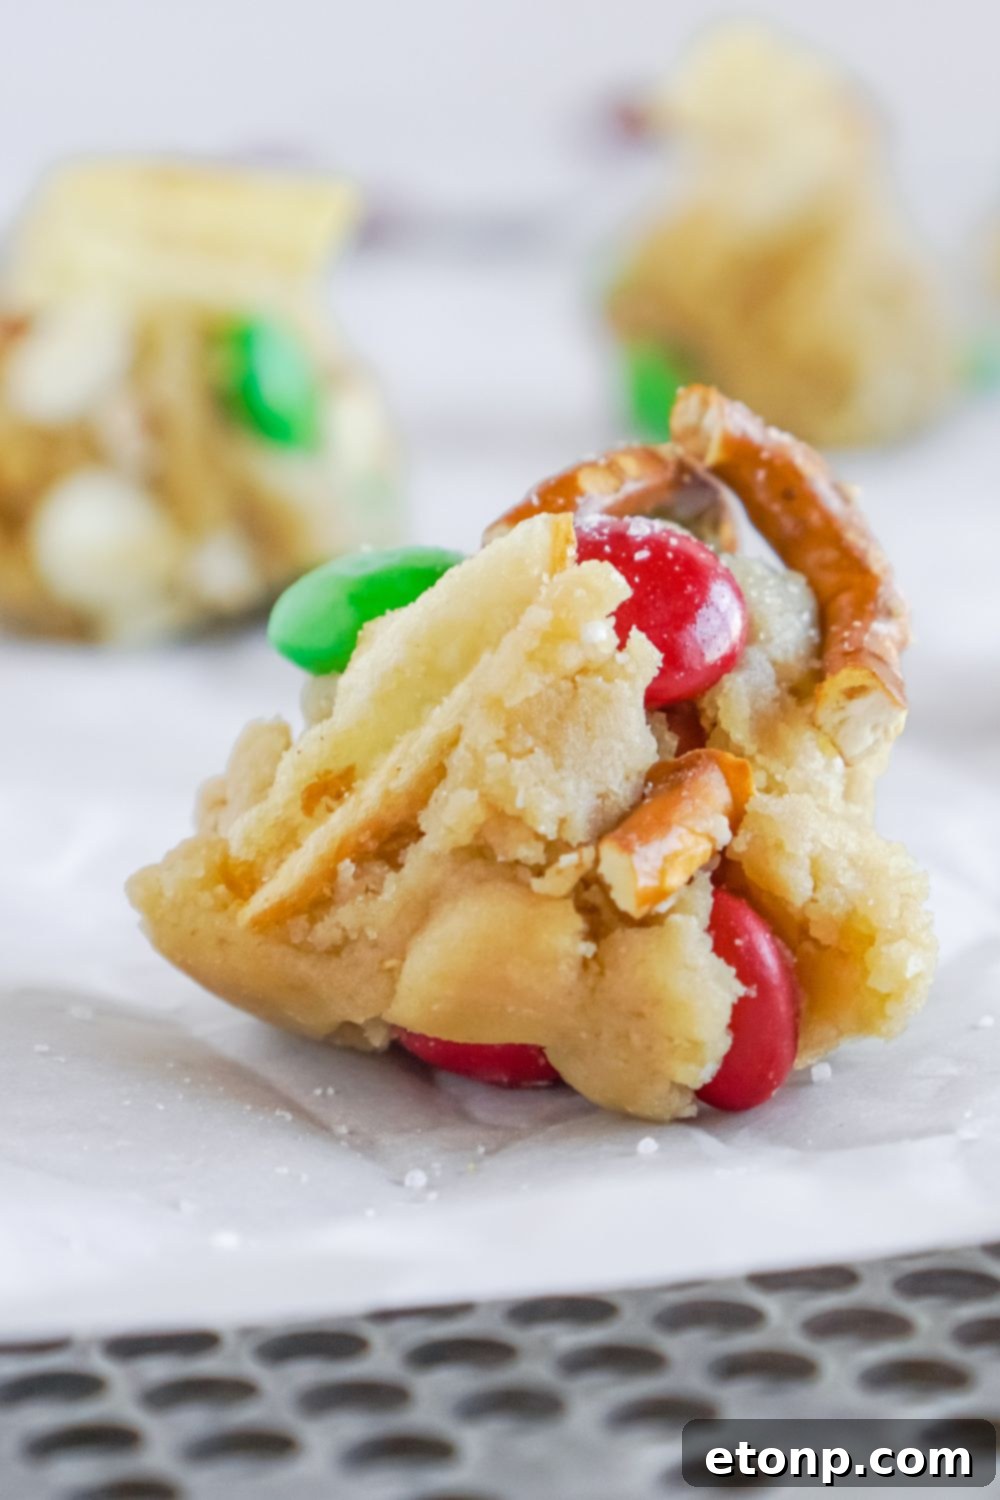
- For an extra festive touch, you can press additional chips, pretzels, M&M’s, or white chocolate chips onto the tops of the cookie balls before baking. If desired, sprinkle with coarse sea salt.
- Bake cookies for 9 minutes, or until the edges begin to turn a light golden brown. Do not overbake; the centers should still look slightly soft.
- Remove from the oven and let cool on the baking sheet for 5 minutes before carefully transferring them to a wire cooling rack to cool completely.
Did you make this recipe?
Make sure to follow on Pinterest for more recipes!
Pin Recipe
Share on Facebook