
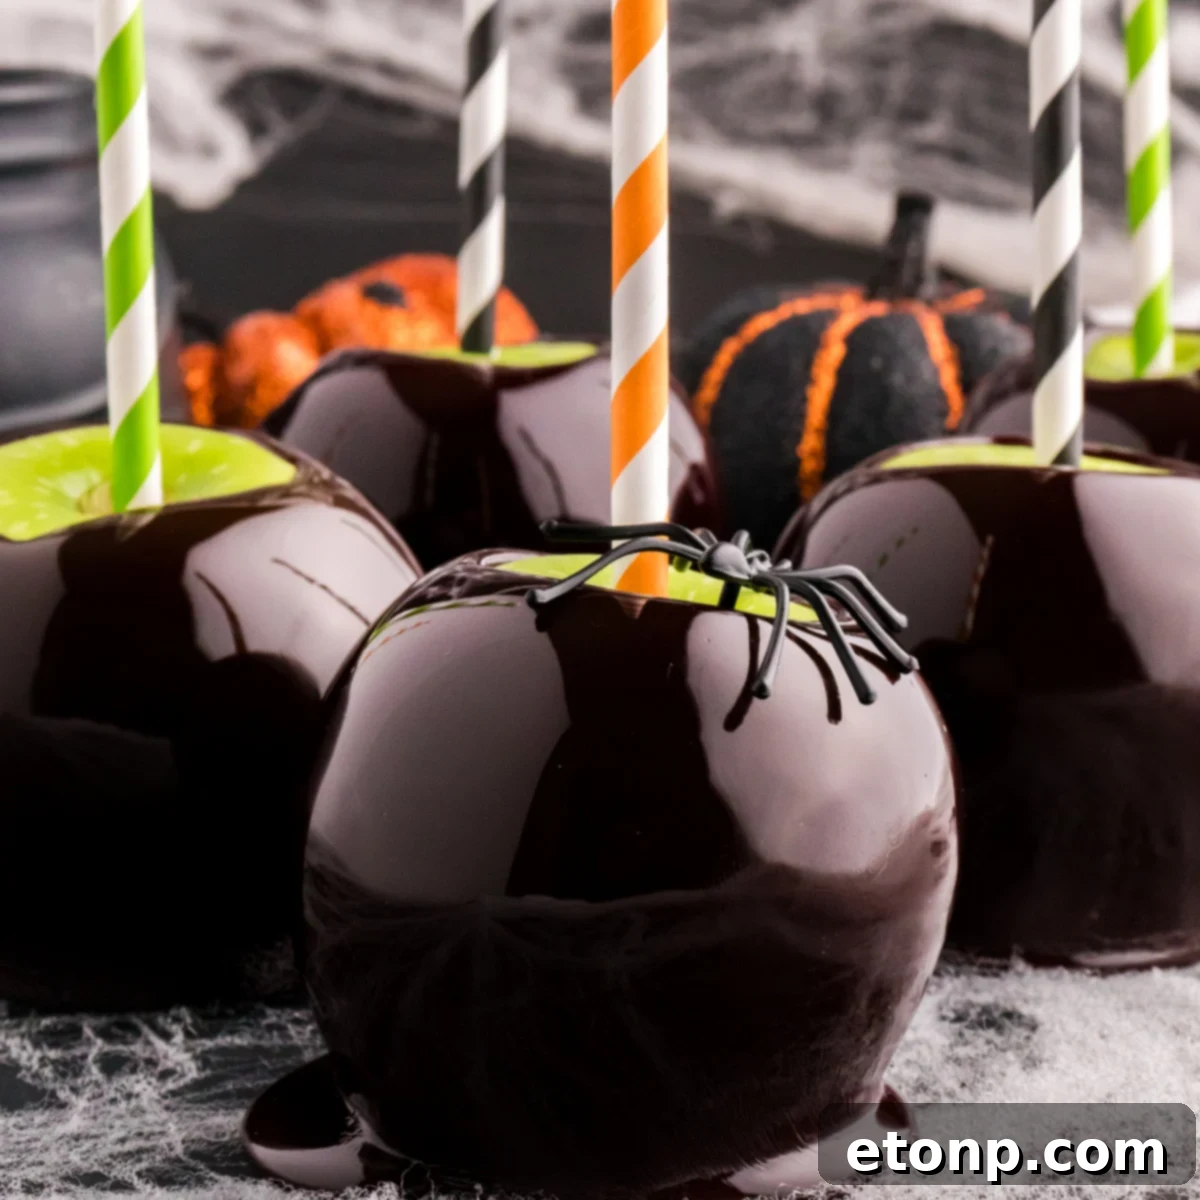
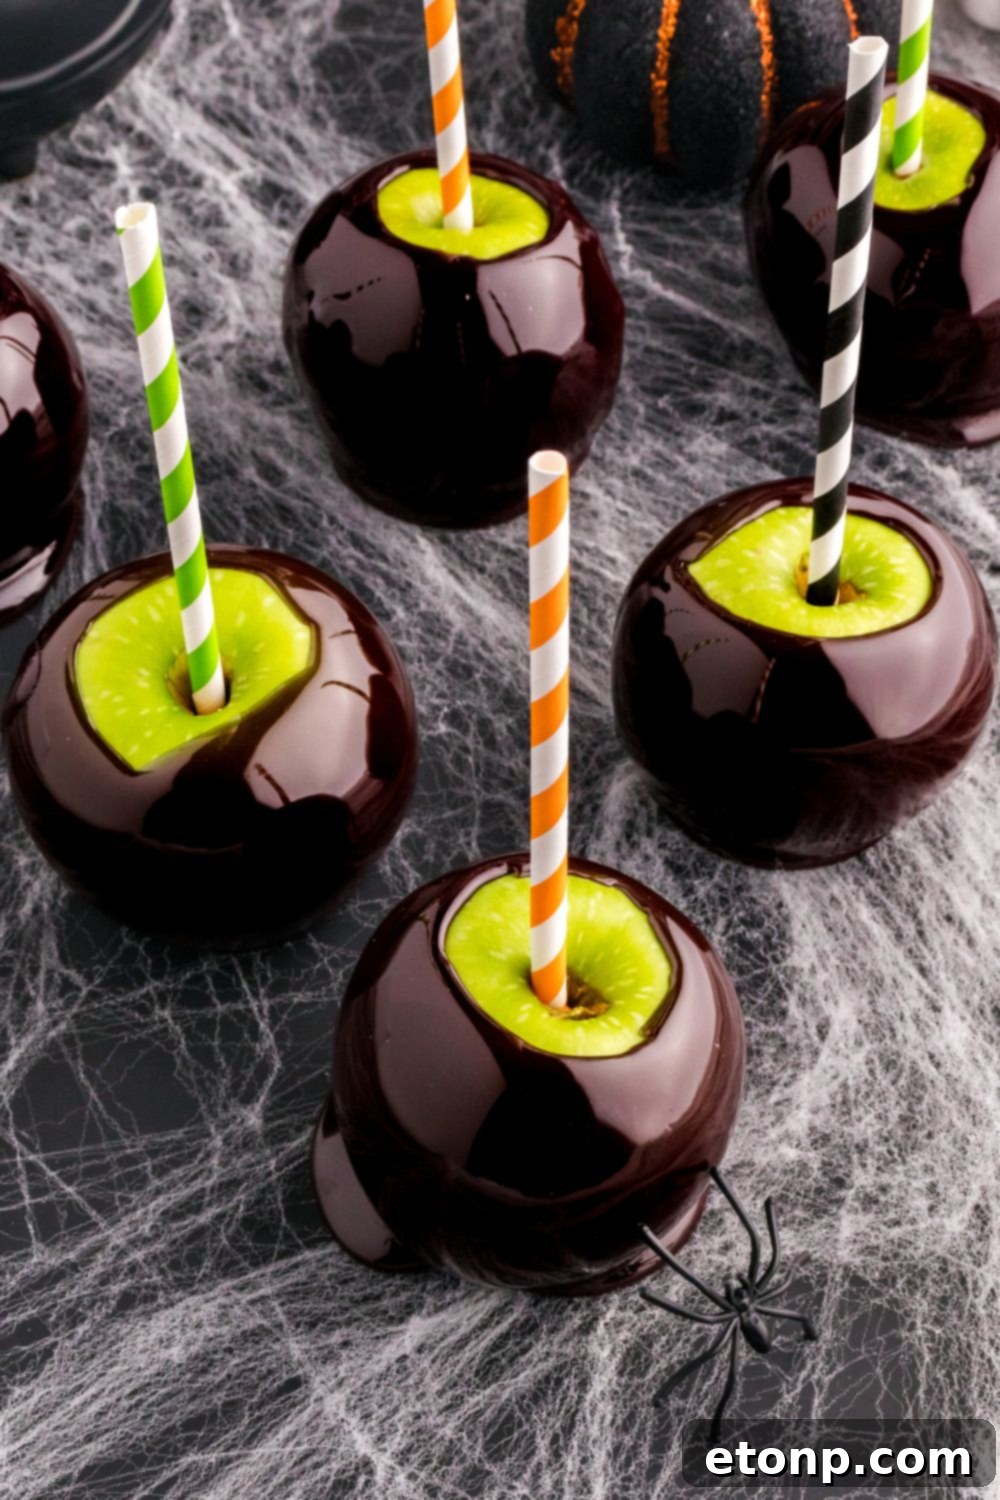
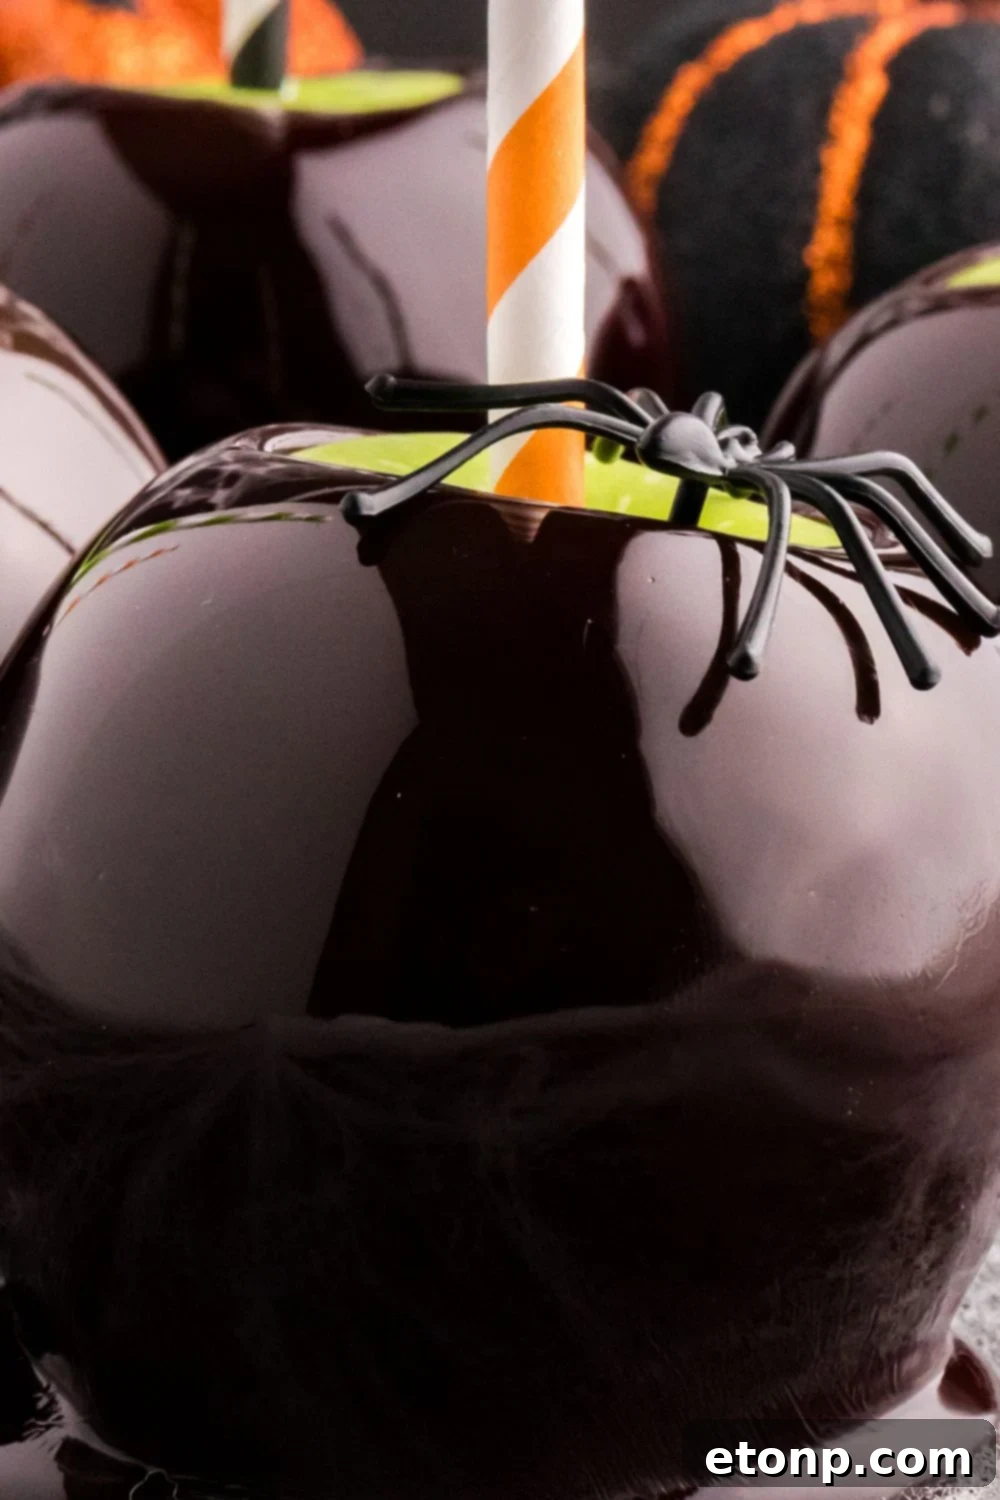
Get ready to transform your Halloween celebrations with a deliciously dark twist! Introducing Black Candy Apples, the quintessential spooky treat designed to enchant your guests and cast an eerily elegant spell on your dessert table. Move beyond the ordinary red candy apples this year and embrace the dark side with these mesmerizing creations. Featuring a striking black-as-night appearance, these captivating apples are not only a perfect centerpiece for Halloween parties but also a stylish and unforgettable addition to your trick-or-treat spread.
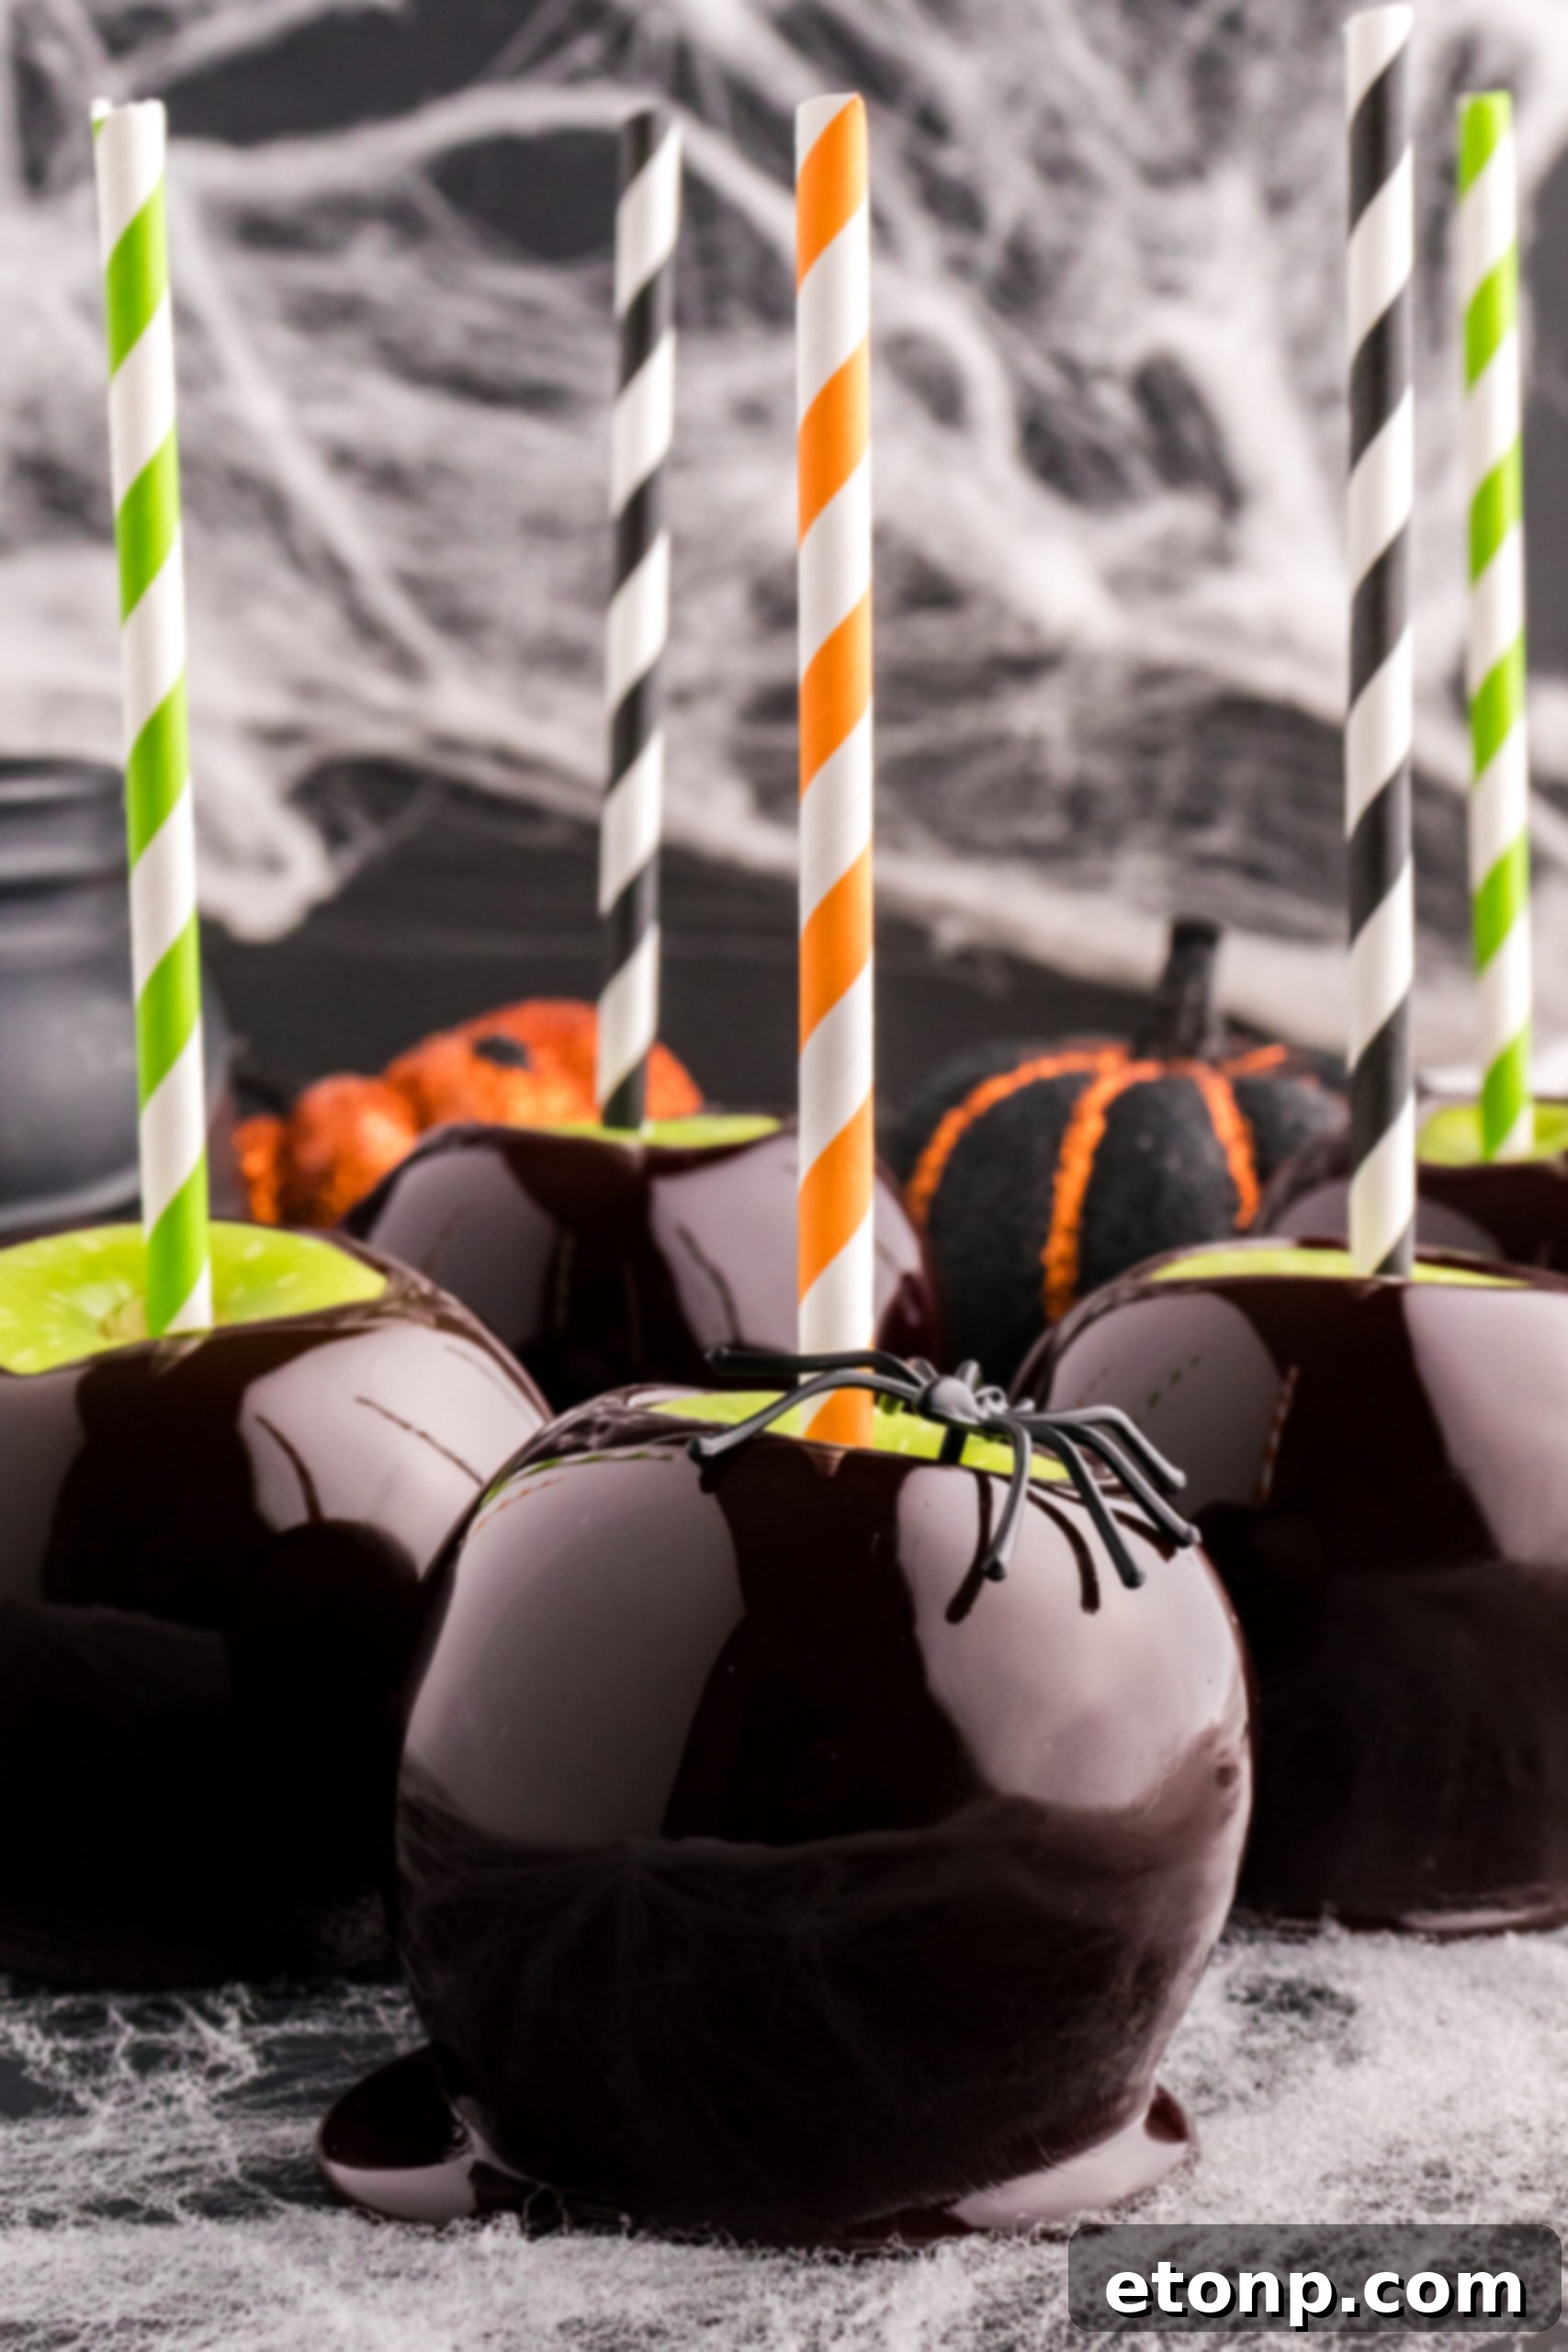
These deep black candy apples are sure to give your guests a delightful fright this Halloween! Each bite bursts with a perfect balance of tart apple and rich sweetness, all encased in a homemade, glossy black candy coating. Crafted primarily with crisp Granny Smith apples, the coating combines corn syrup, granulated sugar, water, a touch of maple syrup for extra sheen, and a vibrant black gel food coloring to achieve that iconic sinister hue.
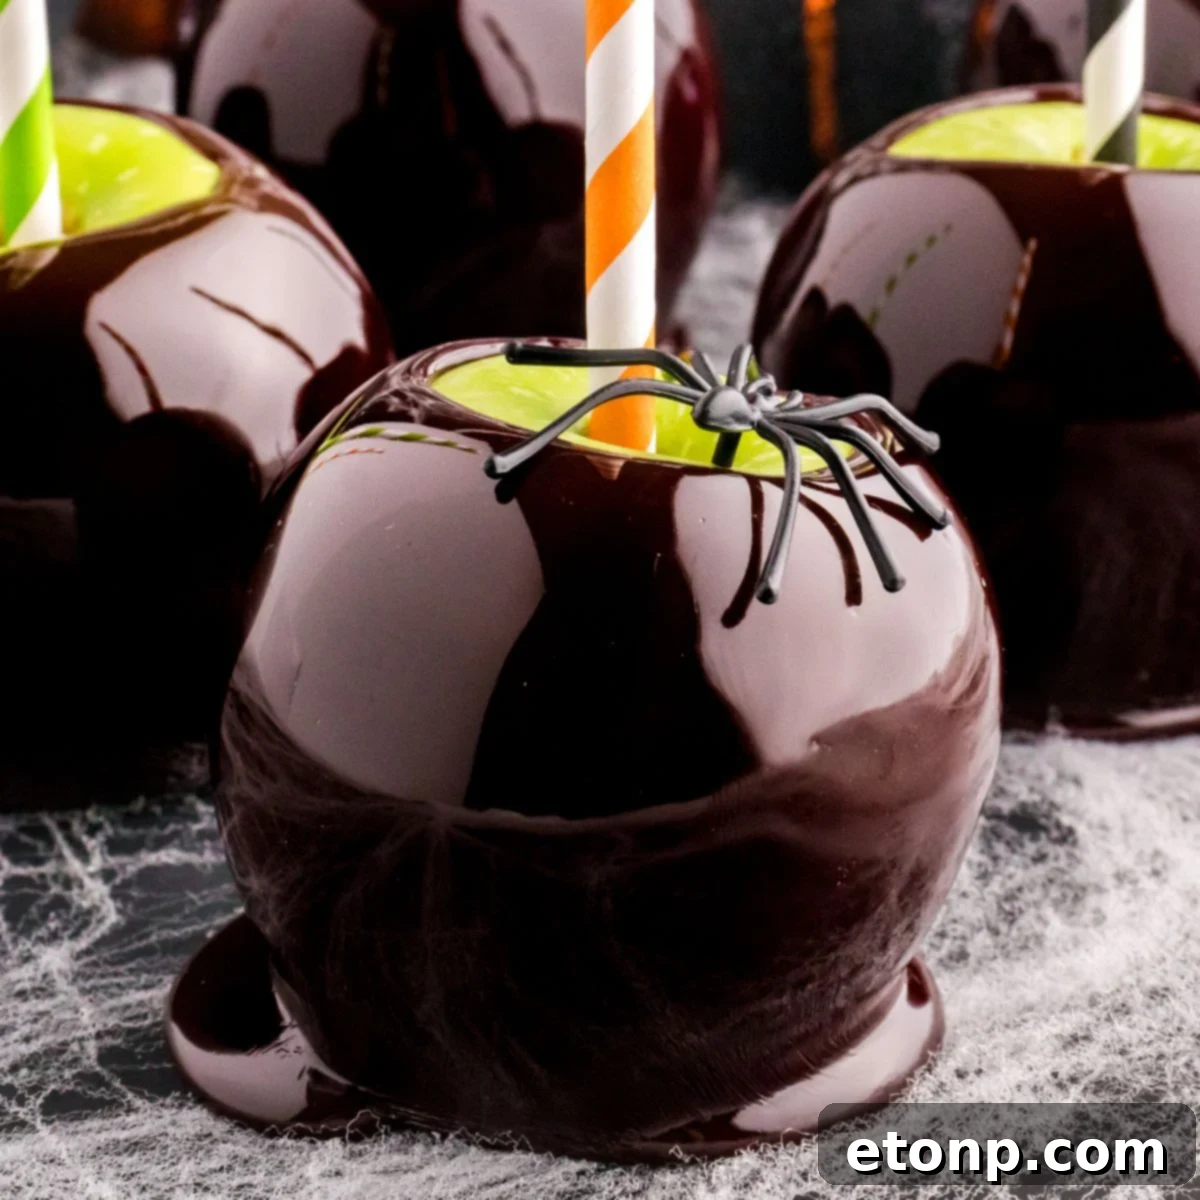
Who can resist the classic charm of a candy apple, especially when it’s given a dramatic Halloween makeover? Our black candy apples will undoubtedly impress your family, friends, and party guests as they admire their shiny, ominous presence on display. Their brilliant sheen and irresistible sweet-tart flavor combination make them a standout treat.
For an even more elaborate and ghoulish dessert presentation, consider pairing your Black Candy Apples with a deep black and purple Halloween cake. This combination will offer an incredibly rich, ominous, and cohesive look that perfectly captures the spirit of the season.
What Exactly Are Black Candy Apples?
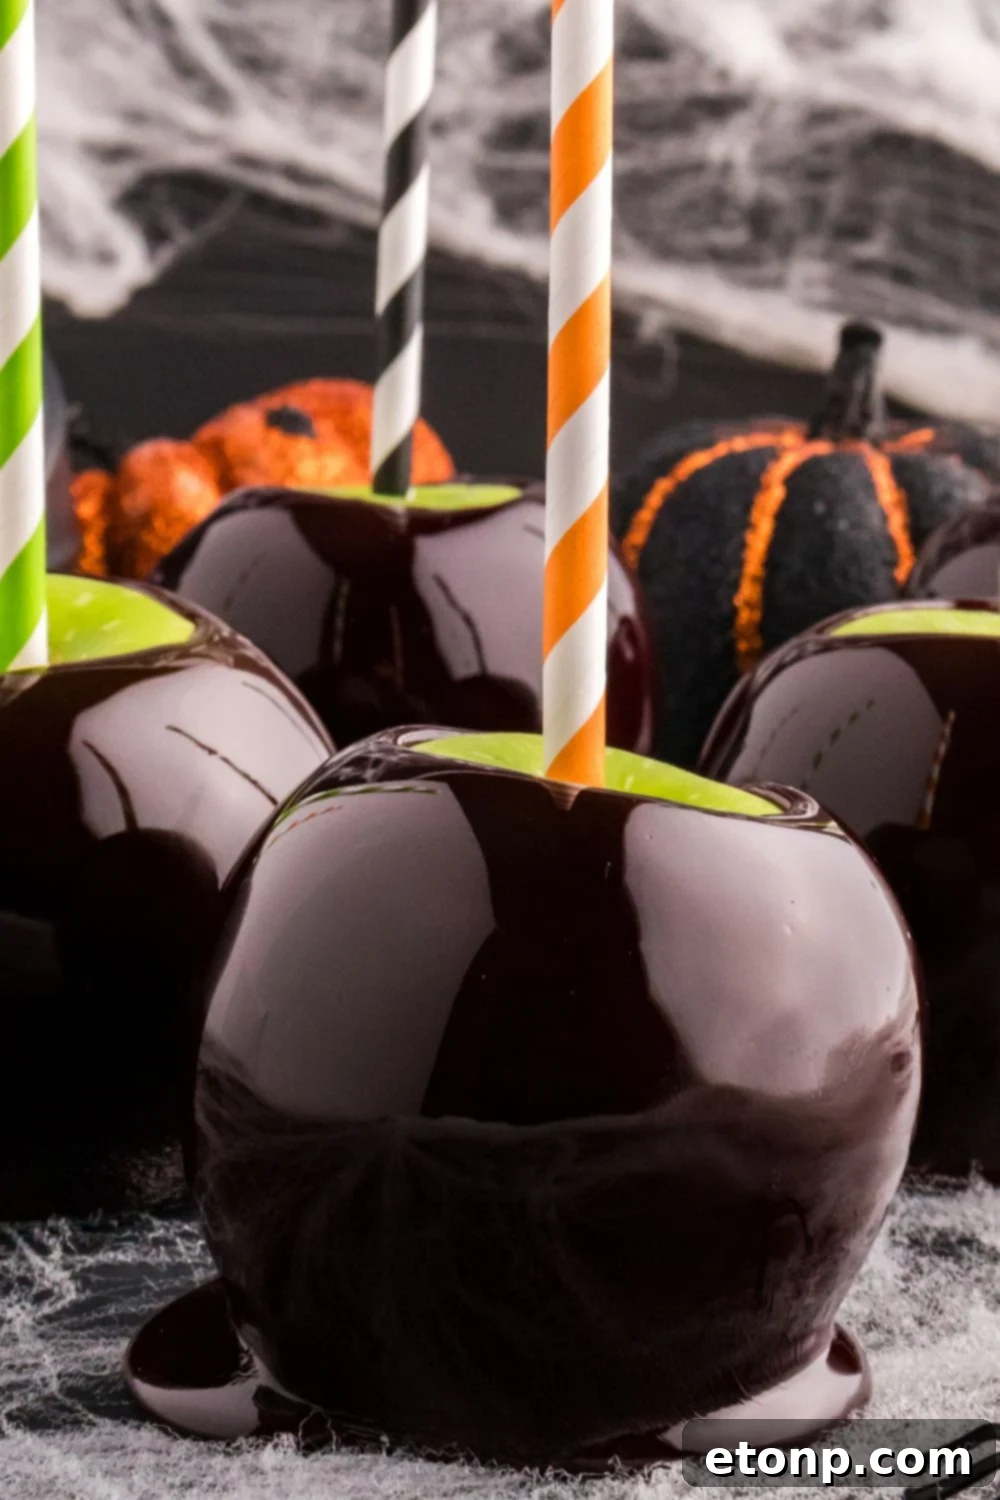
Often referred to as “poison apples” or “sinister apples,” these unique treats are essentially classic candy apples transformed with a strikingly dark, glossy black candy shell. They take a traditional autumnal delight and infuse it with a dramatic, eerie aesthetic perfectly suited for Halloween.
Beyond their visual appeal, black candy apples offer a fun and interactive culinary project. They provide a delightful twist on a beloved classic, inviting creativity and adding a striking, dark vibe to any Halloween gathering. Crafting them is an engaging activity that promises to elevate your festive events this year, leaving a lasting impression on everyone who encounters them.
Why Make Black Candy Apples for Halloween?
Black Candy Apples are more than just a dessert; they’re a statement. They embody the mystique and fun of Halloween, offering a unique visual appeal that stands out from traditional festive treats. Their deep, glossy finish instantly evokes images of enchanted forests, dark magic, and classic spooky tales, making them an unparalleled thematic choice for the season.
These apples are incredibly versatile. They serve as stunning centerpieces for your Halloween table, thoughtful gifts for friends, or delightful party favors. Beyond their aesthetic, they provide a delicious contrast: the crisp, tart apple beneath a sweet, hard candy coating. Plus, the process of making them can be a fantastic, family-friendly activity, adding to the holiday fun and creating cherished memories.
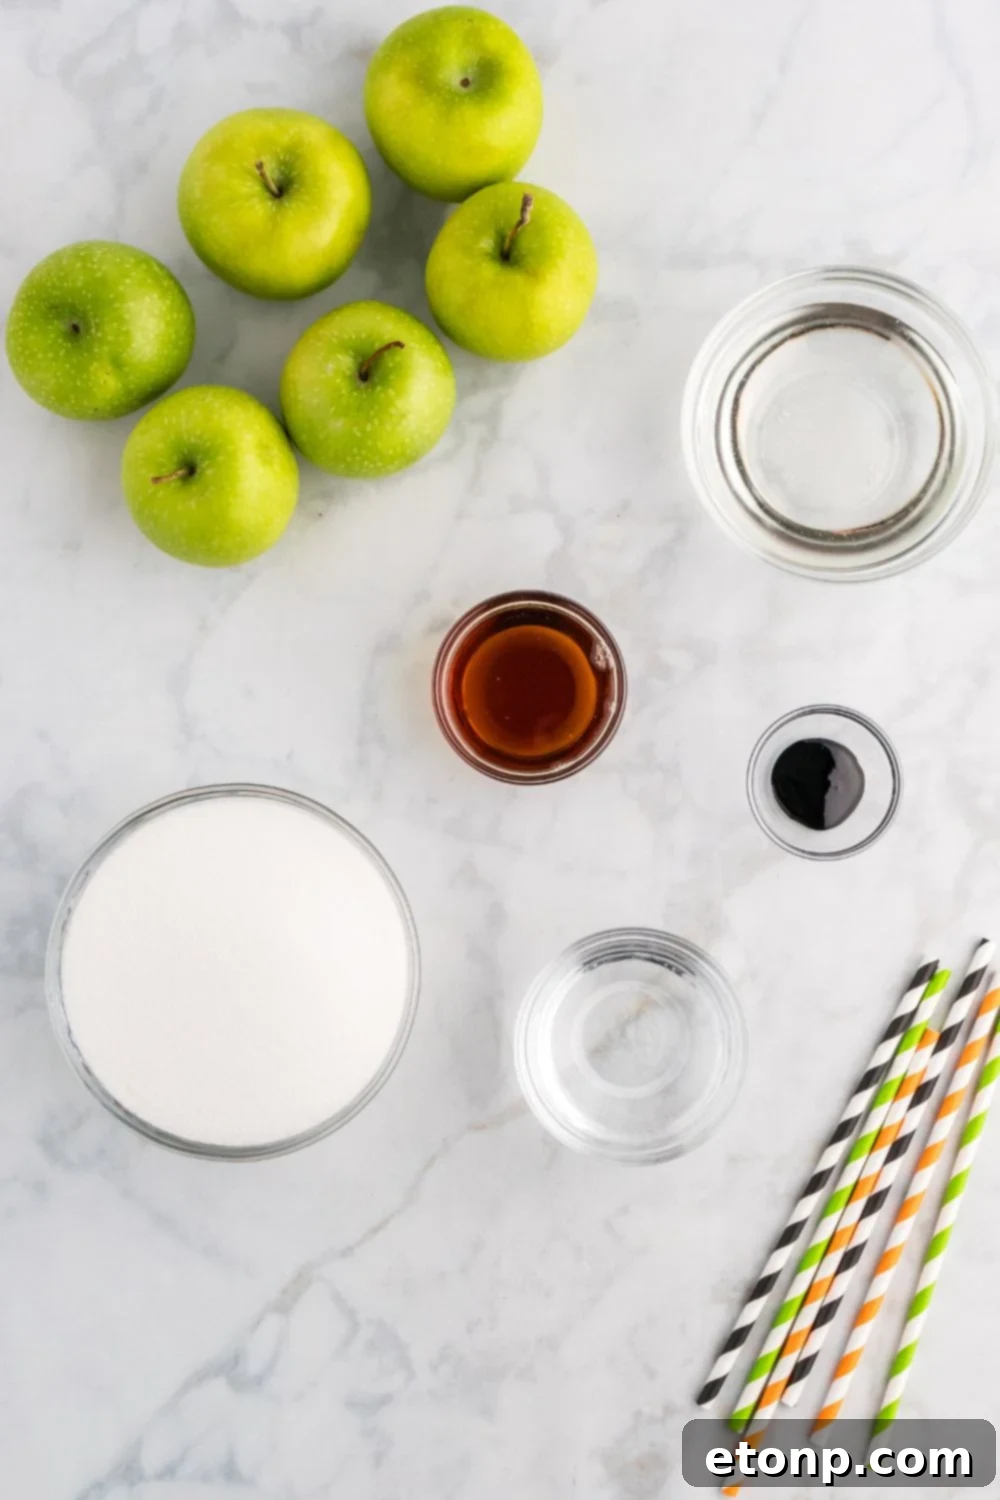
Essential Ingredients for Your Spooky Creation
Crafting the perfect batch of Black Candy Apples requires a few key ingredients, each playing a crucial role in achieving that desirable crisp coating and delicious flavor. Here’s a detailed look at what you’ll need:
- Apples: While you can use any variety, Granny Smith apples are highly recommended for their delightful tartness. This tartness is essential as it beautifully balances the intense sweetness of the candy coating, preventing the treat from becoming overwhelmingly sugary. Ensure your apples are fresh and firm for the best results.
- Granulated Sugar: This is the foundation of your hard candy shell. White granulated sugar provides the necessary sweetness and structure for the coating to set properly.
- Light Corn Syrup: A crucial ingredient for achieving that signature glossy finish. Corn syrup also plays a vital role in preventing the sugar mixture from crystallizing, ensuring a smooth and clear candy coating.
- Water: Use filtered water for the best purity. Reverse osmosis, filtered, or bottled water is ideal to ensure no unwanted flavors or impurities affect your candy.
- Maple Syrup: A small addition of maple syrup not only enhances the overall sweetness with a subtle depth of flavor but also contributes significantly to the gorgeous shine and non-stick quality of the coating.
- Black Gel Food Coloring: For that striking, opaque black color, gel-based food coloring is superior. Unlike liquid food coloring, gel colors are highly concentrated, allowing you to achieve a deep, consistent black without diluting the candy mixture.
- Skewers or Paper Straws: Essential for handling and enjoying your candy apples. Wooden skewers provide a classic feel, while sturdy paper straws offer a fun, eco-friendly alternative for holding these delightful treats.
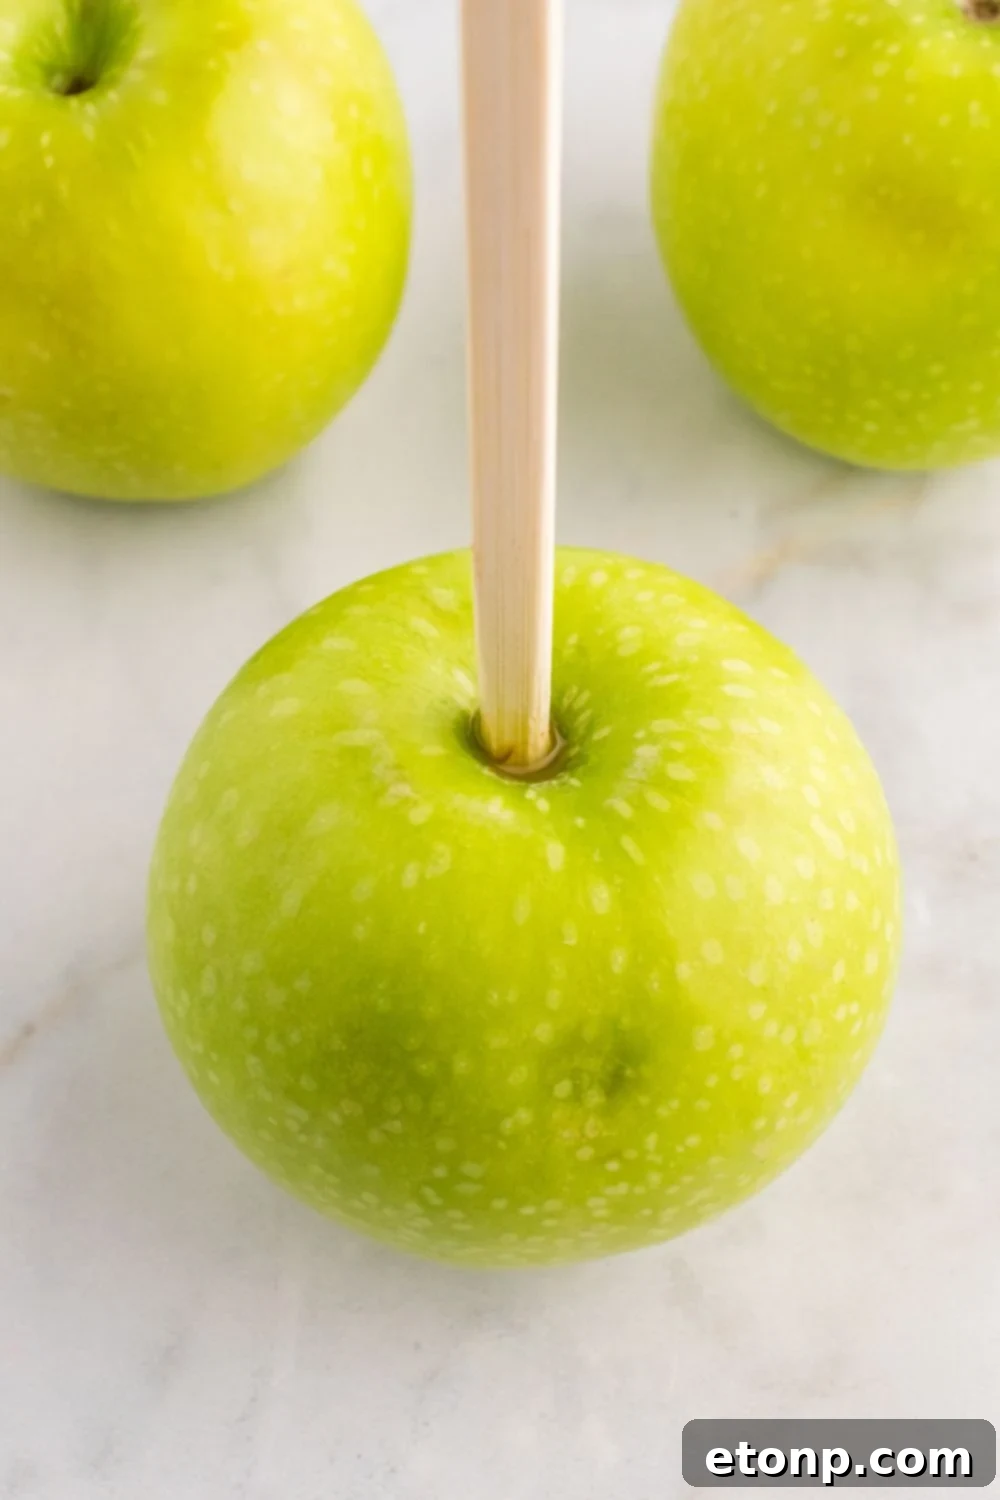
How to Prepare Apples: Removing Wax with Vinegar
The success of your black candy apples largely depends on the candy coating adhering properly to the fruit. Most store-bought apples have a thin layer of wax, which prevents the candy from sticking. Removing this wax is a critical step you absolutely cannot skip. Here’s a simple and effective method:
- In a clean bowl, combine equal parts water and white distilled vinegar. For example, if you have 6 apples, a solution of 2 cups water and 2 cups vinegar should be sufficient.
- Submerge your apples completely into this mixture. Allow them to soak for a few minutes, then gently but thoroughly massage each apple, rubbing its surface to help dissolve and remove the waxy coating. You might even feel the wax coming off.
- Once you’ve rubbed all the apples, rinse them thoroughly under cold running water to remove any vinegar residue and remaining wax.
- Pat the apples completely dry with a clean cloth or paper towels. It is absolutely imperative that the apples are entirely dry before you proceed with inserting skewers and making the candy coating. Any moisture will prevent the candy from setting correctly and adhering to the apple.
Creative Variations for Your Candy Apples
While classic black candy apples are undeniably impressive, don’t hesitate to experiment with different variations to suit your taste or party theme. These simple adjustments can completely transform your spooky treats:
- Color: Although we’re focusing on black for a dark Halloween vibe, the beauty of this recipe lies in its adaptability. You can use any color of gel food coloring to create a spectrum of vibrant, shiny candy apples. Imagine electric green for a monster theme, spooky purple, or even a mix of colors for a rainbow Halloween display!
- Apples: As mentioned, Granny Smith apples are fantastic for their tartness. However, feel free to experiment with other apple varieties. Honeycrisp offers a sweeter, crisper bite, while Fuji or Gala apples provide a milder sweetness. The key is to choose firm, fresh apples regardless of variety.
- Flavor: Elevate your candy coating by adding a few drops of flavored extract. Popular choices for Halloween include cinnamon, peppermint, licorice (anise), or even a hint of raspberry or cherry extract for a subtle fruity undertone that complements the apple. Add extracts after removing the mixture from heat, just before the food coloring, to preserve their potency.
- Toppings: Once dipped, and while the candy is still slightly tacky, you can quickly roll or sprinkle your apples with various toppings. Edible glitter (gold, silver, or black) adds sparkle, while chopped nuts (peanuts, pecans), shredded coconut, or even mini chocolate chips can add texture and flavor. For a truly festive touch, add Halloween-themed sprinkles or crushed hard candies.
Tips for Achieving Perfect Black Candy Apples
Making candy apples can be a delicate process, but with these expert tips, you’ll be well on your way to crafting a batch of professional-looking, wickedly delicious treats:
Start with Crisp Apples
The quality of your apples directly impacts the final texture and taste. Always select fresh, firm, and crisp apples. This ensures they maintain their delightful crunch once encased in the hard candy shell, offering a satisfying contrast to the sweet coating.
Thorough Wax Removal is Non-Negotiable
Reiterating this crucial step: completely remove any wax from your apples. Even a microscopic layer can prevent the candy coating from adhering properly, causing it to slide off. Follow the vinegar and water method detailed above meticulously, and ensure the apples are bone-dry before dipping.
Invest in a Candy Thermometer
Precision is key when making candy. A reliable candy thermometer is your best friend here. It ensures your sugar coating reaches the exact “hard crack” stage (around 300°F or 150°C), which is essential for a firm, non-sticky, and stable candy shell. Eyeballing the temperature can lead to sticky or brittle results.
Prepare Your Workspace in Advance
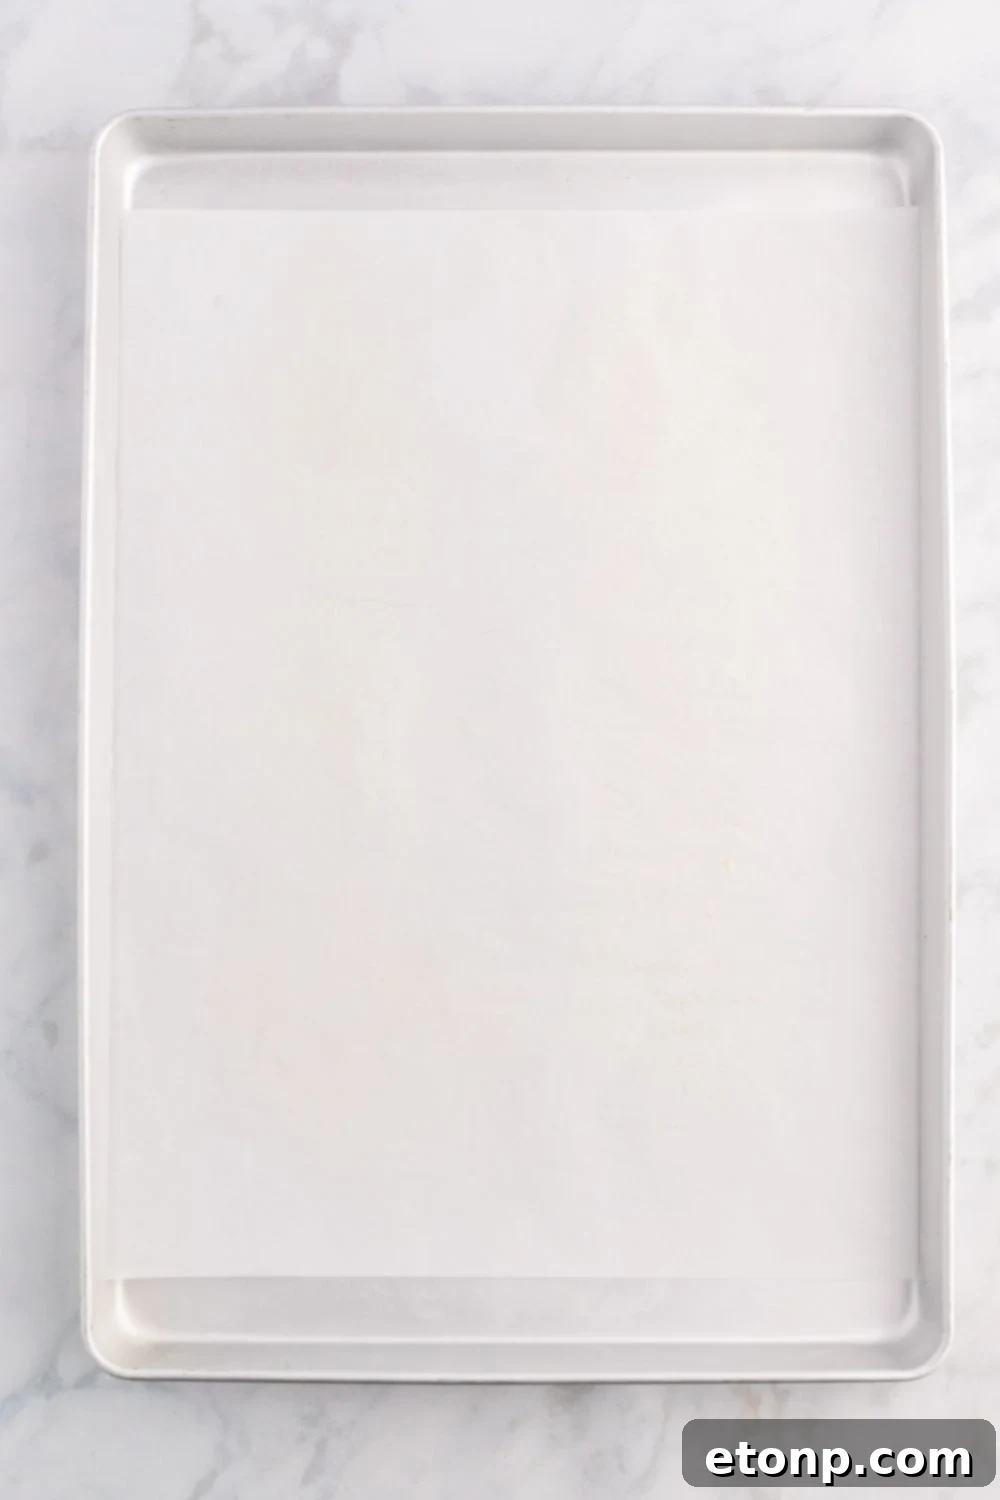
Once your candy mixture reaches temperature, things move quickly. Have everything ready before you start: baking sheets lined with parchment paper, skewers firmly inserted into the apples, and any desired decorations laid out. This preparation prevents frantic scrambling and ensures a smooth dipping process.
Prioritize Safety with Heat-Resistant Gloves
The sugar mixture will be extremely hot and can cause severe burns if it comes into contact with your skin. For your safety, consider wearing heat-resistant gloves while handling the hot syrup and dipping the apples. Better safe than sorry!
Rotate Evenly During Dipping
When dipping each apple, hold the skewer firmly and rotate the apple slowly and continuously. This technique ensures an even, consistent coating all around the fruit. Once fully coated, lift the apple and allow any excess syrup to drip back into the pot before placing it on your prepared tray.
Decorate Swiftly
If you plan to add sprinkles, edible glitter, or other toppings, do so immediately after dipping each apple. The candy coating sets very quickly, often within minutes, so you won’t have much time to apply decorations once it starts to harden.
Control Humidity
High humidity can cause candy apples to become sticky. If possible, choose a dry day to make them. If your environment is humid, consider using a dehumidifier in your kitchen or storing them in a cool, dry place as soon as they’ve set.
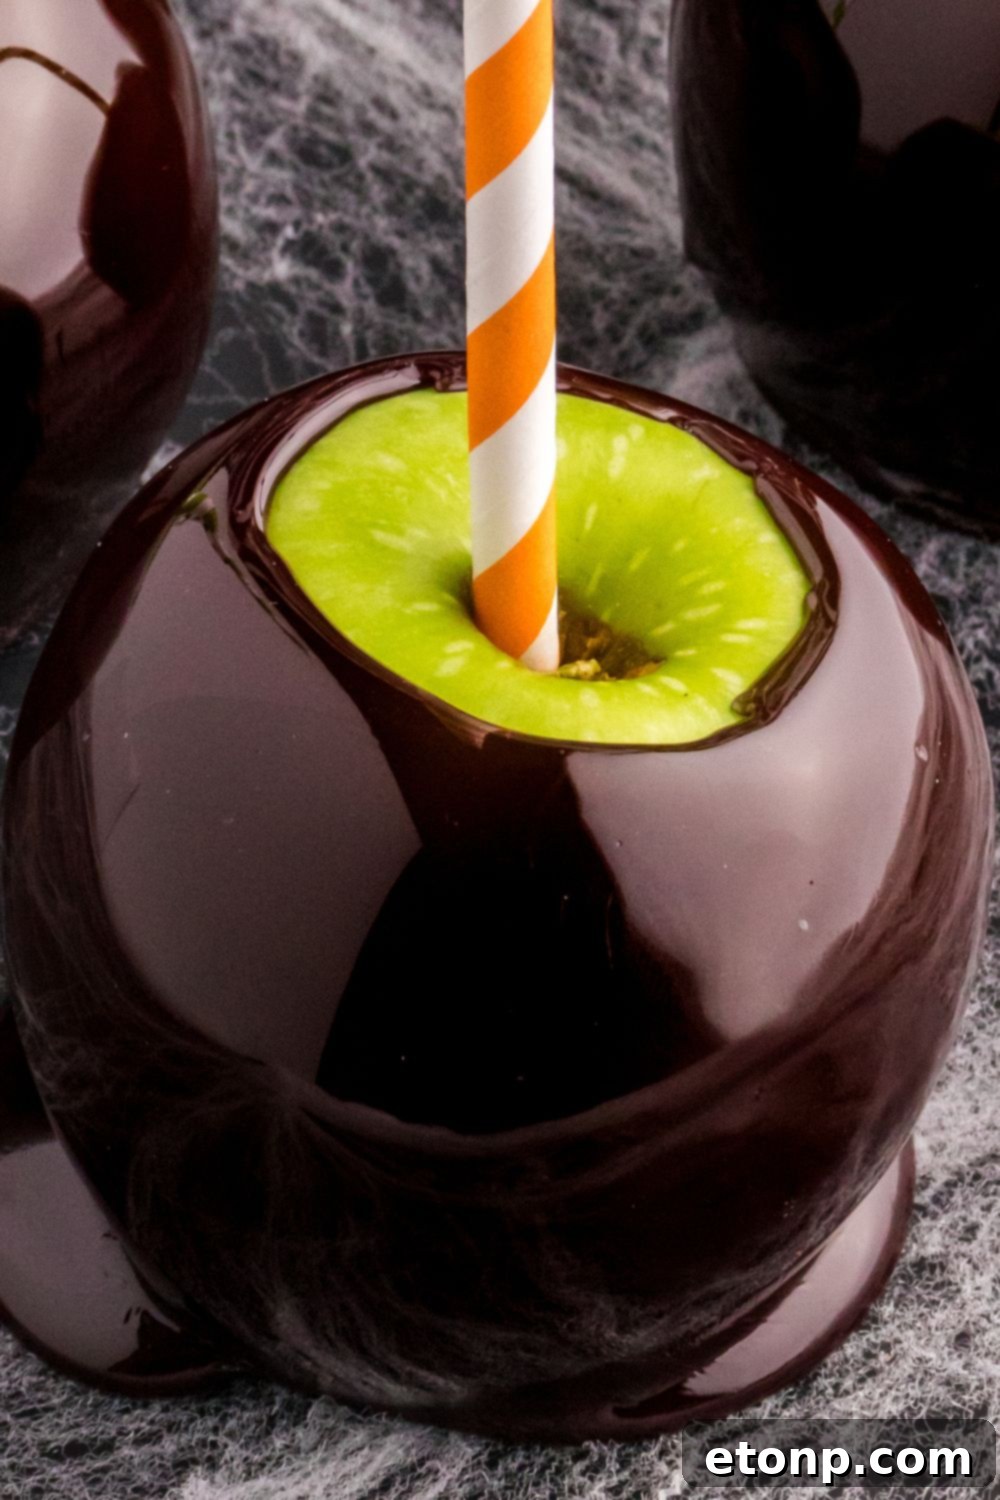
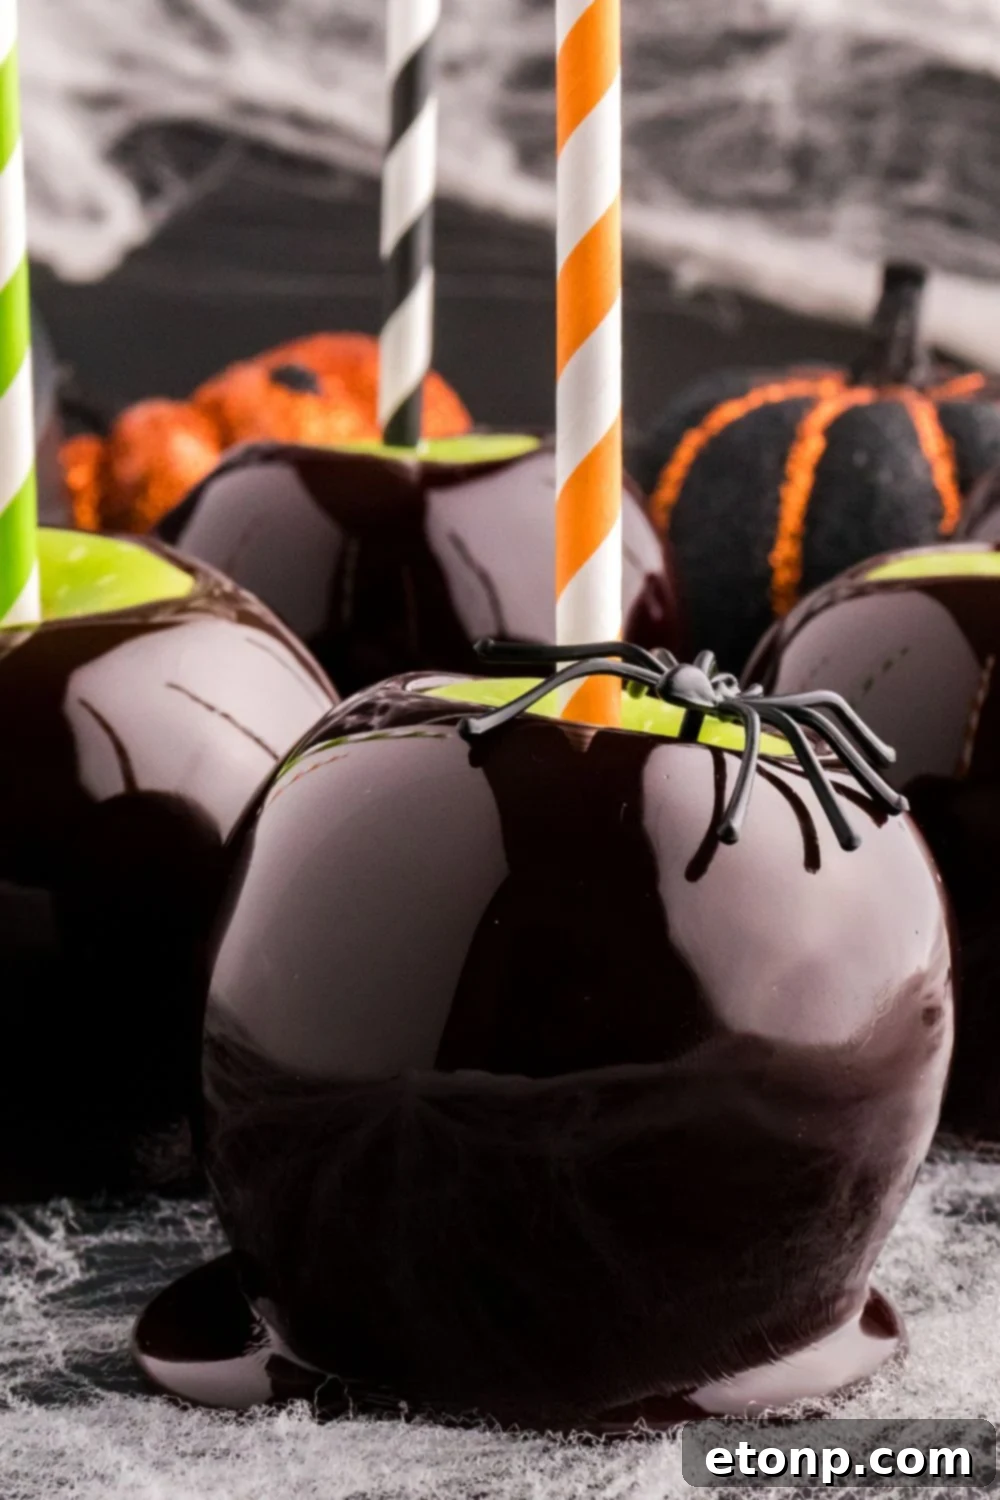
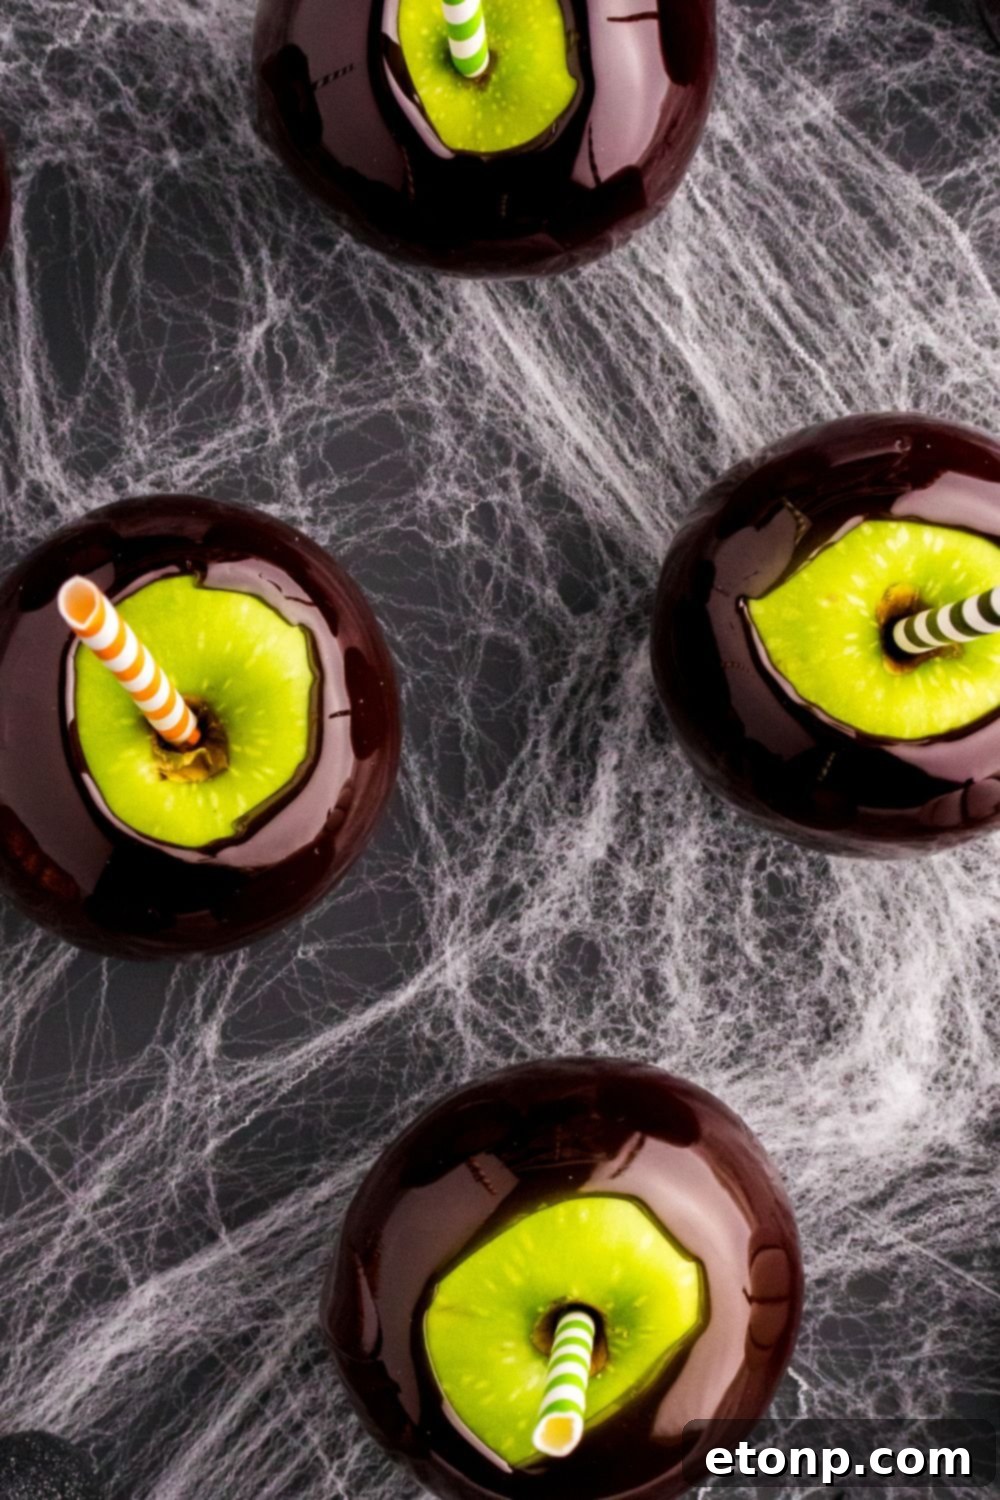
Whether you’re hosting an elaborate haunted house party or simply seeking to amaze your loved ones, Black Candy Apples effortlessly introduce a touch of eerie elegance and captivating intrigue to your Halloween festivities. Arrange them artfully on a sinister-themed dessert table, perhaps surrounded by flickering LED candles, cobweb decorations, and plastic spiders for added effect. The dramatic contrast of the dark, glossy apples against lighter decorative elements is guaranteed to ignite the imaginations of all who gather, making your celebration truly memorable.
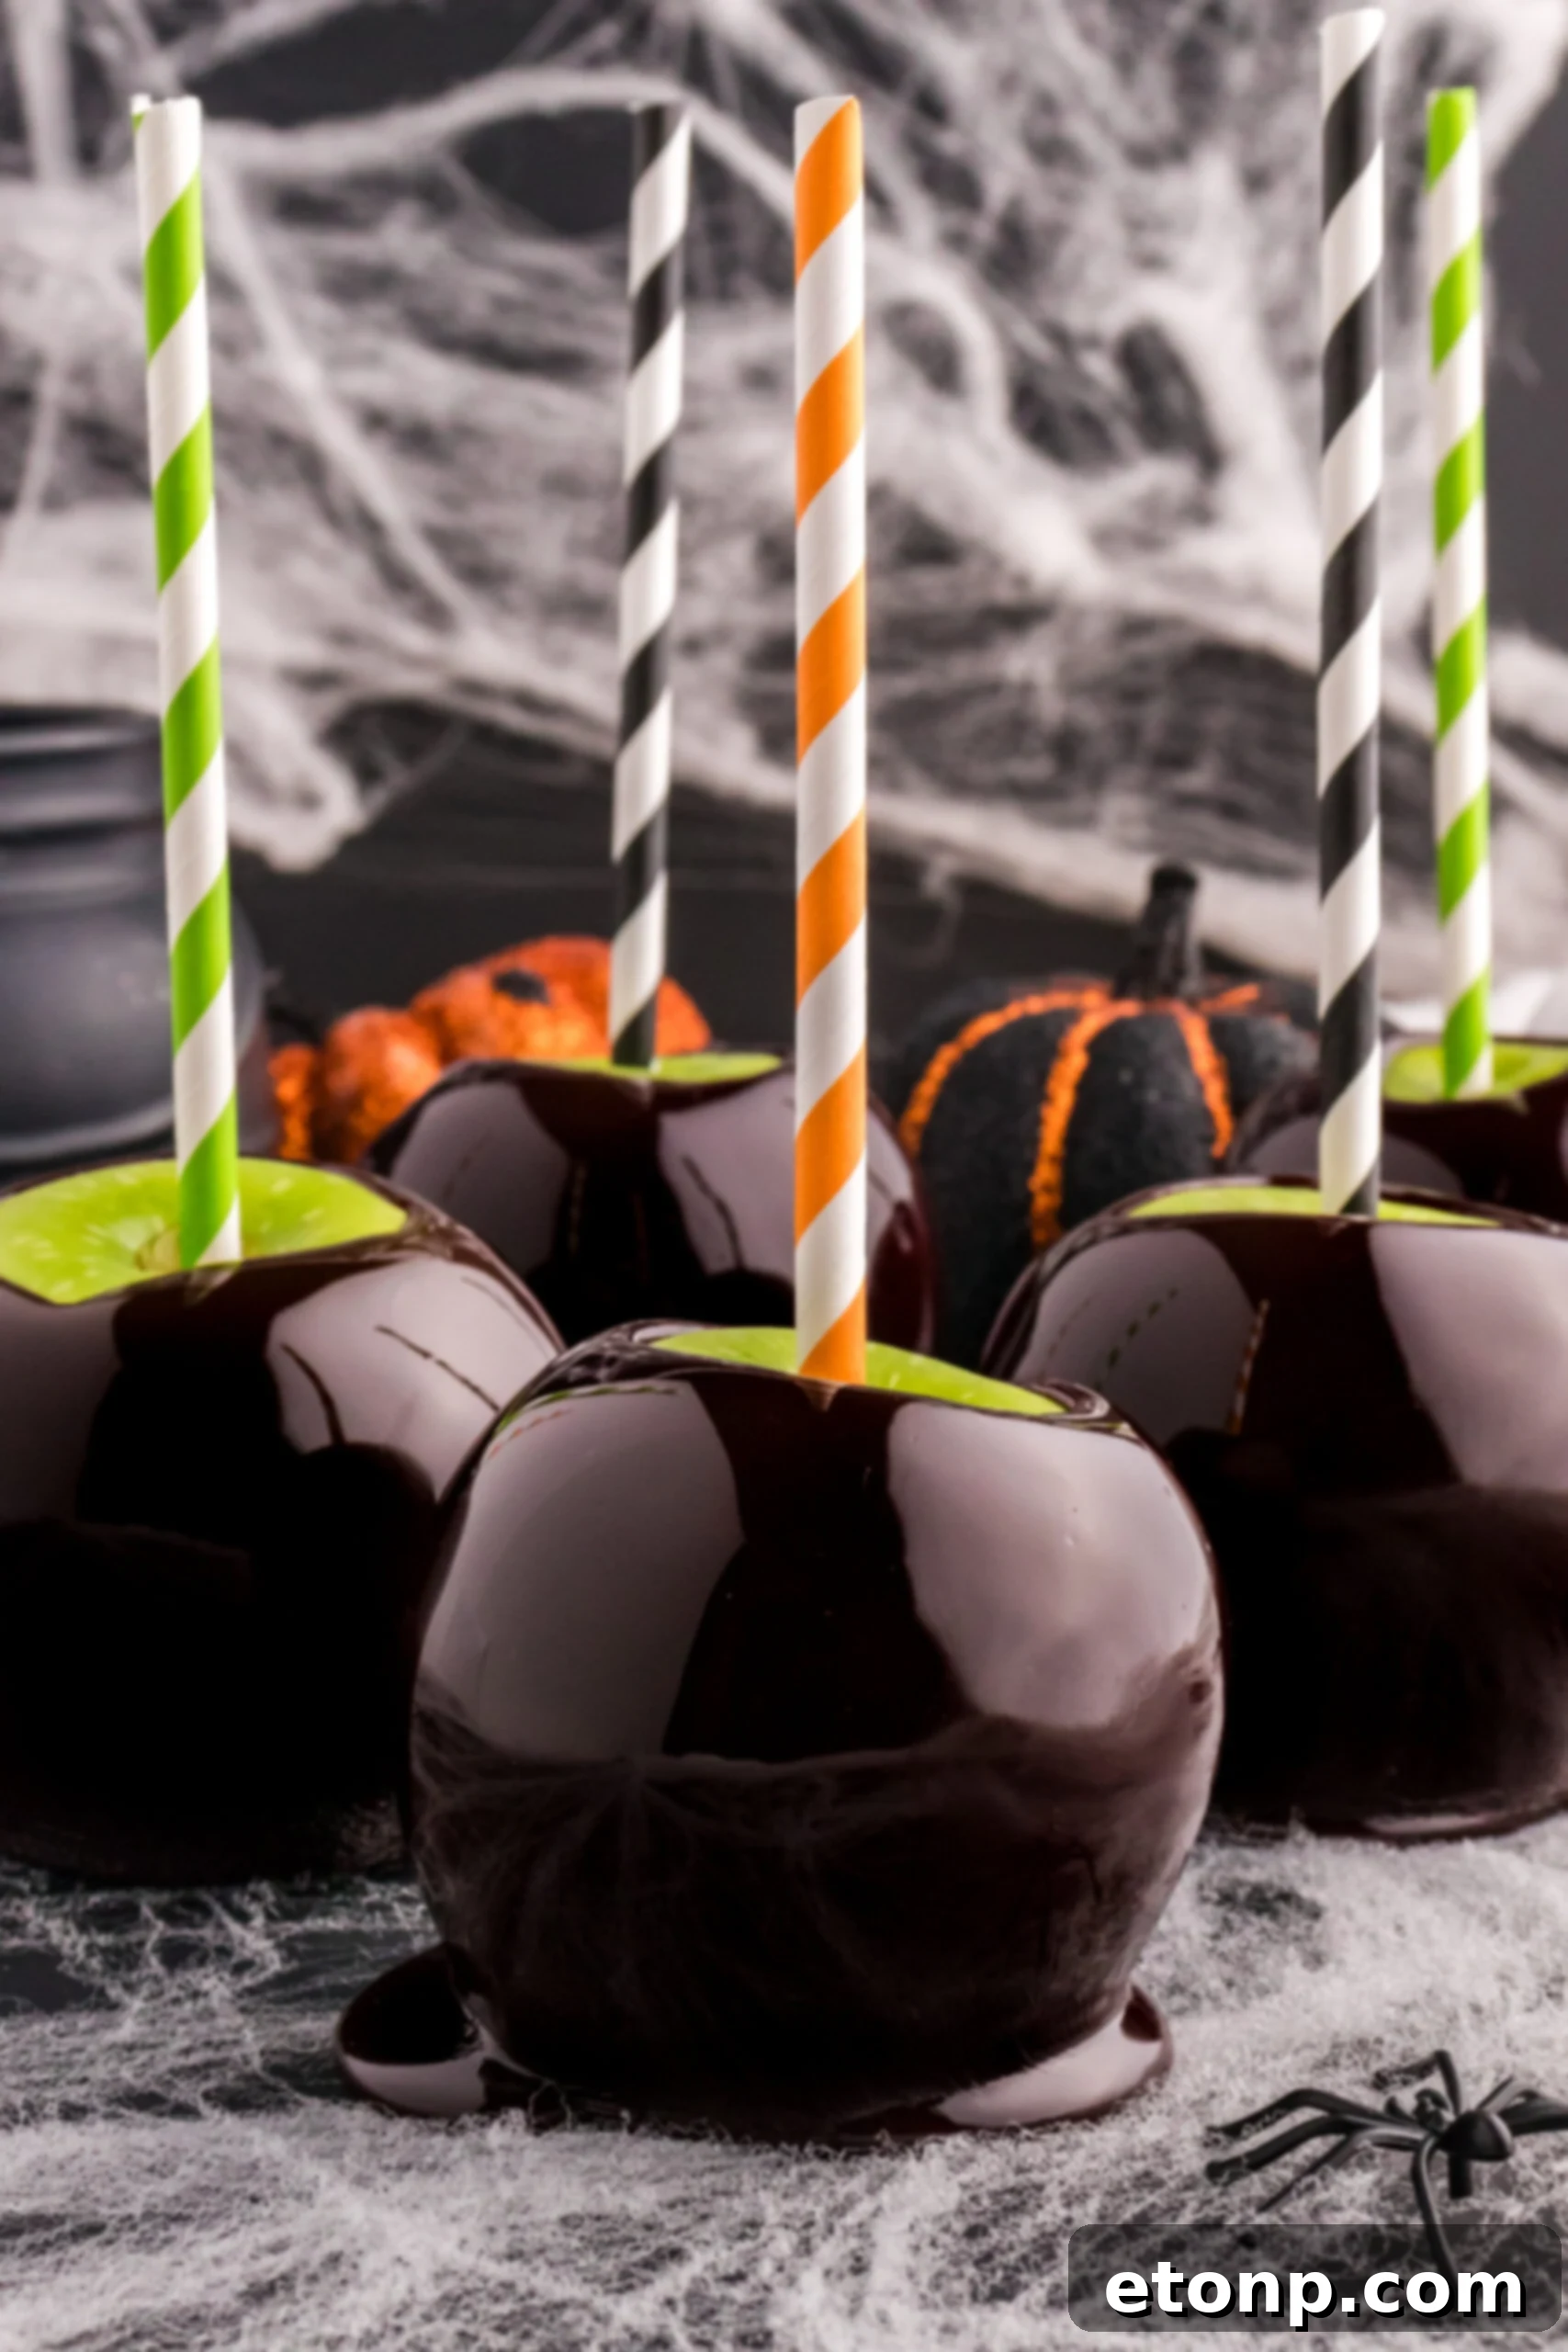
For those feeling particularly creative, consider enhancing the mystique of these enchanting apples further. A dusting of edible silver or gold glitter can add a magical shimmer, or you can attach small plastic spiders, as showcased here, to create an even more theatrical and spooky presentation. These artistic touches will effortlessly complement your Halloween costume and overall party ambiance, ensuring your Black Candy Apples are the star of the show.
Storing Your Black Candy Apples
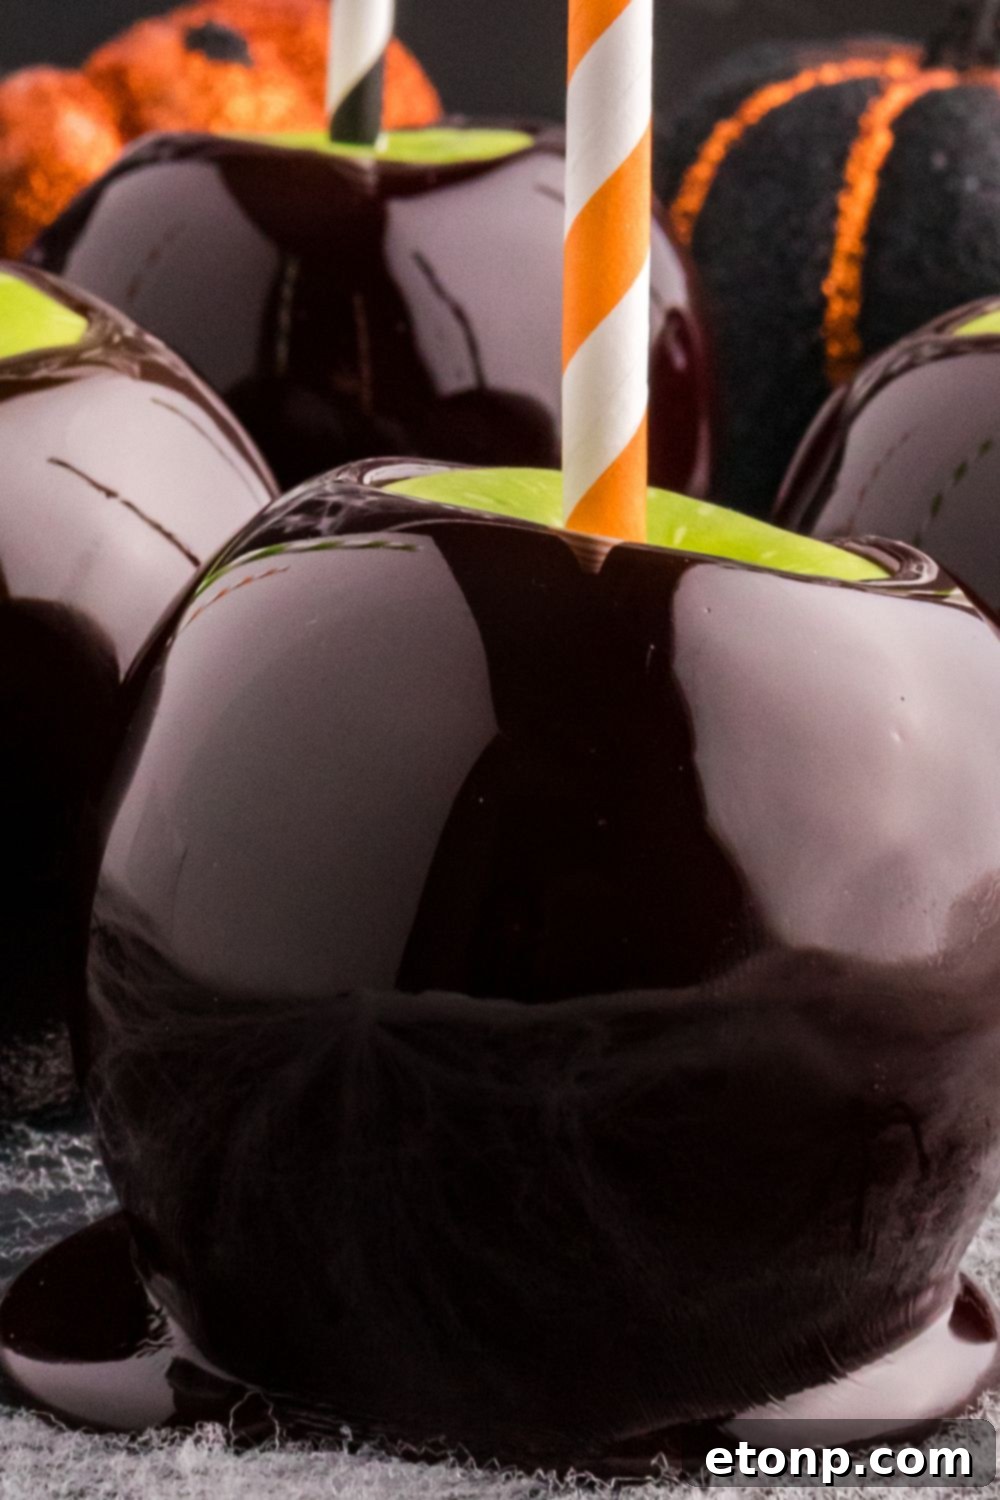
Proper storage is essential to maintain the crispness and glossy finish of your black candy apples. Store them in an airtight container at room temperature. It is crucial *not* to refrigerate candy apples, as the moisture and cold temperature can cause the candy coating to become sticky, cloudy, and lose its desirable texture.
Furthermore, avoid stacking the apples, as their sticky coating, even when hardened, can cause them to adhere to one another. Lay them out in a single layer or separate them with parchment paper. For optimal flavor and texture, these treats are best enjoyed within 1-2 days of making them. Over time, the coating may naturally soften and lose some of its initial brilliant gloss. This is a recipe truly meant to be savored shortly after preparation.
Frequently Asked Questions About Black Candy Apples
Can I make candied black apples in advance?
You can certainly prepare these candied black apples up to a day in advance of when you plan to serve them. While they will remain delicious, be aware that their signature glossy shine might slightly diminish over time. Store them in a sealed container at room temperature to best preserve their quality.
Can I add decorations to black candy apples?
Absolutely! Feel free to decorate your black candy apples with a variety of toppings like chopped nuts, colorful sprinkles, crushed candies, or even edible glitter. The trick is to apply these decorations immediately after dipping each apple, as the candy coating hardens very quickly, leaving a limited window for adherence.
Can I use natural ingredients for the black color?
Achieving a truly deep, opaque black using only natural ingredients can be quite challenging due to the intensity of the color required. While activated charcoal or black cocoa powder could be experimented with, they might alter the flavor or texture of the candy coating. You are welcome to explore these options, but gel food coloring offers the most reliable and vibrant black hue.
My candy coating is sticky. What went wrong?
A sticky coating usually indicates that the sugar mixture didn’t reach the correct temperature (hard crack stage). Ensure you use a reliable candy thermometer and cook the syrup to precisely 300°F (150°C). Humidity can also be a factor; avoid making candy apples on very humid days.
Why are there bubbles in my candy coating?
Bubbles can form if the apples still have wax on them, if they are not perfectly dry, or if the candy mixture is stirred too vigorously after it reaches boiling point. Ensure wax is completely removed, apples are dry, and avoid excessive stirring during the boiling phase.
How many apples does this recipe yield?
This recipe is typically designed for 5-6 medium-sized apples, yielding six beautifully coated black candy apples, perfect for a small gathering or family treat.
So, this Halloween, dare to step into the darkness and awaken your taste buds with the wickedly delicious Black Candy Apples. It’s time to embrace the enchantment, the thrill, and the pure joy that only this spooktacular season can bring. Make these dazzling treats a part of your celebration and watch them disappear as quickly as ghosts on Halloween night!
More Spooktacular Halloween Recipes
- Halloween Lush Dessert
- Witch’s Brew Halloween Cake
- Spider Web Pretzels

Black Candy Apples
Course: Dessert
Prep Time: 20 minutes
Cook Time: 25 minutes
Total Time: 1 hour 45 minutes
Servings: 6 apples
Black Candy Apples are a glossy, candy-coated apple that offers a striking black color, perfect for Halloween. Also known as poison apples or sinister apples, these treats are bursting with sweetness and a tart apple bite. Try them today for a truly memorable Halloween dessert!
Pin Recipe
Share Recipe
Ingredients
- 5-6 medium-sized apples (Granny Smith or any other tart variety – *remember to remove the wax from apples or use organic to help prevent bubbles; see tips for wax removal*)
- 2 cups granulated sugar
- ¾ cup light corn syrup
- ½ cup water
- ¼ cup maple syrup
- ½ teaspoon black gel food coloring
- Wooden skewers or sturdy paper straws
Instructions
- Wash the apples in a solution of 1 part water and 1 part distilled white vinegar. Gently rub each apple to remove any wax coating. This is a crucial step; otherwise, the candy coating will not adhere properly.
- Once the wax is removed, rinse the apples thoroughly in cold water and allow them to dry completely. Any moisture will prevent the candy from sticking.
- Line a baking sheet with parchment paper. Insert a skewer or stick firmly into the top of each apple and set them aside.
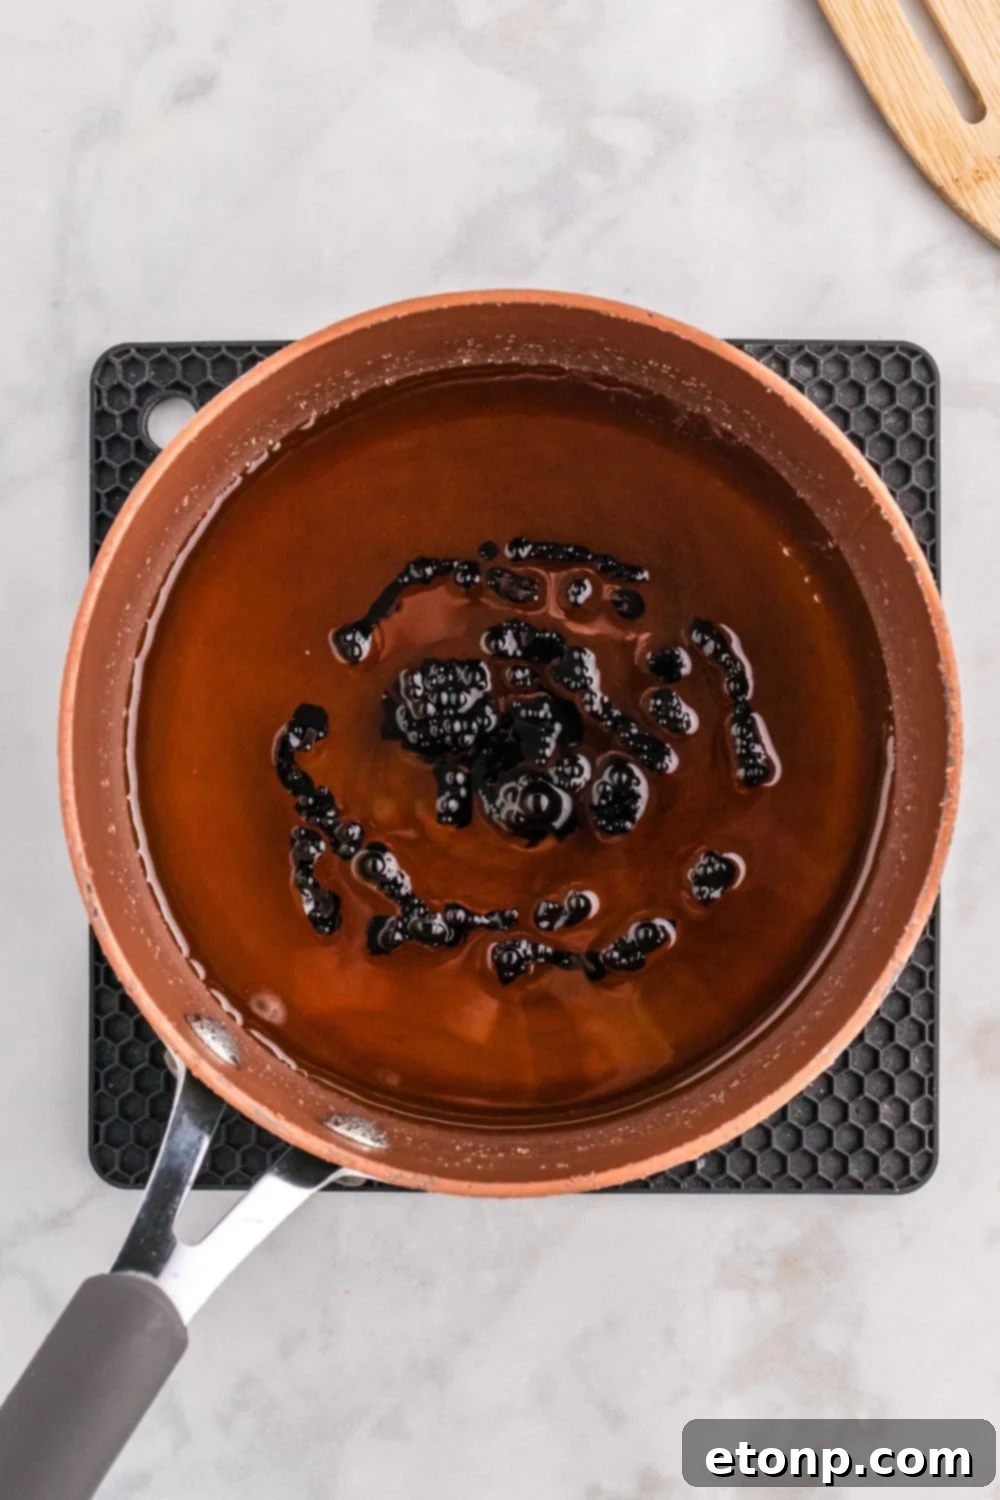
- In a medium saucepan, combine the granulated sugar, light corn syrup, water, and maple syrup. Heat the mixture over medium heat, stirring continuously for 3-5 minutes until all the sugar has dissolved.
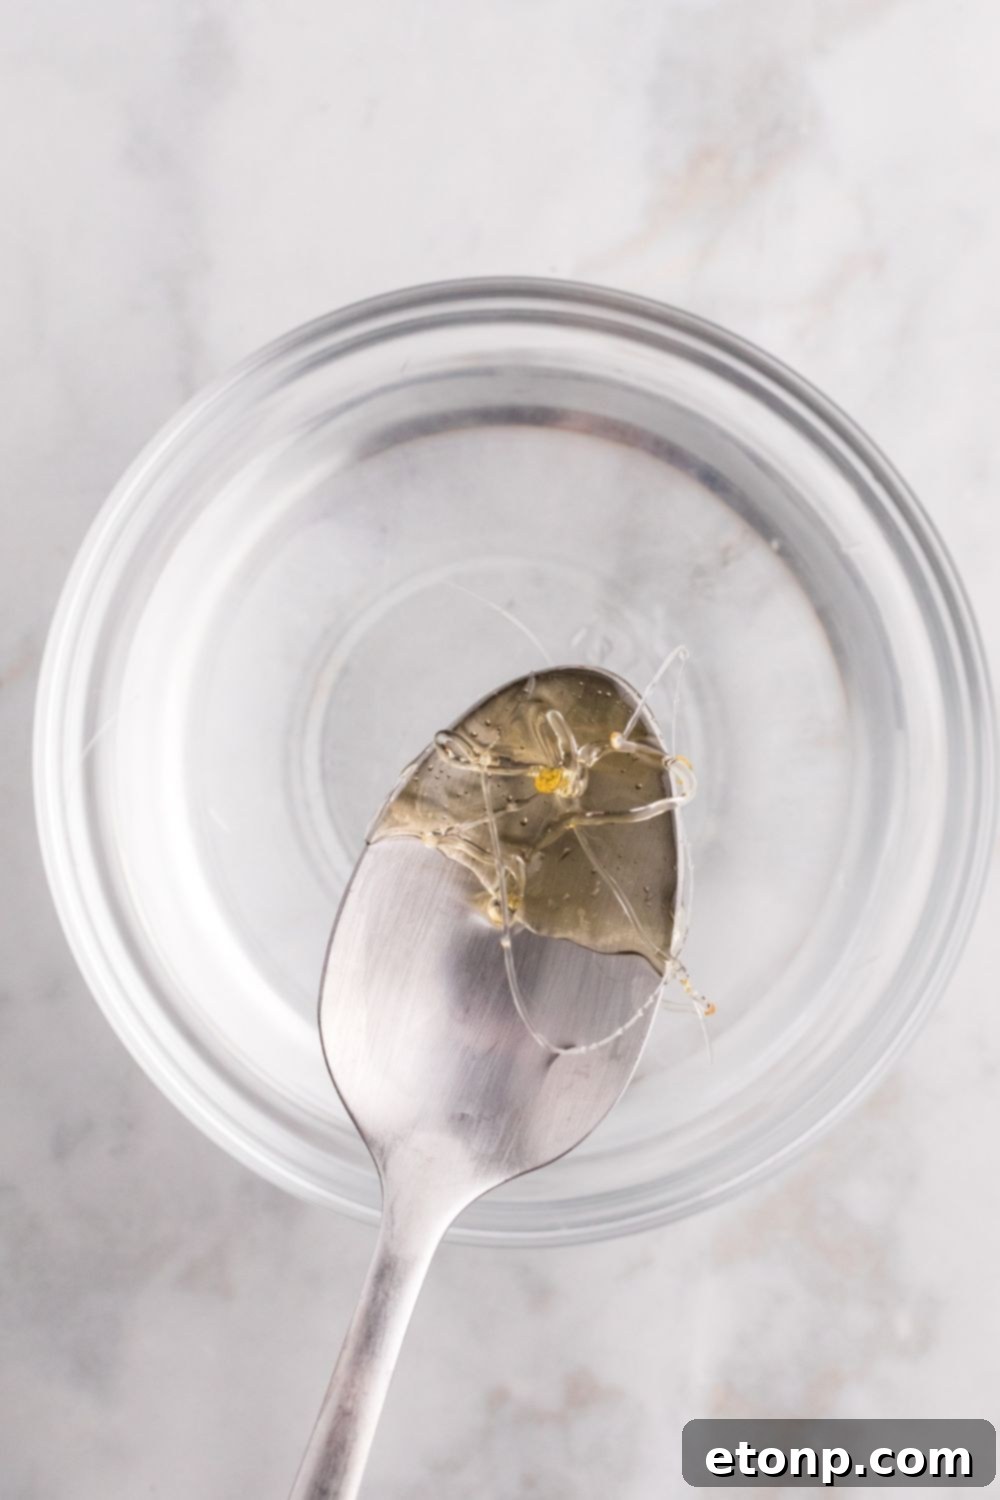
- Once the sugar is dissolved, stop stirring. Allow the mixture to come to a boil. Insert a candy thermometer into the mixture and continue boiling until it reaches the hard crack stage, which is approximately 300°F (150°C). This usually takes about 15-20 minutes. If you don’t have a thermometer, drop a small spoonful of syrup into a bowl of cold water; if it instantly hardens and breaks easily, it’s ready.
- Remove the pan from the heat and let it sit for a moment to allow any bubbles to subside.
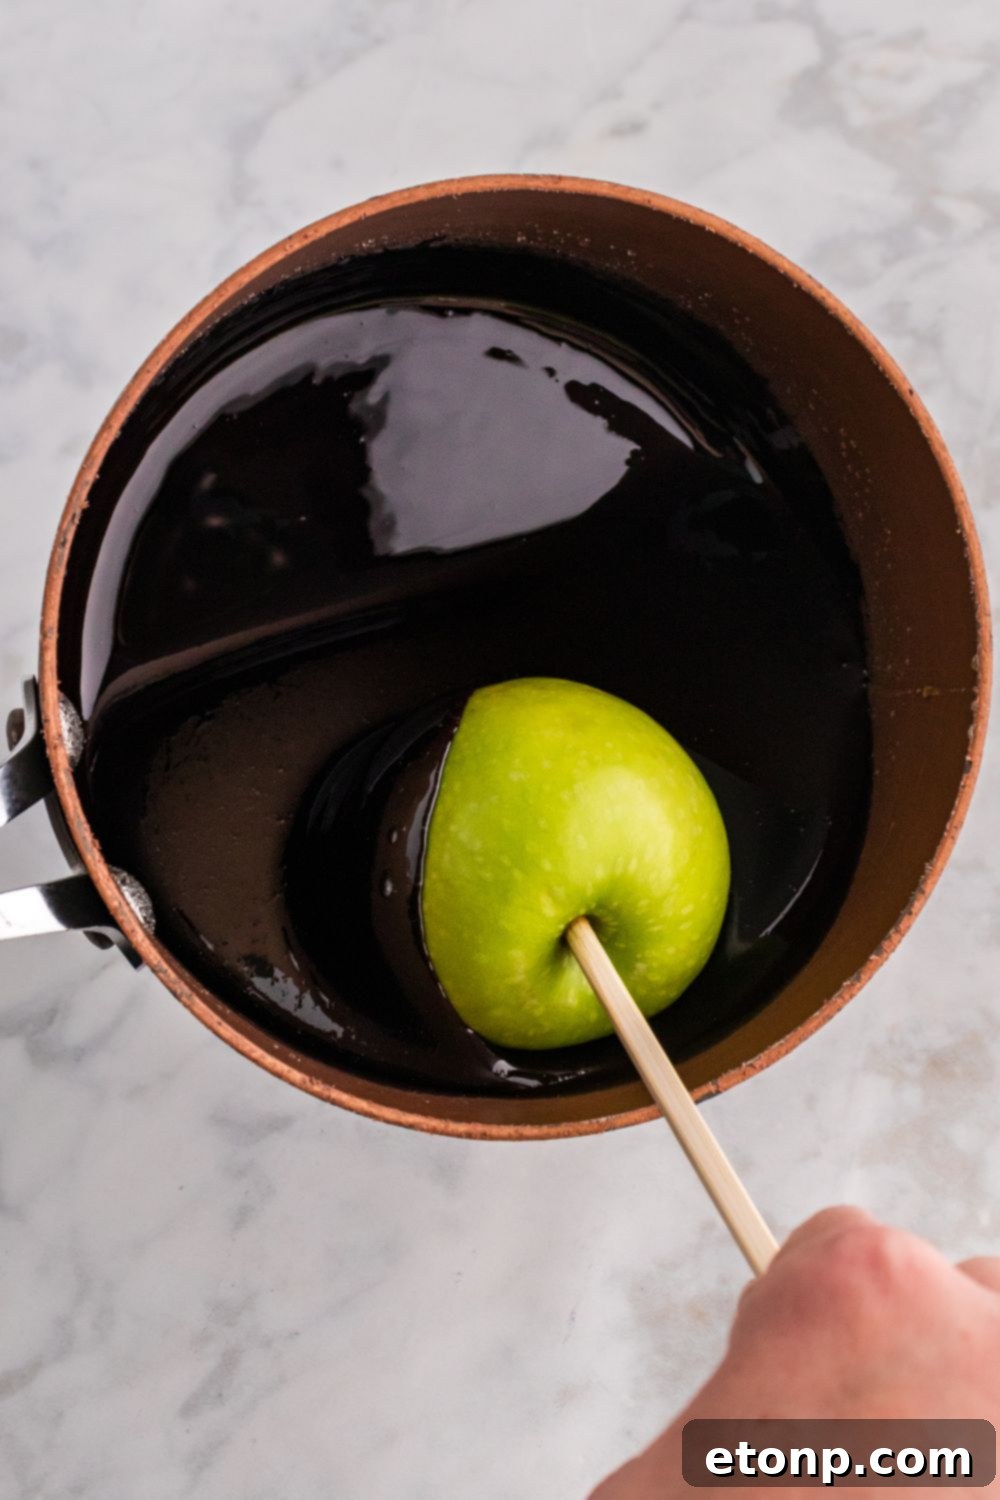
- Carefully stir in the black gel food coloring. Be cautious as it may steam slightly when added to the hot syrup.
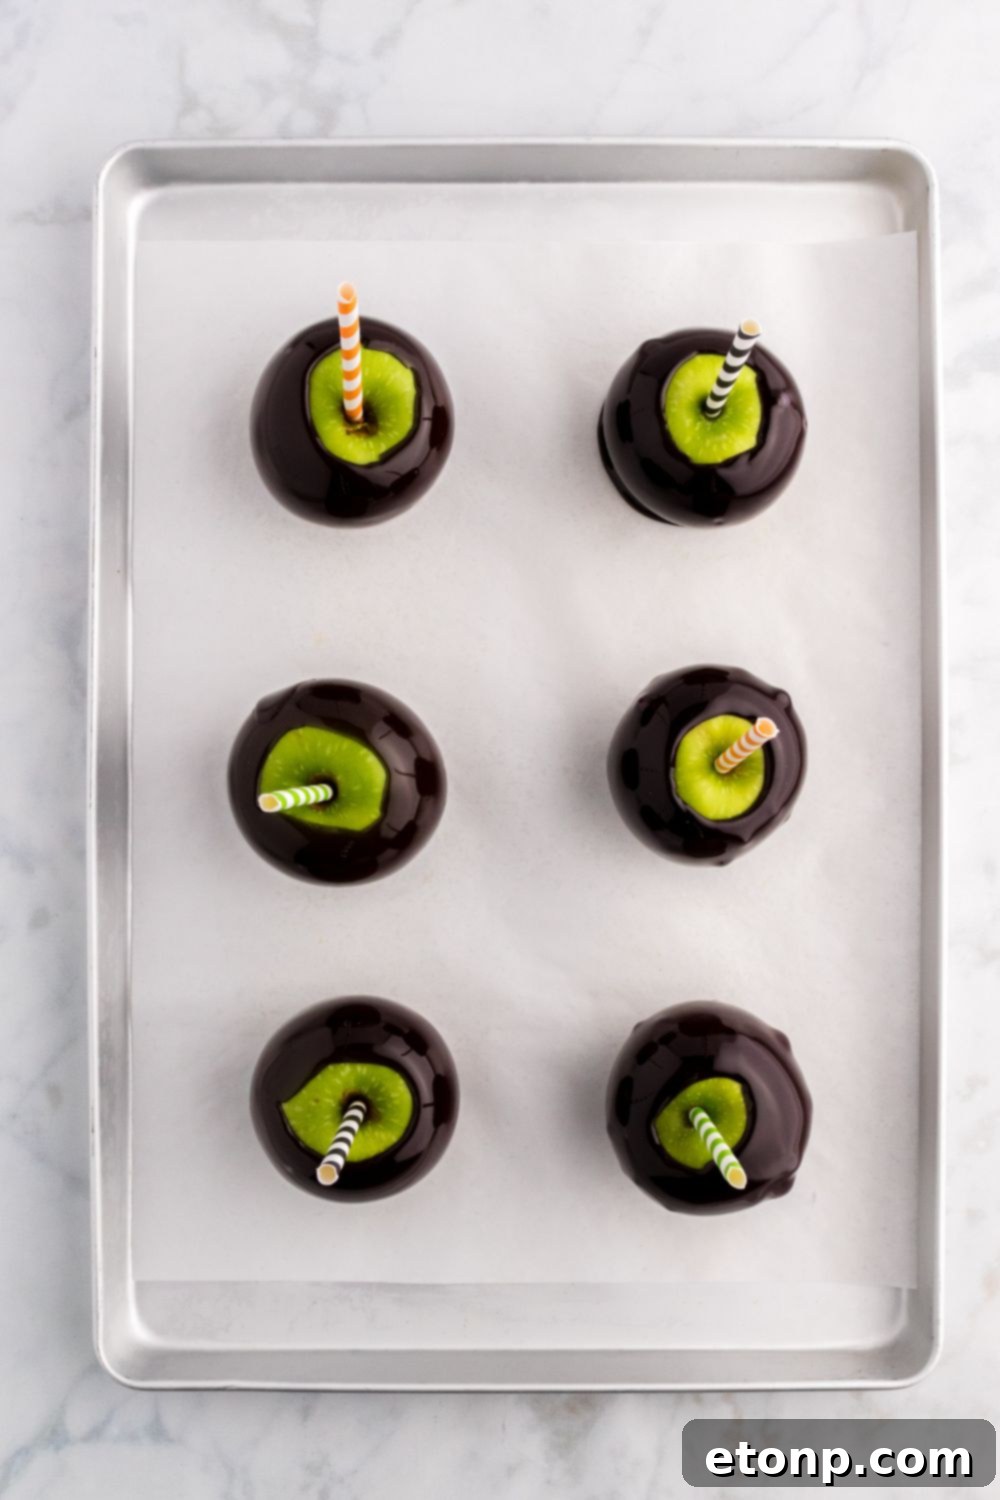
- Carefully tilt the pot to a 45° angle, allowing the candy syrup to pool to one side. Holding an apple by its skewer, dip it into the black candy syrup, swirling it around to ensure an even and complete coating. Allow any excess syrup to drip off back into the pot. Keep the pot on very low heat if needed, to prevent the syrup from hardening too much between dips.
- Place the dipped apples onto the prepared parchment-lined baking sheet. Let them harden at room temperature for at least an hour, or until completely set and firm to the touch.
Did you make this recipe?
Make sure to follow on Pinterest for more recipes!
Pin Recipe
Share on Facebook