

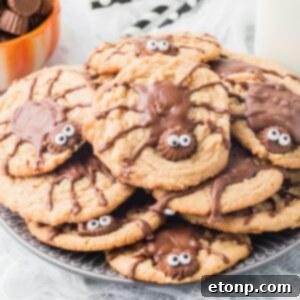
Get ready to conjure up some magic in your kitchen this Halloween season with these incredibly delightful Peanut Butter Spider Cookies! These aren’t just any ordinary cookies; they’re a wickedly wonderful blend of rich, homemade peanut butter cookie goodness, topped with luscious melted chocolate, a beloved mini Reese’s peanut butter cup, and those irresistible, playful googly eyes. Designed to be both spooky and sweet, these spider-themed treats are guaranteed to be the star attraction at any festive gathering, captivating both young and old with their charm and delicious flavor.
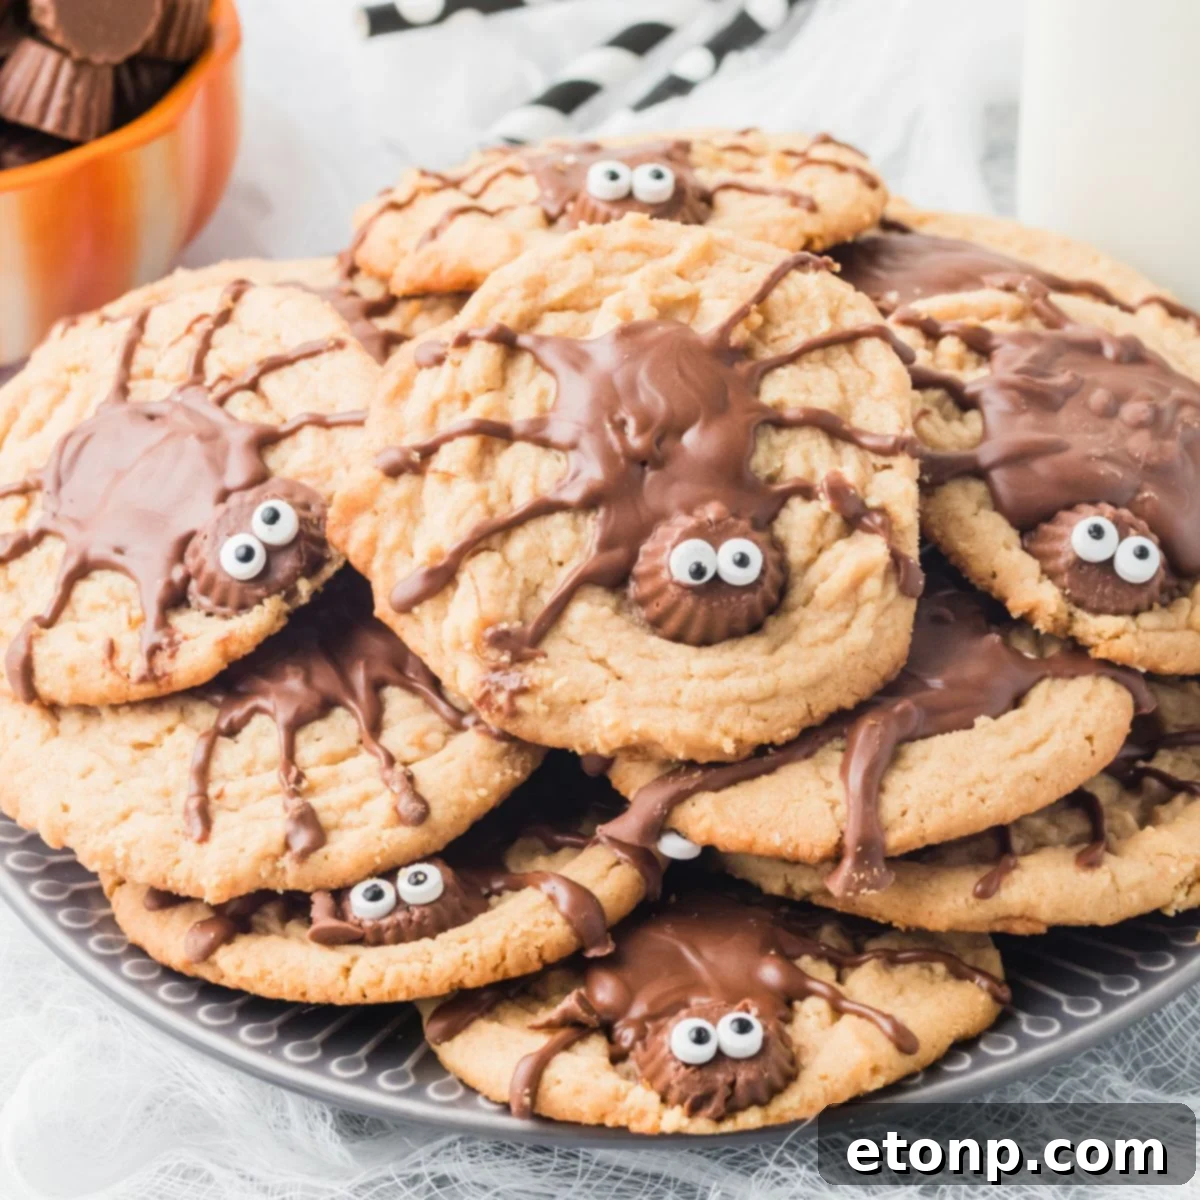
Imagine the smiles and laughter these unique cookies will bring to your next Halloween party! Beyond their undeniable deliciousness, they offer a fantastic opportunity for creative expression and family fun. They are surprisingly simple to decorate, making them an ideal baking project for kids of all ages. Your little monsters will absolutely love helping transform simple cookies into adorable, edible spiders, fostering cherished memories along with delectable treats. These cookies are a true testament to how much joy and excitement can be packed into a single, spooky bite.
Craving more Halloween delights? Explore our other terrifyingly tasty recipes like Ghost Jello Shots for adults, an easy-to-make Halloween Dirt Cake that’s a classic crowd-pleaser, or our charming Mummy Cookies. Each of these Halloween-themed goodies promises to be a hit with your family or any gathering, ensuring a season full of delicious scares and unforgettable flavors.

Unveiling the Charm: What Exactly Are Spider Cookies?
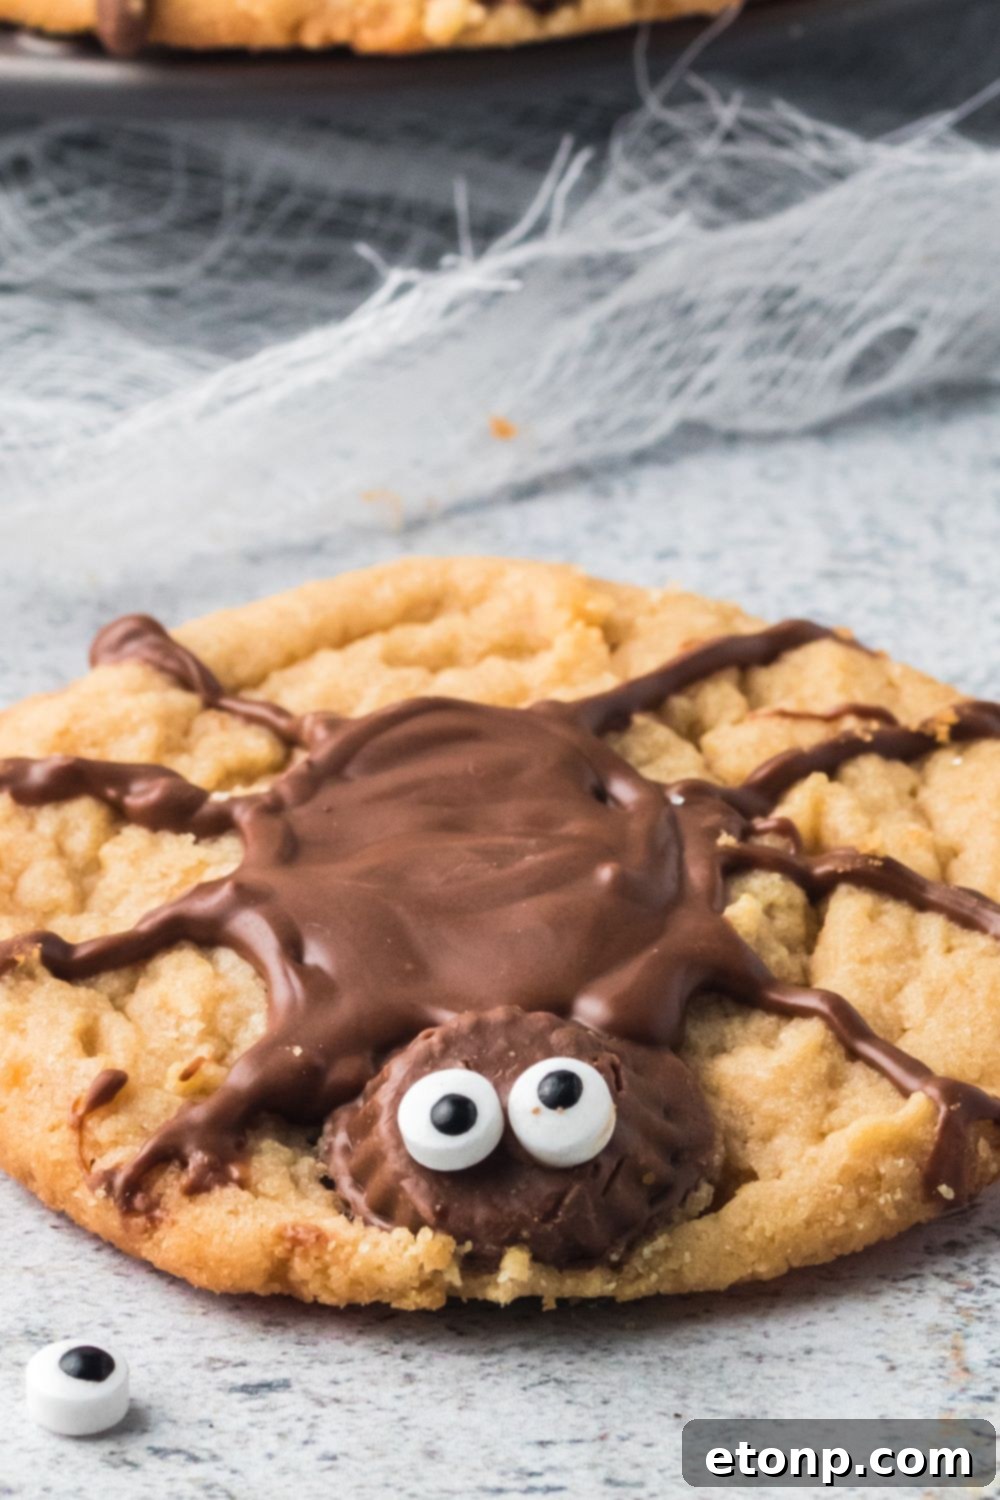
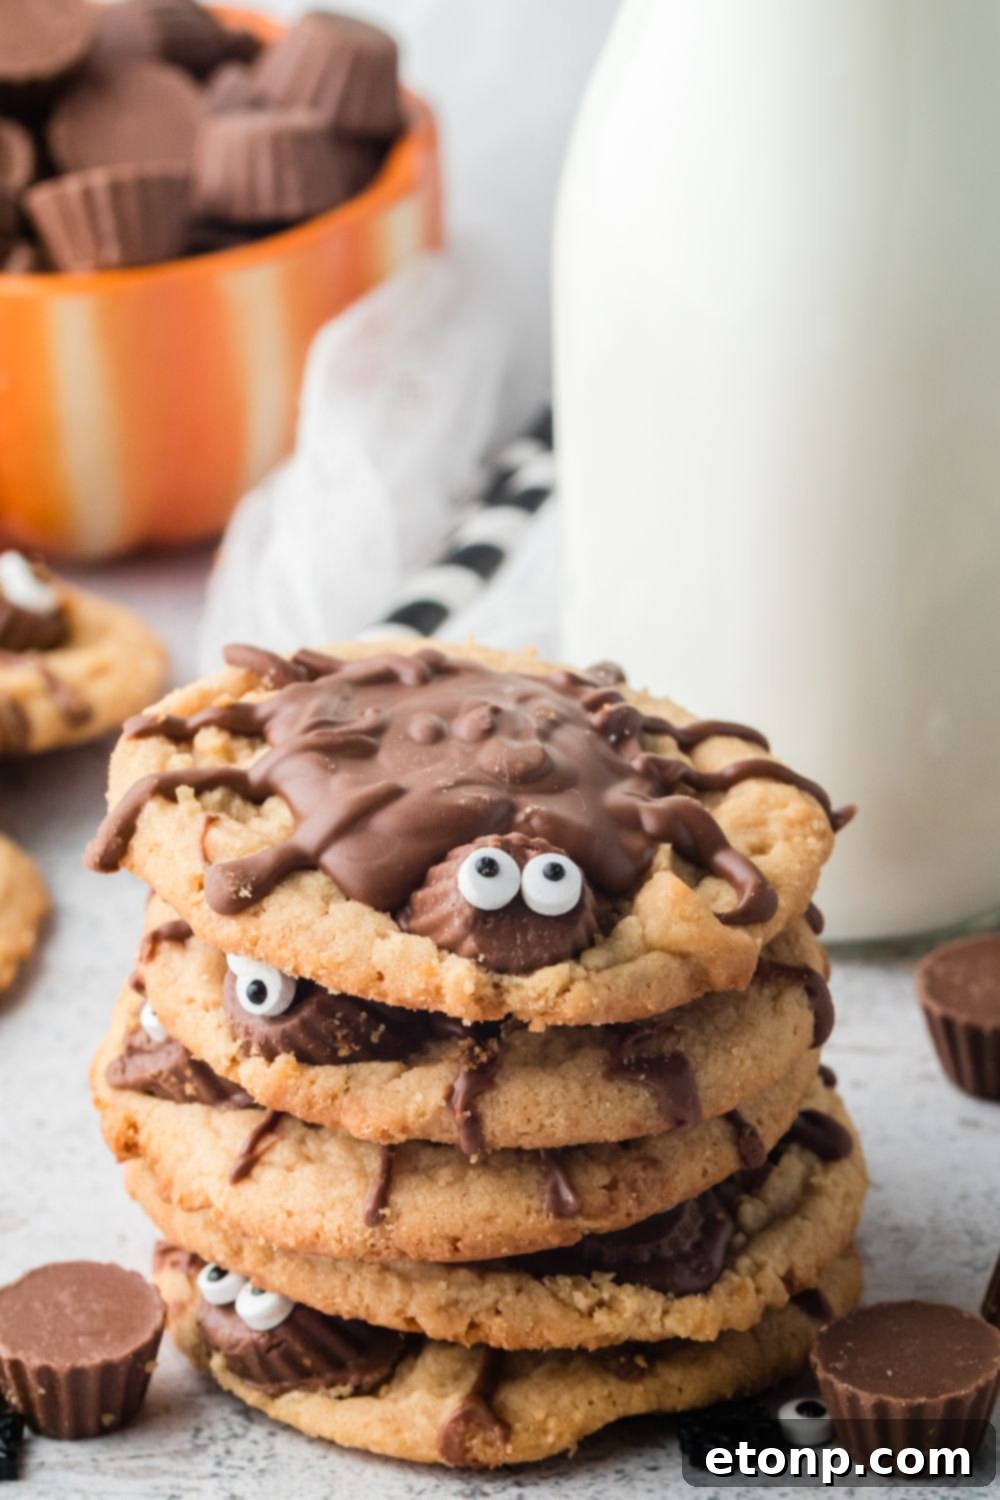
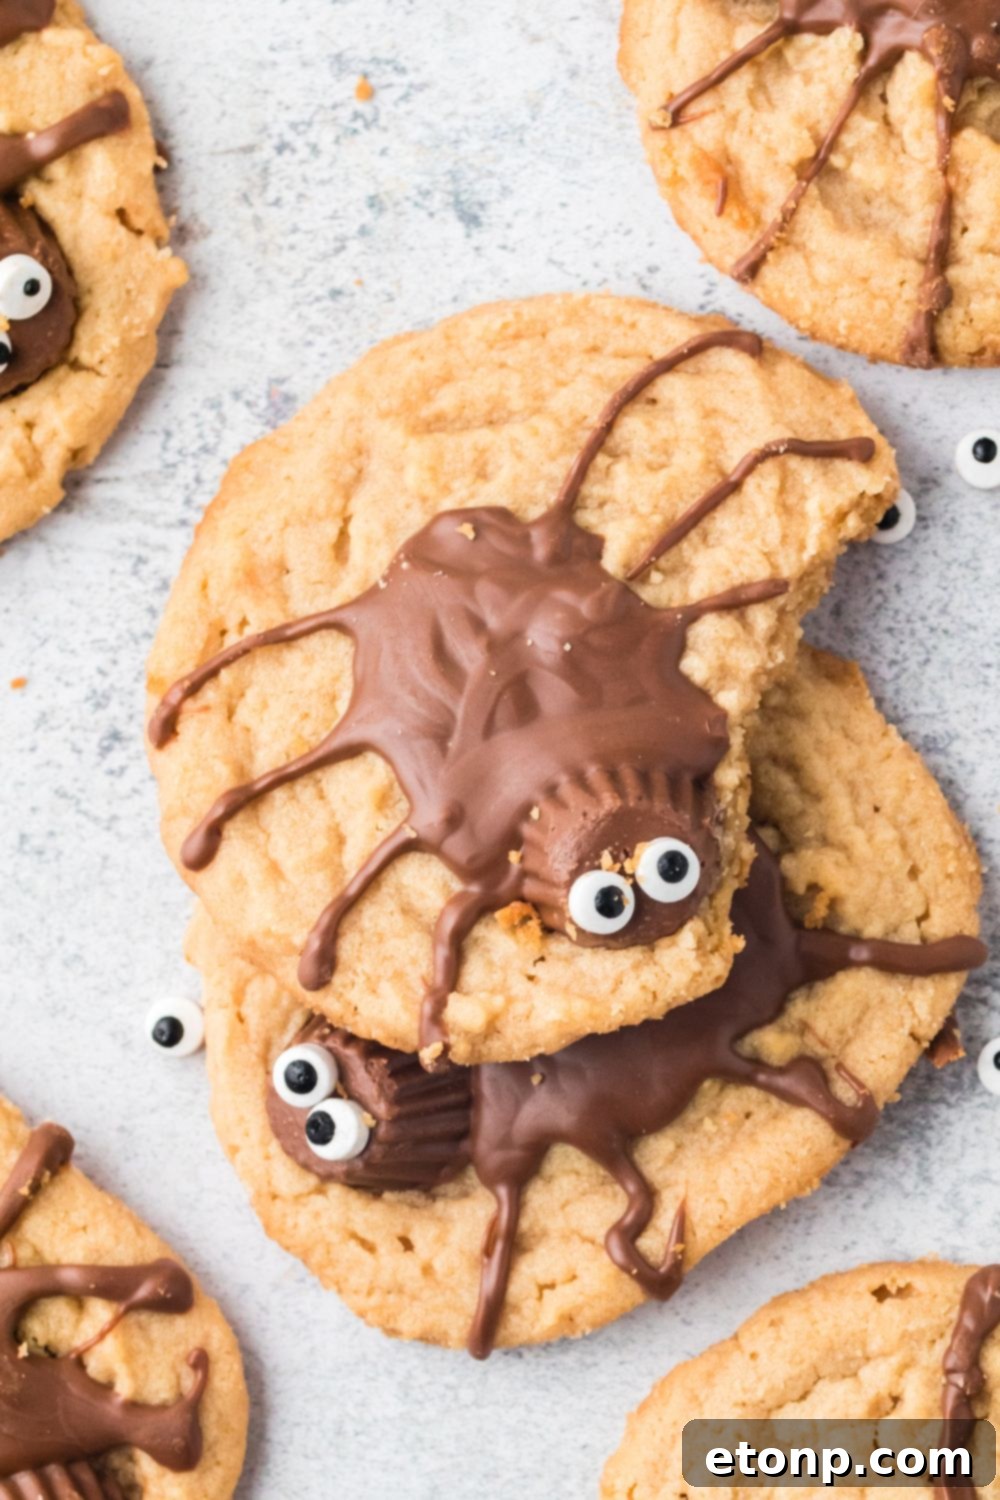
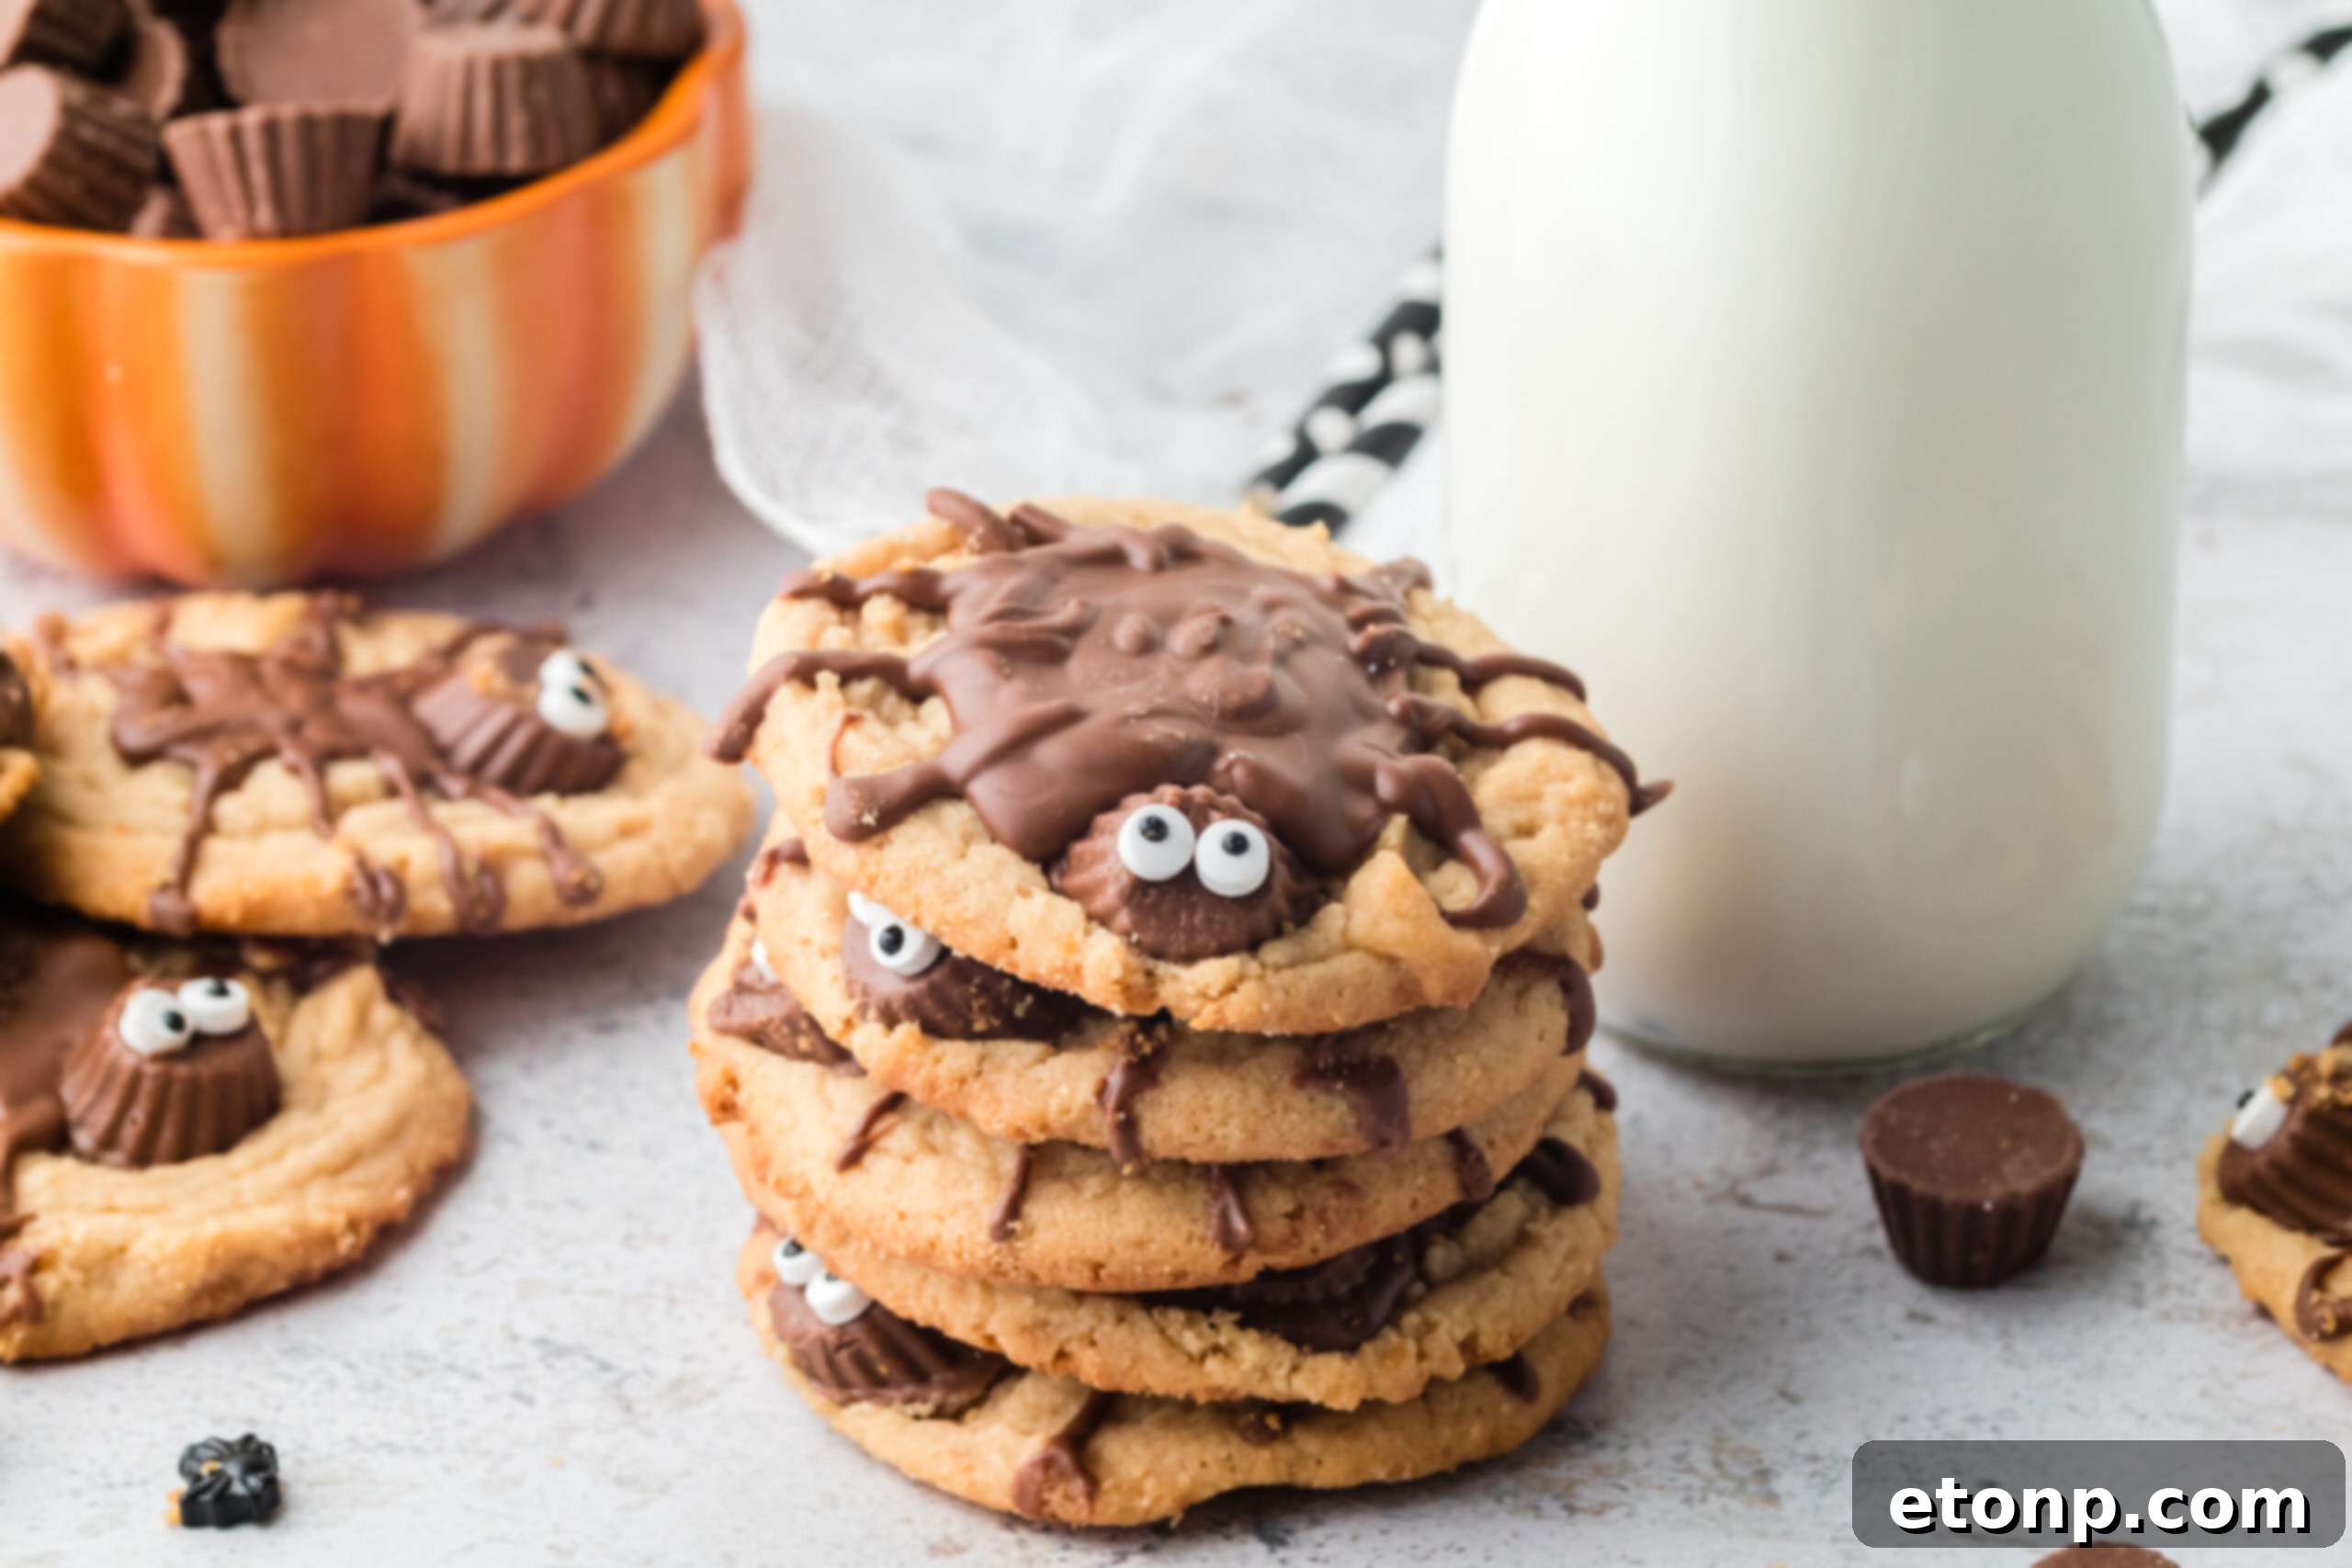
At their core, Peanut Butter Spider Cookies are a brilliantly creative and playful take on a classic dessert. The foundation is a soft, chewy, and irresistibly flavorful peanut butter cookie. What transforms this humble cookie into a festive masterpiece is the whimsical decoration that follows. Each cookie is topped with a rich layer of melted chocolate, which acts as the ‘body’ for the spider. Nestled in the center of this chocolate is often a mini Reese’s peanut butter cup, forming the spider’s ‘head’. Finally, edible candy eyes are carefully placed, bringing these adorable arachnid treats to life.
What makes these cookies truly special is their universal appeal. They combine the beloved taste of peanut butter and chocolate with a visually striking and fun presentation. This versatility makes them incredibly popular for themed parties and holiday events. You’ll discover endless possibilities for customizing the design, allowing you to whip up a batch that perfectly matches your creative vision every single time. Their unique combination of taste and visual appeal ensures they are a guaranteed hit, delighting guests and becoming a conversation starter at any event.
When to Serve These Easy and Fun Spider Cookies
These Peanut Butter Spider Cookies are more than just a seasonal treat; they’re incredibly versatile and perfect for a variety of occasions throughout the fall and Halloween season. Their festive appearance and delicious taste make them a welcome addition to many different events. Here are some of the best times to bring out these charmingly creepy cookies:
Halloween Parties
If you’re hosting a Halloween bash this year, these spider cookies are an absolute must-have. Whether it’s a small gathering of friends or a large neighborhood celebration, a platter of these cookies will not only serve as a fantastic centerpiece for your dessert table but also provide a memorable treat for your guests. They are easy to make in large batches and transport, making them the ideal festive contribution.
School and Community Events
Volunteering to bring snacks for a Halloween-themed school party or community event? These cookies are a brilliant choice! They are visually appealing, kid-friendly, and relatively sturdy for transport. However, always remember to check for any potential allergies among the children, especially peanut allergies, and consider preparing alternative treats if necessary to ensure everyone can safely enjoy the festivities.
Family Movie Nights
Transform your ordinary movie night at home into an extraordinary, spooky experience with these delightful cookies. Imagine snuggling up with a blanket, watching a classic Halloween film, and munching on these fun, playful treats. Kids, in particular, will adore the festive topping and the exciting twist it adds to a cozy evening. It’s a simple way to create cherished family traditions.
General Fall Themed Gatherings
While perfect for Halloween, these cookies also shine at any fall-themed event. You don’t need a specific Halloween celebration to enjoy them. Consider serving them at a pumpkin patch outing, a pumpkin carving party, a cozy autumn bonfire, or a harvest festival. Their warm peanut butter flavor perfectly complements the cozy vibes of the fall season, making them a blast to share with friends and family during any autumnal festivity.

Prepare for a truly spooktacular baking adventure this Halloween with these absolutely adorable Peanut Butter Spider Cookies! These charmingly creepy-crawly delights are not only incredibly delicious, boasting a perfect balance of sweet and savory, but they also serve as a fun, festive, and highly engaging addition to any Halloween celebration or fall gathering. So, don your apron, gather your ingredients, and let’s embark on a journey to bake some unforgettable memories!
Essential Ingredients for Your Spider Cookie Creations
Crafting the perfect batch of Peanut Butter Spider Cookies begins with high-quality ingredients. Each component plays a vital role in achieving that ideal texture and flavor profile. Here’s a closer look at what you’ll need and why each ingredient is important:
Flour: We recommend using all-purpose flour for these cookies. For precise baking, always spoon the flour into your measuring cup and level it off with a straight edge. This technique prevents over-measuring, which can lead to dry or dense cookies.
Baking Soda: This leavening agent is crucial for giving your peanut butter cookies their signature soft, slightly chewy texture and helps them rise beautifully during baking.
Salt: A pinch of salt in baking is more than just seasoning; it’s a flavor enhancer. It balances the sweetness of the sugars and deeply enriches the robust flavor of the peanut butter, bringing all the ingredients together harmoniously.
Butter: For the best results, use softened, unsalted butter. Softened butter creams beautifully with sugar, creating a light and airy base for the cookie dough. It’s important to use butter, not margarine, as margarine can significantly alter the texture and flavor of the final cookie.
Shortening: A small amount of shortening is added to this recipe for a reason – it contributes to an incredibly tender crumb and helps prevent the cookies from spreading too much, ensuring a perfectly shaped canvas for your spider decorations.
Sugar: This recipe utilizes a combination of both granulated sugar and packed brown sugar. Granulated sugar contributes to crisp edges, while brown sugar adds moisture, chewiness, and a subtle caramel note to the peanut butter cookie base.
Egg: The egg acts as an essential binder in the cookie dough, holding all the ingredients together. It also adds richness and contributes to the cookie’s structure and tenderness.
Vanilla: A splash of good quality vanilla extract is a game-changer. It elevates the overall flavor profile of the cookie, adding warmth and a touch of extra sweetness that complements the peanut butter beautifully.
Milk: Any type of milk you have on hand will work for this recipe. It helps to bring the dough to the right consistency, ensuring it’s pliable and easy to work with.
Peanut Butter: For a smoother cookie texture, creamy peanut butter is recommended. However, if you prefer an added crunch, feel free to use crunchy peanut butter. The key is to use a standard, well-mixed peanut butter, rather than natural peanut butter with separated oils, unless you’re prepared for potential texture adjustments.
Mini Reese’s Peanut Butter Cups: These iconic candies are perfect for mimicking the body (or head, depending on how you arrange them) of your spider. Their delightful chocolate and peanut butter flavor makes them a natural fit for these cookies.
Melting Chocolate: You can use chocolate chips or candy melts for the spider’s body and legs. This chocolate is crucial for creating the spider’s delicate features and acts as an adhesive for the candy eyes.
Candy Eyes: These fun, edible eyes are typically found in the baking aisle of most grocery stores. They are incredibly easy to use and instantly elevate the adorable, spooky look of your Peanut Butter Spider Cookies, giving each one its unique personality.
Creative Variations to Customize Your Spider Cookies
While the classic Peanut Butter Spider Cookie is undeniably delicious and charming, there’s no need to limit your creativity! This recipe is incredibly adaptable, inviting you to experiment with various ingredients and decorations to make each batch uniquely yours. Here are some fun variations to inspire your next baking session:
- **Cookie Base Swap:** If you’re short on time or prefer a different flavor, feel free to use store-bought peanut butter cookie dough. Alternatively, completely change the base cookie! Sugar cookies, chocolate chip cookies, or even cake mix cookies can serve as excellent foundations for your spider creations.
- **Alternative Spider Heads:** Instead of a Reese’s peanut butter cup, try using a Rolo for the spider’s head. Its caramel center adds a delightful chewy texture, or experiment with chocolate-covered cherries or even large M&Ms for a pop of color.
- **Hand-Drawn Eyes:** If you can’t find candy eyes or prefer a more handcrafted look, use white candy melts to create small dots for the eyes and then draw pupils with a fine-tipped black edible food marker or a tiny dab of black icing.
- **Crunchy Pretzel Legs:** For added texture and a savory-sweet contrast, use small pretzel sticks for the spider legs. Carefully break them into smaller pieces and gently press them into the melted chocolate body.
- **Gourmet Spider Body:** For a larger, more pronounced spider, use a full-size Reese’s peanut butter cup for the body, then place a mini Reese’s or a round chocolate candy on top for the head.
- **Patterned Spider Bodies:** Get artistic with your chocolate! After creating the basic chocolate body, use a different color of melted candy melts or a contrasting icing to draw stripes, polka dots, or swirling patterns on the spider’s back.
- **Licorice Laces for Legs:** Black licorice laces are excellent for creating long, spindly spider legs, giving your cookies an even creepier, more realistic (yet still cute!) appearance. Cut them to desired lengths and attach them with a dot of melted chocolate.
- **Colorful Spiders:** Add a few drops of edible food coloring to your cookie dough for a vibrant, unexpected twist. Green, purple, or orange cookies can make for truly unique and festive spiders.
- **Textured Peanut Butter:** If you enjoy a bit of chew, opt for chunky peanut butter in your cookie dough. The little bits of peanuts will add an extra layer of texture to your delicious base.
- **Sprinkle Spiders:** Before the chocolate sets, sprinkle edible glitter or Halloween-themed sprinkles over the melted chocolate body for an extra touch of sparkle and fun.
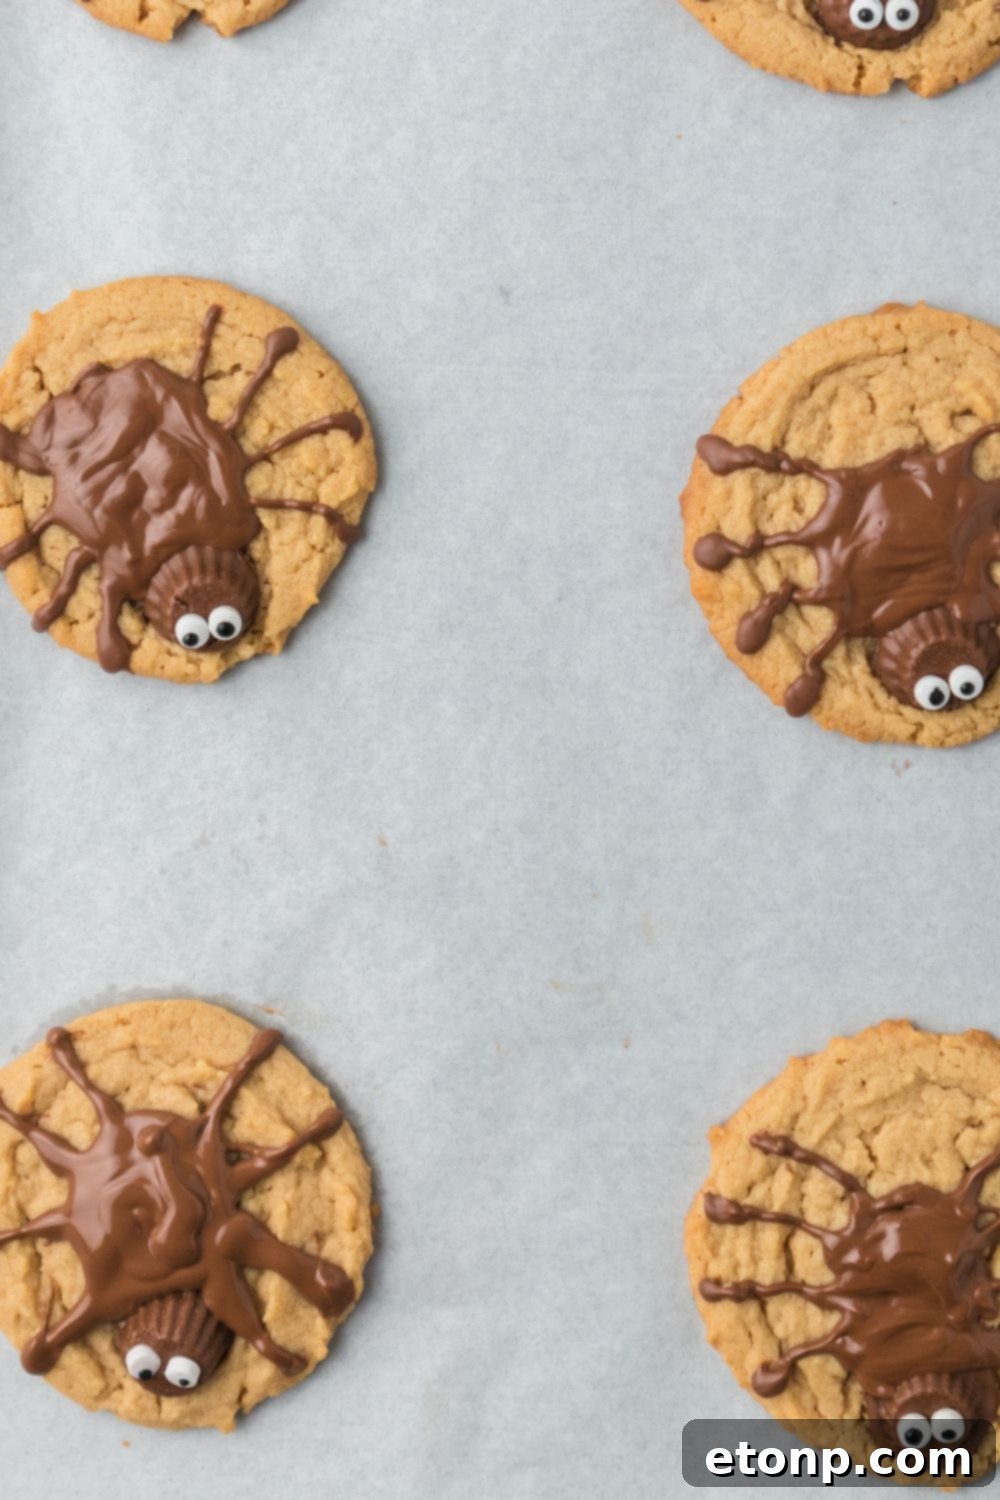
As you can see, the possibilities for transforming these Peanut Butter Spider Cookies are truly endless. Don’t be afraid to experiment and have fun trying out different looks and flavor combinations to find the perfect rendition for your cookie recipe. Whether you’re aiming for cute and whimsical or slightly more realistic and creepy, these variations offer a fantastic way to personalize your Halloween treats.
With all these creative considerations, feel completely free to mix and match ideas, combine elements from different suggestions, and even invent your own unique touches to craft the most spectacular and delicious spider cookies for your personal taste and event. Embrace your inner mad scientist baker!
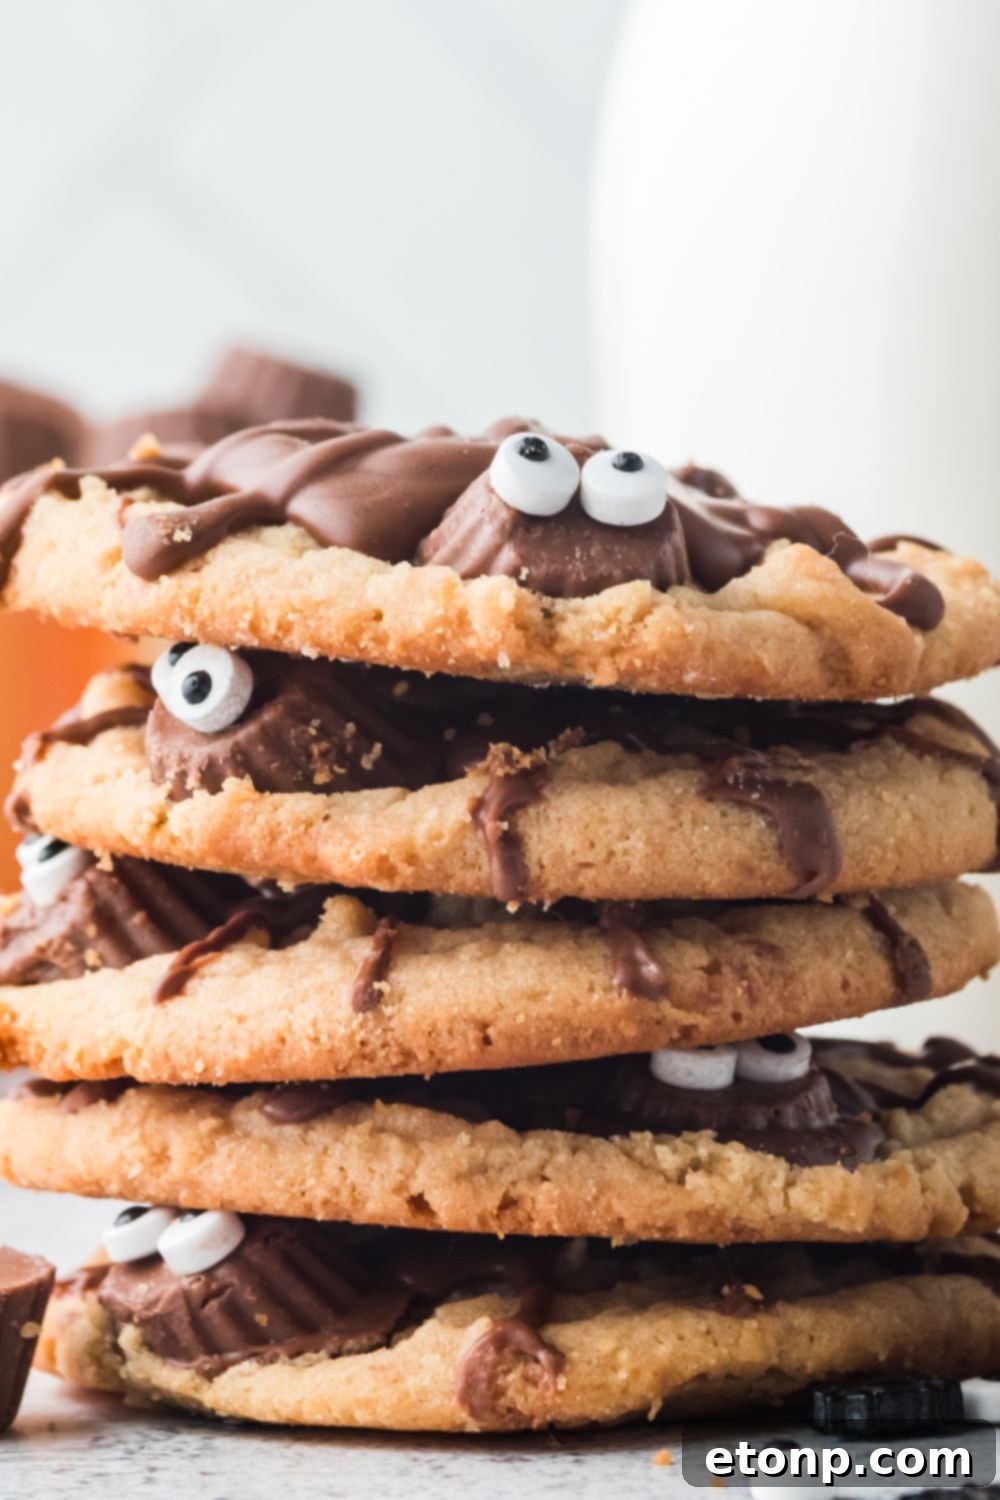
Remember, these delightful cookies are meant to be customized to your heart’s content! You can experiment with different eye colors, create exciting variations using crunchy peanut butter for an added bite, or even add a subtle drop of edible food coloring to the cookie dough itself for an added Halloween twist that truly stands out. Embrace your creative spirit and prepare to have a ghoulishly great time decorating each and every cookie, making them as unique and fun as your Halloween celebration.
Recipe Developer Tips for Success
Achieving perfectly delicious and visually appealing Peanut Butter Spider Cookies is easy with a few insider tips. These pointers will help you navigate the baking and decorating process like a pro, ensuring your treats turn out beautifully every time:
- **Consistent Cookie Size:** Always use a cookie scoop to ensure that each portion of dough is uniform in size. This not only makes your cookies look professional but also guarantees even baking, preventing some from burning while others remain undercooked.
- **Flat Surface for Decorating:** For these particular cookies, it’s best to roll the cookie dough into smooth balls before baking. As they bake, they will naturally flatten, providing a nice, smooth surface that is ideal for decorating the spider bodies and legs without bumps or cracks.
- **Avoid Overbaking:** Peanut butter cookies are notorious for drying out quickly if left in the oven for too long. Keep a close eye on them; the baking time serves as a guide, but ovens vary. Remove them when the edges are just set and the centers still look slightly soft. They will continue to set as they cool.
- **Prepare Your Decorating Station:** Have your melted chocolate (or candy melts) ready, along with all your candies (Reese’s cups and candy eyes) before the cookies are completely cooled. This streamlines the decorating process and ensures you can work efficiently while the cookies are still slightly warm, allowing the chocolate to adhere well.
- **Secure the Eyes:** To ensure the candy eyes stick firmly to the Reese’s cup (the spider’s head), place a tiny dot of melted chocolate on the back of each eye before pressing them into place. This acts as a strong edible adhesive.
- **Embrace Creativity:** While our design is a great starting point, feel free to experiment with different patterns, colors, or even additional edible decorations for your spiders. Use your imagination to create unique and personalized spider cookies!
- **Cool Completely:** Allow the cookies to cool completely on a wire rack before serving. This is crucial for the melted chocolate to set properly. If you serve them too soon, the chocolate will be gooey, potentially smudging your carefully crafted spider designs.
- **Chill the Dough (Optional but Recommended):** If your cookie dough seems too soft or sticky to roll, or if you’re baking in a warm kitchen, consider chilling the dough for 30 minutes to an hour. This helps the cookies maintain their shape and prevents excessive spreading.
- **Melt Chocolate Gently:** Whether using a microwave or a double boiler, melt your chocolate slowly and gently. Overheating chocolate can cause it to seize or become grainy, making it difficult to work with. Stir frequently until smooth.
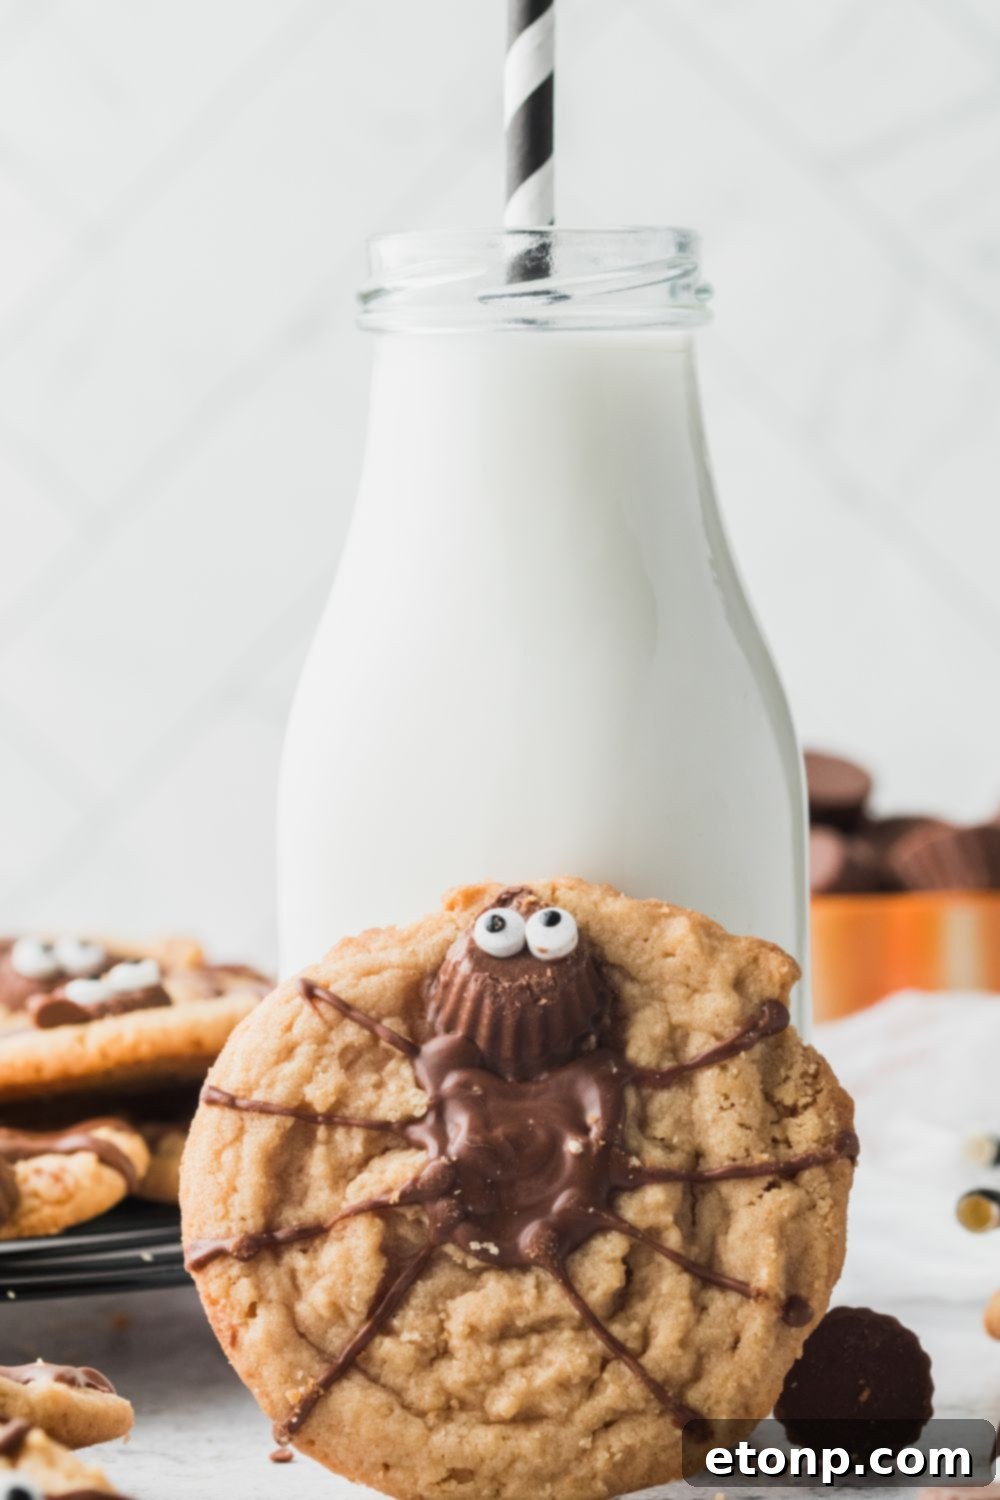
Storing Your Peanut Butter Spider Cookies
Proper storage is key to keeping your delicious Peanut Butter Spider Cookies fresh and enjoyable for as long as possible. Here are the best ways to store them, whether you plan to eat them soon or save them for later:
For short-term storage, any cookies you don’t devour immediately should be stored on the counter at room temperature. Place them in an airtight container to prevent them from drying out. If you need to stack them, use wax paper or parchment paper between layers. This simple step is vital to prevent the chocolate decorations from sticking to each other, preserving their appearance. Stored this way, your cookies will remain fresh and tasty for approximately 4-5 days.
If you’re looking to prepare a big batch in advance or simply want to save some for a later date, these cookies freeze beautifully. Once the chocolate decorations are completely set and firm, place the cookies in a single layer on a baking sheet and flash freeze them for about an hour. Once solid, transfer them to a freezer-safe bag or an airtight container, again using wax paper between layers if stacking. They can be frozen for 3-4 months. When you’re ready to enjoy them, simply thaw them on the counter at room temperature for an hour or two. Alternatively, many find them quite delicious eaten straight from the freezer for a chilly, chewy treat!
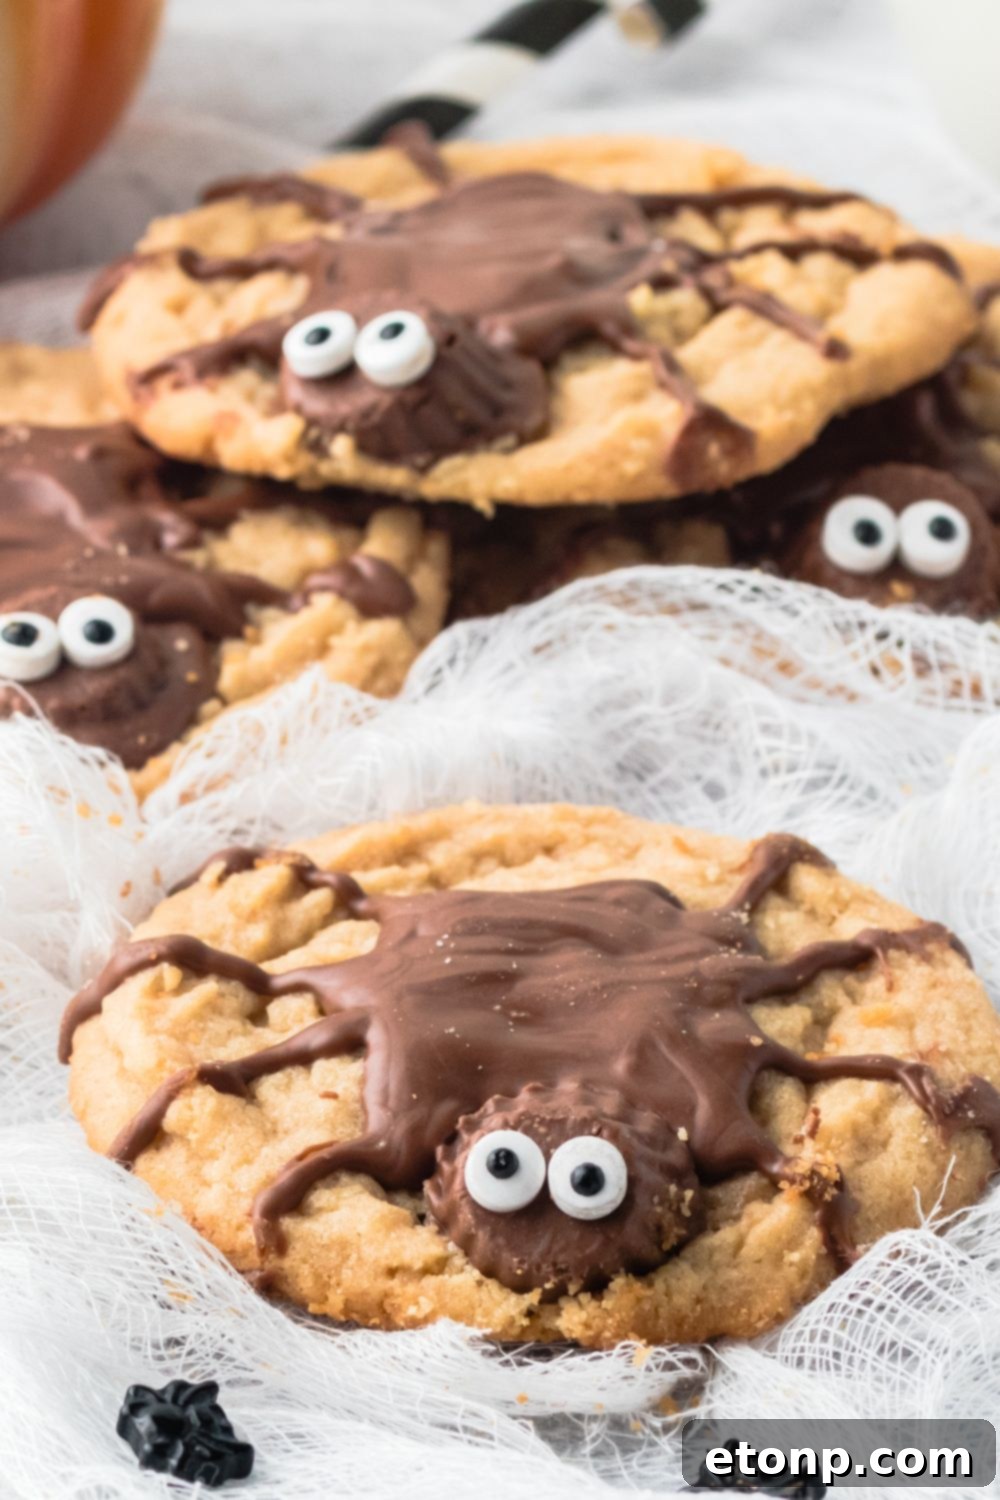
Frequently Asked Questions About Spider Cookies
Why are my peanut butter cookies dry and crumbly?
There are typically two main culprits behind dry and crumbly cookies. Firstly, you might have added too much dry ingredient, particularly flour. Always remember to spoon and level your flour, rather than scooping directly from the bag, which compacts it and leads to excess. Secondly, overbaking is a common cause. Peanut butter cookies can go from perfectly baked to dry very quickly. Remove them from the oven when the edges are lightly golden and the centers still look slightly soft; they will continue to set as they cool.
Can I use natural peanut butter in my peanut butter cookies?
While you certainly can use natural peanut butter, be aware that it can significantly alter the texture of your cookies. Natural peanut butter tends to have more oil separation and can be runnier or stiffer than conventional peanut butter. This can lead to a dough that is either too oily and spreadable or too dry and crumbly. If you do use natural peanut butter, you might need to make minor adjustments to your dry or wet ingredients to achieve the desired dough consistency.
Can I use other types of candies for decorating spider cookies?
Absolutely! Feel free to let your creativity run wild with decorating your spider cookies. You can use almost any small candies for the eyes or to add extra details to the spider’s body. Colored candy melts are also a fantastic option for creating vibrant and unique spider legs or patterns, allowing you to match your cookies to a specific party theme or simply add more visual flair.
Can I make the cookie dough ahead of time?
Yes, preparing the cookie dough in advance is a great time-saver! Once your dough is mixed, wrap it tightly in plastic wrap and store it in the refrigerator for up to 2-3 days. When you’re ready to bake, let the dough sit at room temperature for about 15-20 minutes to soften slightly before rolling and baking as per the instructions.
What’s the best way to melt chocolate for decorating?
For smooth, pipeable chocolate, a double boiler method works wonders. Simply place a heat-proof bowl over a saucepan of simmering water, ensuring the bottom of the bowl doesn’t touch the water. Stir the chocolate until fully melted and smooth. Alternatively, you can use a microwave: heat chocolate chips or candy melts in a microwave-safe bowl in 30-second intervals, stirring thoroughly after each interval, until melted and smooth. Be careful not to overheat, as chocolate can seize.
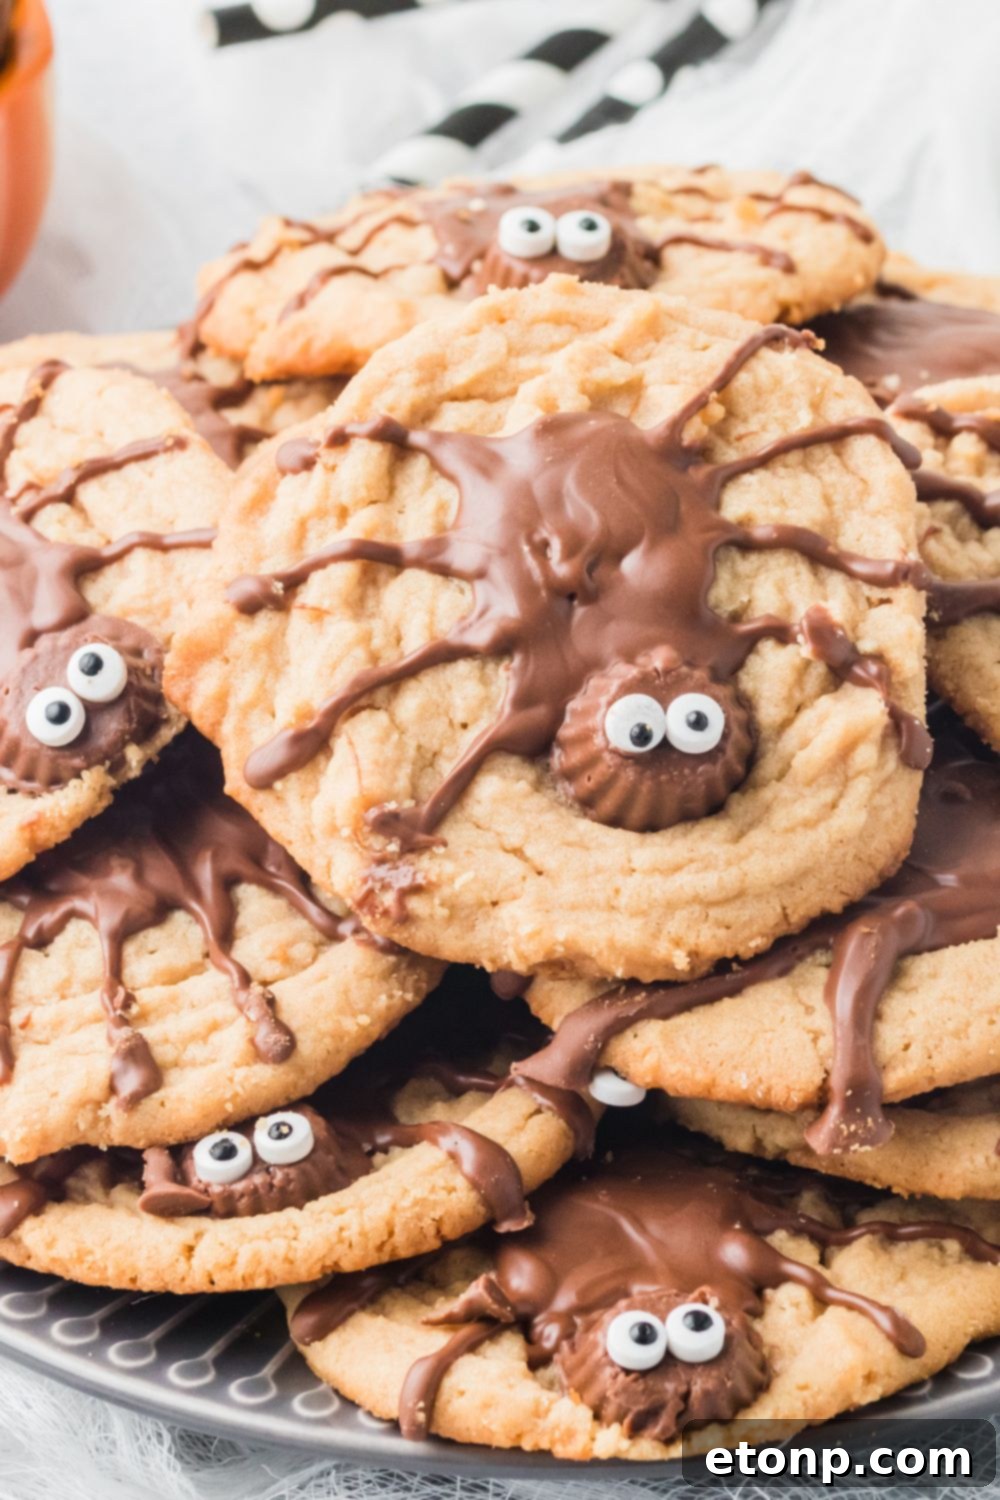
Peanut Butter Spider Cookies are truly a masterpiece of Halloween baking – not only are they visually adorable and charmingly creepy, but they are also incredibly scrumptious! The rich, creamy flavor of the peanut butter base perfectly complements the subtle crunch of the cookie, all delightfully topped with chocolate spiders that add a fun and spooky twist. These delightful treats are perfect for serving at your annual Halloween party, sharing with trick-or-treaters, or simply indulging in a cozy night while watching your favorite scary movies. They are a guaranteed crowd-pleaser and a fantastic way to celebrate the season.
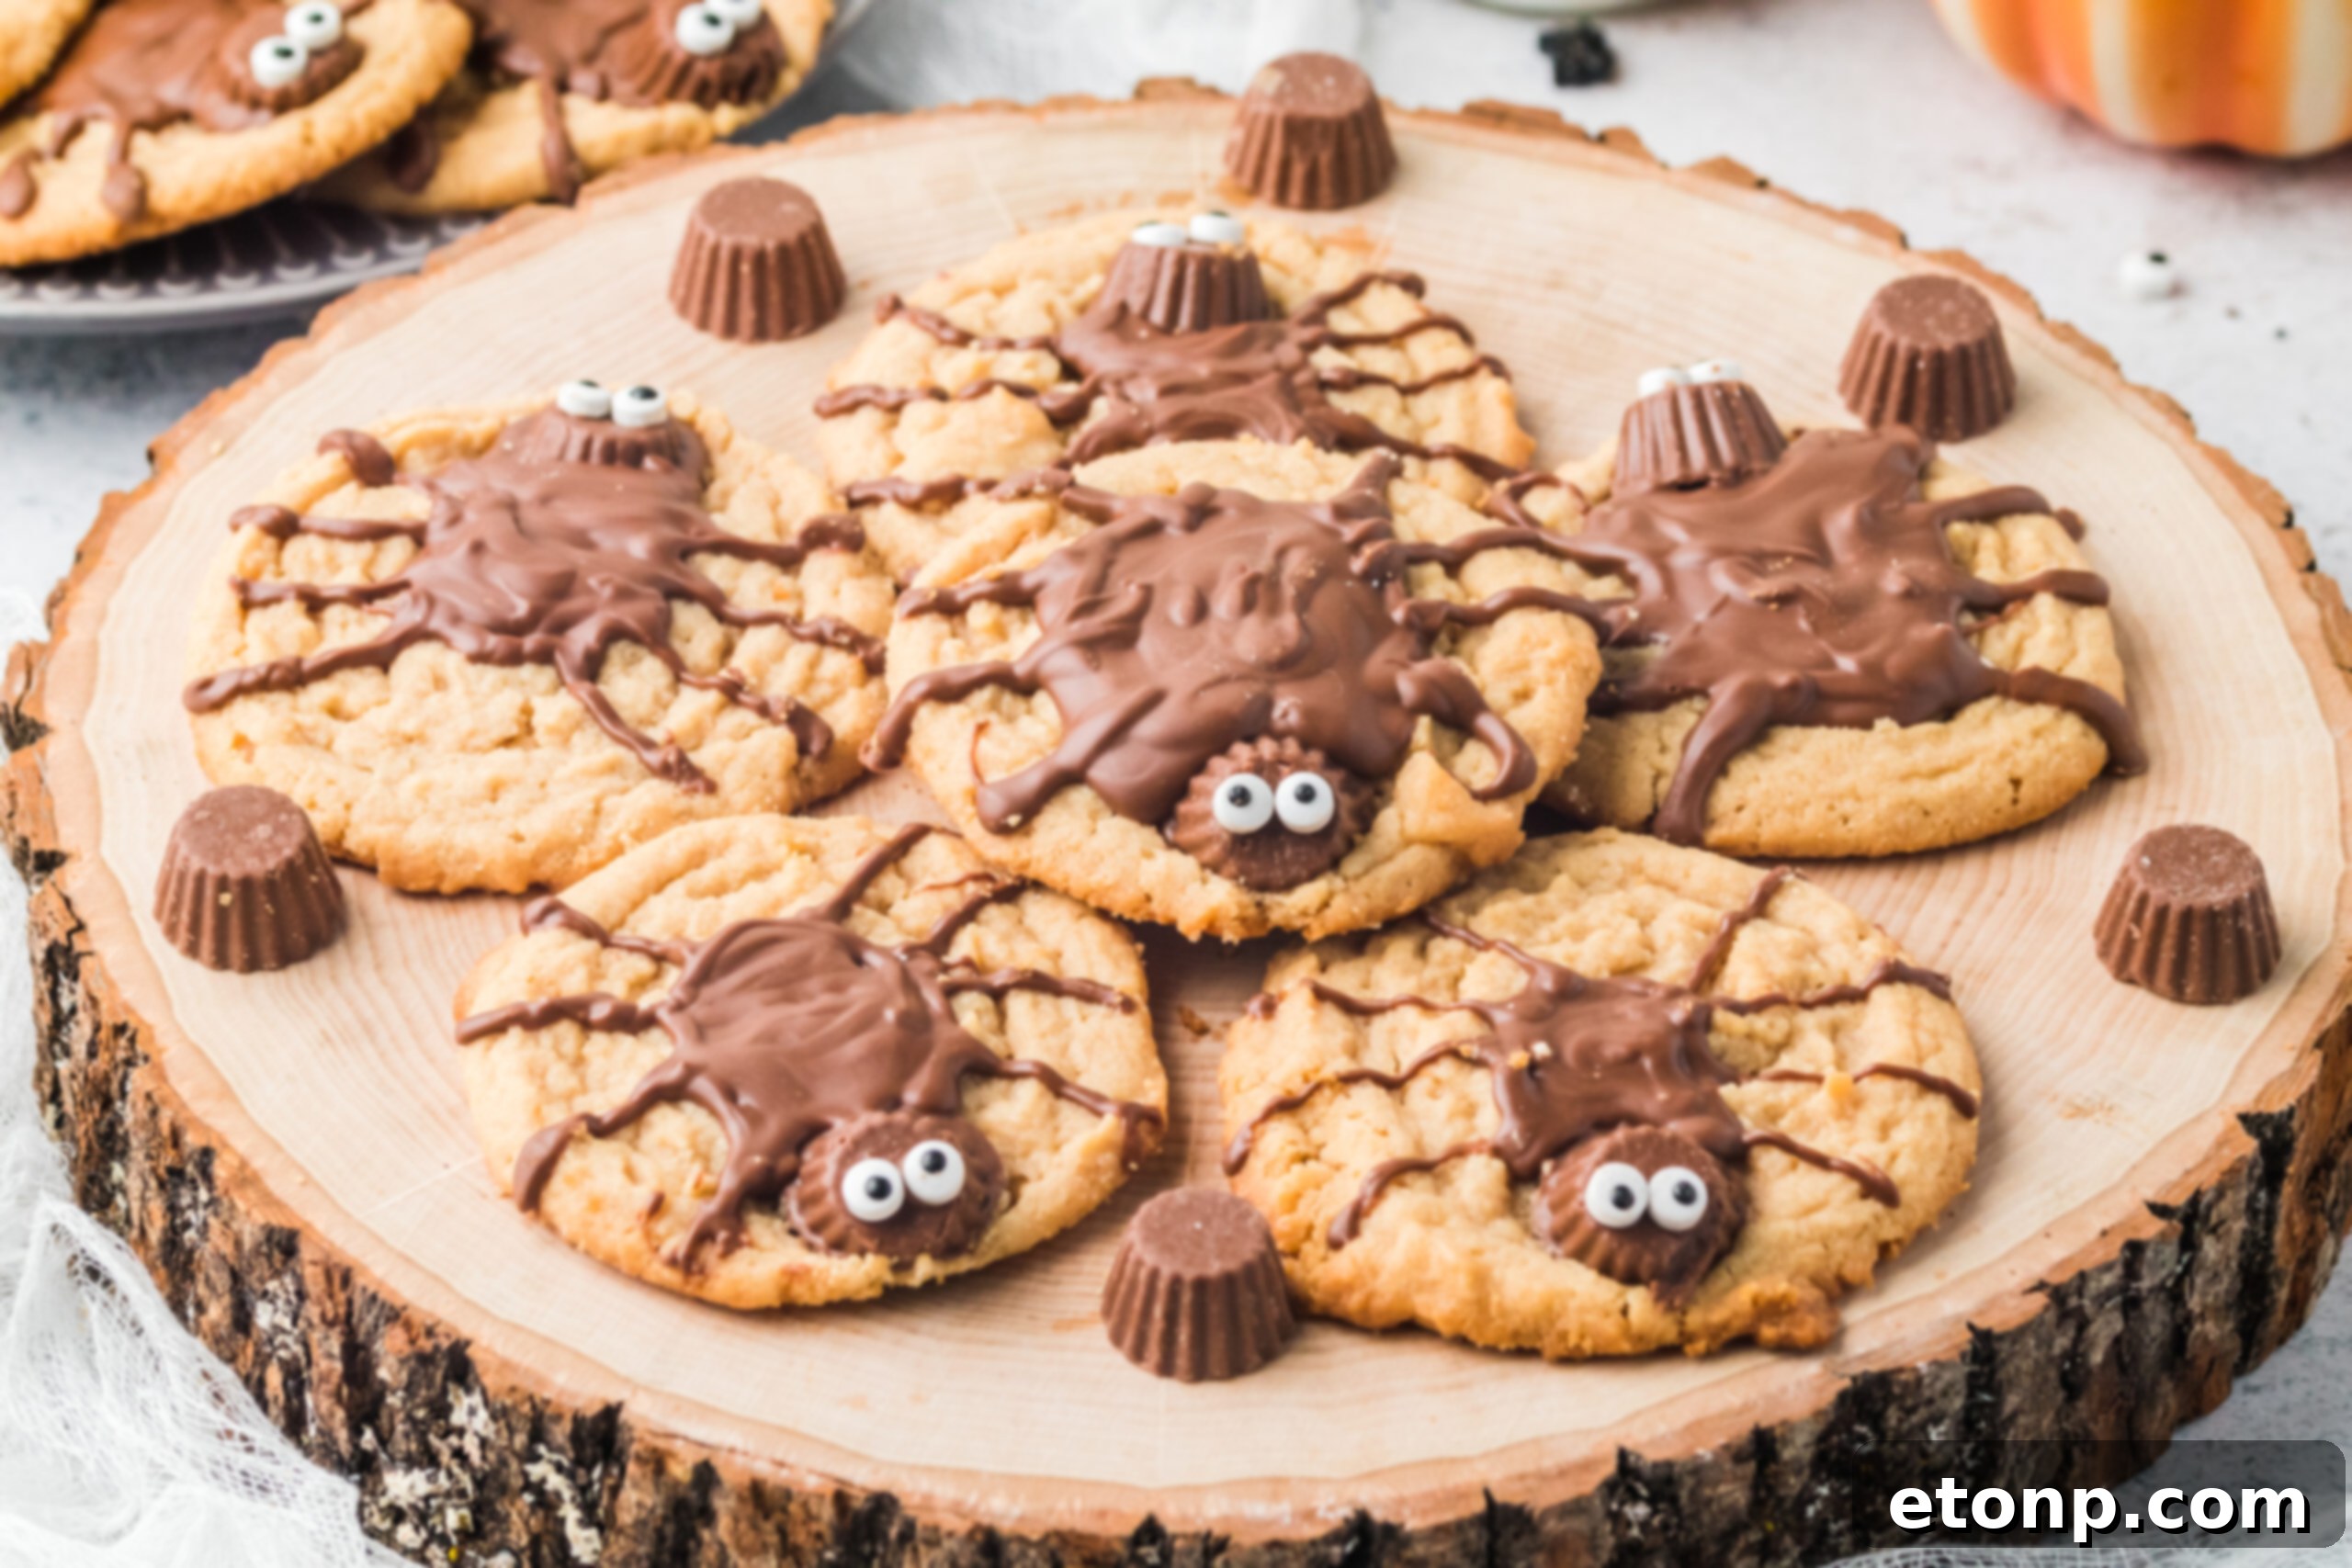
So, this Halloween, elevate your dessert game and treat your taste buds to something truly extraordinary with these irresistible Peanut Butter Spider Cookies. They’re creepy, they’re cute, they’re easy to make, and above all, they’re deliciously spooky! Dive into the joy of baking and decorating, and create some unforgettable memories with these delightful treats. Enjoy every single bite, and Happy Halloween! 🕷️🎃
More Delicious Recipes For Fall
- Fall Harvest Crack
- Pumpkin Earthquake Cake
- Slow Cooker Halloween Hot Chocolate
Peanut Butter Spider Cookies
Ingredients
- 2 cups of flour spooned and leveled
- 1 teaspoon of baking soda
- ½ teaspoon of salt
- ½ cup of butter softened
- ½ cup of shortening and 1 tablespoon
- 1 cup of packed brown sugar
- 1/2 cup of granulated sugar
- 1 egg
- 1 teaspoons of vanilla
- 2 Tablespoons of milk
- 1 cup of peanut butter creamy
- 33-36 Mini Reese’s Peanut Butter Cup
- 3 oz of melting chocolate
- Candy Eyes
Instructions
-
Preheat the oven to 350 degrees F (175 C). Line a cookie sheet with parchment paper or a silicone baking mat.
-
In a medium bowl, combine your flour, baking soda, and salt. Mix thoroughly and set aside.
-
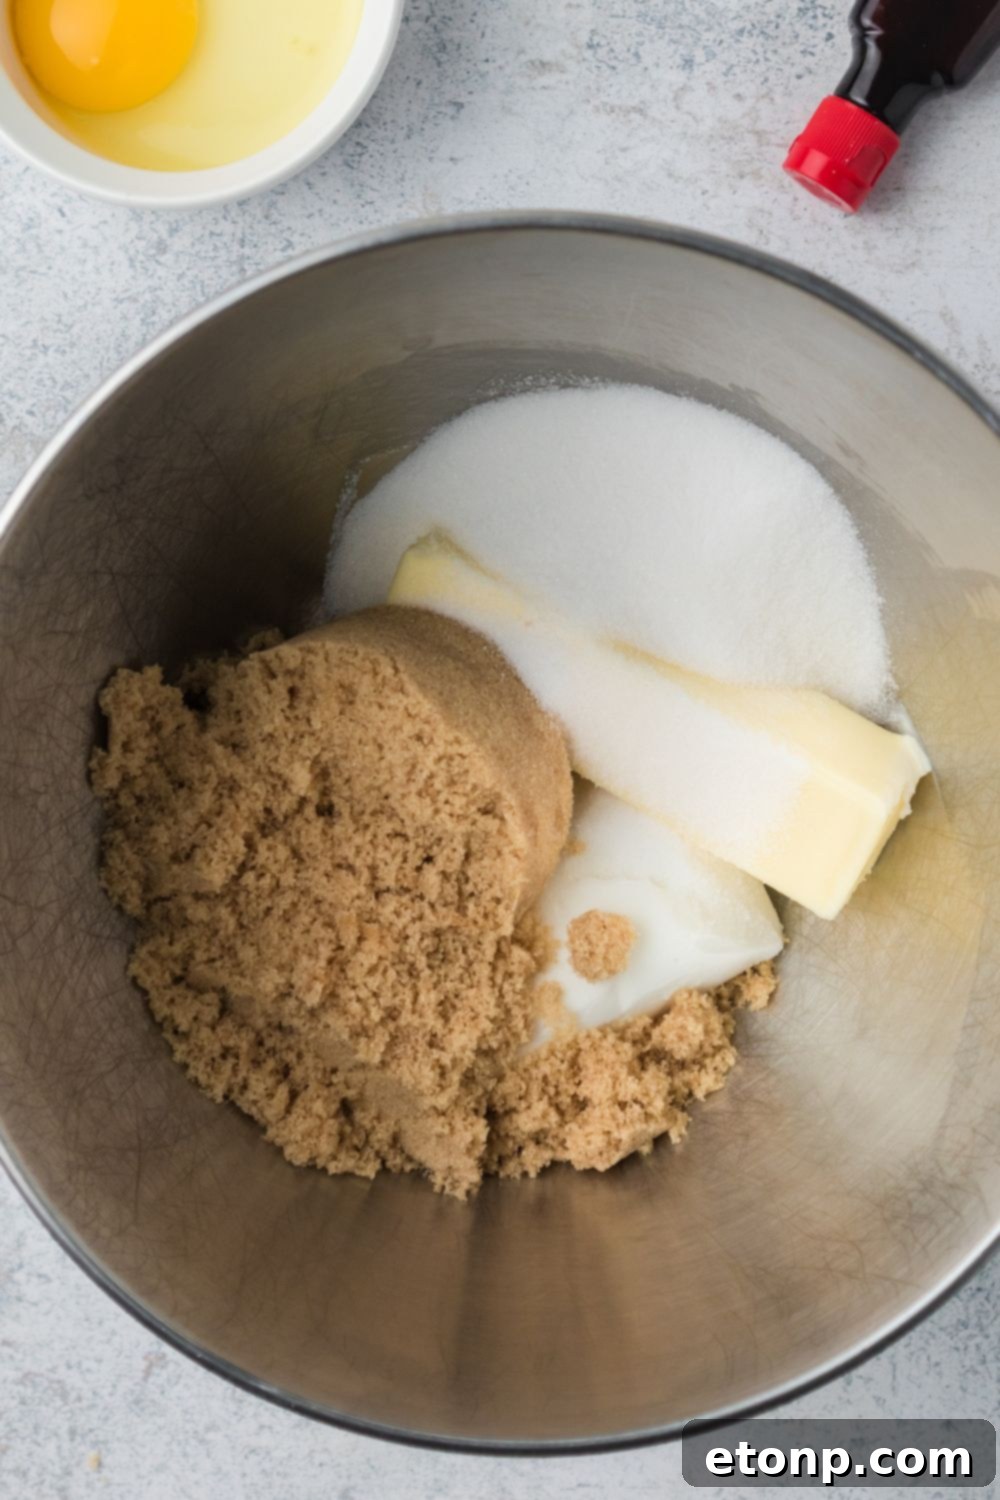
Using a stand mixer or a hand mixer, cream together the softened butter, shortening, packed brown sugar, and granulated sugar for 2-3 minutes on medium speed until light and fluffy.
-
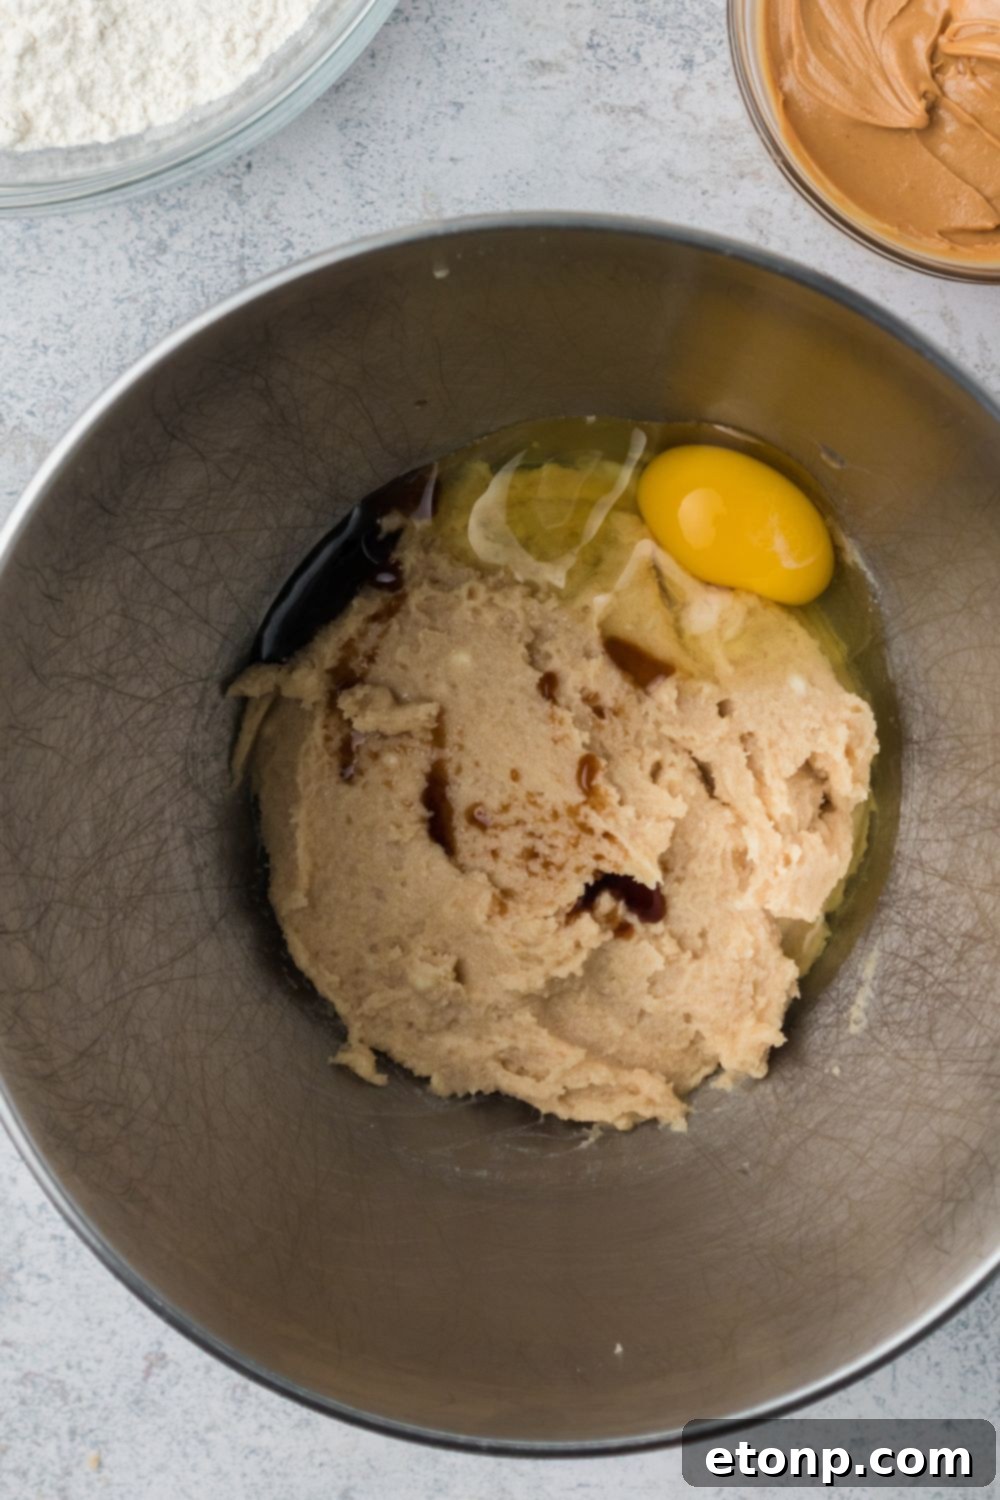
Add in the egg, vanilla extract, and creamy peanut butter. Mix until well combined, making sure to scrape down the sides of the bowl to ensure all ingredients are incorporated.
-
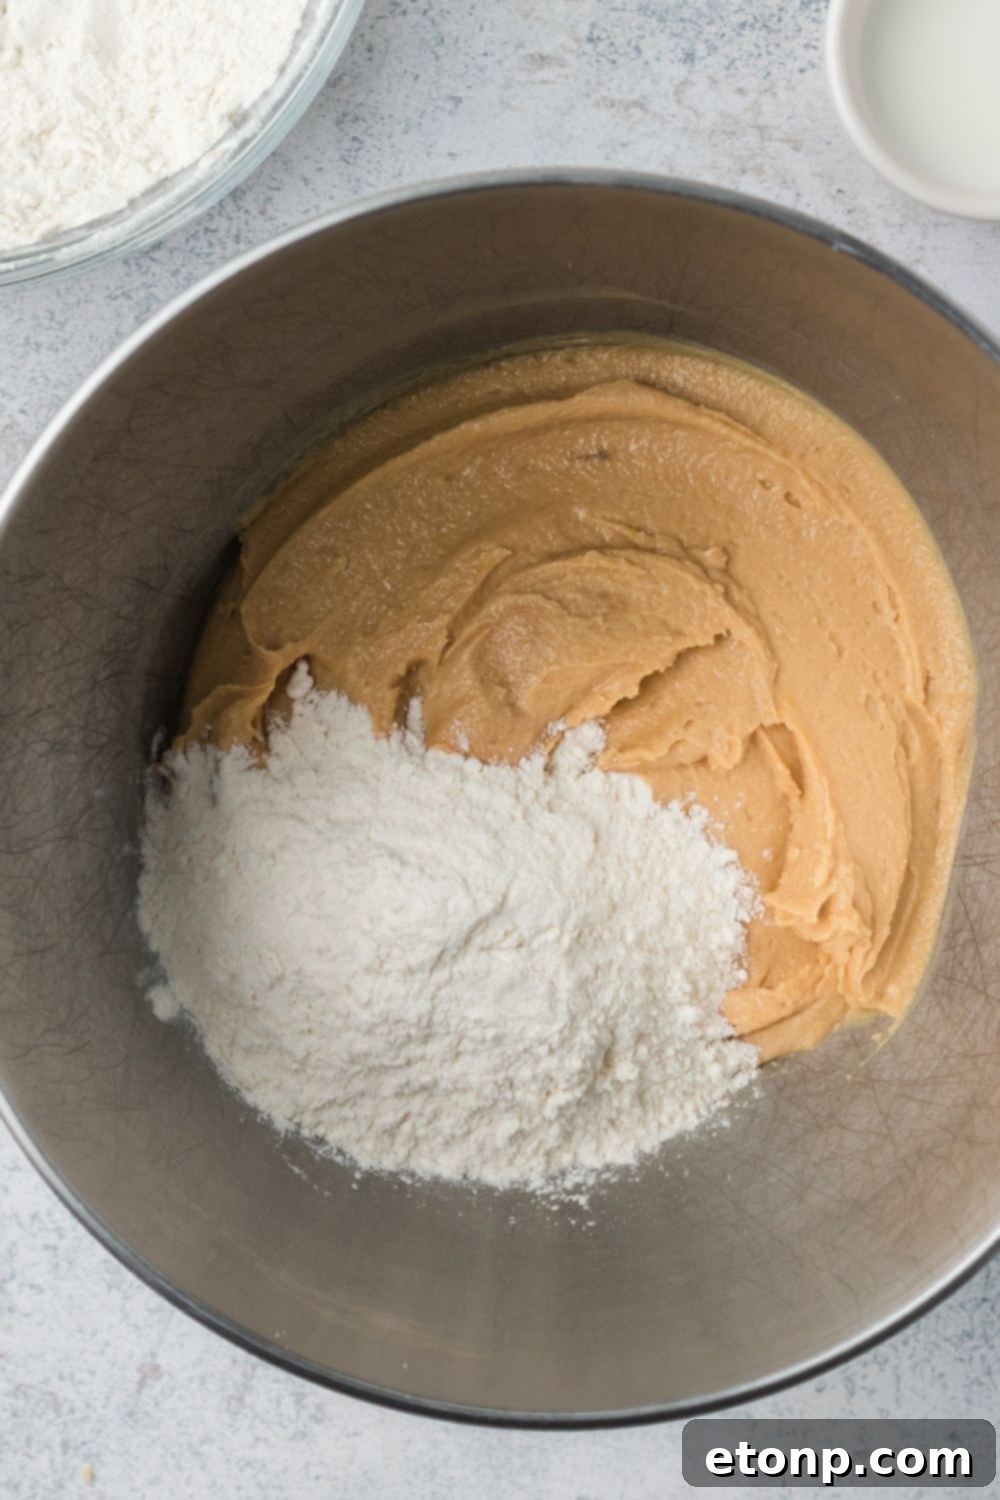
Gradually and slowly incorporate the dry ingredients into the wet mixture, mixing until just combined. Do not overmix.
-
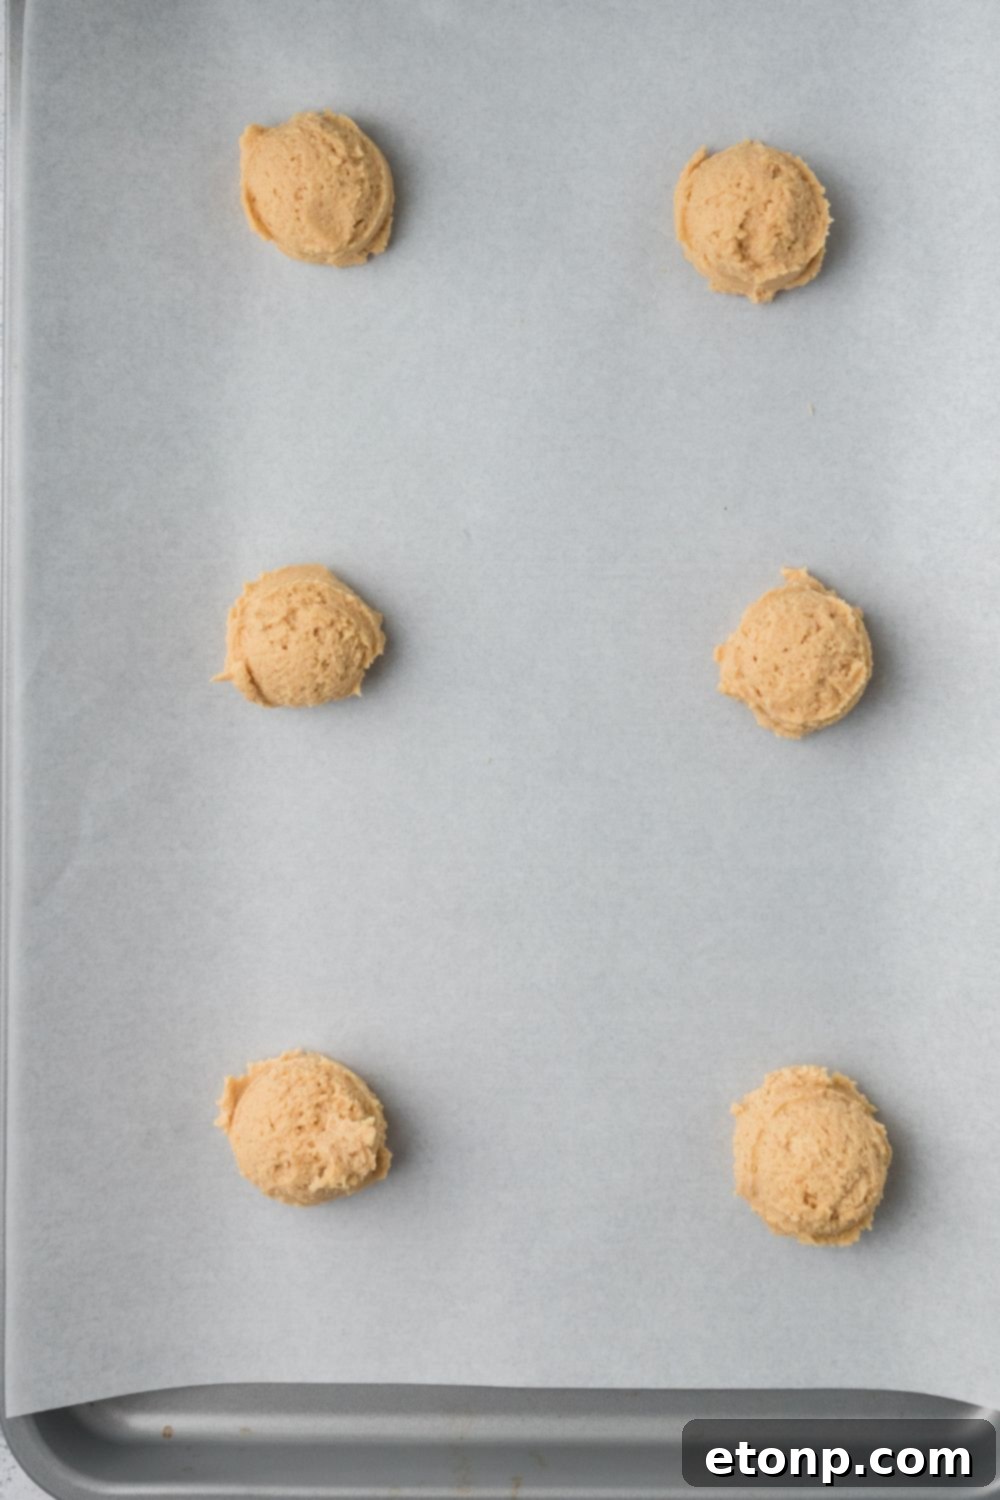
Using a 1-inch cookie scoop, form cookie dough balls and place them on the prepared baking sheet, leaving about 2 inches apart to allow for spreading.
-
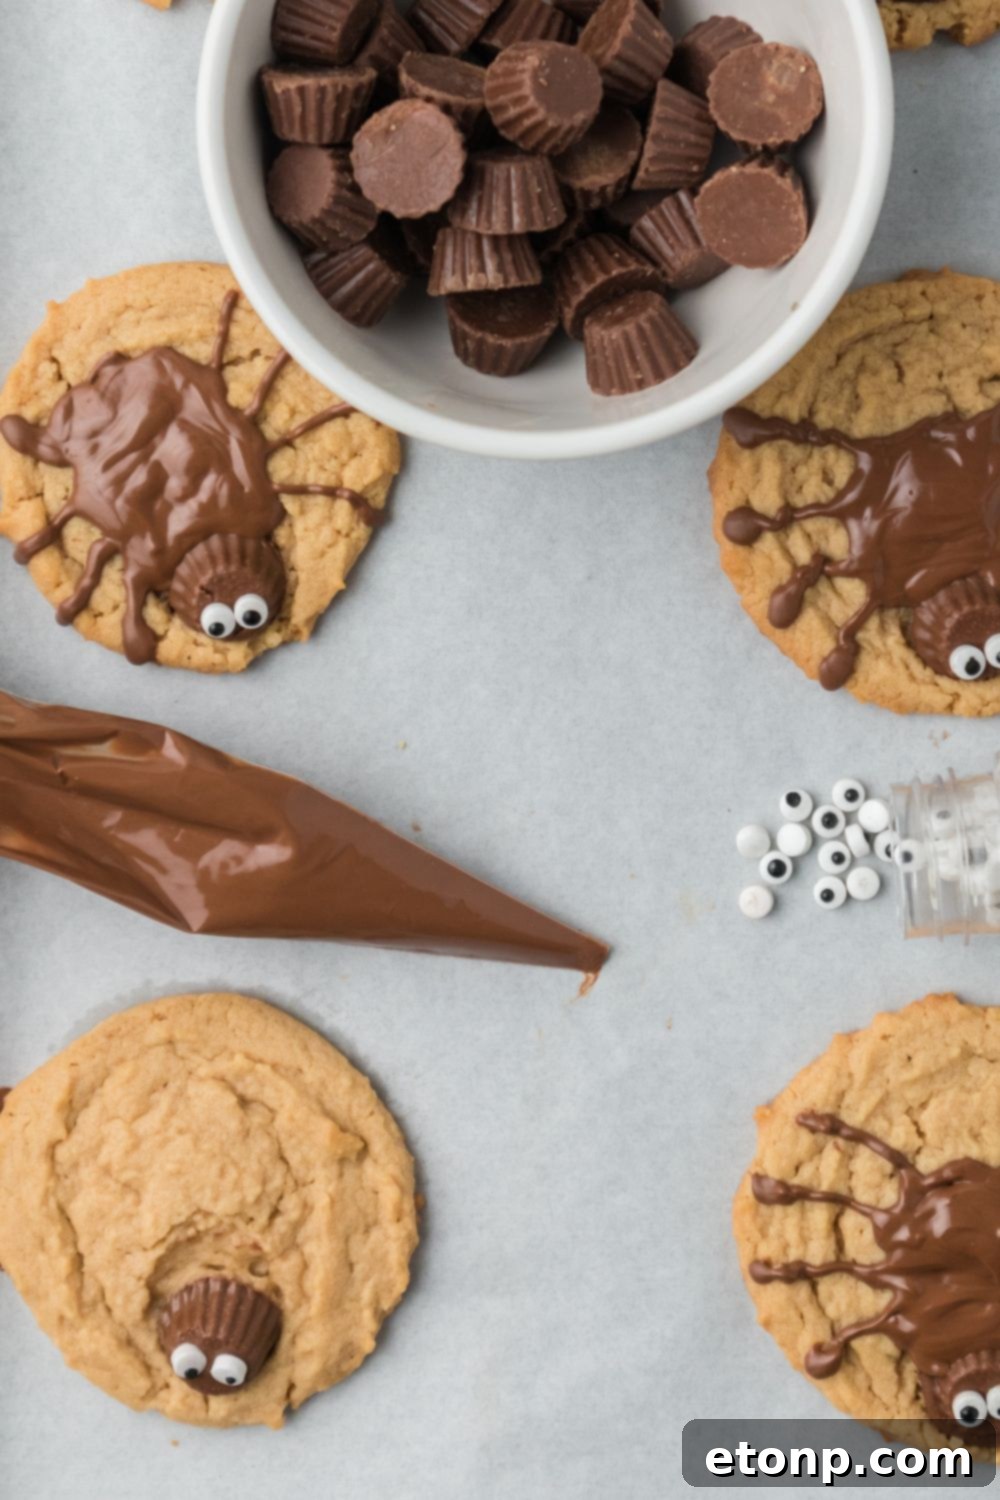
Bake for 7 minutes. Carefully remove the baking sheet from the oven and gently press a mini Reese’s peanut butter cup into the center of each cookie. Return to the oven and bake for another 5 minutes, or until the edges are lightly golden.
-
While the cookies are finishing baking, melt your chocolate using a double boiler or microwave, stirring until smooth and fluid.
-
Once the cookies are done, transfer them to a cooling rack. While the Reese’s cups are still warm and slightly melted, carefully place two candy eyes on each Reese’s cup to create the spider’s face.
-
Pour the melted chocolate into a piping bag (or a ziplock bag with a corner snipped off). Pipe an oval shape around the Reese’s cup to form the spider’s body. Then, pipe four delicate legs on each side of the cookie, extending from the body, to complete your adorable spider cookies. Allow the chocolate to set completely before serving or storing.
Did you make this recipe?
Make sure to follow us on Pinterest for more recipes and inspiration!
Pin Recipe
Share on Facebook