
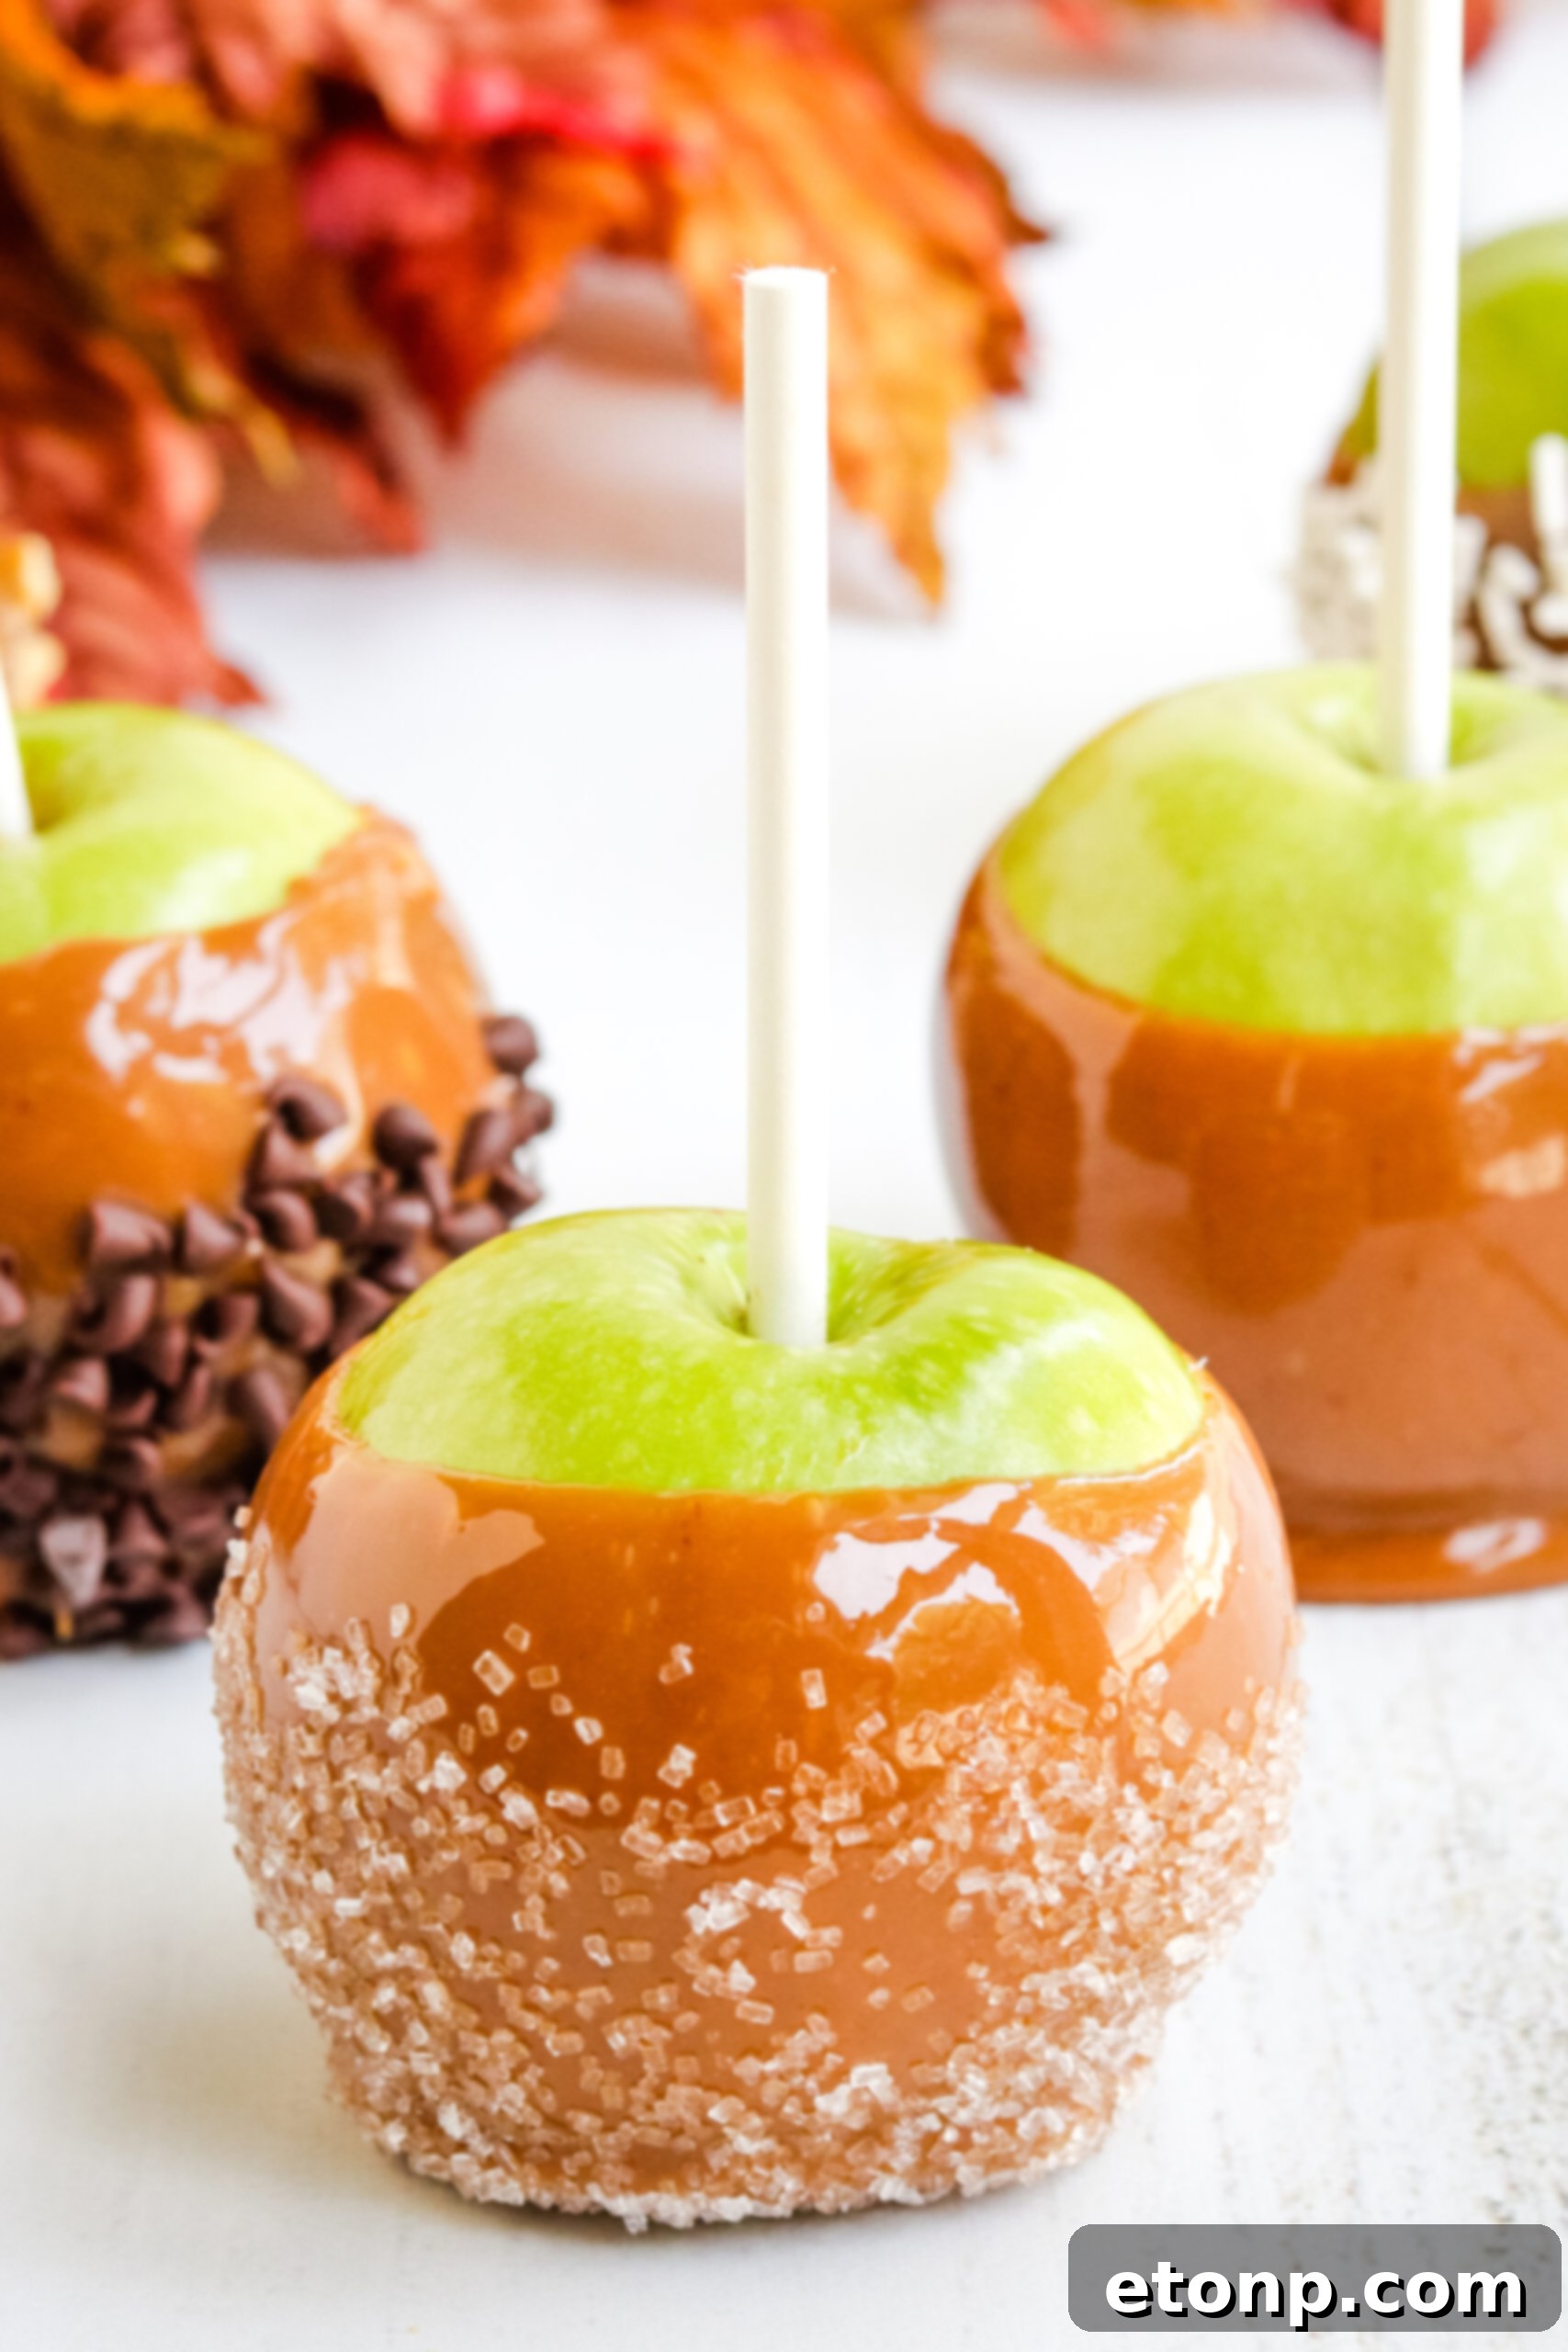
Indulge in the Sweet Nostalgia: Mastering Homemade Caramel Apples
There’s something truly magical about the crisp autumn air, the vibrant colors of fall, and the joyous atmosphere of a local carnival or fair. And for many, myself included, no visit is complete without sinking your teeth into a perfectly crafted caramel apple. That sweet, gooey caramel coating giving way to the tart crunch of a fresh apple is an experience savored by generations. But what if you could recreate that irresistible magic right in your own kitchen? What if you could make homemade caramel apples that taste unbelievably delicious, surpassing even your fondest carnival memories?
You absolutely can, and I’m here to show you how! Forget the long queues and sticky fingers at the fair; today, we’re diving into the delightful world of DIY caramel apples, crafted with a rich, homemade caramel sauce that is surprisingly easy to whip up. This isn’t just a recipe; it’s an invitation to a sensory journey that brings the festive spirit of fall directly to your home.
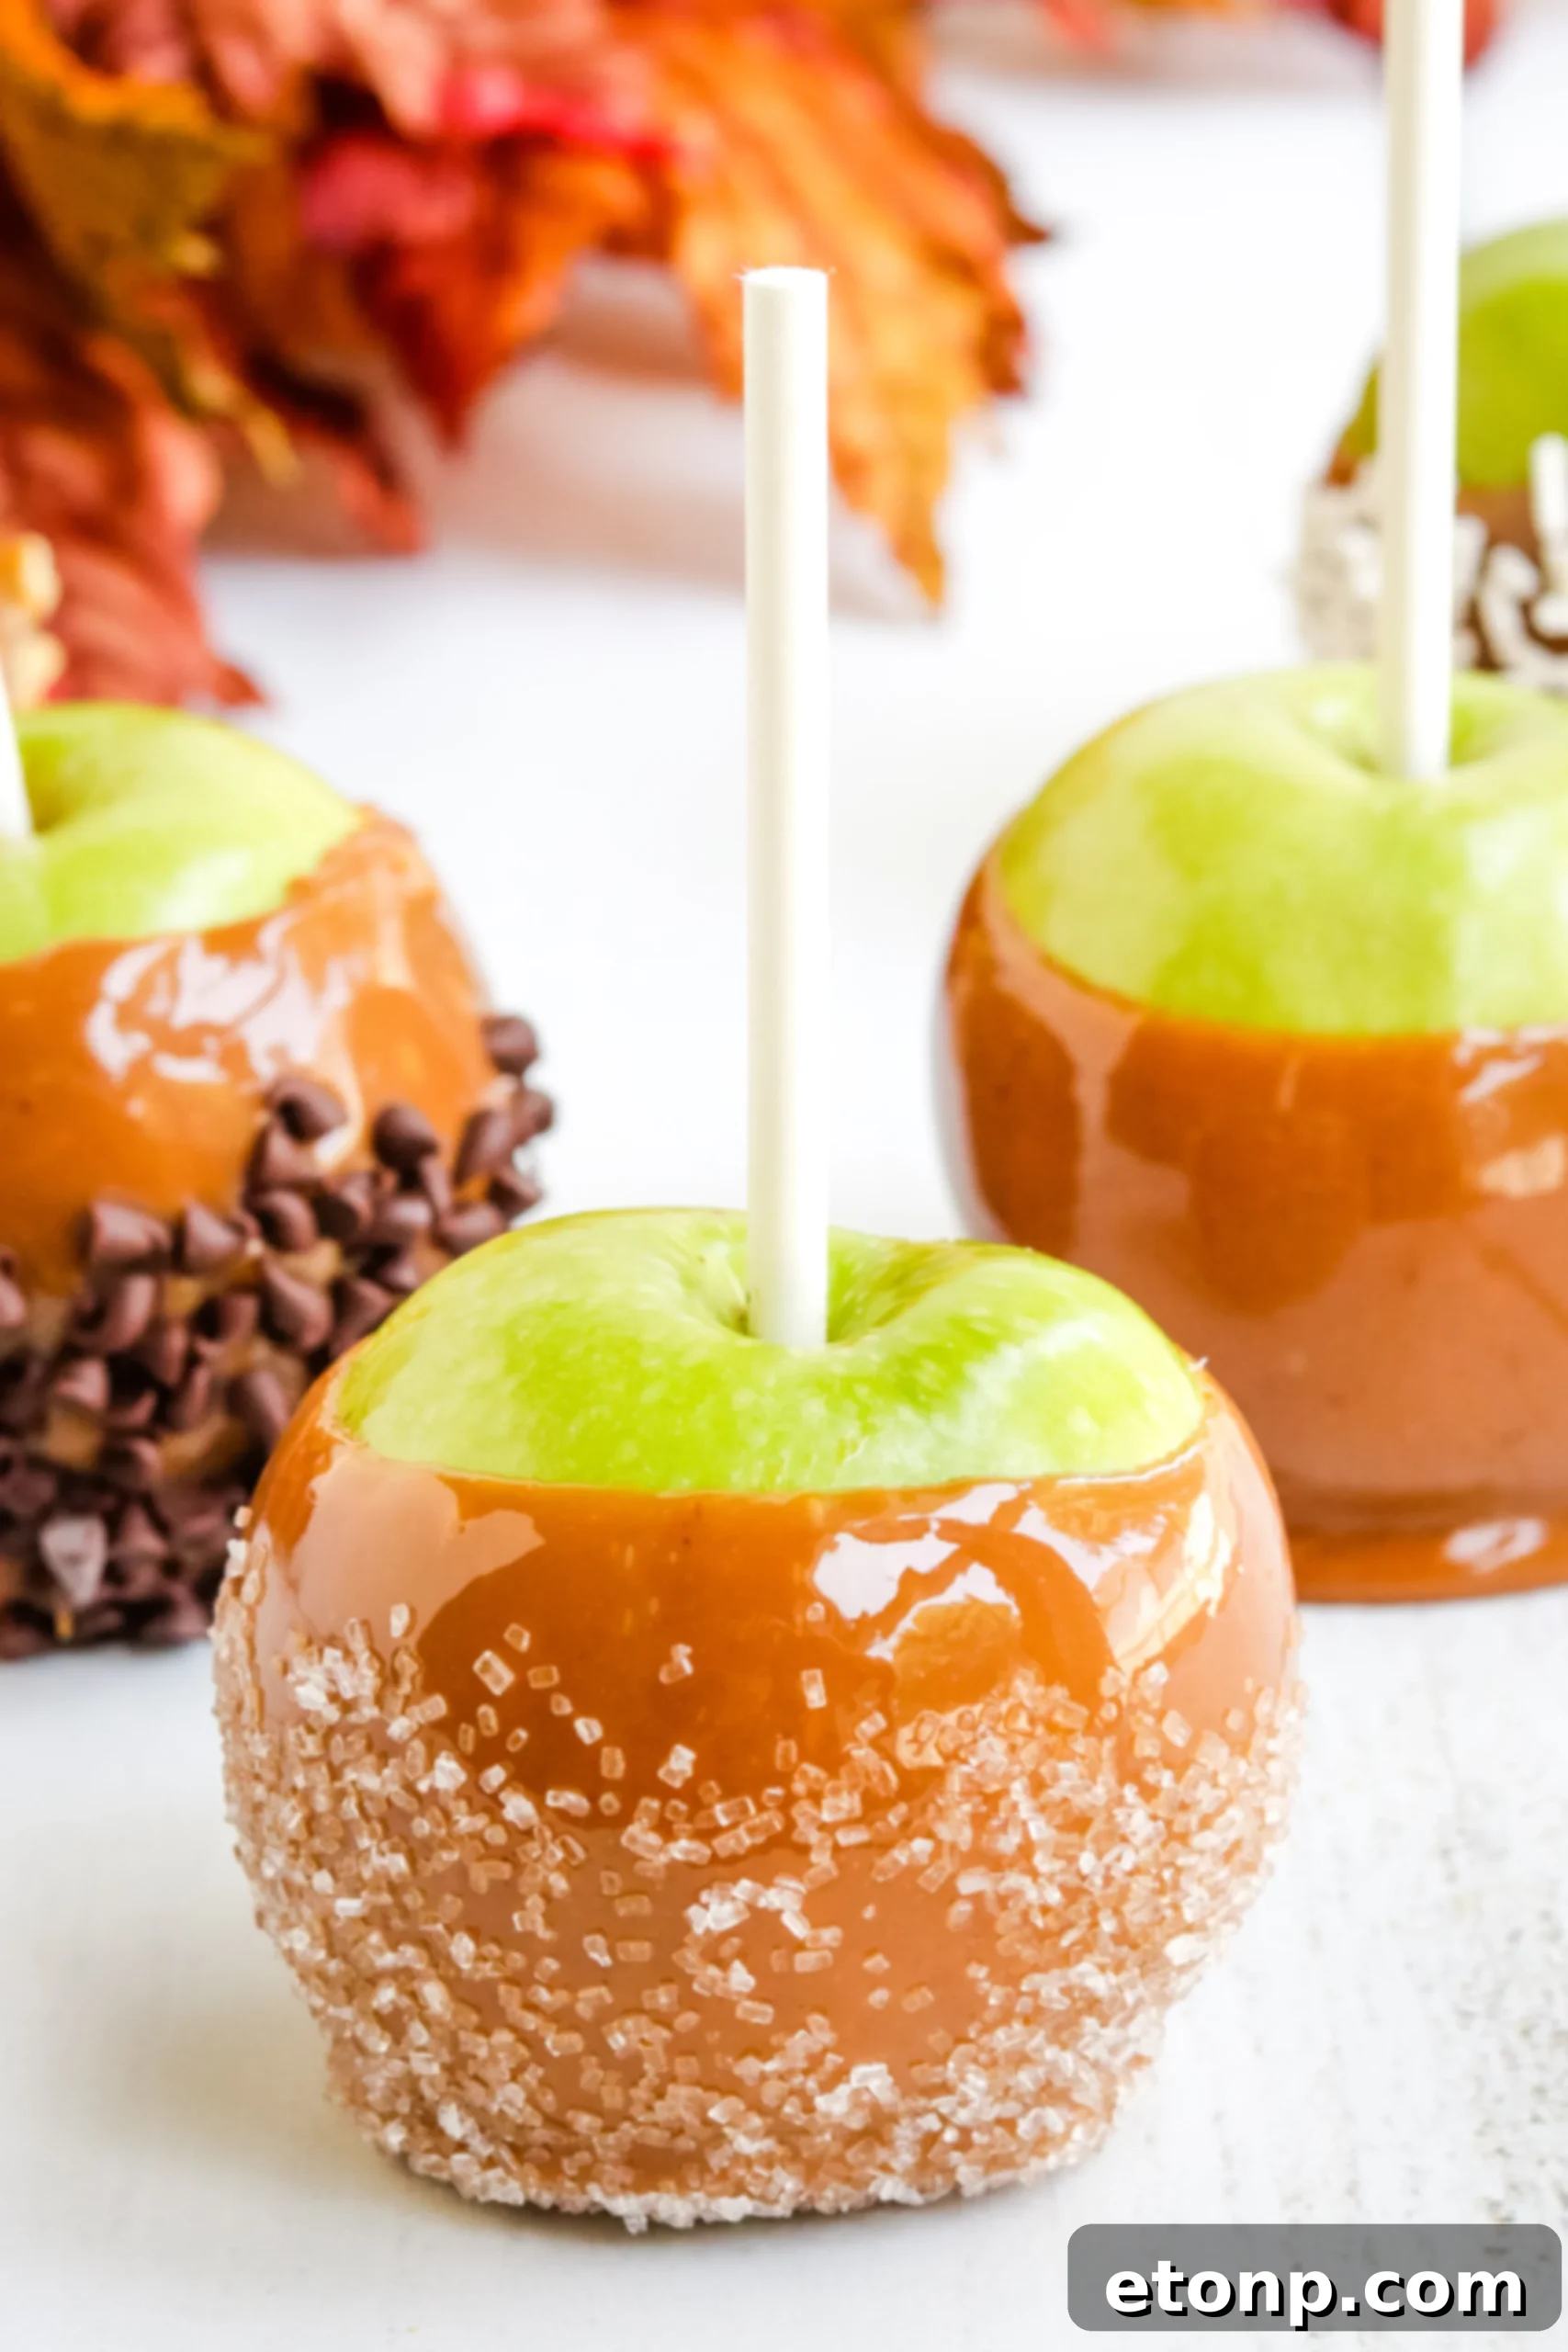
The Secret to Perfection: A Scrumptious Homemade Caramel Sauce
Many recipes call for simply melting pre-made caramel candies, but I promise you, the extra effort of making your own caramel from scratch is profoundly rewarding. These beauties are not just any caramel apples; they are adorned with a decadent, luscious homemade caramel sauce that elevates them to an entirely new level. The depth of flavor, the perfect gooey consistency, and that subtle hint of vanilla are simply unparalleled. Once you taste homemade, you’ll never go back.
The process might seem intimidating, but with a few simple ingredients and careful attention, you’ll achieve a caramel that clings beautifully to each apple, offering a satisfying bite every time. It’s a game-changer for anyone who appreciates quality and taste.
Embrace the Autumn Season with Homemade Delights
As the leaves begin to turn and a crispness fills the air, thoughts naturally drift to cozy comforts and seasonal treats. Homemade caramel apples perfectly capture the essence of fall. While I’ll soon be sharing a homemade candy apple version, this caramel rendition is an absolute must-try as the autumn season is right around the corner. Imagine the joy of gifting these beautifully handcrafted treats to friends and family, or simply enjoying them by a warm fire.
This particular recipe is a tried and true favorite in our household. In fact, as I write this, being almost 7 months pregnant, I’m craving them like crazy! So, yes, I have been making them all week long. My friends and family are certainly not complaining – they’re thanking me profusely for the generous batches I keep sharing! It’s a wonderful way to spread joy and deliciousness during this special time of year.
Selecting the Perfect Apples for Dipping
The foundation of an incredible caramel apple is, of course, a great apple. While many varieties work well, certain ones shine when coated in caramel. Tart apples like Granny Smiths offer a delightful contrast to the sweet caramel, creating a balanced flavor profile. If you prefer a sweeter experience, Red Delicious, Fuji, or Honeycrisp apples are excellent choices, offering a firm, crisp texture that holds up beautifully. No matter your preference, aim for medium to large apples that are firm and free of blemishes. For this recipe, I made a huge batch last week using a couple of pound bags of both crisp Red Delicious apples and tangy Granny Smiths, providing a fantastic variety of flavors and textures.
Once selected, proper preparation of the apples is crucial. They must be thoroughly washed to remove any wax or polish, which can prevent the caramel from adhering properly. A simple scrub with warm water and a brush, or even a quick dip in boiling water for a few seconds followed by an ice bath, can help remove the waxy coating. After washing, ensure the apples are *completely* dry. Any moisture will cause the caramel to slip right off, leading to frustration and a less-than-perfect result. Insert sturdy wooden sticks or skewers into the stem end of each apple, pushing them about halfway down to ensure a secure handle for dipping and eating.
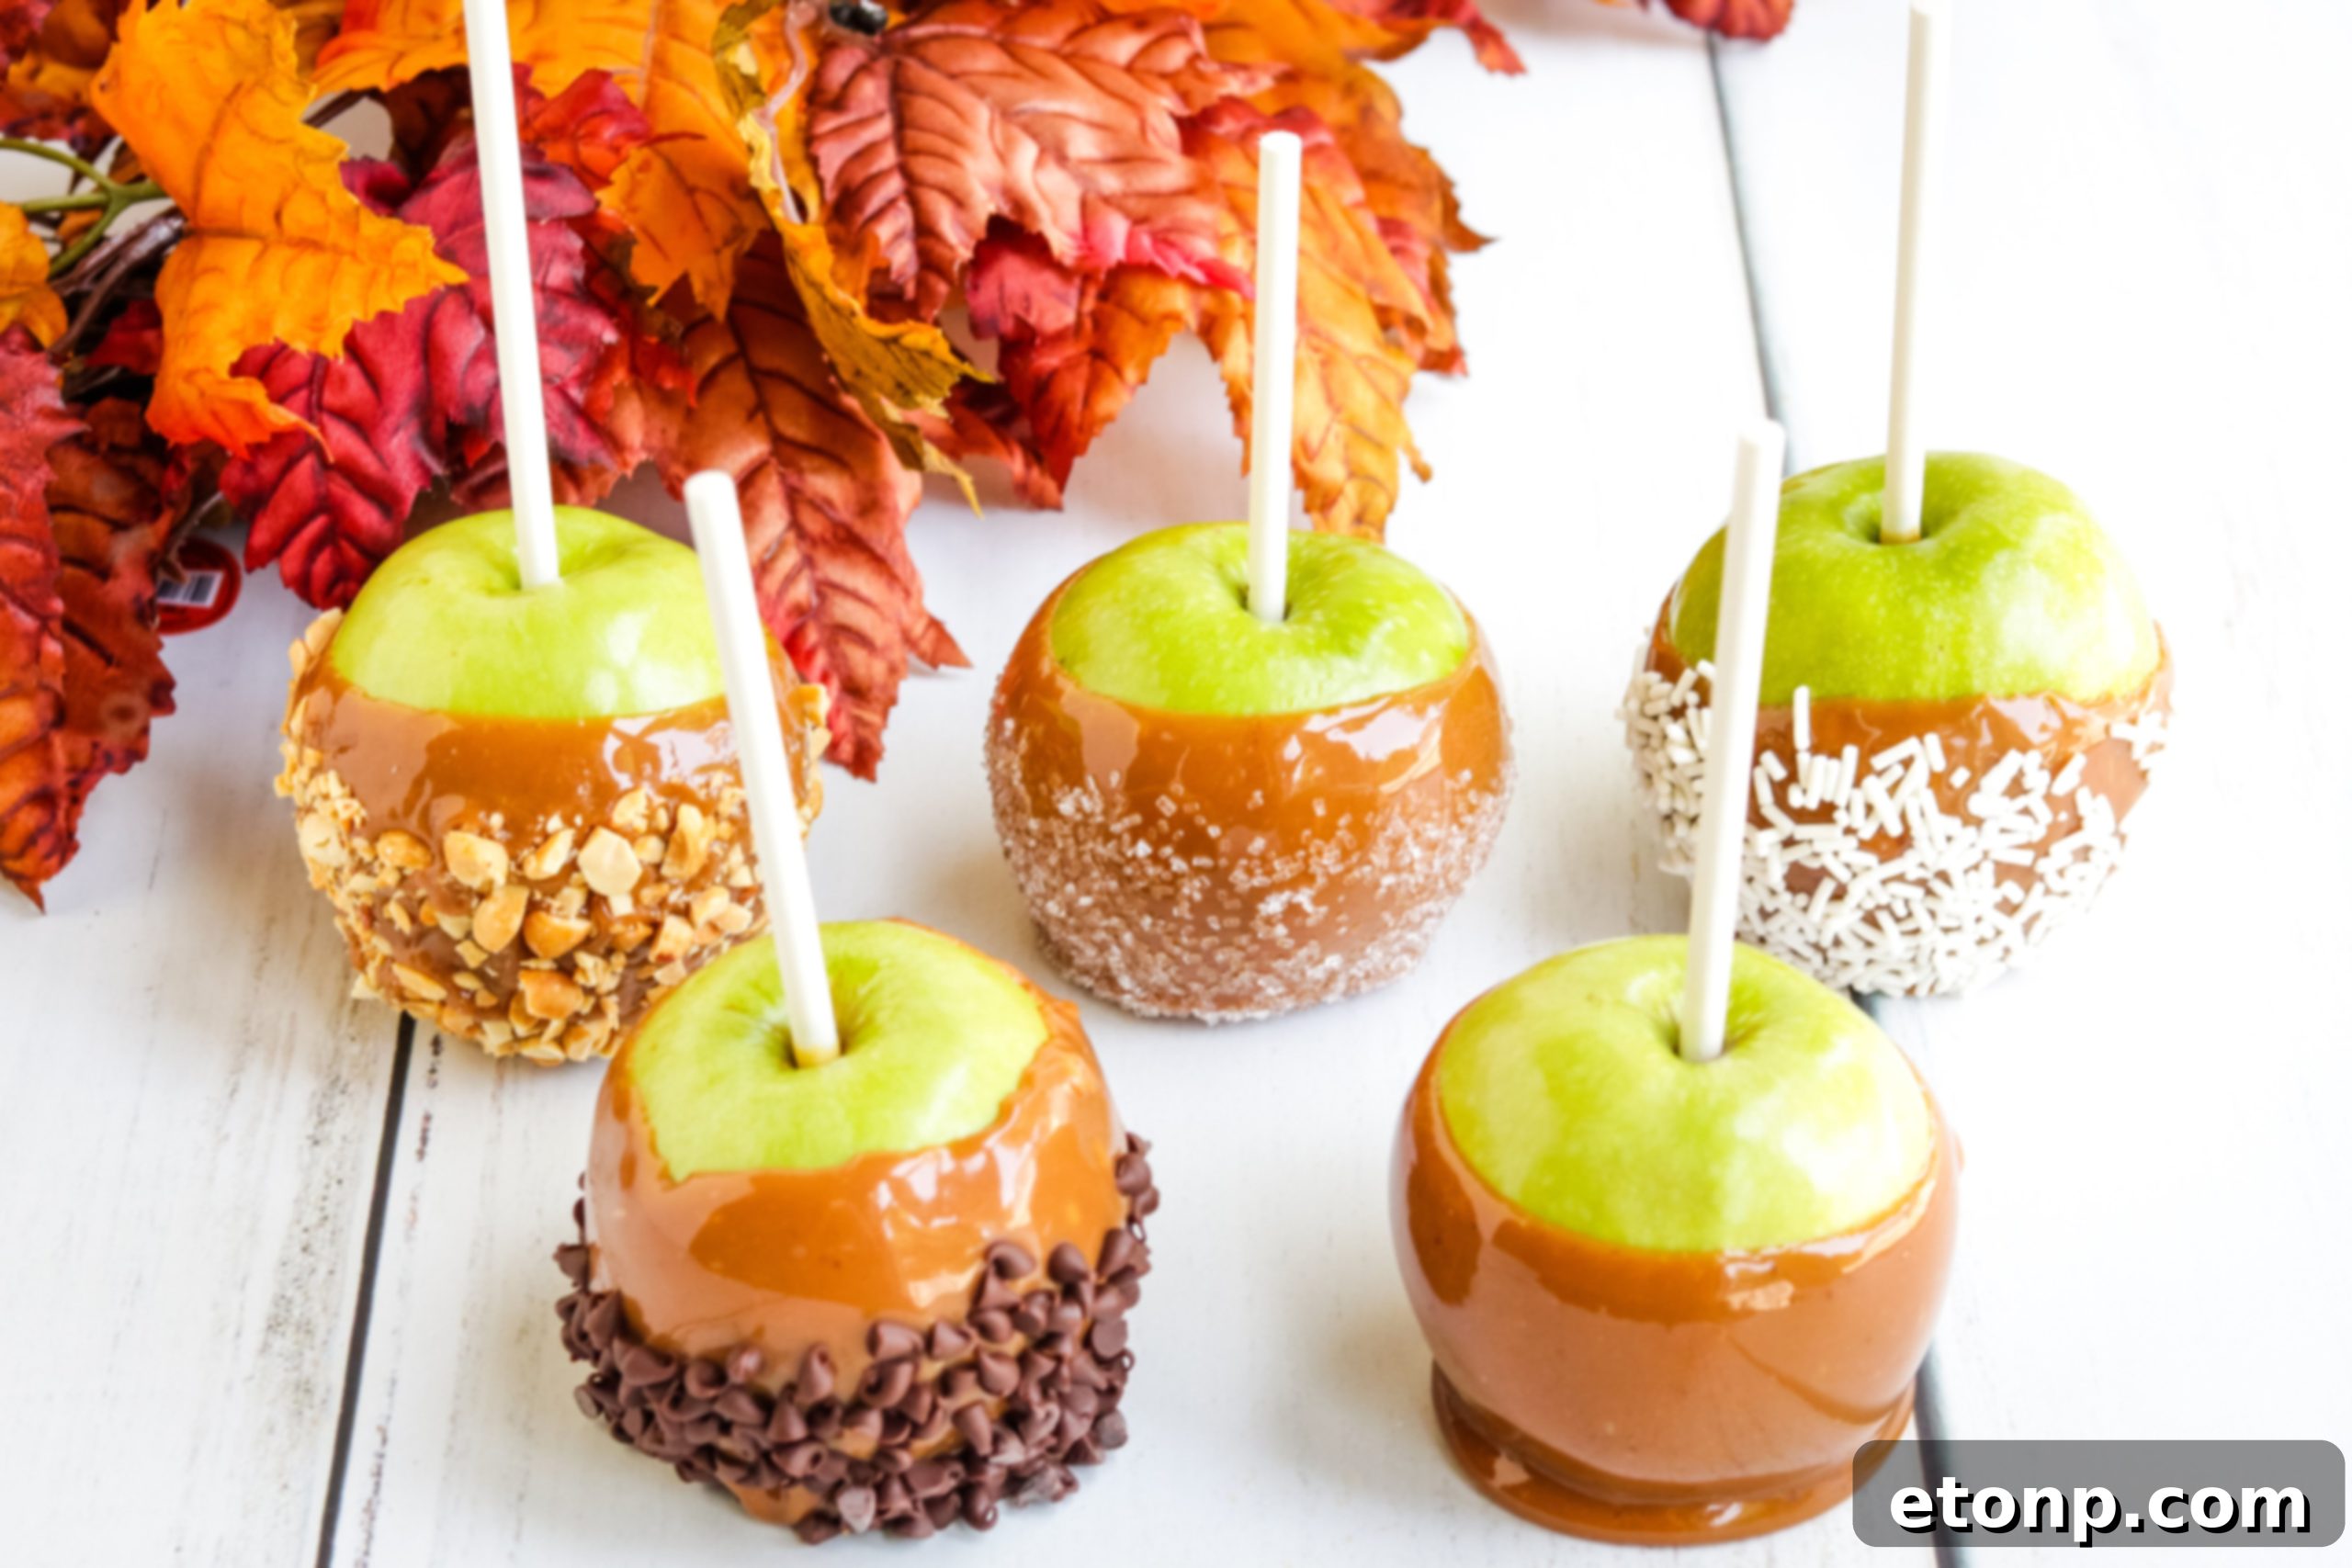
COOK’S NOTES: Essential Tips for Caramel Apple Success
Achieving that perfect, luscious caramel coating requires a bit of precision and patience. Here are my top preparation tips to ensure your homemade caramel apples turn out flawlessly:
- Temperature is Key: The caramel will take approximately 20-25 minutes to reach the desired temperature of 245°F (118°C), which is the firm ball stage. Using a reliable candy thermometer is non-negotiable for accuracy.
- Stir Constantly: To prevent scorching and ensure even cooking, it is important to stir the caramel constantly while it’s heating. Pay close attention, especially as it approaches boiling.
- Act Swiftly at 245°F: Once the caramel reaches 245°F, things will move very quickly. Remove it from the heat immediately and stir in the vanilla extract. Have your prepared apples ready to dip.
- Quick Dipping: Work quickly when dipping the apples. The caramel will begin to set as it cools. If it starts to thicken too much, return the pot to very low heat for a minute or two to soften it, stirring gently.
- Apple Preparation is Paramount: As mentioned, make absolutely sure the apples are free of wax, polish, and thoroughly dry. Any residue or moisture will cause the caramel to slide right off instead of creating that beautiful, even coating.
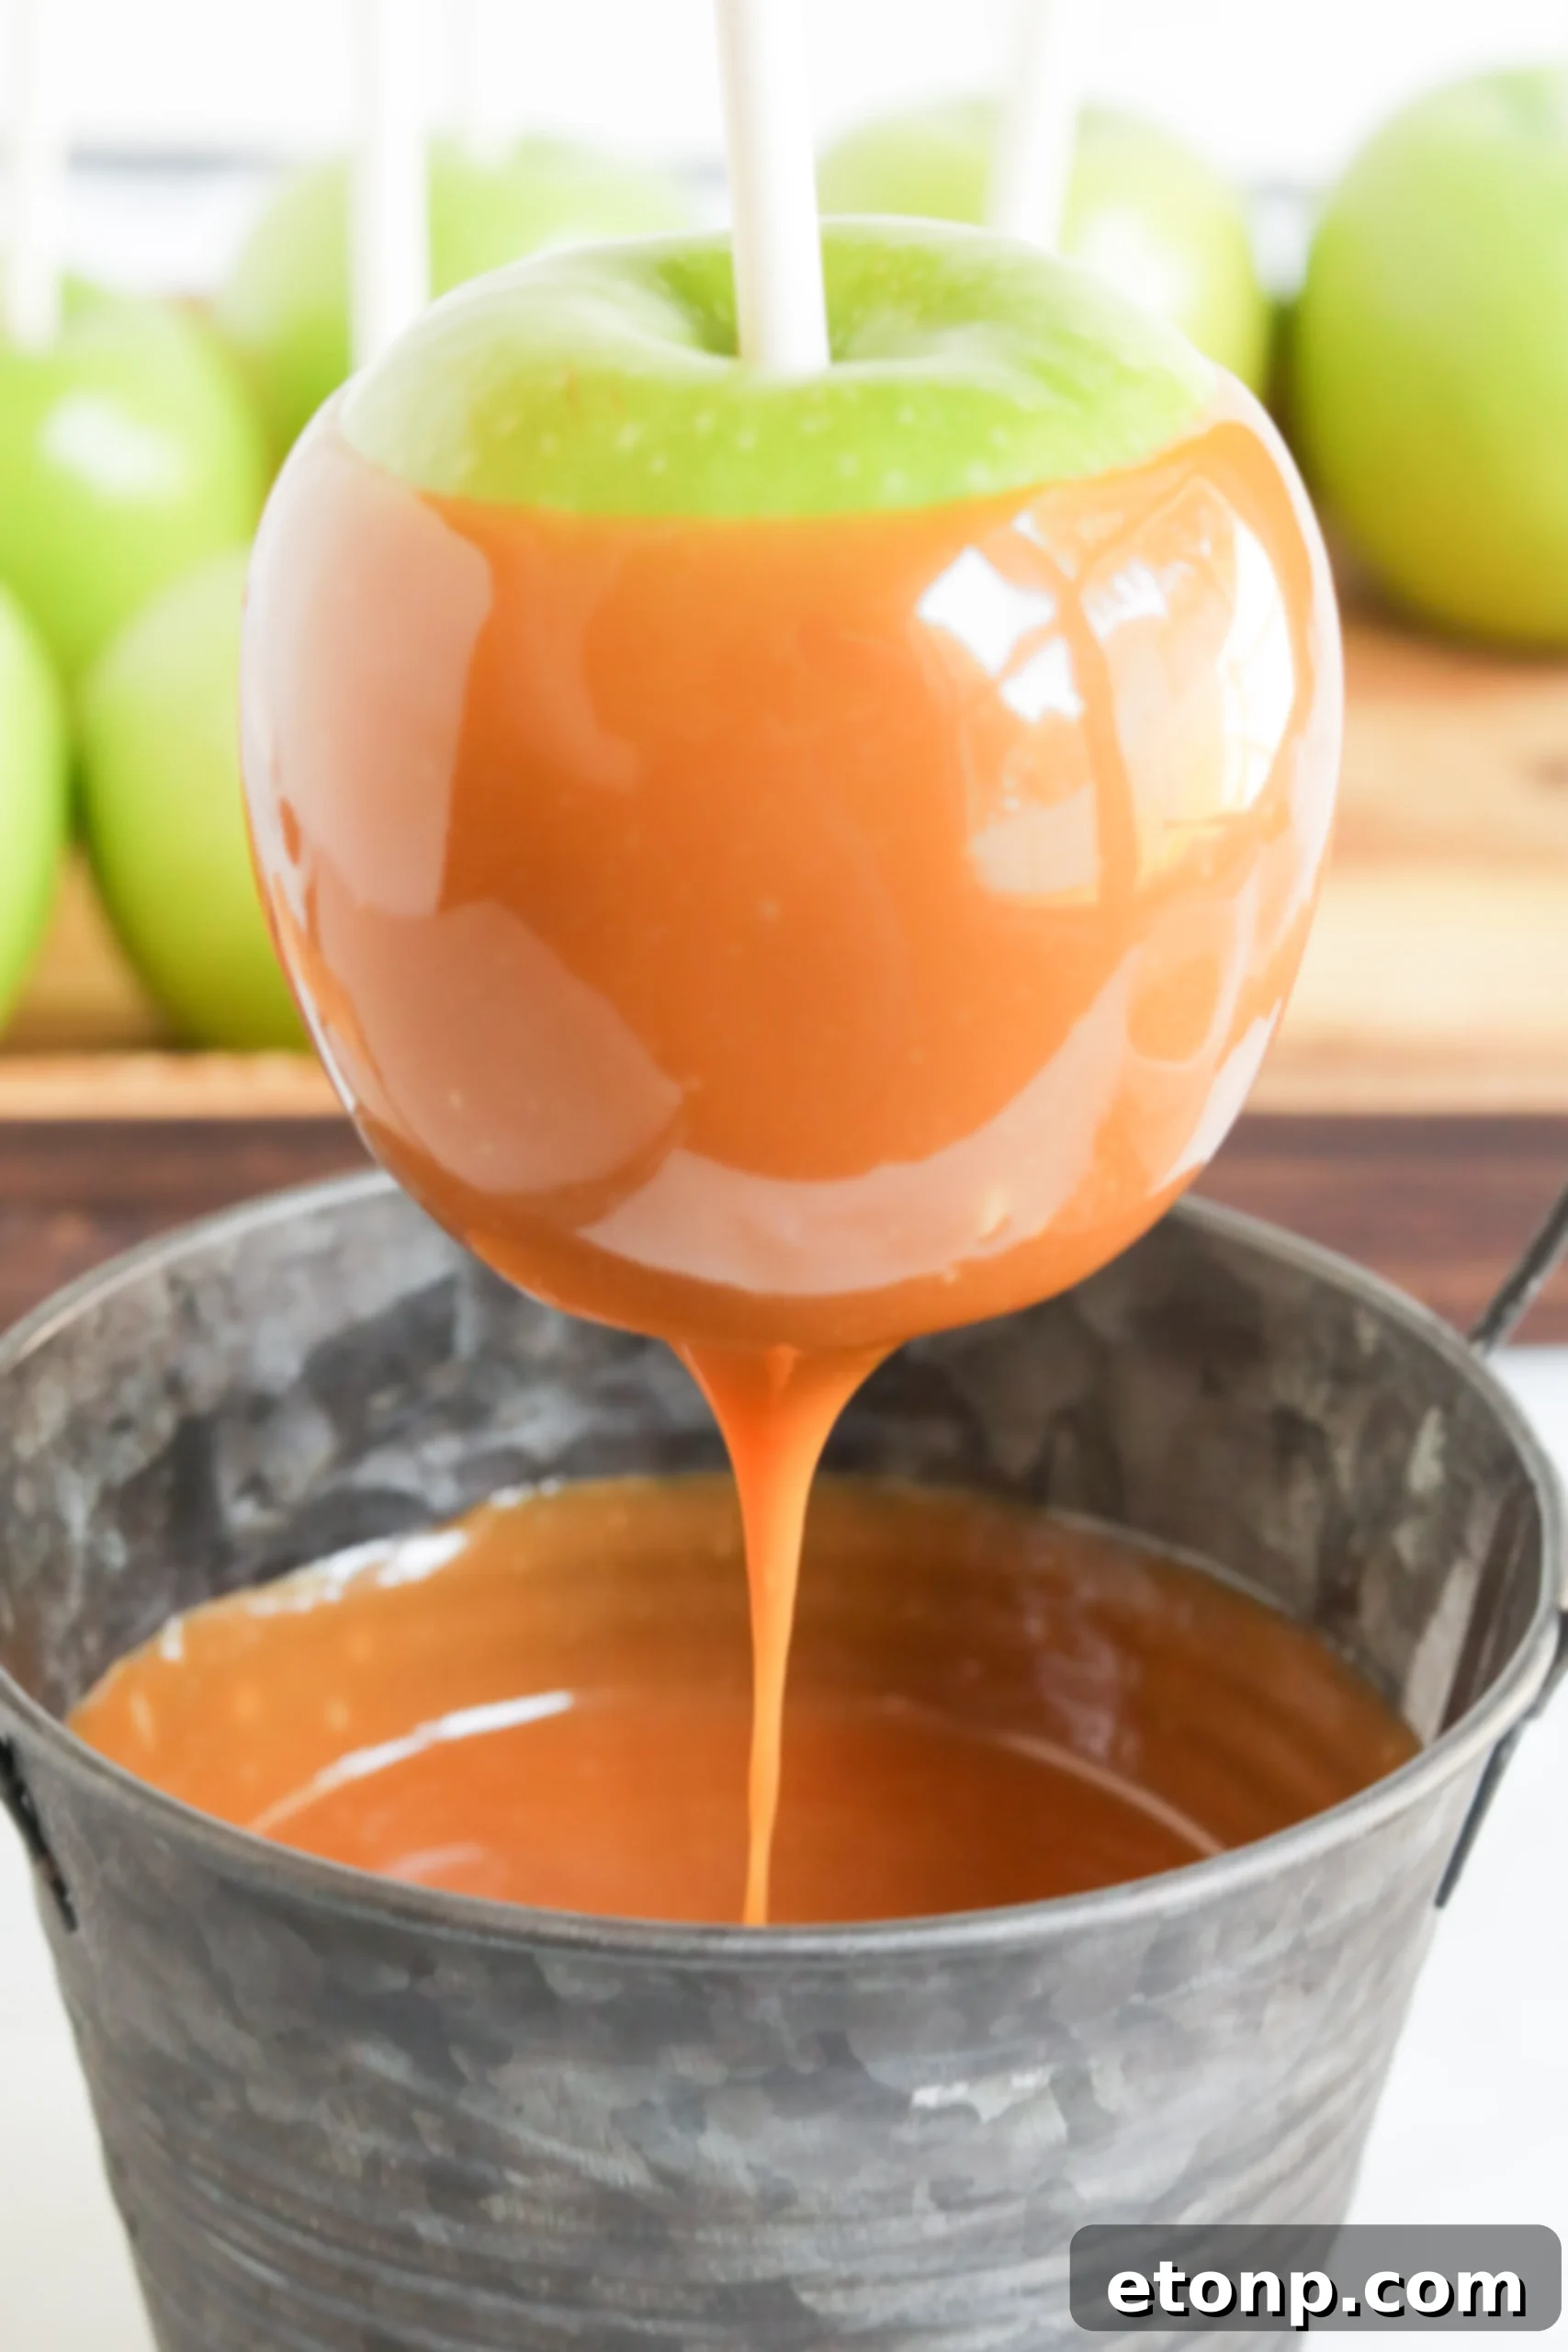
- Remove Excess Caramel: After dipping, gently twirl the apple on the bottom of the pot (held at a slight angle) to remove any excess caramel. This ensures a clean, not-too-thick coating.
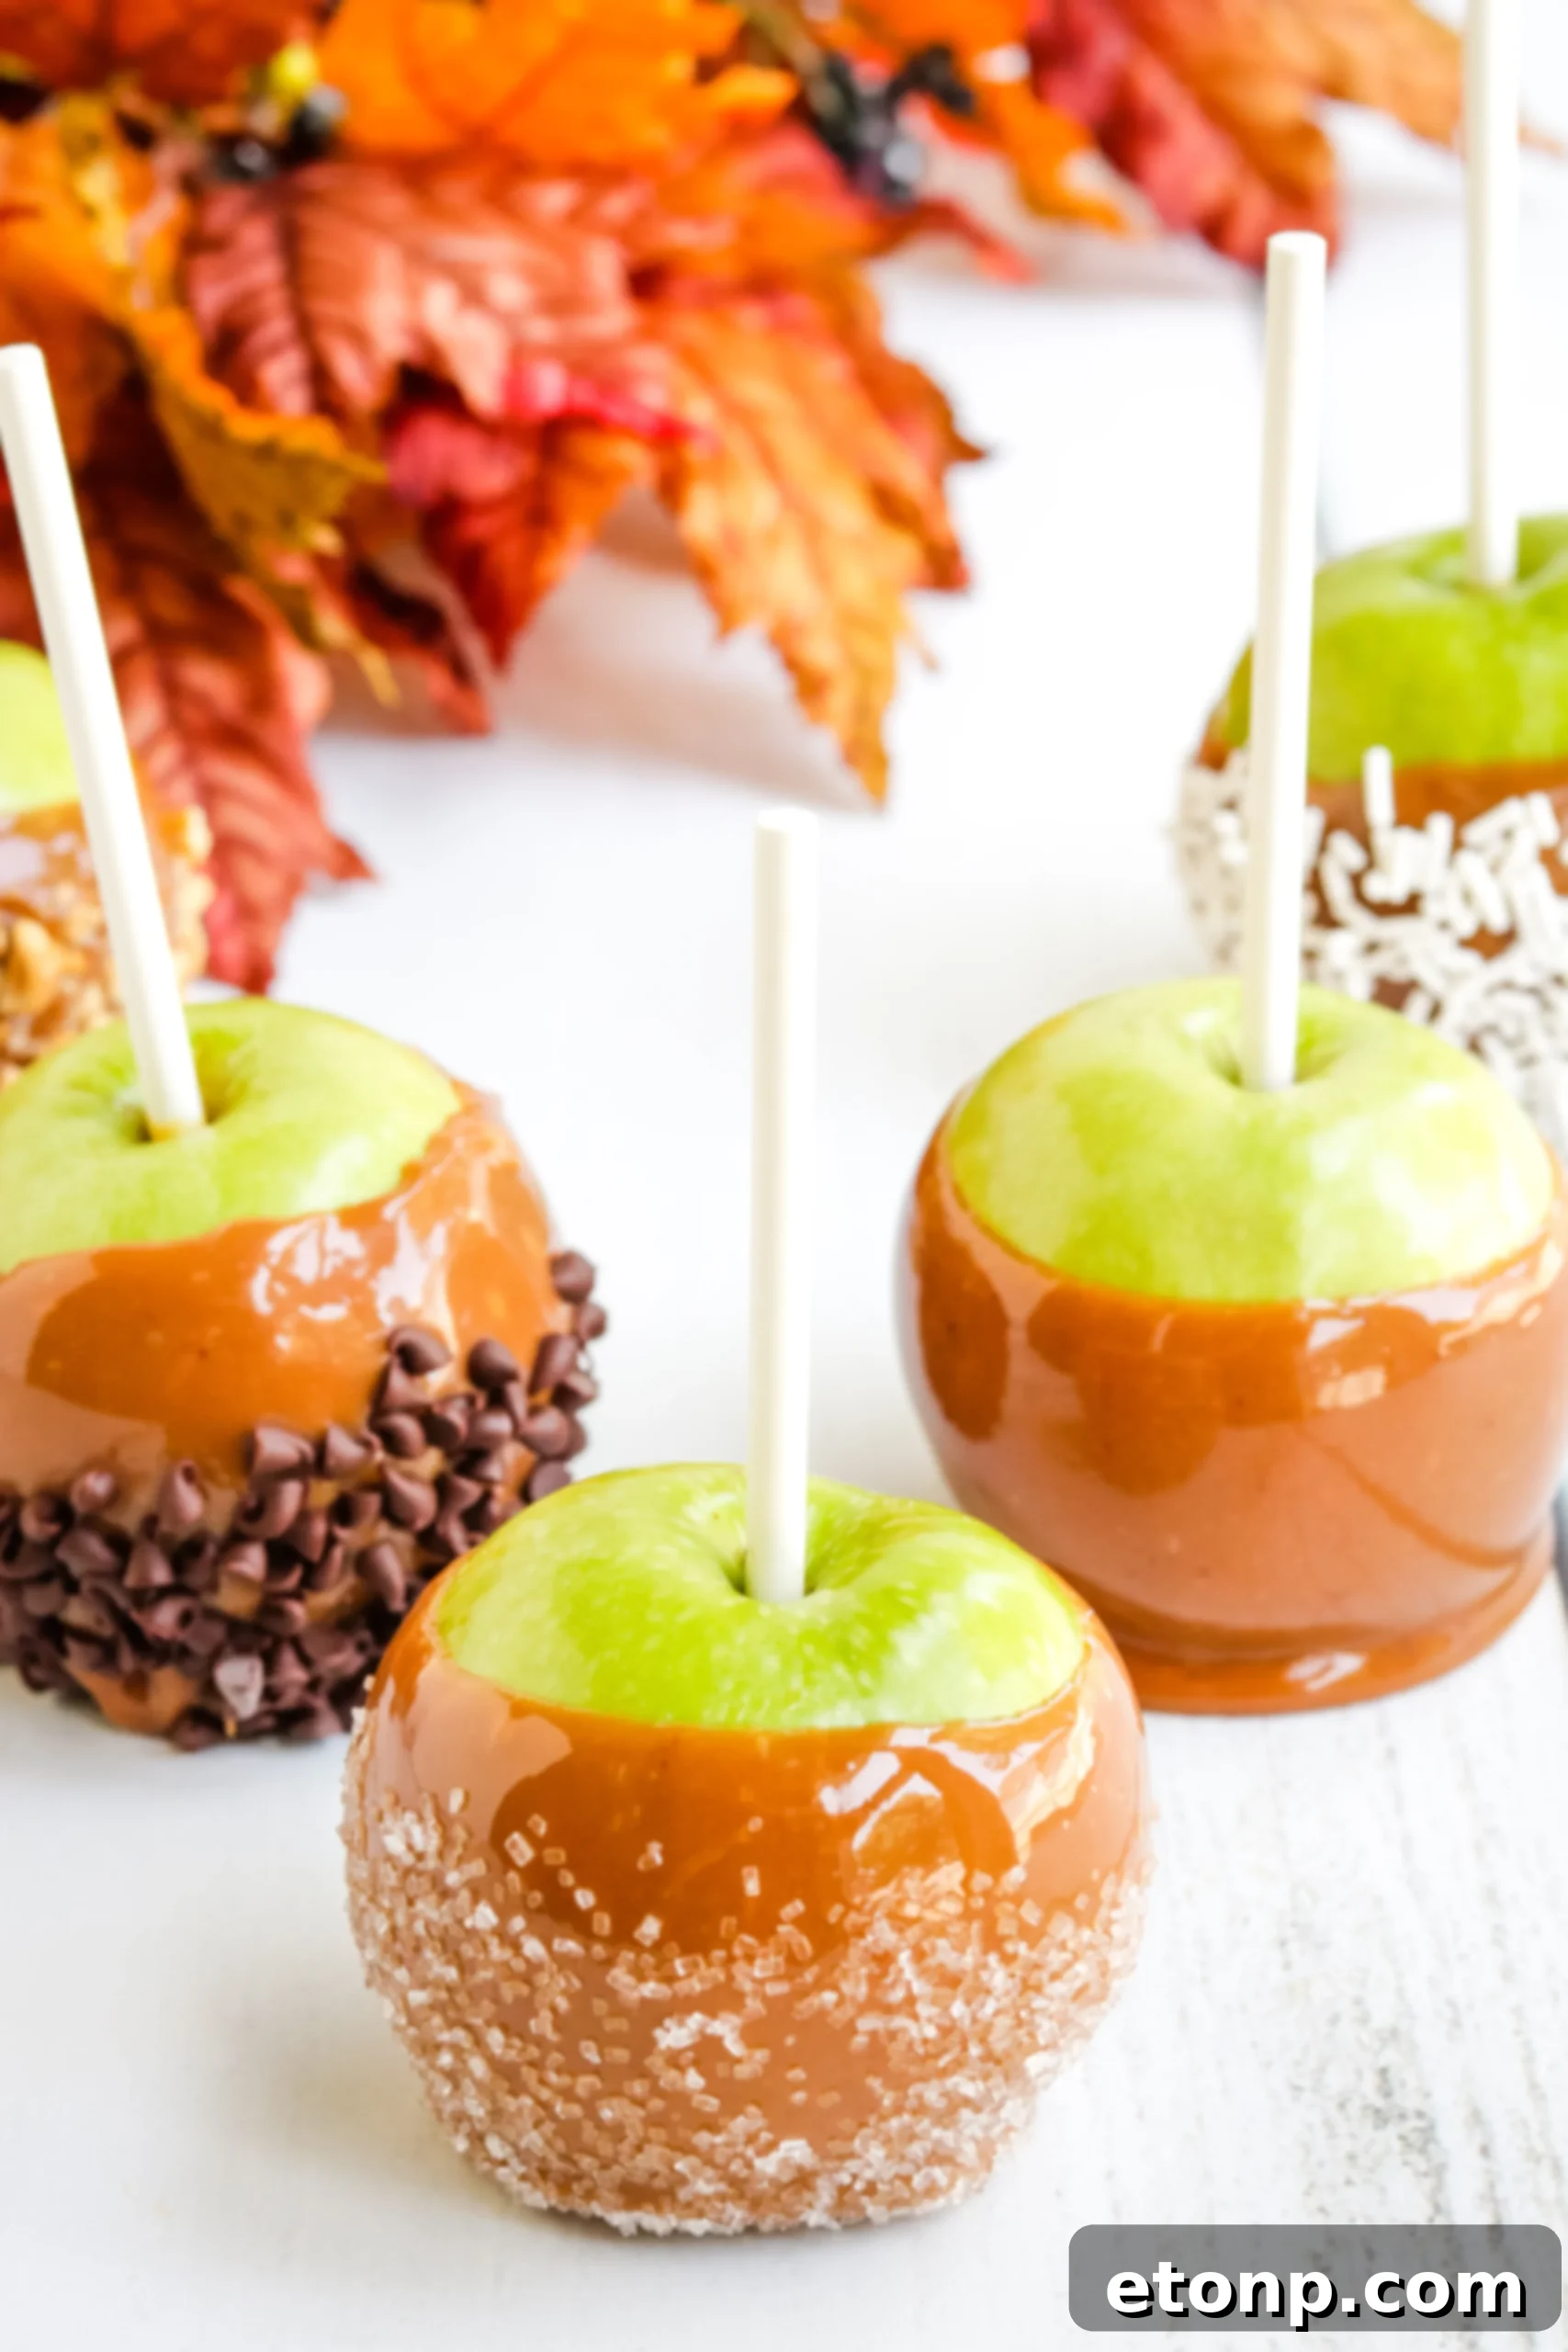
The caramel always turns out wonderfully nice and gooey, with that perfect consistency, and it has a slight vanilla kick to it! The secret is the combination of quality ingredients and careful cooking. I think I’ve eaten about four this week so far – hey, it’s fruit, so it’s healthy, right? 😉 A little indulgence is good for the soul, especially when it’s homemade!
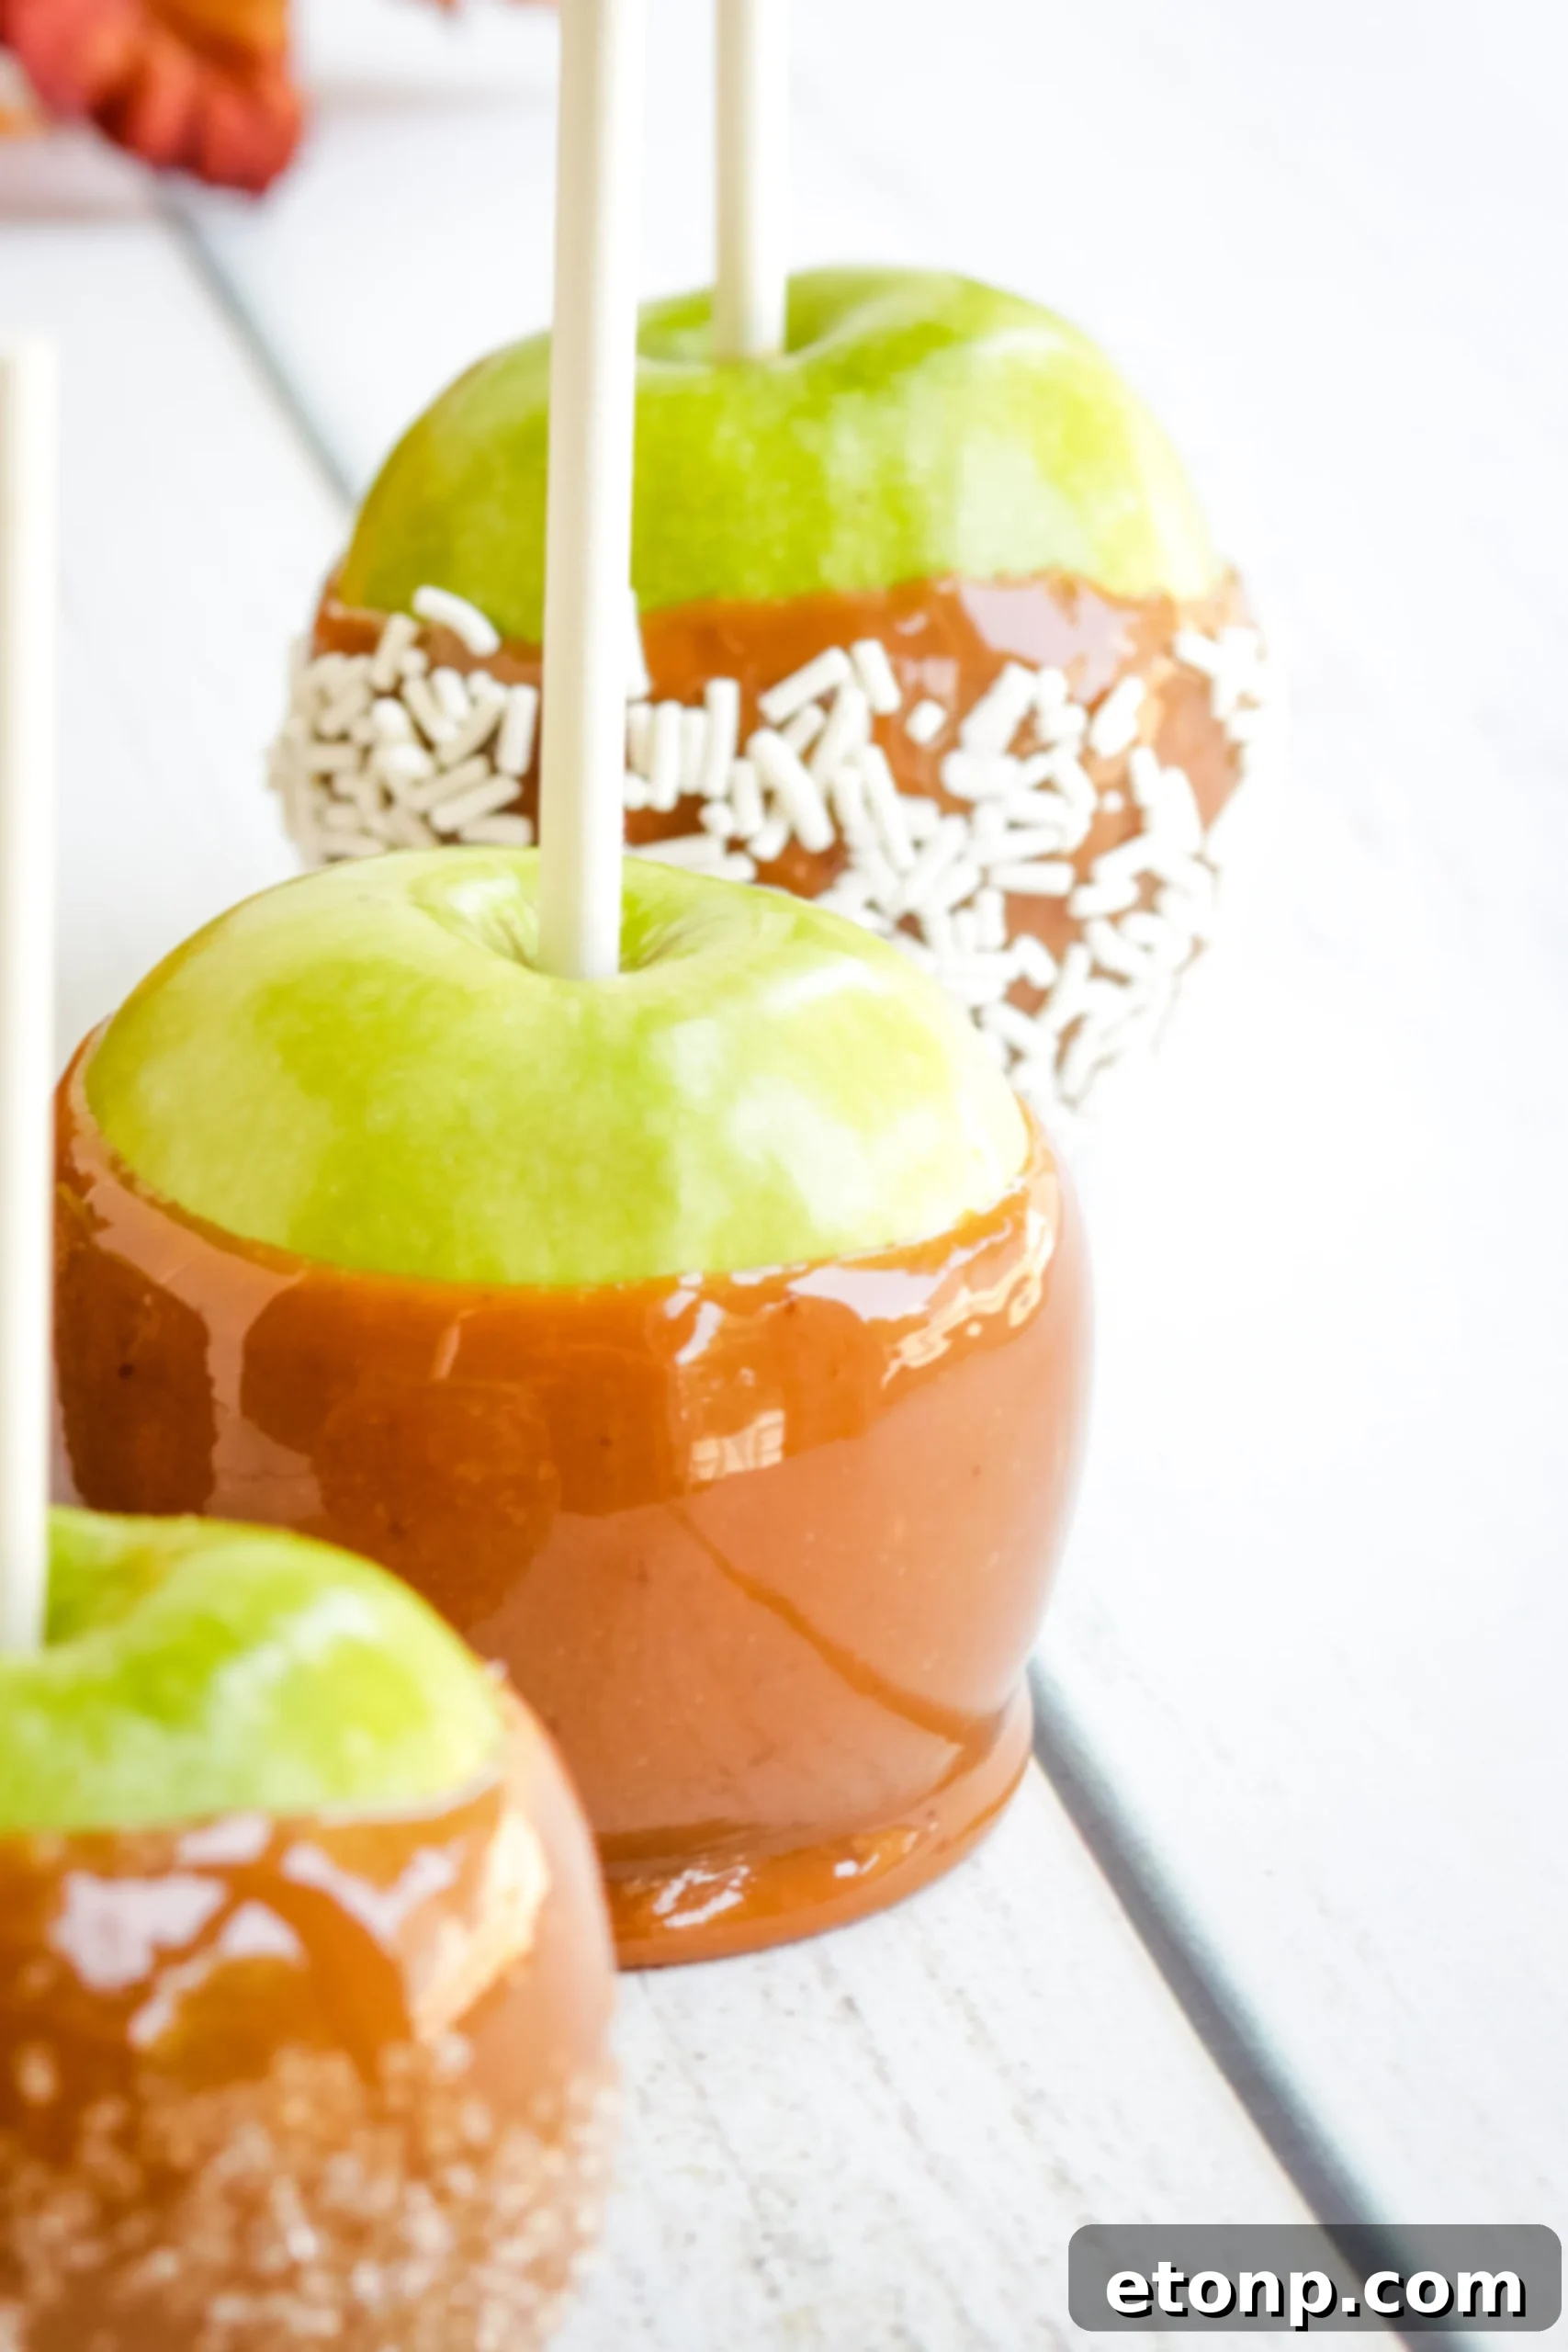
Unleash Your Creativity: Fun Toppings for Your Caramel Apples!
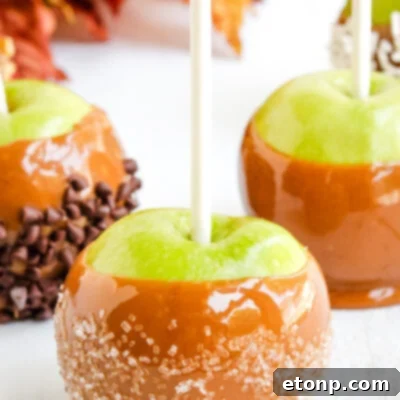
Once your apples are beautifully coated in homemade caramel, it’s time to let your imagination run wild with toppings! This is where you can truly personalize your treats and make them extra special. Here are some fantastic ideas to get you started:
- Classic Crumbles: Try crushed peanuts, pecans, walnuts, or almonds for a satisfying crunch.
- Sweet & Crunchy: Add colorful sprinkles, sugar crystals, or even edible glitter for a festive look.
- Chocolate Lover’s Dream: Drizzle with melted milk, dark, or white chocolate. You can even add mini chocolate chips.
- Cookie & Candy Fun: Crush up your favorite cookies (Oreos, graham crackers, shortbread) or candies (mini M&Ms, toffee bits).
- Exotic Touches: Experiment with shredded coconut, sea salt flakes (for a sweet and salty kick!), or even finely chopped dried fruit.
- Pretzel Perfection: Crushed pretzels offer a wonderful salty crunch that pairs beautifully with sweet caramel.
To apply toppings, simply roll the caramel-coated apple in a shallow dish filled with your chosen topping while the caramel is still warm and tacky. Place the finished apples on a baking sheet lined with wax or parchment paper to cool and set. The consistency of this homemade caramel is truly wonderful, coating the apples beautifully and serving as the perfect canvas for any festive additions.

Why Homemade Caramel is Superior
I know a lot of my followers have expressed frustration searching for caramel apple recipes, only to find many calling for the simple, often unsatisfying method of “melting caramel candies.” While convenient, these often lack the rich depth of flavor and the perfect chewy-yet-gooey consistency that truly homemade caramel provides. With this recipe, you’re getting sweet, truly gooey, and authentic homemade caramel on these apples, which is definitely worth the try!
The consistency we achieve with this recipe allows for an even, luxurious coating that never slips off. It’s thick enough to hold its shape and toppings, yet soft enough to bite into without a struggle. This is the hallmark of a truly great caramel apple, transforming a simple fruit into an extraordinary dessert.
Storage Suggestions
Once cooled and set, store your homemade caramel apples in an airtight container in the refrigerator for up to a week. For best enjoyment, allow them to come to room temperature for about 15-20 minutes before serving. This will soften the caramel slightly, enhancing its delightful chewiness.
Conclusion: Your Perfect Autumn Treat Awaits!
There’s immense satisfaction in creating something delicious from scratch, especially when it brings back such fond memories. These homemade caramel apples are more than just a dessert; they are a celebration of autumn, a fun activity for the family, and a truly incredible treat that you’ll be proud to share. So gather your ingredients, follow these simple steps, and prepare to embark on a sweet adventure that will fill your home with the delightful aroma of simmering caramel and the joy of a perfect fall treat.
Ready to dive in? This recipe makes about 6 large caramel apples, perfect for sharing (or not, we won’t tell!).
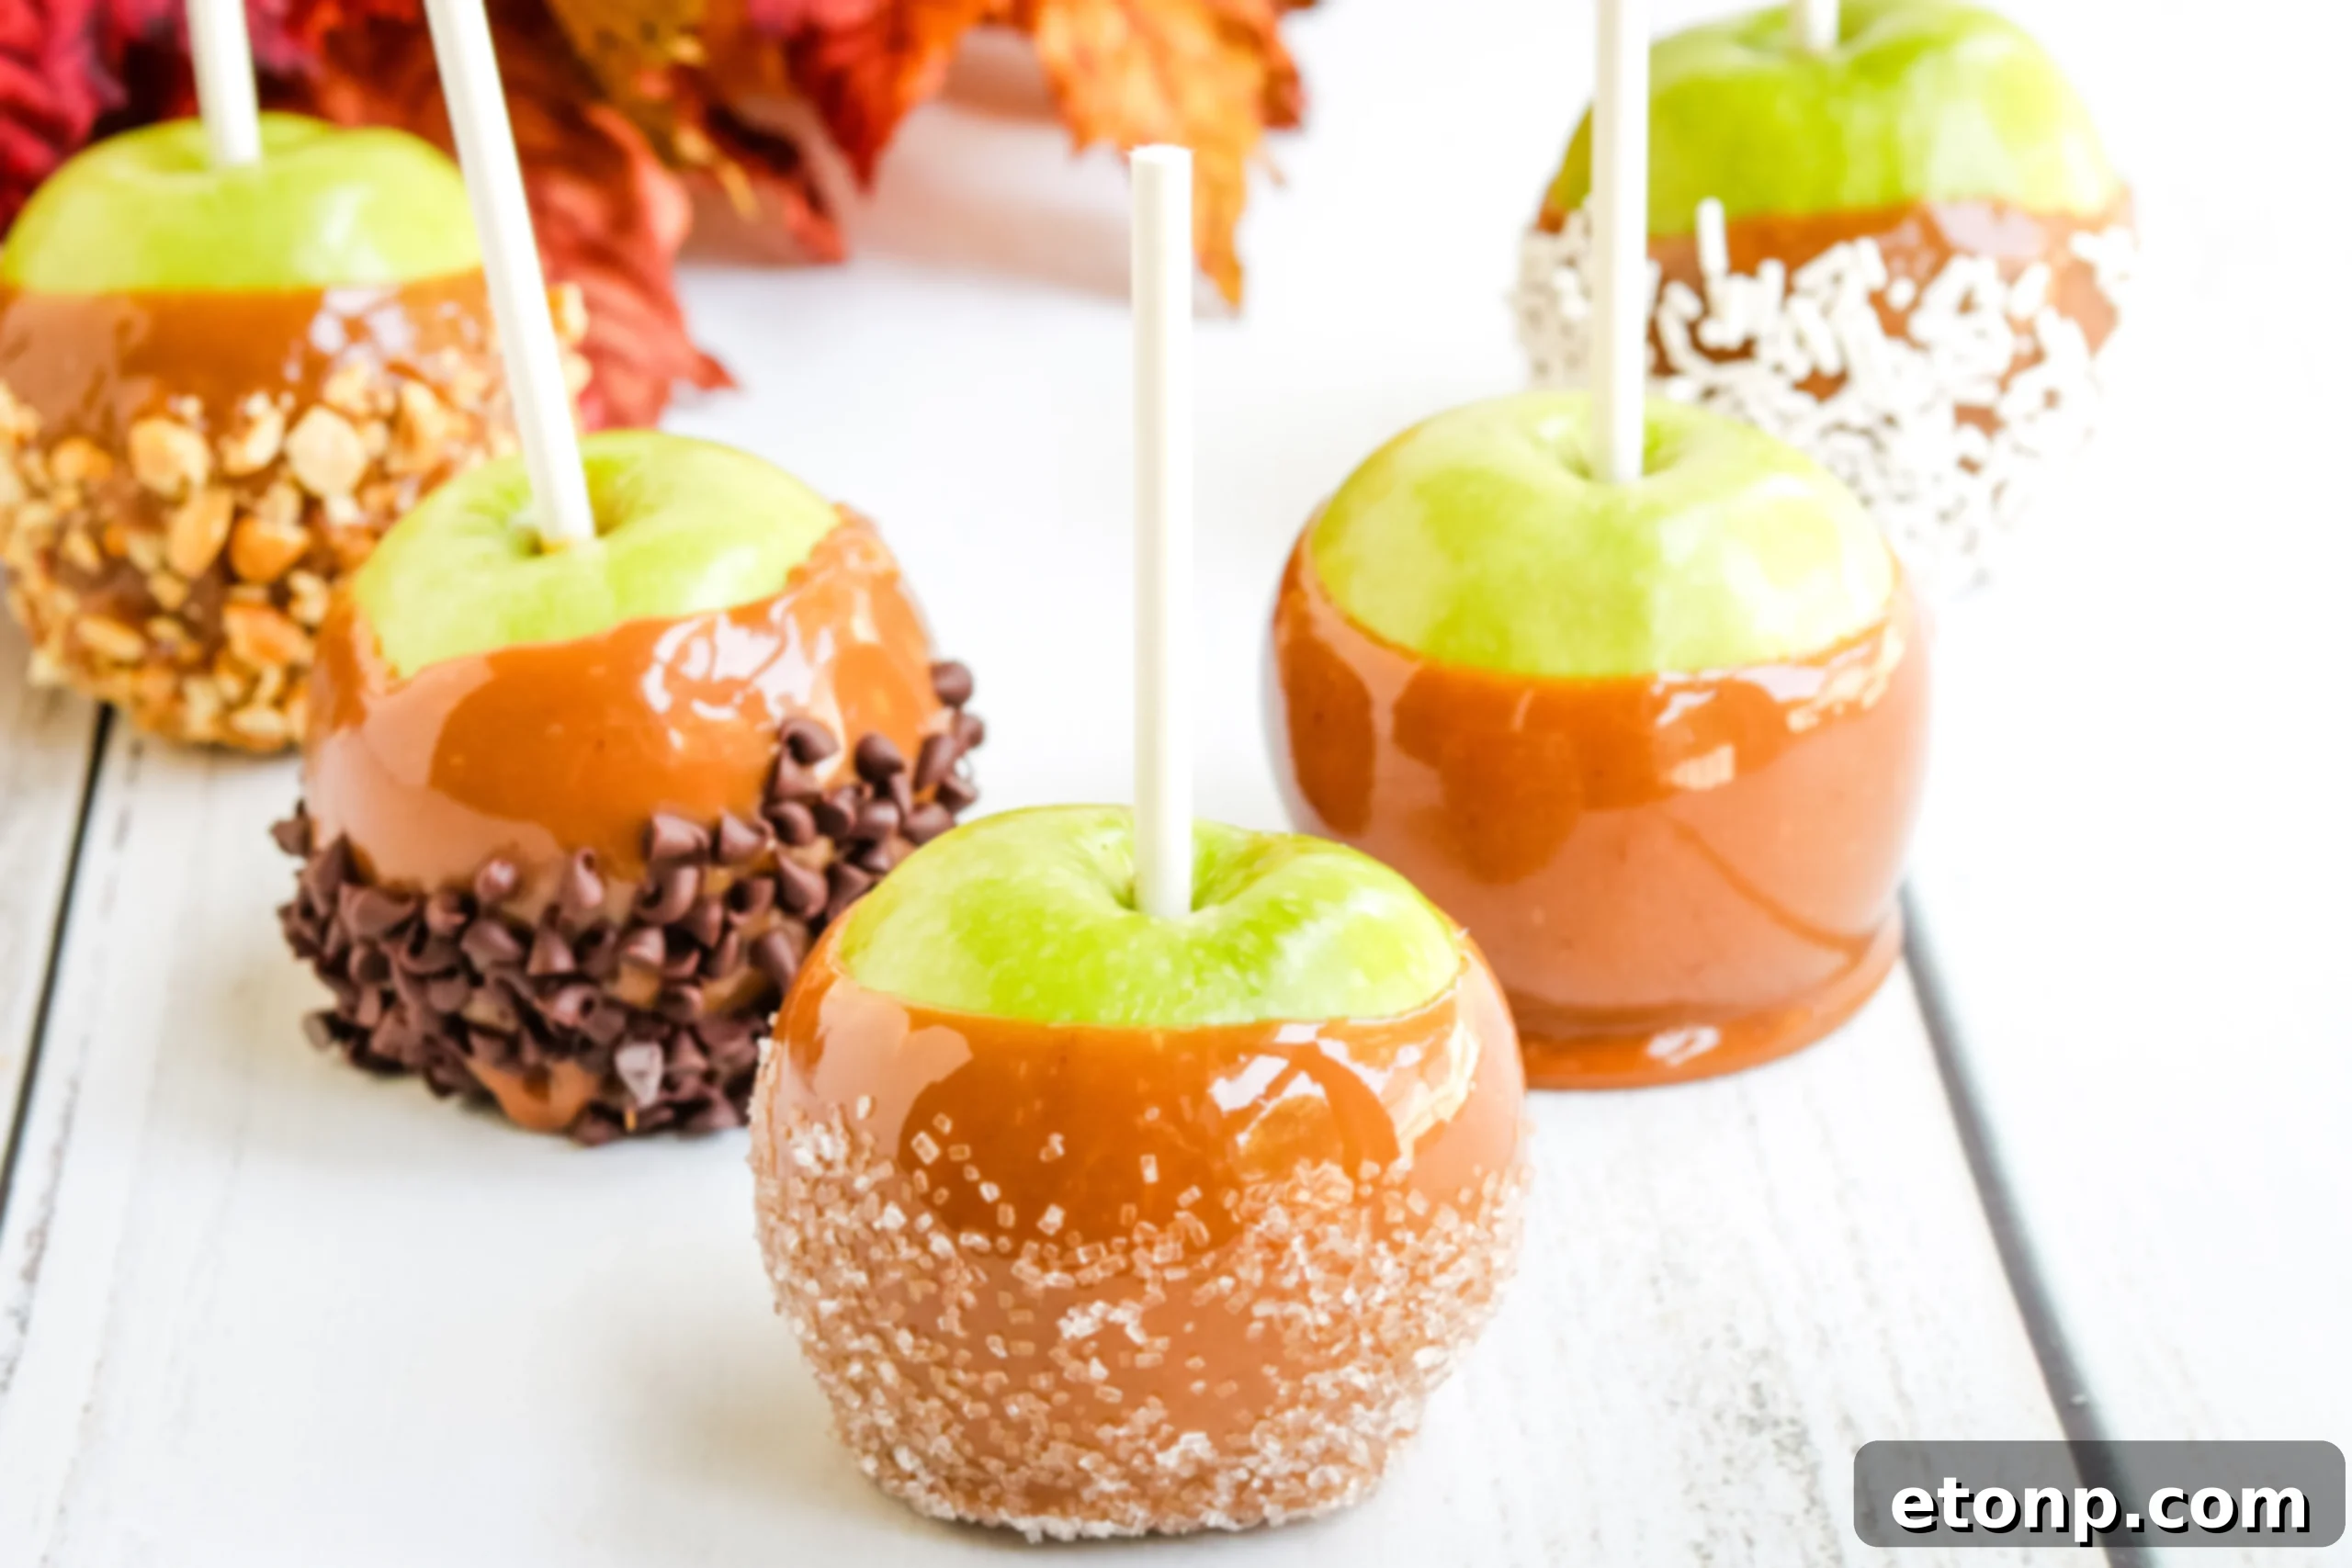
Please remember to SHARE on Facebook and PIN IT!
FOLLOW ME ONPINTERESTBY CLICKING HERE <——
Homemade Caramel Apples
Serves: 6
Prep Time: 5 minutes
Cook Time: 25 minutes
Total Time: 30 minutes
Ingredients
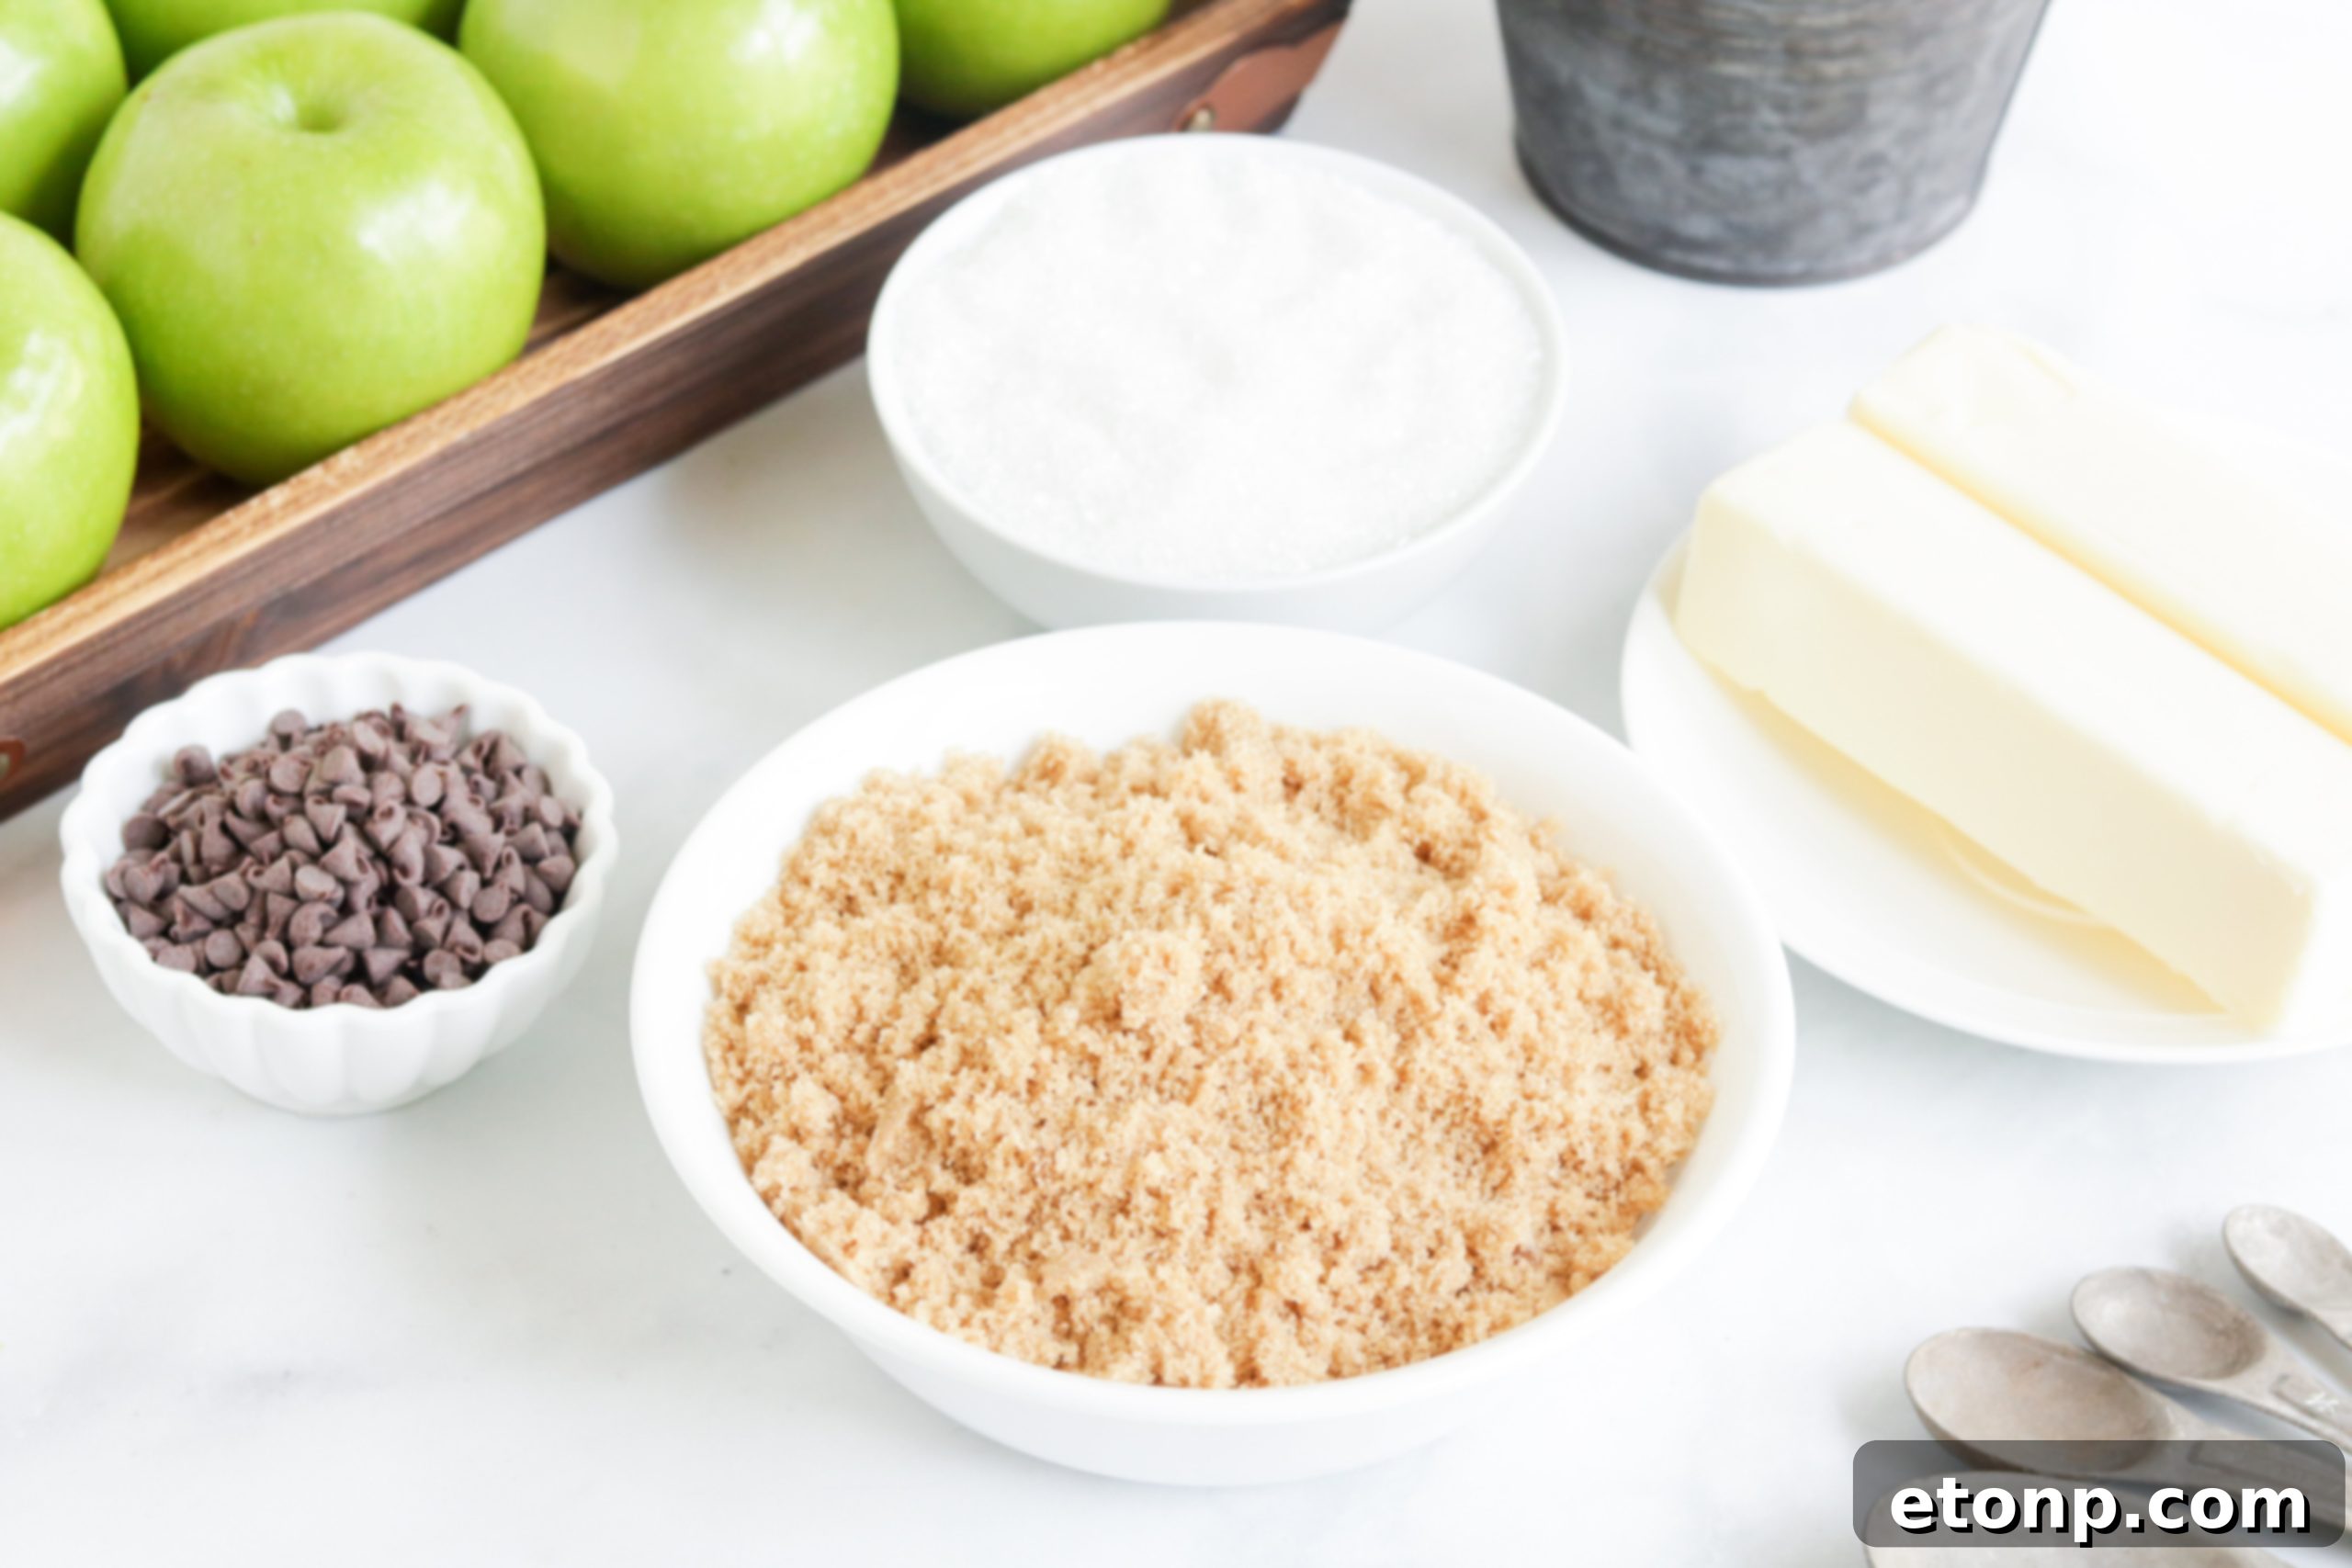
- 6 large apples (e.g., Granny Smith, Red Delicious)
- 1 cup butter
- 1 ½ cup packed brown sugar
- 1 ¼ cup light corn syrup
- 1 (14 oz) can sweetened condensed milk
- 1 ½ teaspoons vanilla extract
Instructions
- Line a baking sheet with wax or parchment paper and set aside.
- Wash and thoroughly dry the apples. Insert a sturdy stick into the stem end of each apple.
- In a large saucepan over medium heat, stir together the butter, brown sugar, corn syrup, and sweetened condensed milk until well combined.
- Bring the mixture to a boil, stirring constantly to prevent burning. Continue to cook, stirring, until a candy thermometer reads 245°F (118°C).
- Remove the caramel from the heat and stir in the vanilla extract.
- Carefully dip each apple into the hot caramel, turning to coat evenly. Gently twirl the apple against the side of the pot to remove any excess caramel.
- Immediately add desired toppings by rolling the coated apple in a shallow dish of sprinkles, nuts, or other chosen additions while the caramel is still warm and tacky.
- Place the dipped and decorated apples on the prepared baking sheet. Allow them to cool completely and set before serving.
- ENJOY your homemade caramel apple masterpiece!
Did you make this recipe?
Make sure to follow on Pinterest for more delicious recipes!