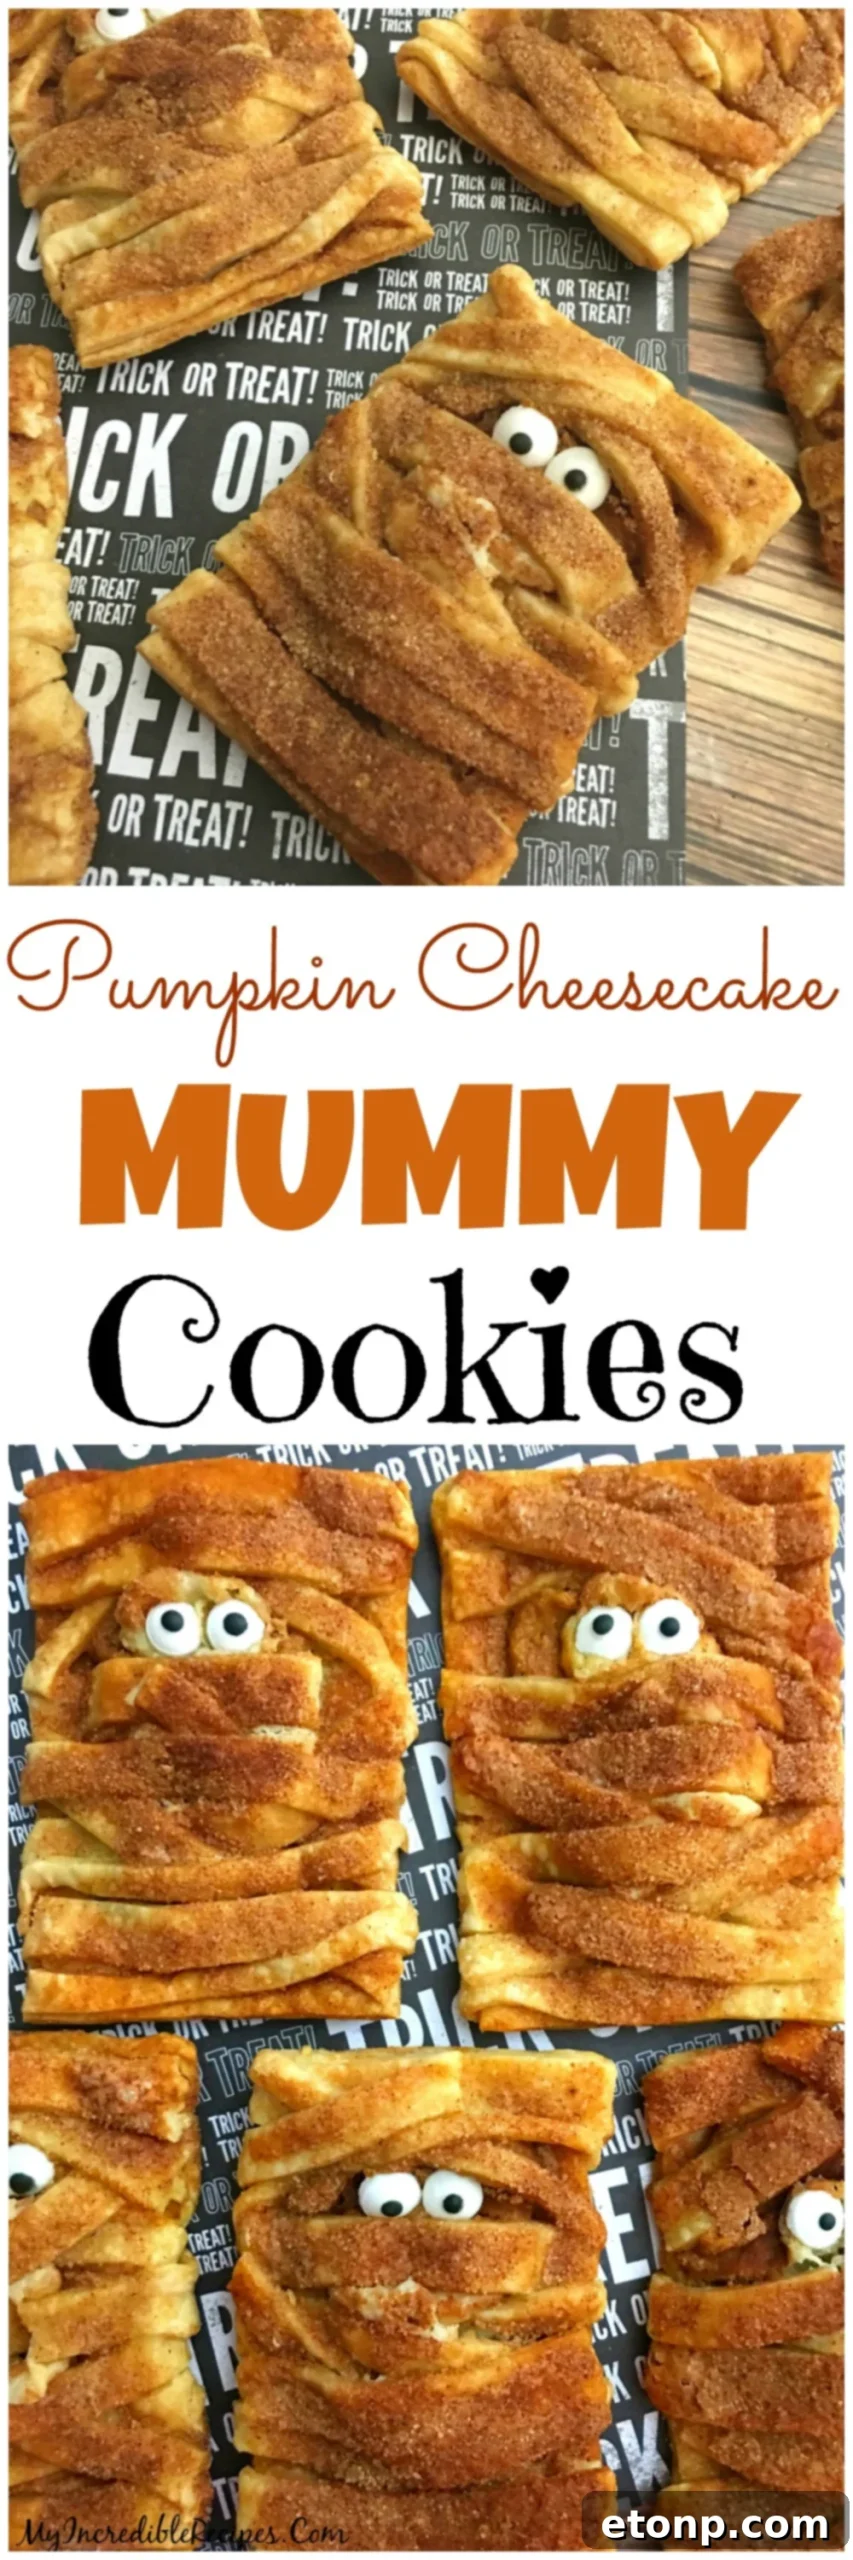
Spooktacularly Simple Pumpkin Cheesecake Mummy Hand Pies: Your Ultimate Halloween Treat!
Get ready to enchant your taste buds and impress your guests this Halloween with a recipe that’s as adorable as it is delicious: Pumpkin Cheesecake Mummy Hand Pies! These delightful treats are incredibly easy to make, making them a perfect last-minute addition to any spooky celebration. Whether you’re hosting a Halloween party, preparing snacks for the kids’ school event, or simply looking for a fun seasonal dessert, these mummy pies are guaranteed to be a hit. Their charming appearance hides a rich, creamy pumpkin cheesecake filling, all nestled within a flaky pie crust that practically melts in your mouth. Forget complicated baking; this recipe is all about maximizing fun and flavor with minimal effort.
Why These Mummy Hand Pies Are a Halloween Must-Have
Halloween isn’t just about costumes and spooky decorations; it’s also about indulging in delicious, themed treats. Our Pumpkin Cheesecake Mummy Hand Pies perfectly blend the festive spirit with irresistible flavors. The combination of sweet pumpkin and tangy cream cheese creates a harmonious taste that evokes the cozy essence of autumn, while their mummy-like appearance adds a playful, seasonal touch. What sets this recipe apart is its incredible simplicity. Utilizing pre-made refrigerated pie crusts significantly cuts down on preparation time, allowing even novice bakers to create these impressive desserts with ease. This means more time enjoying the festivities and less time slaving away in the kitchen.
These hand pies are not only simple but also versatile. They are perfectly portioned for individual servings, making them ideal for buffet tables at parties. Kids absolutely adore them – both for their spooky-cute appearance and their delicious filling. Imagine the smiles when they see these friendly mummies with their candy eyes staring back! They’re also robust enough to be packed for school parties or shared with neighbors, ensuring that everyone gets a taste of Halloween cheer. The rich flavors of pumpkin pie spice combined with the creamy cheesecake create a dessert that is both comforting and exciting, making it a treat that caters to all ages and preferences during the holiday season.
The Secret Ingredient: Effortless Pie Crusts
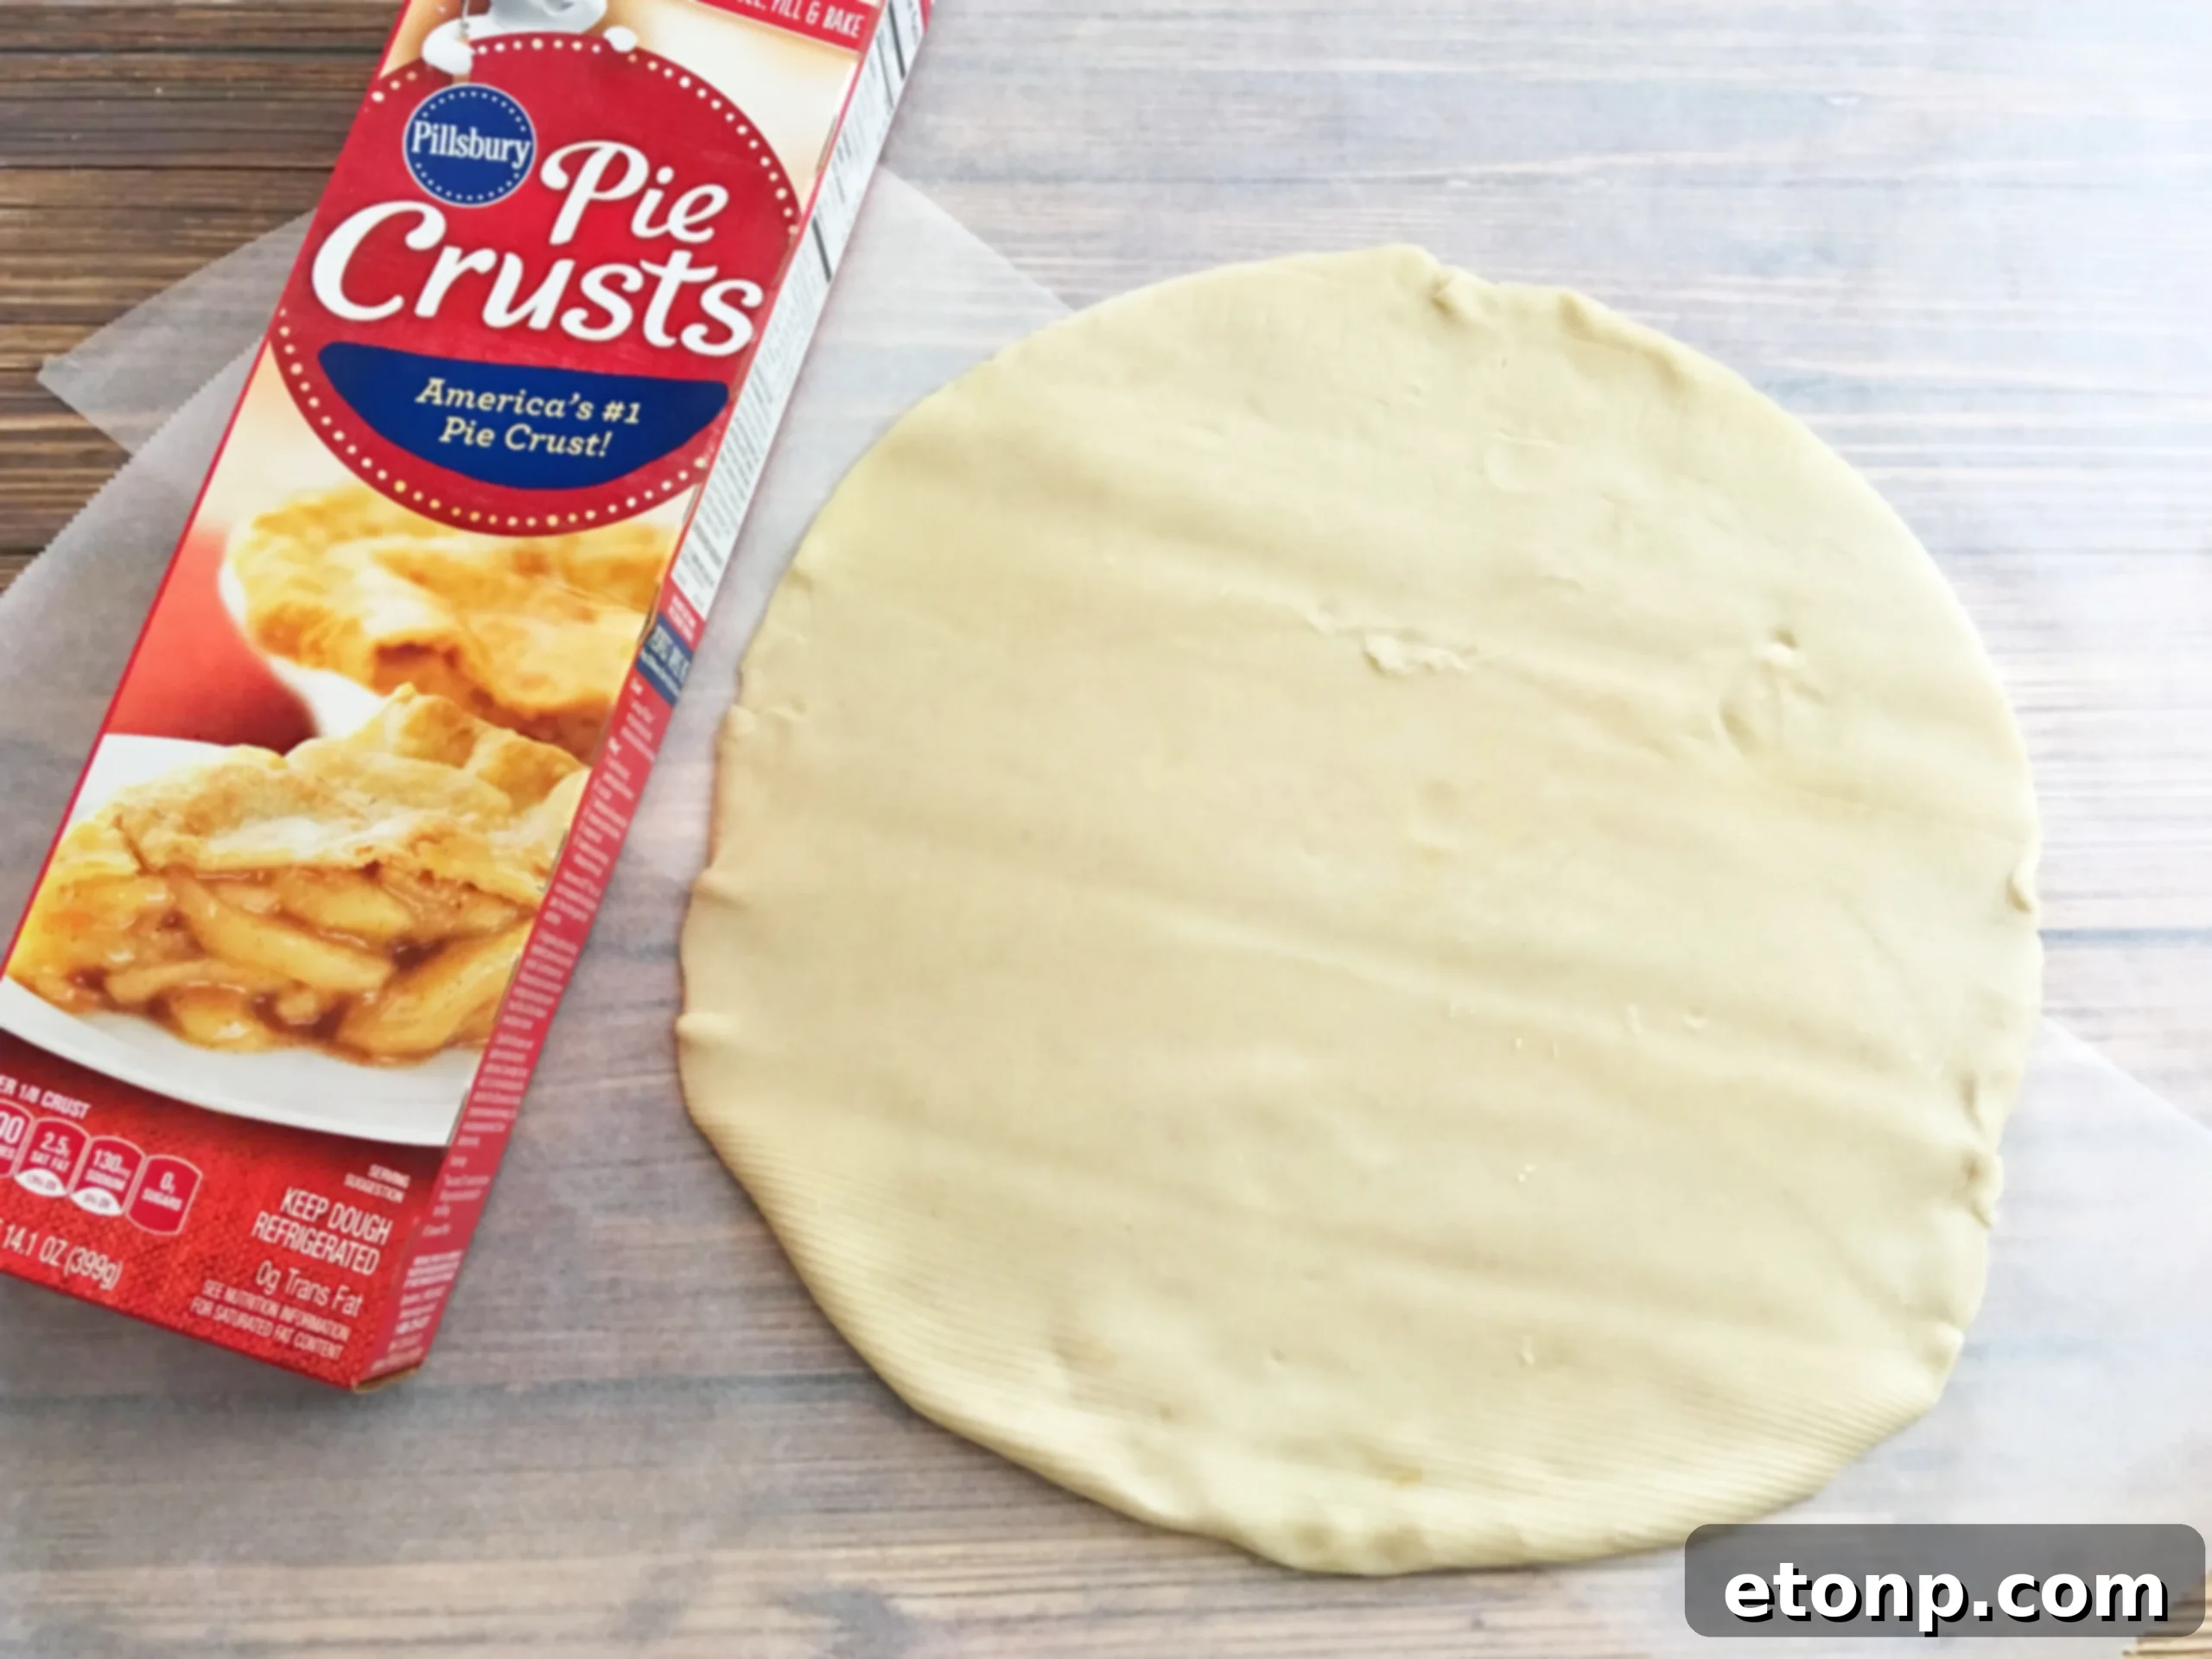
The foundation of these fantastic mummy hand pies lies in the humble refrigerated pie crust. This ingredient is a true game-changer, eliminating the need for complex dough preparation and chilling times. Simply unroll, cut, and fill! We often hear how challenging it can be to achieve a perfect, flaky crust from scratch, but with these store-bought options, you get consistent results every time. They bake up beautifully golden and provide the ideal crispy exterior to complement the soft, luscious filling. Don’t underestimate the power of this pantry staple; it’s the secret weapon that transforms a potentially time-consuming recipe into a quick and enjoyable baking experience. You’ll wonder how you ever managed without them!
Crafting Your Mummy Bases: Preparation is Key
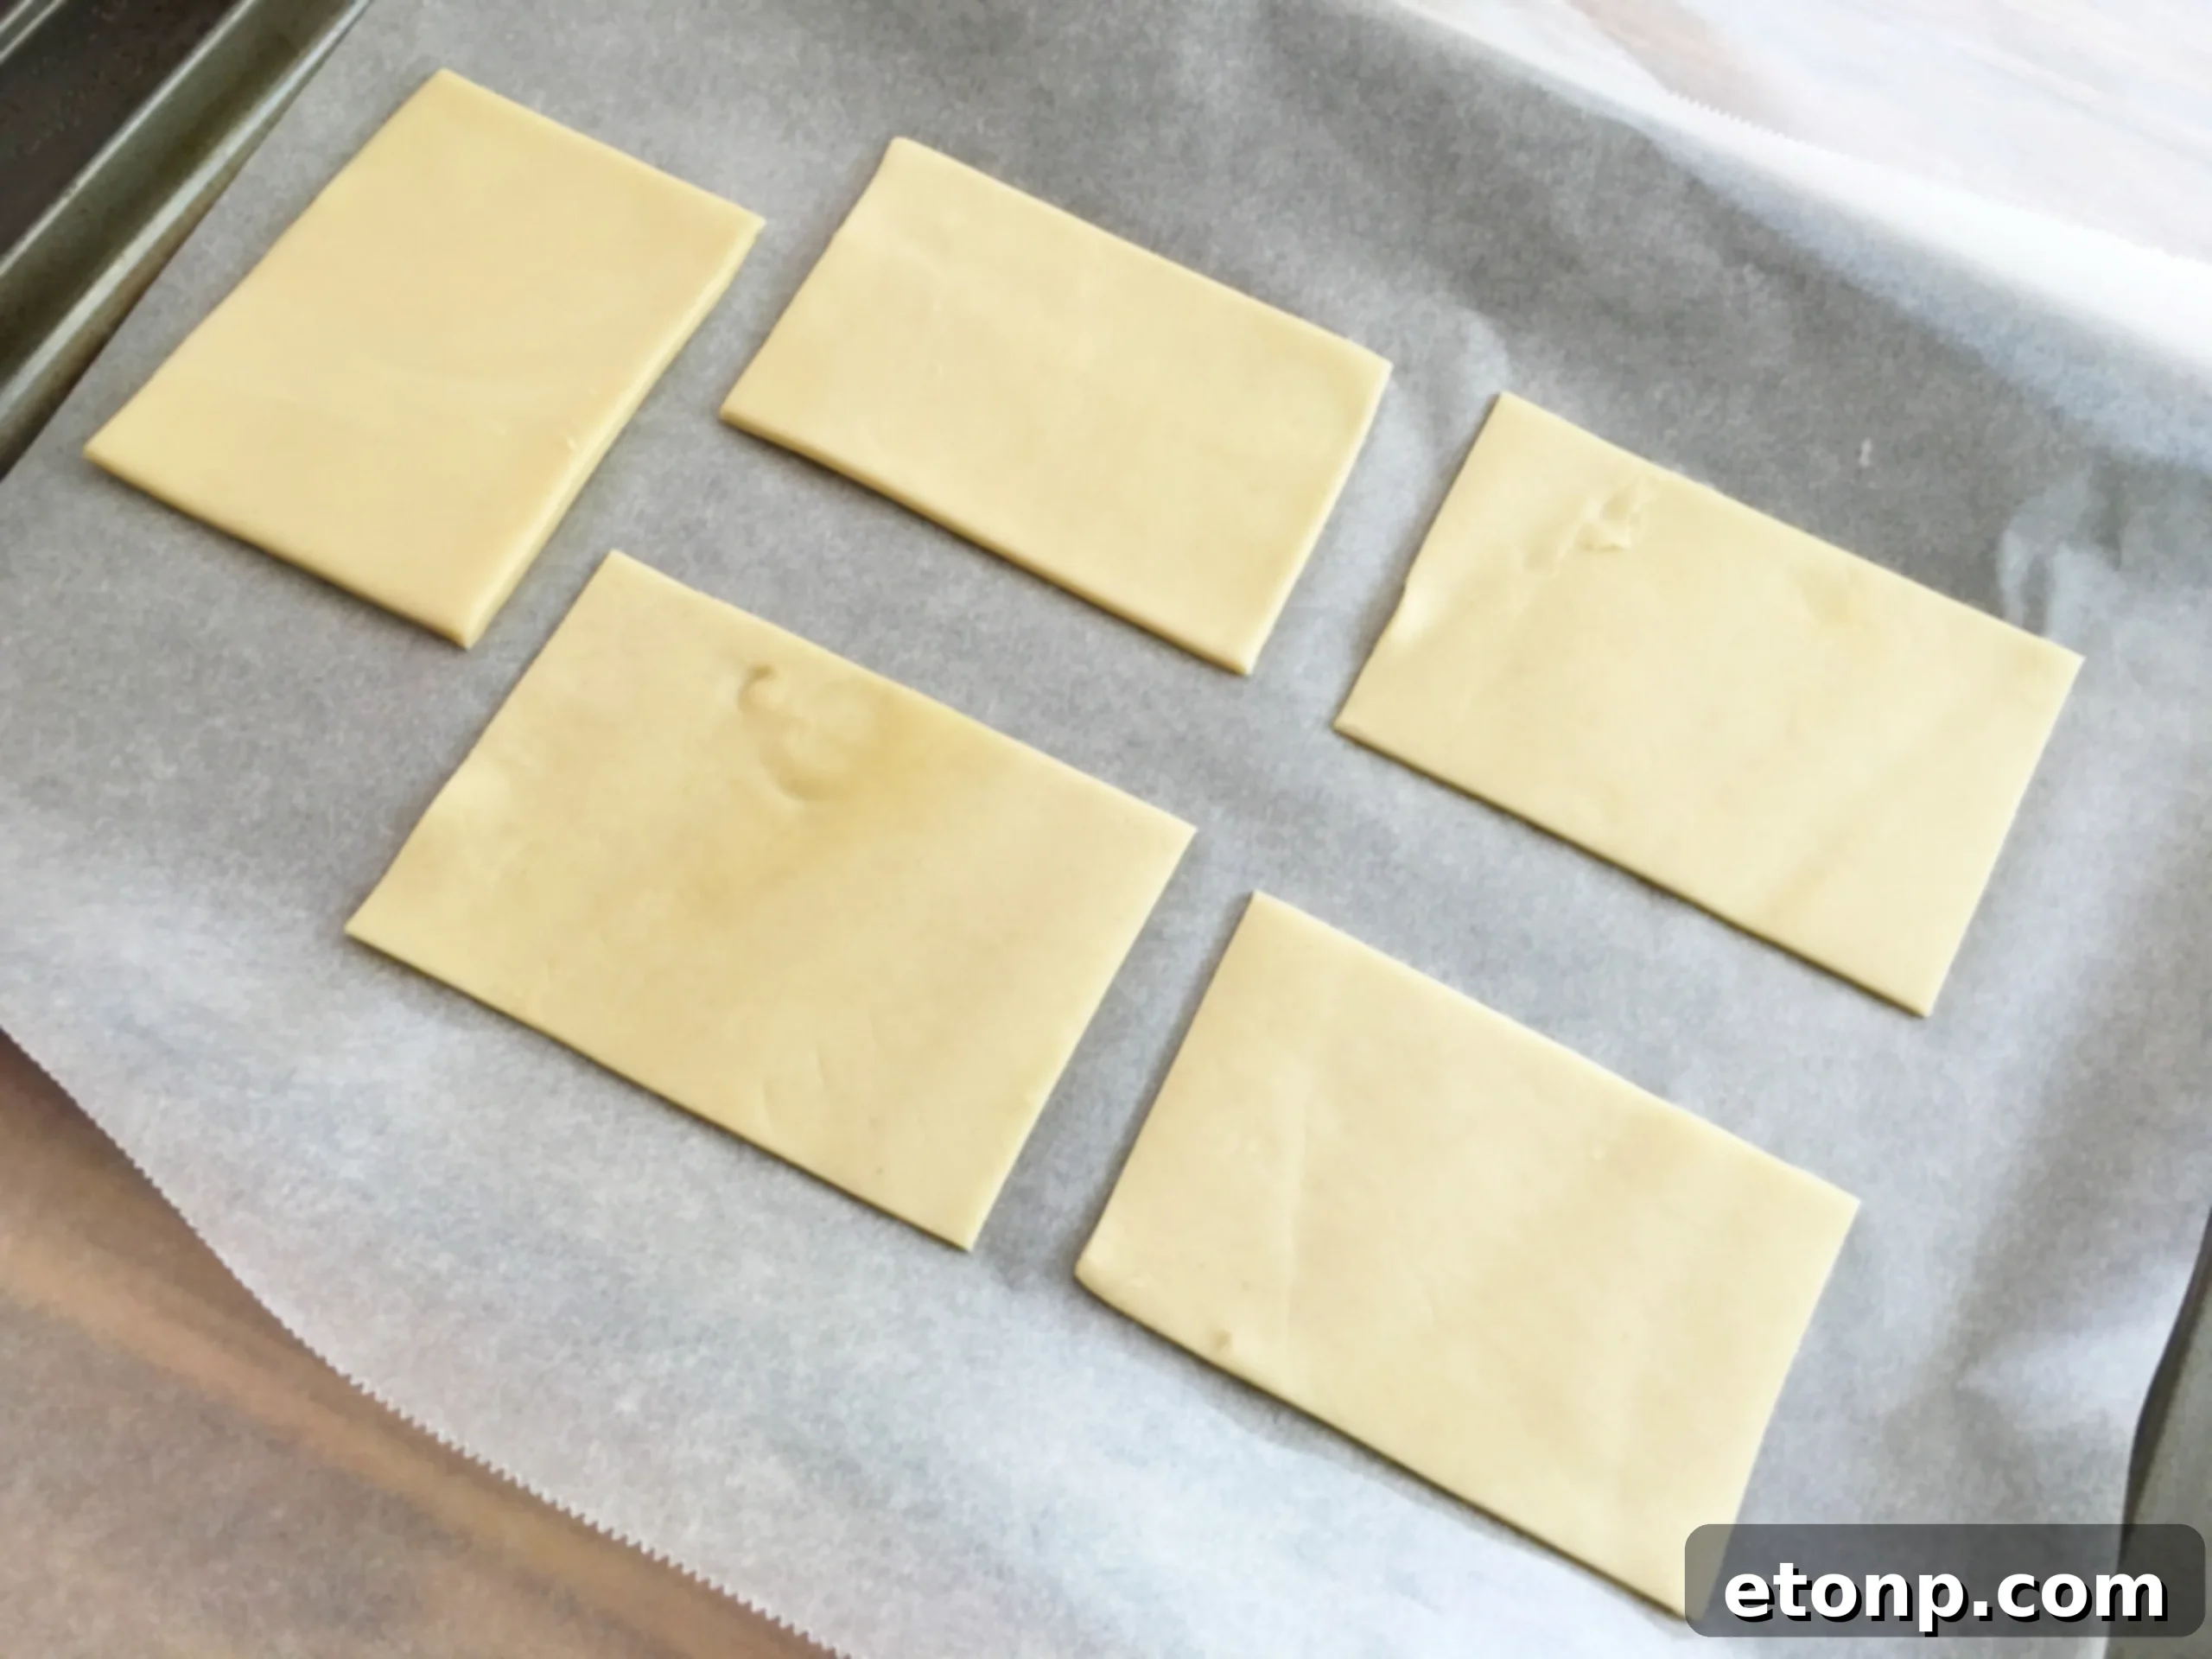
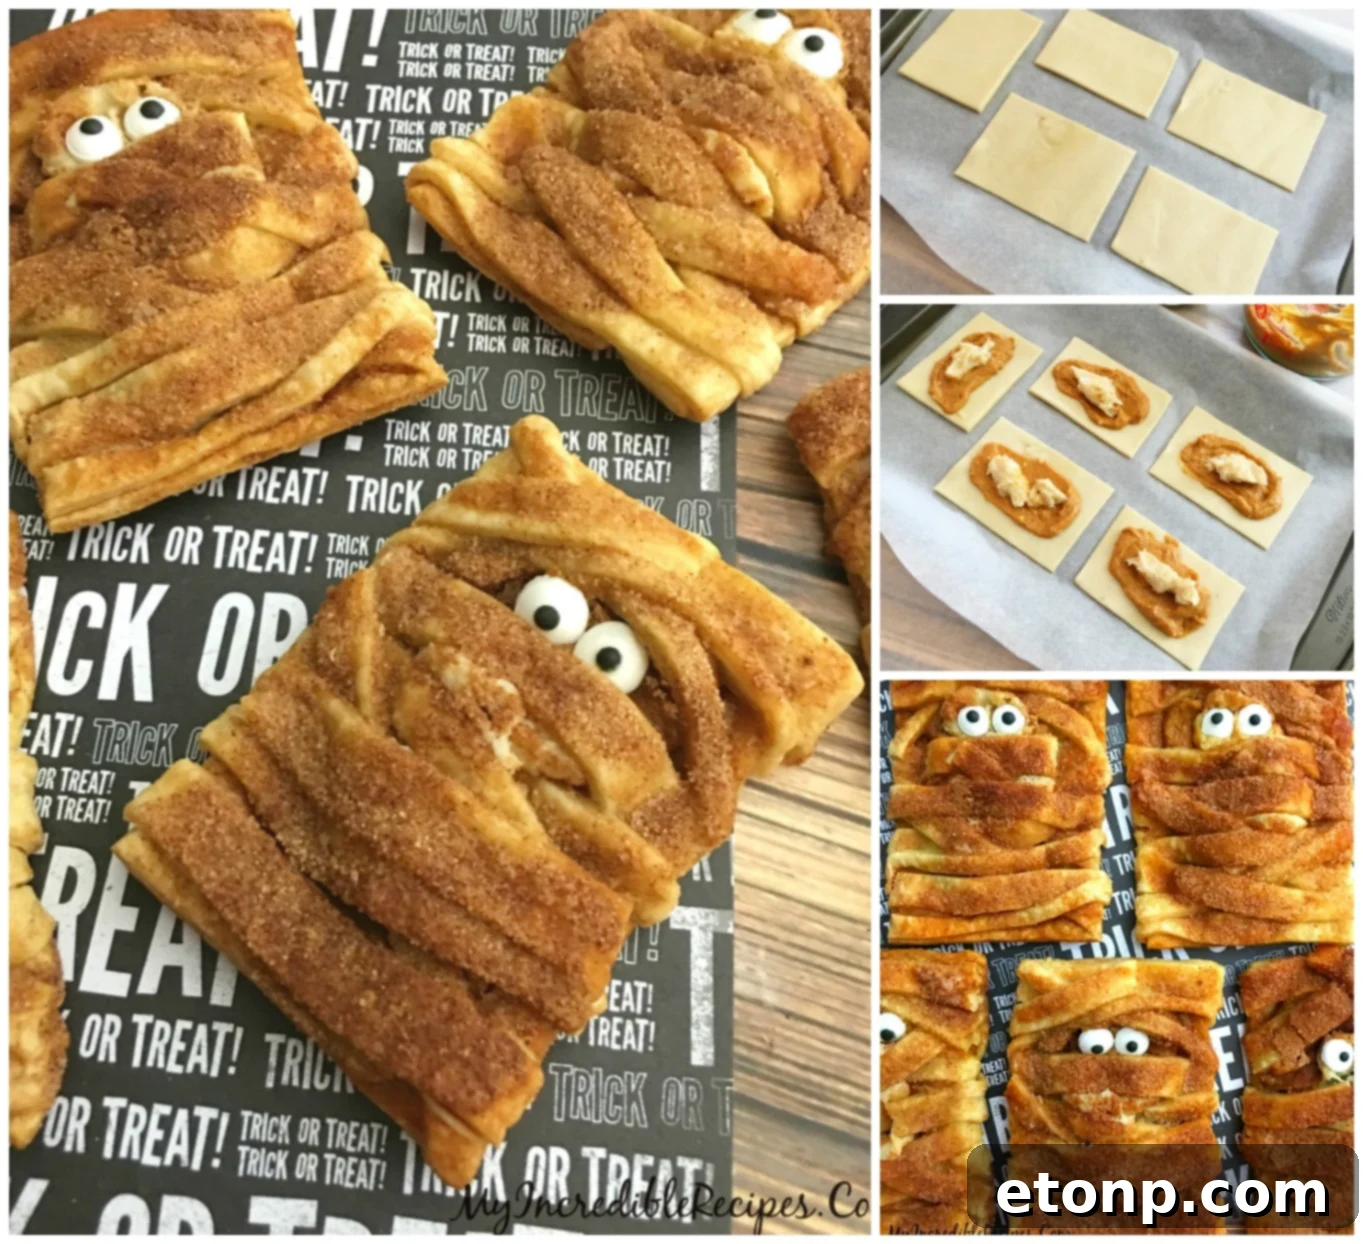
The journey to creating these adorable mummy hand pies begins with setting up your workspace and preparing your pie crusts. Laying down parchment paper on your counter is a smart move – it makes cleanup a breeze and prevents the dough from sticking. Carefully unroll your refrigerated pie crust and, with a keen eye and a steady hand, use a pizza cutter to divide it into evenly sized rectangles, roughly 3×4 inches. Consistency in size will ensure even baking and a uniform presentation for your mummies. These rectangular bases are the “bodies” of your mummies, ready to be filled with the scrumptious pumpkin cheesecake goodness that awaits. Transfer these carefully cut crusts onto a baking sheet lined with fresh parchment paper, giving each one a little space to breathe during baking.
The Delectable Filling: A Two-Part Harmony
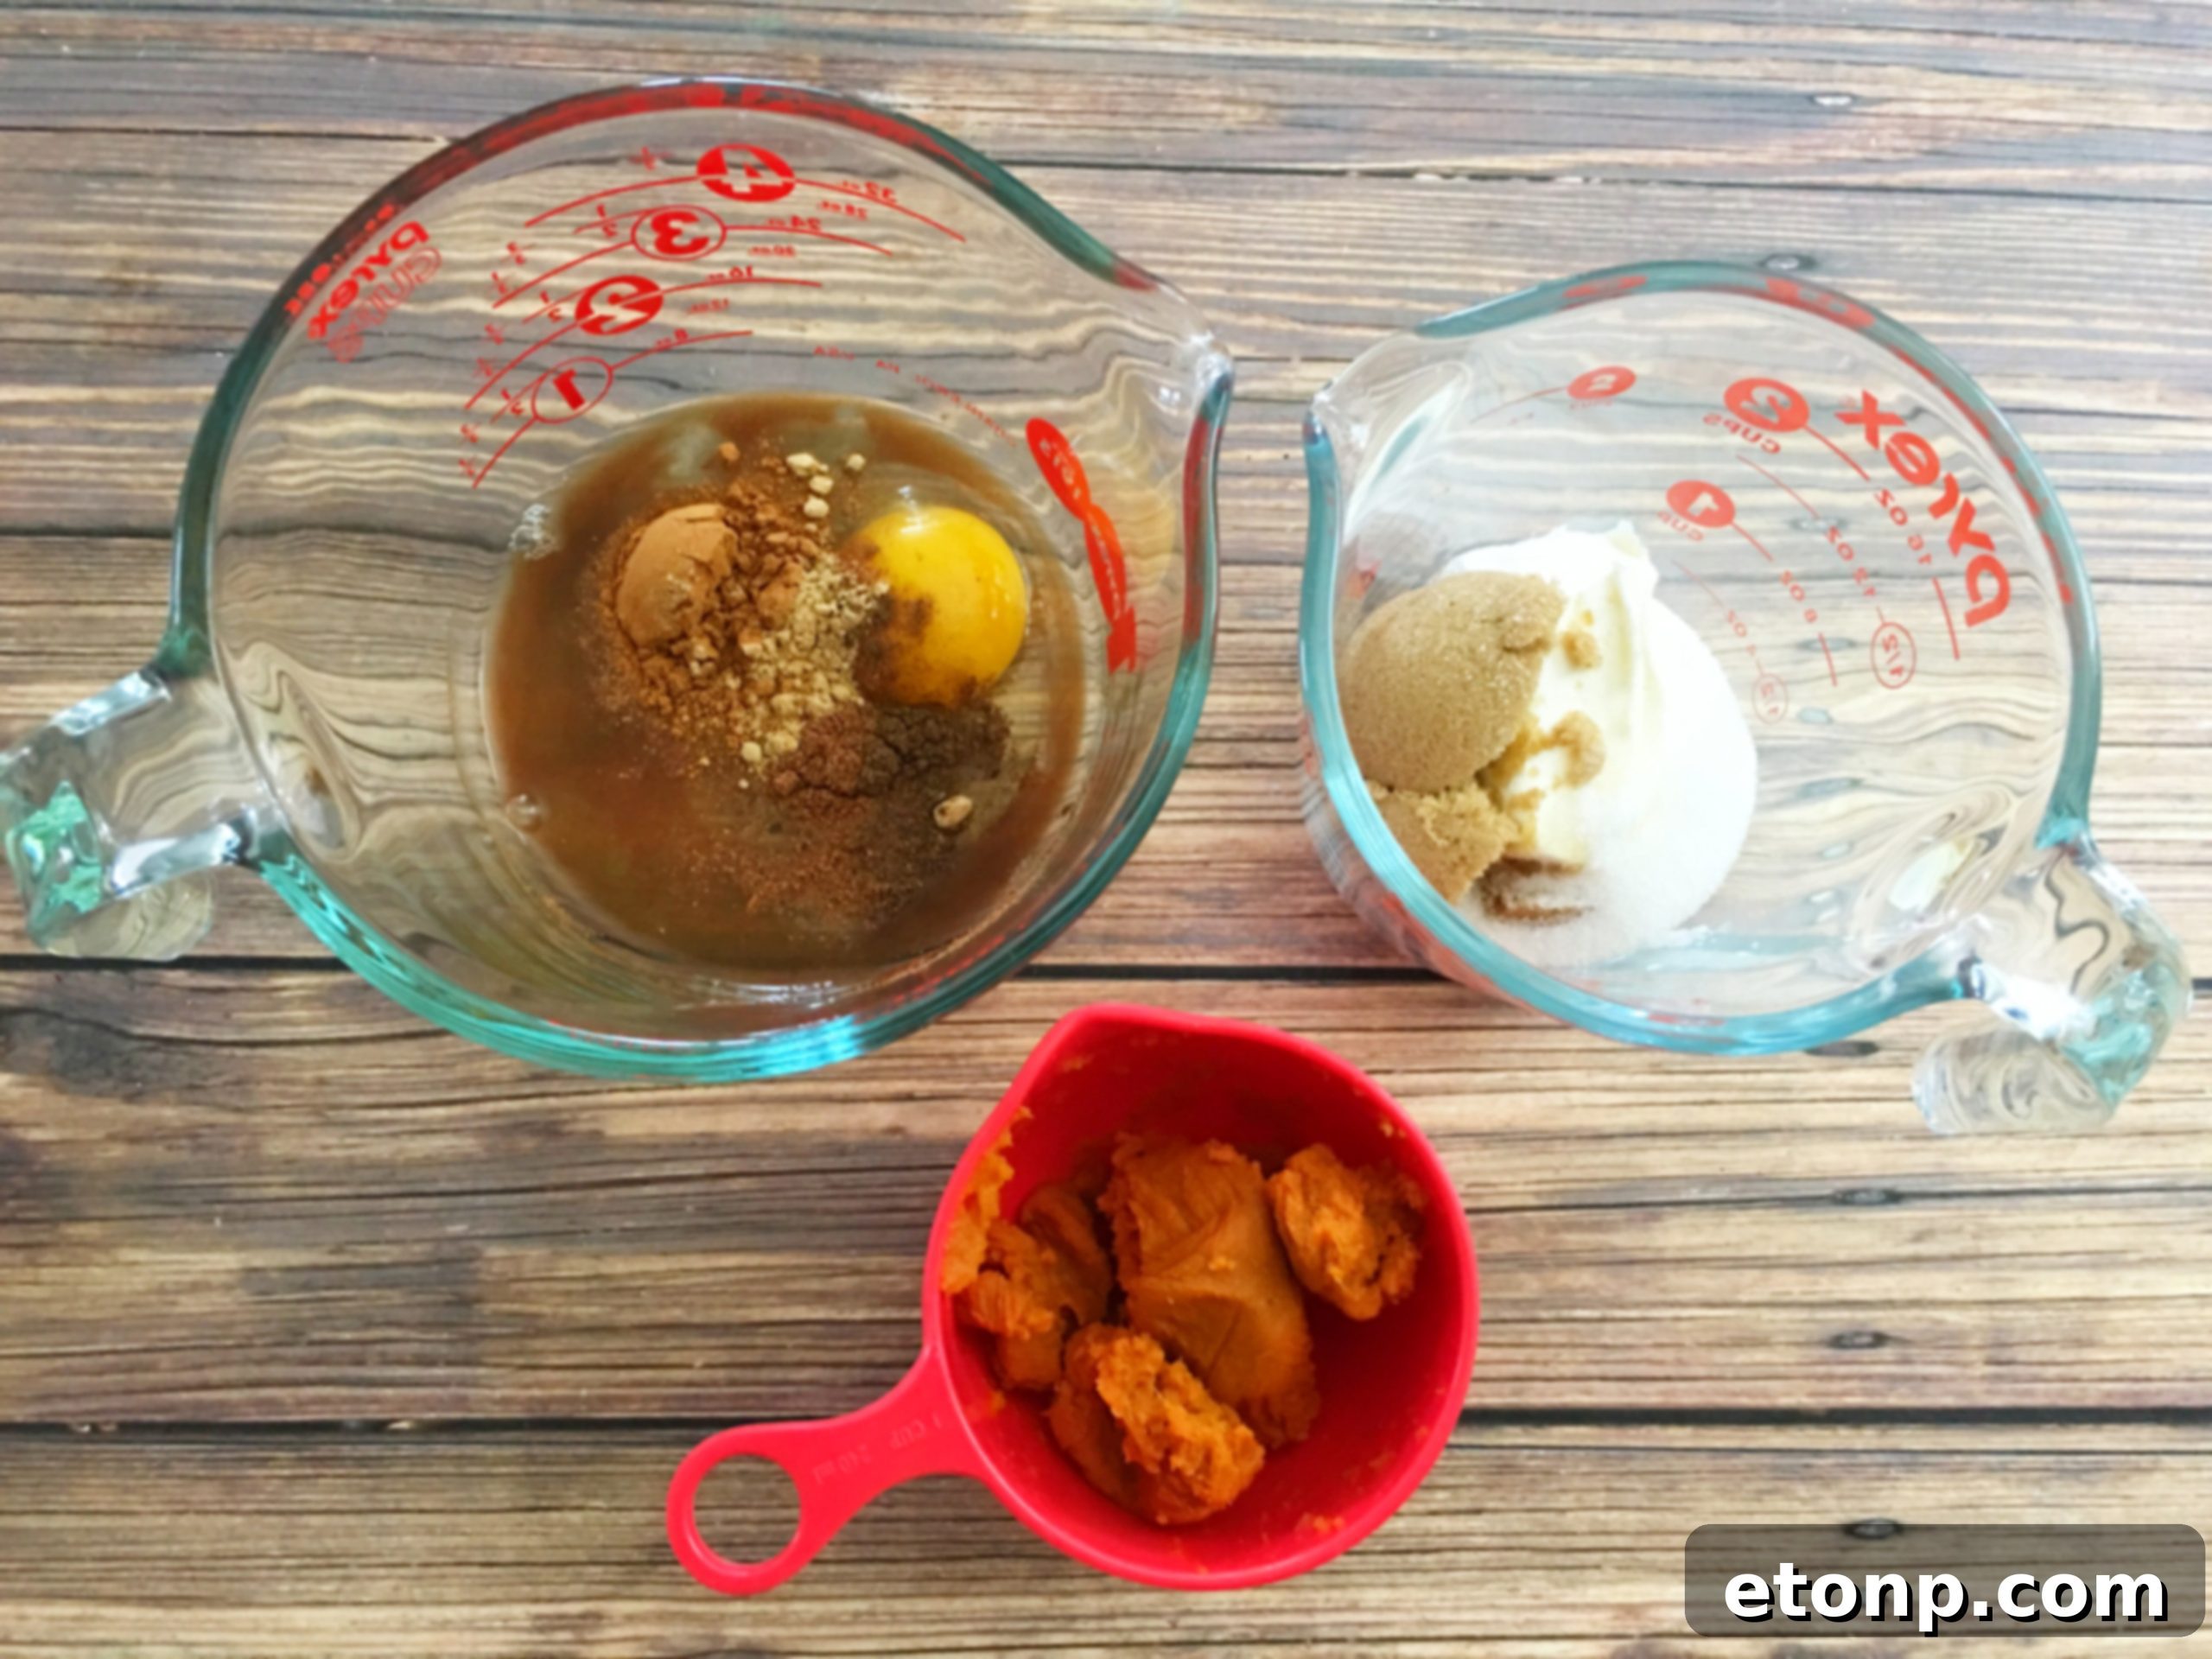
The heart of these hand pies lies in their exquisite two-part filling: a spiced pumpkin mix and a sweet cream cheese layer. Start by preparing the pumpkin filling, a delightful blend of rich pumpkin puree and aromatic spices that instantly conjure the spirit of autumn. In a small mixing bowl, combine 2 oz of softened cream cheese with 2 tablespoons of granulated sugar and 2 tablespoons of brown sugar. This creates a base for your first cheesecake layer. In a separate bowl, prepare your pumpkin masterpiece. Blend another 2 oz of cream cheese with an additional 2 tablespoons of granulated sugar and 2 tablespoons of brown sugar. To this mixture, add your pumpkin puree, ground cinnamon, nutmeg, ginger, allspice, vanilla extract, and one egg yolk. This creates a rich, creamy, and wonderfully spiced pumpkin cheesecake filling.
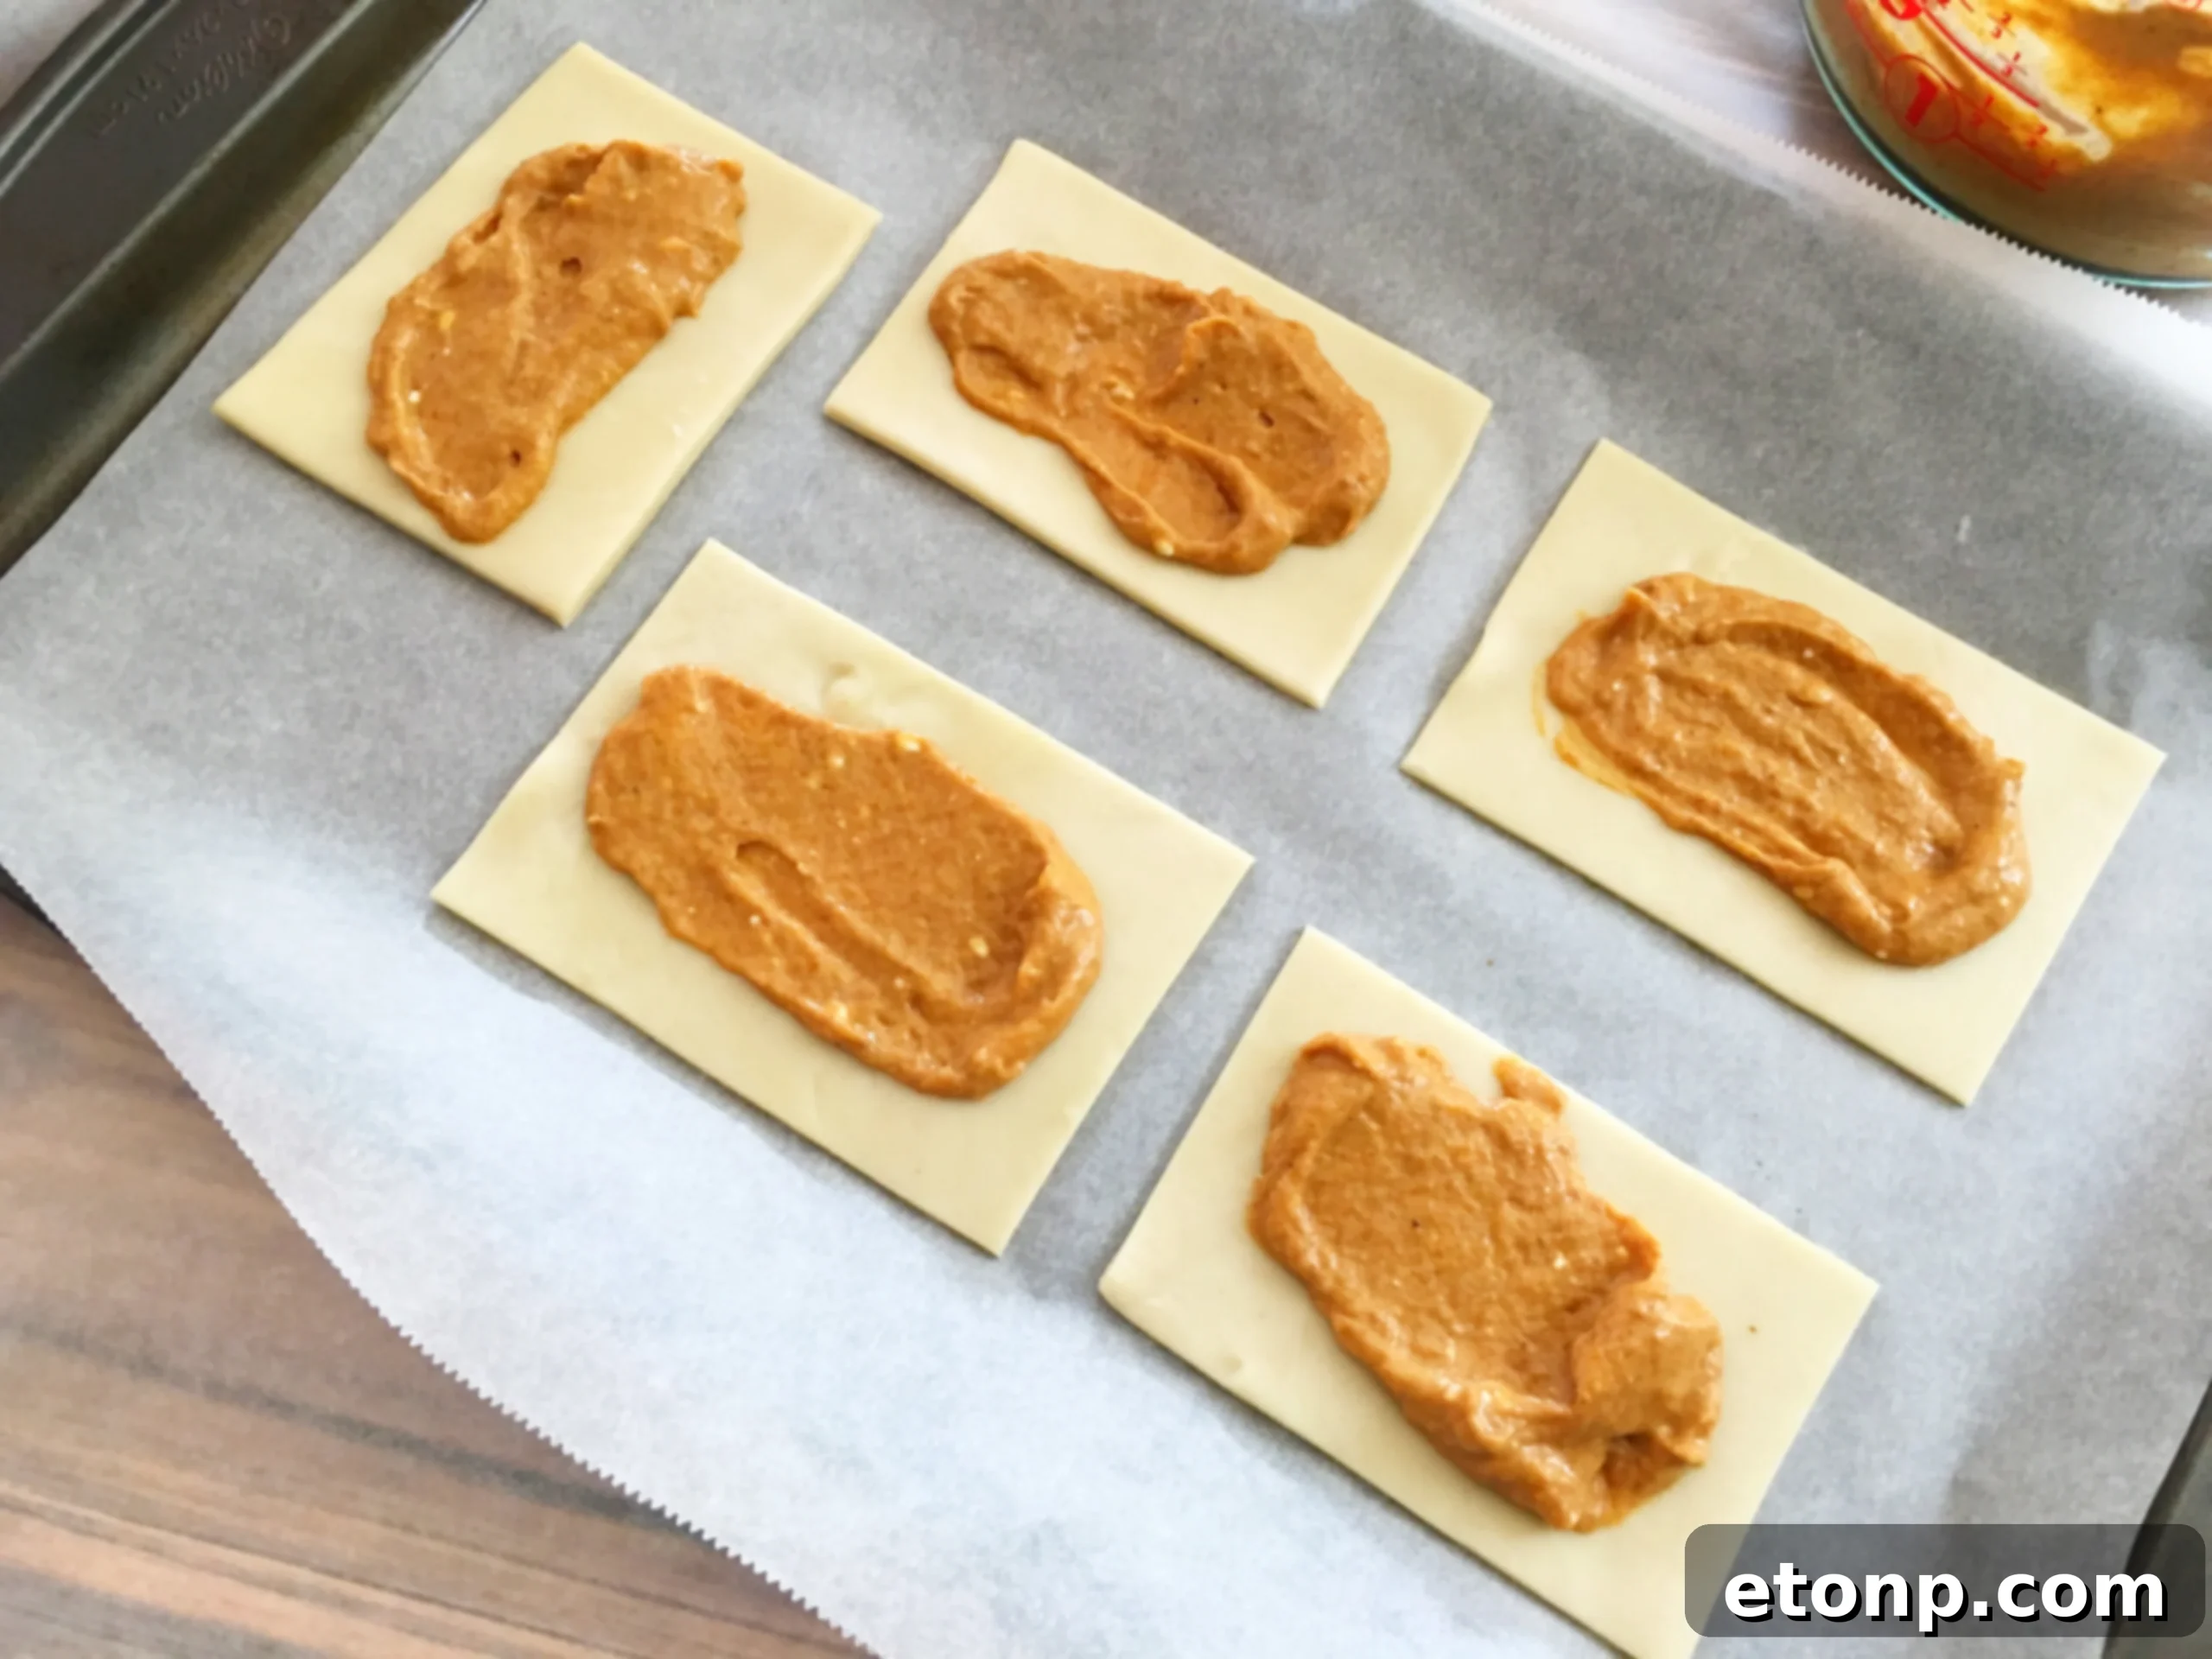
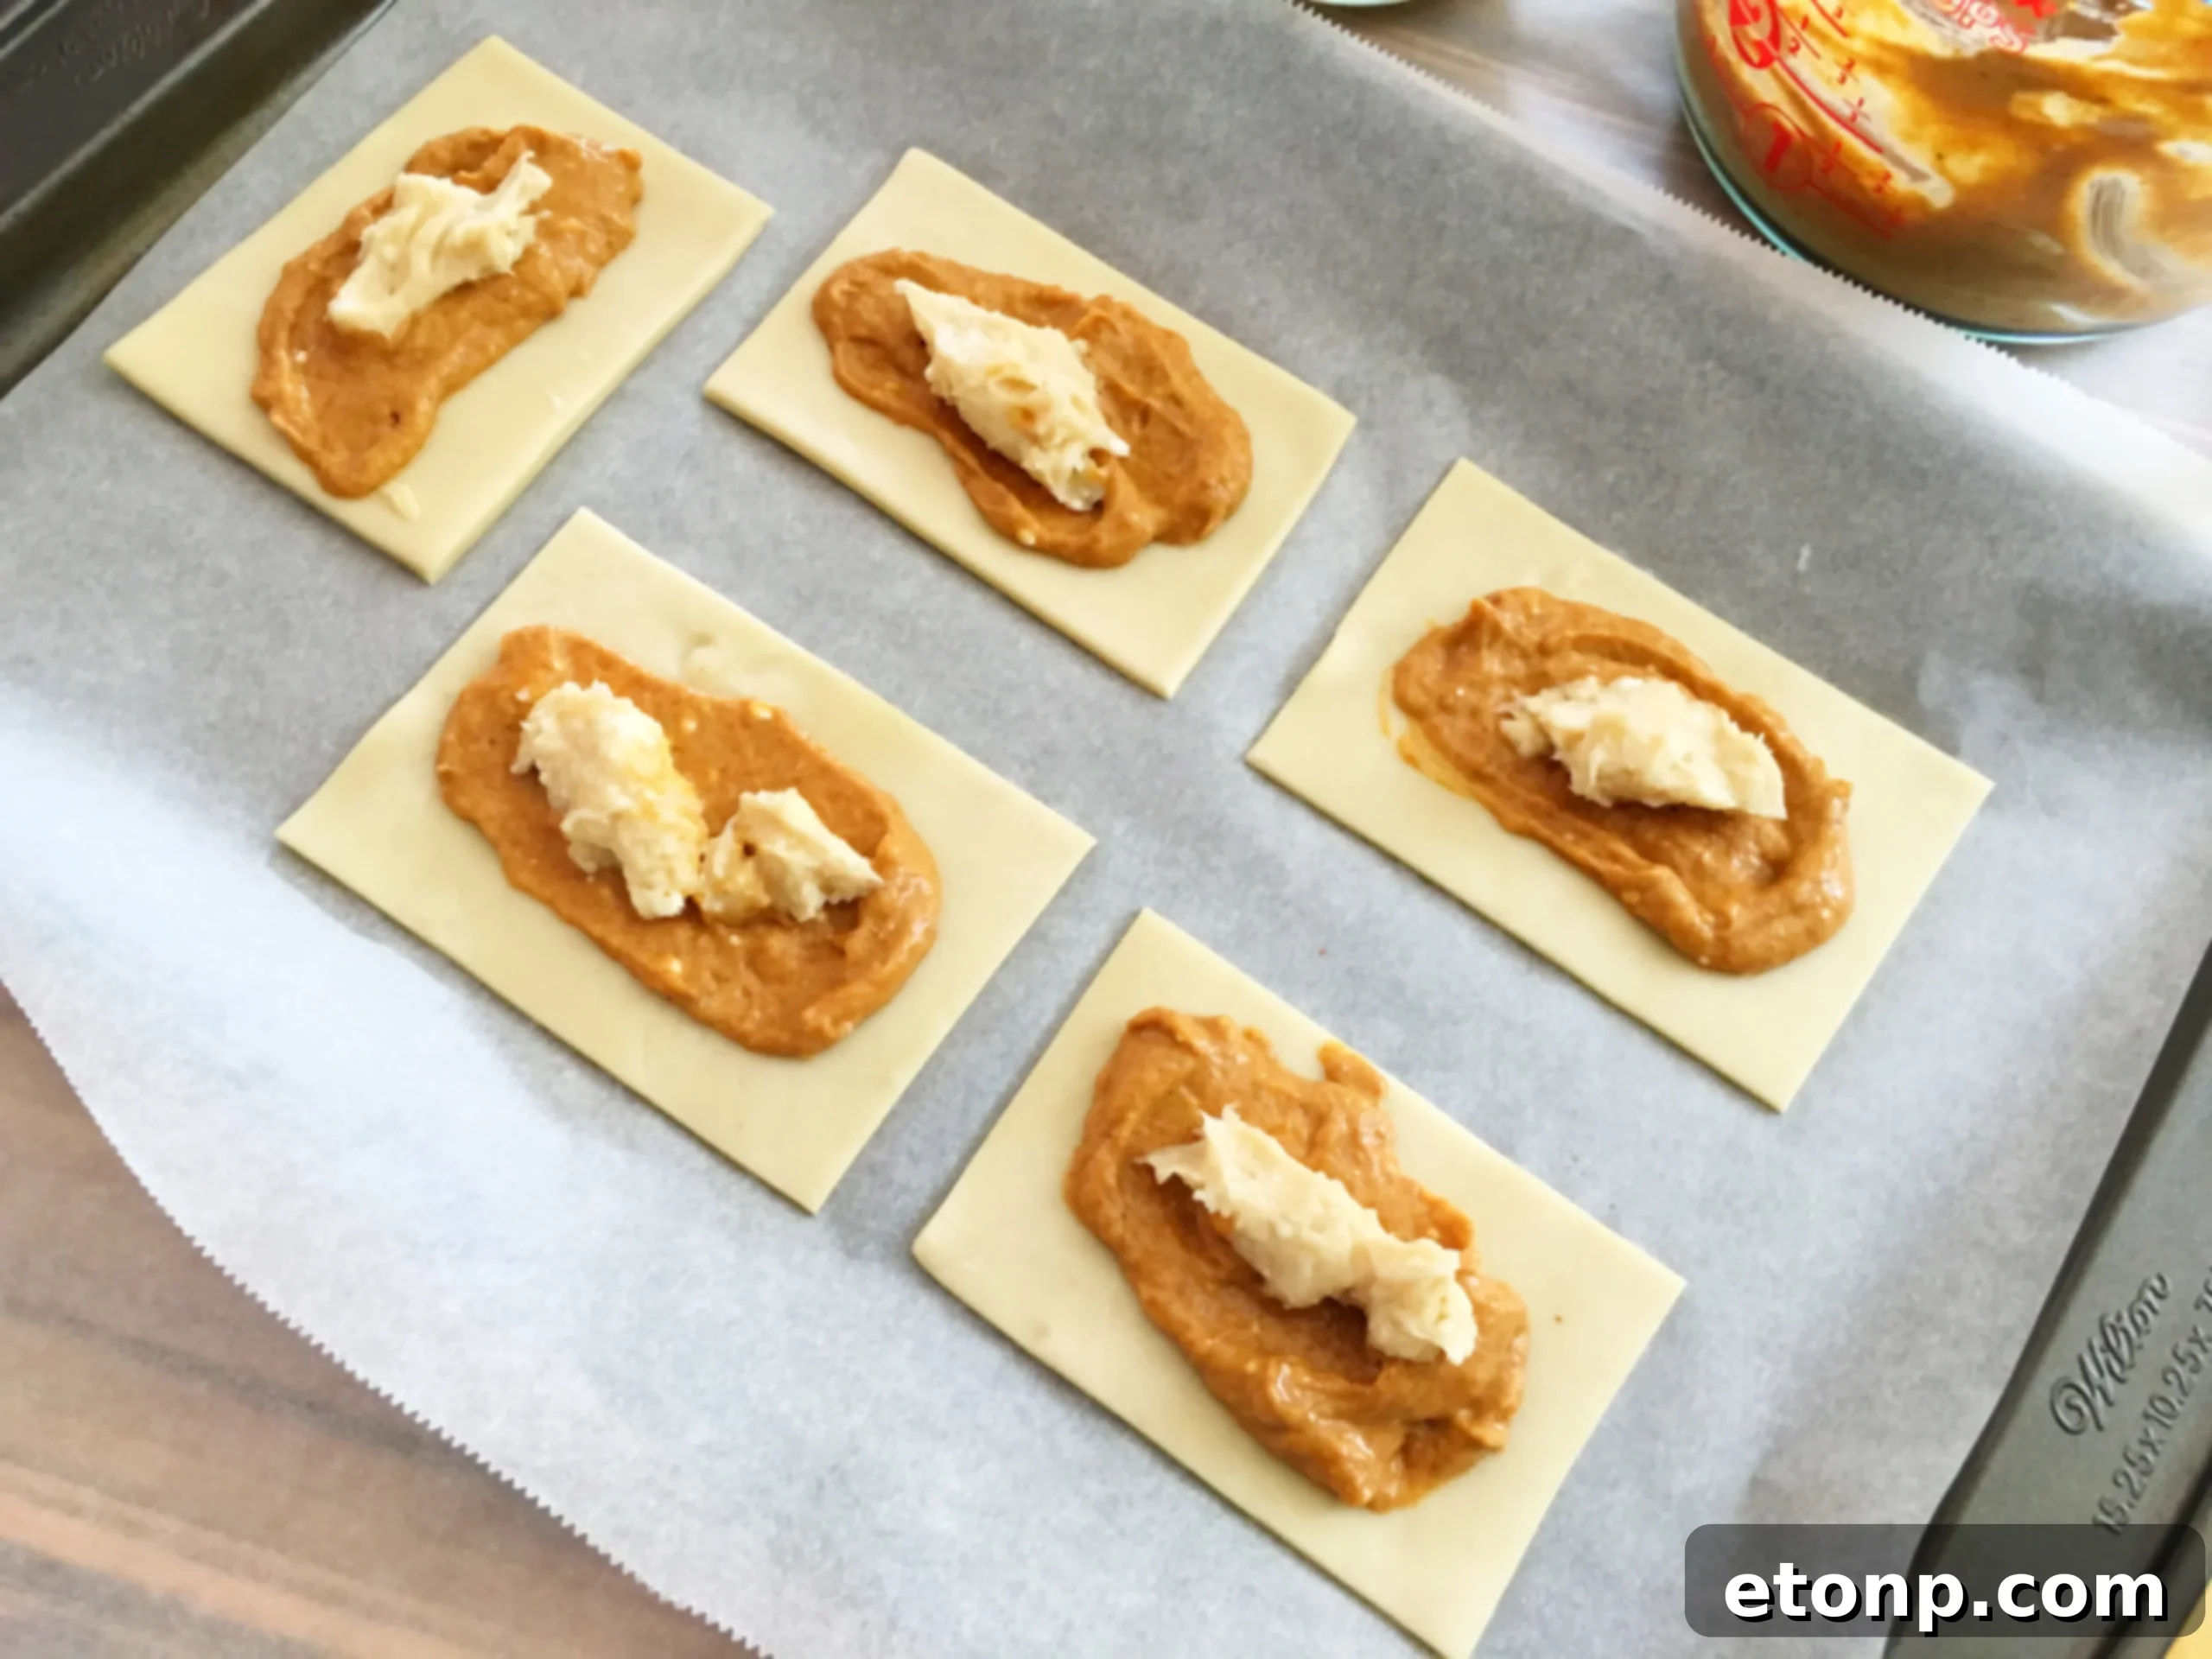
Once your fillings are ready, it’s time to assemble. Take a generous scoop, about two tablespoons, of your pumpkin pie mix and spread it evenly onto the center of each pie crust rectangle. Be sure to leave a clean border around the edges – this is crucial for sealing the mummies later. Next, delicately spoon about a tablespoon of your plain cream cheese mixture on top of the pumpkin layer. Gently spread it out, again being mindful of the edges. This layering technique ensures you get a delightful burst of both pumpkin and cheesecake in every bite, creating a truly irresistible treat that’s bursting with flavor.
Bringing Your Mummies to Life: The Spooky Wrap
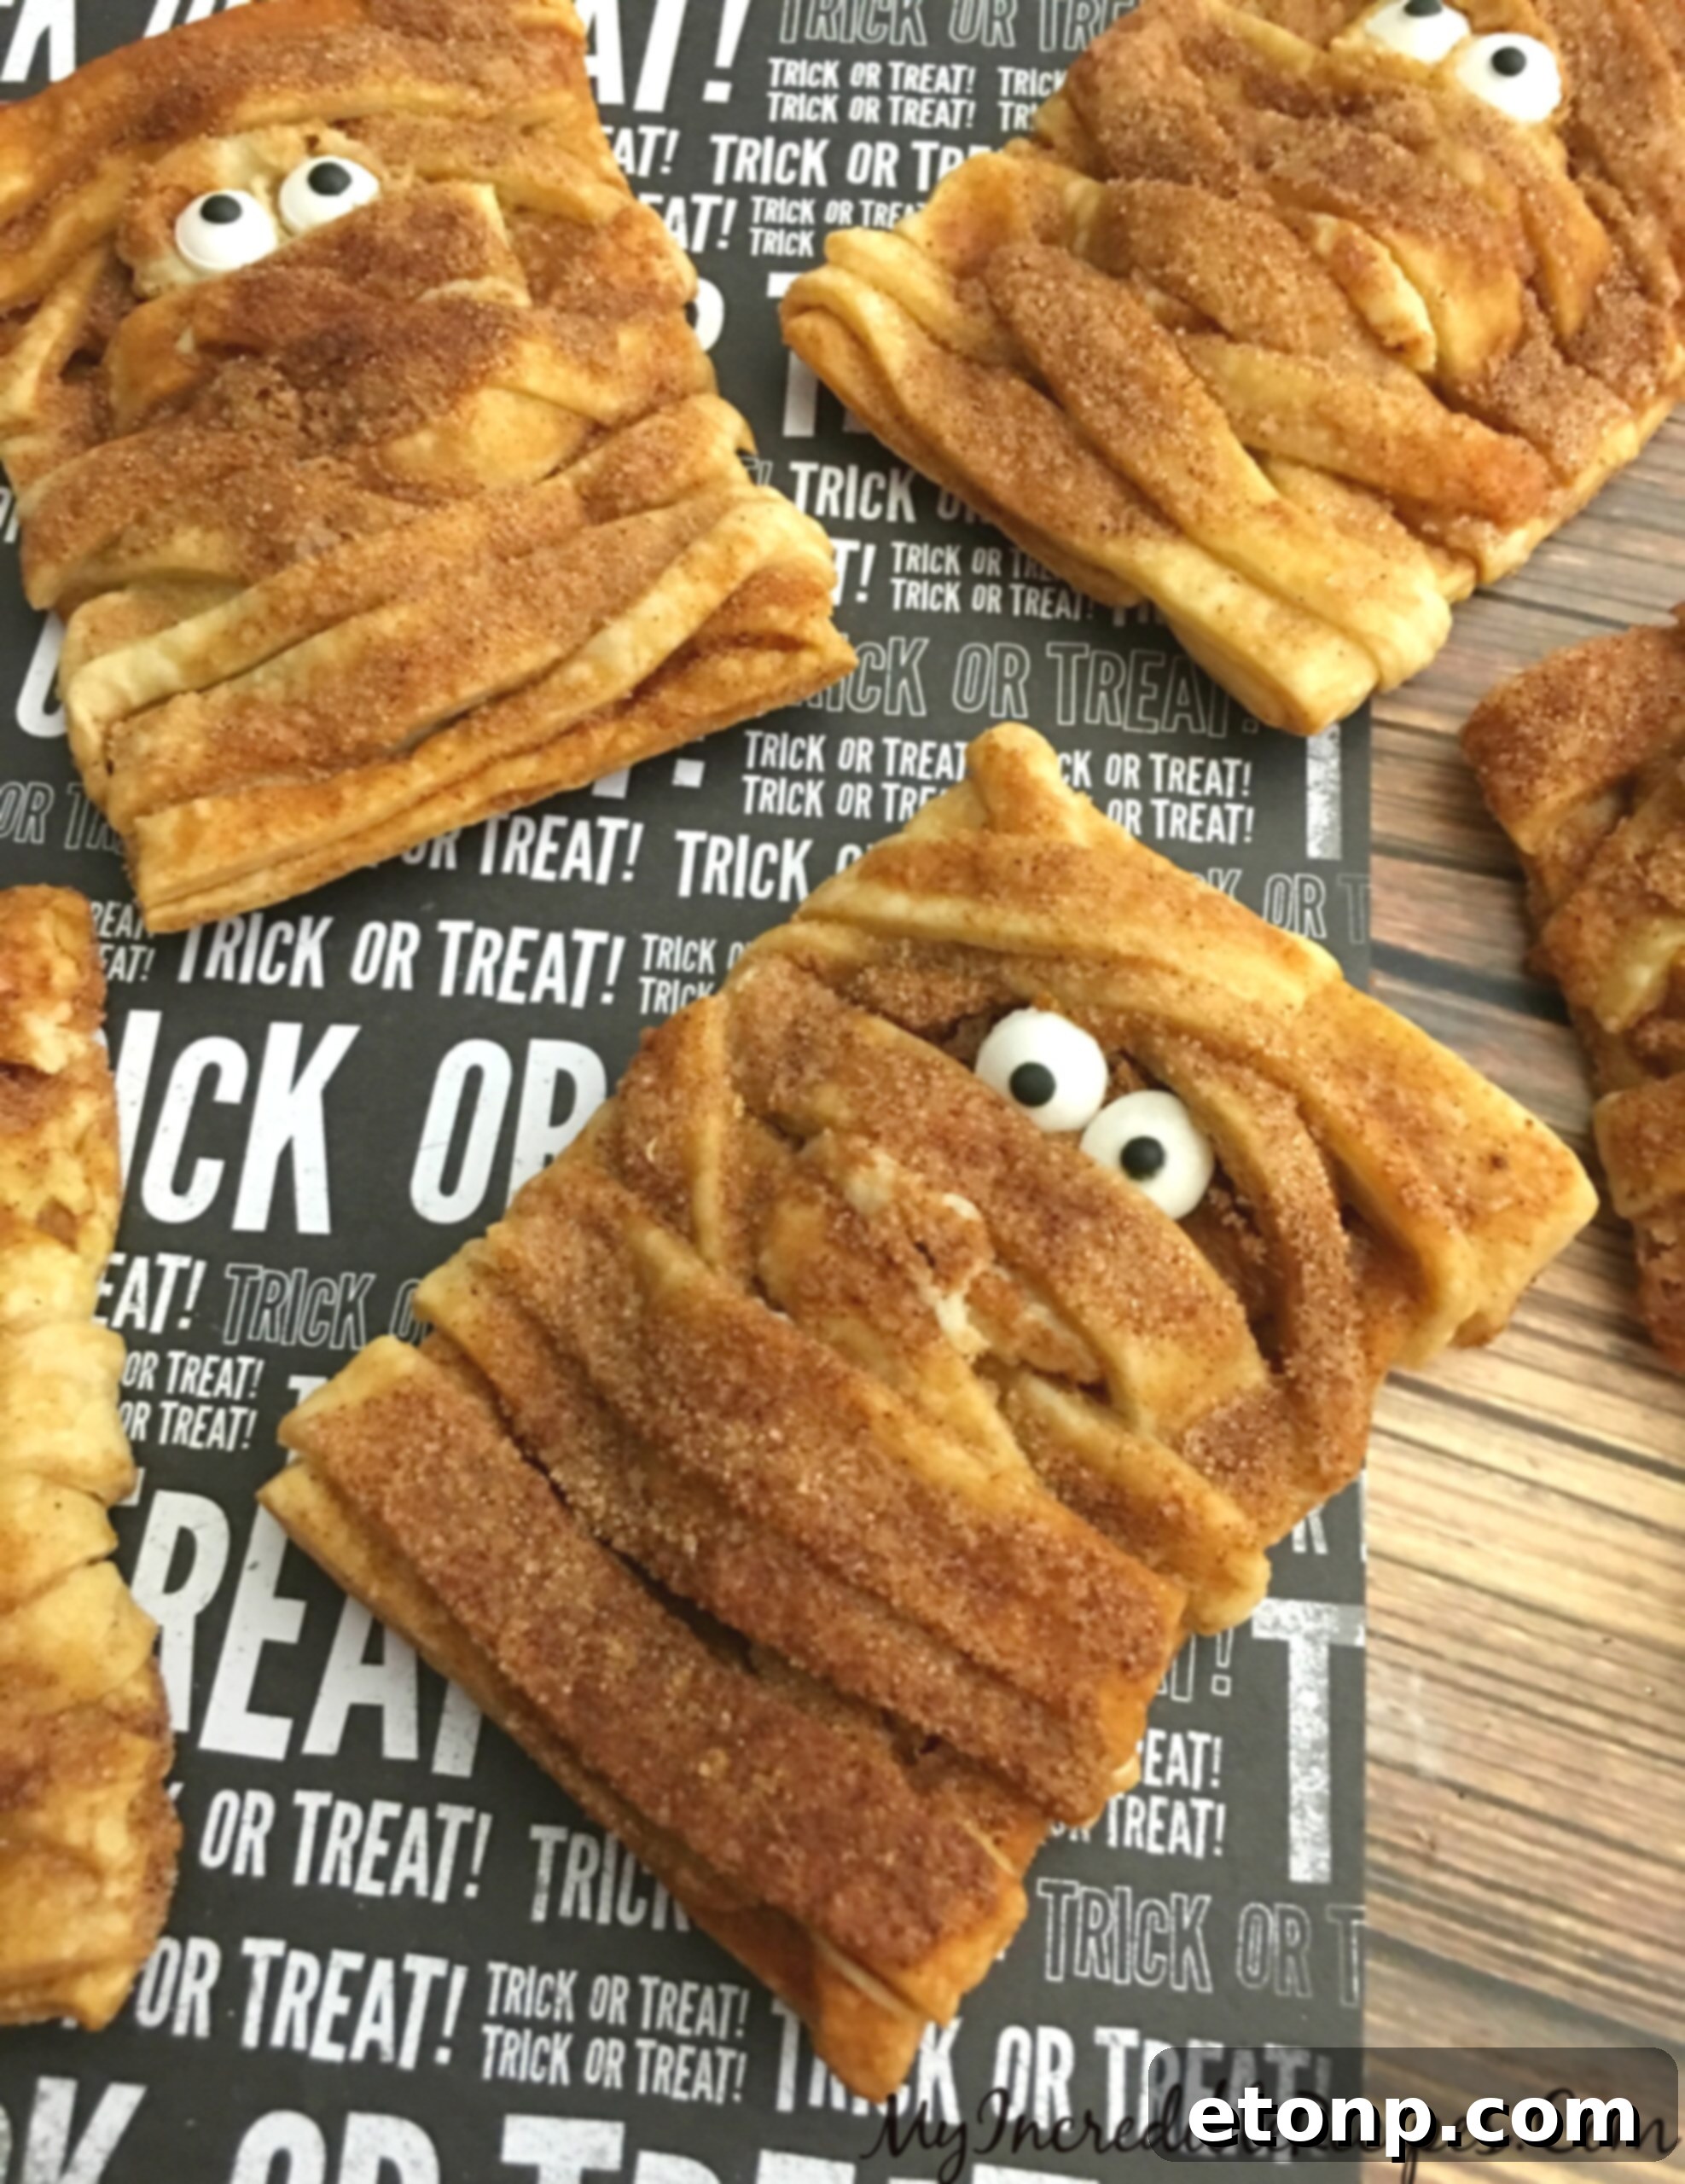
Now for the most fun part: transforming your filled rectangles into adorable mummies! Unroll your second refrigerated pie crust and use your pizza cutter to slice it into thin strips, approximately 1/4 inch wide. These strips will serve as the “bandages” for your mummies. Cut them slightly longer than the width of your pie bases, around 3 inches, to allow for a good overlap. Begin carefully placing these strips across your filled pie crusts, mimicking the look of mummy bandages. Crisscross them and leave a small opening near the top where the mummy’s “eyes” will peek through. Don’t worry about perfection; a slightly messy wrap often adds to the charming, aged look of a mummy.
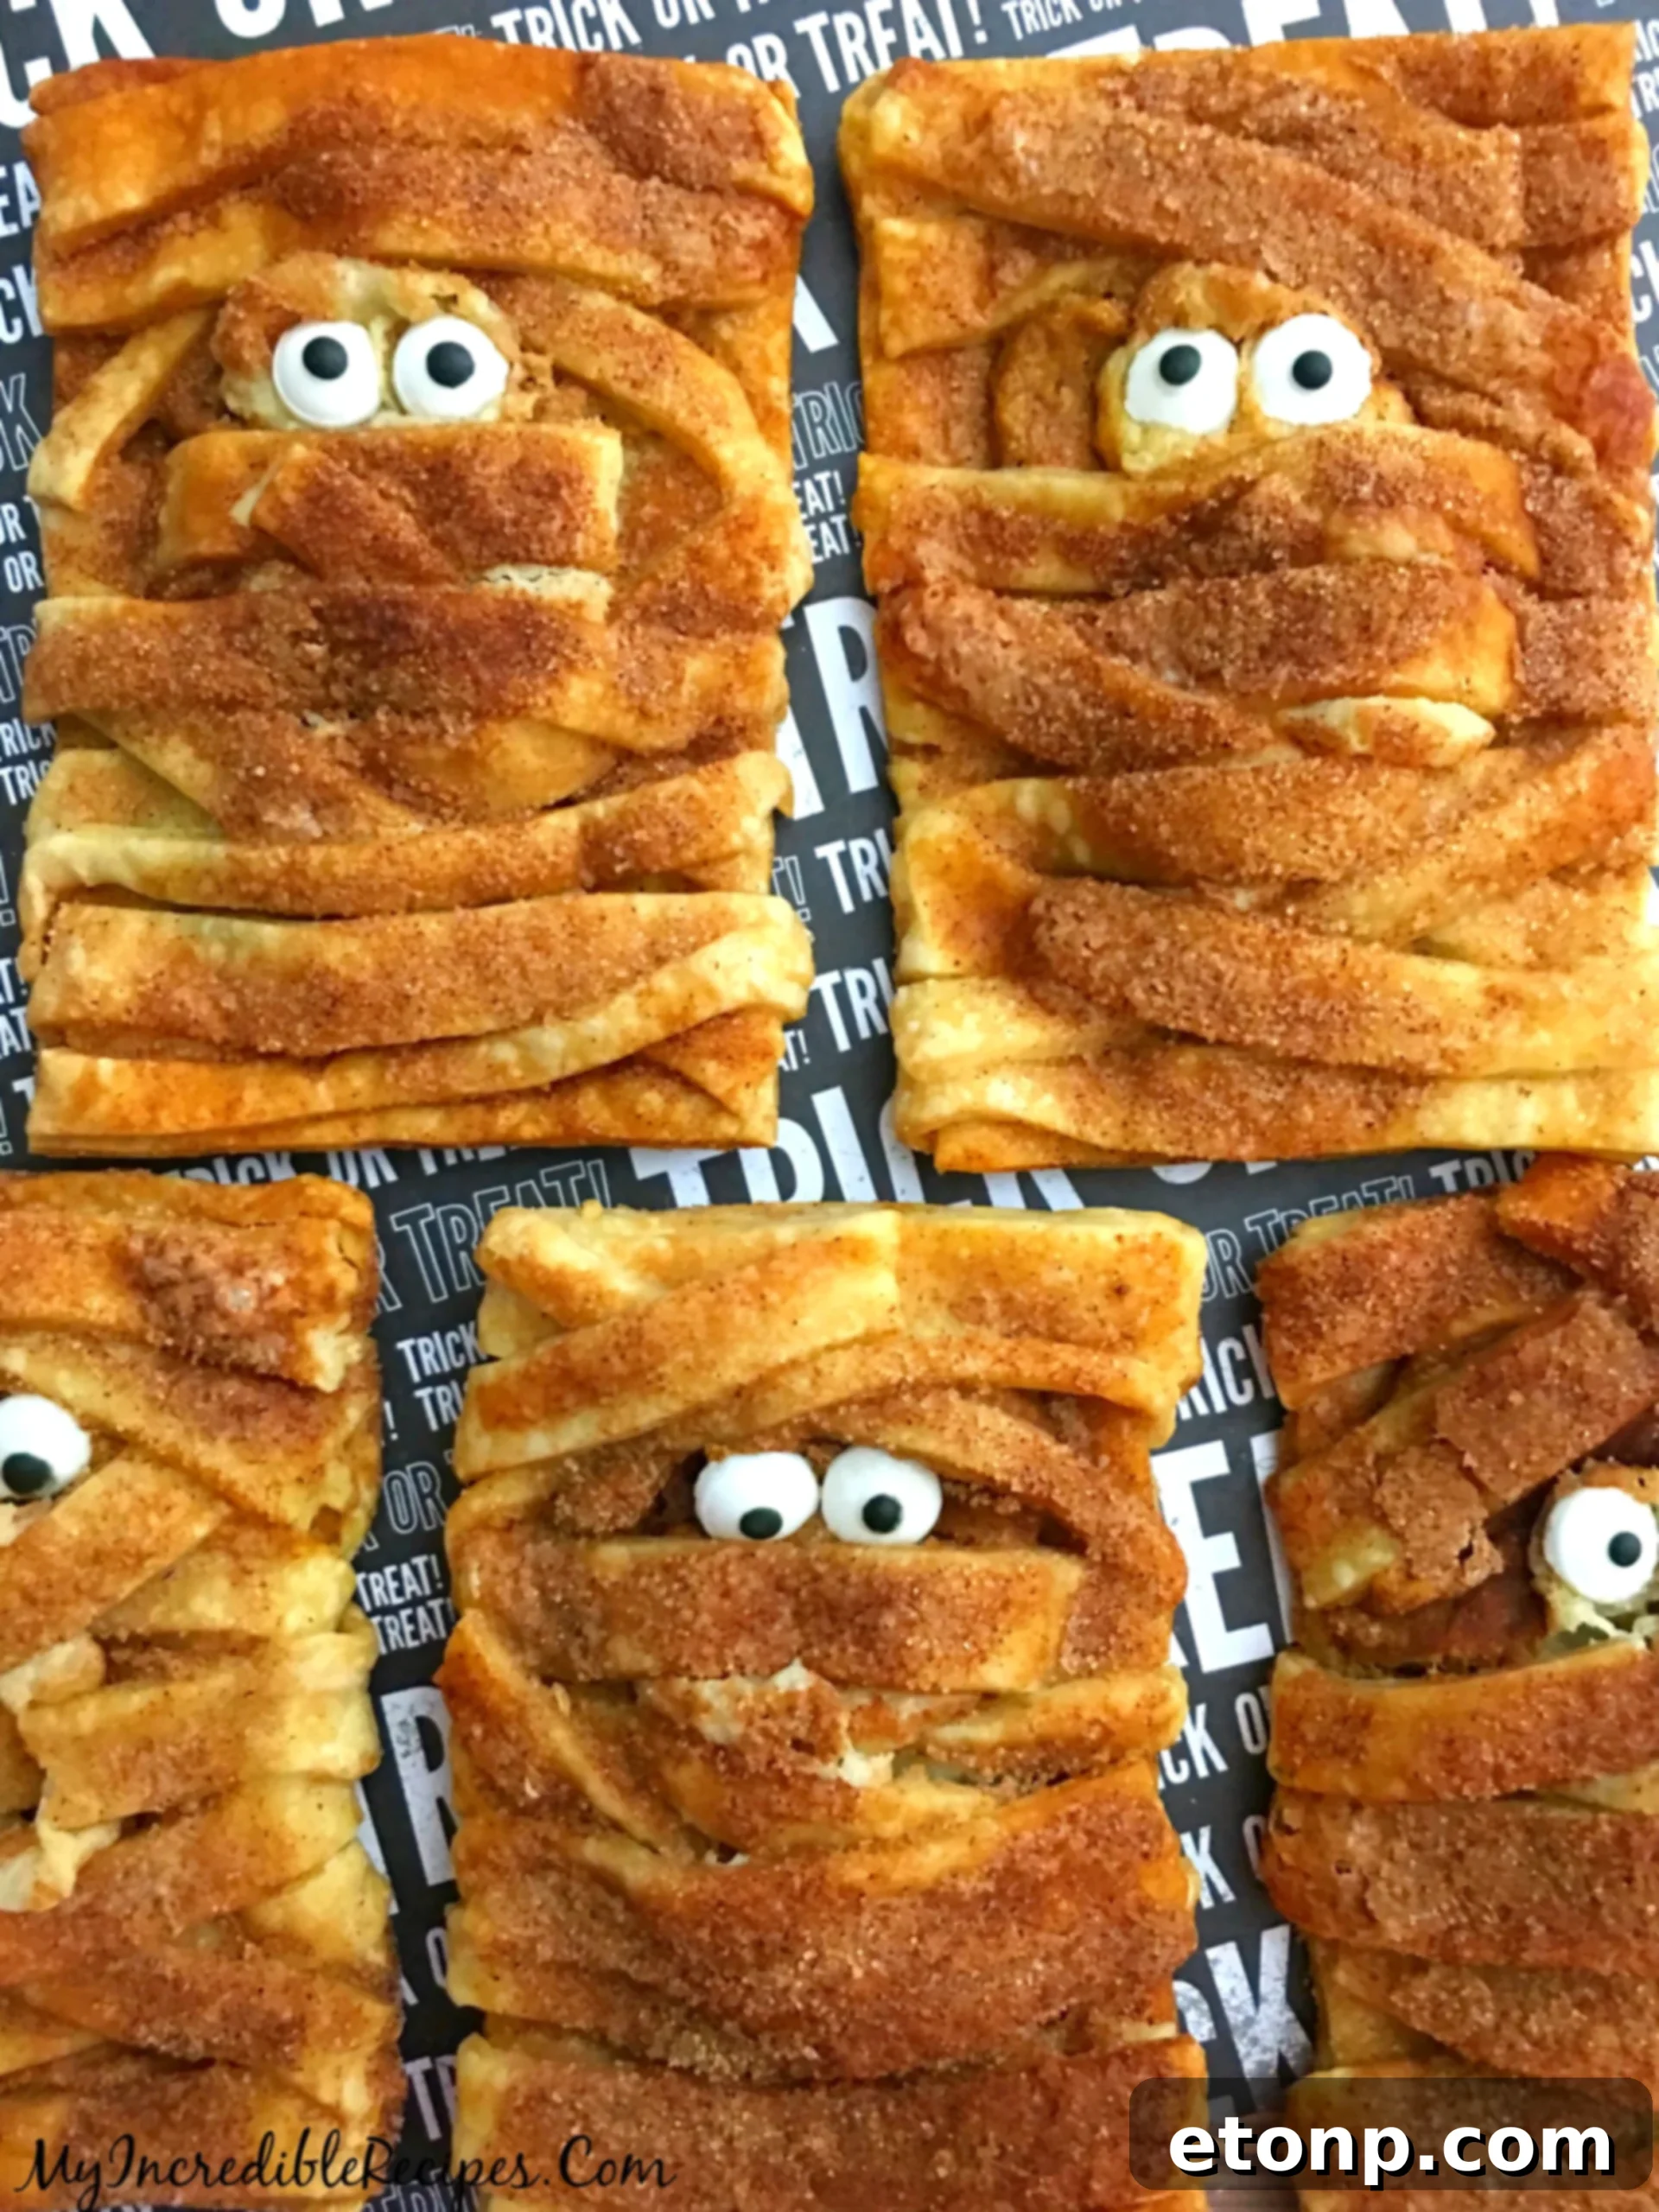
Before baking, it’s time for the finishing touches. In a small bowl, lightly beat one egg white. This will act as your “glue” and give the crust a beautiful golden sheen. Brush the exposed edges of your bottom pie crust with the beaten egg white, then carefully pinch the edges together to seal in the delicious filling. This step is crucial to prevent any pumpkin or cheesecake from oozing out during baking. For a final flourish and a boost of flavor, mix together 2 tablespoons of granulated sugar and 1 teaspoon of ground cinnamon. Generously sprinkle this fragrant cinnamon-sugar mixture over the mummies. This adds a wonderful sweet and spicy crunch to the exterior, making them even more irresistible. Pop your adorable mummies into the preheated oven at 350°F (175°C) for about 18-20 minutes, or until they achieve a beautiful golden-brown color and the crust is flaky.
The Grand Reveal: Ultra Cute Mummies!
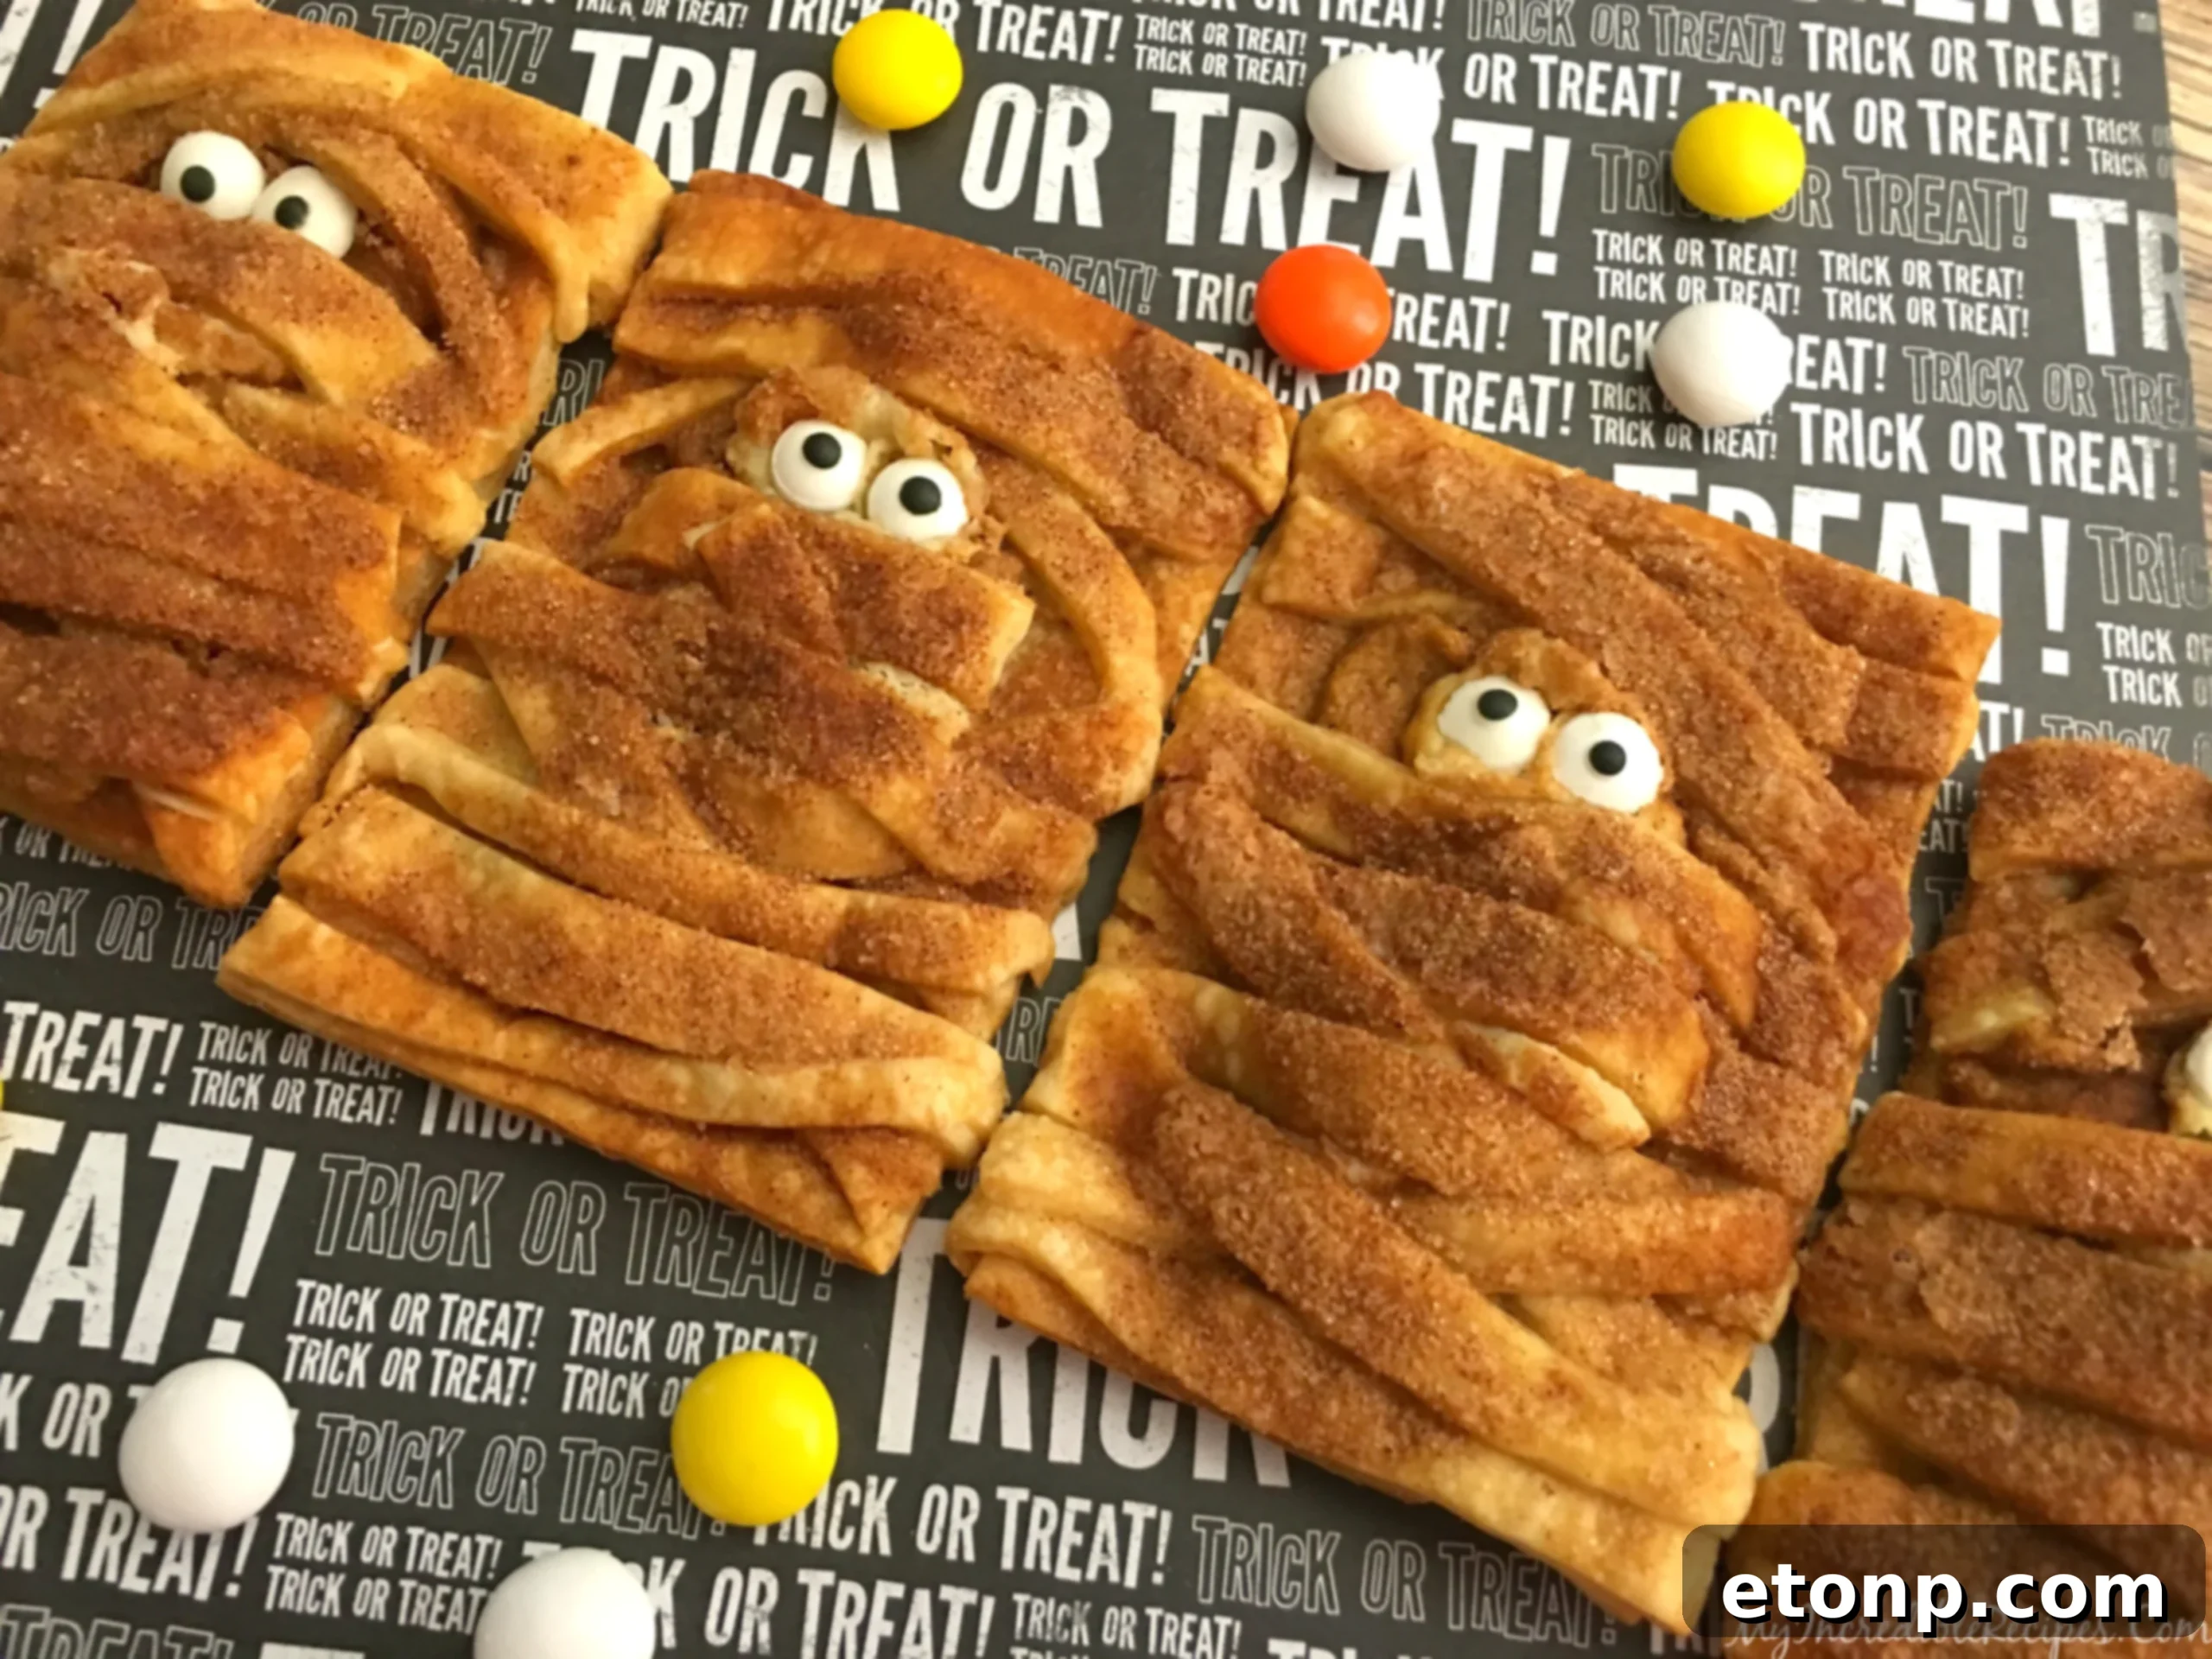
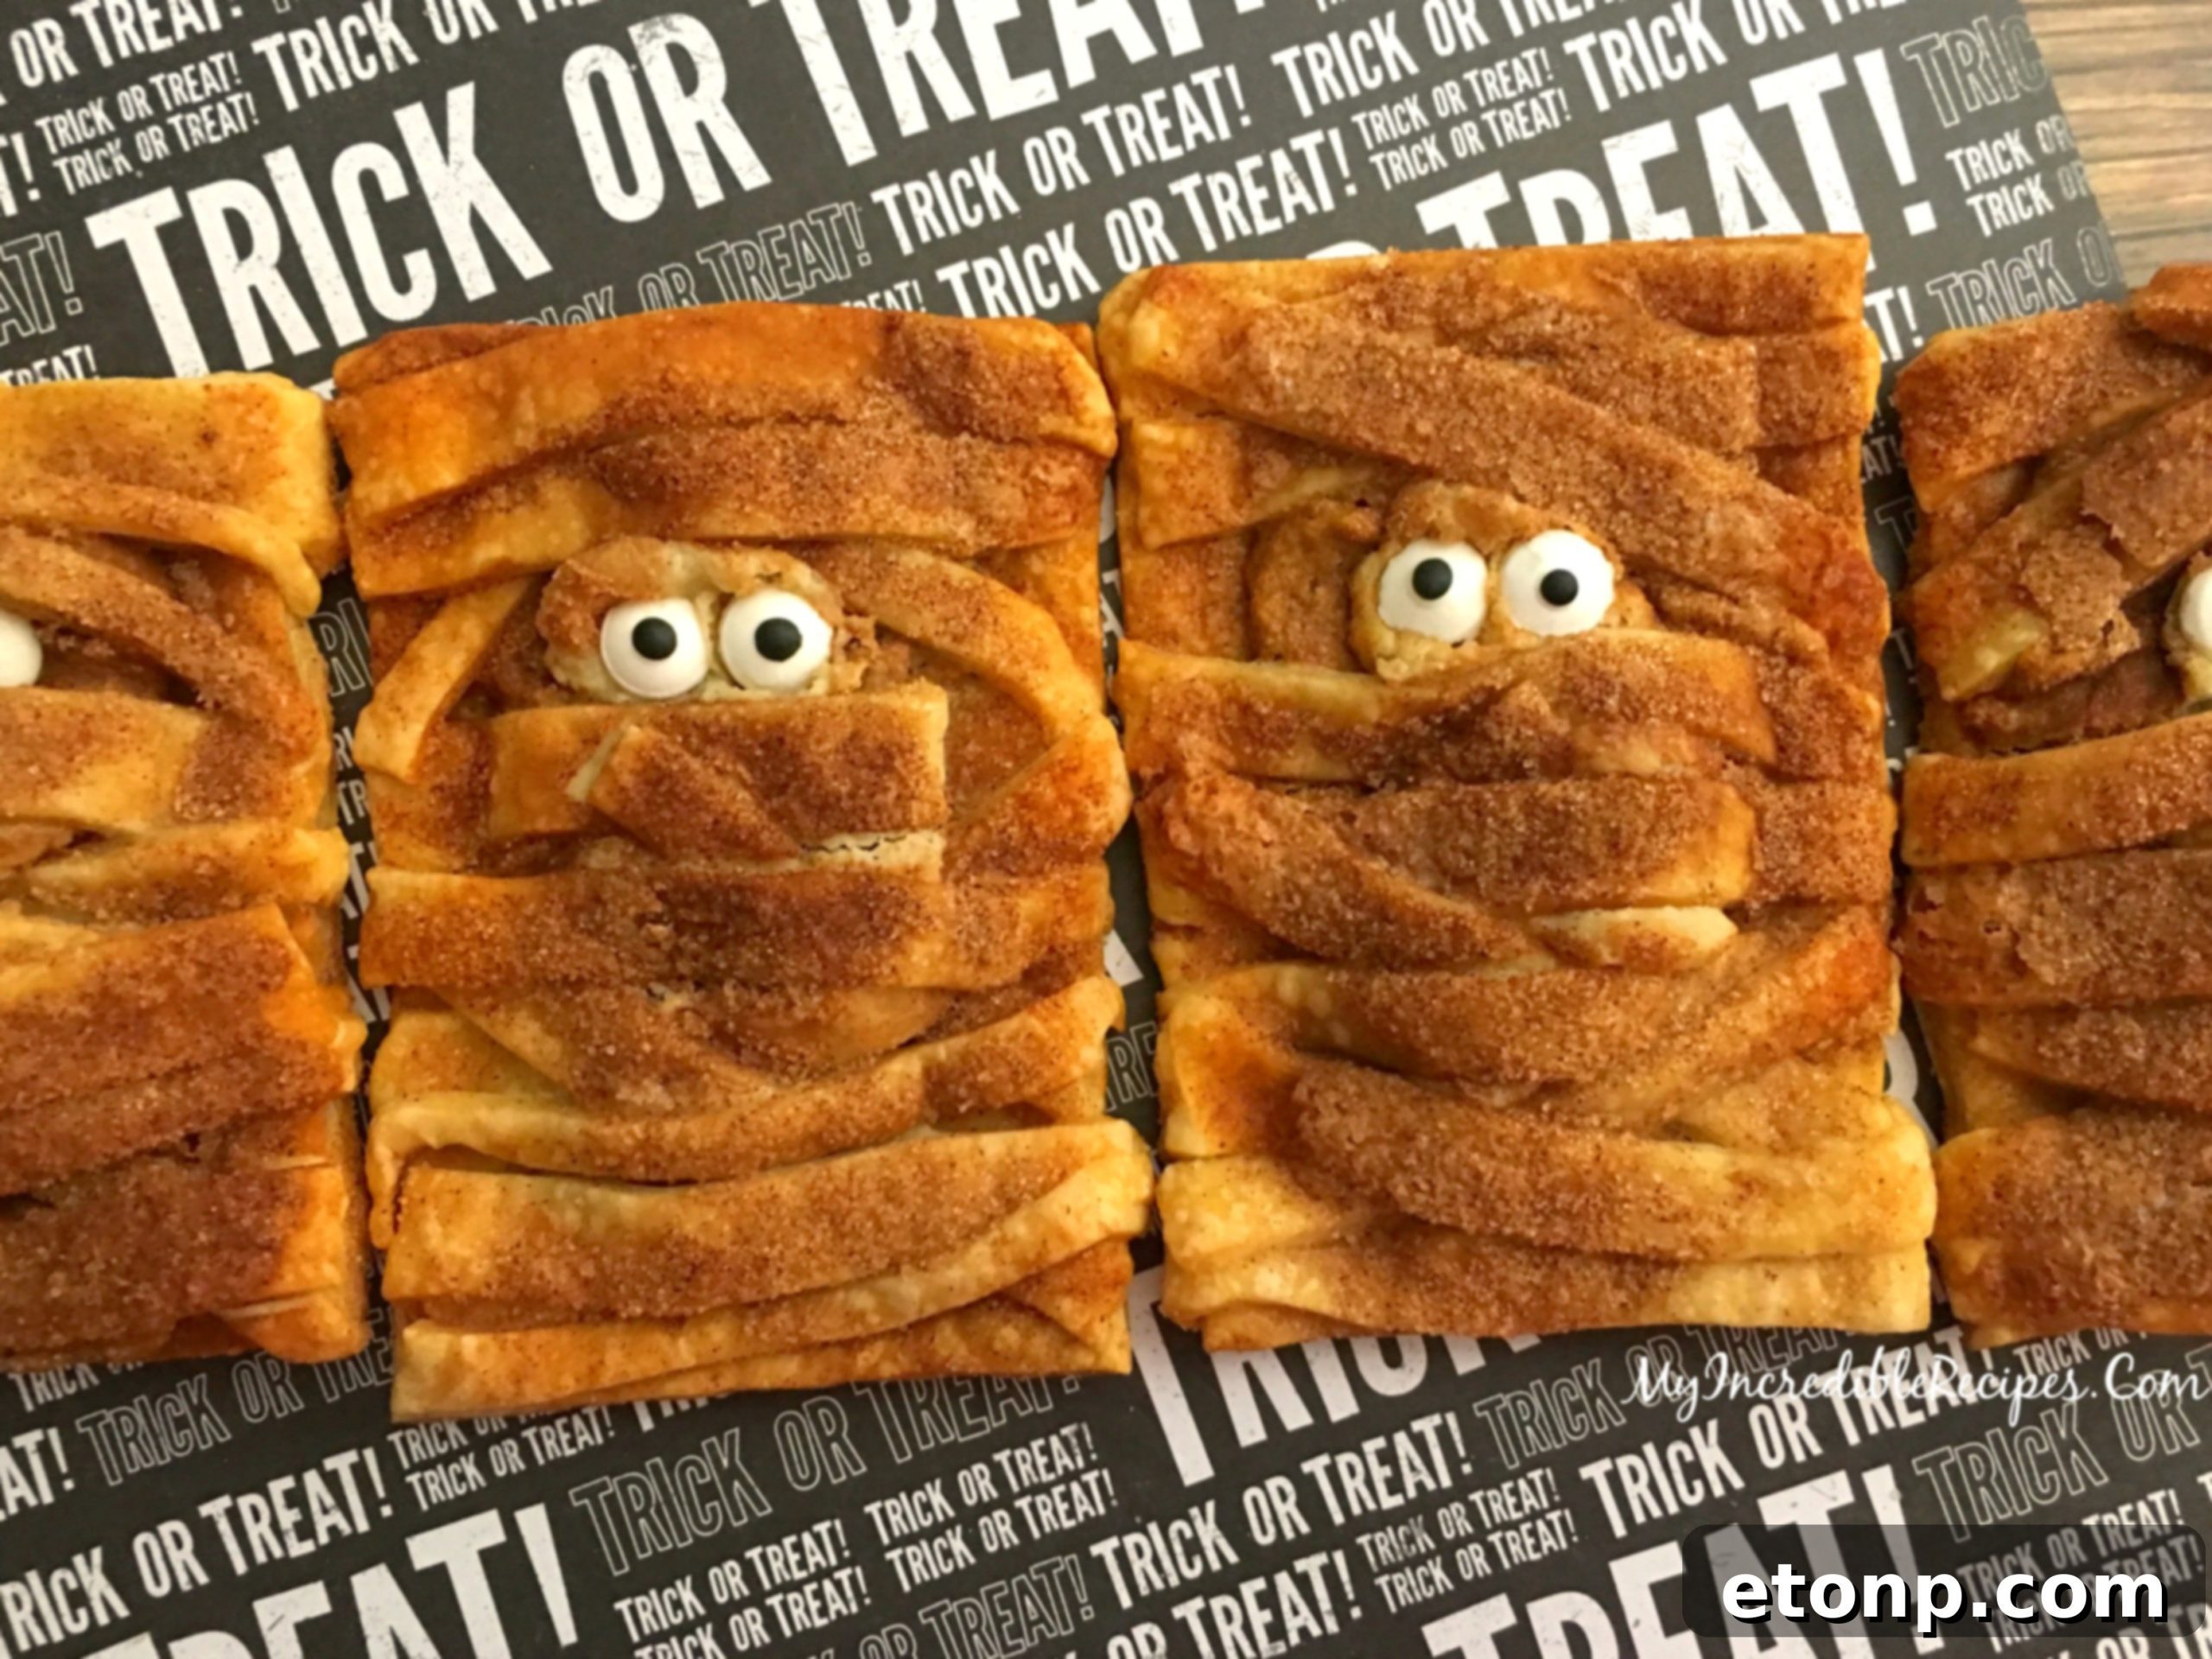
Once baked to perfection, carefully remove the hand pies from the oven. The aroma of pumpkin, cinnamon, and sweet pastry will fill your kitchen, a sure sign of the deliciousness to come. Let them cool slightly on the baking sheet before transferring them. The magic truly happens once they’ve had a few minutes to cool down. This is when you’ll add the final, most charming detail: the candy eyes! Gently press two candy eyes into the opening you left on each mummy. And just like that, BAM – you have ultra-cute mummies staring back at you, almost too adorable to eat! These captivating treats are not just a dessert; they’re a centerpiece, a conversation starter, and a true embodiment of Halloween fun.
A Nod to Inspiration: Sweet Friends and Creative Ideas
Credit where credit is due! The inspiration for these incredibly charming mummy hand pies came from the wonderfully creative ideas found at OMGchocolate desserts. My sweet friend Vera crafted similar delightful treats, and her ingenuity sparked the idea for this pumpkin cheesecake version. It’s always inspiring to see how fellow food enthusiasts can take a fun concept and adapt it to create something uniquely delicious. This recipe is a testament to the power of shared culinary creativity and the joy of seasonal baking. It’s a wonderful example of how a simple idea can evolve into a cherished holiday tradition, bringing smiles and deliciousness to gatherings year after year.
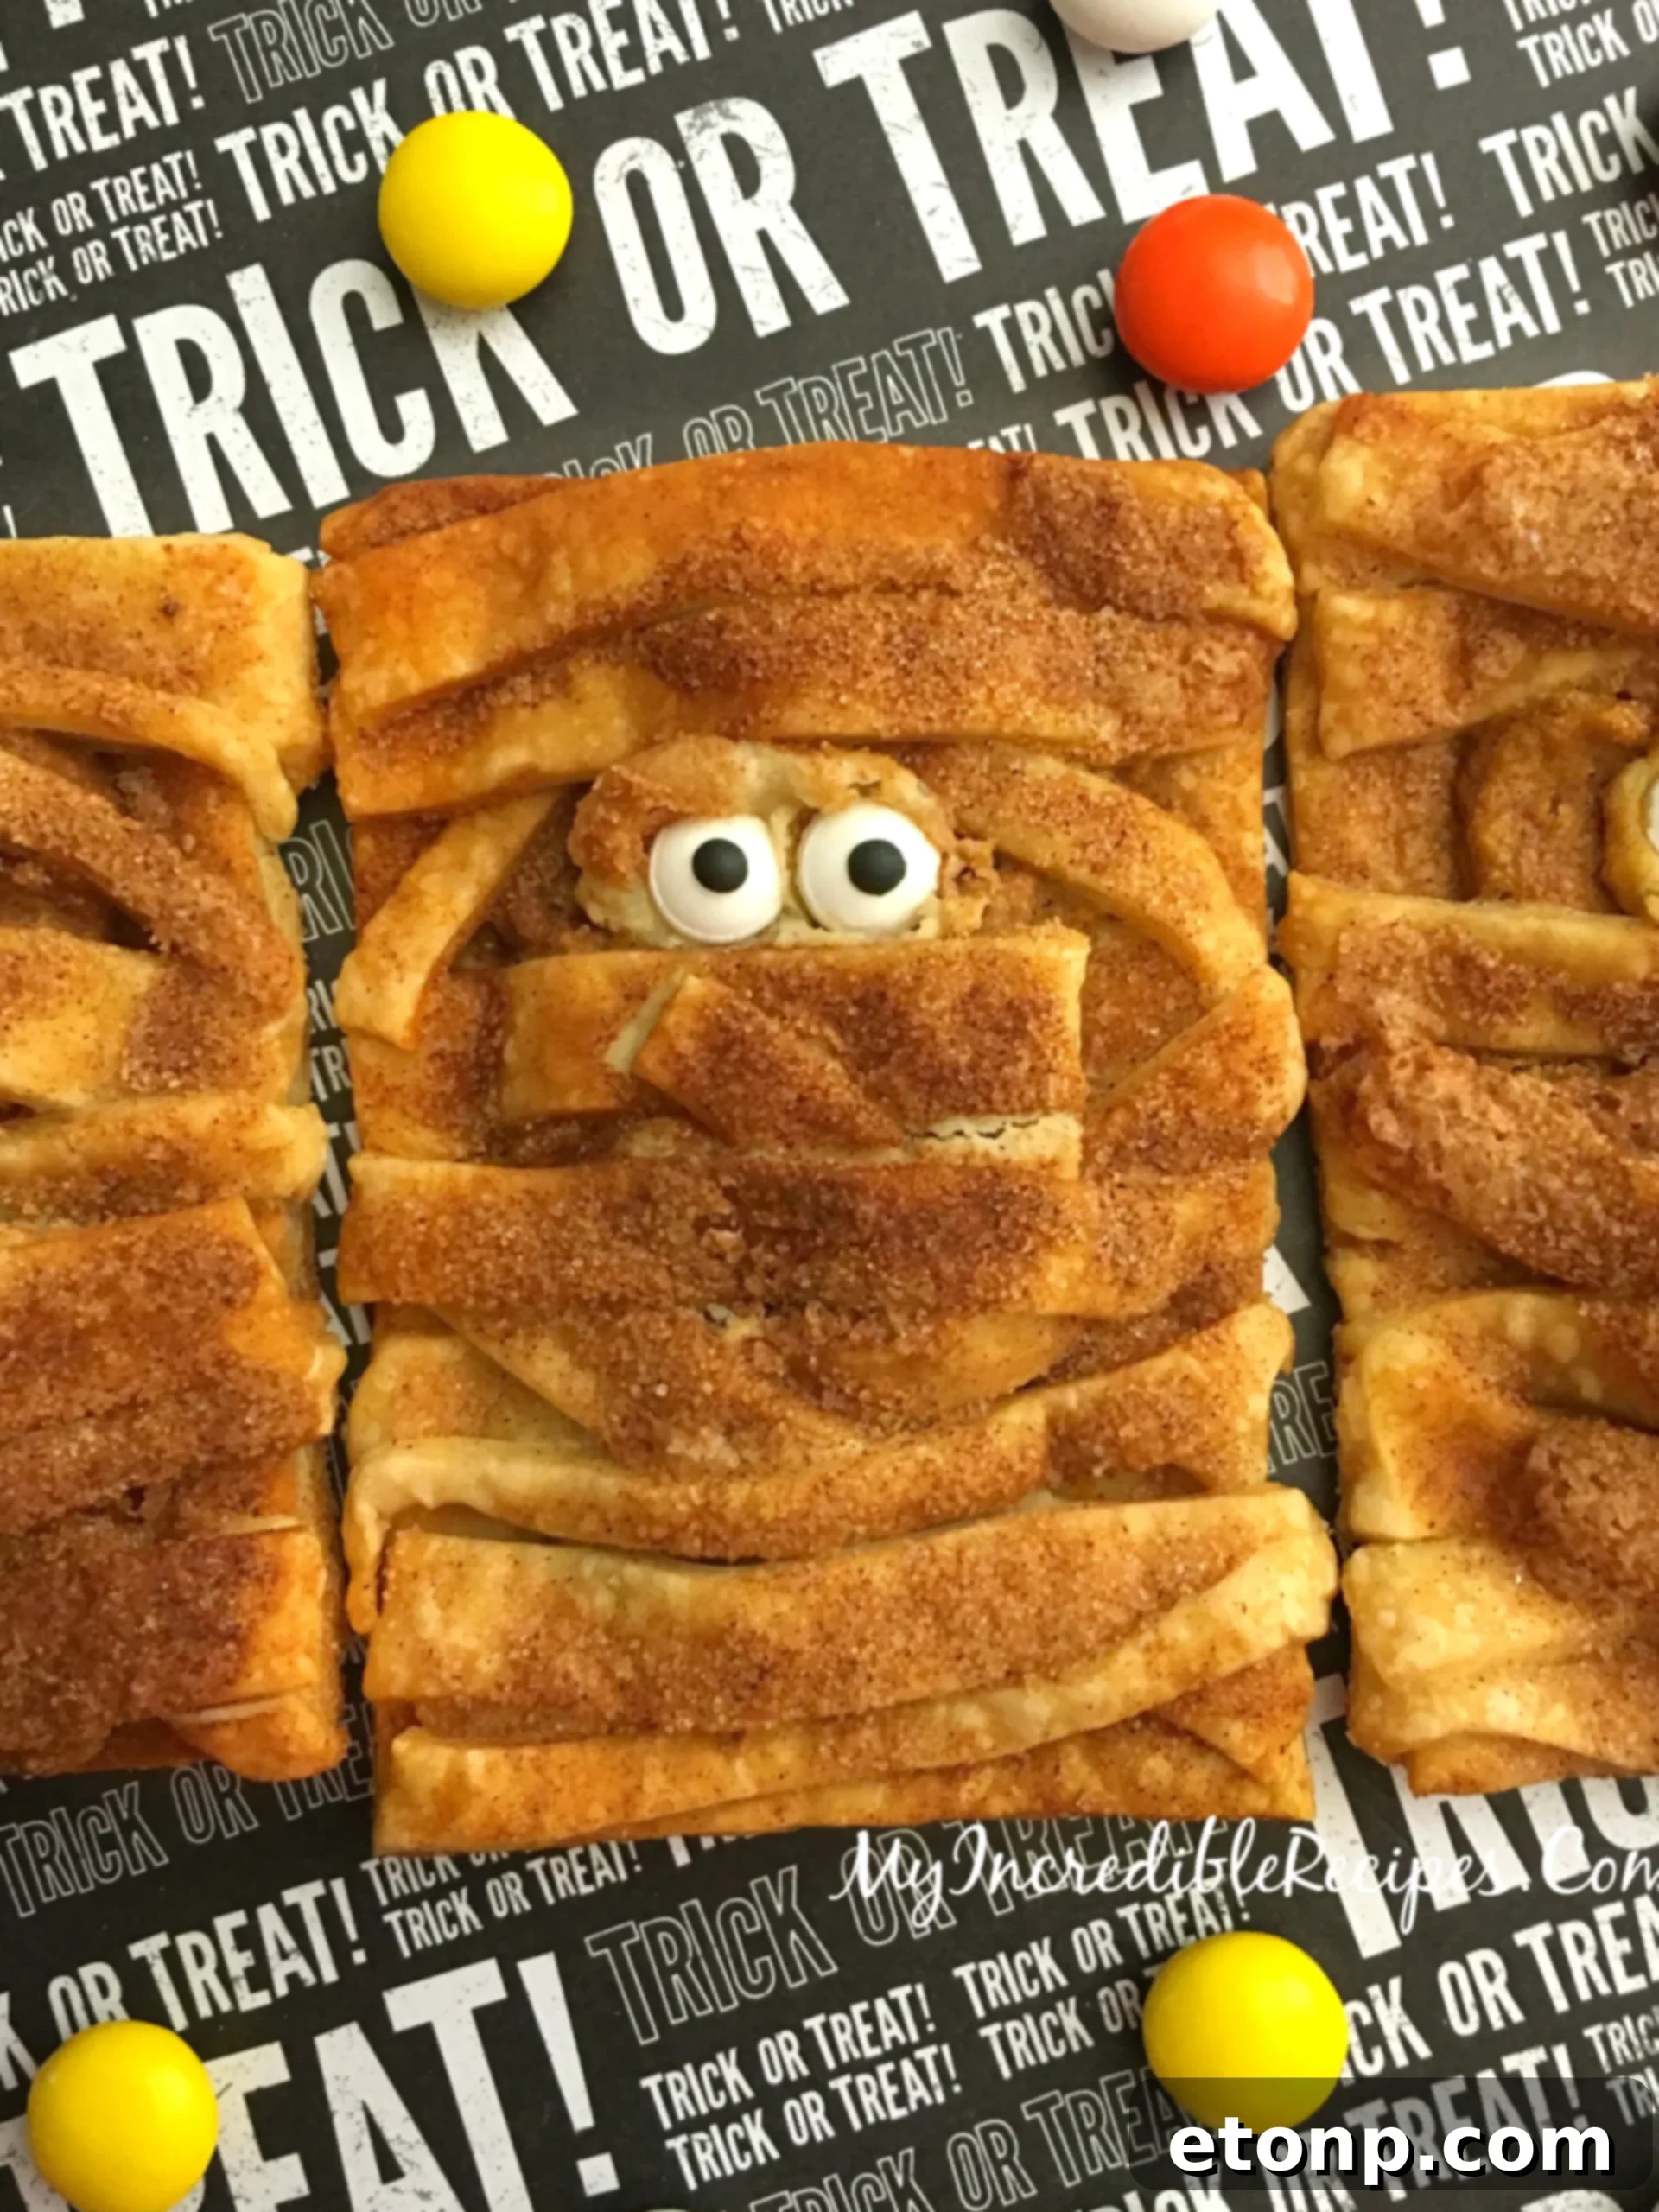
These mummies are almost too cute to eat… almost! Their irresistible charm combined with the rich, autumnal flavors makes them hard to resist. Prepare to be delighted, and don’t be surprised if these become a new Halloween favorite in your household. They are truly a feast for both the eyes and the palate, embodying the spirit of spooky season in the most delicious way possible.
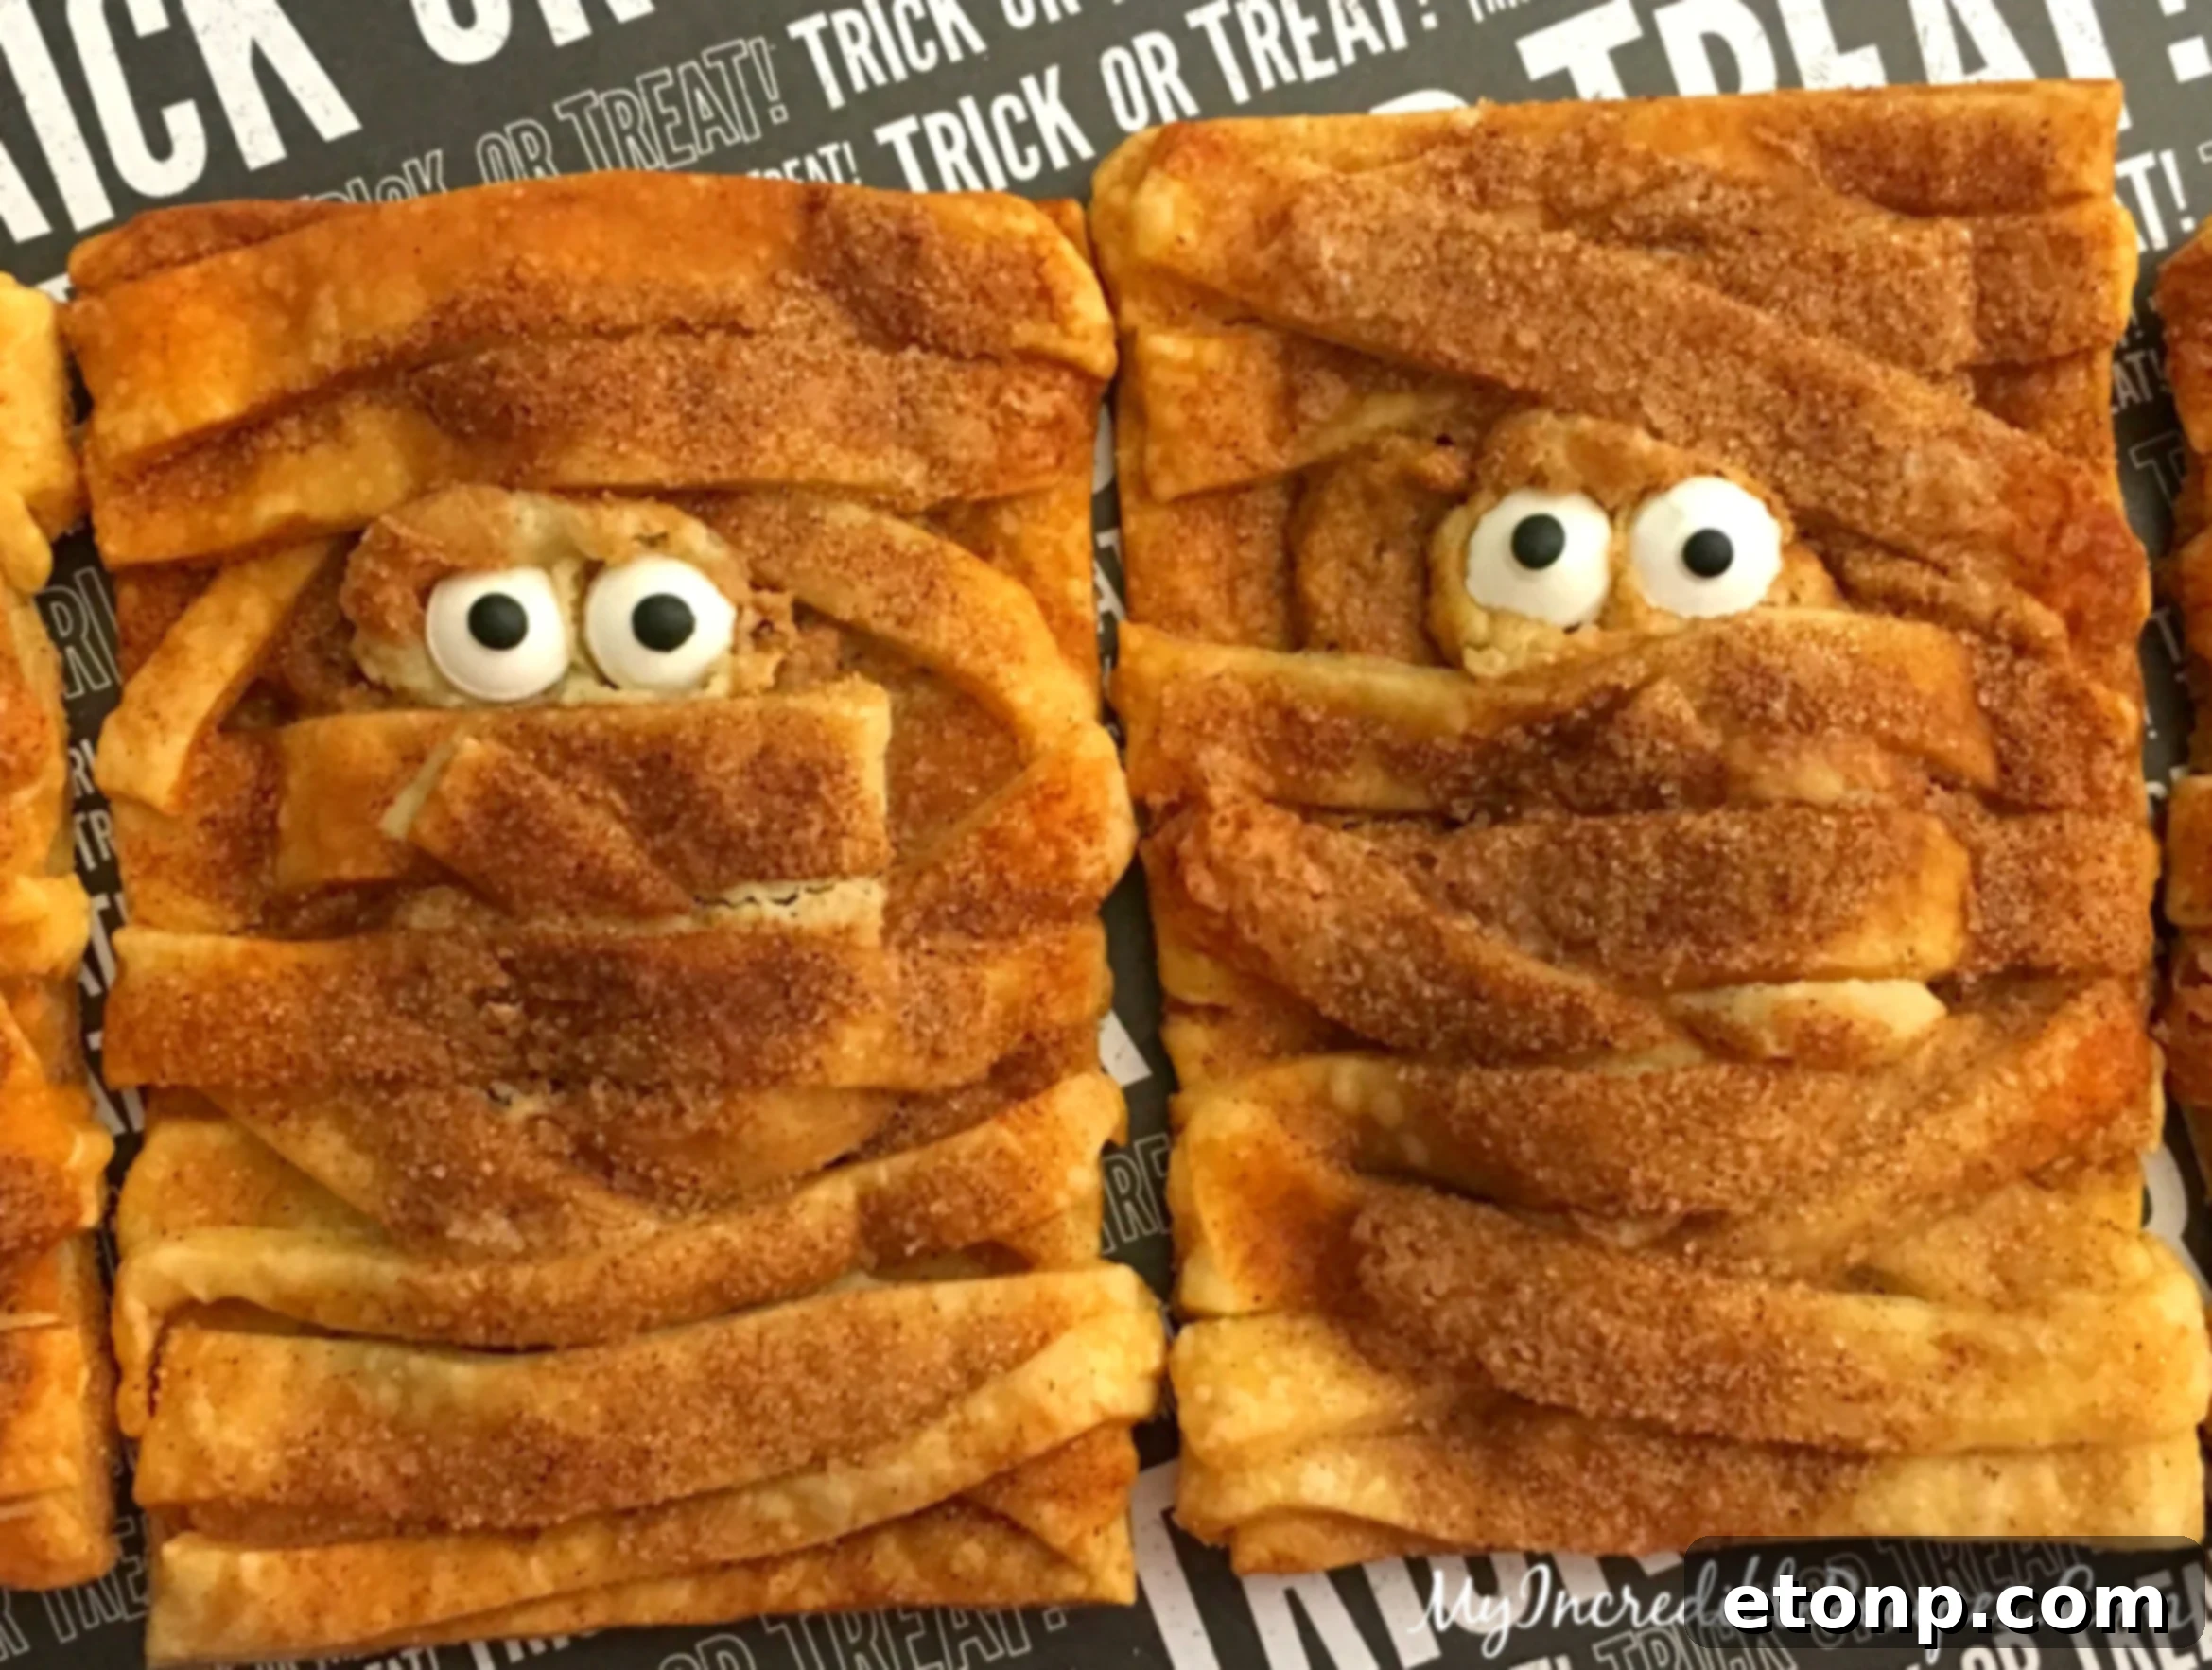
Pumpkin Cheesecake Snickerdoodle MUMMY Cookies! (Recipe)
Ingredients
- 1 package Refrigerated pie crust (containing 2 crusts)
- ¾ cup Pumpkin Pie Filling
- 4 oz cream cheese, softened and divided
- 4 tablespoons brown sugar, divided
- 4 tablespoons granulated sugar, divided
- ⅛ teaspoon allspice
- ¼ teaspoon ground ginger
- ½ teaspoon nutmeg
- 1 teaspoon cinnamon
- 1 egg yolk
- ½ teaspoon vanilla extract
- — For Cinnamon Sugar Topping & Egg Wash —
- 1 egg white, slightly beaten
- 1 teaspoon cinnamon
- 2 tablespoons granulated sugar
- Candy eyes, for decoration
Instructions
- Preheat your oven to 350°F (175°C). Line a baking sheet with parchment paper.
- Prepare your work surface by lining your counter with parchment paper. Unfold one of your refrigerated pie crusts.
- Using a pizza cutter or sharp knife, cut the pie crust into 3×4-inch rectangles. Carefully transfer these rectangles onto your prepared baking sheet.
- In a small mixing bowl, combine 2 oz of the softened cream cheese with 2 tablespoons of granulated sugar and 2 tablespoons of brown sugar. Mix until smooth. Set this cheesecake mixture aside.
- In another mixing bowl, combine the remaining 2 oz of cream cheese with 2 tablespoons of granulated sugar and 2 tablespoons of brown sugar.
- To this pumpkin cheesecake mixture, add the pumpkin puree, 1 teaspoon of cinnamon, ½ teaspoon of nutmeg, ¼ teaspoon of ground ginger, ⅛ teaspoon of allspice, ½ teaspoon of vanilla extract, and the egg yolk. Mix until all ingredients are well combined and smooth.
- Scoop about two tablespoons of the pumpkin cheesecake mixture onto the center of each pie crust rectangle. Spread it out gently, ensuring you leave a clean border (about ½ inch) around the edges.
- Next, add approximately one tablespoon of the plain cream cheese mixture (from step 4) on top of the pumpkin layer. Carefully spread it out, again leaving the edges clean.
- Unroll your second pie crust. Use a pizza cutter or sharp knife to cut it into thin strips, approximately ¼ inch wide.
- Cut these strips slightly longer than 3 inches. Begin placing them over the filled pie crust rectangles to resemble mummy bandages. Crisscross them, leaving a small gap near the top where the candy eyes will be placed later.
- In a small bowl, mix together 2 tablespoons of granulated sugar with 1 teaspoon of cinnamon. This will be your cinnamon-sugar topping.
- Brush the exposed edges of the pie crusts with the slightly beaten egg white. Gently pinch the edges of the bottom crust and the mummy strips together to seal the filling.
- Generously sprinkle the cinnamon-sugar mix over the top of each mummy hand pie.
- Bake for about 18-20 minutes, or until the crust is golden brown and flaky.
- Once baked, remove from the oven and let them cool slightly on the baking sheet.
- While still warm but cool enough to handle, carefully add two candy eyes to the opening on each mummy.
- Serve warm or at room temperature and enjoy your adorable and delicious Halloween treats!
Did you create these festive mummy treats?
We’d love to see your creations! Make sure to follow us on Pinterest for more incredible recipes and holiday inspiration!
Share your photos and tag us – we can’t wait to celebrate your baking success!
Please remember to SHARE this delightful recipe on Facebook and PIN IT to your Halloween recipe boards!