

Indulge in a truly irresistible no-bake treat that flawlessly blends the rich, creamy goodness of peanut butter with the sweet, gooey delight of marshmallow cream, all enveloped in a luscious chocolate shell. These homemade Peanut Butter Marshmallow Cups are not just a dessert; they’re an experience, offering a divine twist on the classic peanut butter cup that’s surprisingly easy to make and utterly unforgettable.
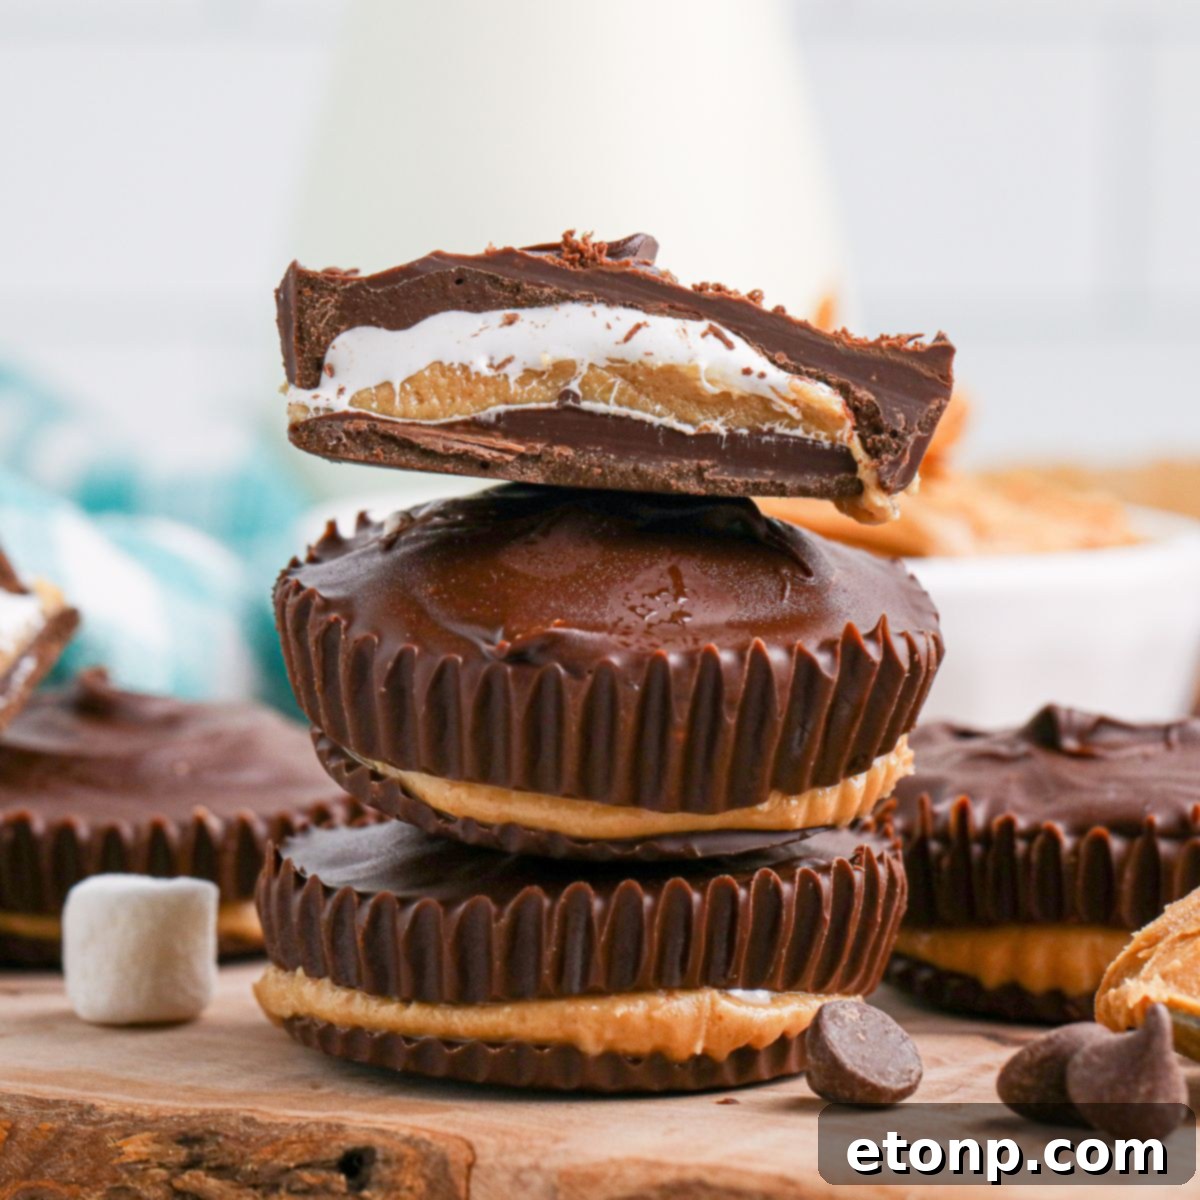
Are you a devoted fan of traditional peanut butter cups? While they hold a special place in everyone’s heart, prepare to have your dessert world transformed by this elevated marshmallow version. It’s a game-changer, offering a soft, chewy texture that complements the dense peanut butter filling perfectly. For another seasonal treat, be sure to explore my delightful Christmas peanut butter cups.
What Exactly Are Peanut Butter Marshmallow Cups?
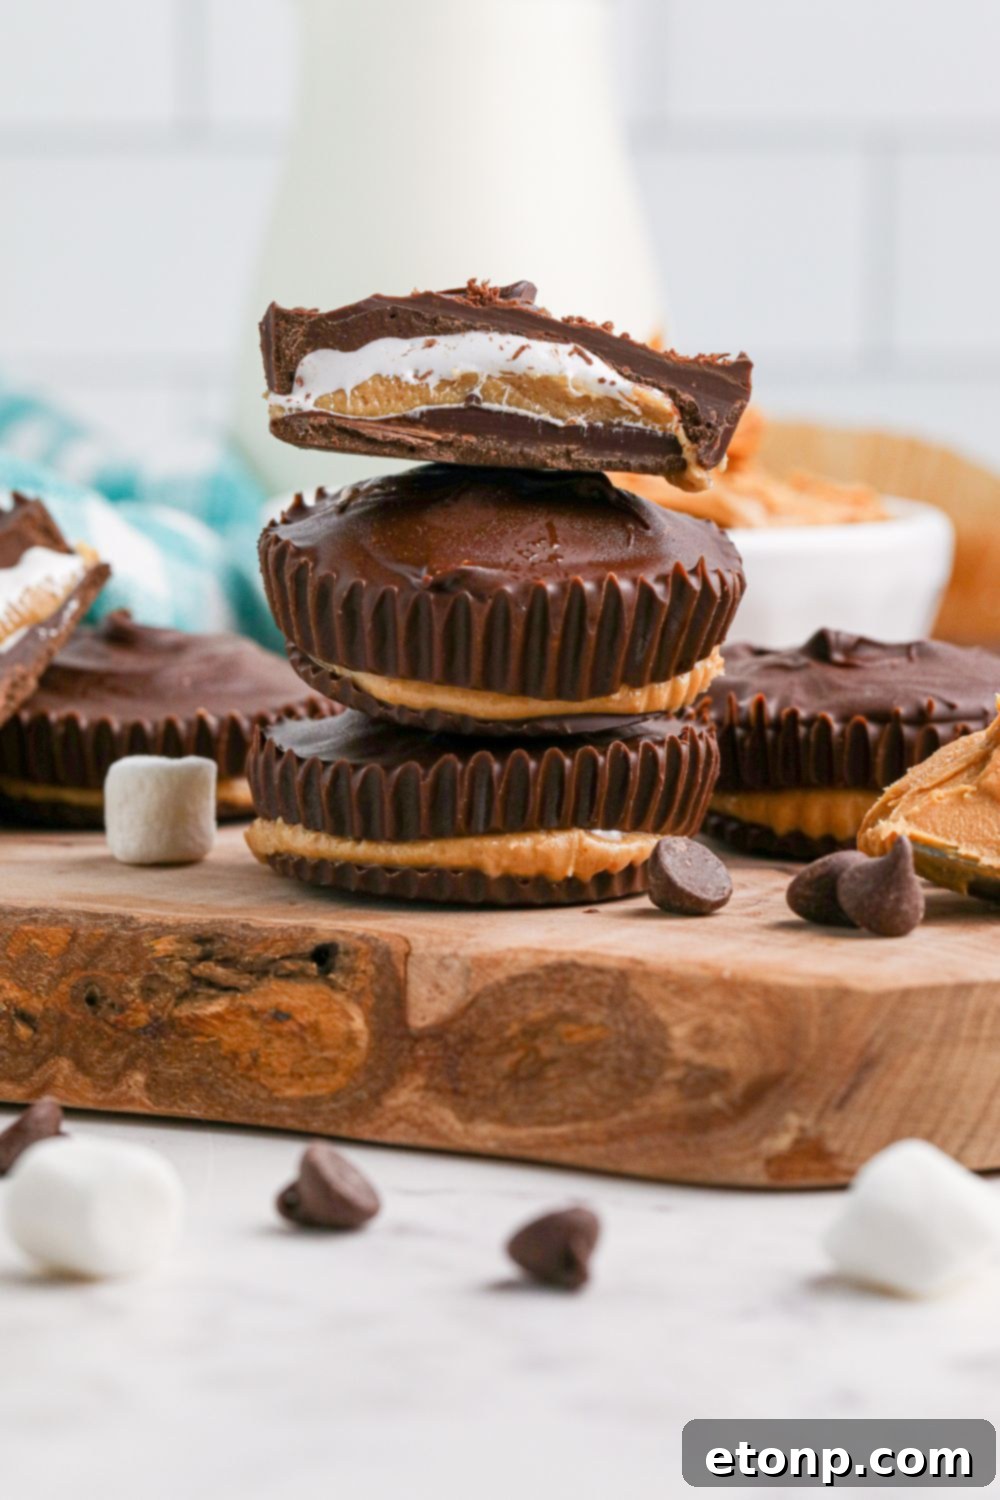
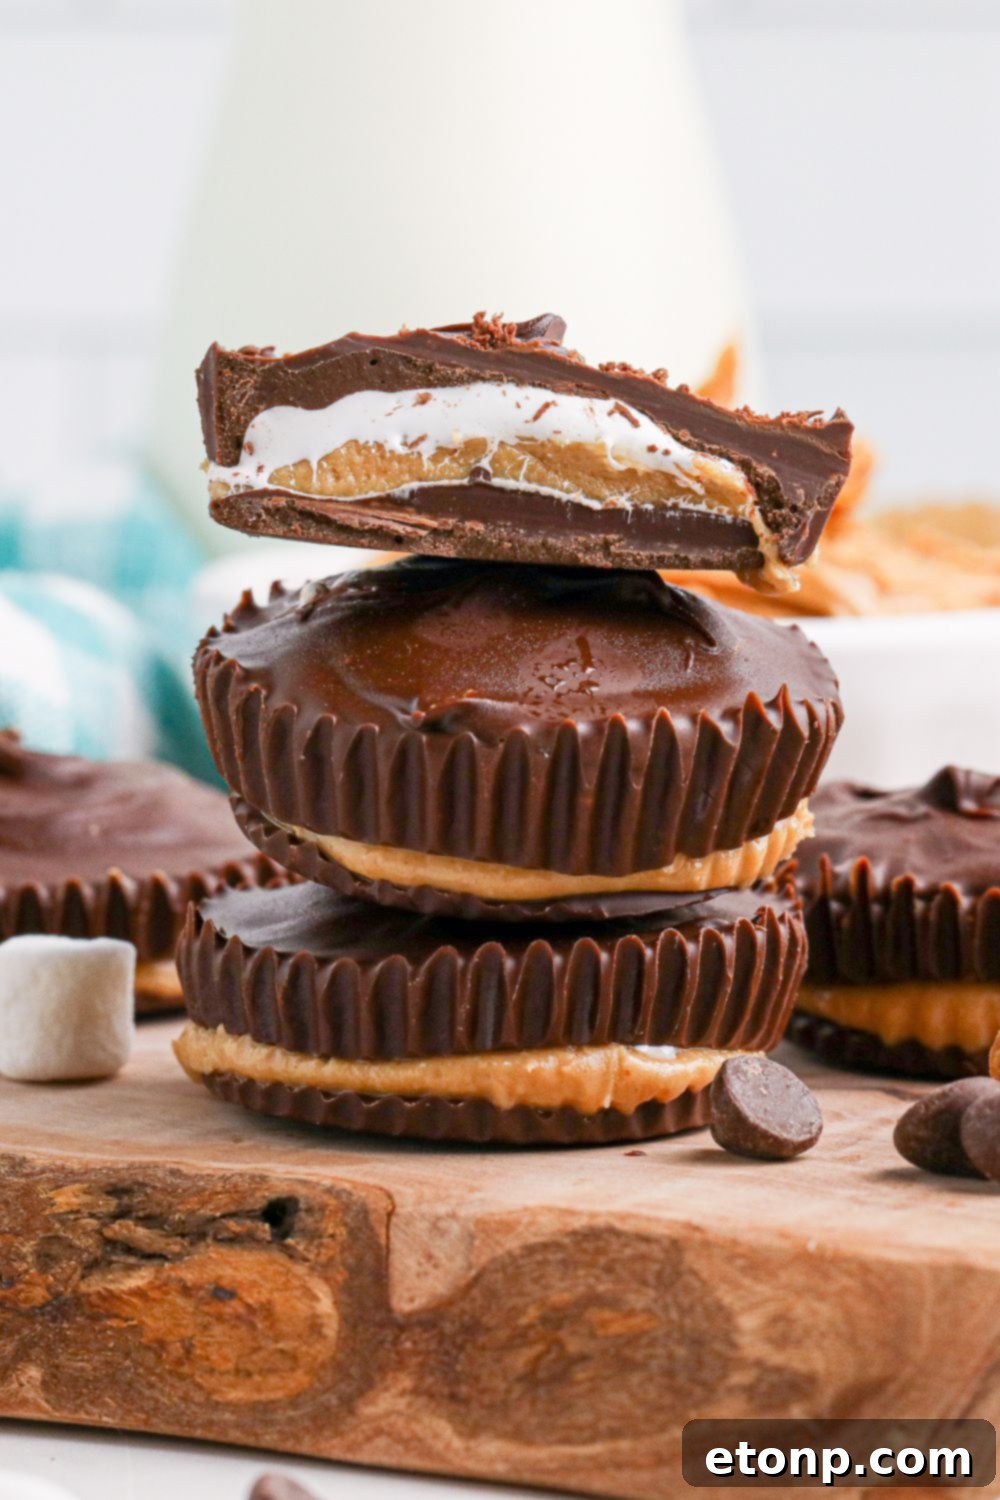
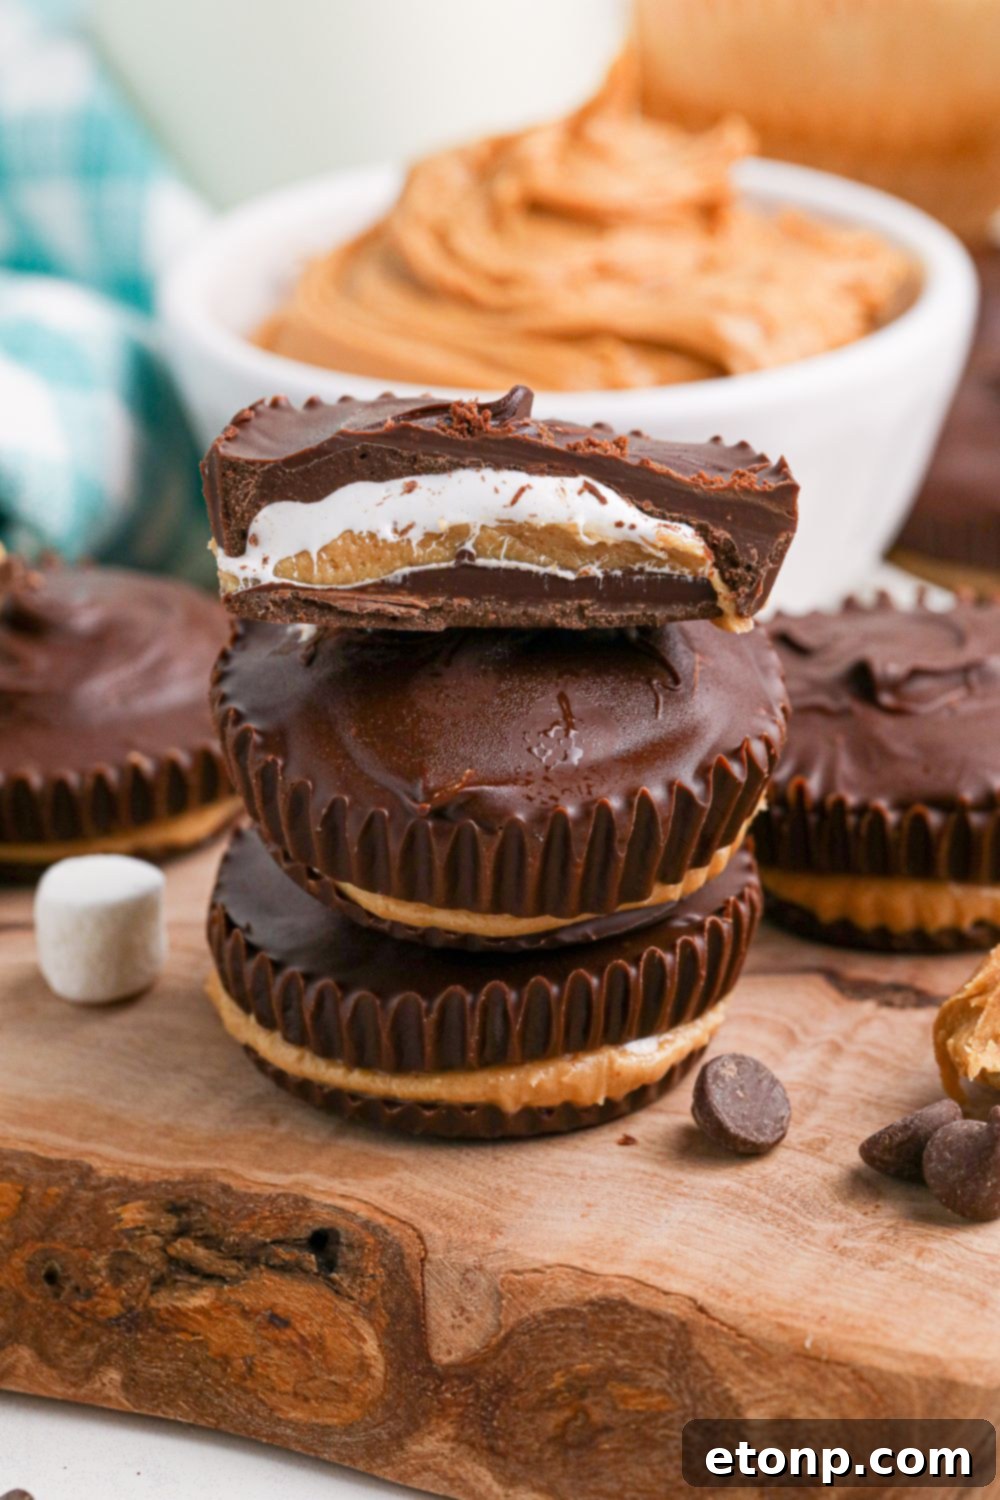
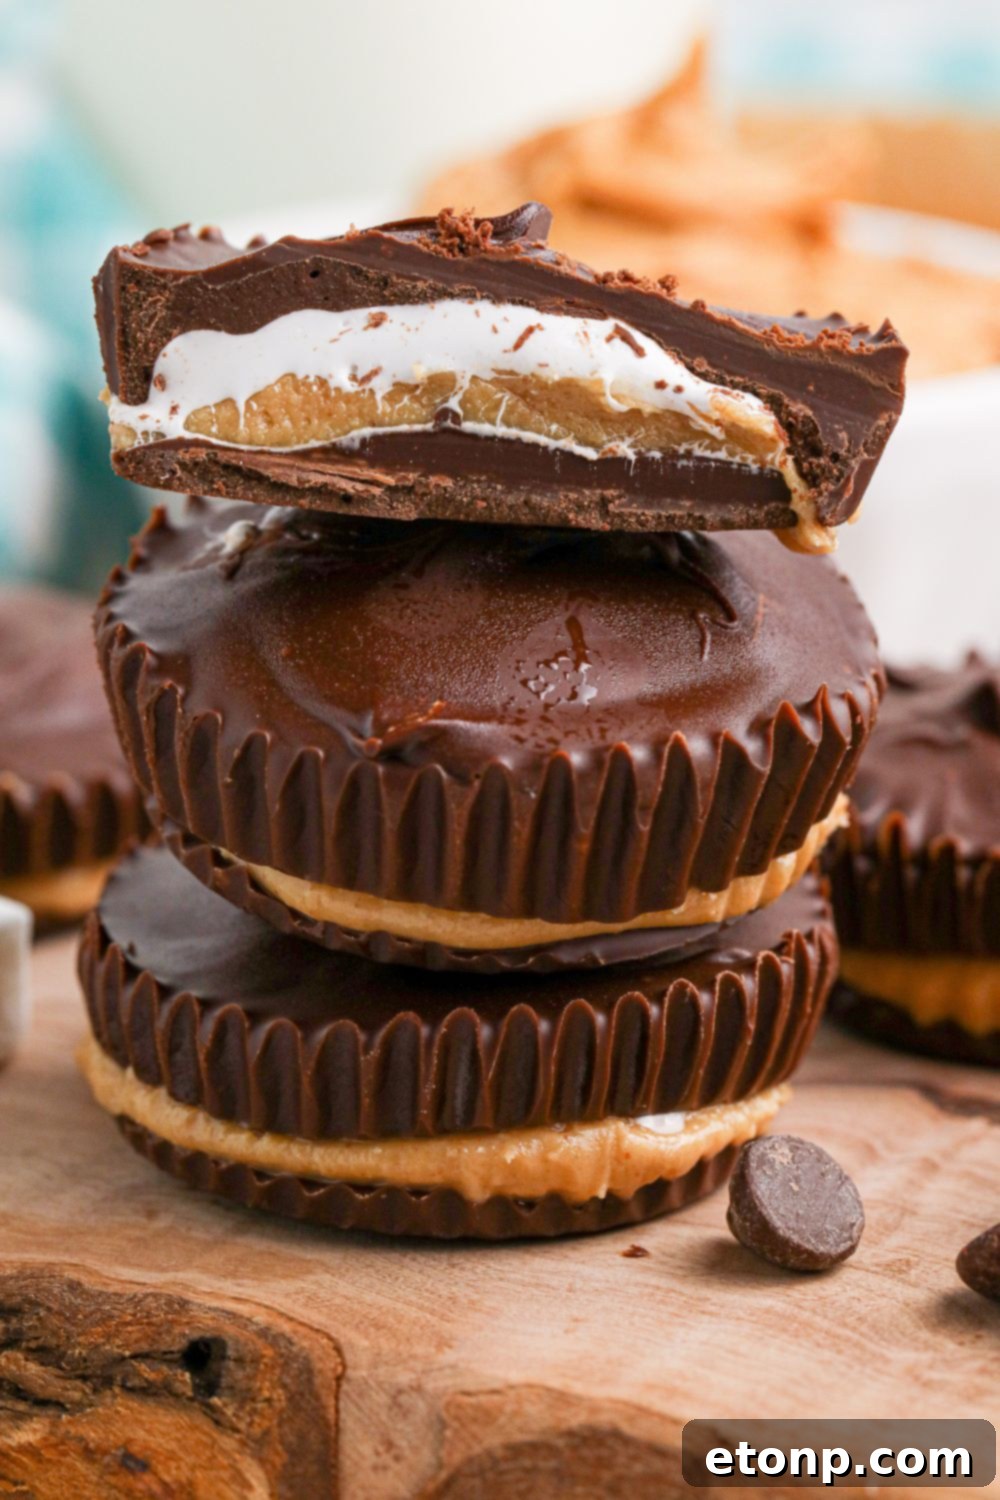
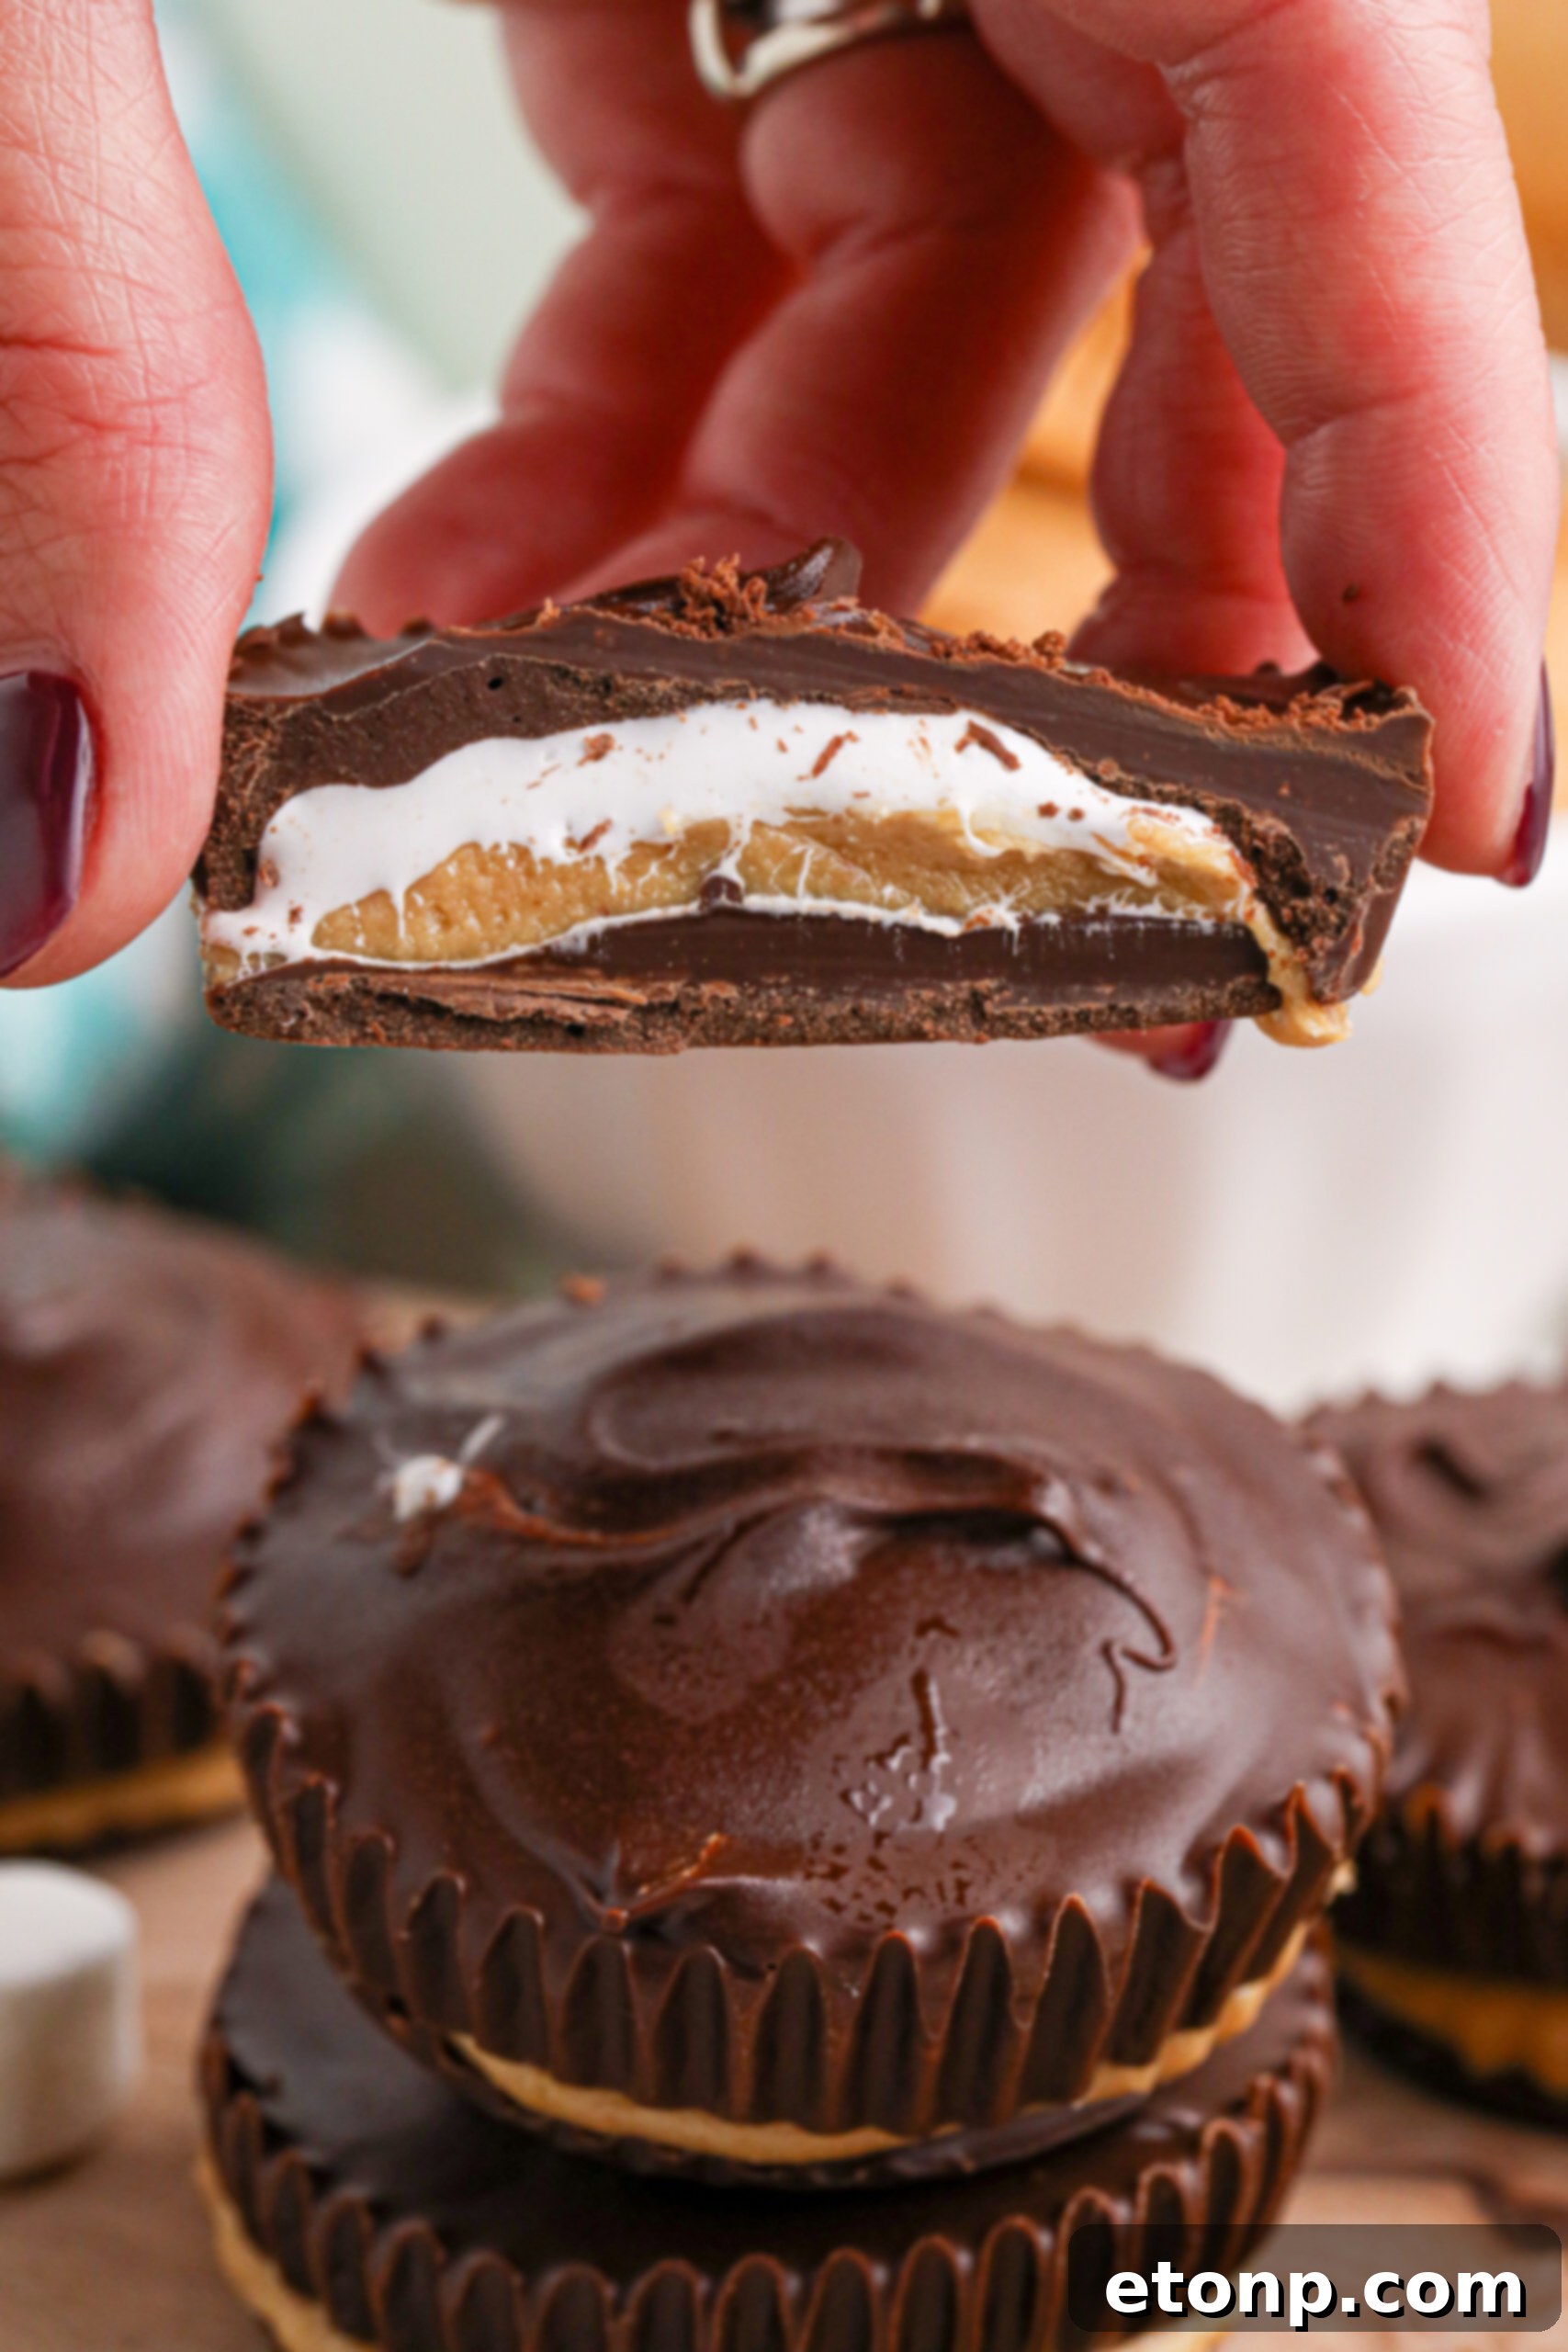
Imagine the beloved Reese’s Peanut Butter Cup, but with an added layer of delightful surprise. These Peanut Butter Marshmallow Cups are a harmonious fusion, taking the best elements of a classic peanut butter cup and elevating them with a generous, sticky marshmallow center. Each bite offers a rich chocolate exterior, giving way to a velvety, thick peanut butter filling, crowned with a sweet, pillowy cloud of marshmallow cream. It’s a trifecta of textures and flavors that creates an unparalleled dessert experience.
If you can’t get enough of peanut butter desserts, don’t miss my peanut butter cheesecake bites for another delightful creation.

Why You Will Adore These No-Bake Marshmallow Peanut Butter Cups
These delectable no-bake treats are destined to become a staple in your dessert repertoire. Here’s why they’re so incredibly loved:
- Effortless Preparation: You don’t need to be a seasoned baker to master this recipe. With simple, readily available ingredients and straightforward steps, these cups come together with minimal fuss, making them perfect for any skill level.
- No-Bake Brilliance: Ditch the oven and enjoy a dessert that requires absolutely no baking. This makes them ideal for hot summer days, busy holidays, or whenever you crave a sweet treat without heating up your kitchen.
- Versatile for Any Occasion: Whether you’re planning a party, looking for a thoughtful homemade gift, craving a quick snack, or need a delightful dessert to stash in your freezer for those late-night sweet tooth emergencies, these cups are perfectly suited for every scenario.
- Budget-Friendly Indulgence: Enjoy gourmet-quality peanut butter cups at a fraction of the cost of store-bought versions. Making them at home allows you to control the ingredients and saves you money without compromising on taste or quality.
- Crowd-Pleasing Flavor: The combination of rich chocolate, creamy peanut butter, and sweet marshmallow is universally adored, guaranteeing these cups will be a hit with everyone who tries them.
- Customizable Fun: As you’ll see in our variations section, these cups are incredibly adaptable, allowing you to experiment with different chocolates, fillings, and toppings to create your unique masterpiece.
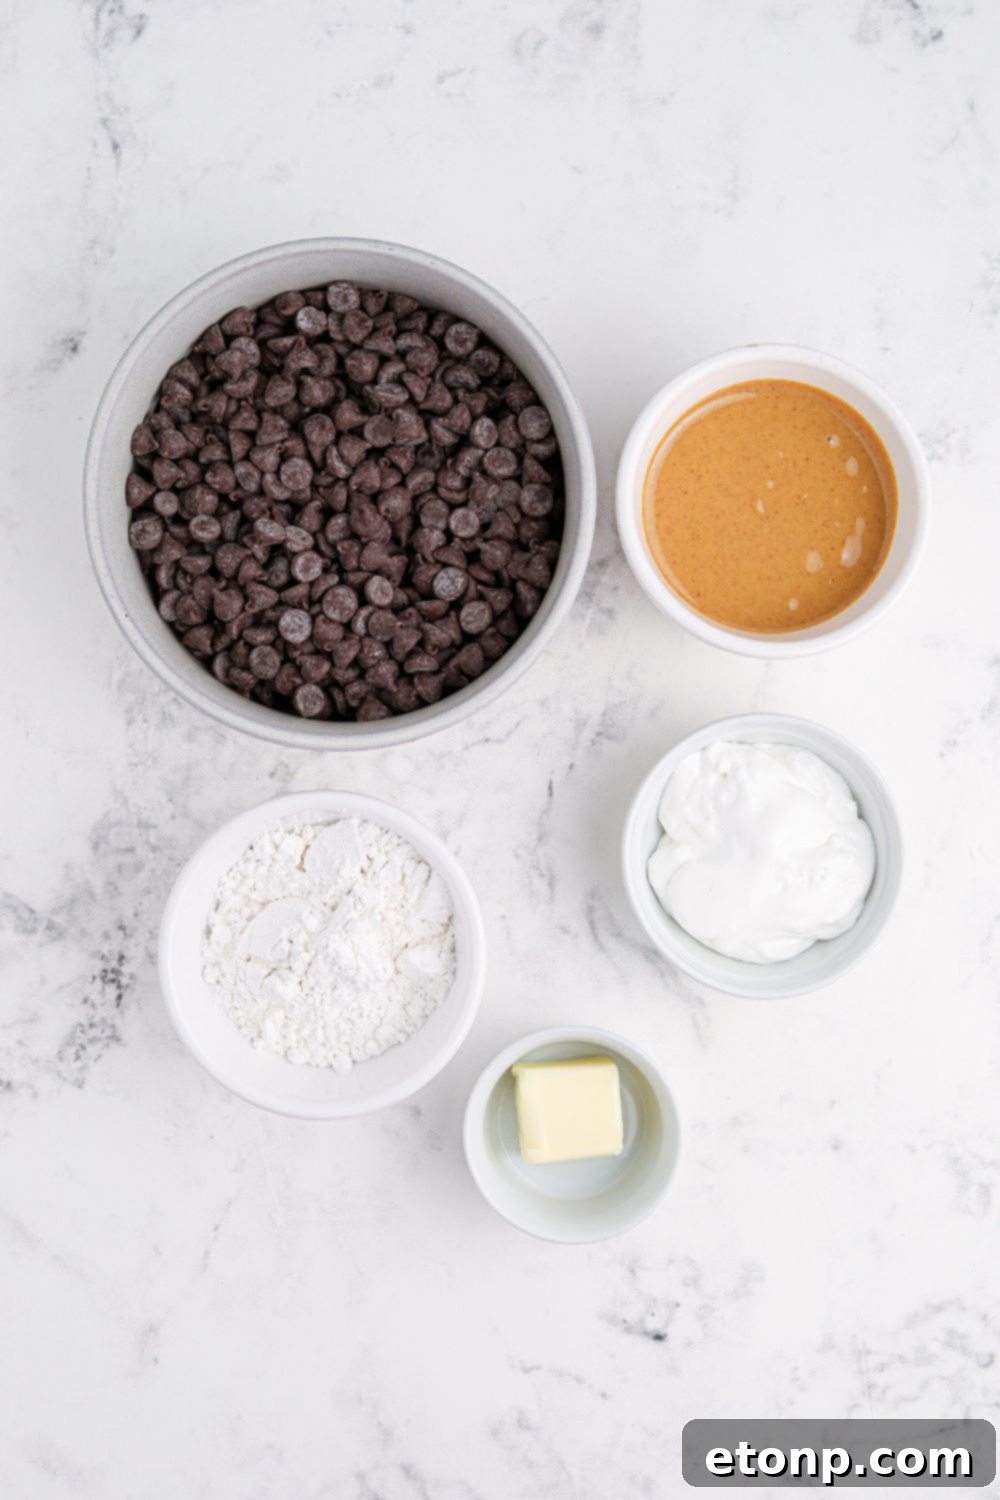
Essential Ingredients for Your Sweet Creation
Crafting these heavenly Peanut Butter Marshmallow Cups requires only a handful of key ingredients. Here’s a closer look at what you’ll need and some tips for selecting the best components:
- Chocolate: The foundation of our cups! While I opted for semi-sweet chocolate chips for a balanced sweetness, feel free to personalize this. Milk chocolate will yield a sweeter, creamier cup, dark chocolate will offer a more intense, sophisticated flavor, and white chocolate can provide a unique, milky sweetness. High-quality chocolate melts more smoothly and contributes significantly to the final taste. Remember, 2 cups are needed, divided for the bottom and top layers.
- Peanut Butter: Creamy peanut butter is absolutely crucial for achieving the perfect smooth, thick filling. Brands like Jif or Skippy are excellent choices, known for their consistent texture and rich flavor. Avoid natural peanut butter that separates easily, as its oil content can make the filling too runny and difficult to set.
- Powdered Sugar (Confectioners’ Sugar): This fine sugar is indispensable for creating that wonderfully thick, firm, and yet melt-in-your-mouth peanut butter layer. It dissolves effortlessly into the peanut butter and butter, resulting in a smooth and stable filling that holds its shape beautifully.
- Butter: Use real unsalted butter at room temperature. Softened butter blends seamlessly with the peanut butter and powdered sugar, creating a creamy and workable filling. If your butter is too cold, it won’t incorporate properly; if it’s melted, the filling might become too oily.
- Marshmallow Cream (Marshmallow Fluff): This gooey, sweet, and spreadable marshmallow mixture is the star of the show, providing that delightful, soft center. Brands like Jet-Puffed Marshmallow Creme are widely available and work perfectly for this recipe. It adds a unique texture and sweetness that sets these cups apart from traditional versions.
Exciting Variations and Customization Ideas
One of the best aspects of this recipe is its versatility. Feel free to get creative and customize your Peanut Butter Marshmallow Cups to suit your taste or occasion:
- Nut Butter Alternatives: If you’re looking for a no-nut version or simply want to experiment with different flavors, consider using cashew butter, almond butter, sunflower seed butter, or your favorite alternative. Keep in mind that different nut butters have varying consistencies, so you might need to adjust the amount of powdered sugar slightly to achieve the desired thick, scoopable texture.
- Diverse Chocolate Coatings: The top chocolate layer offers another opportunity for customization. Beyond milk, semi-sweet, or dark chocolate, you could use white chocolate for an elegant touch, or even colorful candy melts to add a fun, vibrant pop, perfect for themed parties or holidays.
- Loaded Peanut Butter Filling: Elevate your peanut butter layer by mixing in extra goodies. Chopped pretzels add a wonderful salty crunch, candy pieces (like mini M&Ms or crushed toffee) introduce more texture and flavor, and sprinkles make them extra festive. Crushed cookies or chopped nuts are also fantastic additions.
- Creative Toppings: Once the final chocolate layer is set, you can decorate the tops. A sprinkle of sea salt can enhance the chocolate flavor beautifully. Add more sprinkles, a drizzle of contrasting chocolate (white chocolate on dark, for example), or a few mini chocolate chips for an appealing finish.
- Flavor Swaps for the Fluff: While marshmallow fluff is delightful, you could experiment with other gooey centers. A thick caramel sauce would offer a rich, buttery counterpoint to the peanut butter and chocolate, creating a “caramel peanut butter cup” experience. Ensure the caramel is thick enough to hold its shape.
- A Pinch of Salt: For an extra layer of flavor and to help cut through the sweetness, sprinkle a tiny pinch of flaky sea salt on top of the final chocolate layer before it sets. This sweet-and-salty combination is incredibly addictive.
Expert Tips for Crafting Perfect Peanut Butter Marshmallow Cups
Achieving flawless, delicious Peanut Butter Marshmallow Cups is easy with these helpful tips:
- Achieve the Right Peanut Butter Consistency: It’s crucial that your peanut butter mixture is thick enough to hold its shape. If it’s too soft or runny, it will spread out and mix with the chocolate layers. If using natural peanut butter, you may need to add a bit more powdered sugar to firm it up.
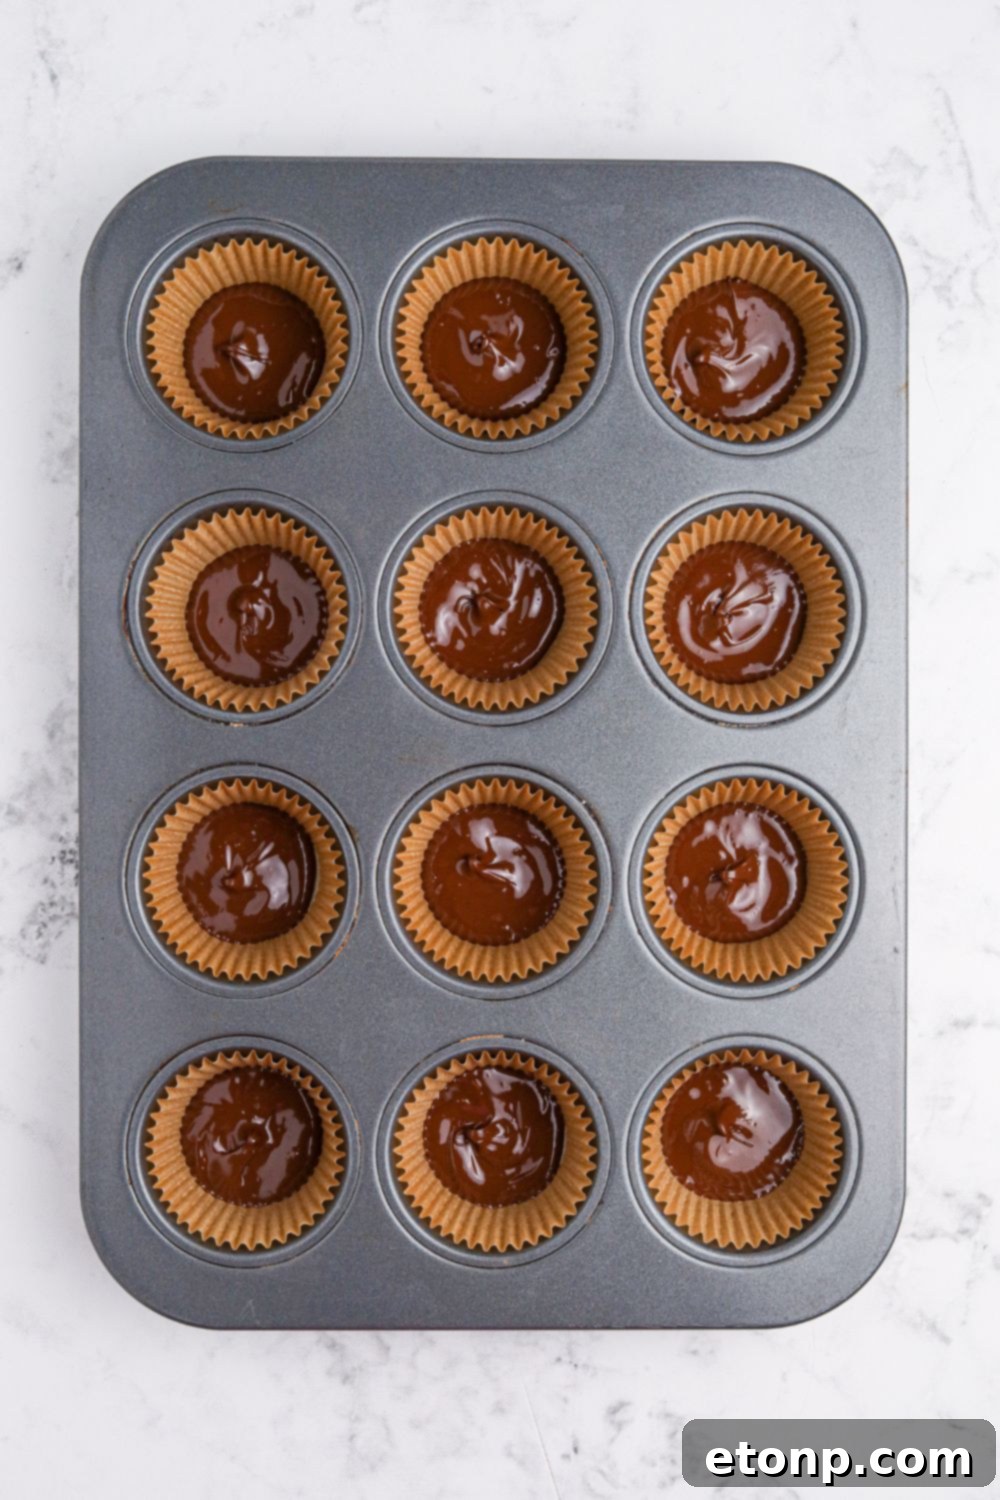
- Remove Air Bubbles from Chocolate: After pouring the first layer of melted chocolate into the cupcake liners, gently tap the muffin pan on your counter a few times. This helps to release any trapped air bubbles, ensuring a smooth, even, and professional-looking chocolate base.
- Melt Chocolate Carefully: When melting chocolate, whether in the microwave or over a double boiler, use short heat cycles (30 seconds in the microwave) and stir thoroughly after each interval. This prevents scorching the chocolate and ensures a smooth, glossy consistency. Overheated chocolate can become grainy or seize.
- Layering with Patience: Allow each chocolate layer to fully set in the freezer before adding the next ingredient. This prevents the layers from bleeding into each other and helps maintain the distinct stripes of chocolate, peanut butter, and marshmallow.
- Working with Marshmallow Fluff: Marshmallow fluff can be incredibly sticky. To make it easier to handle and spread evenly without making a mess, dip your finger or a small spoon in warm water before smoothing down the fluff in each cup. Repeat this simple step as needed for a clean application.
- Work Efficiently: Chocolate sets quickly, especially when placed in the freezer. Work at a steady pace, preparing all your ingredients in advance, so you can assemble the cups efficiently before the chocolate hardens prematurely.
- Uniformity for Perfection: For consistent size and appearance, try to add the same amount of each ingredient (chocolate, peanut butter filling, and marshmallow fluff) into every cupcake liner. This ensures all your peanut butter marshmallow cups look professionally made and are equally satisfying.
How to Serve Your Delicious Cups
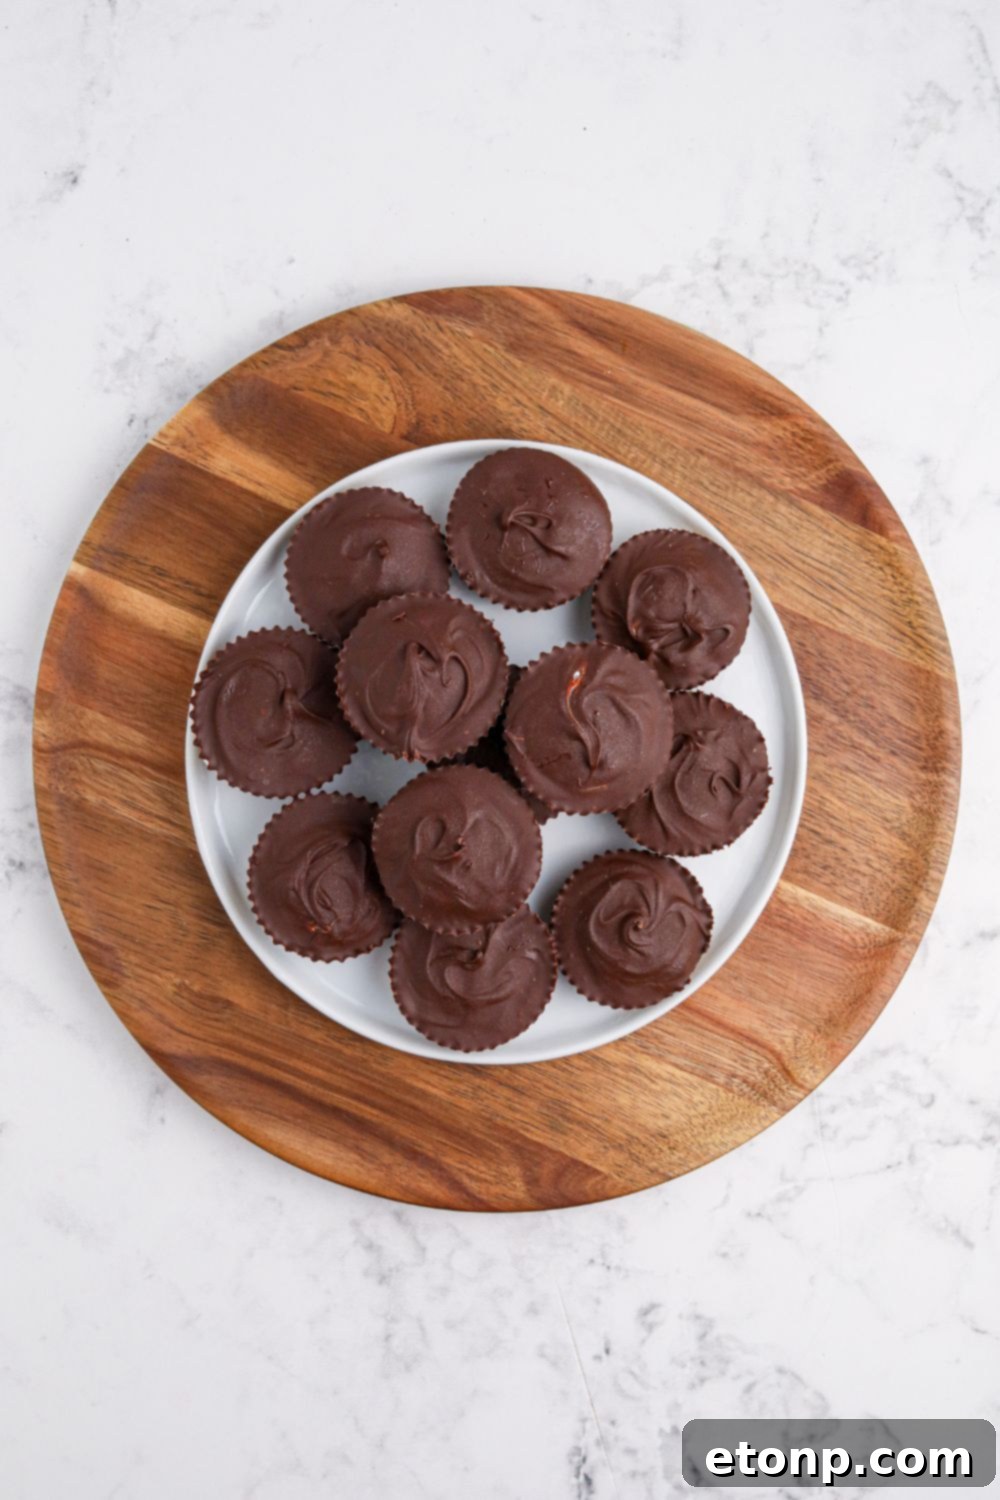
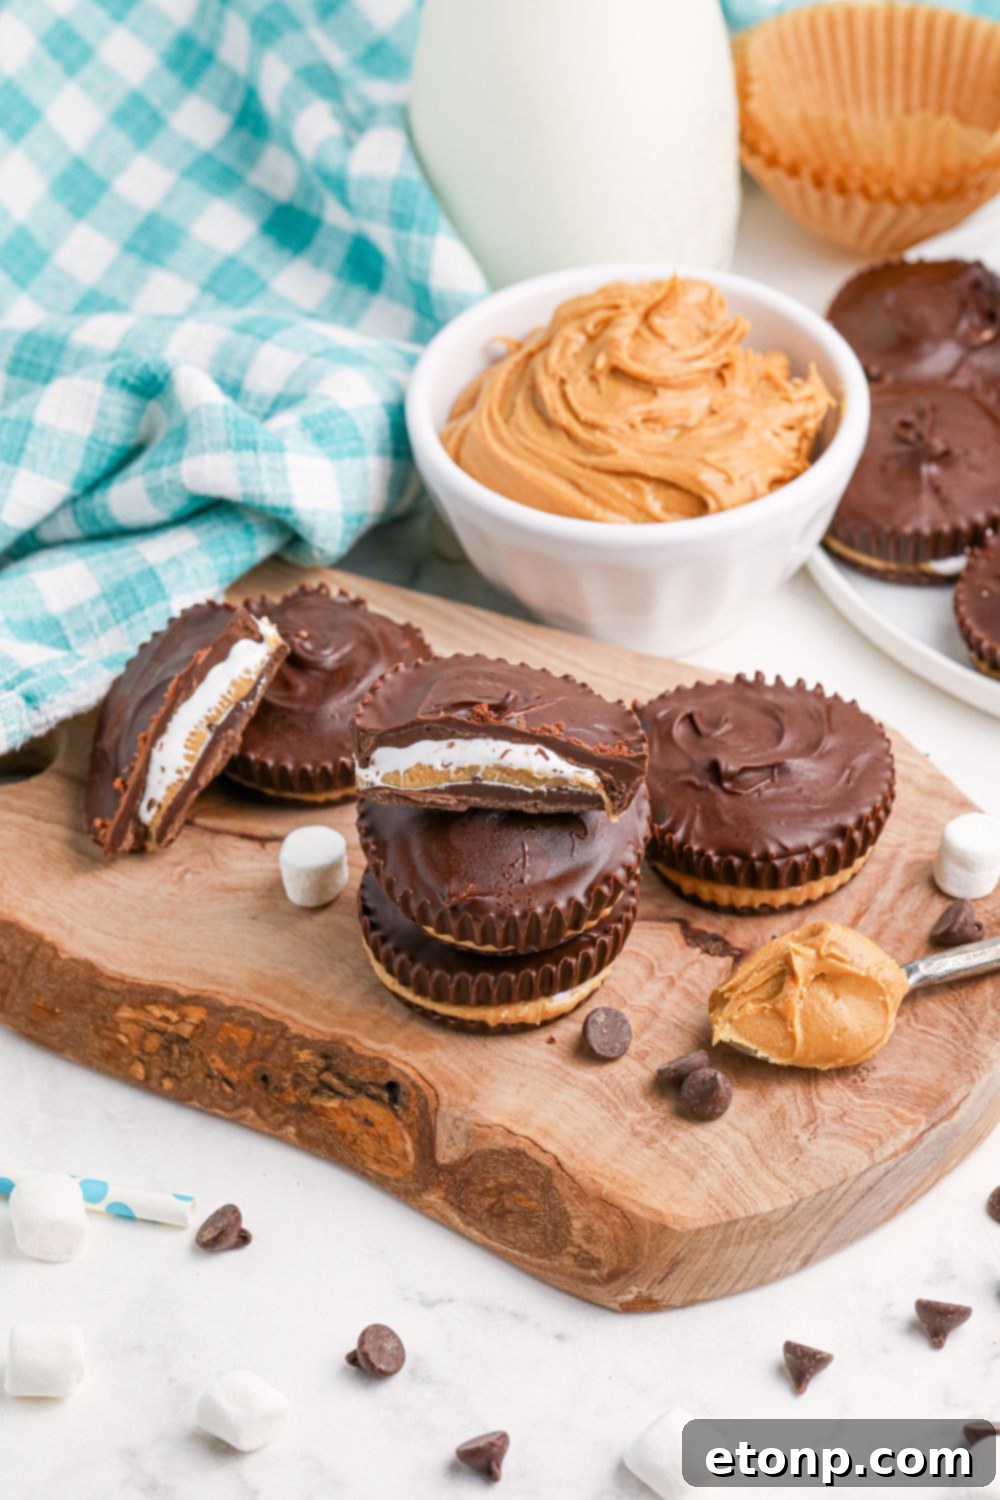
These Peanut Butter Marshmallow Cups are incredibly versatile and perfect for a variety of serving occasions. They excel as a simple, satisfying snack to curb your sweet cravings at any time of day. For entertaining, they make a stunning addition to any dessert tray, bringing a homemade touch that guests will adore. They are also fantastic for packing into lunchboxes or as a thoughtful, edible gift for friends, family, or loved ones. Their rich flavor and delightful texture ensure they are always a welcome treat.
Looking for more easy dessert ideas to serve alongside these cups? Try my delightful 4-ingredient crockpot candy or my indulgent rocky road candy for more sweet sensations.
Storing and Freezing for Freshness
Proper storage ensures your Peanut Butter Marshmallow Cups stay fresh and delicious for as long as possible:
- Room Temperature: For immediate enjoyment, store these delightful marshmallow cups in an airtight container at room temperature. They will remain fresh and tasty for up to 2 weeks.
- Refrigeration: If you prefer a firmer texture or want to extend their shelf life, refrigerate the cups in an airtight container for up to 3 weeks. The cold will make the chocolate and peanut butter layers a bit harder, offering a different, equally satisfying bite.
- Freezing: These cups are excellent candidates for freezing, allowing you to enjoy them for an even longer period. Place them in a freezer bag or a freezer-friendly airtight container, and they will keep well for up to 3 months. You can enjoy them straight from the freezer for a super-chilled, dense treat, or let them thaw slightly at room temperature before indulging.
Frequently Asked Questions (FAQs)
Can I use natural peanut butter in this recipe?
While natural peanut butter is often favored for its healthier profile, it generally contains more oil and tends to separate, resulting in a runnier consistency compared to traditional creamy peanut butter. If you choose to use natural peanut butter, you will likely need to significantly increase the amount of powdered sugar to achieve the necessary thick, firm texture that holds its shape. For best results and consistent layering, we highly recommend sticking with classic, processed creamy peanut butter like Jif or Skippy.
Can I make these cups ahead of time?
Absolutely! These Peanut Butter Marshmallow Cups are an excellent make-ahead dessert, perfect for party planning or meal prepping your sweet cravings. You can prepare them up to 3-4 days before you plan to serve them. Once the cups are fully set and firm, store them in an airtight container. They can be kept at room temperature for a softer texture or refrigerated for a firmer bite.
Do I need to use cupcake liners?
Cupcake liners are highly recommended for this recipe. They serve a crucial purpose by making the removal of the finished chocolate cups from the muffin pan incredibly easy and mess-free, preserving their perfect shape. While you *can* skip them if you have a high-quality silicone muffin pan (which allows for easy release), parchment cupcake liners are the most reliable option for ensuring your beautiful cups come out intact.
What if my peanut butter filling is too sticky?
If your peanut butter filling feels too sticky or soft to work with, try adding a little more powdered sugar, one tablespoon at a time, until it reaches a more manageable, dough-like consistency. Chilling the mixture in the refrigerator for 10-15 minutes can also help firm it up, making it easier to roll or press into the chocolate cups.
Can I use mini muffin tins?
Yes, absolutely! This recipe scales perfectly for mini muffin tins. You’ll simply get more, smaller cups, which are fantastic for bite-sized treats or dessert platters. Adjust the amount of melted chocolate, peanut butter filling, and marshmallow fluff per cup accordingly – about half the amount used for standard-sized cups should work well. The freezing times will likely remain similar.
More Irresistible Peanut Butter Desserts to Explore
- Peanut Butter Cheesecake Cups
- No Bake Peanut Butter Bars
- No Bake Peanut Butter Pie
Peanut Butter Marshmallow Cups
Pin Recipe
Share Recipe
Ingredients
- 2 cups of semi-sweet chocolate chips. Divided into 1 cup and 1 cup.
- ½ cup creamy peanut butter
- 6 tablespoons powdered sugar
- 1 ½ tablespoon unsalted butter at room temperature. Or soften before blending
- 8 tablespoons marshmallow cream (I used Jet-Puffed brand)
Instructions
- Line 12 muffin tins with parchment cupcake liners. Set aside.
- In a microwave-safe bowl, place 1 cup of your chocolate chips. Melt the chocolate chips by heating them in 30-second intervals, stirring in between until the chocolate is smooth.
- Scoop out ½ tablespoon of melted chocolate and place it into each cupcake liner. It’s easiest to use two small spoons, one to scoop and one to scrape the chocolate off the other spoon. Spread your chocolate evenly over the bottom.
- Freeze for 10 minutes.
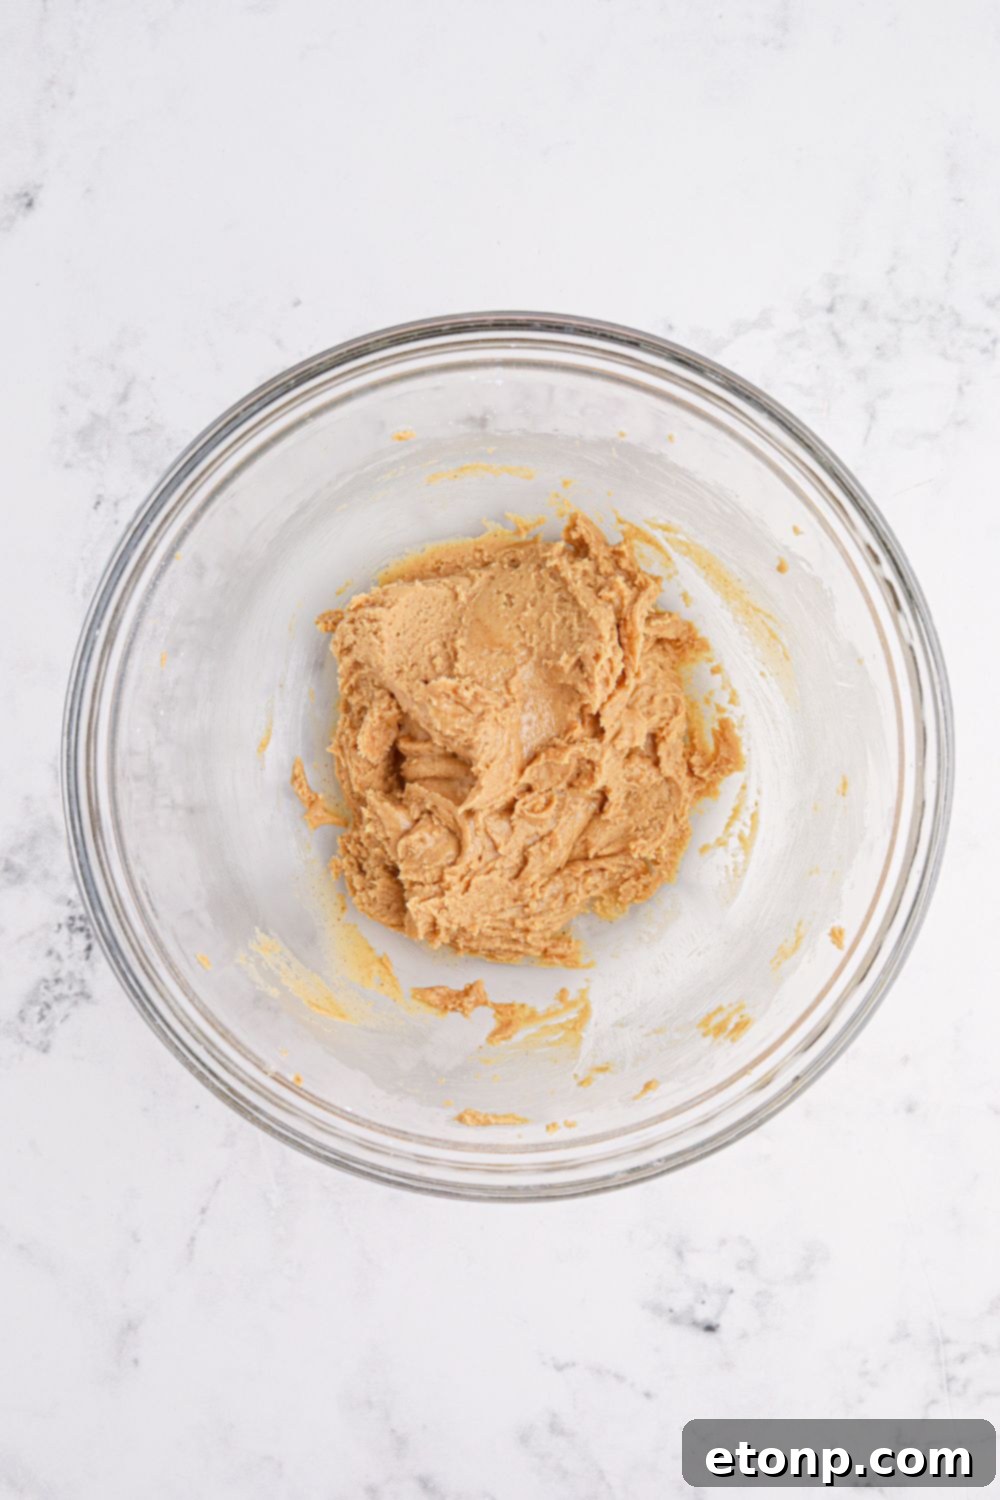
- While your chocolate is freezing, prepare the peanut butter filling. Place the peanut butter, powdered sugar, and unsalted butter into a mixing bowl. Using a handheld mixer, beat the mixture on medium speed until smooth and well combined.
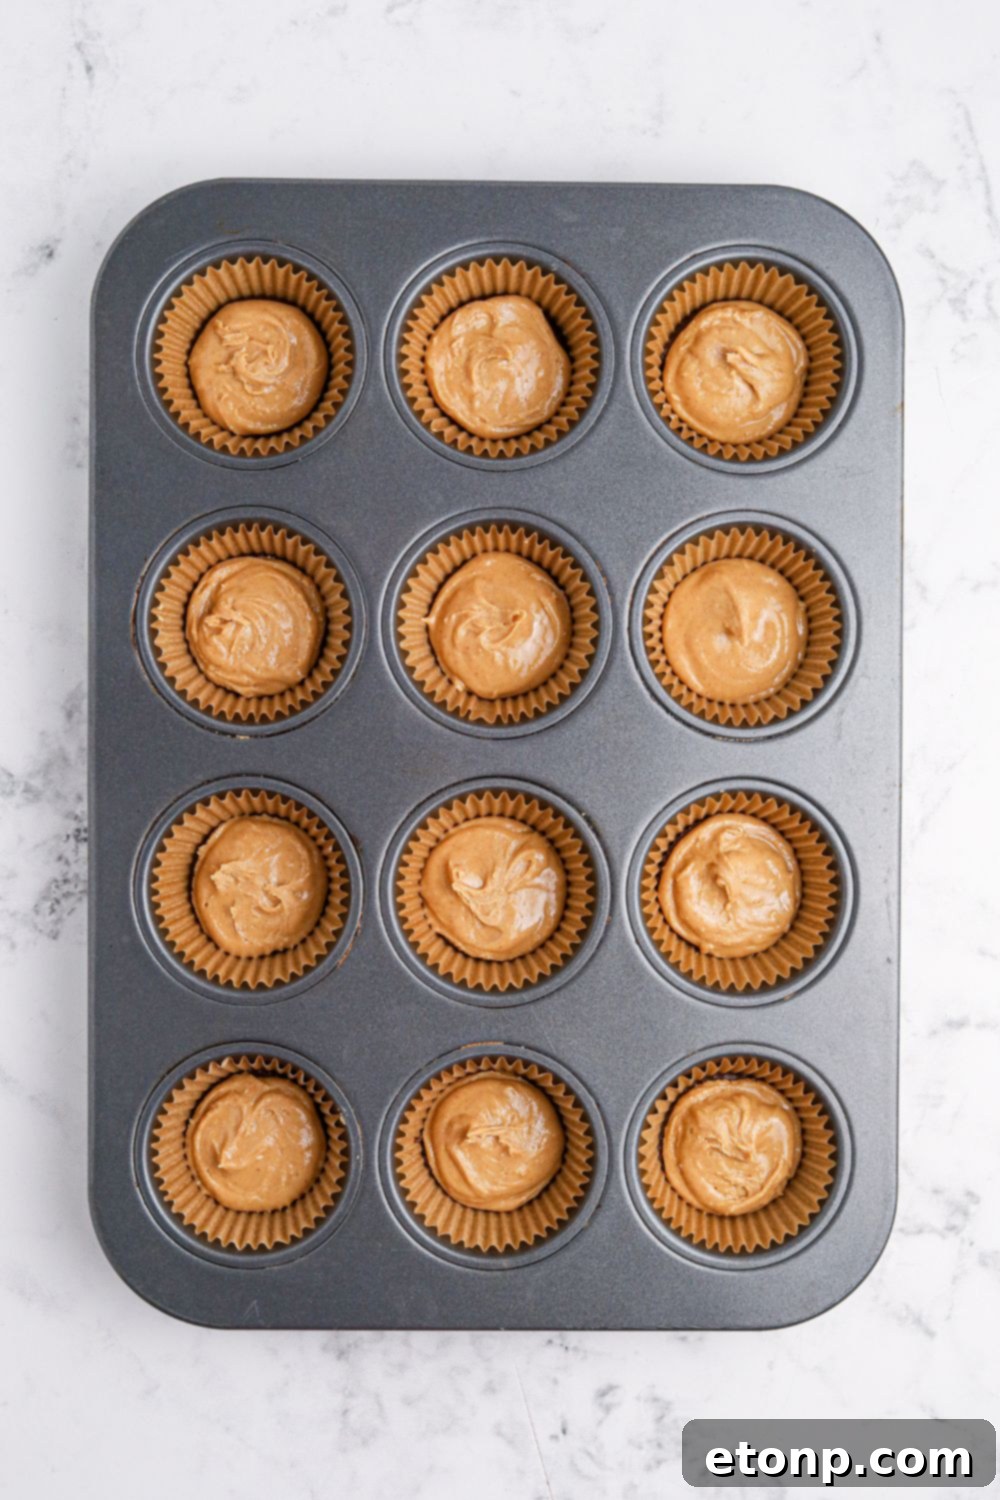
- Scoop 1-2 teaspoons of the peanut butter filling into the center of the chocolate layer. Gently flatten using a spoon and spread the filling evenly. Make sure to keep the filling from touching the sides of the cupcake liner. Freeze for 10 minutes.
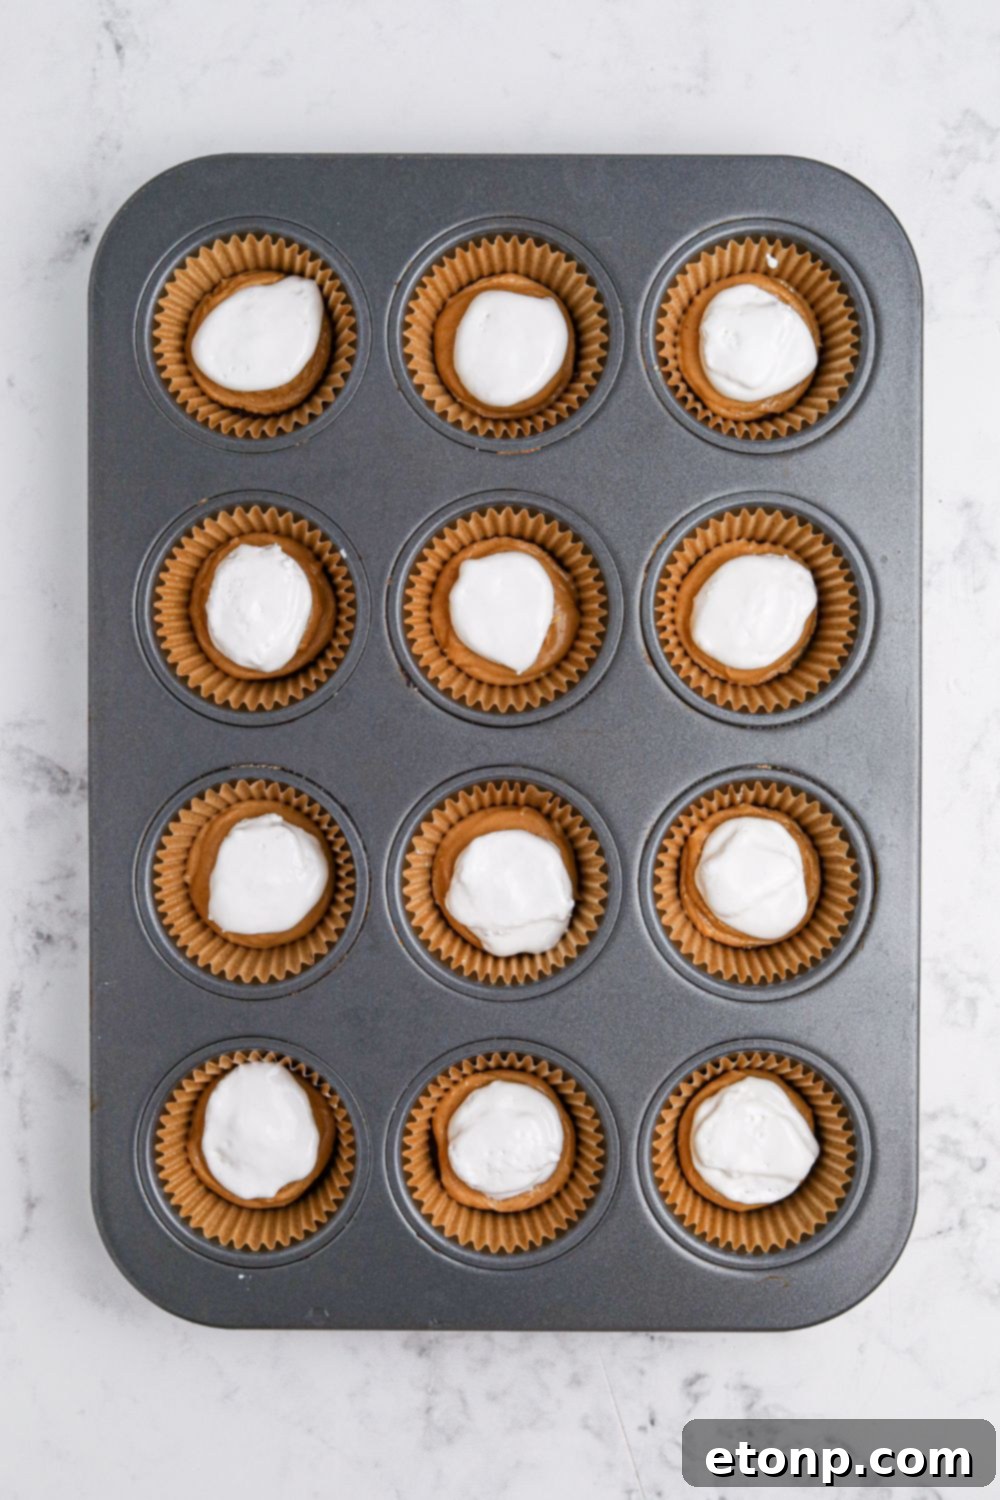
- Remove from the freezer and top the peanut butter with 1 teaspoon of marshmallow fluff. Ensure the fluff remains centered on the peanut butter layer. Dip your finger into some warm water and gently smooth down the marshmallow fluff to create an even layer. Freeze for another 10 minutes.
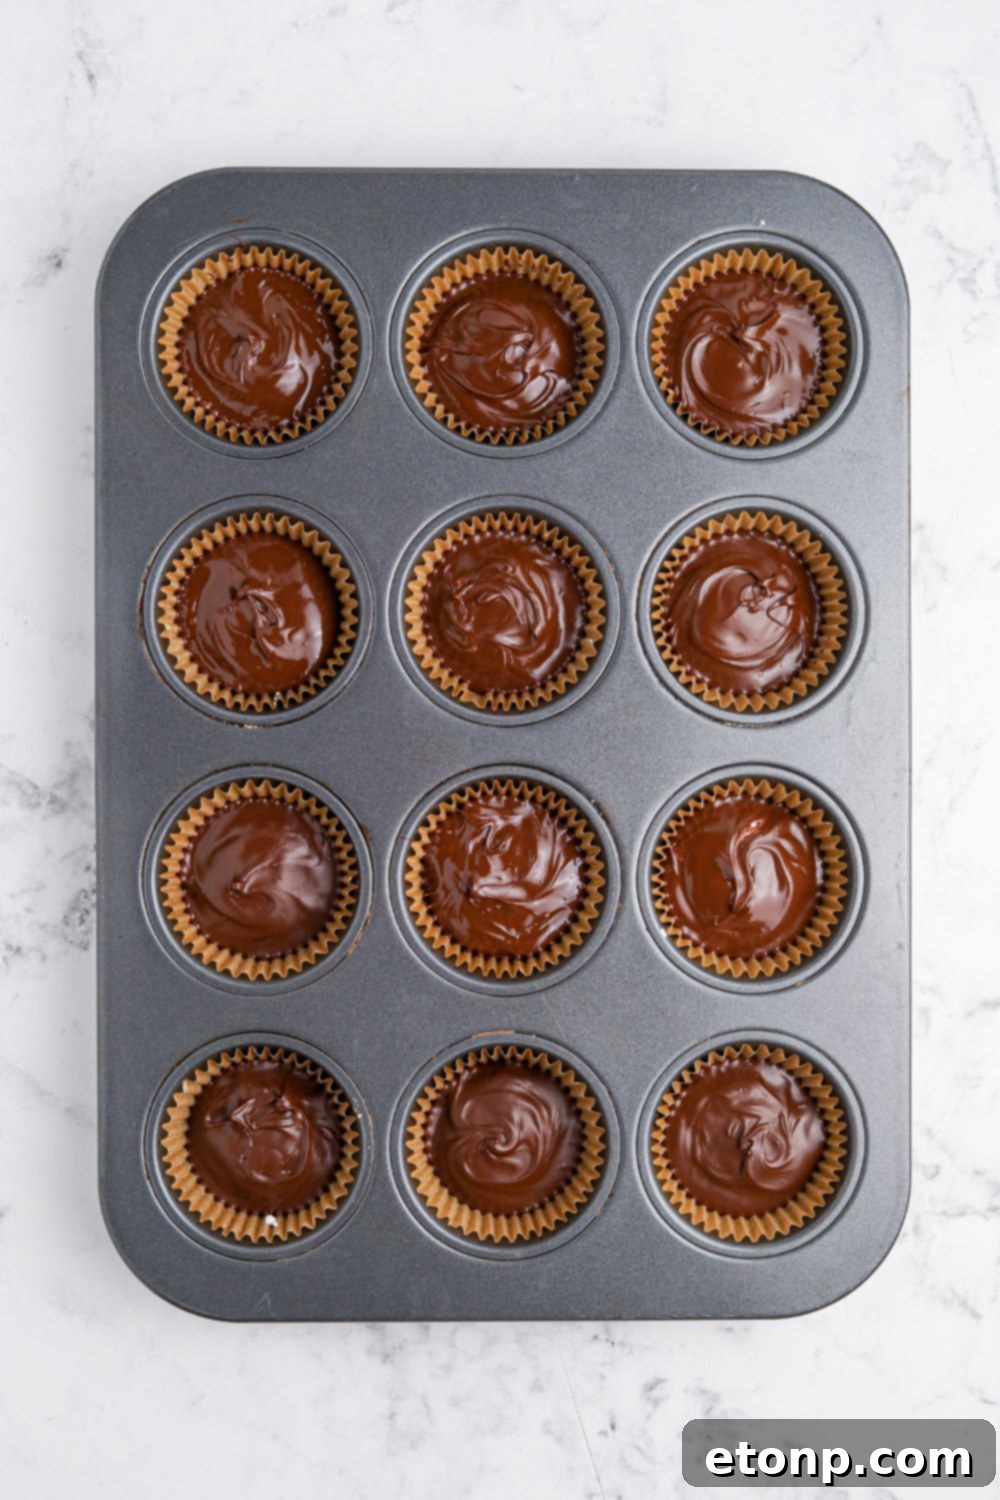
- While the marshmallow fluff is freezing, melt your remaining 1 cup of chocolate chips in the same way you did in step 2. Once melted, top each cup with ½ tablespoon of chocolate, spreading it carefully all the way to the edge of the cupcake liners to seal in the filling.
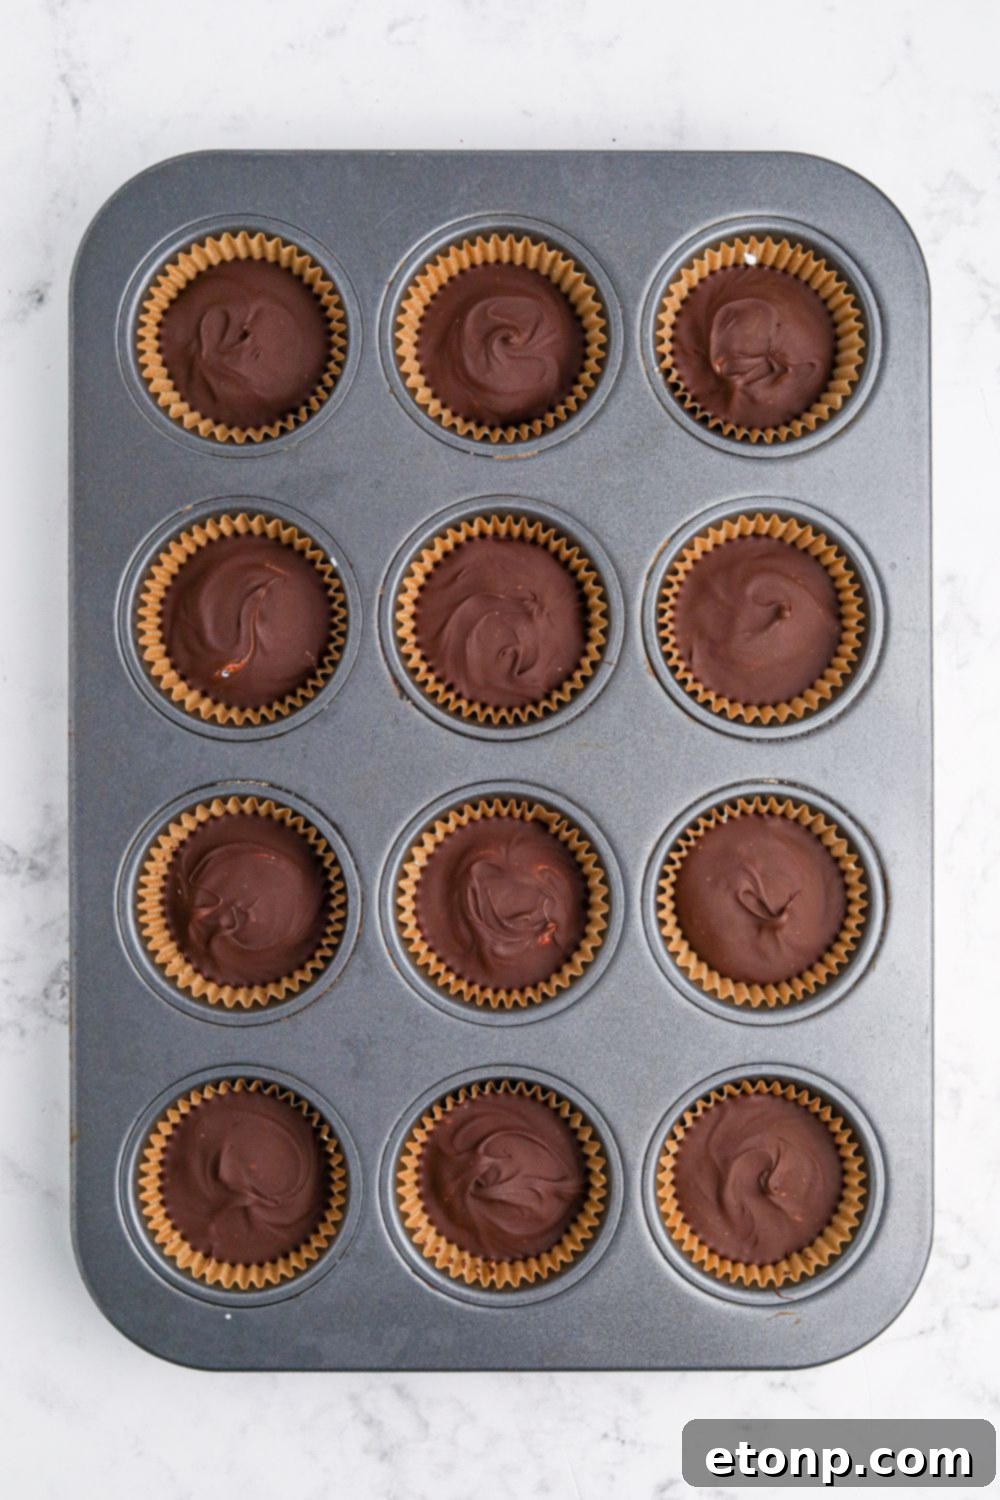
- Freeze for a final 10 minutes to allow all layers to set completely.
Did you make this recipe?
Make sure to follow on Pinterest for more recipes!
Pin Recipe
Share on Facebook