
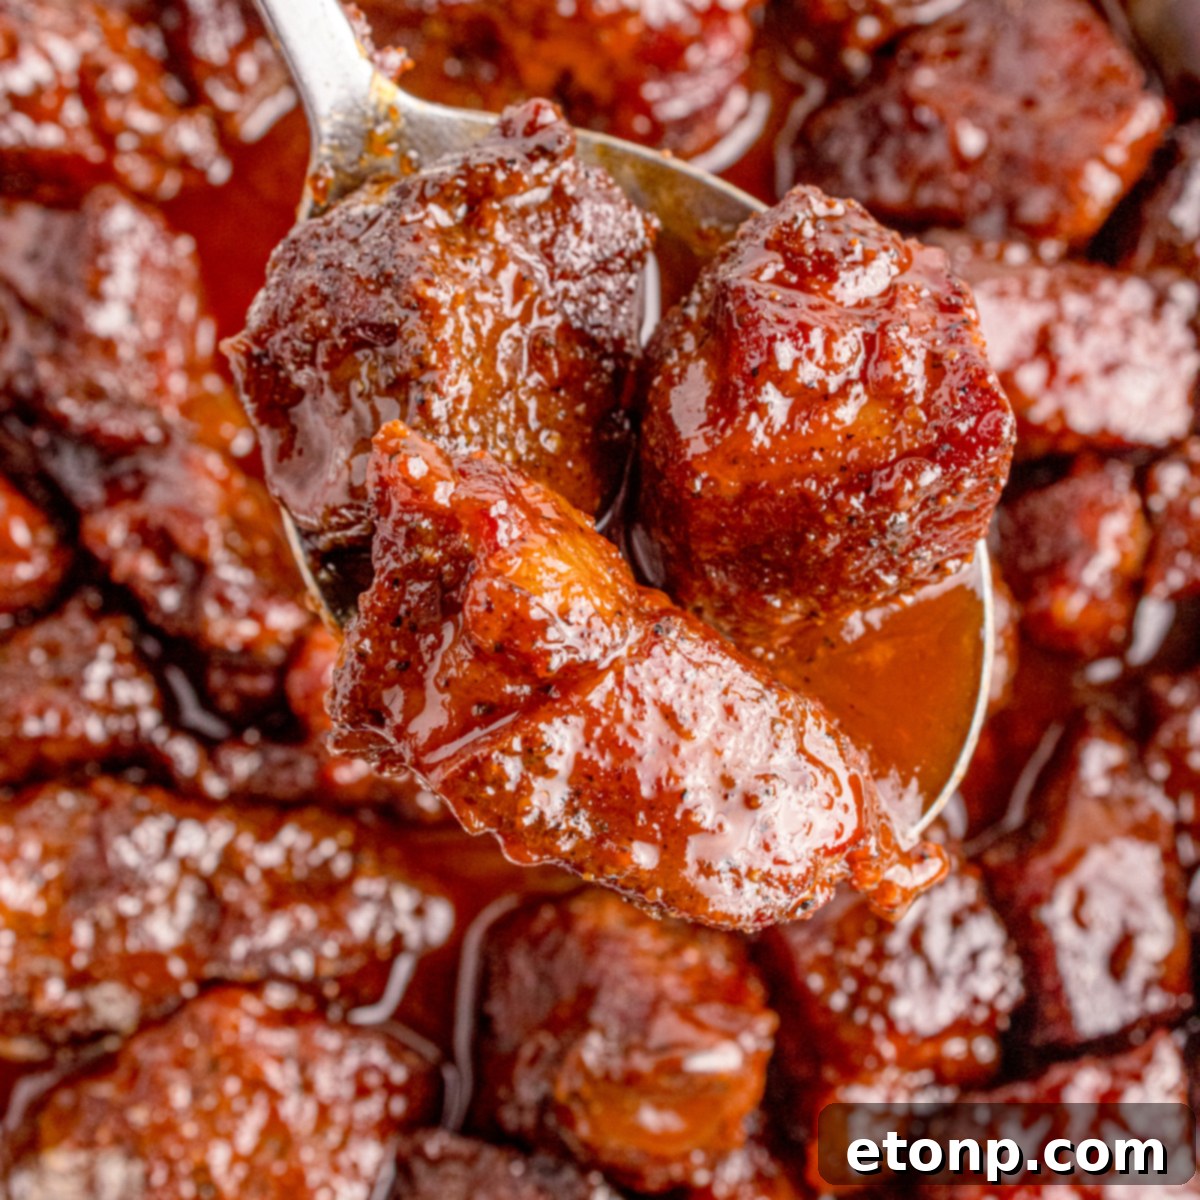
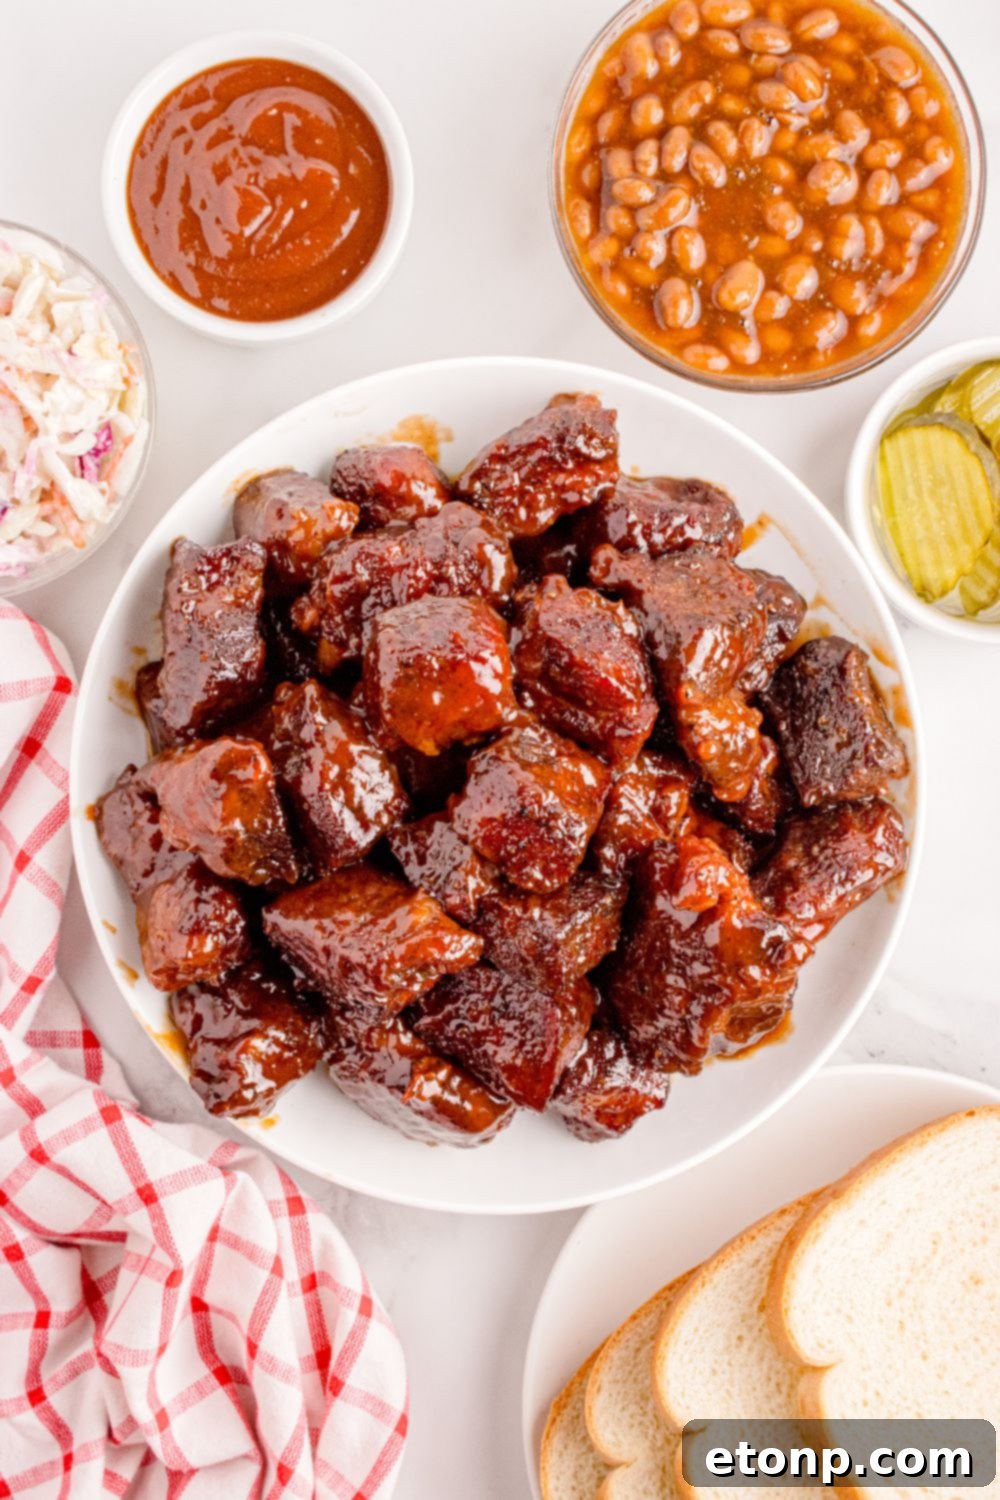
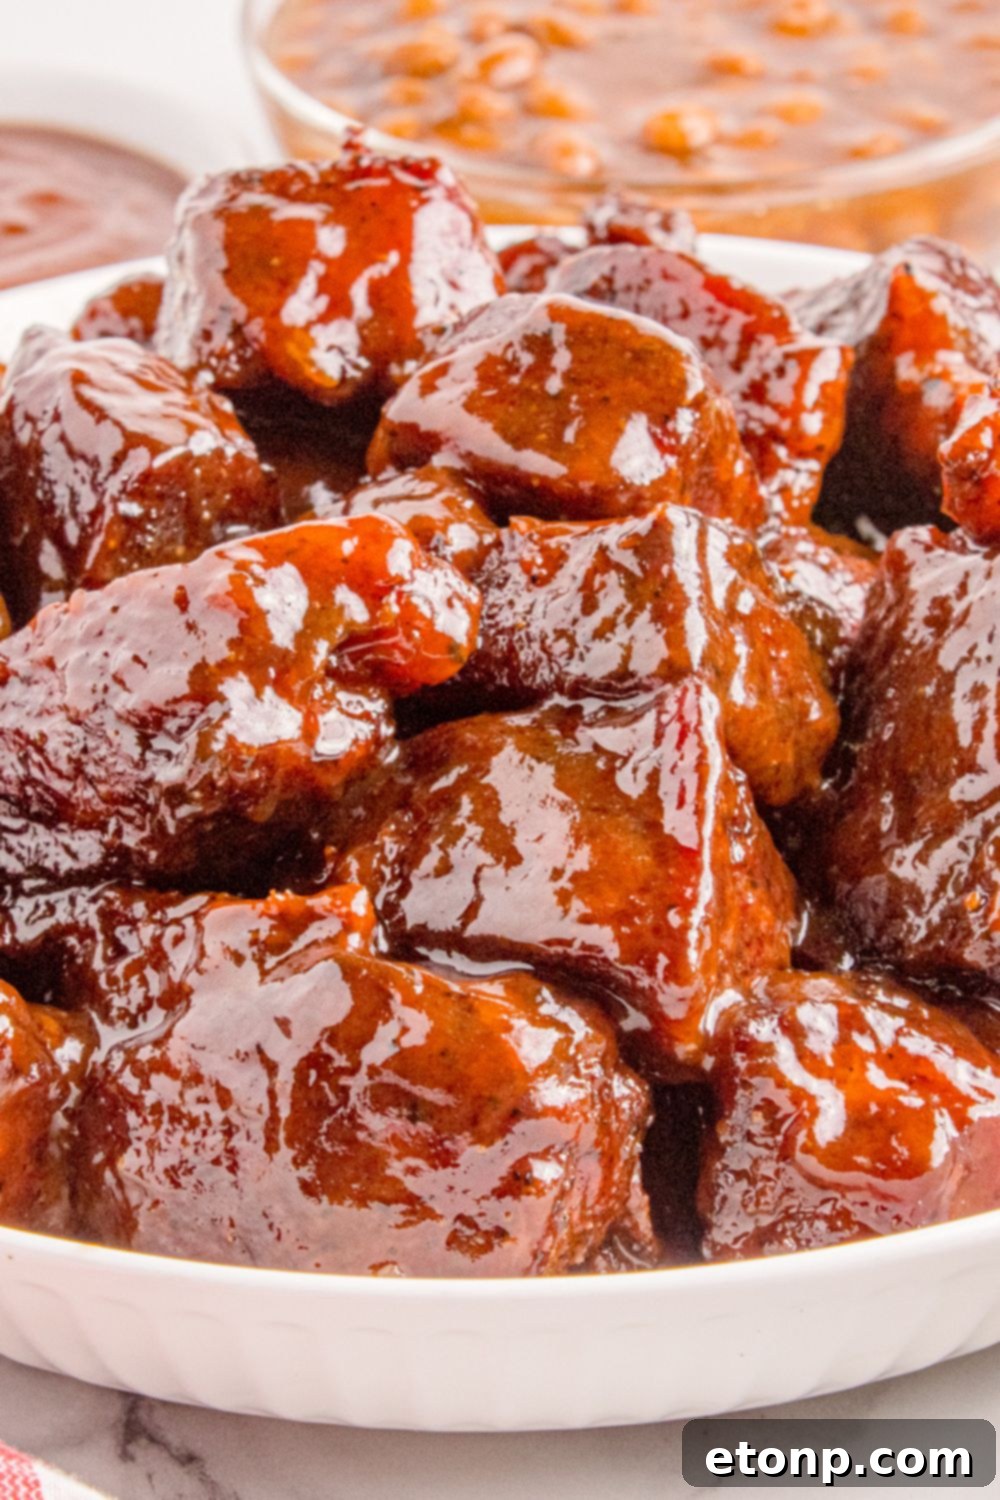
Imagine tender, melt-in-your-mouth chunks of beef, kissed with smoky flavor, then caramelized in a sweet and tangy BBQ glaze. That’s exactly what you get with these incredible Chuck Roast Burnt Ends. Often hailed as “Poor Man’s Burnt Ends,” this recipe offers all the craveable qualities of traditional brisket burnt ends—the crispy bark, the sticky sweetness, the unparalleled tenderness—but with a budget-friendly cut of beef that’s much more accessible and forgiving to cook. Prepare to transform an ordinary chuck roast into a barbecue masterpiece right in your own backyard, without breaking the bank or dedicating a full day to smoking a brisket.
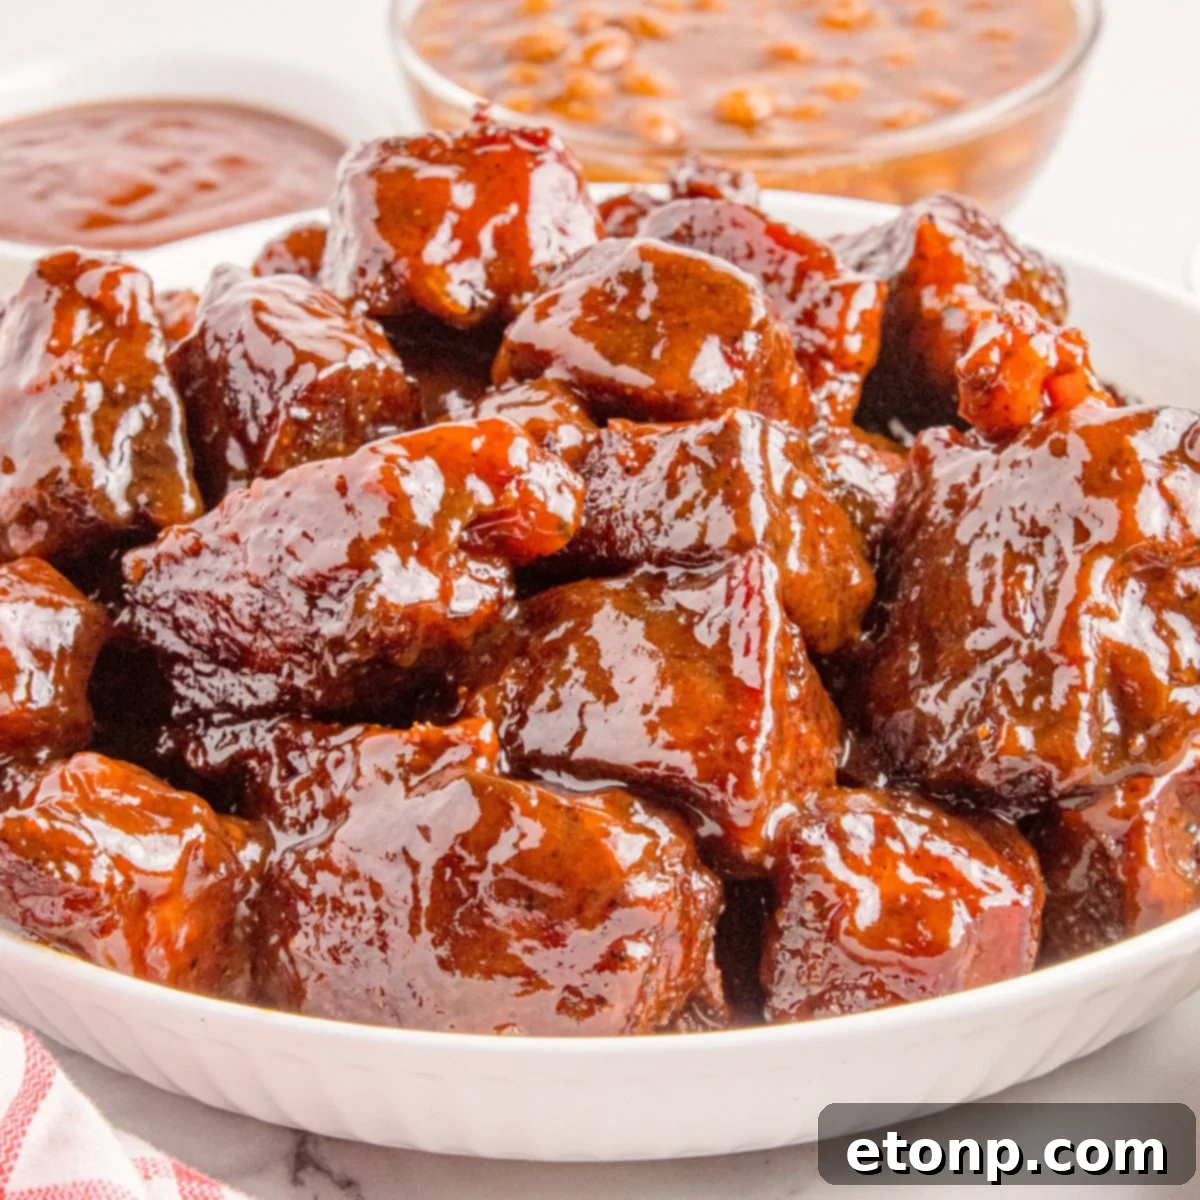
There’s nothing quite like the aroma of low-and-slow smoked meat wafting through the air, especially when it’s these delectable Poor Man’s Burnt Ends. My husband and I are utterly obsessed with preparing them on our XL Big Green Egg. The specialized cooking environment helps us achieve that coveted deep smoky crust and a perfectly caramelized BBQ glaze that is truly irresistible. The scent alone is enough to draw a crowd; it’s the kind of cooking experience that makes neighbors want to pull up a chair and savor the moment. This isn’t just a recipe; it’s an invitation to create unforgettable flavors that your family and friends will beg you to recreate time and time again.
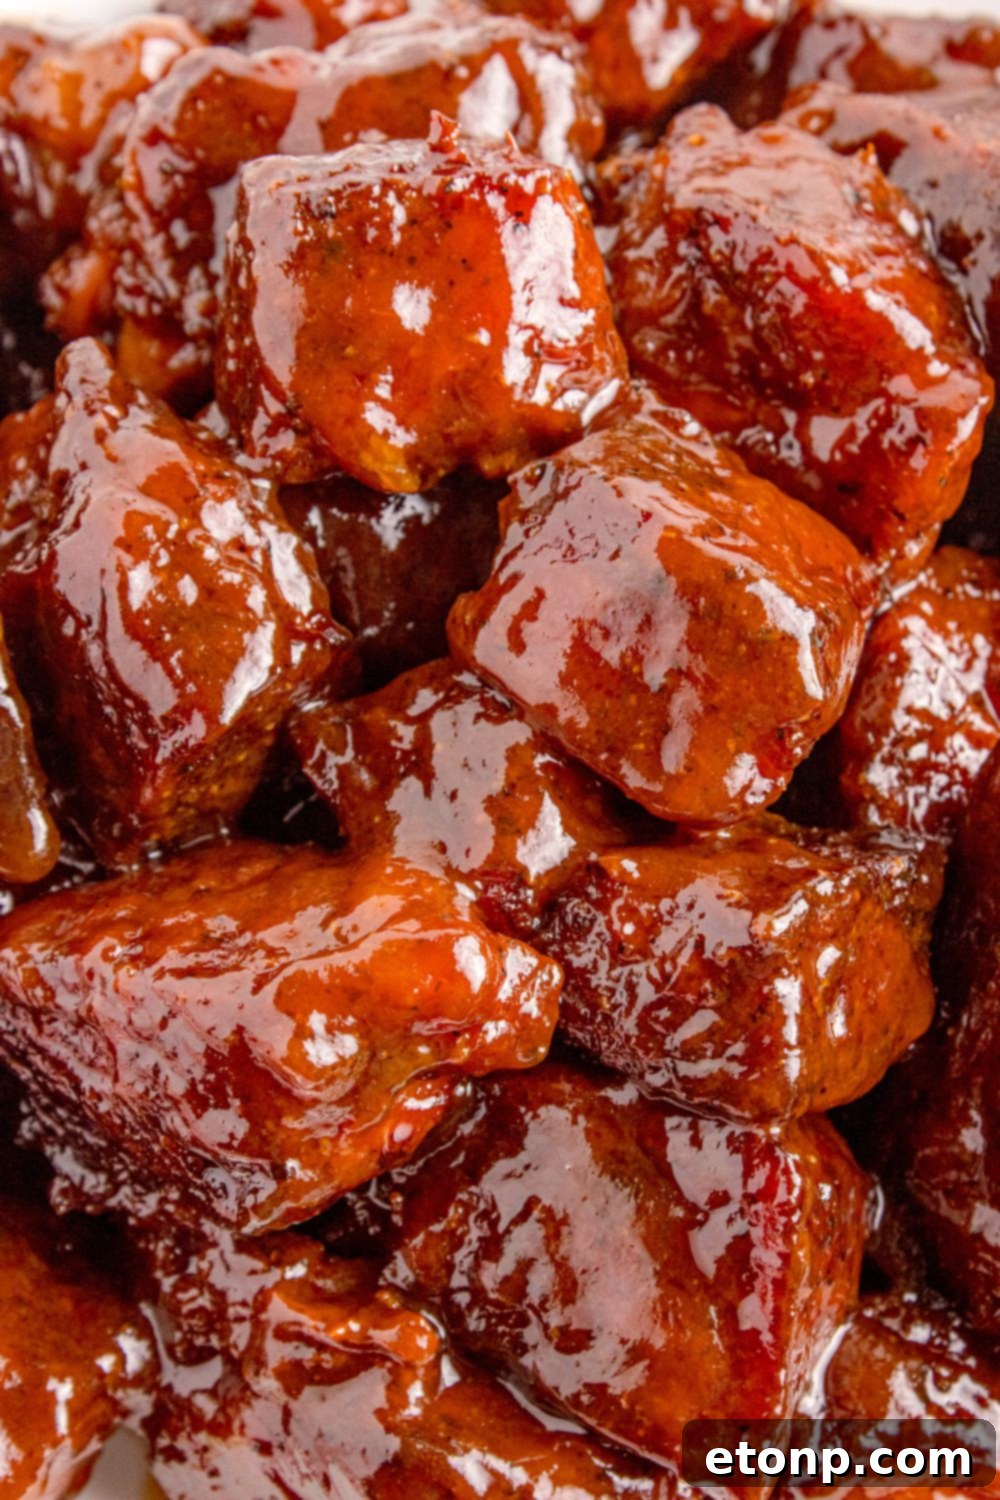
What Are Chuck Roast Burnt Ends? The Ultimate Affordable BBQ Treat
Traditionally, burnt ends are considered a prized delicacy in the world of barbecue, derived from the point end of a smoked beef brisket. This cut is celebrated for its rich marbling and robust flavor, yielding incredibly tender and fatty morsels after hours of slow smoking. However, cooking a full packer brisket can be a daunting and time-consuming task, often requiring 12+ hours of dedicated attention and a significant financial investment.
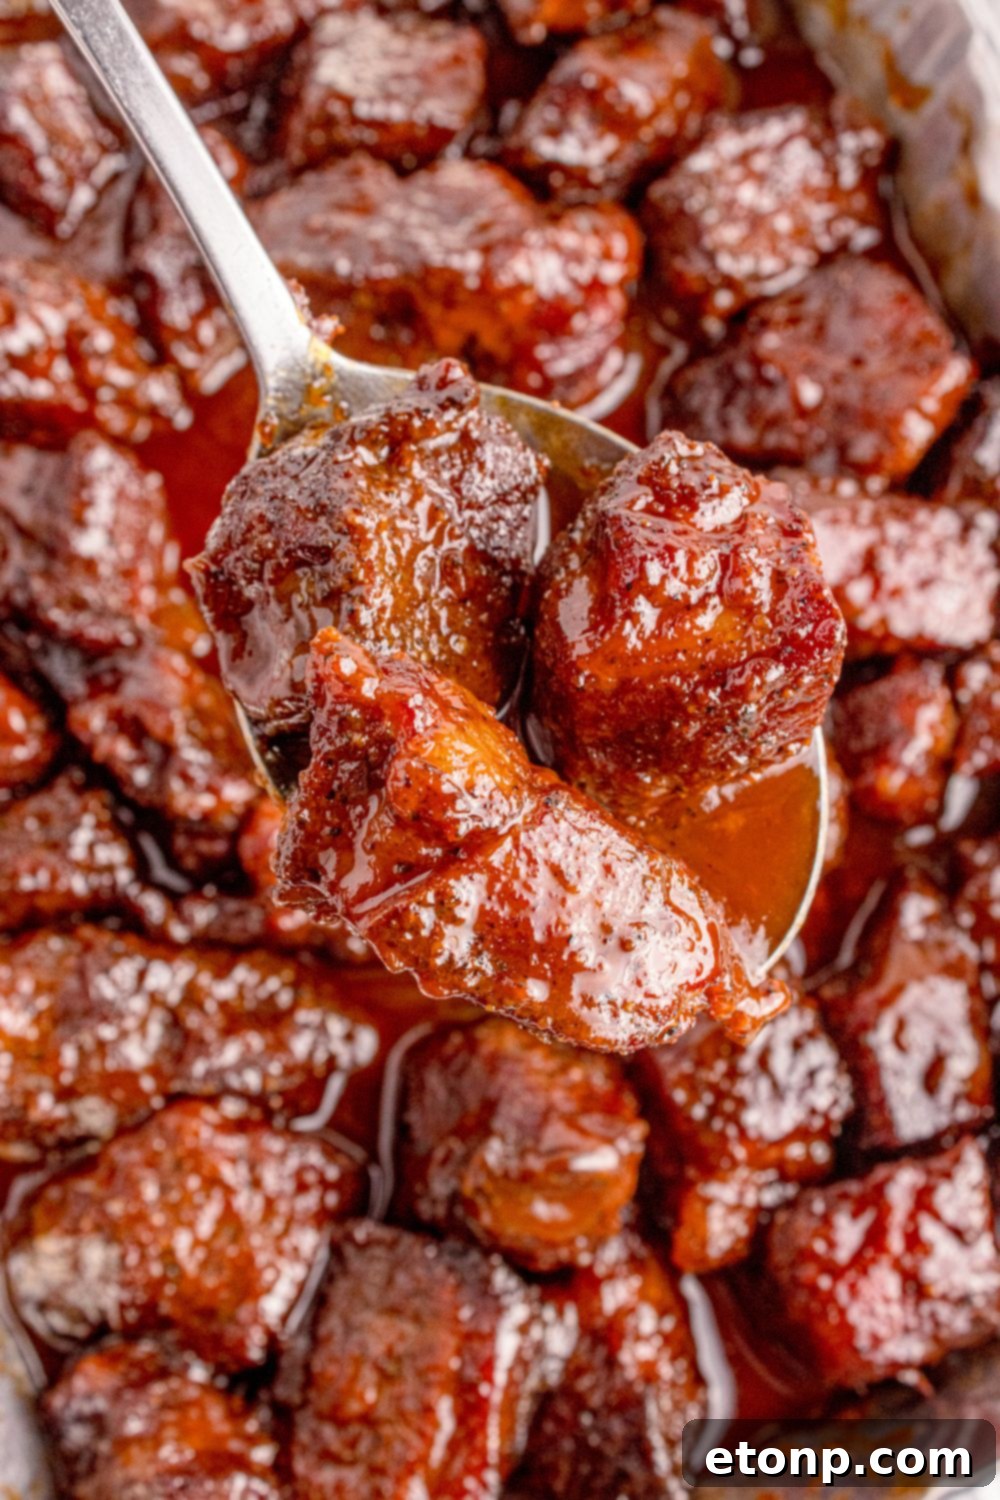
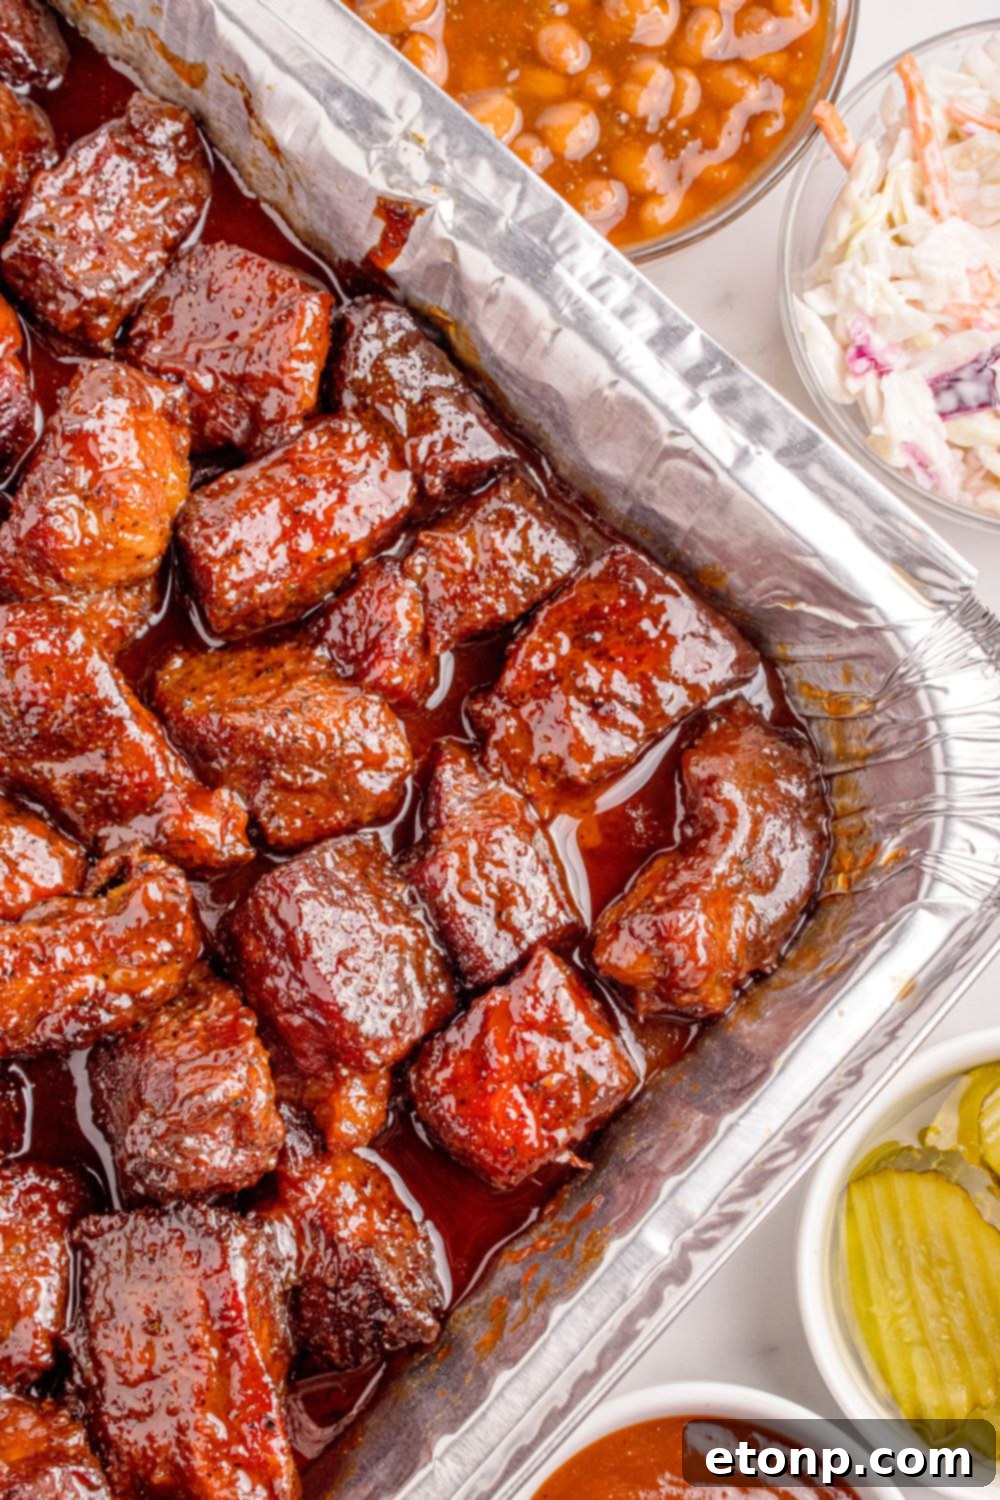
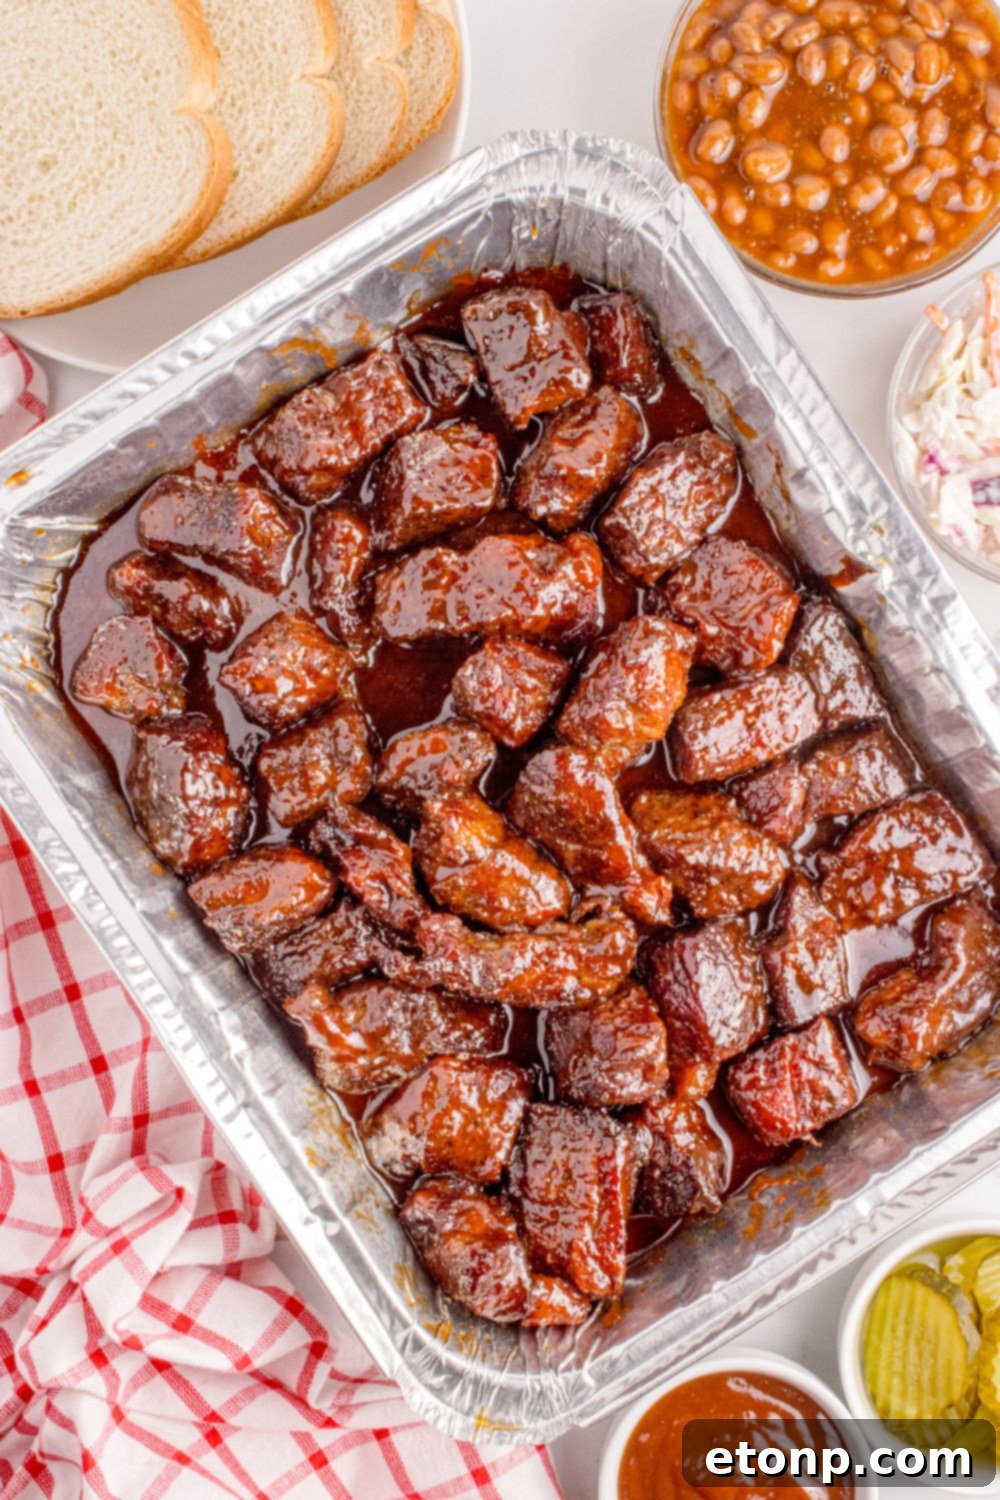
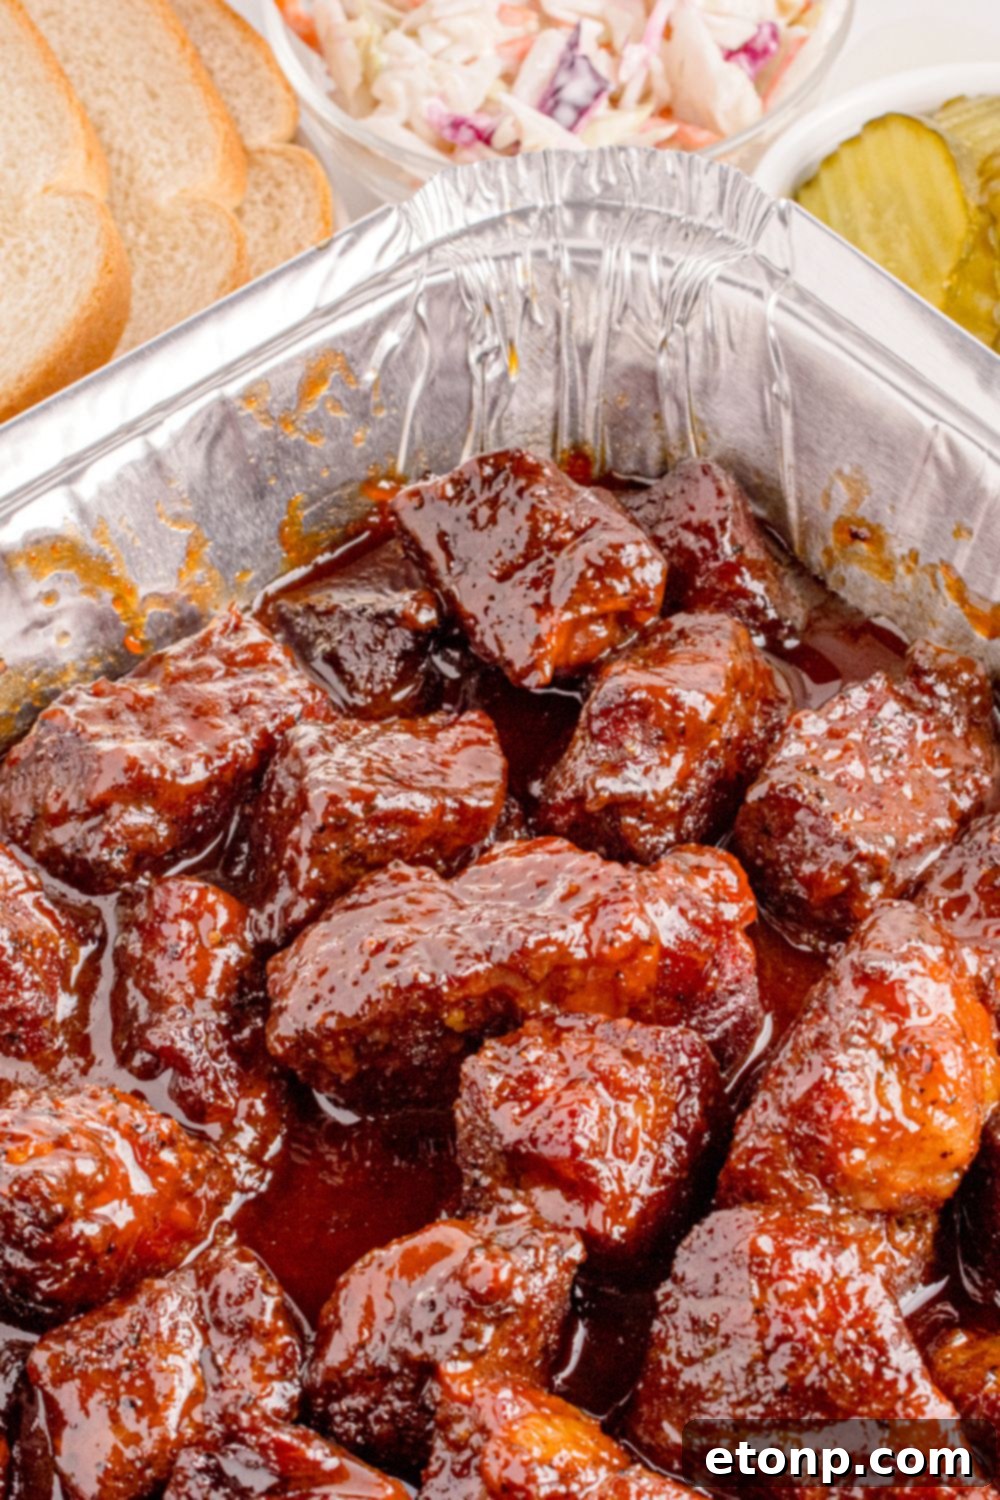
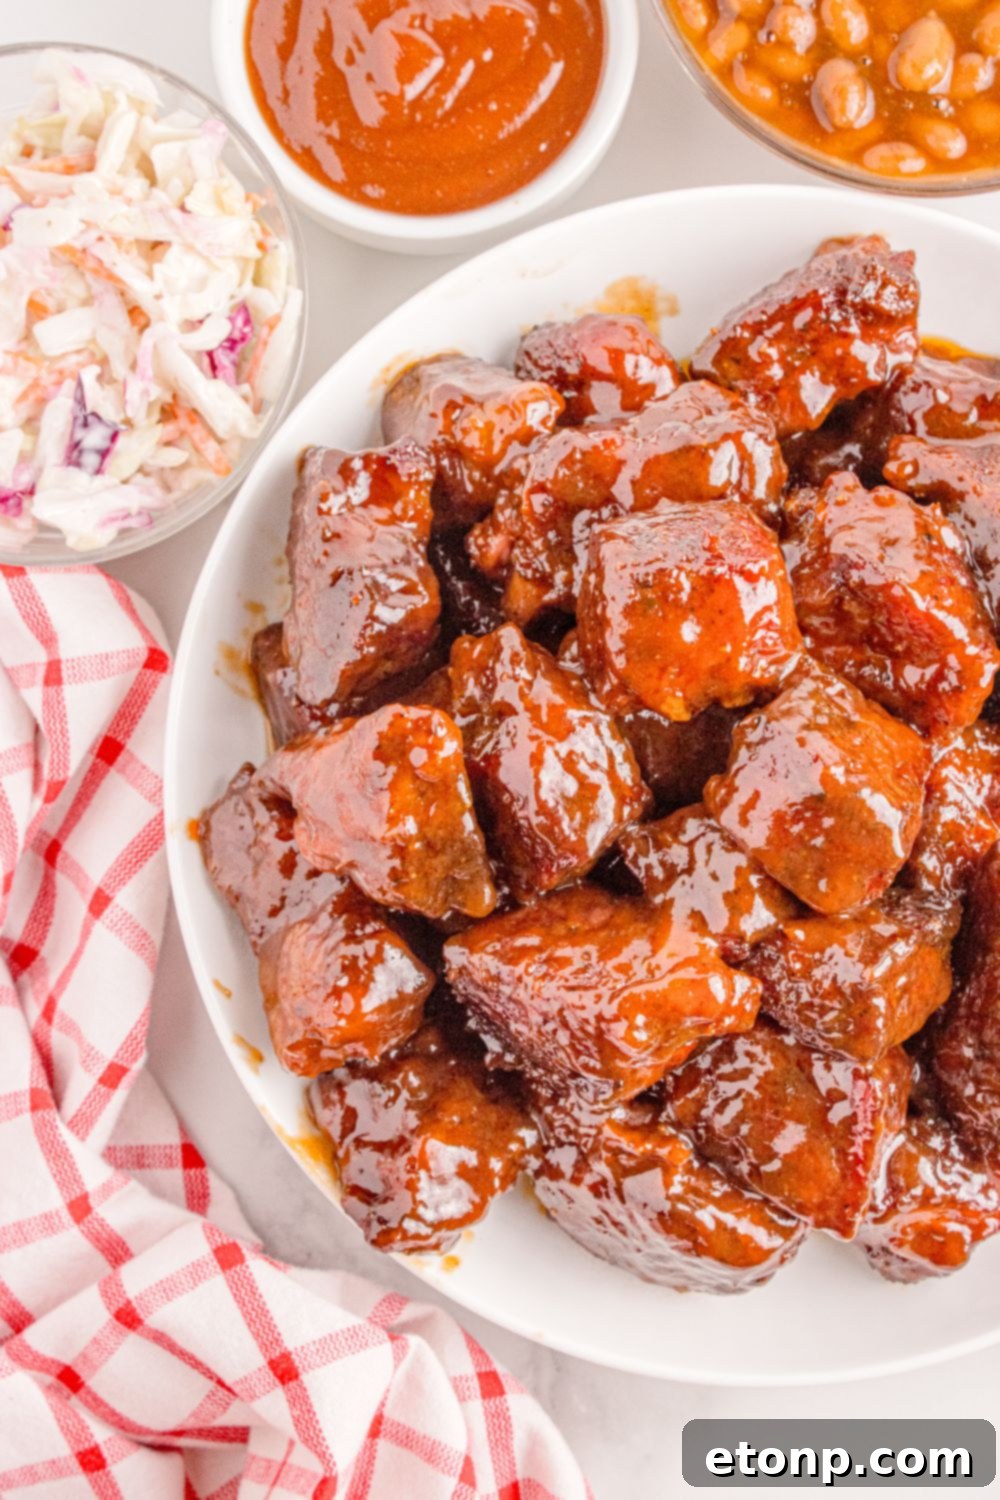
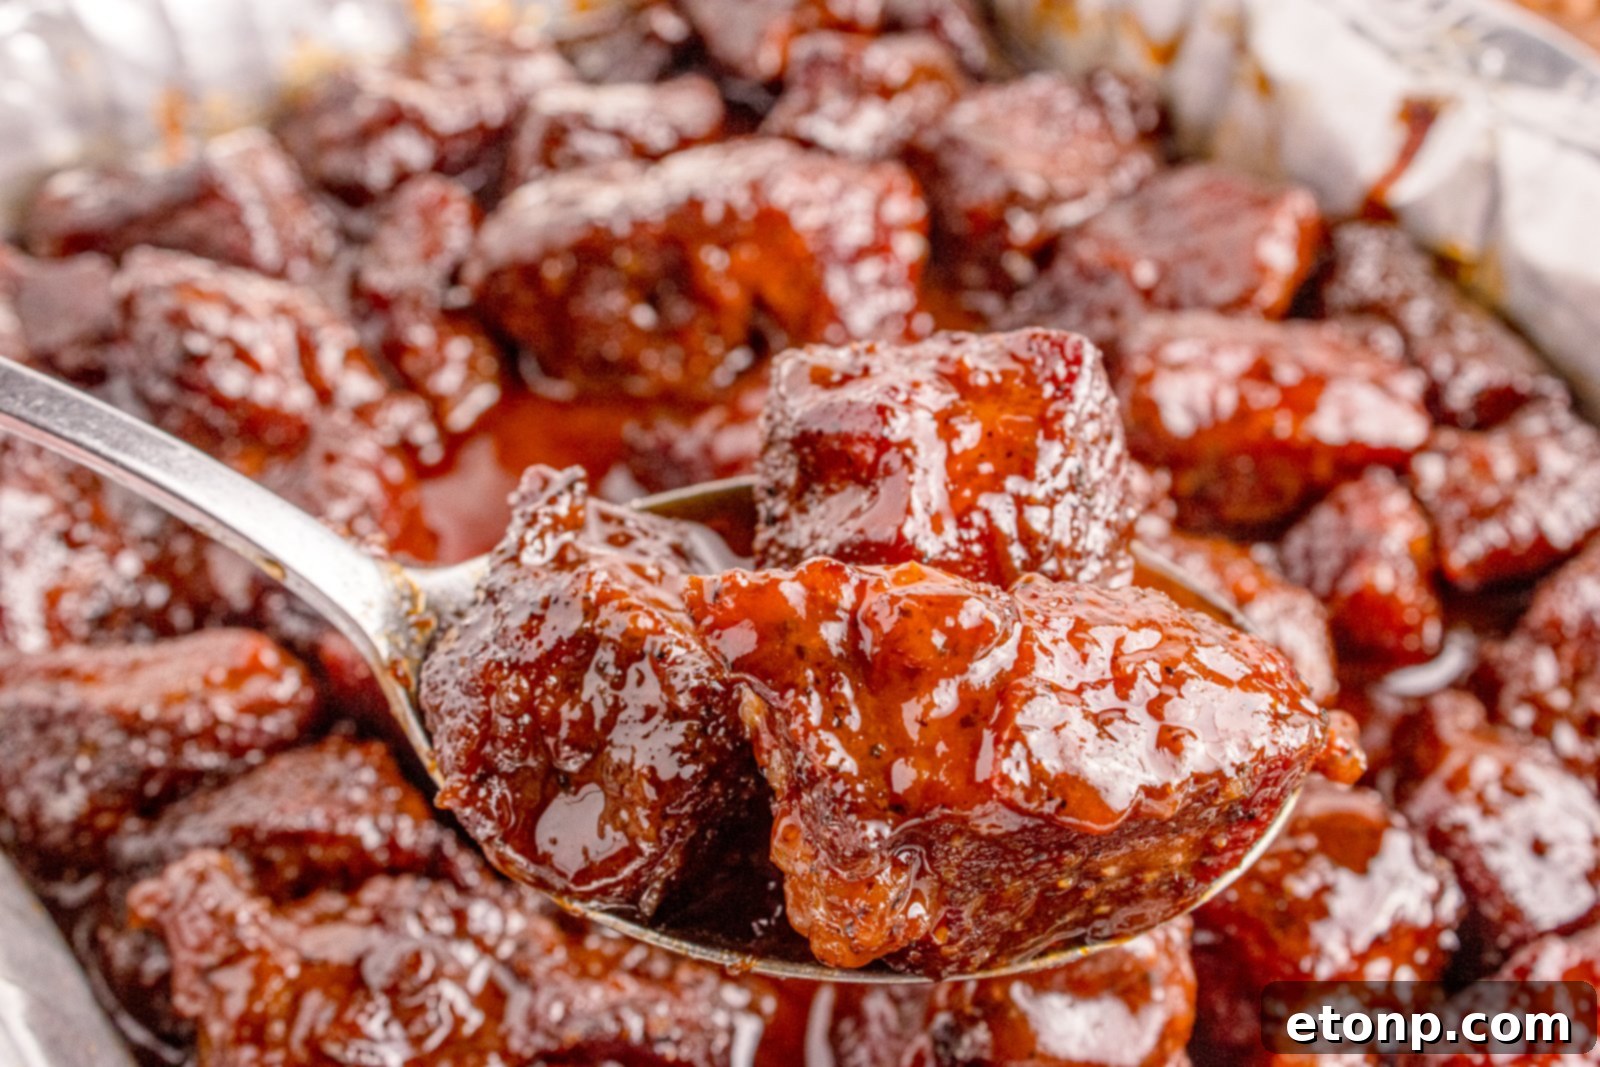
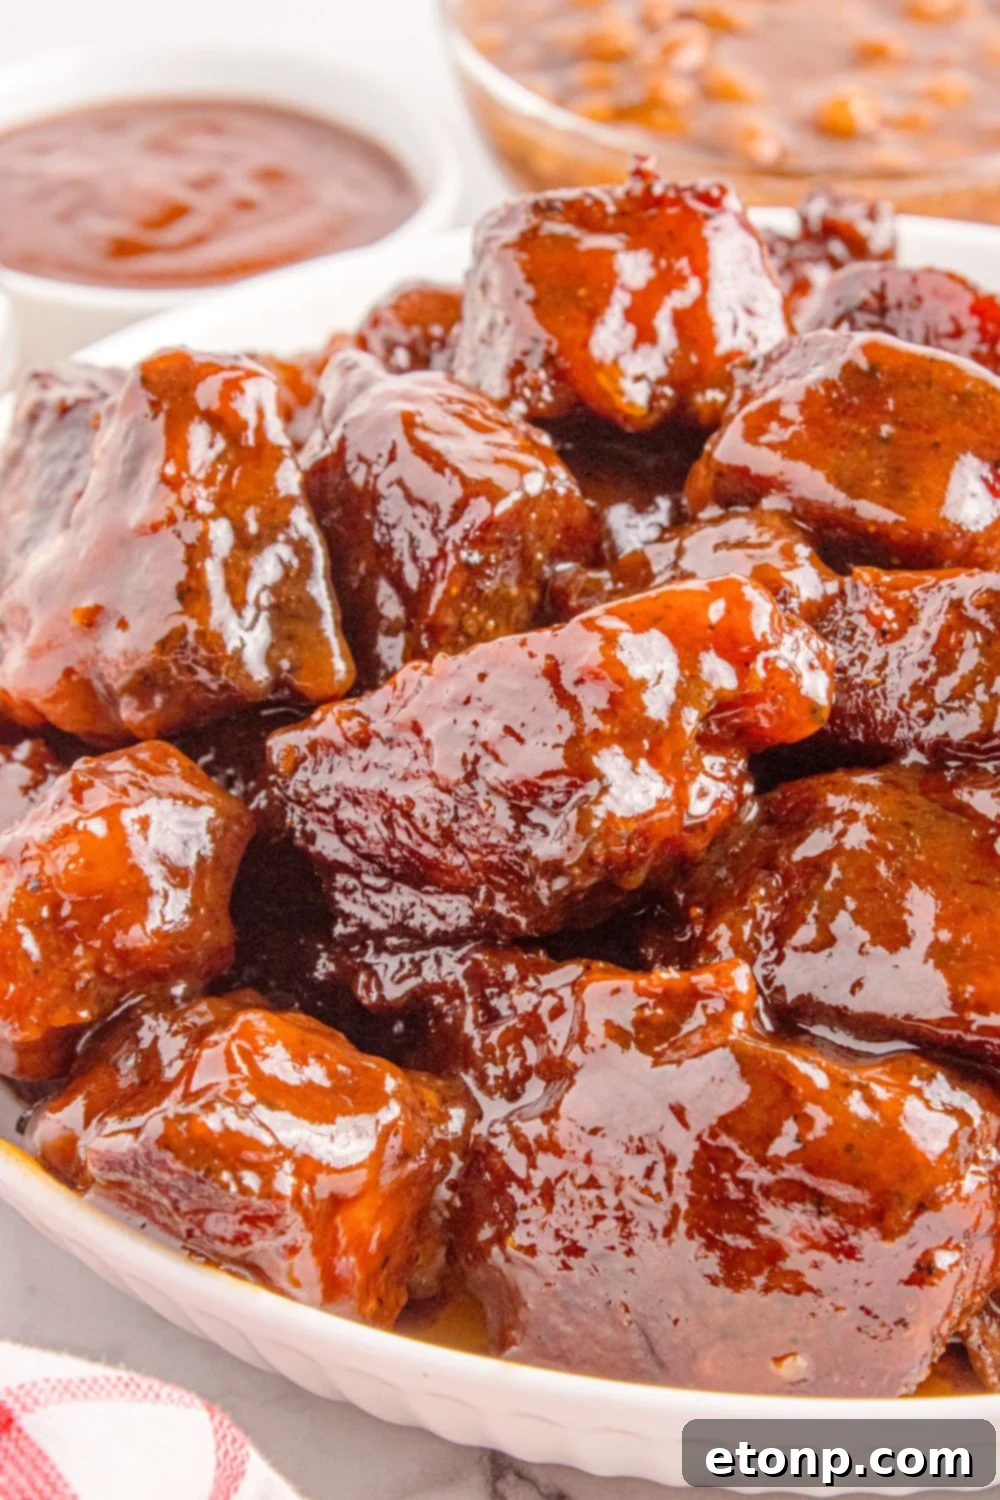
Our Chuck Roast Burnt Ends offer a brilliant and much more accessible alternative. We start with a readily available and budget-friendly 3–4 pound chuck roast, which is cut into uniform cubes. These cubes are then generously seasoned with a flavorful dry rub, smoked low and slow to develop a deep, smoky bark, and finally braised in a rich mixture of butter, honey, and your favorite BBQ sauce. The result is fall-apart tender, intensely flavorful bites that capture all the essence and irresistible texture of authentic burnt ends, without the lengthy cook time or premium cost. It’s truly a BBQ lover’s dream come true, making restaurant-quality barbecue achievable in any home kitchen or backyard setup.
When to Serve These Irresistible Smoked Chuck Roast Burnt Ends
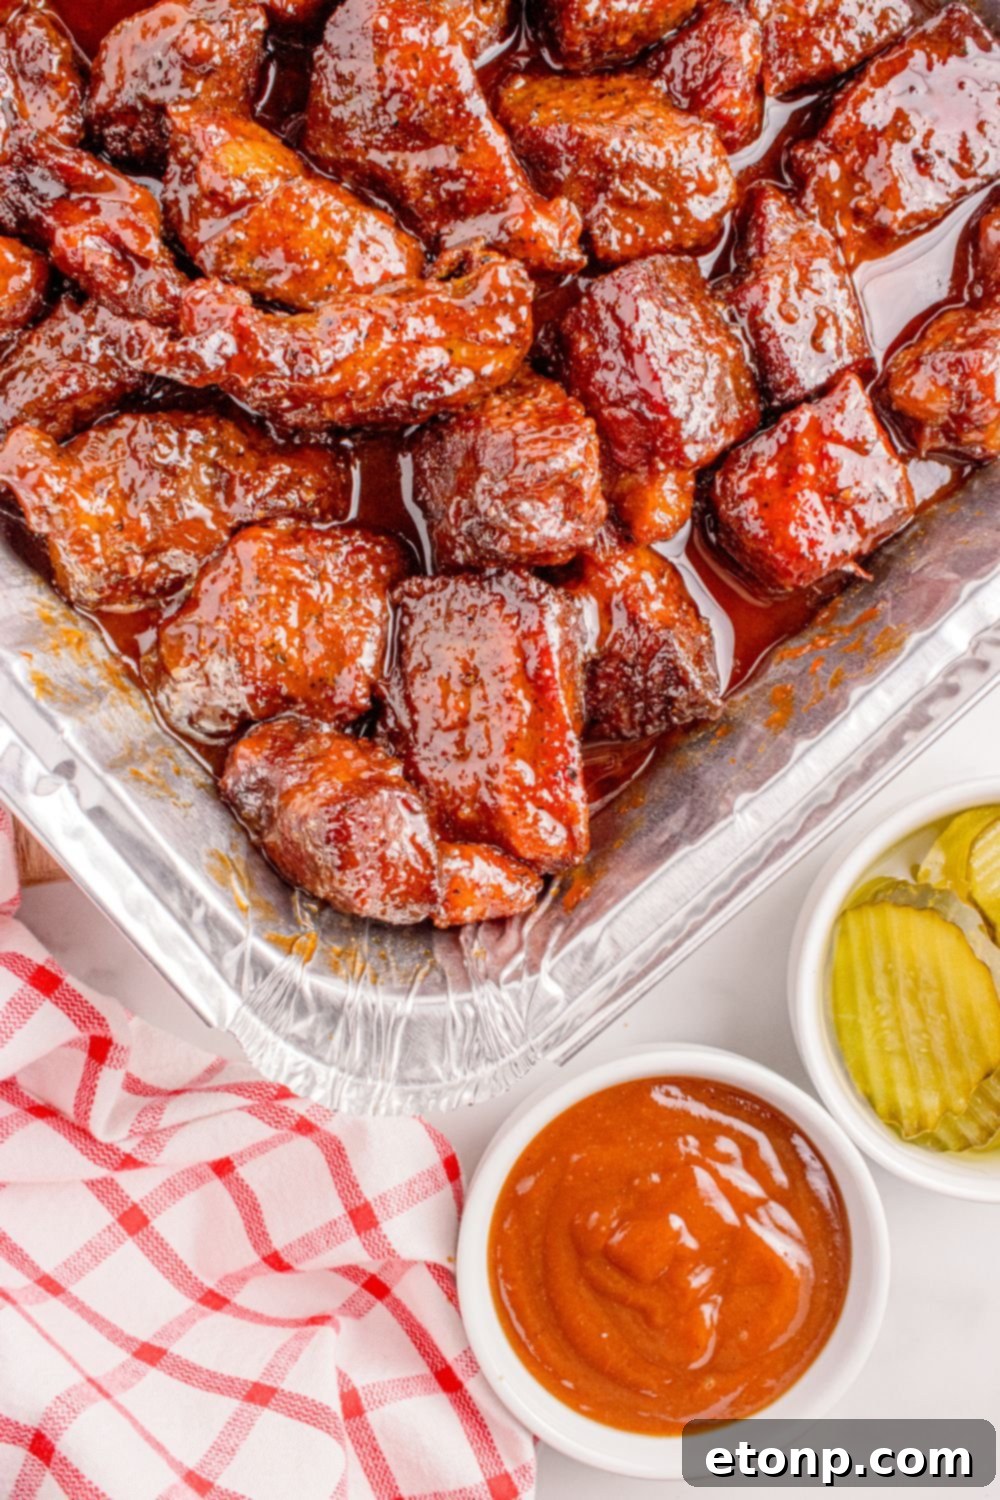
These smoked chuck roast burnt ends are incredibly versatile and perfect for almost any occasion where delicious, comforting food is desired. Their crowd-pleasing appeal and relatively straightforward preparation make them a fantastic choice for a variety of gatherings:
- Backyard BBQs or Summer Cookouts: Impress your guests with these flavorful bites that stand out from typical burgers and hot dogs.
- Game Day Parties: Serve them as an appetizer or a hearty main dish that will fuel your team’s cheering section. Their bite-sized nature makes them easy to snack on.
- Family Gatherings or Casual Weekends: When you want to elevate a simple meal or treat your loved ones to something special without a fuss.
- Any Time You Want to Wow Guests: Despite tasting gourmet, they require very little hands-on effort, allowing you to relax and enjoy your company.
- Meal Prep for the Week: Transform leftovers into delicious sandwiches, wraps, tacos, or nutritious BBQ bowls for quick and easy lunches or dinners.
Beyond appetizers, these burnt ends truly shine as a main course. Pair them with classic barbecue sides such as creamy macaroni and cheese, tangy potato salad, crisp coleslaw, or a fresh green salad for a complete and satisfying meal that will leave everyone raving.
Why You’ll Fall in Love with These Poor Man’s Burnt Ends
There are countless reasons why this chuck roast burnt ends recipe has become a staple for many barbecue enthusiasts. It’s more than just a meal; it’s an experience that consistently delivers on flavor, convenience, and satisfaction. Here’s why you’ll absolutely adore making and devouring these:
- Unforgettable Flavor Profile: Each bite is a symphony of tastes—deeply smoky from the grill, delightfully sticky from the caramelized sauce, subtly sweet from honey, and profoundly savory from the beef and spices. It’s an explosion of classic BBQ goodness.
- Remarkably Budget-Friendly: Unlike expensive cuts like brisket, chuck roast offers an economical way to enjoy premium barbecue. You get top-tier flavor without the top-tier price tag, making gourmet BBQ accessible to everyone.
- Made with Simple, Accessible Ingredients: You won’t need specialty items for this recipe. The dry rub consists of pantry staples you likely already have, and the finishing glaze uses common ingredients like butter, honey, and your favorite BBQ sauce.
- Largely Hands-Off Smoking Process: Once your seasoned chuck roast cubes are on the grill or smoker, the cooking is primarily low-maintenance. This allows you to relax, socialize, and enjoy the enticing aromas while the magic happens.
- A Guaranteed Crowd-Pleaser: From discerning adults to picky kids, everyone loves these tender, flavorful bites. Their appealing texture and rich taste make them universally adored, ensuring no leftovers.
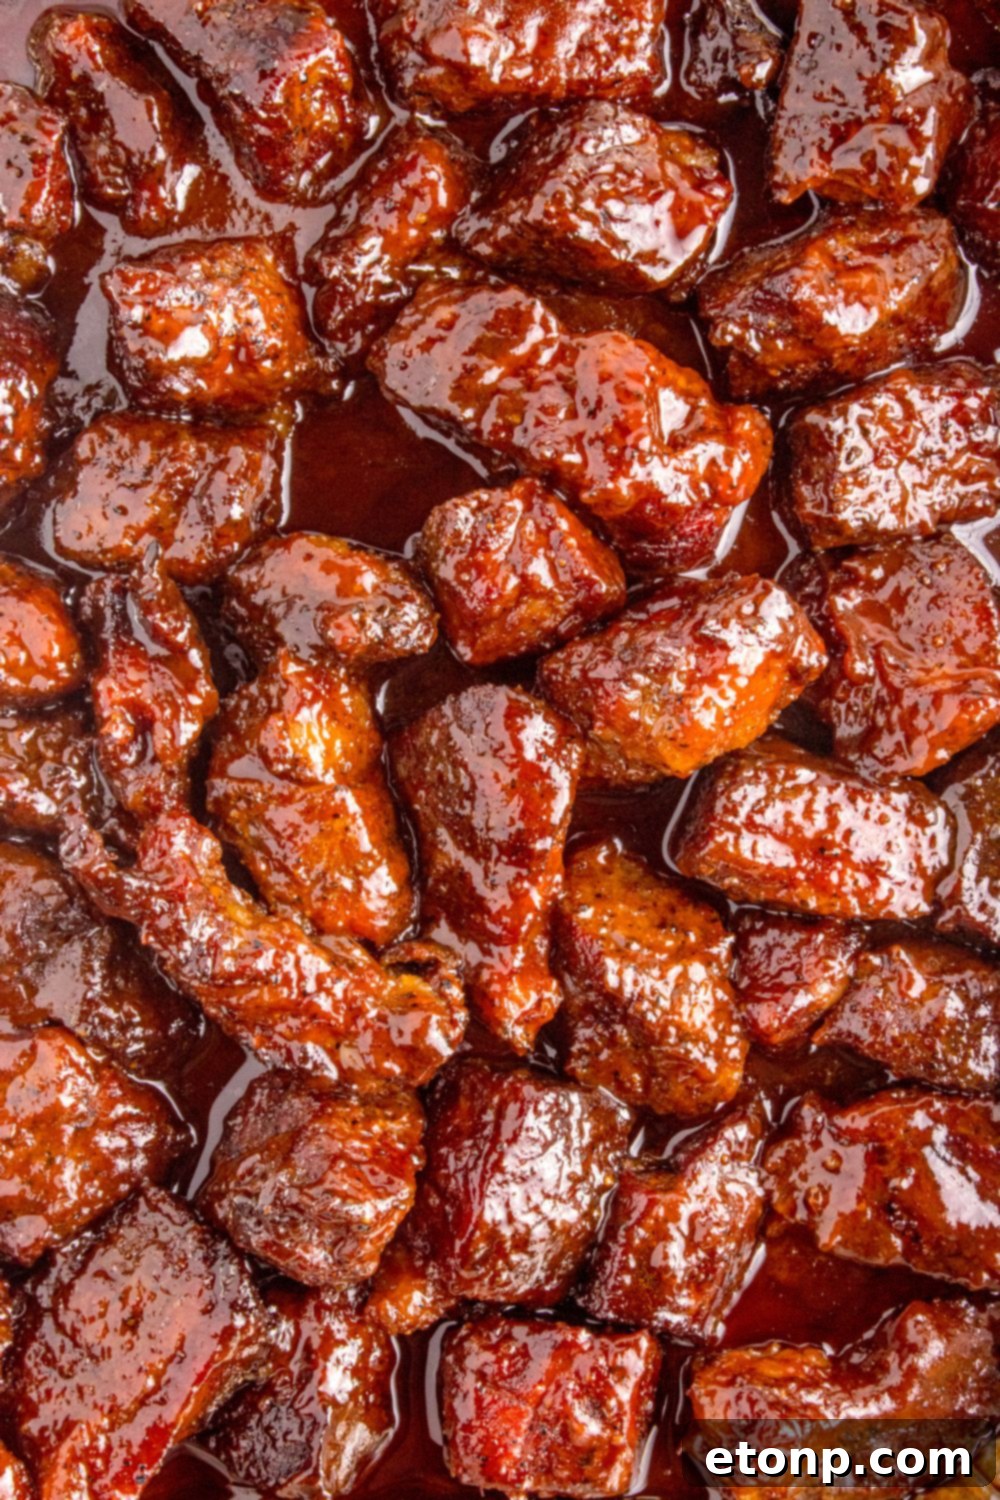
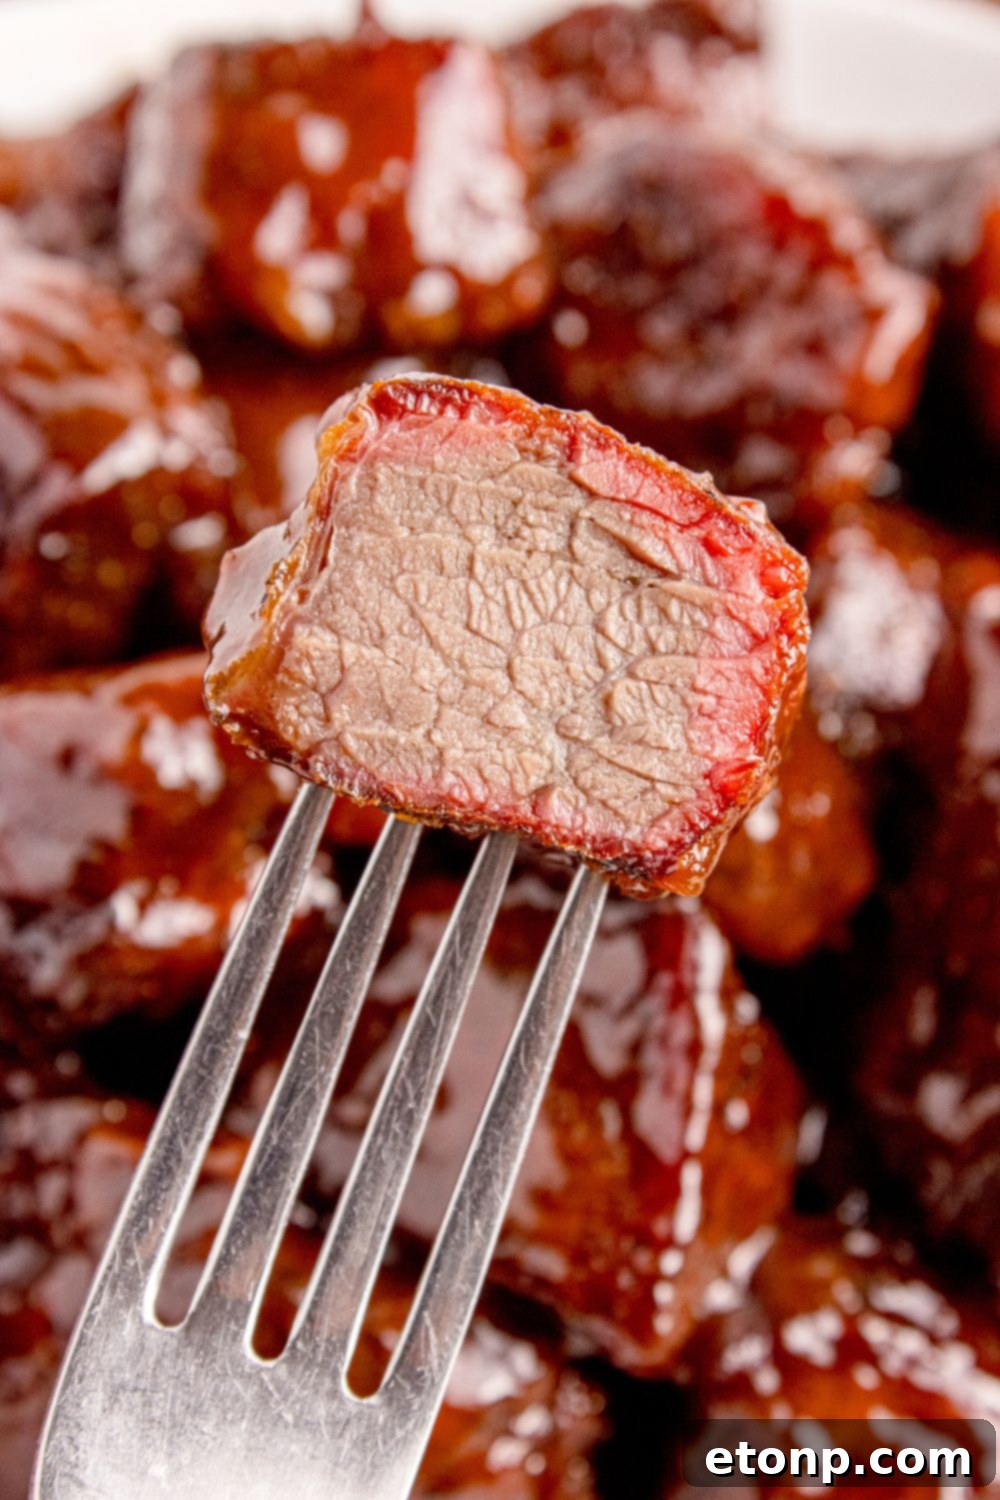
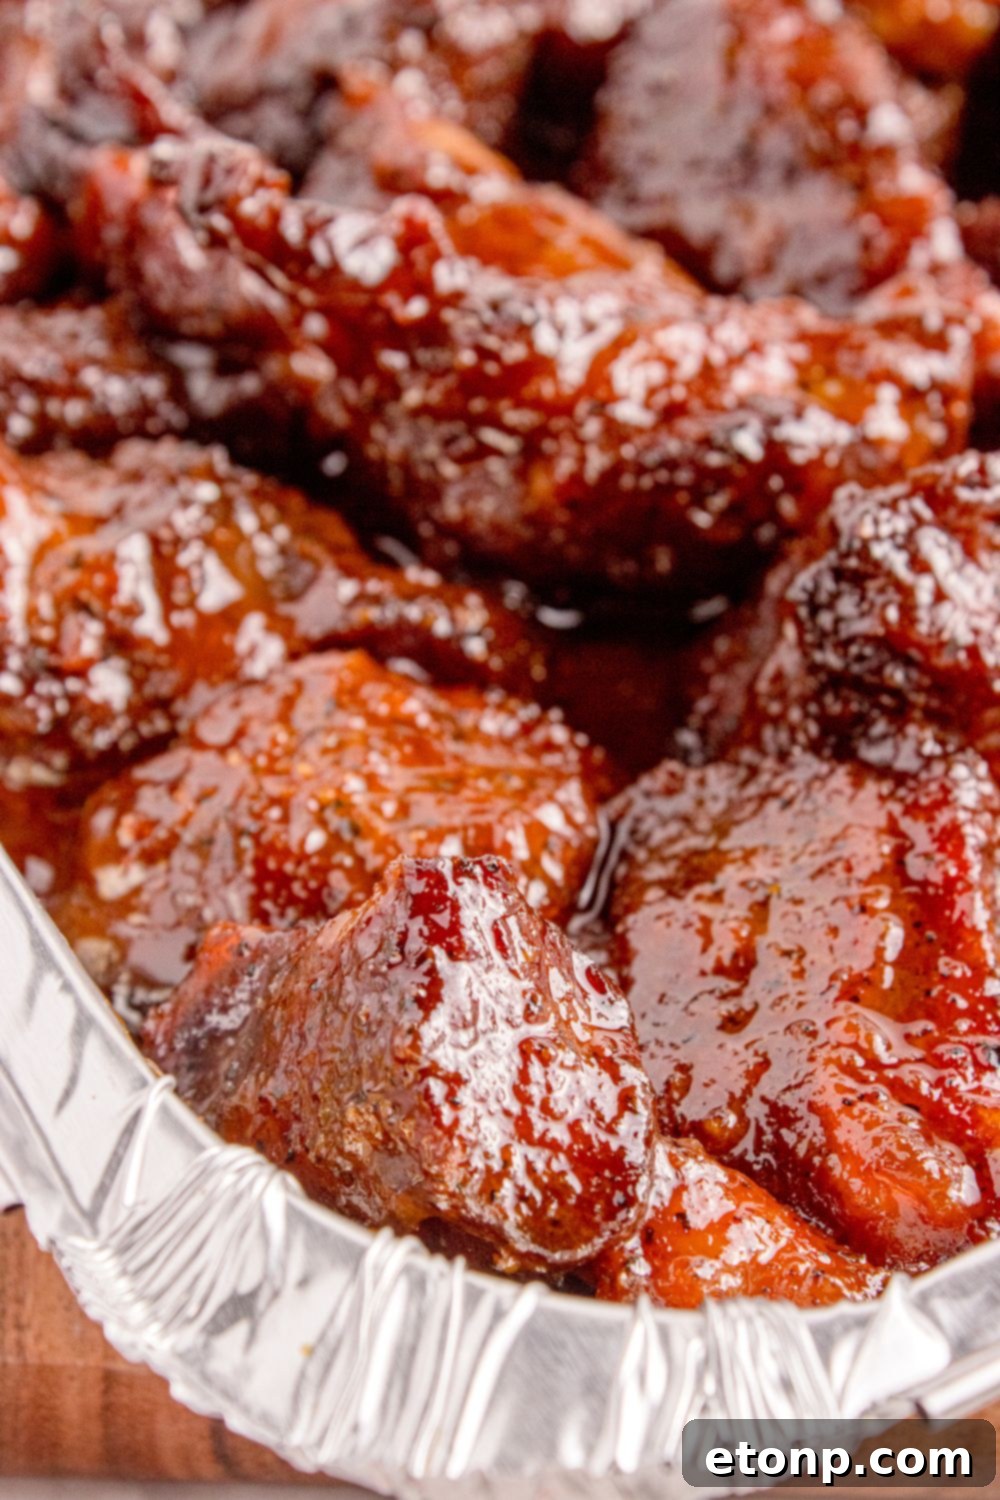
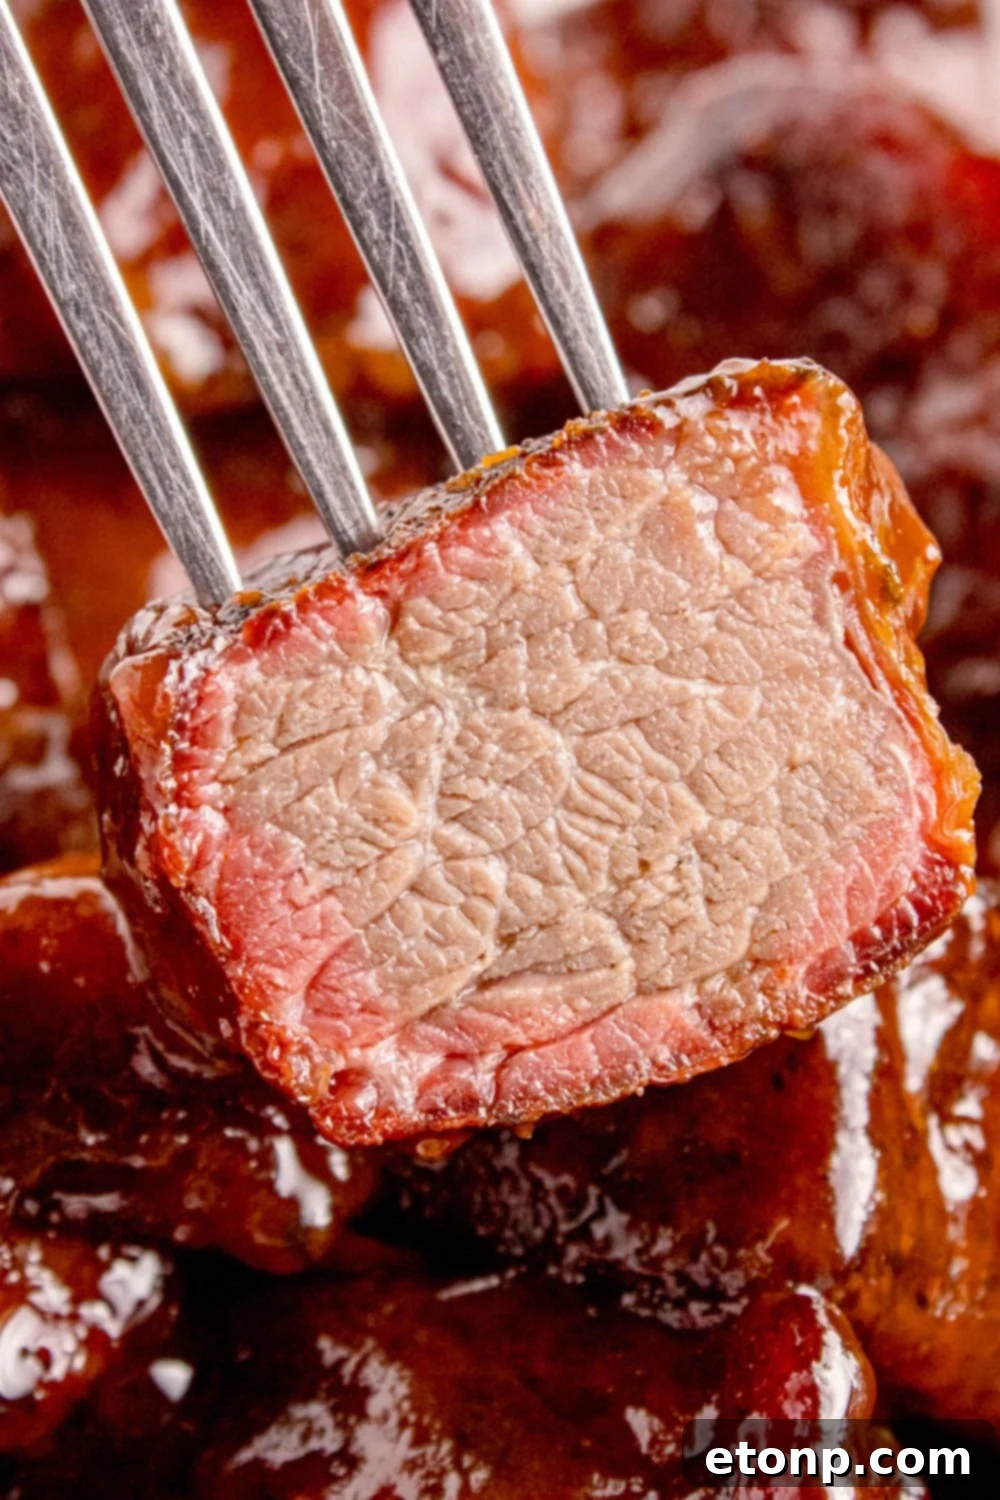
- Perfect, Contradictory Texture: Experience the best of both worlds—a beautifully rendered, crunchy “bark” on the outside, giving way to an unbelievably buttery, tender interior that practically melts in your mouth. It’s a textural dream.
Essential Ingredient Breakdown for Epic Burnt Ends
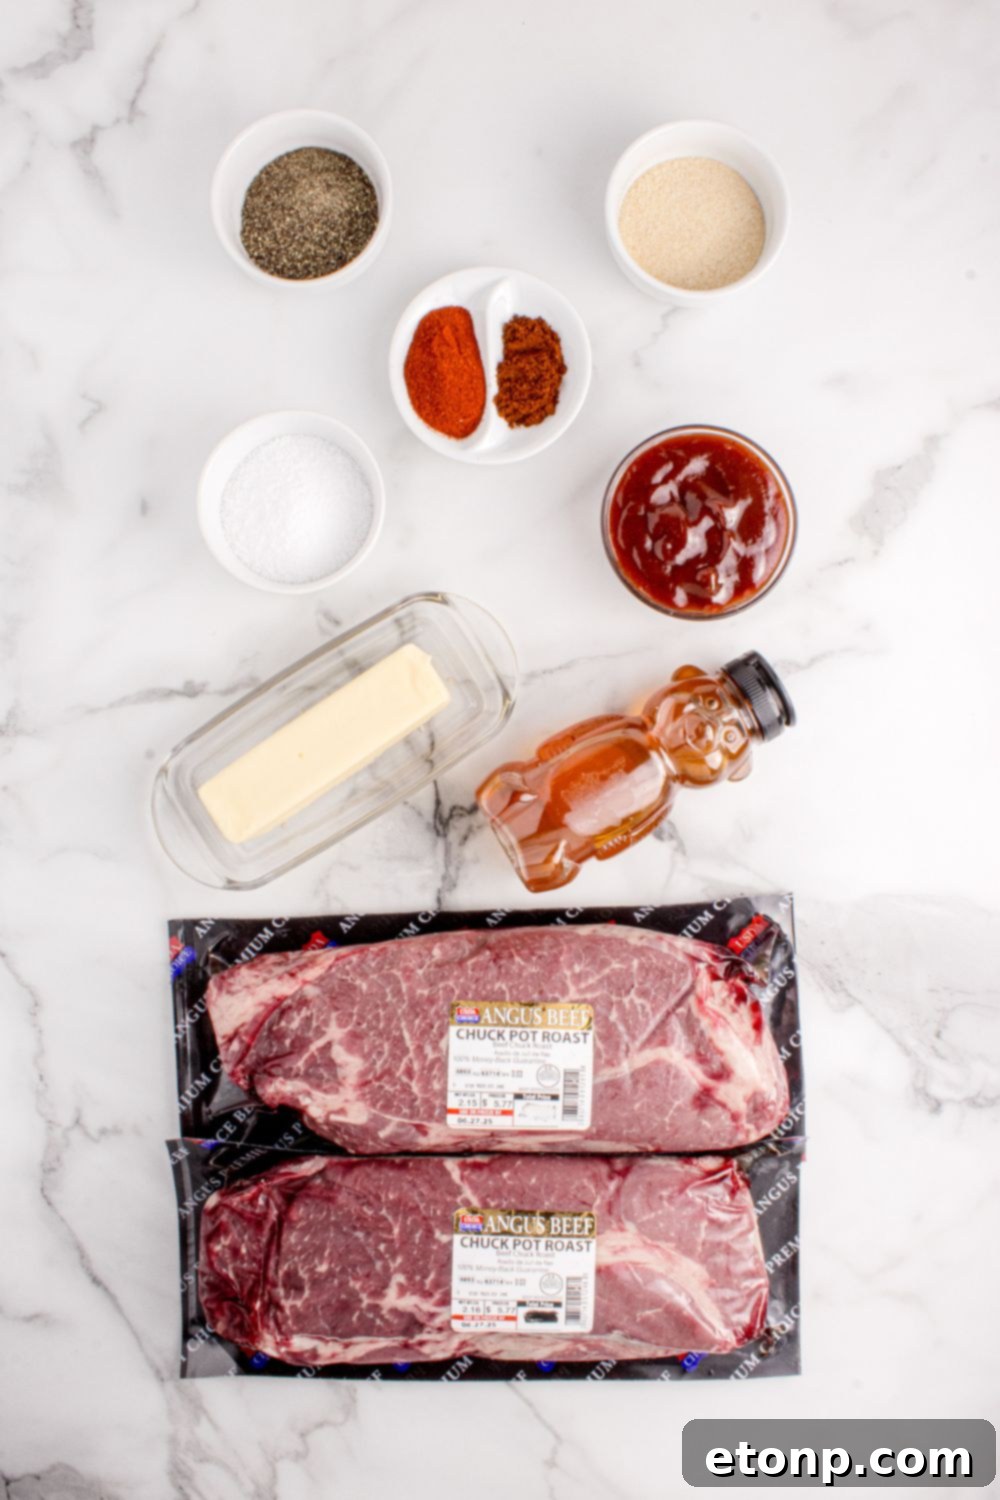
Creating truly epic Chuck Roast Burnt Ends starts with selecting the right ingredients. Each component plays a vital role in building the layers of flavor and achieving that coveted tender, sticky perfection. Here’s a closer look at what you’ll need:
For the Meat
- Chuck Roast (3–4 lbs): This is the star of our “Poor Man’s Burnt Ends.” When selecting, look for a roast with good marbling—streaks of fat running through the meat. This fat is essential as it renders during the long, slow cooking process, keeping the meat incredibly juicy and contributing immensely to the rich flavor. Cut it into uniform 1.5-inch cubes to ensure even cooking and optimal bark formation.
The Flavorful Rub
- Kosher Salt: More than just seasoning, salt helps to draw out moisture and then reabsorb it, leading to a deeper penetration of flavor and contributing to the formation of that desirable smoky crust or “bark.”
- Black Pepper: A foundational spice in any good BBQ rub, black pepper provides a classic sharp, aromatic bite that beautifully complements the richness of the beef.
- Garlic Powder: This provides a concentrated, savory, and aromatic base that deepens the overall umami flavor of the meat without being overtly garlicky.
- Smoked Paprika: Crucial for both color and depth. Smoked paprika imparts a beautiful reddish-brown hue to the bark and adds an extra layer of subtle smokiness, enhancing the barbecue experience even further.
- Chili Powder: Offers a warm, earthy undertone and a gentle hint of spice. It rounds out the rub without adding excessive heat, making the burnt ends palatable for all taste preferences.
For the Irresistible Glaze
- Unsalted Butter: During the braising stage, butter is key. It adds luxurious richness, contributes to the silky texture of the sauce, and keeps the meat incredibly moist as it finishes cooking to fork-tender perfection.
- Honey: This natural sweetener is vital for the glaze’s caramelization, creating that signature sticky, sweet, and slightly charred exterior that burnt ends are famous for. It also balances the savory and tangy notes of the BBQ sauce.
- BBQ Sauce: Your choice of BBQ sauce is where you can truly personalize this recipe. Whether you prefer a sweet and smoky Kansas City-style sauce, a tangy Carolina mustard sauce, or a spicy chipotle variety, use your favorite store-bought brand or a cherished homemade recipe to complete the flavor profile.
Mastering Your Grill: Essential Setups for Perfect Chuck Roast Burnt Ends
Achieving that ideal balance of smoky, crunchy bark and incredibly tender, juicy meat is all about controlling your heat and smoke. A two-zone fire setup is crucial for cooking Chuck Roast Burnt Ends “low and slow” and preventing them from drying out. Here’s how to set up your grill, whether you’re using charcoal or gas:
Charcoal Grill (Including Big Green Egg) Setup
Charcoal grills, especially ceramic kamado grills like the Big Green Egg, excel at maintaining steady low temperatures and imparting a rich smoky flavor. For this recipe:
- Ignite Charcoal: Start a full chimney of your preferred lump charcoal. Once the coals are fully ash-over (glowing red and covered in a light gray ash), they are ready.
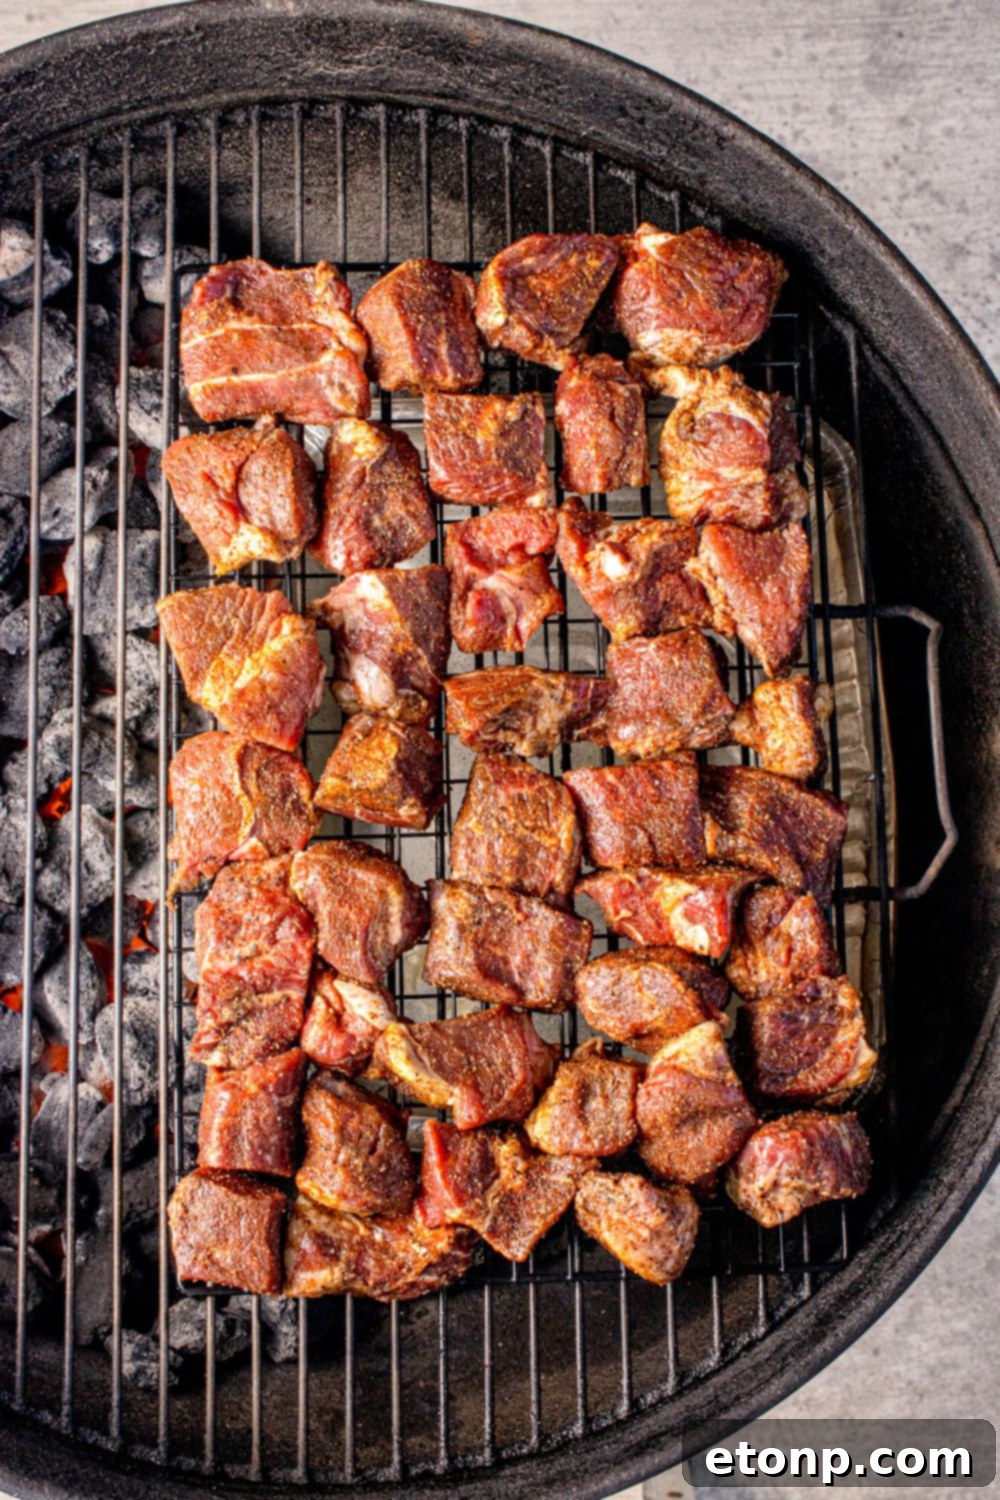
- Create Zones: Carefully dump the hot coals onto one side of your grill’s charcoal grate. This will be your “direct heat” zone. Leave the other half of the grate empty; this is your “indirect heat” or “cool zone” where the meat will primarily cook.
- Add Moisture: Place an aluminum pan filled with water on the indirect side of the grill, directly on the grate or on a lower rack if available. This water pan serves multiple purposes: it helps to stabilize the grill’s temperature, creates a moist cooking environment to prevent the chuck roast from drying out, and catches any drippings, making cleanup easier.
- Regulate Temperature: Close the grill lid and adjust your bottom and top vents to maintain a consistent temperature between 225–250°F (107–121°C). This low temperature is vital for rendering fat and connective tissue, leading to ultimate tenderness.
Gas Grill Setup for Indirect Cooking
Even without charcoal, you can achieve delicious results on a gas grill by replicating the low and slow, indirect heat environment:
- Ignite Burners: Turn on only one side of your grill’s burners (e.g., the left burners if you have two, or the outer two if you have three or more) to a medium-low setting. Leave the other burners completely off.
- Preheat: Close the lid and allow the grill to preheat to a steady 225–250°F (107–121°C). Use an accurate grill thermometer to monitor the temperature inside.
- Water Pan (Optional but Recommended): Place a foil pan filled with water on the side of the grill where the burners are off (the indirect heat zone). Similar to charcoal grilling, this helps to regulate the temperature more consistently and introduce some much-needed moisture into the cooking chamber, which is crucial for preventing the chuck roast from drying out during its long cook.
This careful setup ensures that your chuck roast cubes cook gently, absorbing maximum smoky flavor (especially with charcoal and wood chunks) while becoming incredibly tender without burning.
How to Make Chuck Roast Burnt Ends in Your Oven (No Grill? No Problem!)
Don’t have a grill or a dedicated smoker? Absolutely no problem! You can still enjoy incredibly delicious Poor Man’s Burnt Ends right in your kitchen oven. While you won’t get the same deep, authentic smoky flavor that an outdoor smoker provides, this oven method delivers perfectly tender, caramelized BBQ bites with a fantastic crust. It’s a convenient way to bring that beloved burnt ends experience indoors, regardless of the weather or your equipment.
Detailed Oven Method:
- Prepare for Roasting: Preheat your oven to a steady 275°F (135°C). Line a large baking sheet with heavy-duty aluminum foil for easy cleanup. If you have one, place a wire rack on top of the foil-lined baking sheet. This elevates the meat, allowing for better airflow and helping to form a crispier bark all around. Arrange your seasoned chuck roast cubes in a single layer on the wire rack, ensuring they are not touching to promote even cooking.
- First Bake – Developing the Bark: Bake the chuck roast cubes uncovered for approximately 2 hours. During this phase, the goal is to develop a flavorful crust or “bark” on the exterior of the meat. Monitor the internal temperature; it should reach around 160–170°F (71–77°C) by the end of this step. The cubes should look nicely browned and firm on the outside.
- Braising and Tenderizing: Carefully transfer the partially cooked cubes from the wire rack into a sturdy aluminum foil pan (or a Dutch oven if you prefer, but foil pans are great for oven-to-table). Add the unsalted butter, honey, and your chosen BBQ sauce directly into the pan with the meat. Stir gently to coat all the cubes. Cover the pan tightly with aluminum foil to trap moisture and create a braising environment.
- Second Bake – Achieving Tenderness: Return the covered foil pan to the oven and continue baking at 275°F (135°C) for another 1.5 to 2 hours. This longer, covered cooking period allows the connective tissues in the chuck roast to break down completely, making the meat incredibly tender and “probe-tender” (meaning a fork or skewer slides in with almost no resistance). The internal temperature should reach between 200–205°F (93–96°C).
- Rest and Caramelize: Once tender, remove the pan from the oven. Keep it covered with foil and let the burnt ends rest for 20–30 minutes. This crucial resting period allows the juices to redistribute throughout the meat, ensuring maximum succulence. After resting, uncover the pan. For an extra sticky and caramelized glaze, you can optionally broil the burnt ends for 5–8 minutes. Keep a very close eye on them during broiling to prevent burning, as the sugars in the BBQ sauce can caramelize quickly.
Pro Tip for Oven Smoked Flavor:
To infuse a hint of smoky goodness into your oven-cooked burnt ends, even without a smoker, incorporate smoked paprika generously into your dry rub. You can also opt for a BBQ sauce that explicitly states it has a “smoky” or “hickory” flavor. For an even more pronounced smoky note, consider adding a few drops of food-grade liquid smoke to your BBQ sauce mixture during the braising step. These small additions can make a significant difference in achieving that desired barbecue depth.
Exciting Variations & Flavor Swaps for Your Burnt Ends
While the classic Chuck Roast Burnt Ends recipe is undeniably delicious, don’t hesitate to experiment with different flavor profiles to suit your personal preferences or impress your guests with a unique twist. Here are some exciting variations and flavor swaps you can try:
- Spicier Glaze: For those who love a kick, amp up the heat in your finishing glaze. Add a pinch of cayenne pepper, a few dashes of your favorite hot sauce, or a teaspoon of chipotle powder to the BBQ sauce mixture. Chipotle powder also brings a lovely smoky heat.
- Sweeter Finish: If you prefer a richer, more molasses-like sweetness, substitute brown sugar for honey in the glaze. Brown sugar caramelizes beautifully and adds a deeper, more complex sweetness. You can also use maple syrup for a different sweet note.
- Bourbon BBQ Glaze: Elevate the sophistication of your burnt ends by adding a splash (about 1/4 cup) of good quality bourbon to the BBQ sauce mixture before braising. The alcohol will cook off, leaving behind a wonderfully bold, complex, and slightly woody flavor that pairs exceptionally well with beef.
- Mustard-Based BBQ Sauce: For a distinctive Carolina-style twist, use a tangy, vinegar-based mustard BBQ sauce instead of a traditional sweet or smoky tomato-based one. This will give your burnt ends a zesty, bright flavor that is a delicious contrast to the rich beef.
- Herb Infusion: Add a sprig of fresh rosemary or thyme to the braising liquid for an aromatic enhancement. The subtle herbal notes will infuse into the meat and complement the smoky flavors beautifully.
- Garlic Lover’s Dream: Increase the garlic powder in the rub, or add a few cloves of minced fresh garlic to the braising sauce for an extra pungent and savory kick.
Troubleshooting Tips for Perfect Burnt Ends Every Time
Even seasoned grill masters encounter a snag now and then. Don’t worry if your Chuck Roast Burnt Ends aren’t coming out exactly as planned; these troubleshooting tips will help you diagnose and fix common issues, ensuring you achieve smoky, tender perfection on your next cook.
- Dry Meat?: The most common culprit for dry burnt ends is cooking at too high a temperature. Remember, this is a “low and slow” recipe. Stick rigidly to the recommended 225–250°F (107–121°C) range for smoking. Additionally, ensure you braise the meat in the sauce until it reaches the correct internal temperature (200–205°F / 93–96°C) and is truly probe-tender. The butter and BBQ sauce during braising are crucial for moisture retention.
- Bitter Smoke Flavor?: Bitter smoke is usually a sign of “dirty” smoke, often caused by using too many wood chunks at once, or not allowing your wood to fully ignite before closing the lid. Aim for a thin, wispy blue smoke, not thick, white, acrid smoke. If using wood chunks, use just a few at a time, and ensure they are fully burning clean. Avoid adding wet wood directly to hot coals.
- Not Tender Enough?: Patience is key! If your burnt ends aren’t falling apart, they simply need more time. Chuck roast has tough connective tissues that require extended cooking to break down. Continue cooking until the internal temperature reaches 200–205°F (93–96°C), and more importantly, until a skewer or meat thermometer slides into the meat with almost no resistance (probe-tender). Temperature is a guide, but tenderness is the true indicator.
- Glaze Too Thin or Runny?: If your finishing glaze isn’t as sticky and caramelized as you’d like, it’s an easy fix. After the meat is tender and has rested, remove the foil from the pan. Return the uncovered pan to the grill or oven for an additional 10–15 minutes. This allows some of the excess liquid to evaporate and the sugars in the BBQ sauce to further caramelize and thicken, creating that perfect sticky coating. Watch carefully to prevent burning.
- No Bark Developed?: The “bark” forms during the initial smoking phase. Ensure your cubes are seasoned well and spaced out on the grill grates or rack for good airflow. If the initial temperature was too low or the air too humid, it might hinder bark development. A good bark is a sign of proper smoke penetration and moisture evaporation.
Storage, Reheating, and Make-Ahead Tips for Burnt Ends
These Chuck Roast Burnt Ends are so delicious, you might not have any leftovers! But if you do, or if you’re planning to make them ahead, proper storage and reheating are key to preserving their incredible flavor and tender texture.
Storage Guidelines:
- Refrigerator: Allow any leftover burnt ends to cool completely to room temperature. Transfer them to an airtight container and store them in the refrigerator for up to 4 days. The sauce helps keep them moist.
- Freezer: For longer storage, you can freeze your burnt ends. Once cooled, place them in freezer-safe airtight bags or containers, removing as much air as possible to prevent freezer burn. They will keep well in the freezer for 2–3 months. Thaw overnight in the refrigerator before reheating.
Reheating for Optimal Flavor:
- Oven (Recommended for best results): Preheat your oven to 300°F (150°C). Place the burnt ends in an oven-safe dish with a splash of extra BBQ sauce or beef broth to prevent drying. Cover the dish tightly with foil and heat for 15–20 minutes, or until warmed through and tender.
- Microwave (Quickest method): Place a single serving of burnt ends in a microwave-safe dish. Add a tablespoon of water or extra BBQ sauce and cover with a damp paper towel. Microwave on medium power for 1–2 minutes, stirring halfway, until heated through. Be careful not to overheat, as this can make the meat tough.
- Skillet (For a slightly crisped texture): Heat a skillet over medium heat with a tablespoon of oil or butter. Add the burnt ends along with a splash of broth or BBQ sauce. Stir gently and heat until warmed through, allowing the sauce to caramelize slightly around the edges for added texture.
Make-Ahead and Freezing Tips:
- Make-Ahead: If you’re hosting a party, you can smoke and cube the meat a day in advance. Store the smoked cubes (without the finishing glaze) in the refrigerator. On the day of your event, simply transfer them to a foil pan, add the butter, honey, and BBQ sauce, cover, and braise on the grill or in the oven as per the recipe instructions. This significantly reduces active prep time on the day of serving.
- Best Freezing Results: For optimal texture upon reheating, it’s often best to freeze the smoked chuck roast cubes *before* adding the final glaze. This allows you to add fresh sauce when reheating. However, fully sauced leftovers can also be frozen successfully. Just ensure they are properly sealed to maintain quality. Thaw overnight in the fridge and reheat low and slow.
Budget Breakdown: Enjoying Premium BBQ on a Shoestring
One of the most compelling aspects of making Chuck Roast Burnt Ends is their incredible affordability compared to traditional brisket burnt ends. You get all the rich, smoky flavor and tender texture without the premium price tag. Here’s a realistic cost estimate based on average U.S. grocery prices, demonstrating just how budget-friendly this delicious recipe can be:
| Ingredient | Estimated Cost |
|---|---|
| 3–4 lb Chuck Roast | $15.00–$20.00 |
| Kosher Salt, Black Pepper, Garlic Powder, Smoked Paprika, Chili Powder (pantry staples) | ~$1.50 |
| Unsalted Butter (5 Tbsp) | $0.75 |
| Honey (¼ cup) | $0.90 |
| BBQ Sauce (½ to ¾ cup) | $1.50 |
| Charcoal or Propane (for grilling) | ~$3.00 (approx.) |
Estimated Total Recipe Cost: $22.65 – $27.65
Cost Per Serving (for 6–8 generous servings): ~$2.83 – $4.61
As you can see, this recipe offers exceptional value. For less than the cost of a single restaurant portion of brisket burnt ends, you can prepare a generous quantity that feeds a crowd. It’s a smart choice for delicious, high-quality barbecue that respects your budget.
Frequently Asked Questions (FAQ) About Chuck Roast Burnt Ends
Here are answers to some of the most common questions about making these delicious and economical Poor Man’s Burnt Ends:
What exactly are burnt ends?
Burnt ends are highly sought-after, flavorful, and incredibly smoky chunks of meat that were traditionally made from the fattier “point” end of a smoked beef brisket. They are distinguished by their deeply flavorful, bark-like crust, and a sticky, caramelized BBQ glaze. In this recipe, we’re creating a more accessible and equally delicious version using chuck roast, which is why they are affectionately known as Poor Man’s Burnt Ends.
Why is chuck roast a good substitute for traditional brisket burnt ends?
Chuck roast is an exceptional and highly recommended alternative to brisket for burnt ends due to several key reasons: it’s far easier to find in most grocery stores, significantly more affordable, and inherently packed with robust beefy flavor. Crucially, it contains a perfect balance of meat and connective tissue that, when cooked low and slow, breaks down beautifully to yield incredibly tender, juicy, and flavorful meat that brilliantly mimics the texture and richness of traditional brisket burnt ends.
Can I prepare this recipe on a gas grill?
Absolutely! Preparing Chuck Roast Burnt Ends on a gas grill is entirely feasible. The key is to create an indirect heat zone. To do this, simply turn on only one side of your grill’s burners (e.g., set to medium-low) and leave the other side off. Preheat the grill to maintain a stable temperature between 225–250°F (107–121°C). For added moisture and temperature stability, place an aluminum pan filled with water on the cooler, unlit side of the grill. This setup effectively simulates the low-and-slow smoking environment needed.
What is the ideal internal temperature for tender burnt ends?
For achieving truly tender, fall-apart Chuck Roast Burnt Ends, you should aim for a final internal temperature between 200–205°F (93–96°C) after the braising stage. It’s important to use a reliable meat thermometer to monitor this. However, beyond temperature, the ultimate indicator of doneness is “probe tenderness”—when a skewer or the thermometer probe slides into a cube of meat with very little resistance, it’s ready. This signifies that the connective tissues have fully broken down.
Can I make these burnt ends in advance for a party?
Yes, this recipe is perfect for making ahead! You can smoke and cube the chuck roast a day or even two in advance. Once the initial smoking phase is complete and the meat is cubed, let it cool and then store it in an airtight container in the refrigerator. When you’re ready to serve, simply transfer the smoked cubes to a foil pan, add the butter, honey, and BBQ sauce, then cover and reheat in the oven or on the grill until thoroughly warmed through and tender. Finish uncovered for the last few minutes to achieve that desirable sticky, caramelized glaze.
Are these burnt ends suitable for a low-carb or Keto diet?
Absolutely! This recipe for Chuck Roast Burnt Ends can be easily adapted to be naturally low in carbohydrates, making it a fantastic option for those following Keto or other low-carb eating plans. To make it low-carb, simply ensure you use a sugar-free BBQ sauce (many excellent options are available) and replace the honey with a keto-friendly liquid sweetener such as monk fruit syrup or erythritol-based syrup. Even without these modifications, the dish is inherently protein-rich and satisfying, making it a great meaty main without relying on starches.
Could I use a different cut of meat for burnt ends?
While chuck roast is undoubtedly the ideal and most recommended substitute for brisket point when making “poor man’s” style burnt ends, you can certainly experiment with other cuts, though results may vary. Some options to consider include:
- Brisket Flat: This is the leaner part of the brisket. While it can work, it has less fat marbling than the point or chuck roast, so it might be slightly less moist unless carefully managed.
- Pork Shoulder (Boston Butt): This is an excellent choice if you’re looking to make “pork burnt ends” – a delicious variation with a similar cooking methodology, yielding incredibly tender and flavorful results.
- Beef Short Ribs: For a more luxurious and richer twist, beef short ribs can be transformed into burnt ends. However, they are typically a costlier cut and may require adjustments to cooking times due to their bone structure and different fat content.
Always be prepared to adjust your cooking times and temperatures accordingly when substituting meat cuts, as fat content and muscle structure will impact the final tenderness and juiciness.
How should I store leftovers?
To best preserve the quality and flavor of your leftover Chuck Roast Burnt Ends, allow them to cool completely to room temperature first. Then, transfer them to an airtight container and store them in the refrigerator for up to 3–4 days. For longer-term storage, they freeze exceptionally well. Place the cooled burnt ends in a freezer-safe zip-top bag or an airtight container for up to 3 months. When ready to enjoy, thaw them overnight in the refrigerator and gently reheat in the oven or a skillet with a splash of extra BBQ sauce or beef broth to restore moisture.
Do I specifically need a smoker or Big Green Egg to make these?
Not at all! While dedicated smokers like a Big Green Egg or other charcoal smokers will indeed deliver the richest, most authentic smoky flavor and are highly recommended for the best results, you don’t *need* one. This recipe can be successfully made on any type of grill (gas or charcoal) as long as you can consistently maintain indirect heat and a low temperature of 225–250°F (107–121°C). The key is the low-and-slow cooking method. If you do have a charcoal grill, adding a few wood chunks (like hickory or oak) to your coals will significantly enhance the smoky depth of flavor.
Lightened-Up Version Breakdown: Enjoying Burnt Ends Guilt-Free
Craving the incredible flavor of Chuck Roast Burnt Ends but looking for a slightly healthier, lighter option? It’s entirely possible to enjoy these smoky, tender bites without sacrificing taste. Here’s how you can modify the recipe for a lighter take:
- Choose Leaner Meat: When selecting your chuck roast, opt for a leaner cut and meticulously trim any excess visible fat before cutting it into cubes. While some fat is desirable for tenderness, trimming can reduce overall fat content.
- Reduce Butter, Opt for Lower-Sugar Sauce: Significantly cut down on the amount of butter used in the braising step, or even omit it if you prefer. Butter primarily adds richness and moisture, which can be partially achieved through the braising liquid. Crucially, choose a BBQ sauce that is explicitly labeled as “low-sugar,” “sugar-free,” or “keto-friendly.” Many brands offer delicious options with reduced sugar content.
- Sugar-Free Honey Substitute: Instead of traditional honey, use a sugar-free alternative like monk fruit syrup or a low-carb maple-flavored syrup. These substitutes provide the necessary sweetness and caramelization properties without the added sugars and carbohydrates.
By implementing these simple adjustments, your lightened-up Chuck Roast Burnt Ends will still be wonderfully rich, smoky, and satisfying, proving that healthy eating doesn’t mean compromising on flavor.
Beginner Mistakes to Avoid for Perfect Chuck Roast Burnt Ends
Even though this recipe is known as “Poor Man’s Burnt Ends” for its accessibility, avoiding common pitfalls will ensure your first attempt is a resounding success. Pay attention to these details to achieve perfect, tender, and flavorful results:
- Uneven Cubes: This is a critical step often overlooked. If your chuck roast cubes are not roughly the same size (aim for 1.5-inch), they will cook at different rates. Smaller pieces will dry out and become tough, while larger pieces might remain undercooked. Uniformity is key for even tenderness and bark development.
- Cooking Too Hot or Too Fast: This is perhaps the biggest mistake. Burnt ends thrive on “low and slow” cooking. If your grill or oven temperature is too high (above 250°F / 121°C for the initial smoke), the meat will quickly dry out, become tough, and the fat won’t render properly. Patience is a virtue here.
- Skipping the Rest Period: After the braising stage, resist the urge to immediately dig in. Letting the meat rest, still covered, for 20–30 minutes allows the internal juices to redistribute throughout the cubes. This crucial step ensures maximum succulence and tenderness. Skipping it can result in drier meat.
- Using Cold Meat Straight from the Fridge: Before seasoning and placing your chuck roast on the grill, allow it to sit at room temperature for 20–30 minutes. This helps the meat cook more evenly and prevents the exterior from drying out while the interior catches up.
- Over-smoking with Too Much Wood: While smoke is vital, too much wood, or wood that’s producing thick, white, acrid smoke, can impart a bitter flavor to your meat. Aim for a thin, wispy blue smoke. Use just a few chunks of wood at a time, and ensure they are properly combusting.
- Not Checking for Tenderness (Relying Only on Temperature): While target temperatures (like 200-205°F) are excellent guides, the ultimate test for burnt ends is tenderness. The meat should be “probe-tender,” meaning a skewer or thermometer probe slides in with almost no resistance, like pushing into softened butter. If it feels tough, keep cooking!
Meal Prep & Leftover Ideas: Endless Versatility
The beauty of these easy burnt ends lies not only in their incredible flavor but also in their fantastic versatility. Whether you’re planning meals for the week or looking for creative ways to enjoy delicious leftovers, these tender, smoky bites are an excellent foundation:
- Serve Over Creamy Bases: Pile them high over fluffy mashed potatoes, creamy polenta, or rich cheesy grits for a comforting and hearty meal. The luscious sauce blends perfectly with these bases.
- Hearty Breakfast Hash: Chop up any smaller leftover pieces and mix them into a breakfast hash with roasted potatoes, bell peppers, and onions. Top with a fried egg for an ultimate brunch experience.
- Smoky Protein Boost for Salads: Add a delicious smoky protein punch to your lunch. Toss cooled burnt ends into a fresh green salad with your favorite dressing for a satisfying and flavorful meal.
- Sliders or Quesadillas: Shred or roughly chop the burnt ends and use them as a filling for mini sliders on Hawaiian rolls, or incorporate them into savory quesadillas with melty cheese and a side of salsa.
- BBQ Tacos or Burrito Bowls: Create incredible BBQ tacos with a dollop of slaw and a squeeze of lime, or build satisfying burrito bowls with rice, beans, corn, and your favorite toppings.
- Baked Potatoes or Sweet Potatoes: Spoon the burnt ends over a hot baked potato or sweet potato, adding a sprinkle of cheese and some sour cream for an effortless yet incredibly flavorful dish.
With these ideas, your Chuck Roast Burnt Ends will be endlessly versatile, ensuring every last bite is enjoyed!
Low-Carb BBQ: Enjoying Poor Man’s Burnt Ends Guilt-Free
For those mindful of their carbohydrate intake, you’ll be delighted to know that these Poor Man’s Burnt Ends are inherently a low-carb friendly dish, yet they remain bursting with bold, smoky, and wonderfully sticky flavors. The primary components—beef and spices—are naturally low in carbs, making the burnt ends a fantastic option for anyone following a ketogenic or low-carb lifestyle.
To fully optimize this recipe for a low-carb diet, simply make a couple of strategic swaps: choose a high-quality sugar-free BBQ sauce (many excellent options are now available that don’t compromise on taste), and substitute the honey with a keto-friendly liquid sweetener such as monk fruit syrup or a similar erythritol-based product. These minor adjustments ensure you achieve the classic sweet and savory glaze without the added sugars.
Even without any modifications, this dish is a powerhouse of protein, offering a deeply satisfying and indulgent meal that doesn’t rely on starchy sides or carb-heavy ingredients to be fulfilling. It’s the perfect choice for keto BBQ lovers or anyone seeking a robust, meaty main course that delivers on flavor without the guilt of excessive carbohydrates.
Grilling Season is in Full Swing (And We’re Making the Most of It!)
As soon as the weather warms and the days get longer, our household shifts into full-on grilling mode. There’s an undeniable joy in cooking outdoors, and these Chuck Roast Burnt Ends have quickly become one of our absolute favorite go-to recipes for weekend cookouts. My husband loves firing up our XL Big Green Egg, and we seize every sunny opportunity to transform our backyard into an open-air kitchen. Whether it’s perfectly smoked meats, juicy burgers sizzling over an open flame, or quick-grilled seasonal vegetables, our summer menu practically lives on the grill.
In fact, the past few months have been dedicated to expanding our collection of “Make on the Grill” recipes here on the blog. We’ve introduced a whole lineup of new additions, many of which have already become fast favorites among our readers, drawing rave reviews for their simplicity and incredible flavor. If you’ve loved making these budget-friendly burnt ends, I highly encourage you to explore all the new recipes we’ve been crafting. From masterfully grilled ribeye steaks that rival any steakhouse to deeply smoky brisket and convenient foil packet veggies, we’ve meticulously covered every kind of cookout, casual weekend meal, or family barbecue scenario imaginable.
Our philosophy is simple: keep it flavorful, straightforward, and guaranteed to please a crowd. And the best part? You don’t need fancy equipment; if you’ve got a grill (or even just an oven for our indoor methods), there’s a treasure trove of delicious recipes waiting for you. So, don’t wait—dive into our latest grill-worthy recipes and make this summer your most delicious and memorable one yet!
Final Thoughts: Your New BBQ Staple Awaits
If you’ve ever found yourself intrigued by the legendary status of brisket burnt ends but felt deterred by the commitment of cooking an entire brisket, this Chuck Roast Burnt Ends Recipe is truly your perfect introduction. It elegantly delivers all the smoky, sticky, and caramelized goodness that burnt ends are famous for, with significantly less effort and using ingredients that are readily available in most kitchens.
We absolutely cherish making these for our leisurely Sunday grilling sessions. The rich aromas alone are enough to make my husband practically hover over the grill, eagerly anticipating their completion. Without fail, the leftovers disappear almost instantly, and everyone who has the pleasure of tasting them invariably asks for the recipe. It’s a testament to how profoundly satisfying and approachable this dish truly is.
Give this recipe a try; it just might become the most requested, most talked-about, and most beloved BBQ staple in your culinary repertoire!
More Grilling Recipes to Savor
- Juicy Grilled Pineapple
- Smoked Pork Belly Burnt Ends
- Grilled Chicken Thighs
- Marinated Beef Kabobs
Chuck Roast Burnt Ends
Course: Main Course
Prep Time: 15 mins
Cook Time: 4 hrs
Total Time: 4 hrs 45 mins
Servings: 8 servings
Chuck roast burnt ends are a poor man’s burnt ends that are so delicious. You season and smoke up chuck roast, smother in sauce, and serve up a meal that is sure to impress everyone. Try it out soon.
Pin Recipe
Share Recipe
Ingredients
For the Meat
- 1 or 2 chuck roasts totaling 3 to 4 pounds, cut into 1.5-inch cubes
For the BBQ Rub
- 3 tablespoons kosher salt
- 2 tablespoons garlic powder
- 2 tablespoons black pepper
- 1 tablespoon smoked paprika
- 1 teaspoon chili powder
For Finishing:
- 5 tablespoons unsalted butter, cut into small cubes
- ¼ cup honey
- ½ to ¾ cup barbecue sauce (your favorite brand or homemade)
Instructions
- Charcoal Grill Setup: Light a full chimney of charcoal. When the coals are ashed over, dump them on one side of the grill to make a hot zone. Leave the other side empty for indirect heat (cool zone). Add an aluminum pan filled with water to the cool side. Close the lid and adjust vents to maintain a temperature of around 225-250°F (107-121°C).
- Gas Grill Setup: Turn on one side of your burners to medium heat, leaving the other side off. Preheat the grill to about 225-250°F (107-121°C) with the lid closed. Place an aluminum pan filled with water on the cooler, unlit side to help maintain moisture and stabilize temperature.
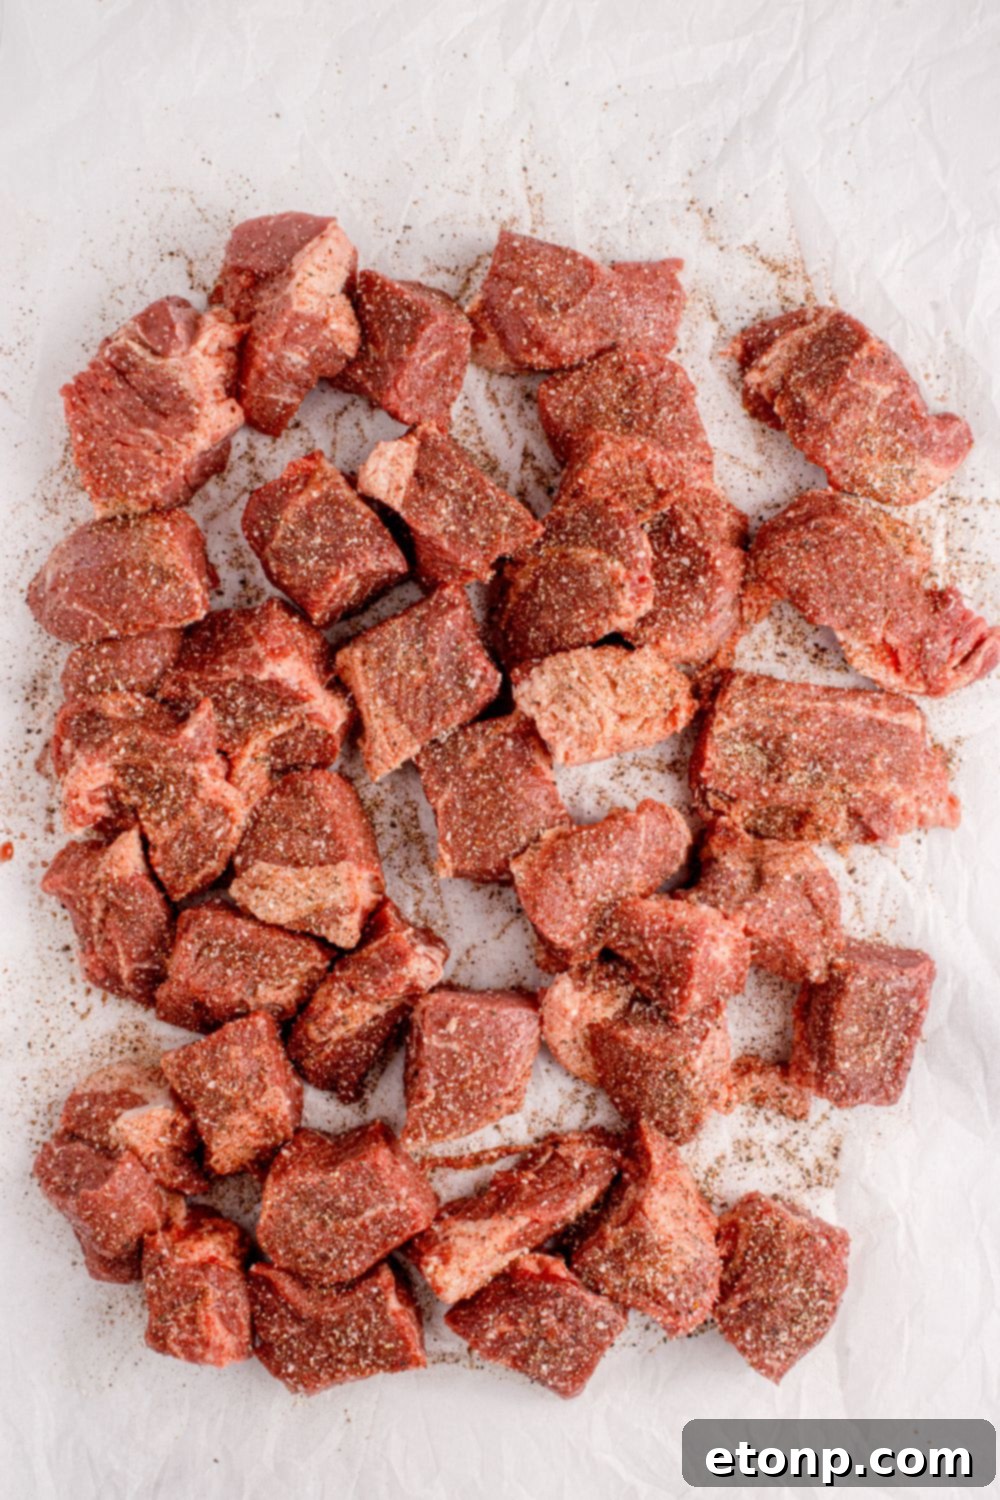
- Cut the beef chuck roast into uniform 1.5-inch cubes. Keeping them the same size ensures even cooking. Generously sprinkle the BBQ rub all over until every cube is well coated.
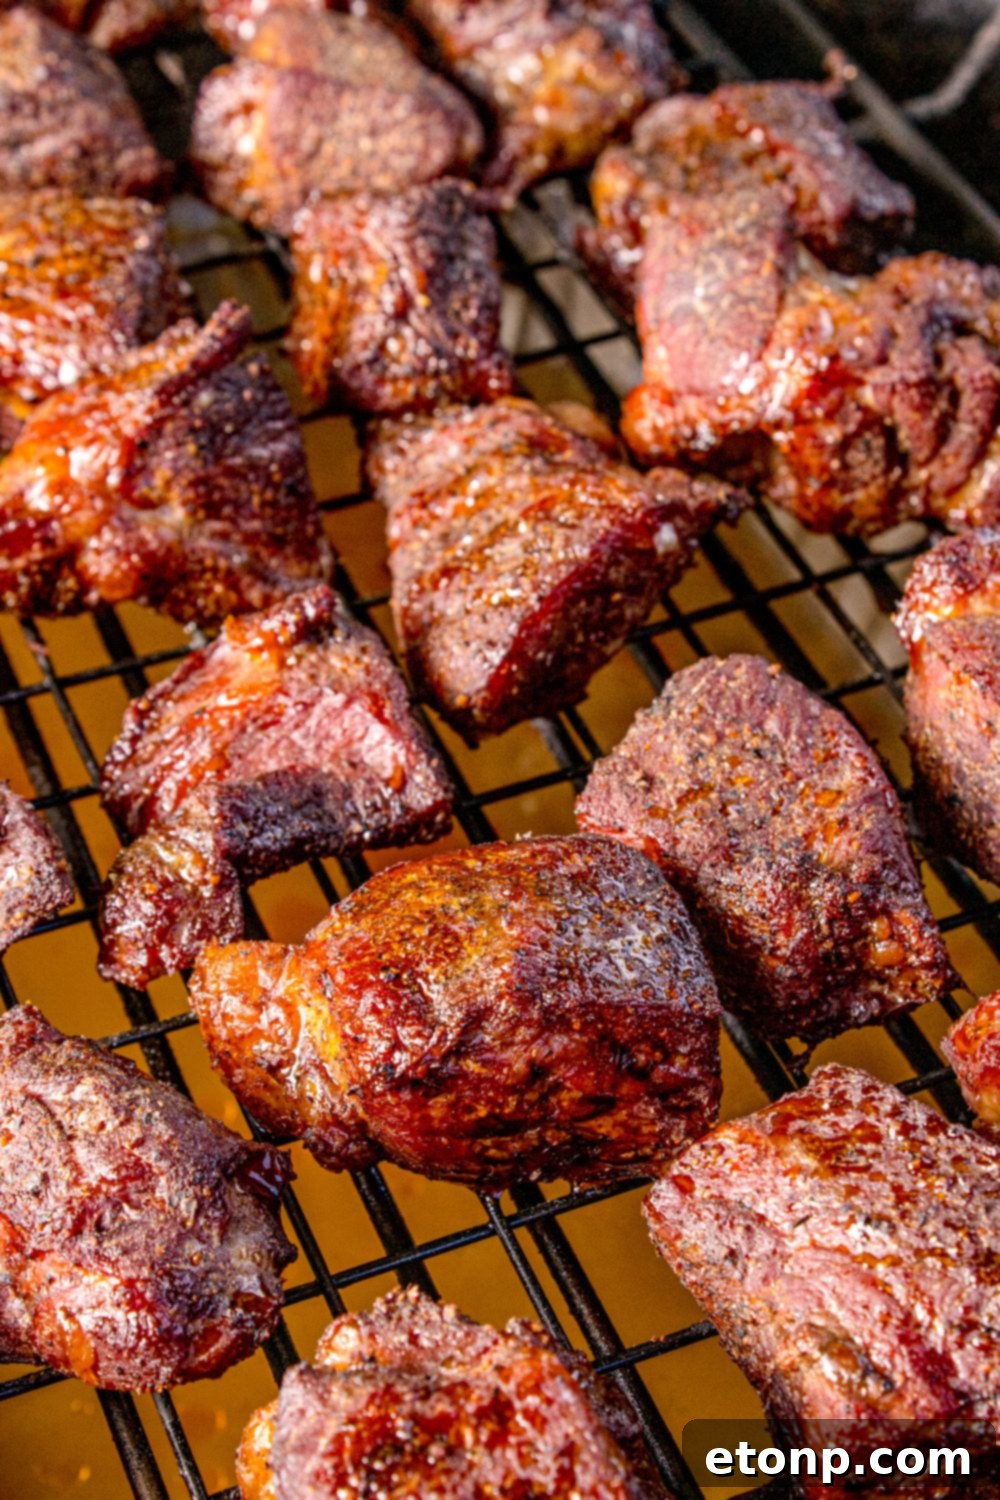
- Place the seasoned chuck roast cubes on the cool side of your grill (indirect heat). You can use a wire rack placed directly on the grill grates to prevent them from falling through and ensure good airflow. Close the lid and smoke the meat at 225-250°F (107-121°C) for 2 hours. At this point, the meat should have developed a dark, smoky crust, and its internal temperature should read approximately 160–170°F (71–77°C).
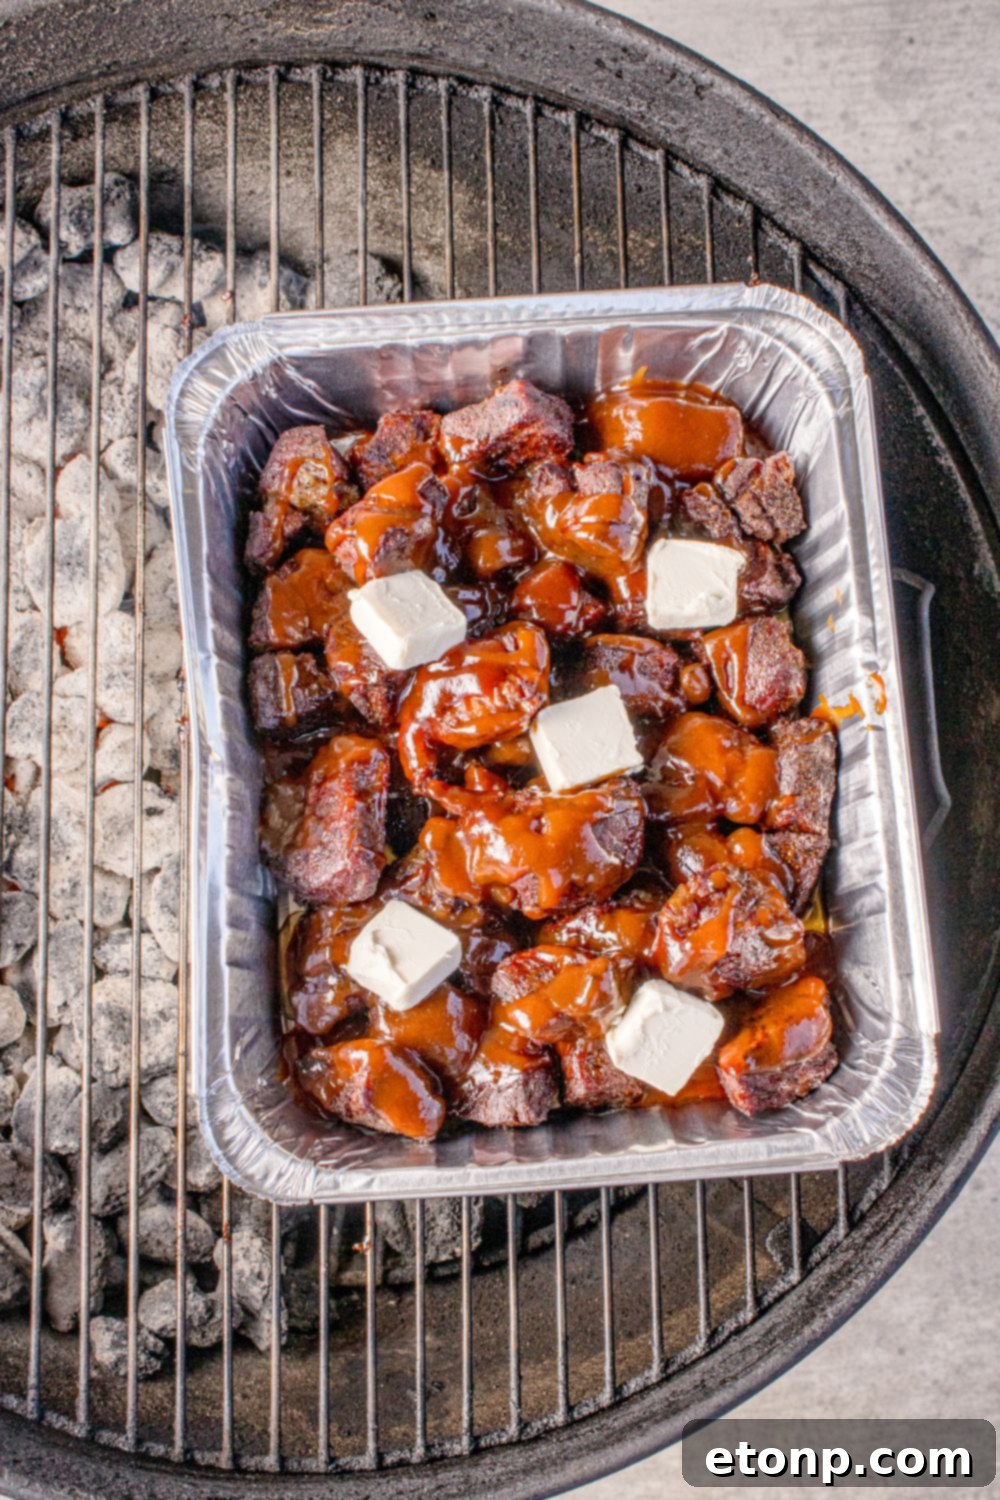
- Carefully move the meat cubes into a sturdy aluminum foil pan. Add the 5 tablespoons of unsalted butter (cut into small cubes), ¼ cup honey, and ½ cup (or more, to taste) of your favorite BBQ sauce. Stir gently to ensure all the cubes are well coated. Cover the pan tightly with aluminum foil and return it to the cool side of the grill. Continue cooking for another 1.5 to 2 hours, or until the meat is incredibly “probe tender” and its internal temperature consistently reads between 200–205°F (93–96°C).
- Remove the pan from the grill and let it rest (still covered with foil) for 20 to 30 minutes. This crucial resting period allows the juices to redistribute, ensuring maximum tenderness and flavor. Uncover the pan and gently stir the meat, mixing it with the luscious juices and sauce.
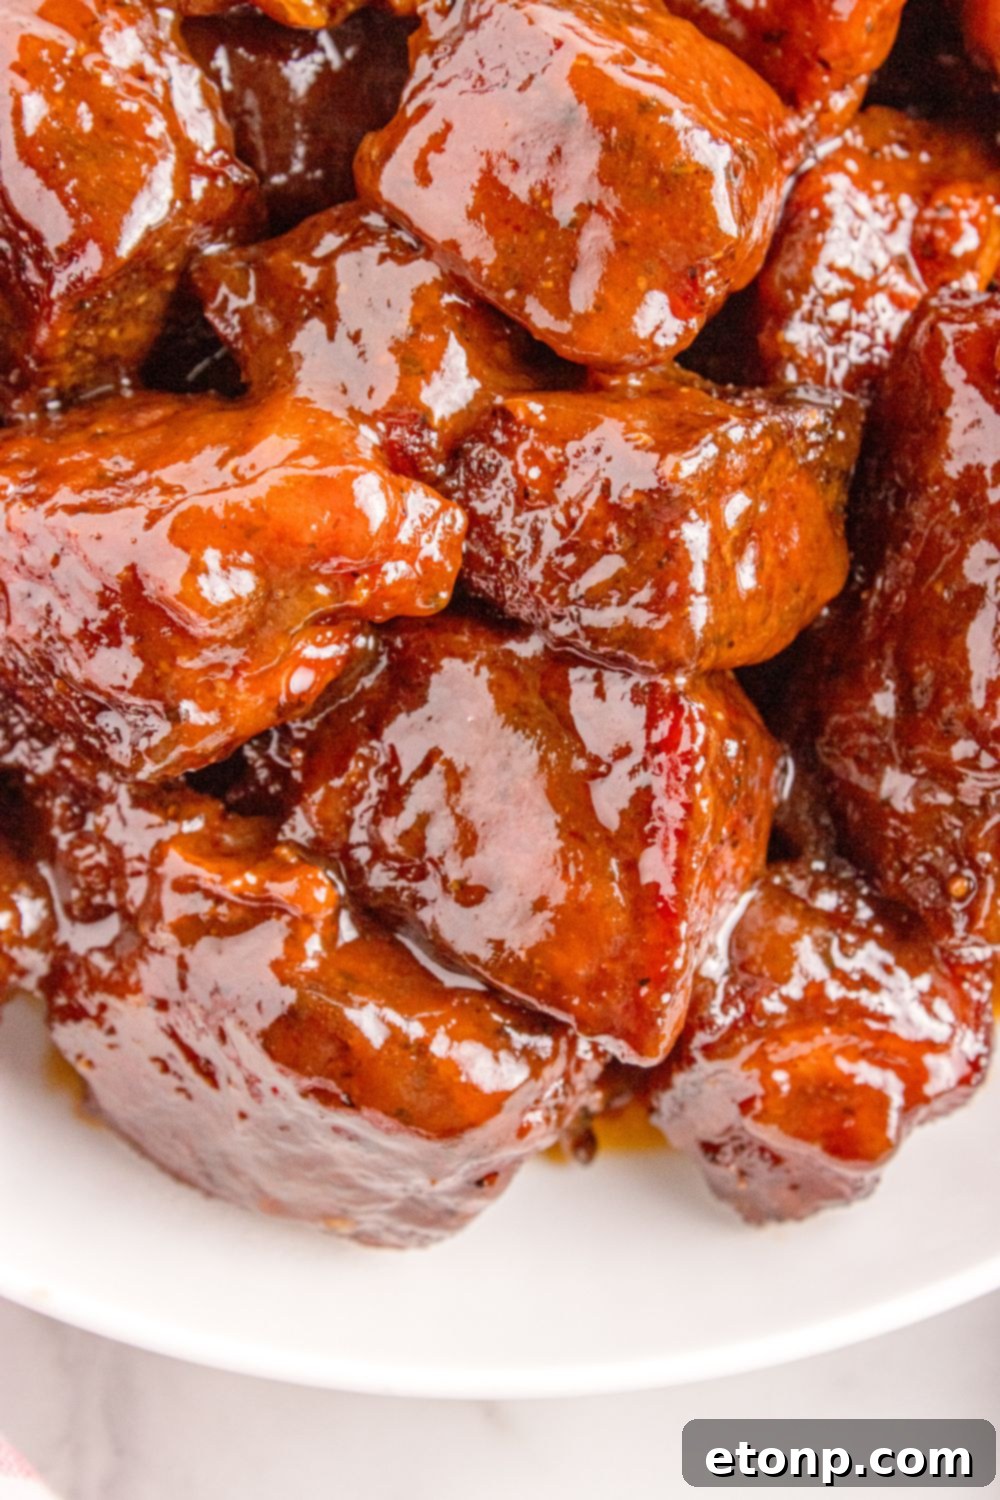
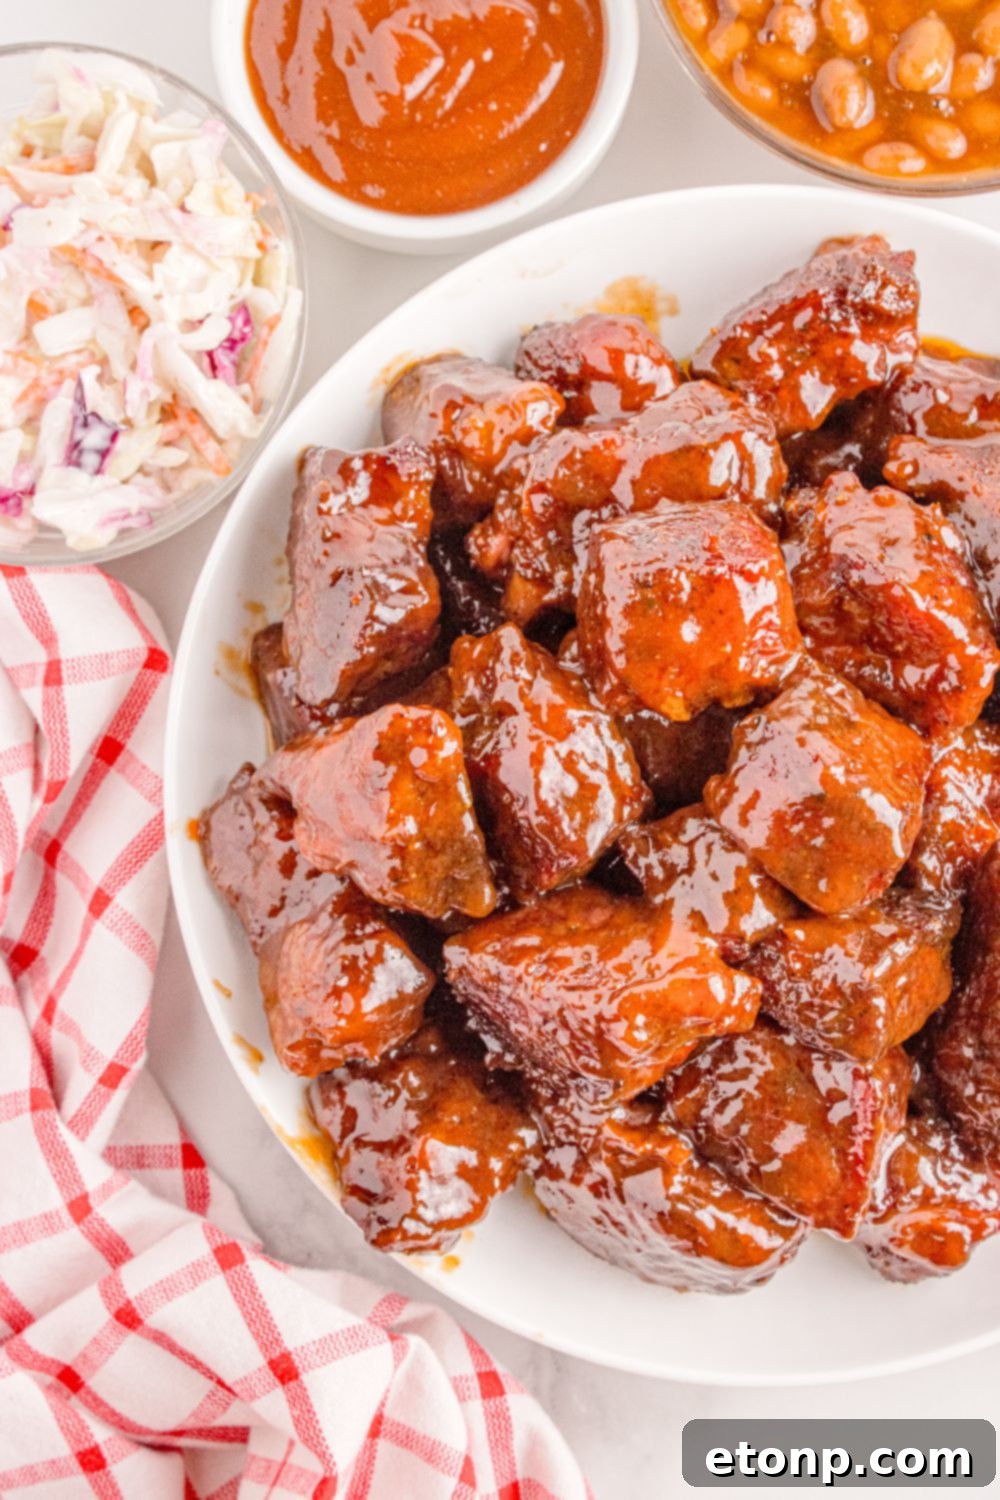
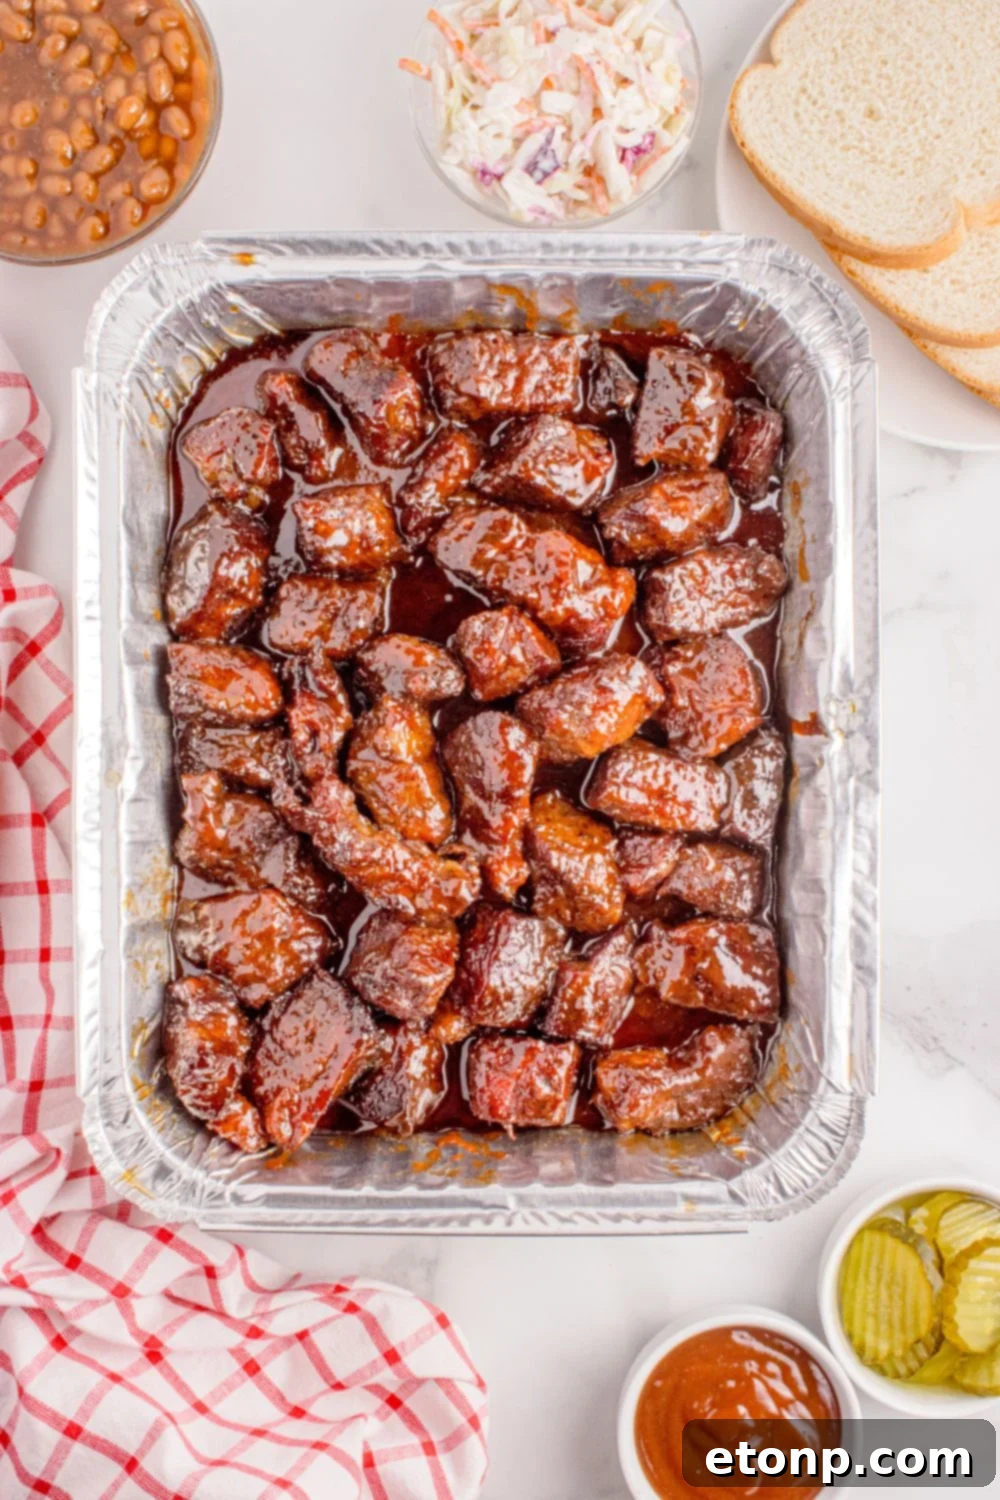
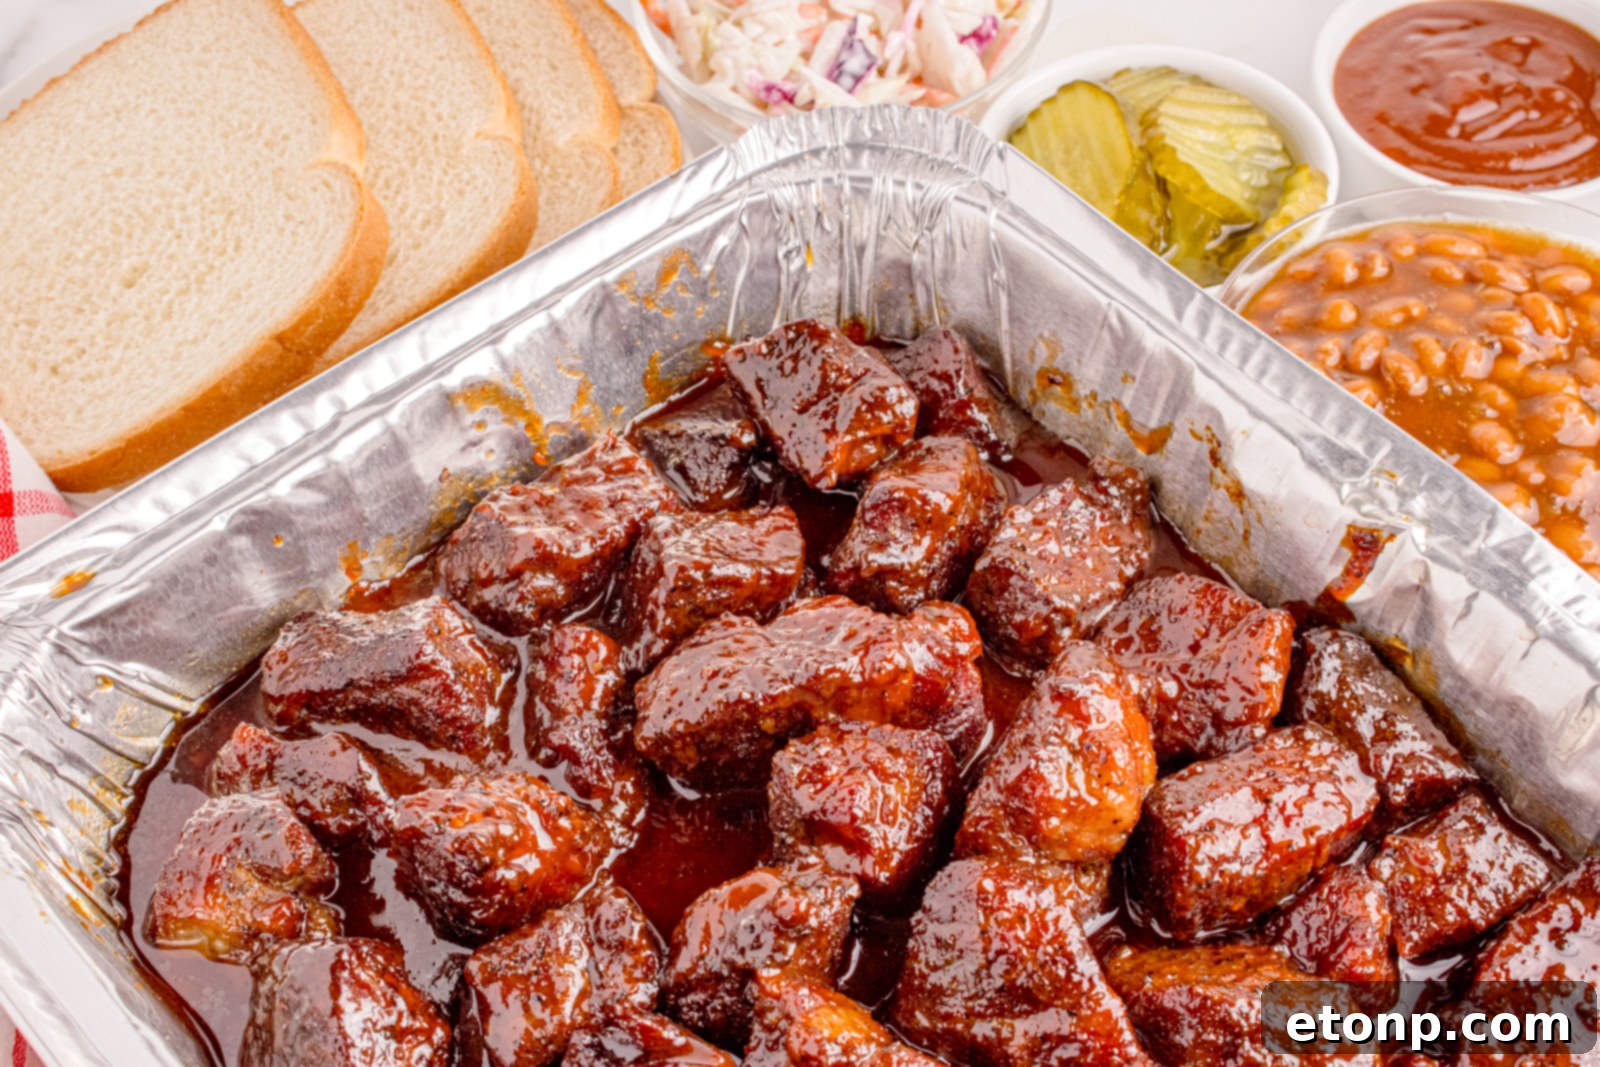
- For an extra sticky and caramelized finish, add a final thin layer of BBQ sauce to the burnt ends in the uncovered pan. Return the pan to the grill (still over indirect heat) for 5-10 minutes. Watch closely to prevent burning. Serve these delicious burnt ends hot, straight from the pan! They are perfect with sides like coleslaw, mac and cheese, or piled generously into a soft sandwich roll.
Did you make this recipe?
Make sure to follow on Pinterest for more recipes!
Pin Recipe
Share on Facebook