
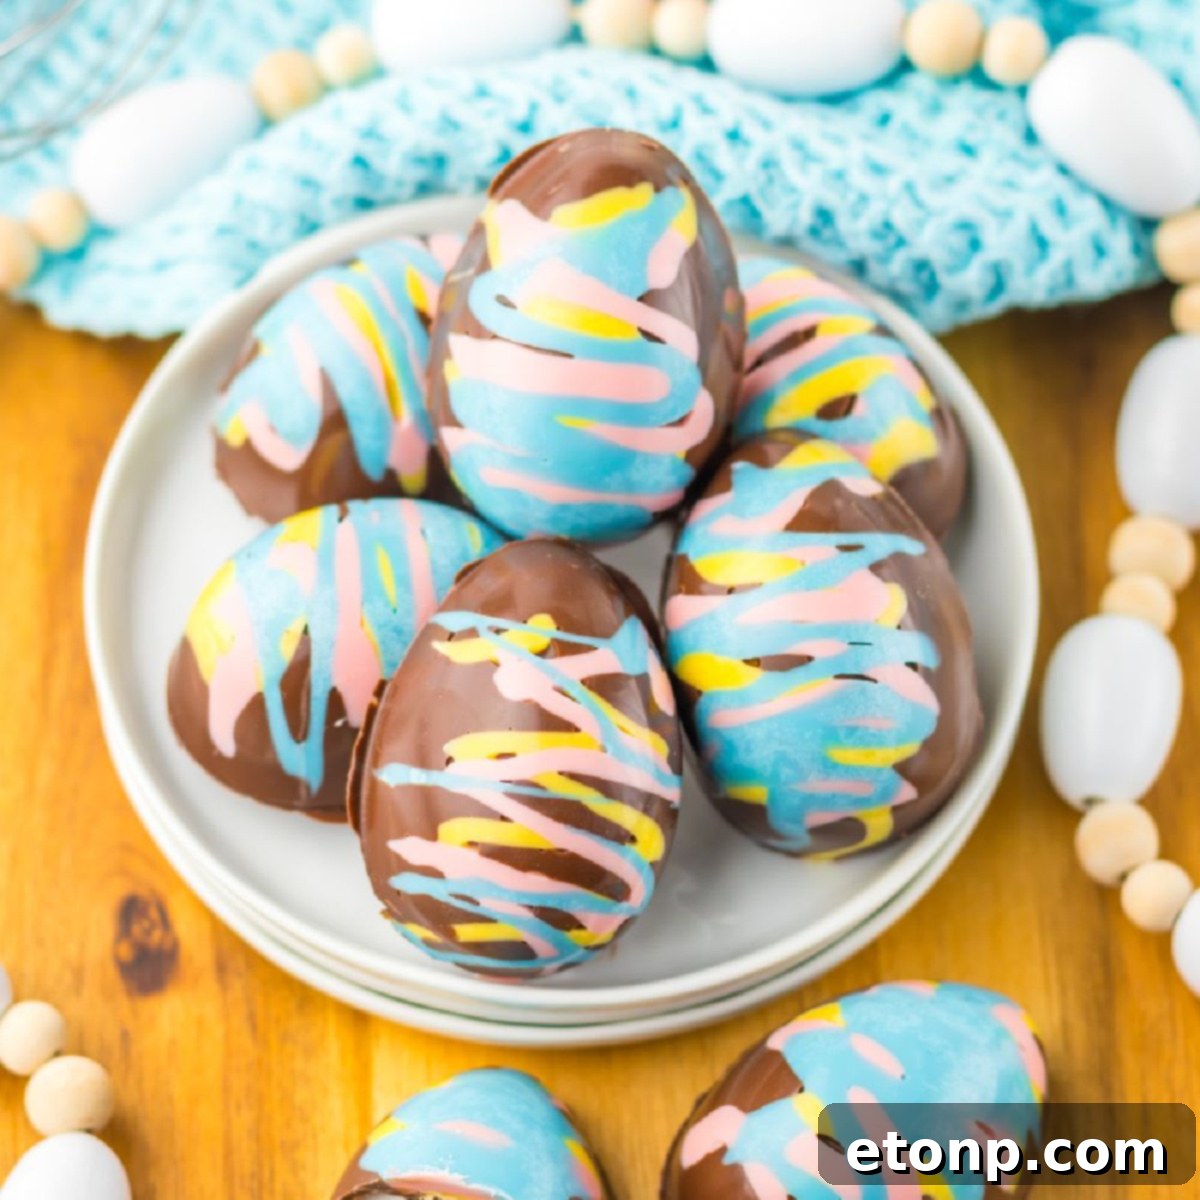
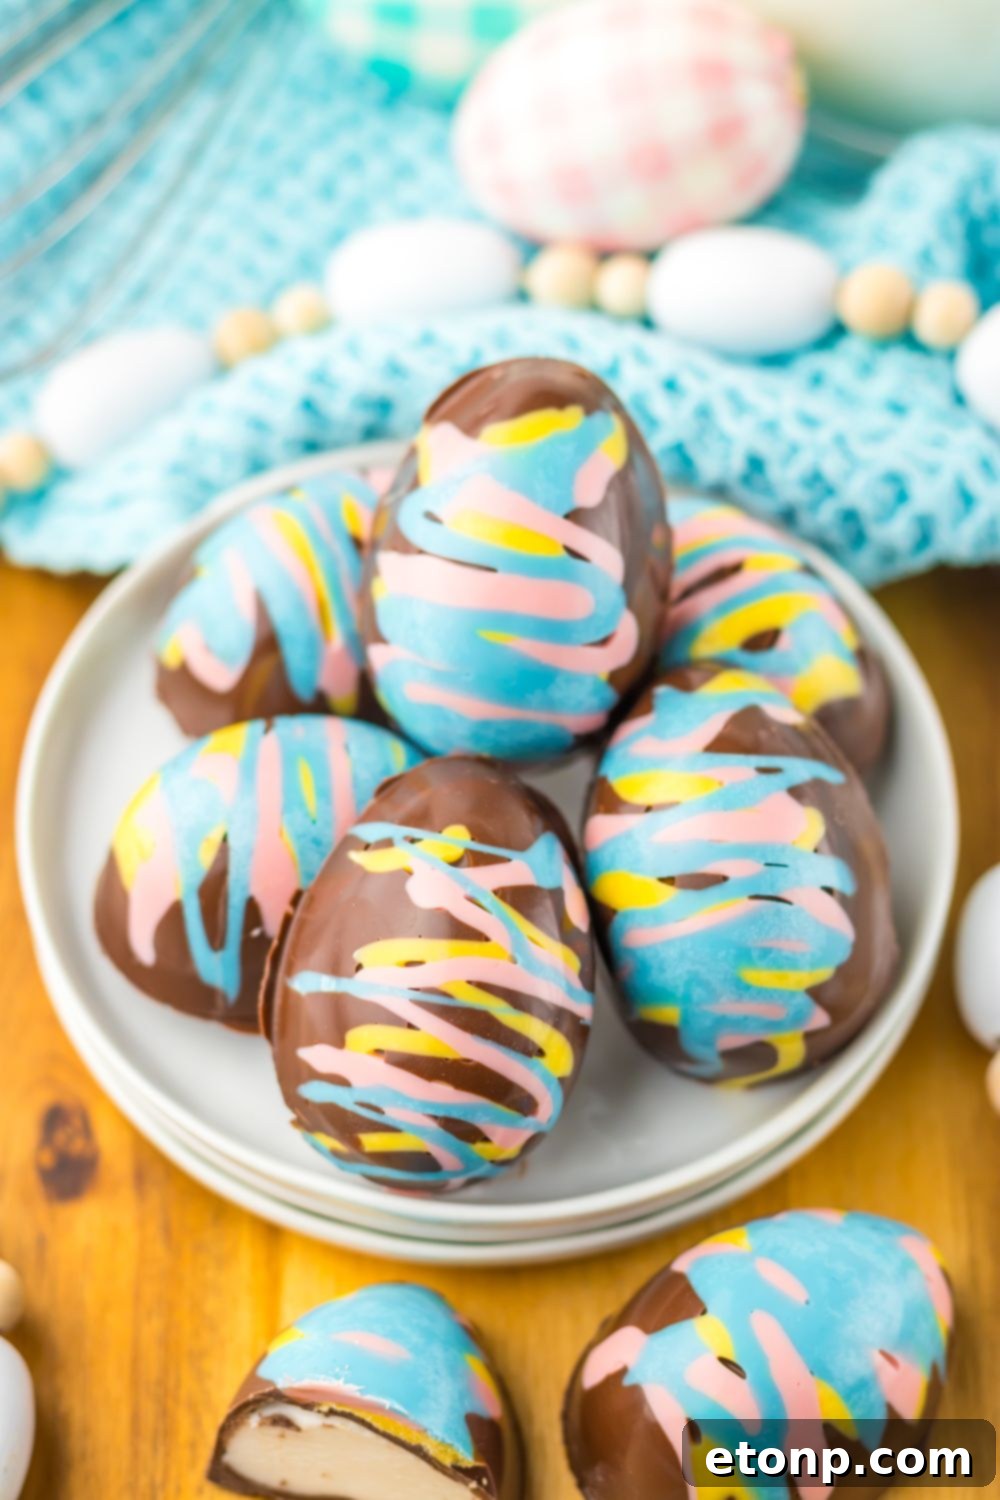
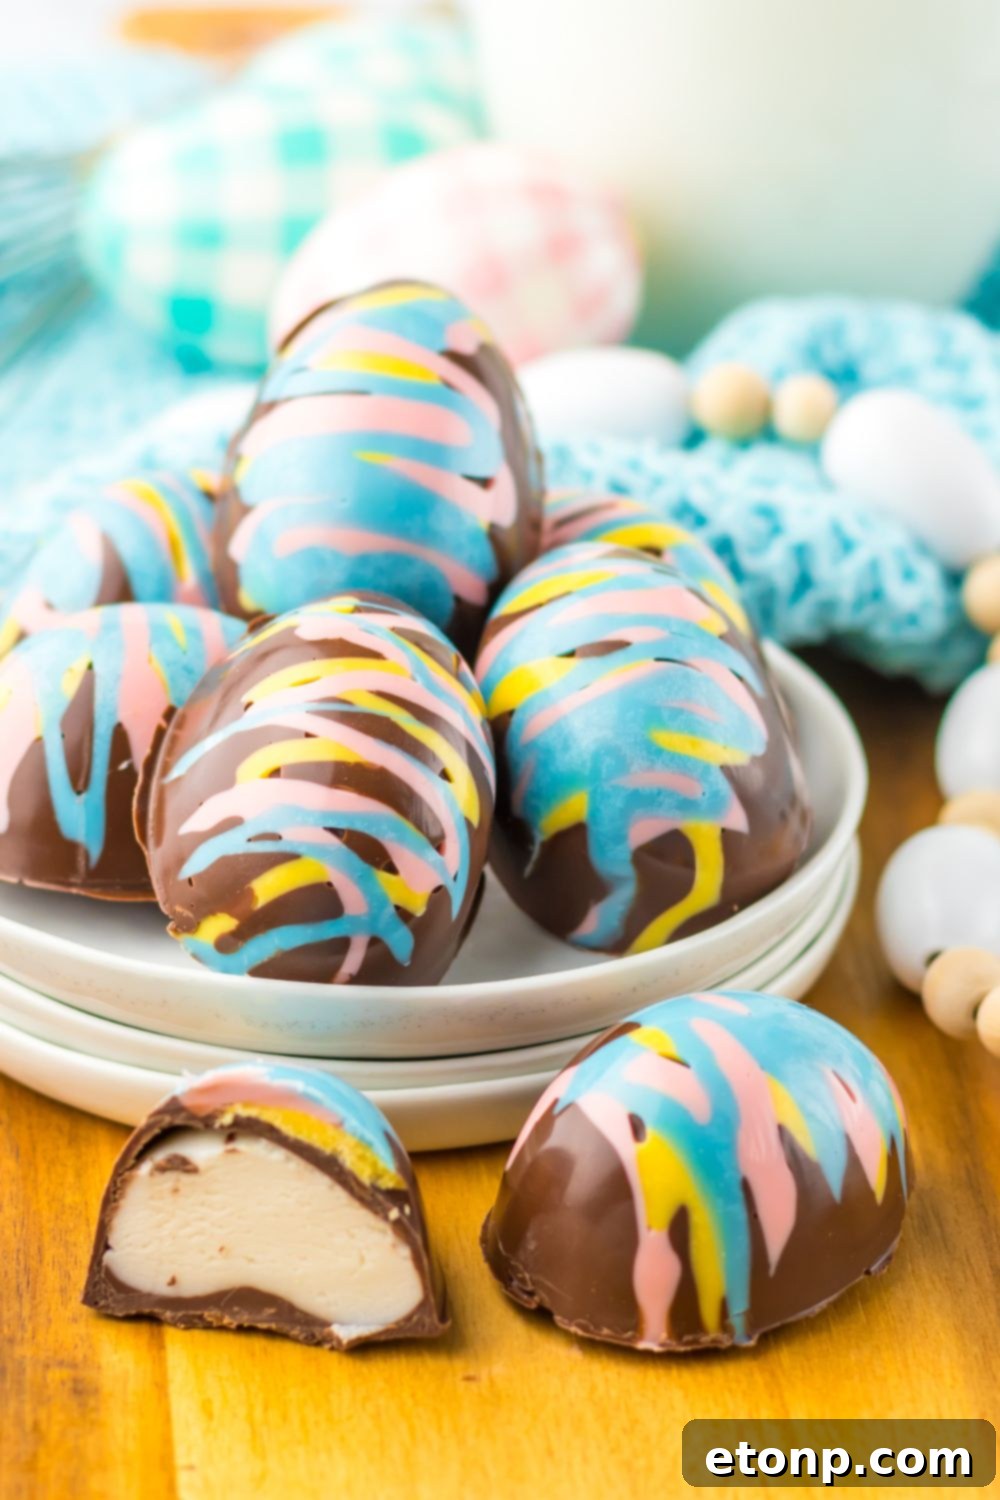
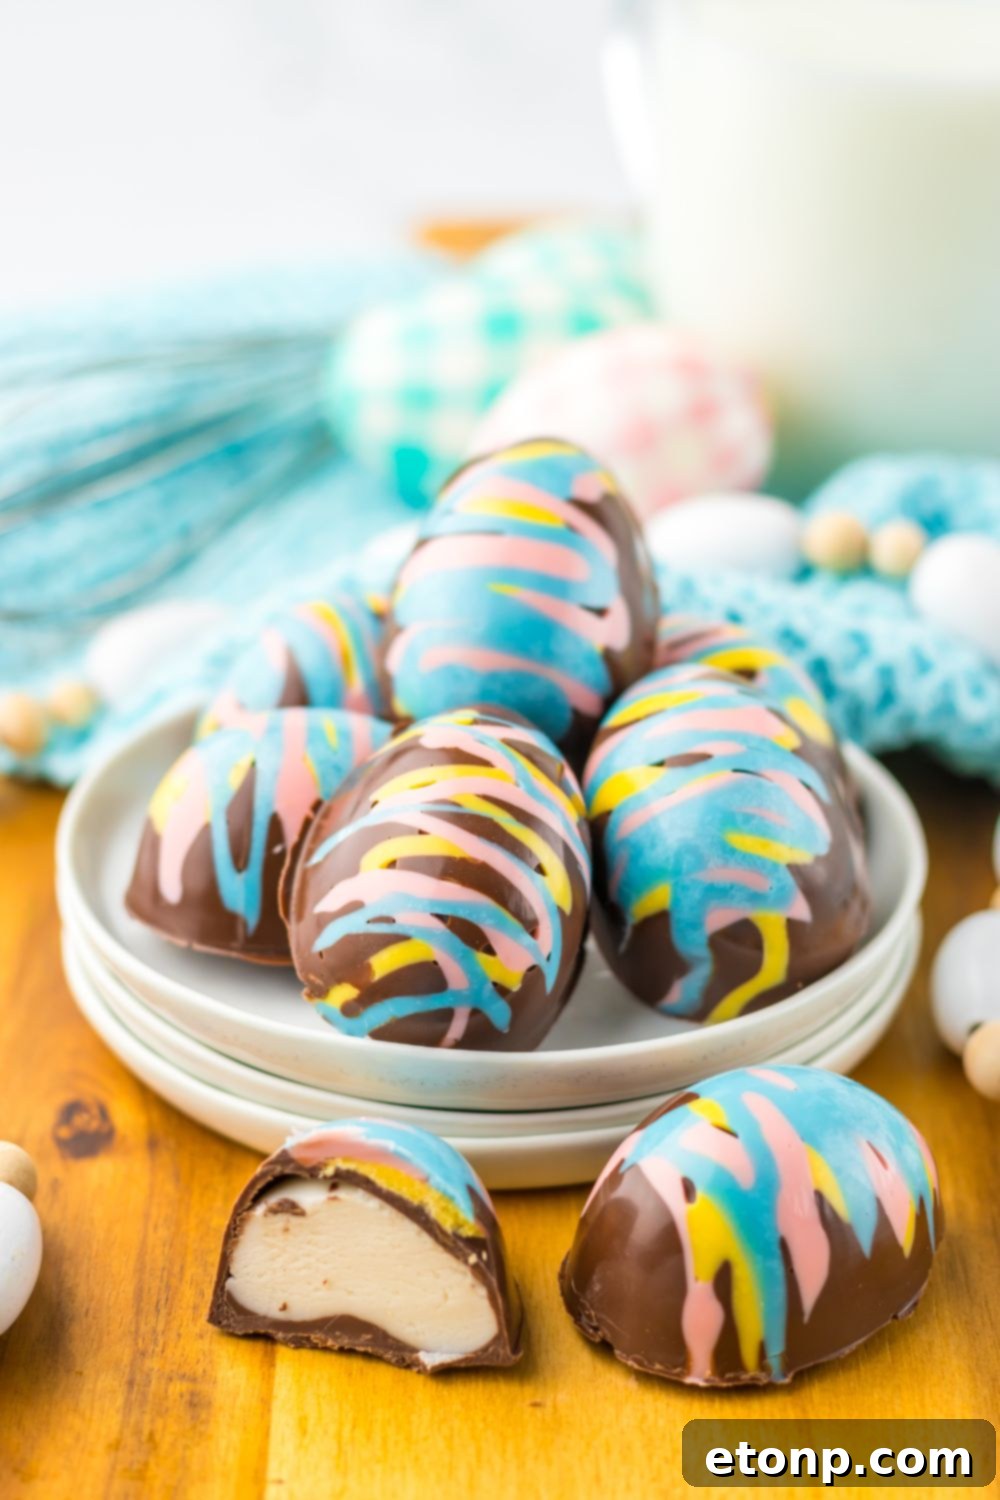
Welcome to your new favorite Easter tradition! Imagine biting into a perfectly crafted chocolate shell, only to discover a cloud-like, sweet, and unbelievably fluffy marshmallow filling. These aren’t just any Easter treats; these are homemade Easter marshmallow eggs, designed to delight both the eyes and the palate. They are an absolute showstopper, boasting vibrant colors and an irresistible texture that will have everyone asking for your secret recipe. Best of all? This sinfully delicious dessert requires absolutely no baking, making it the perfect stress-free addition to your holiday celebration.

If you’re a fan of classic chocolate-covered marshmallow treats, like the popular Russell Stover variety, then you are in for a truly elevated experience with these homemade marshmallow eggs. While offering a similar delightful combination of rich chocolate and airy marshmallow, our recipe takes it a step further with a lusciously thick chocolate coating that provides a satisfying snap with every bite. The homemade marshmallow filling is incredibly fresh and allows you to customize the flavor to your liking, truly making these eggs a unique and memorable Easter indulgence.
Looking to round out your Easter dessert table? Don’t miss out on these other fantastic holiday-themed recipes: vibrant bunny bum cupcakes, the addictively crunchy bunny munch snack mix, or even this creamy Easter cheesecake recipe. Each of these treats promises to bring extra joy and festive flair to your Easter gathering, ensuring there’s something sweet for everyone to enjoy.

Why You’ll Love Crafting These Homemade Easter Marshmallow Eggs
- Customizable Ingredients: When you make your own Easter candy, you gain complete control over the ingredients. This means you can choose high-quality chocolate, opt for natural flavorings, and even adjust the sweetness level of your marshmallow filling. It’s a healthier and more satisfying alternative to store-bought options, tailored precisely to your preferences.
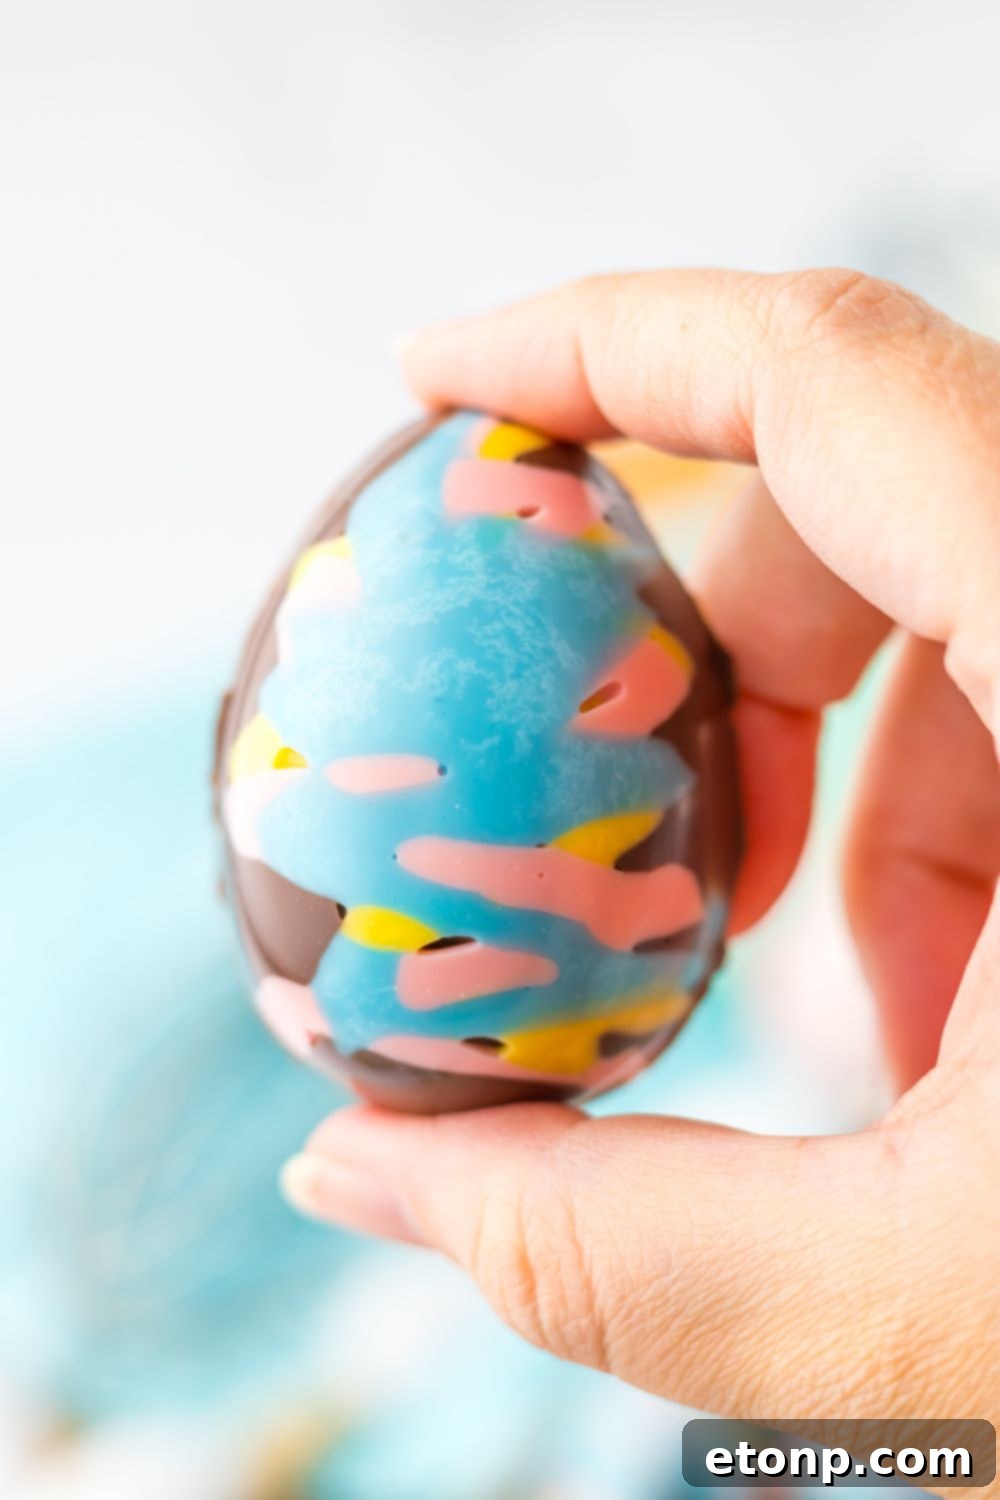
- Unleash Your Creativity: These marshmallow eggs are a blank canvas for your artistic expression. Decorate them with colorful candy melts, sprinkles, edible glitter, or intricate drizzles. Make each egg a unique masterpiece that reflects your personal style and adds a personalized touch to your Easter display. It’s a wonderful activity for all ages!
- Effortless No-Bake Delight: Say goodbye to hot ovens and complex baking steps. This recipe is entirely no-bake, simplifying your holiday preparations and freeing up valuable oven space for other dishes. It’s perfect for busy hosts or anyone looking for a quick yet impressive dessert.
- Visually Stunning & Delectable: These aren’t just delicious; they are incredibly pretty. The combination of bright, spring-inspired colors and the elegant egg shape makes them perfect for showcasing on a dessert platter, in Easter baskets, or as delightful edible gifts. Each bite delivers a burst of flavor and a wonderfully soft, fluffy texture.
- Fun for the Whole Family: Making these marshmallow eggs is a fantastic activity to enjoy with children. They can help with mixing, decorating, and, of course, taste-testing. It’s a wonderful way to create lasting Easter memories together in the kitchen.
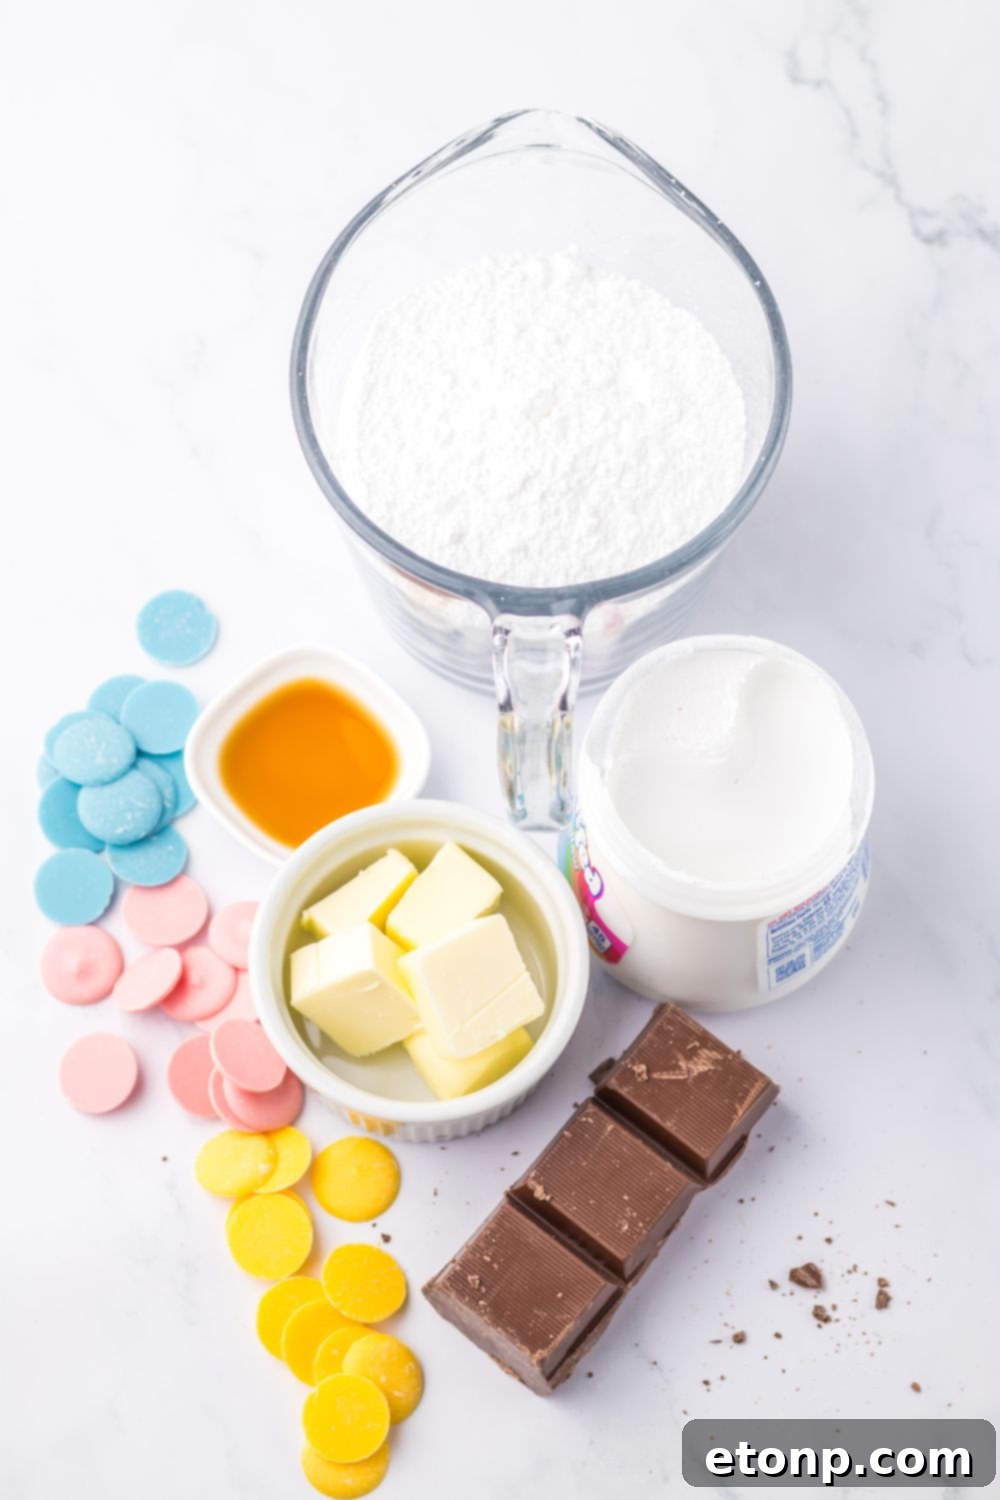
Essential Ingredients for Your Perfect Marshmallow Eggs
Creating these delightful Easter marshmallow eggs is simpler than you might think, requiring just a handful of readily available ingredients. Below is a detailed look at what you’ll need to bring this recipe to life. For precise measurements, be sure to consult the printable recipe card further down this page.
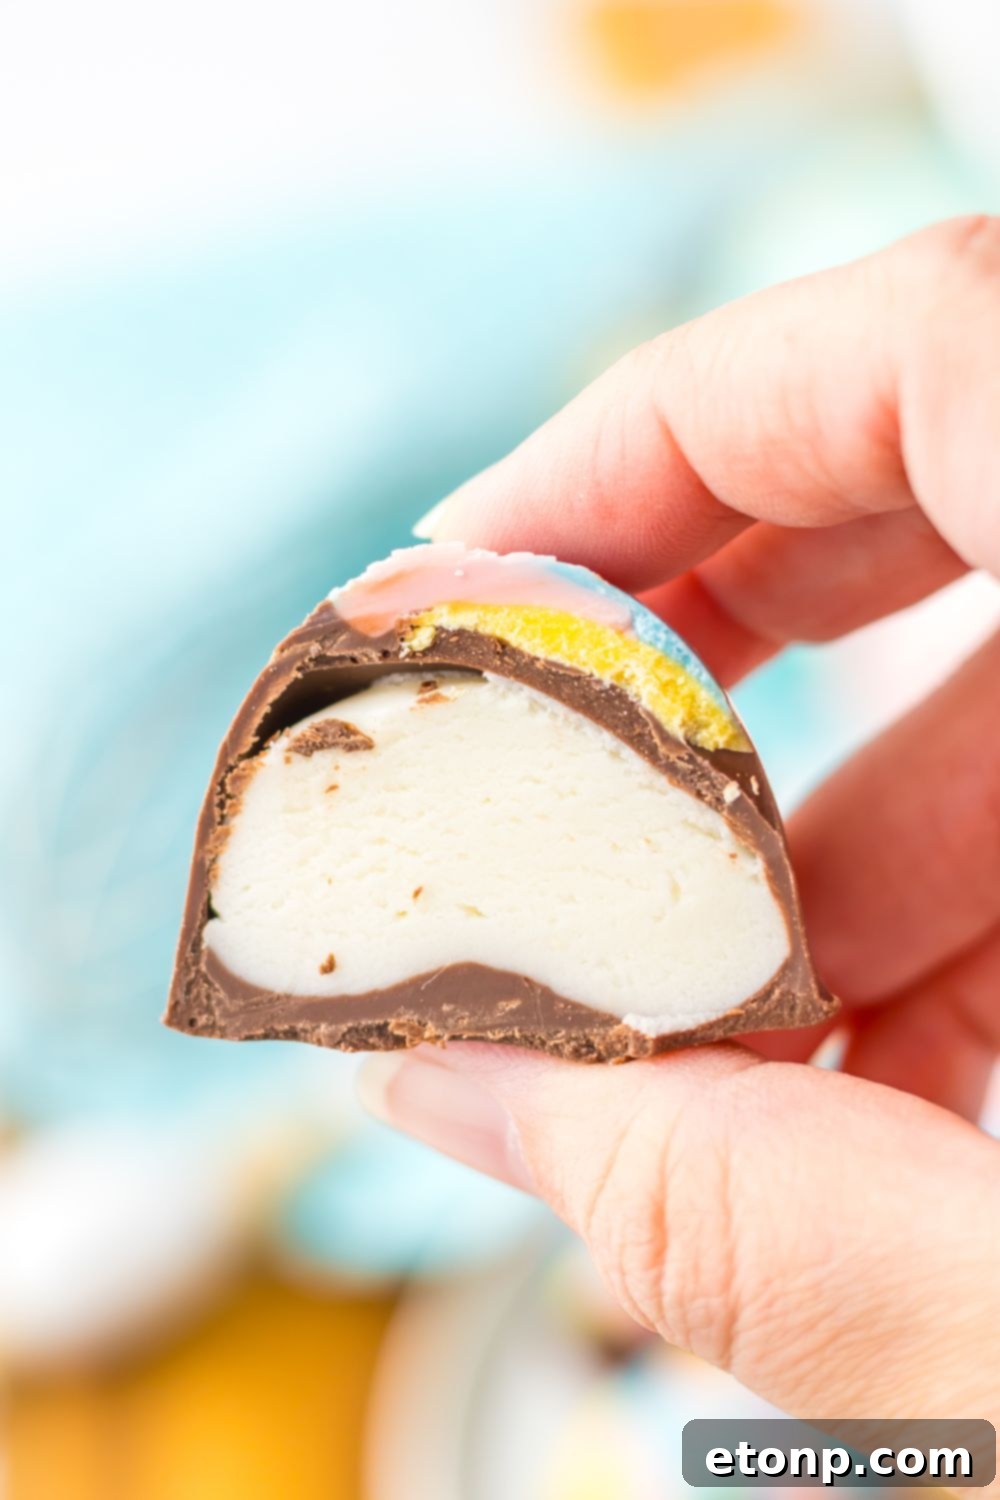
Marshmallow Fluff: This is the heart and soul of our Easter eggs, providing that signature light, airy, and incredibly sweet filling. Marshmallow fluff delivers a wonderfully gooey, melt-in-your-mouth texture that perfectly complements the crisp chocolate shell. It’s essential for achieving that delightful soft center everyone loves.
Butter: Softened butter is crucial for several reasons. It adds a rich, creamy depth to the marshmallow filling, preventing it from being overly sticky and giving it a smoother, more palatable consistency. It also acts as a binding agent, helping to hold the marshmallow mixture together and making it easier to work with when shaping your eggs.
Vanilla Extract: A small but mighty splash of vanilla extract is a flavor enhancer that elevates the sweetness of the marshmallow fluff. It adds a warm, inviting aroma and a depth of flavor that transforms a simple sweet filling into something truly extraordinary. Don’t skip this, as it balances the overall taste.
Powdered Sugar: Also known as confectioners’ sugar, this ingredient is vital for adjusting the texture of your marshmallow fluff. It helps to firm up the mixture, making it less sticky and more stable, which is essential for piping or spooning into the molds. It also contributes to the sweet profile and creates a smooth, easy-to-handle consistency for your filling.
Colorful Candy Melts: These vibrant melts are perfect for decorating your Easter eggs, adding a beautiful festive touch. I opted for cheerful spring colors like yellow, pink, and blue, which instantly evoke the spirit of Easter. Feel free to choose any colors that inspire you – the possibilities for customization are endless!
Chocolate Almond Bark: This forms the foundational chocolate coating for your marshmallow eggs. Almond bark is specifically chosen for its ease of use; it melts smoothly and sets quickly and firmly without the need for tempering, ensuring a beautiful, glossy finish on your eggs. It provides a sturdy, satisfying outer layer that holds the marshmallow filling perfectly.
Silicone Egg Mold: An absolute must-have for achieving uniform, perfectly shaped Easter eggs. These flexible molds are widely available at craft stores, baking supply shops, and online retailers. Using a silicone mold ensures each marshmallow egg has a professional, polished appearance, making your homemade treats look just as good as, if not better than, anything you’d find in a gourmet candy shop.
Creative Variations to Elevate Your Easter Marshmallow Eggs
While these Easter marshmallow eggs are delightful as is, experimenting with variations can transform them into truly unique and personalized treats. Here are some ideas to spark your culinary creativity:
Chocolate Options: Instead of almond bark, you can certainly use other types of chocolate for the coating. High-quality chocolate chips, baking chocolate, or even couverture chocolate will work beautifully. If using standard chocolate, remember to add about 2 tablespoons of coconut oil or shortening per pound of chocolate while melting. This helps the chocolate achieve a smoother consistency, makes it easier to work with, and ensures it sets up with a nice snap without requiring tempering. Alternatively, if you’re experienced, you can temper the chocolate for a professional, glossy finish and a firmer set.
Exciting Toppings: Take your decorated eggs to the next level with a variety of fun toppings. Before the chocolate fully sets, sprinkle on crushed candy (like mini chocolate eggs or peppermint pieces), an assortment of colorful sprinkles, delicate edible glitter for a touch of sparkle, or even tiny bunny-themed candies for an extra festive touch. You could also drizzle contrasting colored candy melts over the main chocolate coating for an artistic finish.
Flavorful Extracts: Give your marshmallow filling a unique twist by swapping out the vanilla extract for other delicious flavorings. Consider using a fruit extract like vibrant raspberry, zesty orange, or even a hint of lemon for a bright, spring-inspired taste. A sophisticated almond extract would also be incredibly delicious, complementing the chocolate perfectly. Just a small amount is usually sufficient to impart a wonderful flavor.
Dairy-Free Alternatives: For those with dietary restrictions, it’s possible to create a dairy-free version of these indulgent eggs. Simply swap out the salted butter for a high-quality dairy-free butter alternative. Ensure your chocolate almond bark is also dairy-free (many brands are, but always check labels). While the texture might vary ever so slightly, you can still achieve a wonderfully rich and satisfying dairy-free marshmallow egg.
Nut-Free Options: If allergies are a concern, be mindful of your almond bark choice, as some contain almonds. Look for chocolate confectionery coating that explicitly states “nut-free” or “allergy-friendly.” You can also use melted chocolate chips that are certified nut-free, following the same advice about adding coconut oil or shortening for a smooth finish.
Storing Your Delightful Chocolate Covered Marshmallow Eggs
Proper storage is key to keeping your homemade Easter marshmallow eggs fresh and delicious for as long as possible. Follow these guidelines to ensure they maintain their perfect texture and flavor:
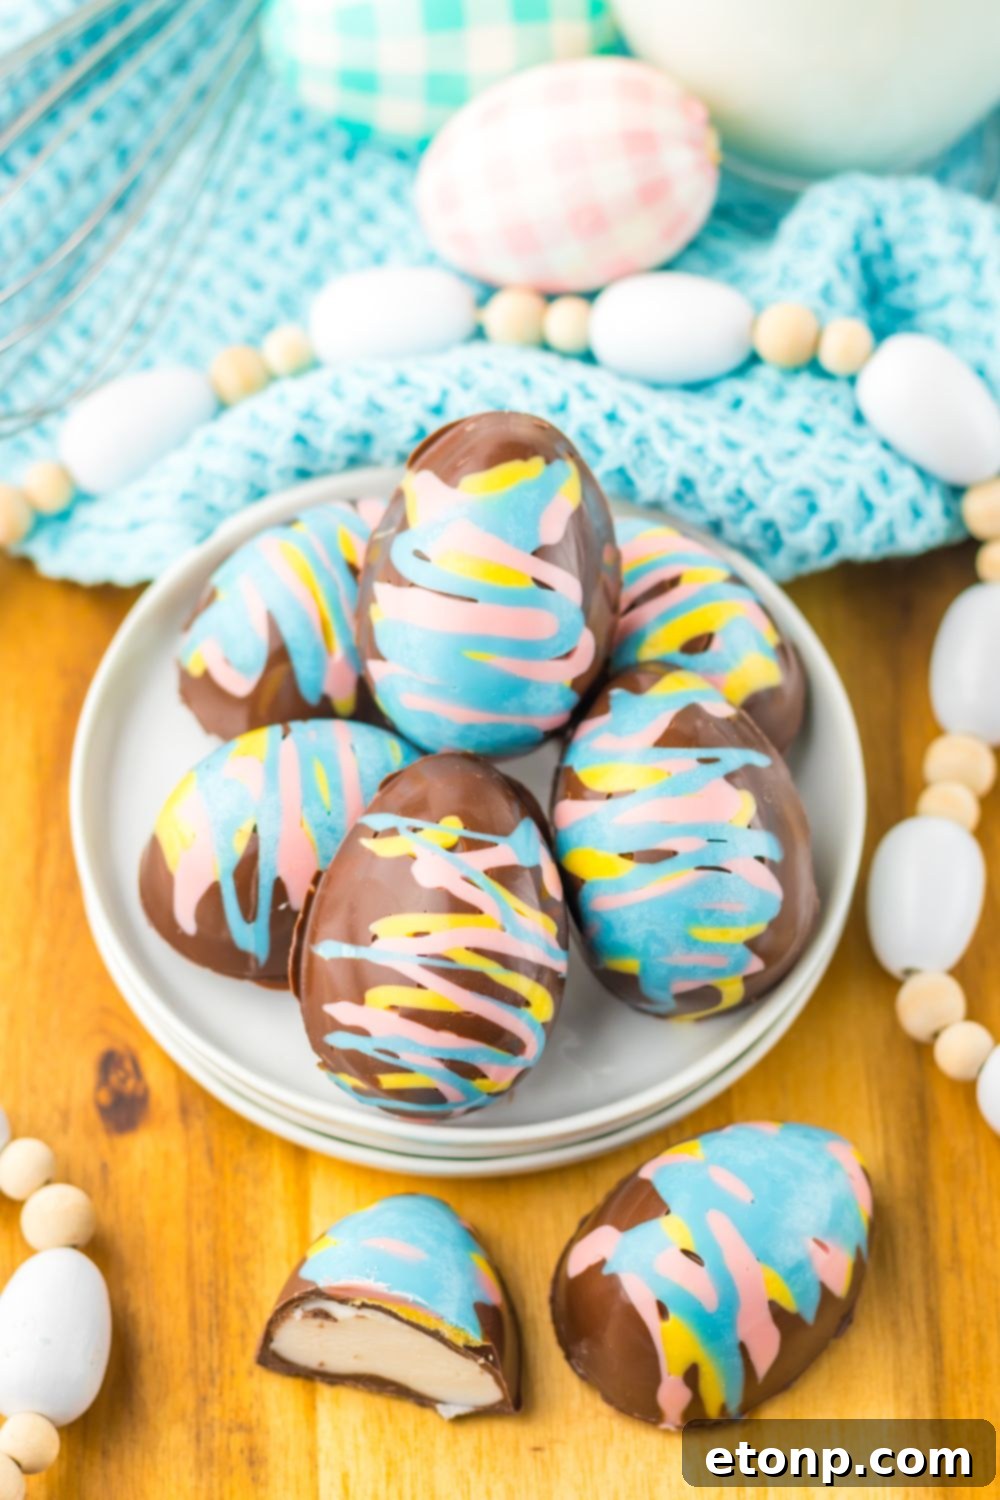
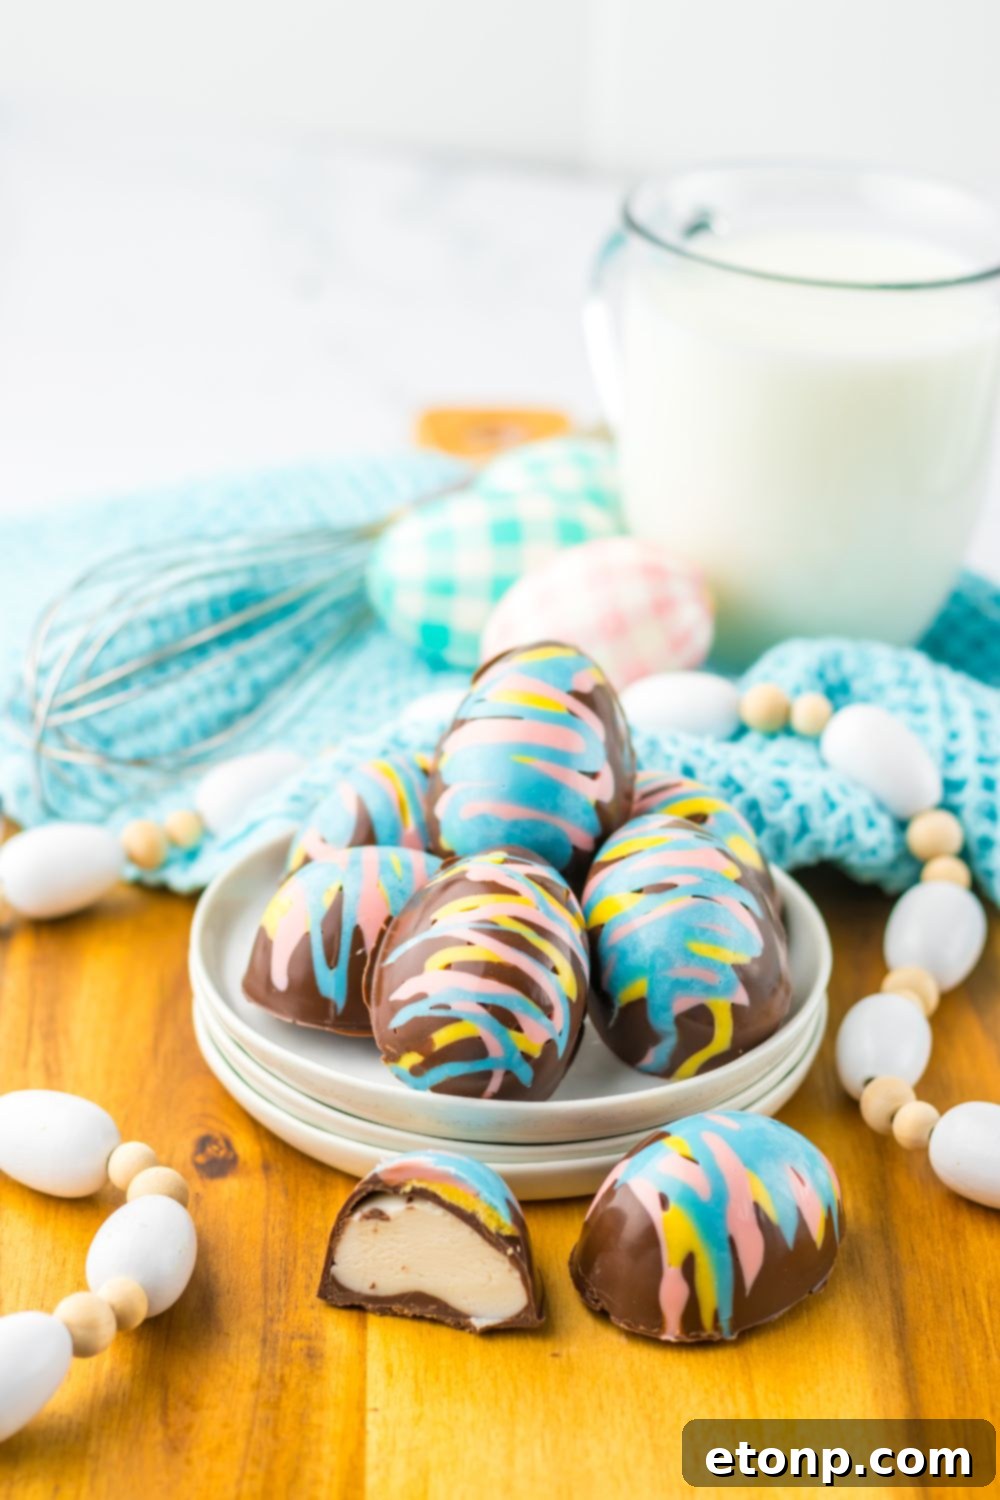
Room Temperature Storage: Once your marshmallow eggs have completely set and the chocolate coating is firm to the touch, transfer them to an airtight container. It’s best to store them in a cool, dry place away from direct sunlight and heat, which can cause the chocolate to melt or bloom. When stored at room temperature, these delectable treats will remain fresh and enjoyable for up to 2 weeks. You can separate layers with parchment paper to prevent sticking.
Freezing for Longer Enjoyment: If you’ve made a large batch or wish to prepare these well in advance, freezing is an excellent option. Place the fully set marshmallow eggs in a single layer on a parchment-lined baking sheet and freeze for about an hour until firm. Then, transfer them to a freezer-safe container or a heavy-duty freezer bag, layering with parchment paper to prevent them from sticking together. They can be frozen for 3-4 months without compromising quality. When ready to enjoy, you can either eat them straight from the freezer for a delightful chilled treat or thaw them on the counter at room temperature until softened, which usually takes about 30-60 minutes.
Make-Ahead Convenience: These marshmallow Easter eggs are an ideal make-ahead dessert, perfect for easing the pressure during busy holiday preparations. You can prepare them up to a week in advance and store them at room temperature in a sealed container, as described above. This allows you to focus on other aspects of your Easter celebration, knowing that a beautiful and delicious dessert is already taken care of.
Expert Pro Tips for Flawless Easter Marshmallow Eggs
Even though this no-bake Easter treat is straightforward, a few professional tips and tricks can make the candy-making process even smoother and ensure your chocolate-covered marshmallow eggs turn out perfectly every time. These simple guidelines will help you achieve beautiful, professional-looking results with minimal effort.
Efficient Preparation: Work Quickly and Organized
Speed and organization are your allies when working with melting chocolate. Before you even begin to melt any chocolate or assemble your Easter eggs, ensure all your ingredients are measured out and all necessary tools (silicone molds, mixing bowls, spatulas, piping bags) are laid out and ready within arm’s reach. Chocolate sets up relatively quickly, especially almond bark, so having everything handy will prevent unnecessary rushing and potential mistakes. This proactive approach ensures a seamless and enjoyable candy-making experience.
Patience is Key: Allow Chocolate to Fully Set
Resist the urge to rush the setting process. Before attempting to remove your beautiful marshmallow eggs from their silicone molds, it is absolutely crucial to ensure the chocolate coating is completely firm and hardened. If you try to demold them too soon, the chocolate will be soft and pliable, leading to smudges, cracks, or even completely misshapen eggs. Placing the molds in the refrigerator for 10-15 minutes can significantly speed up this setting time, guaranteeing crisp, clean edges.
Maintain Pristine Appearance: Utilize Food Grade Gloves
For a truly professional finish and to avoid unsightly fingerprints on your glossy chocolate eggs, consider wearing food-grade gloves when handling and removing the chocolates from the molds. The natural oils and warmth from your fingertips can leave smudges or even partially melt the chocolate surface. Gloves provide a barrier, keeping your marshmallow eggs pristine and beautifully presented, ready for their grand reveal.
Perfect Melting Technique: Melt Chocolate Slowly and Gently
Whether you’re using a double boiler or a microwave, the key to perfectly melted chocolate is patience and gentle heat. If using the microwave, heat your chocolate in short bursts (15-30 second intervals), stirring thoroughly after each interval. This prevents localized overheating and burning, which can cause chocolate to seize (become clumpy and unworkable). Continue heating and stirring until the chocolate is smooth, glossy, and fully melted. A double boiler offers more controlled, even heating, reducing the risk of overheating.
Achieve Smooth Shells: Tap Out Air Bubbles
Once you’ve spooned the melted chocolate into your silicone molds, gently tap the molds against your countertop a few times. This simple step helps to release any trapped air bubbles, which can cause imperfections or small holes in your chocolate shell. You can repeat this tapping motion after piping in the marshmallow filling to ensure a dense, uniform filling without air pockets, resulting in a perfectly smooth and beautiful finished egg.
Creative Decoration Ideas: Beyond the Drizzle
While drizzling with colorful candy melts is fantastic, don’t stop there! Consider edible markers to draw intricate designs, use small cookie cutters to create fondant shapes to adhere to the eggs, or even dust them lightly with cocoa powder or gold luster dust for an elegant touch. A tiny edible flower on top of each egg can also add a charming, sophisticated appeal.
Frequently Asked Questions About Easter Marshmallow Eggs
Can I use regular marshmallows instead of marshmallow fluff?
Absolutely! If marshmallow fluff isn’t readily available, or if you prefer to make your filling from scratch, you can certainly melt down regular marshmallows. To achieve a texture similar to fluff, gently melt your marshmallows in a microwave-safe bowl (in short intervals, stirring frequently) or over a double boiler. Once melted and smooth, incorporate the softened butter and a tiny splash of water (if needed) to create that fluffy consistency. Then, proceed by mixing in the powdered sugar and vanilla extract as per the recipe. This method yields a delicious and workable marshmallow filling.
How can I prevent the chocolate from cracking when biting into the eggs?
Preventing chocolate from cracking upon biting involves a couple of key factors. Firstly, ensure your chocolate coating is fully set before serving or handling the eggs. Chocolate that hasn’t completely hardened tends to be more brittle. Secondly, applying a slightly thicker chocolate shell can help. A robust coating provides more structural integrity, reducing the likelihood of cracking. Finally, avoid storing the eggs in extremely cold temperatures, as very cold chocolate can become quite hard and more prone to shattering. Room temperature storage, as recommended, is ideal for the best eating experience.
Why did my chocolate seize?
Chocolate seizing is a common issue that occurs when even a tiny amount of moisture comes into contact with melted chocolate, or when the chocolate is overheated. Seizing causes the chocolate to instantly transform from a smooth, glossy liquid into a thick, lumpy, unworkable paste. To prevent this, ensure all your equipment (bowls, spatulas) is completely dry. Also, avoid overheating the chocolate by using gentle heat and frequent stirring, especially when using a microwave. If your chocolate does seize, sometimes you can rescue it by stirring in a tablespoon or two of a neutral oil (like vegetable or coconut oil) until it becomes smooth again, though it might not have the same snap.
Can I use different shapes of silicone molds?
Absolutely! While egg-shaped molds are perfect for Easter, feel free to use other silicone candy molds you might have on hand. Bunny shapes, chick shapes, or even simple round molds would work wonderfully. The key is that the mold allows for a chocolate shell to be formed and then filled with the marshmallow mixture. This versatility lets you customize your holiday treats even further!
How do I achieve a super smooth marshmallow filling?
For the smoothest marshmallow filling, ensure your butter is truly softened to room temperature before mixing. Use an electric mixer (stand or hand mixer) to combine the ingredients thoroughly until no lumps remain and the mixture is uniformly creamy. Sifting your powdered sugar before adding it to the marshmallow fluff can also prevent tiny lumps and ensure a silken texture. Don’t be afraid to mix for a few minutes until it’s perfectly smooth.
What if my marshmallow mixture is too sticky to handle?
If your marshmallow mixture is excessively sticky, it likely needs a bit more powdered sugar. Gradually add more powdered sugar, a tablespoon at a time, mixing well after each addition, until the mixture is firm enough to handle or pipe without sticking excessively to your hands or tools. The ideal consistency should be thick and pliable, but not overly wet or gooey.
More Easy Easter Dessert Ideas
If you’re looking for more inspiration to fill your Easter dessert table with delectable treats, consider these other fantastic recipes. Each one is simple to make and sure to be a hit with your holiday guests:
- Easter Marshmallow Bark: A delightful, colorful bark loaded with marshmallows and sprinkles.
- Carrot Cake Cheesecake: A rich and creamy cheesecake with the classic flavors of carrot cake.
- Easter Pudding Cookies: Soft, chewy cookies infused with pudding for extra tenderness and flavor.

Easter Marshmallow Eggs
Ingredients
- 1 7 ounce jar marshmallow fluff
- 6 tablespoons salted butter softened
- 1/4 teaspoon vanilla extract
- 3 cups powdered sugar
- 1 cup each colored candy melts yellow, pink, blue, or your choice
- 1 pound chocolate almond bark divided
- 16 count silicone egg molds
Instructions
-
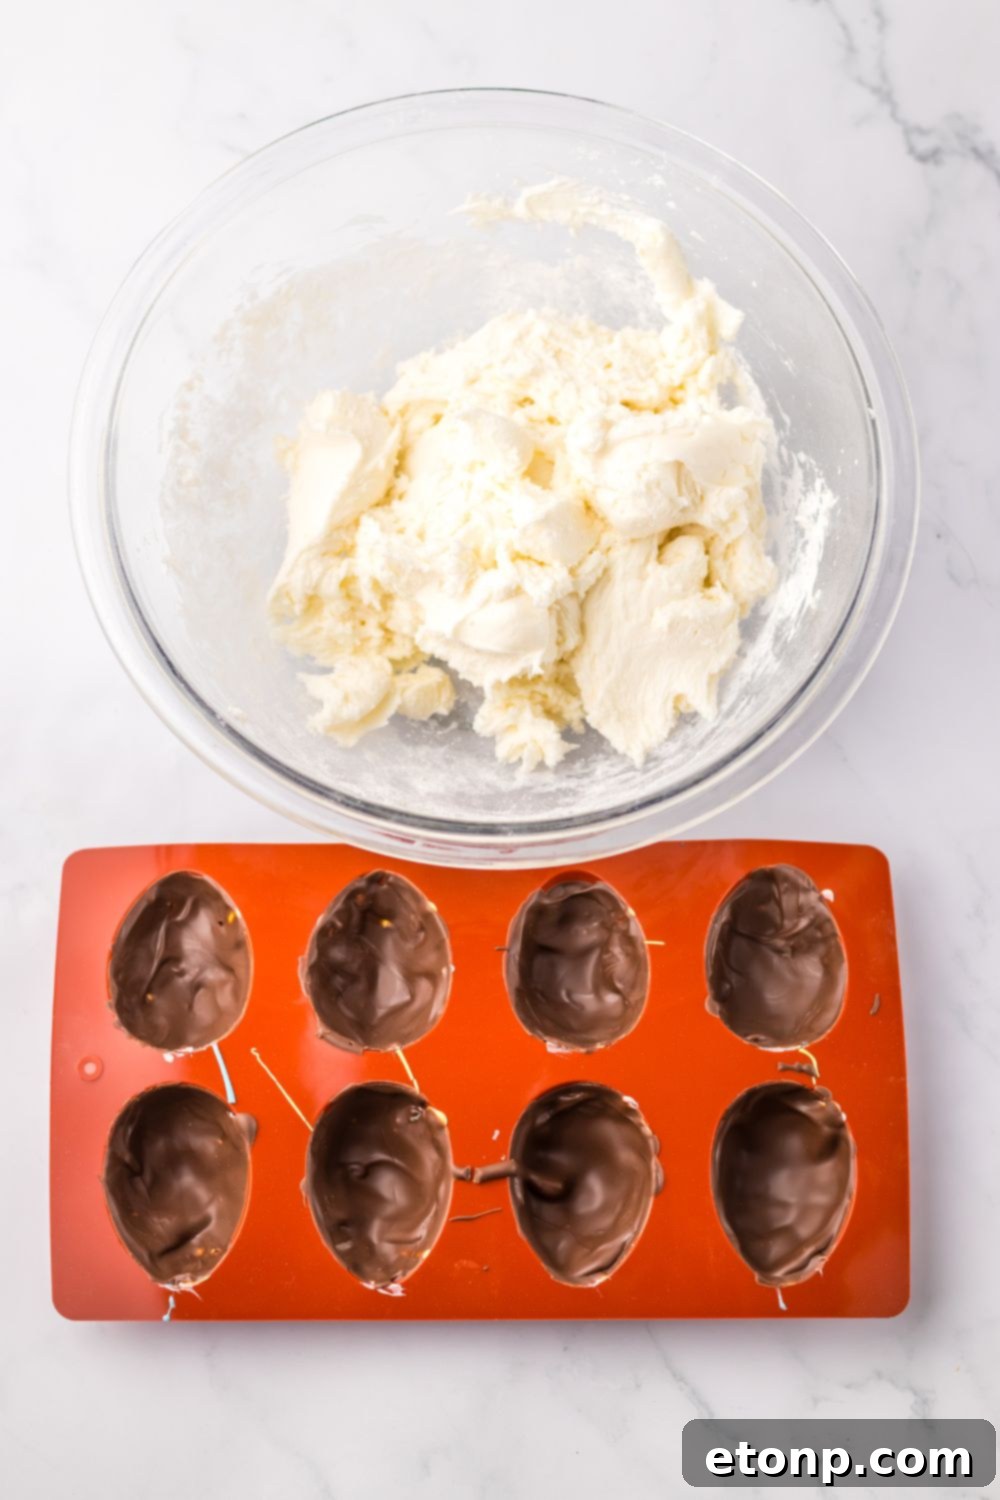
In a large mixing bowl, combine the marshmallow fluff, softened butter, powdered sugar, and vanilla extract. Use a stand mixer or a hand mixer to beat these ingredients together until they are thoroughly mixed and form a smooth, pliable marshmallow filling. Scrape down the sides of the bowl as needed to ensure everything is well incorporated.
-
Prepare your colored candy melts. Place each color (yellow, pink, blue, or your chosen shades) into separate microwave-safe bowls. Melt each color in 30-second intervals, stirring well after each interval, until completely melted and smooth. Be careful not to overheat.
-
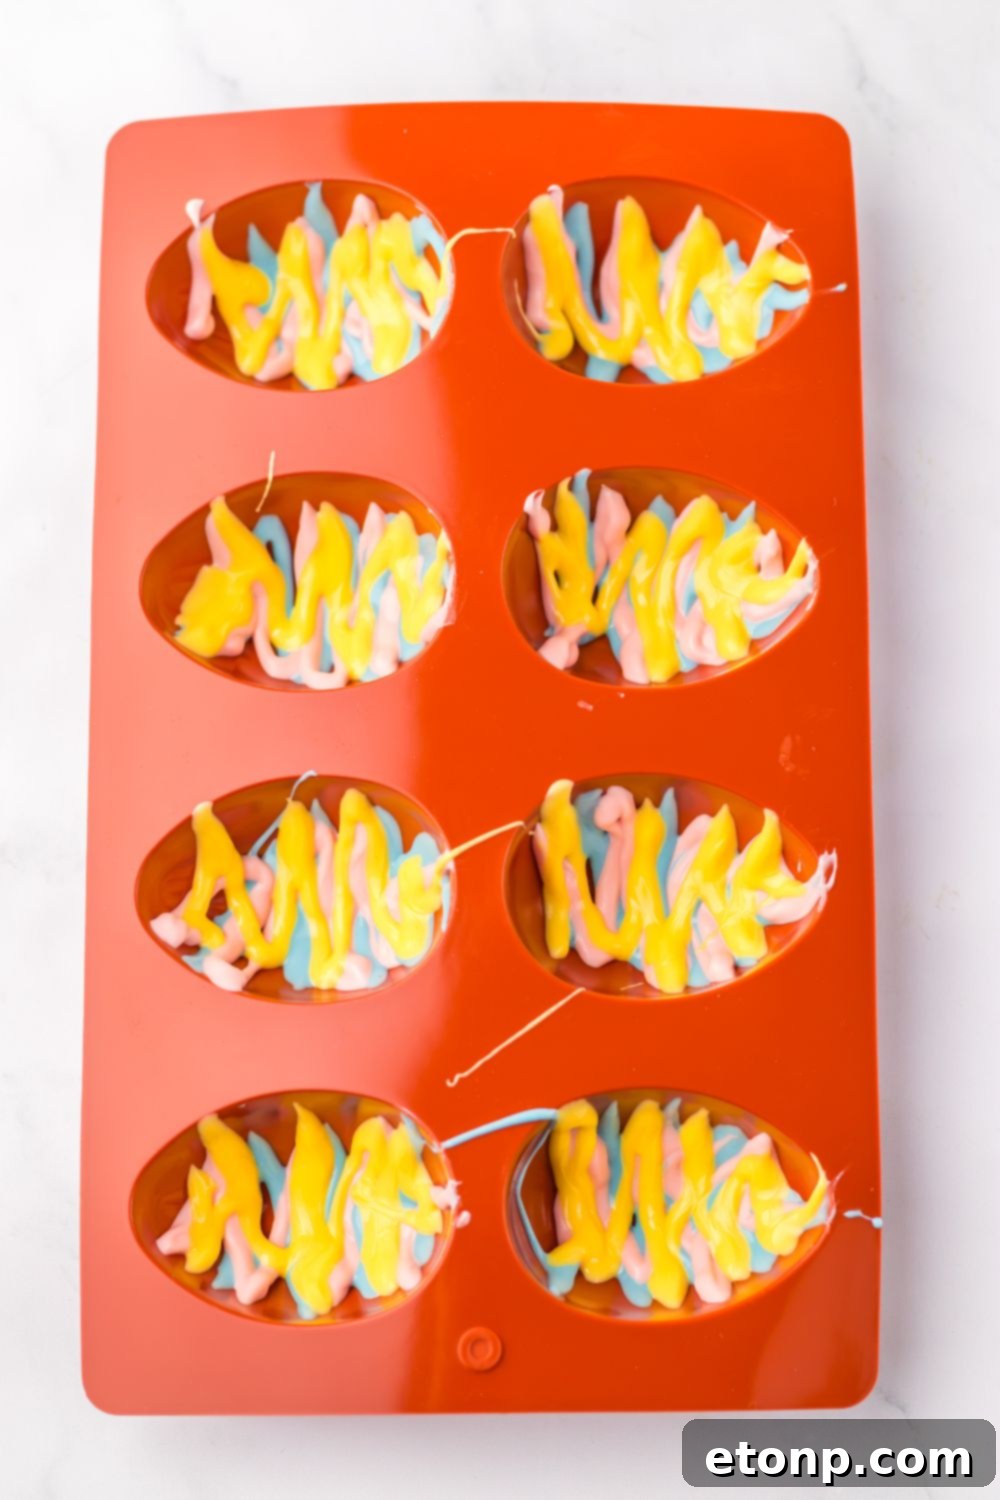
Take your silicone egg molds. Using a spoon or a small piping bag, artistically drizzle each melted colored candy melt into different sections of the egg molds. This creates a beautiful, variegated design on the outside of your chocolate eggs.
-
In a separate microwave-safe bowl, melt half of the chocolate almond bark using 30-second intervals, stirring until smooth and fluid.
-
Spoon a generous amount of the melted chocolate almond bark into each silicone egg mold, ensuring it coats the bottom and sides thoroughly. Use the back of the spoon or a small brush to spread the chocolate evenly up the sides of the mold, forming a solid chocolate shell.
-
Invert the molds onto a cooling rack placed over parchment paper to allow any excess chocolate to drip off. This creates a thinner, more consistent shell. Let the chocolate set completely, or place in the refrigerator for 5-10 minutes to speed up the process.
-
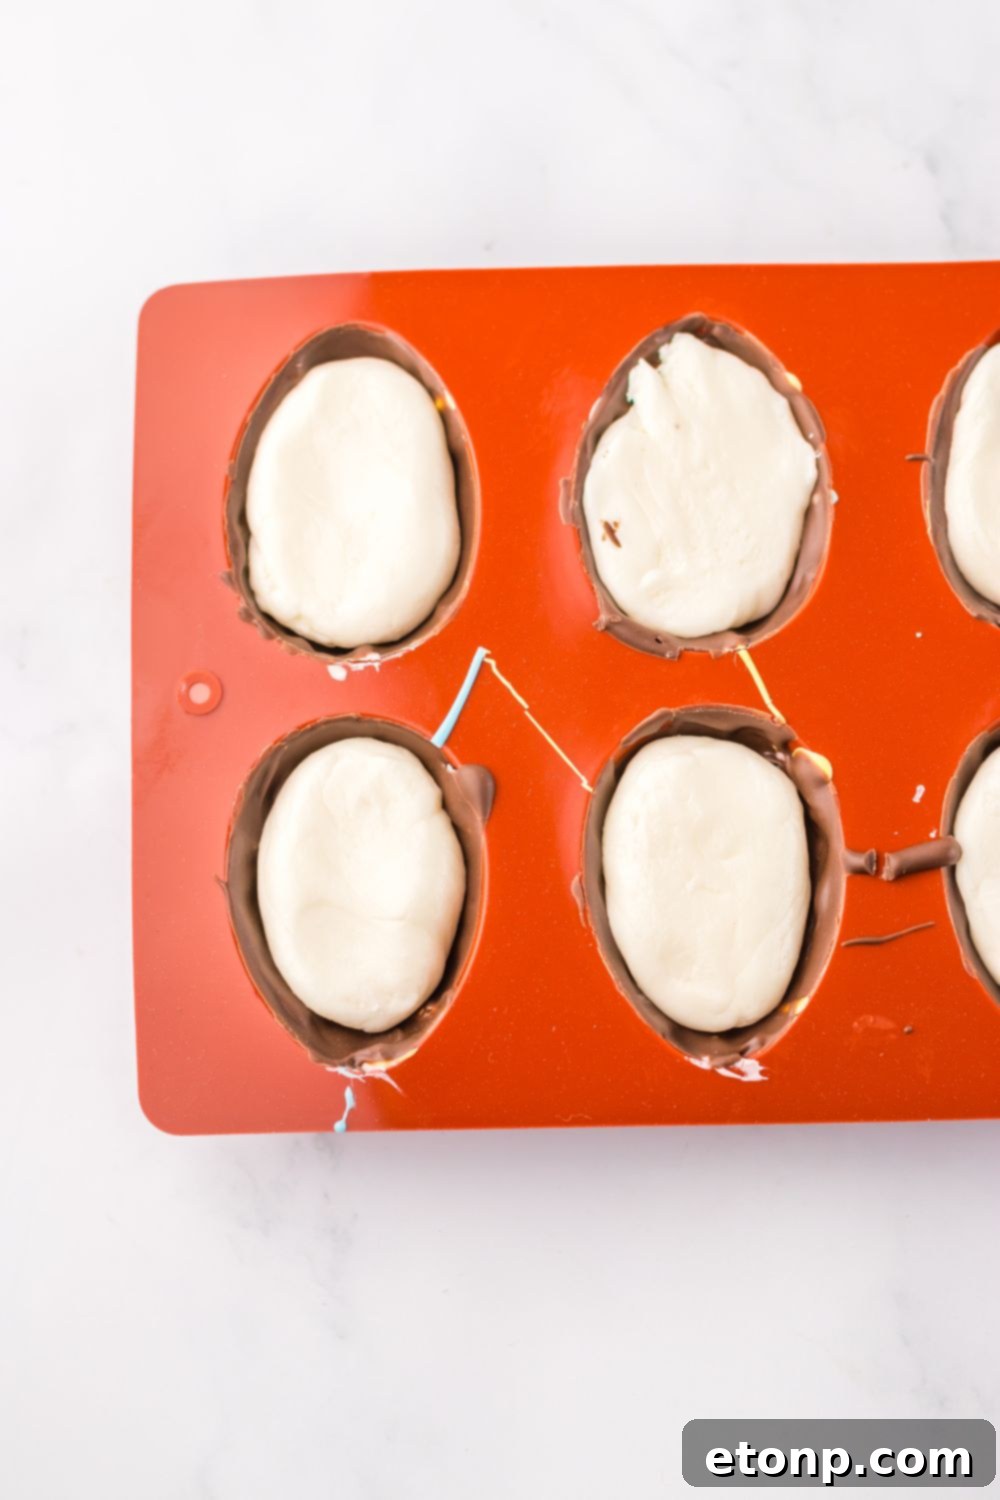
Once the chocolate shells are firm, carefully divide the prepared marshmallow mixture among the egg molds. Gently press or pipe the marshmallow into the chocolate shells, filling them almost to the top, leaving a small gap for the final chocolate layer.
-
Melt the remaining half of the chocolate almond bark until smooth. Spoon this melted chocolate over the marshmallow filling in each mold, spreading it gently to seal the bottom of the eggs. Ensure the marshmallow is fully covered by the chocolate.
-
Allow the chocolate eggs to set completely. This can be done at room temperature for about 2 hours, or you can place them in the refrigerator for a quicker set, typically 10-15 minutes, until they are firm to the touch.
-
Once fully set, carefully remove the Easter marshmallow eggs from the silicone molds by gently peeling back the silicone. Handle with food-grade gloves if you wish to avoid fingerprints on the smooth chocolate surface.
-
Serve your gorgeous homemade Easter Marshmallow Eggs and enjoy the delightful combination of rich chocolate and fluffy marshmallow! Store any leftovers in an airtight container at room temperature.
Did you make this recipe?
Make sure to follow on Pinterest for more recipes and share your beautiful creations!
Pin Recipe
Share on Facebook