
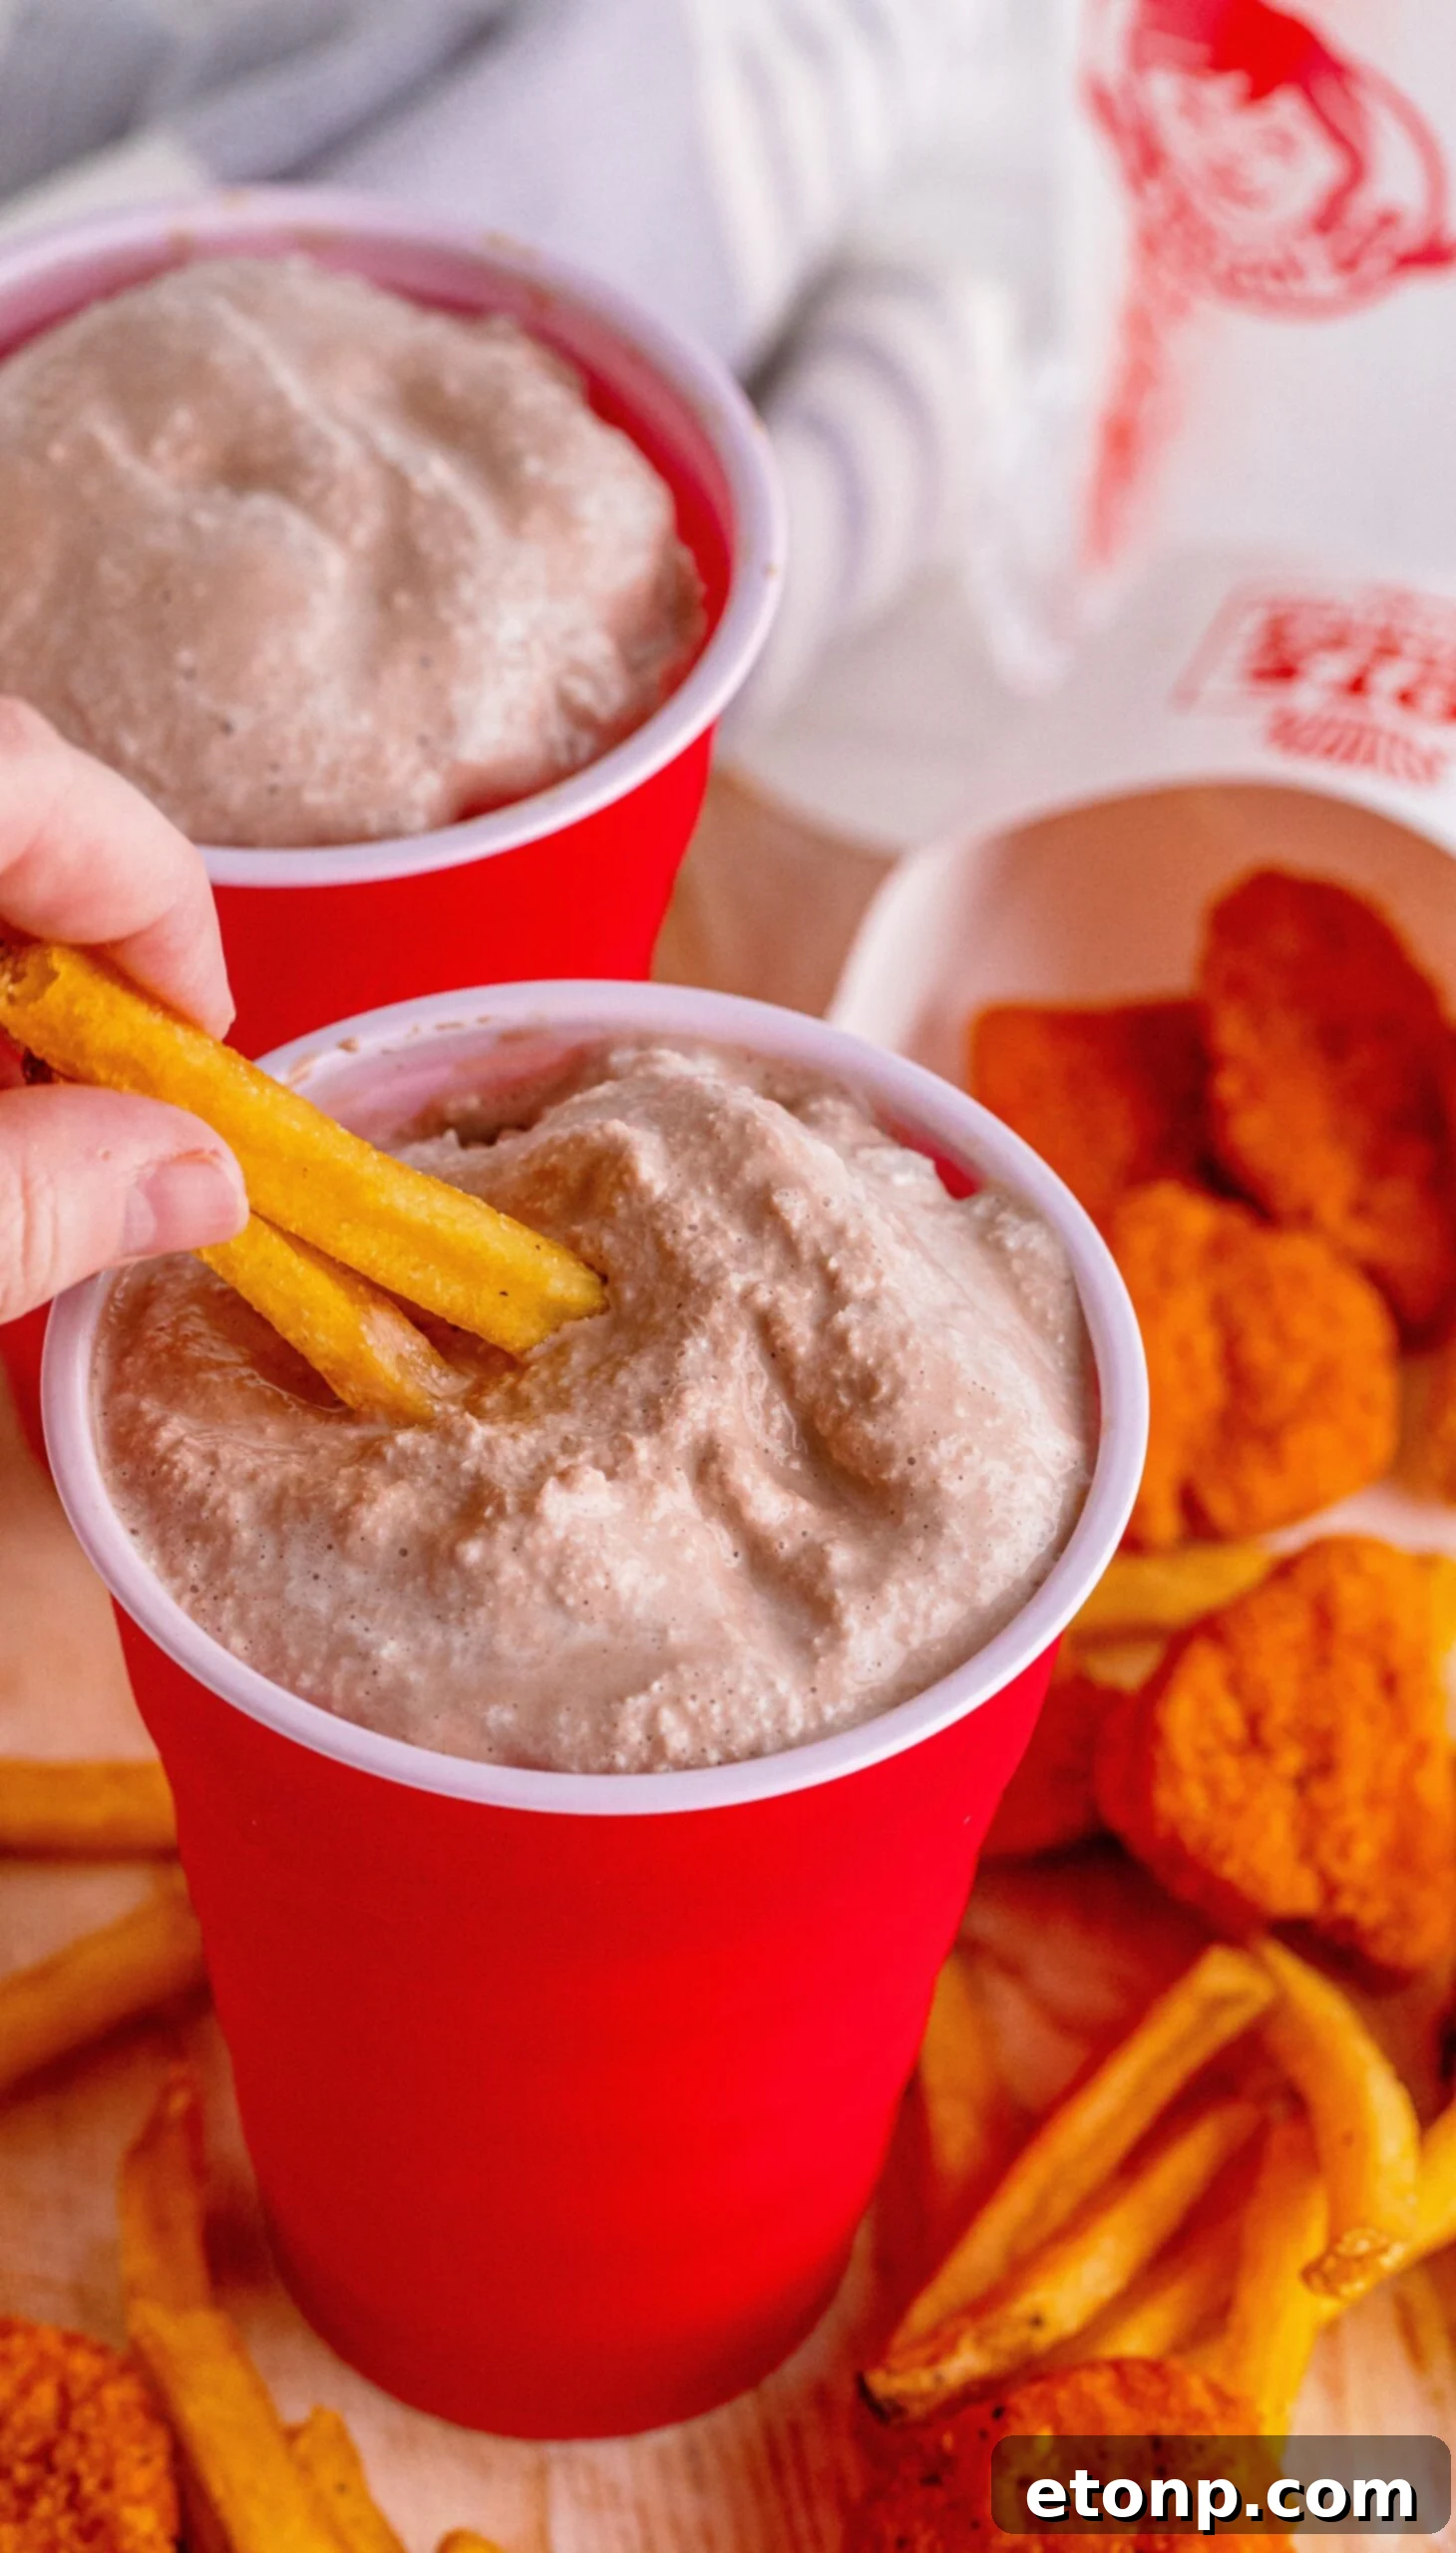
Master the Art of the Copycat Wendy’s Frosty: Your Ultimate Homemade Recipe Guide
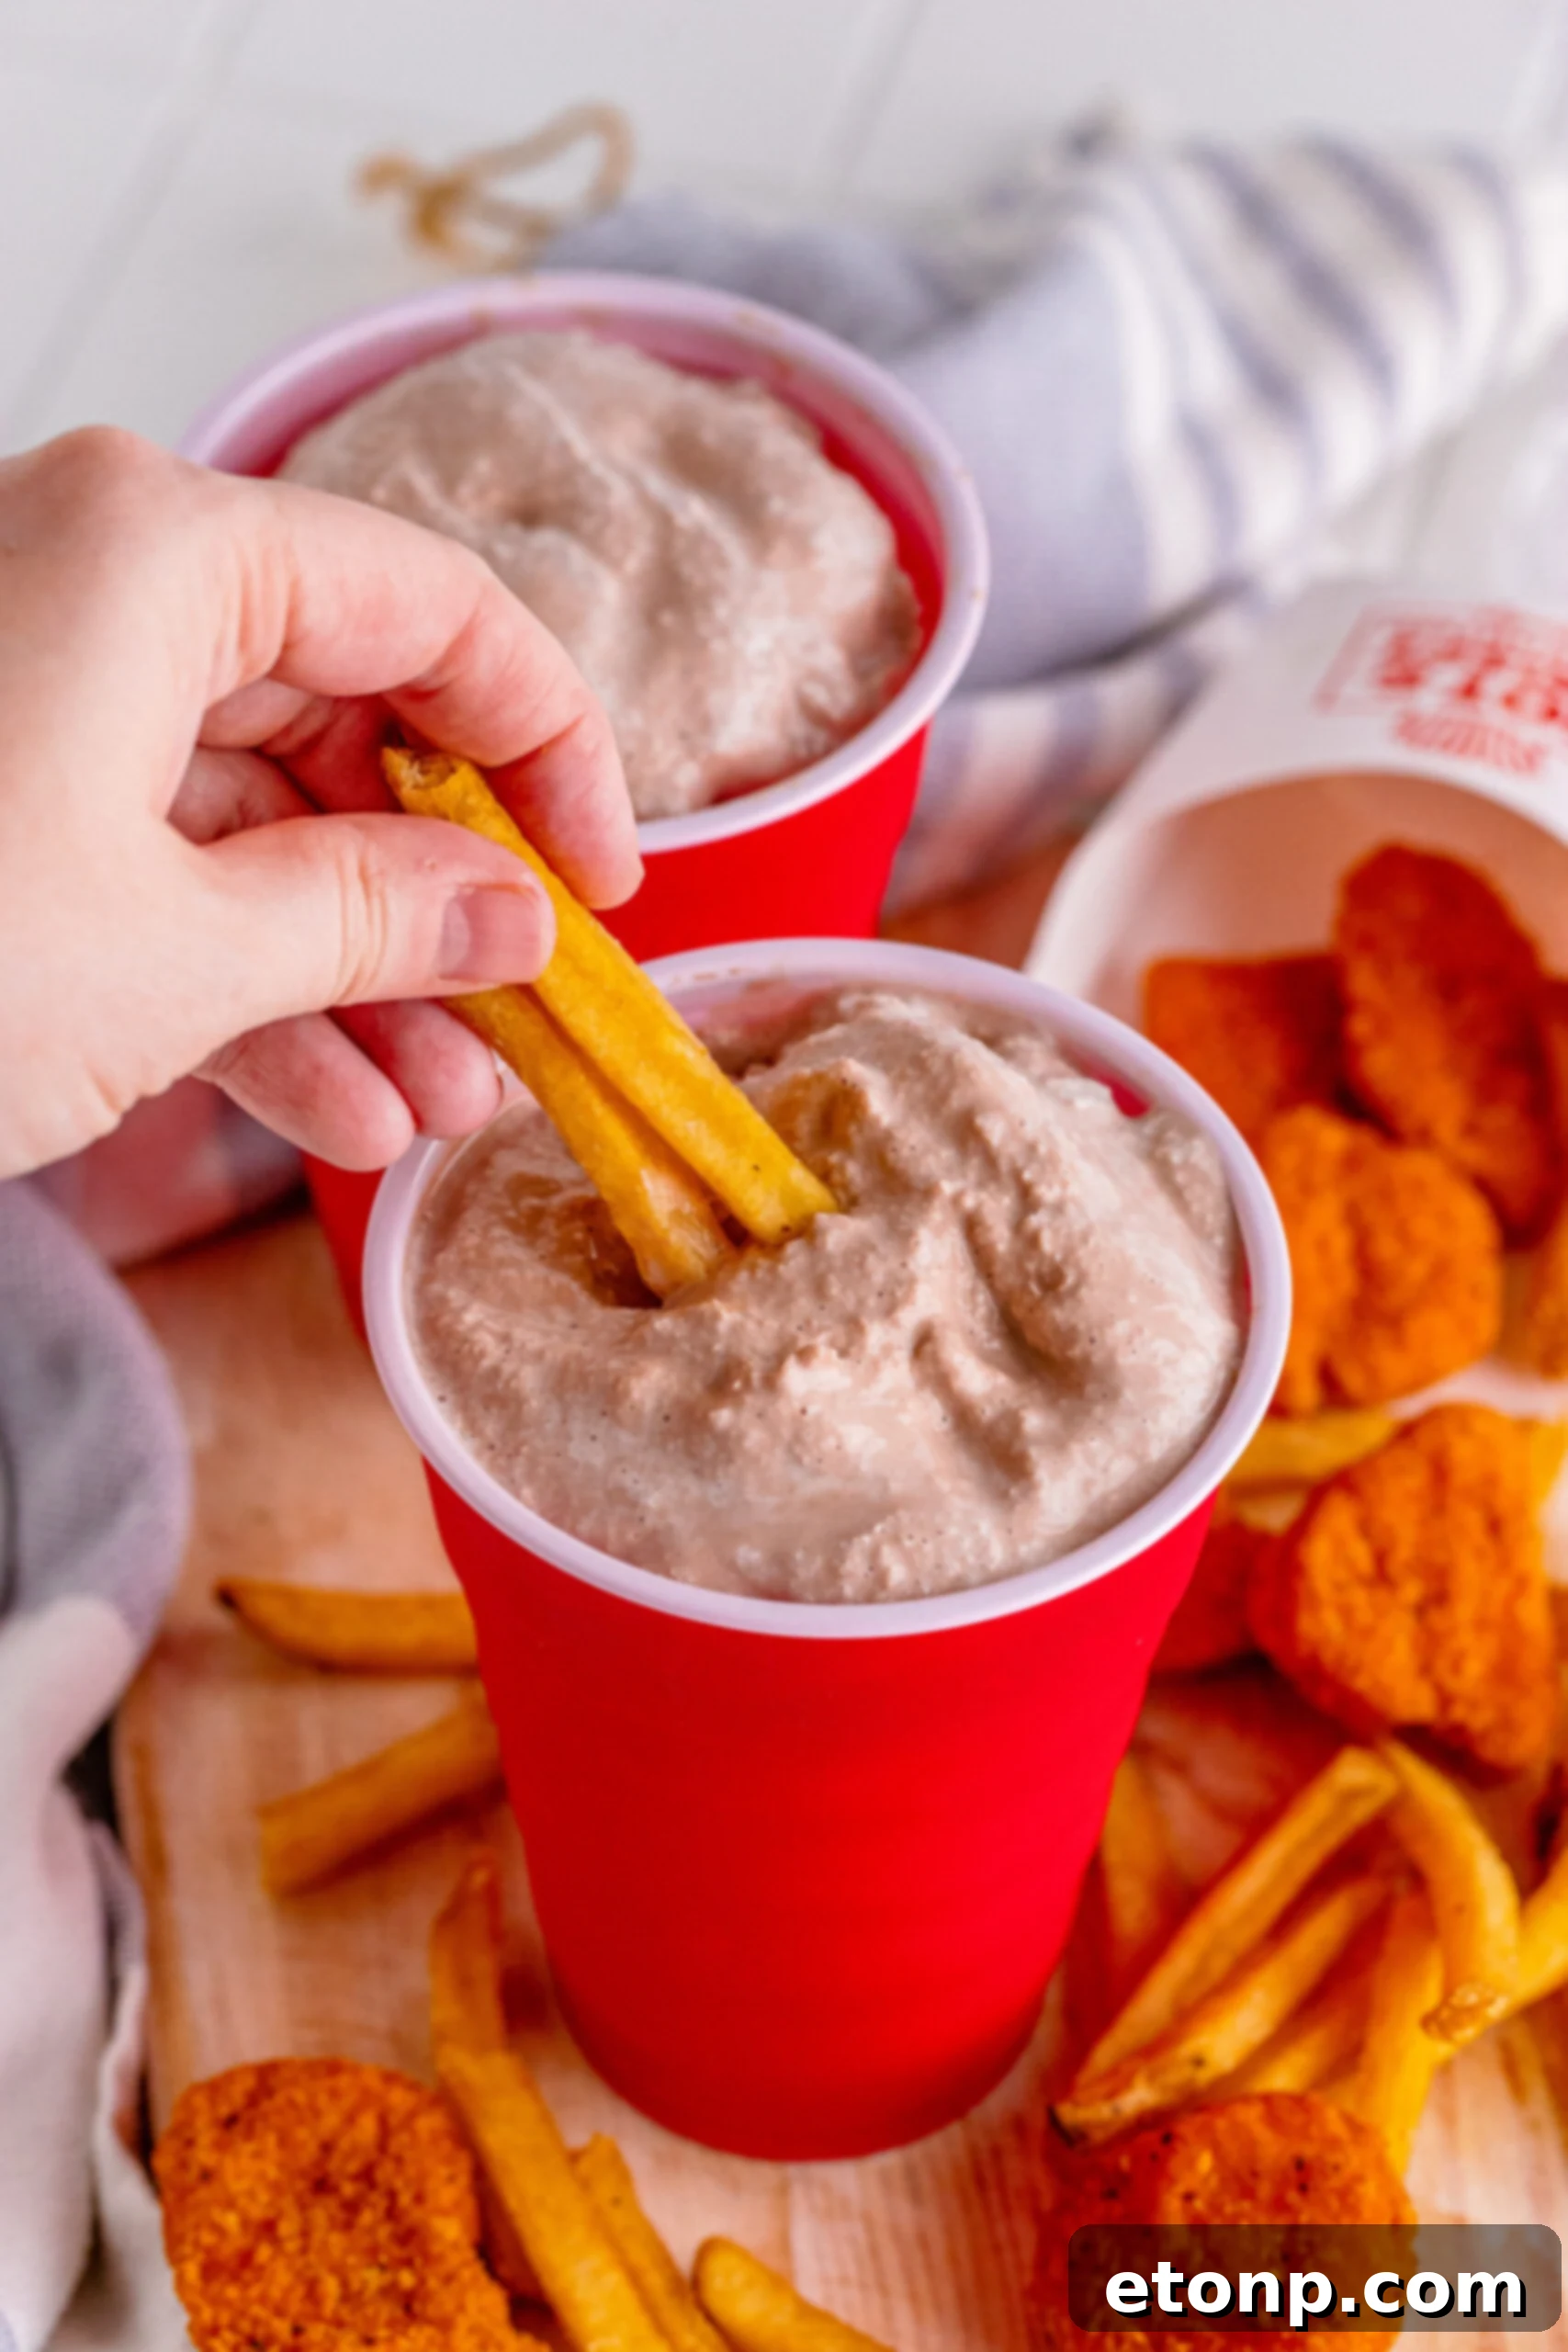
Have you ever found yourself craving that iconic, creamy, chocolatey indulgence from Wendy’s, but didn’t want to leave the comfort of your home? Or perhaps you’re looking for a way to enjoy that beloved frozen treat more often without the constant trips to the drive-thru? Look no further! This comprehensive guide will show you how to craft a truly authentic Copycat Wendy’s Frosty right in your own kitchen. Prepare to be amazed by how simple it is to recreate this classic dessert with just a handful of ingredients.
Why This Homemade Frosty Recipe is a Game-Changer
If you’re a long-time admirer of Wendy’s signature frozen treats, the idea of whipping up a batch at home might seem like a dream. But it’s a dream that’s easily achievable with this delicious Copycat Wendy’s Frosty recipe. Forget about the endless trips to the fast-food chain; imagine having a limitless supply of your favorite chocolatey delight, ready whenever the craving strikes! This recipe isn’t just easy; it’s incredibly satisfying and bursts with the genuine Frosty flavor you know and love. It’s perfect for a spontaneous treat, a family dessert, or even as a unique addition to your homemade burger night.
The Allure of Your Own Kitchen-Made Frosty
How many times has the siren song of a Wendy’s Frosty called to you? Whether it’s the perfect companion to a hot order of fries, a refreshing finish to a savory burger, or a stand-alone sweet indulgence, the Frosty holds a special place in many hearts. Now, imagine having the power to conjure this delightful frozen confection whenever you desire, without stepping foot outside. This homemade version offers unparalleled convenience and significant cost savings over time. Instead of repeatedly spending money on individual servings, you can prepare a generous batch at home, store it in your freezer, and enjoy it whenever the mood strikes. It’s not just a recipe; it’s a lifestyle upgrade for Frosty lovers!
Discover Why This Copycat Frosty Recipe Will Become Your Favorite
- Effortless Preparation with Minimal Ingredients: You’ll be astonished at how straightforward it is to create this beloved treat. With a concise list of readily available ingredients and a simple blending process, even novice cooks can achieve Frosty perfection. This recipe streamlines your dessert-making, making indulgence easy and stress-free.
- Customization at Your Fingertips: While this recipe aims for authentic Wendy’s flavor, it also opens the door to endless customization. Feel free to experiment with different flavor enhancers, a sprinkle of chocolate chips, or even a dash of espresso powder for a mocha twist. You can tailor this sweet, cold treat precisely to your preferences, making it uniquely yours every time.
- A Crowd-Pleaser for All Ages: This delightful dessert isn’t just for kids; adults who grew up with Wendy’s Frosty will find themselves transported back to their childhoods. It’s a fantastic recipe for family gatherings, parties, or simply as a comforting treat after a long day. Prepare to be showered with compliments when you serve up this homemade classic.
- A Taste of Nostalgia, Anytime: There’s something truly magical about recreating a childhood favorite. This recipe taps into that nostalgic feeling, allowing you to enjoy the familiar taste of a Wendy’s Frosty whenever you wish. It’s more than just a dessert; it’s a trip down memory lane.
- Budget-Friendly Indulgence: Making your own Frosty is significantly more economical than buying individual servings from the restaurant. You get more bang for your buck, ensuring that delicious frozen treats are always within reach without straining your wallet.
Essential Ingredients for Your Perfect Copycat Wendy’s Frosty
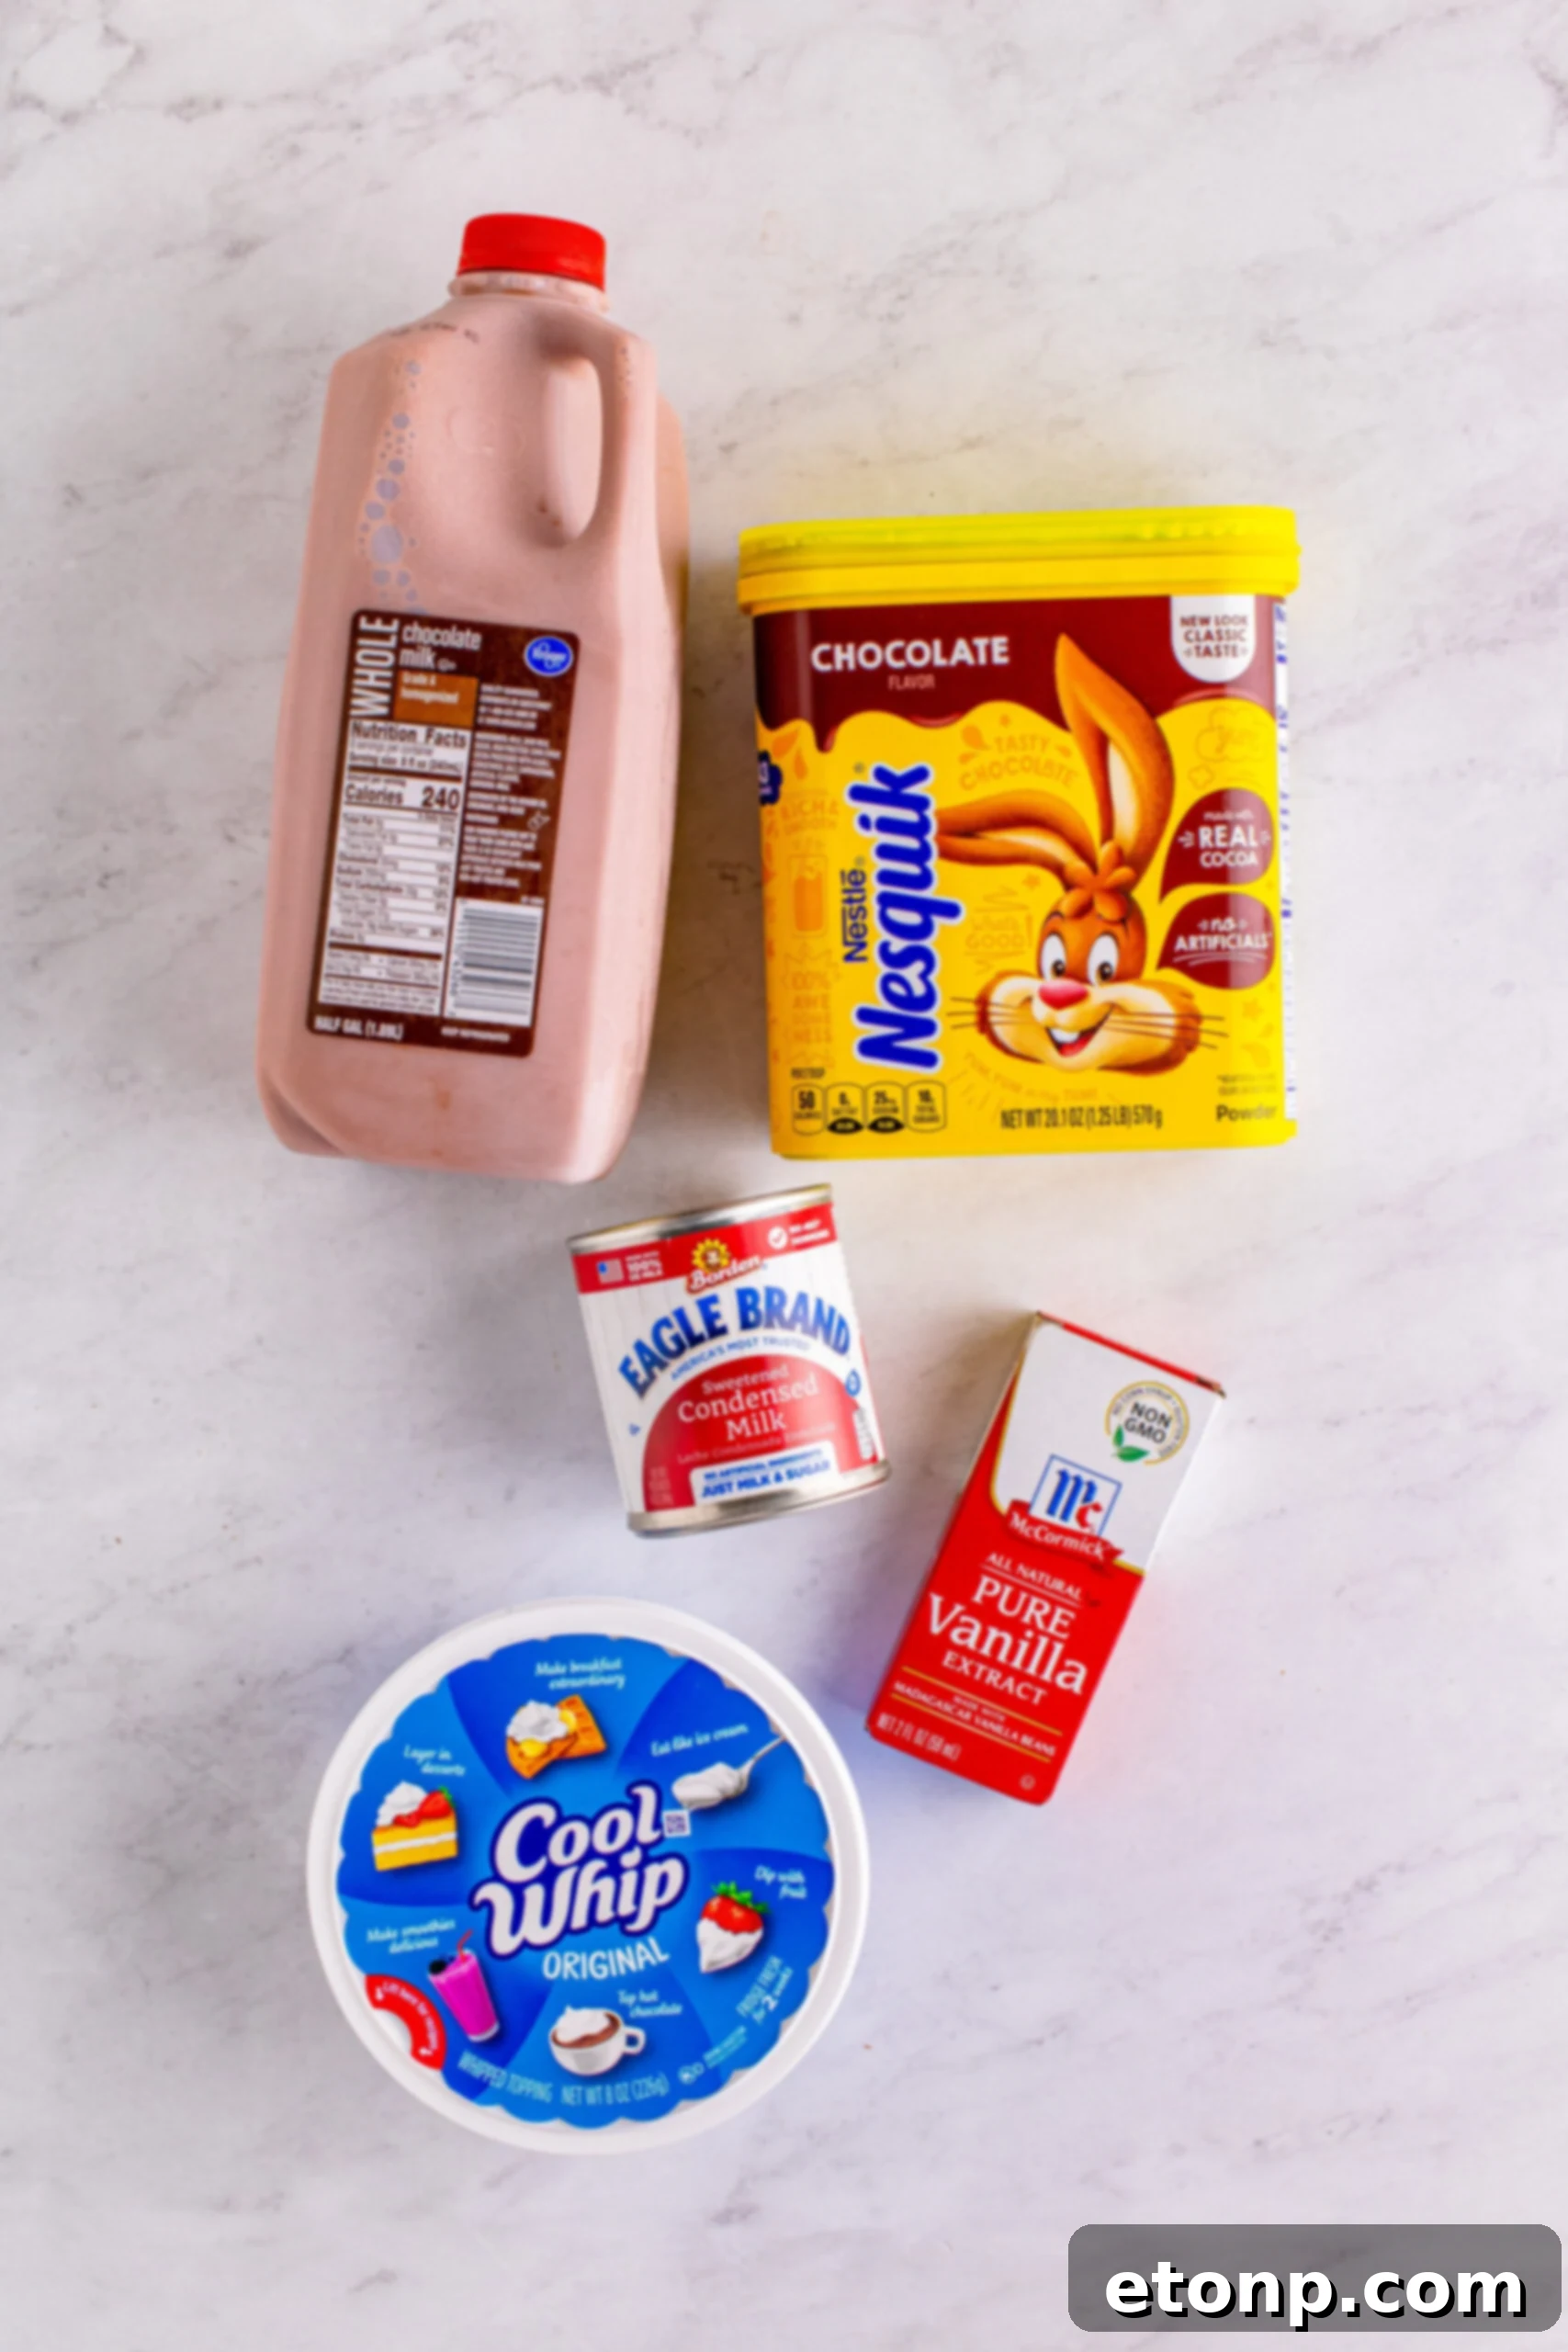
To achieve that unmistakable Wendy’s Frosty taste and texture, gather these key ingredients. Each plays a crucial role in creating the ultimate homemade frozen dessert:
- Chocolate Milk (1/2 Gallon): This forms the creamy base of your Frosty. The quality of your chocolate milk will significantly impact the final flavor. We recommend using your favorite brand that offers a rich, balanced chocolate taste. For an even deeper chocolate profile, consider using a higher-quality, full-fat chocolate milk. You can also make your own by combining whole milk with a good quality sweetened cocoa powder.
- Nesquik Powder (6 Tablespoons): This ingredient is a secret weapon for intensifying the chocolate flavor and adding to the signature sweetness. It helps to achieve that unique, slightly malty chocolate note that sets Wendy’s Frosty apart. Don’t skip it, as it contributes significantly to the authentic taste.
- Sweetened Condensed Milk (14 ounces): This is key for both sweetness and an incredibly smooth, dense texture. Sweetened condensed milk adds a depth of flavor and creaminess that is hard to replicate with just sugar. It prevents the Frosty from becoming too icy, ensuring that velvety mouthfeel.
- Whipped Topping (8 ounces): Often found in the frozen dessert aisle, whipped topping contributes to the light, airy, and ultra-creamy consistency of the Frosty. It incorporates air into the mixture, giving it that soft-serve-like quality. Make sure to get a container that is already thawed or easily foldable into the mixture.
- Vanilla Extract (1 Teaspoon): A small amount of vanilla extract goes a long way in enhancing the overall flavor profile. It doesn’t make the Frosty taste like vanilla, but rather rounds out the chocolate notes, adding complexity and depth to the sweetness.
Frequently Asked Questions About Making Your Homemade Frosty
What type of chocolate milk yields the best results for this recipe?
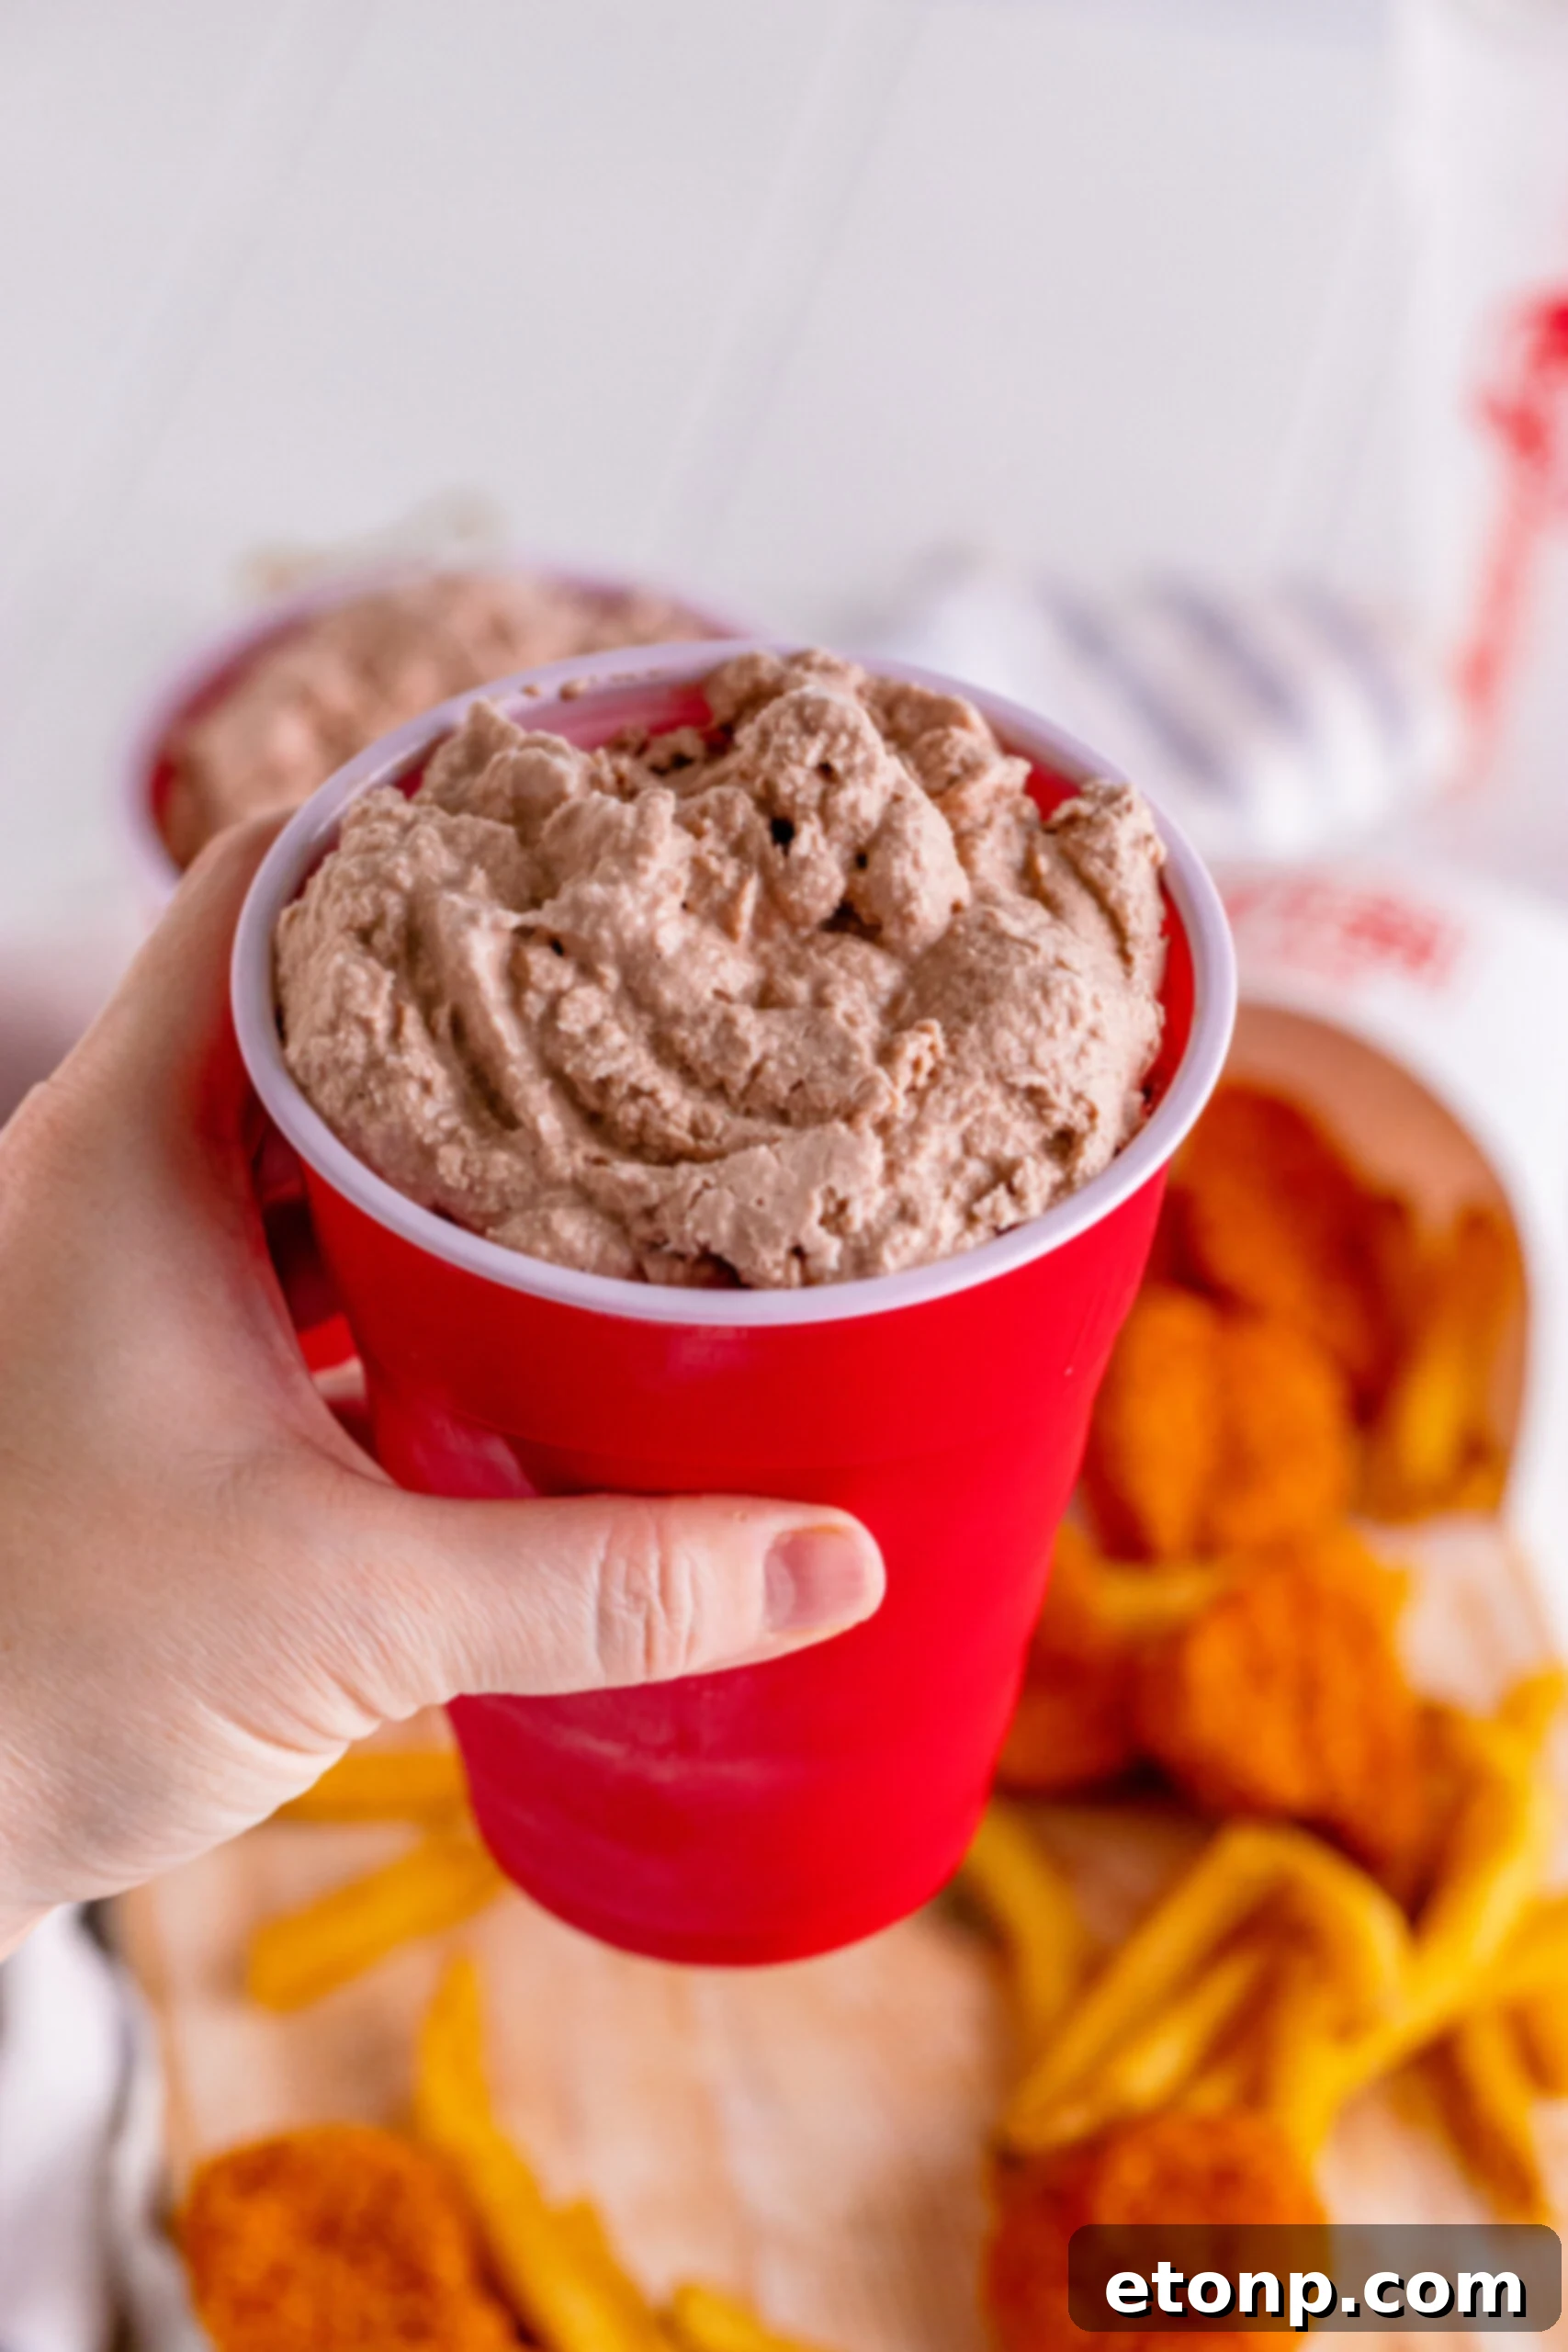
You have considerable flexibility here! While any brand of chocolate milk will work, we recommend choosing one you genuinely enjoy drinking. For an even richer and creamier Frosty, a full-fat chocolate milk often provides the best texture. If you prefer to have more control over the sugar content or want a specific chocolate intensity, you can easily prepare your own by mixing your preferred milk (dairy or non-dairy) with high-quality sweetened or unsweetened cocoa powder and a sweetener of your choice. Just ensure it’s well combined before adding it to the blender.
What is the optimal way to combine these ingredients for the perfect Frosty consistency?
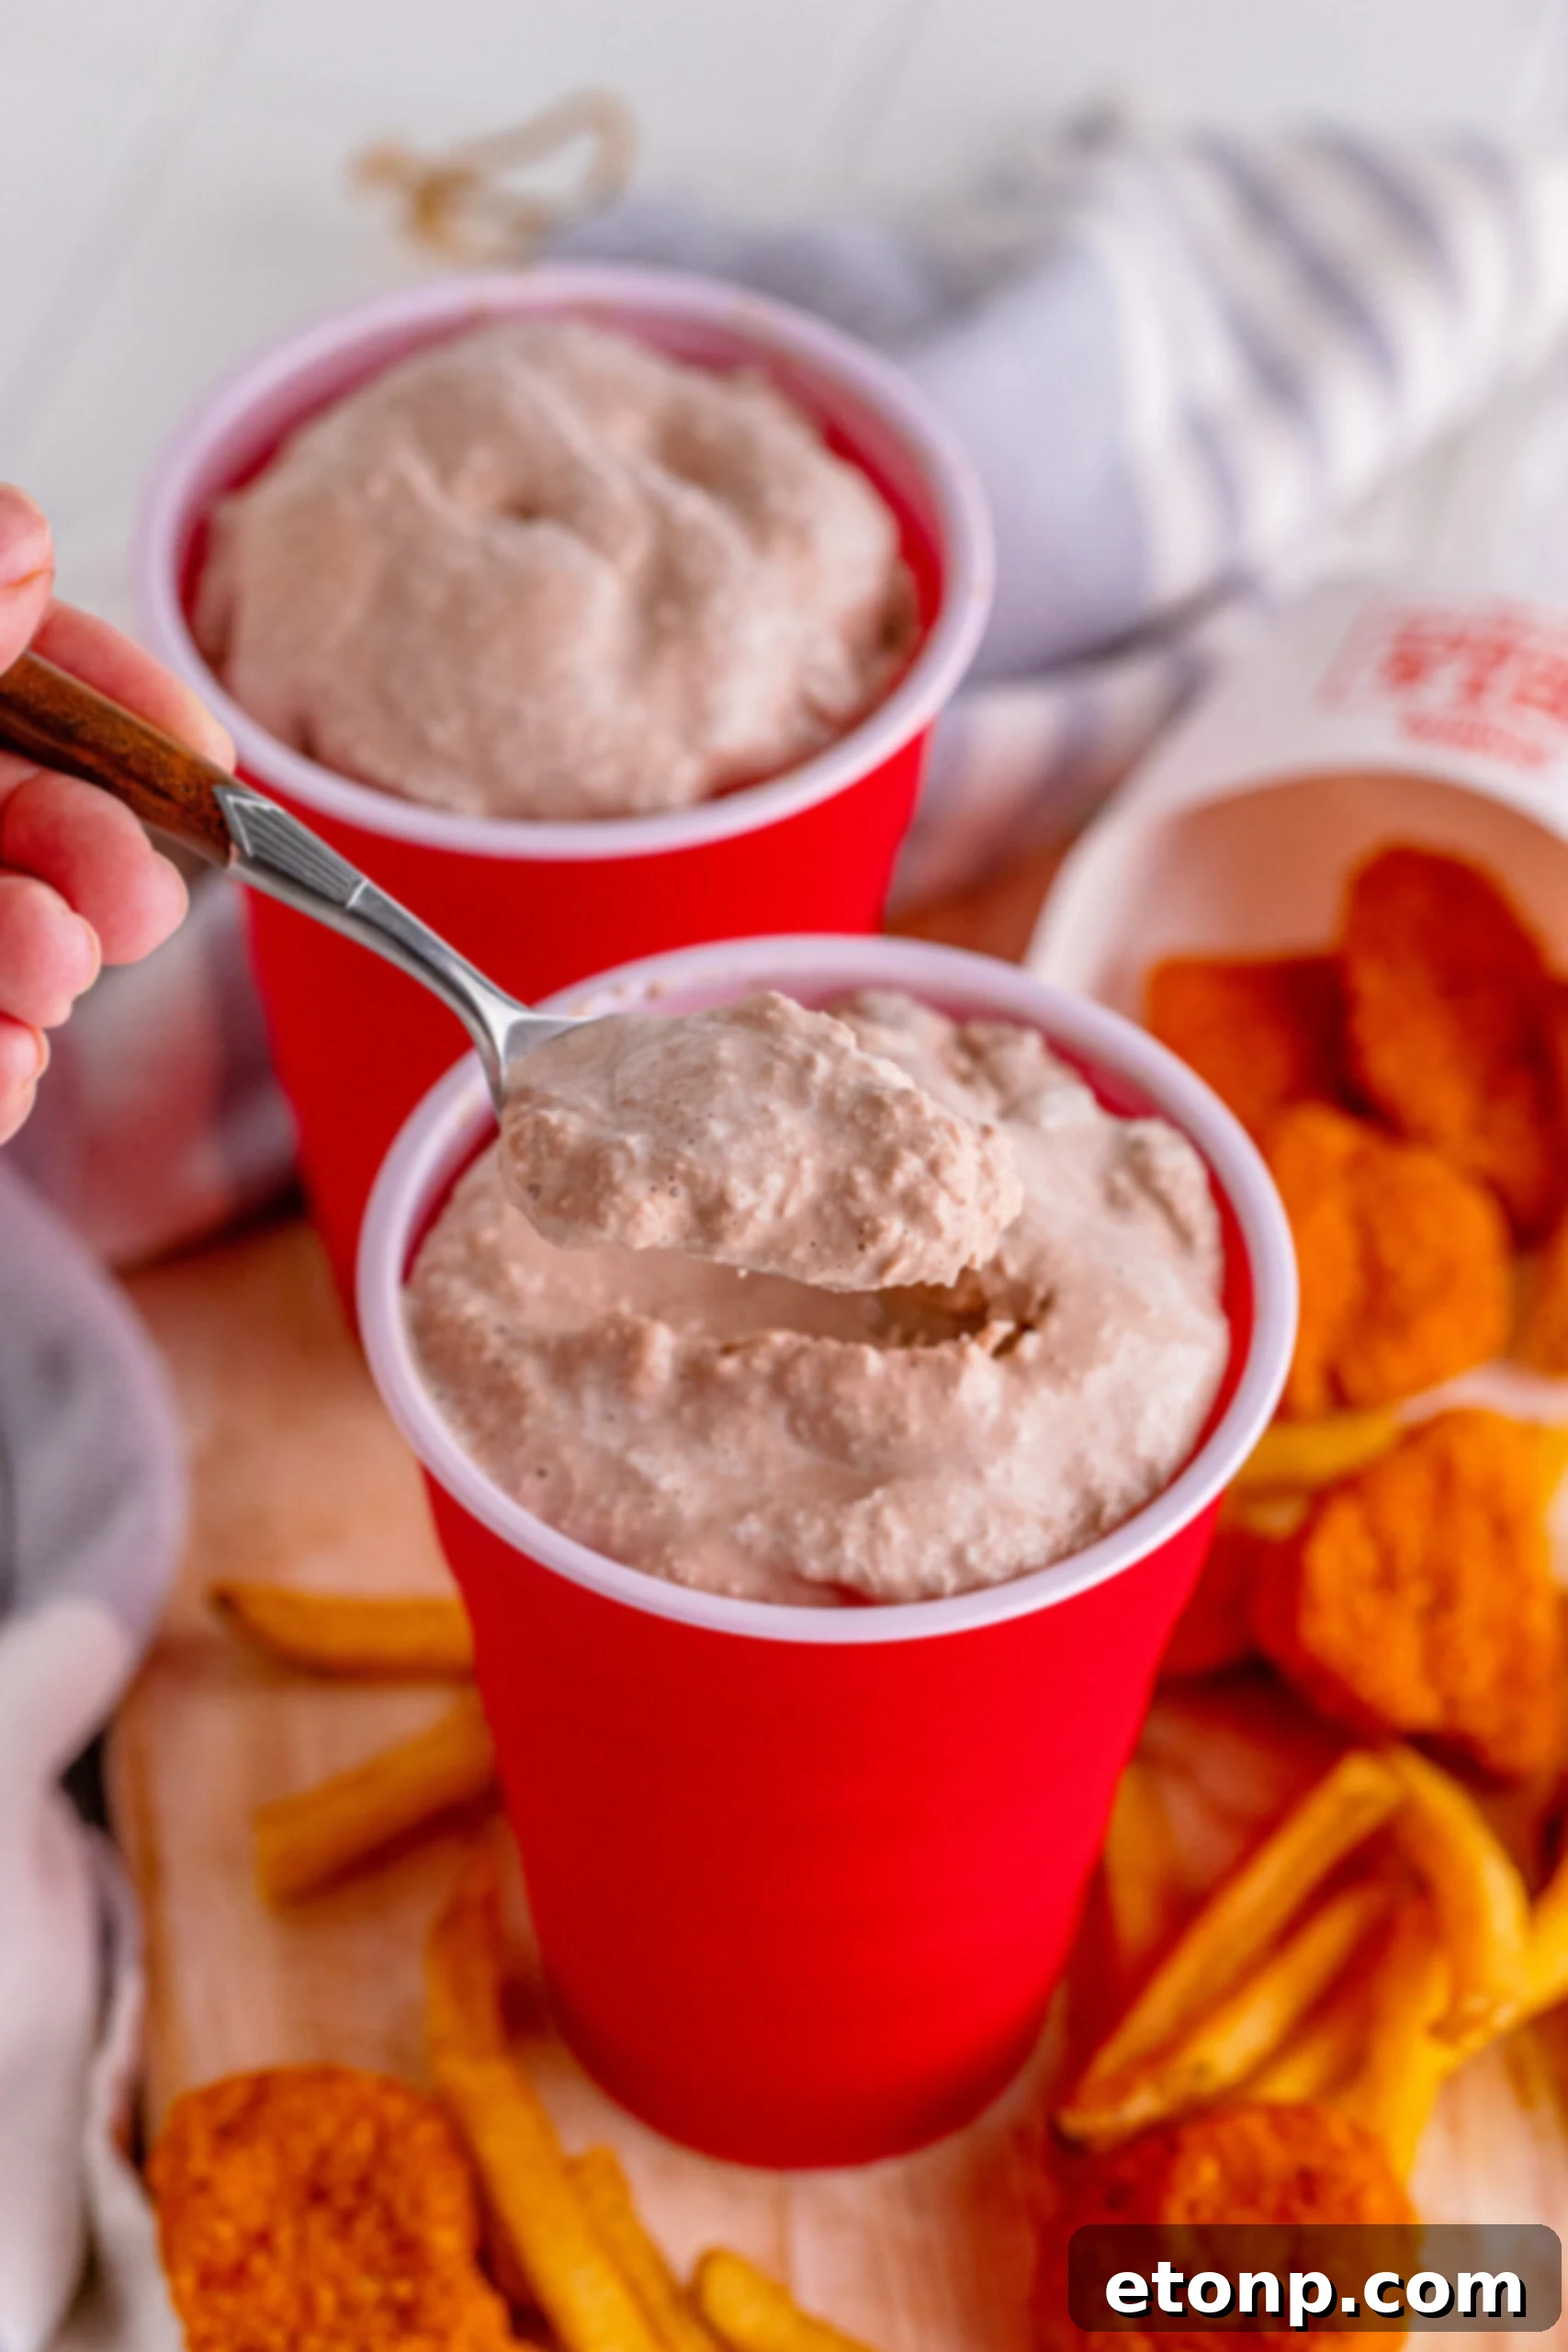
The key to a perfectly smooth and uniform Frosty lies in thorough blending. The most effective method is to combine your ingredients in a high-speed blender. Blend until all components are completely mixed and the mixture reaches your desired consistency. Some enthusiasts prefer a thicker, more spoonable texture, similar to soft-serve ice cream, which requires less blending time and perhaps slightly less liquid. Others favor a thinner, milkshake-style consistency that’s easy to drink through a straw, which may require a bit more blending or a touch more milk. Keep an eye on the texture as you blend, stopping when it’s just right for you.
How long does it typically take for the Frosty mixture to freeze to the ideal texture?
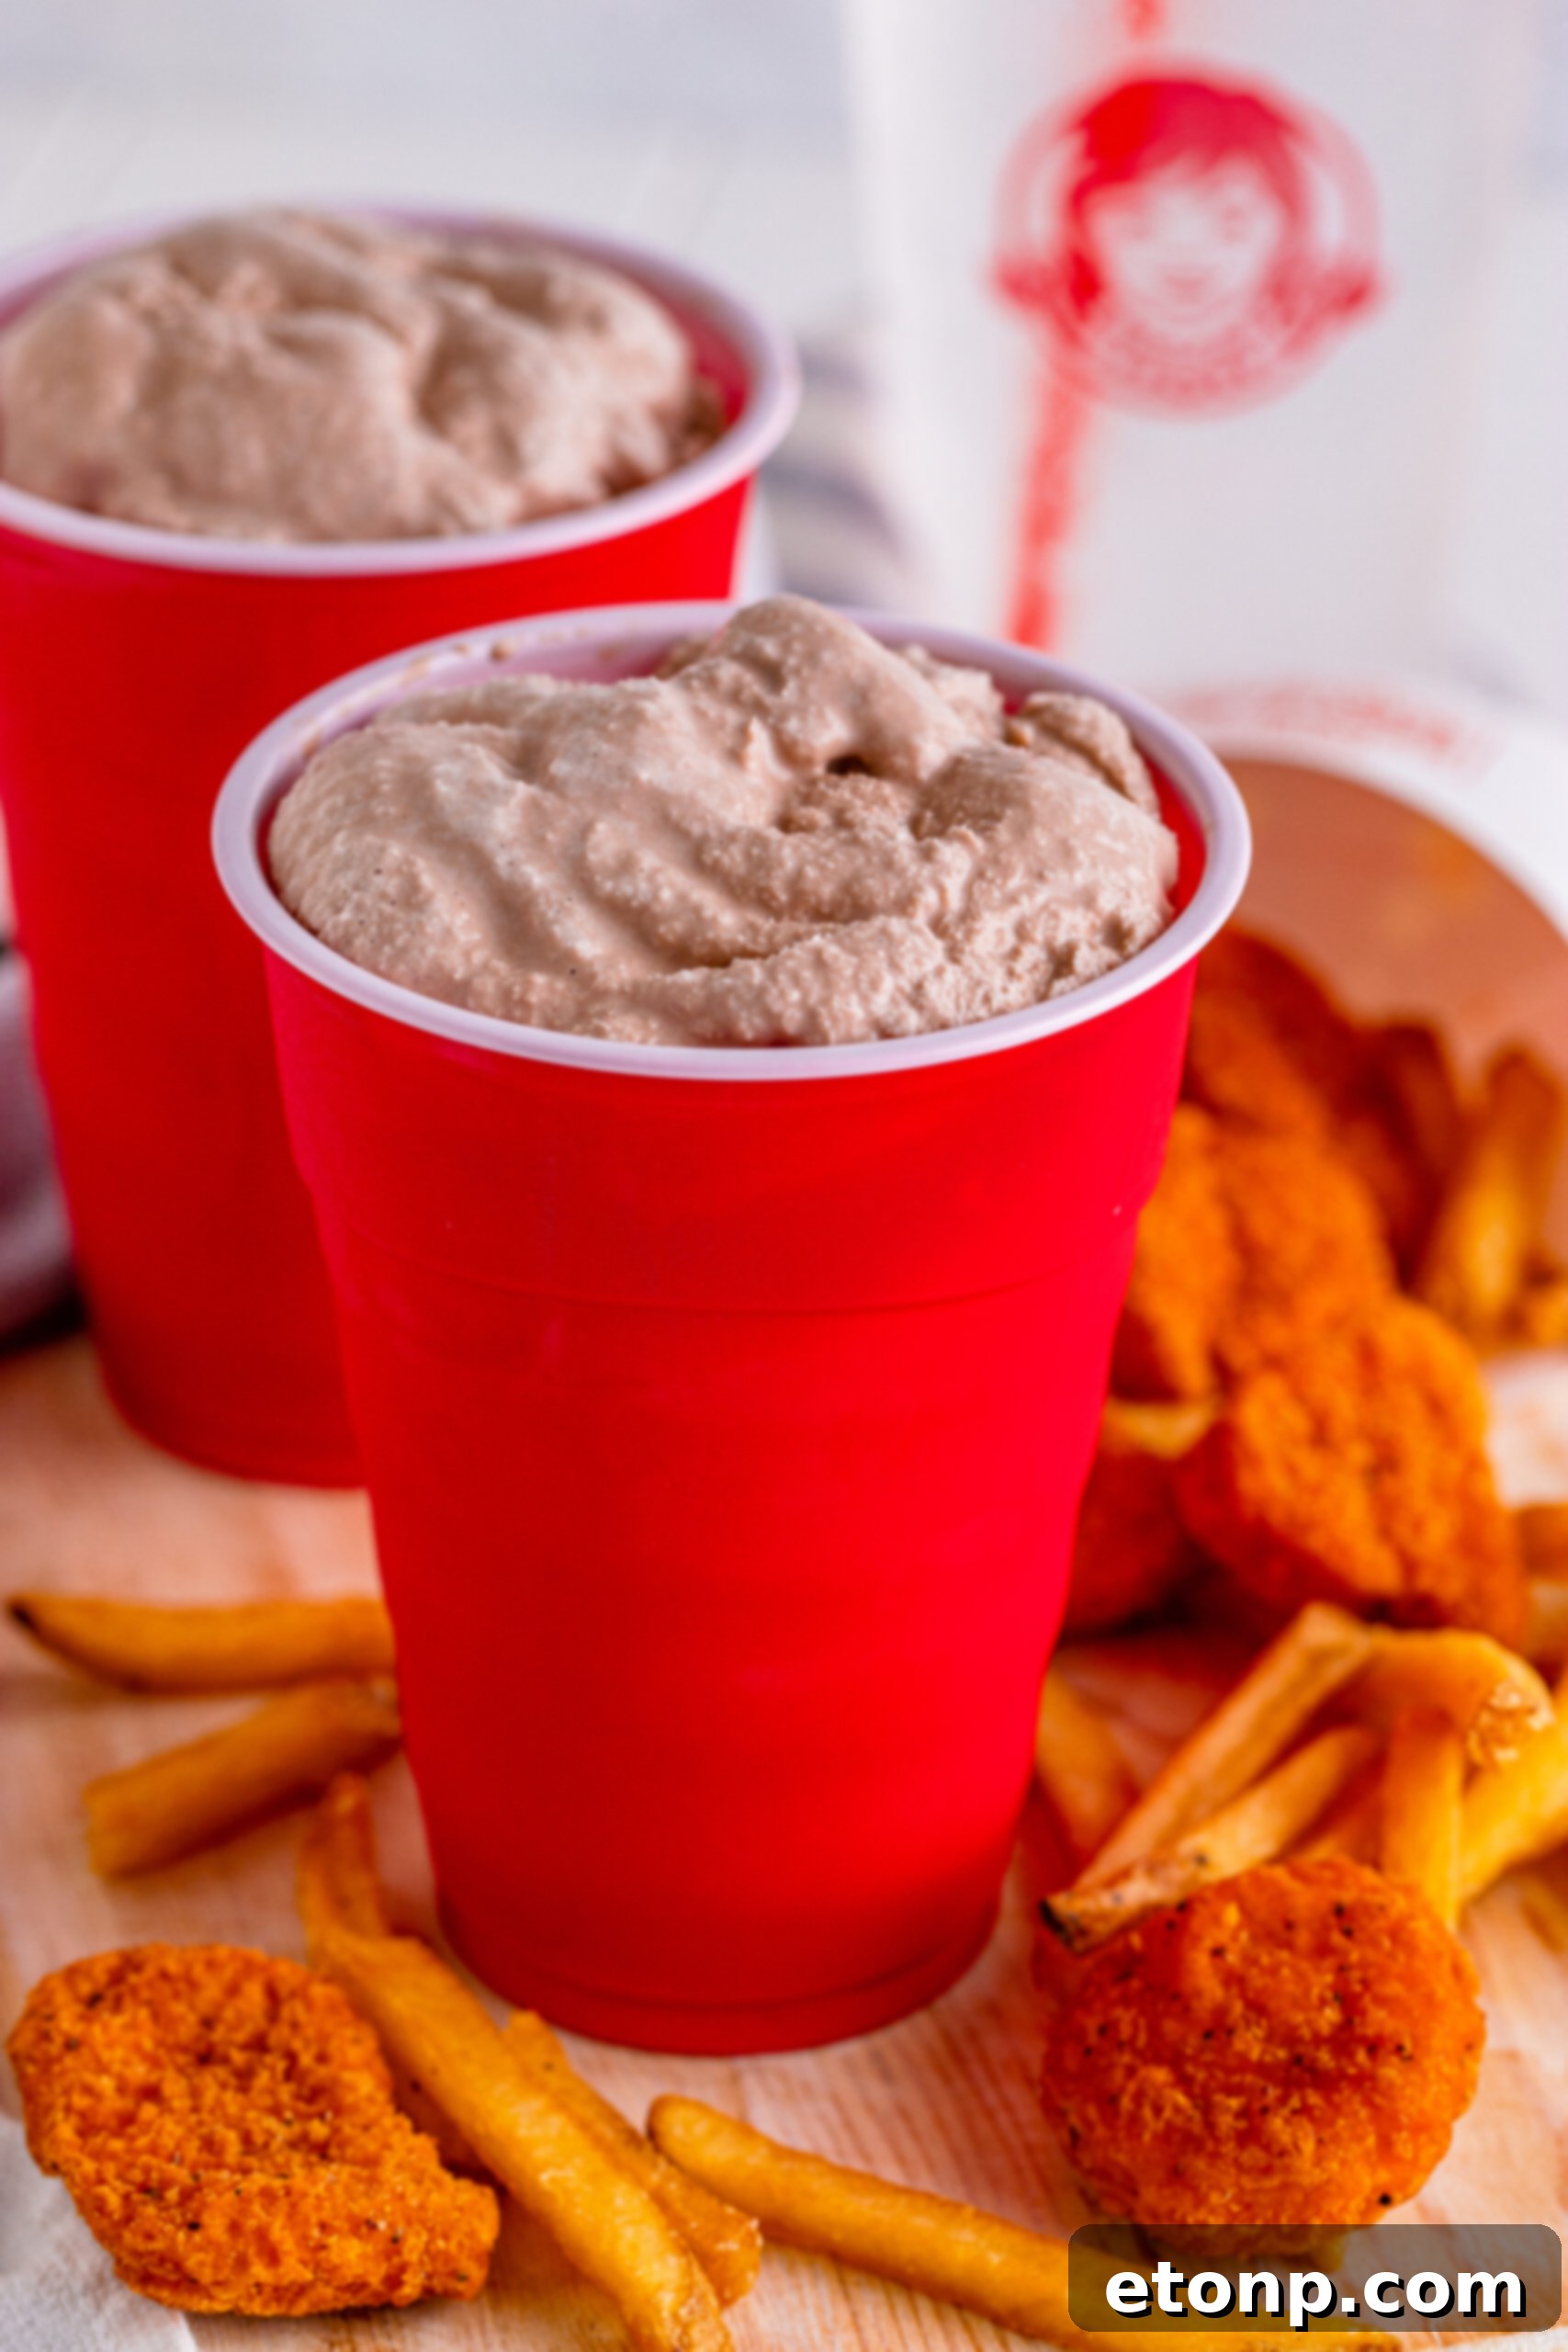
The freezing time is crucial and highly dependent on the texture you’re aiming for. If you desire a robust, almost solid Frosty that requires a spoon, allowing the mixture to freeze for approximately six hours will yield the best results. During this time, it’s essential to stir or scrape the mixture every 30-45 minutes to break up any ice crystals and maintain that smooth, creamy texture. If you prefer a slushier, more drinkable version of the Frosty, four hours of freezing with regular stirring should be more than enough. Remember, consistency is a matter of personal preference, so feel free to adjust freezing times to suit your taste.
Can I add all the ingredients to the blender at once, or is it better to do it in batches?
Given the generous yield of this recipe, it’s highly recommended to blend the ingredients in two separate batches. Most standard blenders have a limited capacity, and attempting to blend all ingredients at once could lead to an overflowing mess or an inadequately mixed result. Dividing the ingredients ensures that your blender can handle the volume effectively, leading to a perfectly smooth and consistent Frosty. Simply divide all liquid and solid ingredients in half and blend each portion separately before combining them for freezing. This also helps in achieving a quicker freezing process.
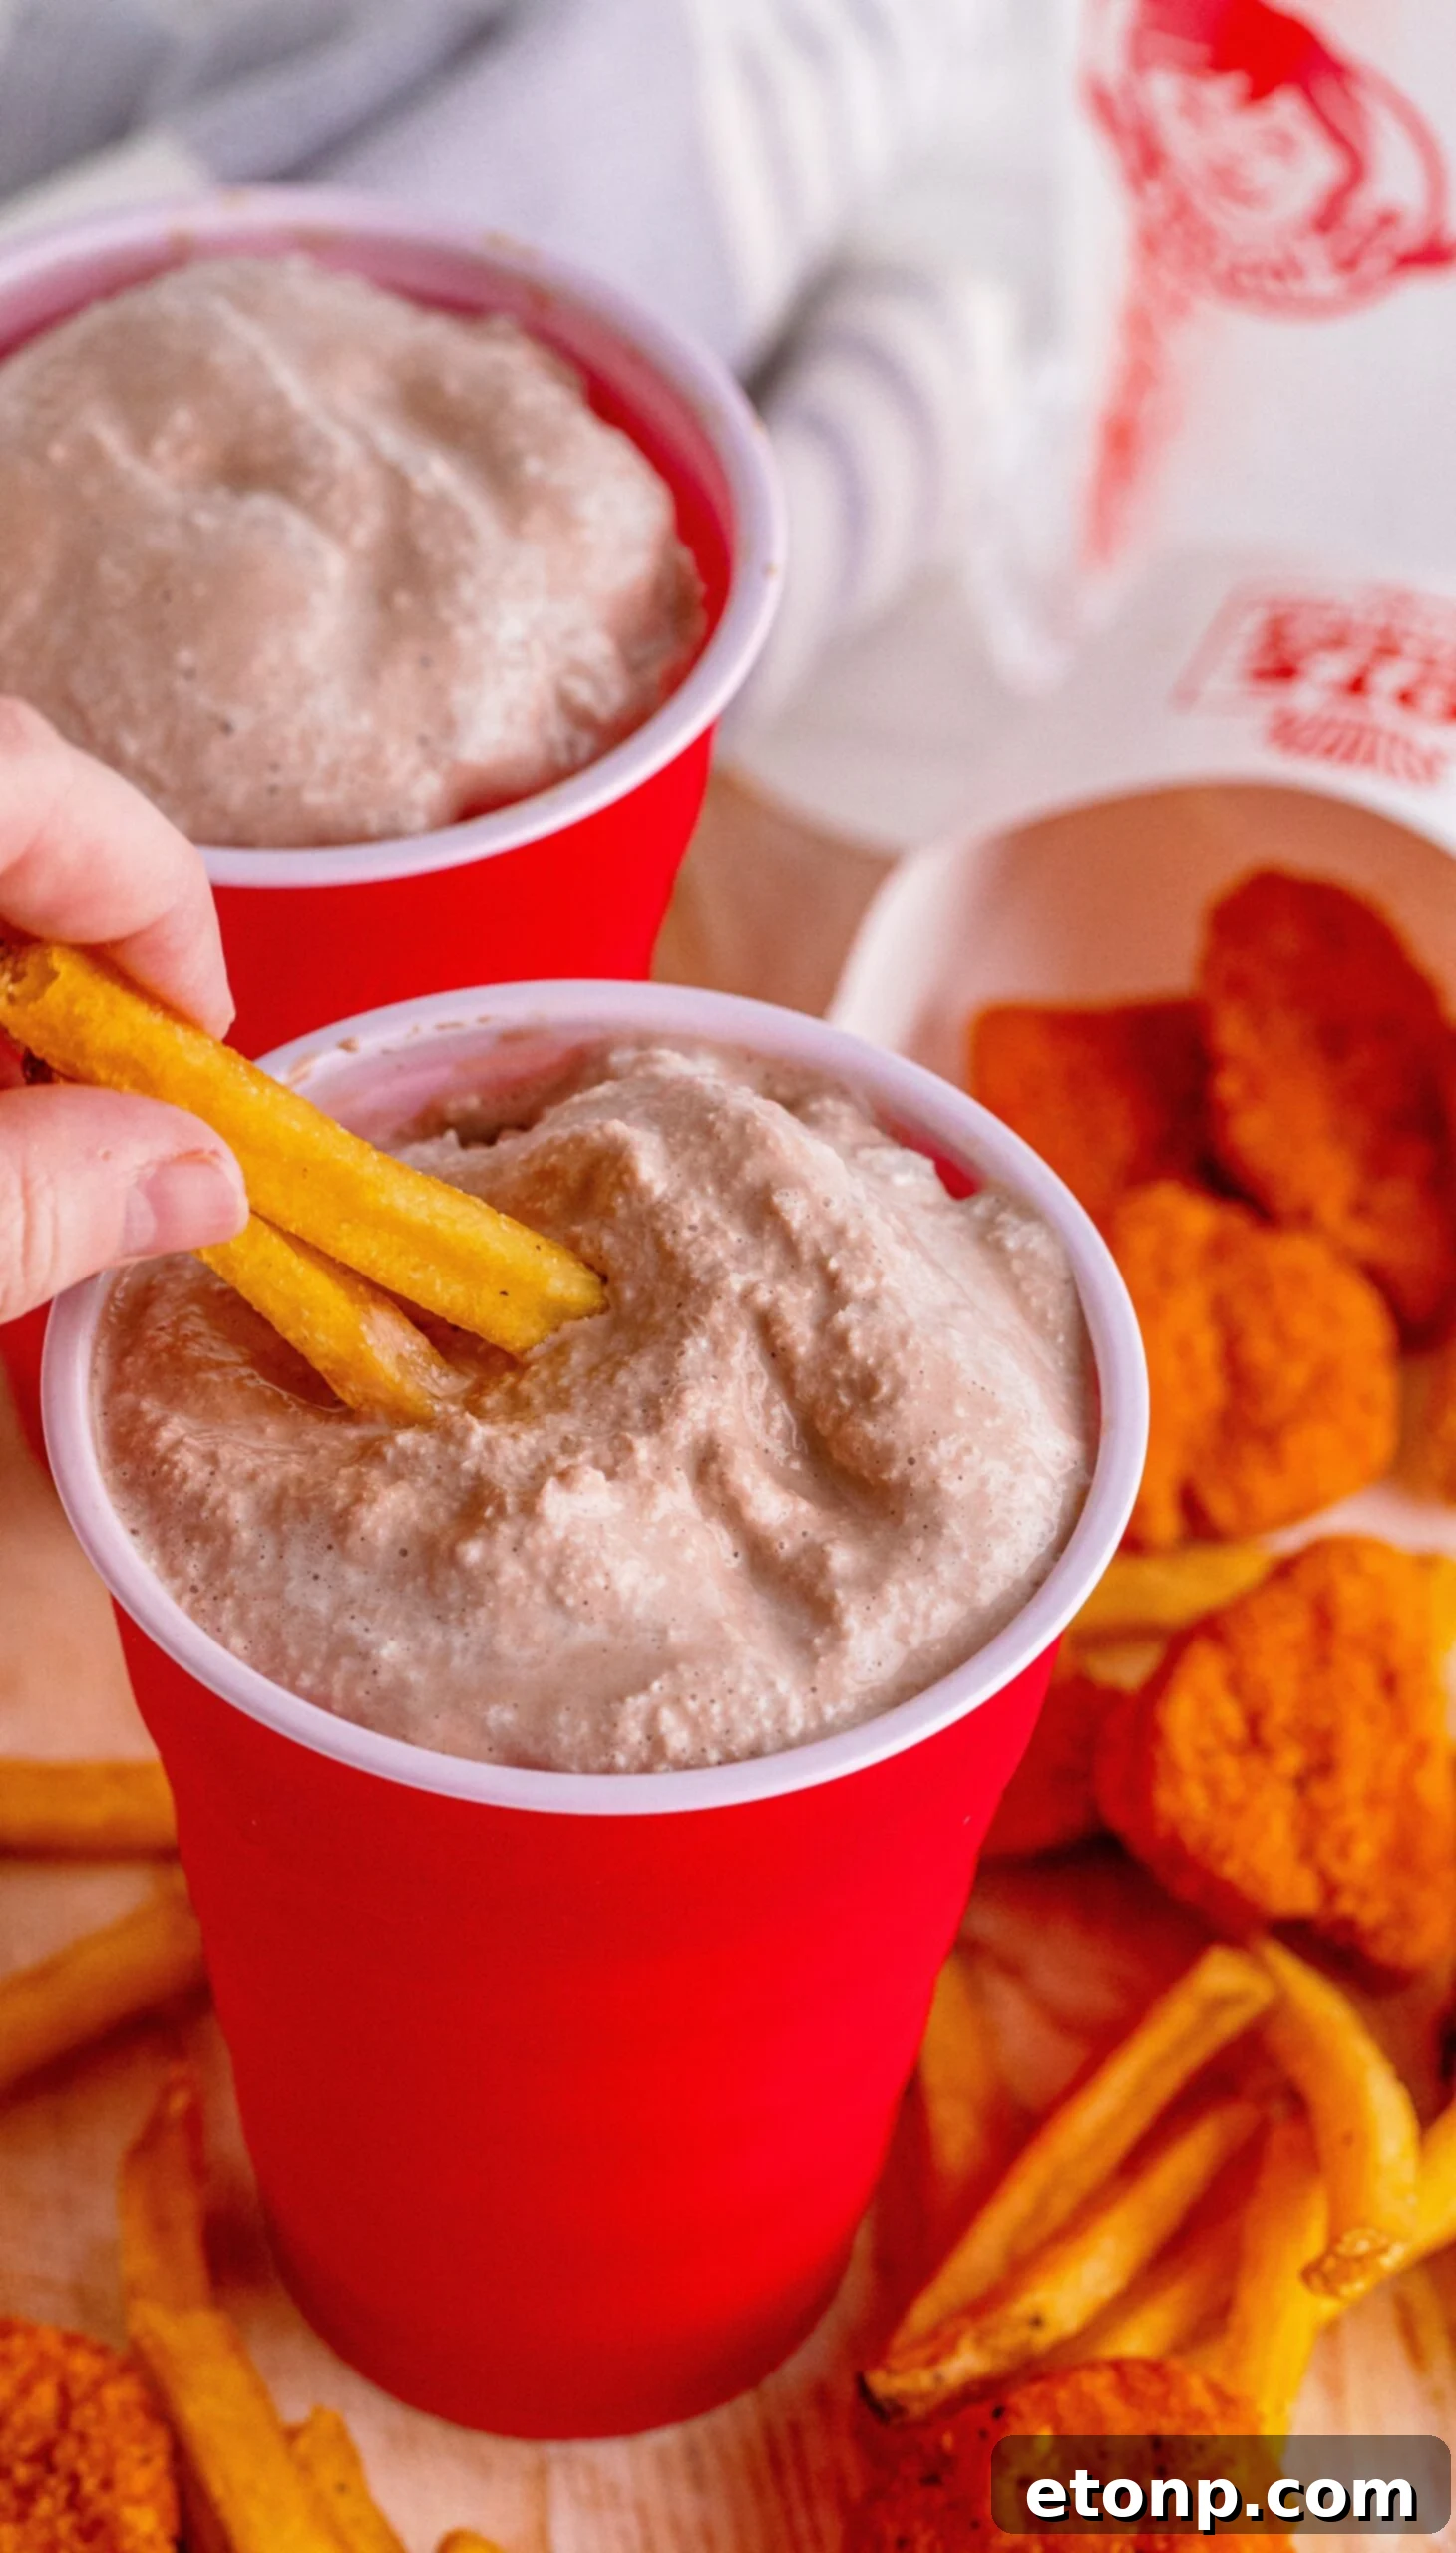
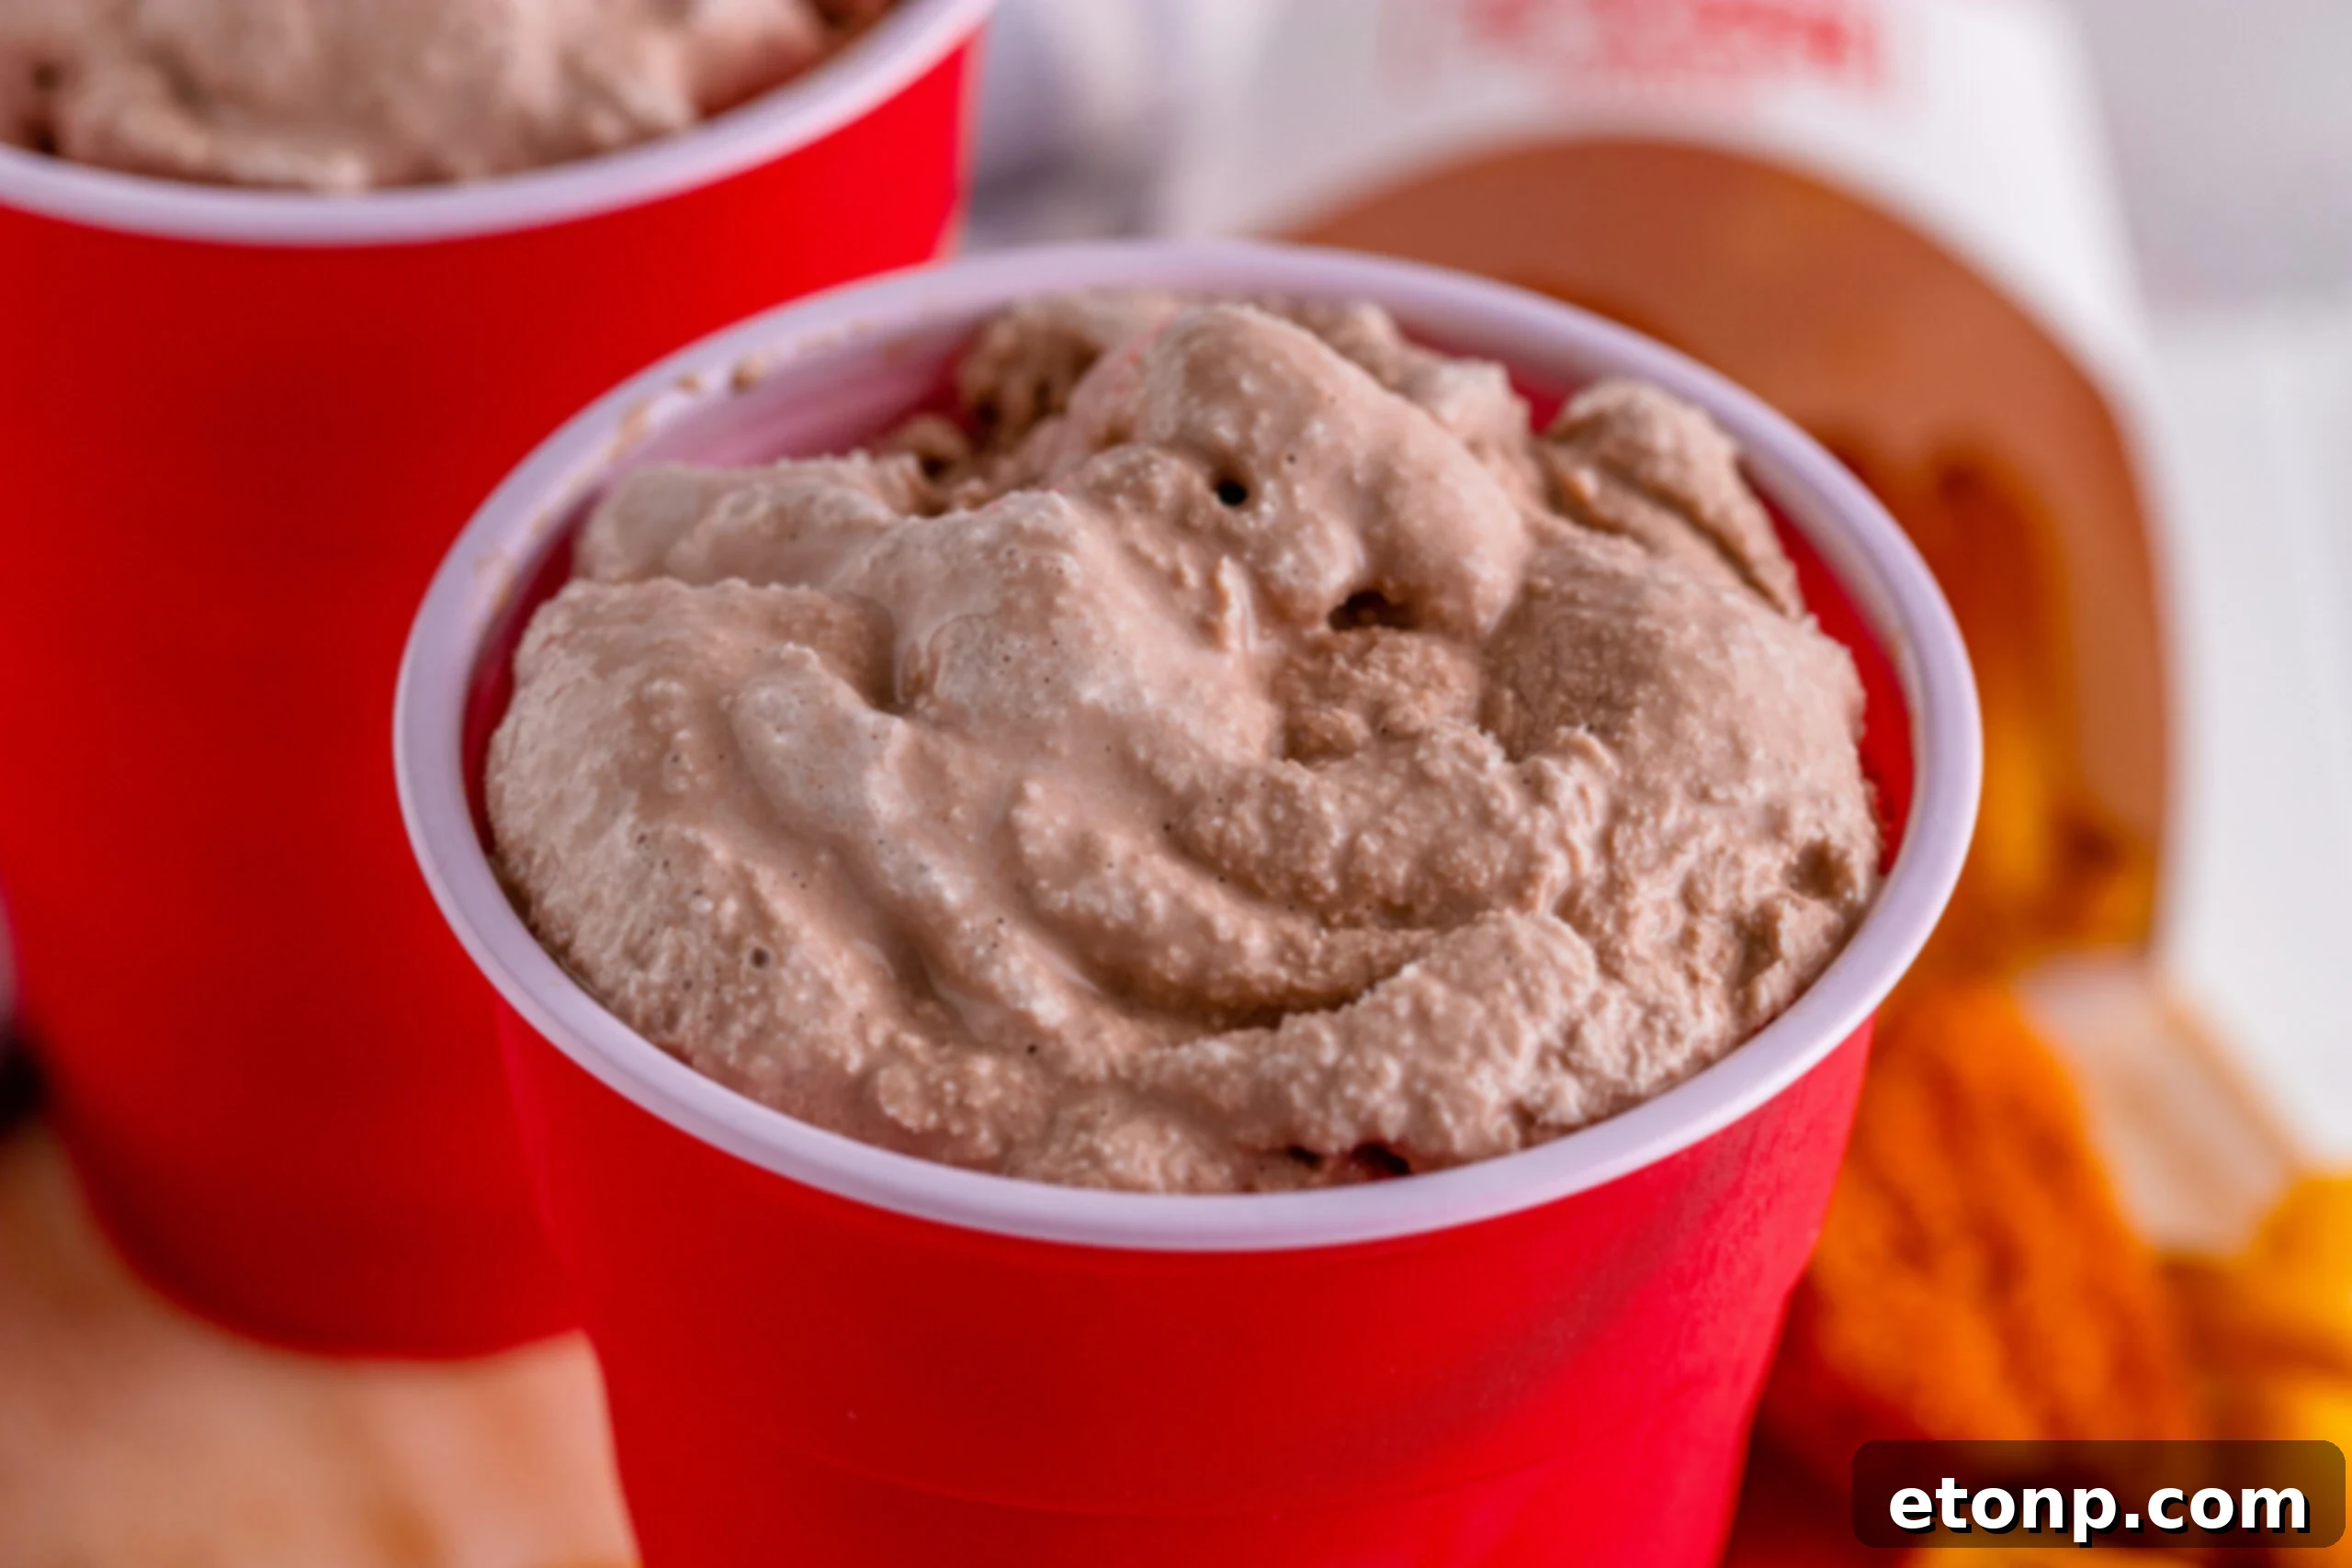
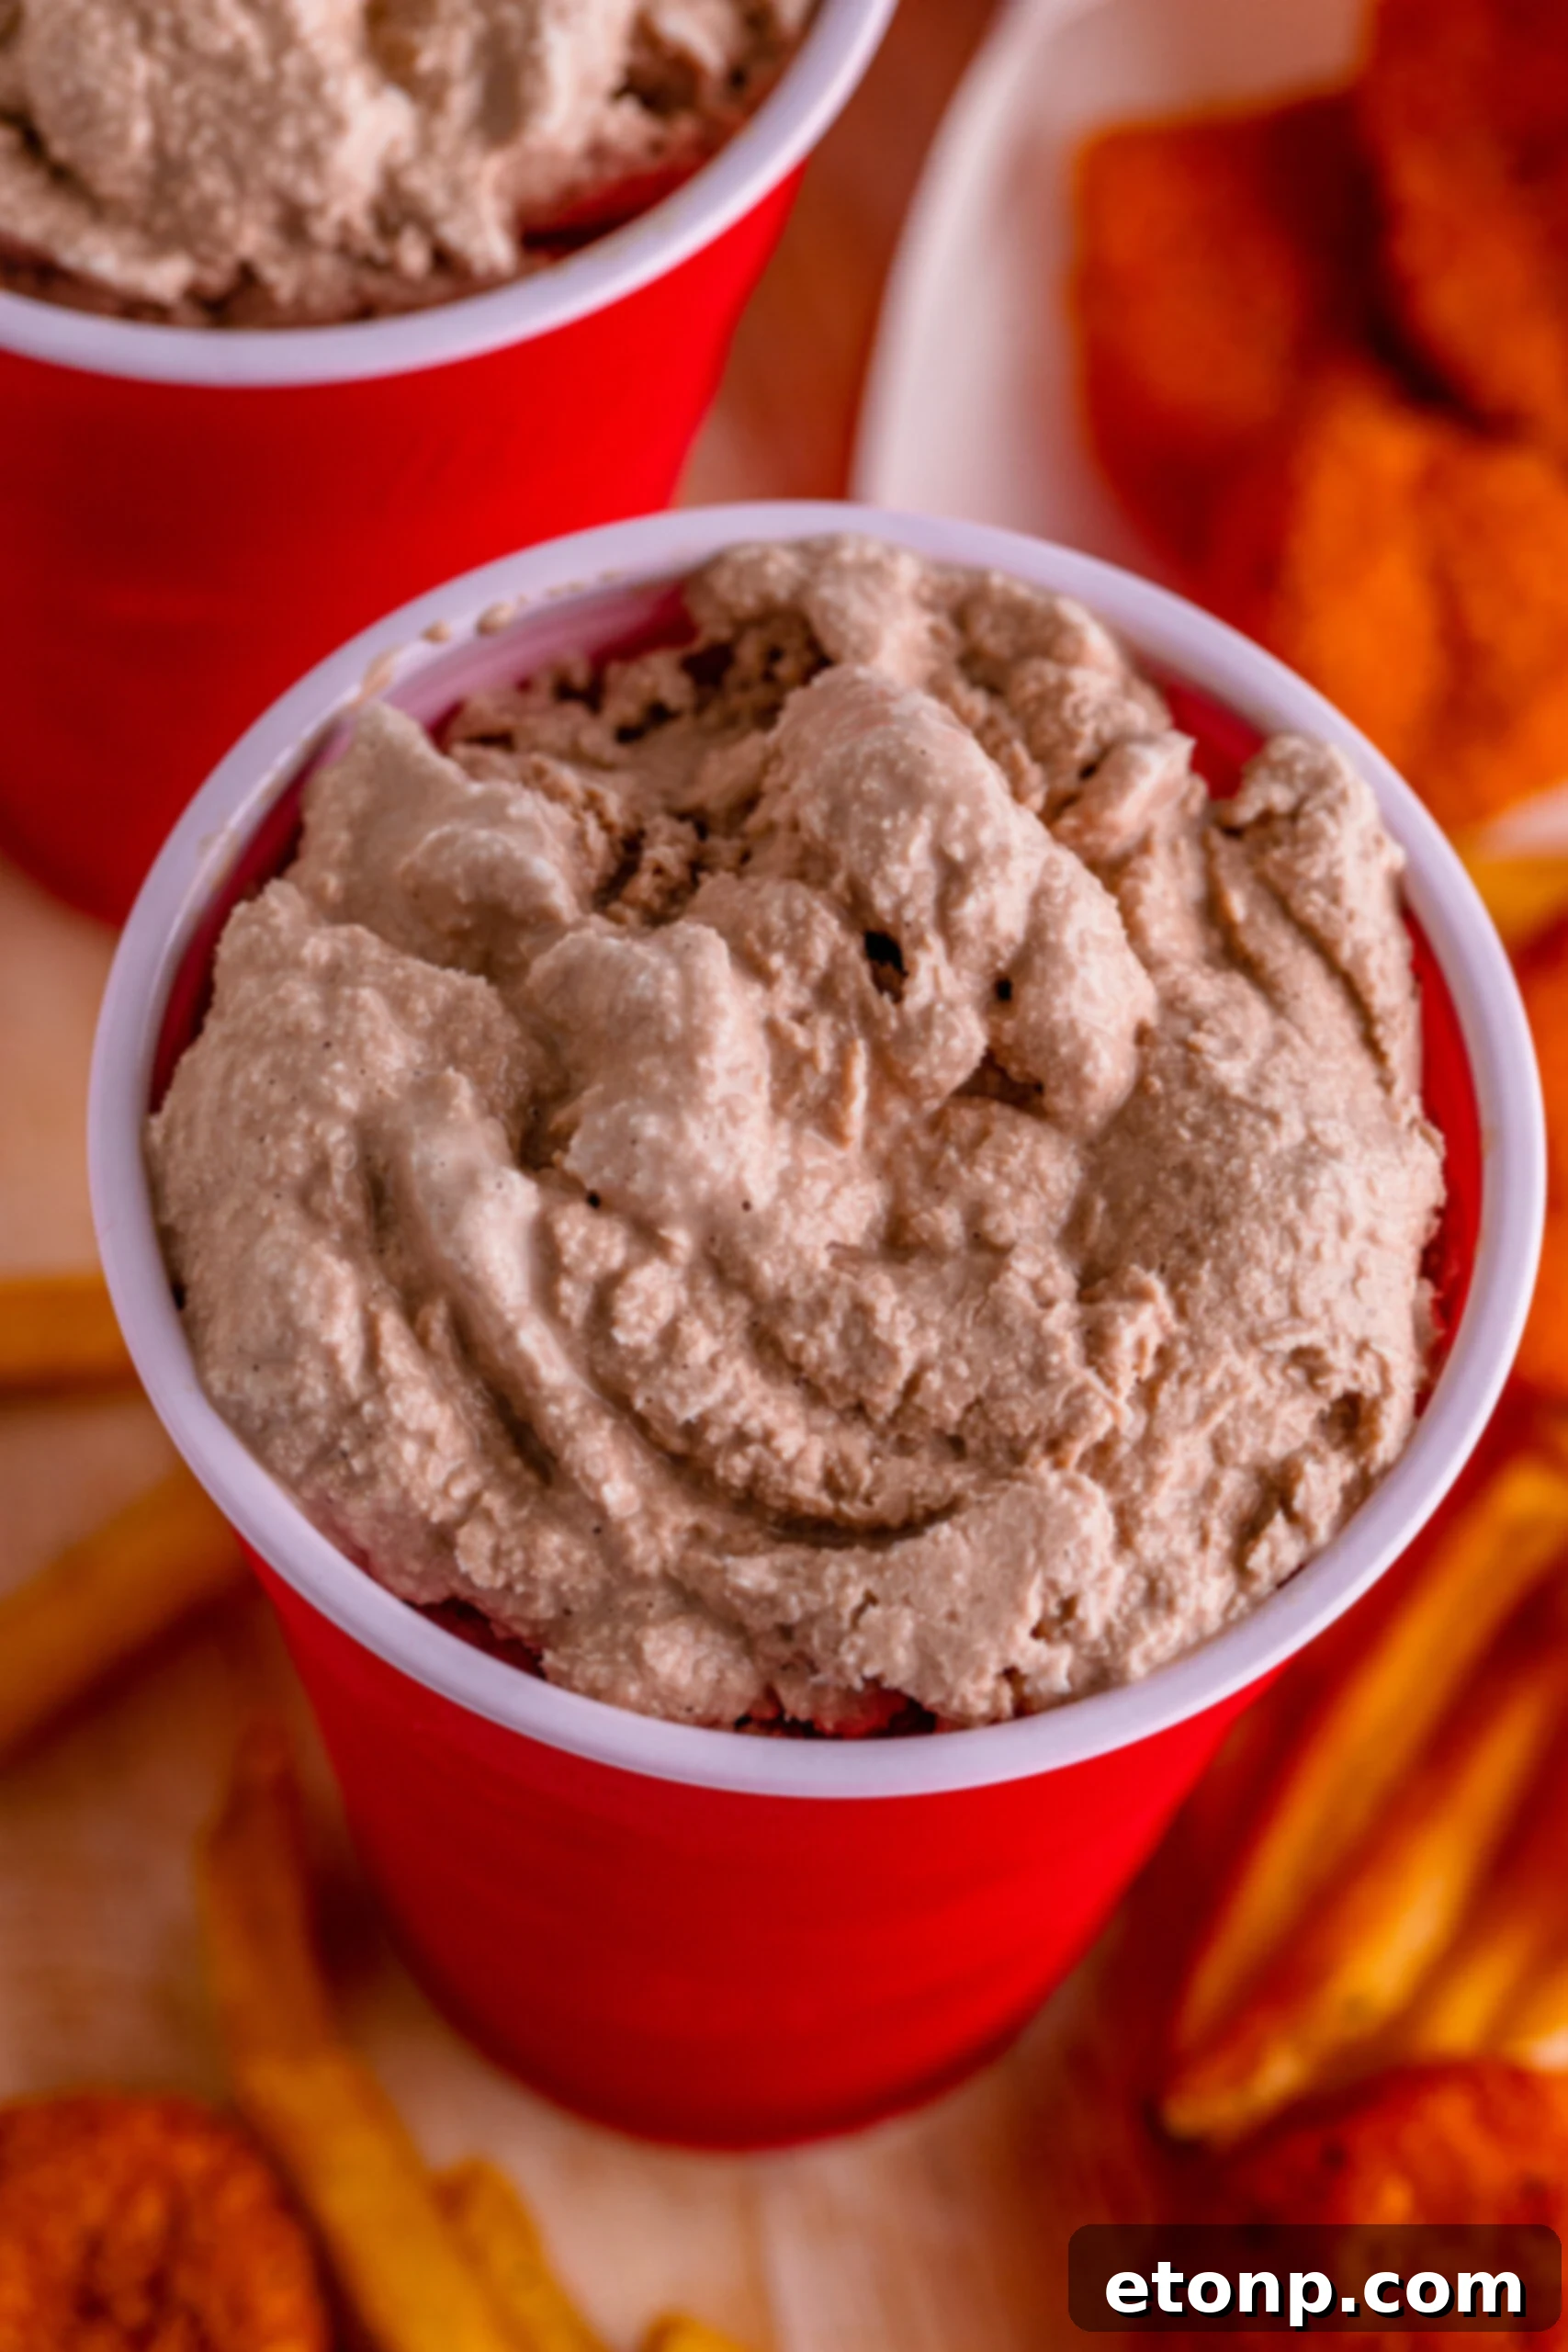
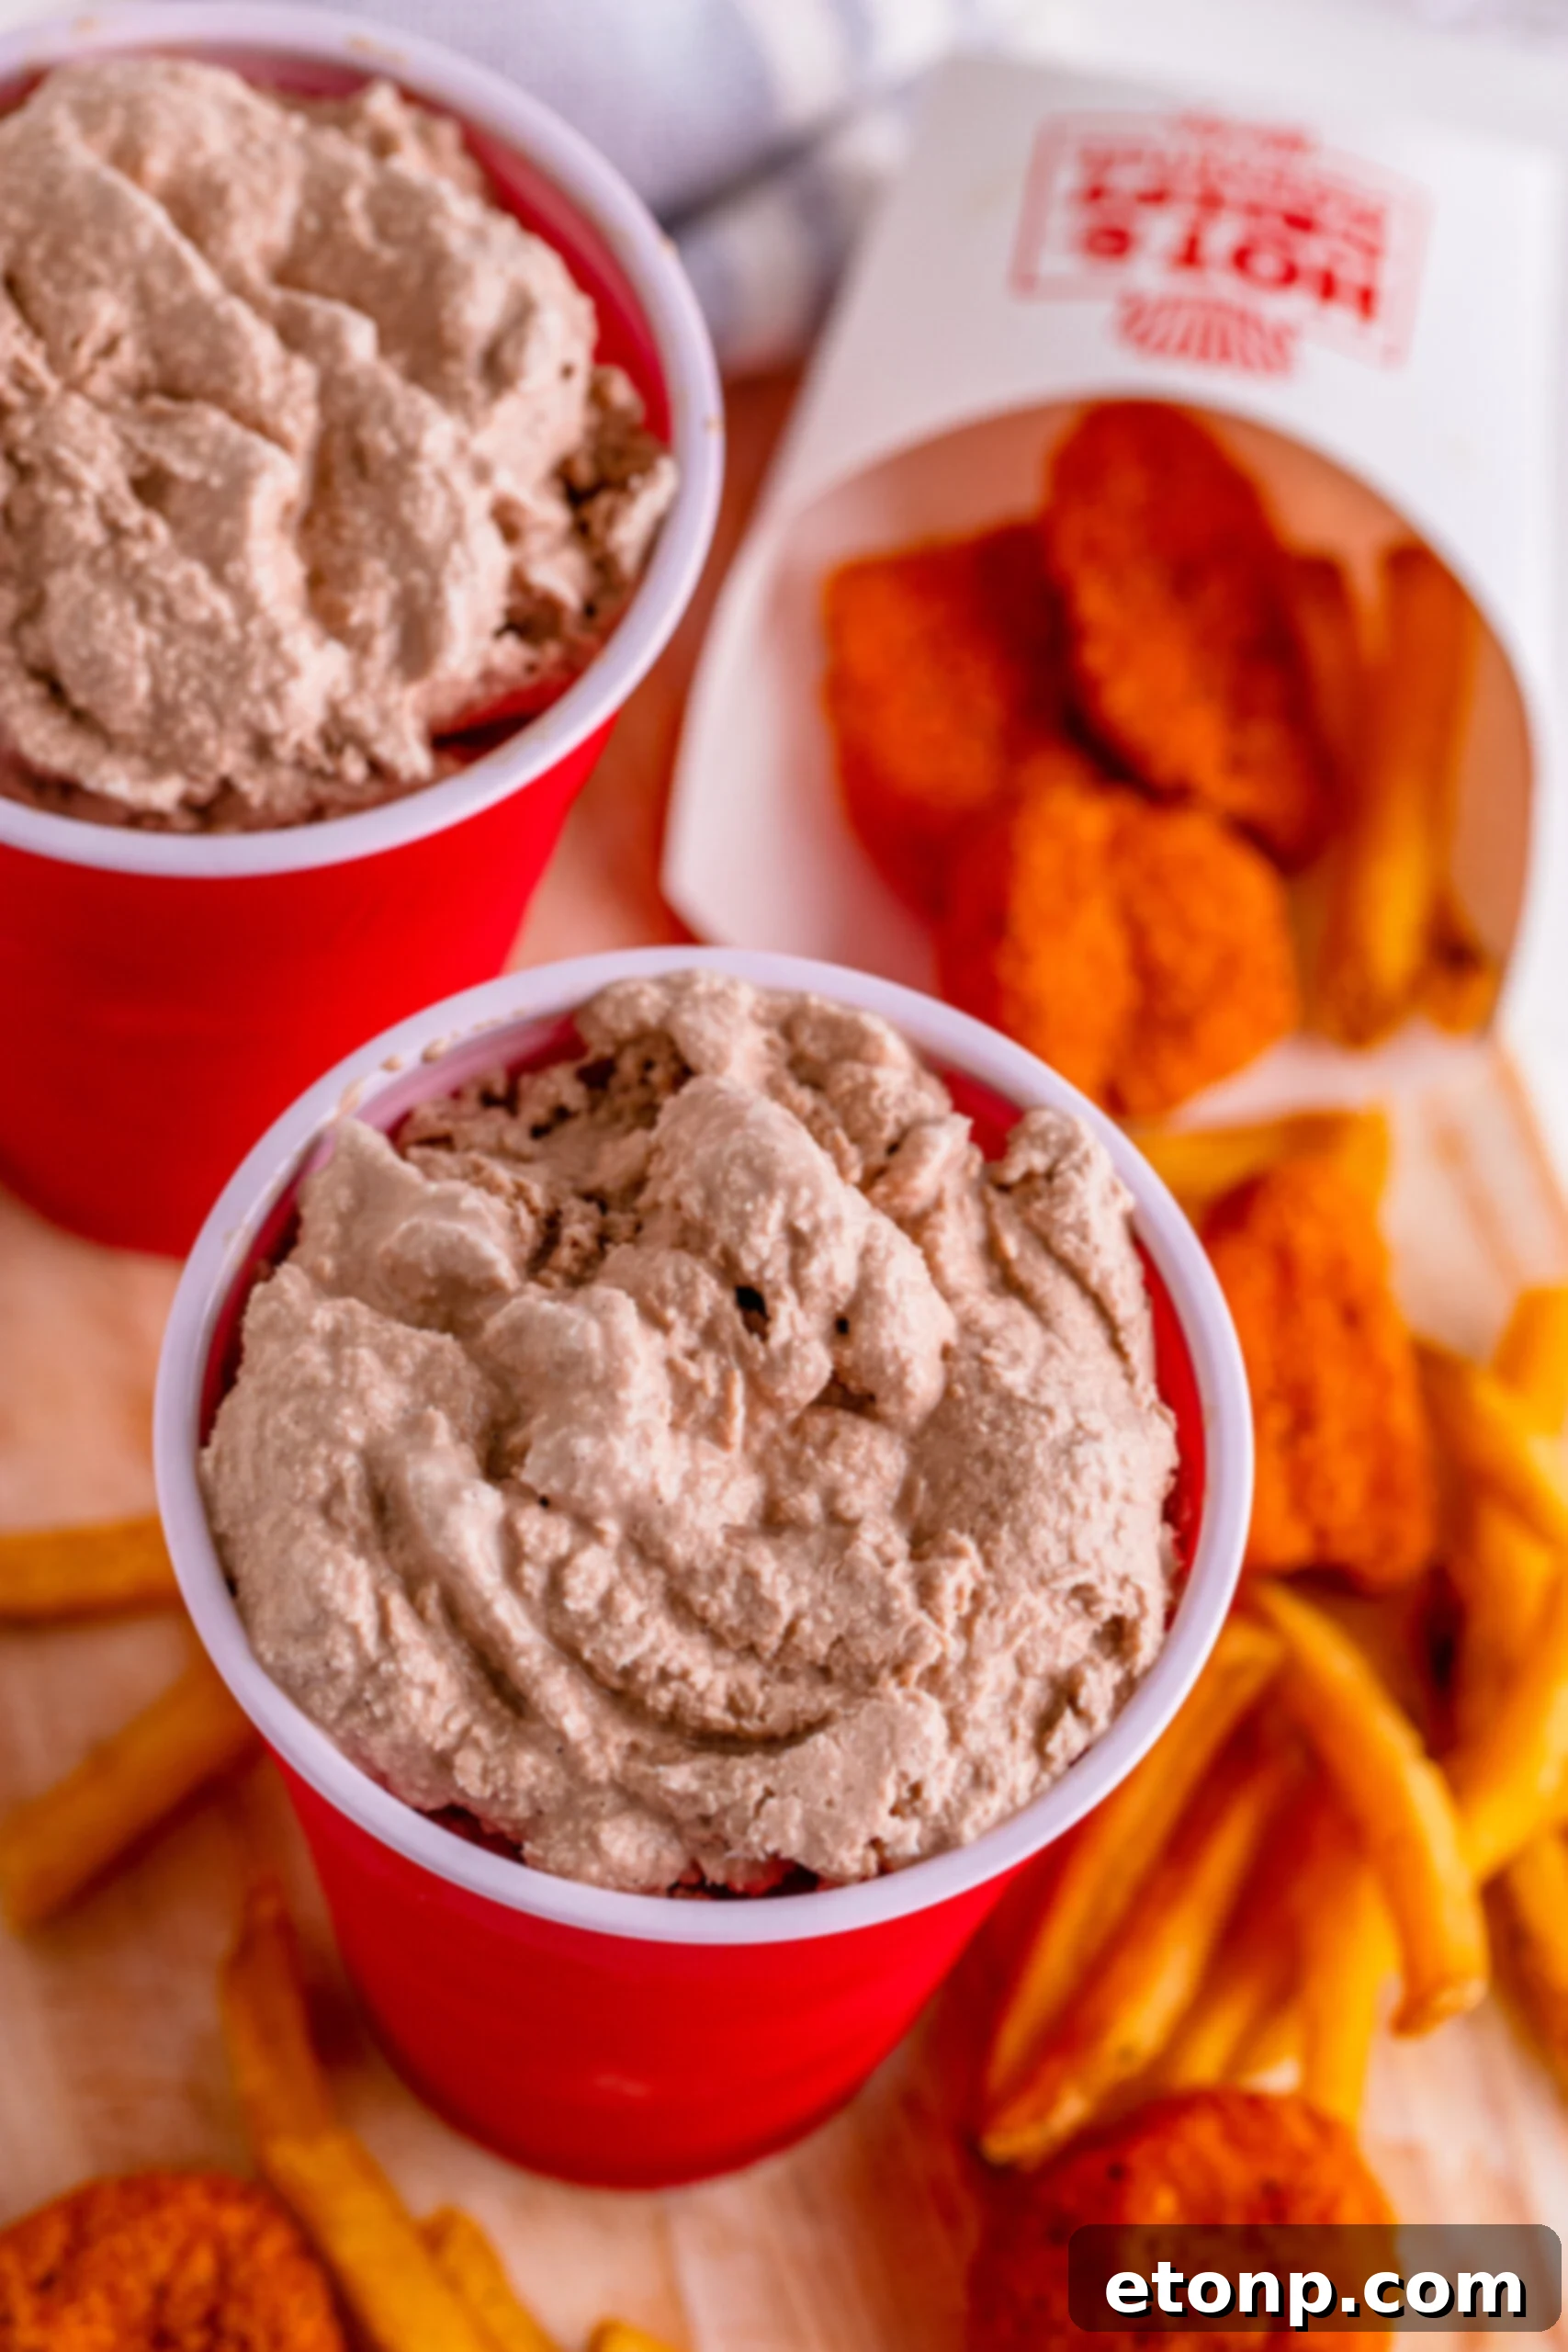
This recipe has been meticulously developed to capture the authentic essence of a Wendy’s Frosty. While some copycat recipes might suggest fewer ingredients, this specific combination has been found to be **uncannily accurate to the original Wendy’s taste.** We even conducted a side-by-side comparison with an actual restaurant Frosty, and the results were astounding – guests were genuinely blown away by the uncanny resemblance in flavor and texture! This is not just a close imitation; it’s a true replication of the iconic treat.
Valuable Recipe Notes and Tips for Success
- Scaling the Recipe: Whether you’re making a small batch for yourself or a large quantity for a party, this recipe is incredibly flexible. You can easily halve the ingredients if you desire a smaller yield or double them to create an abundant supply. Rest assured, scaling the recipe up or down will not compromise the perfect taste or consistency, as long as you maintain the ingredient ratios.
- The “Extra Ingredients” Advantage: It’s true that this recipe might call for a few more ingredients than some other copycat versions you’ll find online. However, we cannot stress enough how worthwhile these “extra” components are. They are precisely what elevate this recipe from a mere chocolate shake to an exact replica of the Wendy’s Frosty, delivering that genuine flavor and texture that truly stands out.
- Whipped Topping Alternatives: While store-bought whipped topping is convenient and works wonderfully, you can certainly substitute it with homemade whipped cream if you prefer. If opting for fresh whipped cream, ensure it’s lightly sweetened. When incorporating it, gently fold it into your blended mixture after it’s been transferred to the baking dish, rather than adding it directly to the blender with the milk and other ingredients. This preserves its airy texture and prevents it from deflating.
- Blender Alternatives: No blender? No problem! A food processor or an immersion blender can also be used to achieve a smooth mixture. Just ensure you process long enough to fully combine all ingredients and achieve a uniform consistency.
The Freezing Process: Achieving the Perfect Frosty Texture
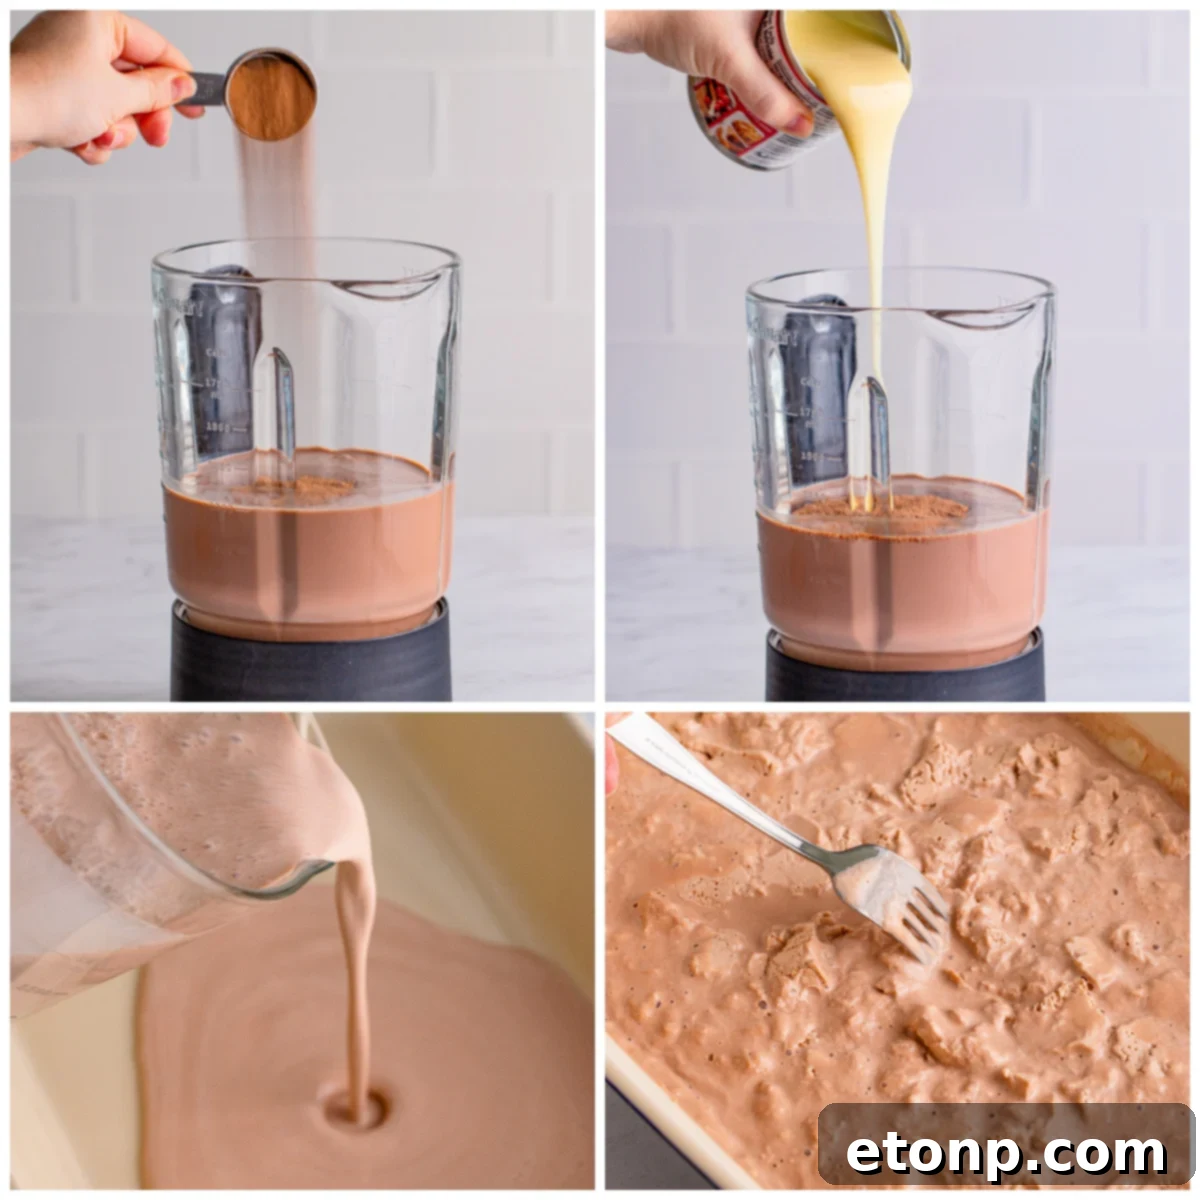
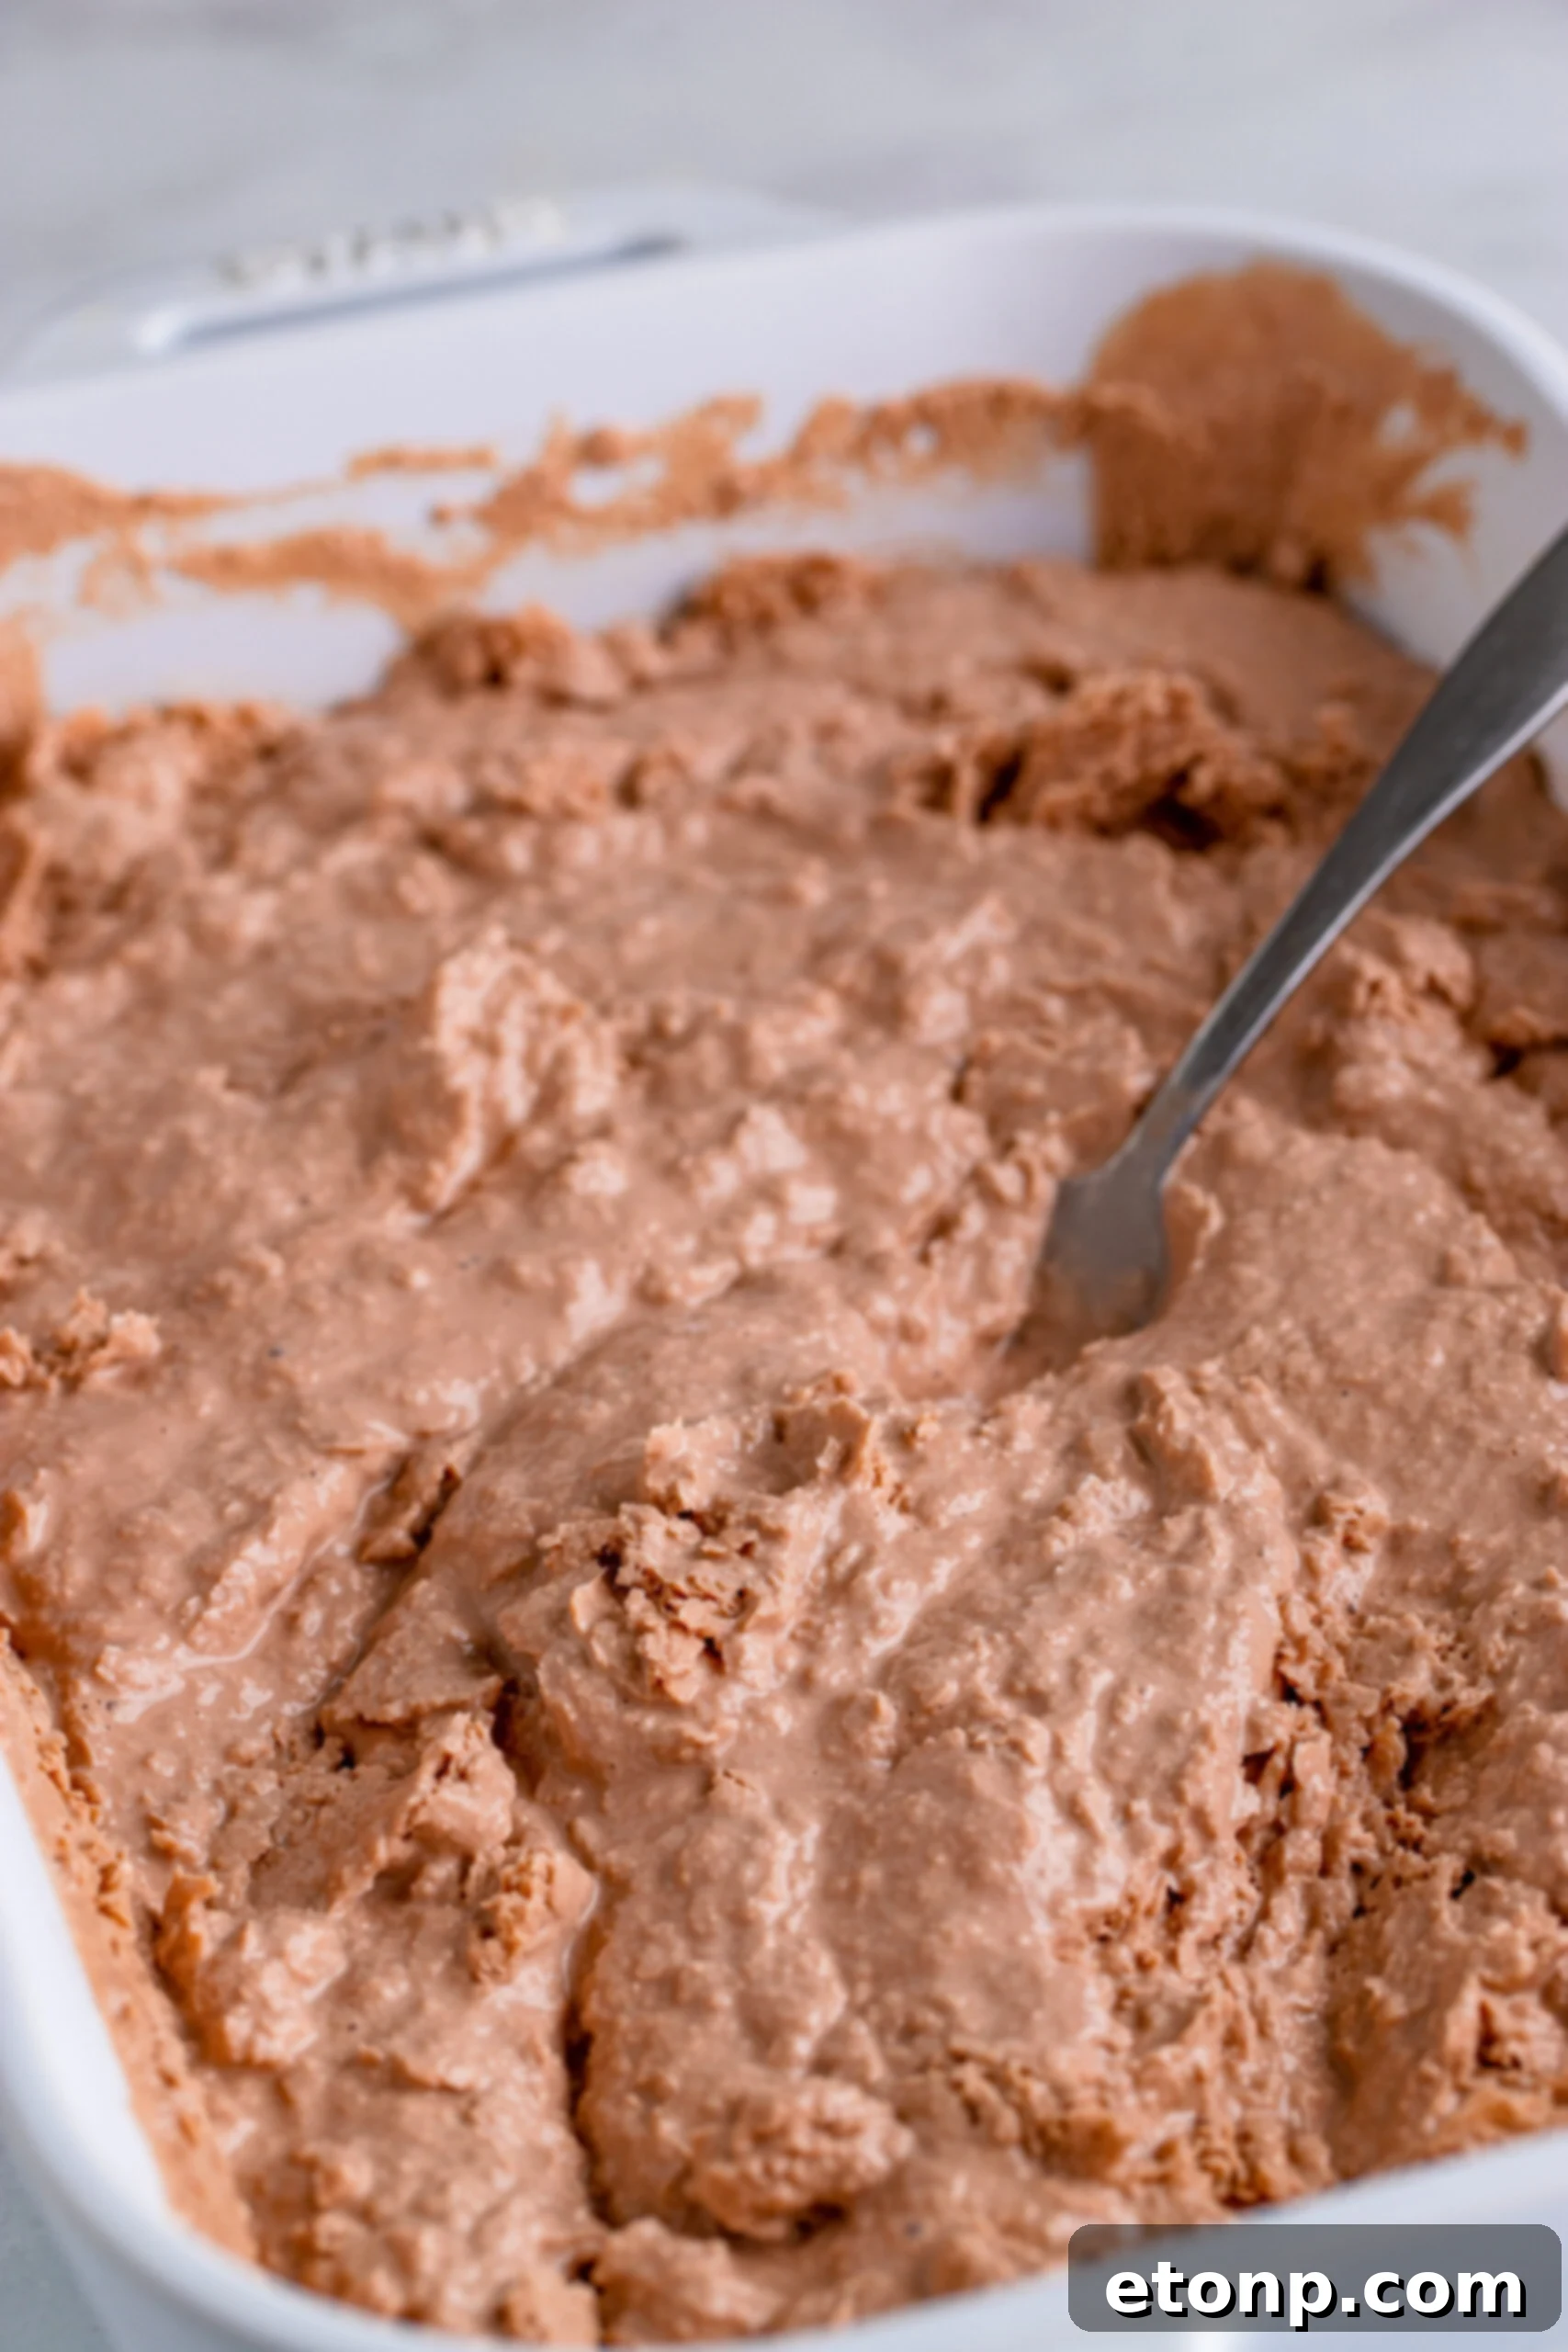
After blending your ingredients to a smooth consistency, pour the mixture into a 9×13-inch baking dish. This shallow dish allows for even freezing. Place the dish in your freezer. To prevent the formation of large, undesirable ice crystals and to achieve that signature creamy, soft-serve texture, you must actively manage the freezing process. Every 30 minutes, remove the dish from the freezer and vigorously scrape and stir the mixture with a fork or spoon, focusing especially on the edges, which tend to freeze first. This action breaks up any forming ice crystals, ensuring a consistently smooth and velvety Frosty. Continue this scraping and stirring process for a minimum of four hours, or up to six hours, depending on your preferred level of firmness. Once your Frosty reaches the desired consistency, serve it immediately. For storing leftovers, cover the dish tightly with plastic wrap or transfer the Frosty to an airtight container and return it to the freezer, ensuring it stays fresh and delicious for future cravings.
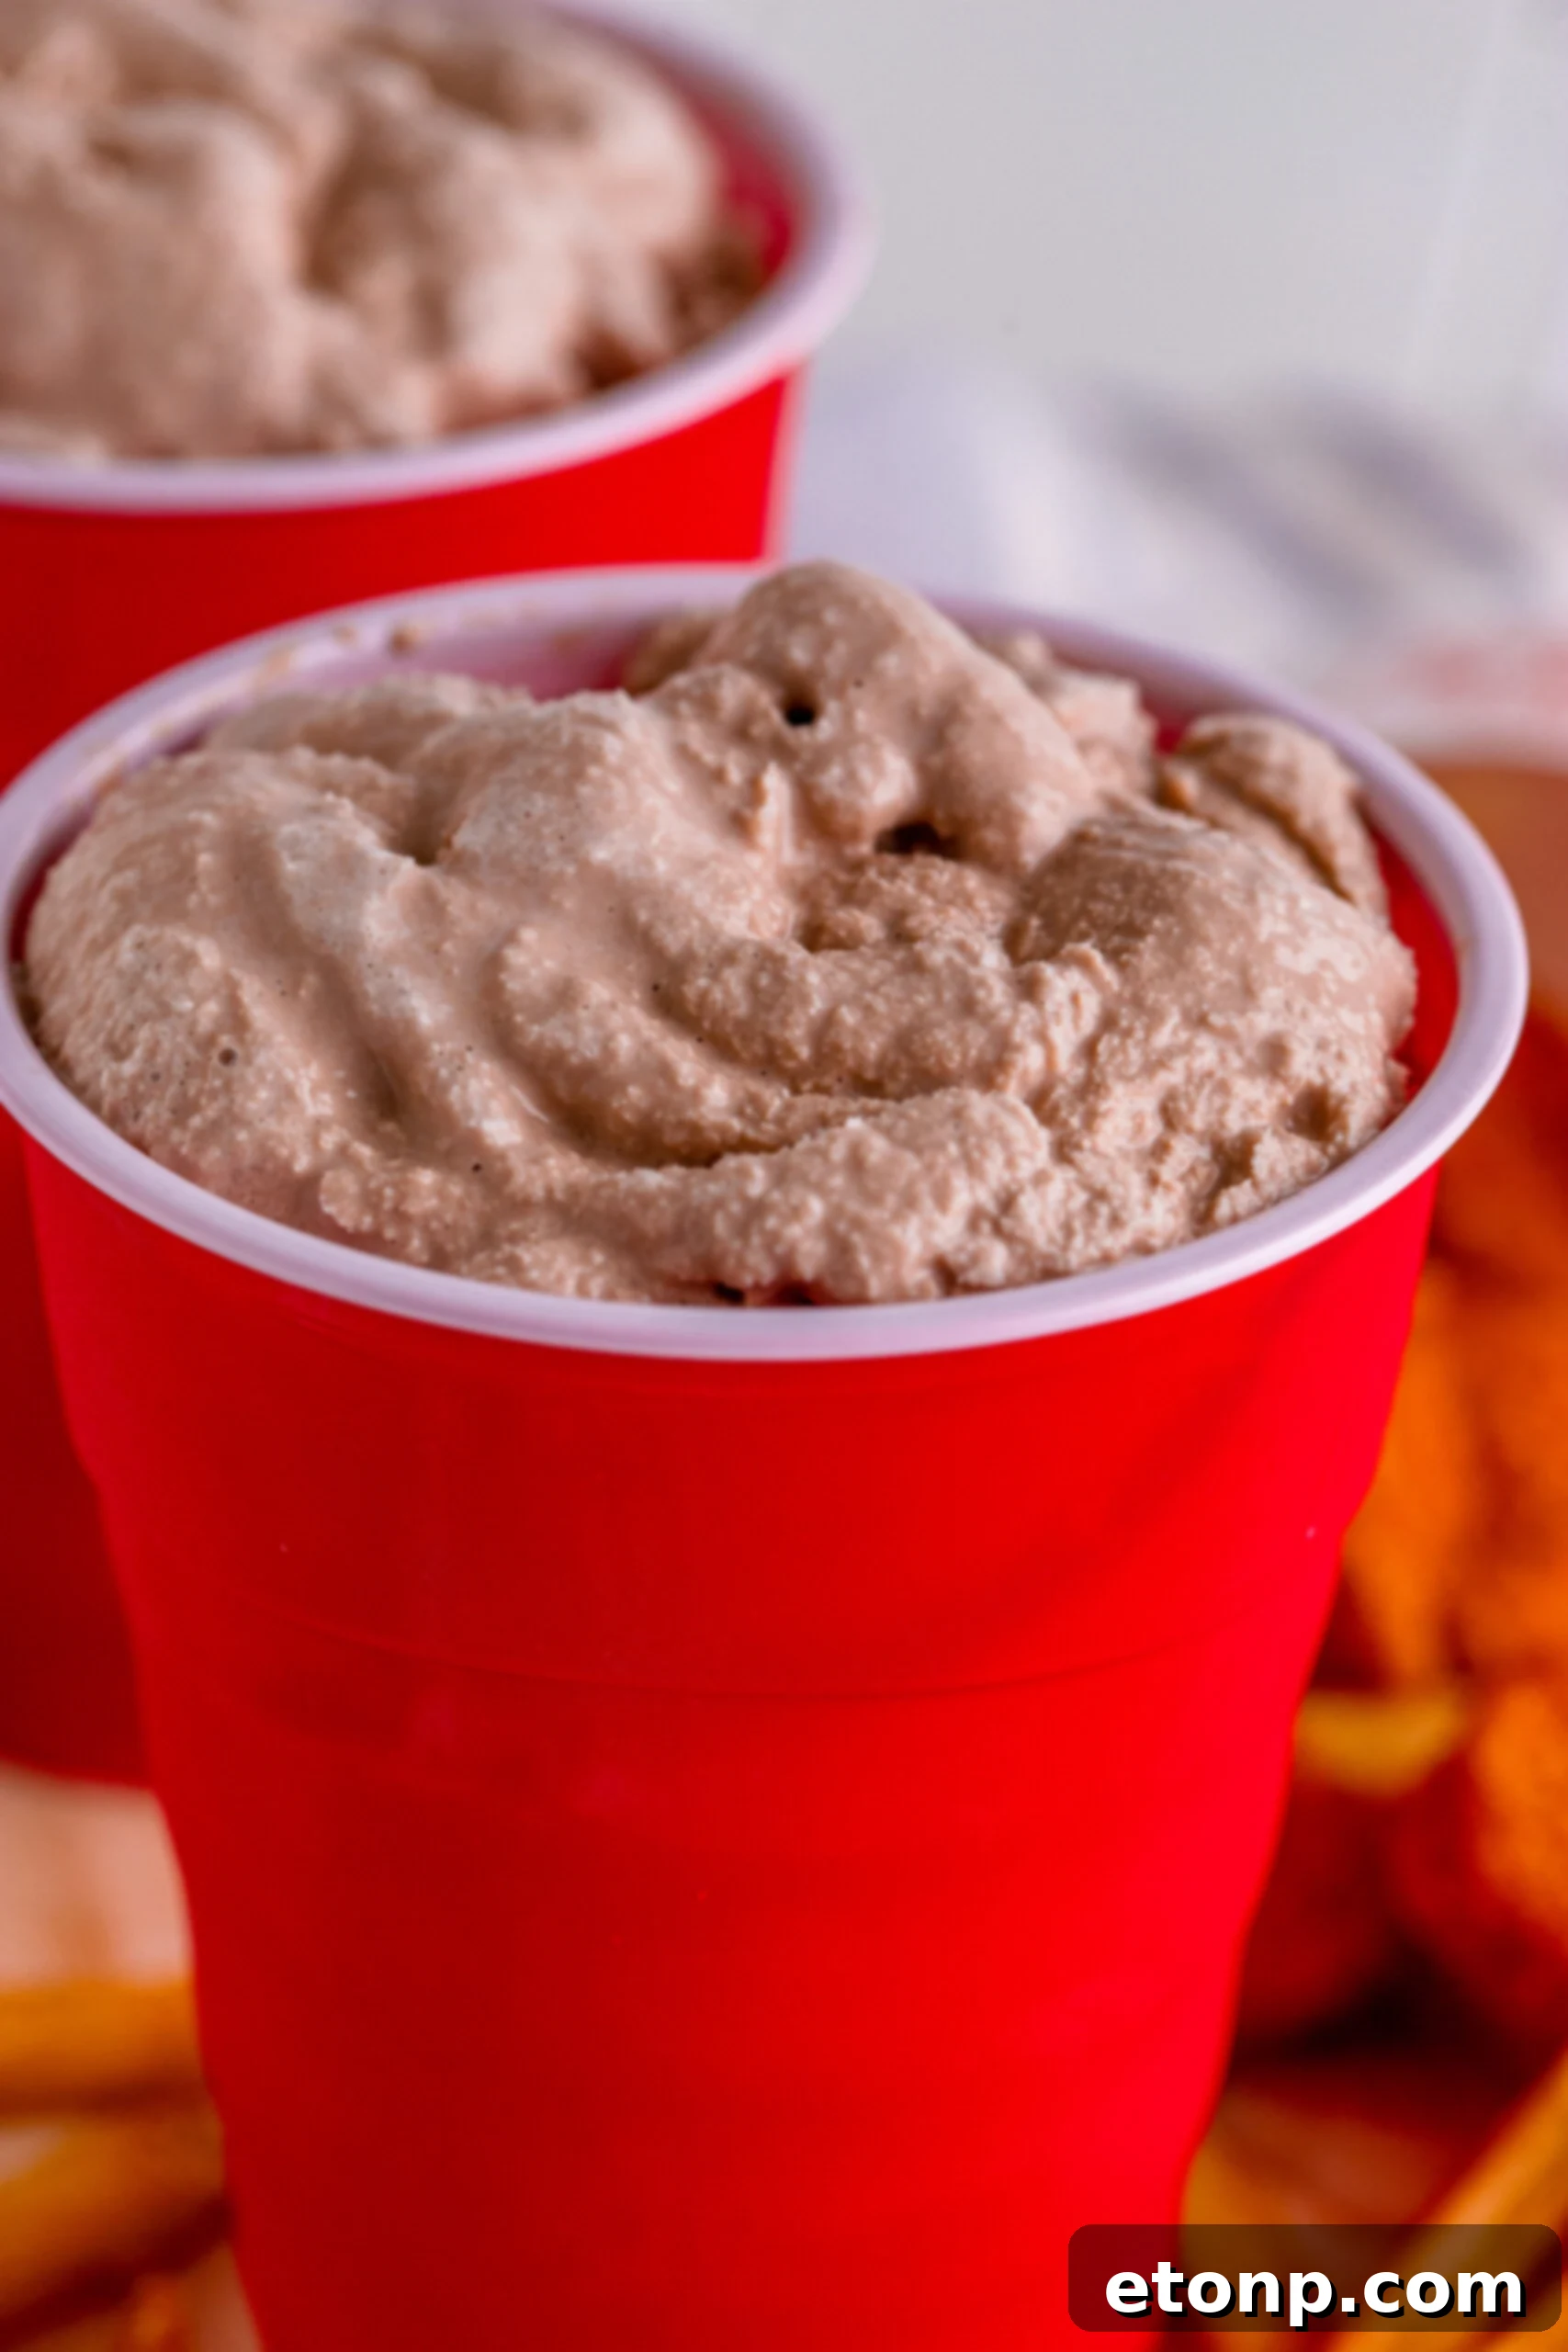
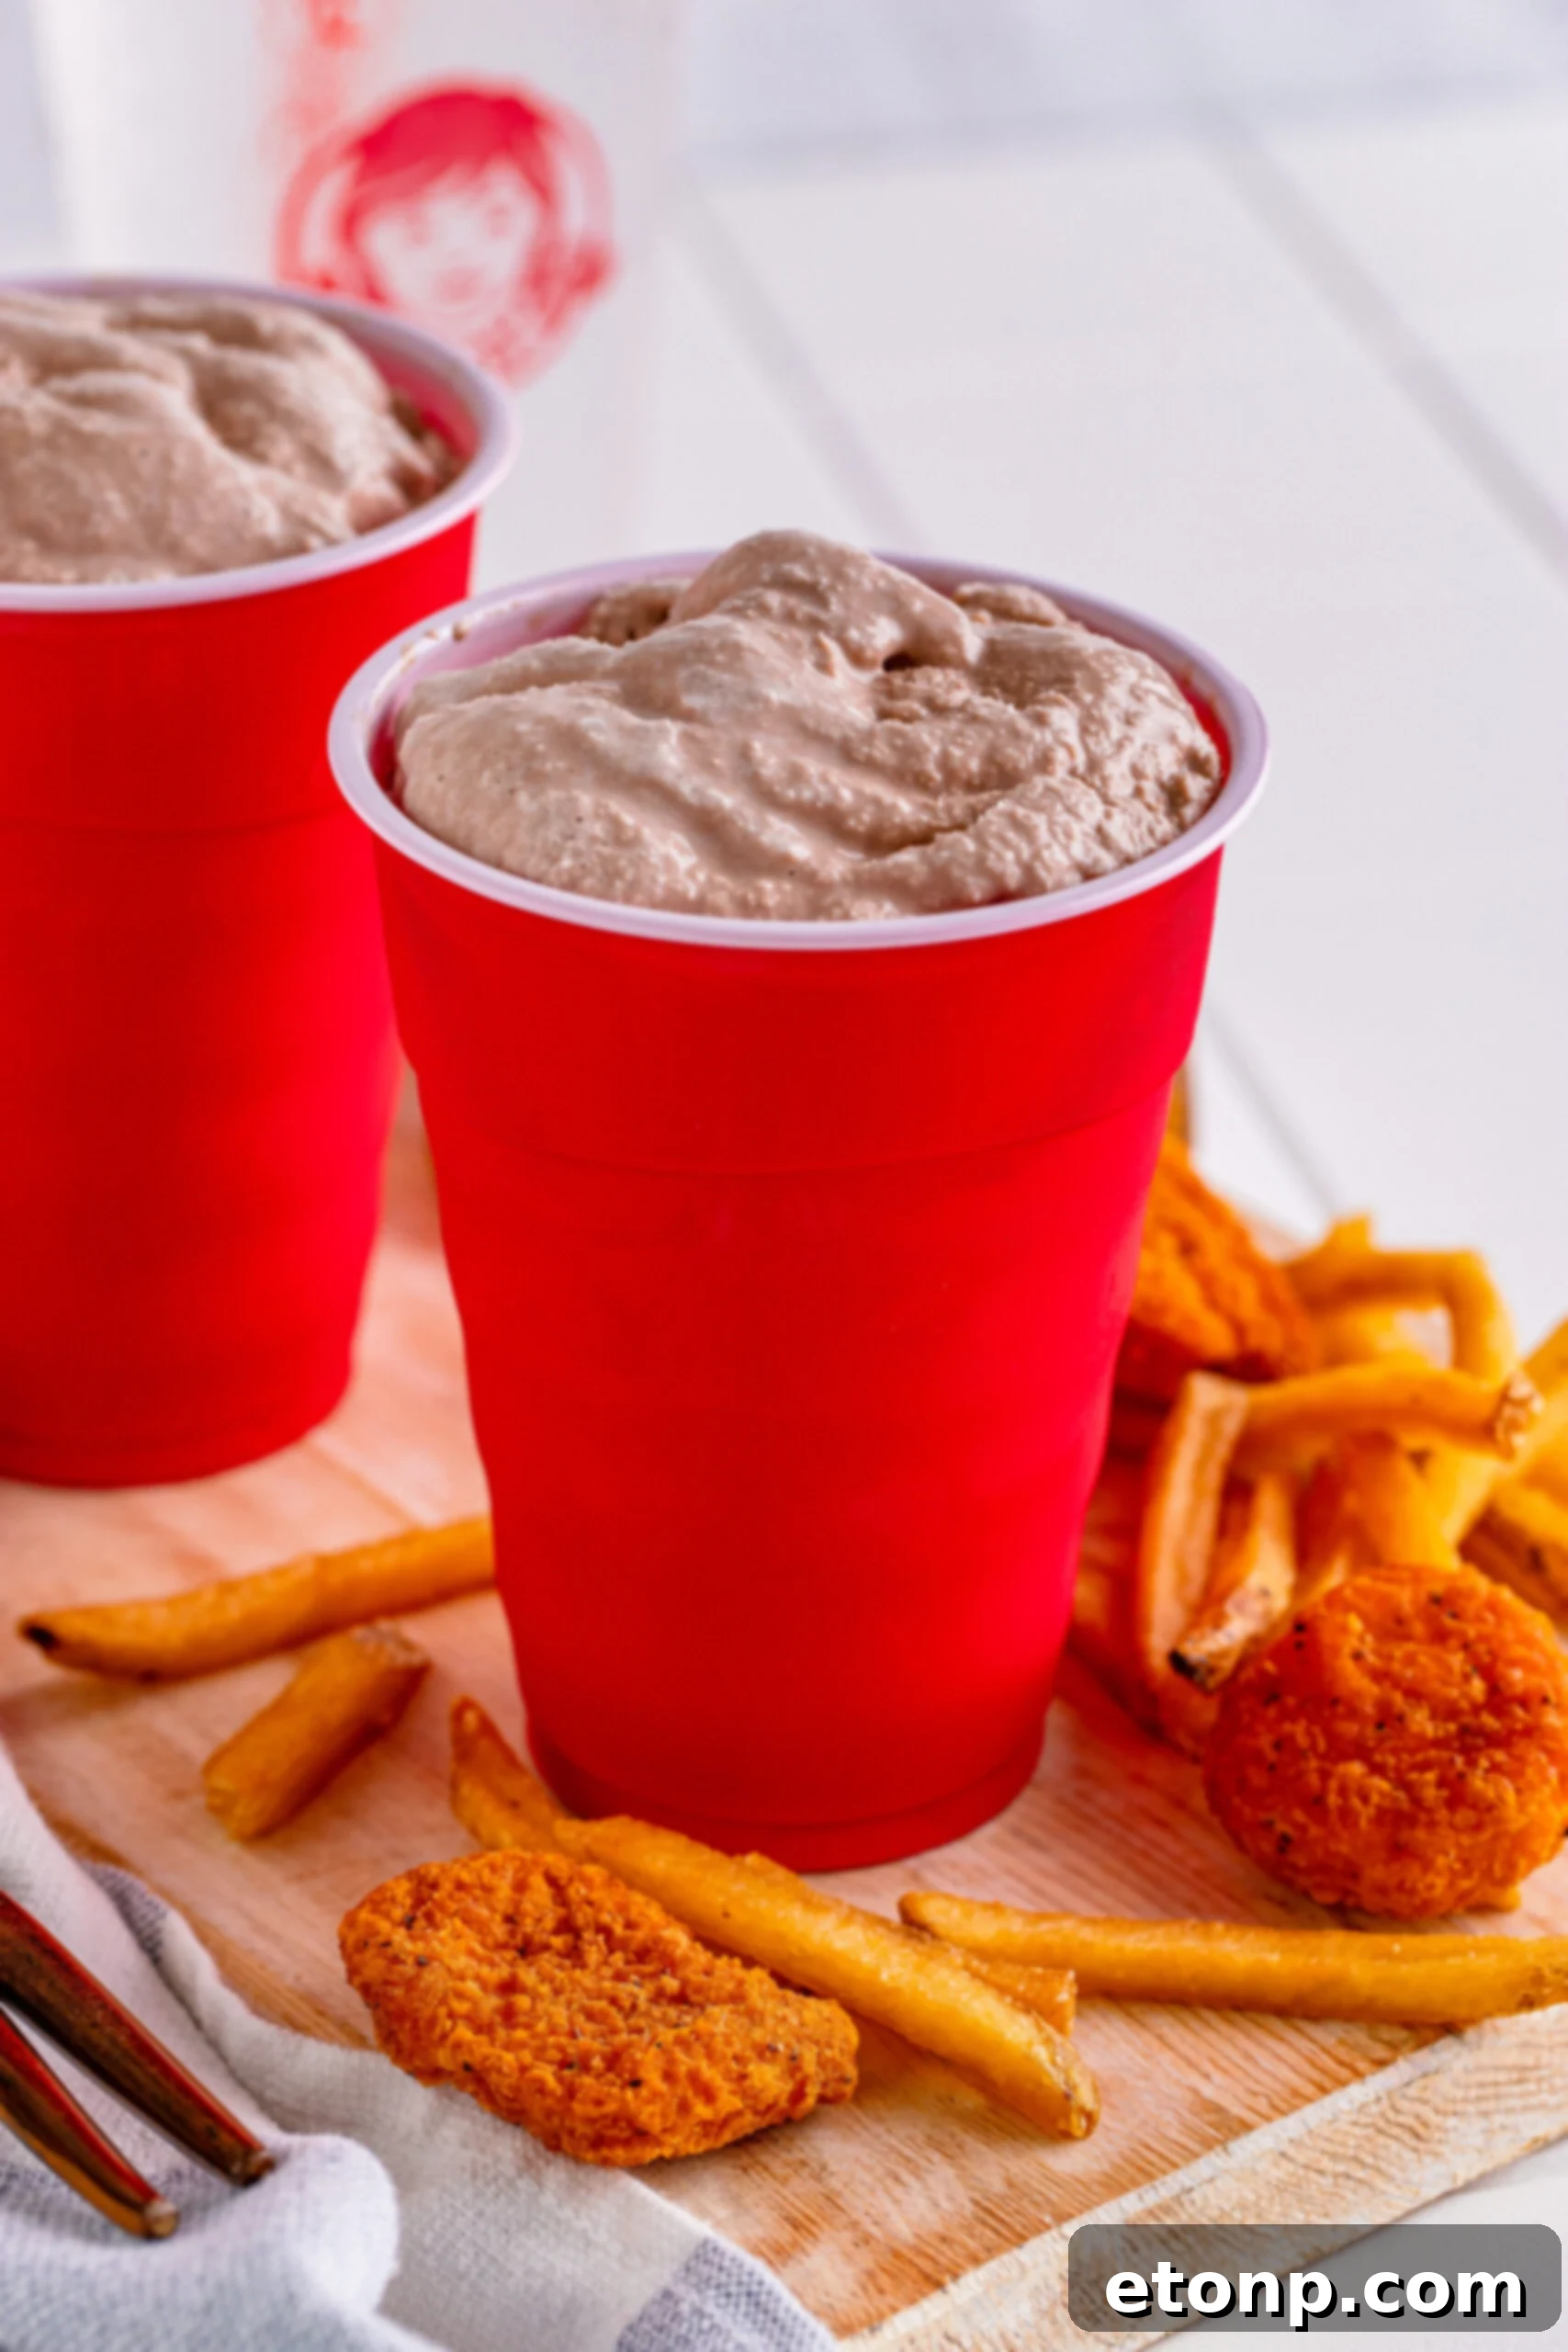
Indulge in the rich, delicious flavor of an authentic Wendy’s Frosty, lovingly crafted right in the comfort of your own kitchen! This recipe is incredibly easy to prepare, relying on just a few simple ingredients that you likely already have on hand. Get ready to impress your family and friends with this amazing homemade treat.
Please remember to SHARE on Facebook and PIN IT!
FOLLOW ME ONPINTERESTBY CLICKING HERE <——

Copycat Wendy’s Frosty
Ingredients
Yields: 12 servings
Freeze Time: 6 hours
- 1/2 gallon chocolate milk
- 6 tablespoons Nesquik powder
- 14 ounces sweetened condensed milk
- 8 ounces whipped topping
- 1 teaspoon vanilla extract
Instructions
-
Divide all ingredients in half. Place half of the chocolate milk, half of the Nesquik powder, half of the sweetened condensed milk, half of the whipped topping, and half of the vanilla extract into a blender.
-
Blend thoroughly until the mixture is smooth and well combined.
-
Pour the blended mixture into a 9×13-inch baking dish. Place it into the freezer.
-
Repeat the blending process with the remaining half of the ingredients, pouring the second batch into another 9×13-inch baking dish (or combine with the first batch in a larger container if you have one).
-
Every 30 minutes, remove the dish(es) from the freezer and scrape and mix the frosty vigorously. This crucial step breaks up any forming ice crystals, ensuring a smooth, creamy texture. Pay special attention to the outer edges, as they tend to freeze faster. Continue this process until the Frosty reaches your desired consistency.
Freezing Time Tips:
-
For a more solid, spoonable Frosty (like the classic Wendy’s texture), aim for approximately 6 hours of freezing with consistent scraping.
-
If you prefer a softer, slushier, or milkshake-like consistency, 4 hours of freezing should be sufficient.
Important Notes:
-
The recipe requires blending in two batches because the total volume of ingredients will exceed the capacity of most standard home blenders. Using two batches prevents overflow and ensures a well-blended mixture. If you don’t have a standard blender, a food processor or an immersion blender can also be used effectively.
-
While you can combine the entire mixture into one large bowl or container for freezing, dividing it into two smaller containers (like 9×13 baking dishes) can significantly speed up the freezing process. This allows the mixture to freeze more evenly and quickly, getting you to your delicious Frosty faster!
Did you make this recipe?
Make sure to follow on Pinterest for more recipes!
Pin Recipe
Share on Facebook