
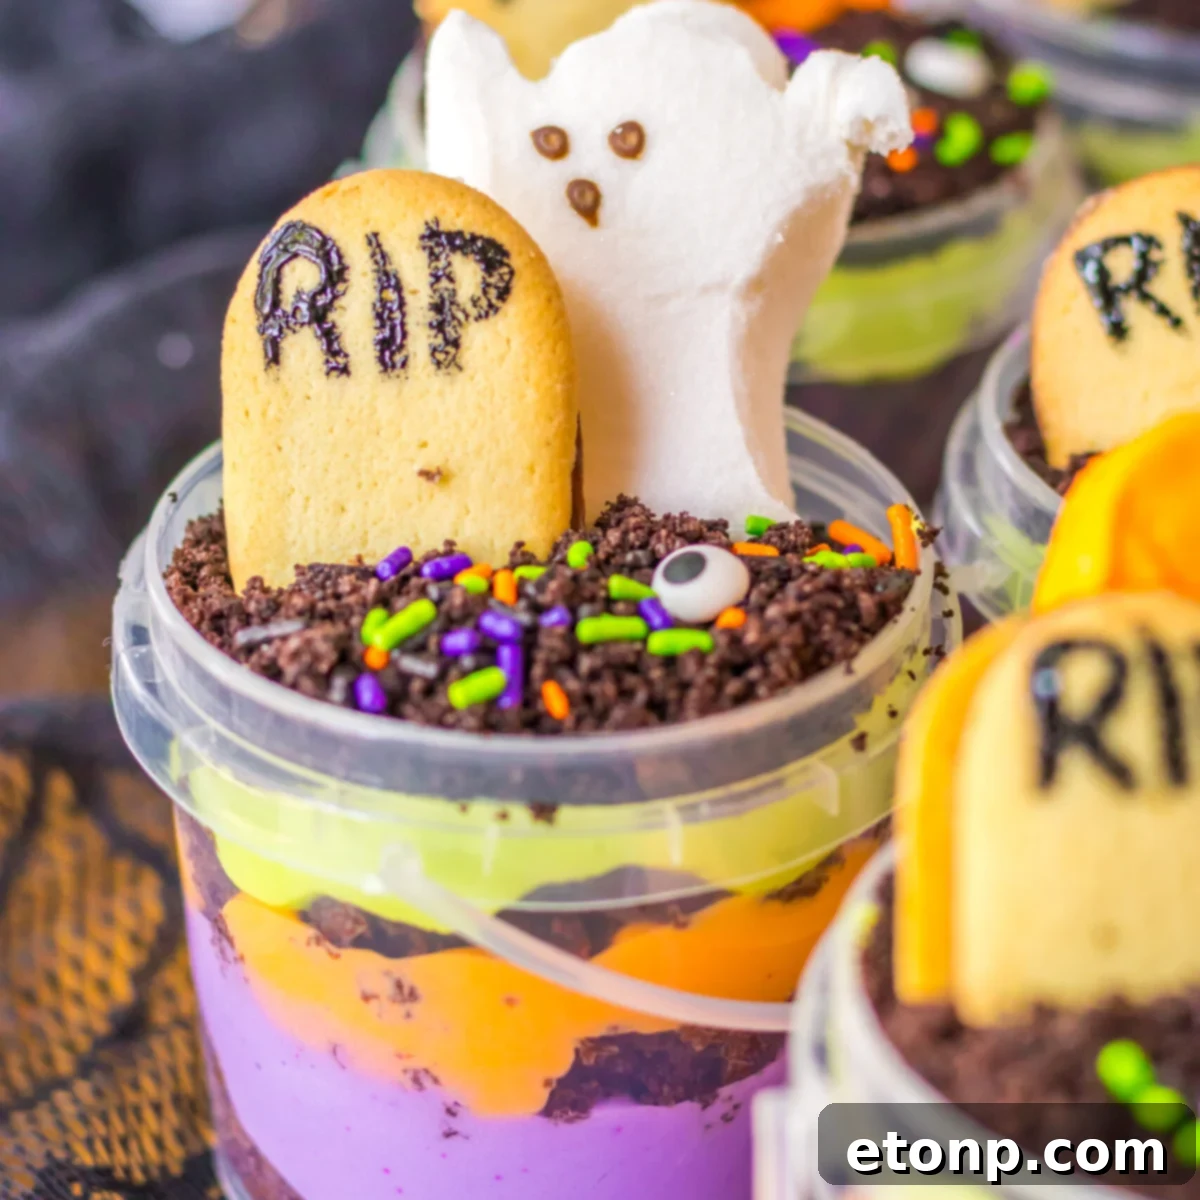
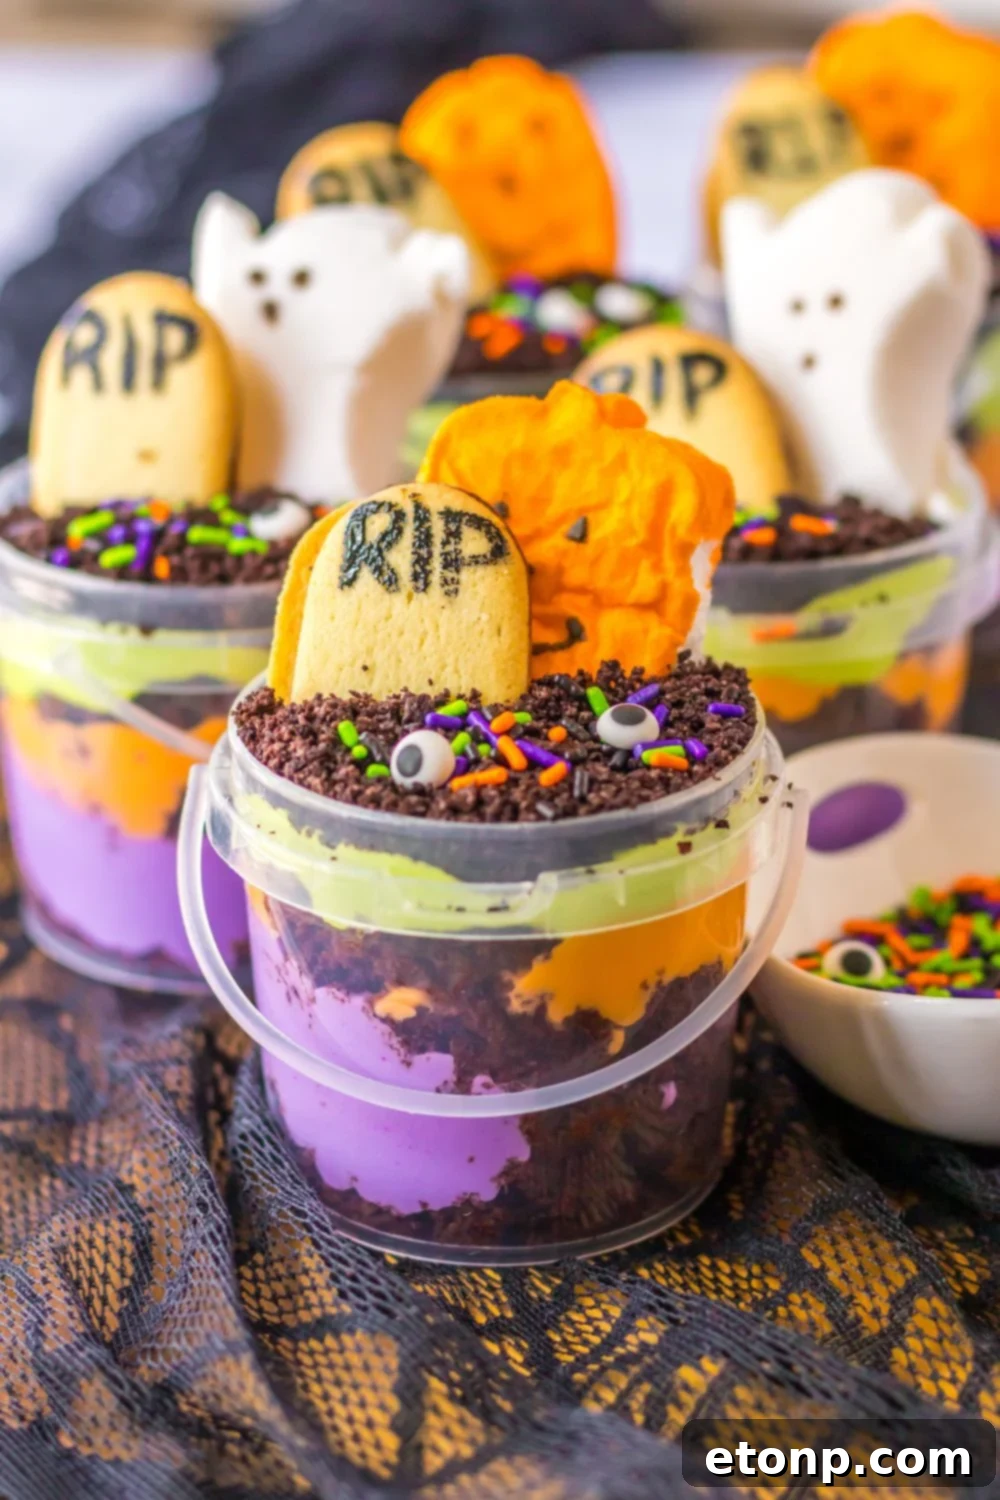
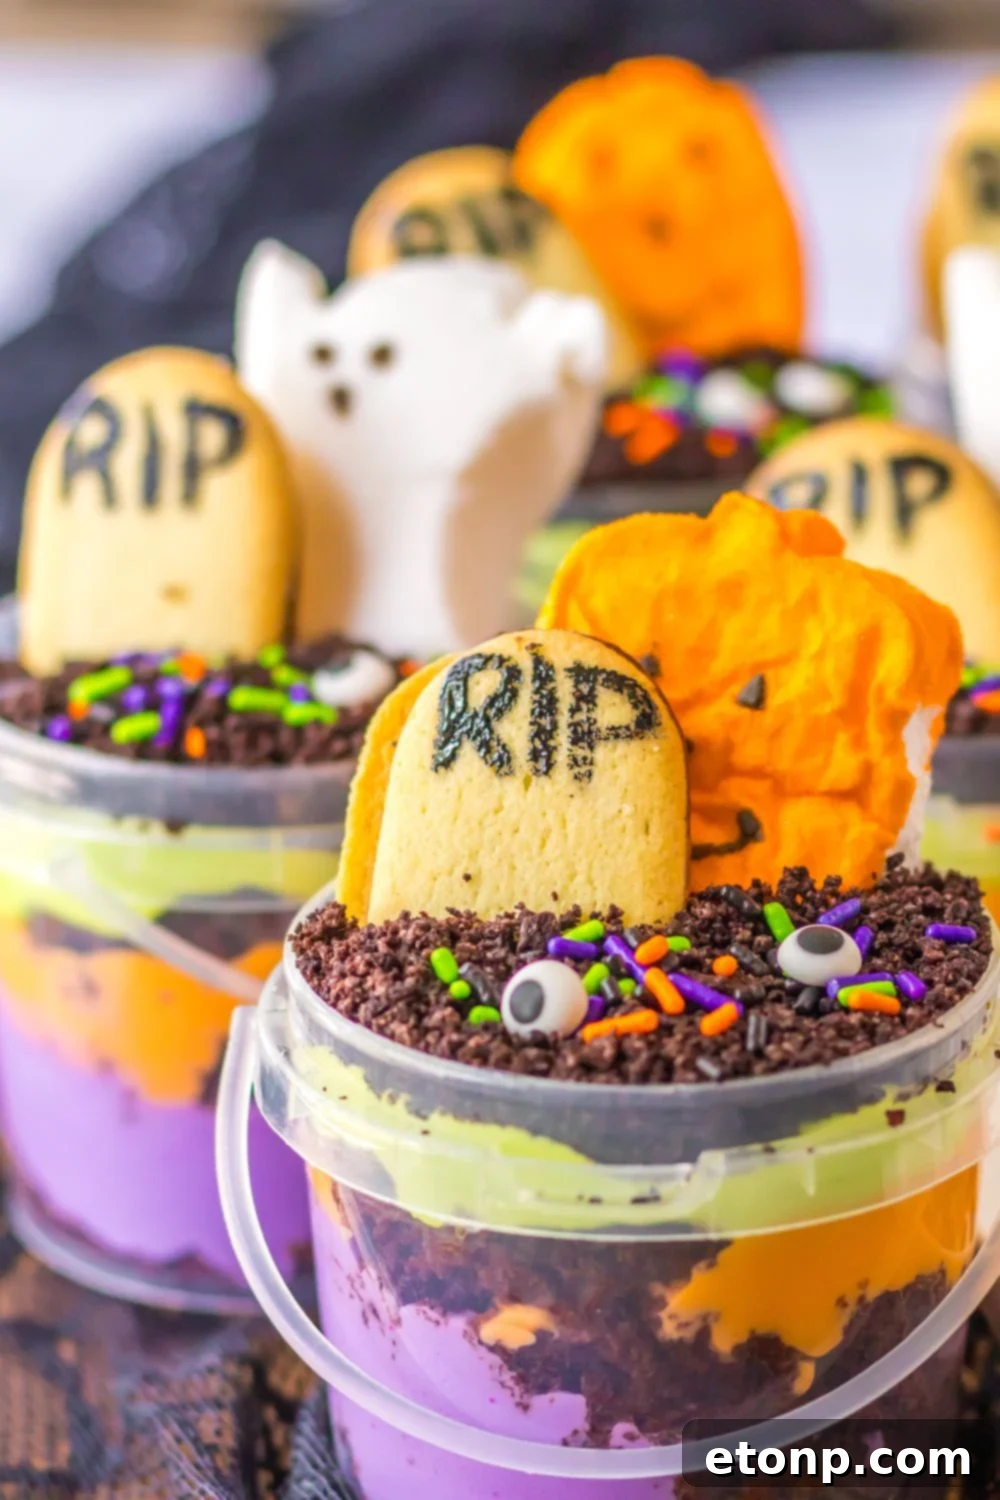
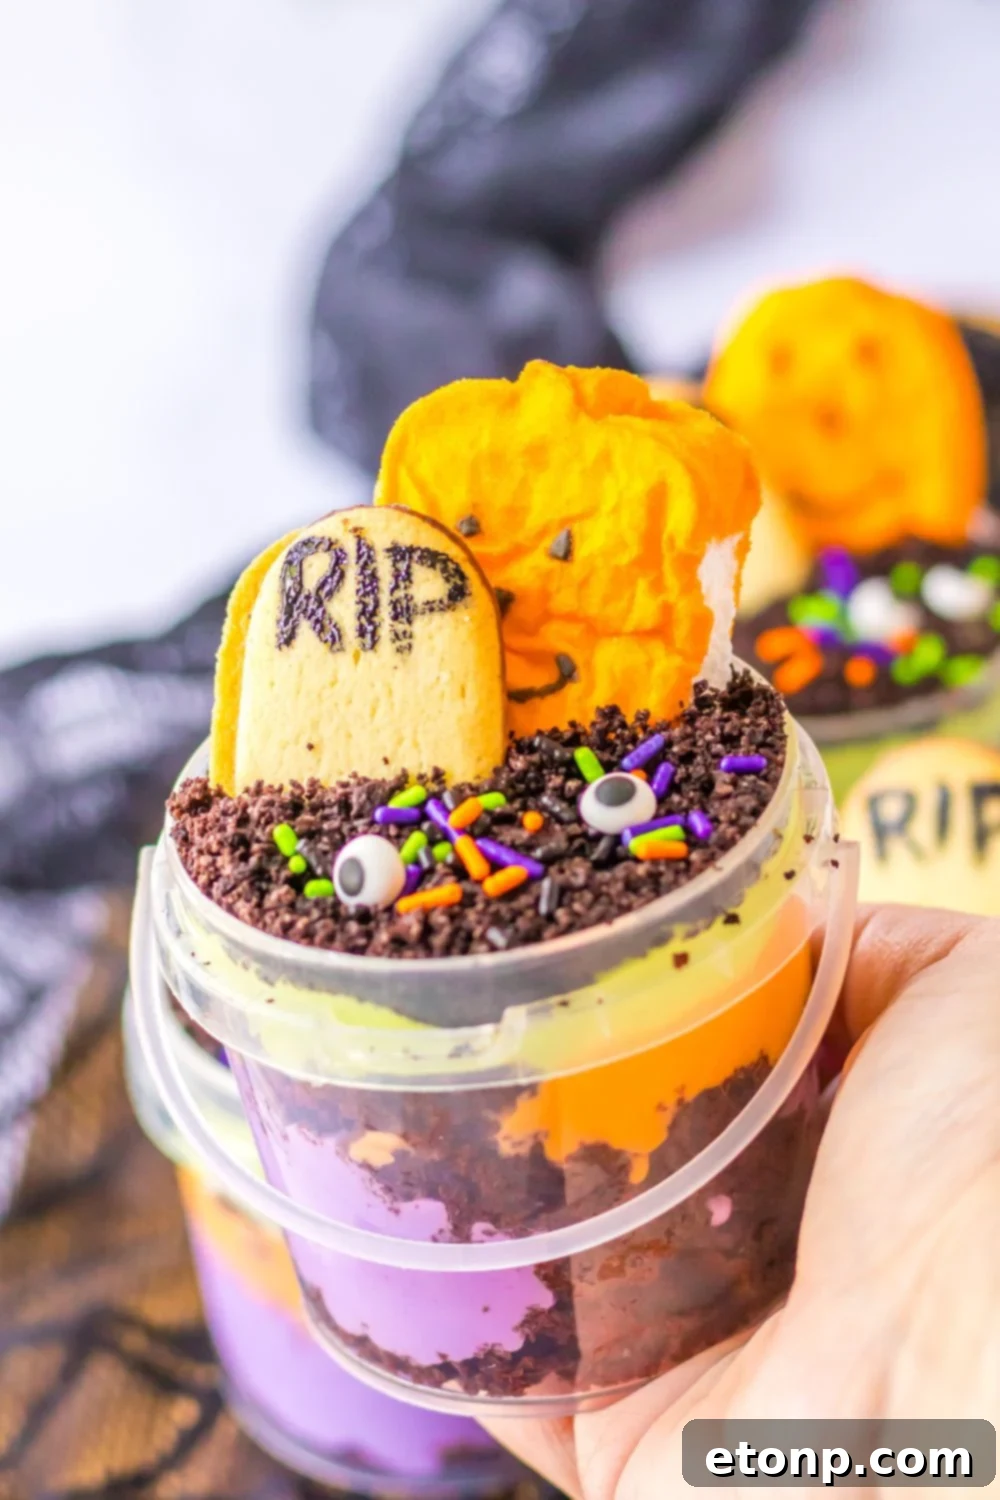
Get ready to delight your taste buds and impress your guests this Halloween with our incredibly fun and spooky Graveyard Halloween Pudding Cups! These vibrant, layered desserts are an absolute sensation, combining rich chocolate cake, creamy colorful pudding, crunchy crushed cookies, and playful Milano tombstone headstones into one unforgettable treat. Served in adorable plastic buckets, these individual portions are not just delicious but also a feast for the eyes, perfect for any Halloween gathering or a special everyday indulgence.
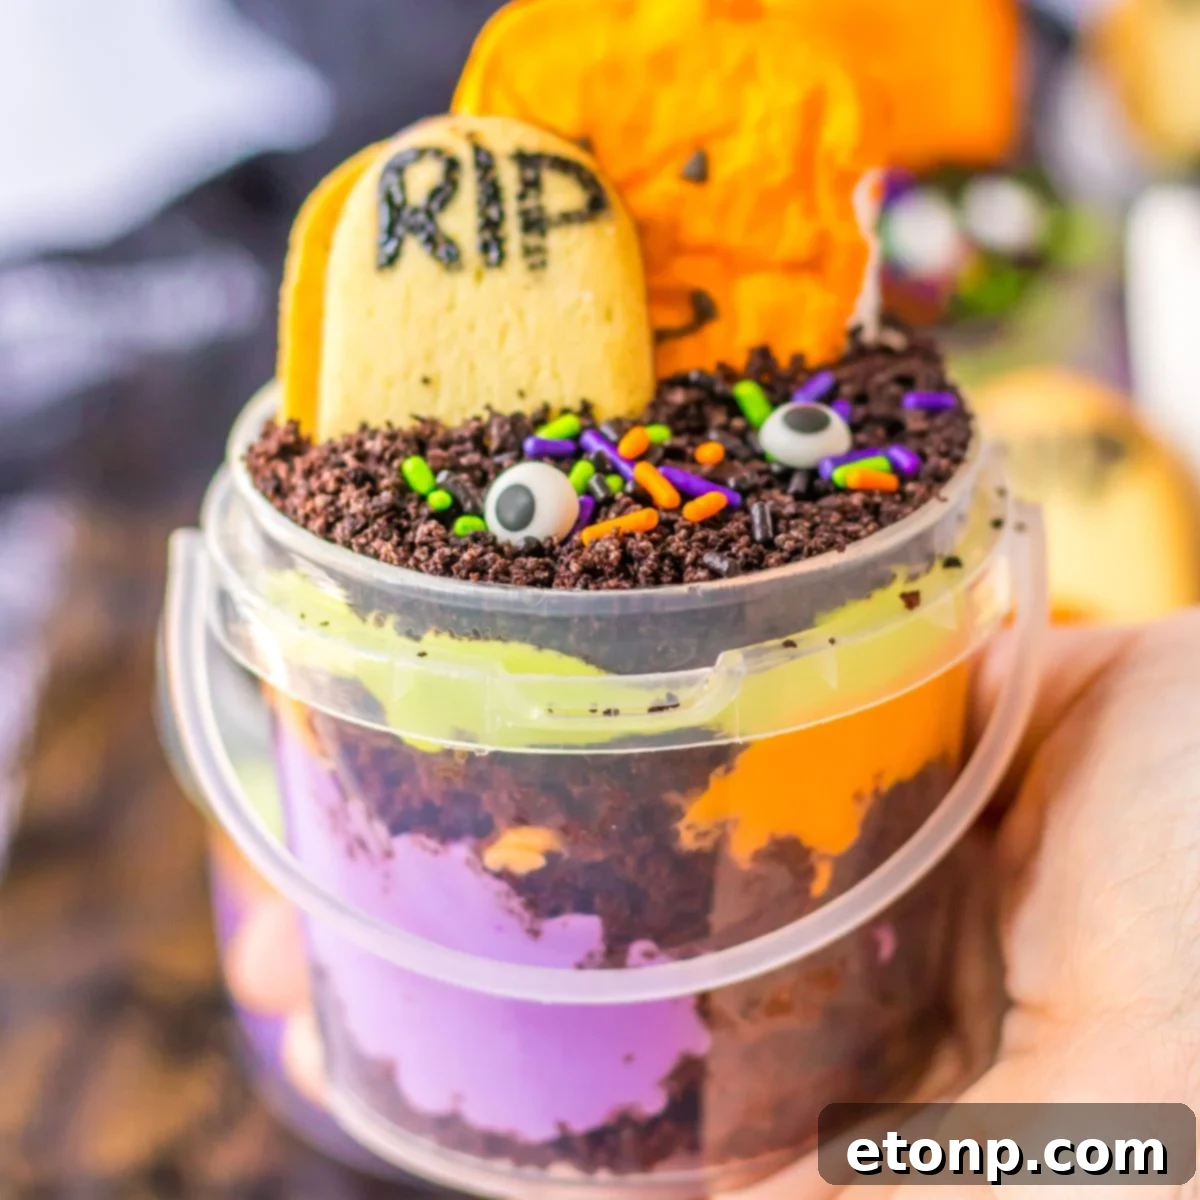
Whether you’re planning a grand Halloween party or simply looking for a festive and easy-to-make dessert to brighten up a gloomy autumn day, these layered pudding cups are an absolute must-try. They offer a delightful twist on the classic “dirt pudding” recipe, elevating it with a decadent layer of moist chocolate cake. This added element introduces an extra depth of flavor and texture, making each spoonful a truly luxurious experience. Prepare to amaze your family and friends with this imaginative and utterly delicious Halloween creation.
If you’re a fan of these spooky treats, you might also love exploring other themed desserts. Don’t forget to check out this fantastic Halloween dirt cake recipe for another delightful pudding and Oreo cookie creation that promises family-friendly fun and flavor. Both recipes are fantastic options for creating memorable Halloween moments!
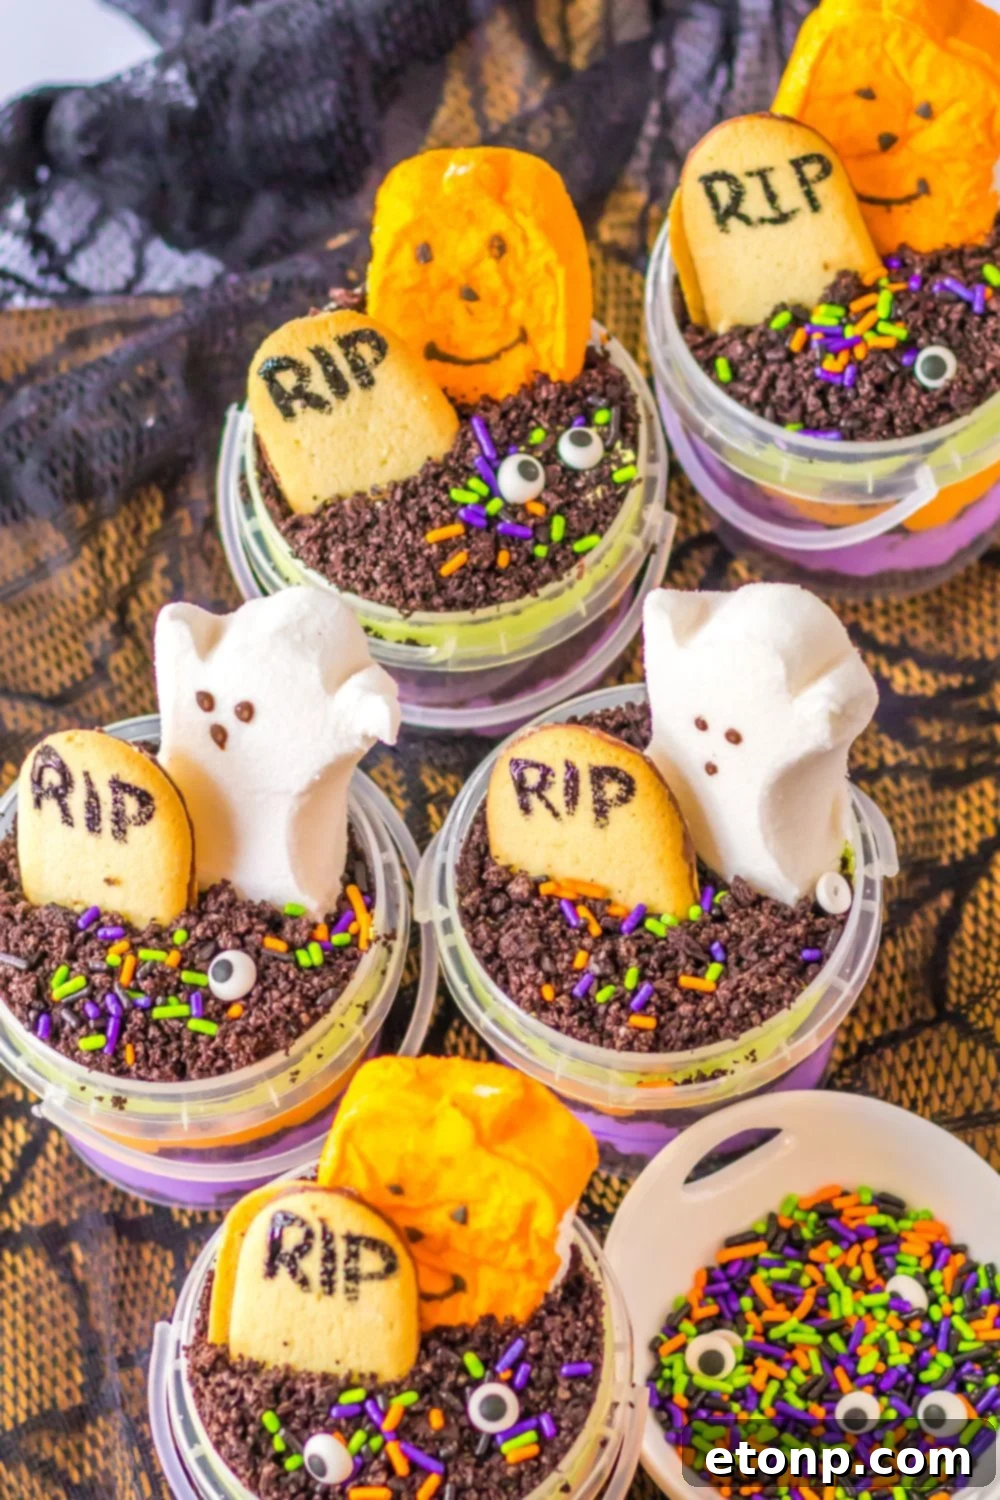
Why You’ll Adore These Halloween Pudding Cups
- **A Symphony of Textures and Flavors:** Each spoonful of these layered Halloween pudding cups delivers a perfect harmony of creamy pudding, moist chocolate cake, and crunchy Oreo “dirt.” It’s a multi-textured delight that keeps your taste buds excited with every bite. The sweet, rich chocolate perfectly complements the smooth pudding and the satisfying crunch of the cookies.
- **Effortlessly Quick and Simple:** Don’t let the impressive appearance fool you; these graveyard pudding cups are incredibly easy to assemble. By utilizing a pre-made cake mix, you can significantly cut down on preparation time, making this a stress-free dessert option even for busy schedules. It’s perfect for last-minute party preparations!
- **Ideal for Parties and Gatherings:** These individual portioned desserts are a dream come true for entertaining. Guests can easily grab their own Halloween pudding bucket and a spoon, making serving a breeze and ensuring everyone gets a perfectly composed treat. No need for messy slicing or serving large trays!
- **A Fun Family Activity:** Get the kids involved in the kitchen! This recipe is fantastic for little helpers who can assist with crushing cookies, layering ingredients, and especially decorating their own spooky pudding cups. It’s a wonderful way to create lasting memories and encourage creativity during the Halloween season.
- **Decadent Chocolate Lover’s Dream:** For anyone who adores chocolate, this dessert is an absolute winner. The combination of rich chocolate cake and chocolatey Oreo crumbs provides a deep, satisfying cocoa flavor that’s both indulgent and comforting. It’s the ultimate treat for chocolate aficionados.
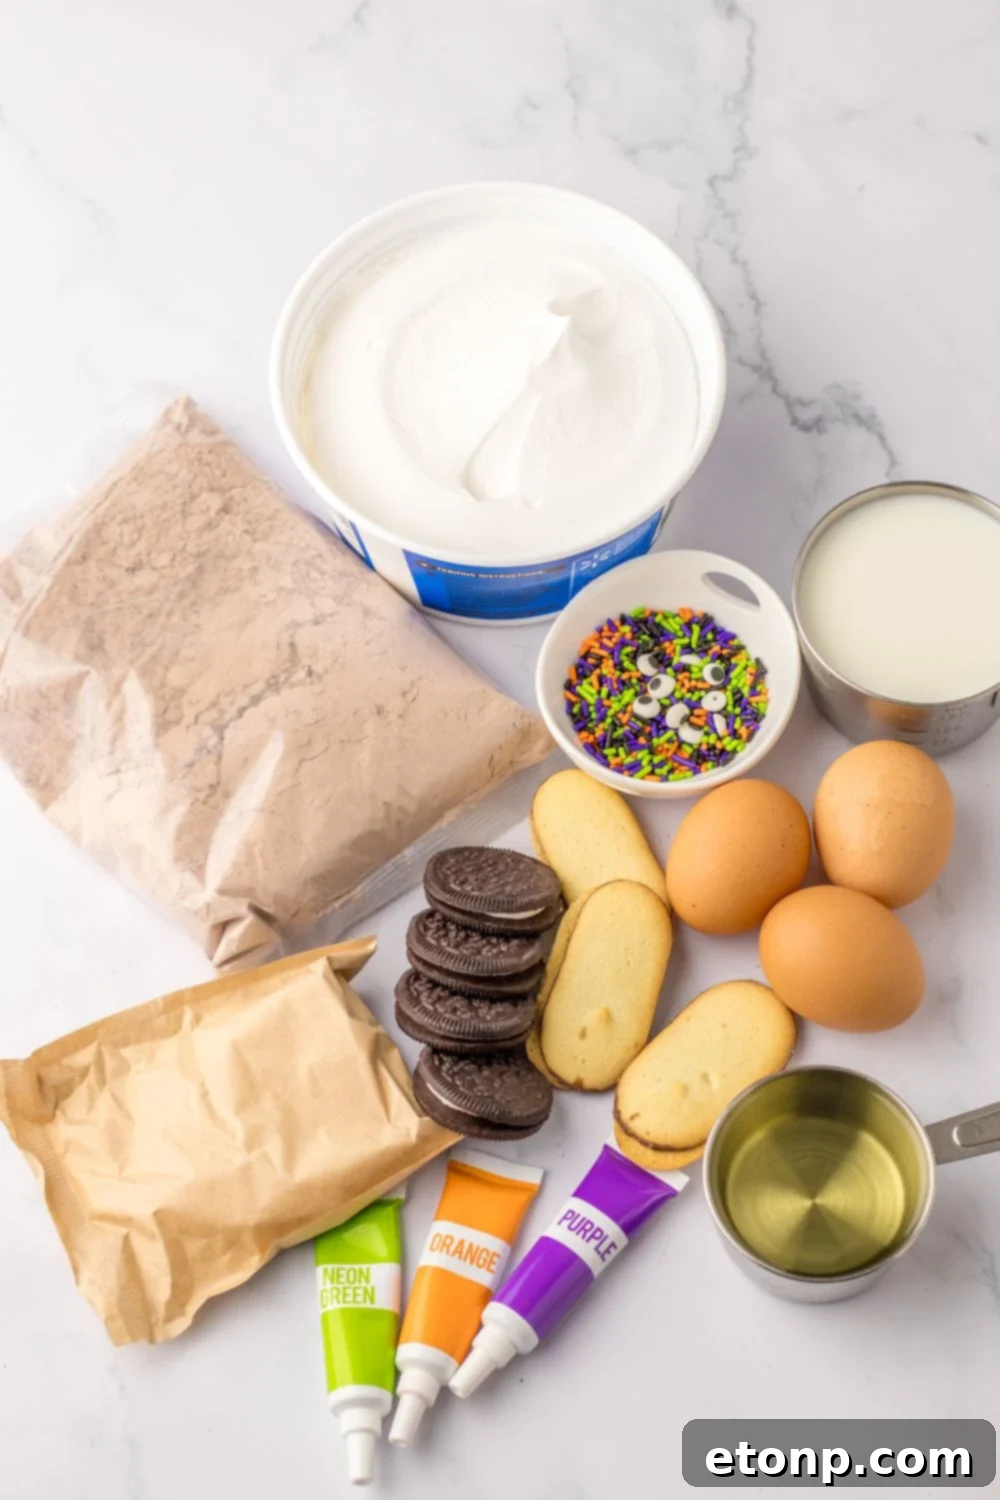
Essential Ingredients for Your Spooky Creation
- Chocolate Cake Mix: A standard box of Devil’s Food cake mix works wonderfully. You’ll need the ingredients listed on the back of the box (water, oil, eggs) to prepare it. Using a mix saves time and ensures a consistently moist cake base for your graveyard pudding cups.
- Instant White Chocolate Pudding: Opt for instant pudding to ensure a quick and easy dessert. White chocolate flavor provides a neutral base that takes food coloring beautifully, allowing the vibrant Halloween hues to truly pop.
- Cold Milk: Whole milk is recommended for the richest, creamiest pudding texture. However, feel free to use a lower fat percentage milk if preferred; the pudding will still be delicious, just slightly less decadent.
- Thawed Whipped Topping (Cool Whip): This ingredient contributes to the mousse-like creaminess of the pudding layers. Ensure it’s fully thawed before incorporating for the best smooth consistency.
- Vibrant Food Coloring: Green, orange, and purple food coloring are classic Halloween shades that will transform your pudding into an eye-catching, spooky treat. Gel food coloring often provides more vibrant colors with less liquid, preventing thinning of the pudding.
- Crushed Oreo Cookies: These iconic chocolate sandwich cookies are essential for creating the “dirt” layer in your graveyard pudding cups. Their dark color and delicious crunch are perfect for the theme.
- Milano Cookies: The elegant, oblong shape of Milano cookies makes them the ideal choice for crafting realistic, edible tombstones. Their flat surface is perfect for writing “R.I.P.” or other spooky messages.
- Halloween Candies and Sprinkles: Unleash your creativity! Gummy worms, candy corn, mini chocolate chips, spooky sprinkles, and candy pumpkins are all fantastic options for decorating the top of your pudding cups, adding extra visual appeal and fun.
- Clear Plastic Buckets or Cups: Using clear containers is crucial for showcasing the beautiful, distinct layers of your pudding cups. Eight-ounce clear plastic buckets or cups are perfect for individual servings and enhance the graveyard aesthetic.
Creative Variations to Personalize Your Pudding Cups
While the graveyard theme is a timeless Halloween classic, feel free to get creative and customize these pudding cups to your heart’s content. Here are a few inspiring variations:
Vanilla Flavored Wonderland: For those who prefer lighter flavors, transform this recipe into a vanilla dream. Use a vanilla cake mix, vanilla instant pudding (which can still be colored), and substitute the Oreos with Golden Oreos for a bright, cheerful vanilla-themed dessert. This offers a refreshing contrast to the rich chocolate version.
From-Scratch Cake: If you love baking from scratch, substitute the box cake mix with your favorite homemade cake recipe. You can experiment with various cake flavors such as classic vanilla, decadent chocolate, or even a spiced pumpkin cake for an extra autumnal touch. Ensure the cake is completely cooled before dicing it for the layers.
Enchanting Pumpkin Patch Theme: Instead of a spooky graveyard, create a charming pumpkin patch! Top your pudding cups with an abundance of candy pumpkins, classic candy corn, and other friendly fall-themed toppings. You can use green food coloring for a “grass” layer and orange for a “pumpkin” layer of pudding to enhance the theme.
Wiggly Gummy Worms: Bring back the nostalgic “dirt cup” vibe by adding plenty of gummy worms. These chewy candies can be layered within the pudding and cake, or simply draped over the top for a fun, wiggly effect. For an extra spooky touch, break Oreos in half to resemble bat wings and stick them into the “dirt” with candy eyes. The possibilities are endless!
Alternative Cake Bases: If you’re looking for a lighter option, swap out the chocolate cake with a chocolate angel food cake. Its airy texture provides a delightful contrast to the creamy pudding. Alternatively, any other cake type that holds its shape well when diced would work beautifully, offering a different flavor profile.
Homemade Whipped Cream: For a truly gourmet touch, replace the store-bought whipped topping with freshly made homemade whipped cream. While delicious, be aware that homemade whipped cream tends to break down and lose its fluffiness quicker than stabilized whipped toppings, so plan to serve these shortly after assembly for the best texture.
Expert Tips for Crafting Perfect Pudding Cups
Follow these expert tips to ensure your Halloween Pudding Cups turn out perfectly every time, both in taste and presentation:
The Magic of Clear Containers
The visual appeal of these Halloween pudding cups is undeniable, and using clear containers is absolutely essential to showcase their vibrant layers and intricate design. Transparent plastic buckets or cups beautifully display the rich chocolate cake, colorful pudding, and dark Oreo “dirt,” allowing your guests to appreciate every delicious component. This striking presentation makes them even more inviting and fun for any Halloween celebration, highlighting the artistry of your spooky dessert.
Achieving Perfect Cookie Crumbs
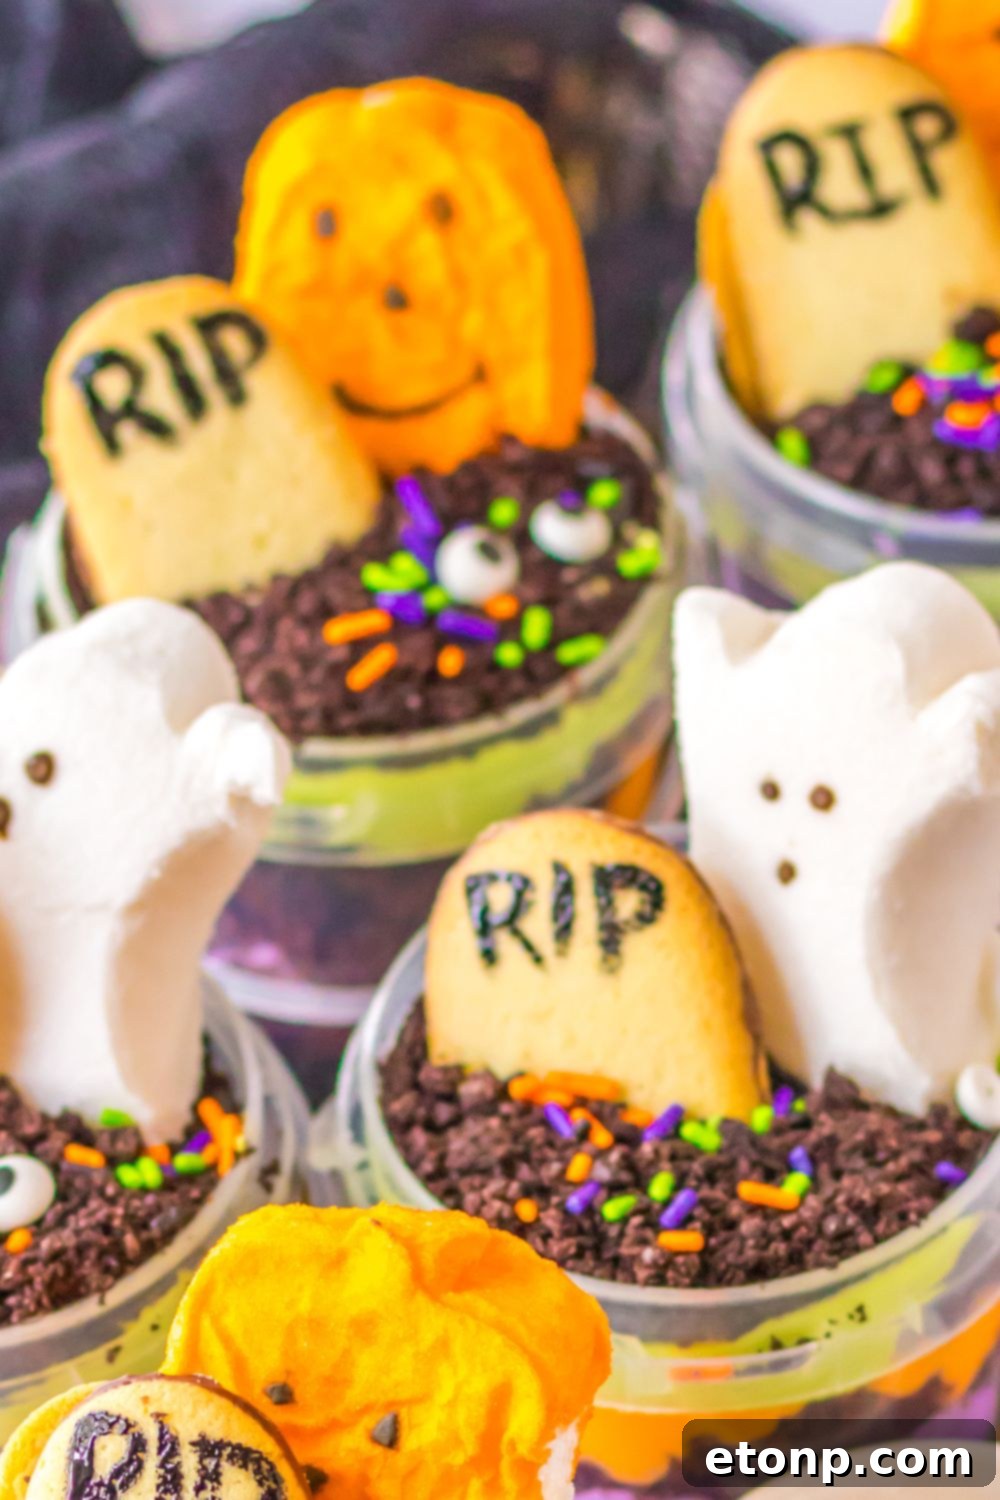
For uniform “dirt” layers, a food processor is your best friend for crushing the Oreo cookies quickly and efficiently. It creates fine, consistent crumbs that distribute evenly throughout your pudding cups. If you don’t have a food processor, no worries! Simply place the cookies in a sturdy Ziploc bag, seal it, and use a rolling pin to crush them until you achieve the desired fine crumb texture. This method is just as effective, albeit a bit more manual.
Mastering Pudding Coloring
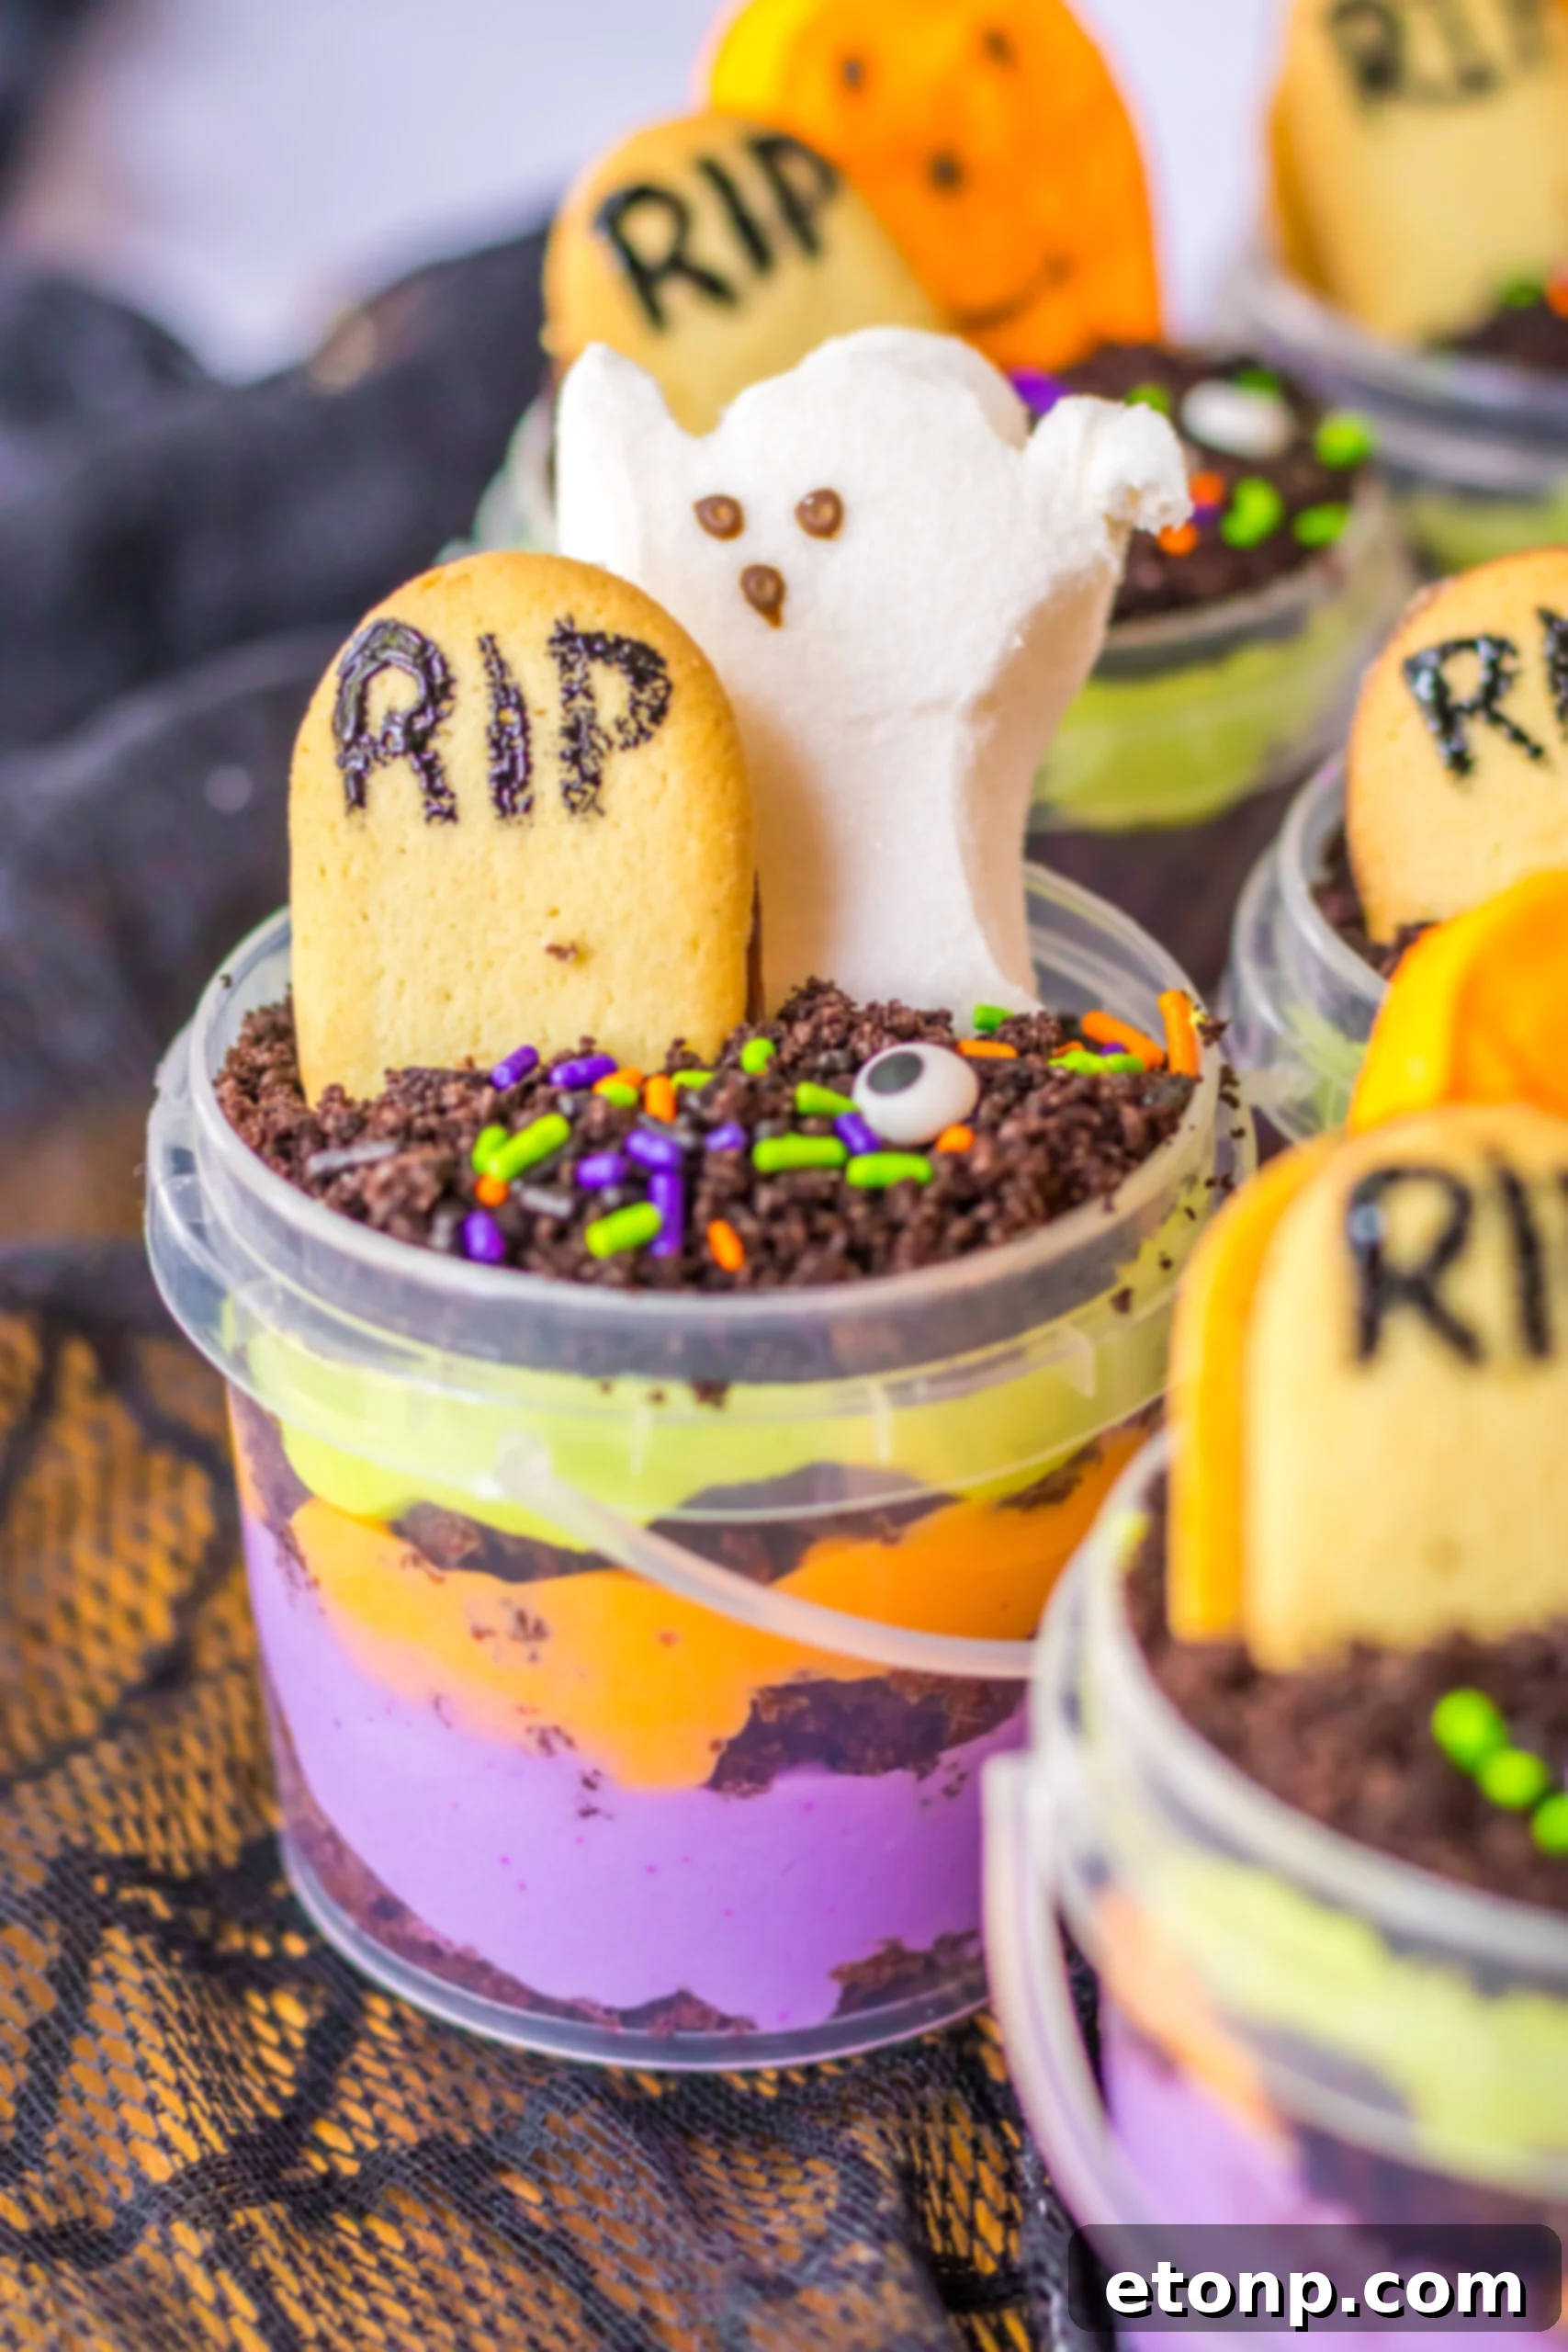
When it comes to coloring your pudding, you have complete control over the intensity. Add a small amount of food coloring for pastel, eerie shades, or a more generous amount to achieve vibrant, bold Halloween colors like electric green, fiery orange, and deep purple. Remember to separate your pudding into different bowls before coloring to create distinct, multi-hued layers that really stand out in your clear containers. Experimentation is key to finding your perfect spooky palette!
Crafting Smooth, Even Layers
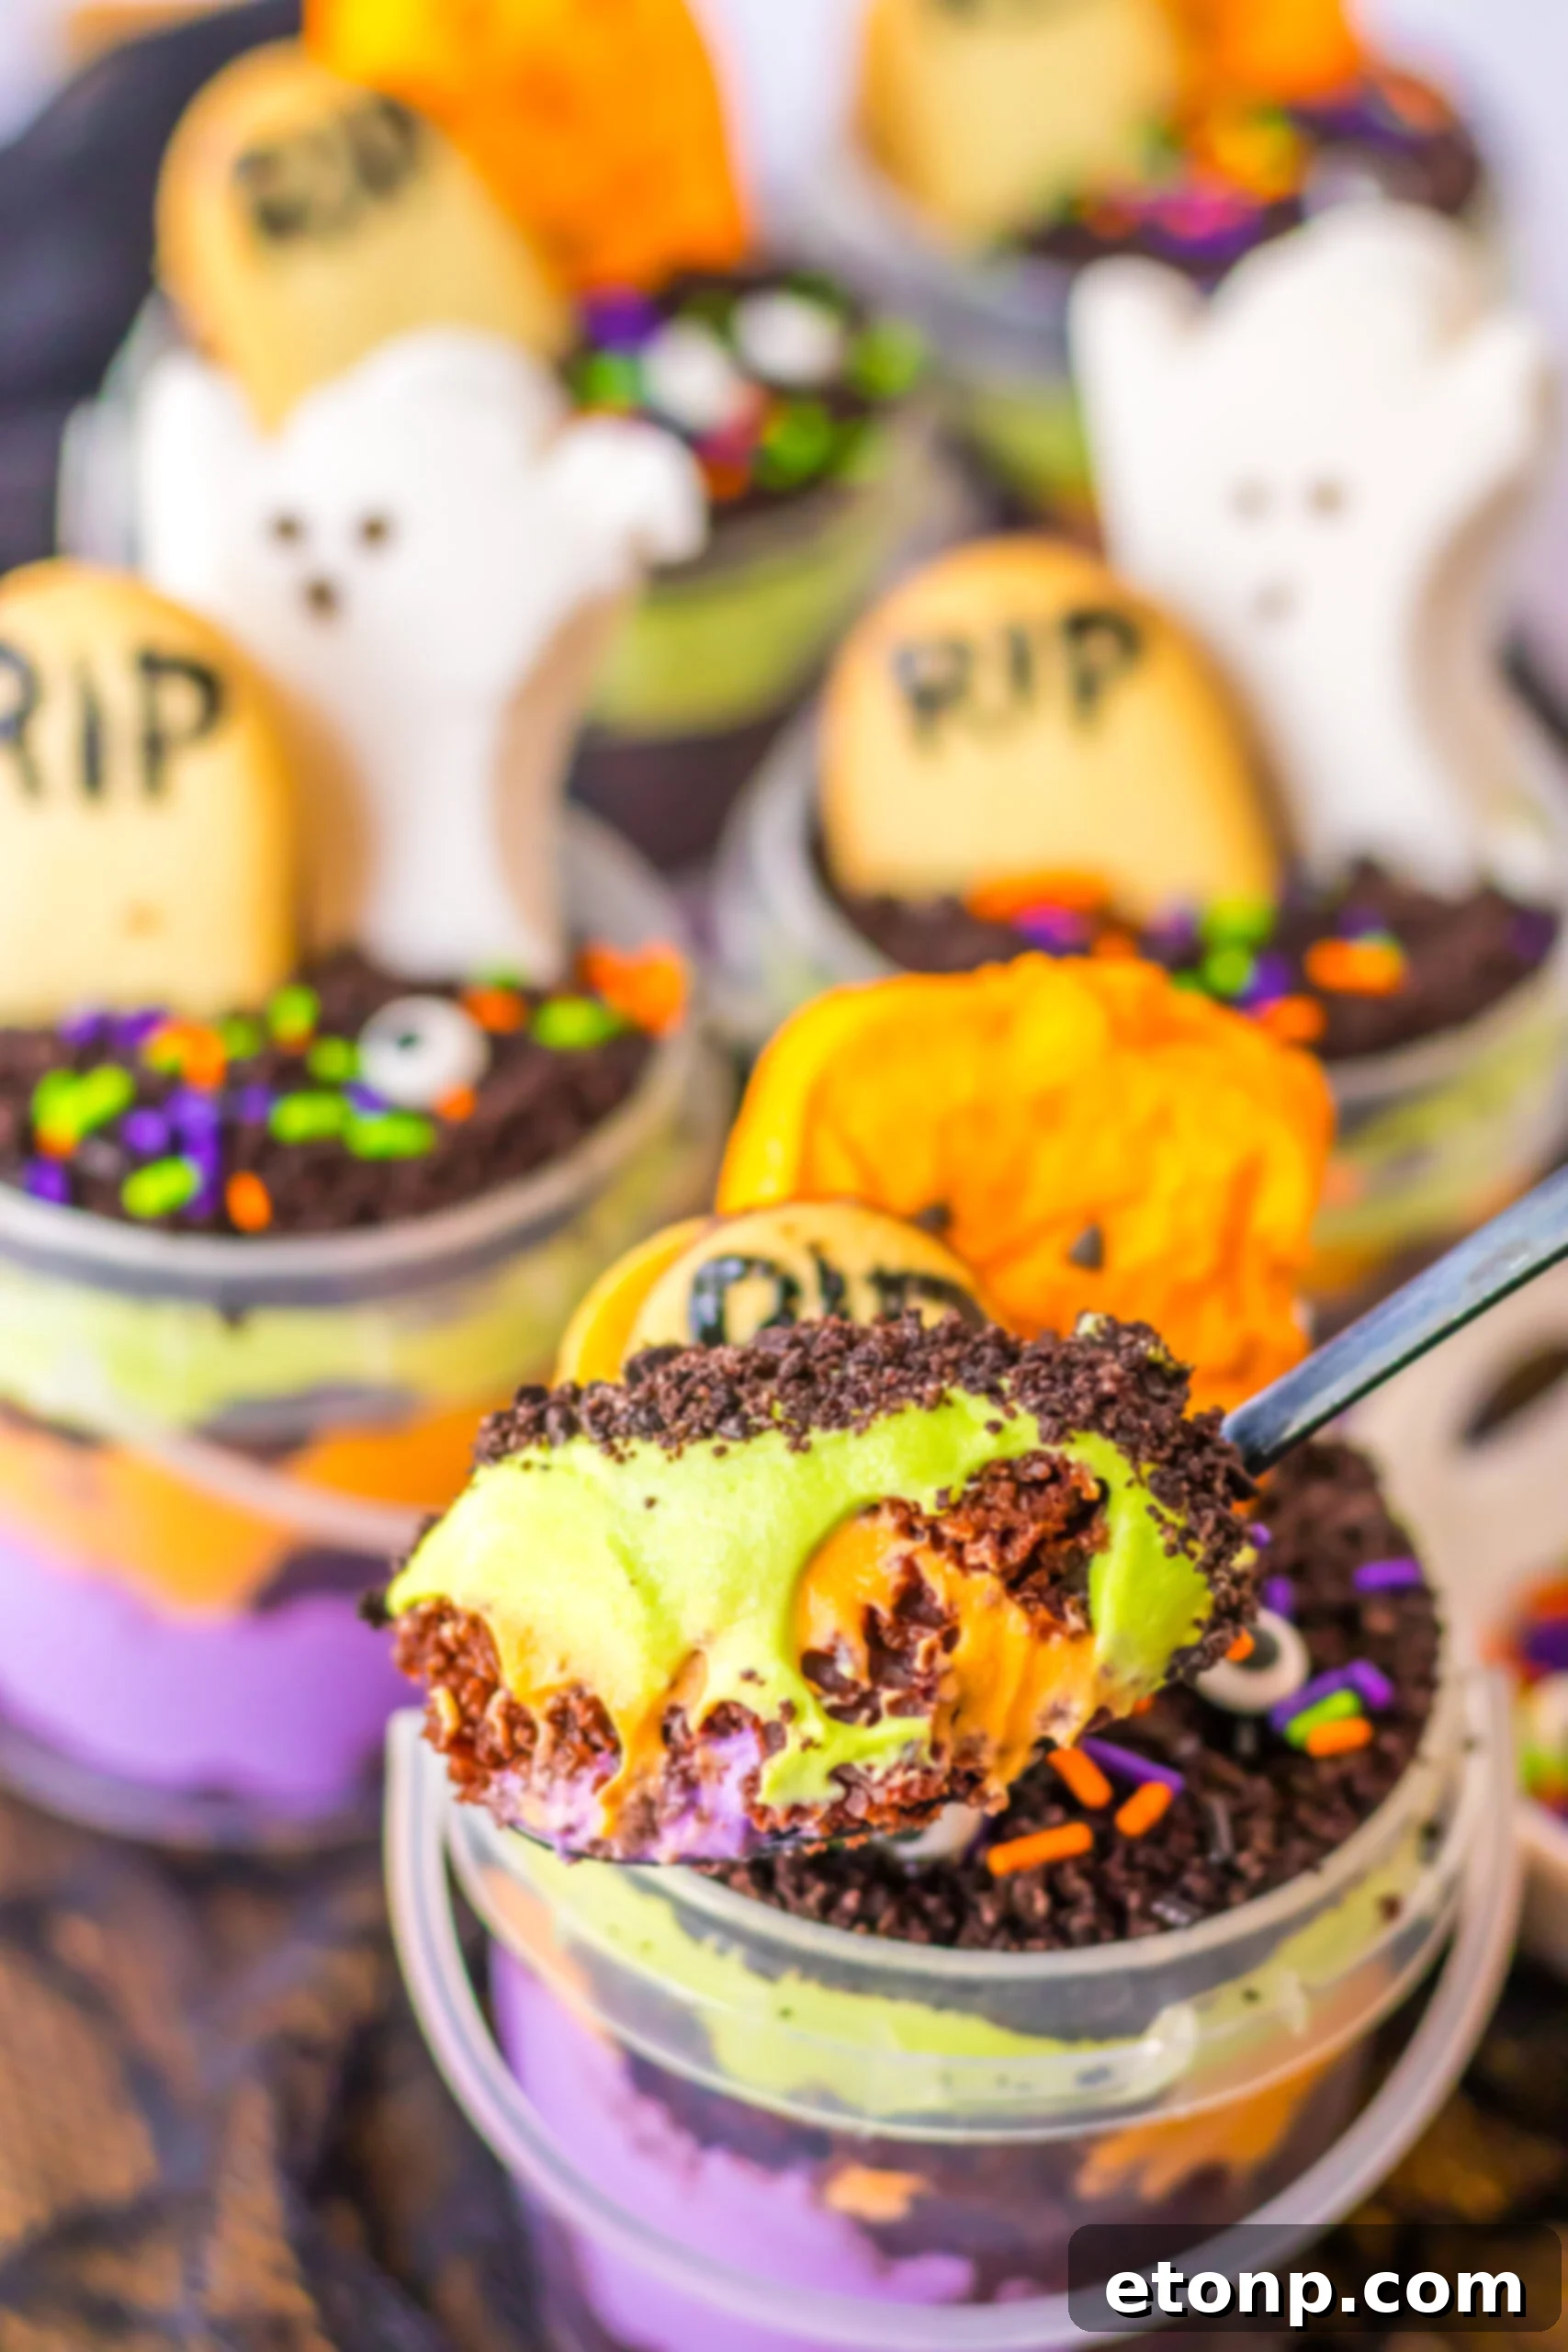
The beauty of these layered pudding cups lies in their distinct, well-defined strata. Take your time when adding each component—cake, pudding, and cookie crumbs—to ensure clean, even layers. This attention to detail will result in a visually stunning dessert that reveals all the captivating colors and textures from the outside of the clear container. A spoon or small spatula can help gently spread each layer without mixing the colors.
Ensuring Thickened Pudding
Before you begin assembling your pudding cups, it’s crucial to ensure your instant pudding is fully mixed and properly thickened. This usually takes just a few minutes of whisking with cold milk until it reaches a firm, set consistency. If the pudding is too runny, the layers might bleed into each other, compromising the visual appeal. Allow it to sit for a minute or two after whisking to fully set before dividing and coloring.
Storing Your Spooky Graveyard Treats
These Halloween Pudding Cups are not only delicious but also remarkably convenient for make-ahead preparations. Once assembled, it’s essential to refrigerate them promptly until you’re ready to serve. They are an excellent choice for parties as they can be prepared a day in advance, giving you more time to enjoy your event.
When stored correctly, your graveyard pudding buckets will maintain their freshness and flavor for 3-5 days in the refrigerator. To prevent them from absorbing unwanted odors or drying out, make sure each cup is thoroughly covered. You can achieve this by using plastic wrap pressed directly onto the surface of the pudding, or by placing the cups in an airtight container. This ensures that every bite remains as delightful as the first.
Frequently Asked Questions About Halloween Pudding Cups
Can I make larger batches for parties?
Absolutely! This graveyard pudding cup recipe is perfectly scalable, making it an ideal choice for serving a large crowd. Simply adjust the ingredient quantities proportionally to make as many or as few servings as you need. Whether it’s a small family gathering or a massive Halloween bash, these individual treats are a hassle-free and impressive dessert solution.
What’s the best way to store graveyard pudding buckets?
To ensure optimal freshness and to prevent your pudding cups from drying out or absorbing fridge odors, cover each individual bucket tightly with plastic wrap. Alternatively, you can place them in a larger sealed container. For easier storage, especially if you’re stacking them, you can wait to add the delicate Milano cookie tombstones and other top decorations just before serving. This protects the decorations and simplifies refrigeration.
Are there any vegan or allergy-friendly options for this recipe?
Yes, with a few mindful substitutions, you can easily adapt this recipe to be vegan-friendly or cater to specific allergies. Look for vegan chocolate cake mixes, plant-based milk alternatives (like almond or soy milk for the pudding), and dairy-free whipped toppings. Many instant pudding brands also offer dairy-free options. For gluten-free versions, simply use gluten-free chocolate cake mix and gluten-free sandwich cookies for the “dirt” layer. Always remember to carefully read the labels of all ingredients you purchase to ensure they meet your dietary requirements and allergy considerations.
More Spooktacular Fall Recipes to Explore
- Pumpkin Earthquake Cake: A delightful, moist cake bursting with pumpkin flavor and a gooey, fudgy swirl.
- Witch Hat Cupcakes: Adorable and easy-to-make cupcakes topped with edible witch hats, perfect for any Halloween party.
- Witch’s Brew Halloween Cake: A vibrant and festive cake that captures the magic and mystery of a witch’s cauldron.
Halloween Pudding Cups
Ingredients
- 1 15.25 ounce box devils food cake
- Water oil and eggs the box calls for
- 2 3.4 ounce boxes white chocolate instant pudding
- 4 cups cold milk
- 8 ounces whipped topping
- Neon green orange and purple food coloring
- 1 ½ cups crushed oreo cookies
- Milano cookies
- Halloween candy and sprinkles for decor
- 10 8 ounce clear buckets
Instructions
-
Preheat your oven to 350 degrees F (175 degrees C). Prepare a 9×13 inch baking dish by lightly greasing and flouring it, or lining with parchment paper. Set aside.
-
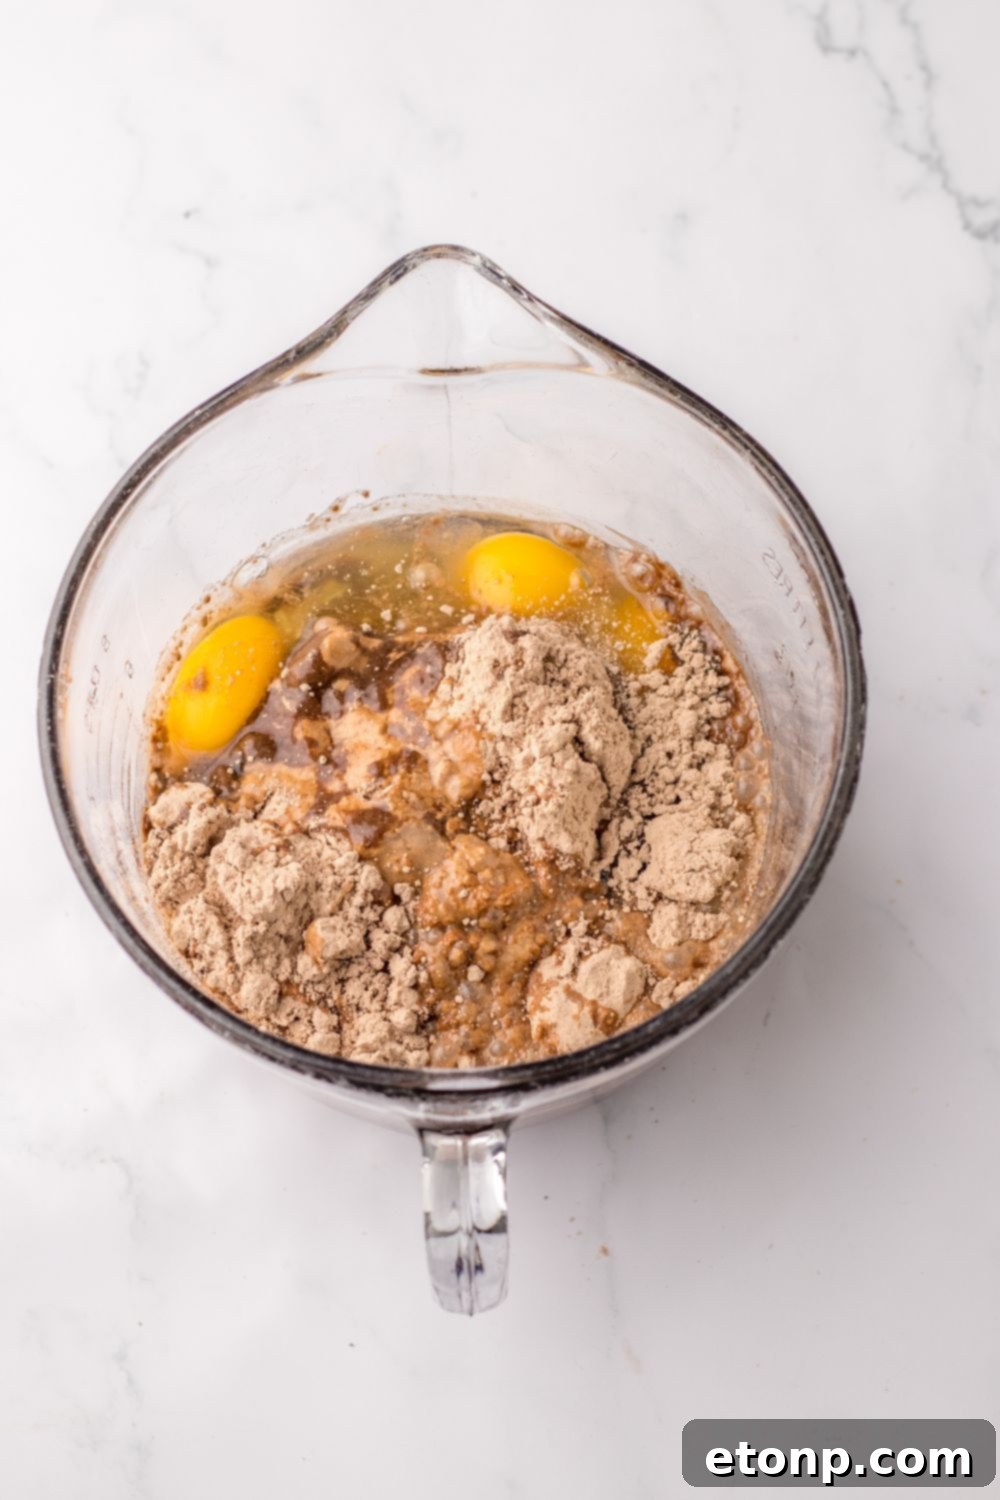
In a large mixing bowl, combine the chocolate cake mix with the specified amounts of water, oil, and eggs as directed on the cake mix box. Mix until smooth and well combined.
-
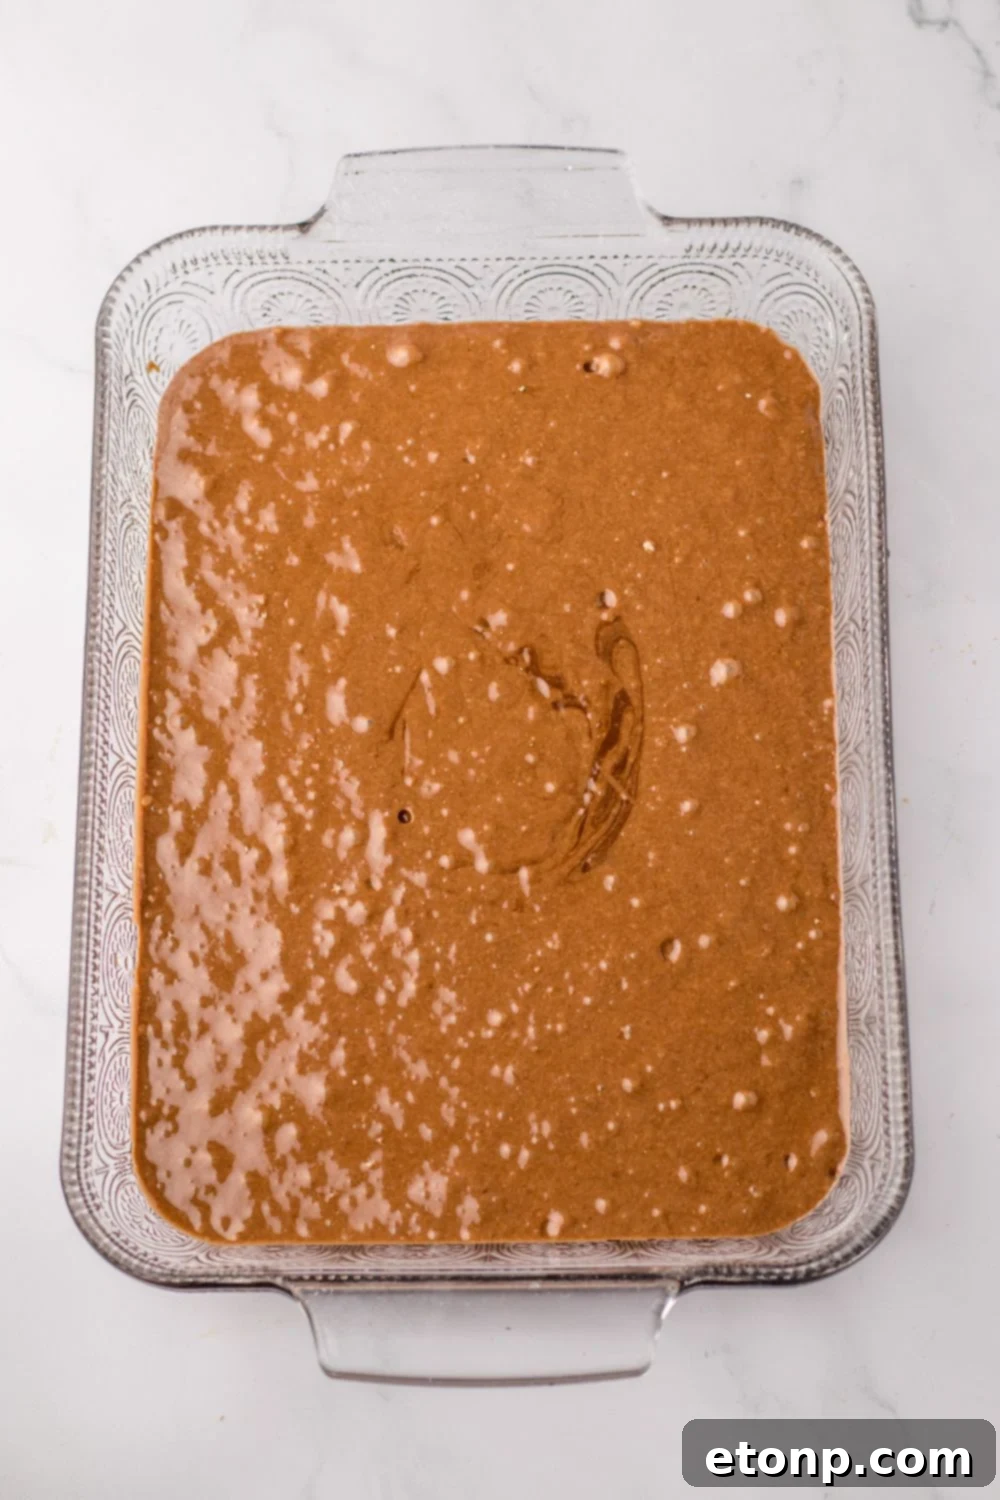
Pour the cake batter evenly into the prepared baking dish. Bake according to the time and temperature instructions on the cake mix box. Once baked, remove from oven and place on a wire cooling rack to cool completely.
-
Once the cake is fully cooled, carefully slice it into small, bite-sized squares or crumble it into pieces. This will form the base and middle layers of your pudding cups.
-
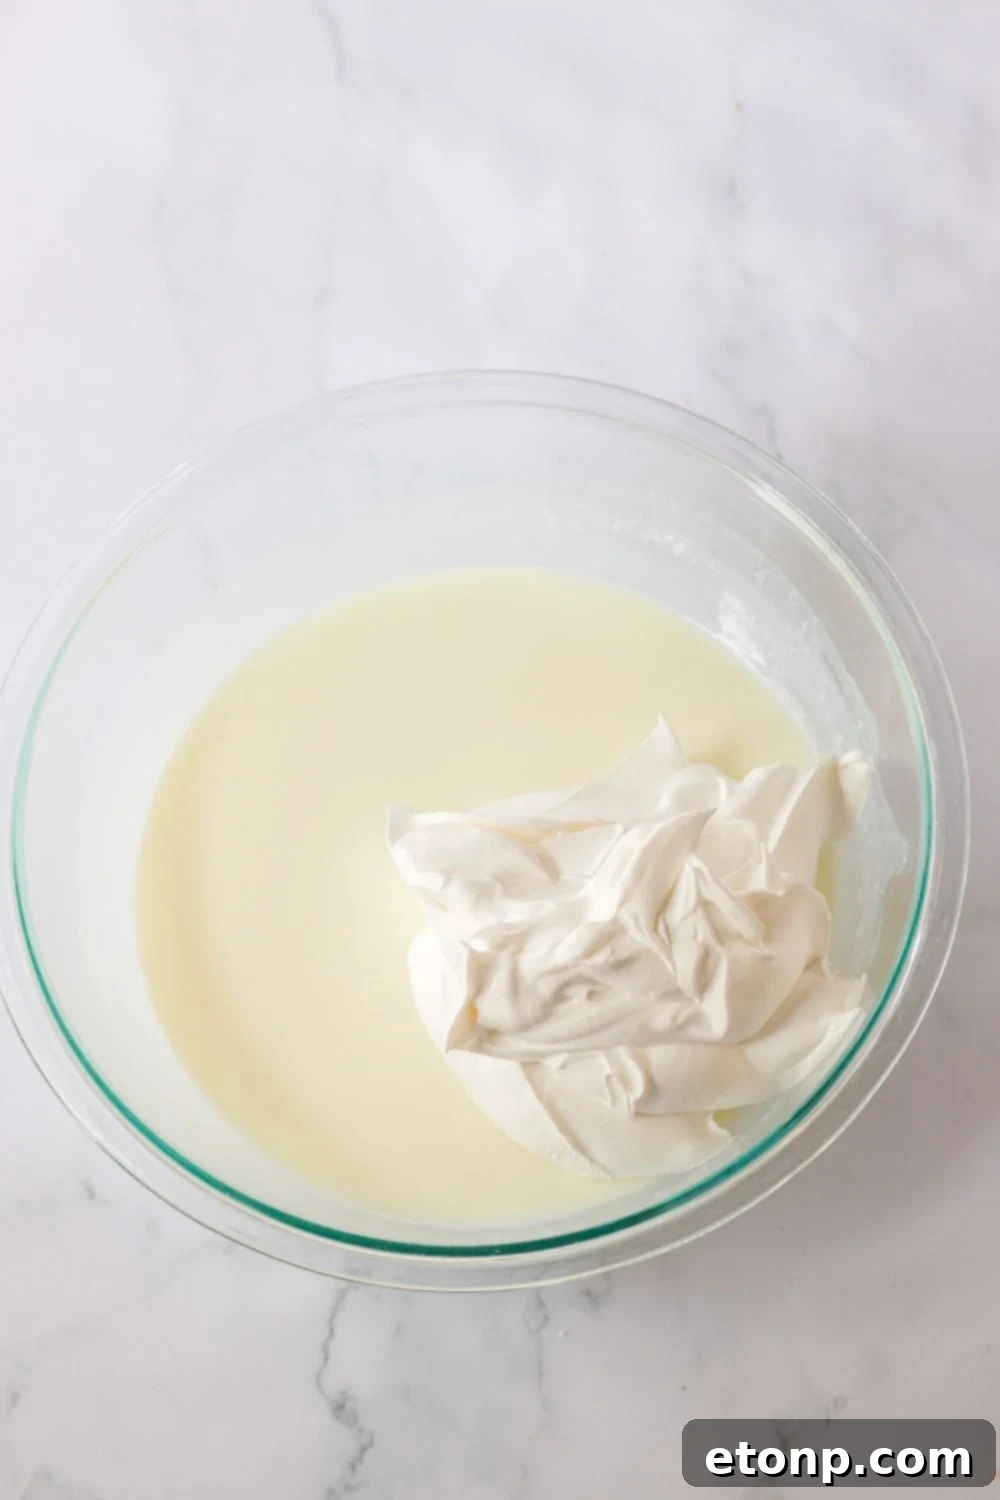
While the cake cools, prepare the instant pudding. In a separate bowl, whisk together the white chocolate instant pudding mix with the cold milk until the mixture thickens significantly. This typically takes about 2-3 minutes.
-
Once the pudding has thickened, divide it evenly into three separate bowls. Add a few drops of green food coloring to one bowl, orange to another, and purple to the third. Mix each bowl until you achieve your desired level of vibrant Halloween color.
Assembling Halloween Pudding Cups
-
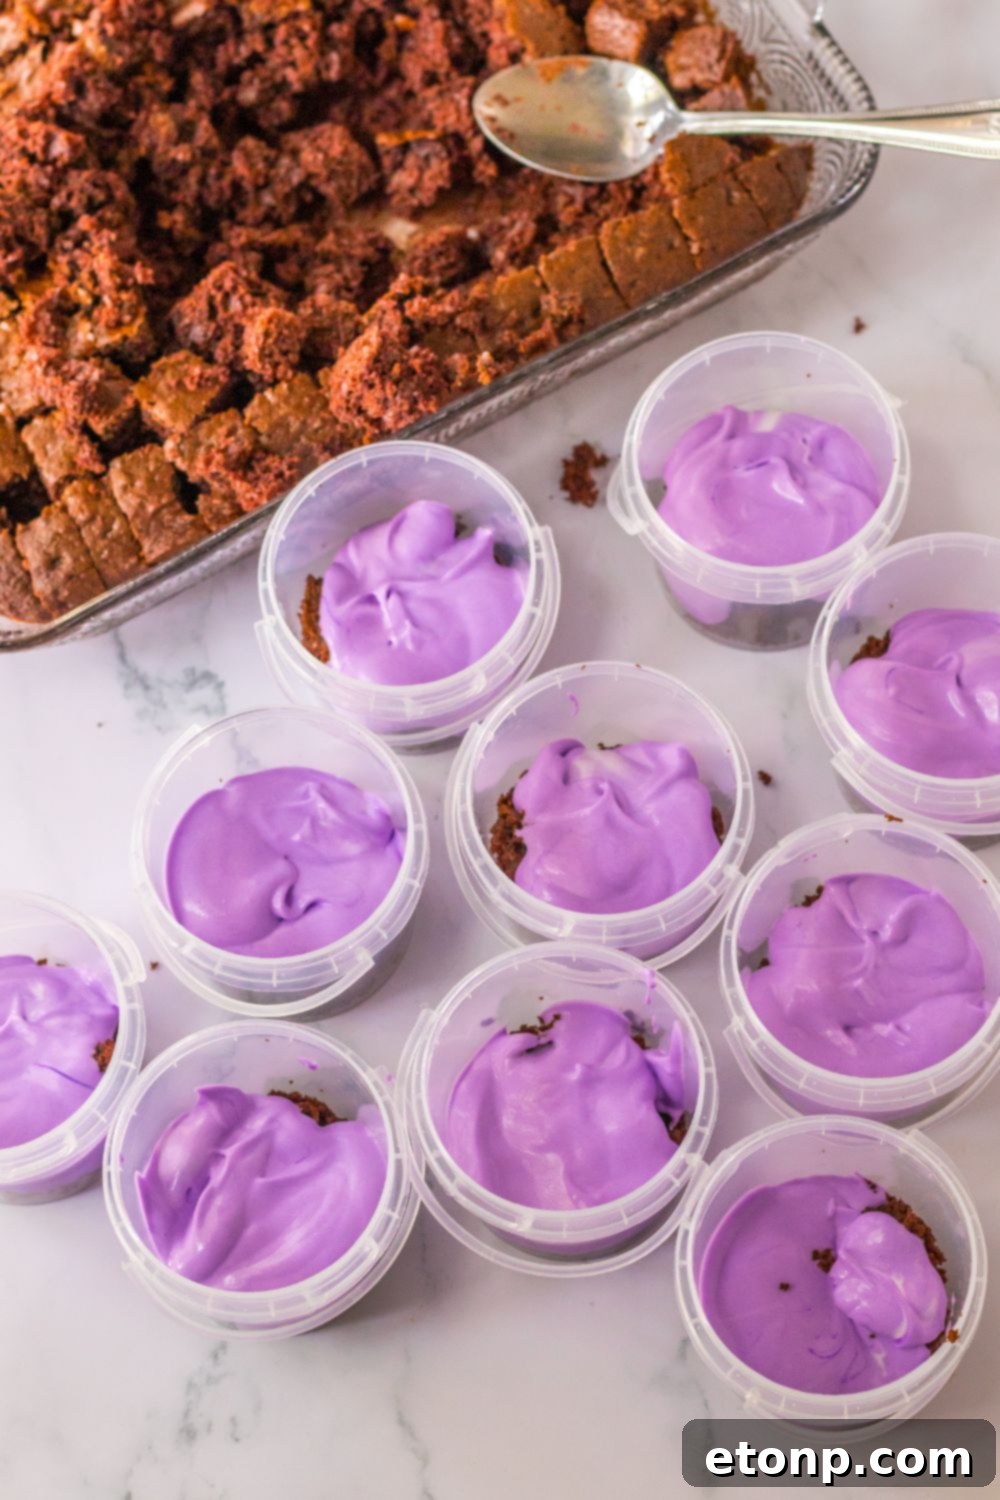
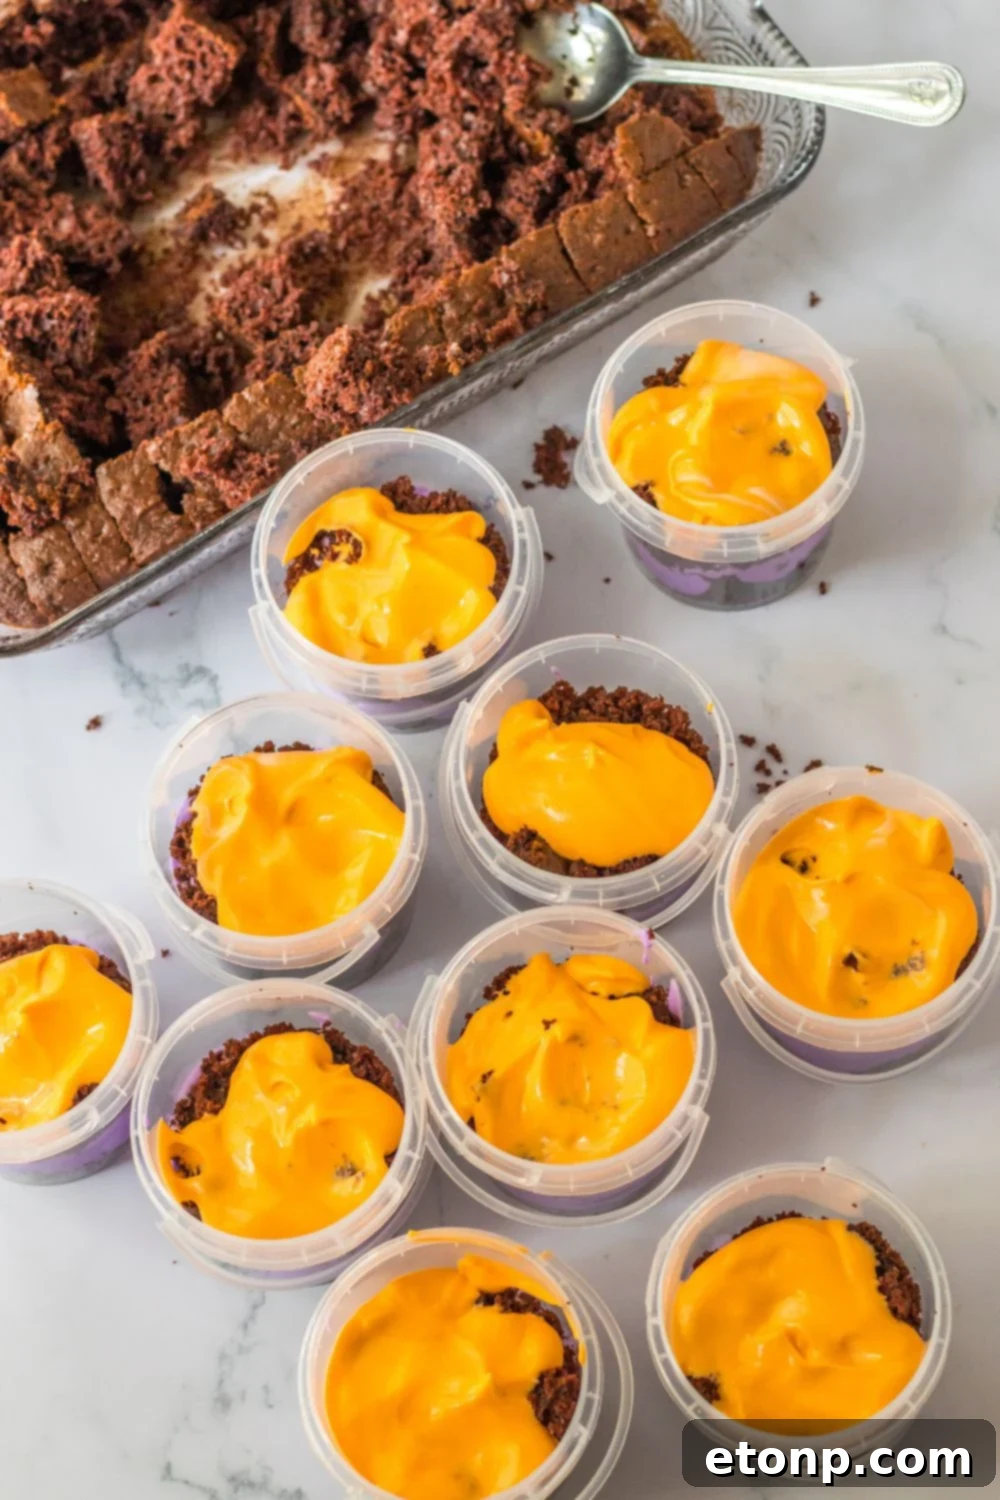
Begin assembling your Halloween Pudding Cups by placing a layer of the diced chocolate cake at the bottom of each clear plastic bucket.
-
Next, spoon one color of the prepared pudding on top of the cake layer, spreading it gently to create an even, distinct layer.
-
Repeat the layering process: add another layer of cake, followed by a different color of pudding. Continue alternating cake and pudding colors until all three pudding colors have been used and your buckets are mostly full, leaving a little room at the top.
-
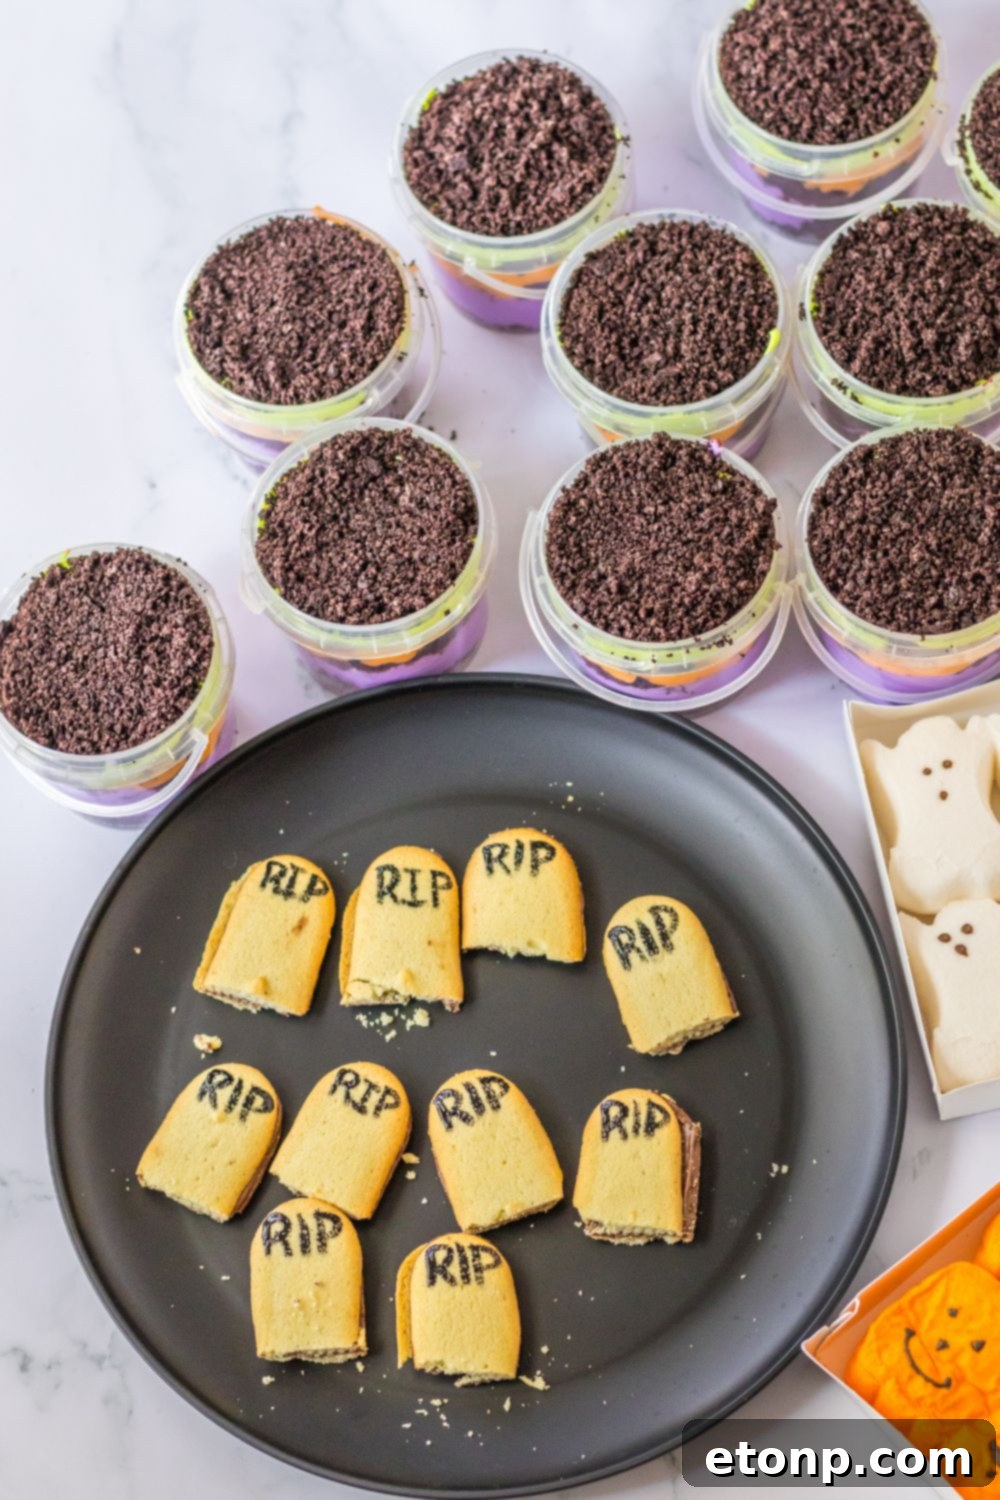
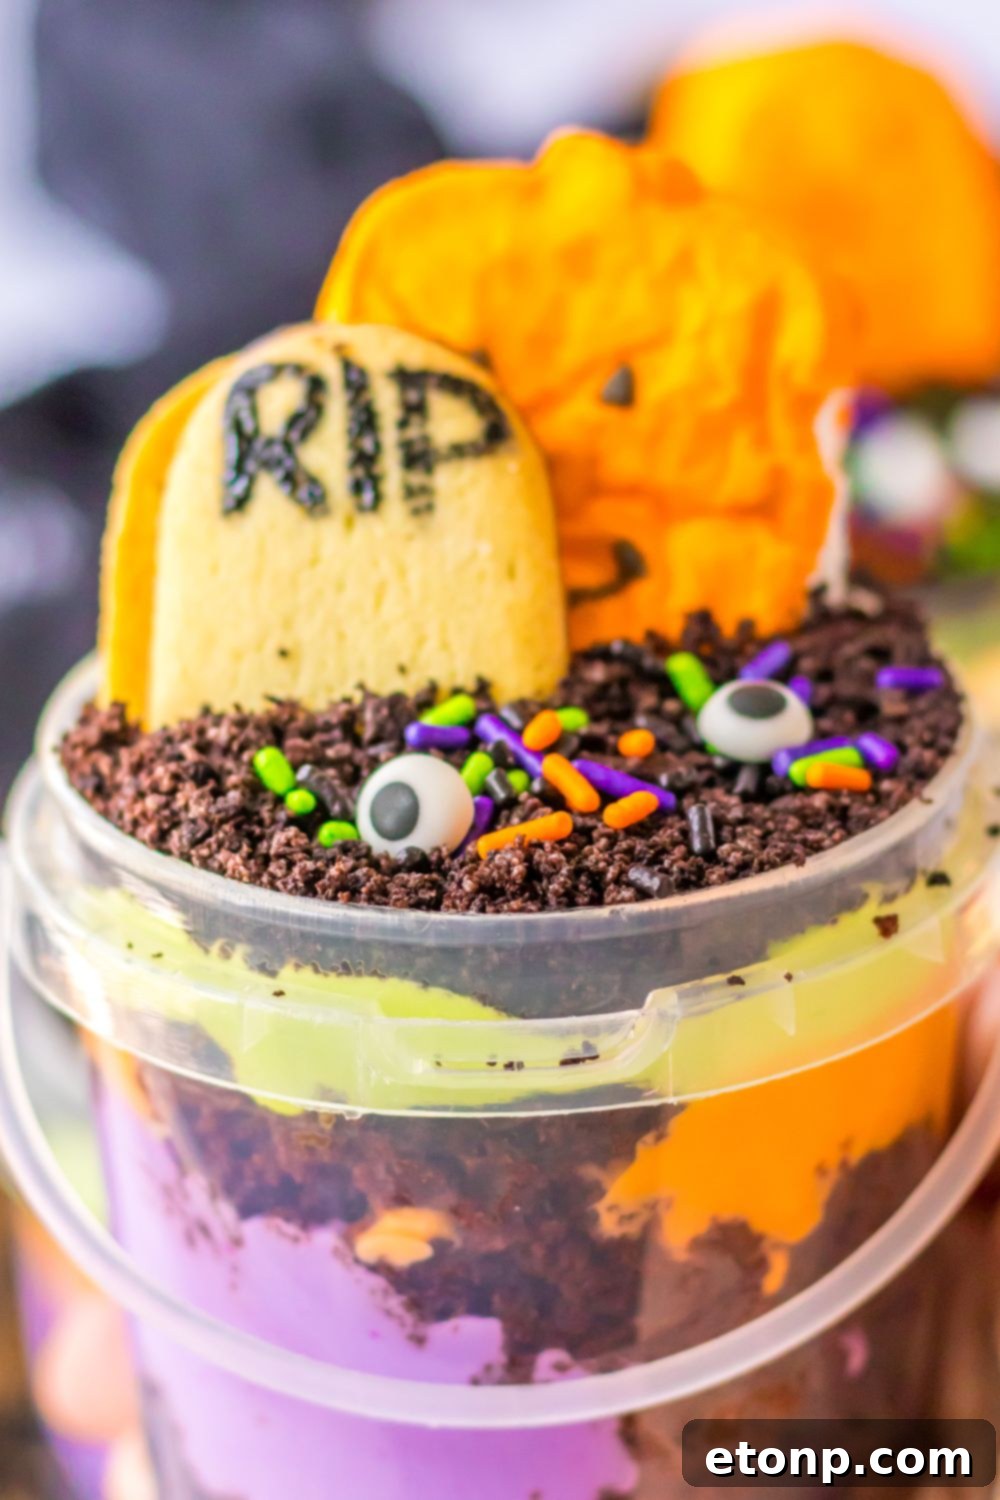
Finish the top layer of each pudding cup with a generous sprinkle of crushed Oreo cookie crumbs, creating the iconic “dirt” effect for your graveyard.
-
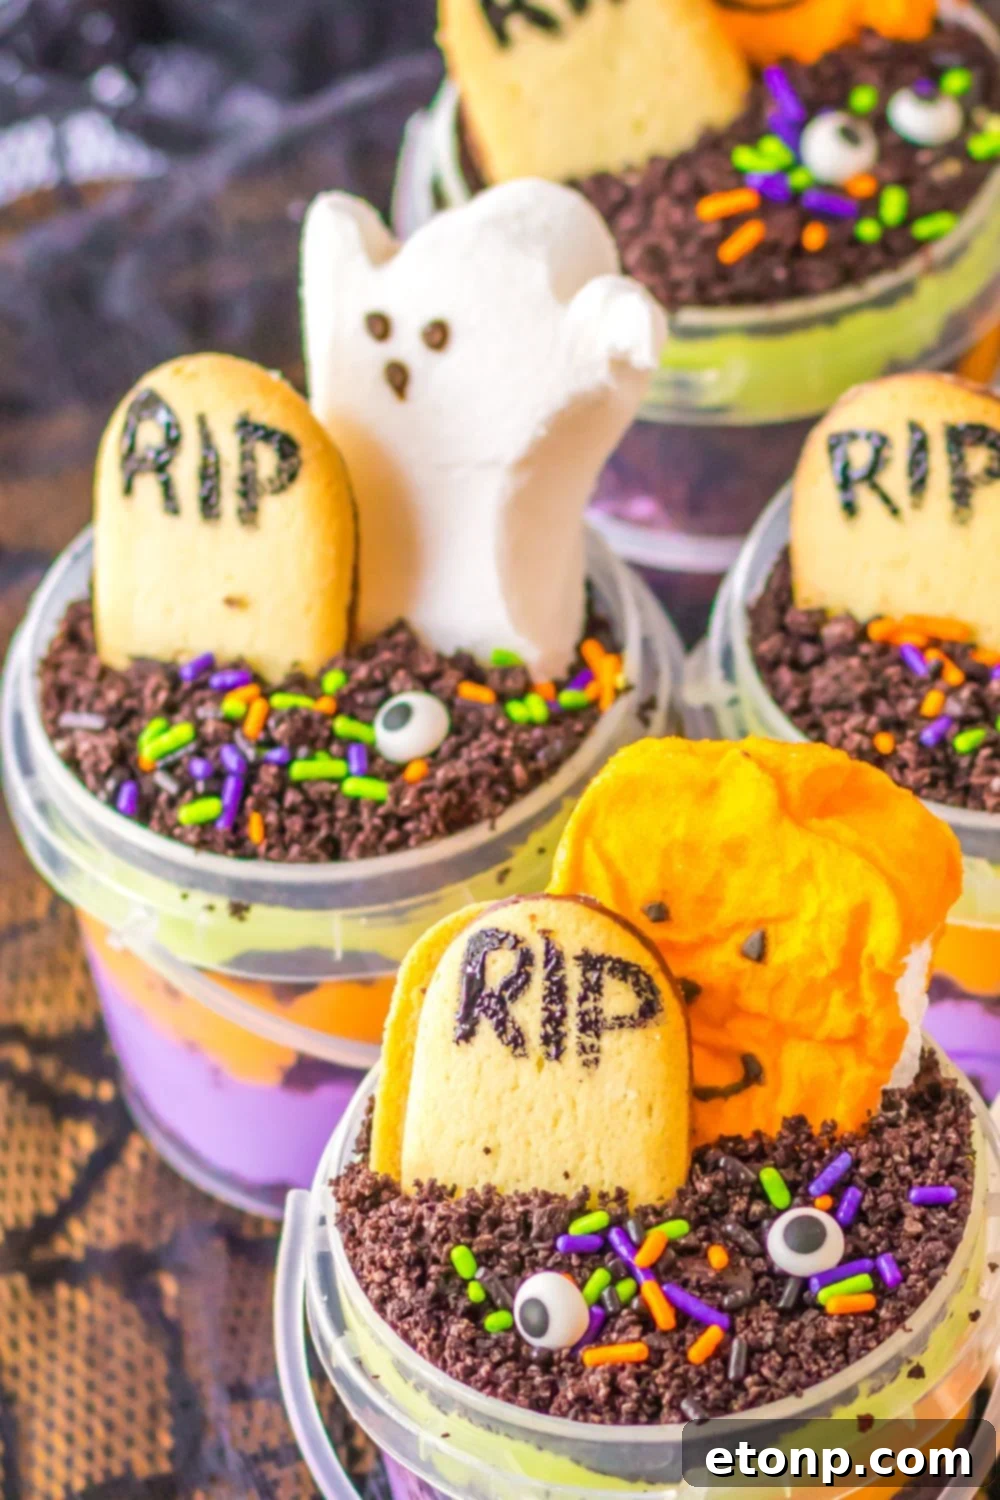
To create your tombstones, carefully cut off the rounded bottom portion of each Milano cookie. Using a fine-tipped food coloring pen or a small brush with food coloring, paint “R.I.P.” onto the flat surface of the cookies. Gently insert one “tombstone” cookie into the top of each pudding cup, mimicking a graveyard.
-
Now for the fun part: decorate your graveyard pudding cups! Scatter additional Halloween candies, sprinkles, gummy worms, or any other spooky toppers over the Oreo crumbs to bring your graveyard scene to life.
-
Once decorated, cover the pudding cups and refrigerate them for at least 1 hour to allow the flavors to meld and the pudding to set completely. Then, serve these delightful spooky treats and enjoy!
Did you make this recipe?
Make sure to follow on Pinterest for more recipes!
Pin Recipe
Share on Facebook