

Welcome to the ultimate guide for crafting the most exquisite homemade croissants! There’s truly nothing quite like the irresistible aroma and delicate, buttery layers of a freshly baked croissant right from your own oven. While the journey to create these iconic French pastries from scratch demands a blend of time, patience, and precision, the incredible reward of biting into a perfect, flaky croissant makes every moment absolutely worthwhile. This comprehensive guide will meticulously walk you through each step of the process, empowering you to achieve bakery-quality homemade croissants in the comfort of your kitchen.

Croissants are more than just a breakfast item; they are a quintessential symbol of French patisserie, renowned worldwide for their intricate structure and rich flavor. At their heart, croissants are made from a delicate yeast-leavened dough, meticulously layered with cold butter. This process, known as lamination, involves repeatedly folding and rolling the dough, which creates hundreds of thin, alternating layers of dough and butter. As the croissants bake, the water in the butter turns to steam, separating these layers and resulting in their characteristic airy, flaky texture and beautiful crescent shape. While often enjoyed plain, dusted with powdered sugar, or served with jam, homemade croissants also serve as a versatile canvas for a variety of delightful fillings, from decadent chocolate and sweet almond paste to savory ham and cheese, offering endless possibilities for culinary exploration.

Understanding the Magic: Croissant vs. Pain au Chocolat
While often grouped together due to their similar dough base, the classic croissant and the pain au chocolat (or chocolate croissant) are distinct French pastries. Both utilize the same enriched, laminated dough that gives them their signature flaky texture. The primary difference lies in their shape and filling. A traditional croissant is typically rolled into a distinctive crescent moon shape, often left plain to showcase its pure buttery flavor. A pain au chocolat, on the other hand, is rolled into a rectangular shape, then carefully folded around one or two sticks of dark chocolate, resulting in a slightly different appearance and a wonderful melted chocolate center that complements the rich pastry.

Essential Ingredients for Perfect Croissants
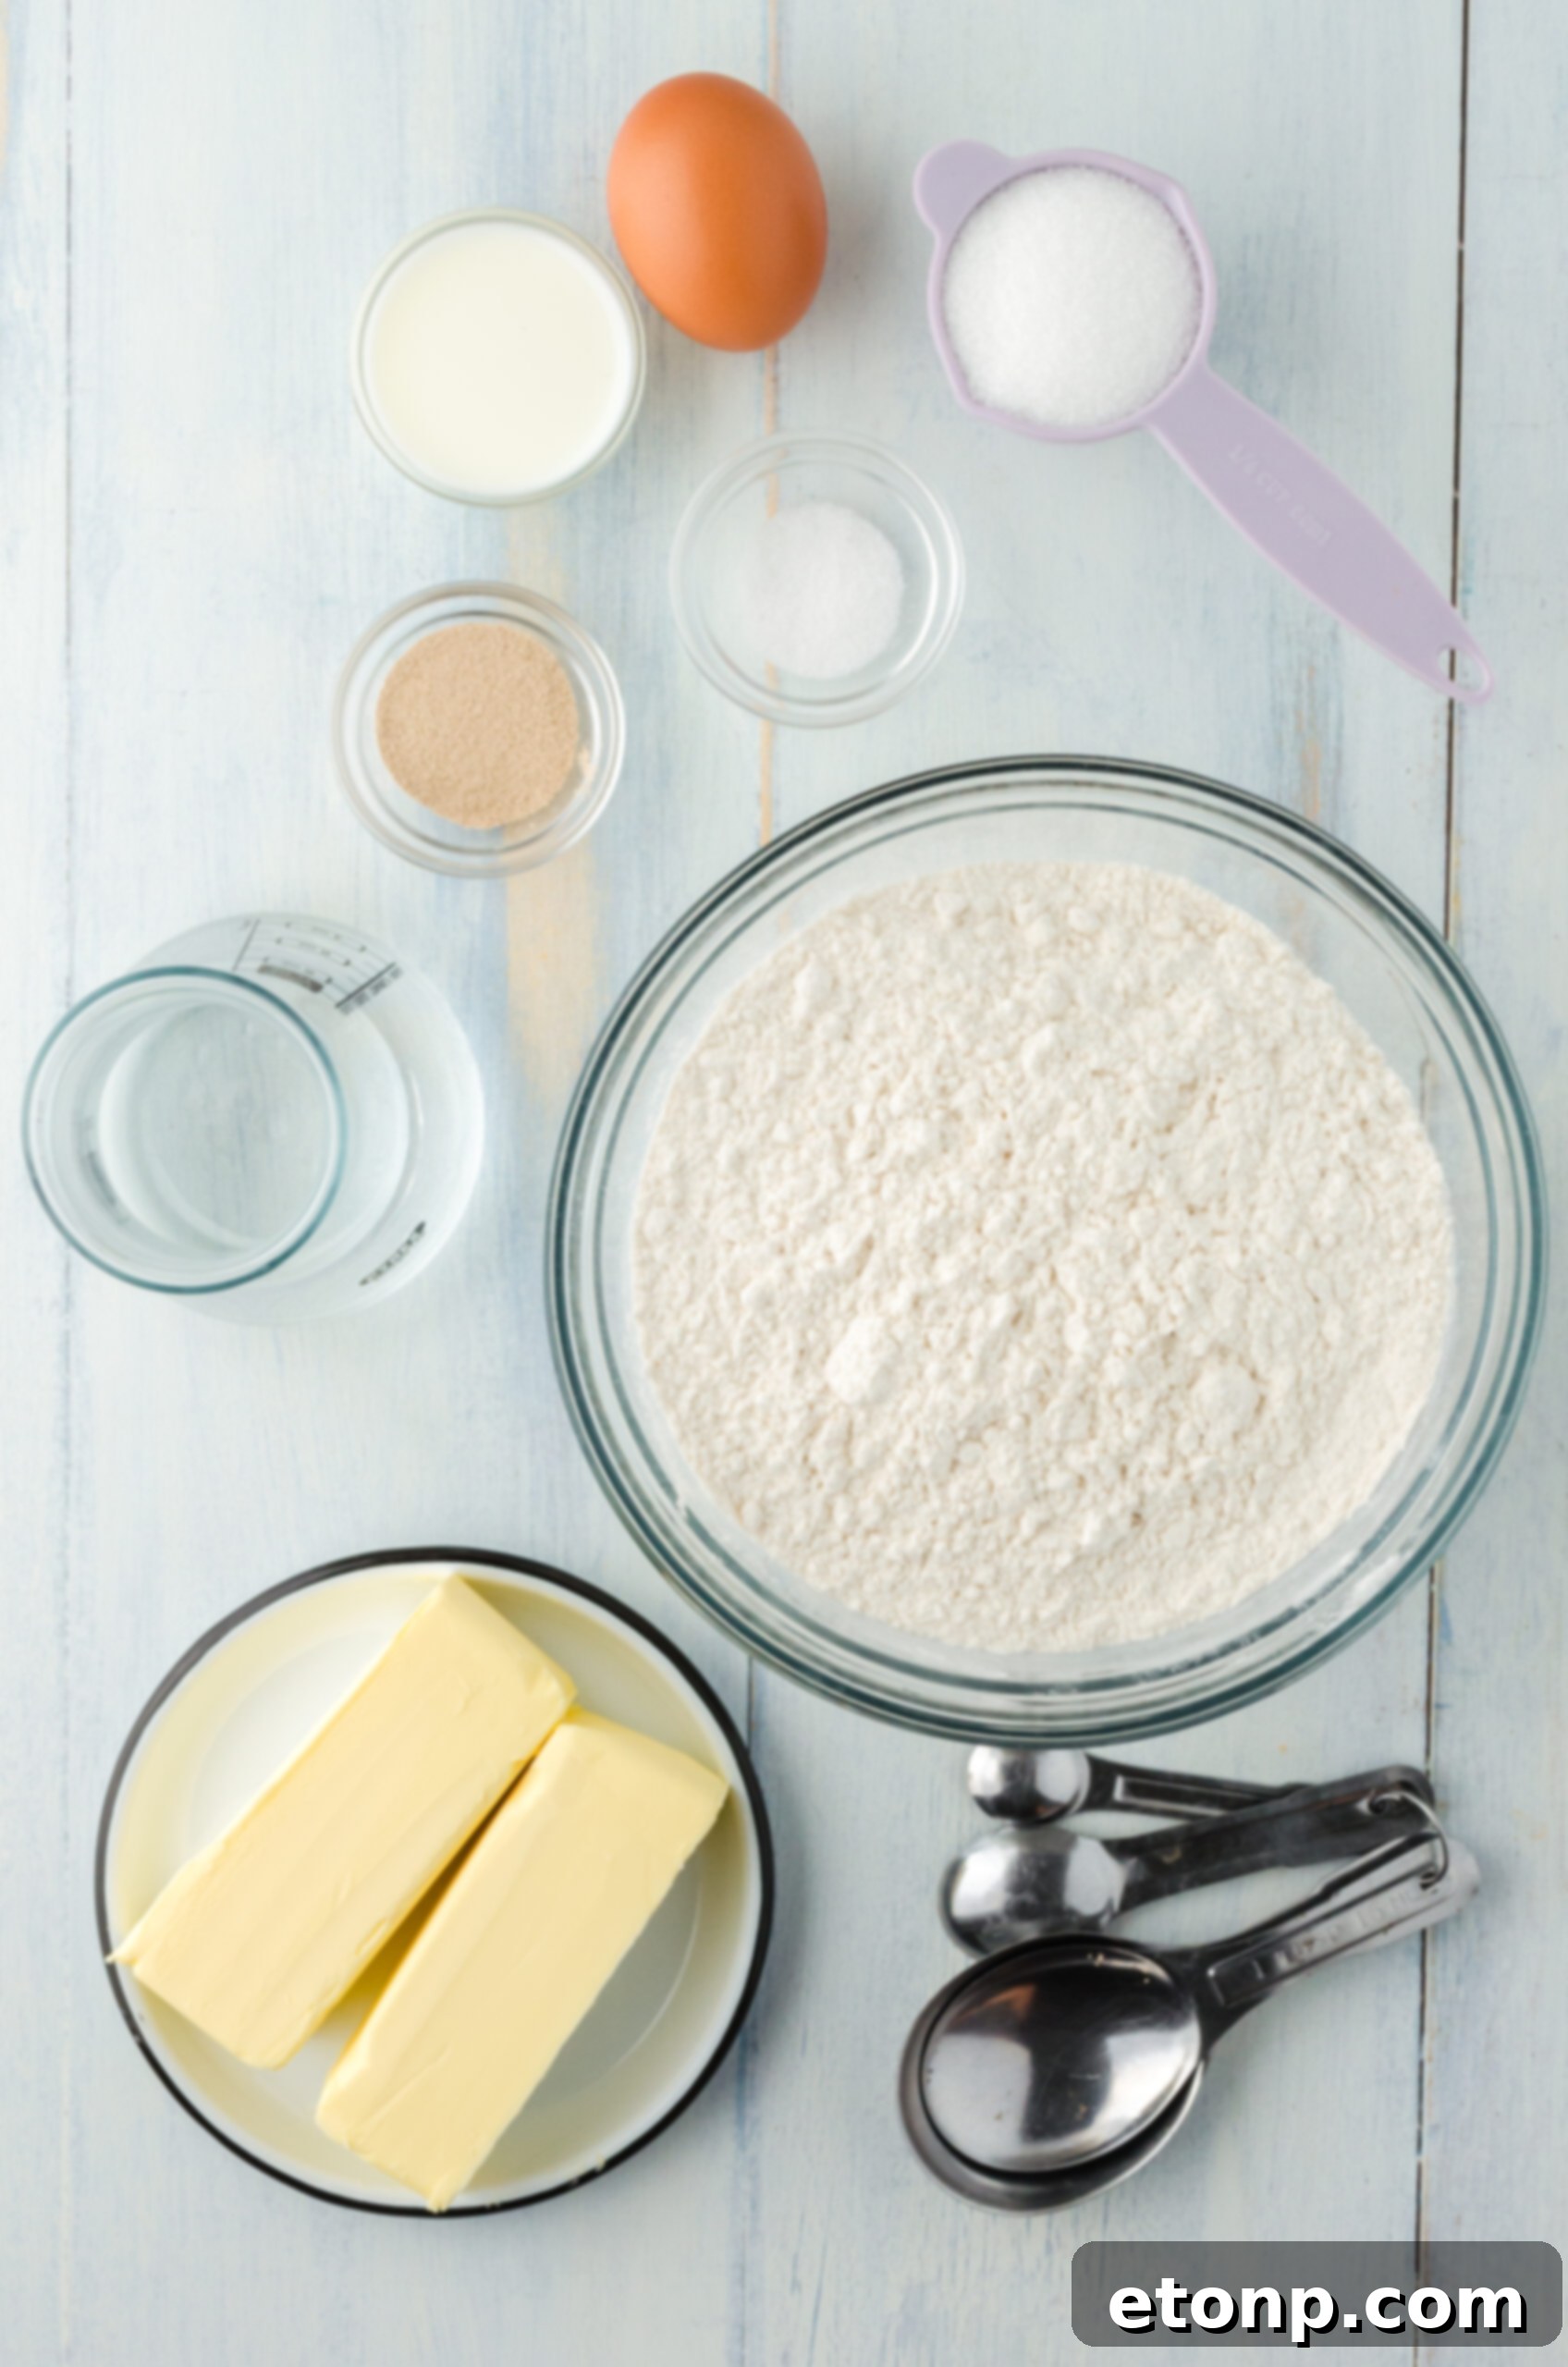
Crafting perfect croissants begins with selecting the right ingredients. Each component plays a vital role in achieving that sought-after texture and flavor. Here’s a breakdown of what you’ll need for the dough and the finishing egg wash:
- Water: Essential for hydrating the yeast and forming the dough. The right temperature is crucial for activating the yeast without killing it.
- Dry Yeast: This is the leavening agent that makes your croissants light and airy. Active dry yeast needs to be bloomed in warm water, while instant dry yeast can often be mixed directly with the dry ingredients. Ensure your yeast is fresh for optimal rising.
- All-Purpose Flour: The foundation of your dough. While specific bread flour can sometimes be used for more chew, good quality all-purpose flour provides the ideal balance for a tender yet structured croissant.
- Granulated Sugar: Not just for sweetness, sugar feeds the yeast, helping the dough to rise properly and contributing to a beautiful golden-brown crust during baking.
- Salt: Crucial for balancing the flavors and enhancing the overall taste of your croissants. It also helps to control yeast activity, preventing over-proofing.
- Unsalted Butter: The star of the show for lamination. High-quality unsalted butter with a higher fat content is paramount. It must be cold and pliable, not too soft or too hard, to create those distinct, flaky layers. Avoid spreadable butter as it contains too much water and won’t laminate correctly.
For the Golden Egg Wash:
- Egg: Beaten with milk, an egg wash gives the croissants a stunning golden-brown sheen and a slightly crispier crust.
- Milk: A touch of milk helps thin out the egg wash, making it easier to brush evenly and contributing to a richer color.
Why Our Homemade Croissants Stand Out
These homemade croissants aren’t just good; they’re designed to be the best you’ve ever baked, offering a superior experience to many store-bought options. Several key elements contribute to their unparalleled quality and flavor:
- Effortless Dough Preparation: Our recipe features a dough that is surprisingly easy to handle despite the intricate nature of croissant making. The specific combination of water and carefully selected ingredients yields a rich, flavorful base that’s both forgiving and rewarding to work with. This foundational dough sets the stage for exceptional results, minimizing stress during the lamination process.
- Optimized Double Rise for Flakiness: The dough is given ample time to rise, undergoing two distinct proofing stages. This extended fermentation process is crucial for developing a complex flavor profile and creating an incredibly light, airy crumb structure. The double rise ensures maximum expansion, resulting in a pastry that is delicately flaky and incredibly tender.
- Perfectly Golden, Flaky Crust: We guide you to bake these croissants until they achieve an exquisite golden-brown hue. This precise baking ensures a crisp, deeply caramelized exterior that contrasts beautifully with the soft, layered interior. The resulting flaky crust is not just visually appealing but also delivers that satisfying crunch with every bite, a hallmark of truly perfect croissants.
By following these carefully developed steps, you’ll uncover the secrets to producing croissants that are not only delicious but also boast the distinct characteristics of artisan baking, making them a true highlight in your culinary repertoire.

Frequently Asked Questions About Homemade Croissants
Embarking on the journey of baking homemade croissants can bring up many questions. Here are answers to some of the most common queries to help you along the way:
Can I prepare the croissant dough in advance?
Absolutely! The dough for your delicious croissants is remarkably flexible and can be prepared up to two days ahead of time. After the initial kneading and chilling period, simply store it wrapped tightly in plastic wrap in your refrigerator. This allows you to break up the process and makes fresh croissants more accessible even on busy mornings. Just remember to let it slowly come to room temperature for about 30-60 minutes before you begin the rolling and folding process, ensuring the butter block and dough have similar pliability.
How long do homemade croissants stay fresh?
For the ultimate experience, croissants are truly best enjoyed the very same day they are baked. Their delicate flakiness and buttery aroma are at their peak when fresh from the oven. However, if you find yourself with delightful leftovers, they can be stored in an airtight container at room temperature for up to two days. To revive their crispness, a quick reheat in a warm oven can work wonders.

Is it possible to freeze croissants?
Yes, you can certainly freeze croissants, both unbaked and baked, to enjoy them later. For unbaked croissants, shape them and then freeze on a baking sheet until solid. Transfer them to an airtight container or freezer bag and they’ll keep for up to one month. Thaw overnight in the fridge before proofing and baking. Baked croissants can also be frozen for up to two months. Simply wrap them tightly in plastic wrap and then in foil to prevent freezer burn. Thaw at room temperature before reheating.
What’s the best way to reheat frozen croissants?
To bring frozen, baked croissants back to life, preheat your oven to 350°F (175°C). Place the croissants directly on a baking sheet and bake for about 10-15 minutes, or until they are warm through and delightfully flaky again. For a quicker option, they can be reheated in a microwave for 30-60 seconds, though this method may result in a softer texture rather than a crispy one.
What are some popular fillings for croissants?
The versatility of croissants extends to a vast array of fillings, catering to both sweet and savory preferences. Some perennial favorites include classic chocolate batons (for pain au chocolat), rich almond paste often topped with sliced almonds, or a simple smear of your favorite fruit jam. For savory options, try layering ham and cheese before rolling, or even creating mini croissant sandwiches with smoked salmon and cream cheese. The delicate flavor of the pastry complements almost anything!
How do I master the art of shaping the croissant dough?

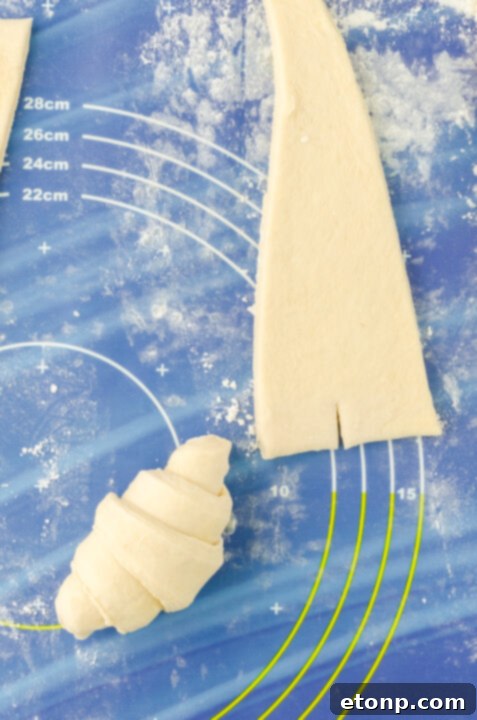
Shaping croissants is a craft that improves with practice. The process involves rolling out the laminated dough into a large rectangle, then cutting it into triangles. A small slit is made at the base of each triangle, and then the dough is gently but firmly rolled from the wide base towards the point, creating the iconic crescent shape. For detailed, step-by-step instructions accompanied by helpful visuals, please refer to the comprehensive recipe card below. This section will guide you through each cut and roll, ensuring beautifully shaped croissants every time.

Exciting Variation Options for Your Croissants
Once you’ve mastered the basic homemade croissant, the culinary world is your oyster! These flaky pastries are incredibly versatile and can be adapted with various fillings and toppings to suit any craving. Experiment with these popular variations to create unique treats:
- Almond Croissants (Croissant aux Amandes): Elevate your croissants by adding a rich almond paste filling after baking, often moistened with a simple syrup and topped with sliced almonds and a dusting of powdered sugar. This classic rendition offers a delightful textural contrast and a sweet, nutty flavor.
- Savory Ham and Cheese Croissants: Transform your breakfast pastry into a satisfying meal. Before the final roll and shape, lay a slice of your favorite ham and a sprinkle of Gruyère or cheddar cheese onto the dough triangle. As it bakes, the cheese melts and the ham warms, creating a wonderfully savory treat perfect for brunch or a light lunch.
- Fruit Jam Filled Croissants: For a burst of fruity sweetness, a dollop of your favorite fruit jam or preserves can be added to the wide end of the dough triangle before rolling. Raspberry, apricot, or strawberry jam are excellent choices that provide a pleasant tang against the buttery pastry.
- Chocolate Croissants (Pain au Chocolat): As discussed, this popular variation involves encasing one or two high-quality dark chocolate batons within the dough before rolling, resulting in a luscious molten chocolate center.
Don’t be afraid to get creative! You can also experiment with different spices, citrus zests, or even other savory combinations like spinach and feta. The possibilities are endless, making each batch of homemade croissants a new adventure.

Baking homemade croissants is a truly rewarding endeavor. While the process of creating these delicate, buttery, and flaky layers requires dedication, the satisfaction of pulling a tray of warm, golden pastries from your oven is unmatched. Each bite offers a taste of artisanal craftsmanship, rivaling any high-end bakery. Whether you choose to savor them plain, filled with rich chocolate, or as the foundation for a gourmet sandwich, these classic French pastries are guaranteed to be a showstopper. So, grab a fresh cup of coffee, sit back, and delight in your culinary masterpiece. We’d love to hear how your croissants turned out in the comments below! Happy baking!
Explore More Delicious Recipes!
If you enjoyed making these croissants, you might love some of our other incredible pastry and bake recipes:
Crescent Cheese Danishes
Italian Sub Crescent Bake
Pizza Pinwheels

Homemade Croissants
Ingredients
- 1.5 cups water
- 2 teaspoons dry yeast note 1: Ensure yeast is fresh and active for best results.
- 4 cups all purpose flour
- ¼ cup granulated sugar
- 1 teaspoon salt
- 2 sticks unsalted butter (approximately 1 cup or 226g; use real, high-quality butter, not easy spreadable types or margarine, as this is key for lamination)
For the Egg Wash:
- 1 large egg
- 3 tablespoons whole milk
Instructions
-
In a medium bowl, combine the dry yeast with the warm water. Stir gently until the yeast is completely dissolved and frothy (this indicates it’s active). Set aside for 5-10 minutes.
-
In a large mixing bowl, whisk together the all-purpose flour, granulated sugar, and salt. Make sure these dry ingredients are well combined.
-
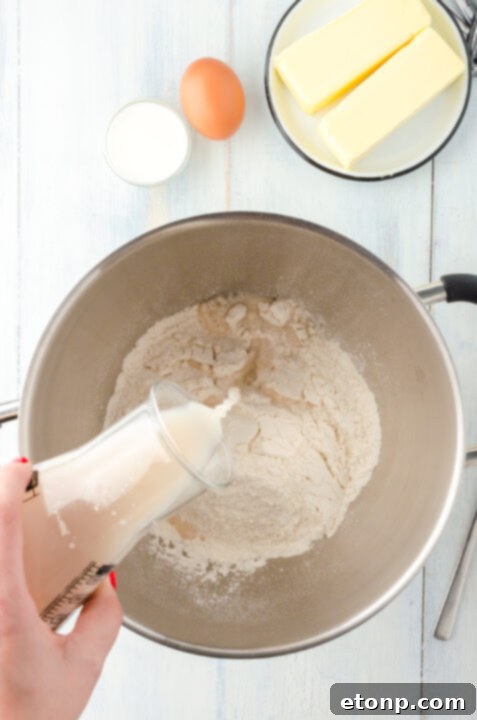
Pour the activated yeast mixture into the dry ingredients. Knead the dough either by hand on a lightly floured surface for 4-5 minutes, or using a stand mixer with a dough hook for about 5 minutes, until a smooth, cohesive dough forms.
-
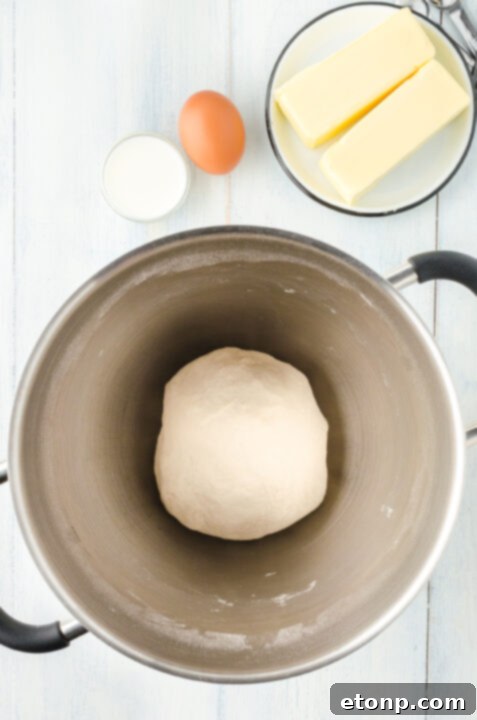
Form the dough into a ball, lightly flour it, and place it in a clean bowl. Cover the bowl tightly with plastic wrap or a damp towel. Refrigerate the dough for a minimum of 8 hours, or preferably overnight (it can be chilled for up to 24 hours). This slow fermentation is crucial for flavor development.
-
Prepare your butter block: Place the two sticks of unsalted butter between two sheets of parchment paper. Using a rolling pin, flatten the butter into an even 6×6 inch (15×15 cm) square. Ensure the thickness is consistent.
-
Wrap the flattened butter in fresh parchment paper or plastic wrap and refrigerate it for at least 30 minutes, or until it is firm but still pliable. This is key for successful lamination.
-
Once your dough has chilled, it should have noticeably doubled in size. Transfer it to a lightly floured work surface. Roll the dough into a large rectangle, approximately 12×18 inches (30×45 cm), ensuring it’s about twice the size of your butter square. Dust off any excess flour from the dough surface with a pastry brush.
-
Place the prepared butter block onto one half of the dough rectangle, ensuring it covers the area evenly. Fold the other half of the dough over the butter, sealing the edges completely to enclose the butter block.
-
Rotate the dough 90 degrees so the seam is now on your left or right. Gently roll the dough out again into a long rectangle, aiming for roughly 8×24 inches (20×60 cm). Be careful not to press too hard, which can break the butter layers. Remove any excess flour.
-
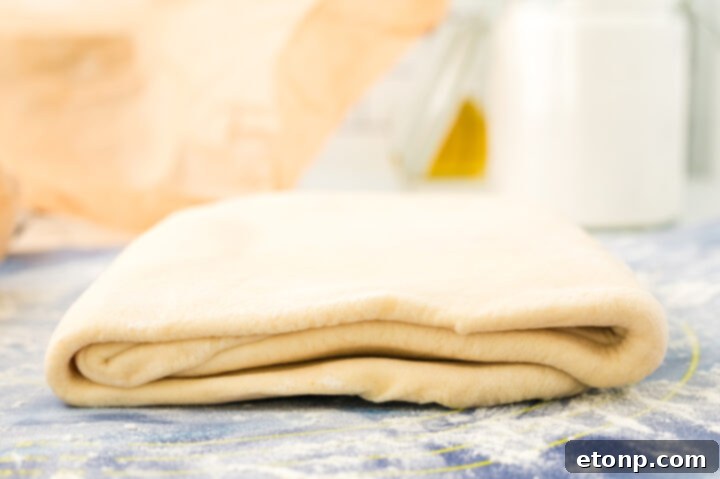
Perform the first “turn” or “fold”: Fold the dough into thirds, like a business letter. Fold one end into the center, then fold the other end over the first. This creates three layers of dough and two layers of butter.
-
Wrap the folded dough securely in plastic wrap and place it back in the refrigerator to chill for 30 minutes. This resting period is crucial to allow the butter to firm up and the gluten to relax.
-
Repeat the rolling and folding process (steps 8-10) two more times, chilling the dough for 30 minutes between each “turn.” In total, you will complete three turns. This creates the many layers essential for flaky croissants.
-
After the third turn and final chill, roll your dough out one last time into a large rectangle, approximately 10×21 inches (25×53 cm) and about ⅛ inch (3mm) thick. Trim the edges to create clean lines.
-
Using a sharp knife or pizza cutter, cut the dough into triangles. For classic croissants, cut triangles with a base of about 4 inches (10 cm) and a length of about 8-9 inches (20-23 cm).
-
To shape each croissant, make a small slit (about ½ inch) in the center of the short side (the base) of each triangle. Gently stretch the two points slightly outwards and then tightly roll the dough from the wide base towards the pointed tip. Curve the ends inward to form the classic crescent shape.
-
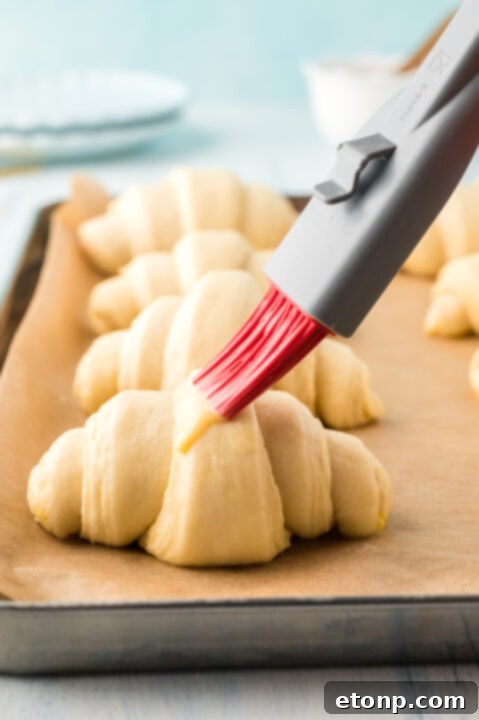
Place the shaped croissants on a baking sheet lined with parchment paper, leaving ample space between them. Cover loosely with plastic wrap or a light towel and let them proof in a warm, draft-free place for 60-90 minutes, or until they have visibly increased in size and appear puffy and jiggly. This is the second rise.
-
Preheat your oven to 360°F (180°C) towards the end of the proofing time.
-
Prepare the egg wash by lightly beating the egg with the whole milk in a small bowl. Carefully and gently brush this mixture over the surface of each proofed croissant.
-
Bake the croissants for 25-35 minutes, or until they are puffed, deep golden brown, and sound hollow when tapped on the bottom. The exact baking time may vary based on your oven.
-
Once baked, transfer the hot croissants to a wire cooling rack to cool slightly before serving. Enjoy the warm, buttery perfection!
Did you make this recipe?
Make sure to follow us on Pinterest for more amazing recipes and baking inspiration!
Pin Recipe
Share on Facebook