
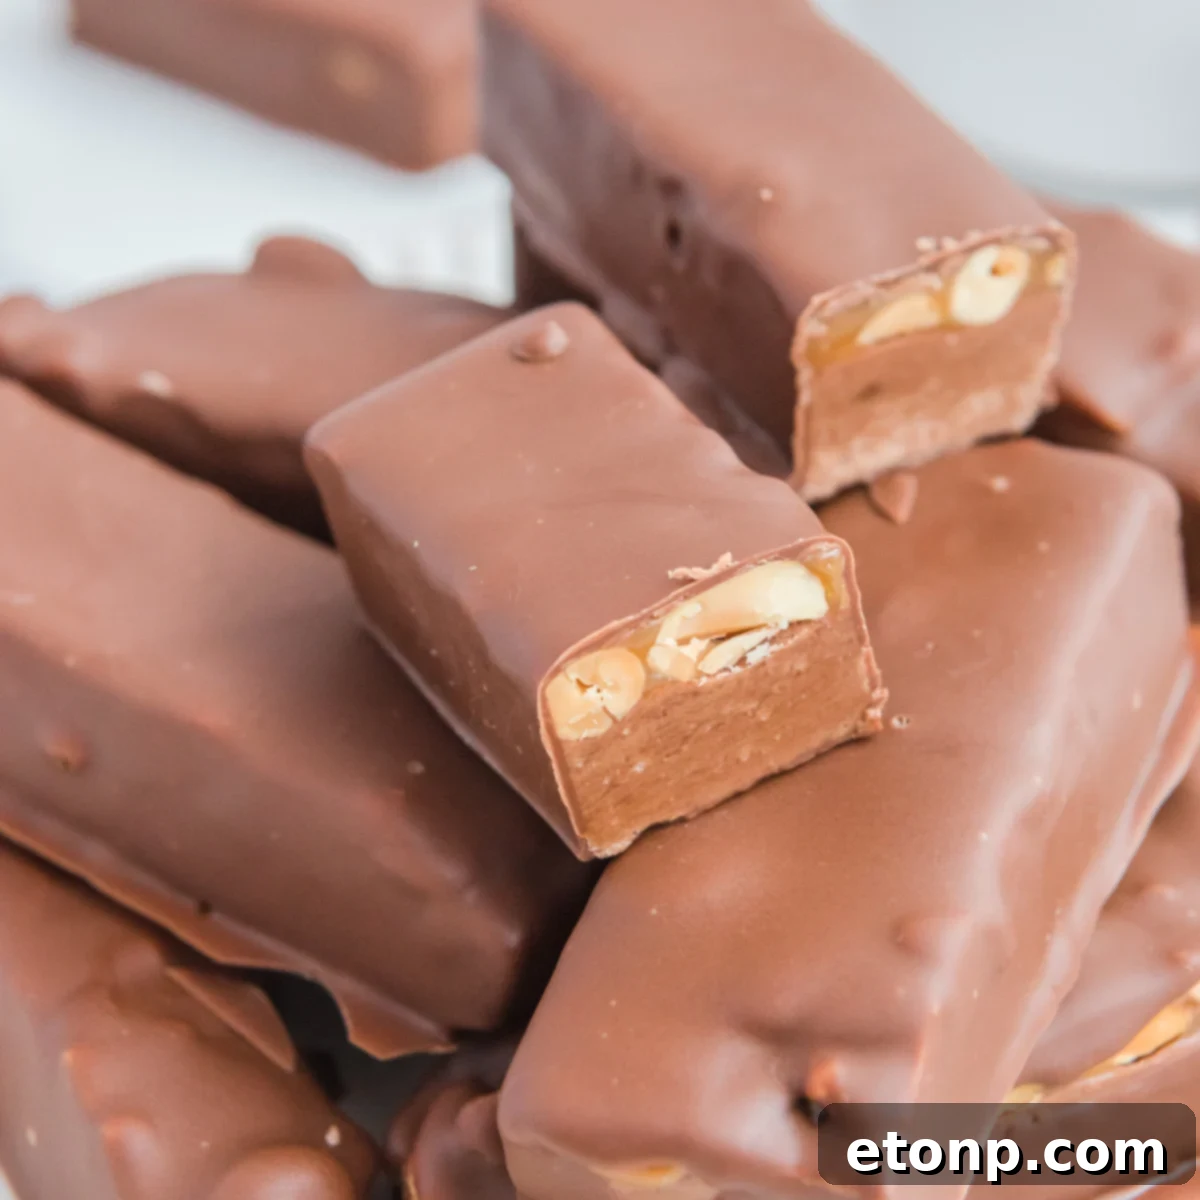
Homemade Snickers Bars: Your Ultimate Guide to Crafting the Perfect Candy Bar! – The idea of making your favorite candy bars from scratch can feel daunting. We’re all accustomed to the convenience of unwrapping a store-bought treat and instantly enjoying its familiar taste. However, allow me to reveal a delicious secret: once you experience these Homemade Snickers Bars, the commercial versions simply won’t compare. These aren’t just an imitation; they are a superior creation. Imagine a candy bar that’s chewier, creamier, and melts in your mouth with an unparalleled richness. They capture the essence of the classic Snickers but offer a fresher, softer texture and a deeply satisfying flavor that you control. Gone are the days of rushing to the store for a candy craving; with this recipe, irresistible, creamy, and crunchy Snickers bars are always within reach in your own kitchen.
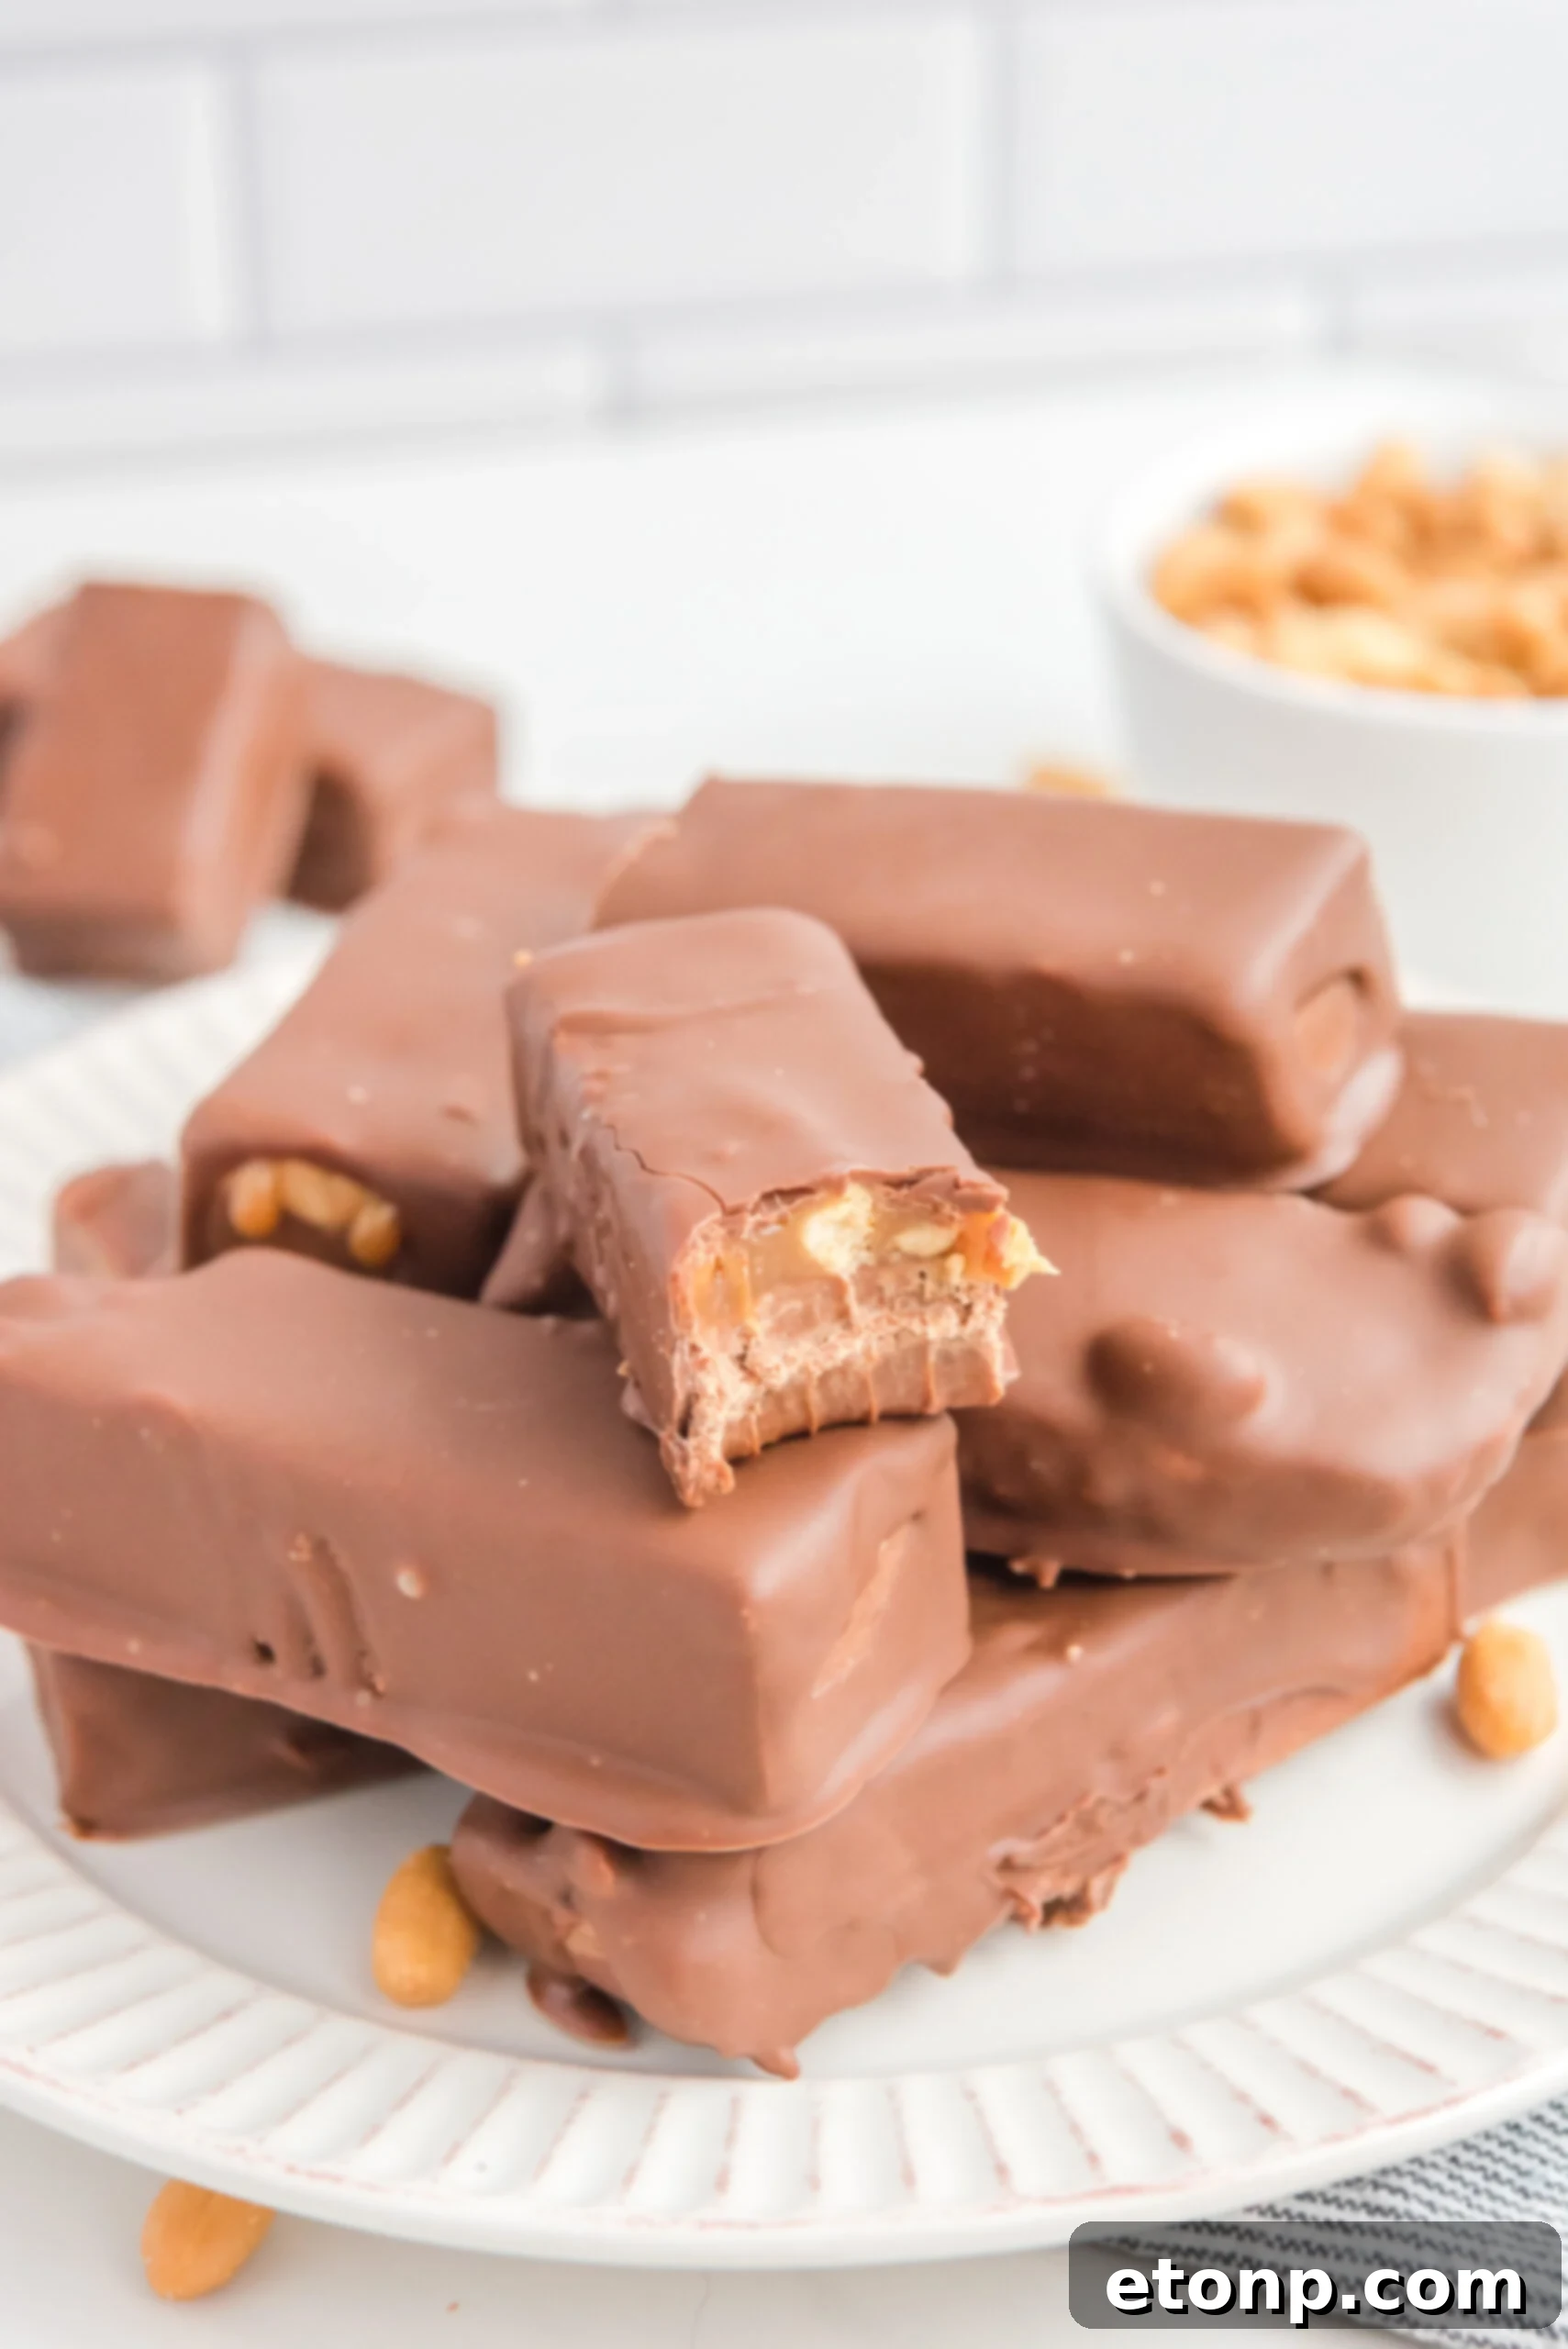
Prepare to delight your taste buds and conquer your sweet cravings with these exceptional homemade candy bars. This delightful confection masterfully blends the satisfying crunch of roasted peanuts with a rich, soft nougat, a luscious layer of creamy caramel, all enveloped in a generous coating of decadent milk chocolate. Each bite into one of these bars promises that unmistakable Snickers satisfaction, elevated by the freshness of homemade goodness. The best part? Crafting them yourself has never been more straightforward, eliminating the need for complex techniques or specialized equipment. So, gather your ingredients, clear your counter, and get ready to create an unforgettable batch of Homemade Snickers Bars that will impress everyone, including yourself!
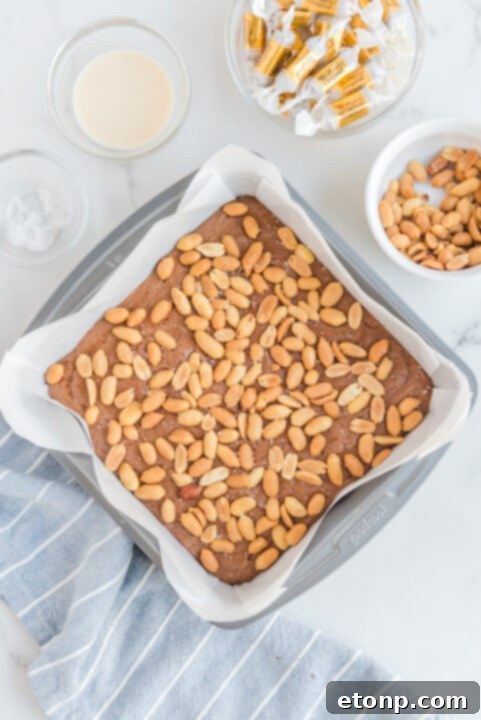
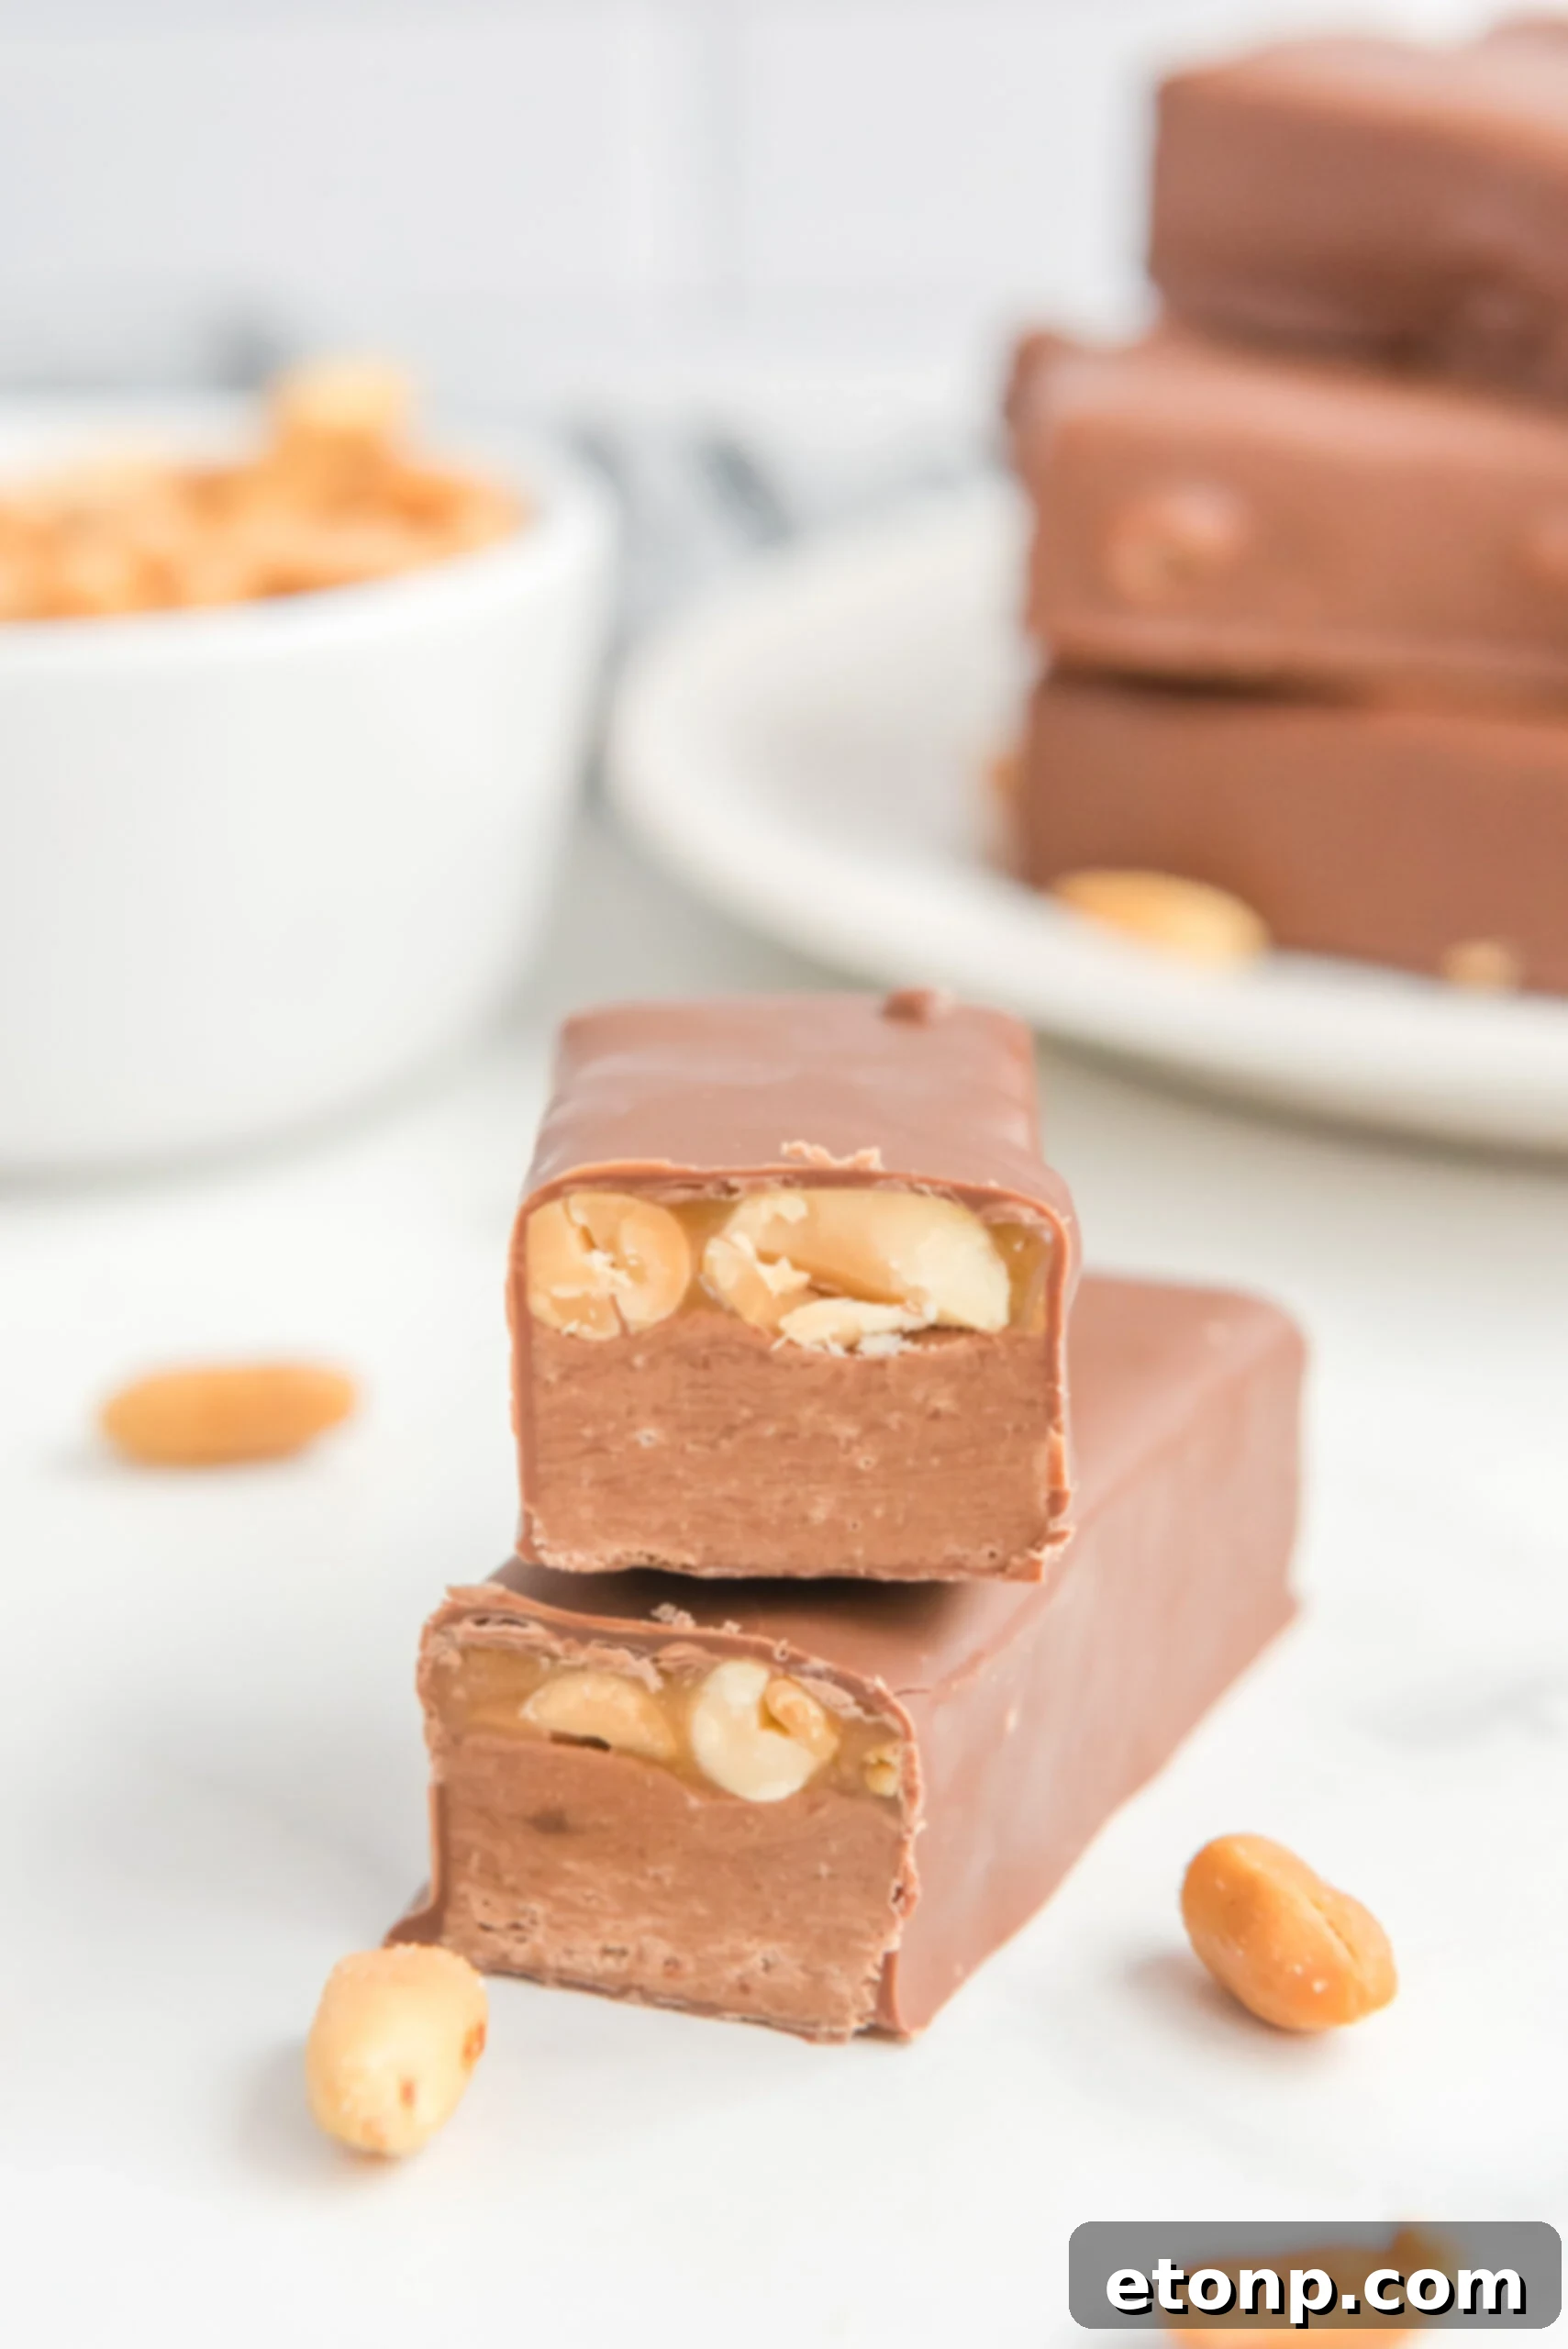
Building these delightful bars is an art of layering, each component contributing to the symphony of flavors and textures. After the initial nougat layer sets, the stage is set for the star crunch: peanuts. We opt for lightly salted peanuts here, because a subtle hint of salt is crucial for balancing the sweetness and enhancing the overall flavor profile. You’ll generously sprinkle them over the soft nougat and gently press them in, ensuring they are perfectly nestled within the creamy base. A final touch of flaky sea salt scattered over the top is where the magic truly begins. That exquisite combination of salty crunch against the smooth, sweet layers below instantly grabs your attention, promising an explosion of taste with every bite.
Why You’ll Love Crafting Homemade Snickers Bars
Stepping into the world of homemade candy might seem like a grand endeavor, but these Snickers bars prove it’s an incredibly rewarding journey. Here’s why this recipe will become a cherished favorite:
- Unrivaled Flavor and Quality: They don’t just taste as good as the store-bought versions; they often surpass them in richness, freshness, and overall deliciousness. You’ll notice the vibrant taste of fresh ingredients, and the satisfaction of knowing exactly what goes into each bite is unparalleled. Plus, the ability to customize with your preferred ingredients means a truly unique and gourmet candy bar experience every time.
- Surprisingly Simple to Make: Forget intimidating confectionery techniques or the need for a candy thermometer. This recipe is designed for home bakers of all skill levels. With just a few basic steps and readily available ingredients, you can whip up a batch of these delectable treats without any stress, proving that homemade doesn’t have to mean complicated.
- Total Control Over Ingredients: In an age where knowing what we eat is more important than ever, making your own Snickers bars gives you complete transparency. You can choose high-quality ingredients, avoid unwanted additives, artificial flavors, or preservatives often found in commercial candies, and even adjust sugar levels to your preference. It’s a healthier, more wholesome way to enjoy your favorite indulgence.
- A Fun and Rewarding Project: There’s immense joy and satisfaction in creating something delicious from scratch. This recipe is not just about the end product; it’s about the enjoyable process of layering, chilling, and finally dipping these glorious bars. It’s a perfect activity for a rainy afternoon, a weekend treat, or even a fun project with family.
- Perfect for Gifting: Homemade Snickers bars make incredible edible gifts. Whether for holidays, birthdays, or just a thoughtful gesture, a beautifully packaged batch of these treats will surely be appreciated more than any store-bought equivalent.
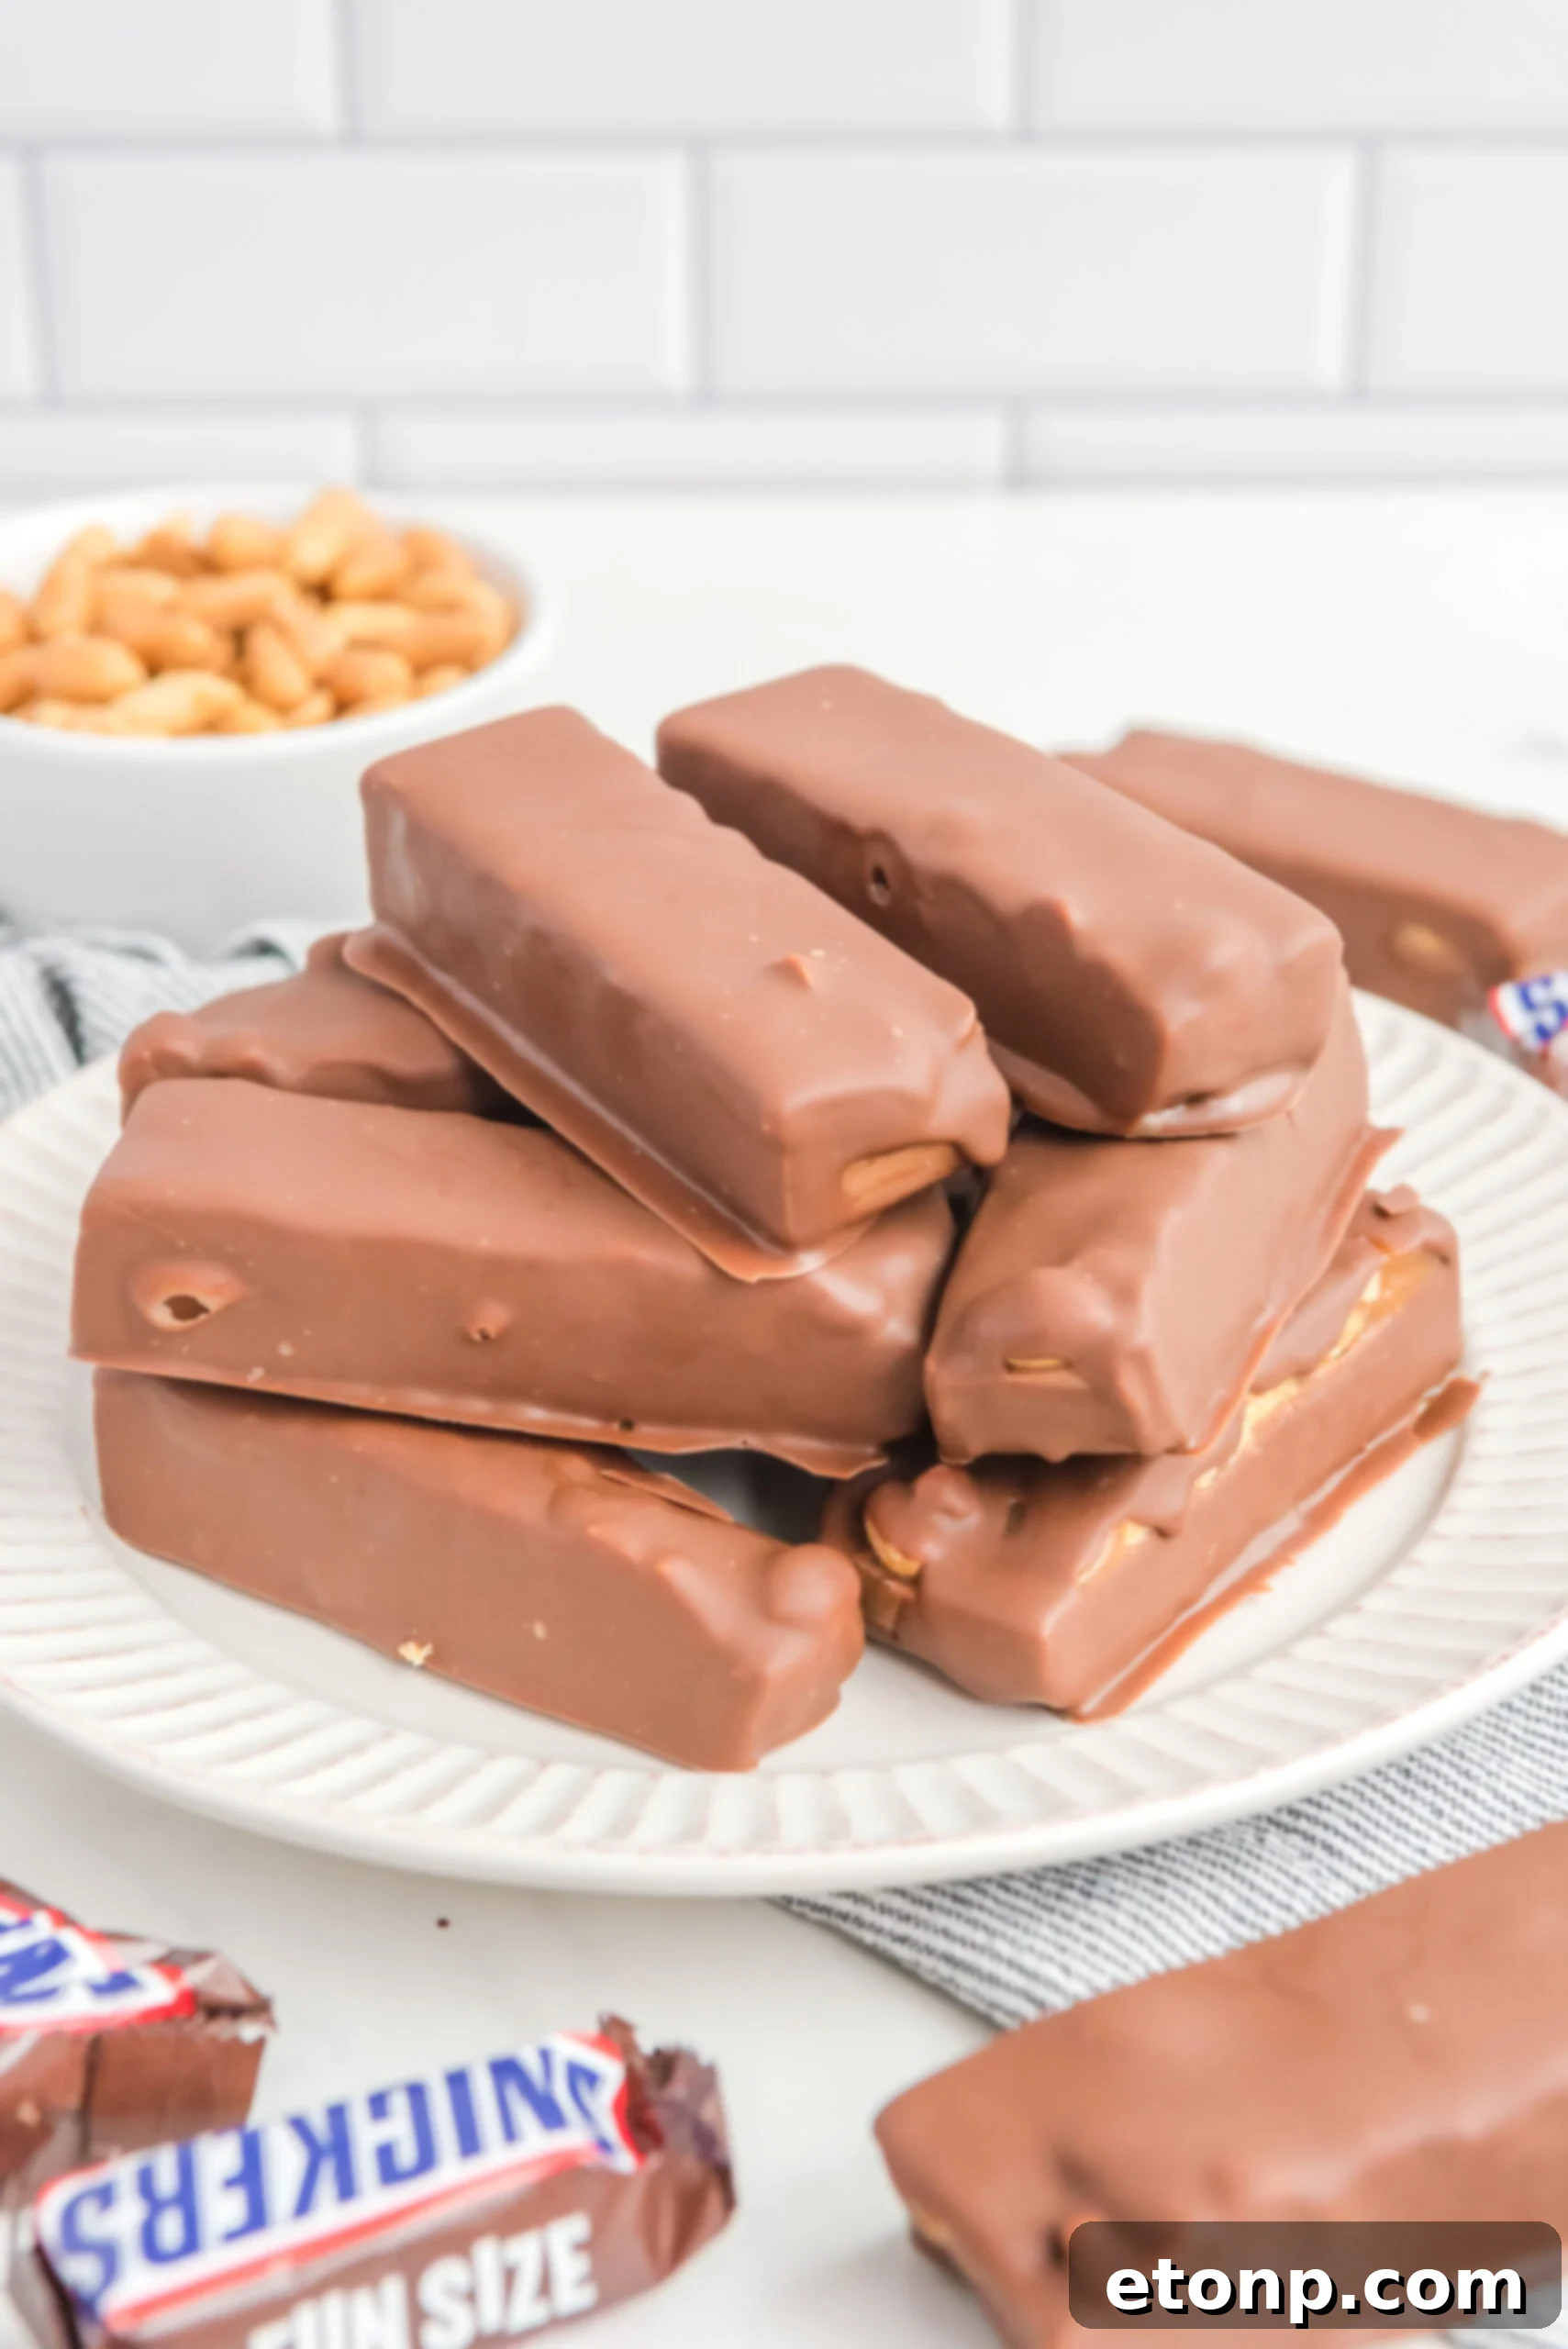
And let’s be clear: you absolutely do not need to possess professional baking skills or fancy equipment to achieve candy bar perfection. There’s no complex candy thermometer reading or specialized machinery involved. All that’s truly required is a bit of dedicated time, a robust sweet tooth to appreciate the end result, and a dash of patience as the layers chill and set in the refrigerator. This recipe is about accessible indulgence, bringing the joy of homemade confectionery to everyone.
The magic unfolds as you meticulously build each bar in distinct, flavorful layers. This layering technique is the heart of the recipe, creating that signature Snickers bite. We begin with a luscious, incredibly gooey nougat-like base. This foundation is a dreamy blend of rich chocolate, creamy peanut butter, and light marshmallow fluff, designed to perfectly mimic the soft, chewy nougat that is so characteristic of a classic Snickers. It’s wonderfully melty, perfectly sticky, and incredibly easy to scoop and spread – no electric mixer required. Once this delectable mixture is poured into your parchment-lined pan (and yes, trust me on the parchment; it’s a lifesaver for easy removal), it effortlessly levels itself out, providing a smooth, even canvas for the layers to come. No fuss, just pure delicious potential.
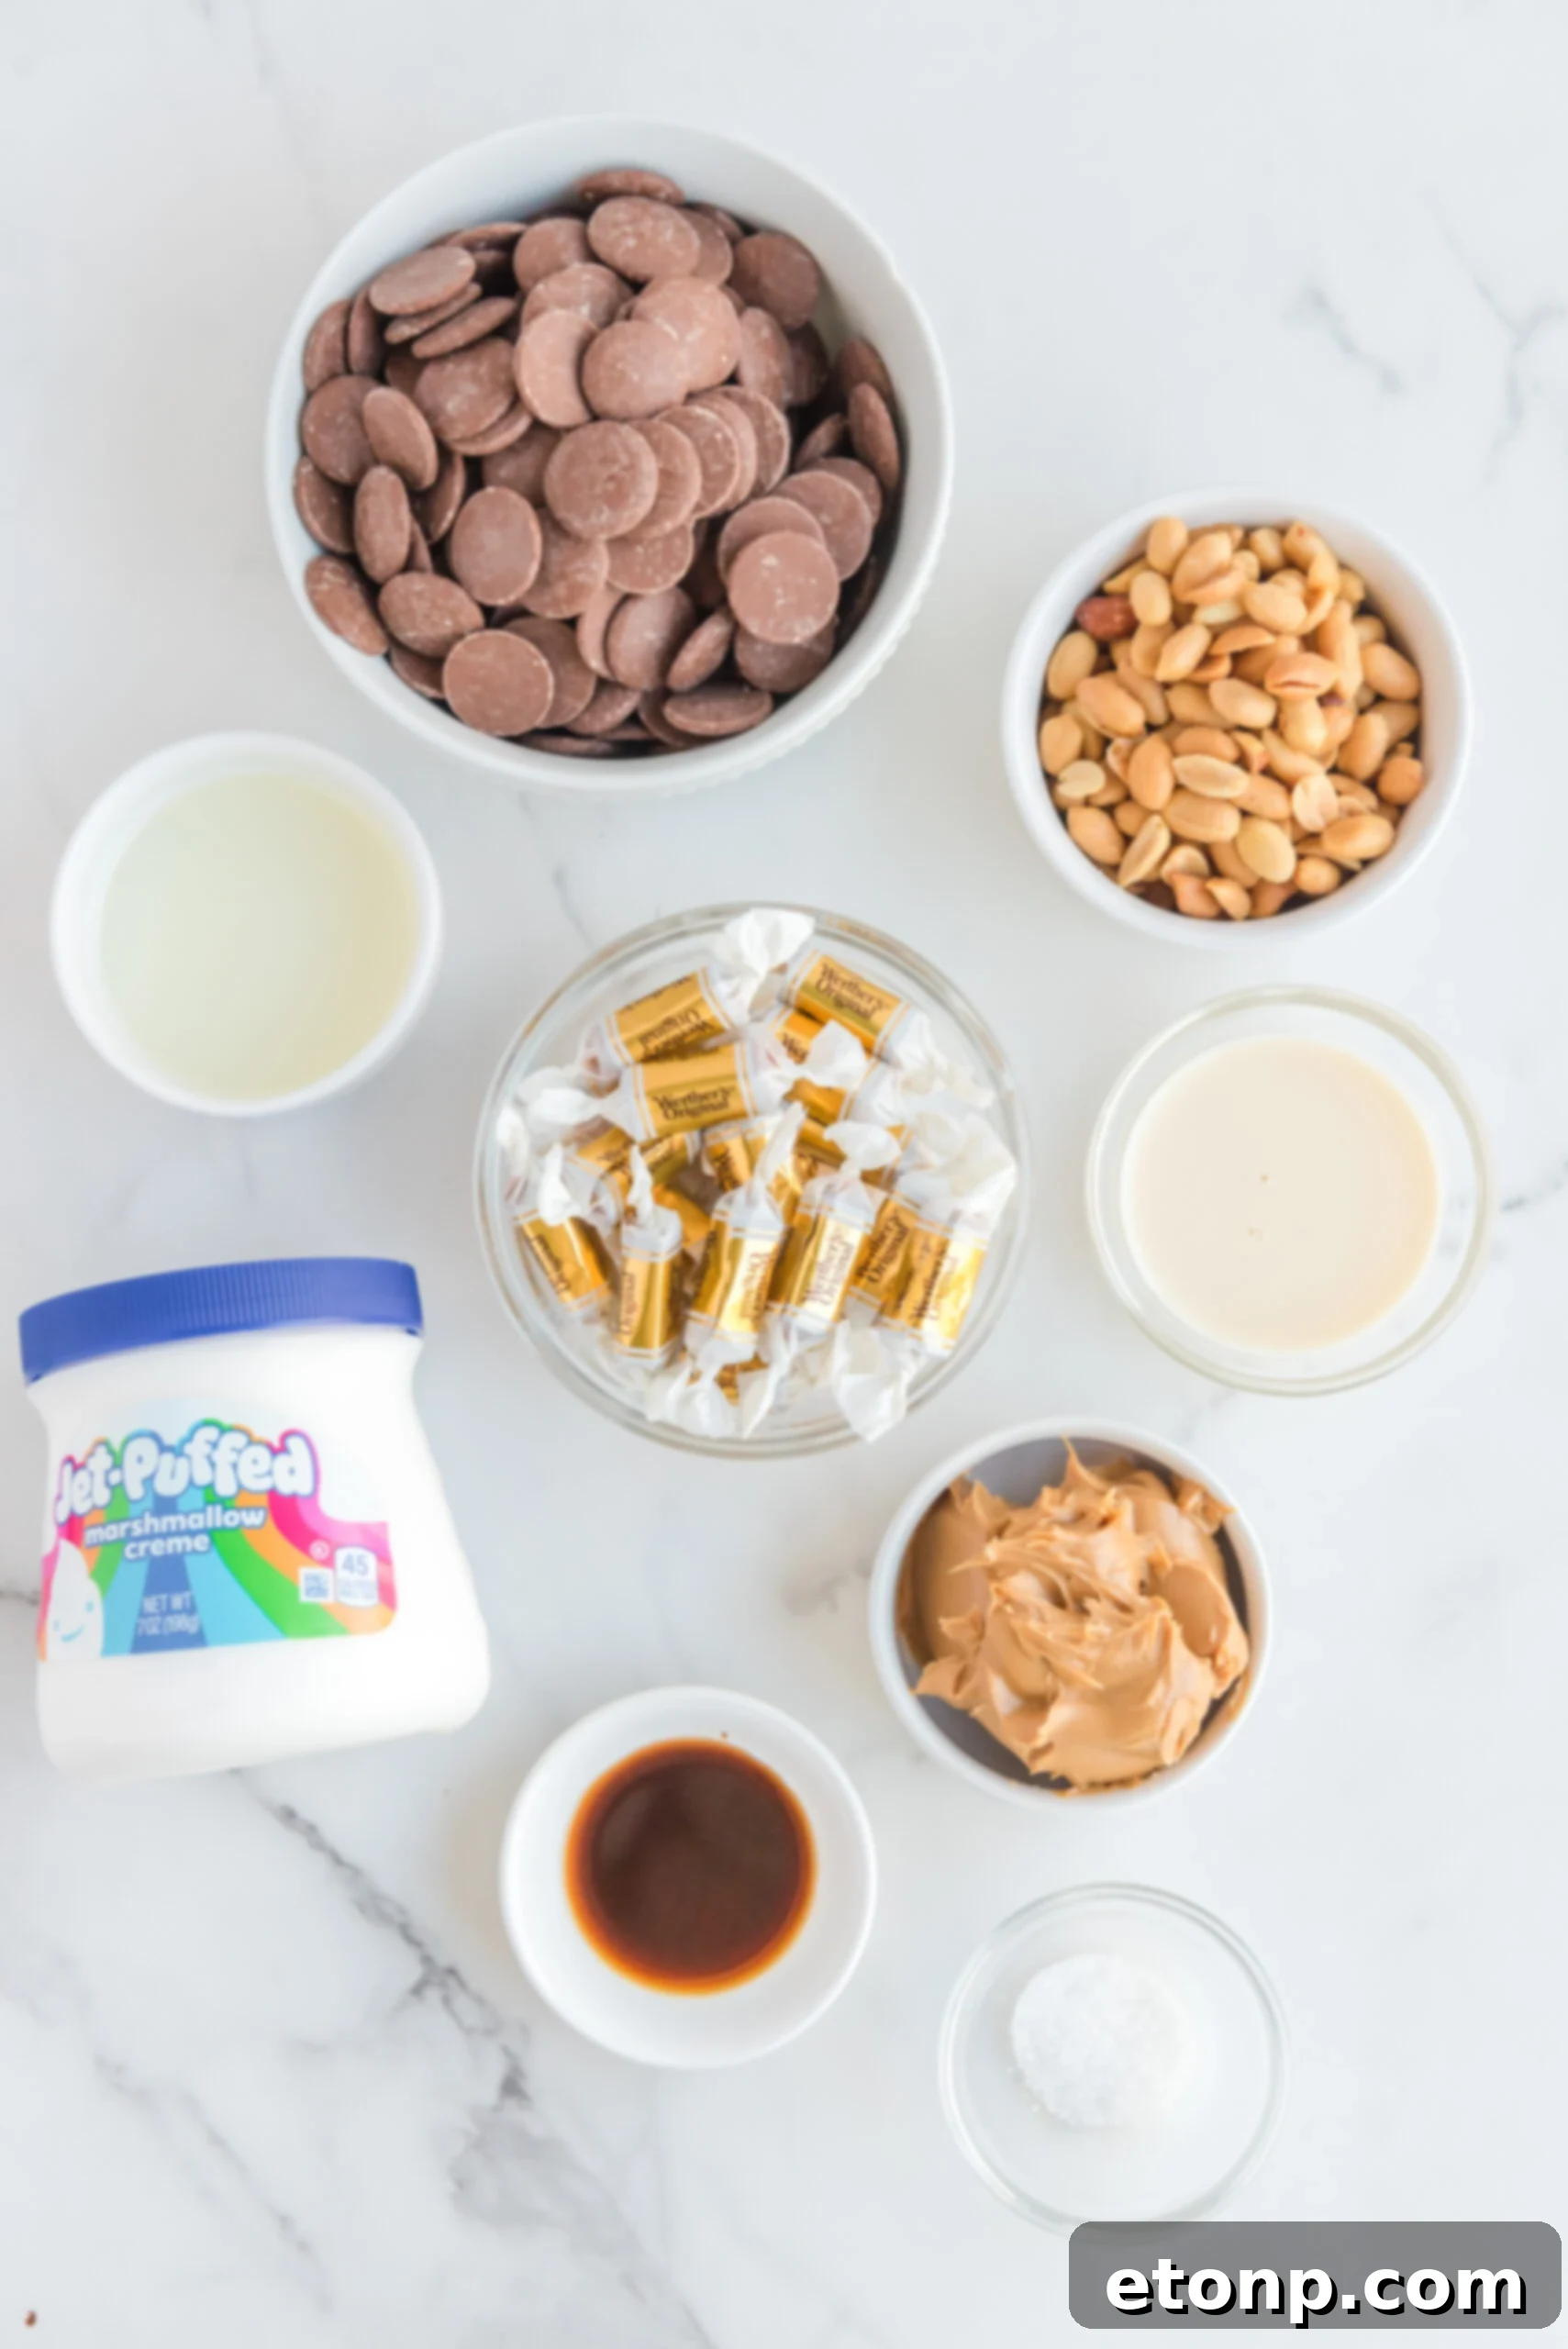
Essential Ingredients for Your Homemade Snickers
Crafting these extraordinary Homemade Snickers Bars requires a careful selection of ingredients, each playing a crucial role in recreating that iconic taste and texture. Here’s a detailed look at what you’ll need:
- Milk Chocolate Melting Wafers: These are not just any chocolate chips; melting wafers are specifically designed for smooth melting and hardening, providing that glossy, rich, and creamy chocolate coating that encases your bars. Divided into two parts, they contribute to both the nougat layer and the final chocolate shell, ensuring an authentic sweet and smooth chocolatey flavor throughout.
- Evaporated Milk: A denser, creamier counterpart to regular milk, evaporated milk is key to achieving that classic “Snickers” taste and texture in both the nougat and caramel layers. It helps create a rich, condensed sweetness and contributes to the smooth consistency of the fillings.
- Vanilla Extract: A staple in almost any sweet recipe, vanilla extract adds a layer of warm, aromatic sweetness that elevates the overall flavor profile of your Snickers bars, rounding out the other bold ingredients.
- Creamy Peanut Butter: The quintessential ingredient for Snickers, creamy peanut butter not only infuses a deep, nutty flavor into the nougat but also contributes to its smooth, chewy texture. Choose a good quality, creamy variety for the best results.
- Vegetable Oil: This seemingly minor addition is vital for achieving the perfect consistency in your chocolate coating. A small amount of vegetable oil ensures the melted chocolate remains silky smooth and fluid for dipping, preventing it from seizing and giving your finished bars a beautiful, professional-looking sheen.
- Mallow Fluff (Marshmallow Cream): This super fluffy marshmallow cream is a secret weapon for the nougat layer. It adds an incomparable lightness, chewiness, and delicate sweetness, creating a perfectly soft and airy base that is characteristic of a true Snickers nougat.
- Lightly Salted Peanuts: Beyond just texture, the peanuts are central to the Snickers experience. Using lightly salted peanuts introduces a crucial counterpoint to the sweetness, creating that addictive salty-sweet balance. They provide a satisfying crunch that contrasts beautifully with the soft nougat and gooey caramel.
- Sea Salt: A delicate sprinkle of flaky sea salt over the peanut layer further enhances the complexity of flavors. This touch of gourmet sea salt amplifies the nutty notes and cuts through the sweetness, adding an extra dimension of salty sweetness and a delightful textural pop.
- Soft Caramels: The heart of the gooey caramel center! Using pre-made soft caramels simplifies the process immensely, allowing you to achieve that perfectly chewy, rich caramel layer with minimal effort. Look for individually wrapped soft caramels for easy portioning.
Tips for Perfect Homemade Snickers Bars
To ensure your homemade Snickers bars turn out absolutely perfect, keep these expert tips in mind:
- Parchment Paper is Your Best Friend: Seriously, do not skip lining your pan with parchment paper, leaving an overhang on all sides. This makes lifting the entire chilled slab out of the pan incredibly easy, preventing sticking and ensuring clean edges.
- Gentle Heat for Nougat: When combining the nougat ingredients, use low to medium-low heat. Patience is key here. Overheating can lead to a grainy texture. Stir constantly until everything is smooth and fully incorporated.
- Even Spreading: While the nougat layer self-levels nicely, the caramel layer will require a bit more attention. Once poured, use an offset spatula or the back of a spoon to gently spread it evenly over the peanuts. Don’t worry about perfection; homemade has charm!
- Don’t Rush the Chill Time: The chilling periods are non-negotiable for success. Each layer needs adequate time to set firm before the next is added, and the final chill before cutting and dipping is crucial for clean cuts and preventing a gooey mess. Overnight chilling is always ideal.
- Chocolate Dipping Technique: For the smoothest coating, ensure your melted chocolate is not too hot. Work quickly, dipping one bar at a time. Use two forks or specialized dipping tools to gently lower and lift the bars, allowing excess chocolate to drip off. This prevents overly thick coatings.
- Quality Ingredients Matter: While simple, the quality of your ingredients will directly impact the final taste. Use good quality melting chocolate wafers and fresh, flavorful peanuts for the best results.
How to Store Your Homemade Snickers Bars
Once you’ve gone to the effort of creating these magnificent homemade Snickers bars, proper storage is essential to maintain their freshness and delicious texture. It’s incredibly straightforward! After the chocolate coating has completely hardened and the bars are thoroughly cooled, transfer them to an airtight container or a robust zip-top bag. Store them at room temperature, ideally in a cool, dark place, for up to a week. For a longer indulgence, you can confidently freeze your homemade Snickers bars for an impressive period of up to three months. When you’re ready to enjoy a frozen treat, simply remove them from the freezer and allow them to thaw at room temperature for about 30 minutes before savoring every delightful bite!
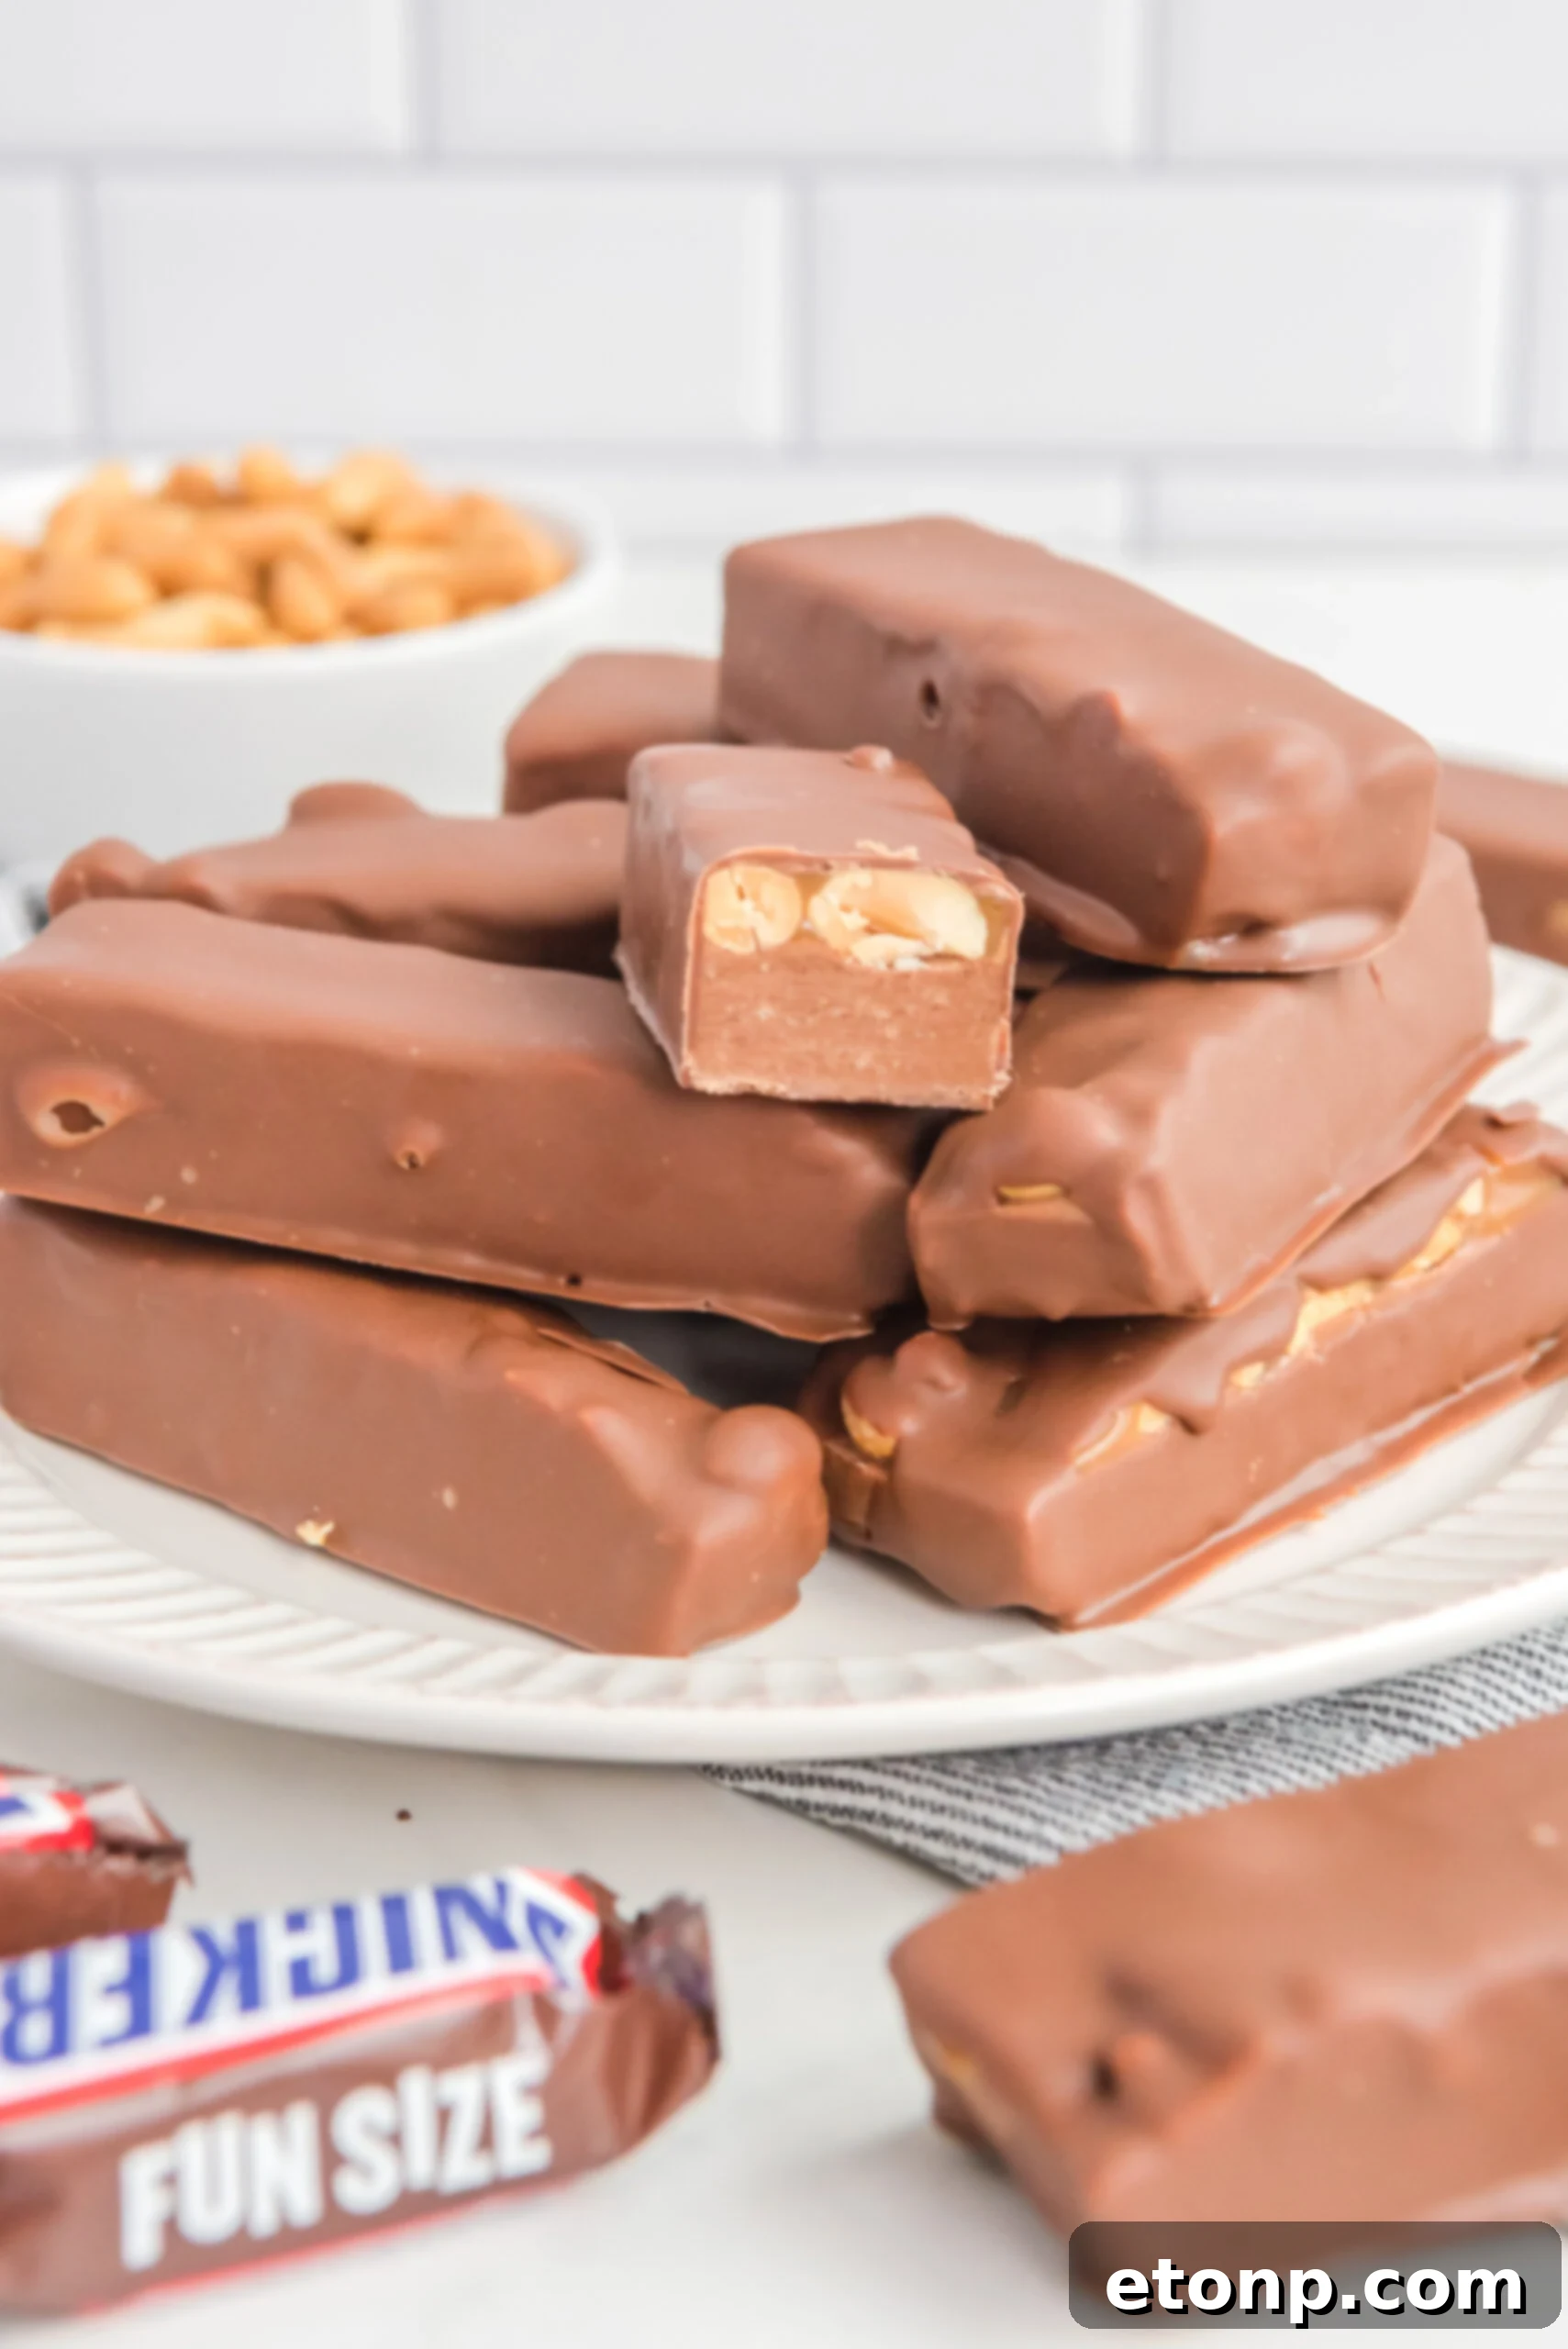
Common Questions About Homemade Snickers Bars
What is the nougat in a traditional Snickers made of?
The iconic nougat found in traditional Snickers bars is a delightful confection typically crafted from a combination of sugar, corn syrup, evaporated milk, creamy peanut butter, and often, egg whites. This mixture is carefully cooked until it reaches a specific temperature, transforming it into a wonderfully creamy, fluffy, and chewy texture. Once cooled, this nougat base is then cut into bar shapes before being lavishly covered with the signature caramel layer and a final coating of rich milk chocolate.
Can I freeze homemade Snickers bars?
Absolutely, freezing homemade Snickers bars is an excellent way to extend their shelf life and have a delicious treat ready whenever a craving strikes! Once your bars are completely cooled and the chocolate coating is firm, simply place them in an airtight container or a heavy-duty zip-top bag. They can be stored in the freezer for up to three months without any loss of quality. When you’re ready to enjoy them, just take them out and let them thaw at room temperature for about 20-30 minutes, or until they reach your desired texture.
Can I add different toppings or variations to my Snickers bar?
Yes, customizing your homemade Snickers bars is one of the most exciting aspects of making them yourself! The possibilities are truly endless. Feel free to experiment by adding different types of nuts, such as almonds or cashews, to the peanut layer for a unique crunch. You could also mix in dried fruits like chopped dates or cranberries for a fruity twist, or sprinkle chocolate chips, mini marshmallows, or colorful sprinkles onto the wet chocolate coating for added texture and visual appeal. For an extra decadent touch, try drizzling melted dark chocolate, white chocolate, or even extra peanut butter over the top before the final chill. Get creative and play with various combinations until you discover your ultimate favorite personalized Snickers bar!
Homemade Snickers bars offer a truly fun and immensely satisfying dessert project that anyone can master at home. Not only are they incredibly delicious and customizable with an array of toppings for added flavor and flair, but their excellent freezer-friendly nature means you can enjoy these delightful treats for up to three months. It’s the perfect blend of indulgence and practicality.
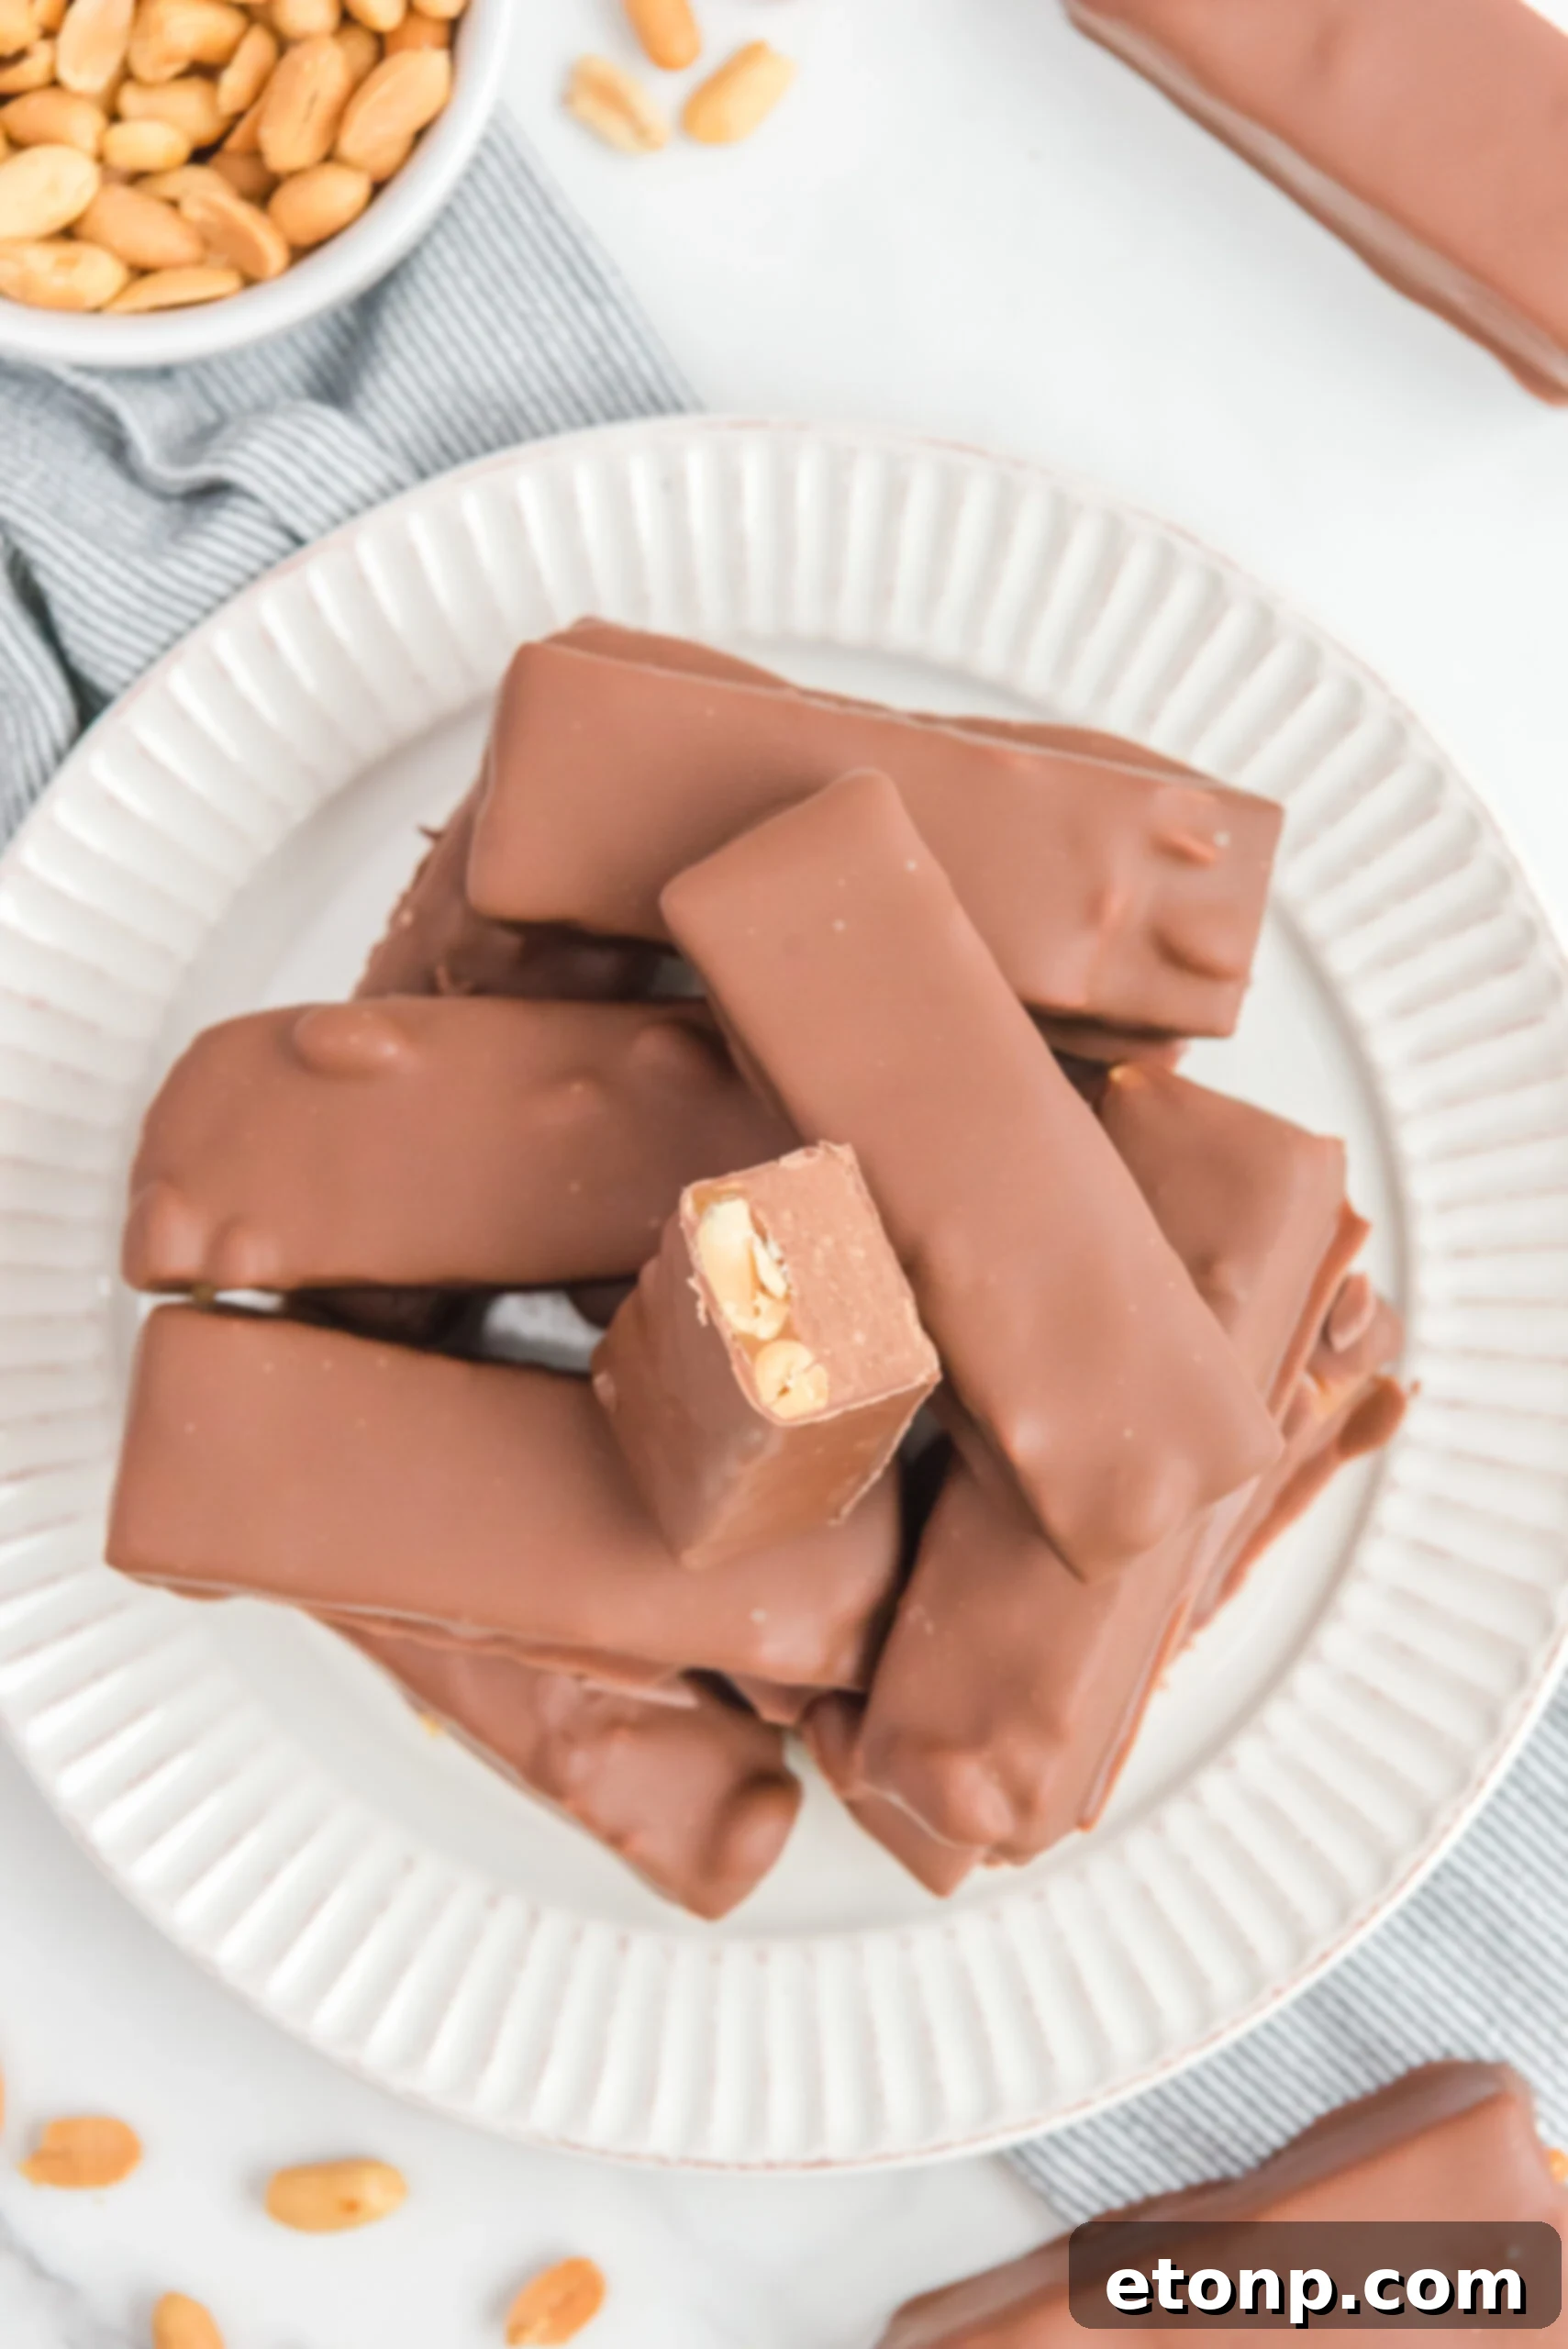
Crafting the Irresistible Caramel Layer
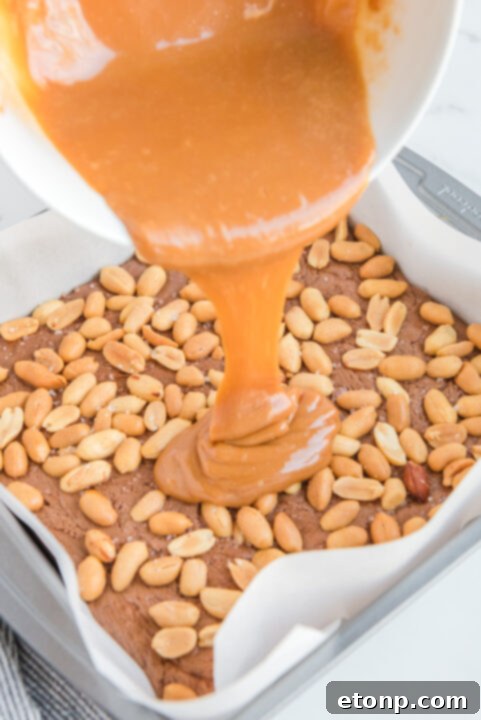
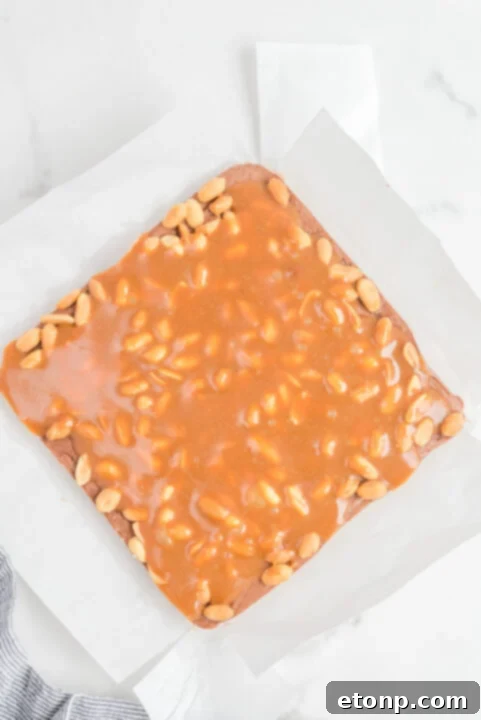
The luscious caramel layer is next, and it’s surprisingly simple to create. For this, we’ll combine store-bought soft caramels with a splash of evaporated milk in a microwave-safe dish. This part is straightforward, but it demands a little patience and attention. You’ll microwave the mixture in short bursts, stirring thoroughly after each interval. Resist the temptation to rush the process, or you might end up with an unmanageable sugar rock. Once the caramel is beautifully smooth, glossy, and perfectly pourable, you’ll carefully drizzle it over the peanut layer. Unlike the nougat, this caramel won’t fully self-level, so you’ll need to gently spread it out yourself with an offset spatula or the back of a spoon to ensure even coverage. But don’t fret over minor imperfections – homemade candy, with its unique character, is always the most charming.
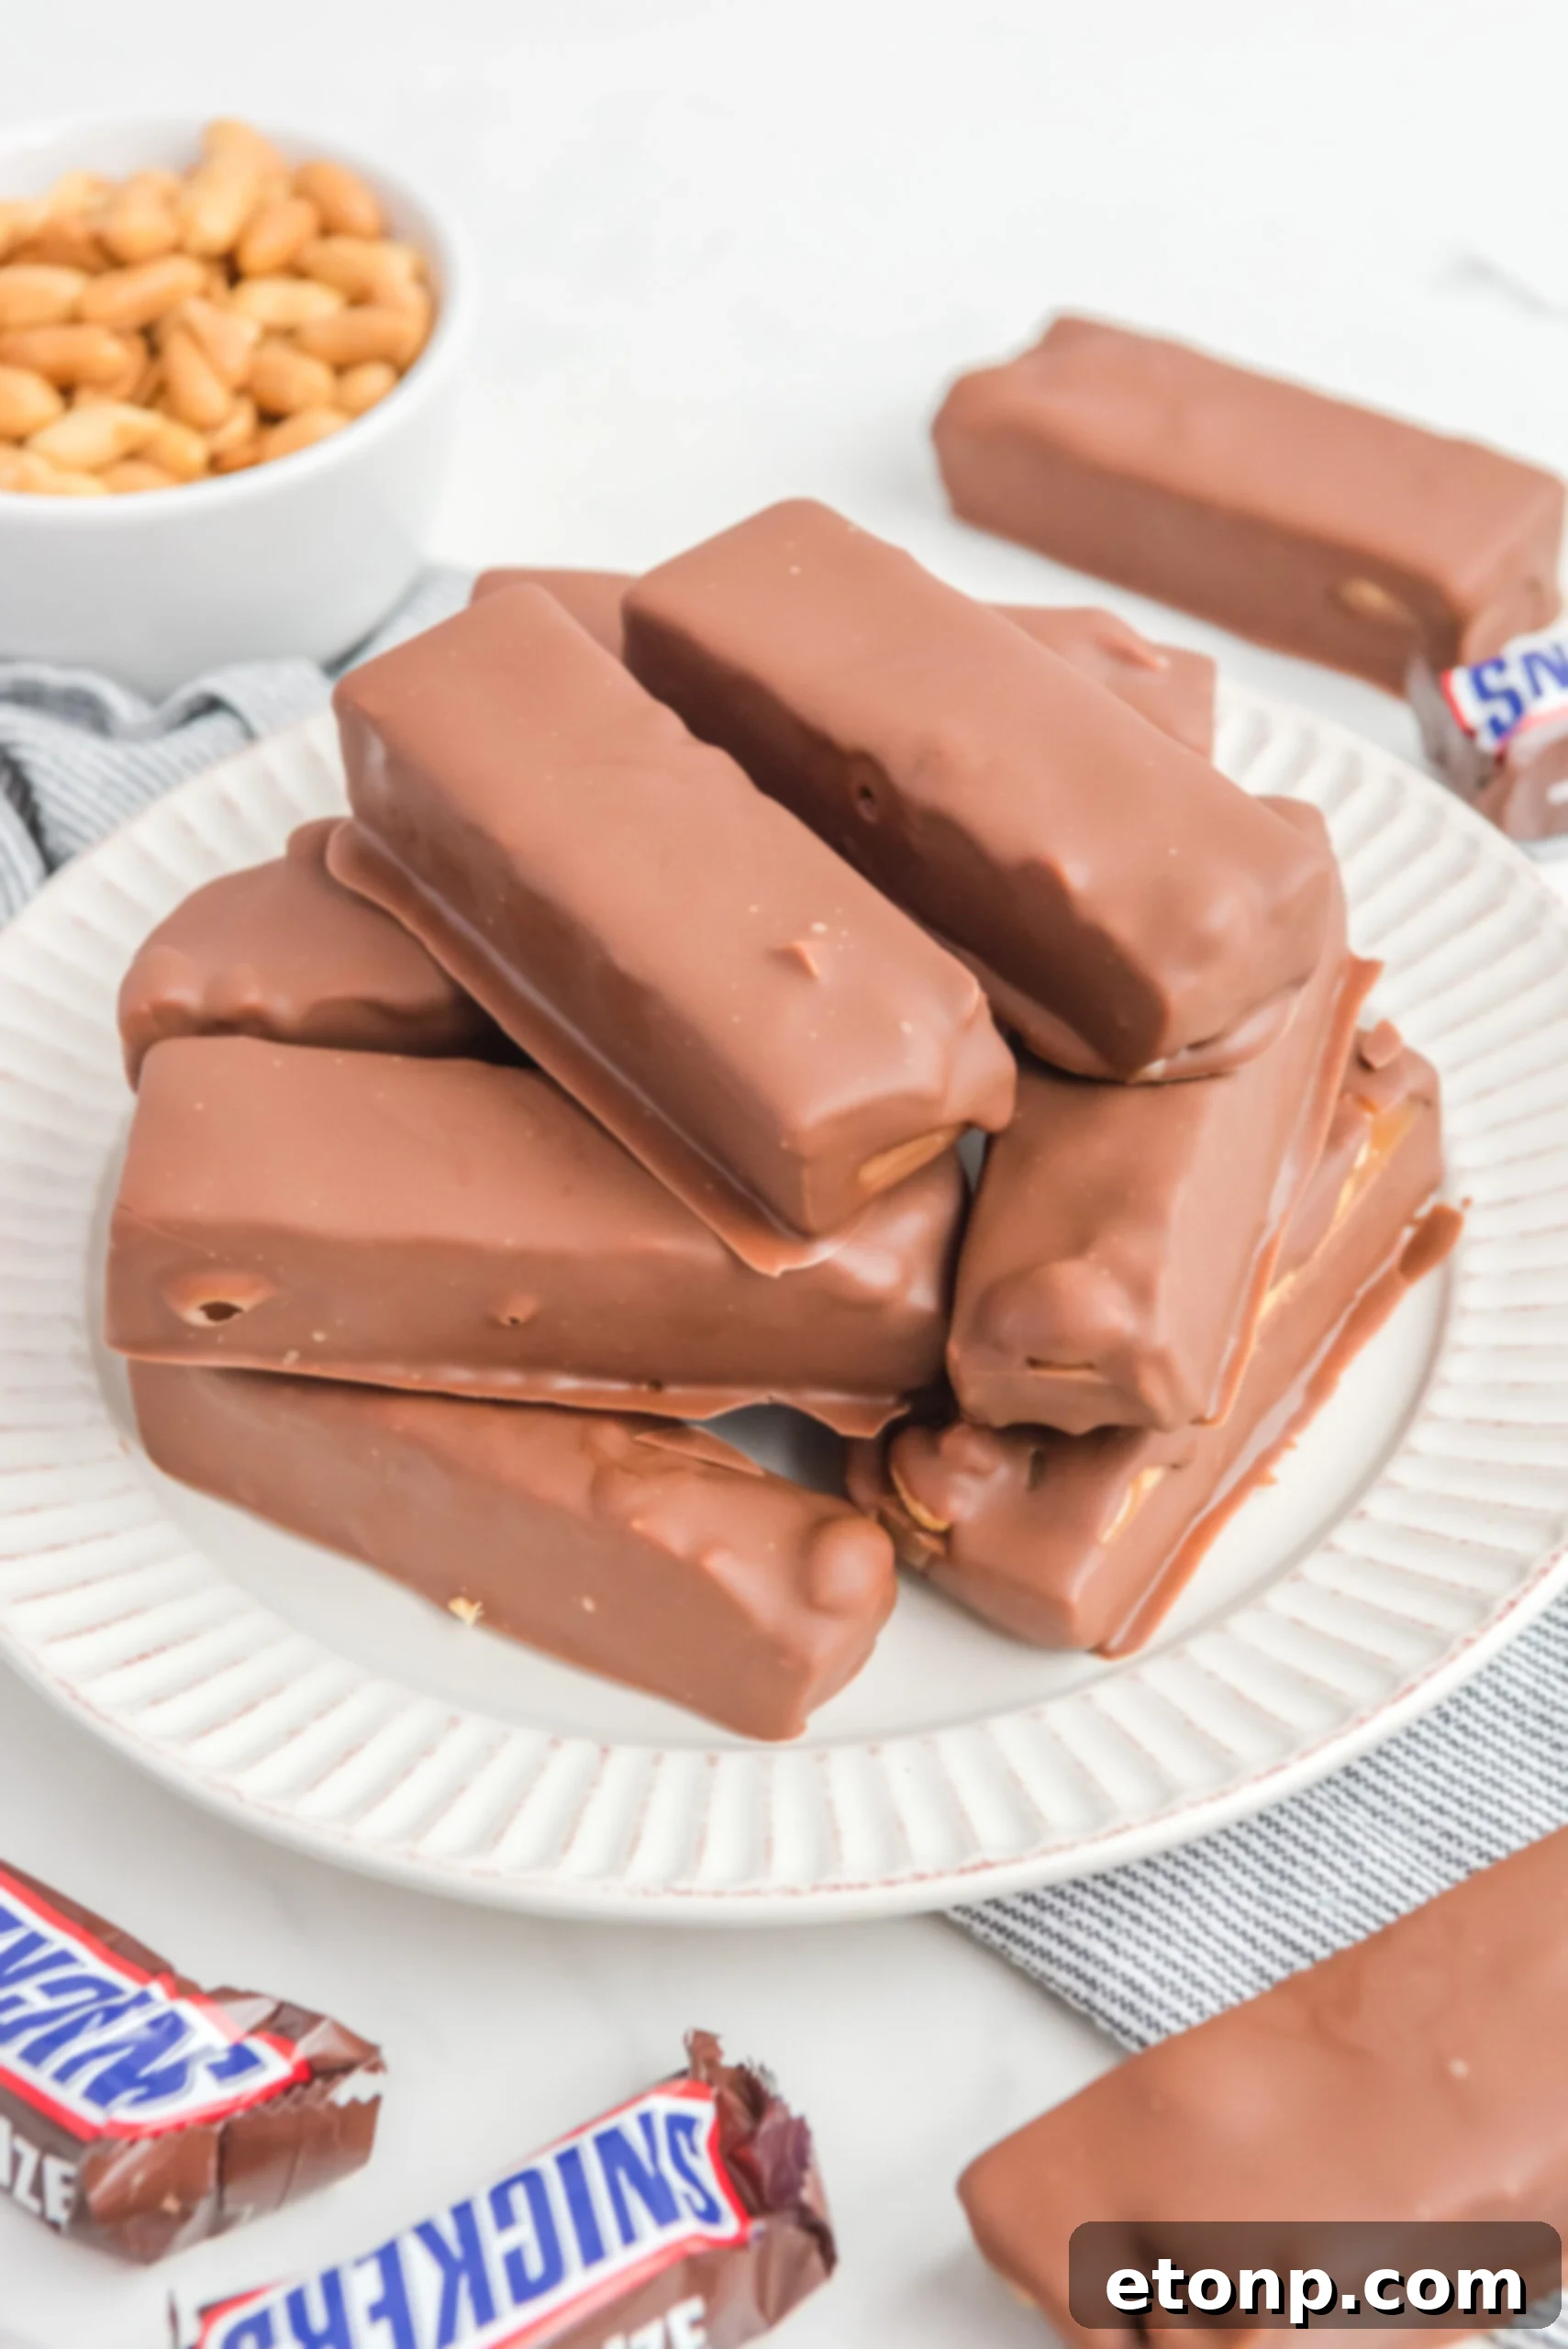
Now comes the ultimate test of willpower: the crucial chilling period. This entire glorious pan of layered sweetness must go into the refrigerator for at least four hours, though leaving it overnight is truly ideal for optimal setting. It’s undeniably a waiting game, but I promise you, the payoff is absolutely 100% worth every minute. Once perfectly chilled and completely set, you’ll use the parchment paper overhang to effortlessly lift the entire slab out of the pan. With a sharp knife, slice it into individual bars, and behold! You’ll have a tray of what looks like genuine candy store perfection, ready for its final transformation.
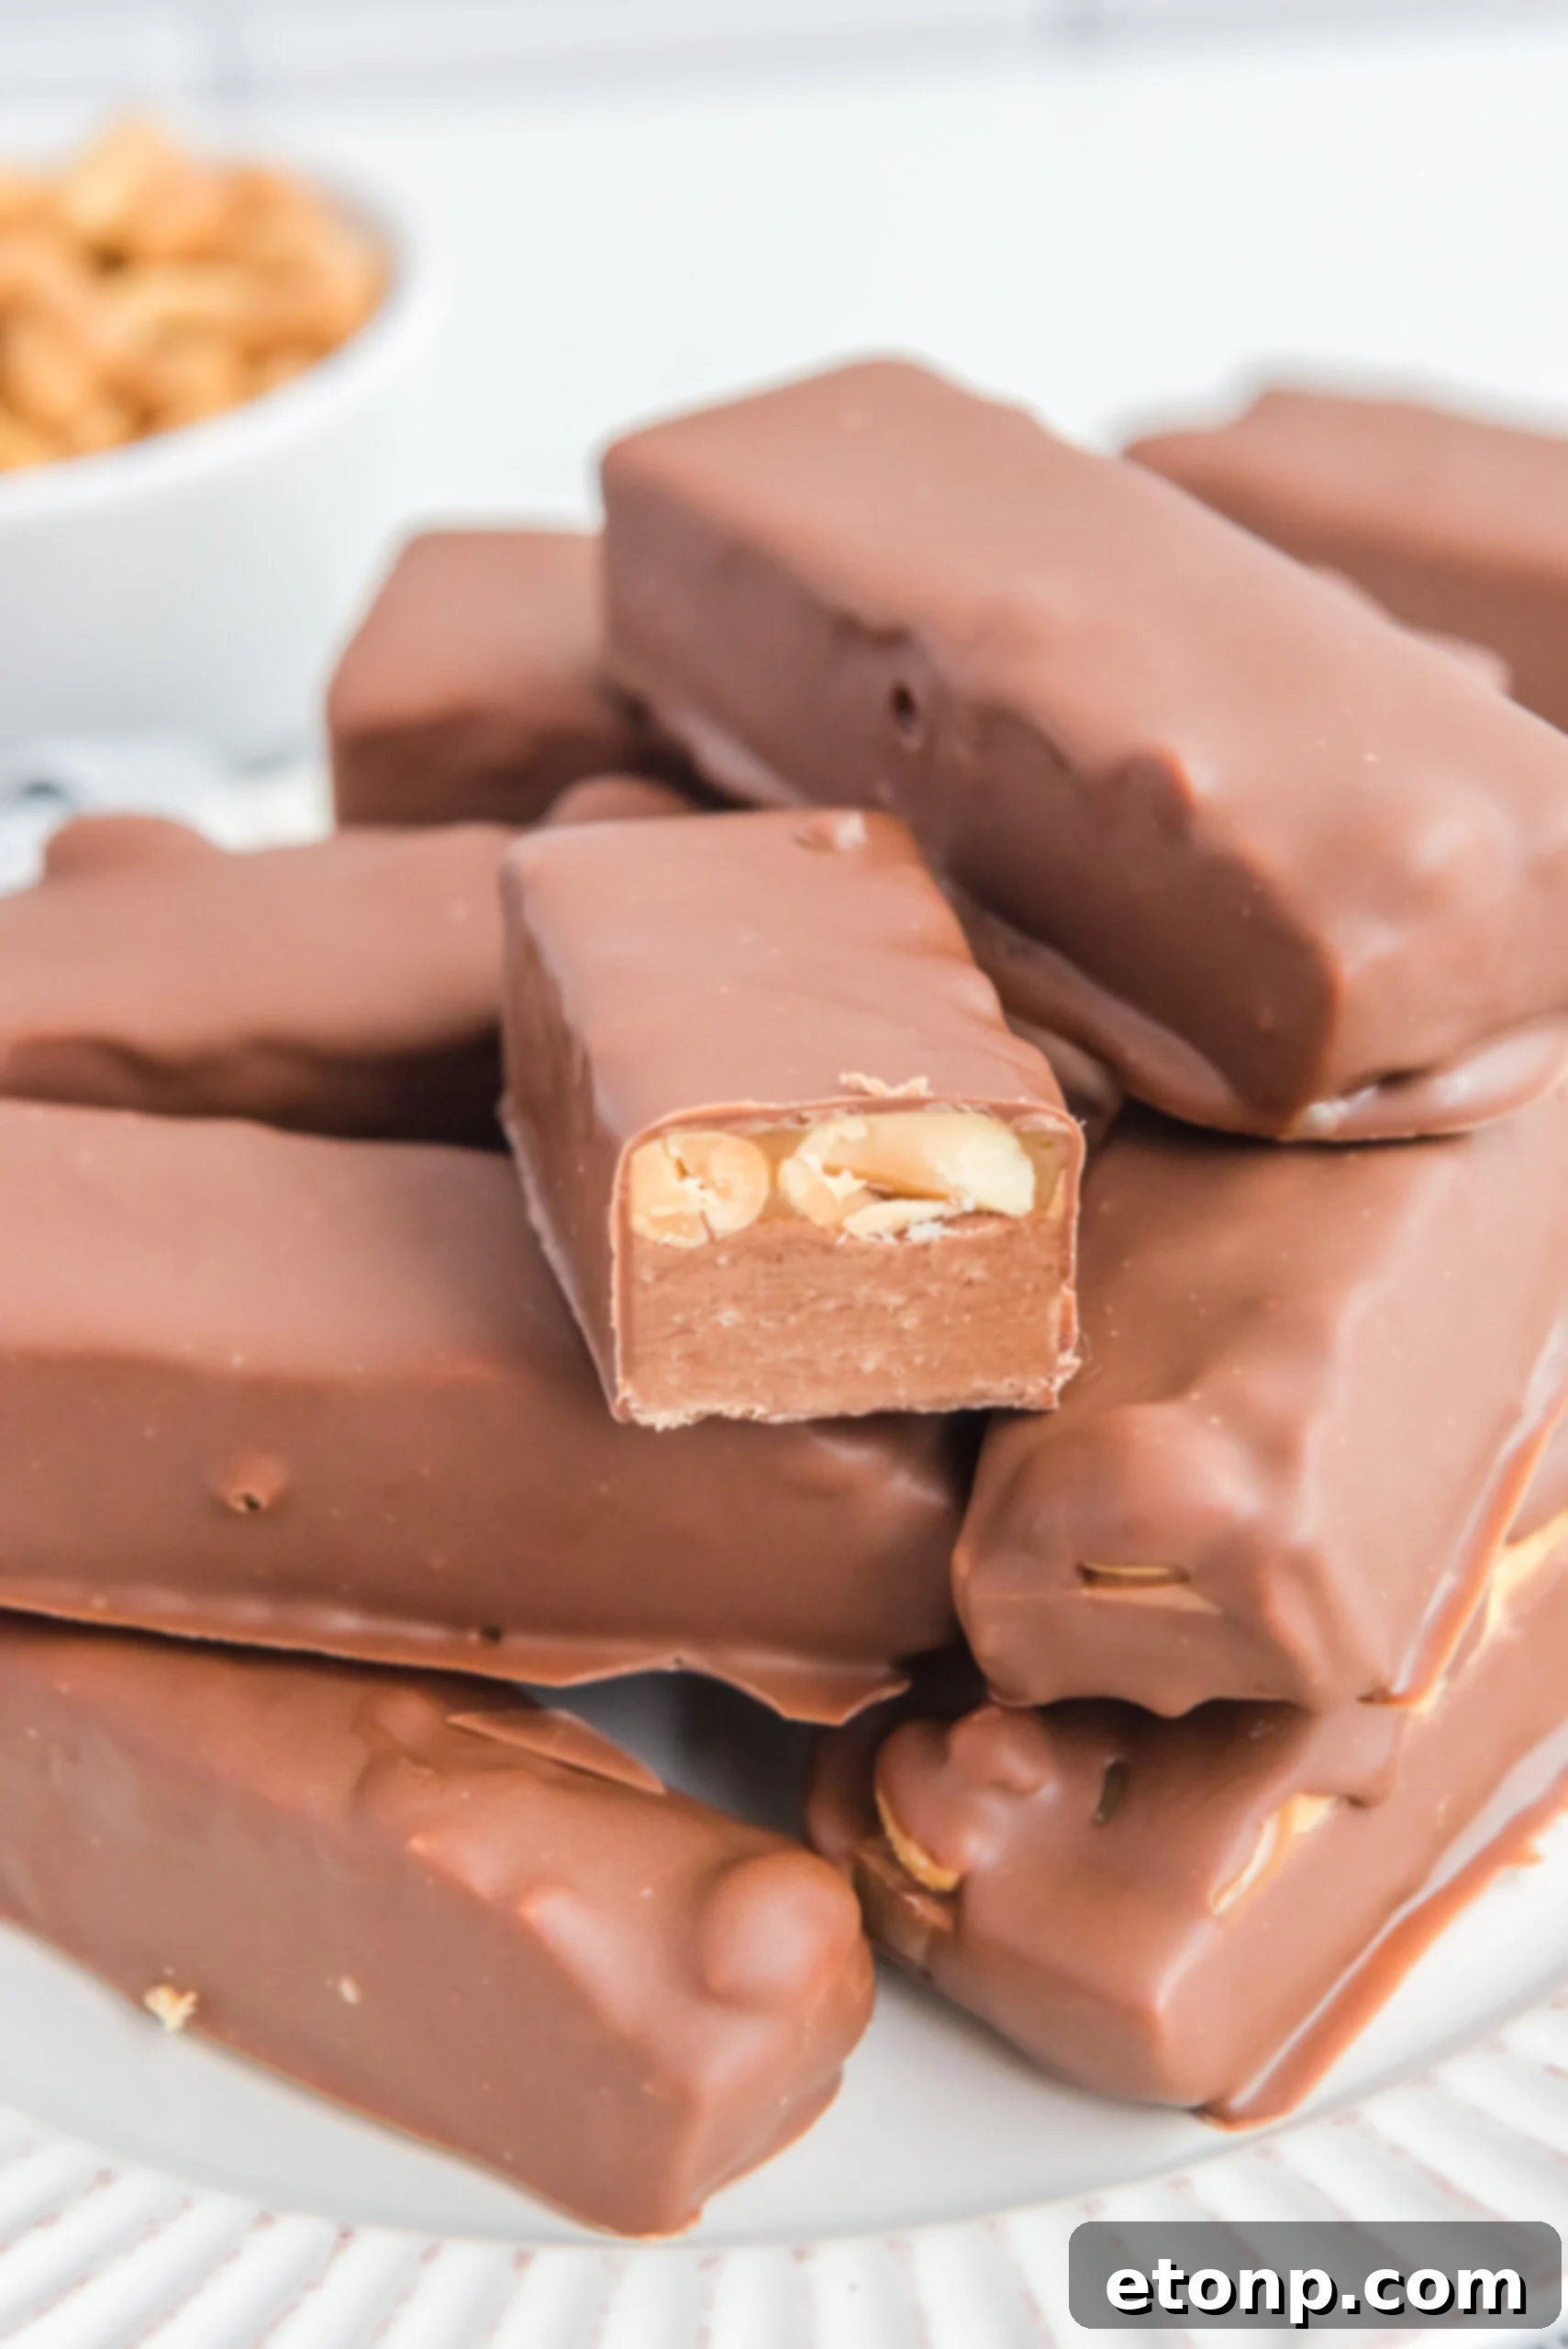
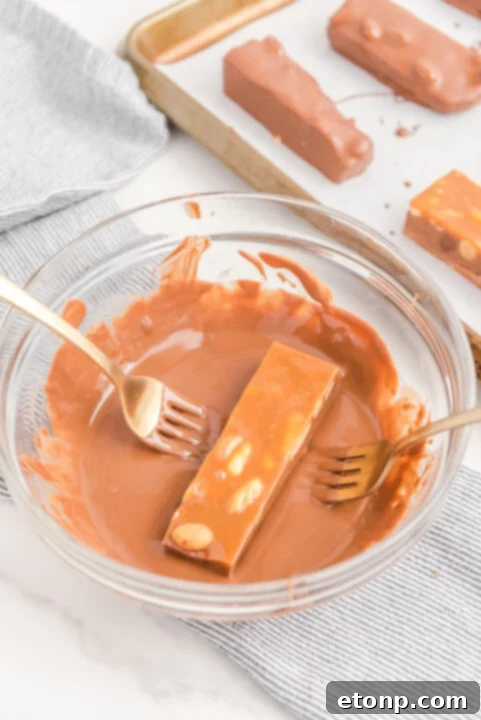
But our delicious journey isn’t quite finished. The final, crowning step is what truly pushes these treats over the top: the rich chocolate coating. Each perfectly formed bar will receive a luxurious dip in silky, melted milk chocolate, enhanced with a touch of vegetable oil to ensure a glossy, smooth, and crack-free finish. It’s a wonderfully messy process, but in the best possible way! Using two forks or specialized dipping tools, a little patience, and perhaps the help of an eager assistant, you’ll coat each bar completely. It’s a fantastic excuse to turn this into a fun, collaborative effort.
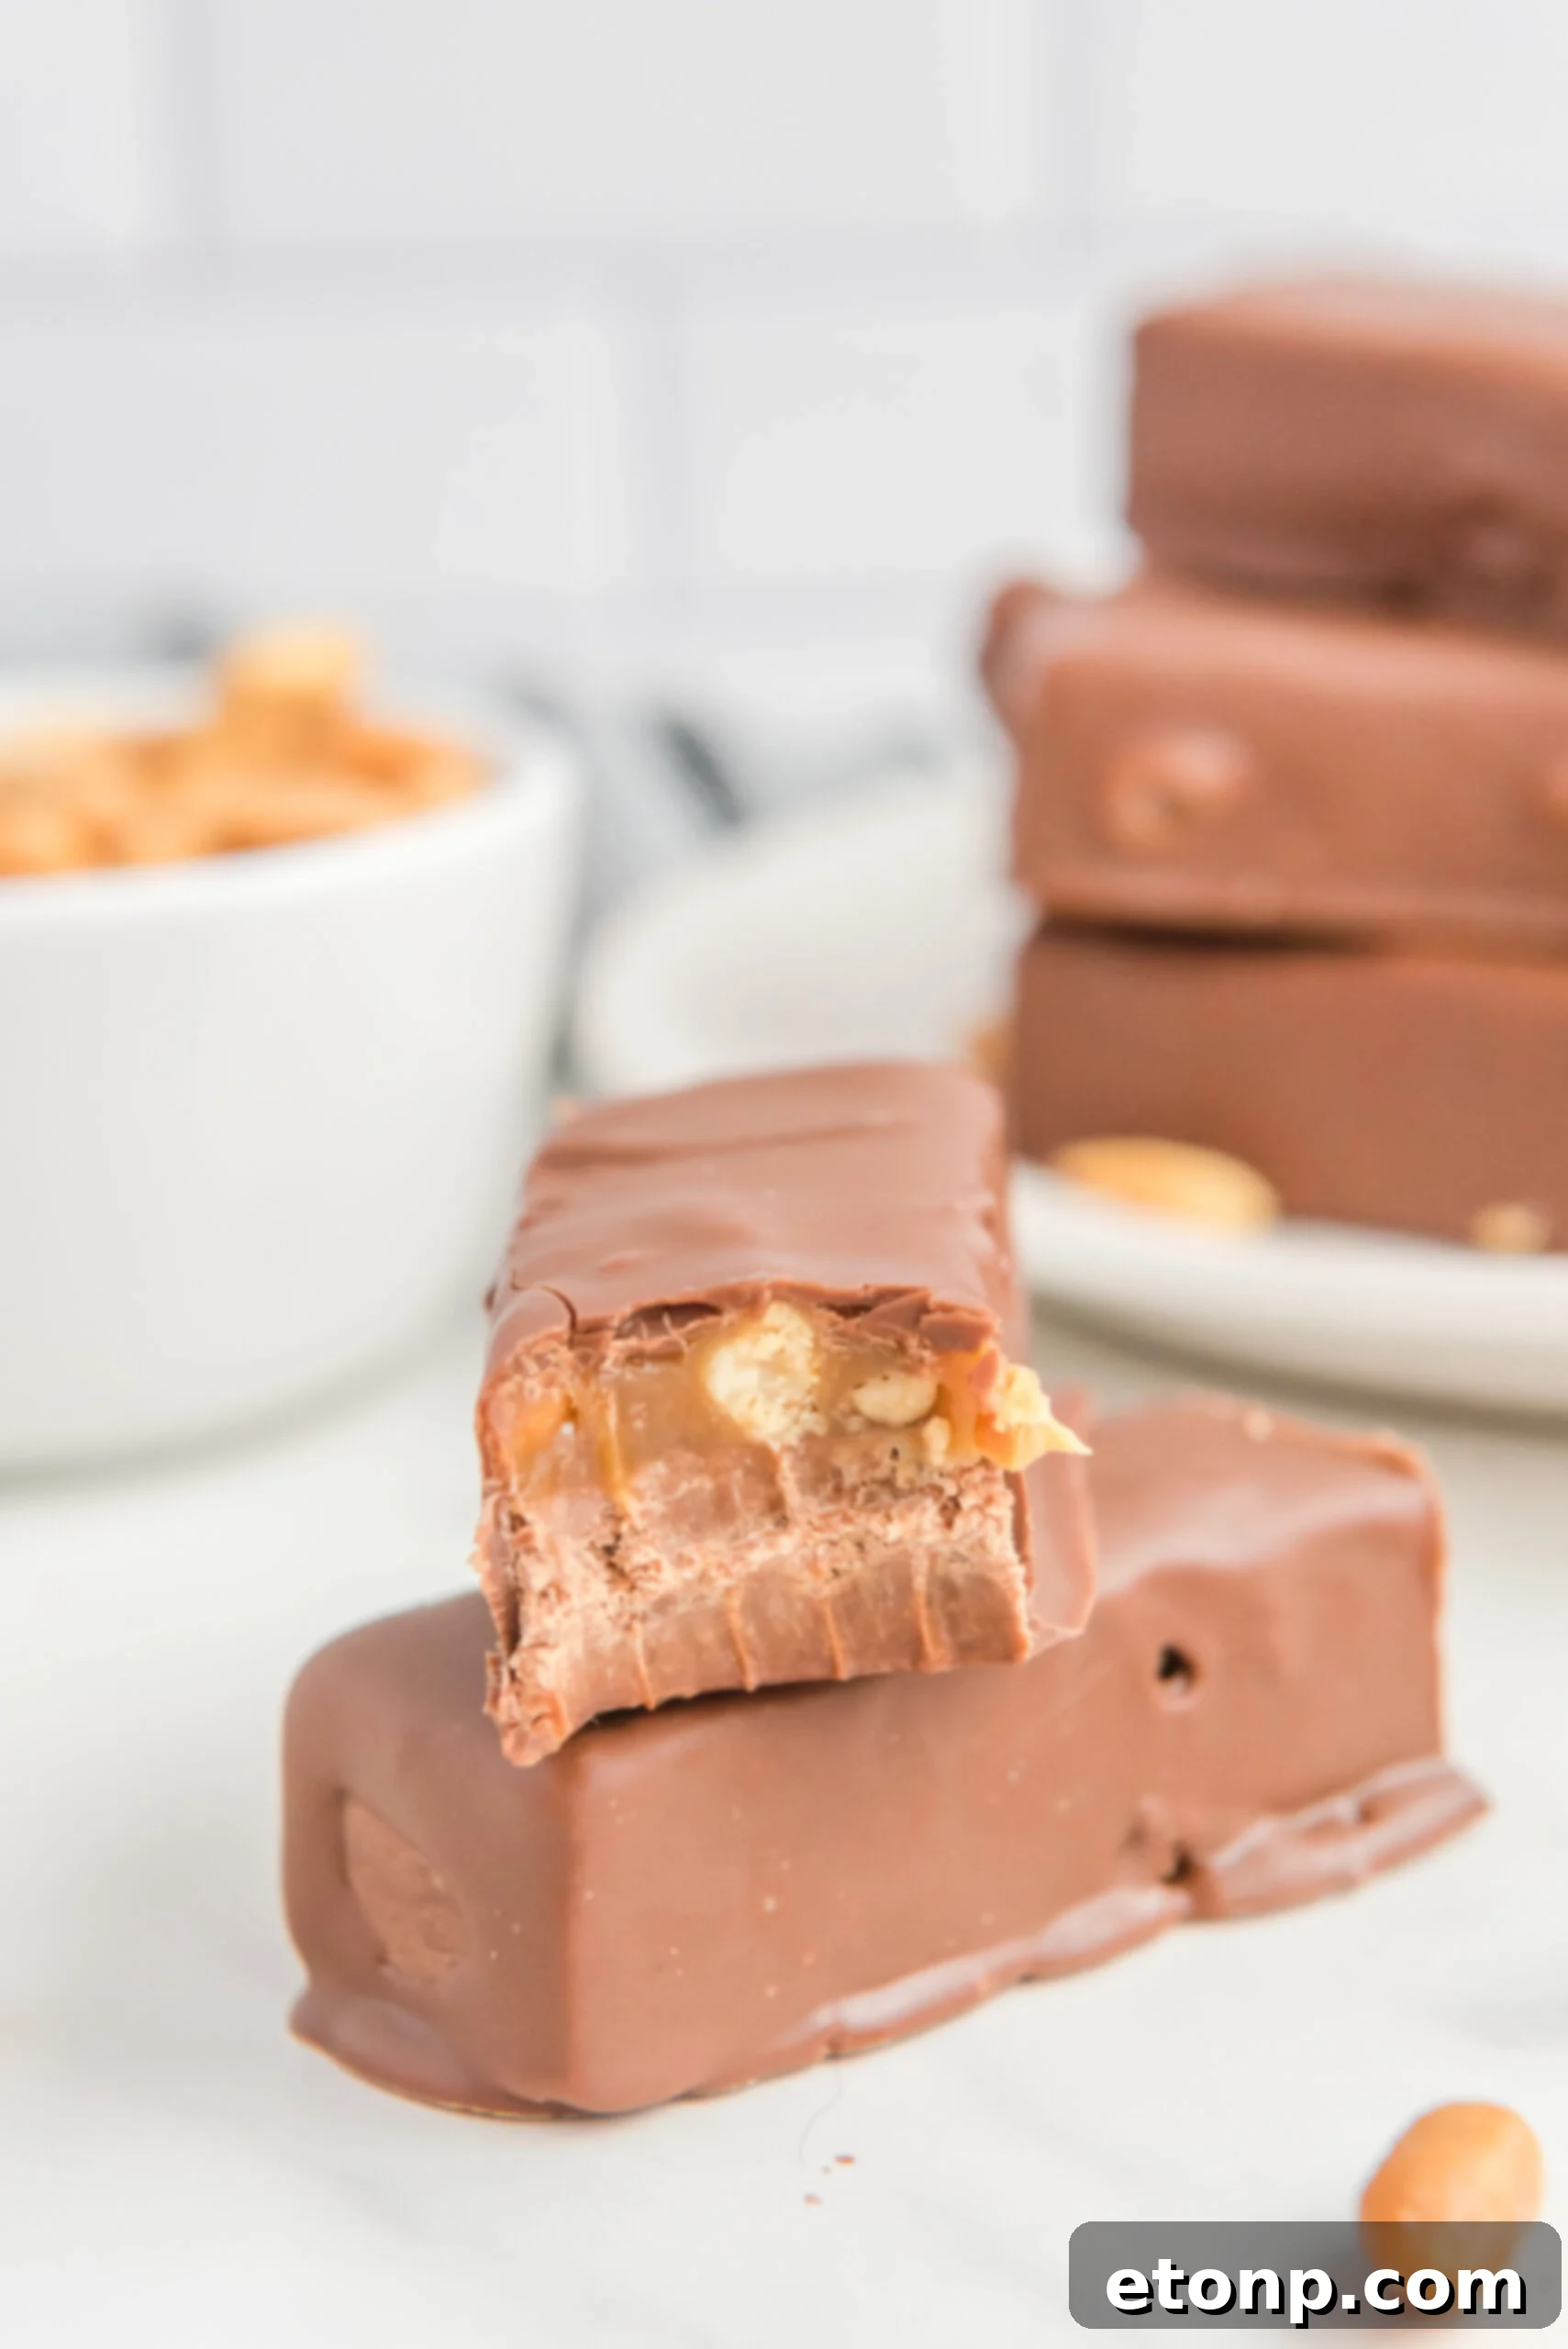
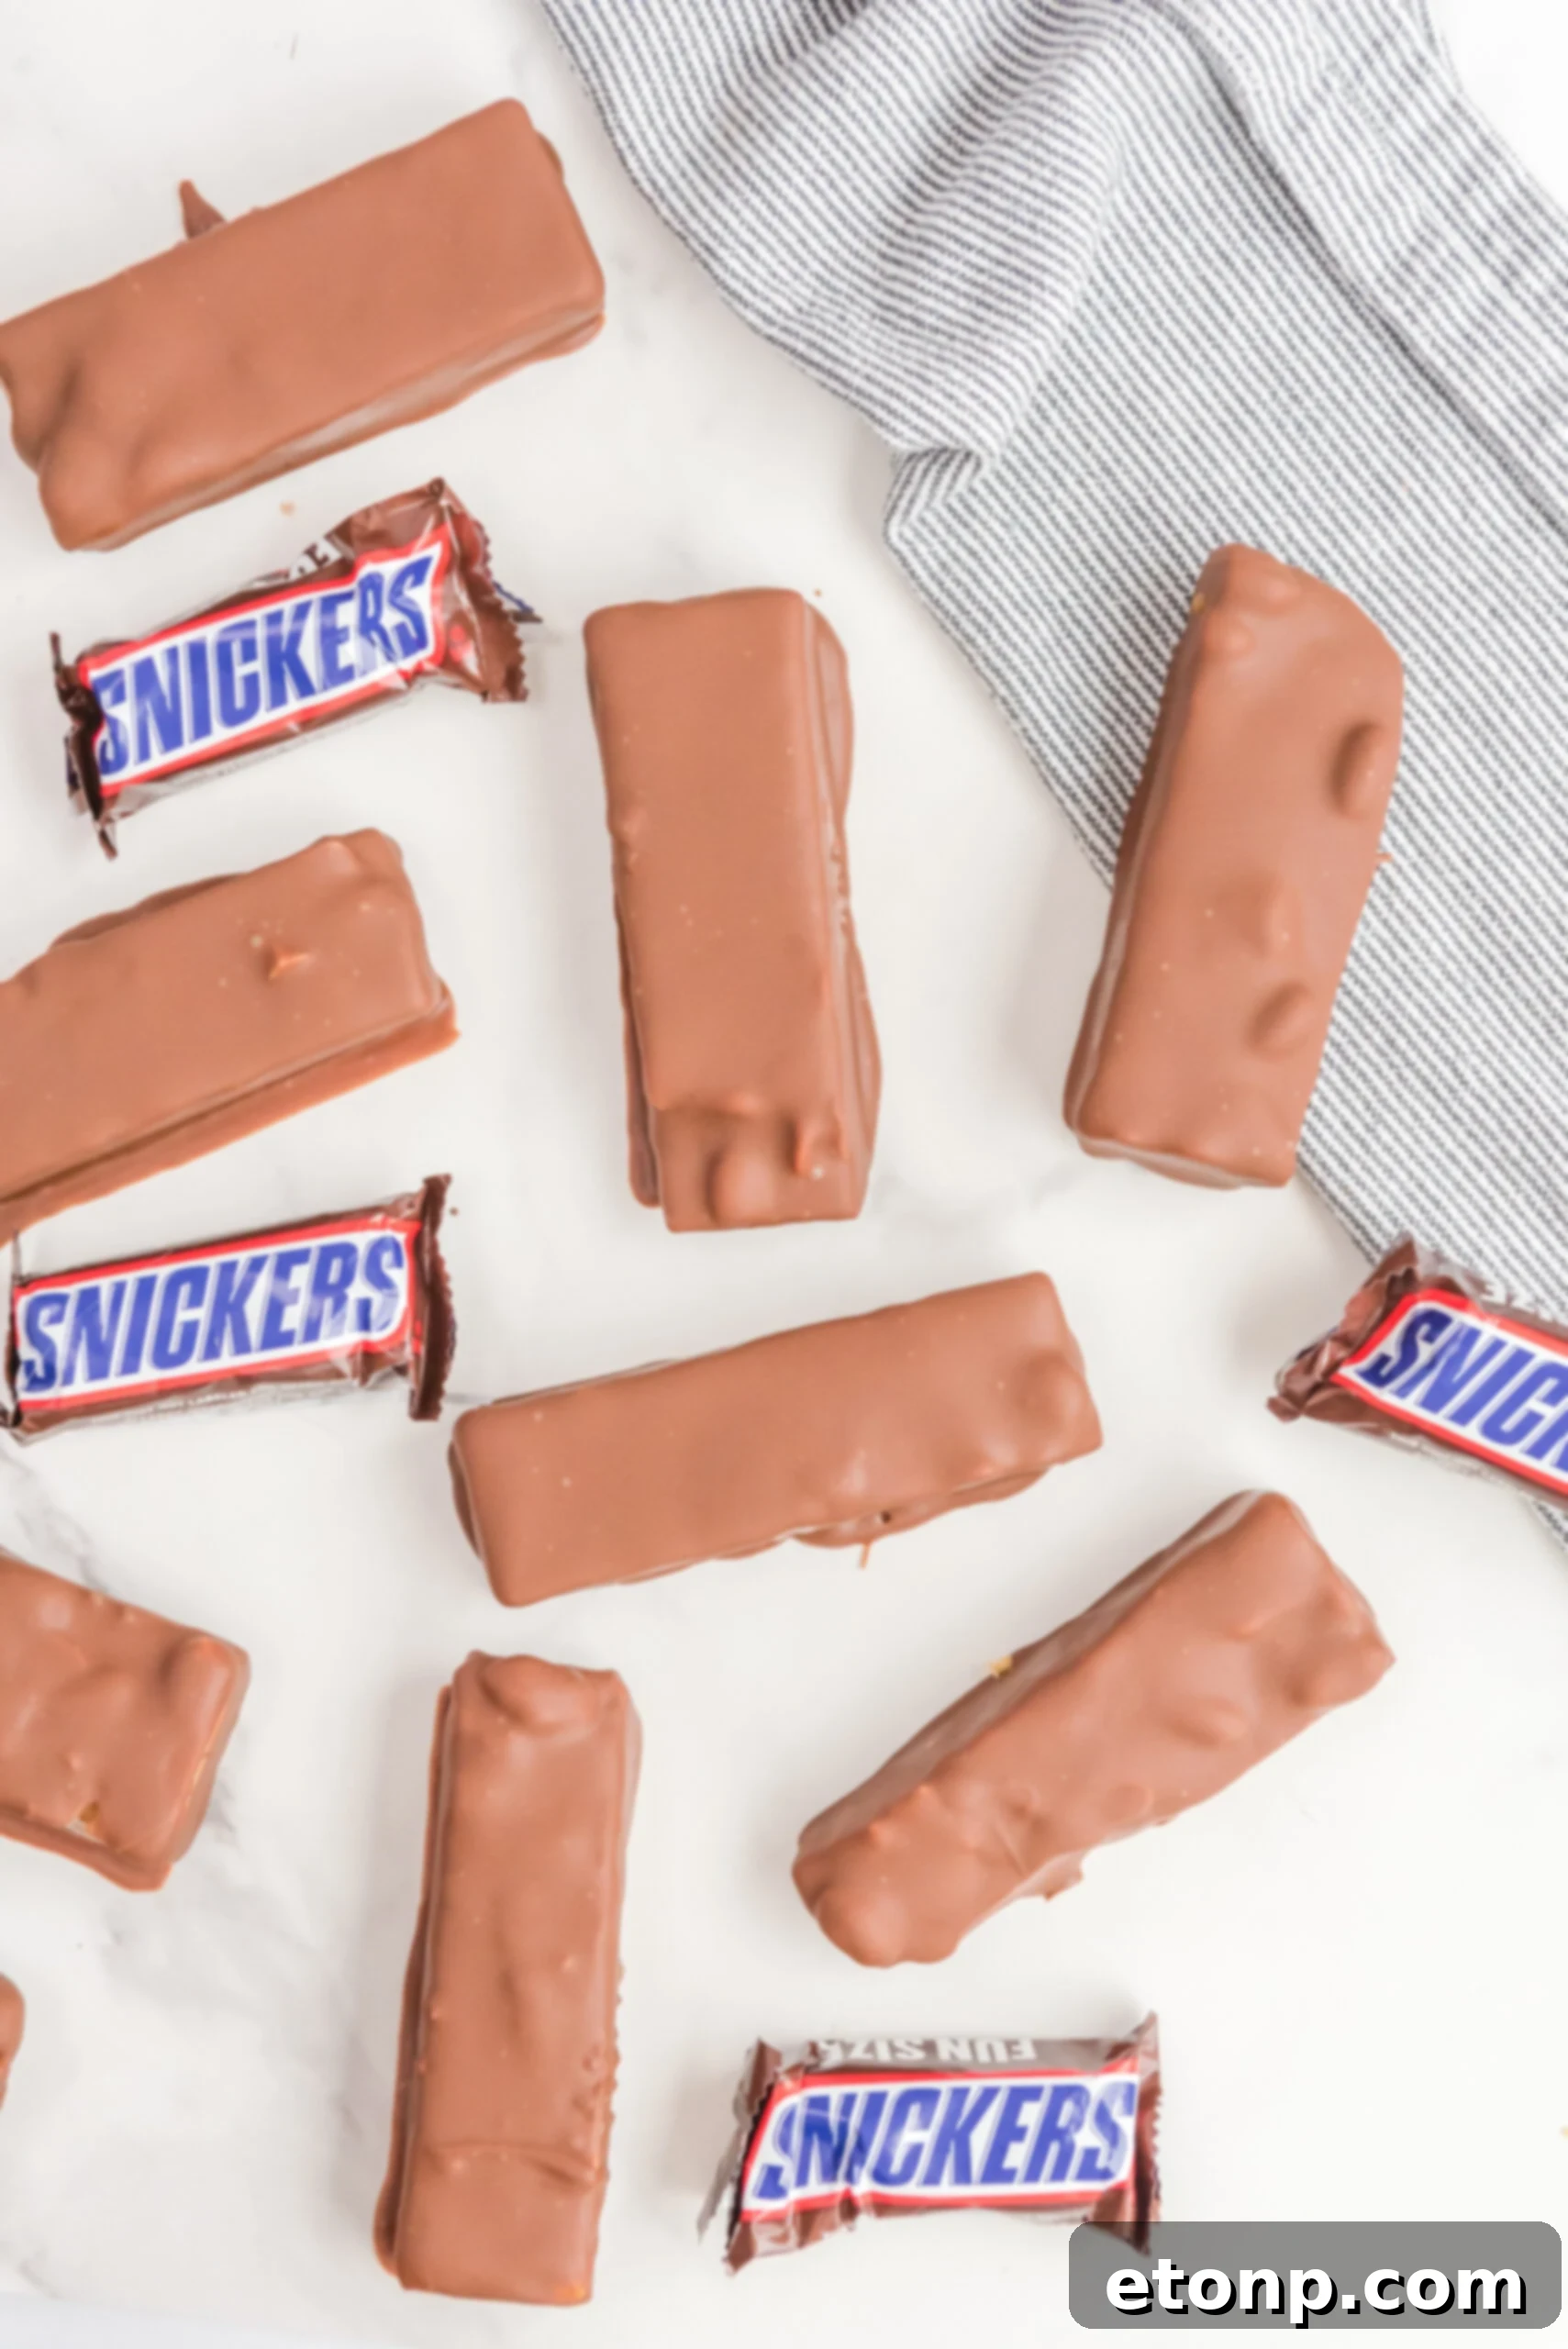
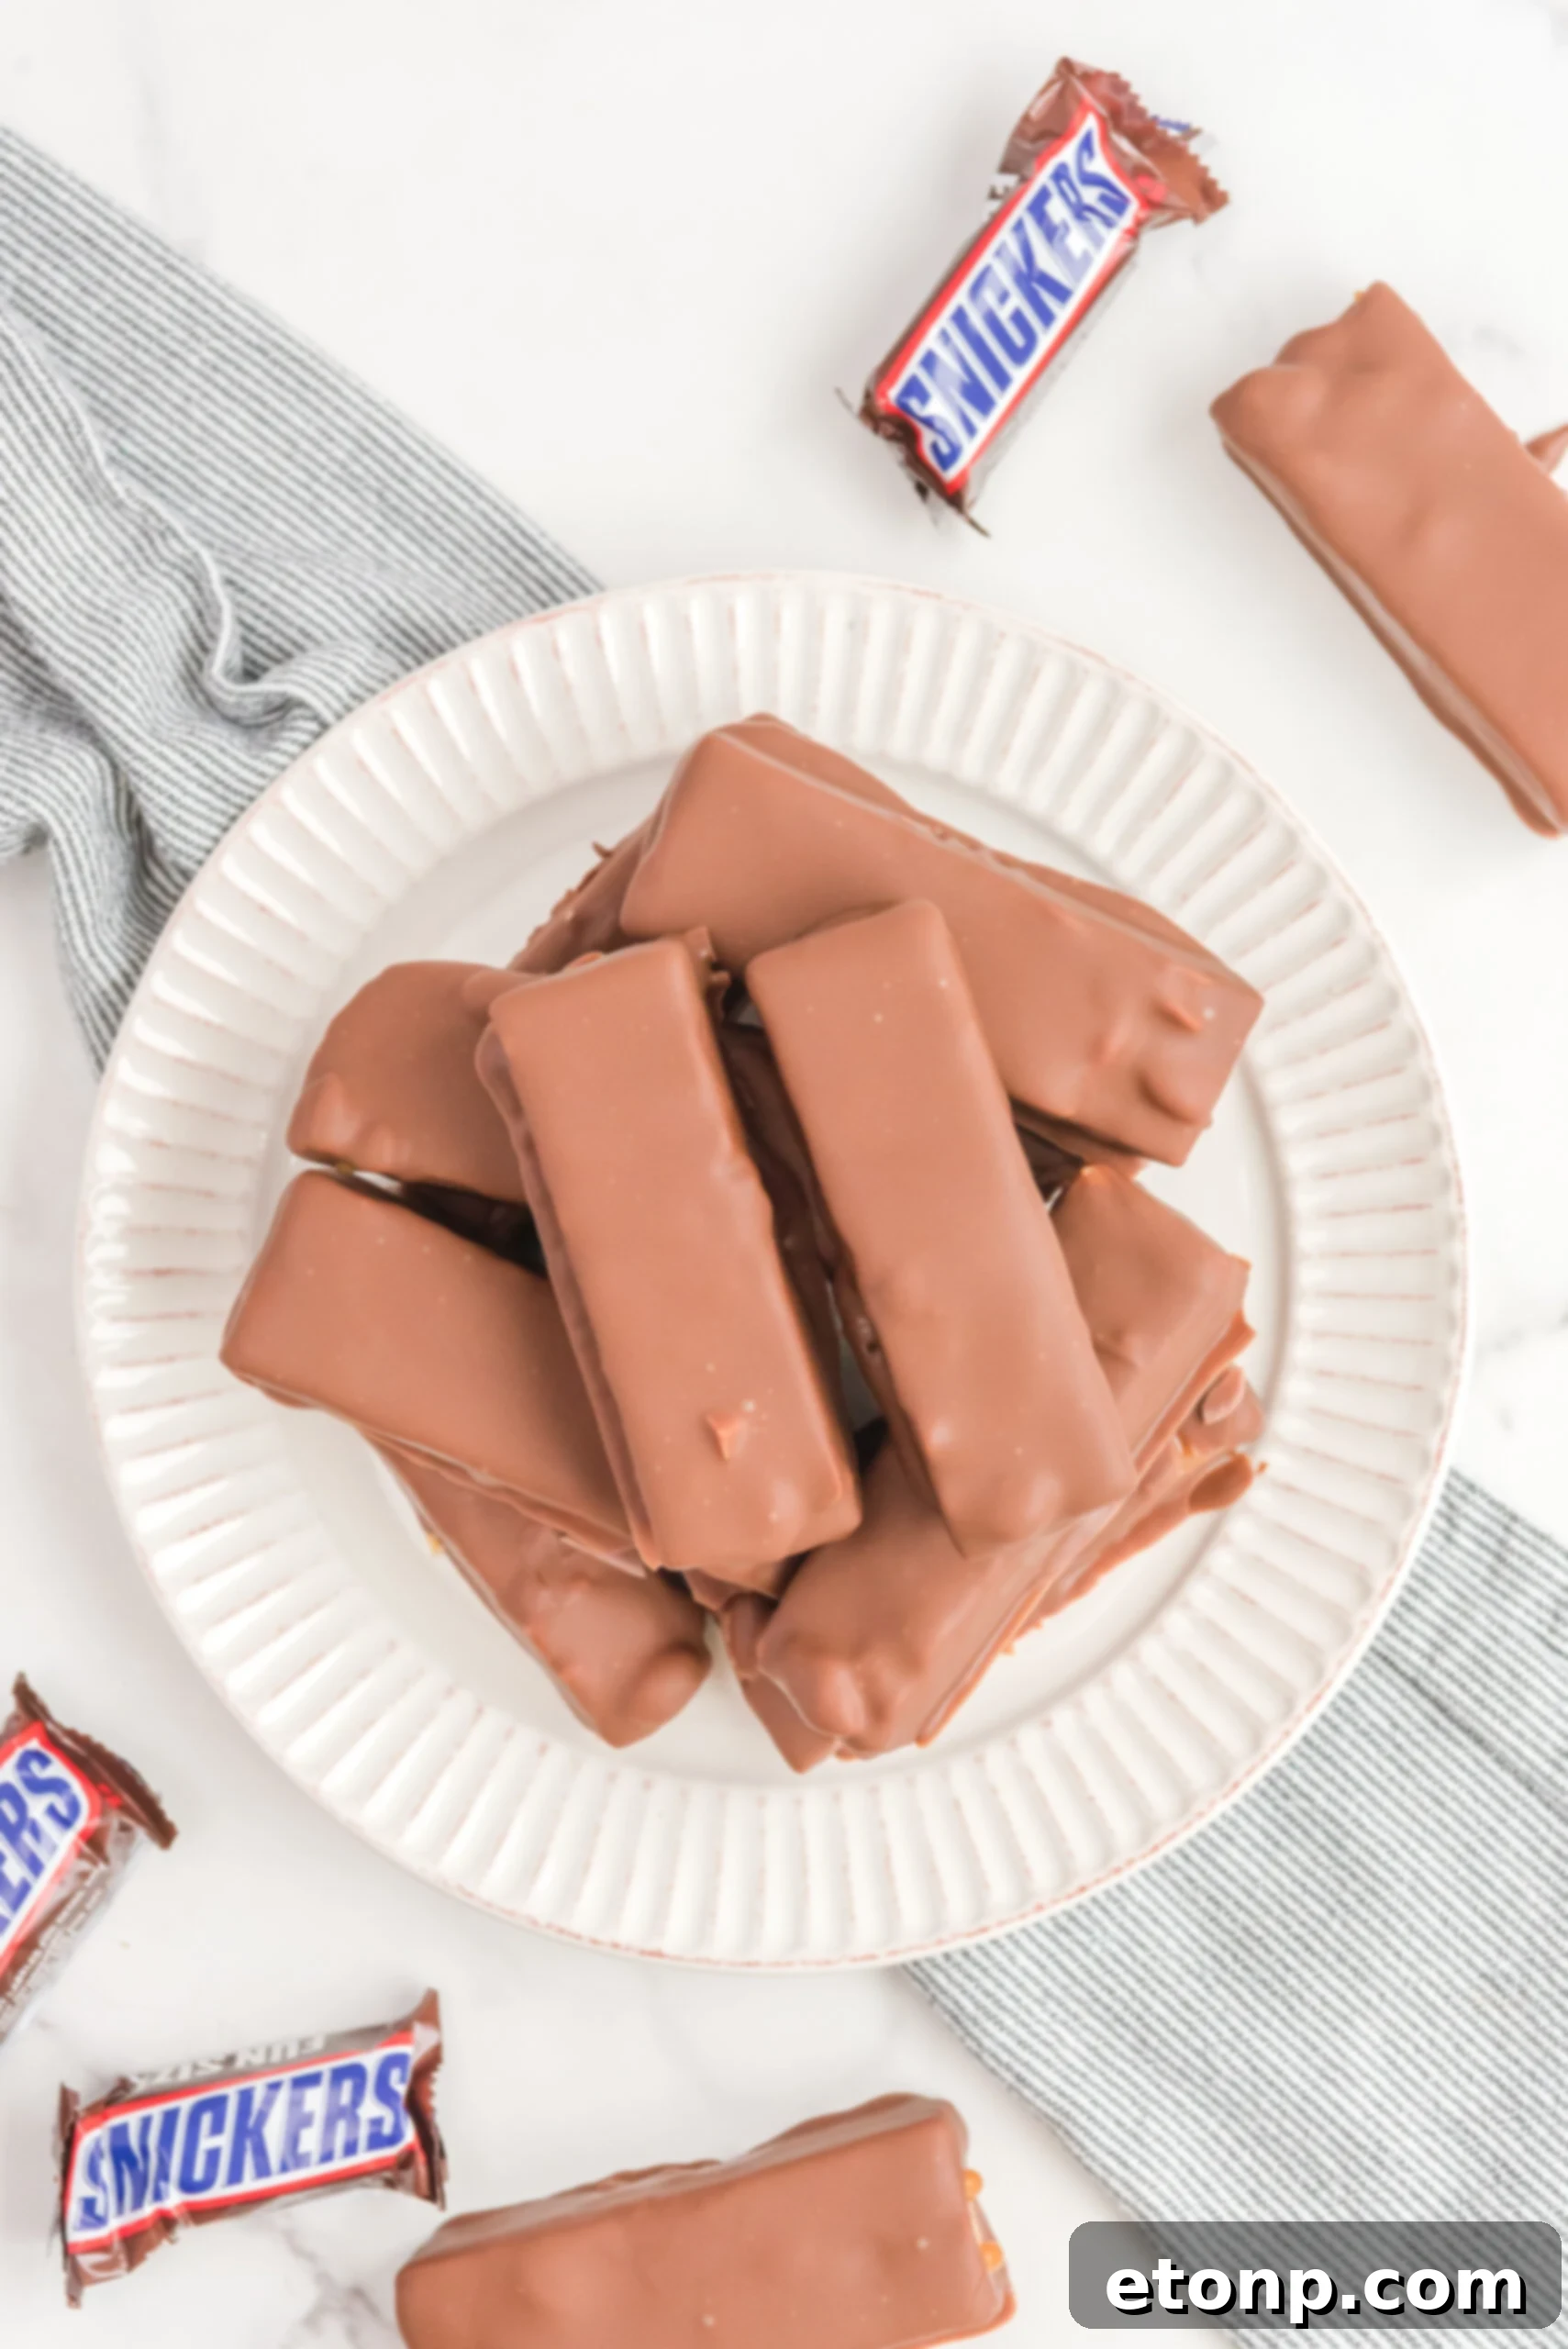
Once each bar is thoroughly dipped and excess chocolate has dripped away, they go back into the refrigerator one last time to fully set and harden. After this final chill? Game over. You’ve officially accomplished something amazing: you’ve made your very own batch of full-sized, utterly irresistible Snickers-style candy bars. They are everything you dreamed of and more: wonderfully chewy, delightfully crunchy, perfectly salty-sweet, and thoroughly chocolate-drenched magic. And the best part? They’re right here, in your kitchen, waiting to be devoured.
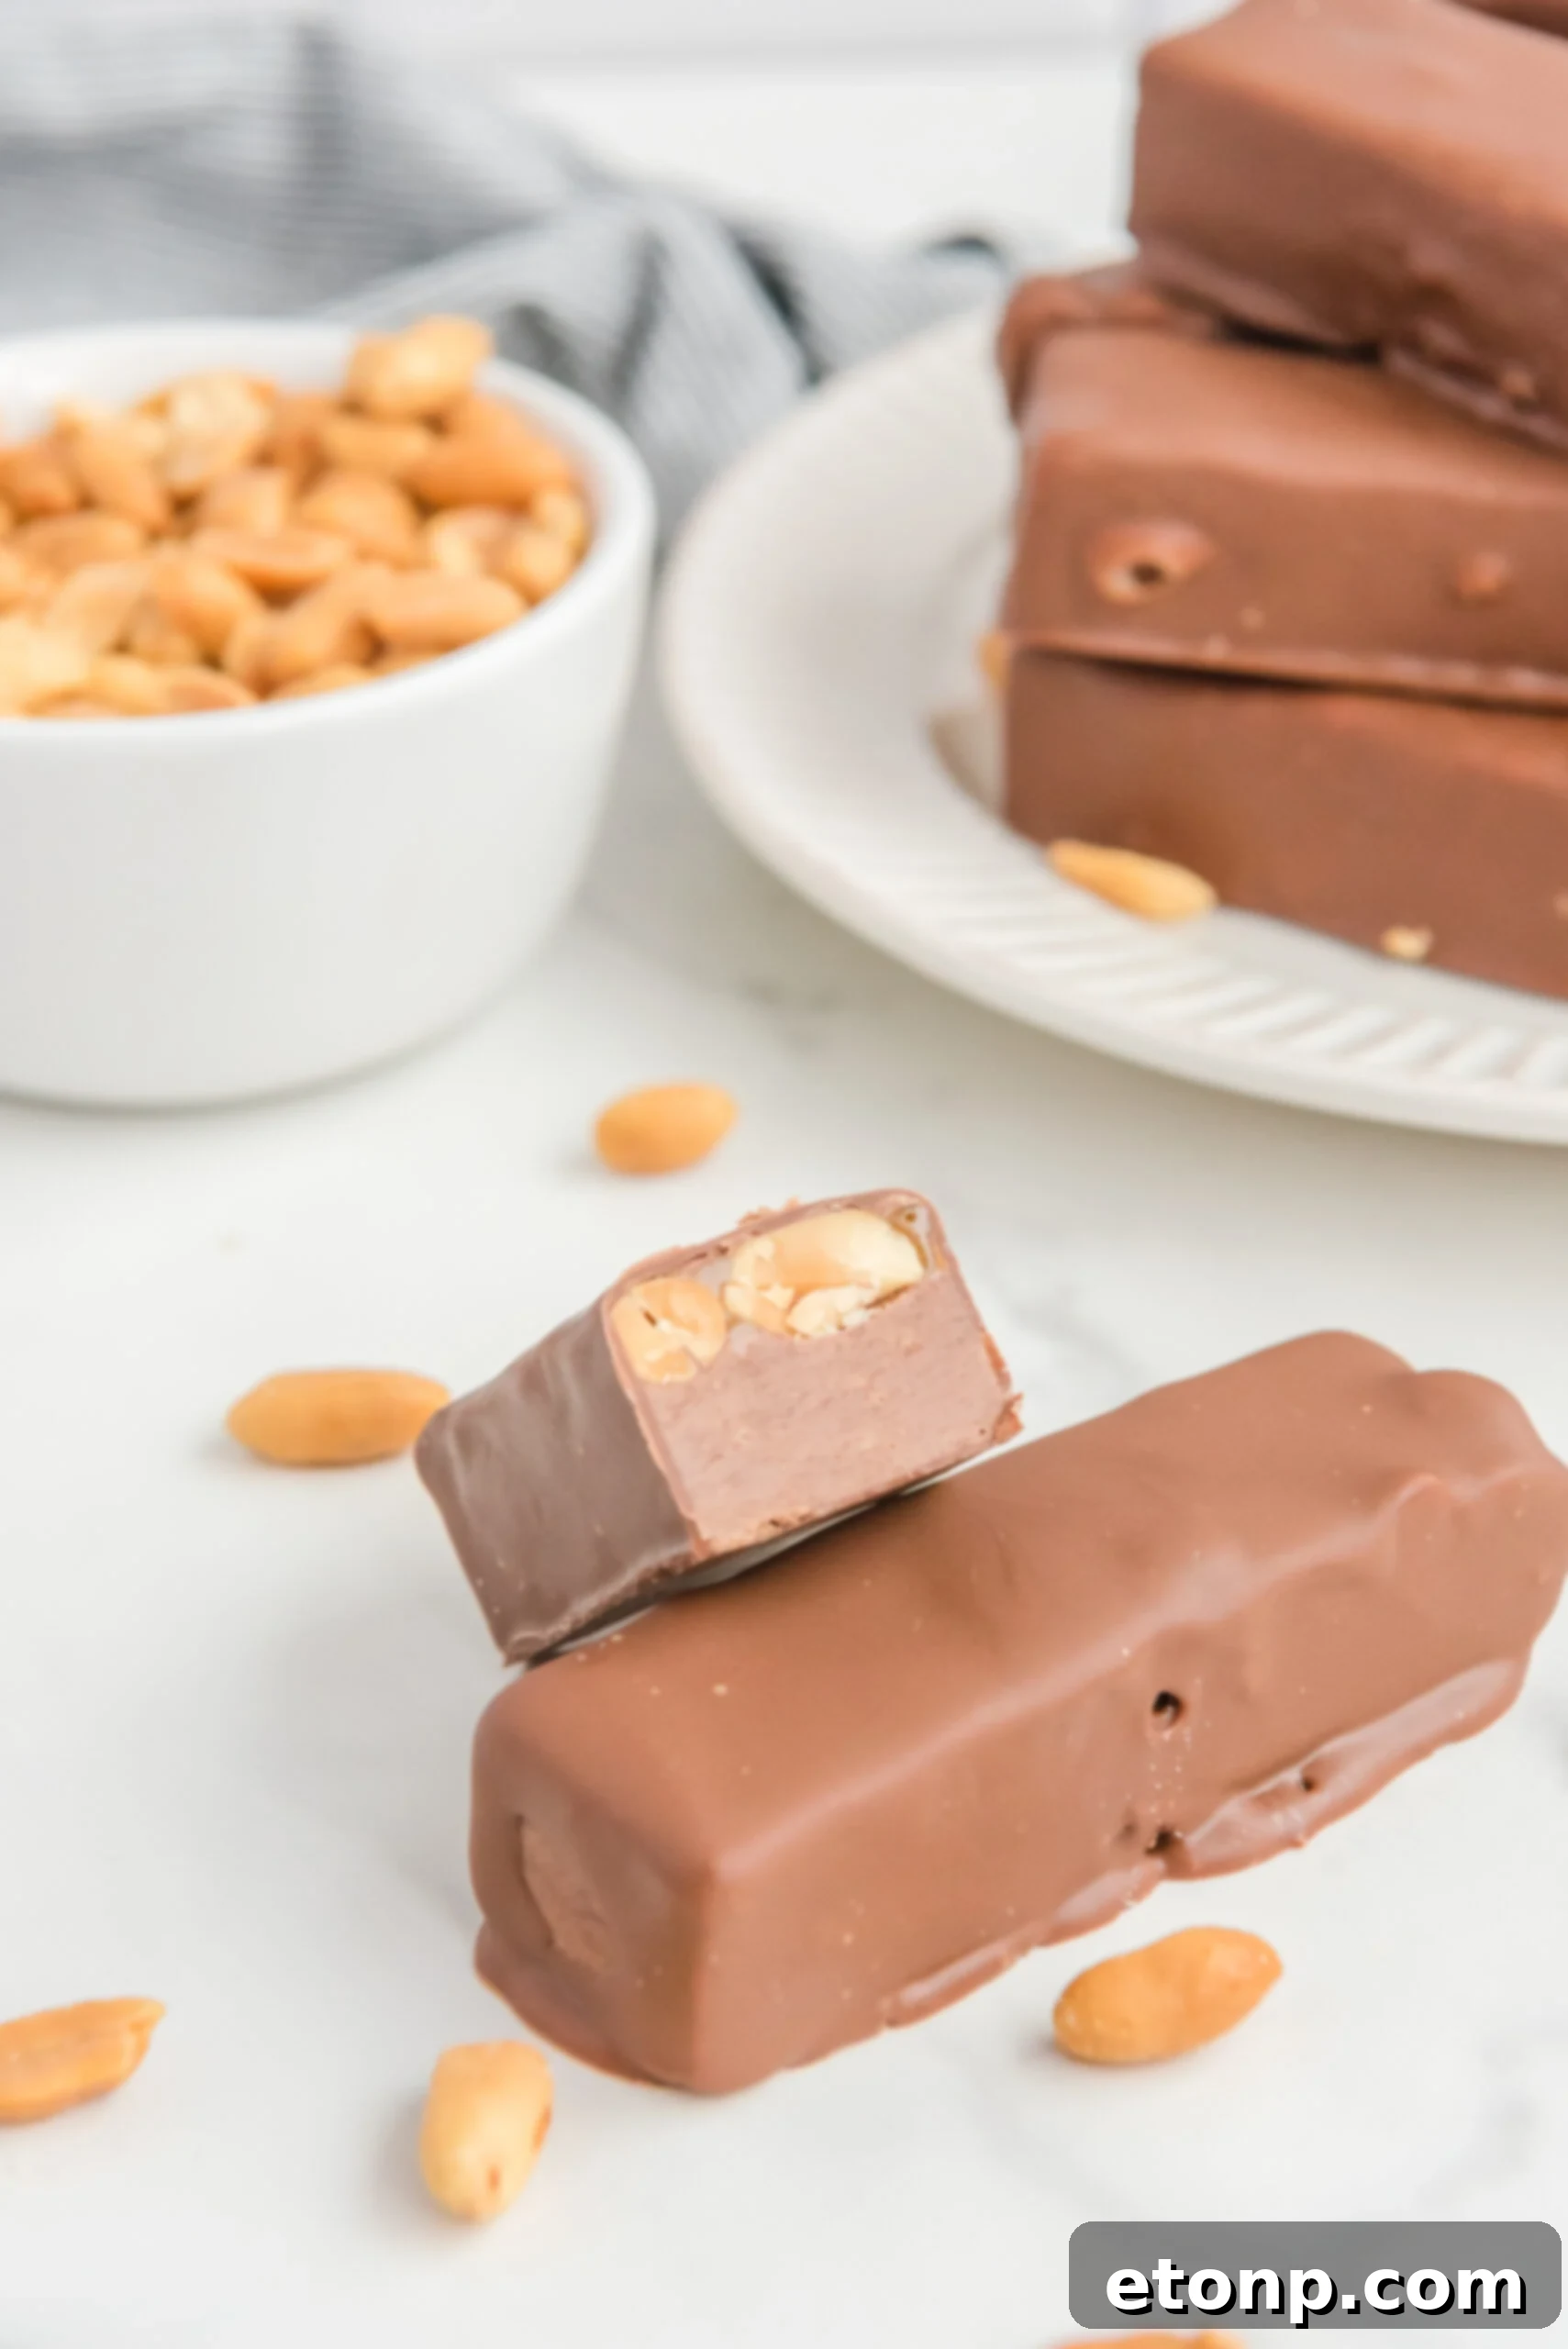
Be warned: these bars are dangerously delicious in the most delightful way. Keep them chilled in the fridge, and they’ll last a good while—that is, if they manage to escape being completely devoured within a day or two! They are absolutely perfect for sharing with friends and family, an exciting addition to school lunchboxes, or even wrapped beautifully as thoughtful homemade food gifts. And let’s be honest, they’re also ideal for stashing in the back of the fridge, reserved purely for your own personal, well-deserved candy stash. You’ve earned it.
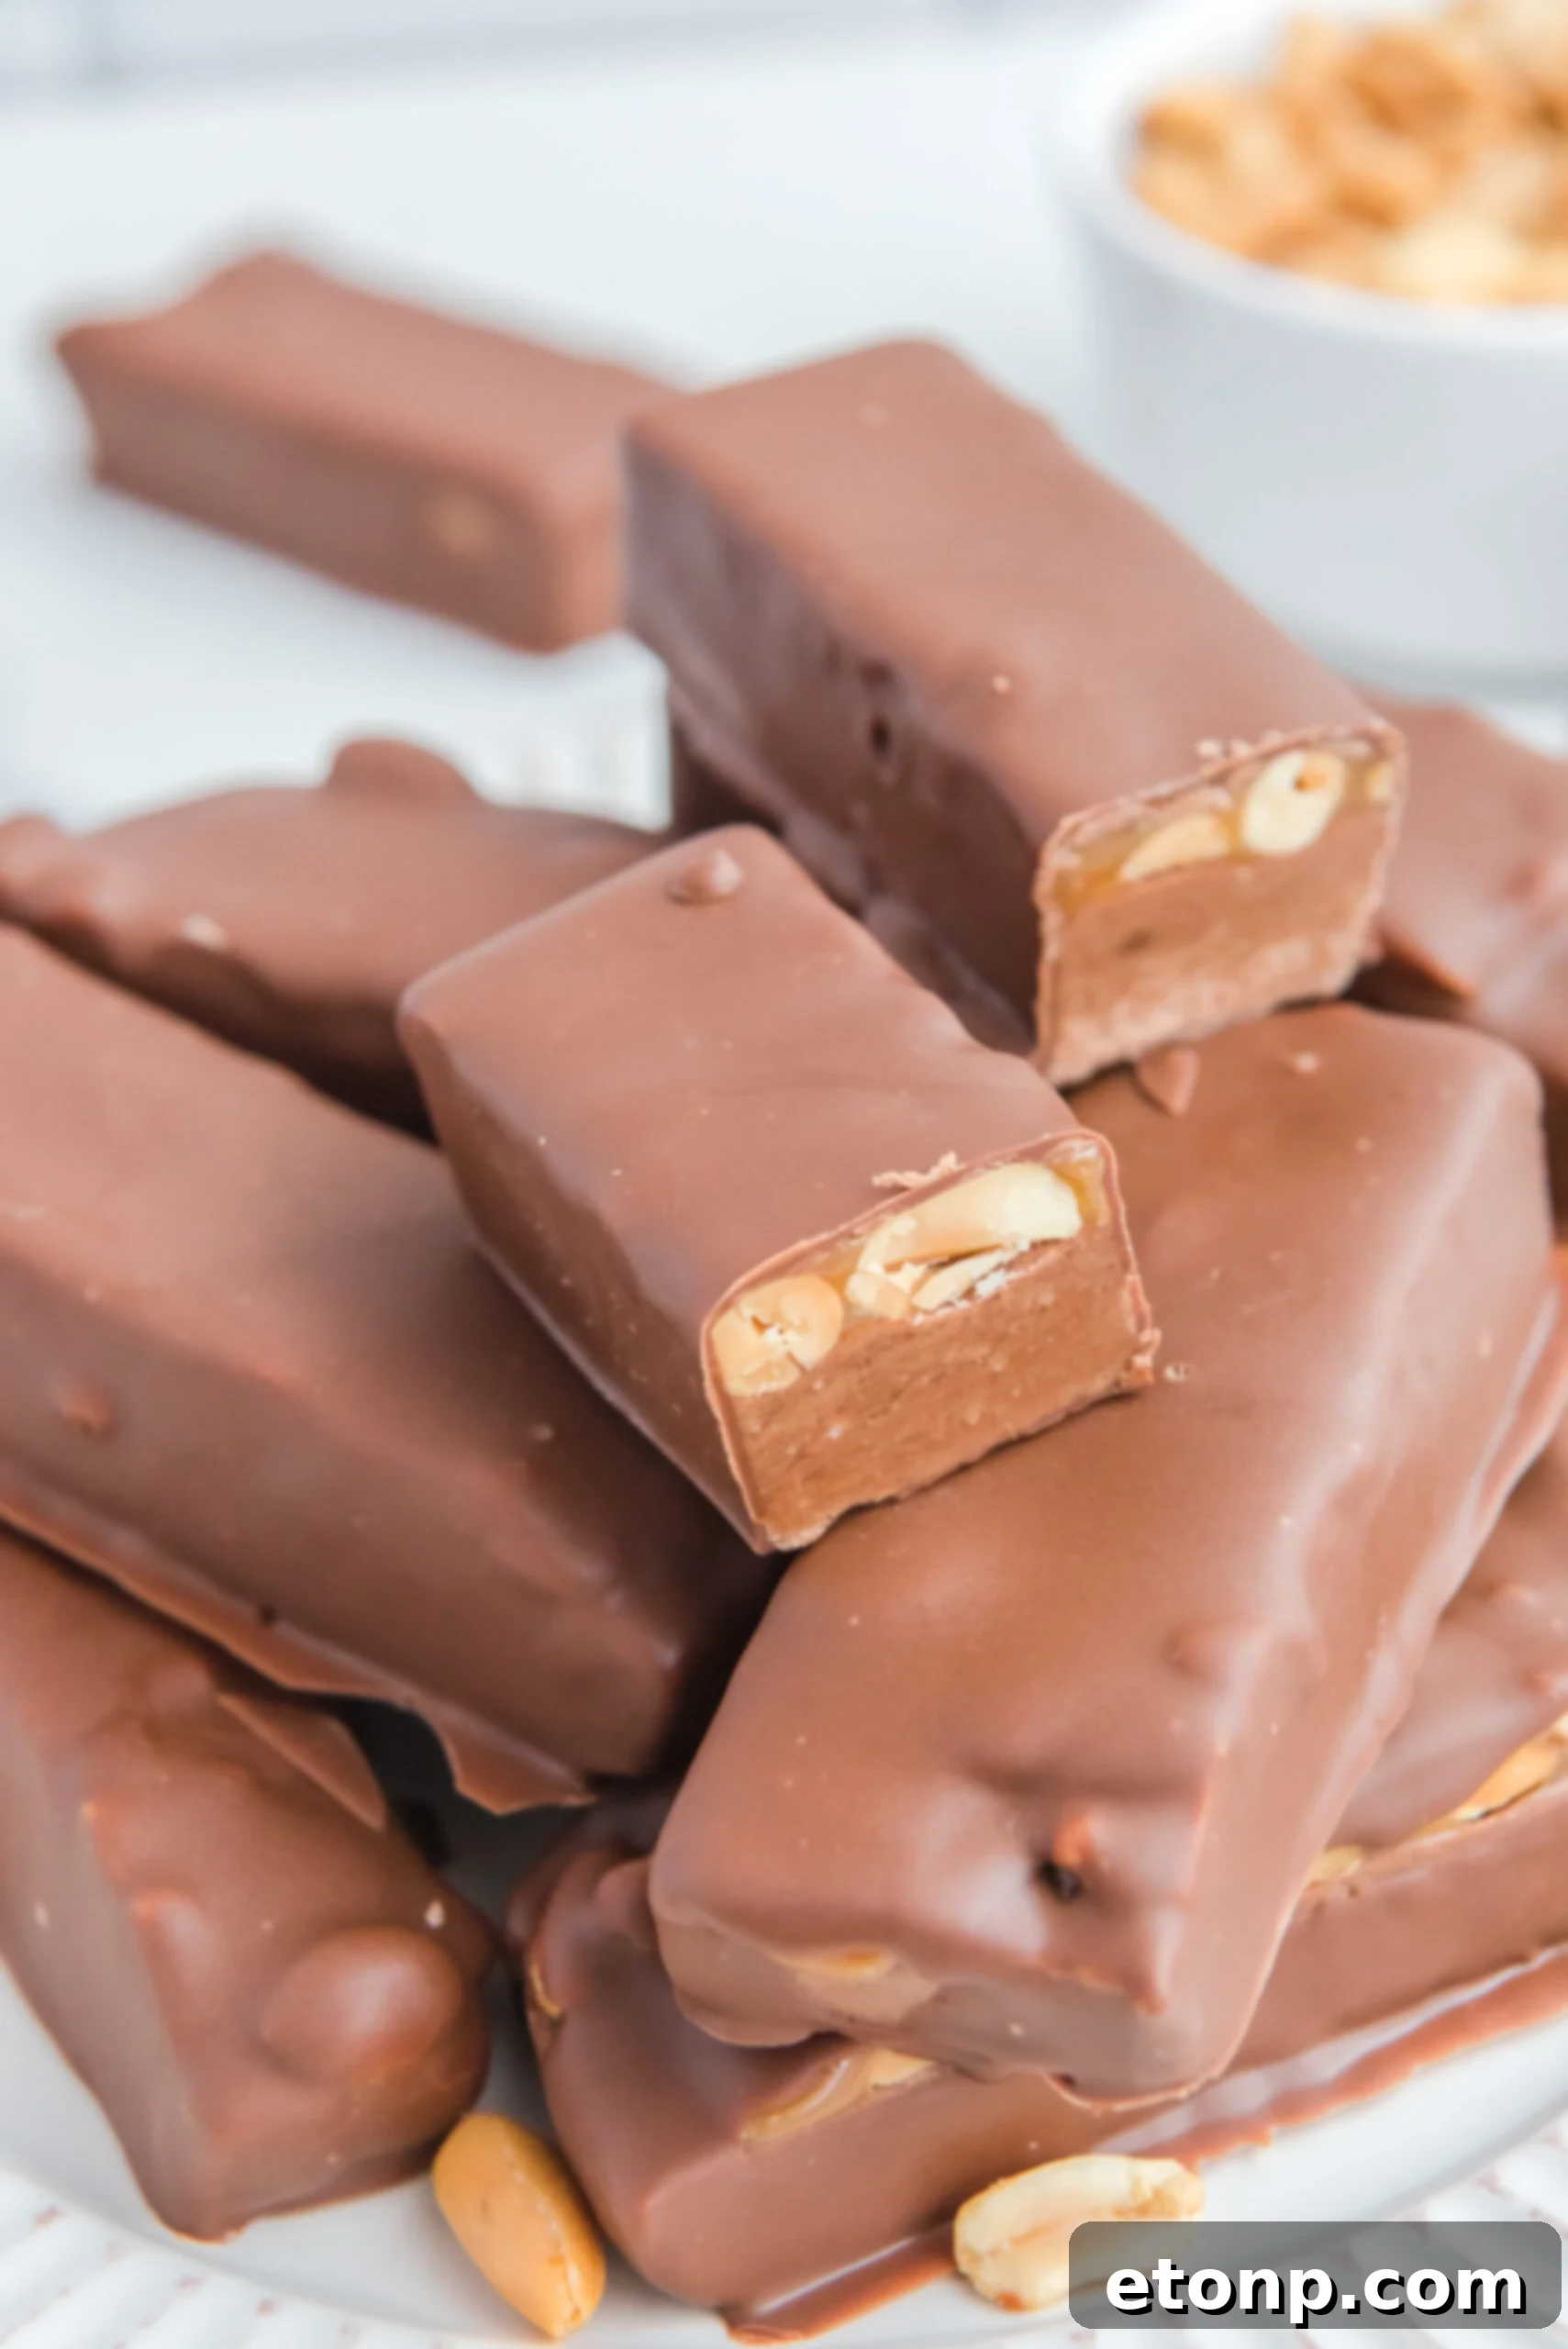
Honestly, there’s an undeniable, unique satisfaction that comes from recreating something so universally familiar with your own two hands. It’s that moment of pure disbelief and triumph, “Whoa, I actually made this?” perfectly paired with the sheer, unadulterated joy of biting into a treat that tastes exactly like the original—but with a freshness and quality that makes it undeniably better. This isn’t just baking; it’s a sensory journey of creation and indulgence.
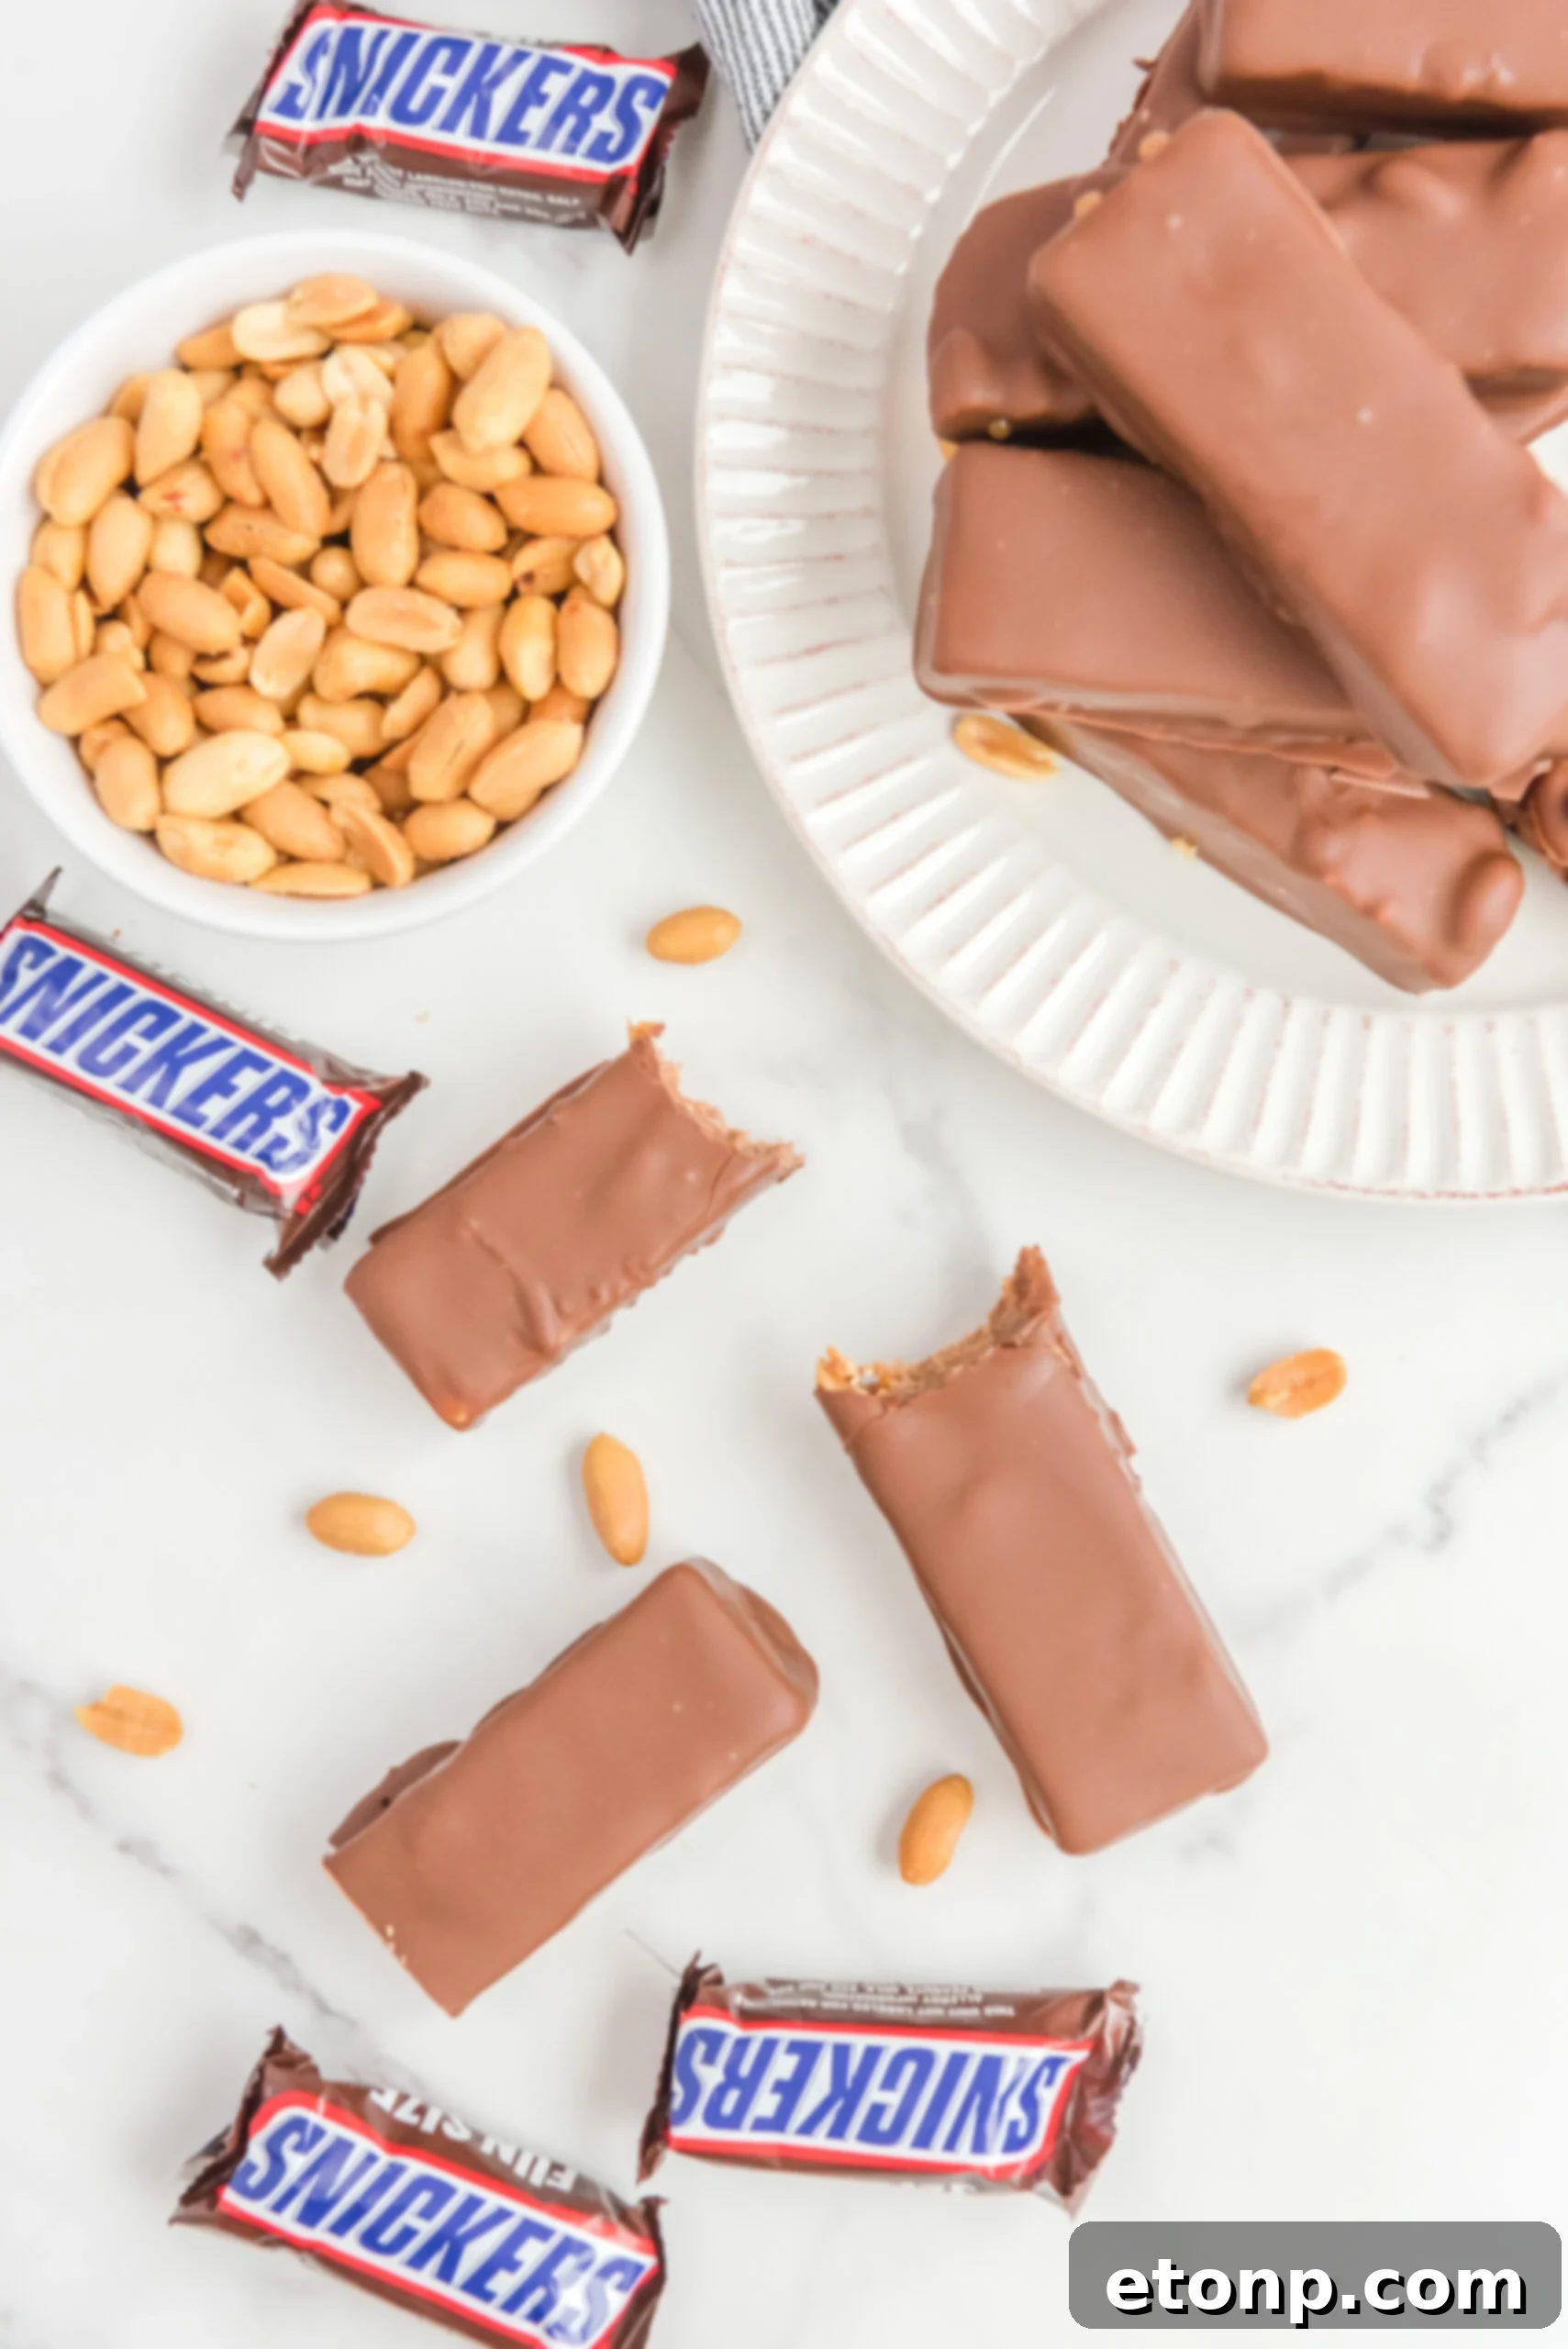
So yes, the process does take a little time. But it’s not a difficult or arduous kind of time; rather, it’s an opportunity to slow down, enjoy the creative process, and anticipate the delightful outcome. And once you experience that first bite of the final result—the perfect blend of chewy nougat, crunchy peanuts, gooey caramel, and rich chocolate—you’ll instantly understand why homemade Snickers aren’t just a fun kitchen project. They are a full-blown obsession, a deeply satisfying endeavor that you’ll want to repeat again and again.
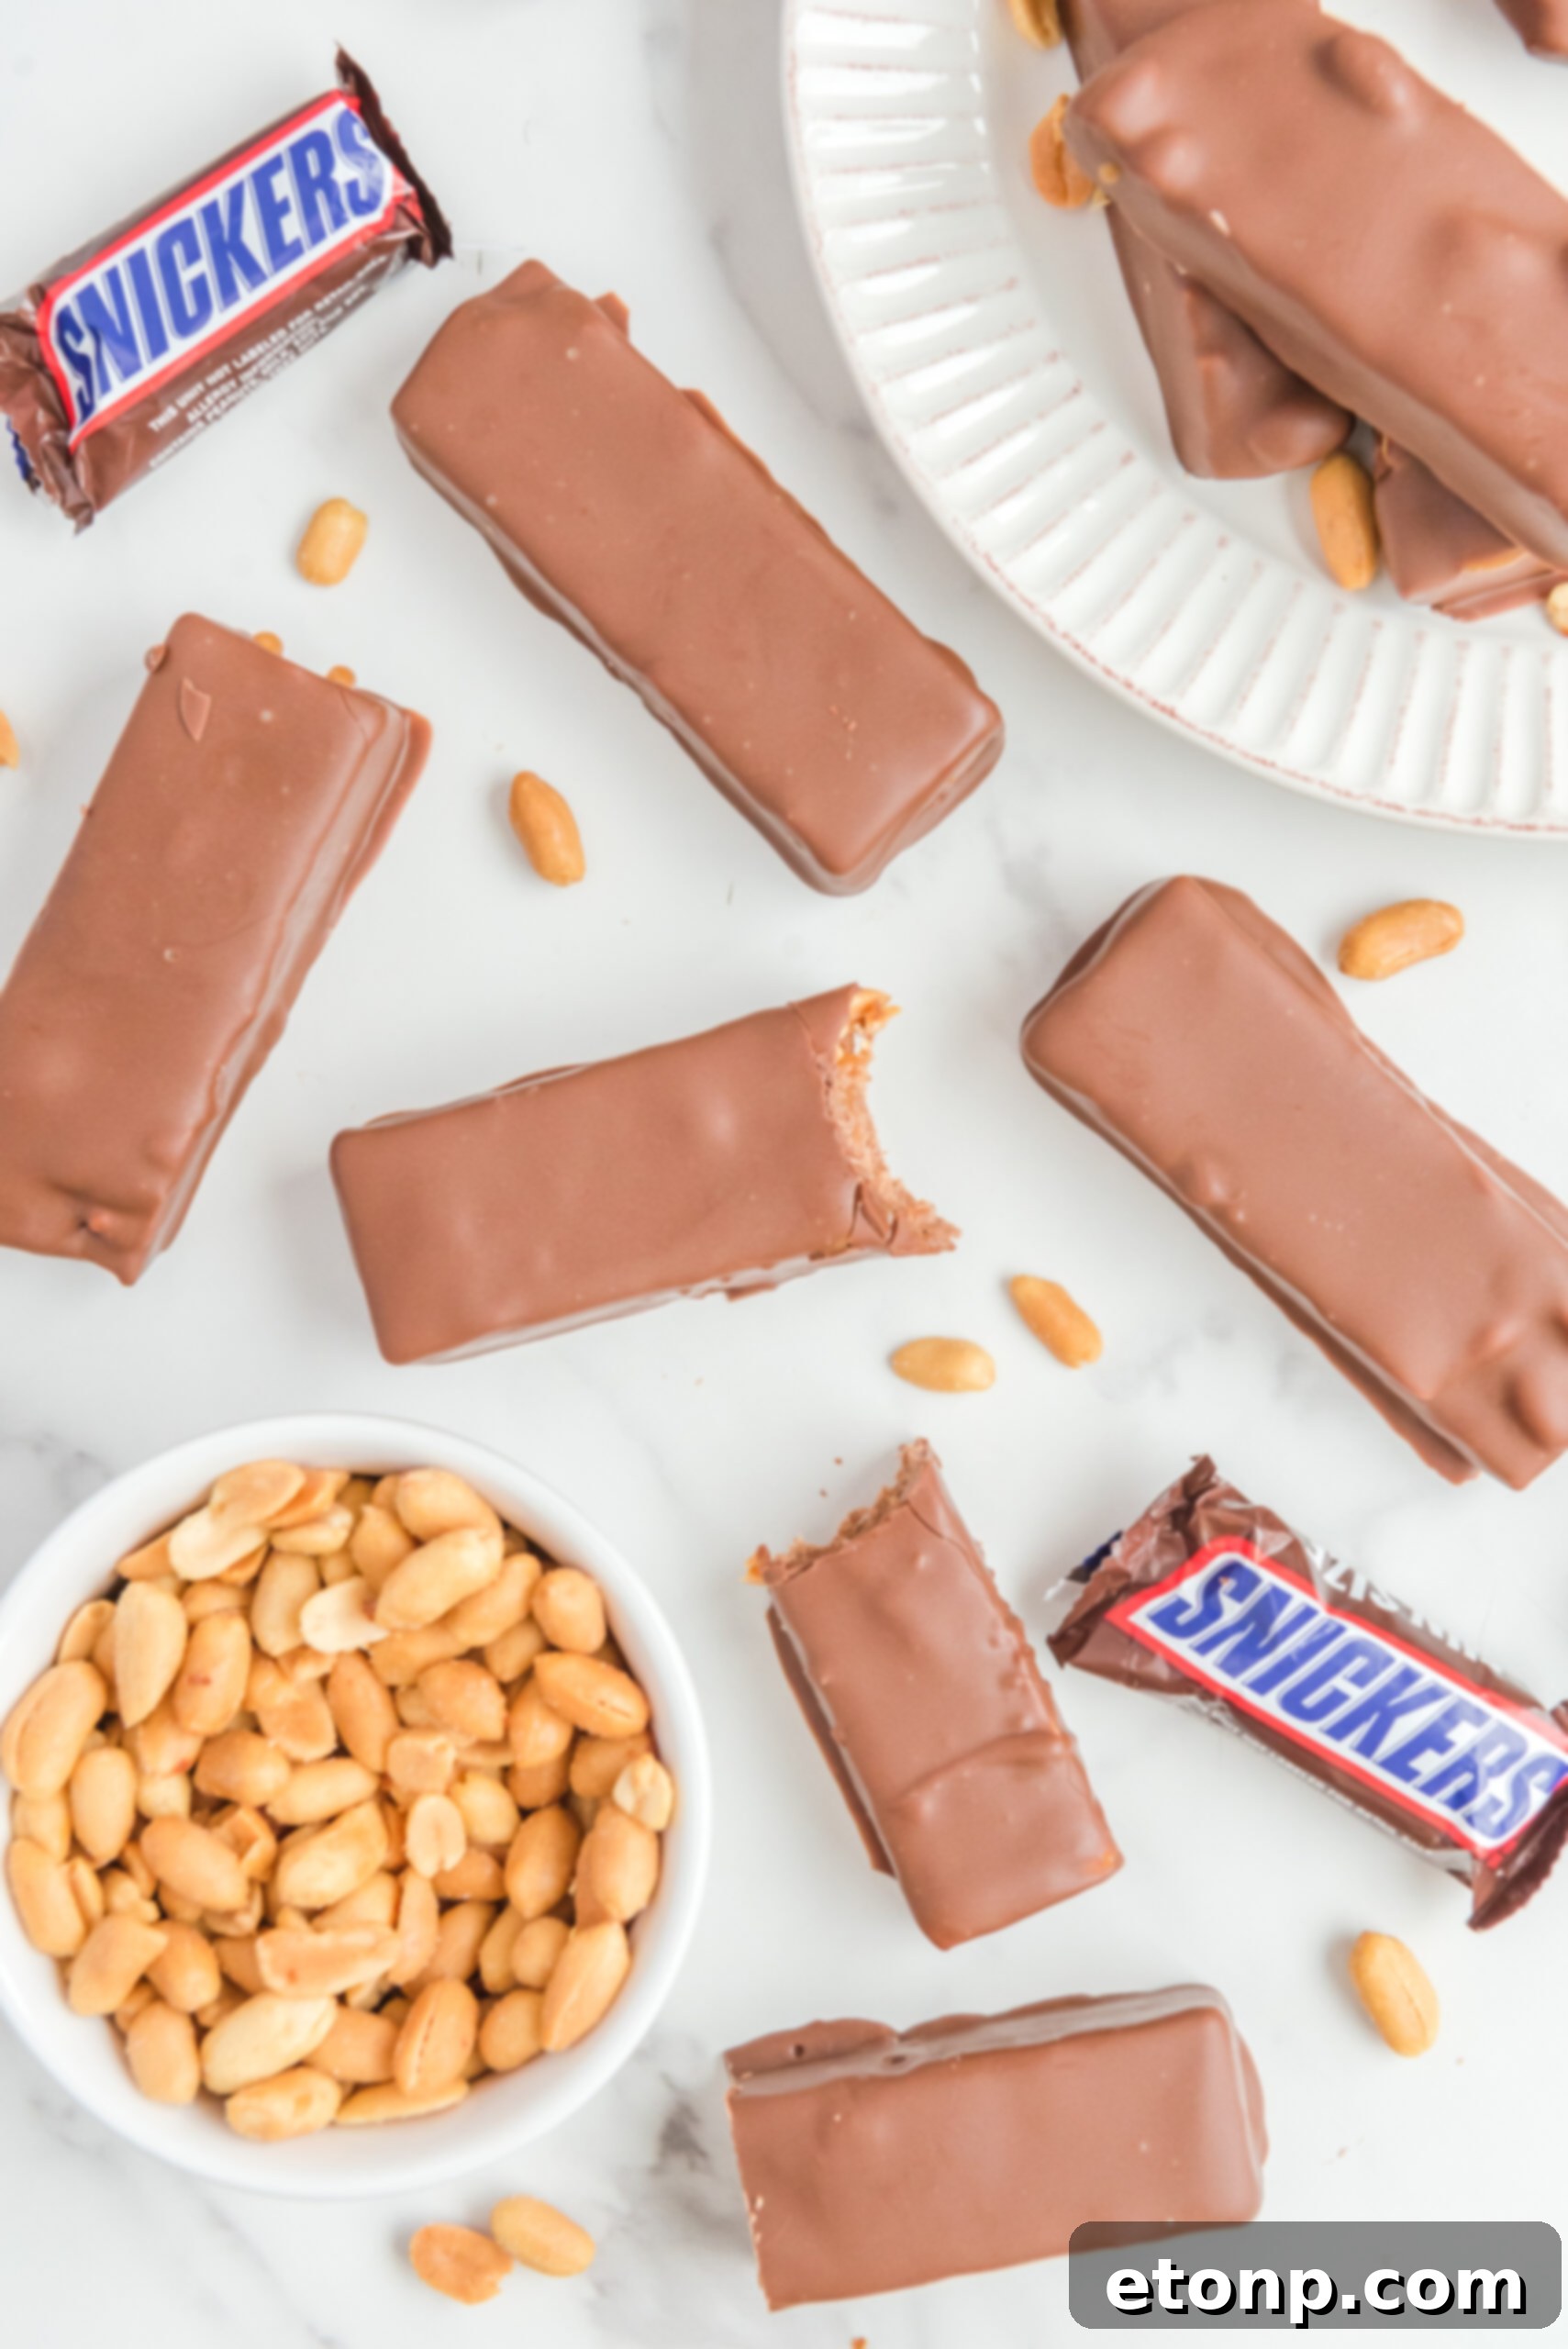
Therefore, whether you’re meticulously crafting these for a festive party, as a special weekend treat, or simply to showcase your impressive homemade candy-making prowess, these Snickers bars are the absolute real deal. They are profoundly rich, beautifully nostalgic, and straight-up addictive in the most wonderful way. Don’t be in the least bit surprised if you find yourself sneaking one from the fridge every single time you pass by—it’s a perfectly natural reaction. Just embrace it! You’ve successfully made candy bars entirely from scratch, and that, my friend, is nothing short of awesome. Enjoy your delicious achievement!
More Irresistible Recipes You Will Love!
Almond Joy Cookie Bars
Homemade Twix Cookies
Reeses Peanut Butter Cup Cookies
Homemade Snickers Bars
Ingredients
- 3 cups milk chocolate melting wafers divided
- 3 tablespoons evaporated milk divided
- 1 teaspoon vanilla extract
- ½ cup creamy peanut butter
- 1½ tablespoons vegetable oil
- 7 oz mallow fluff
- 1 cup lightly salted peanuts
- 1 tablespoon sea salt
- ½ 10.8 oz bag of soft caramels (about 24 caramels)
- 1½ tablespoons evaporated milk
Instructions
-
Prepare an 8×8 inch baking pan by lining it completely with parchment paper, ensuring there is a generous overhang on all sides. This overhang will serve as handles to easily lift the finished candy slab out of the pan later.
-
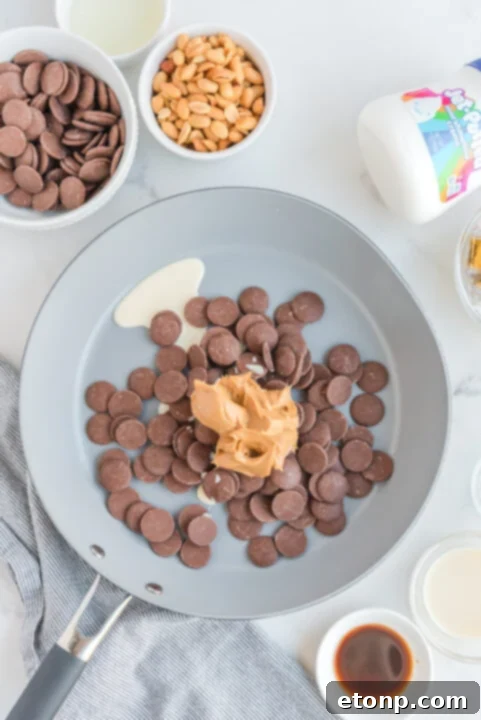
In a medium-sized saucepan, combine one and a half cups of the milk chocolate melting wafers (reserving the rest for the coating), one and a half tablespoons of the evaporated milk, the vanilla extract, and the creamy peanut butter. Place the saucepan over low to medium-low heat. Using a sturdy rubber spatula, continuously stir the mixture until all ingredients are fully melted, smooth, and have achieved a thick, uniform consistency. Be patient and keep the heat gentle to prevent scorching.
-
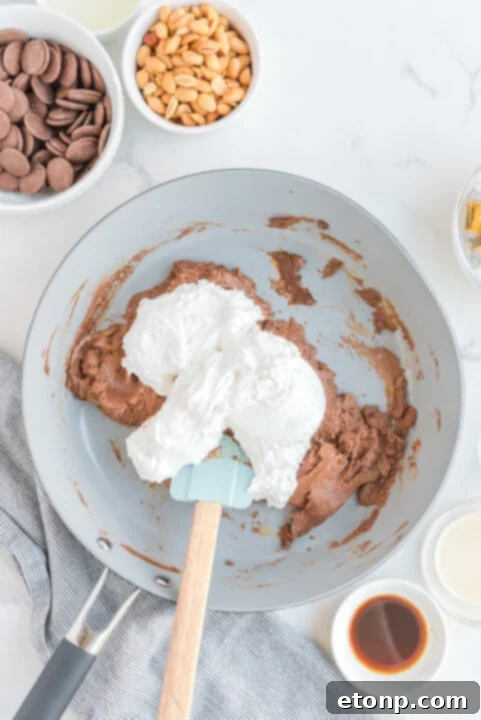
Once the chocolate-peanut butter mixture is smooth, reduce the heat to the lowest setting. Carefully fold in the entire 7 oz of mallow cream (marshmallow fluff). Stir constantly and vigorously until the mallow cream is thoroughly combined with the chocolate mixture, creating a unified, soft, and slightly sticky nougat base. Ensure there are no lumps of mallow cream remaining.
-
Carefully pour the warm nougat mixture into the bottom of the prepared 8×8 inch pan. The mixture should naturally self-level, creating a smooth and even layer. If needed, gently tap the pan on the counter a few times to help it settle.
-
Generously sprinkle the entire cup of lightly salted peanuts evenly over the nougat layer. Gently press the peanuts into the nougat mixture with your hands or the back of a spoon to ensure they adhere well. Finish by sprinkling the tablespoon of flaky sea salt over the peanuts. Set the pan aside temporarily while you prepare the next layer.
-
In a separate microwave-safe dish, combine all the soft caramels with the remaining one and a half tablespoons of evaporated milk.
-
Microwave the caramel mixture on 50% power for 1 minute. After the minute, remove and stir thoroughly. The caramel will be very firm and difficult to stir at first; you may need to use a second utensil to scrape the caramel from your stirring utensil. Return the dish to the microwave and continue heating in 30-second bursts at 50% power, stirring diligently after each burst, until the caramel is completely smooth, shiny, and pourable. This gradual heating prevents the caramel from overheating and becoming grainy.
-
Carefully pour the warm, smooth caramel over the layer of peanuts in the 8×8 inch pan. Use an offset spatula or the back of a spoon to spread the caramel evenly across the entire surface. Note that the caramel will not self-level as easily as the nougat, so be sure to distribute it thoroughly over the entire dish, rather than pouring it all in one spot.
-
Place the entire dish into the refrigerator and allow it to chill undisturbed for a minimum of 4 hours, or ideally, overnight. This crucial chilling time ensures all layers are firm and perfectly set, which is essential for clean cutting.
-
Once the Snickers mixture is thoroughly chilled and firm, remove it from the refrigerator. Use the parchment paper overhang as handles to gently lift the entire slab of candy out of the pan and transfer it to a clean cutting board.
-
Using a very sharp knife (warming the knife under hot water and wiping it dry between cuts can help achieve cleaner slices), cut the large slab into individual Snickers bars. Begin by making one long cut down the middle from top to bottom. Then, make five more cuts horizontally across, creating approximately 12 uniform bars.
-
Prepare a large baking sheet by lining it with fresh parchment paper. Carefully arrange each cut Snickers bar on the baking sheet, ensuring there is some space between them. Place this baking sheet back into the refrigerator to keep the bars chilled and firm while you prepare the chocolate coating in the next step.
-
In a medium microwave-safe bowl, add the remaining one and a half cups of milk chocolate melting wafers. Microwave on 50% power for 1 minute. Remove, and add the one and a half tablespoons of vegetable oil, then stir well. Return to the microwave and continue heating in 30-second bursts at 50% power, stirring thoroughly after each interval, until the chocolate is completely melted and beautifully silky smooth. The vegetable oil helps create a perfectly fluid and glossy coating.
-
Retrieve the chilled Snickers bars from the refrigerator. Using two forks or specialized candy dipping tools, gently immerse each bar completely into the melted chocolate, ensuring it’s fully coated. Carefully lift the bar, allowing any excess chocolate to drip back into the bowl. Place the dipped bar back onto the prepared parchment-lined baking sheet. Repeat this process for each of the remaining bars, working efficiently before the chocolate sets.
-
Once all the bars are dipped, place the baking sheet back into the refrigerator for a final chill of at least 30 minutes, or until the chocolate coating is completely firm and hardened. When the chilling time is complete, your spectacular Homemade Snickers Bars are ready to be served and enjoyed immediately!
Did you make this recipe?
Make sure to follow on Pinterest for more recipes!
Pin Recipe
Share on Facebook