
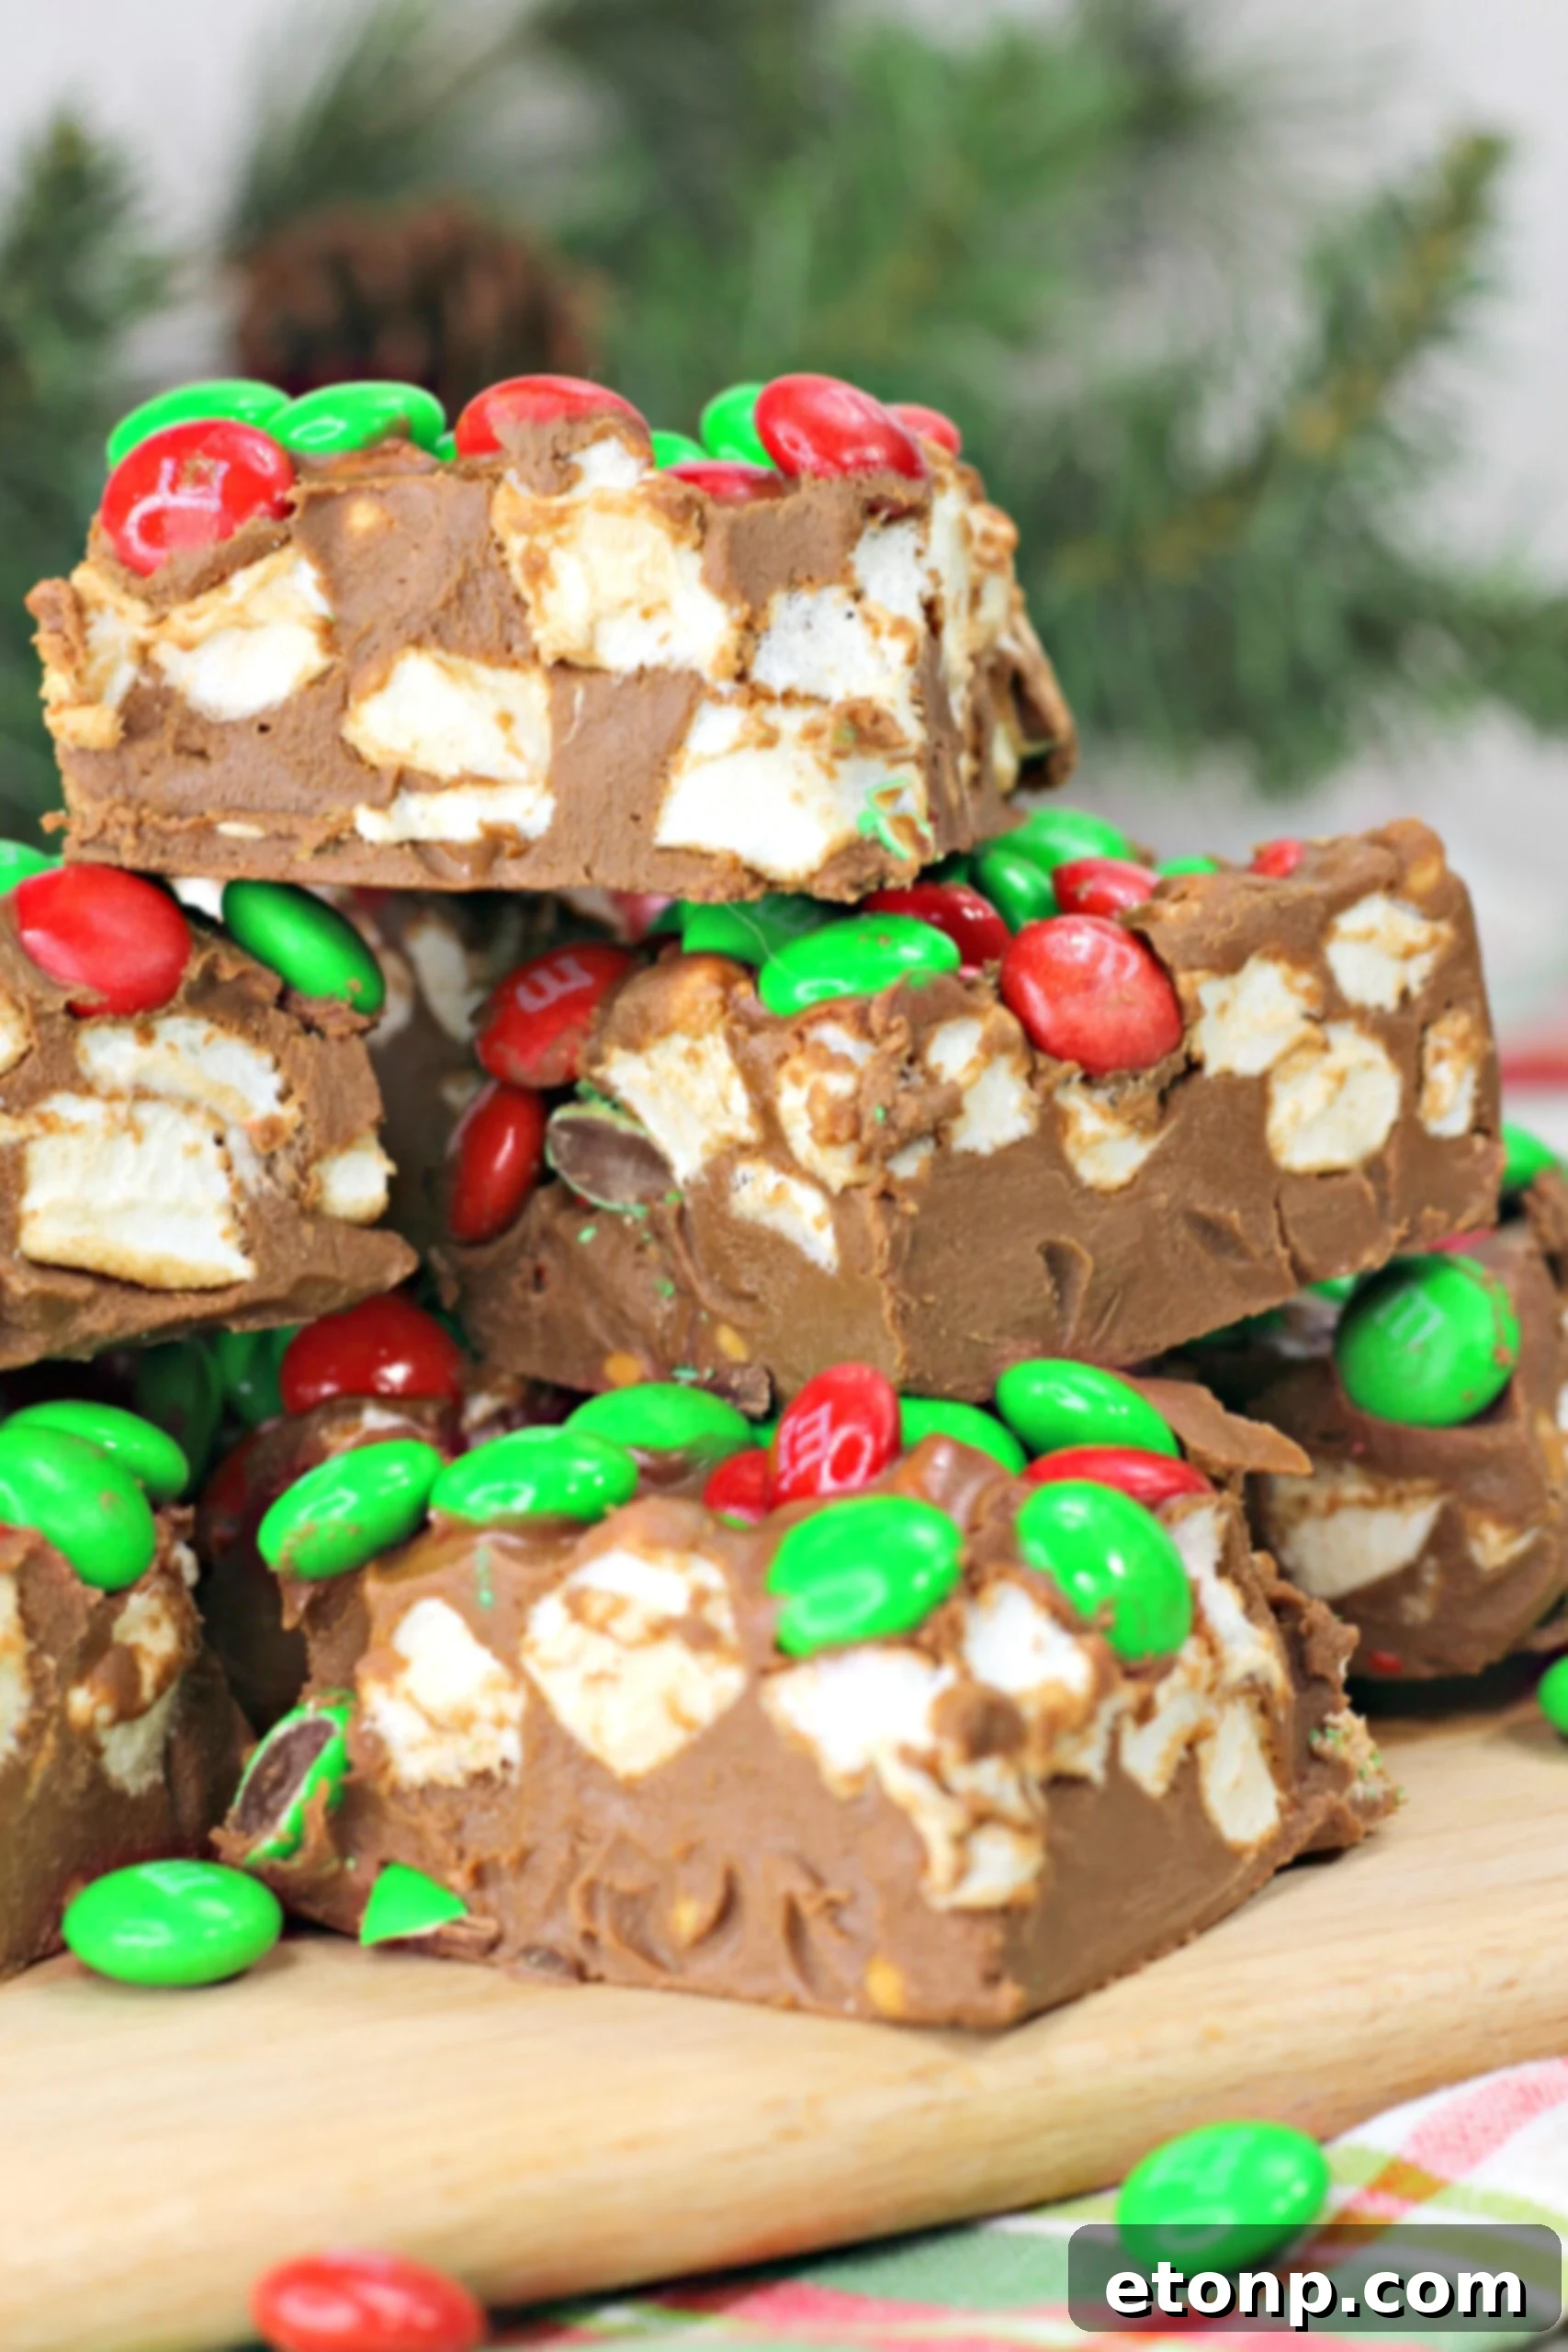
Irresistible No-Bake Holiday Marshmallow Bars: The Ultimate Festive Fudge Treat
Discover the magic of these incredibly easy, melt-in-your-mouth No-Bake Holiday Marshmallow Bars. Imagine the rich, decadent texture of fudge meeting the delightful chewiness of a dessert bar – that’s precisely what awaits you! This recipe isn’t just a dessert; it’s a cherished tradition in countless homes, earning its reputation as a standout favorite among friends and family, especially during the bustling holiday season.
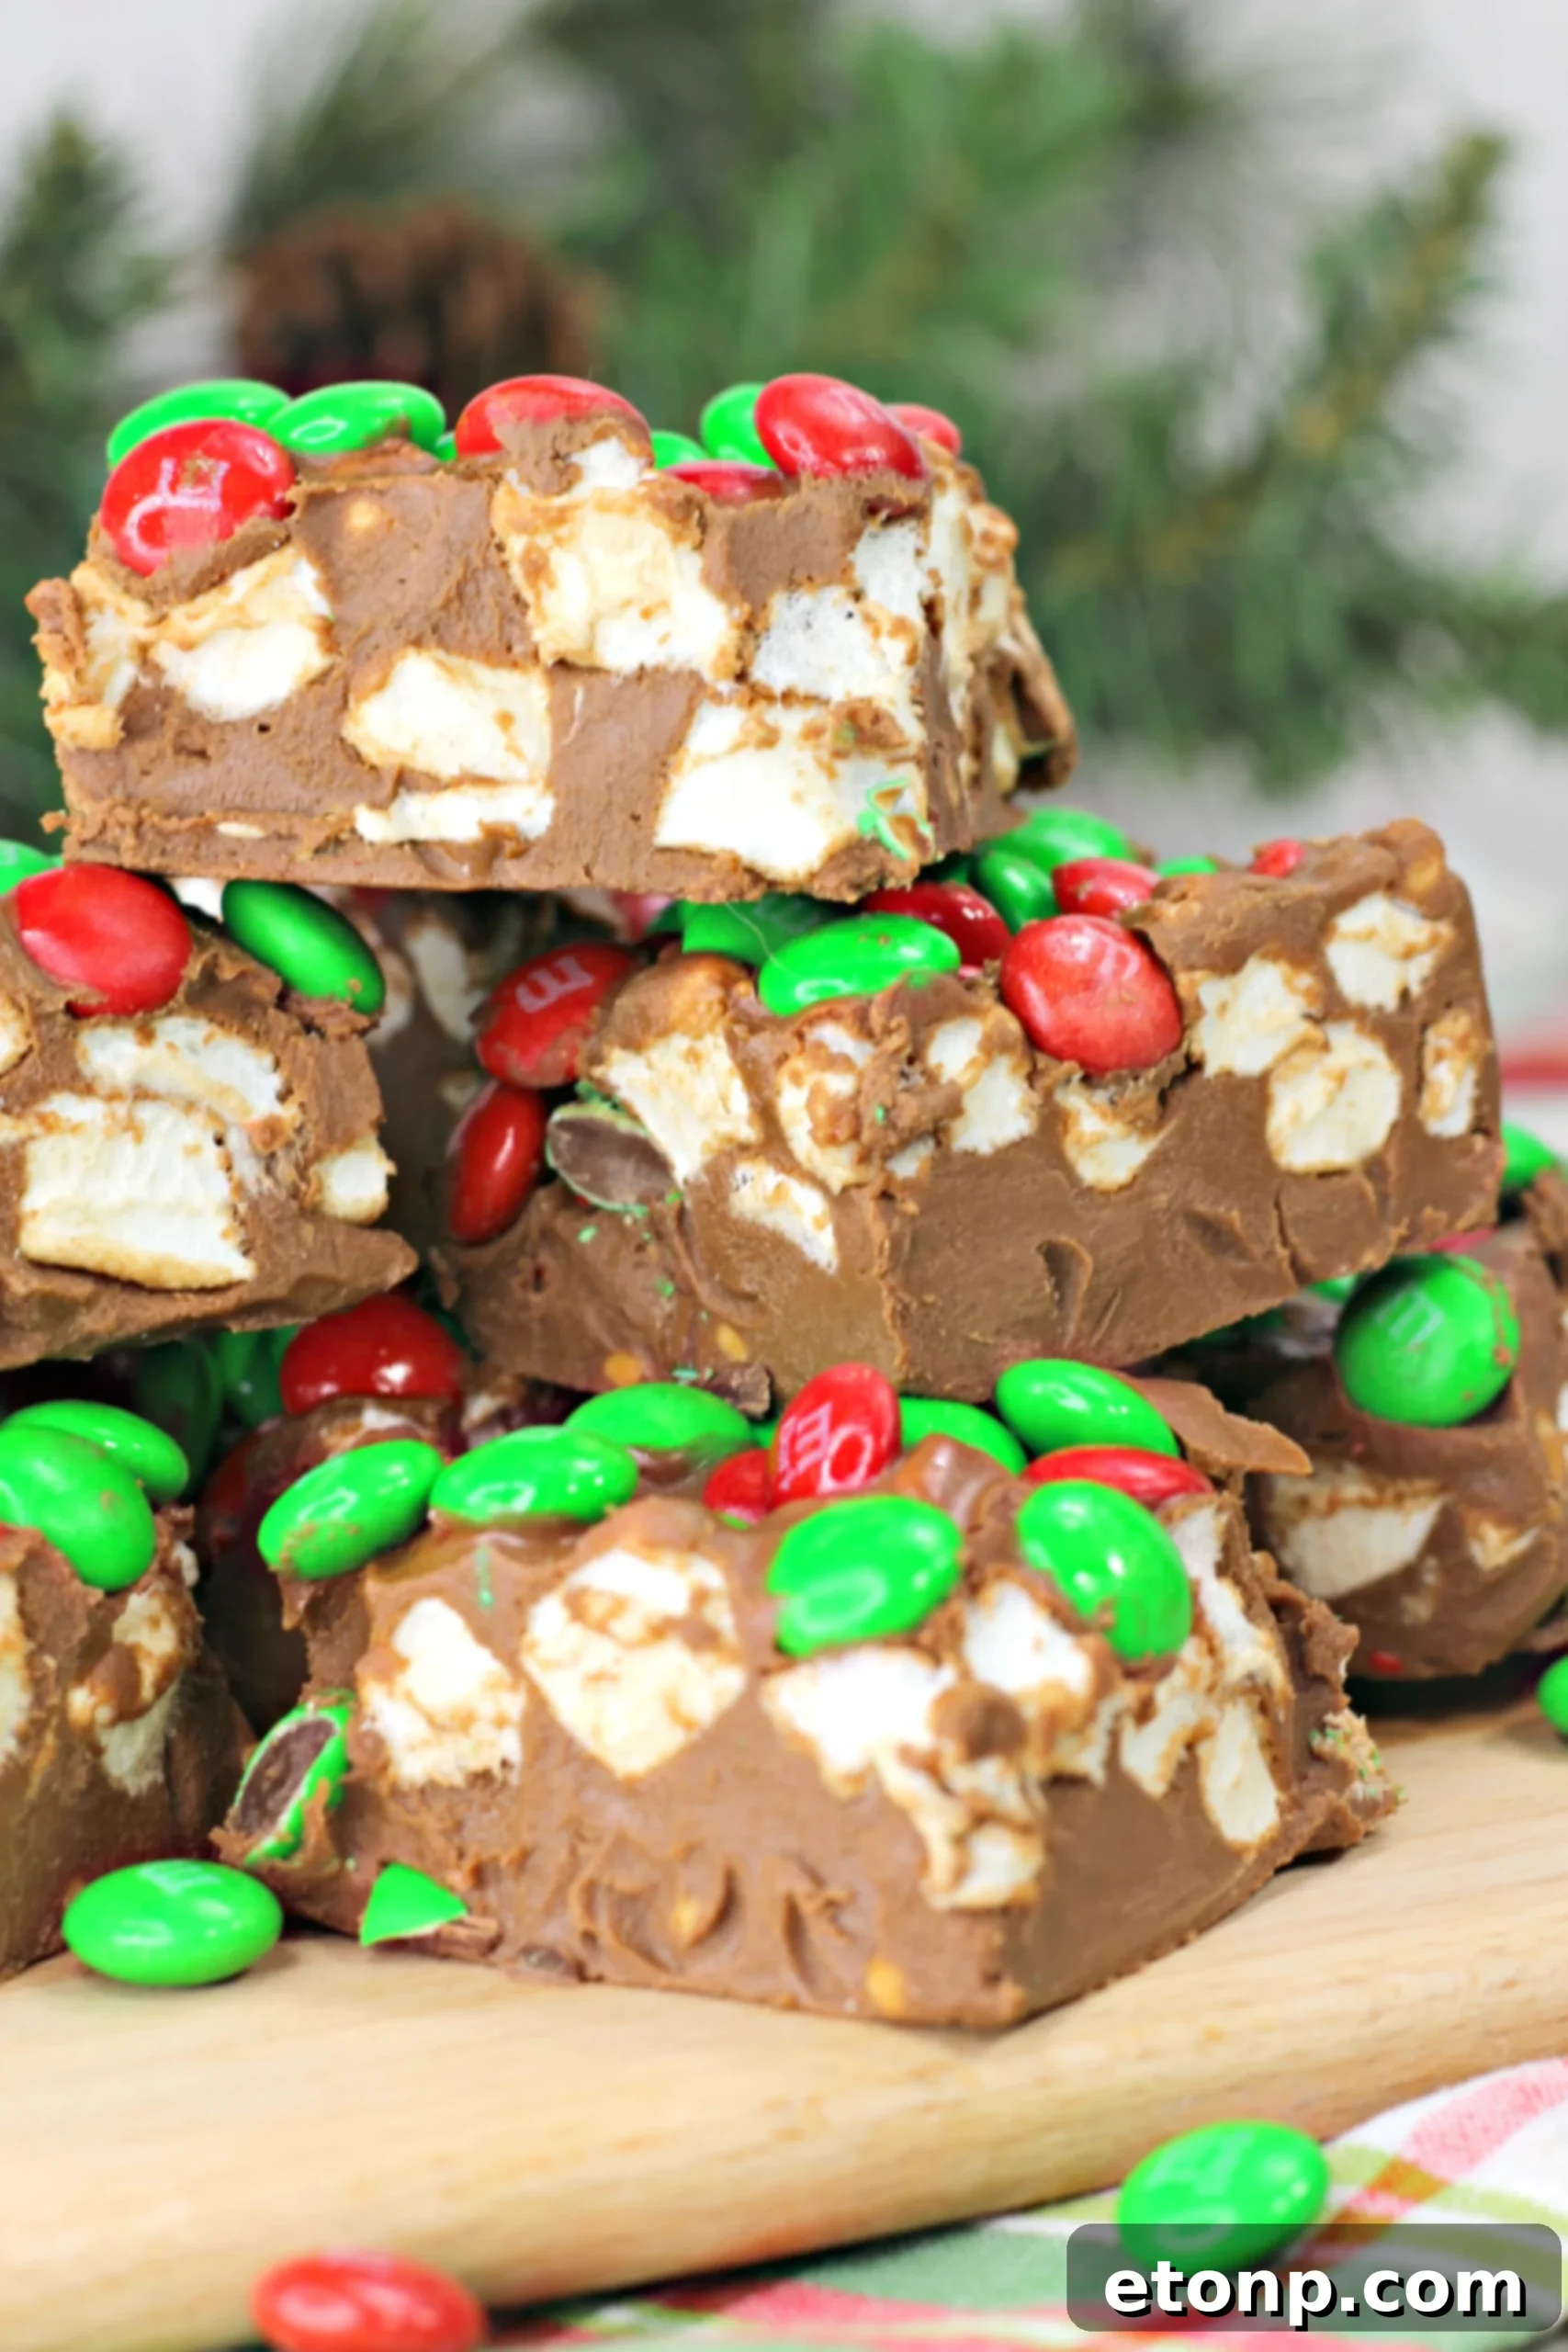
Why These No-Bake Marshmallow Bars Are a Holiday Must-Have
The holidays are a time for joy, celebration, and, of course, delicious treats. But who wants to spend hours slaving away in the kitchen when there’s so much to enjoy? This is where our No-Bake Holiday Marshmallow Bars shine! They embody everything you desire in a festive dessert: effortless preparation, a rich flavor profile, and a truly stunning presentation that will captivate everyone at your table.
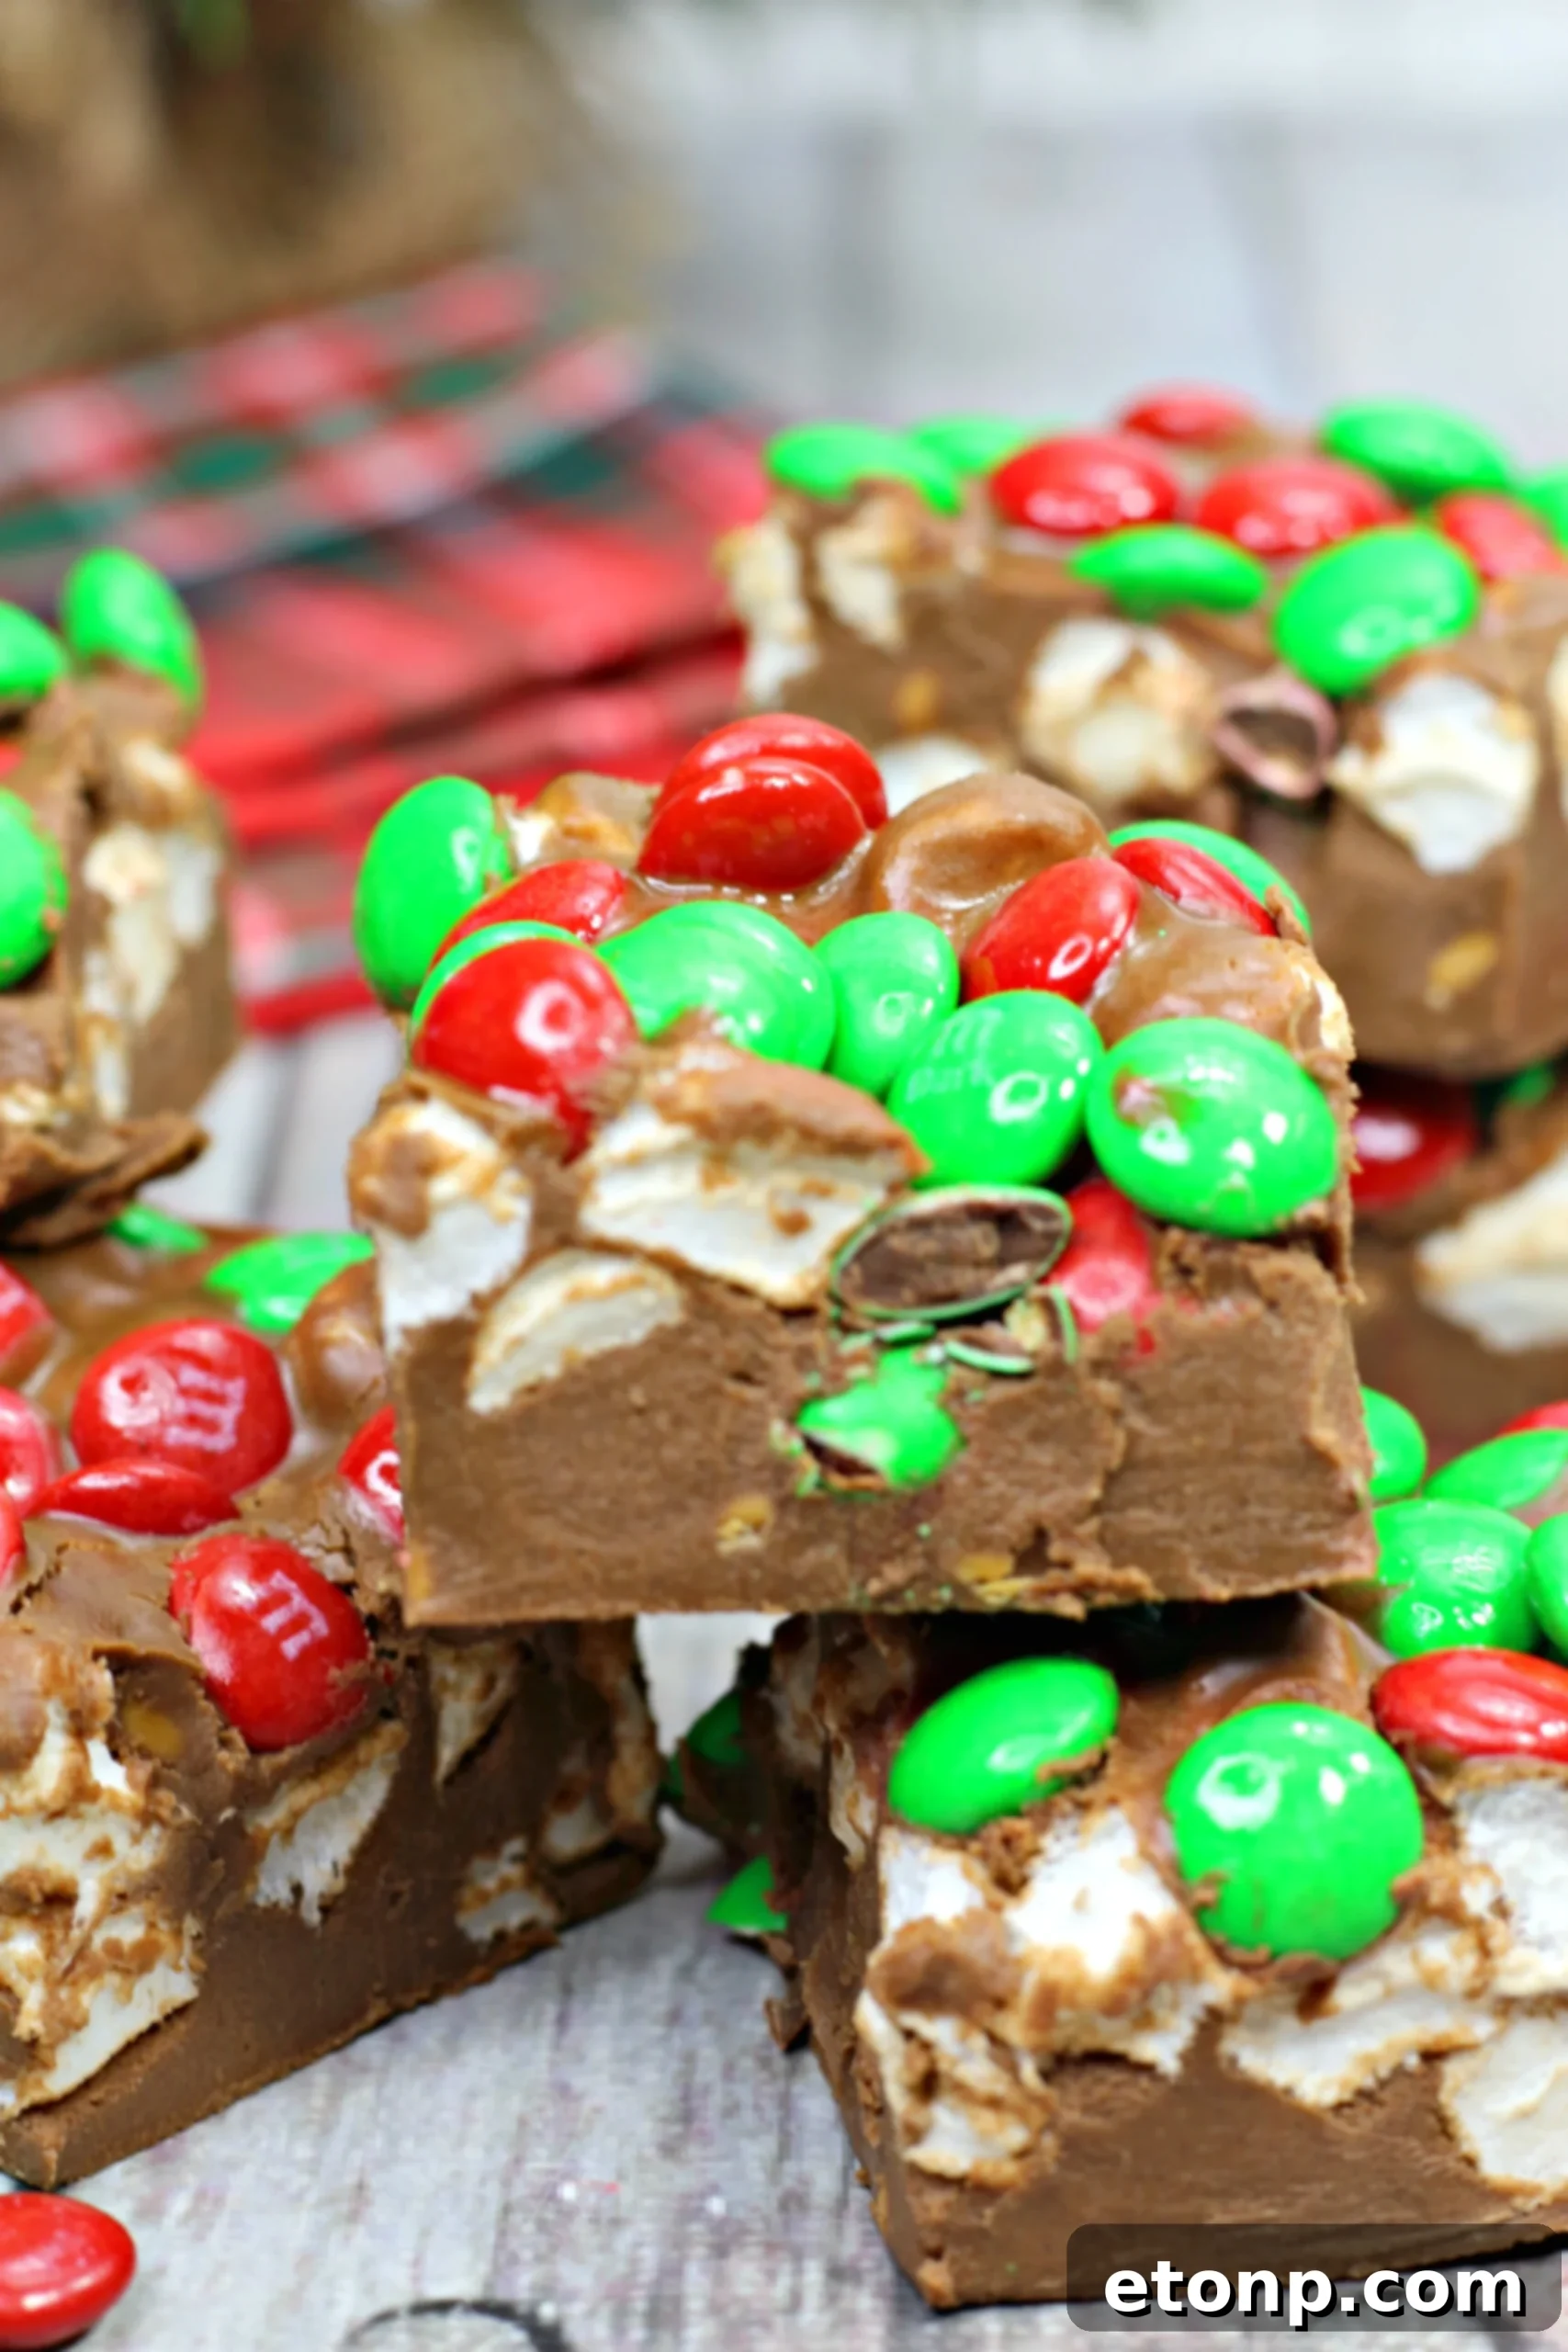
These bars are specifically designed for maximum impact with minimal effort. You’ll be amazed at how quickly you can whip up a batch of these glorious treats, freeing up your precious time for other holiday activities. The blend of smooth chocolate, creamy peanut butter, and a hint of butterscotch creates a symphony of flavors that is both nostalgic and exciting, while the festive M&M’s add a playful pop of color and crunch. They are truly a showstopper, whether gracing your Christmas cookie platter, contributing to a cookie exchange, or simply enjoyed as a cozy evening indulgence.
Gather Your Simple Ingredients
One of the most appealing aspects of this recipe is its straightforward ingredient list. You likely have many of these staples in your pantry already, making these bars an easy decision for last-minute gatherings or impromptu cravings. For this delightful creation, you’ll need:
- Nestle chocolate chips (or your favorite semi-sweet chocolate chips)
- Butterscotch chips
- Creamy peanut butter
- Mini marshmallows
- Festive M&M’s (red and green for Christmas, or any color for other occasions!)
The combination of these simple components transforms into a rich, fudge-like confection that’s surprisingly complex in flavor. It’s proof that sometimes, the simplest ingredients yield the most extraordinary results.
Step-by-Step Guide to Crafting Your Marshmallow Bars
1. The Melting Pot: Bringing Flavors Together
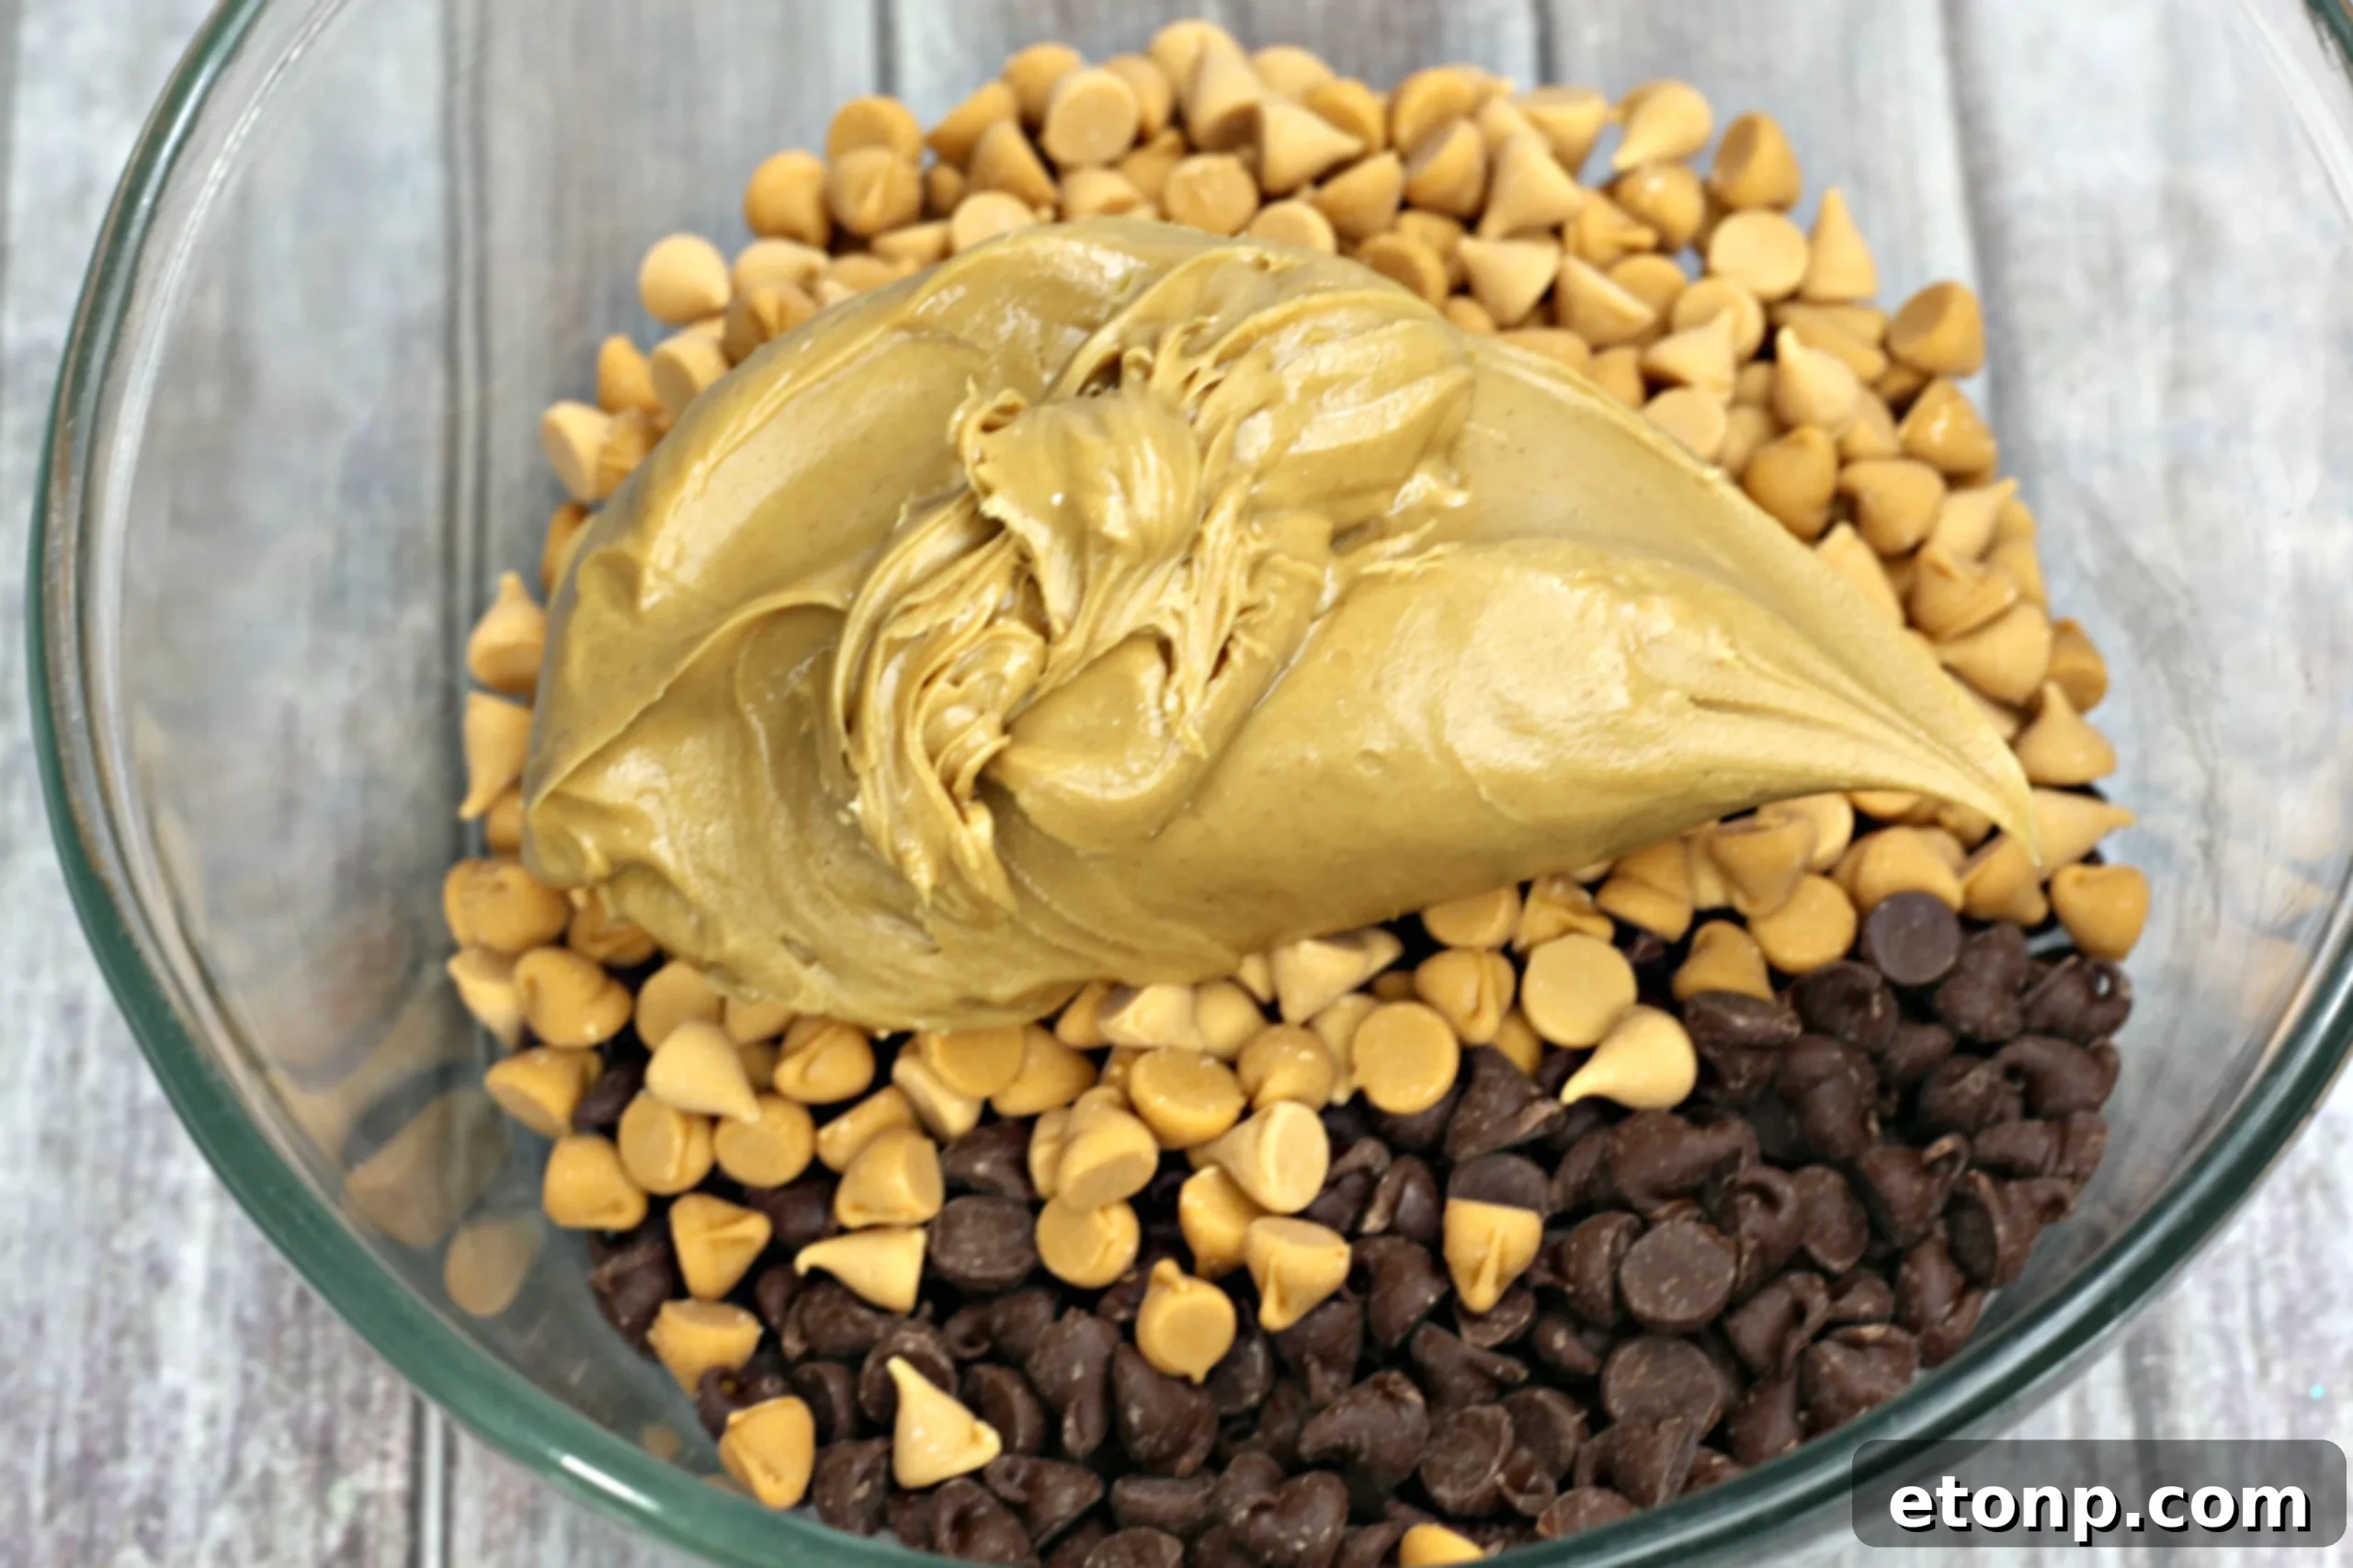
To begin, line an 8×8 inch baking dish with parchment paper, leaving an overhang on the sides. This will serve as a convenient “handle” to lift your finished bars out of the pan with ease later on. Now, take a large microwave-safe bowl. Into this bowl, add your Nestle chocolate chips, butterscotch chips, and creamy peanut butter. This trio forms the rich, foundational layer of your bars. Microwave the mixture in 30-second intervals, stirring thoroughly after each interval. Continue this process until the chips are completely melted and the mixture is smooth and glossy. Be patient and stir well to prevent scorching. This crucial step ensures a uniform, velvety base for your dessert.
2. The Marshmallow Swirl: Adding Sweetness and Texture
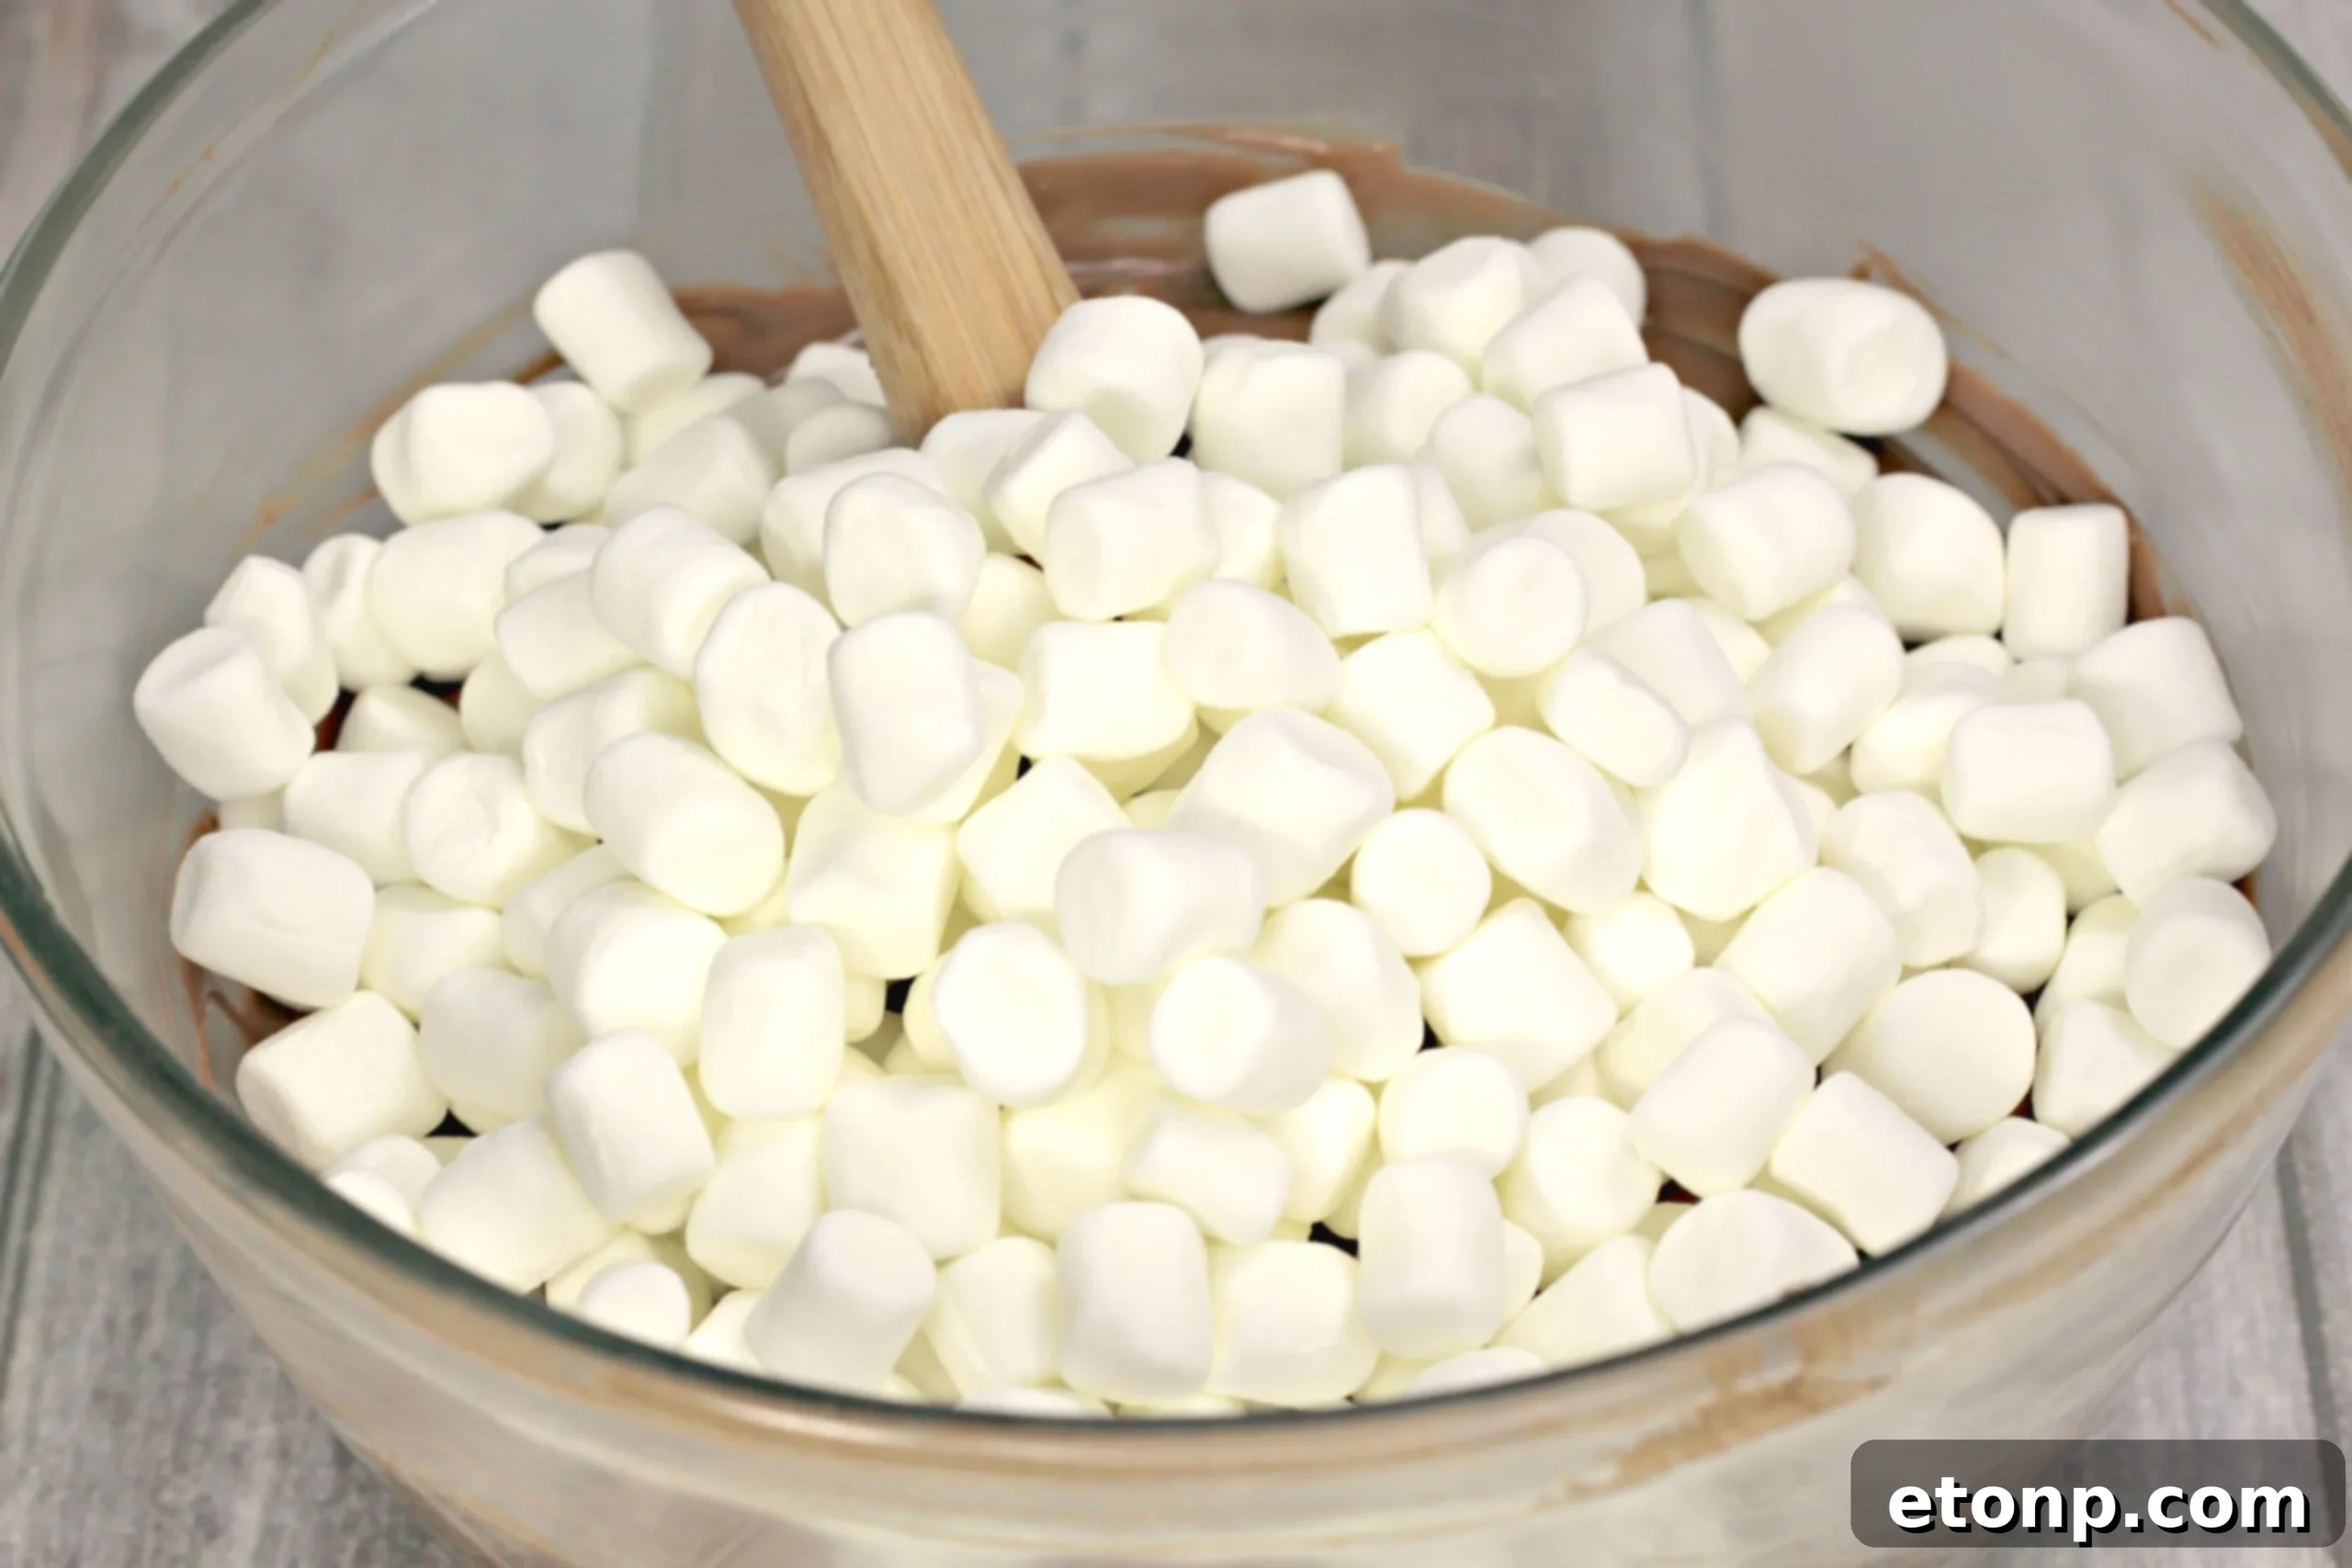
Once your chocolate and peanut butter base is perfectly smooth, it’s time for the star of the show: the marshmallows! Gently fold in the mini marshmallows until they are thoroughly coated in the rich, melted mixture. The warmth of the chocolate will soften the marshmallows slightly, creating a wonderfully chewy texture throughout the bars. This step is where the “marshmallow bar” truly comes to life, integrating sweet, airy pockets into the dense fudge. (See the full recipe card below for exact measurements of all ingredients.)
3. Spreading the Joy (Not Baking!)
Next, pour the marshmallow-chocolate mixture into your prepared baking dish. Using a spatula, spread it evenly across the bottom of the pan, ensuring a consistent thickness. Remember, there’s no actual baking involved here, so you don’t need to preheat your oven! The even spread is important for uniform bars when cutting. This simple step solidifies the no-bake promise, making this recipe accessible to even the most novice of dessert makers.
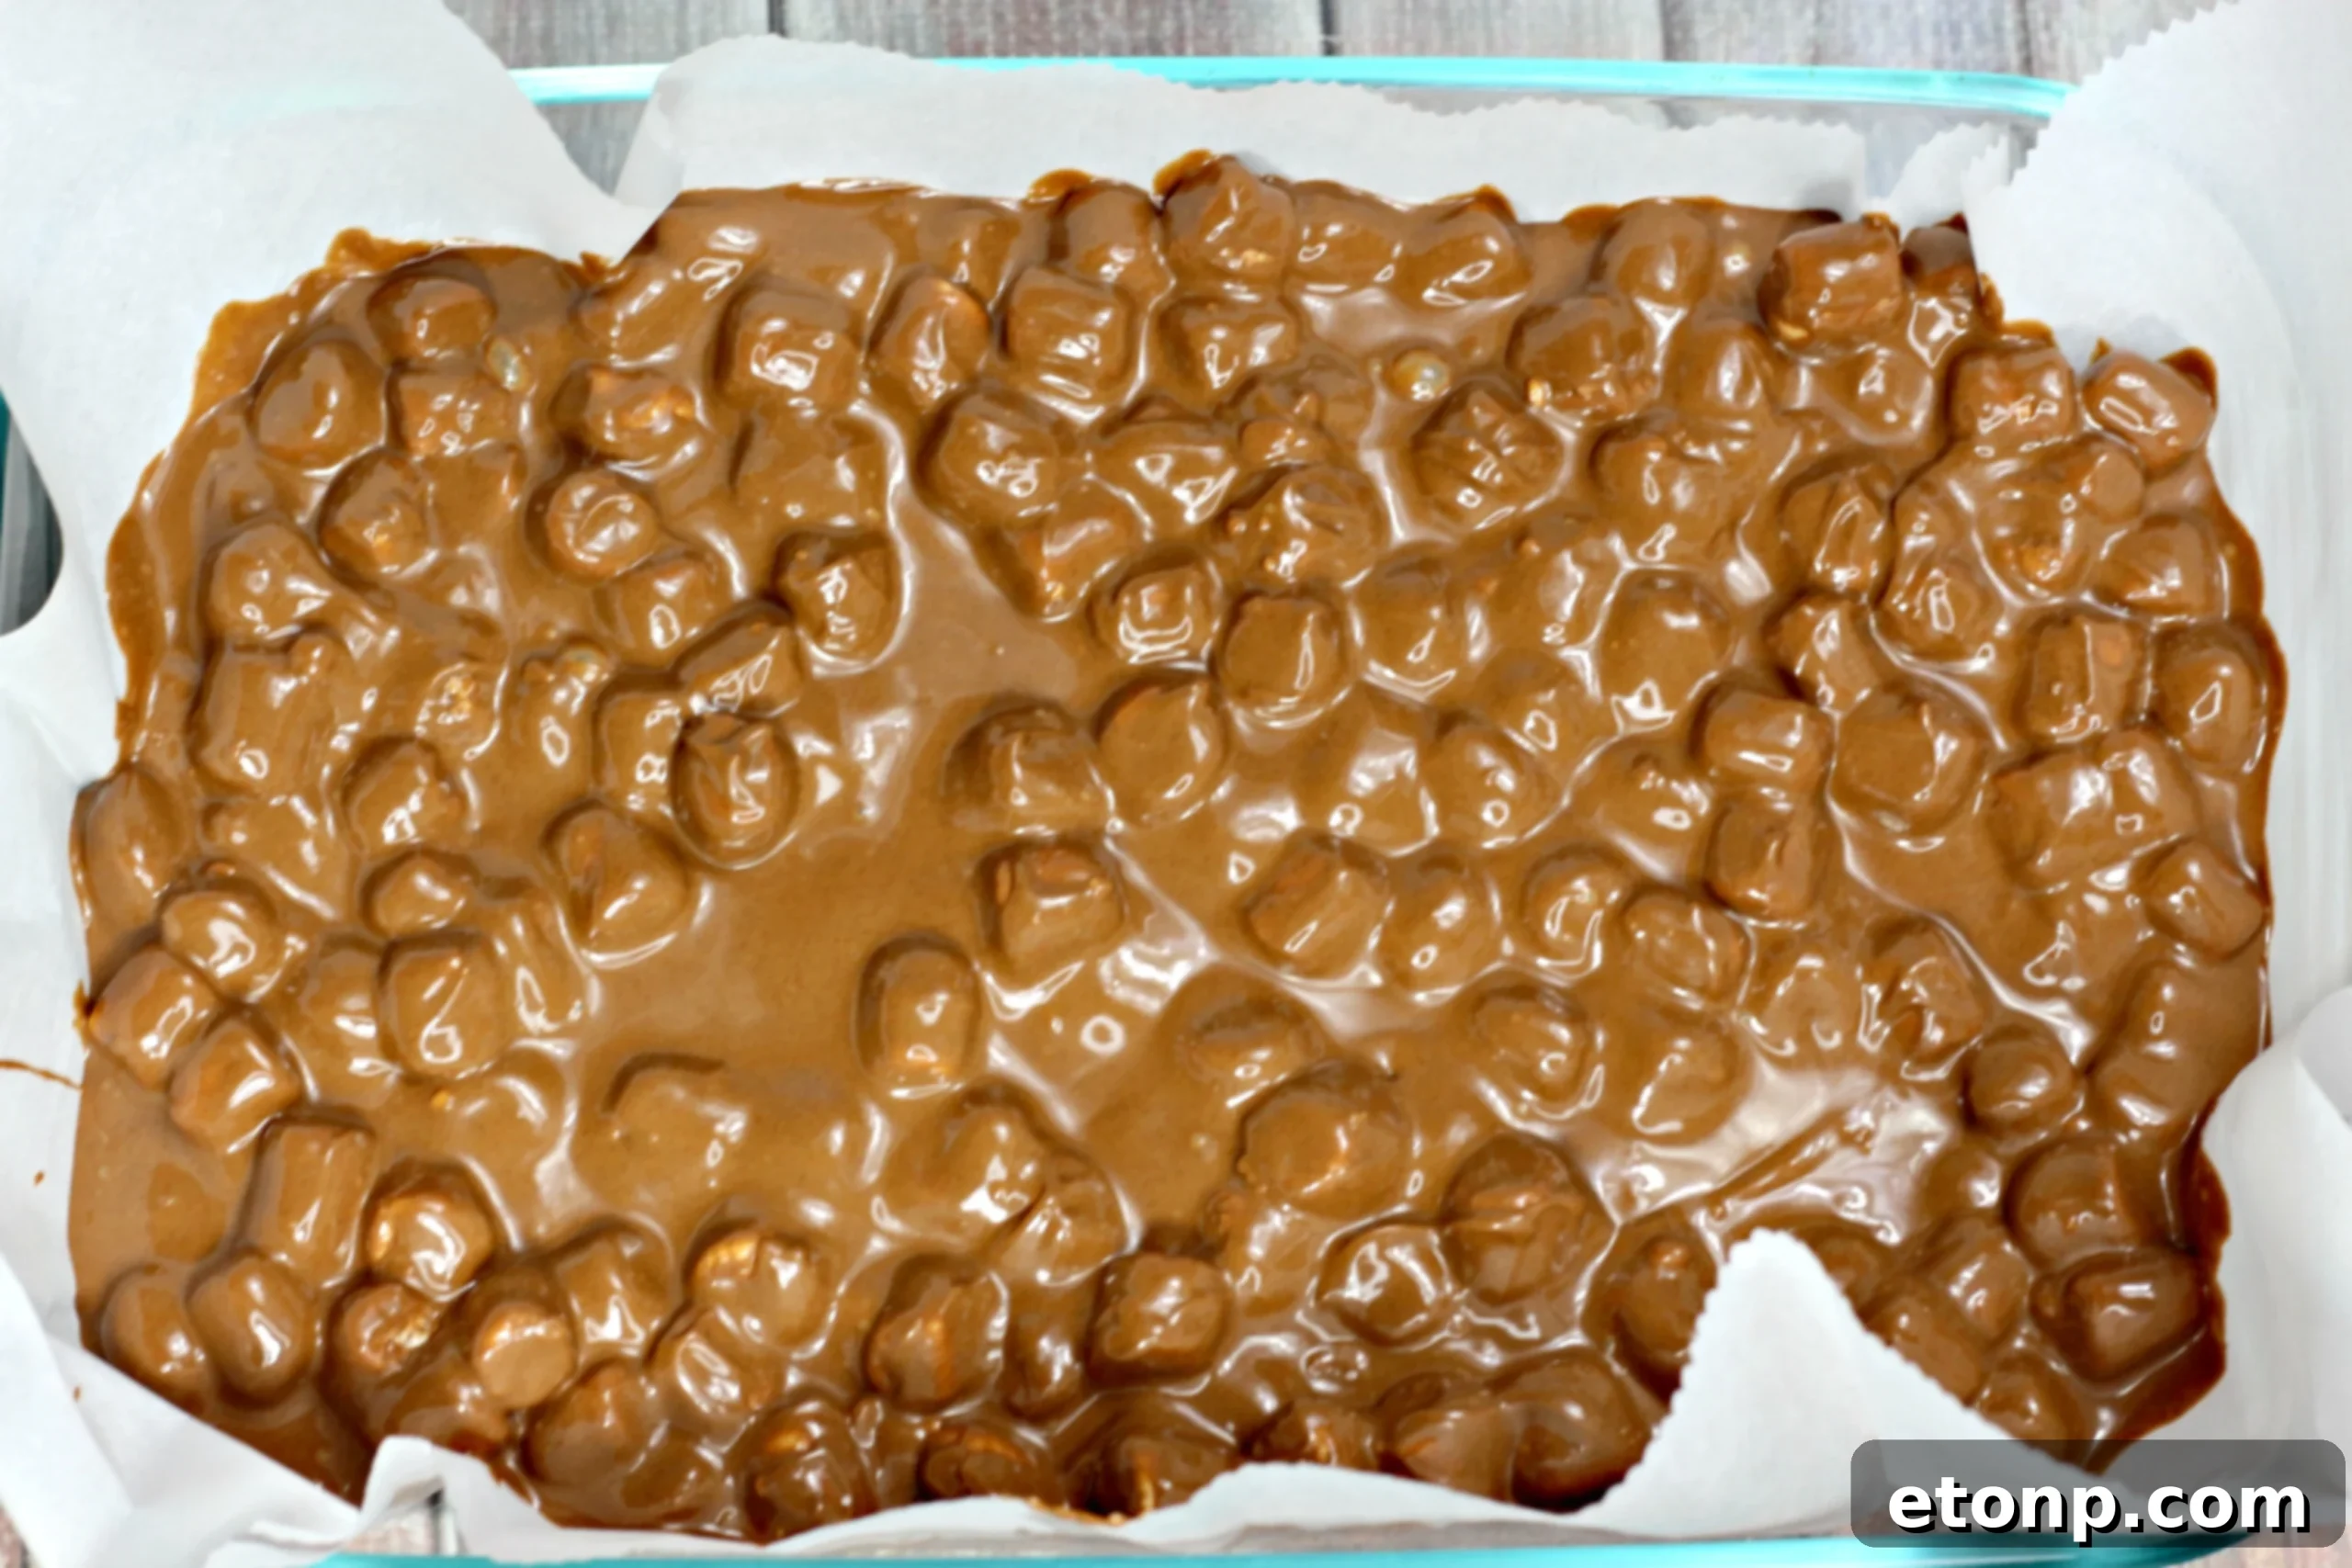
4. The Festive Finish: Adorning with M&M’s
Now for the festive touch! Generously sprinkle your red and green M&M’s over the top of the chocolate mixture. Lightly press them down into the mixture to ensure they adhere well. These colorful candies not only add a vibrant holiday look but also contribute a satisfying crunch that complements the soft, chewy texture of the bars beautifully. The M&M’s truly make these bars come alive with holiday spirit, turning a simple treat into a visually stunning masterpiece.
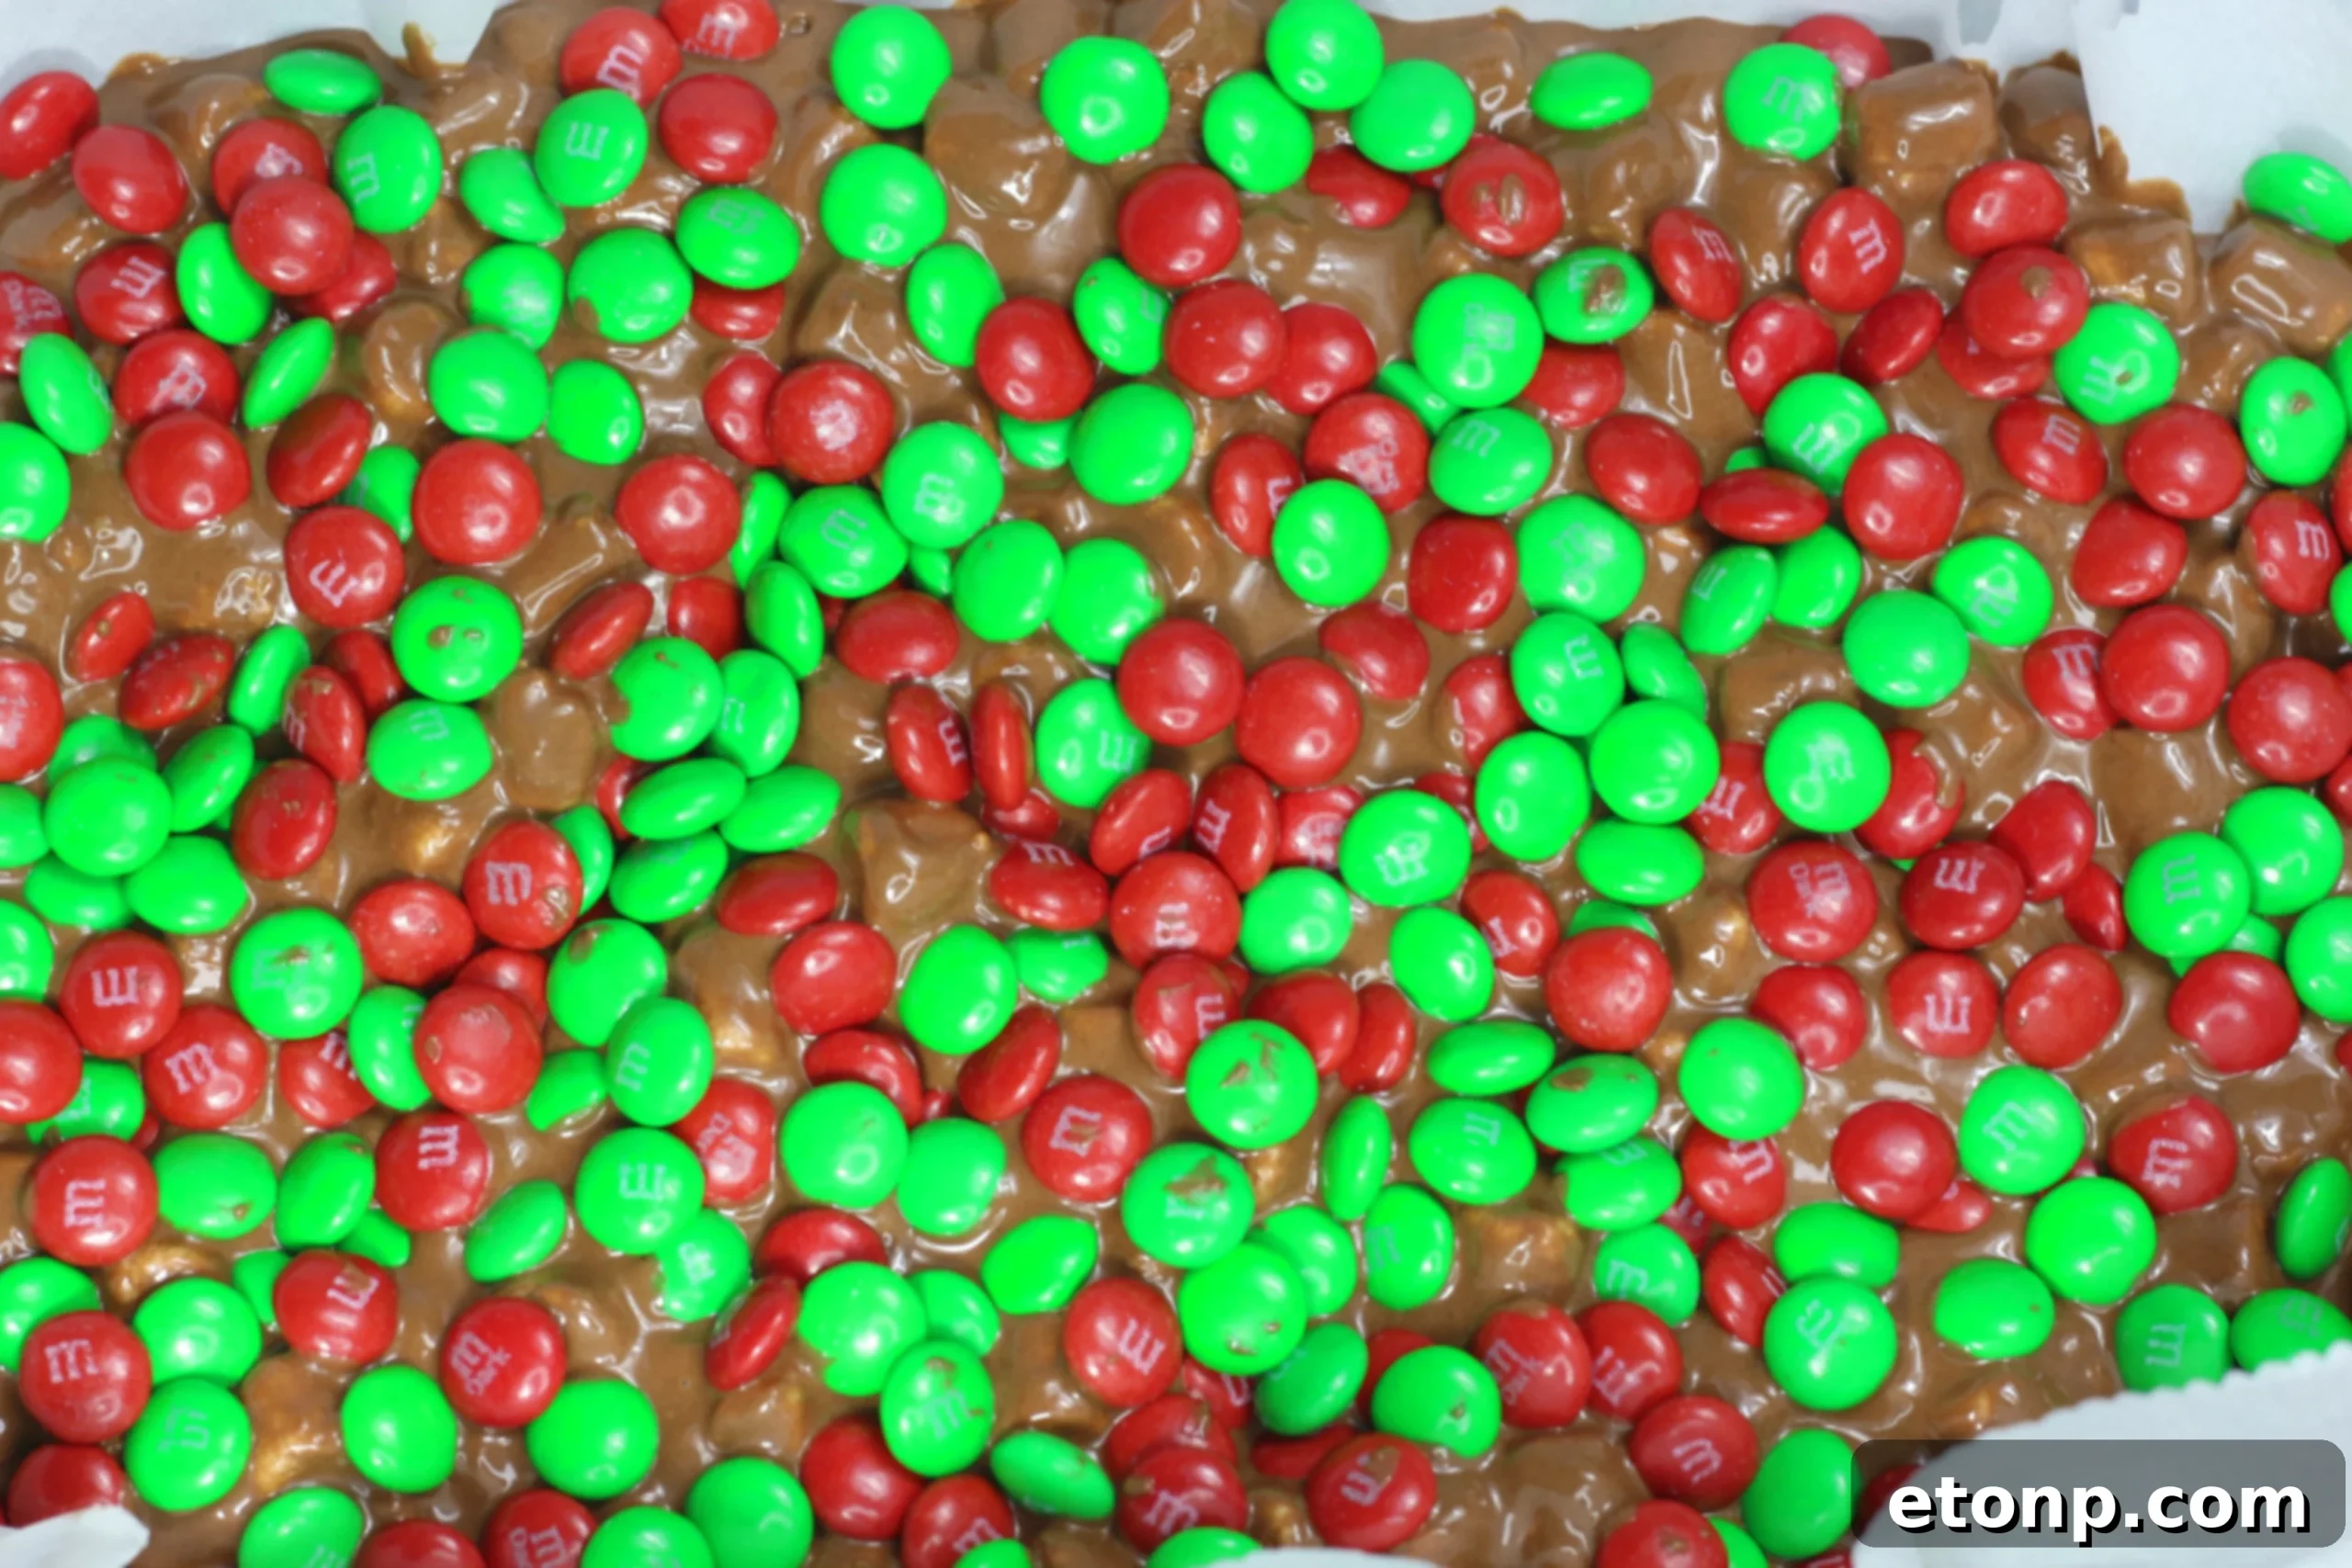
5. The Waiting Game: Chilling to Perfection
Once topped, place your baking dish into the refrigerator for at least 2 hours. This chilling period is essential to allow the bars to set completely, ensuring they achieve that firm, fudge-like consistency that makes them so delightful. Don’t rush this step – patience will be rewarded with perfectly set bars that are easy to cut and handle.
6. Slice and Serve: Enjoying Your Creation
After chilling, lift the entire slab of bars out of the pan using the parchment paper overhang. Place it on a cutting board and cut it into 2-inch squares. These individual portions are perfect for sharing, gifting, or simply savoring one by one. The bars are incredibly rich and intensely satisfying, making them a fantastic addition to any dessert spread.
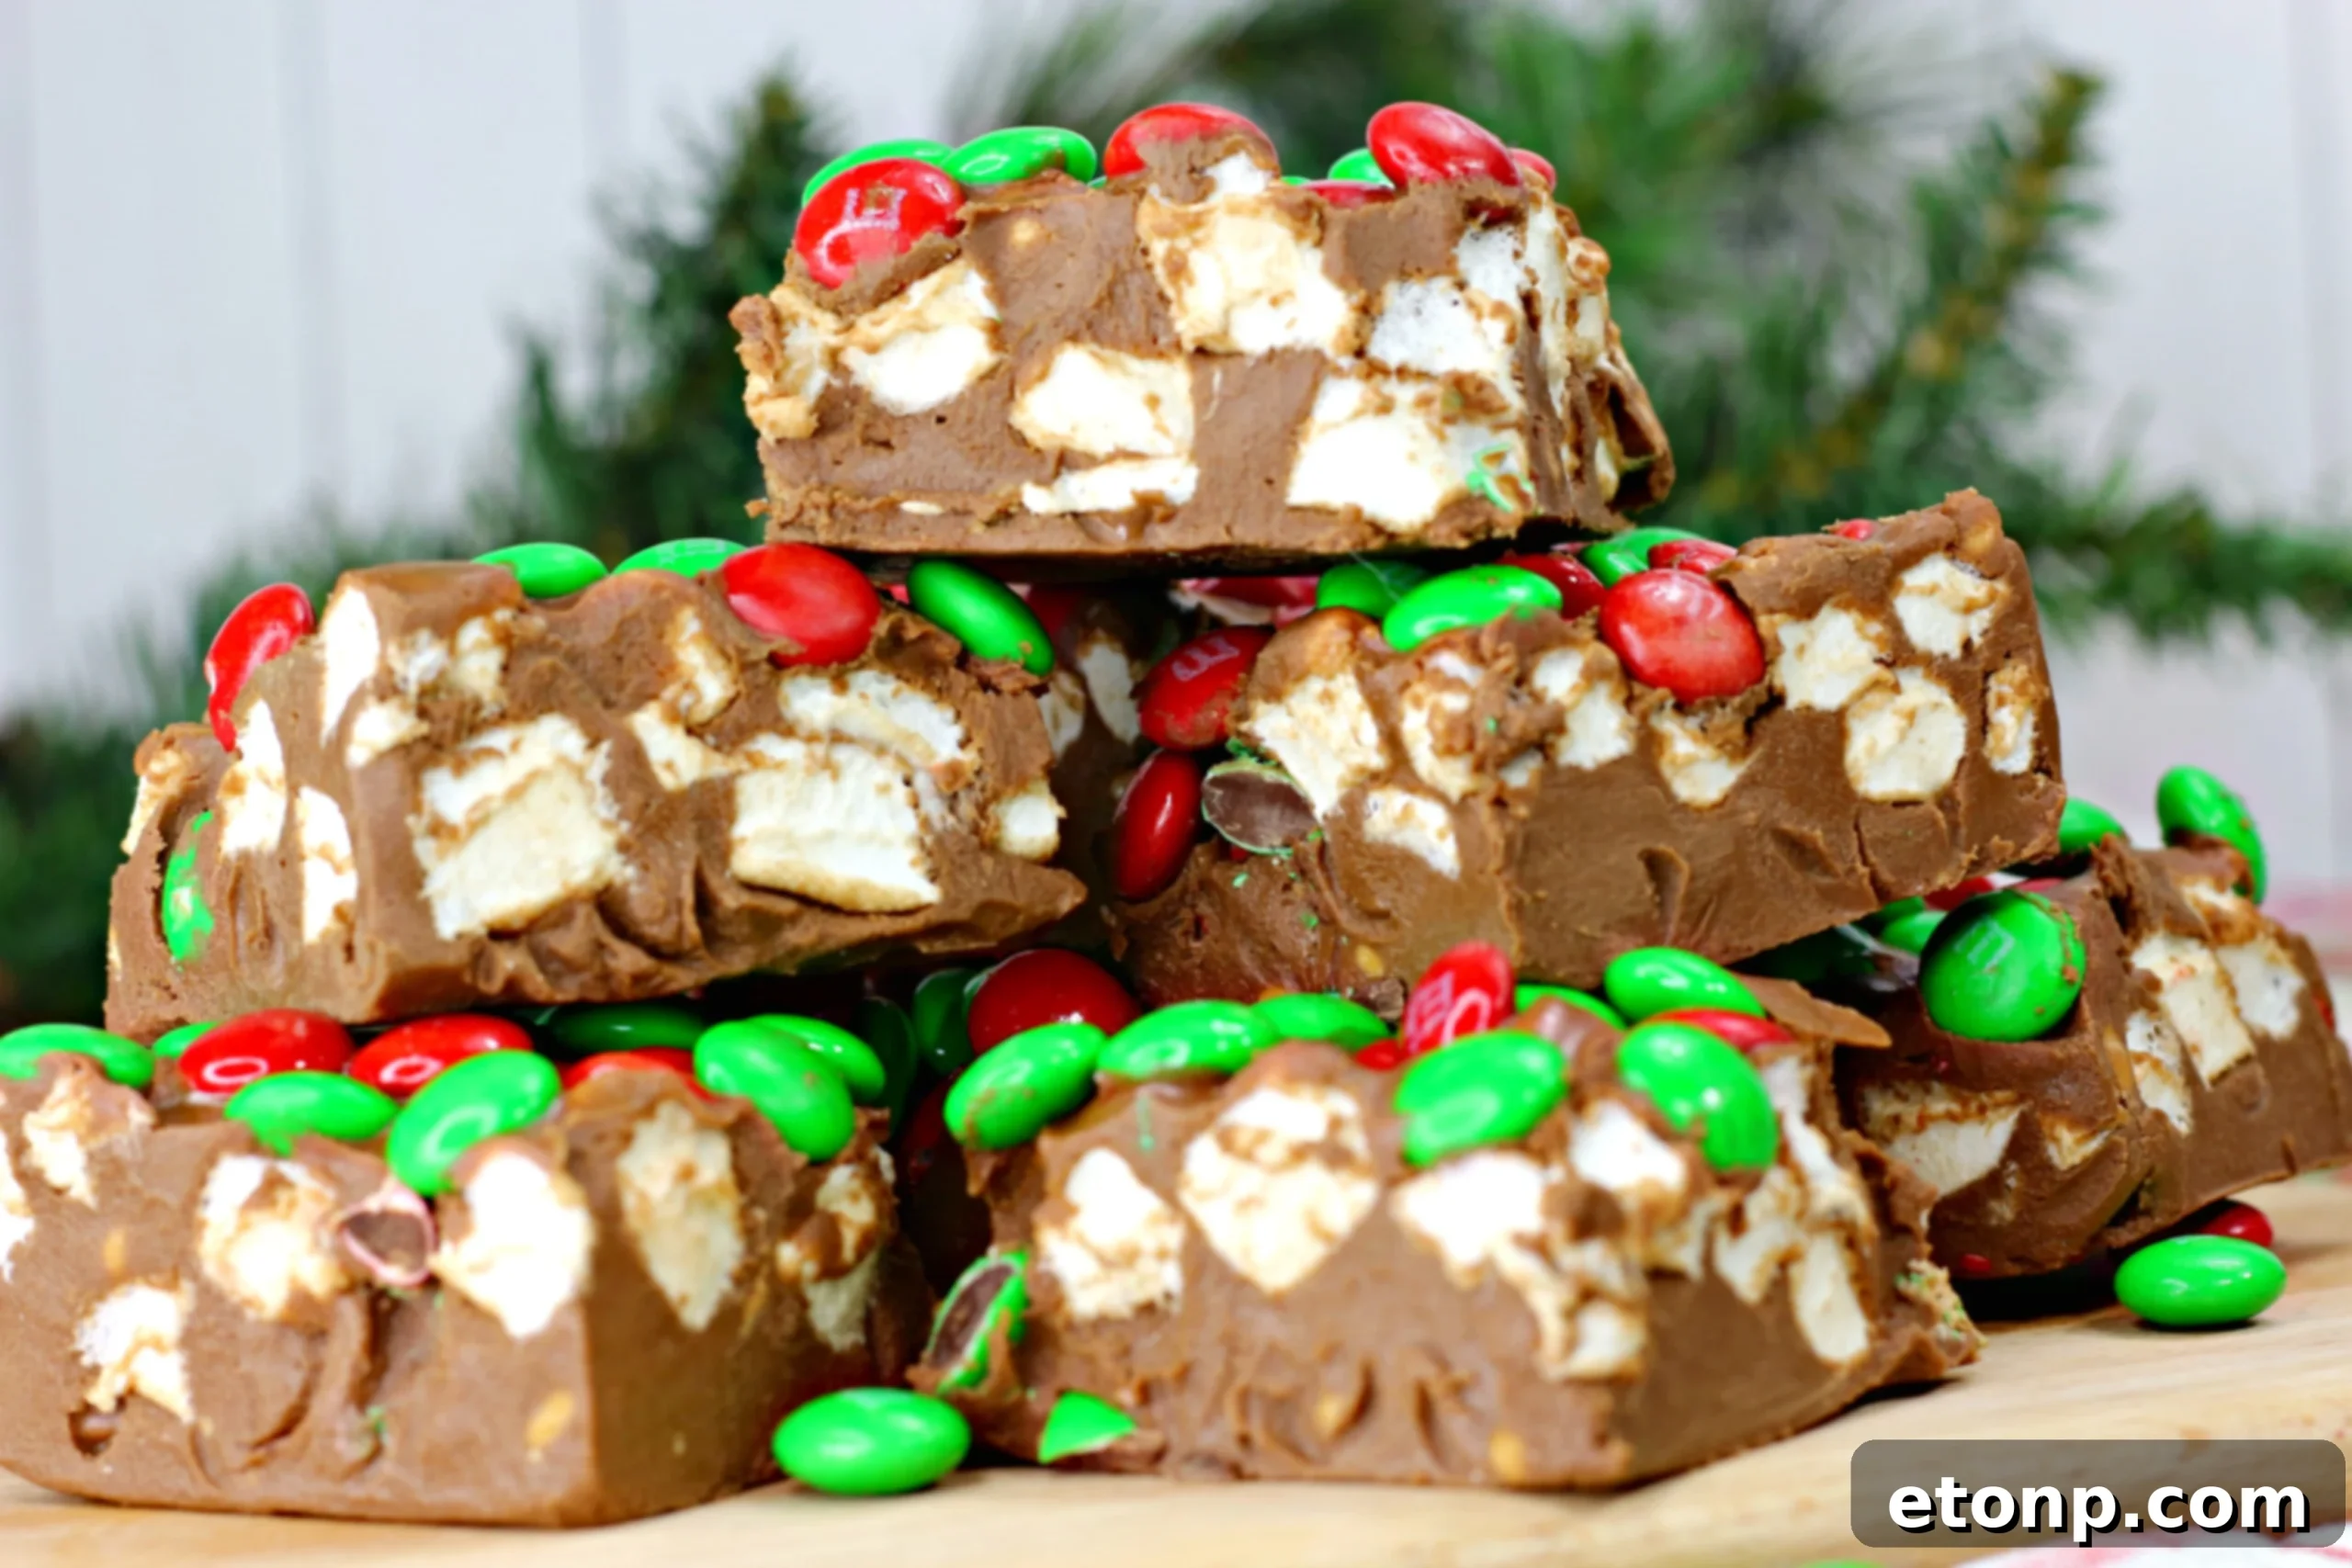
Tips for Perfect No-Bake Marshmallow Bars Every Time
- Melting Consistency: Ensure your chocolate, butterscotch, and peanut butter mixture is perfectly smooth before adding marshmallows. Any lumps will affect the final texture. If microwaving, stir well between intervals to prevent the chocolate from seizing. Alternatively, you can melt the mixture over a double boiler for a gentler, more controlled melt.
- Marshmallow Integration: Once marshmallows are added, work relatively quickly to coat them before the mixture cools too much and becomes difficult to stir. However, avoid over-mixing, which can break down the marshmallows too much.
- Even Spreading: Use an offset spatula or the back of a spoon lightly greased with butter or cooking spray to spread the mixture evenly. This helps create uniform bars that look professional and are easy to cut.
- Chilling Time: Do not skimp on the chilling time. The 2 hours in the fridge are crucial for the bars to firm up properly. If you cut them too soon, they might be too soft and sticky.
Endless Customization: Make Them Your Own!
The beauty of these No-Bake Marshmallow Bars lies in their incredible versatility. While the red and green M&M’s instantly scream “holiday cheer,” you are certainly not limited to just Christmas! This recipe is fantastic for any occasion throughout the year:
- Seasonal Swaps: Simply swap the M&M colors to match any celebration. Think pastel M&M’s for Easter or a spring gathering, red, white, and blue for patriotic holidays, or even school colors for graduation parties. The possibilities are endless!
- Nutty Additions: For an extra layer of flavor and crunch, consider stirring in chopped nuts like peanuts, walnuts, or pecans along with the marshmallows.
- Chocolate Varieties: Experiment with different types of chocolate chips – milk chocolate, dark chocolate, or even white chocolate can offer exciting new flavor profiles.
- Extracts: A few drops of vanilla extract, peppermint extract (for a minty twist), or almond extract can elevate the flavors even further. Add them with the melting chips.
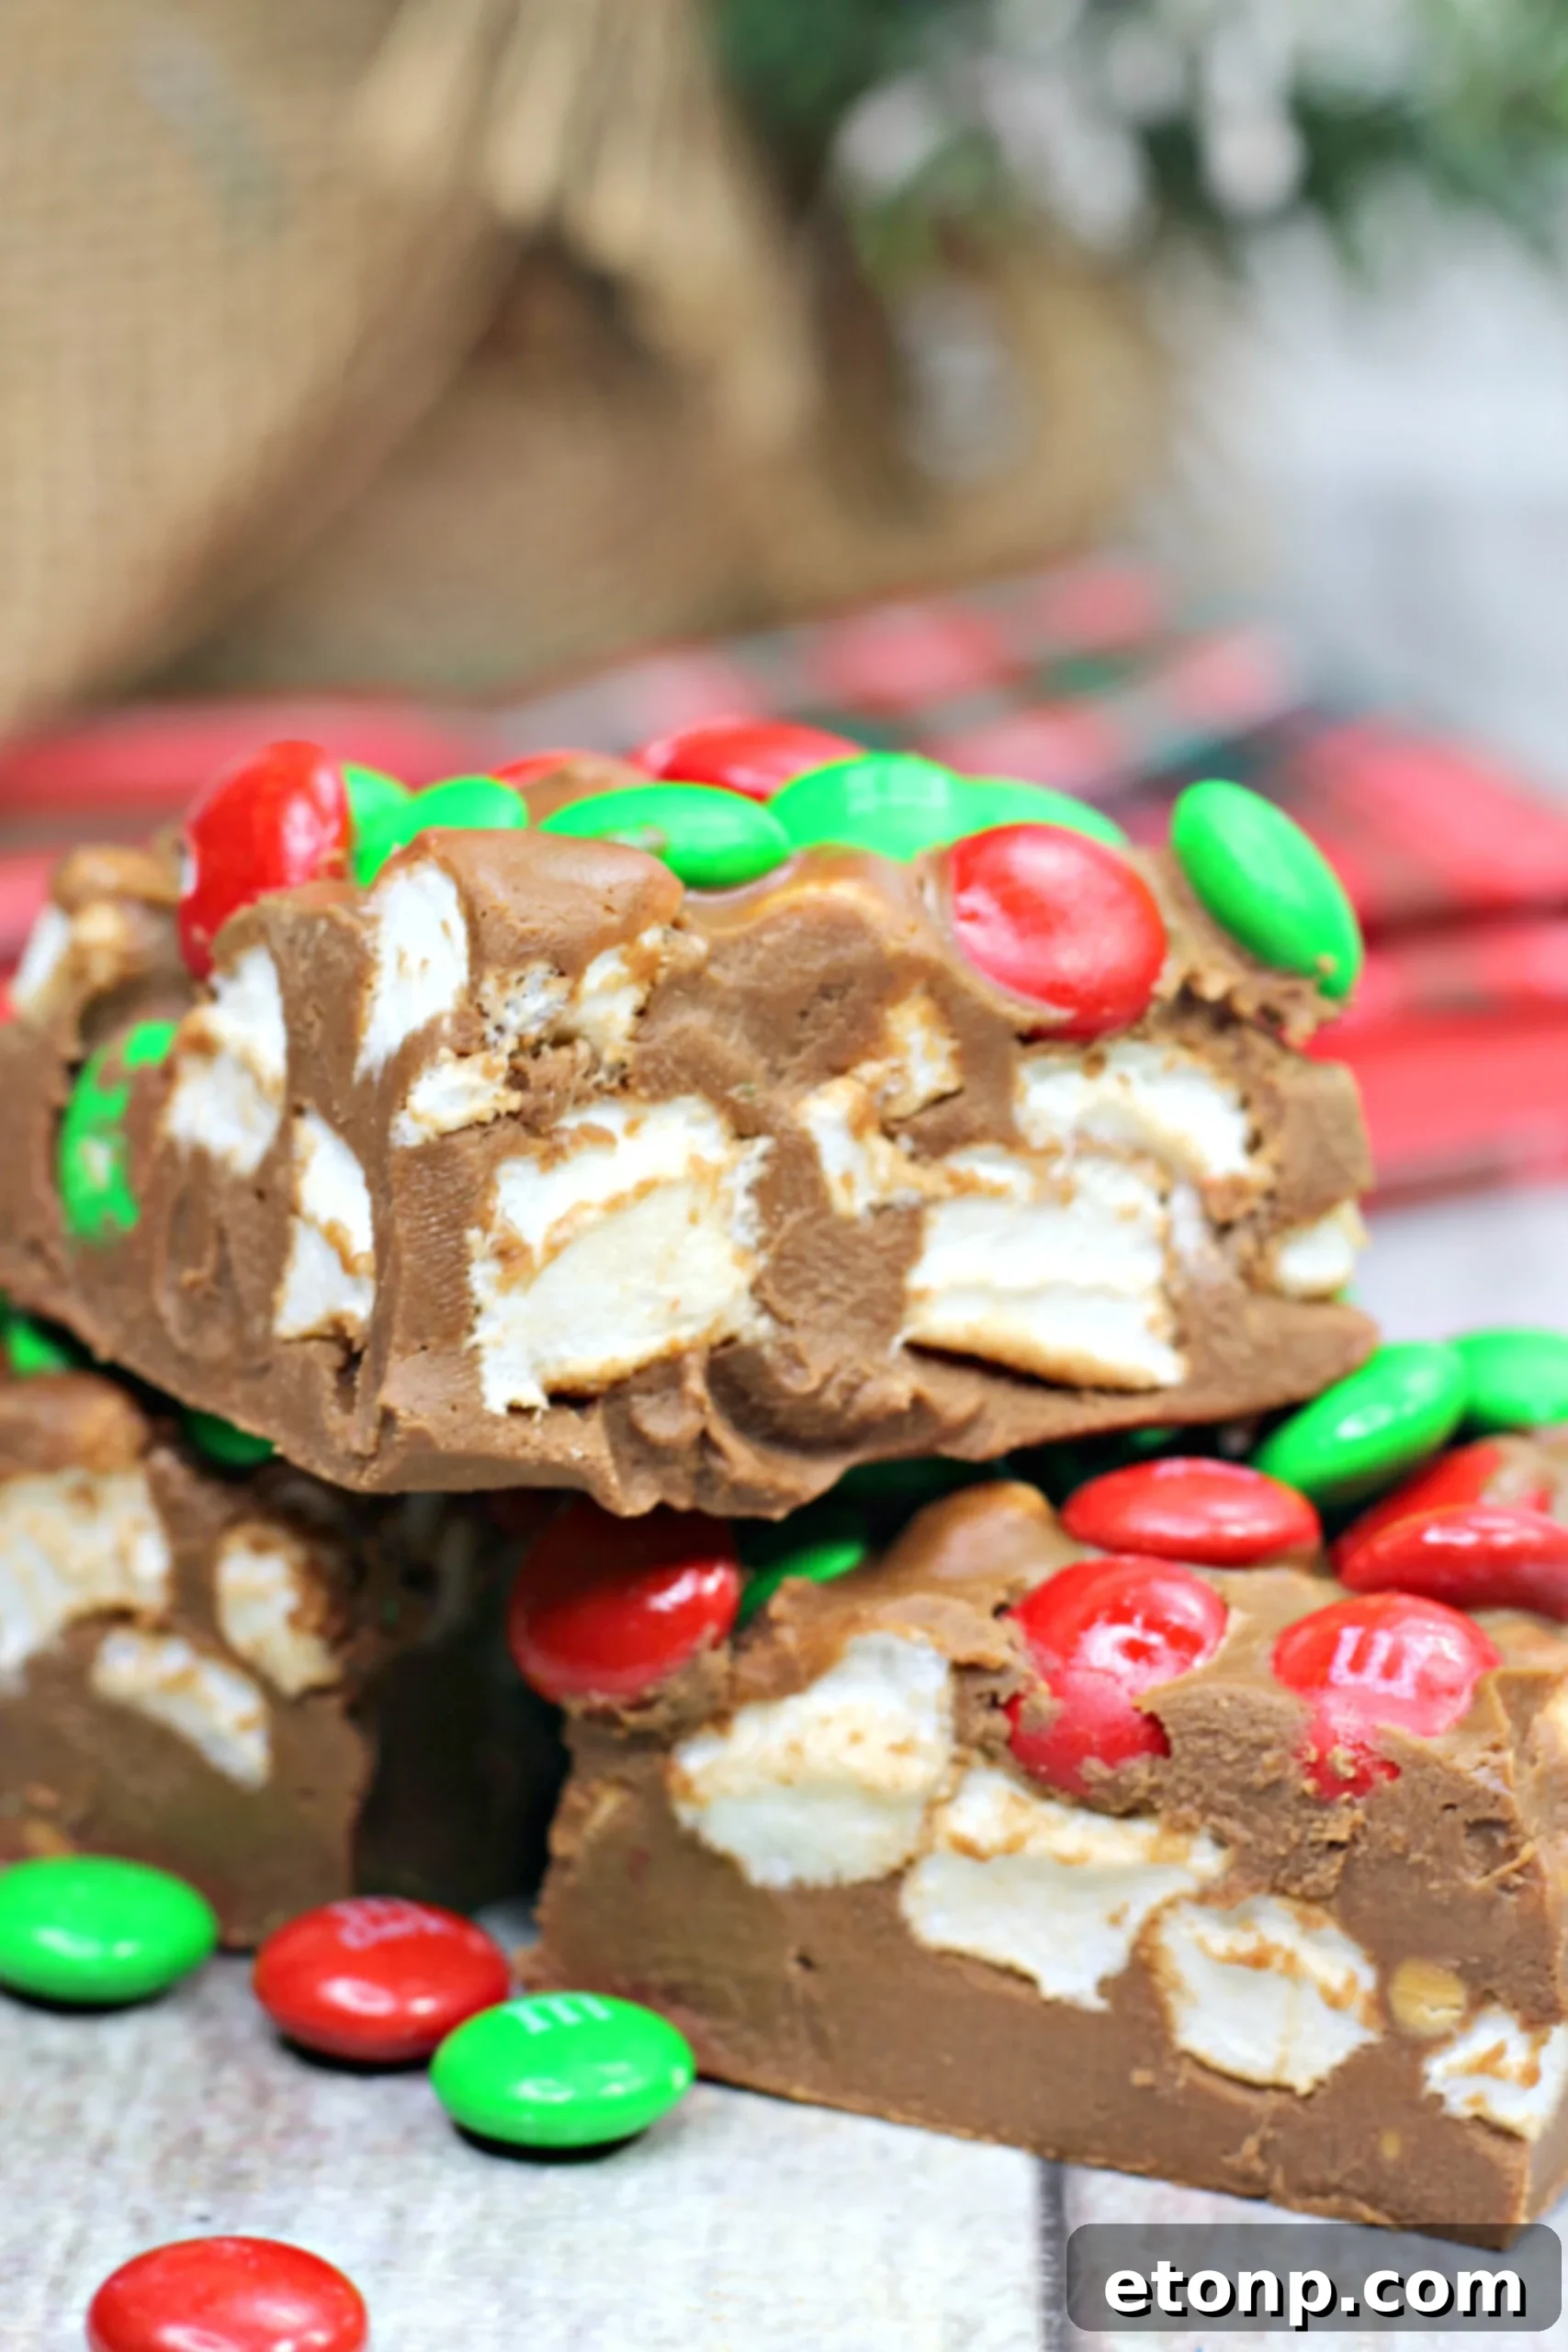
Serving and Storage
These bars are fantastic served at room temperature or slightly chilled. Due to their rich nature, small squares are usually sufficient to satisfy any sweet tooth. Store any leftover bars in an airtight container in the refrigerator for up to a week. They are perfect for preparing ahead of time, making your holiday entertaining stress-free.
A Dessert That Delivers on Every Front
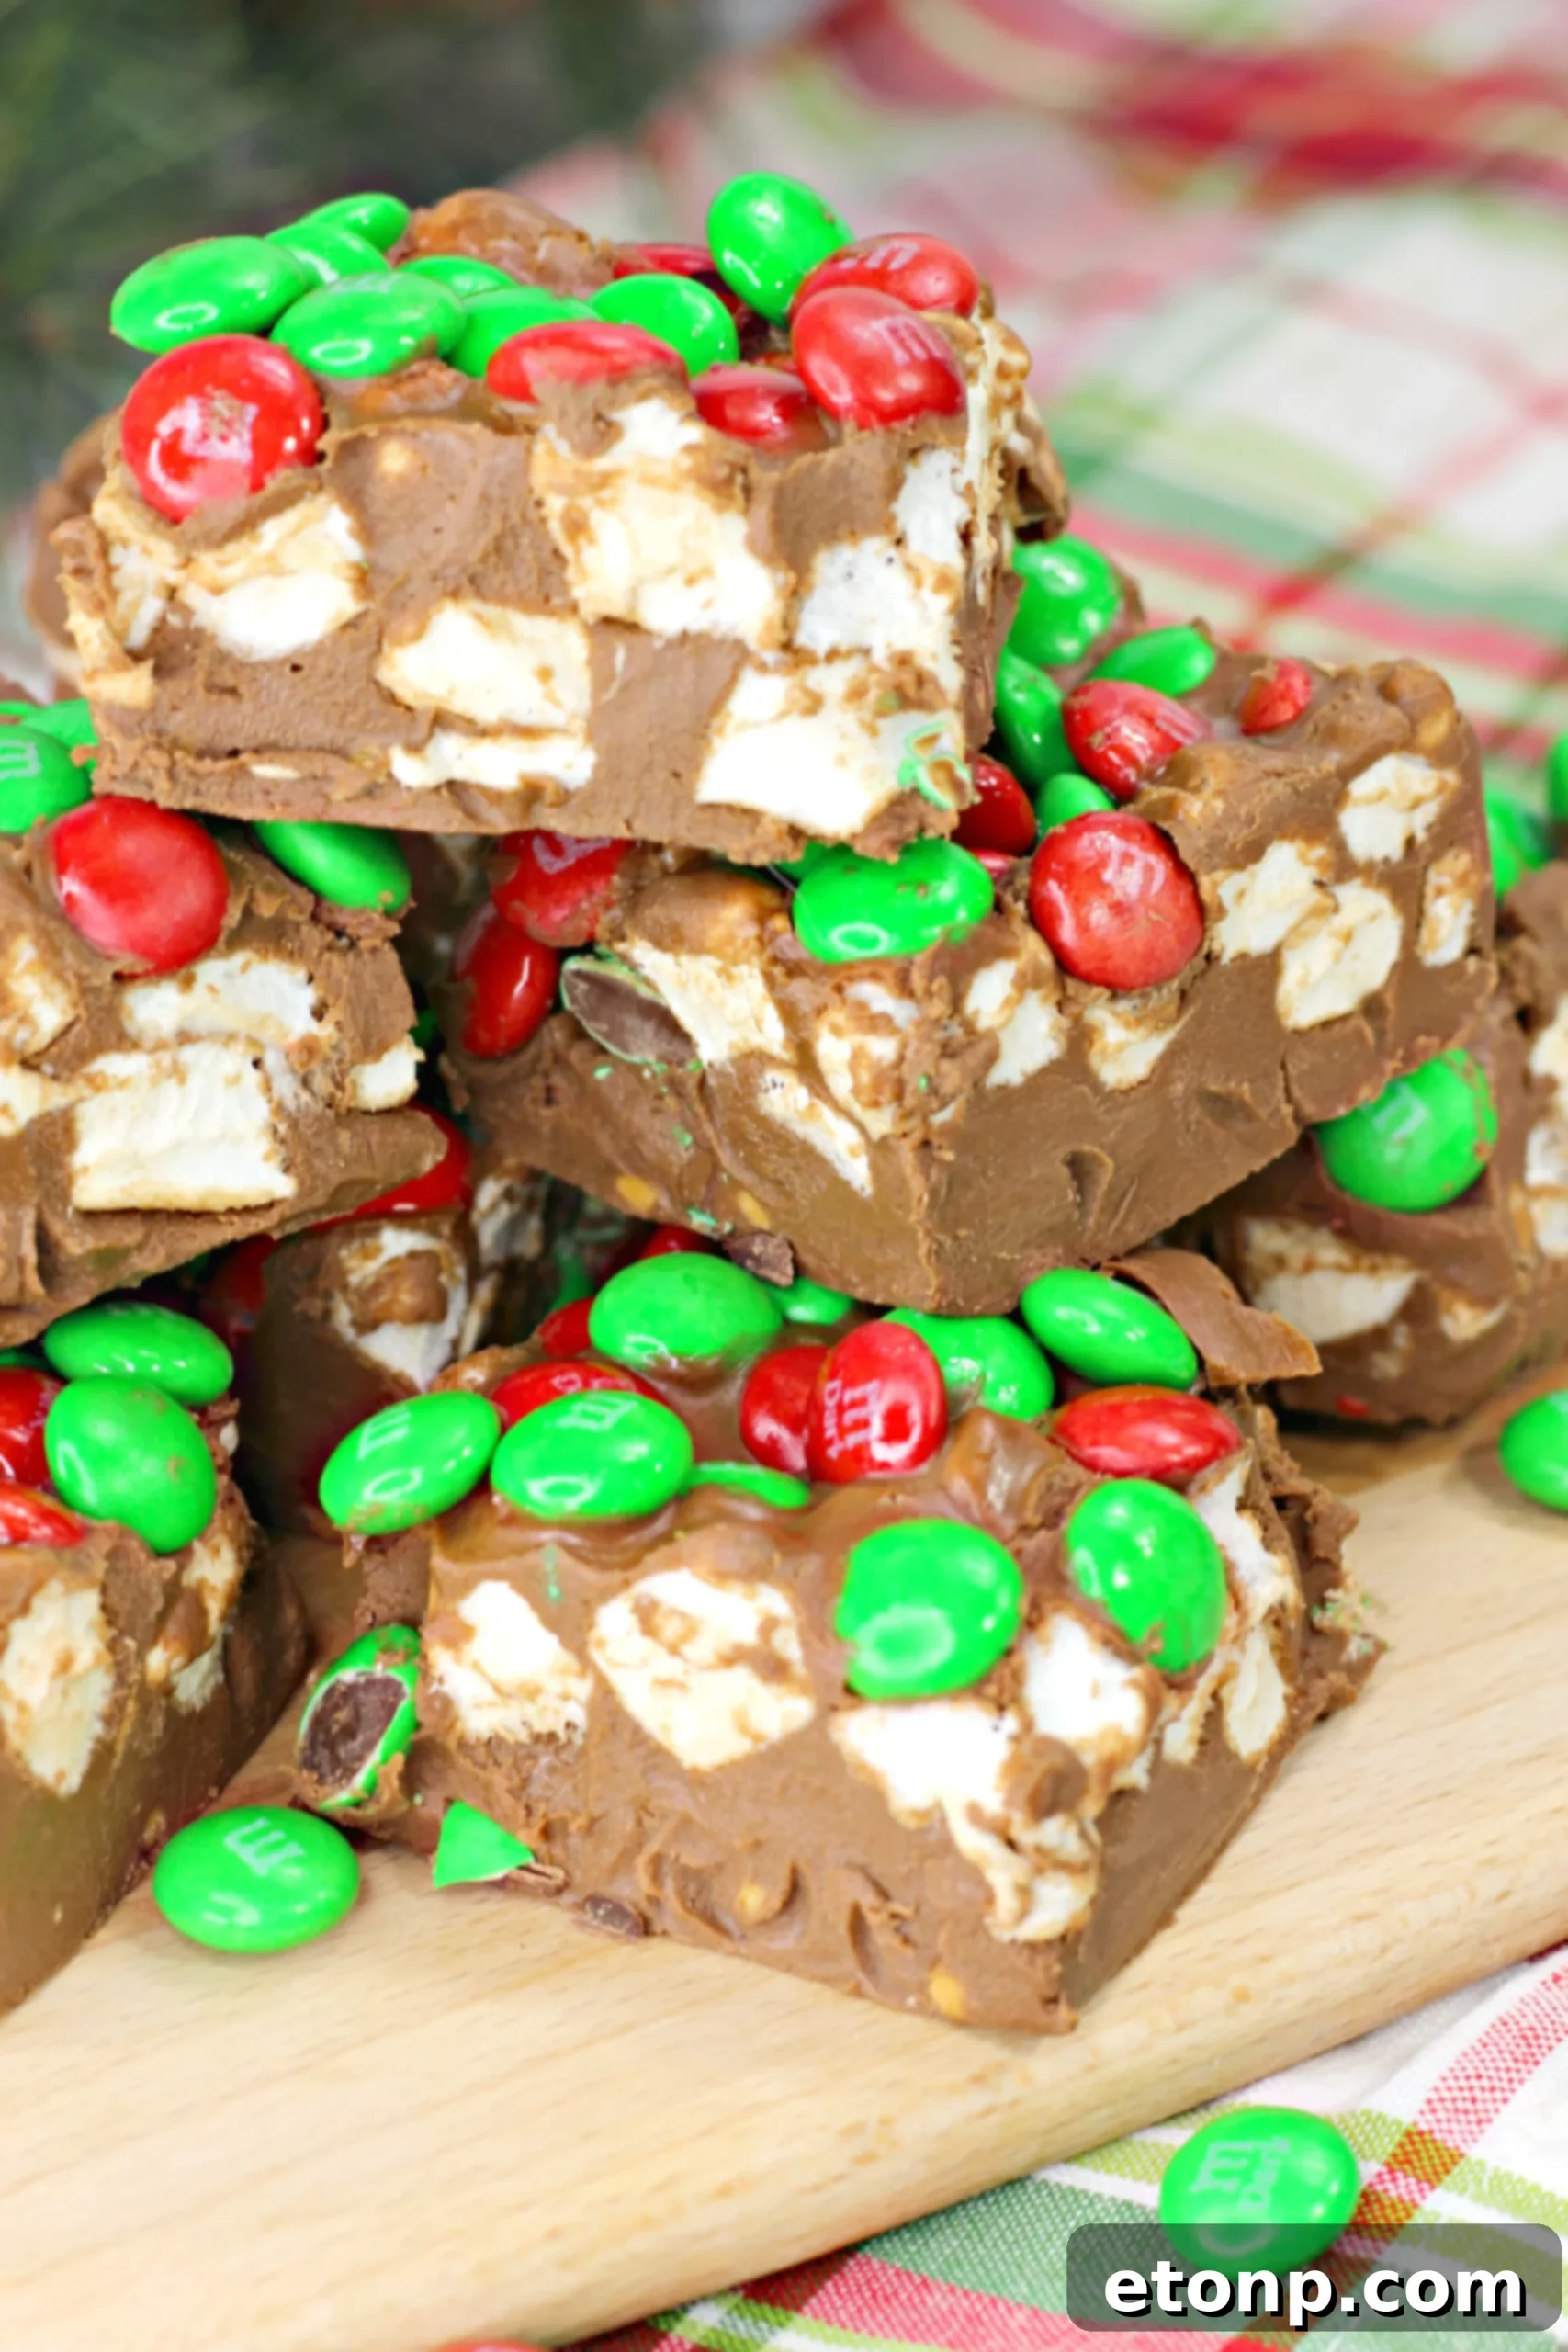
Whether you’re looking for an effortless dessert to impress your guests, a quick treat for a bake sale (or rather, a *no-bake* sale!), or just a simple way to indulge your chocolate cravings, these No-Bake Holiday Marshmallow Bars are the answer. They are rich, mouthwatering, and so utterly delicious, you’ll find it hard to stop at just one. These deceptively easy bars require only a few ingredients and zero oven time, making them a true holiday miracle. They perfectly bridge the gap between a classic dessert bar and rich, creamy fudge, delivering a taste experience that is both comforting and exhilarating.
Ready to make these delightful bars?
Please remember to SHARE on Facebook and PIN IT for later!
FOLLOW ME ONPINTERESTBY CLICKING HERE <——
No Bake Holiday Marshmallow Bars
A simple, no-bake recipe for rich, fudgy, and chewy marshmallow bars perfect for any holiday or celebration. Customize the M&M colors to fit any theme!
Ingredients
- 1 1/2 C Nestle chocolate chips
- 1 1/3 C butterscotch chips
- 1 C peanut butter
- 1 1/4 C mini marshmallows
- 1 C Red and Green M&M’s (or colors of your choice)
Instructions
- Line an 8×8 inch baking dish with parchment paper, allowing some overhang on the sides for easy removal, and set aside.
- In a large microwave-safe bowl, combine the chocolate chips, butterscotch chips, and peanut butter.
- Melt the mixture in the microwave in 30-second intervals, stirring thoroughly after each, until completely melted and smooth. This usually takes about 1.5 to 2 minutes in total.
- Once smooth, stir in the mini marshmallows until they are fully coated in the chocolate mixture.
- Pour the chocolate-marshmallow mixture into the prepared baking dish.
- Using a spatula, spread the mixture evenly across the bottom of the pan.
- Generously sprinkle the M&M’s onto the top of the mixture and lightly press them down to ensure they stick.
- Place the baking dish into the refrigerator for at least 2 hours, or until the bars are completely set and firm.
- Once set, use the parchment paper overhang to lift the entire slab out of the pan.
- Cut the bars into 2-inch squares.
- ENJOY these rich and delightful treats!
Did you make this recipe?
We’d love to see your creations! Make sure to follow on Pinterest for more incredible recipes and tag us in your posts!
Share on Facebook