
Irresistibly Delicious Toasted Marshmallow Frosting: Your Ultimate Guide to Sweet Perfection!
Prepare to elevate your dessert game with this truly divine Toasted Marshmallow Frosting! This isn’t just any frosting; it’s a cloud of sweet, smoky, and unbelievably light perfection that will transform your cakes, cupcakes, and other treats into extraordinary culinary delights. Over the next few months, I’m thrilled to share a plethora of incredible frosting recipes, and this marshmallow-inspired marvel is leading the charge with its unique flavor and charming presentation.
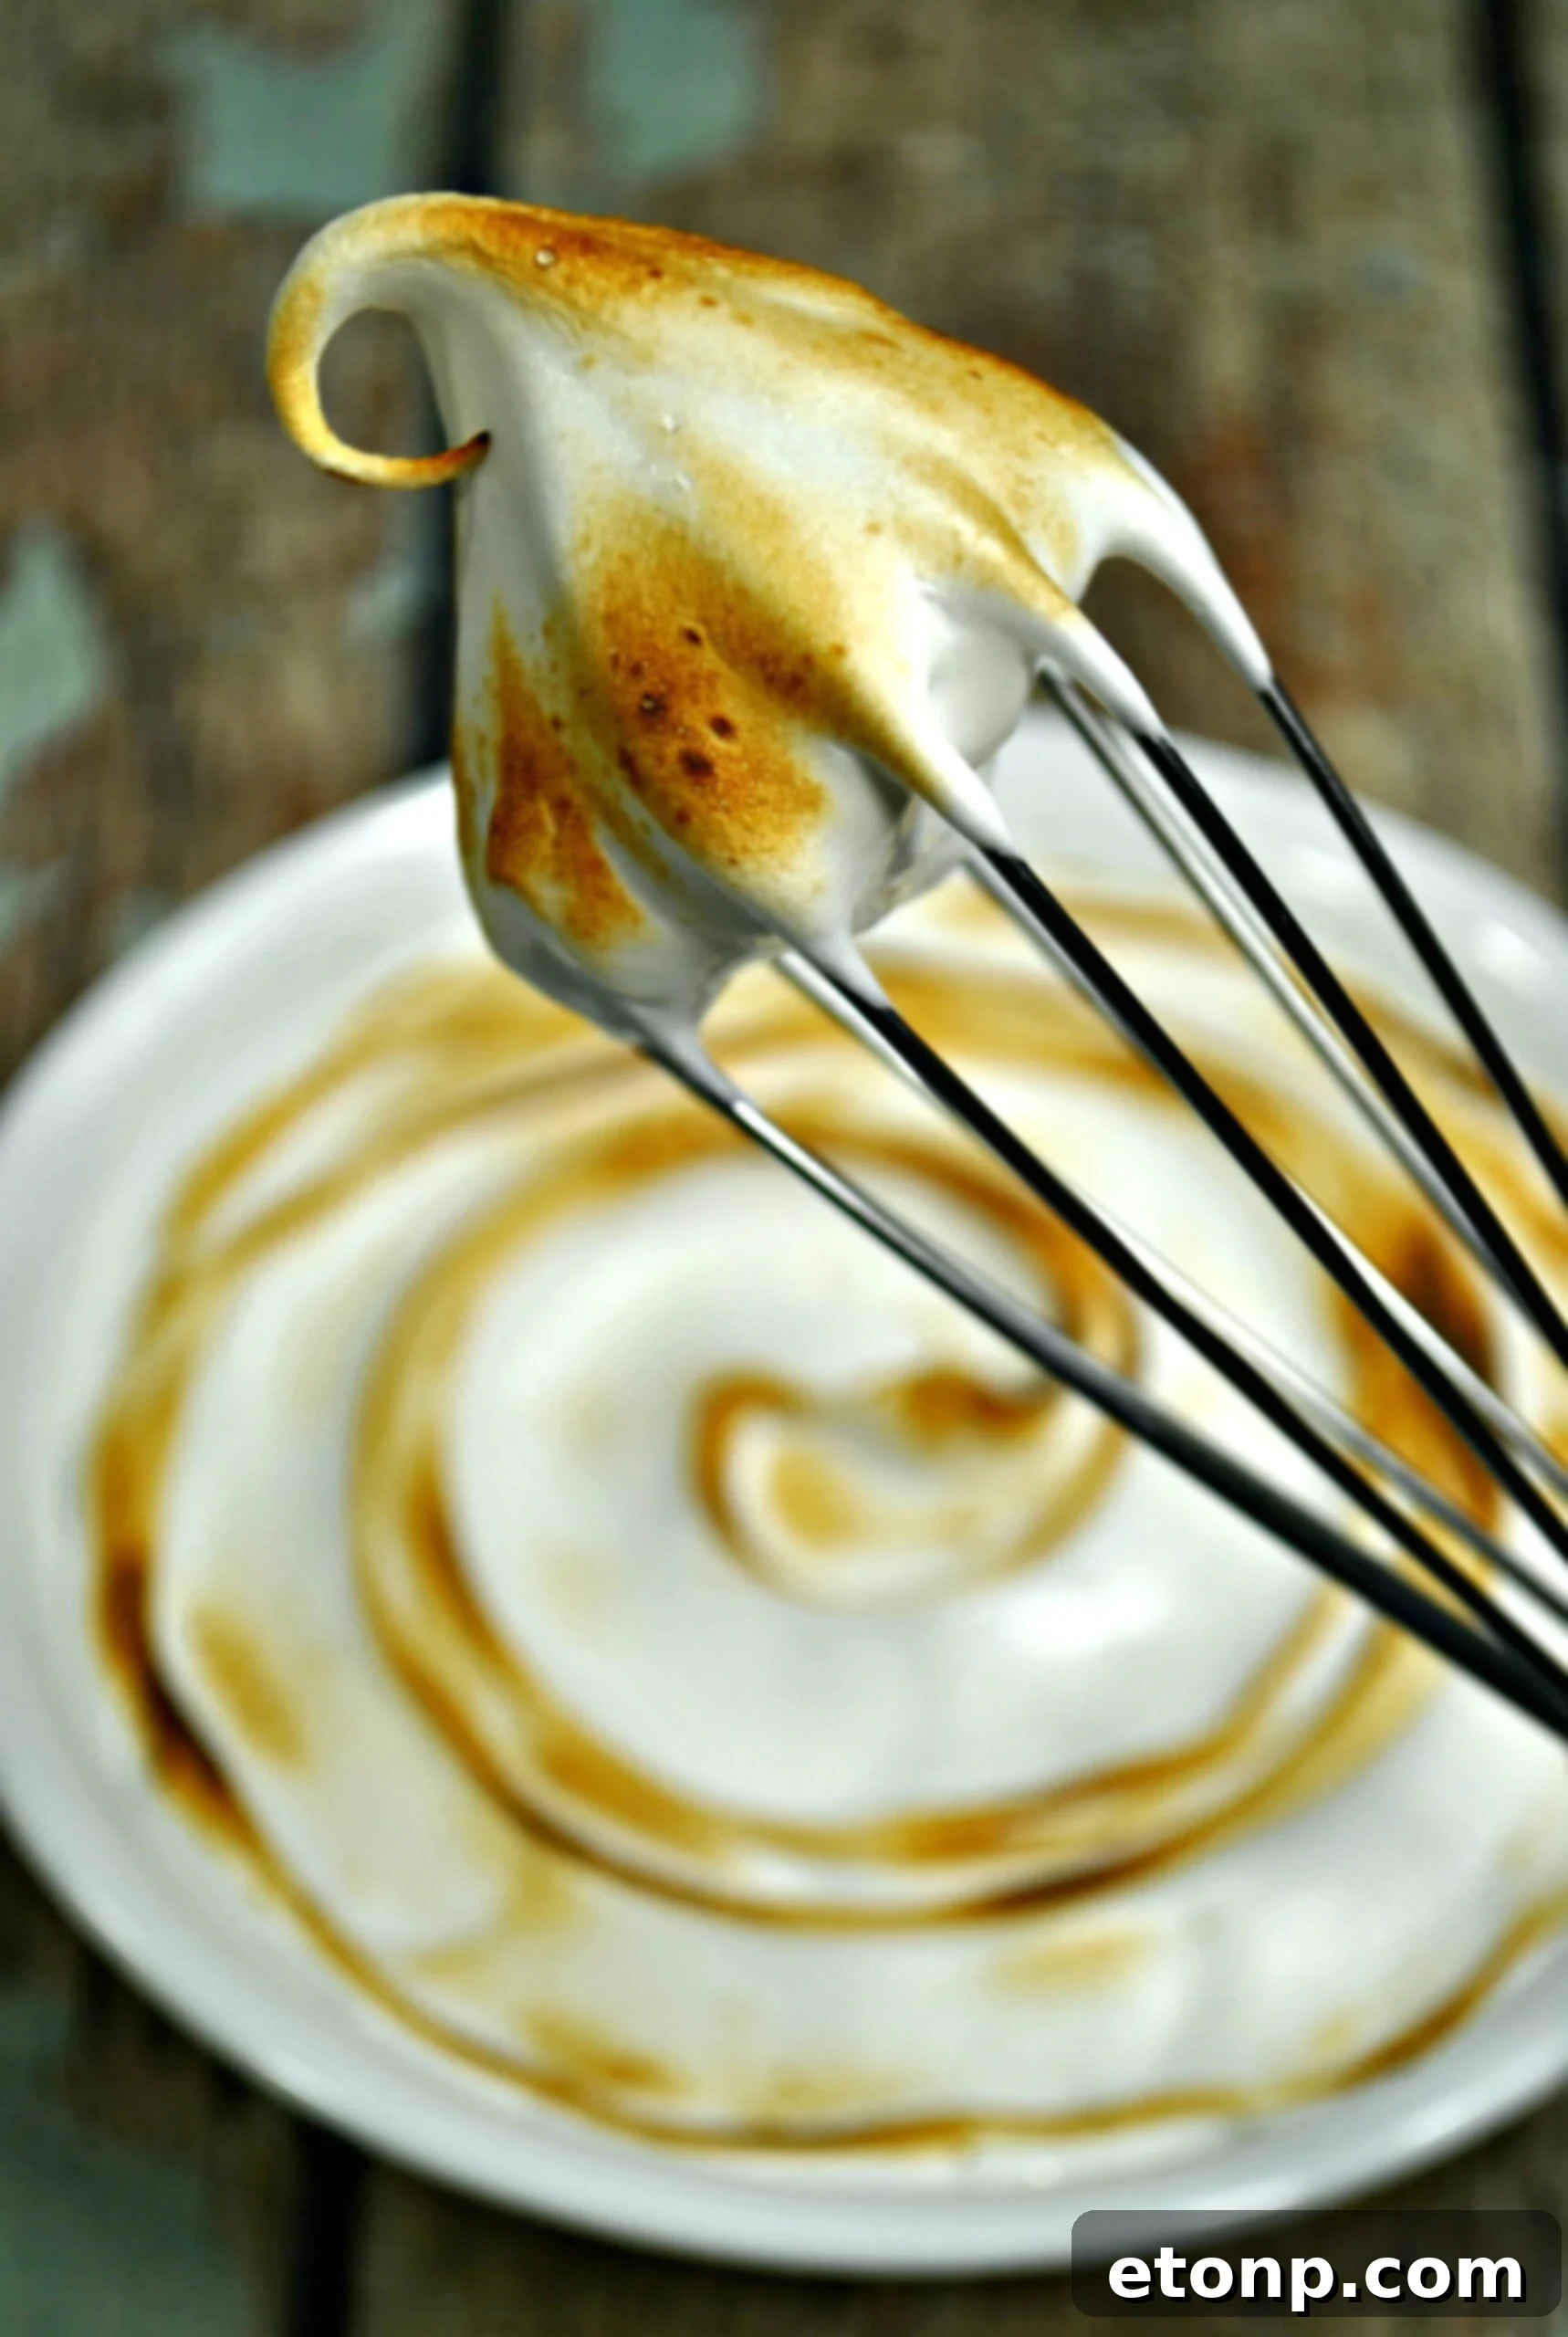
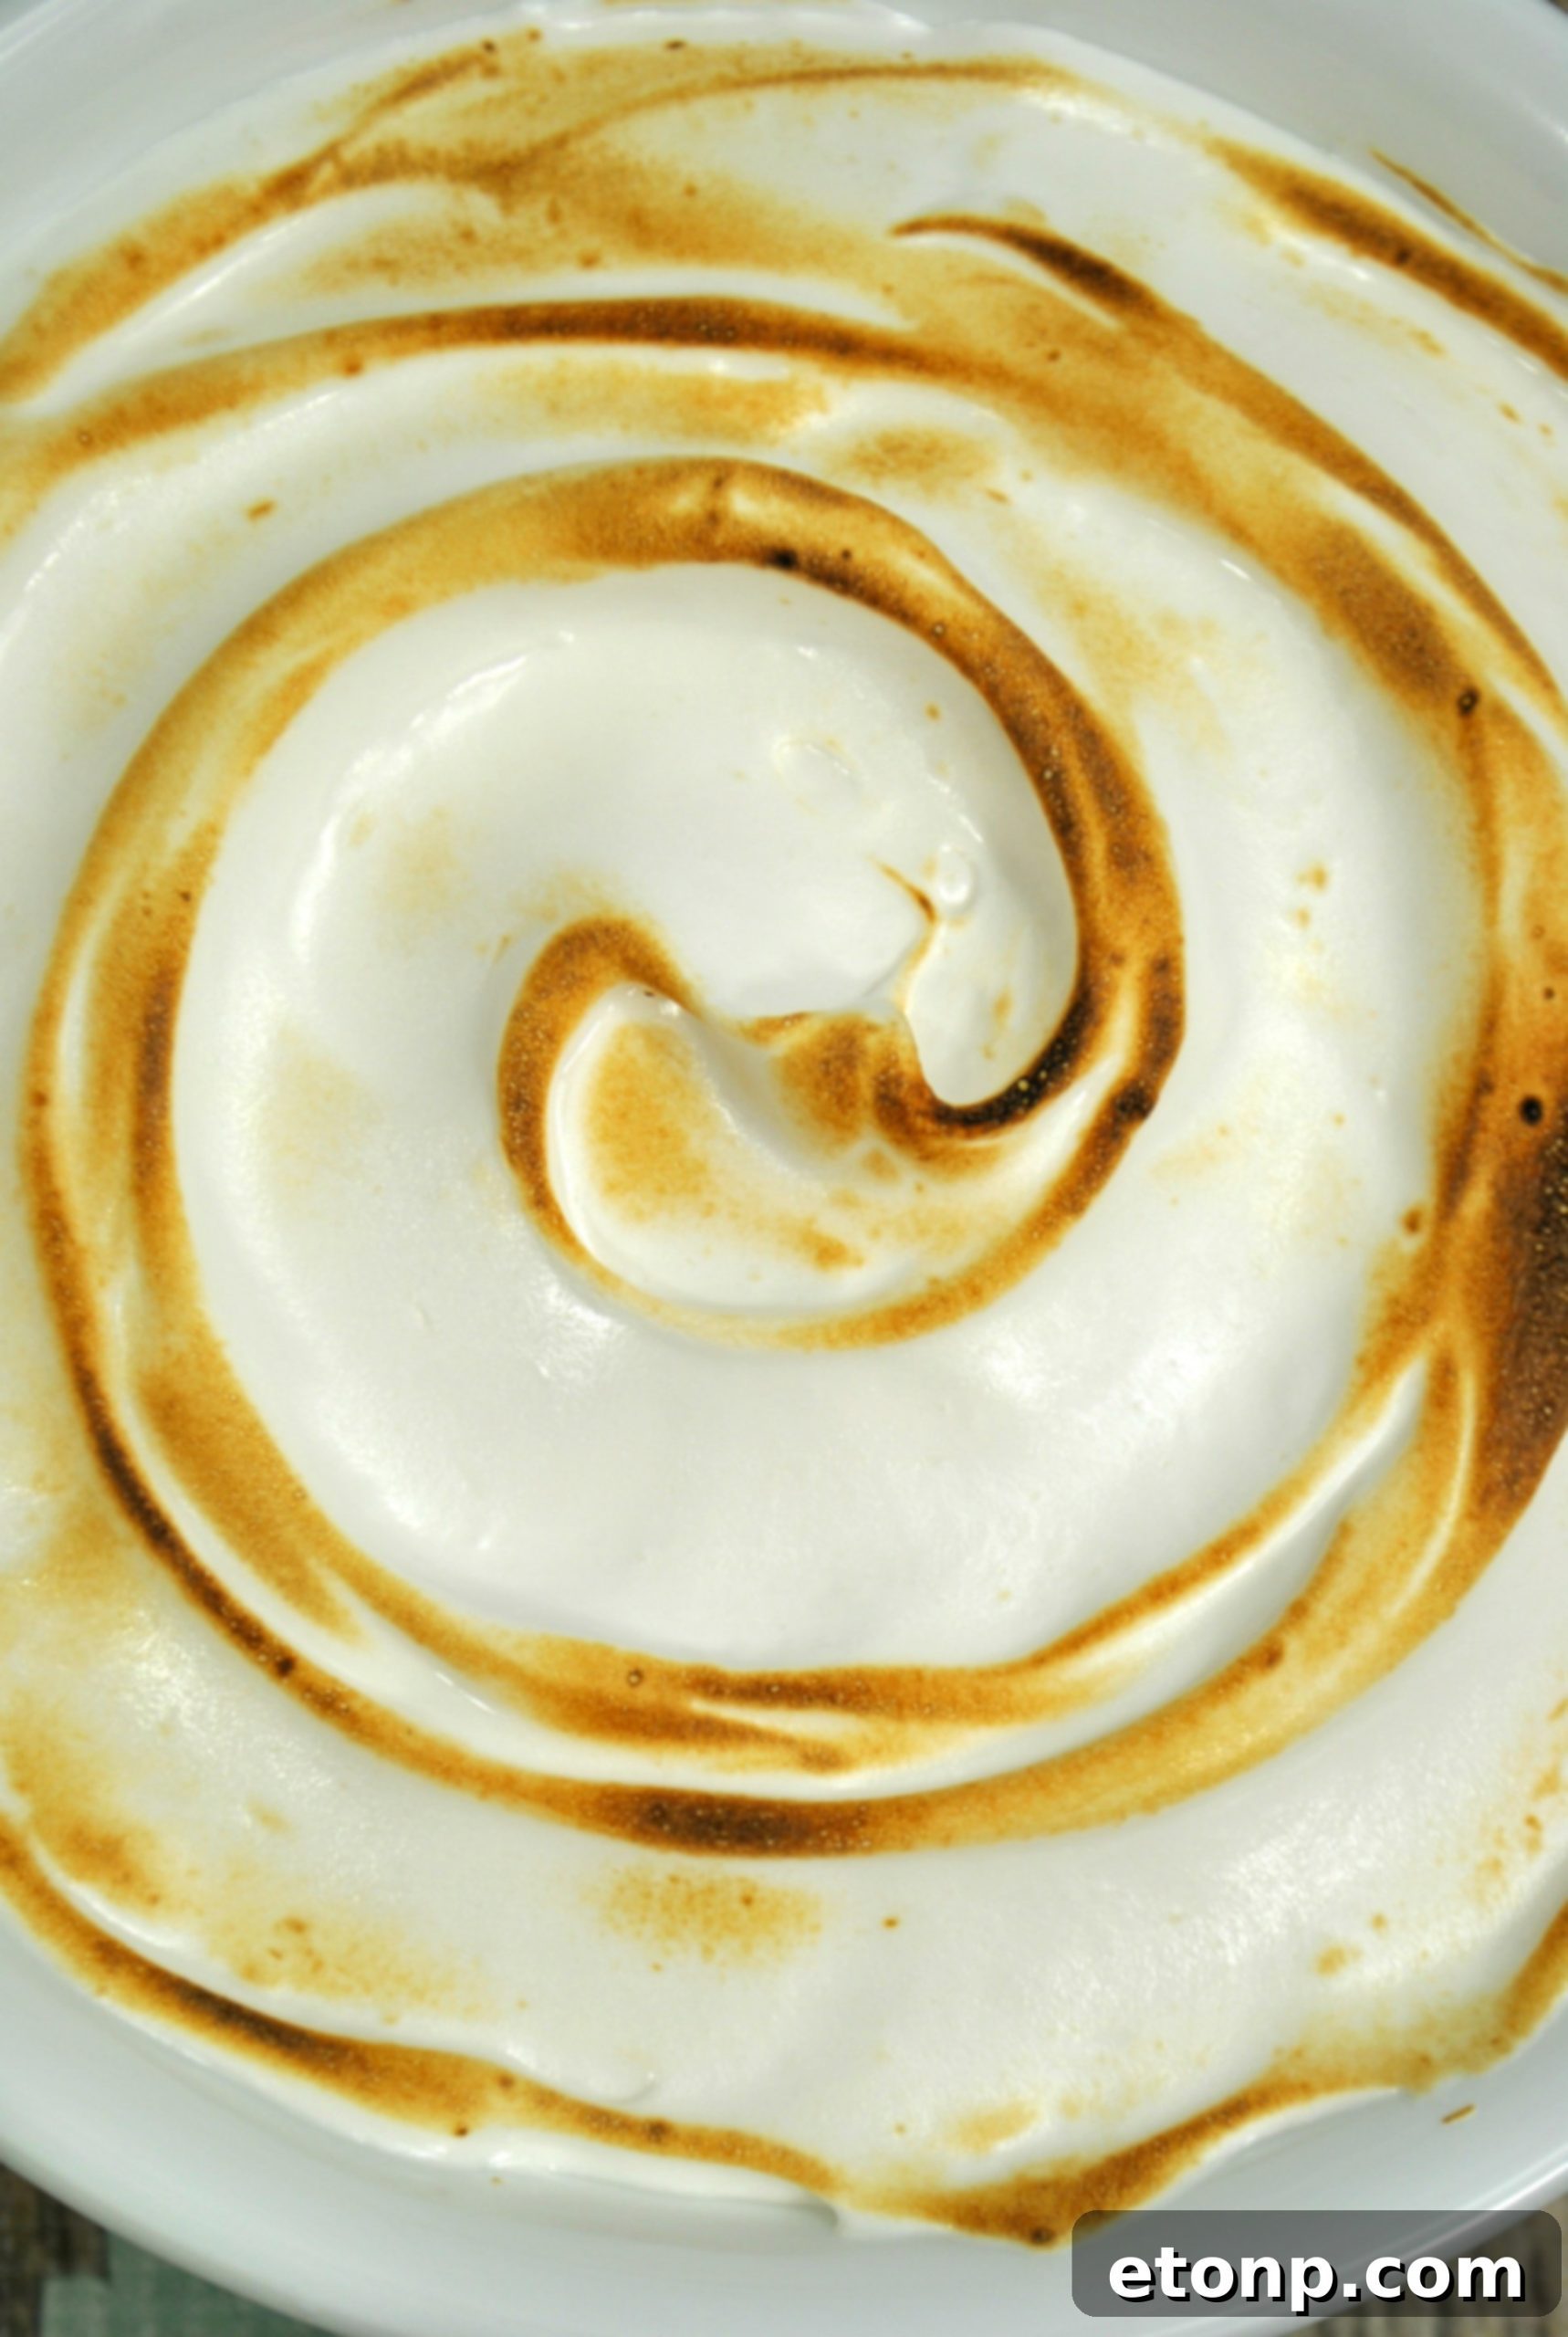
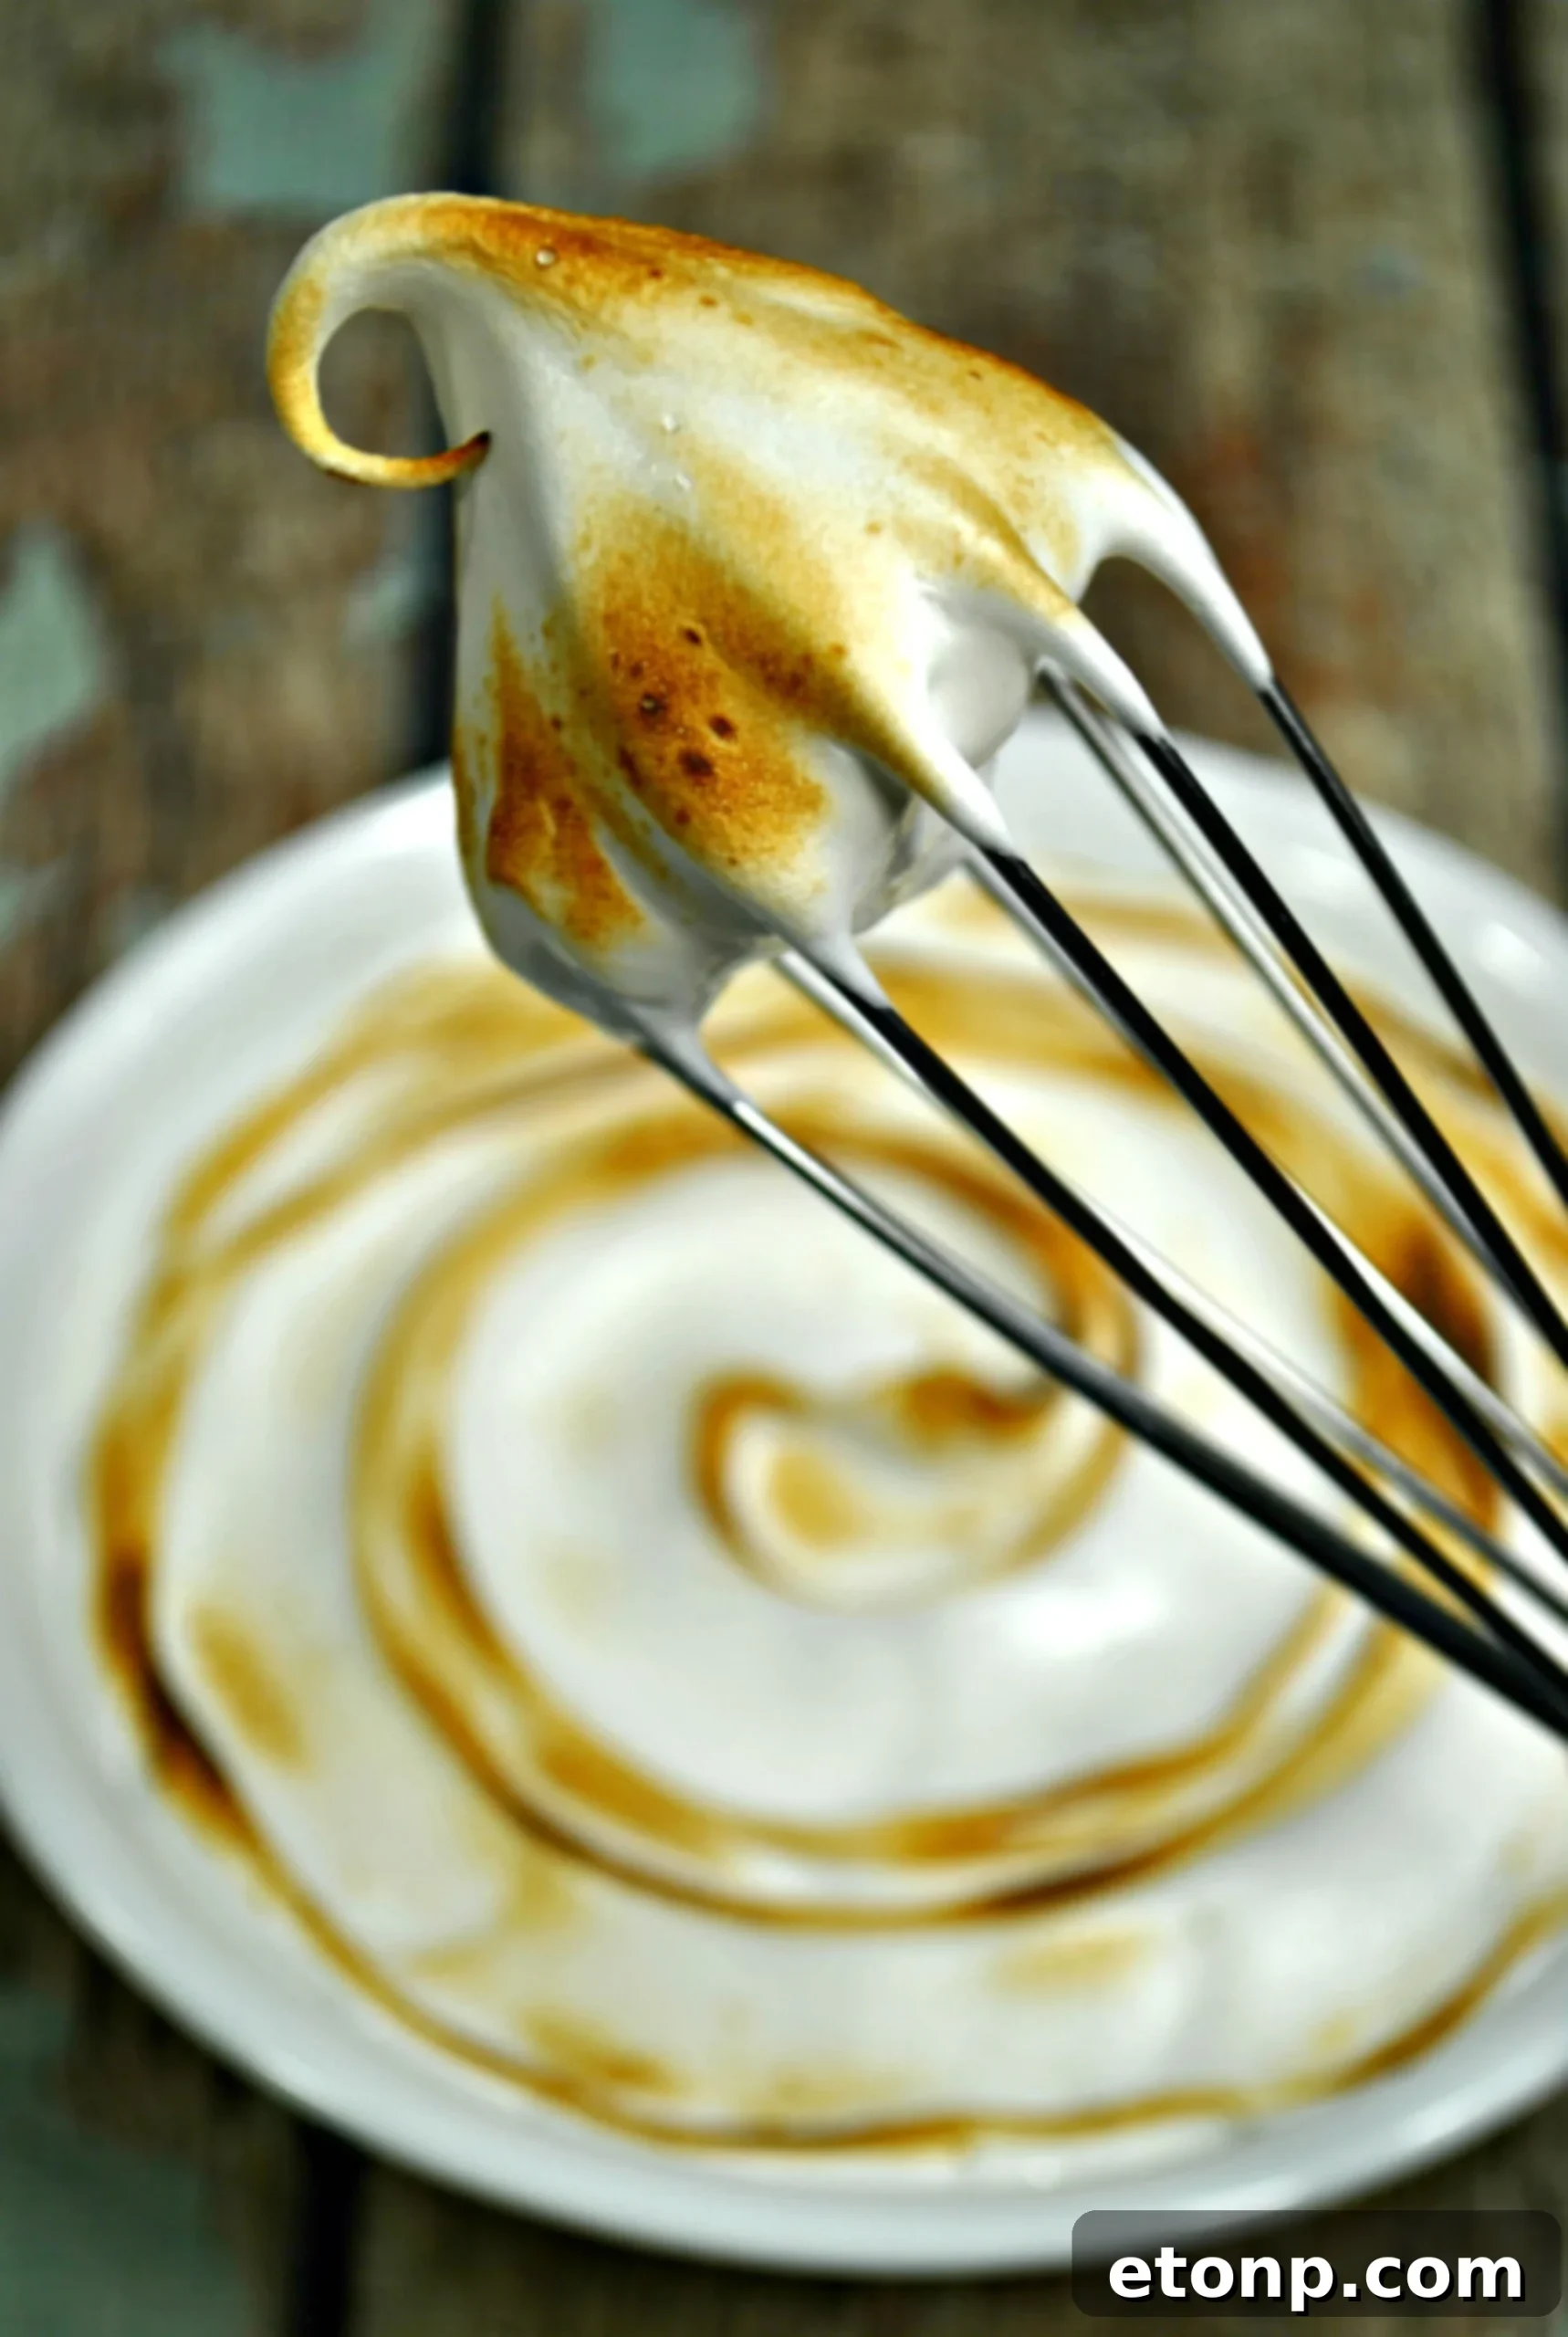
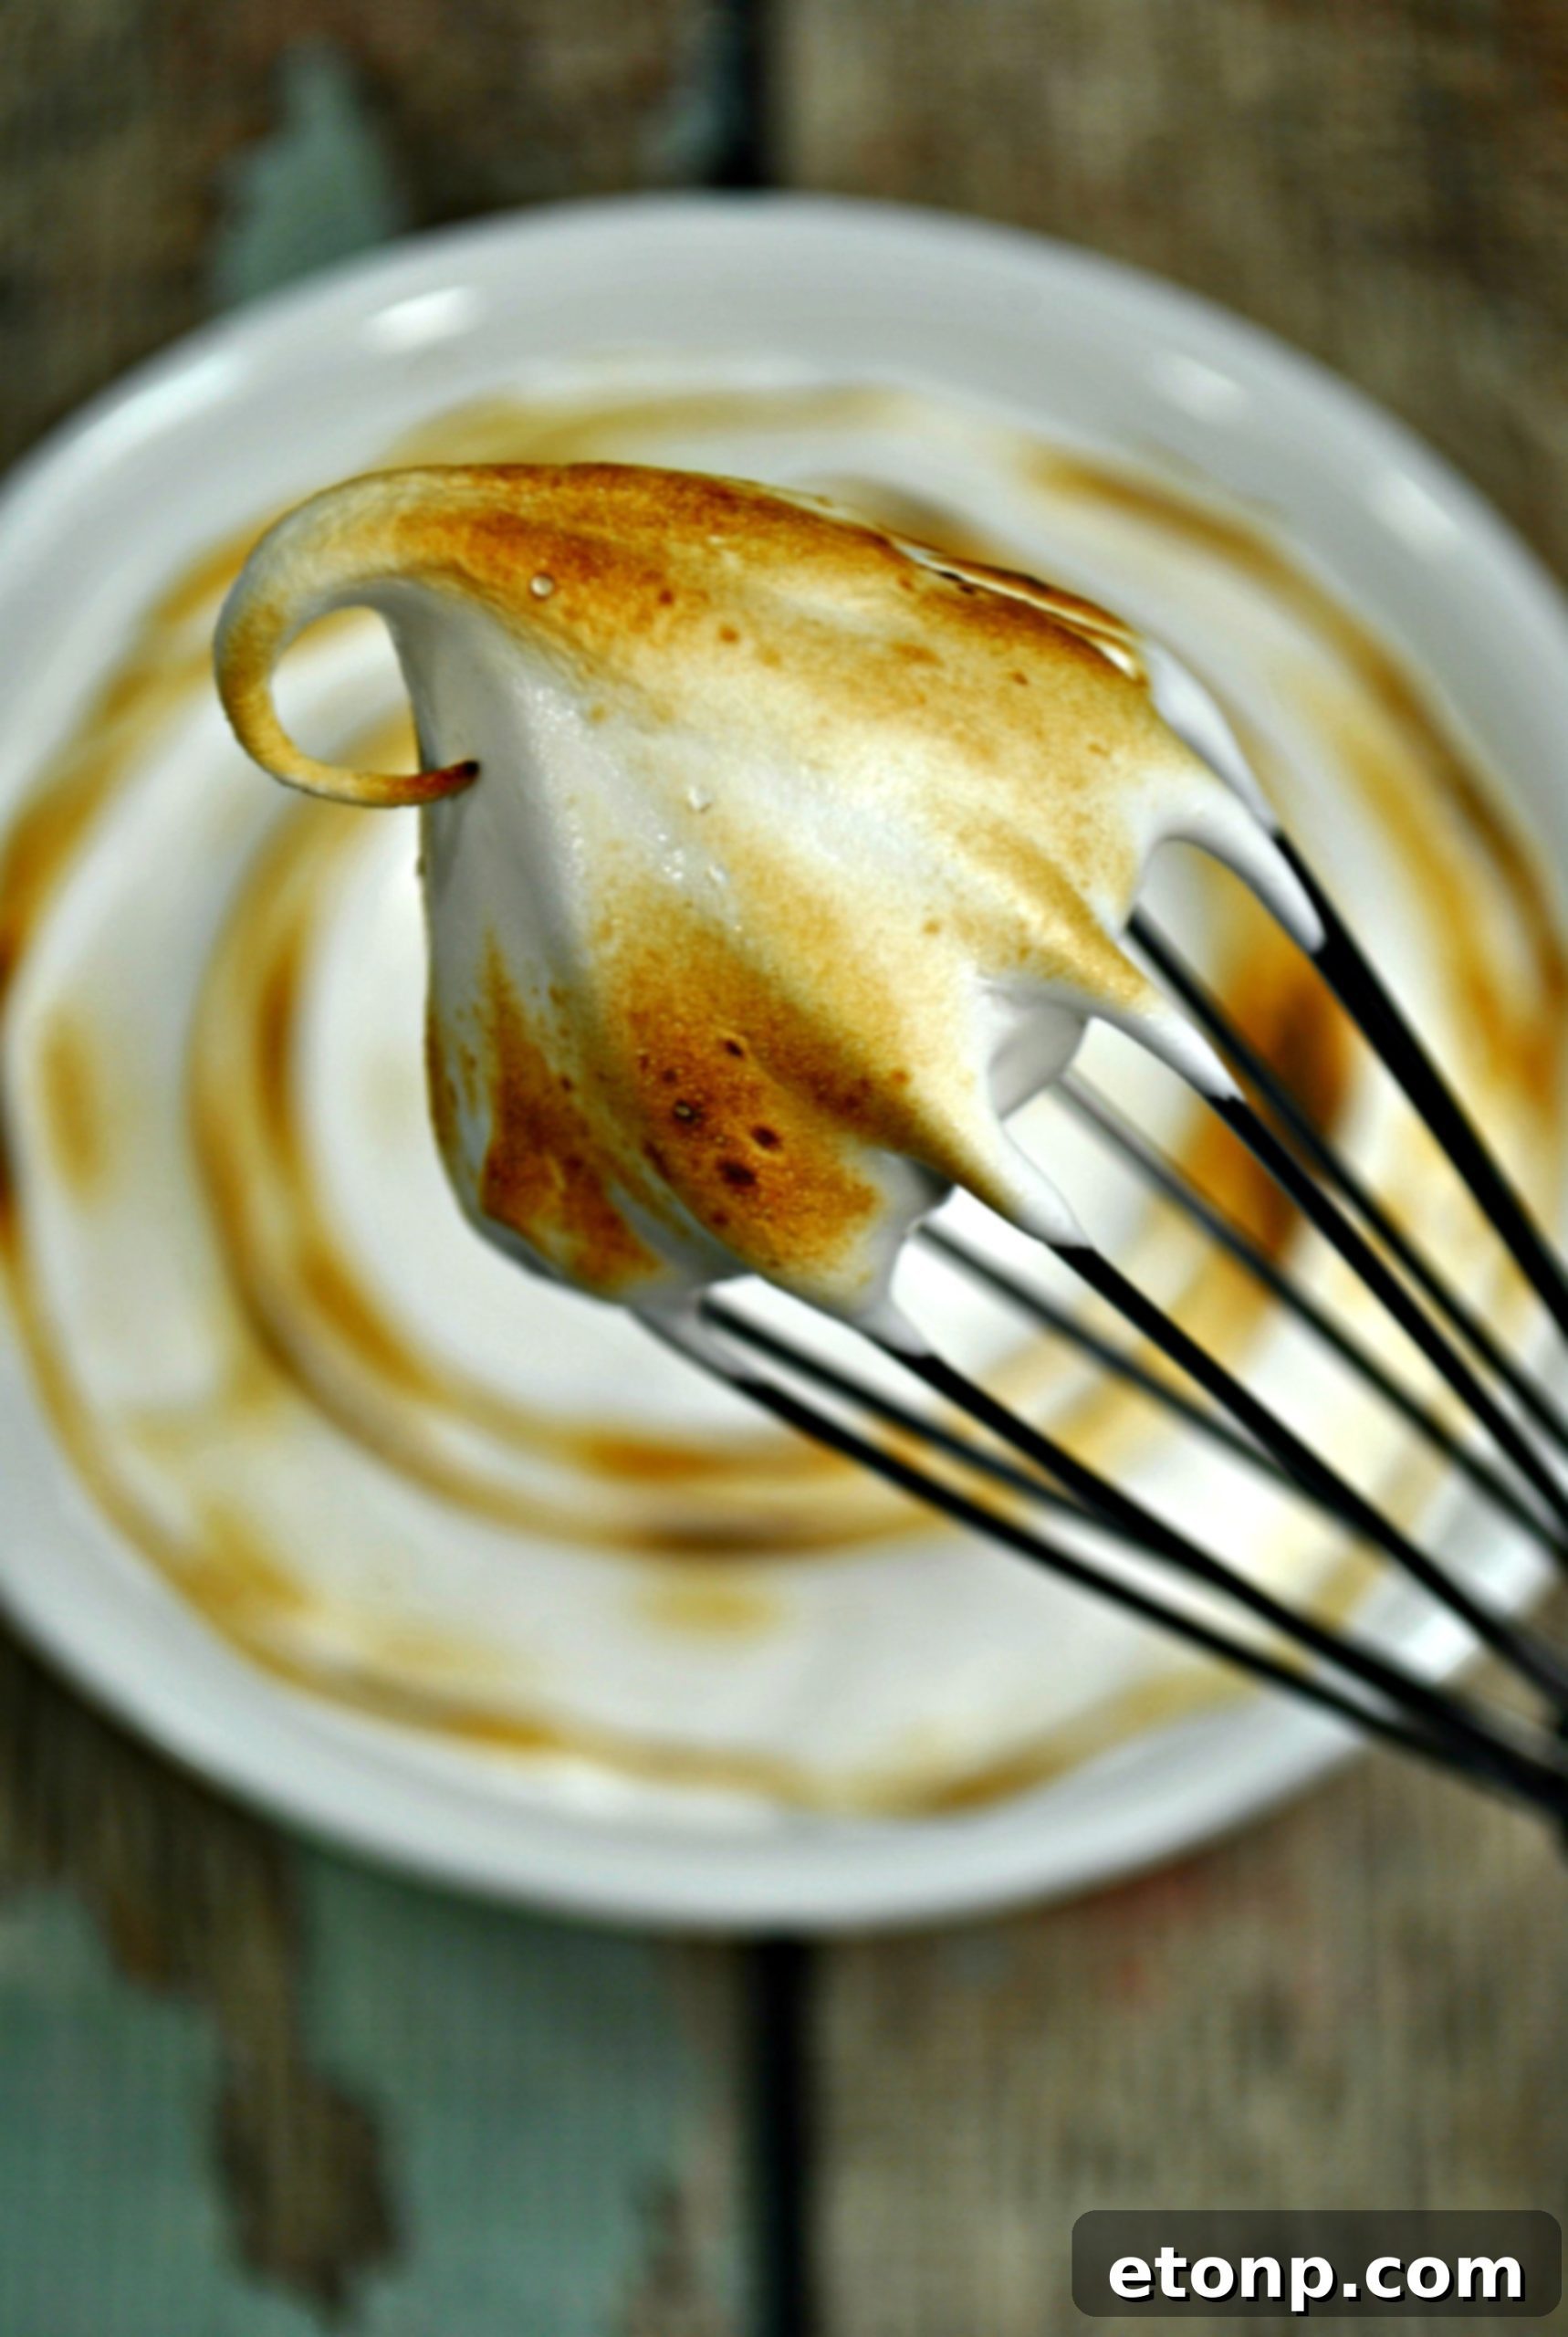
Imagine the cozy warmth of a campfire s’more, but in a delicate, spreadable form. That’s precisely the experience this frosting delivers. While you can certainly enjoy it as a classic marshmallow fluff, I wholeheartedly encourage toasting the top. That beautiful, golden-brown char not only adds a mesmerizing visual appeal reminiscent of a crackling campfire, but it also infuses an unparalleled depth of flavor that takes this frosting from delicious to truly unforgettable. It’s a simple step that yields spectacular results, making your baked goods stand out with a rustic yet elegant touch.
One of the best parts about this Toasted Marshmallow Frosting is its versatility in preparation. I’m excited to share two distinct methods for creating this dreamy topping, both of which promise an absolutely incredible taste and texture. Whether you’re looking for a quick and simple solution using pantry staples or prefer a more traditional, from-scratch approach for that extra homemade touch, I’ve got you covered. Each method results in a frosting that’s light, fluffy, and utterly delicious, ensuring there’s a perfect path for every baker, regardless of skill level or time constraints.
Choosing between the “Easy Way” and the “Harder Way” truly depends on your preference and baking mood. The easy method leverages the convenience of store-bought marshmallow fluff, combining it with butter and powdered sugar to create a rich, stable, and wonderfully sweet frosting in mere minutes. It’s perfect for when you need a show-stopping dessert but are short on time. On the other hand, the “Harder Way” guides you through creating a classic Swiss meringue buttercream, which then transforms into an airy, elegant marshmallow frosting with a more refined sweetness and silky texture. Both are fantastic, and I encourage you to try both to discover your personal favorite!
The Art of Toasting: Adding That Campfire Charm
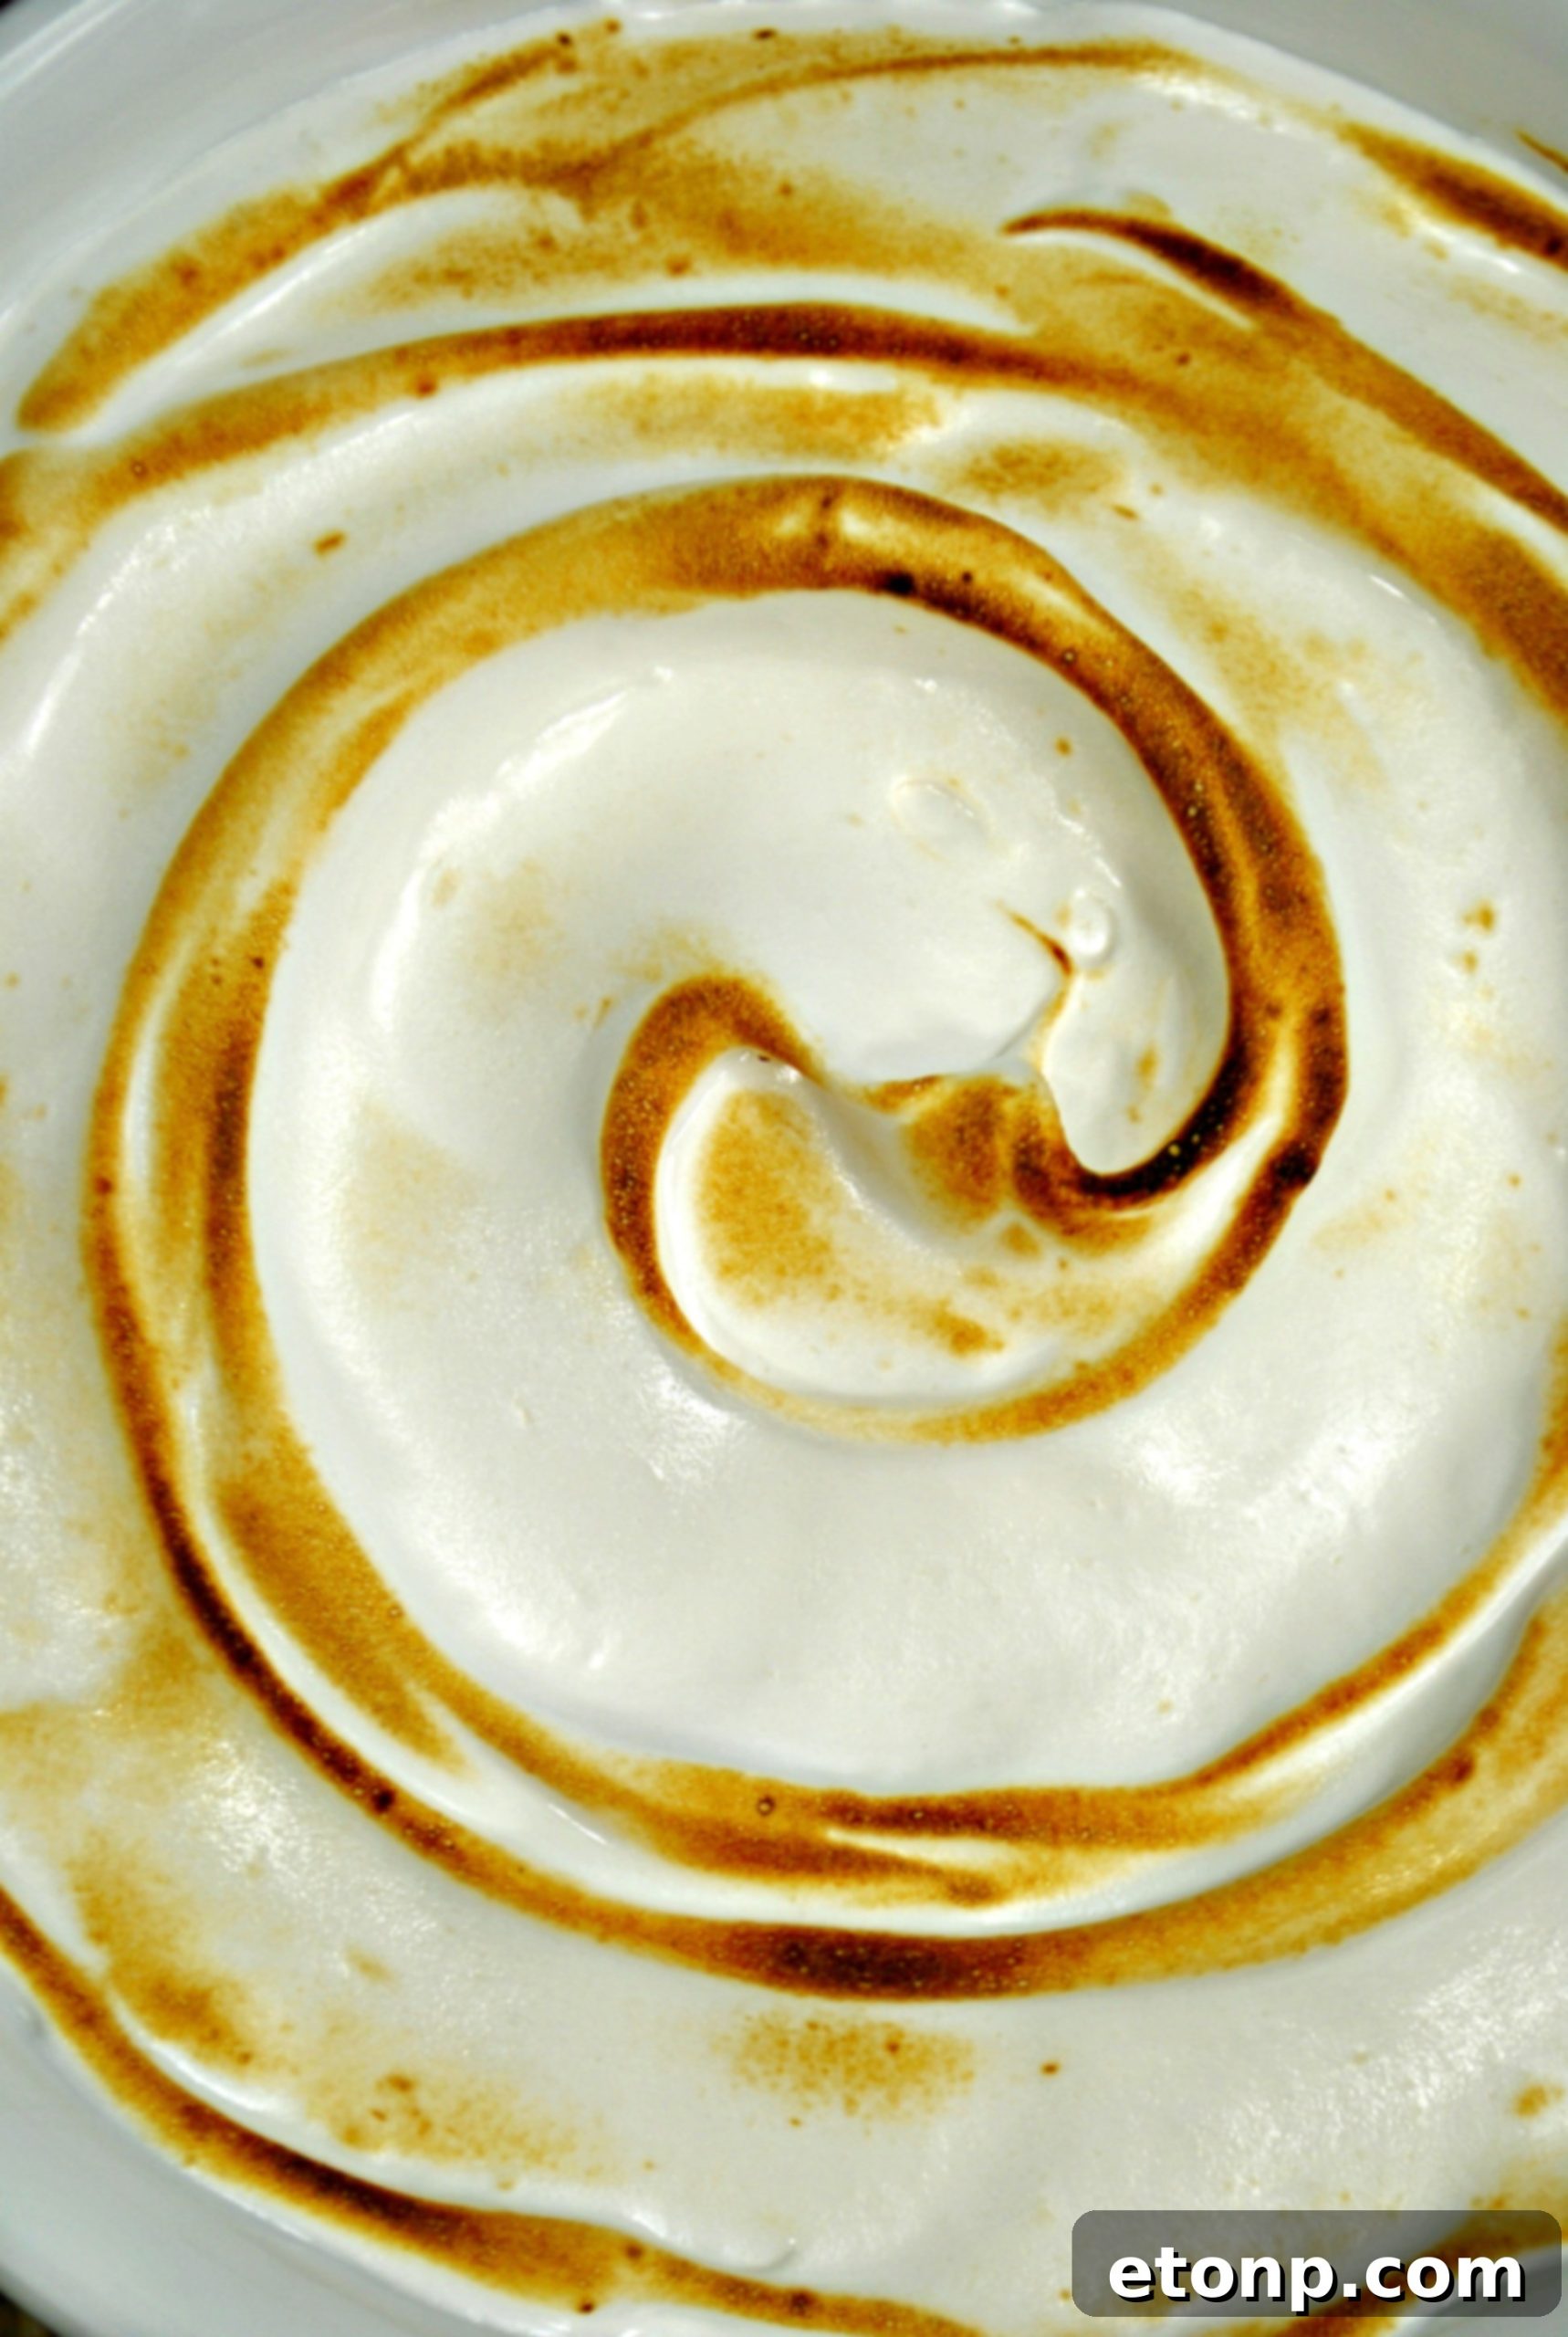
A few weeks ago, I shared my beloved homemade, 4-ingredient classic buttercream recipe – a foundational frosting that every baker should have in their repertoire. That recipe is fantastic for its simplicity and versatility, but this Toasted Marshmallow Frosting brings a whole new dimension of flavor and fun. The “toasted” aspect is what truly sets it apart. Achieving that perfect golden-brown top is easier than you think. For this particular batch, I used a kitchen torch, which provides precise control and creates that iconic campfire char quickly and safely. You can also achieve this under a broiler, keeping a very close eye on it to prevent burning. The caramelization adds a deep, slightly smoky flavor that complements the sweetness of the marshmallow beautifully.
Why You’ll Fall in Love with This Frosting
This Toasted Marshmallow Frosting isn’t just a recipe; it’s an experience. Its airy texture and complex flavor profile make it a standout choice for any celebration or simply a special treat. Here’s why it deserves a permanent spot in your recipe book:
- Incredible Flavor: The combination of sweet marshmallow with a hint of toasted caramel is simply irresistible. It evokes nostalgic memories of s’mores around a bonfire.
- Beautiful Texture: Both methods yield a light, fluffy, and spreadable frosting that holds its shape well, perfect for piping intricate designs or simple swirls.
- Visual Appeal: The toasted peaks create a stunning, professional-looking finish that will impress all your guests.
- Versatility: Excellent on chocolate cakes, vanilla cupcakes, graham cracker desserts, brownie sundaes, or even as a unique topping for hot cocoa.
- Two Methods for Every Baker: Whether you’re a beginner or an experienced baker, you’ll find a method that suits your comfort level.
Essential Tips for Frosting Success
Achieving perfect frosting, regardless of the method, often comes down to a few key techniques. Here are some indispensable tips to ensure your Toasted Marshmallow Frosting turns out flawlessly every time:
- Room Temperature Ingredients (Easy Way): For the easy method, ensure your butter is genuinely softened to room temperature. This allows it to cream smoothly with the sugar and prevents a lumpy frosting.
- Clean Bowl (Harder Way): For the harder method (Swiss meringue), make absolutely sure your mixing bowl and whisk attachment are impeccably clean and grease-free. Any trace of fat can prevent the egg whites from whipping up properly. Wiping them down with a lemon wedge or vinegar before use can help.
- Patience with Whipping: Don’t rush the whipping process, especially for the harder method. Whipping until stiff peaks form and the mixture is cool to the touch is crucial for stability.
- Gentle Toasting: When using a kitchen torch or broiler, work slowly and keep the flame or heat source moving constantly. Marshmallows can burn very quickly, so vigilance is key for that perfect golden-brown hue.
- Flavor Extracts: While vanilla extract is a classic choice, almond extract offers a delightful, slightly nutty undertone that pairs beautifully with marshmallow. Feel free to experiment or use a combination.
How to Store Your Delicious Marshmallow Frosting
Proper storage ensures your frosting remains fresh and delicious for future use. For the Easy Way frosting, store it in an airtight container in the refrigerator for up to one week, or in the freezer for up to three months. Before using, allow it to thaw to room temperature and give it another quick beat with your mixer to restore its creamy, fluffy texture. The Harder Way (Swiss meringue-based) frosting is best enjoyed immediately for optimal texture and lightness. If you must store it, refrigerate it for a day or two and re-whip before serving, but be aware it may lose some of its initial airy volume.
Serving Suggestions: Beyond the Cupcake
While this Toasted Marshmallow Frosting is undeniably perfect for cupcakes and cakes, its applications extend far beyond. Get creative with how you incorporate this delightful topping into your desserts:
- S’mores Pie: Use it as the topping for a chocolate ganache-filled graham cracker crust pie.
- Brownie Bliss: Spread a generous layer over warm brownies and toast just before serving.
- Hot Chocolate Enhancer: Dollop a spoonful onto a mug of hot chocolate and toast for a gourmet touch.
- Cookie Sandwiches: Pipe between two soft chocolate chip or graham cracker cookies.
- Fruit Dip: Serve alongside fresh berries or sliced apples for a sweet dip.
Please remember to SHARE this incredible recipe on Facebook and PIN IT for later! Your shares help us bring more delicious recipes to bakers everywhere.
FOLLOW ME ON PINTEREST BY CLICKING HERE
Toasted Marshmallow Frosting! – Only 4 Ingredients (Easy Way)!
Ingredients
EASY WAY Ingredients:
- 1 C unsalted sweet cream butter, softened
- 1 13 ounce jar marshmallow fluff
- 4 C powdered sugar
- 1/2 tsp almond OR vanilla extract
HARDER WAY Ingredients:
- 1/4 teaspoon cream of tartar
- 4 large egg whites
- 1 cup granulated sugar
- 1 teaspoon vanilla or almond extract
Instructions
EASY WAY DIRECTIONS
- Using a standing mixer, cream together the softened butter and almond (or vanilla) extract until light and fluffy.
- Gradually beat in the powdered sugar, one cup at a time, until the mixture is creamy and smooth. Scrape down the sides of the bowl as needed.
- Add the marshmallow fluff to the mixture. Continue to beat on medium-high speed until all ingredients are well combined, and the frosting is creamy and thick, about 2-3 minutes.
- Scoop the finished frosting into an airtight container. It can be stored in the fridge for up to 1 week or in the freezer for up to 3 months.
- Before using for cupcakes or to frost a cake, allow the frosting to thaw completely to room temperature. Beat it again with your mixer for a minute or two to restore its creamy, thick consistency.
HARDER WAY DIRECTIONS (Swiss Meringue Marshmallow Frosting)
- In a heat-safe bowl (preferably glass or stainless steel), combine the egg whites, granulated sugar, and cream of tartar.
- Set the bowl over a saucepan containing a few inches of simmering water (creating a double boiler effect), ensuring the bottom of the bowl does not touch the water.
- Whisk constantly over the simmering water until the egg white mixture is warm to the touch (not hot) and the sugar has completely dissolved. This usually takes about 4 minutes. Test by rubbing a small amount between your fingers; it should feel smooth with no grainy sugar crystals.
- Carefully remove the bowl from the heat and transfer it to your stand mixer fitted with the whisk attachment.
- Beat the mixture on high speed until it forms stiff, glossy peaks and the meringue is completely cool to the touch. This can take about 8-10 minutes. The bowl should no longer feel warm.
- Finally, beat in the almond (or vanilla) extract until just combined. The frosting should be light, airy, and marshmallow-like.
- ENJOY! This frosting is best used immediately for optimal results.
Toasting the Frosting:
- Once your desserts are frosted, use a kitchen torch to gently toast the peaks of the marshmallow frosting until golden brown. Alternatively, place frosted items on a baking sheet and broil for 30-60 seconds, watching *very* carefully to prevent burning.
Did you make this delightful recipe?
We’d love to see your creations! Make sure to follow us on Pinterest for more inspiring recipes and baking adventures!
Share on Facebook