
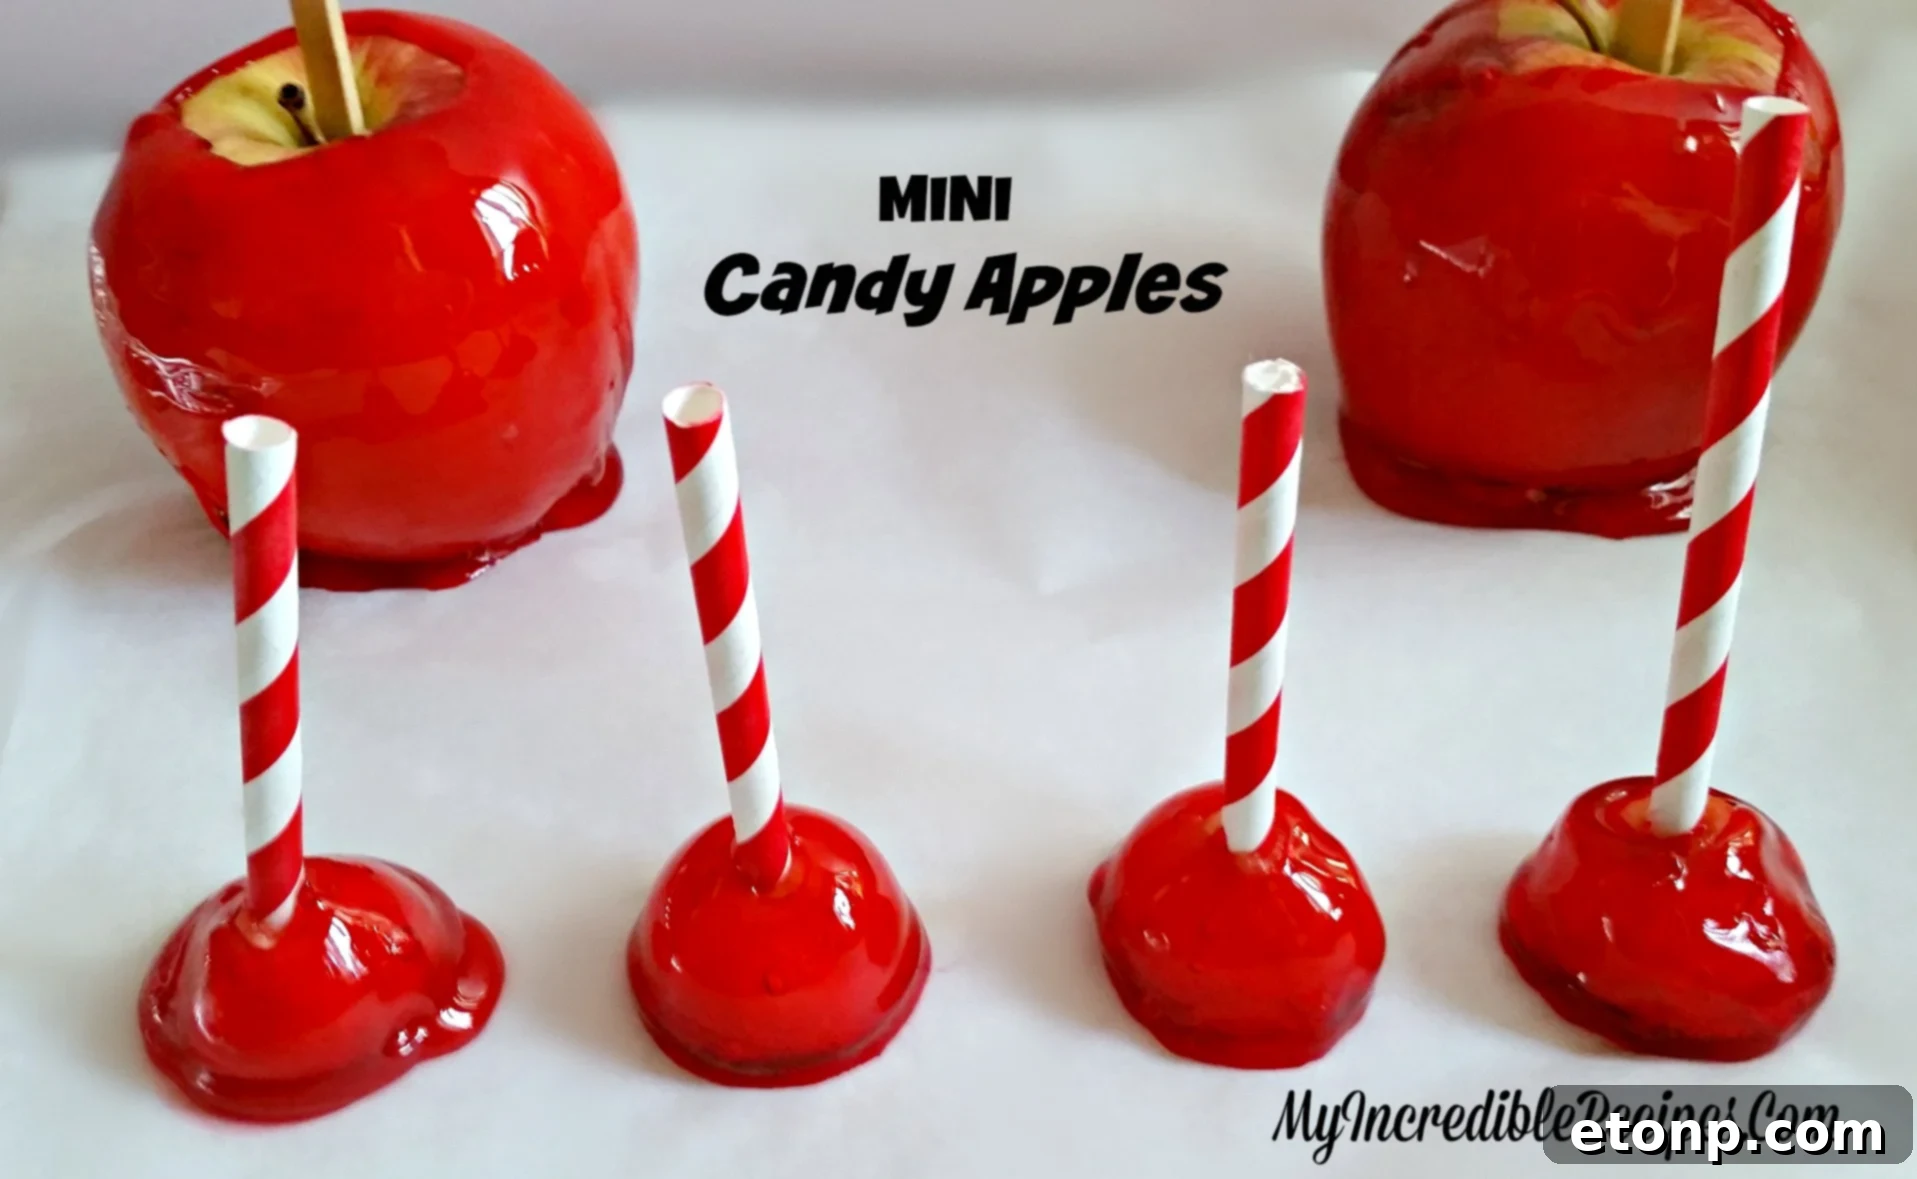
Irresistible Mini Candy Apples: The Perfect Bite-Sized Treat!
There’s a special charm about bite-sized foods, isn’t there? They’re often more fun, easier to enjoy, and perfect for sharing. And when it comes to sweet treats, few things capture that magical appeal better than these adorable and delicious Mini Candy Apples! Forget the struggle of biting into a large, messy candy apple – these miniature versions offer all the nostalgic joy in a perfectly manageable package. They are an absolute showstopper for any gathering, from festive holiday parties to casual get-togethers, and instantly bring a smile to everyone’s face.
Why Choose Mini Candy Apples?
While full-sized candy apples hold a special place in our hearts, mini candy apples offer several distinct advantages. They are incredibly cute, making them perfect for themed parties or as delightful party favors. Their smaller size means less waste and makes them much easier for kids and adults alike to eat without getting sticky. Plus, this versatile recipe isn’t just for miniatures; you can easily adapt it to make regular-sized candy apples if you prefer the classic experience. No matter the size, the combination of crisp apple and sweet, glassy candy coating is an absolute delight!
Crafting the Perfect Mini Apple Stems
One of the charming details of these mini candy apples is their delicate ‘stems.’ Instead of traditional wooden sticks, I love using decorative paper straws, cut in half, for each mini apple. They add an extra touch of whimsy and elegance, making these treats even more appealing. You can choose straws to match your party’s color scheme or opt for classic stripes for a timeless look. Not only do they look fantastic, but they also provide a sturdy handle for enjoying your sweet creation.
Mastering the Candy Coating: The Ice Bath Secret
Many home bakers find that one of the common challenges when making mini candy apples is getting the candy coating to properly adhere to the small, spherical apple pieces. Since there’s less ‘skin’ surface area compared to a whole apple, the coating can sometimes slide off or be difficult to manage. But don’t worry, I’ve discovered a simple yet effective method to tackle this problem!
The secret lies in a quick dip. After you’ve scooped your apple balls and gently patted them dry to remove excess moisture (which is crucial for adhesion!), you’ll dip them into the warm candy coating. Immediately after coating, you’ll then dunk each apple ball into a cup of **ice-cold water**. This sudden temperature change instantly hardens the candy coating, creating a perfectly crisp, smooth, and evenly distributed shell that locks onto the apple. This technique not only ensures excellent adhesion but also gives your candy apples that signature glassy finish.
Setting and Cooling for Perfection
Once your mini candy apples have received their quick ice bath, they’re ready for their final resting place. Carefully place them onto a cookie sheet that has been lined with wax paper and lightly sprayed with non-stick cooking spray. This preparation ensures that the candy apples won’t stick as they cool completely. Arrange them with a little space between each so they can firm up beautifully without touching. The result will be a batch of visually stunning and perfectly set mini candy apples.
So pretty and perfect for any occasion!
The Ultimate Party Treat!
These Mini Candy Apples are an absolute sensation for any party! Their vibrant color and glistening candy shell make them instantly appealing, while their convenient size ensures they’re a hit with guests of all ages. Whether it’s a birthday, a Halloween celebration, a baby shower, or just a fun gathering, these treats add a touch of playful elegance. You can even customize the candy color to fit your event’s theme, making them truly versatile.
Mini Candy Apples Recipe
Get ready to create these delightful bite-sized candy apples with this easy-to-follow recipe. Perfect for parties, holidays, or just a fun treat!
Ingredients
- 4 extra large, firm apples (yields approximately 25 mini apples)
- Melon baller (for scooping apple spheres)
- Wax paper
- Sticks or decorative paper straws (cut in half for mini apples)
- 1 1/2 Cups granulated sugar
- 1/2 cup light corn syrup (Karo brand recommended)
- 1/2 cup water
- Food coloring (red is classic, but any color works!)
- Candy thermometer
- Candy or cookie crumbs (optional, for decoration)
- Ice-cold water (in a bowl for the dipping technique)
- Non-stick cooking spray
Instructions
-
Prepare the Apples: Begin by selecting large, firm, and tart apples like Granny Smith or Gala. Tart apples offer a lovely contrast to the sweet candy coating. Using a melon baller, carefully scoop out individual apple balls. Gently pat each apple ball dry with a paper towel to remove as much moisture as possible – this is key for the candy coating to adhere well. Insert a stick or a half-cut paper straw into each apple ball, pushing it almost all the way through but being careful not to break through the bottom skin.
-
Prepare Your Workstation: Line a large baking sheet with wax paper, then lightly spray the wax paper with non-stick cooking spray. Have a bowl of ice-cold water ready nearby. This is essential for setting the candy coating.
-
Make the Candy Coating: In a small, heavy-bottomed saucepan, combine the granulated sugar, light corn syrup, 2 teaspoons of food coloring (adjust for desired vibrancy), and water. Cook over medium-high heat, stirring continuously until the sugar fully dissolves and the mixture comes to a boil. Once boiling, stop stirring. Insert your candy thermometer and continue cooking until the mixture reaches precisely 302°F (150°C), which is the hard crack stage. Remove from heat immediately.
-
Coat the Apples: Working quickly (as the candy cools fast), carefully pick up an apple ball by its stick. Tilt the saucepan slightly and dip the apple into the hot candy coating, rotating it gently to ensure it’s fully and evenly coated. Allow any excess candy to drip back into the pan.
-
Set the Coating with an Ice Bath: Immediately after coating, dunk the candy-covered apple ball into the bowl of ice-cold water for about 1-2 seconds. This crucial step instantly hardens the candy coating, preventing it from running and ensuring a beautiful, crisp shell.
-
Decorate (Optional): If you plan to decorate with candy or cookie crumbs, do so now while the candy is still slightly warm and tacky after the ice bath. Gently roll the bottom portion of the apple in your chosen crumbs for an added touch.
-
Cool and Store: Place the coated and decorated mini candy apples onto the prepared wax paper-lined baking sheet. Repeat the coating and ice bath process with the remaining apple balls, ensuring you work efficiently so the candy mixture doesn’t cool too much in the saucepan. Store the finished candy apples at room temperature.
-
Enjoy! Serve these delightful mini candy apples at your next party or enjoy them as a special treat. Their irresistible crunch and sweet-tart flavor are sure to be a hit!
Tips for Perfect Mini Candy Apples
- Apple Selection: Granny Smith apples are often preferred for their tartness, which beautifully cuts through the sweetness of the candy. Gala or Fuji apples also work well due to their firmness. Avoid softer apple varieties, as they can become mushy.
- Moisture is the Enemy: Always ensure your apple balls are as dry as possible before dipping. Any residual moisture can prevent the candy coating from sticking properly and result in a cloudy finish.
- Temperature Control: A candy thermometer is indispensable. Reaching exactly 302°F (hard crack stage) is crucial for the candy to become hard and not chewy. If it doesn’t reach this temperature, your coating will be soft. If it goes too high, it might burn or become brittle.
- Work Quickly: The candy coating hardens fast once removed from the heat. Have all your apples prepped, sticks inserted, and your ice bath ready before you start cooking the candy. You might need to gently reheat the candy mixture on low if it starts to thicken too much between dips, but be careful not to scorch it or raise the temperature too high.
- Safety First: Hot sugar syrup is extremely hot and can cause severe burns. Exercise extreme caution when working with the candy mixture. Keep children and pets away from the work area.
- Alternative Dipping: For a clean finish, after the ice bath, you can lightly tap the bottom of the apple on the edge of the bowl to remove any water droplets before placing it on wax paper.
Creative Variations & Serving Ideas
- Color Customization: Experiment with different food coloring colors to match various themes. Green for St. Patrick’s Day, orange for Halloween, blue for a baby shower, or even rainbow colors for a vibrant display.
- Sparkling Finish: Before the candy fully hardens, sprinkle edible glitter over the apples for an extra magical touch, perfect for festive occasions.
- Crunchy Toppings: After the ice bath, dip the bottoms or fully roll the apples in finely crushed nuts (peanuts, pecans), sprinkles, mini chocolate chips, or crushed cookies (like Oreos or graham crackers) for added texture and flavor.
- Flavor Boost: Add a drop or two of a clear, food-grade extract (like peppermint, almond, or cherry) to your candy mixture along with the food coloring for a flavored candy shell.
- Display Beautifully: Arrange your finished mini candy apples on a tiered stand, in small cupcake liners, or even in a decorative basket for an impressive presentation. They make fantastic edible centerpieces!
- Gift Giving: Individually wrap cooled mini candy apples in small cellophane bags tied with a ribbon for delightful homemade gifts or party favors.
Conclusion: A Bite-Sized Delight for Everyone
These Mini Candy Apples truly embody the joy of homemade treats. They’re not only incredibly charming and delicious but also offer a delightful hands-on experience in the kitchen. With a little care and the clever ice bath technique, you can create a batch of perfectly coated, glossy, and crunchy candy apples that will be the highlight of any event. So gather your ingredients, follow these steps, and prepare to delight your taste buds and impress your guests with these irresistible bite-sized treasures. Happy candy apple making!
Did you make this recipe?
We’d love to see your creations! Make sure to follow on Pinterest for more incredible recipes and tag us in your photos!
Share on Facebook